When you click on links to various merchants on this site and make a purchase, this can result in this site earning a commission. Affiliate programs and affiliations include, but are not limited to, the eBay Partner Network.
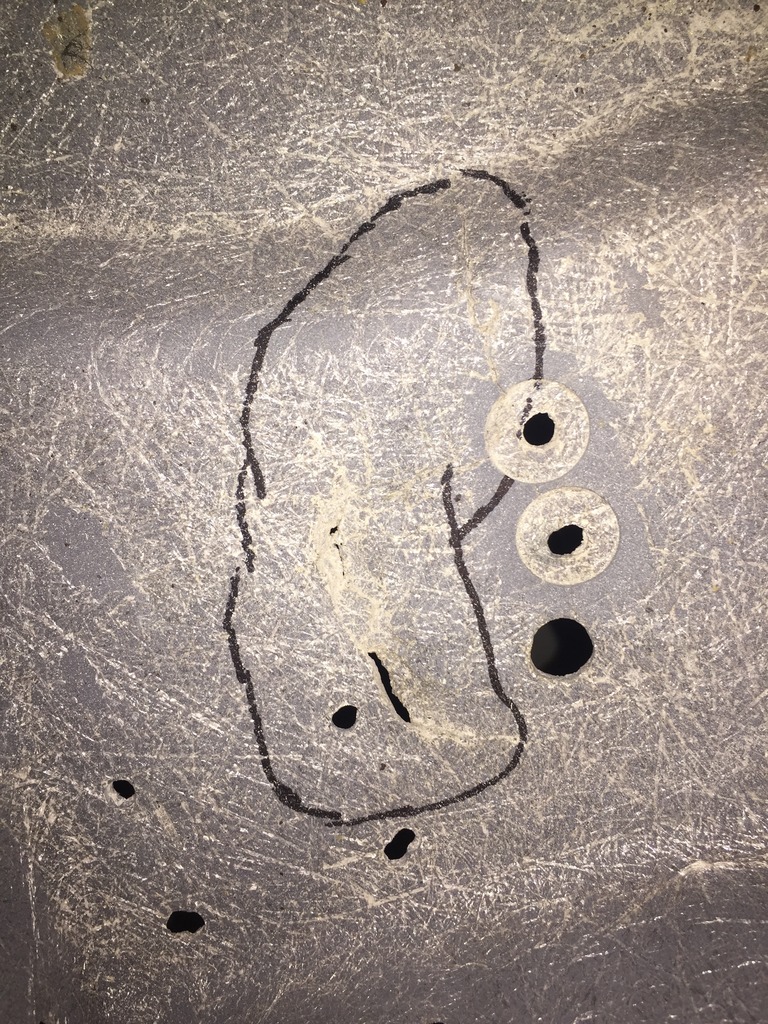
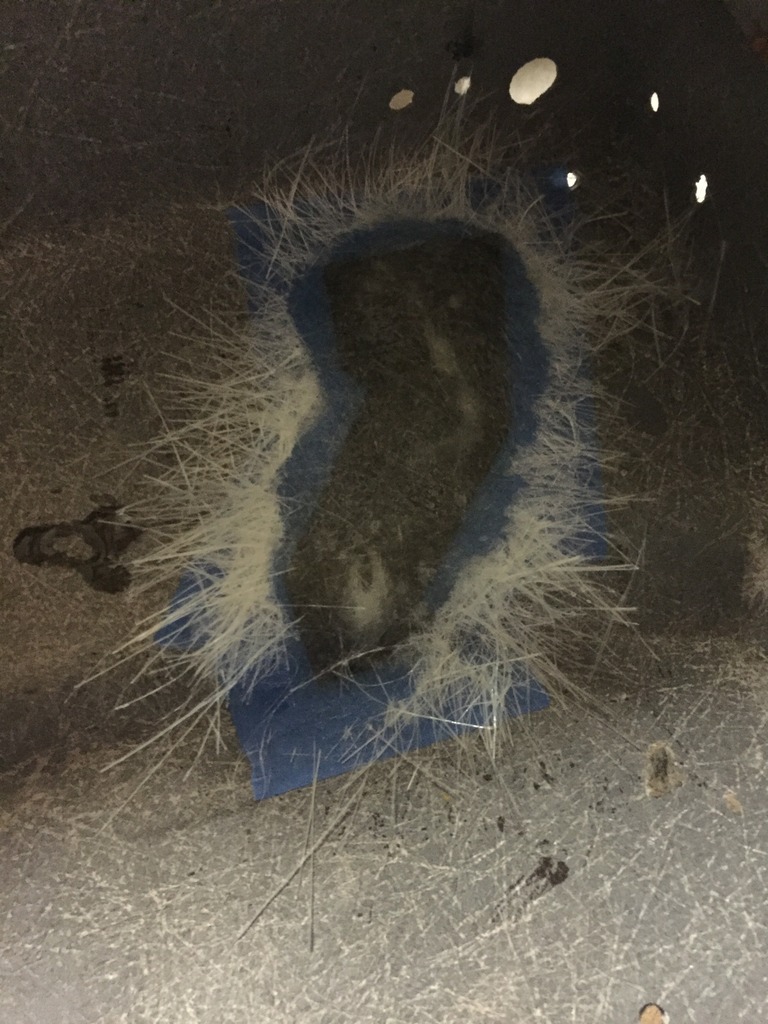
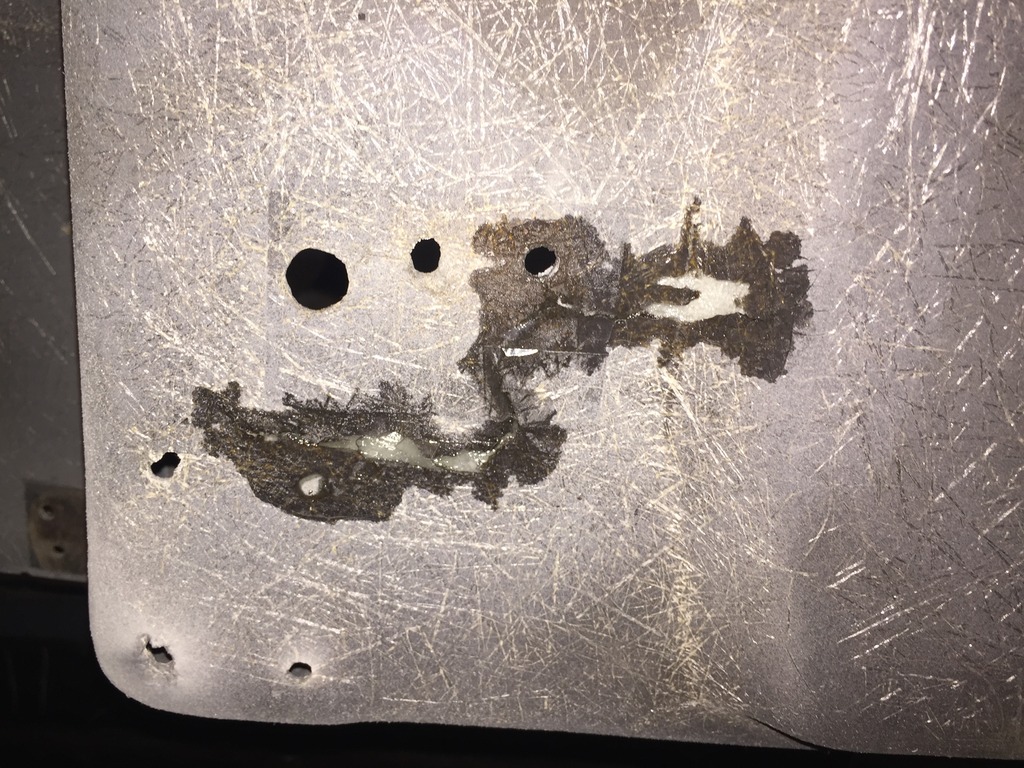
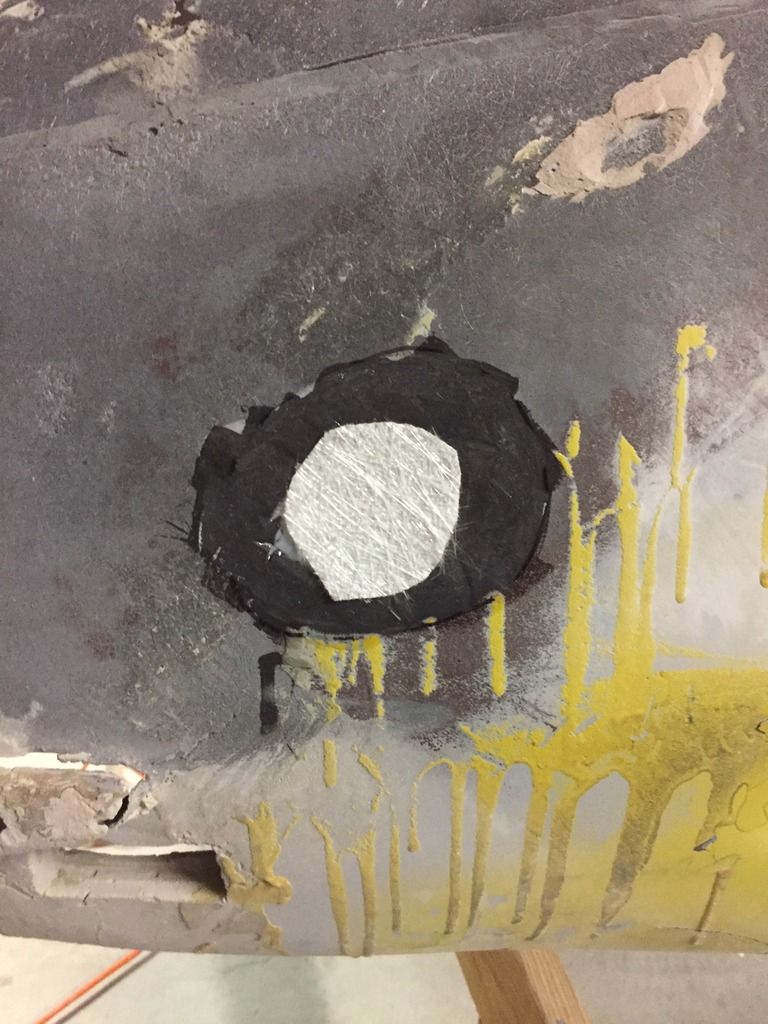
I tried a hole repair in one of the fenders (Which are getting replaced) to try out my skillz.
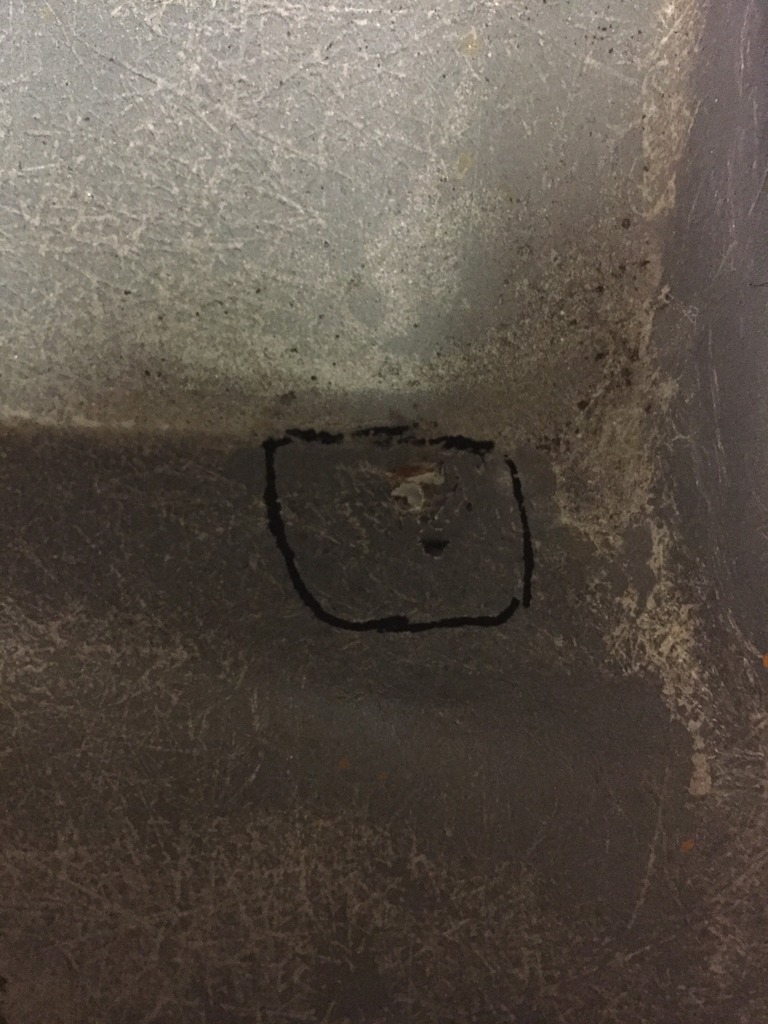
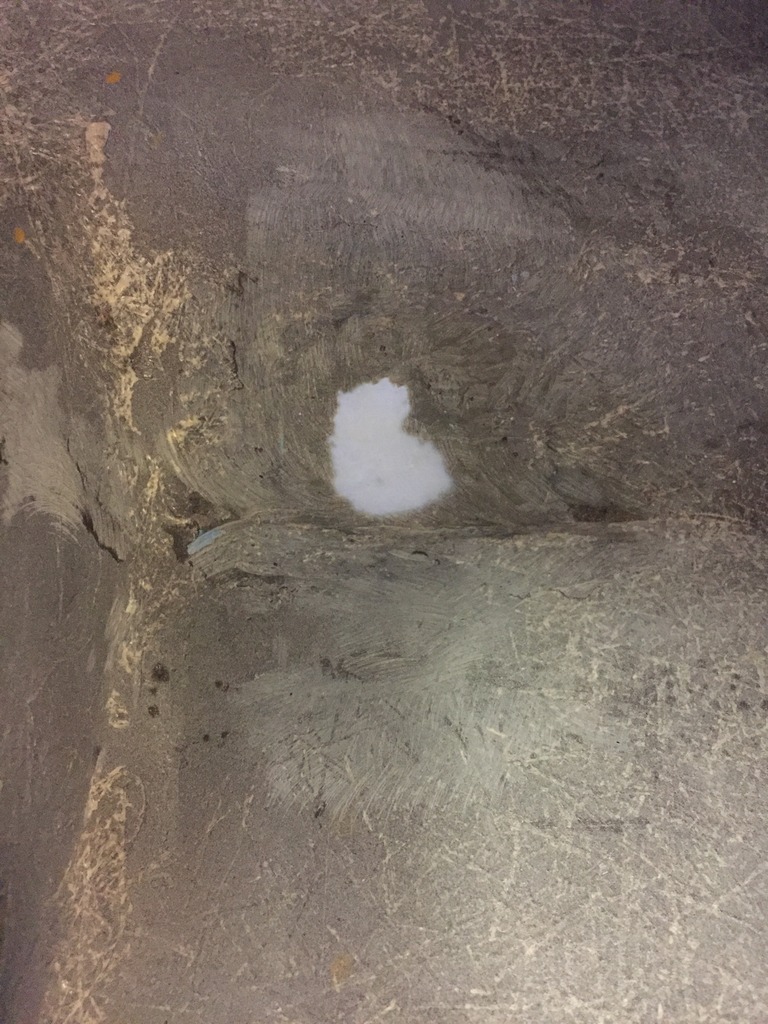
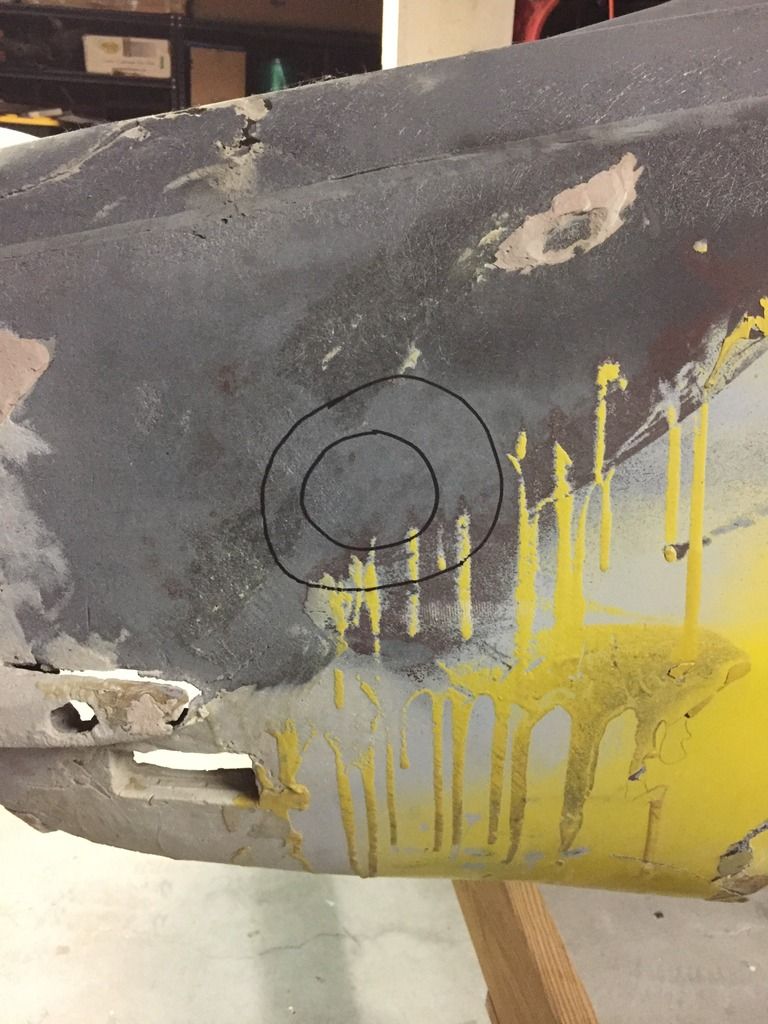
I picked a spot and drew a hole to cut and a ring about 1 inch out to where the fiberglass needed to be feathered out to.
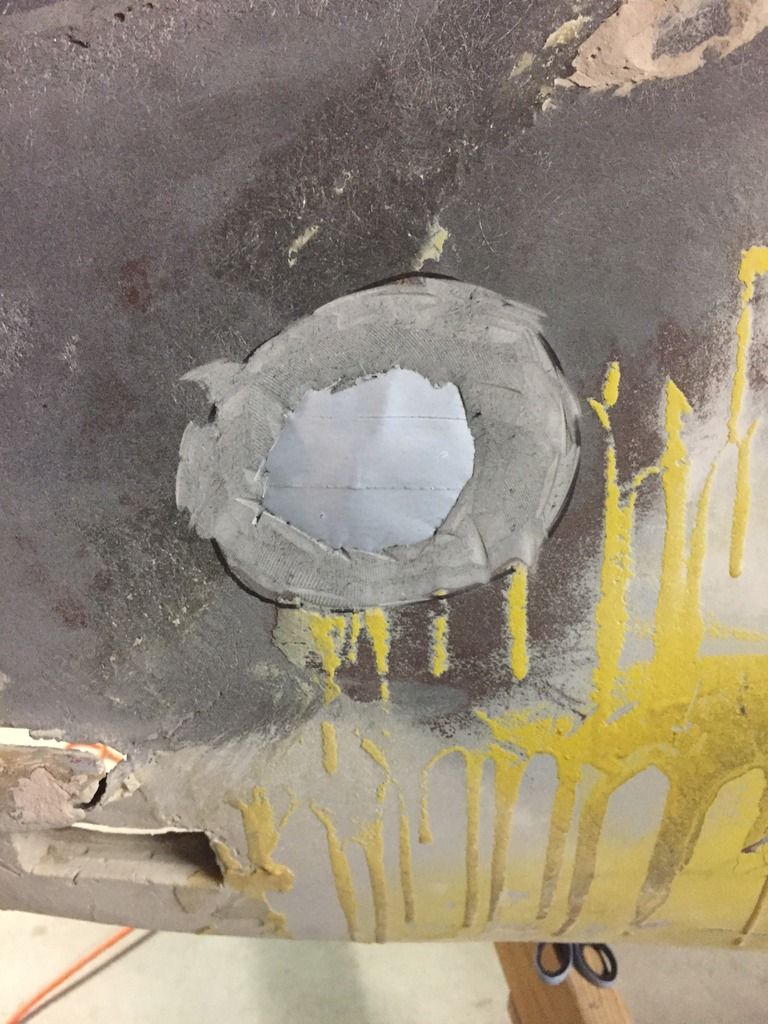
I feathered the glass and put aluminum tape on the back to provide support for the new glass (This wasn't as strong as I had hoped, and the glass bowled out on the back side)
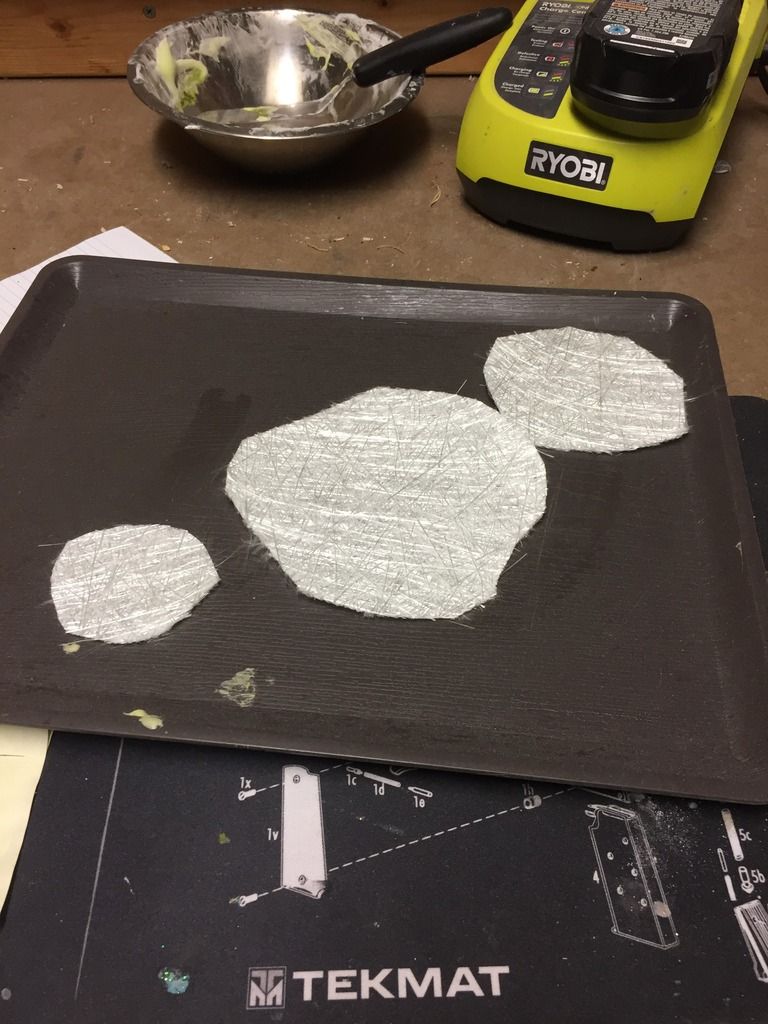
I cut three concentric circles, to build up the glass layering. (Next time I will try to tear vice cut and have a more rough edge)
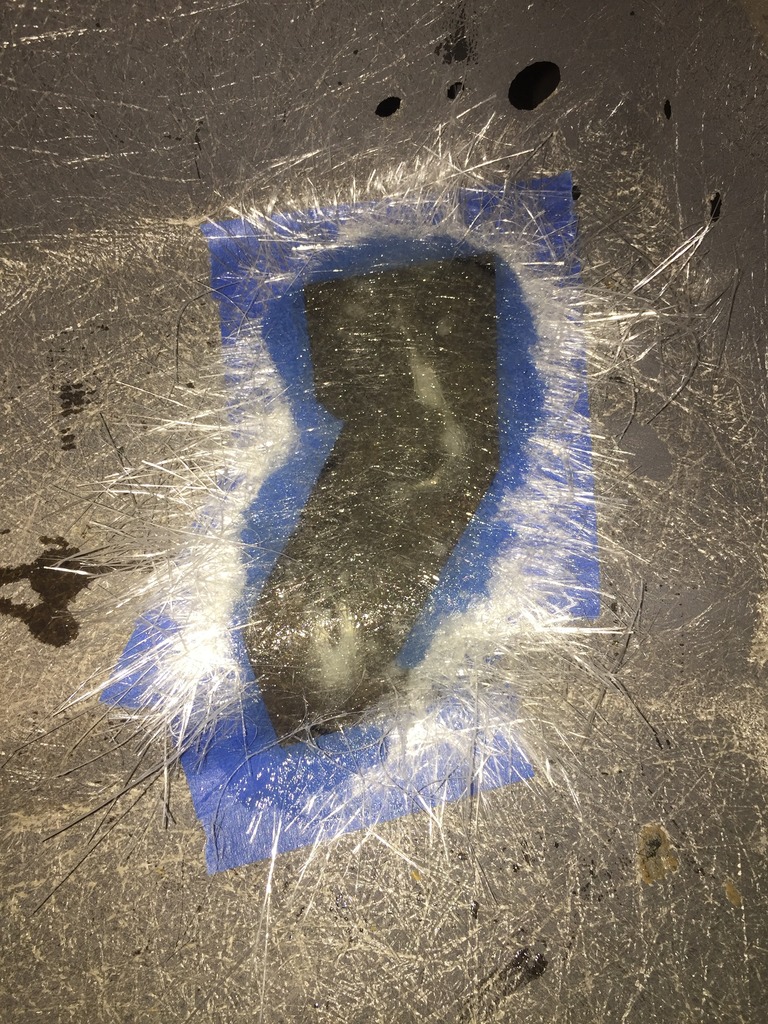
You can also take the matting and pull out the edges to give you a more natural look instead of having sharp edges. Another great product is VPA (Vette Panel Adhesive). As a novice I had many challenges with my restore and found these techniques and product to be very reliable.
RVZIO
It's called a splash mold and I made them for many fixes along the way. Try it you'll like it.
RVZIO
You can also take the matting and pull out the edges to give you a more natural look instead of having sharp edges. Another great product is VPA (Vette Panel Adhesive). As a novice I had many challenges with my restore and found these techniques and product to be very reliable.
It's called a splash mold and I made them for many fixes along the way. Try it you'll like it.
RVZIO
Is that a different car you made the mold on? How did you get prevent the glass from sticking to the fender when you made the mold?
I have VPA, I will be learning to use that over the next week as wel
Is that a different car you made the mold on? How did you get prevent the glass from sticking to the fender when you made the mold?
I have VPA, I will be learning to use that over the next week as wel
The VPA has a few dynamics like outside temperature for amounts of hardener to use. Also has a setup time where you can put it on and then use a razor blade to scrape off the ridges and start sanding. Don't wait too long or it will really rock up VERY hard. Anyway, yes I had my donor car and did not want to hack up the body. You would remove the paint, wet sand the fiberglass and apply 3 coats of regular car wax. Apply matting/resin let dry over night and bam. Come in the next day an pop it off. Now that is a mold of the outside so you would put 3 coats of wax to the inside of the mold you just made and matt/resin the inside and 24hrs later you will have a exact duplicate of the piece you need. Now for smaller pieces you do the same except you don't have to do all the second steps on the inside of the mold. I'll show you what I mean.
RVZIO
Door adjar button and the rear outside bumper bracket. Once you get the idea it's a pretty cool way to get things done instead of piling up a bunch of product. Give it a try!
Great work Roger! Only works well if you have a donor sitting nearby though unfortunately.
Bob, keep up with the practicing, you'll be a pro in no time. I would also suggest what Roger said about pulling the edges of the patches so they aren't sharp edges. I also like adding layers on the backside of the repair as well.
Well yes and no. The repair of the rear quarter were from the donor car but the other small repairs were made of my car. The rear bumper piece was not so pretty at first but it worked. Oh and thank you Chuck for your comments.
RVZIO
Well yes and no. The repair of the rear quarter were from the donor car but the other small repairs were made of my car. The rear bumper piece was not so pretty at first but it worked. Oh and thank you Chuck for your comments.
RVZIO
Actually that makes a lot of sense, I can replicate the missing portions with something like foam, or putty, wax that, and make a mold, then make the piece I need for the patch. That will work really well for some of the more complex shapes that are missing.
Actually that makes a lot of sense, I can replicate the missing portions with something like foam, or putty, wax that, and make a mold, then make the piece I need for the patch. That will work really well for some of the more complex shapes that are missing.
I will go try tonight!
Perfect, now your thinking. Whatever works best for what you need to do. Capturing the various profiles of the car is the important thing, rather then stuffing a whole bunch of product and trying to shape it. Great!
RVZIO
Thanks, Kevin. I will have to get caught up on your thread, is your Vette on the road yet?
Originally Posted by jr73
Can that adhesive be softened up with a heat gun like bondo does?
If it can, either my heat gun is broken, or it takes over 1000 Degrees Seriously, I didn't have any luck with it at all, but I had herd that others have.
Originally Posted by revneck
With the loot you spent on camera batteries you could have scored new fenders. lol. Just kidding. Nice work. You are a patient and skilled guy
Patient, I will give you, skills - I'm working on. Good for me, replacement fenders came with the car I'm spending my camera battery money on a motor
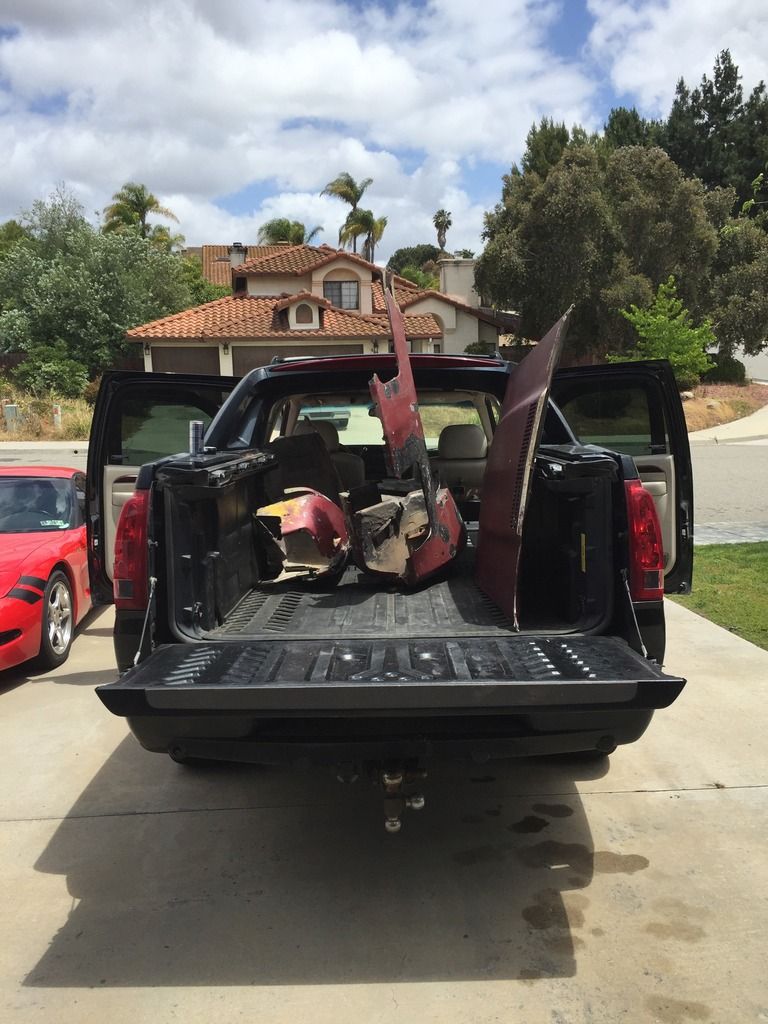
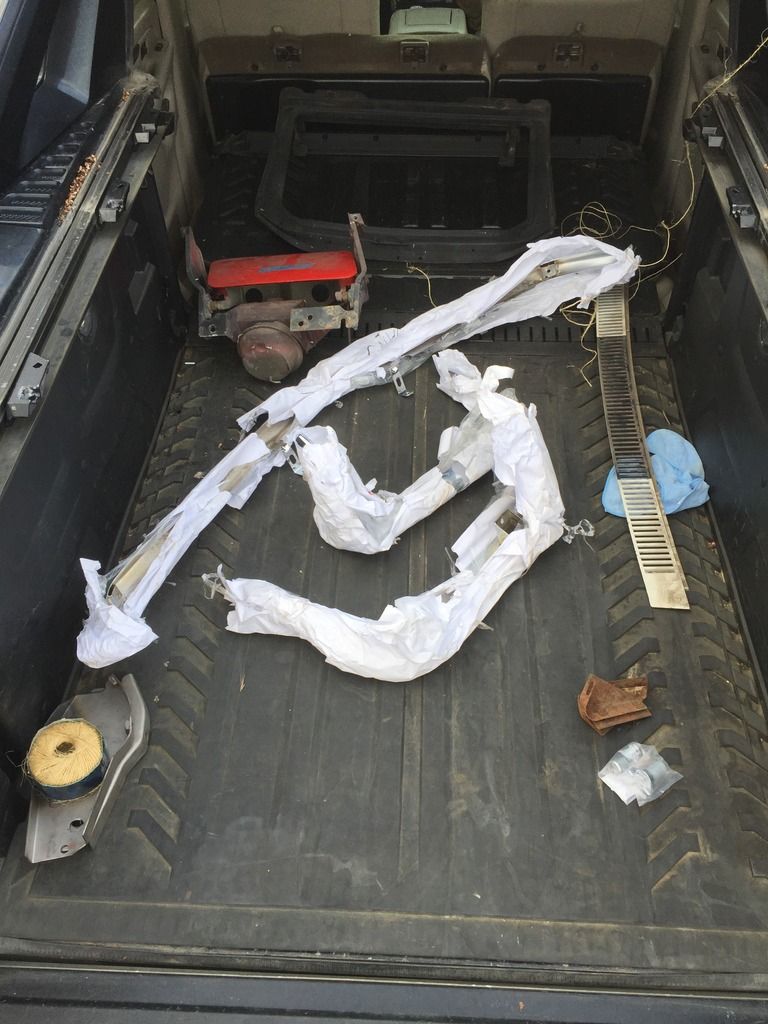
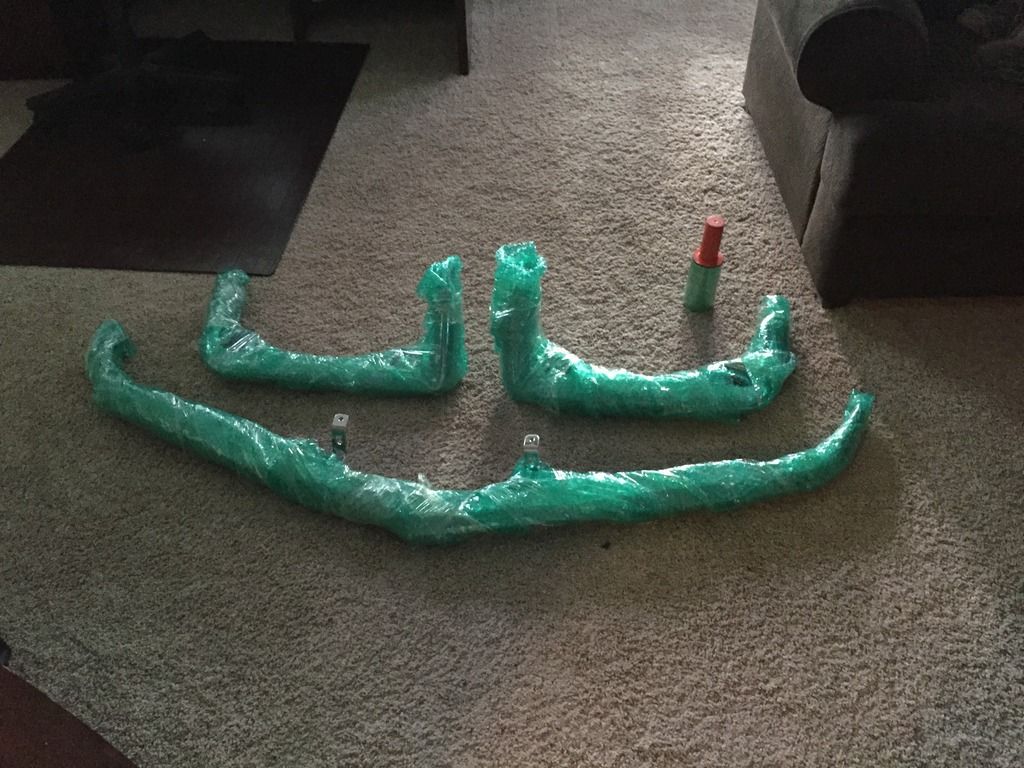
I took a trip down to SoCal Vettes last week and freed up some room in my garage, and came back with a few new pieces. One part at time
Beautifully re-chromed bumpers!
all wrapped up!
I love going down there, its like being a kid in a candy store!
your lucky to have them close by. I have purchased a few things from them also. Yes like a kid in a candy store. Good luck with what you picked up.
RVZIO
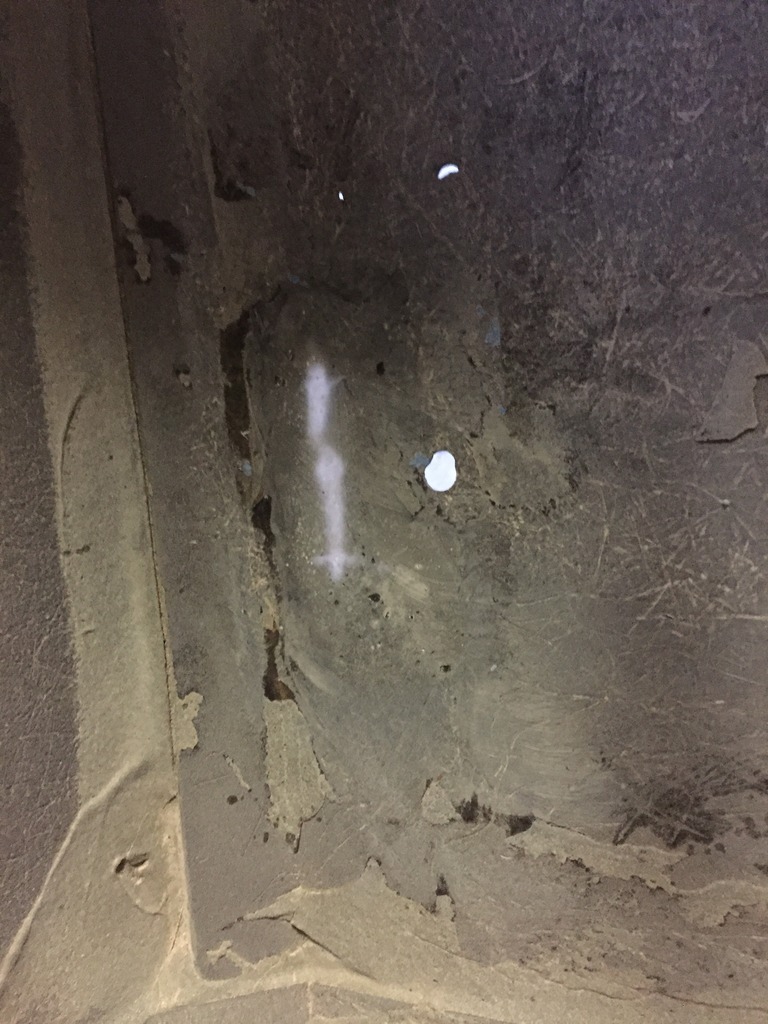
For the fiberglass repair, I started with a crawl, walk run method. I first started with three small cracks that were relatively simple small shapes.
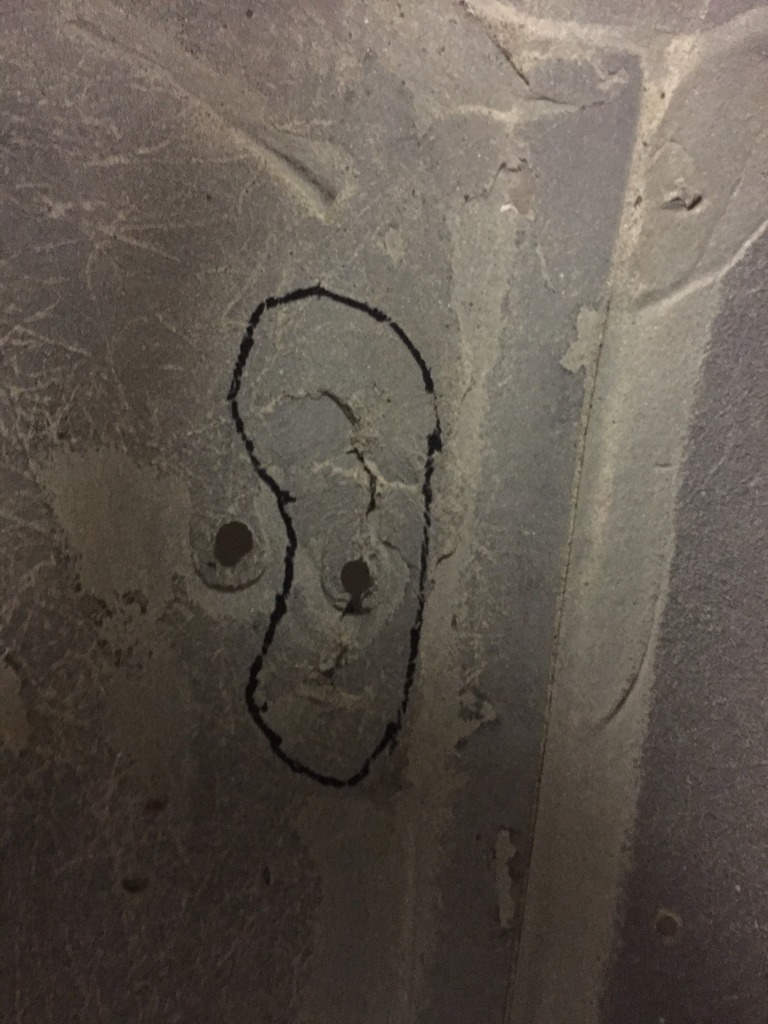
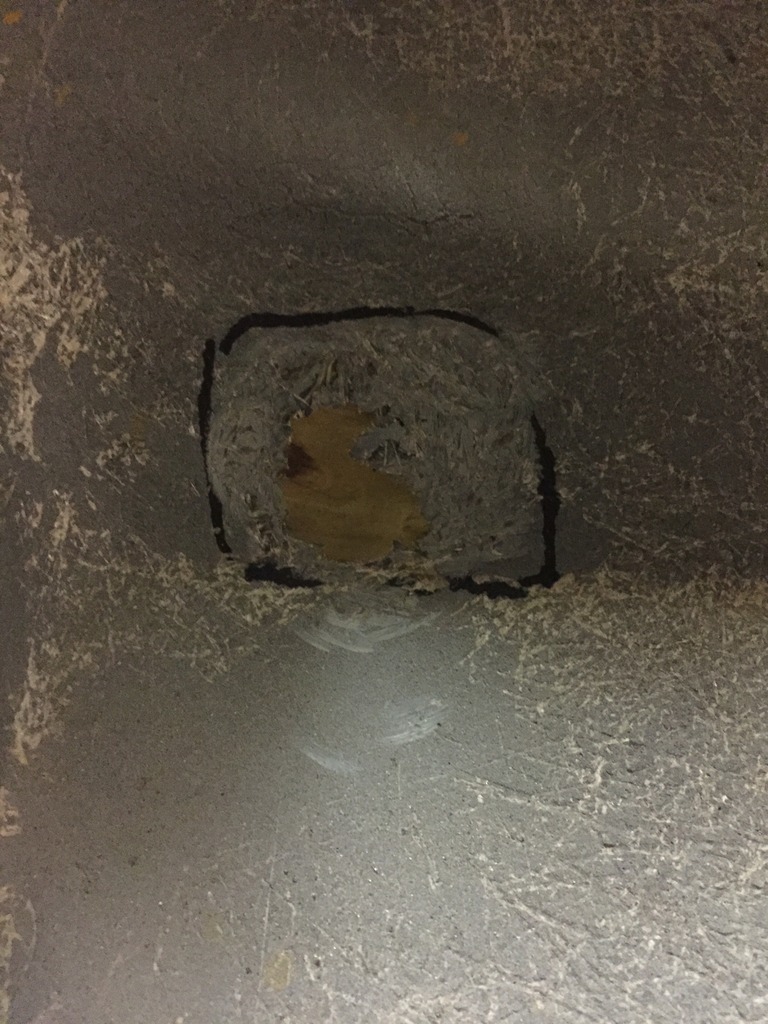
I started by circling the damage, to ensure I ground down enough material to get a complete repair.
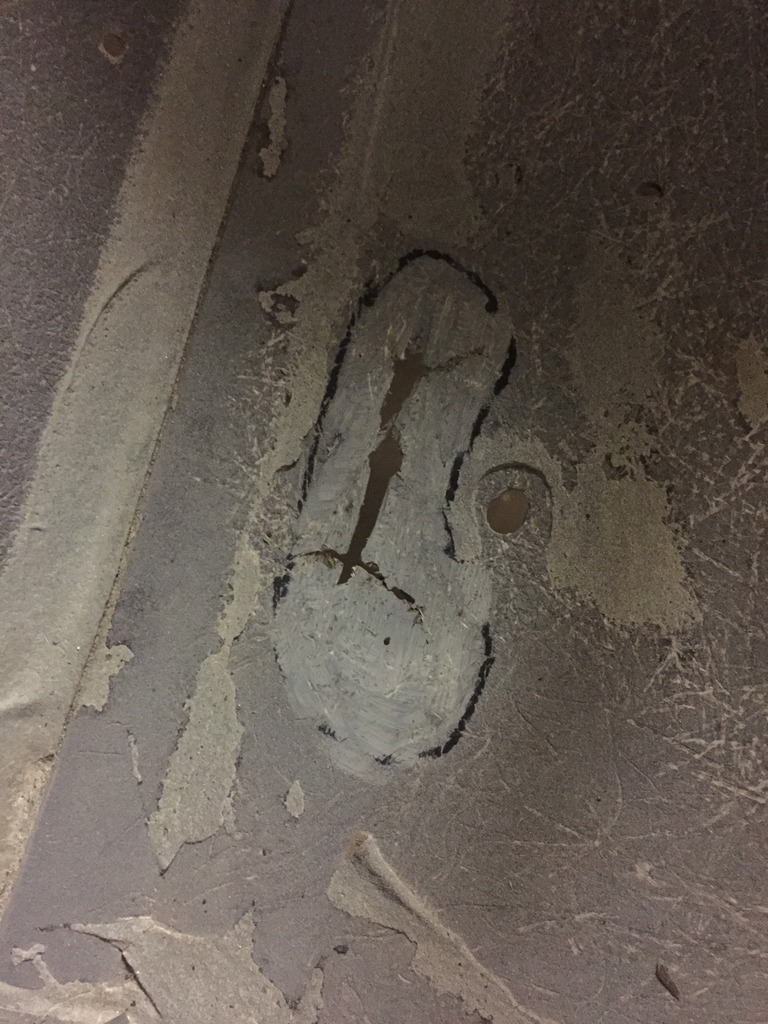
Then I ground down the area so the repair could be blended in to the surrounding original fiberglass.
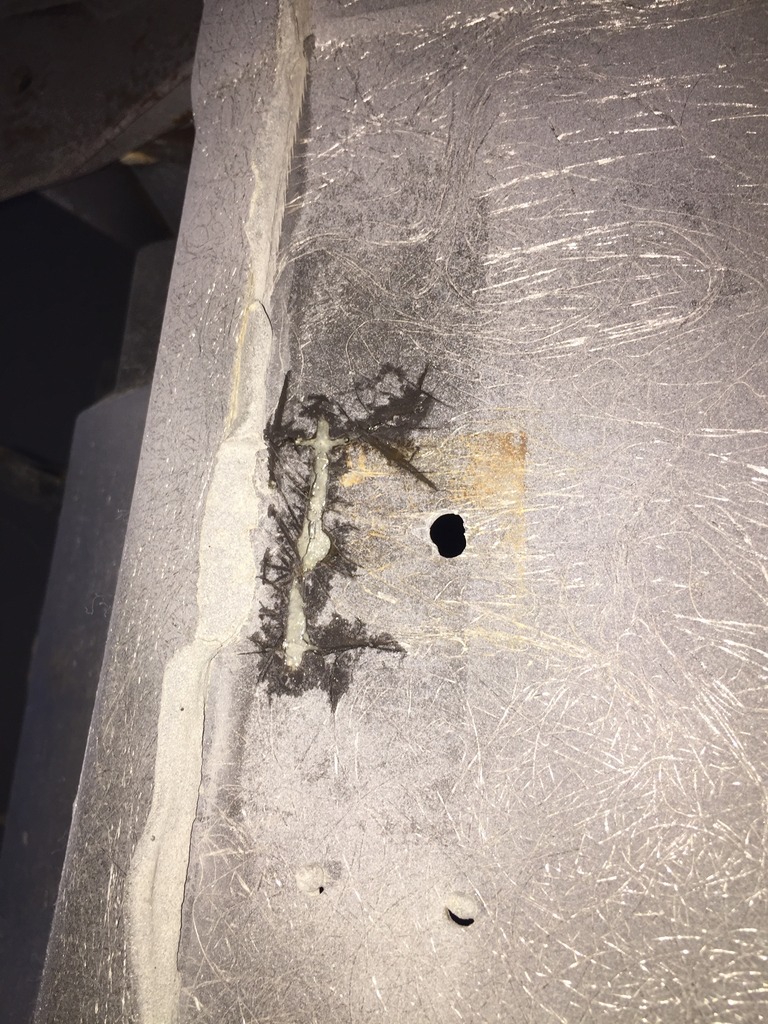
Under the last picture there you can see where I was using a board to ensure that the panel was back in the same plane. The crack was preventing the fiberglass from being pressed back into the correct shape, so I ground out all of the damage and aligned the glass before beginning the repair. I am being careful th try to ensure that the glass is not drooping or sagging when it is repaired, so it isn't permanently misaligned. More on that effort later.
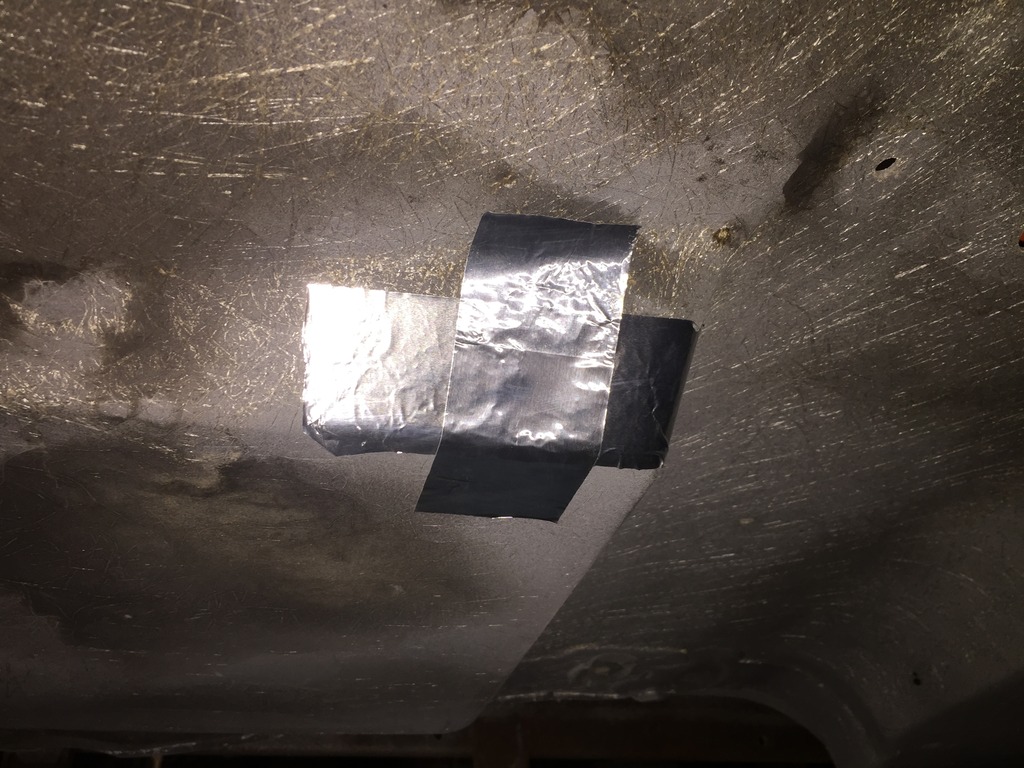
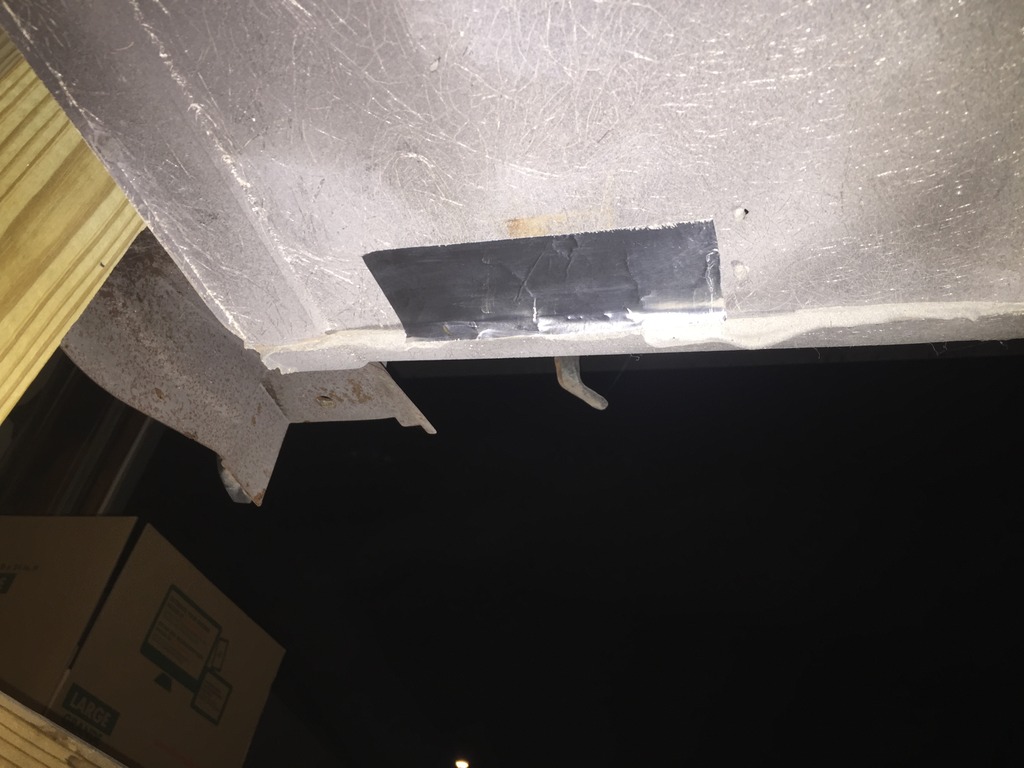
for the backing of the repair, I used aluminum tape, which was more rigid than other tapes, for smaller repairs, no other backing is required for the repairs. I doubled it up in some areas for more support.
A floor jack was used with a piece of wood to hold the fiberglass in plane.
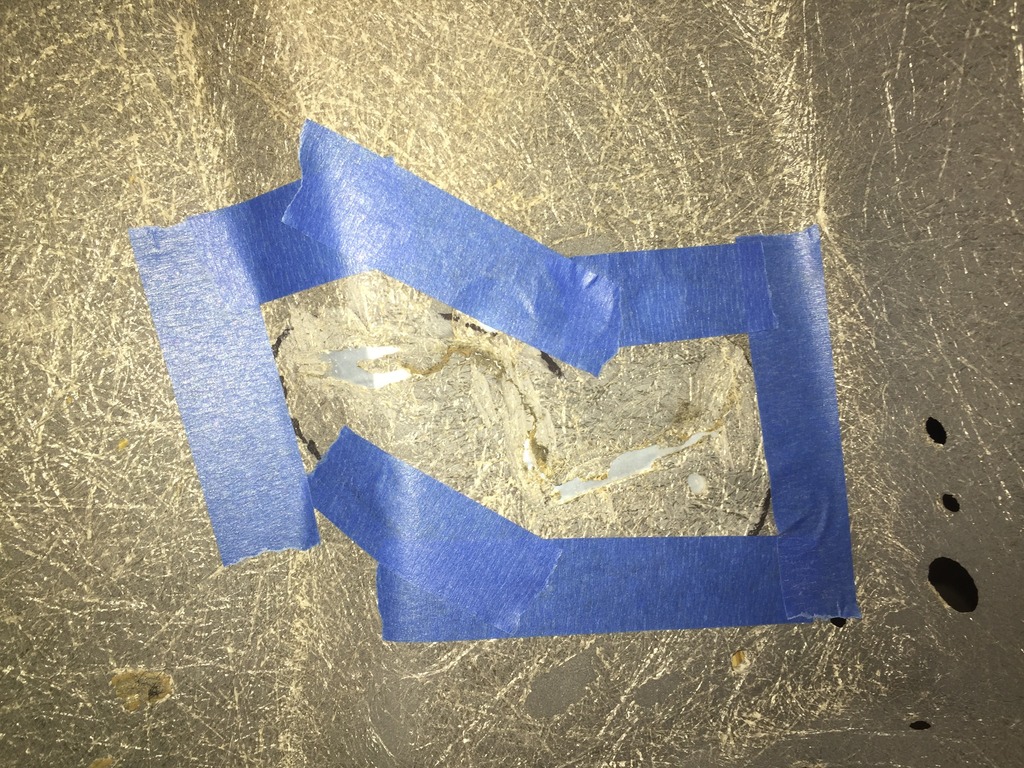
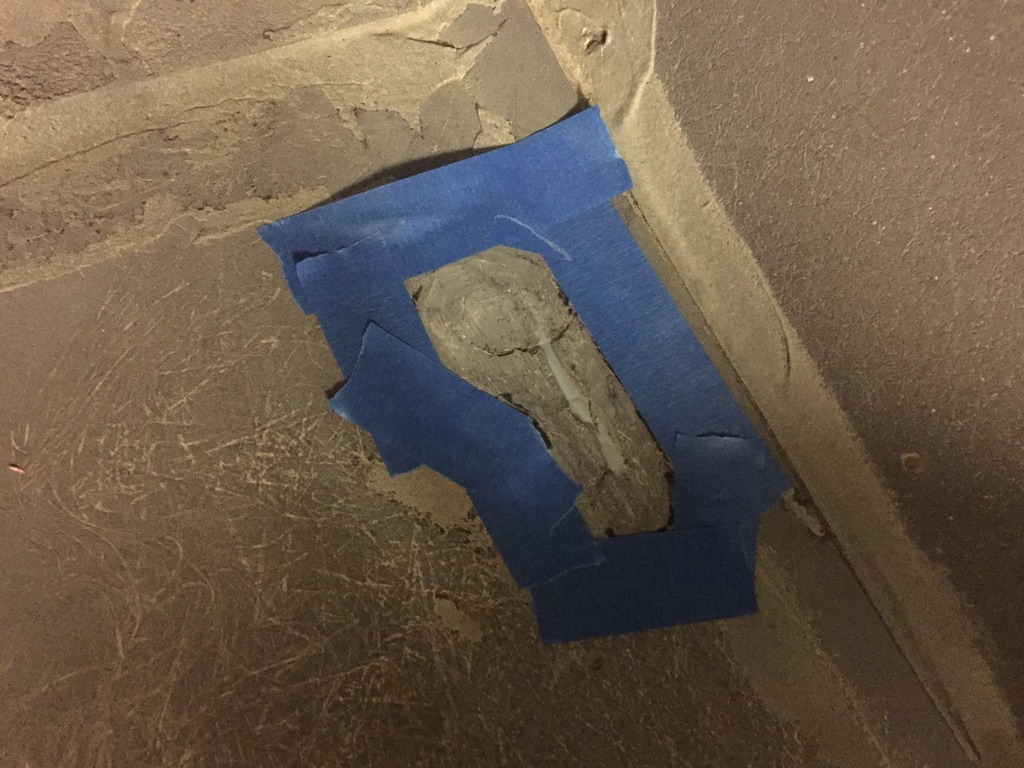
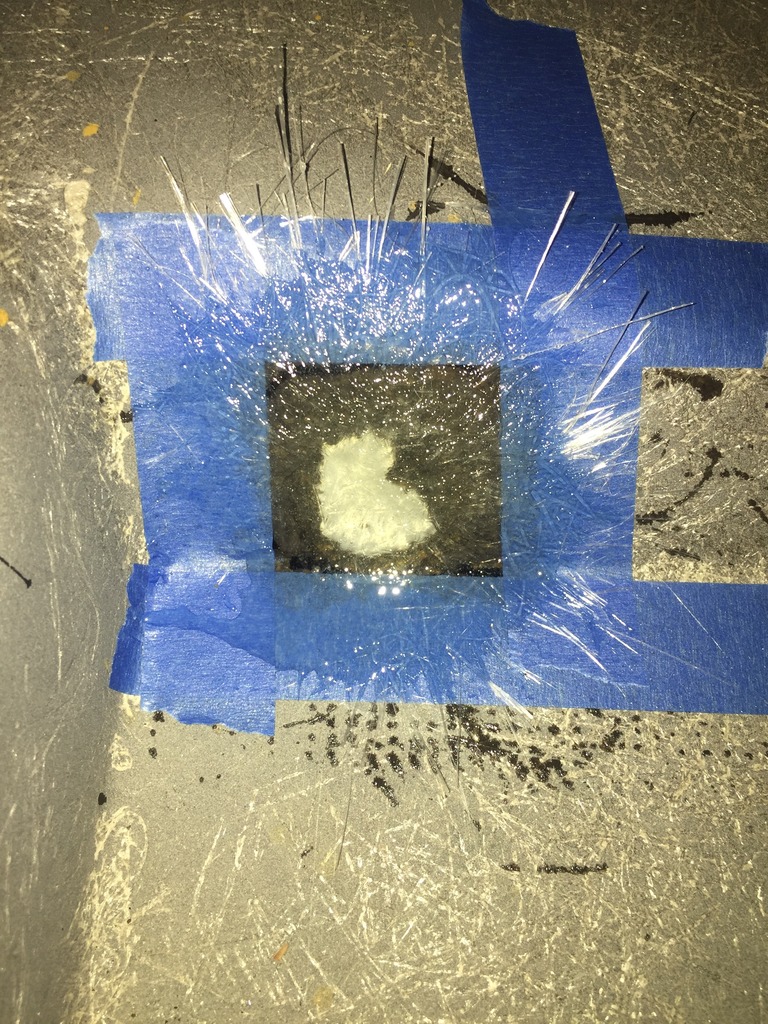
Once repair area was ground out I surrounded the repair with masking tape to prevent resign from getting all over, and to know where the original glass started, so when sanding down I knew where to stop.
All these techniques I picked up on the forum here and on YouTube watching repair videos. If I can do it, I promise you can too. Good news is once these repairs are complete, they will be covered with insulation and then carpet. While they might not be 100% flat, they are certainly close enough to pass this Marine's inspection.
Sorry, no progress pictures in-between layers of glass - I'm working alone, and no way am I risking getting resign on my iPhone.
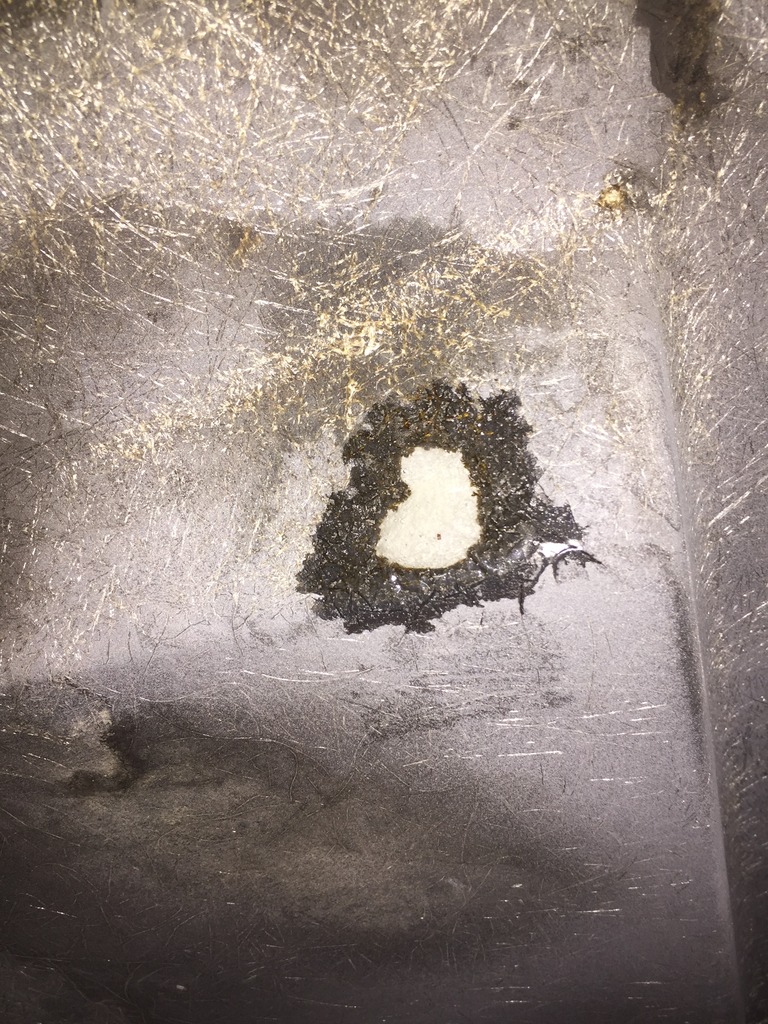
Here is how they looked wet - Two layers of Chopped strand mat.
And the final repair - All sanded smoothe...
I was really surprised how clear the repaired sections were.
The back side of the repairs will be ground out, and filled out with VPA. That will all be cleaned up at the end. But the back side didn't look too bad - heres how it looked without sanding after the tape was removed.

 05-15-2017, 03:45 PM


 Seriously, I didn't have any luck with it at all, but I had herd that others have.
  I'm spending my camera battery money on a motor