When you click on links to various merchants on this site and make a purchase, this can result in this site earning a commission. Affiliate programs and affiliations include, but are not limited to, the eBay Partner Network.
I did check the clutch release. I put a jack handle on the end of the zbar there. Pressed it forward with the first gear engaged and it did release. So I think I should be in the clear.
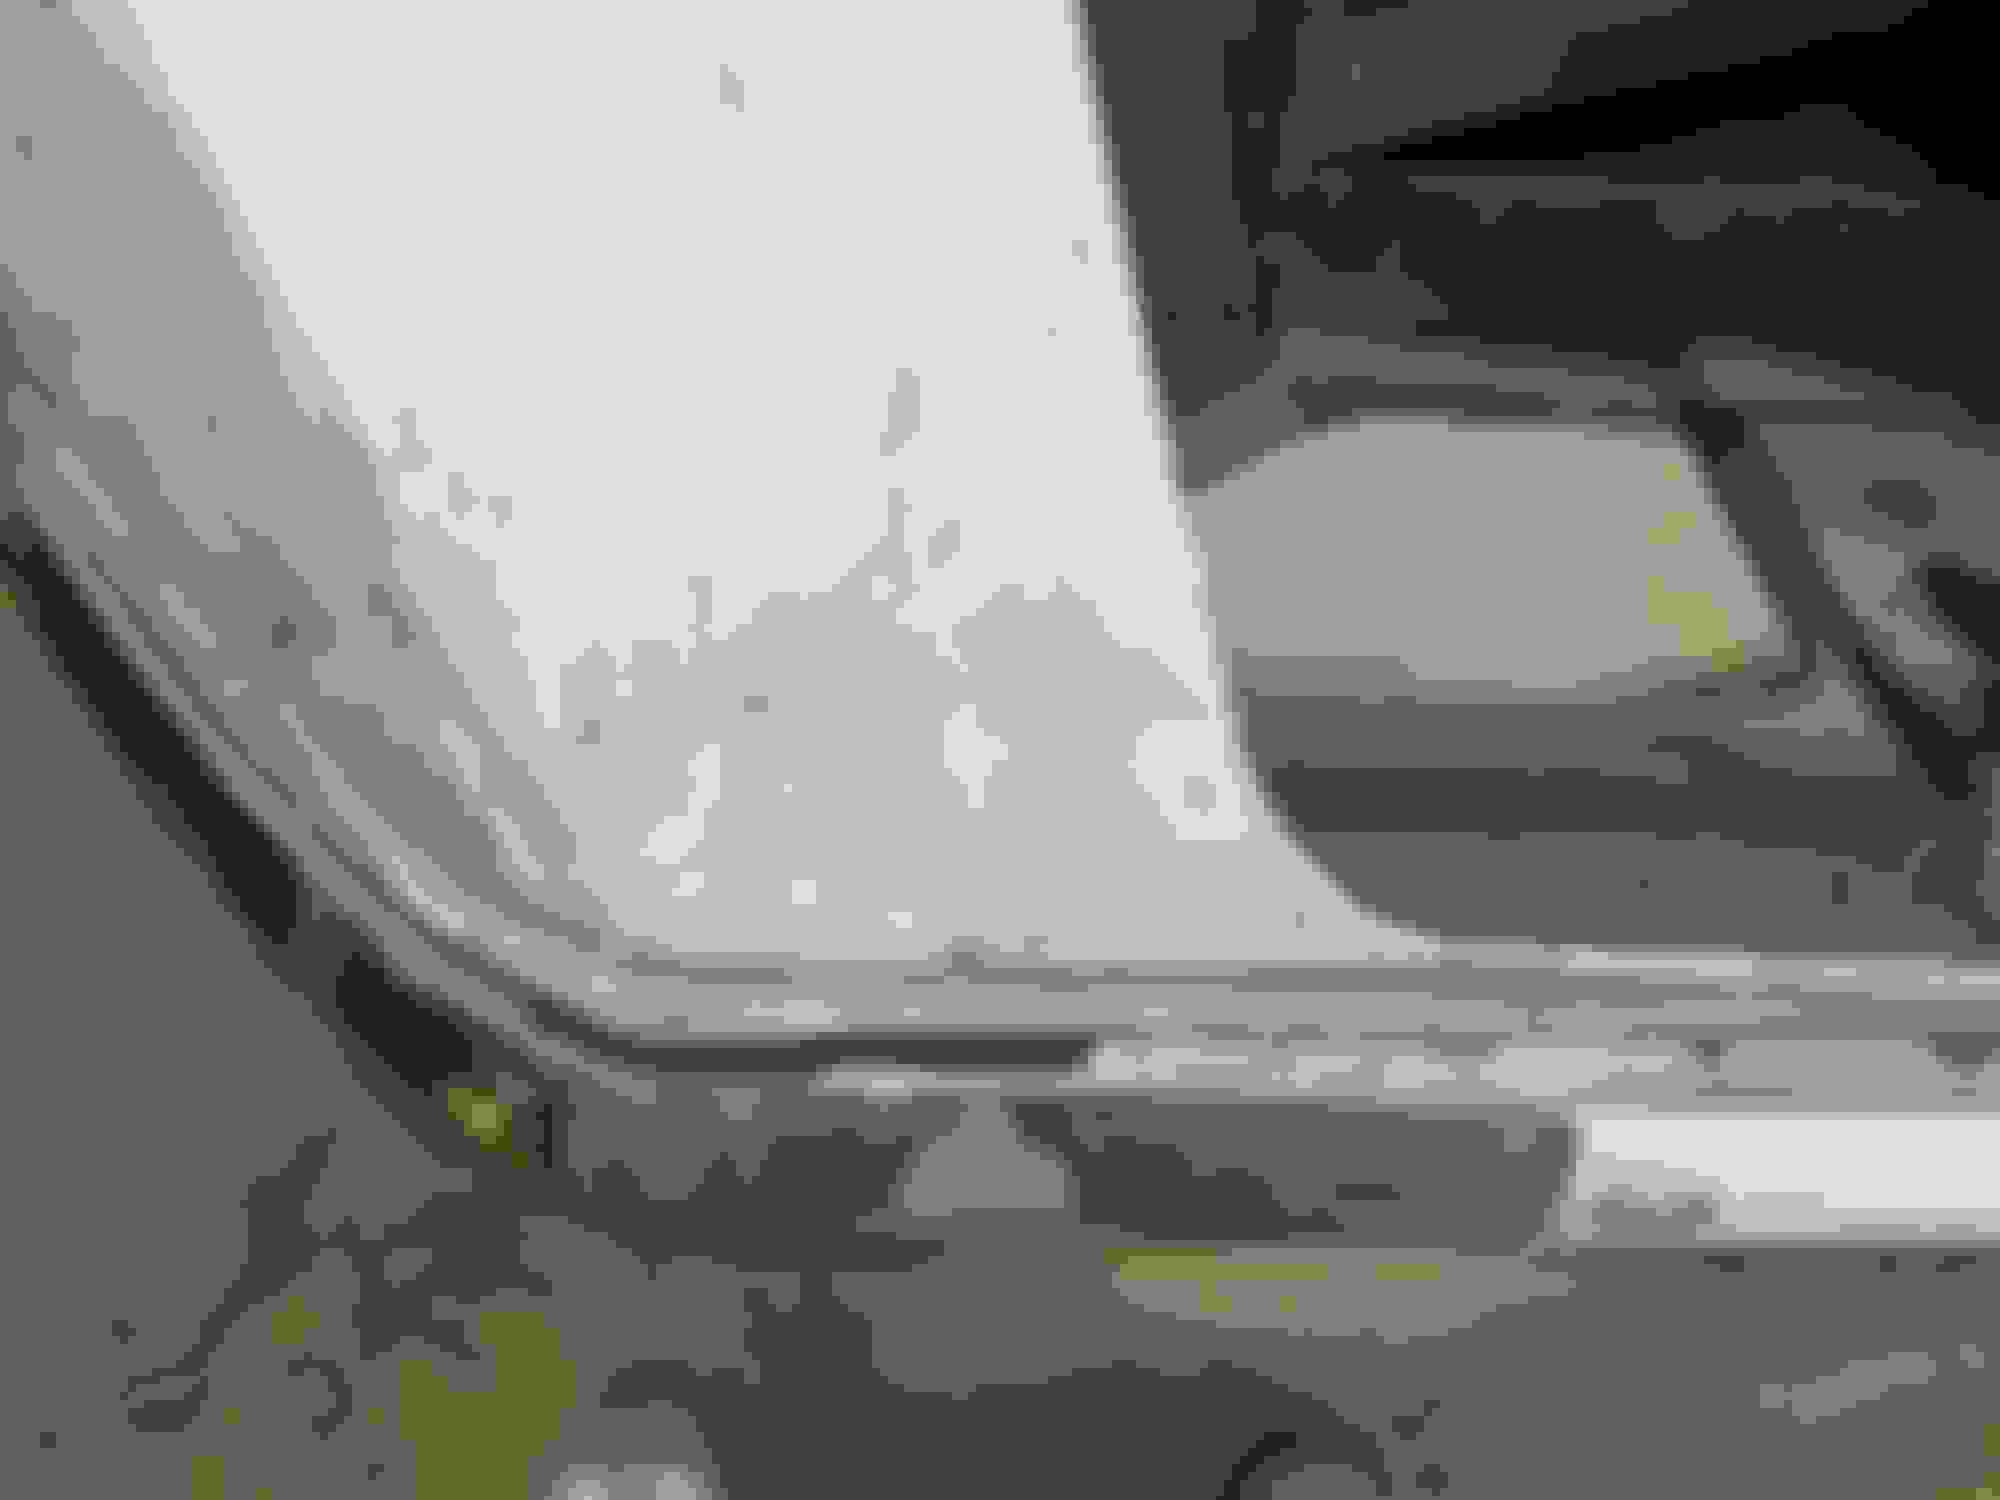
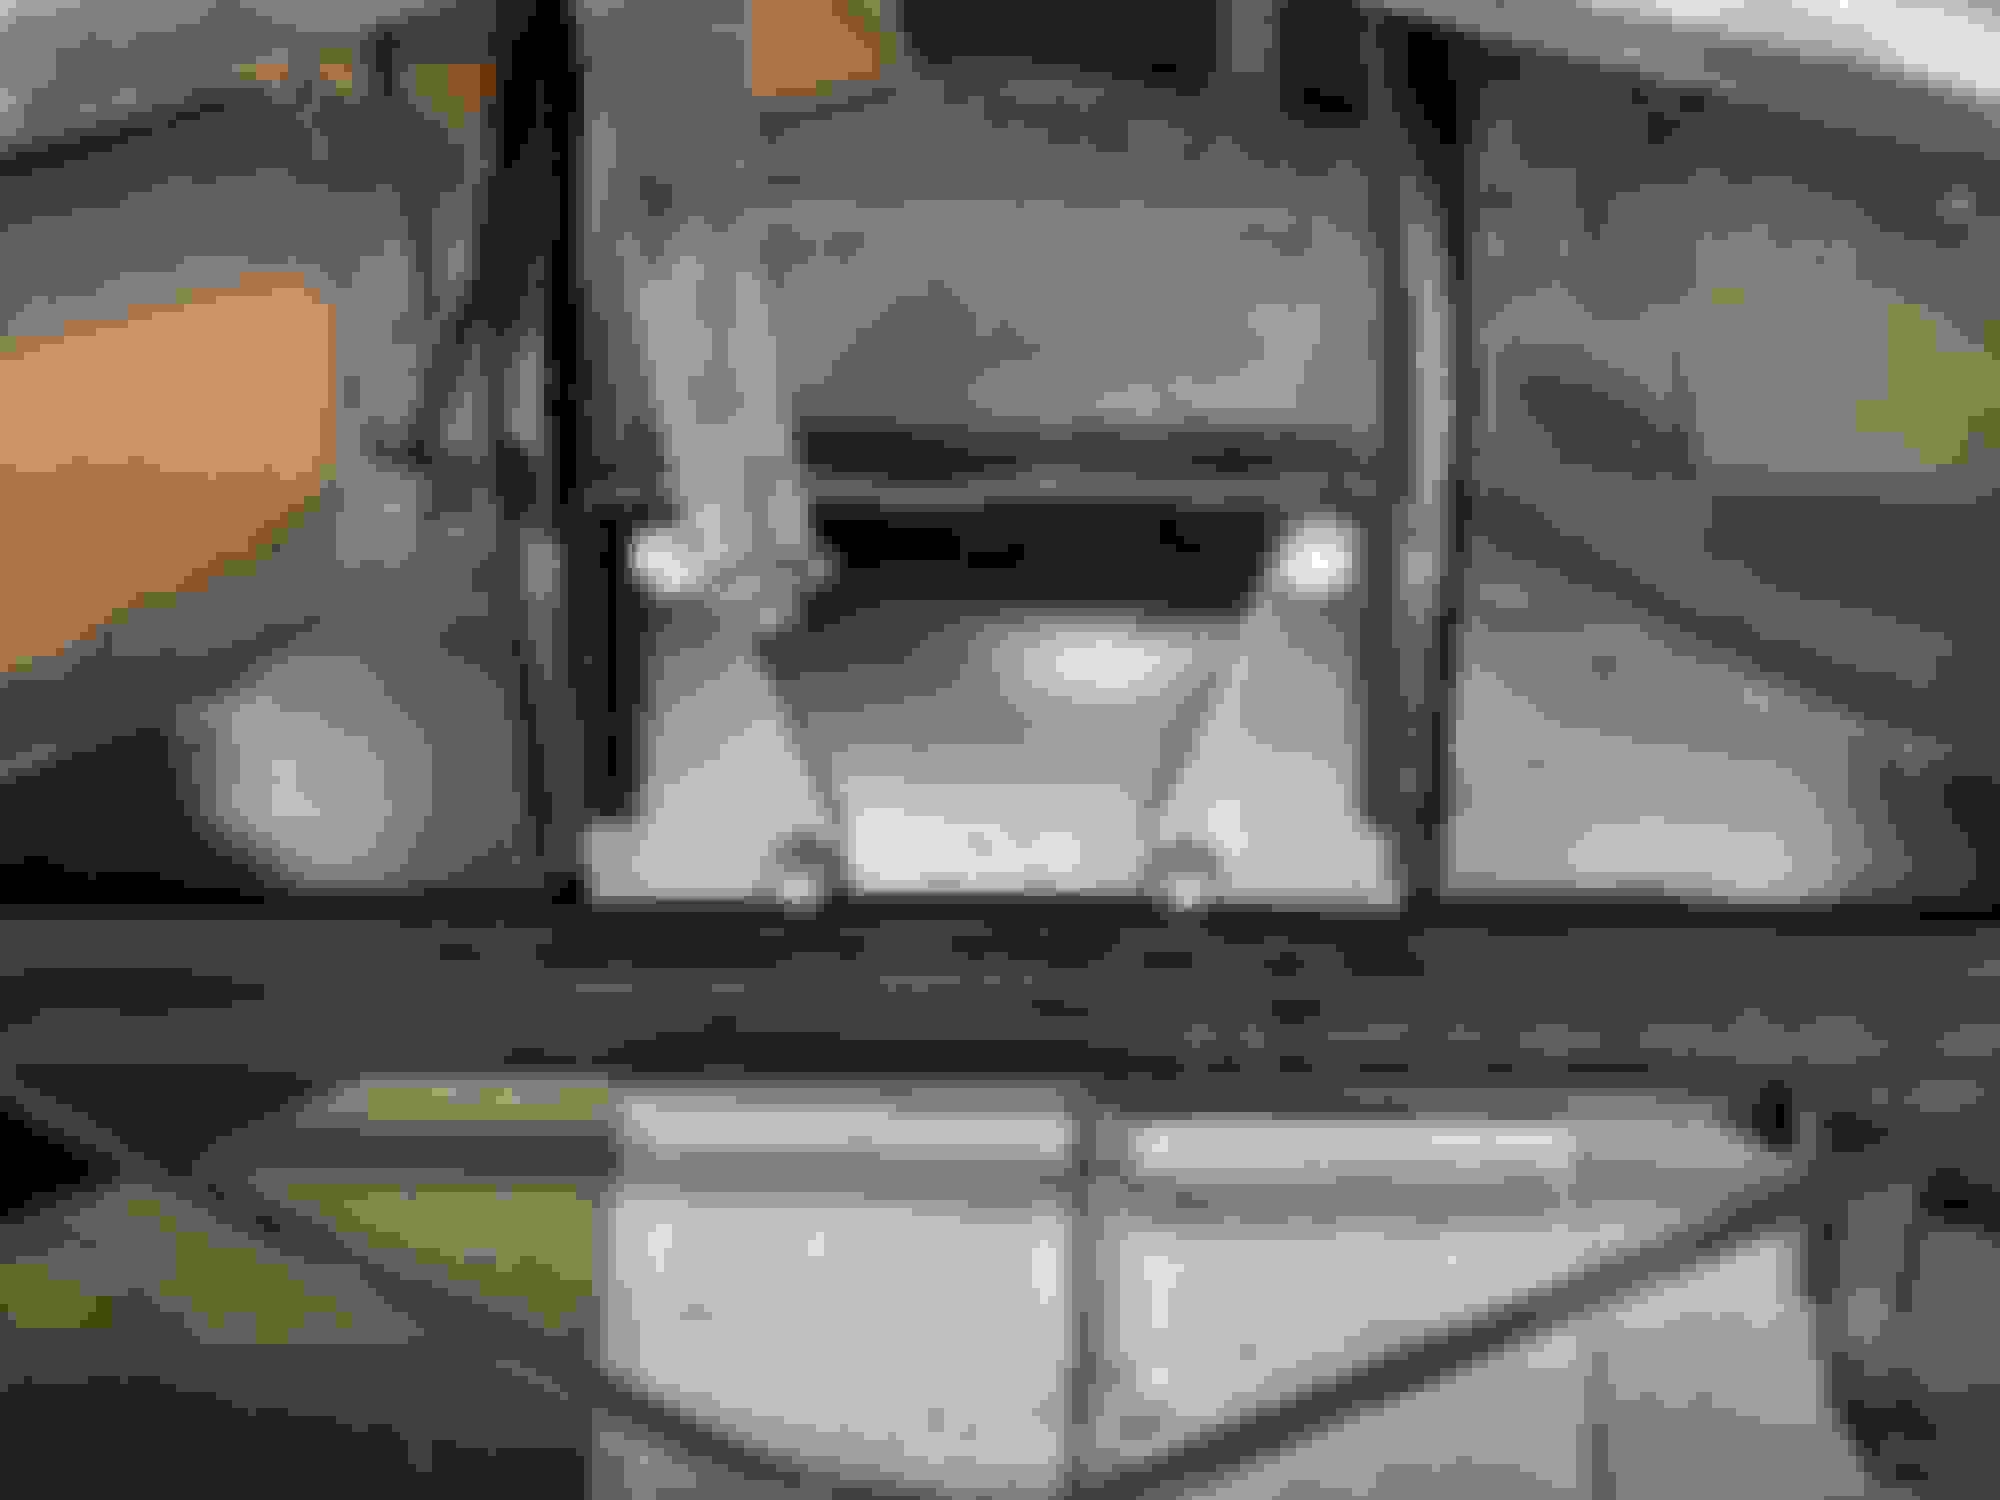
I need advice on body mounts and shims. My car had them pretty much disintegrated so I couldn't really tell how many were where. Should I just start with three on each location? Then work on door gaps from there taking away and adding shims?
Just stumbled across your thread for the first time. Looks like you are doing excellent work. I am subscribing and will be watching and learning. You started a bit after I did on my '69 but your pace has been quick! Looking forward to the answer to your body mount question as I have the same question my self.
Just stumbled across your thread for the first time. Looks like you are doing excellent work. I am subscribing and will be watching and learning. You started a bit after I did on my '69 but your pace has been quick! Looking forward to the answer to your body mount question as I have the same question my self.
Yeah I'm not super great about posting but in chunks. The work I do on the car ebbs and flows with my availability like most. I had a bit of a head start because I went through a teardown previously and as I started working to put it together realized some common mistakes. I abandoned ship on that car which was a coupe because I'm six foot four and didn't fit in it very well.
I'm not as Brave as most and won't be doing paint work myself. Partially because I don't want to do it wrong and partially because my wife doesn't want me painting in the garage hahah.
Hey John looks like your doing real good so far. Did you index the neutral gate on your shifter. Easy with the body off. My body shims were useless. Put the doors on and see what you have. Make sure you have the car on tires which looks like you do Whatever you are using to put the body back on keep it connected. It will make adding shims easier. You can still do it with a jack. A lot of the door alignment and gaps is also achieved in the hinges so see what you get. Good luck and keep us posted!
Hey John looks like your doing real good so far. Did you index the neutral gate on your shifter. Easy with the body off. My body shims were useless. Put the doors on and see what you have. Make sure you have the car on tires which looks like you do Whatever you are using to put the body back on keep it connected. It will make adding shims easier. You can still do it with a jack. A lot of the door alignment and gaps is also achieved in the hinges so see what you get. Good luck and keep us posted!
RVZIO
The body lift will occur with 8 guys with middling strength and time. They'll come by and help place the body. As much as I love having extra help to lift and lower for shim placement I don't think they'll have the time for me to agonize over an eighth of an inch here and there
After they go I'll work from there on door gaps. I've seen lift jigs people make to support the cage with a jack. I'll look into that a bit.
Great job and thread! Thanks for sharing!
I too have a "Long Term" 68 convertible frame off project, and many of your pictures look very familiar.
I have door gap issues as well, same deal, the old shims were shot.
I got real frustrated, and ran out of time and money a while back, but will get back at it soon, but the door gap issue is haunting me.
It's awesome to have access. I just finished the fuel pump install. And I test fit the radiator hose. I had to wrestle with it a bit as it sits essentially routes along the frame. I had a 73' when I was younger with a small block and had access issues and remember simple jobs were trickier.
The video was great. It is nice to be able to round up a bunch of people to help. The car looks good sitting back on the frame. Back in the garage and ready for the next step. Which is ????
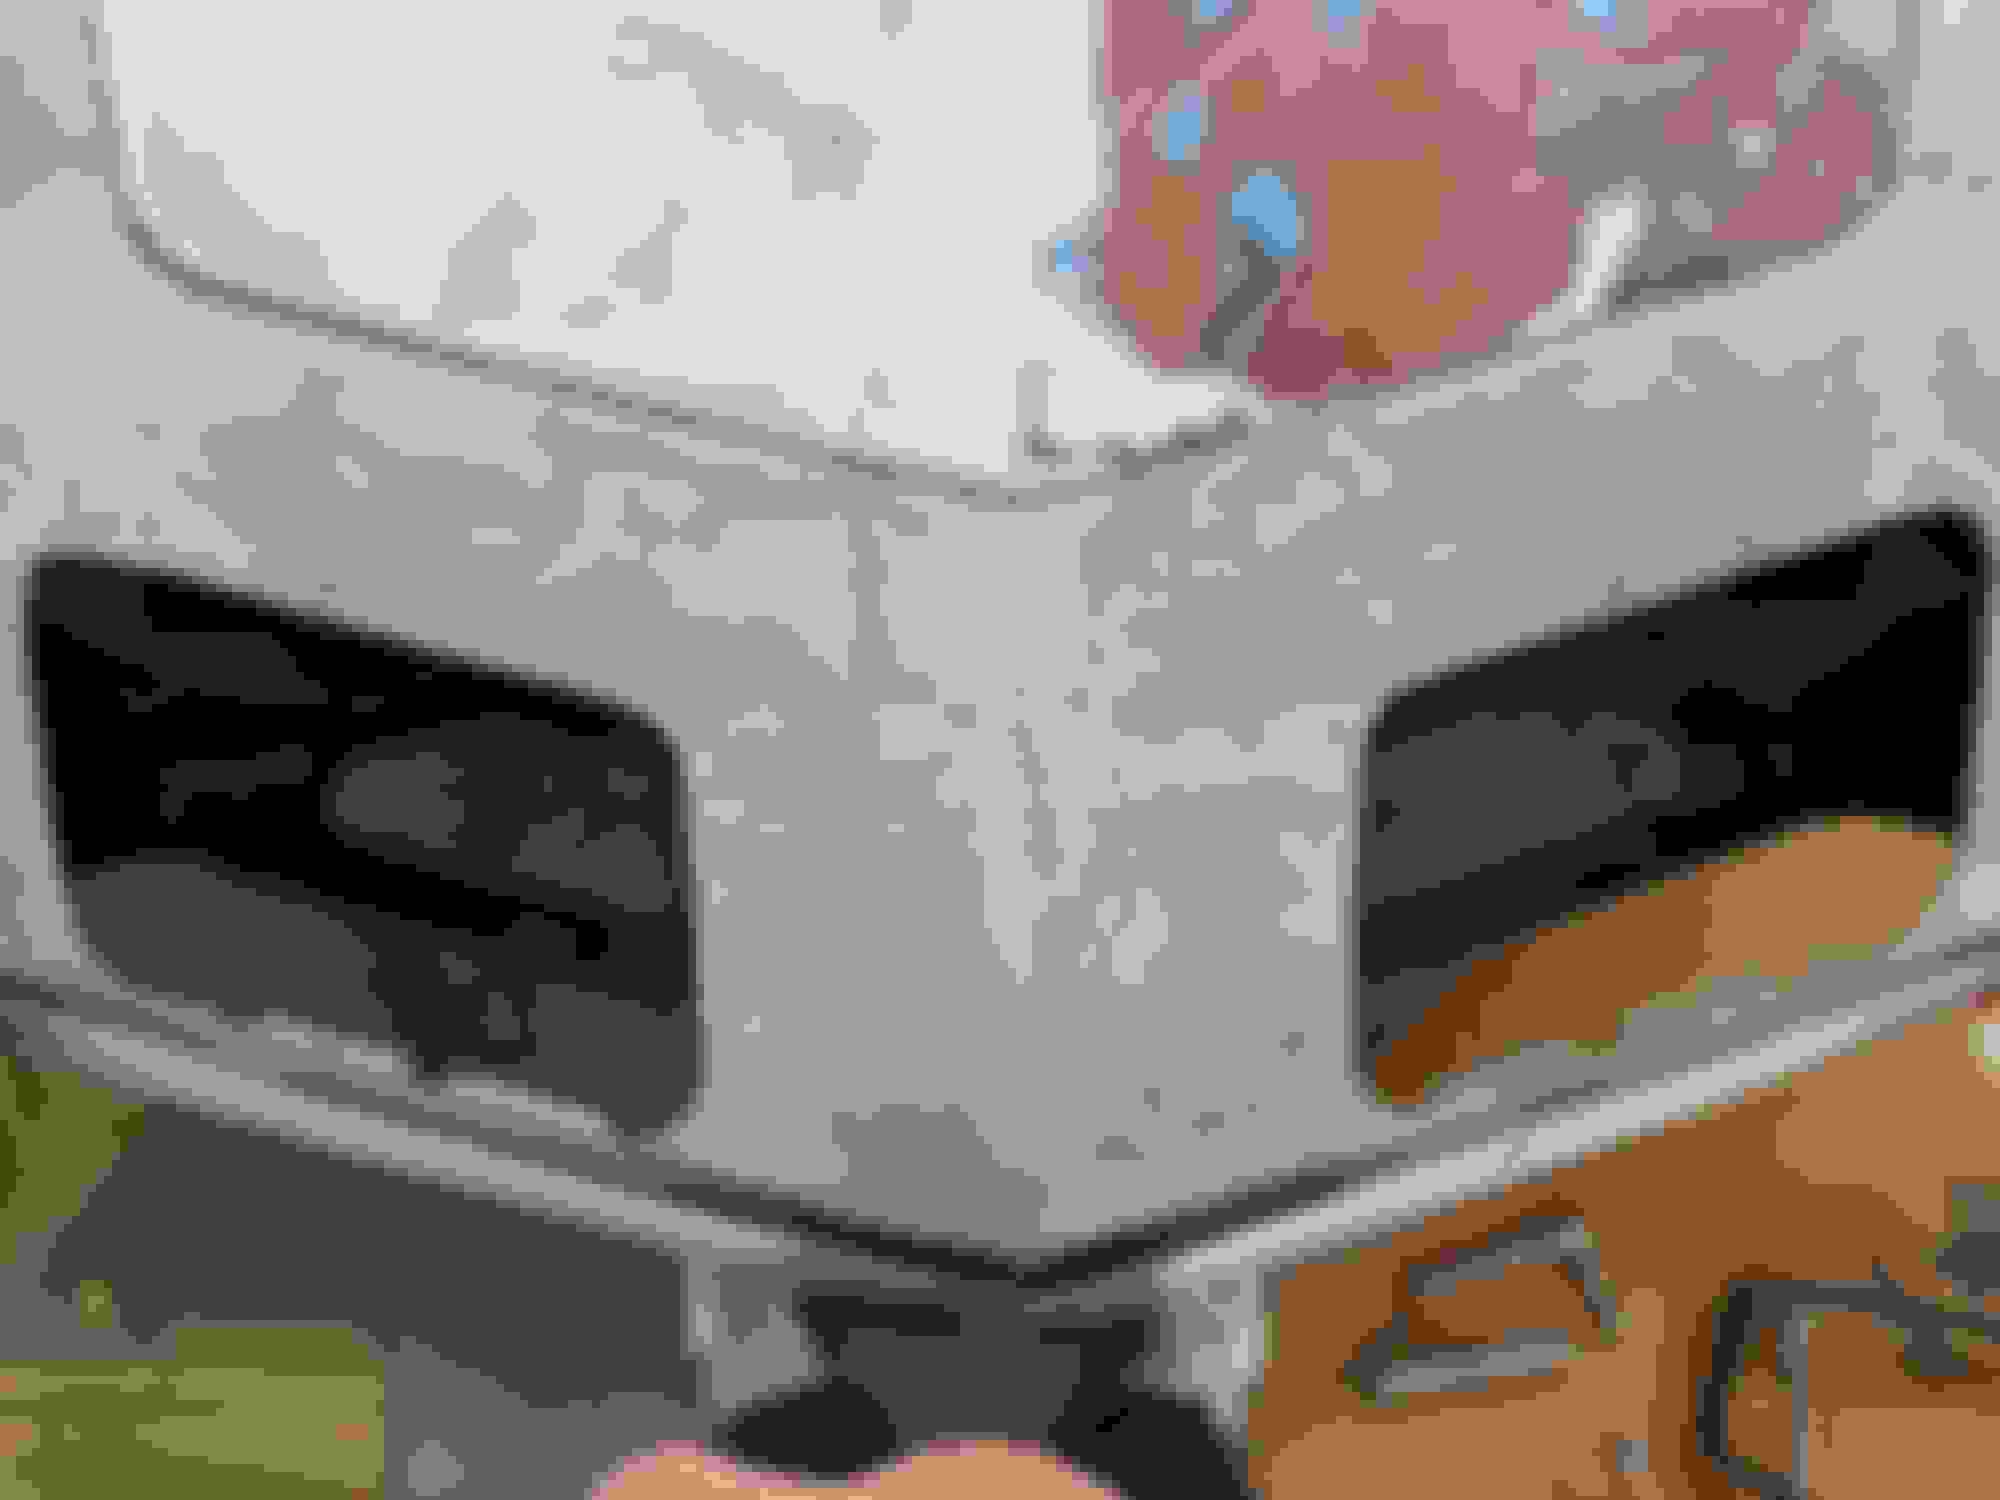
Ahhhhh.....good old fiberglass! It seems to be 1/2" short on the passenger-side. After the body is shimmed and bolted to the frame you may have to "build up" the "short areas" on the nose to have a "square nose".
I also had to cover the jaws of my bench vice with 1/2" thick soft wooden slats to keep from scratching/denting my front bumper as I "tweaked/re-bent" it to match the contour of the fiberglass lip on the nose of the car once the fiberglass repair was complete (rebending is NOT something you really want to, But.....)
Yeah. I'm not really planning on rebending this bumper. I'm going to at least start by getting myself a couple of other bumpers and seeing if one fits the Contour better. But the real issue to me is that nose. I don't want to shape a nose to a bumper when in reality it's bent wrong all toge
I know that the header reinforcement under the nose is not really secured appropriately. It looks like it is coming off from the other side a little bit too. So it will just take some more research and correction I think. But I will be accepting any other feedback from dub of or anyone else of course!
Here's the bumper fitment I got when I got the car 2 years ago. I don't have this original bumper anymore which I know it's stupid. We all make mistakes.
I have encountered this similar issue son Corvettes also.
What many seem to forget or not know is that the front clip can be stretched out. The radiator support is bolts to the front crossmember. The front crossmember is attached to the frame extensions that are bolted to the frame.
Getting the frame extensions and front crossmember set correctly can now possibly allow the radiator support to be pushed to the front.
The front clip, even though it is fiberglass can flex. Mainly at the 12 'o'clock position on the wheel well lip. So even though the radiator support is bolted to the front crossmemeber.. IF you take those 2 bolts out you may find that you can actually pull on the bottom of the radiator support and WATCH the area on the wheel well lip actually go inwards. IF you pushed back on the radiator support...you would see the fender lip bow outwards.
What this is doing is extending the front clip so the gap you have in your front bumper will close up. By how much...it will depend on the slots in the front crossmember that allow the bolts that secure the radiator support to it to be able to be installed.
KEEP IN MIND...that if you think that moving the frame extensions and front crossmember to the front of the car so the bolts can be installed for teh lower radiator support....you will more than likely defeat what you are trying to do. And this is because the 'horseshoe' bracket bolts to the front crossmember. the idea is to keep the horseshoe bracket in one posiitonadn make the front end go to the front.
NOW...if you find that you got the front clip where you need it and all is good BUT the front bumper is still not correct....then expect to do modifying on the horseshoe bracket.
This is NO guarantee that it will fix your issue and you DO want to make sure that when you have it looking good that you ALSO take into account how your hood fits and the clearance between the air cleaner lid and the hood when the hood is shut.
I also can say that due to previous body damage and what-have-you....I have had to cut and modify ( shorten or lengthen) the 'horseshoe' bracket to get it to work correctly with the center mount area for the front bumper.
And...this should be left unstated...but... when the body has been removed...and it is put back on the frame...making 100% sure that the body is square to the frame using the index holes GM provides is a MUST. IF the body is NOT correctly on the frame...it will telegraph out and make all those other parts that attach to the body NOW possibly become a ROYAL PAIN and a problem.

 02-11-2018, 07:20 PM