When you click on links to various merchants on this site and make a purchase, this can result in this site earning a commission. Affiliate programs and affiliations include, but are not limited to, the eBay Partner Network.
The underside of the hood was one of the last areas of embarrassment that I have managed to ignore for a long time. When the car was repainted (at some point in it's life) they must have not removed some contaminant and it was just a sea of fish eyes (pun intended) and anyone who went near it after that just kept adding paint. including over the weatherstrip
You get the idea, great work on the top, crap on the inside but hey it was a long time ago and the price was right
Carefully stripped everything down
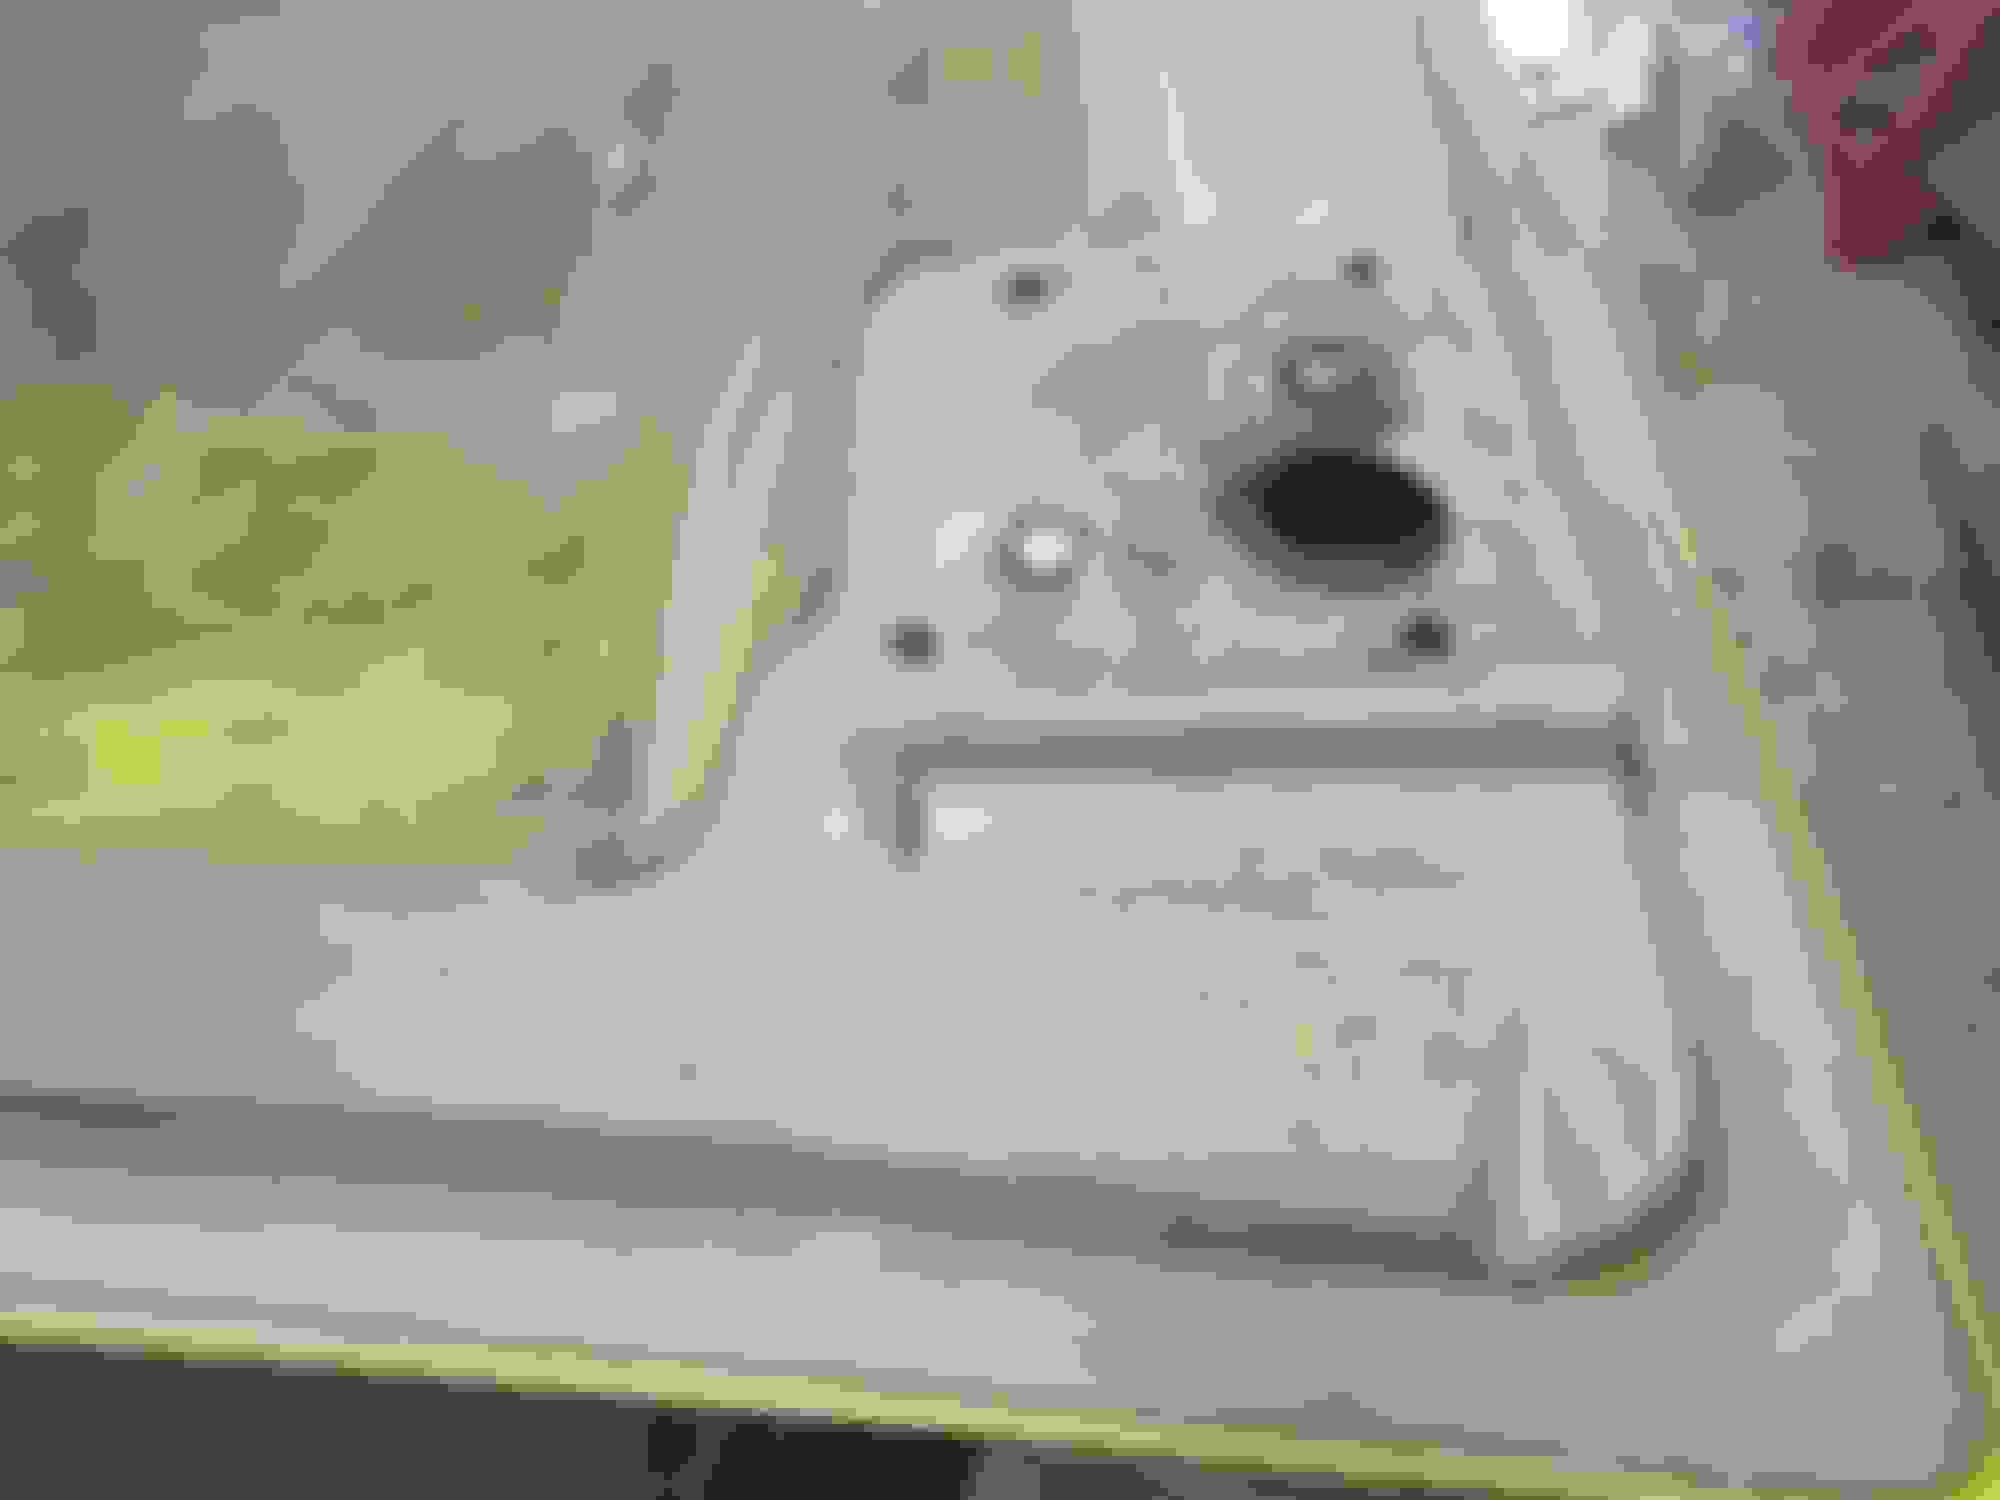
Cleaned it down to either glass or paint that was smooth and stuck well, wiped over and over again with various chemicals to remove any traces of oil/antifreeze/whatever might have been in there
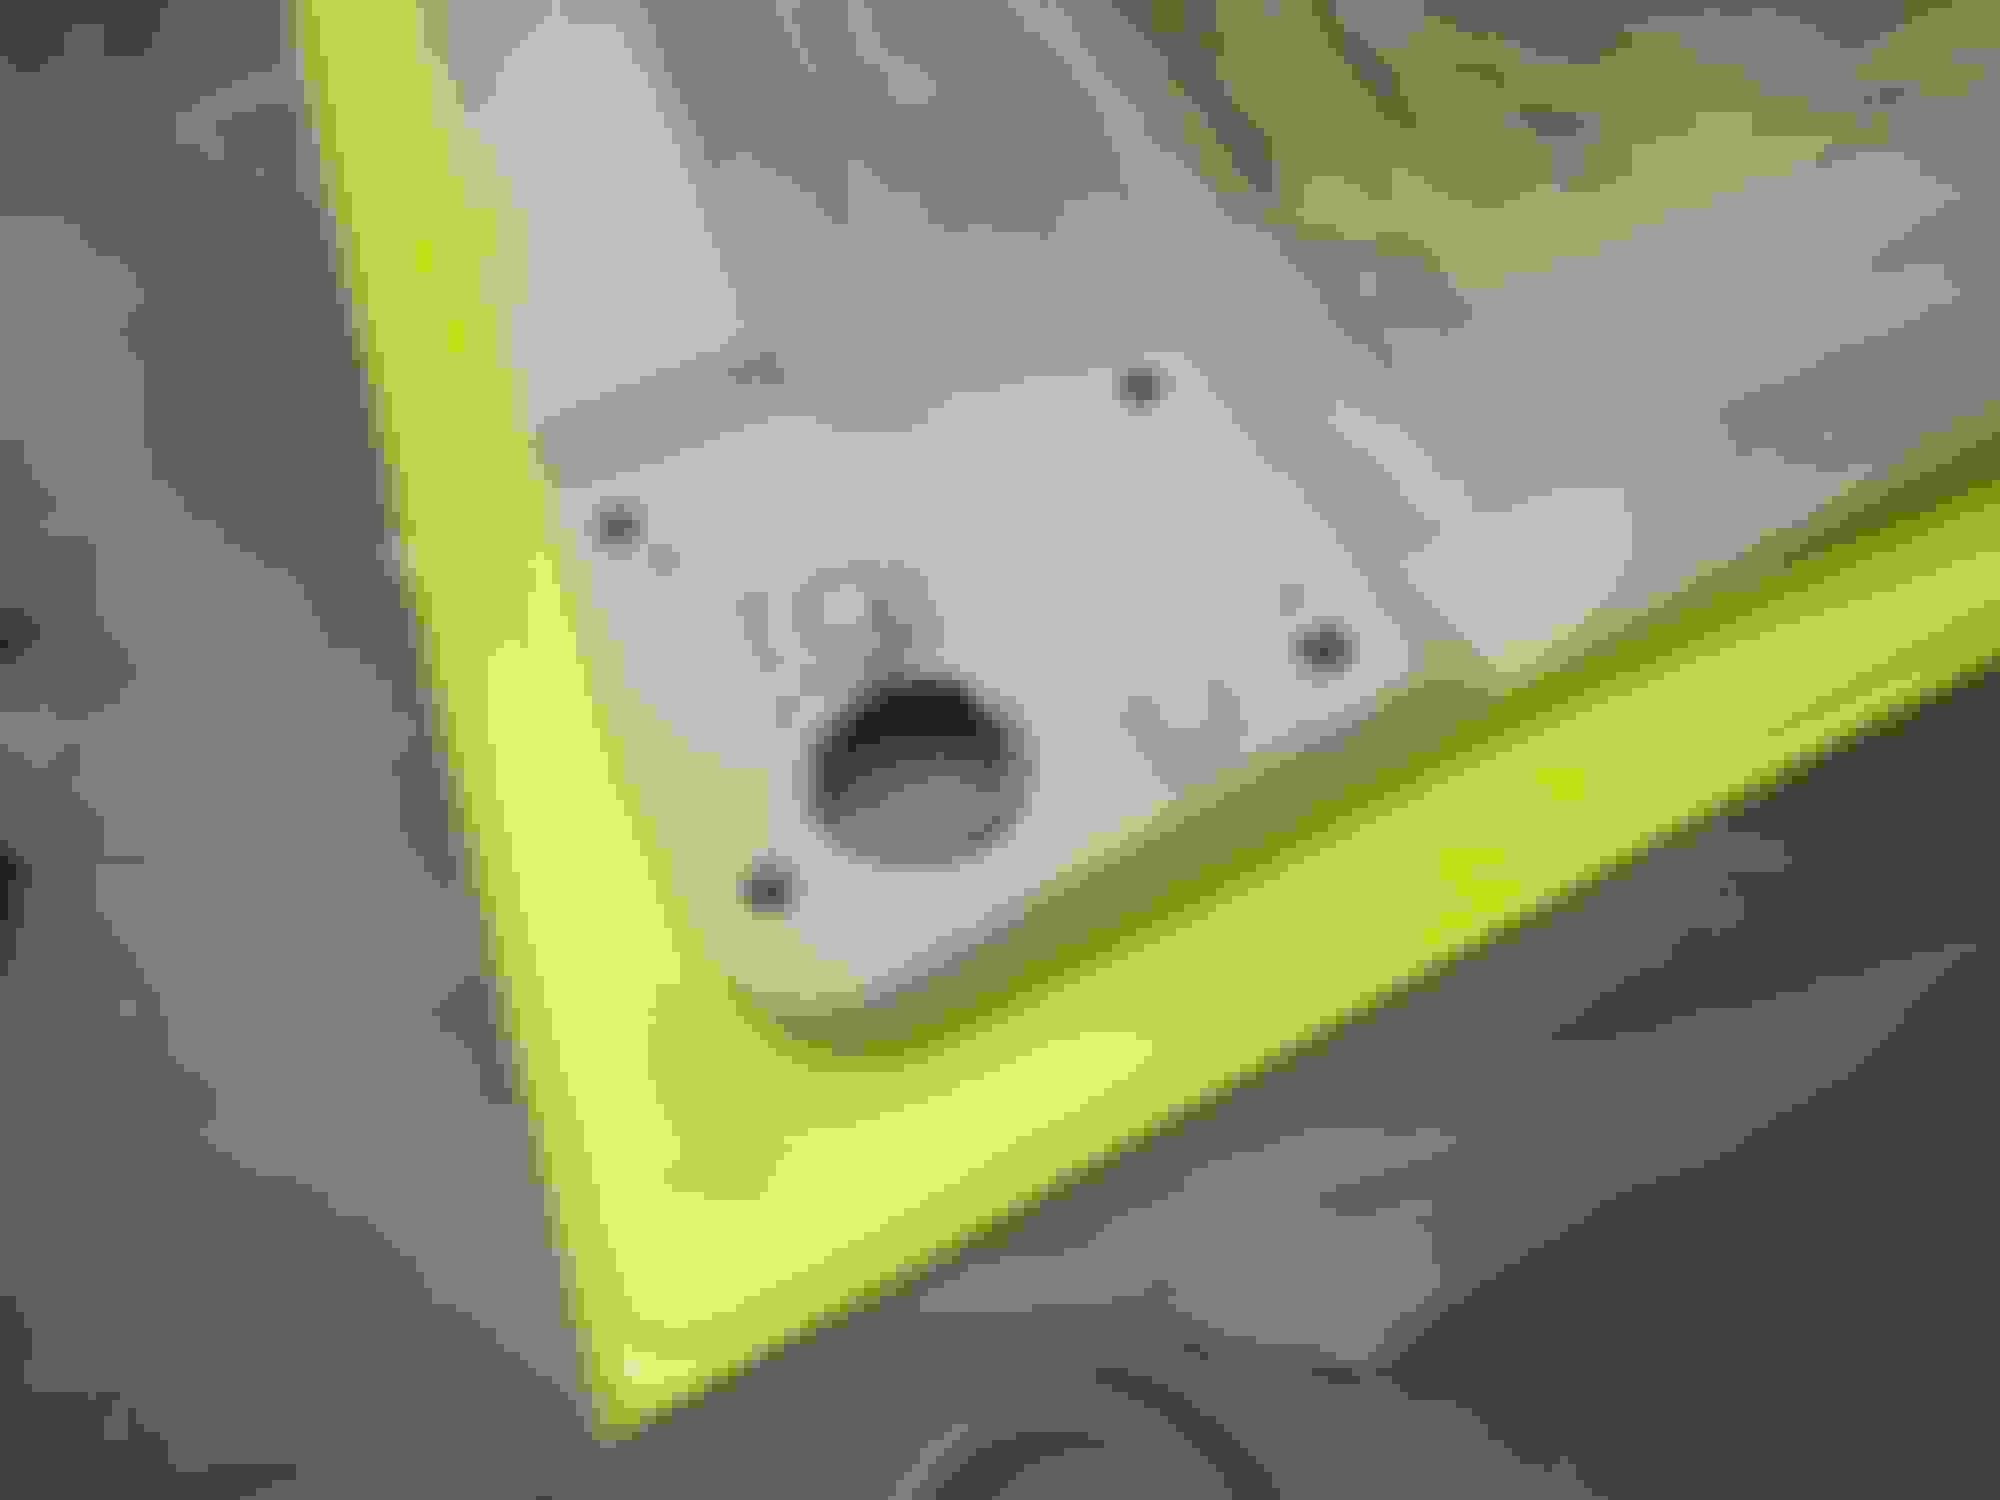
Primed the outer areas and blew in touch-up paint and cleared
Masked in about 1/4" (to the inner and outer joint) scuffed and primed the next area and shot in Blitz Black
Pulled the tape and
I bought some firewall liner way back when (RIP Gonzo) which was cut a few inched oversized since I have the BB/LT1 hood and the precut ones didn't bridge the gaps well.
With the help of one of my brothers, slit and fit it around the two "vents" in the hood and they glued it all down and trimmed it to fit inside the structure of the inner hood
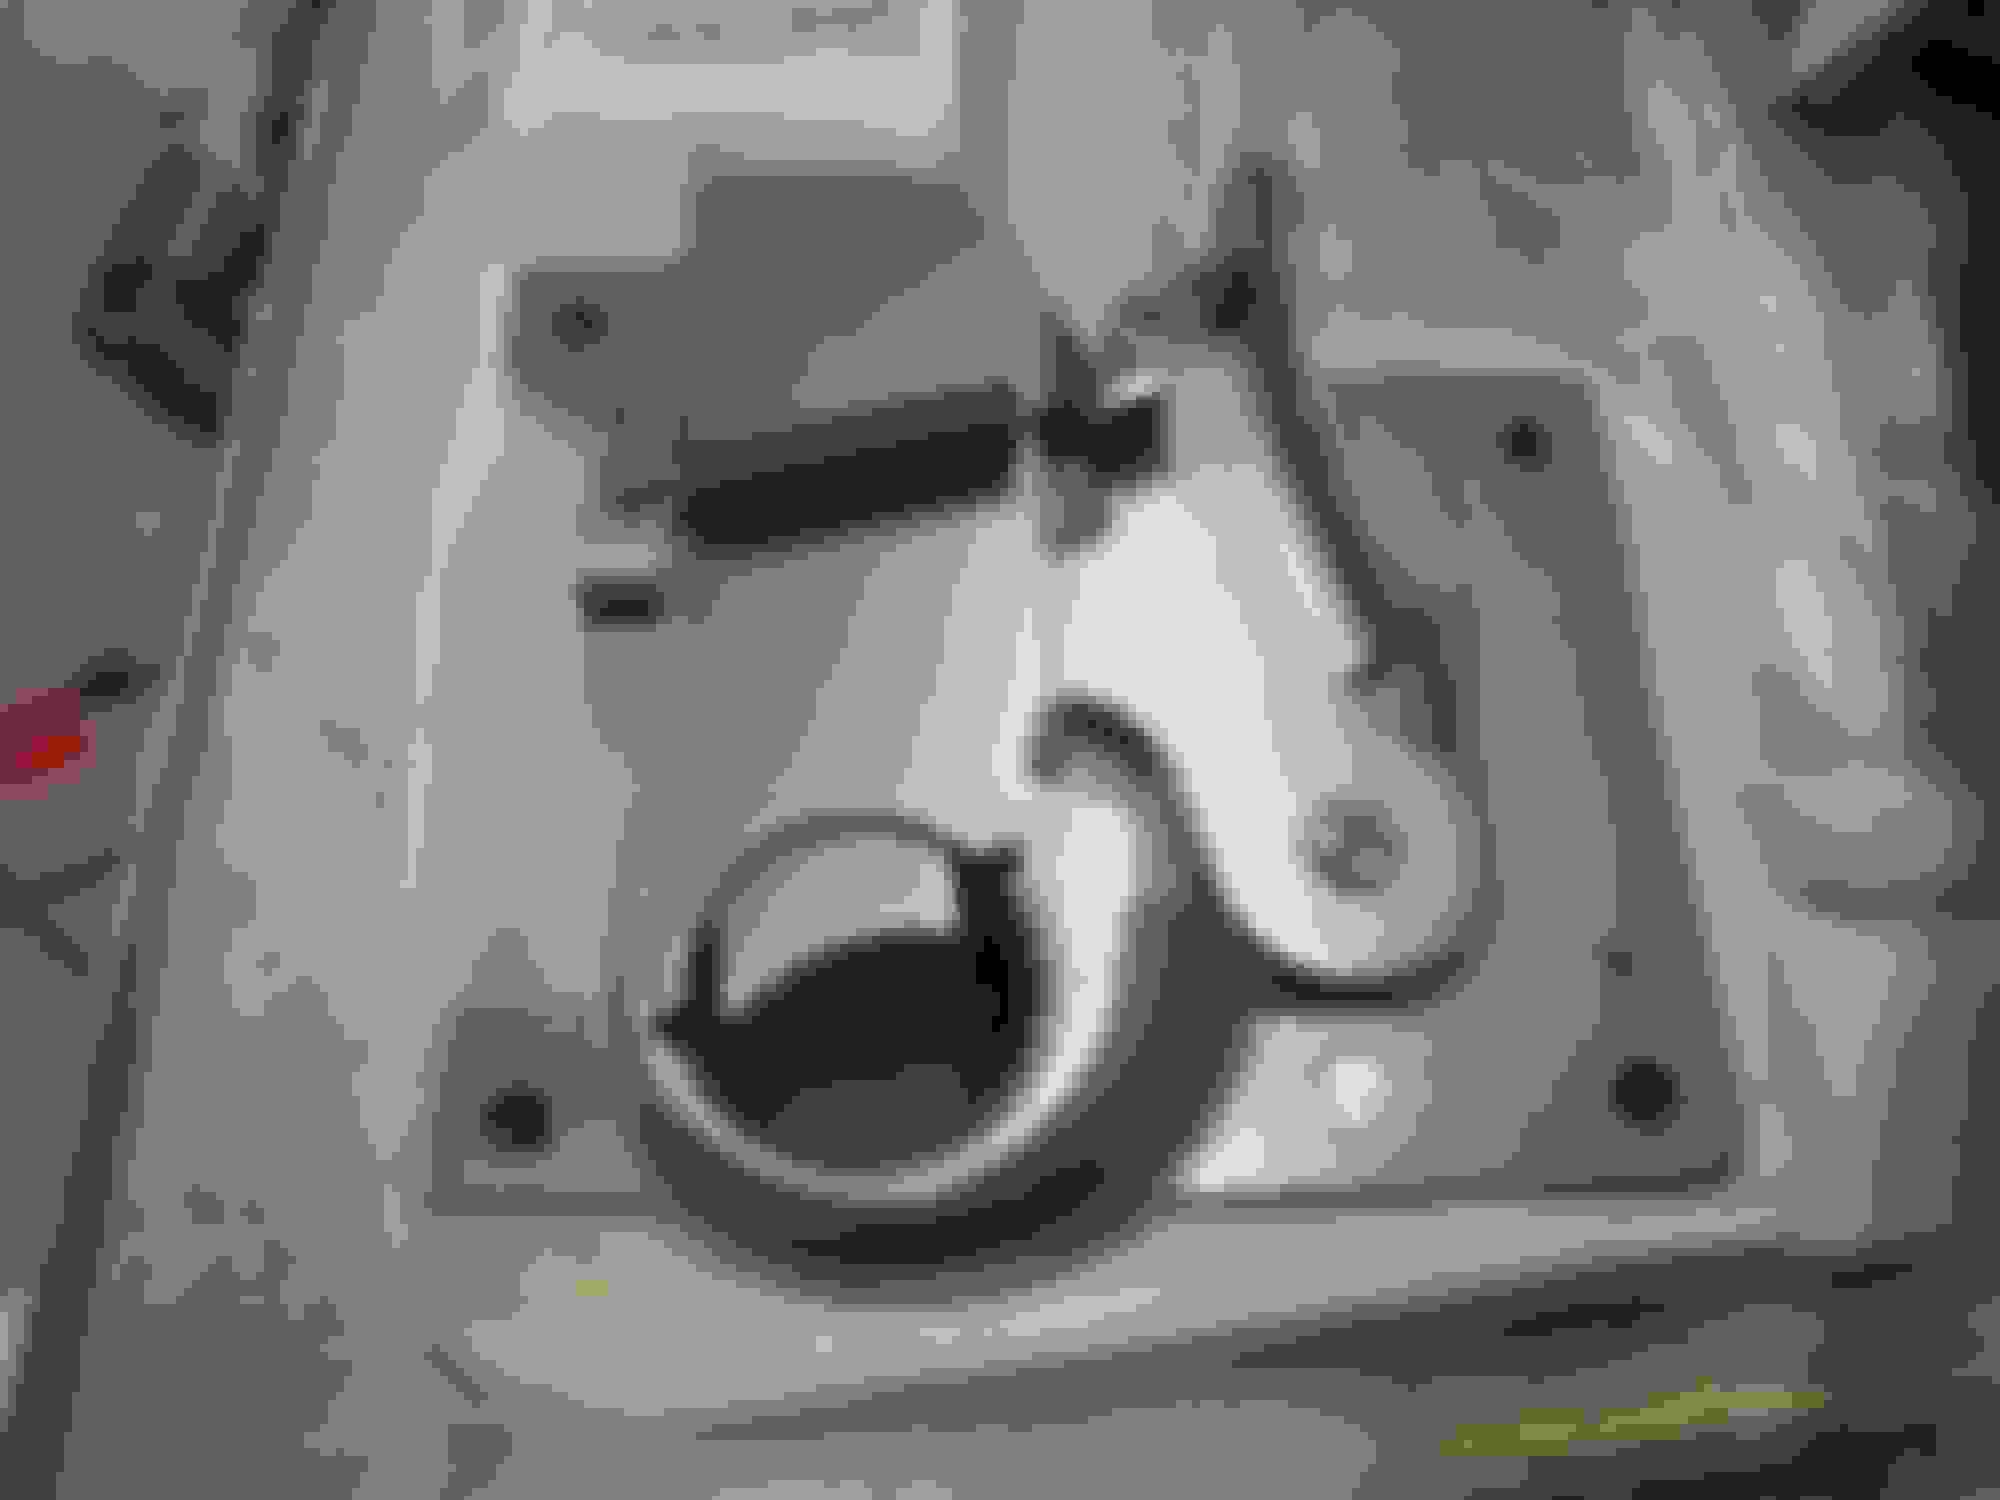
In between stripping and sanding, I cleaned and powder coated the latches, hardware etc.
Installed the emblems through the foam
Installed the hood back onto the car (hopefully it can stay there this time) The circular mark is just a reflection from the breather lid and camera flash
Even got to try my hood-prop lock (not as much of an issue on the post 71 style latch but hey I need some tacky bits for cruise nights and stuffed animals on the air-breather is too much even for me)
The foam on the rad cradle goes snug to the new hood foam. I can't tell that it's affecting the fit or not yet as everything is still fresh but if it's too tight I'll have to trim the top of the rad cradle foam a little. So far I think it'll be fine
Still need to clean up some of the chalk marks from layout but that can wait for now
Another step closer
M
Last edited by Mooser; 11-25-2017 at 06:57 PM.
Reason: fix photobucket mess
The underside of the hood was one of the last areas of embarrassment that I have managed to ignore for a long time. When the car was repainted (at some point in it's life) they must have not removed some contaminant and it was just a sea of fish eyes (pun intended) and anyone who went near it after that just kept adding paint. including over the weatherstrip
You get the idea, great work on the top, crap on the inside but hey it was a long time ago and the price was right
Carefully stripped everything down
Cleaned it down to either glass or paint that was smooth and stuck well, wiped over and over again with various chemicals to remove any traces of oil/antifreeze/whatever might have been in there
Primed the outer areas and blew in touch-up paint and cleared
Masked in about 1/4" (to the inner and outer joint) scuffed and primed the next area and shot in Blitz Black
Pulled the tape and
I bought some firewall liner way back when (RIP Gonzo) which was cut a few inched oversized since I have the BB/LT1 hood and the precut ones didn't bridge the gaps well.
With the help of one of my brothers, slit and fit it around the two "vents" in the hood and they glued it all down and trimmed it to fit inside the structure of the inner hood
Powder coated the latches, hardware etc.
Installed the emblems through the foam
Installed the hood back onto the car (hopefully it can stay there this time) The circular mark is just a reflection from the breather lid and camera flash
Even got to try my hood-prop lock (not as much of an issue on the post 71 style latch but hey I need some tacky bits for cruise nights and stuffed animals on the air-breather is too much even for me)
The foam on the rad cradle goes snug to the new hood foam. I can't tell that it's affecting the fit or not yet as everything is still fresh but if it's too tight I'll have to trim the top of the rad cradle foam a little. So far I think it'll be fine
Still need to clean up some of the chalk marks from layout but that can wait for now
real nice,whats the foam?,and those look like BBC valve covers?,if so what are they?
The material was a Aircraft firewall foam, about 1/4" thick heat and fire resistant, that used to be available online. The guy I got it from has passed away but I'm sure if you look around someone must be selling the same stuff.
Those are BB covers from PML via corvette central
Not cheap but I liked the look
M
Last edited by Mooser; 11-25-2017 at 06:59 PM.
Reason: fix photobucket mess
Mooser - that is indeed gorgeous! So this 1/4" stuff does a good job on reducing cabin heat? Fairly easy to work with? What did you secure it with (glue?) How many feet of material did you use and is it pretty pricey? Looks like really good stuff. Could this be used on the under (exposed) side of the floorpan? Sorry for all the questions but that really perked my interest!
Mooser - that is indeed gorgeous! So this 1/4" stuff does a good job on reducing cabin heat? Fairly easy to work with? What did you secure it with (glue?) How many feet of material did you use and is it pretty pricey? Looks like really good stuff. Could this be used on the under (exposed) side of the floorpan? Sorry for all the questions but that really perked my interest!
The material is closed-cell vinyl nitrile (Actually Polyvinyl Chloride Nitrile Butadiene Rubber) primarily used for sound deadening and secondarily for heat isolation. Doesn't absorb water, chemical resistant to most things, self-extinguishing, etc.
Very easy to work with, cuts with sharp knife or scissors, some stretch to it for following shapes etc.
Glued on with 3M #80 spray adhesive for Rubber and Vinyl
The guy I got it from is no longer around (literally) but places like the foam factory should carry it in sheets.
Price.... well price is relative. There are cheaper things out there but at the time this was about $80
M
I too have one of the last liners from Gonzo, still in a box. I got it right before he tool sick and couldn't work anymore. I'll install it when I am positive I wont need to remove it ever again.
I too have one of the last liners from Gonzo, still in a box. I got it right before he tool sick and couldn't work anymore. I'll install it when I am positive I wont need to remove it ever again.
Ken
Ken, what kind of liner did you get? I have been looking for them for my 74
Thanks
Larry
Sorry it took so long, I have not taken it out of the box.
It is supposed to look like this (see DEEMSQ's hood liner).
I had him do a Blue stingray script for the bottom.
The material is closed-cell vinyl nitrile (Actually Polyvinyl Chloride Nitrile Butadiene Rubber) primarily used for sound deadening and secondarily for heat isolation. Doesn't absorb water, chemical resistant to most things, self-extinguishing, etc.
Very easy to work with, cuts with sharp knife or scissors, some stretch to it for following shapes etc.
Glued on with 3M #80 spray adhesive for Rubber and Vinyl
The guy I got it from is no longer around (literally) but places like the foam factory should carry it in sheets.
Price.... well price is relative. There are cheaper things out there but at the time this was about $80
M
Originally Posted by 74Ken
I too have one of the last liners from Gonzo, still in a box. I got it right before he tool sick and couldn't work anymore. I'll install it when I am positive I wont need to remove it ever again.
Ken
Just found out today that Gonzo's daughter Nicole Duque is making the hood liners now. Good to see that someone picked up the business after he passed away. great product
M

 08-05-2016, 06:12 PM