
Plastic Fantastic tew

 and finish my plasma/laser table.
 08-22-2018, 12:33 AM
#182
Melting Slicks

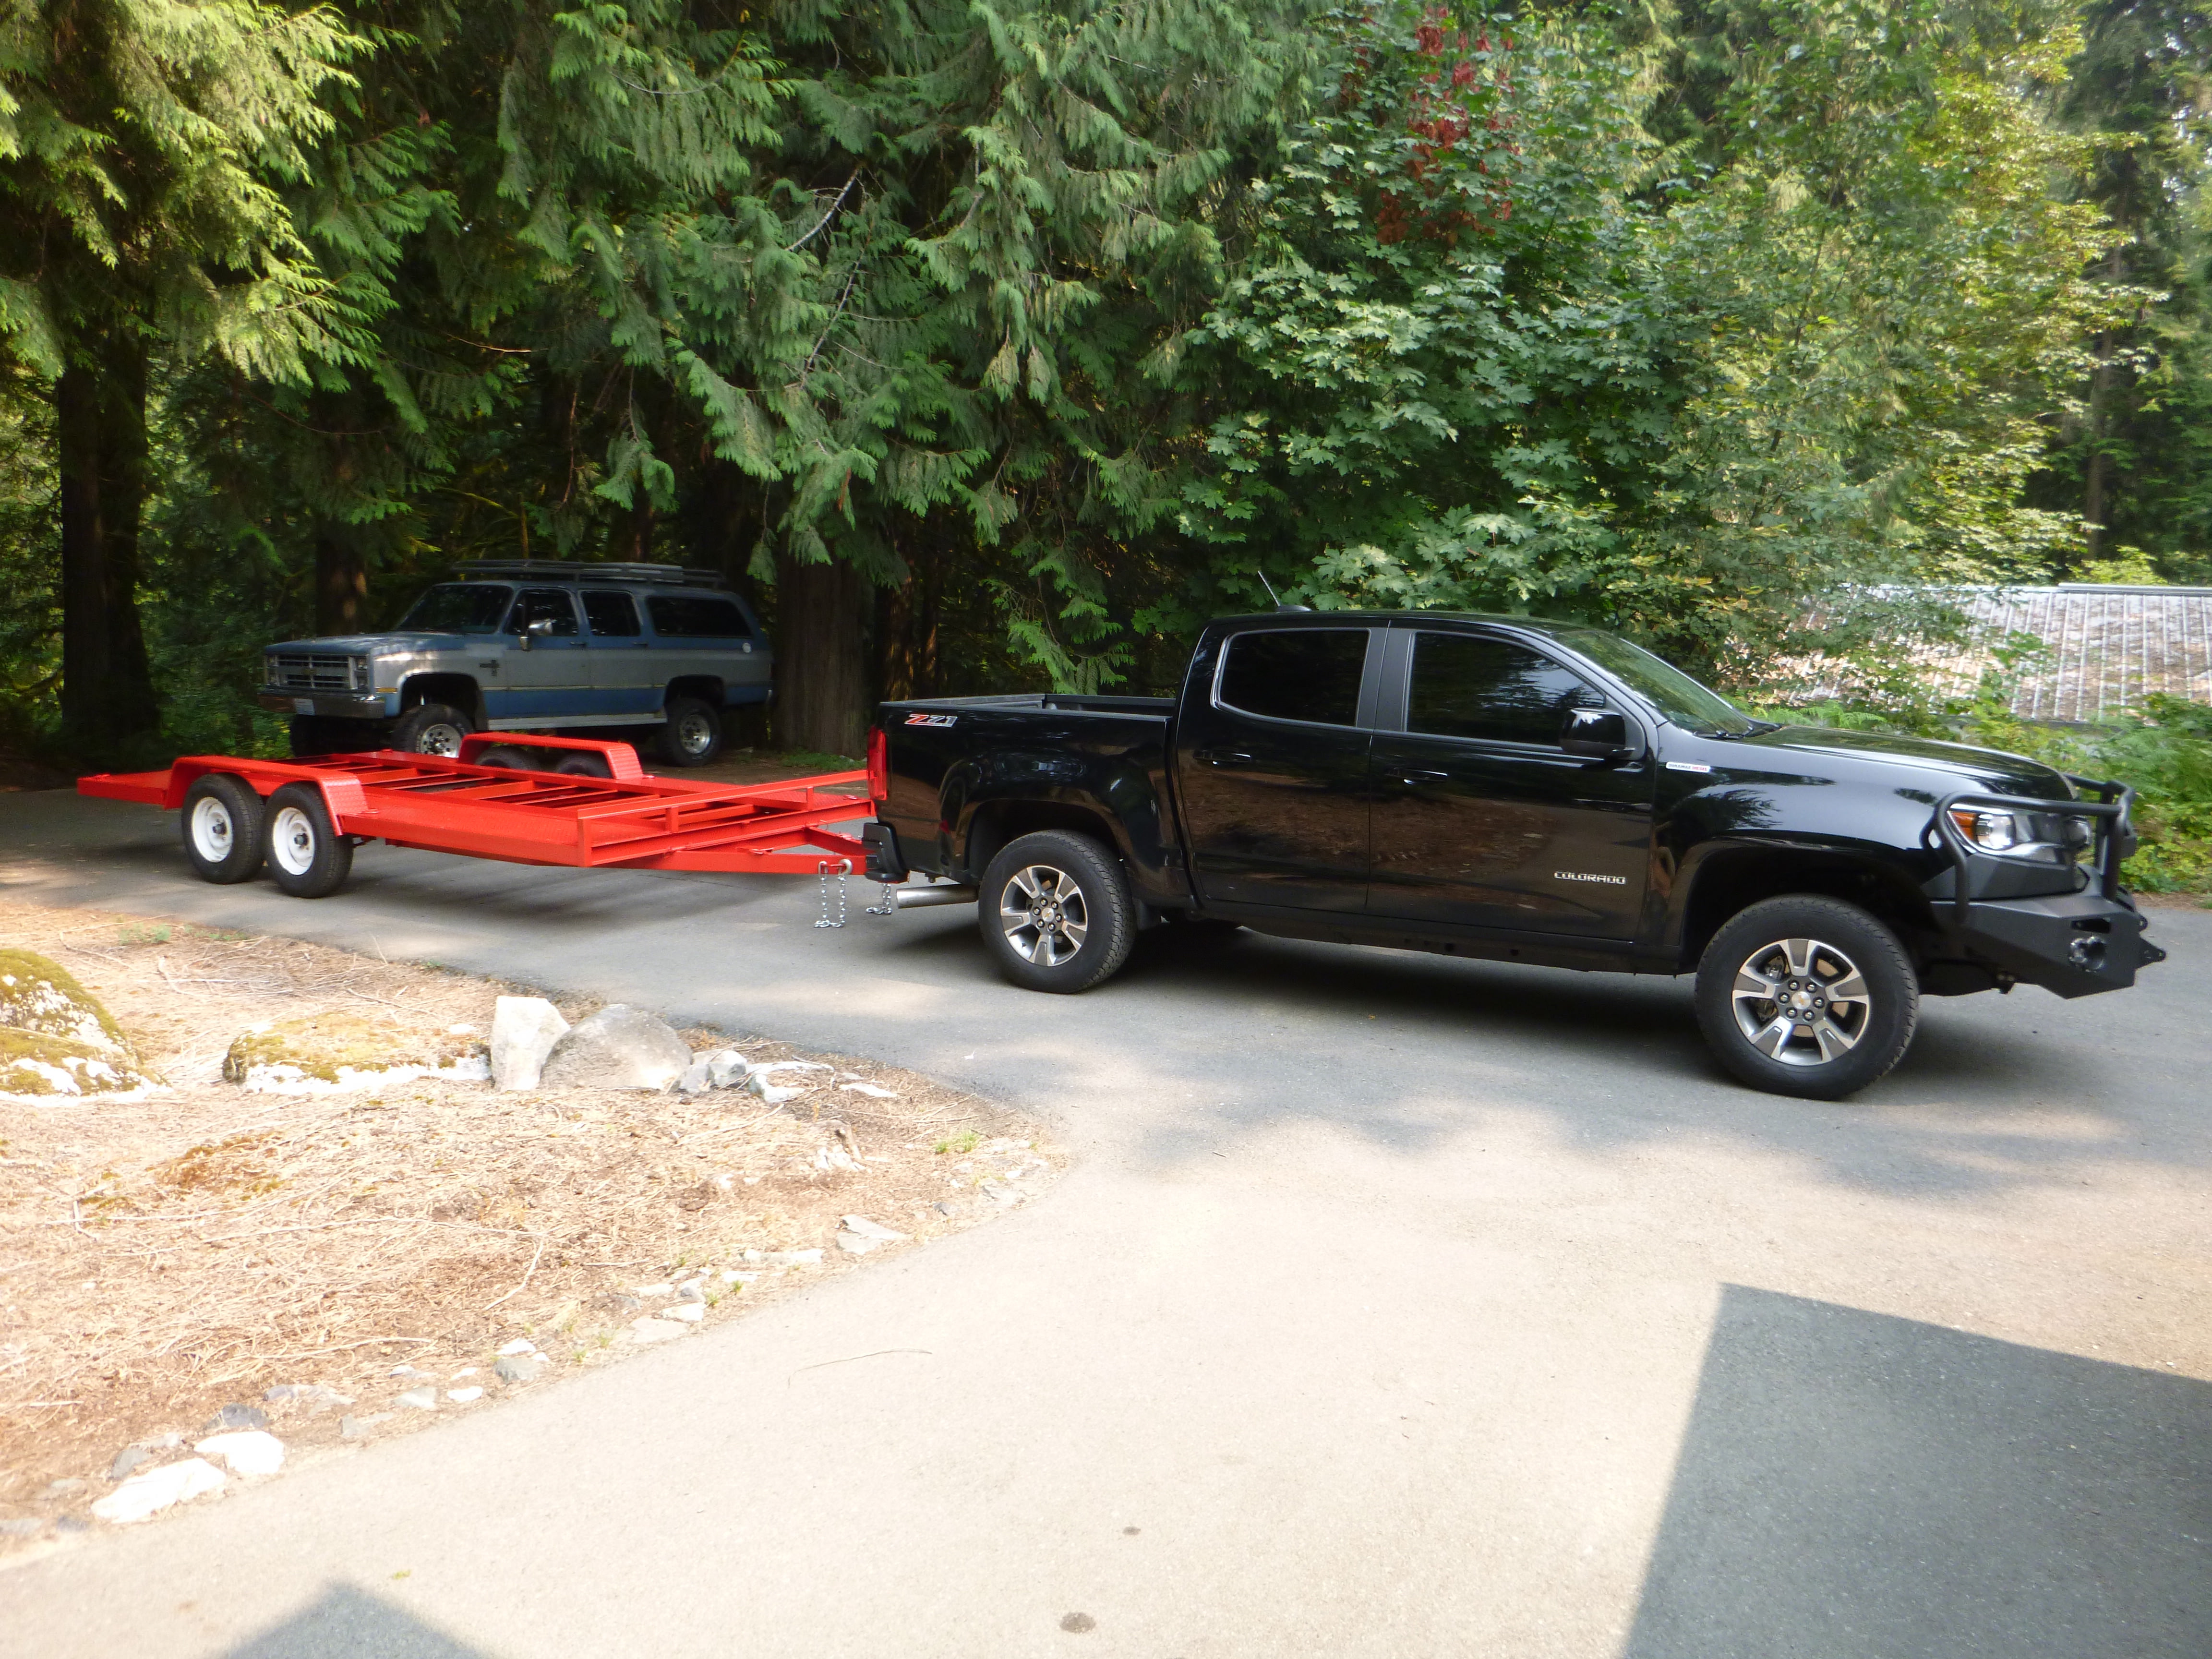
the trailer that has been distracting me from important Corvette building....
I'm going to start this thing. I know it's kind of silly to do it but I want to hear it and I do have a concern about the deck finish and the cometic gaskets.... you know that story about 'it should be fine'? yeah... I want it to run in unfinished form so when I pull it down to the frame to make it pretty, I won't be revisiting this (and still I plan to drive this for the 2019 Colby Cruise....)
In that vein, spaghetti... errr... wiring
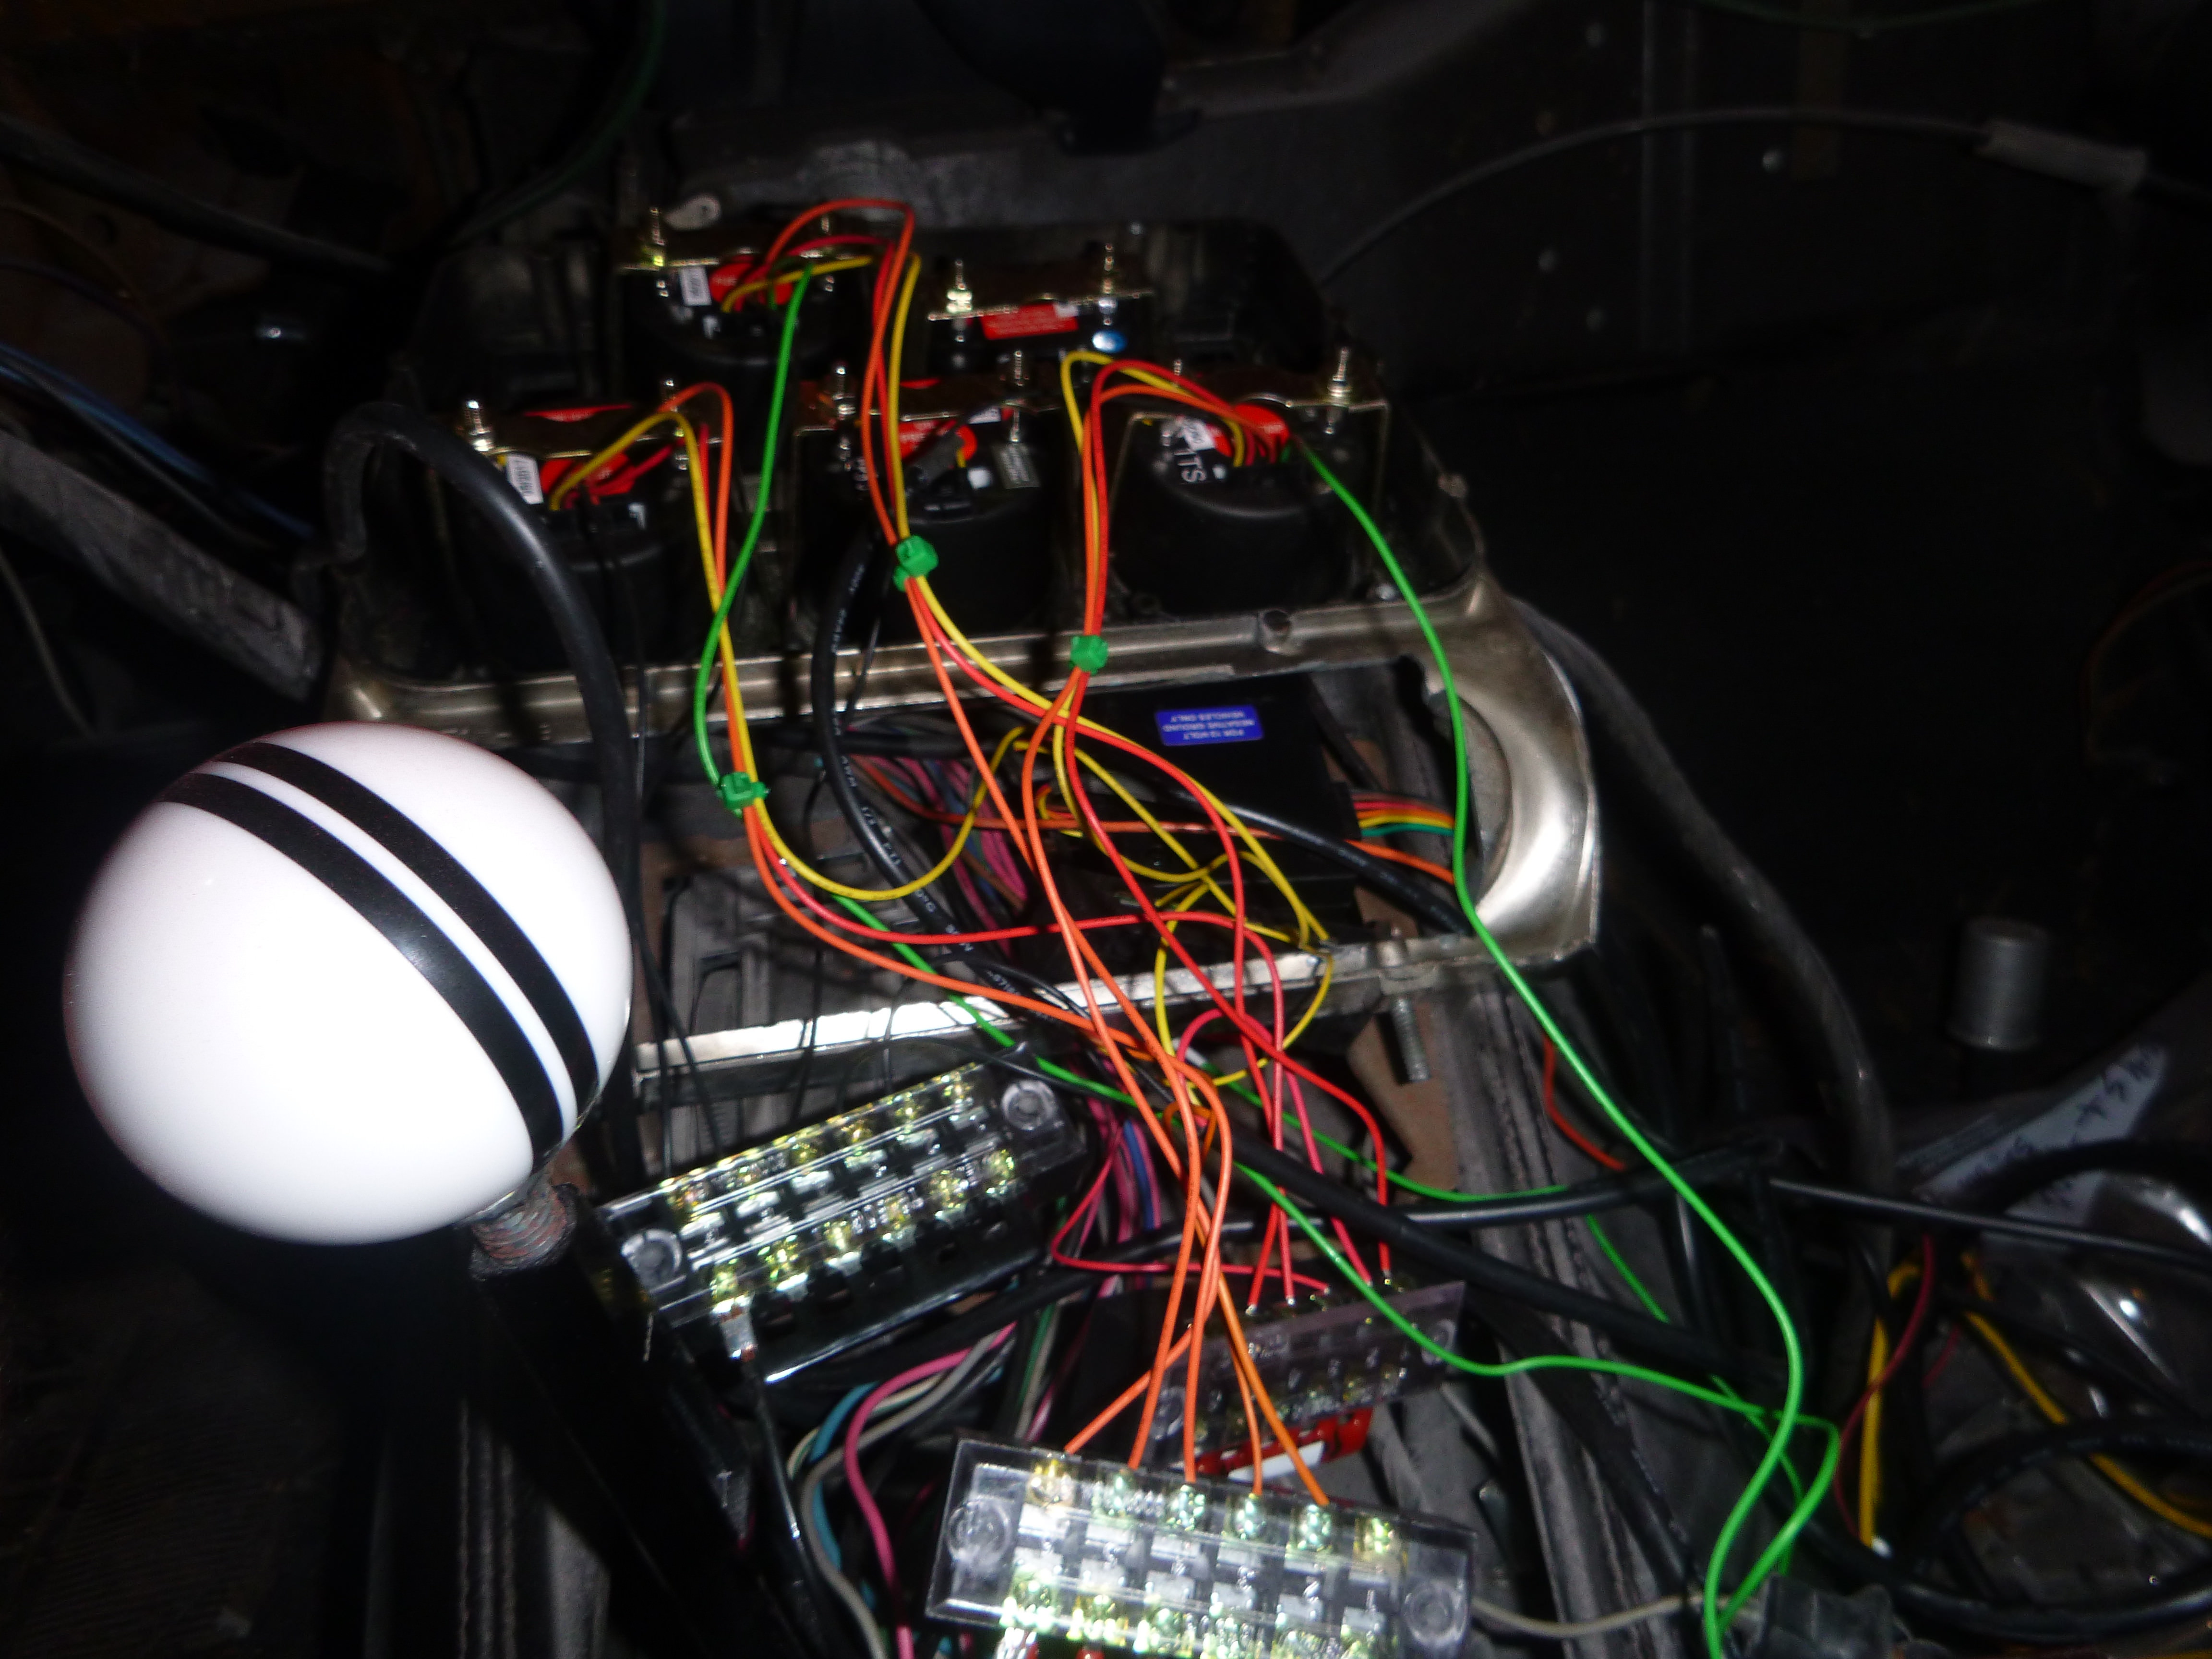
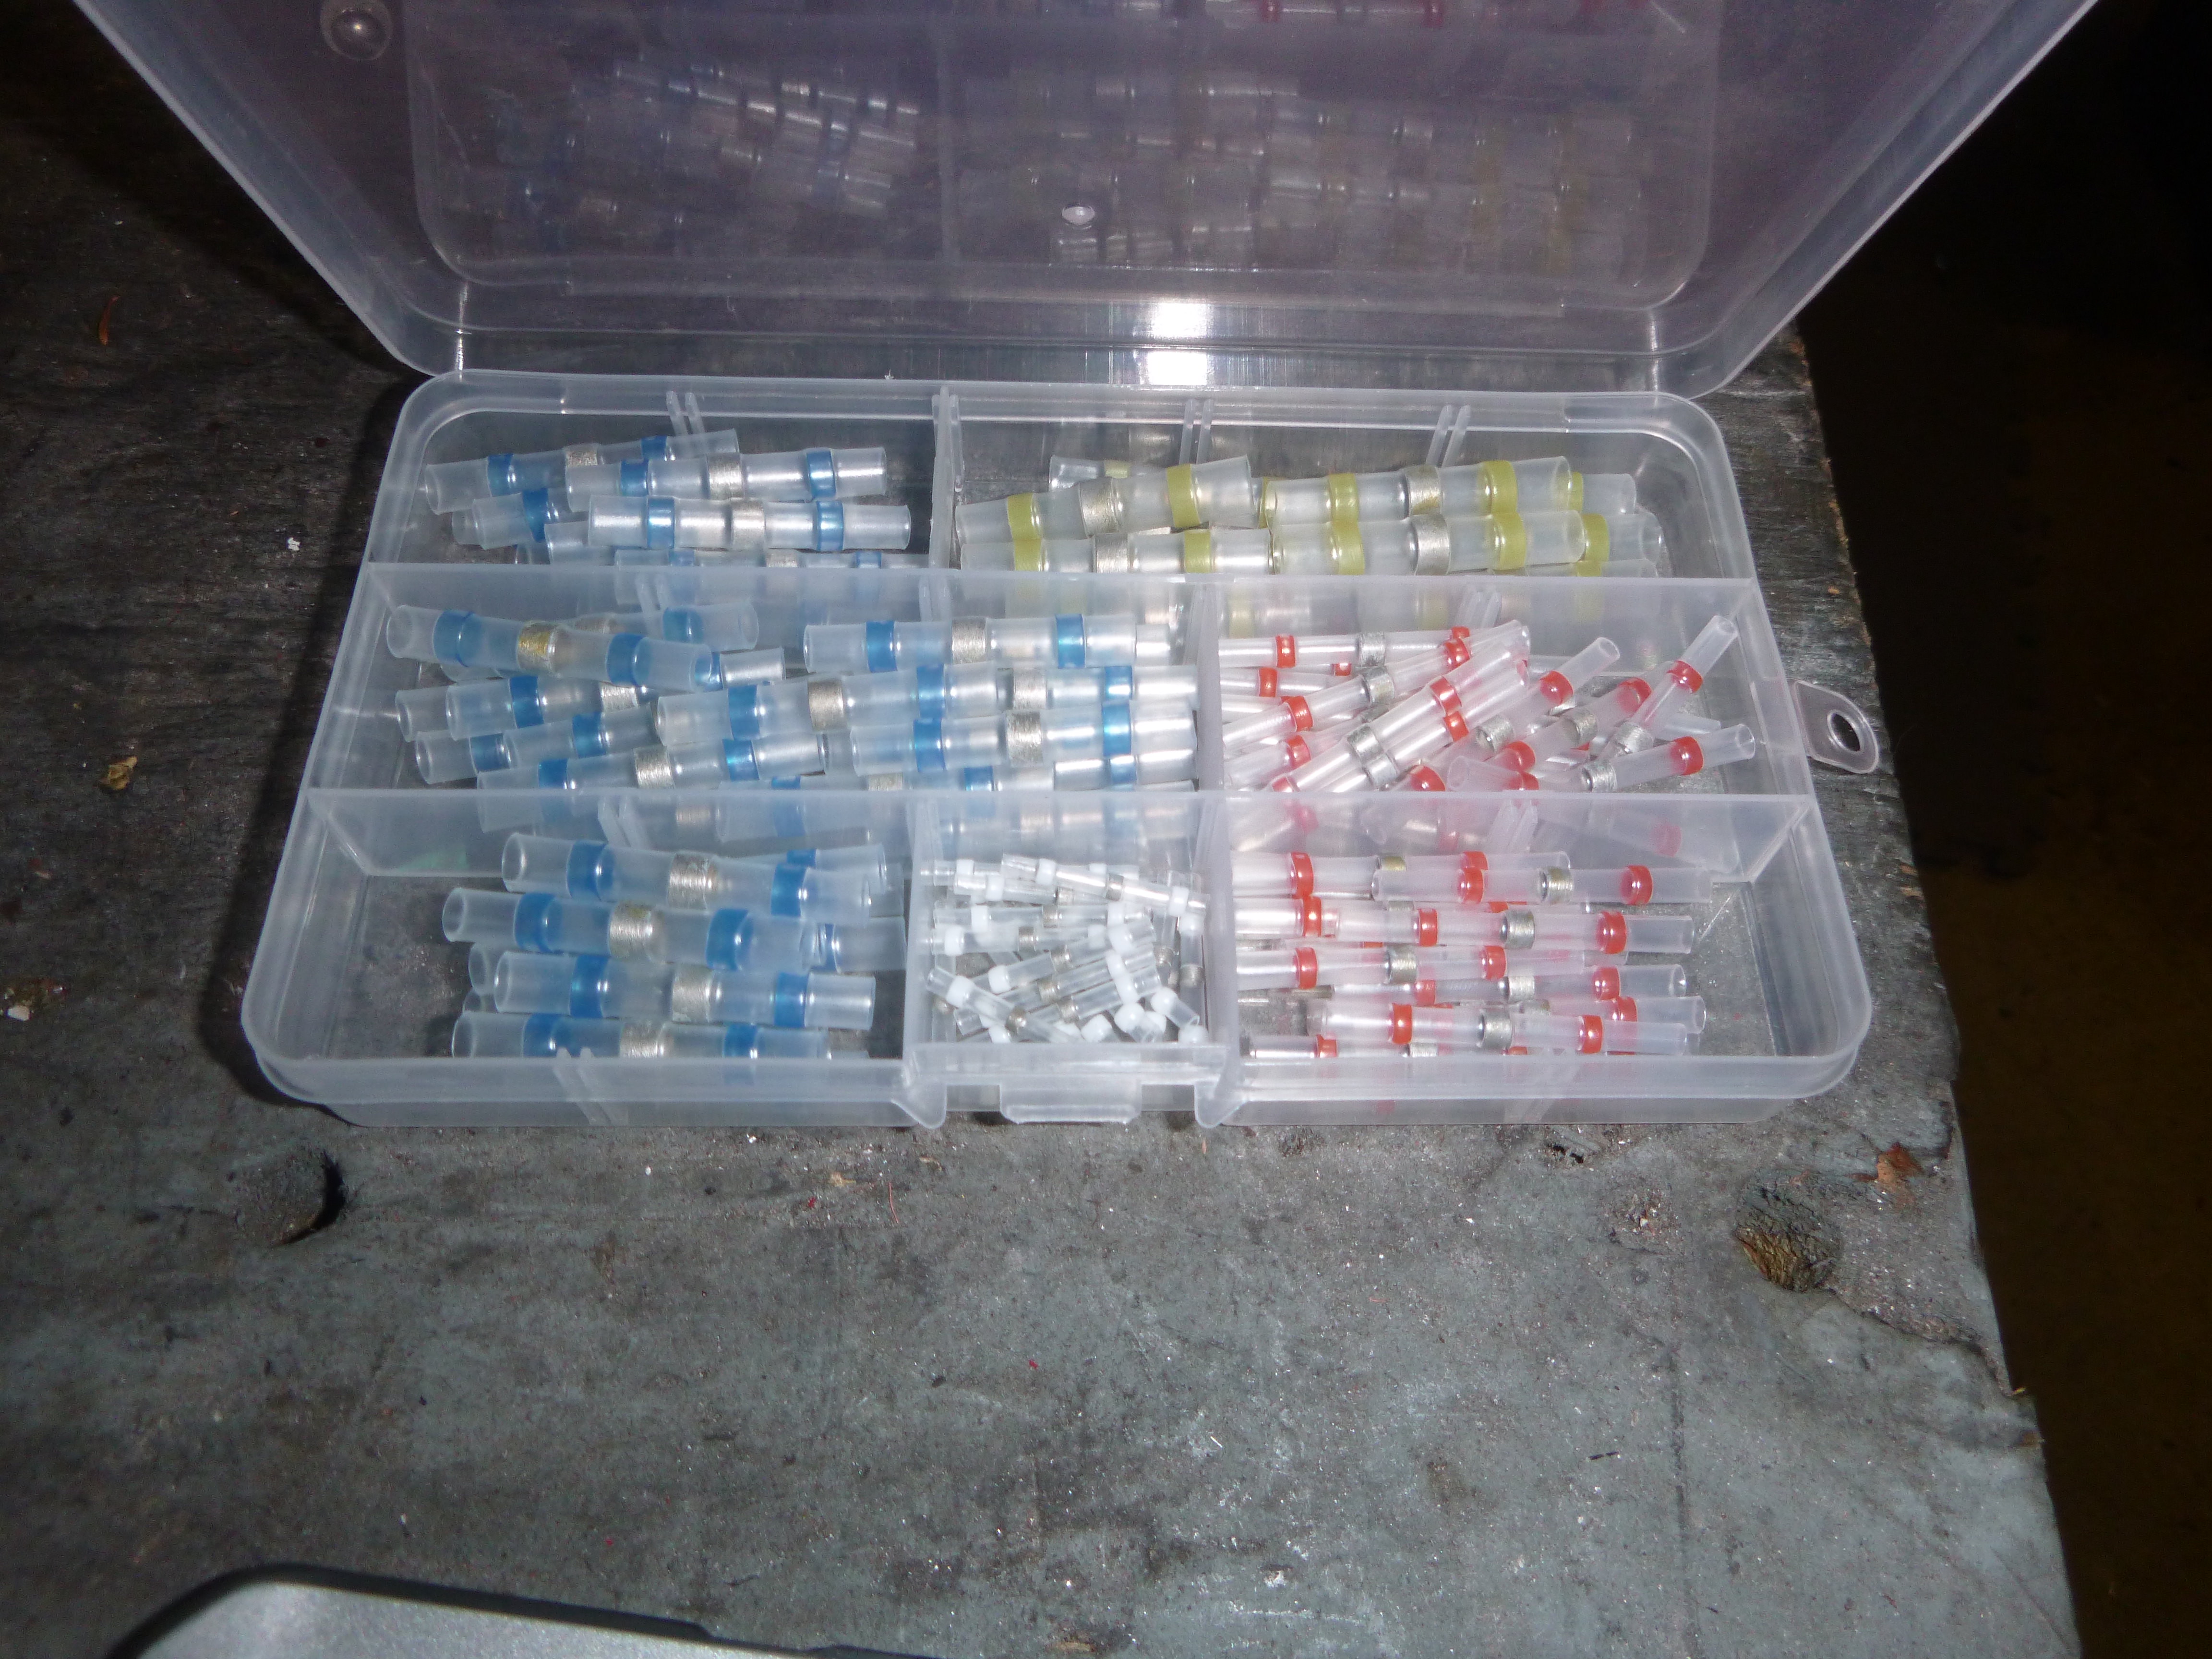
I tried these butt connectors out - I dunno if I recommend them or not (longevity is unknown) but I do like how simple it is to put to wires together with just heat and no crimping

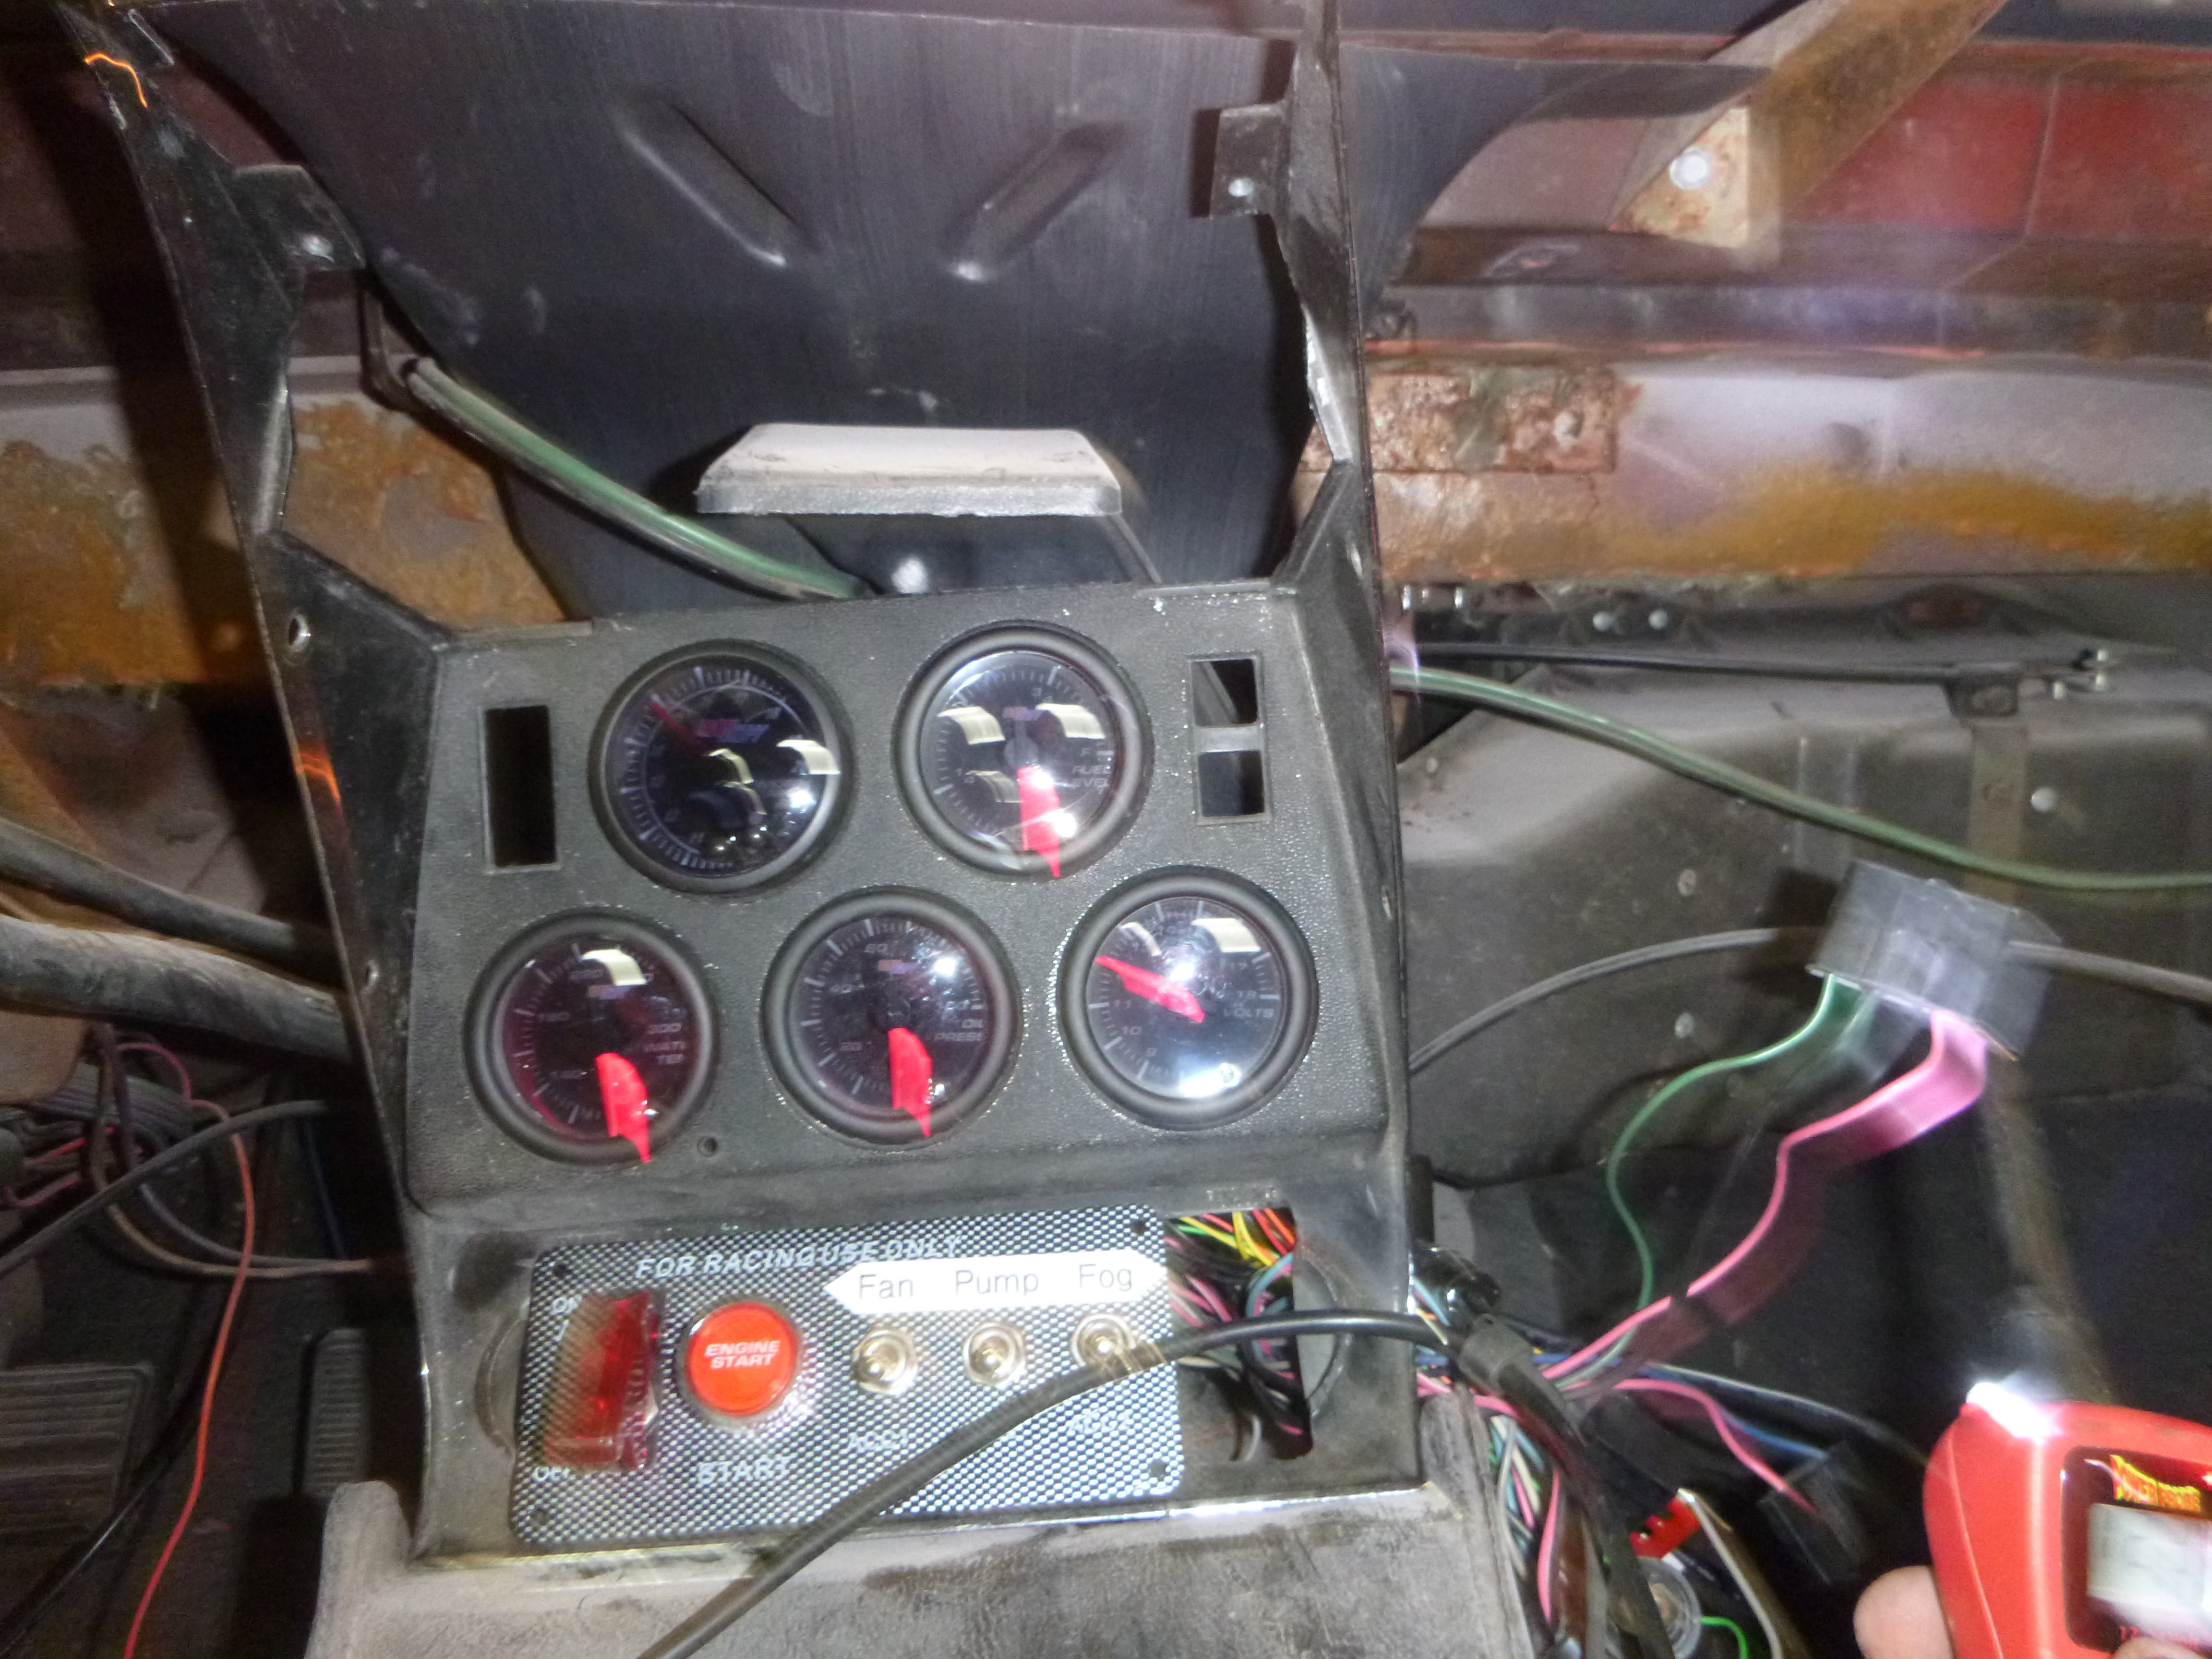
the gauges light up.... I really only care about oil pressure at the moment - but they all work .... O2 sensor and fuel on the top, oil pressure, temp and volts on the bottom. Yes, it's still carb'd but tuning is so much easier with a wide band O2 sensor on the dash....
I'm going to start this thing. I know it's kind of silly to do it but I want to hear it and I do have a concern about the deck finish and the cometic gaskets.... you know that story about 'it should be fine'? yeah... I want it to run in unfinished form so when I pull it down to the frame to make it pretty, I won't be revisiting this (and still I plan to drive this for the 2019 Colby Cruise....)
In that vein, spaghetti... errr... wiring
I tried these butt connectors out - I dunno if I recommend them or not (longevity is unknown) but I do like how simple it is to put to wires together with just heat and no crimping
the gauges light up.... I really only care about oil pressure at the moment - but they all work .... O2 sensor and fuel on the top, oil pressure, temp and volts on the bottom. Yes, it's still carb'd but tuning is so much easier with a wide band O2 sensor on the dash....
08-23-2018, 11:39 PM
#183
Melting Slicks
I don't know who that old, fat guy is in the video. His wardrobe is called "Garage Hobo"
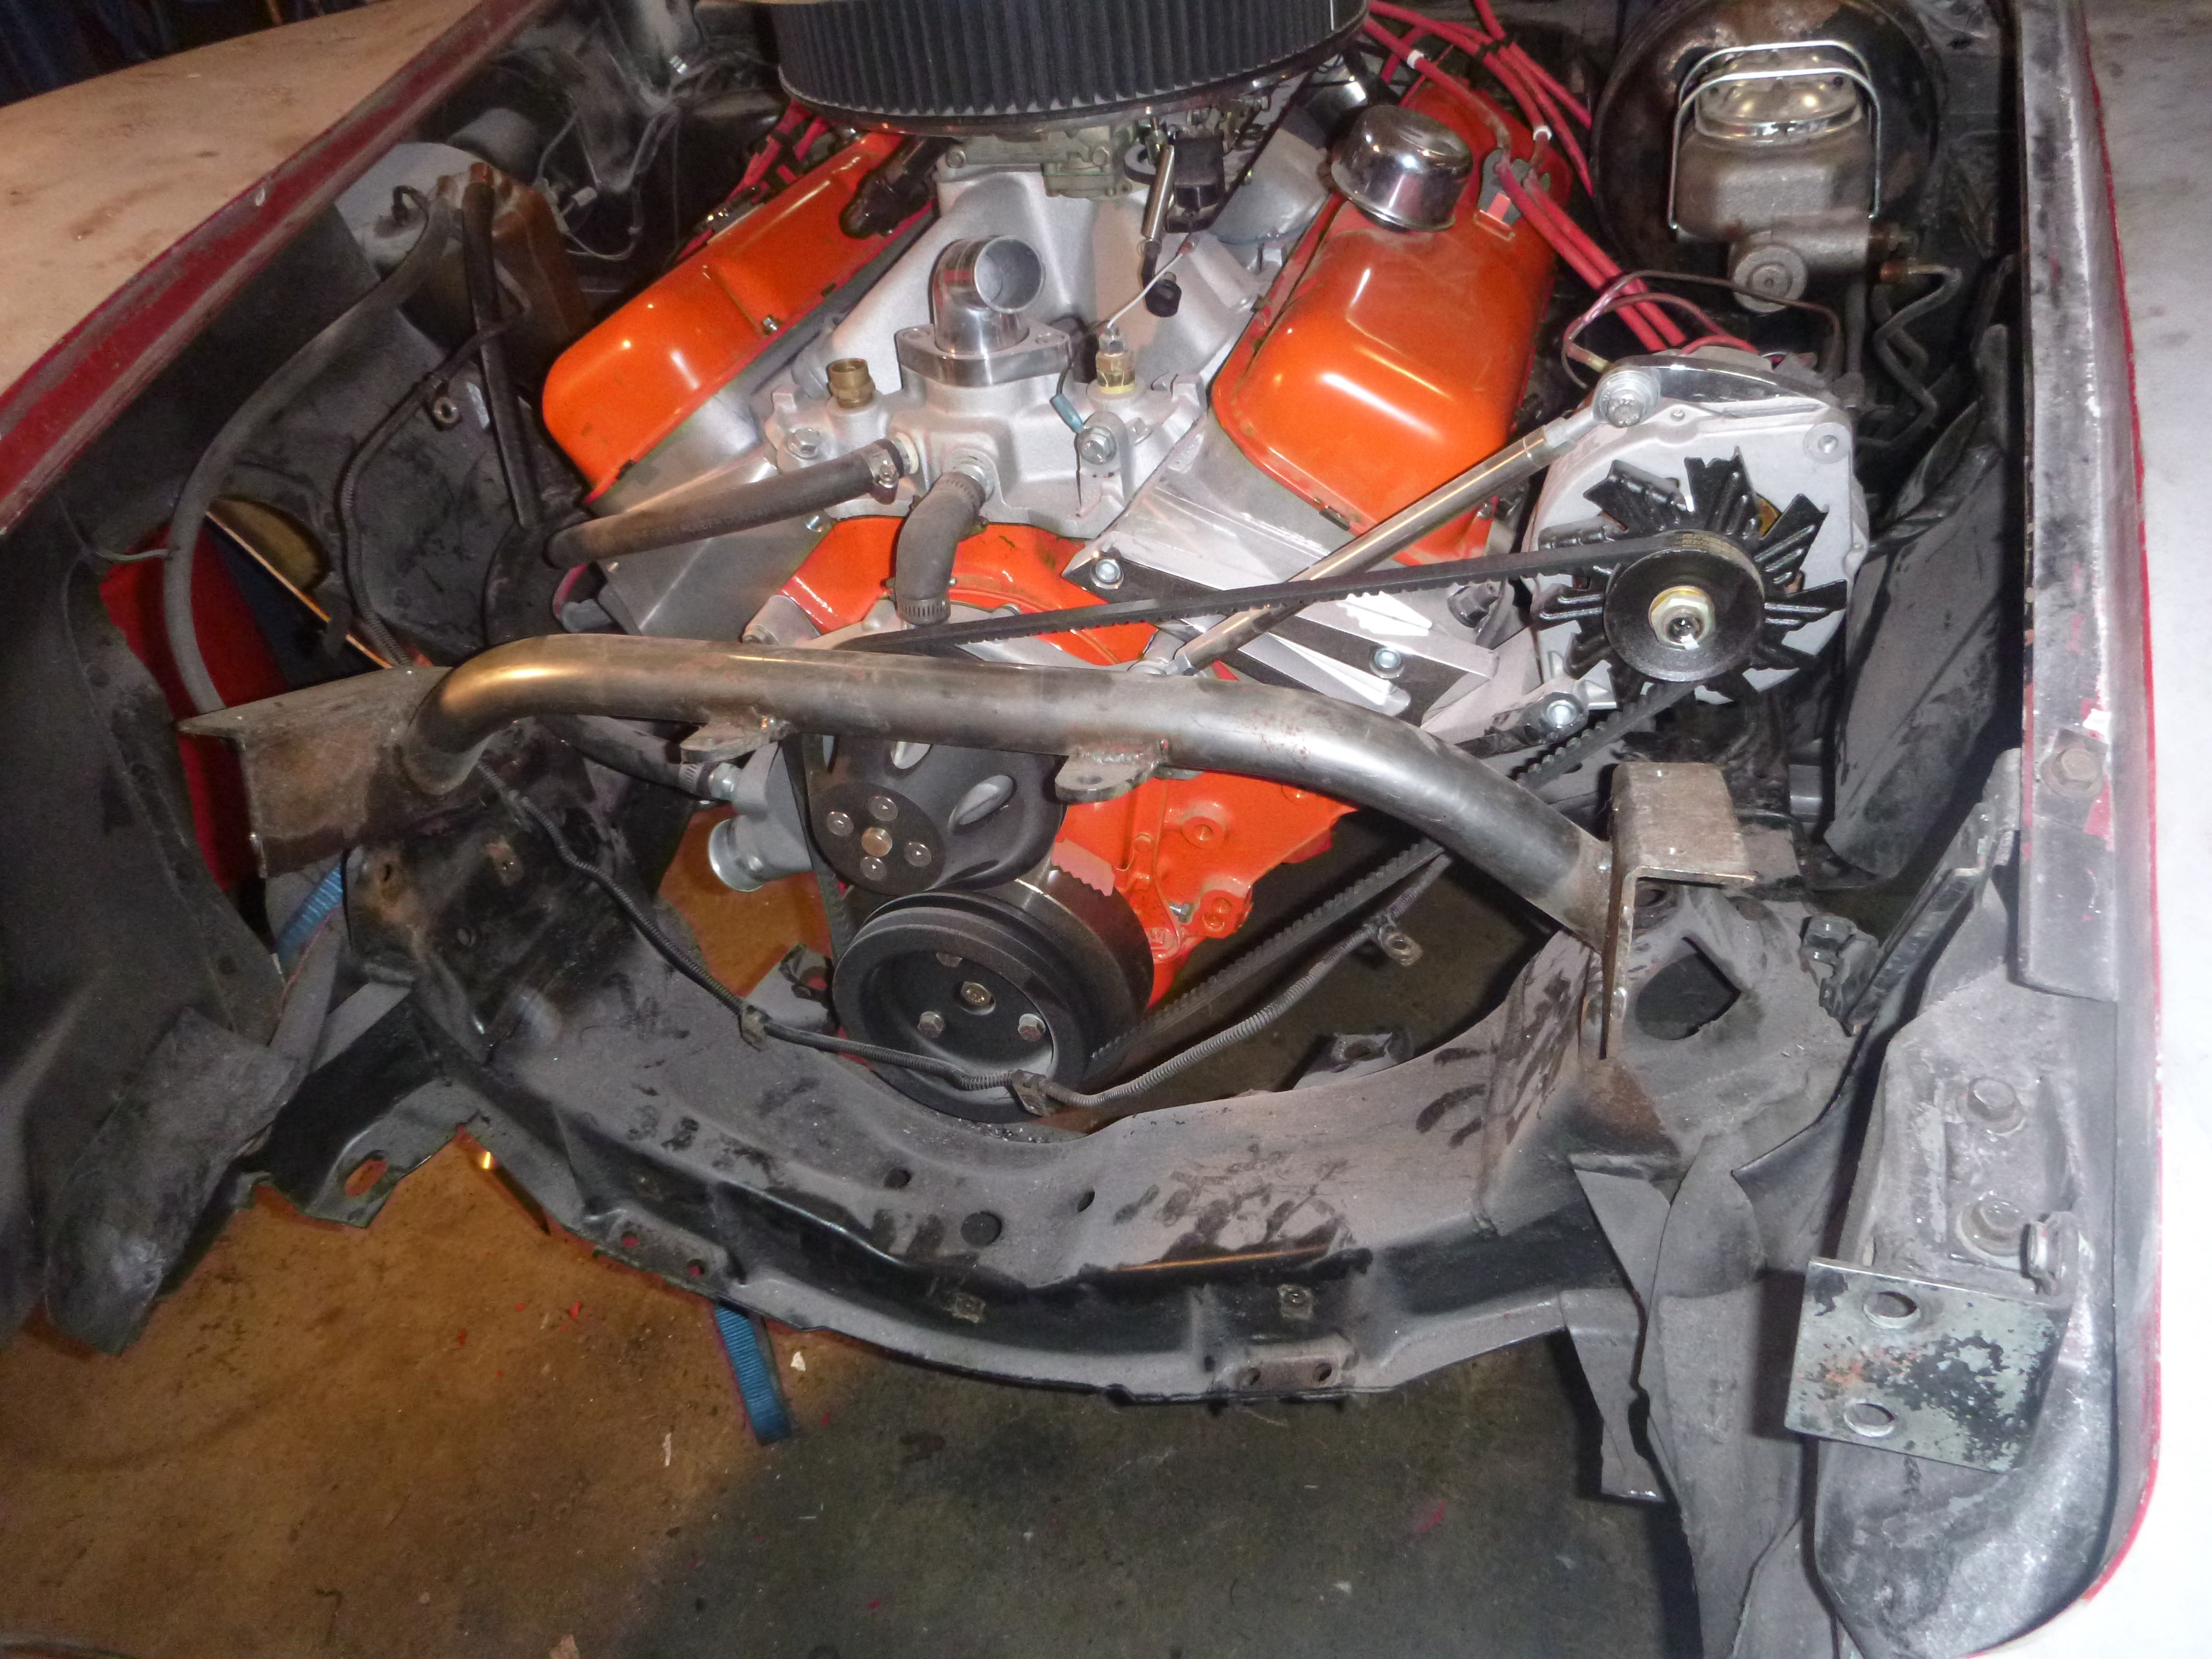
first fire of the 427
I even think Regis was impressed - and we all know how hard he is to impress...
first fire of the 427
I even think Regis was impressed - and we all know how hard he is to impress...
Last edited by SuperBuickGuy; 08-24-2018 at 01:03 AM.
The following 2 users liked this post by SuperBuickGuy:
79 C3 (07-24-2019),
Metalhead140 (08-25-2018)
08-25-2018, 08:23 PM
#184
Melting Slicks
Starting postscript
2 gallons wasn't enough fuel to fill the hydramat, so when we were starting it, (and since I've no idea where the turkey baster I stole got to) it was just enough to make sure it ran, had oil pressure, and all else was well. I put another 5 gallons (all with fuel stabilizer) in it, and the pump primed.
If you pay close attention, you see I screw with something behind the carb. it's the ground wire for the coil. Apparently it needs to be grounded when you're trying to start the car. FYI, an allen wrench can substitute for a screw.
the accelerator pumps were not working, front works now, rear is going to take a bit more playing with
2 bolts do not keep valve covers from leaking oil - the other bolts are there now.
Sunday I'll start it and run it for real - might even put the muffler portion of the sidepipes on.
Then I will answer the question about whether the surface on the block is going to work with the cometic gaskets - that said, since it contained the compression without tossing the cap off the radiator, I think I'm good.
I'm still smiling and an occasional woohoo comes out when I think of how it sounds
08-28-2018, 12:20 AM
#185
Melting Slicks
If anyone wants to know why I hate wiring - I'll tell you - 9.6 volts. Why is that so bad? well let me tell you, a wire that should have battery voltage (12.4ish), has 9.6 volts. In a 76 Corvette, stock wiring. Never mind this car doesn't turn all the circuits on with the ignition switch at it really isn't too Bubba'd. But somehow it manages to defy electrical theory.....
 09-04-2018, 12:36 AM
#187
Melting Slicks
a bit more of the elephant.... got the u-joint so I can get the driveshaft shortened
[img][img]
it's a 1330 (small diameter) to 1350 u-joint..... I know there will be disappointment, but I'm not shortening the shaft - I still have a few things to do on the lathe (like figure out why the tailstock doesn't adjust) I also don't have a steady rest, add need to balance and there it is....
09-10-2018, 12:24 PM
#188
Melting Slicks
For those curious - the bolt into the axle flange is a M12 x 1.5 bolt. If you go to you local bolt dealer, they will look at you like you've grown a 3rd head (and it's a stupid as the other 2). You can buy them, but be warned, you will get a bunch of BMW wheel bolts in your search.... why, GM, why? you think you're better then 1.25 and 1.75 pitch?
the trans bolt is the same, and you cannot use GM bolts because they are a lot too long.
the trans bolt is the same, and you cannot use GM bolts because they are a lot too long.
09-18-2018, 12:17 PM
#189
Melting Slicks
so the next step will either be gold or goat. I'm going to put Camaro rotors and Camaro Brembo brakes (basically rely on the design of GM).... will it work? dunno
The following users liked this post:
Metalhead140 (09-19-2018)

 10-05-2018, 12:58 AM
#191
Melting Slicks
I suppose I should occasionally show the bit of leg-work I do
under the stack is a printout from Mitchells that gives the data points to align a C5 Corvette
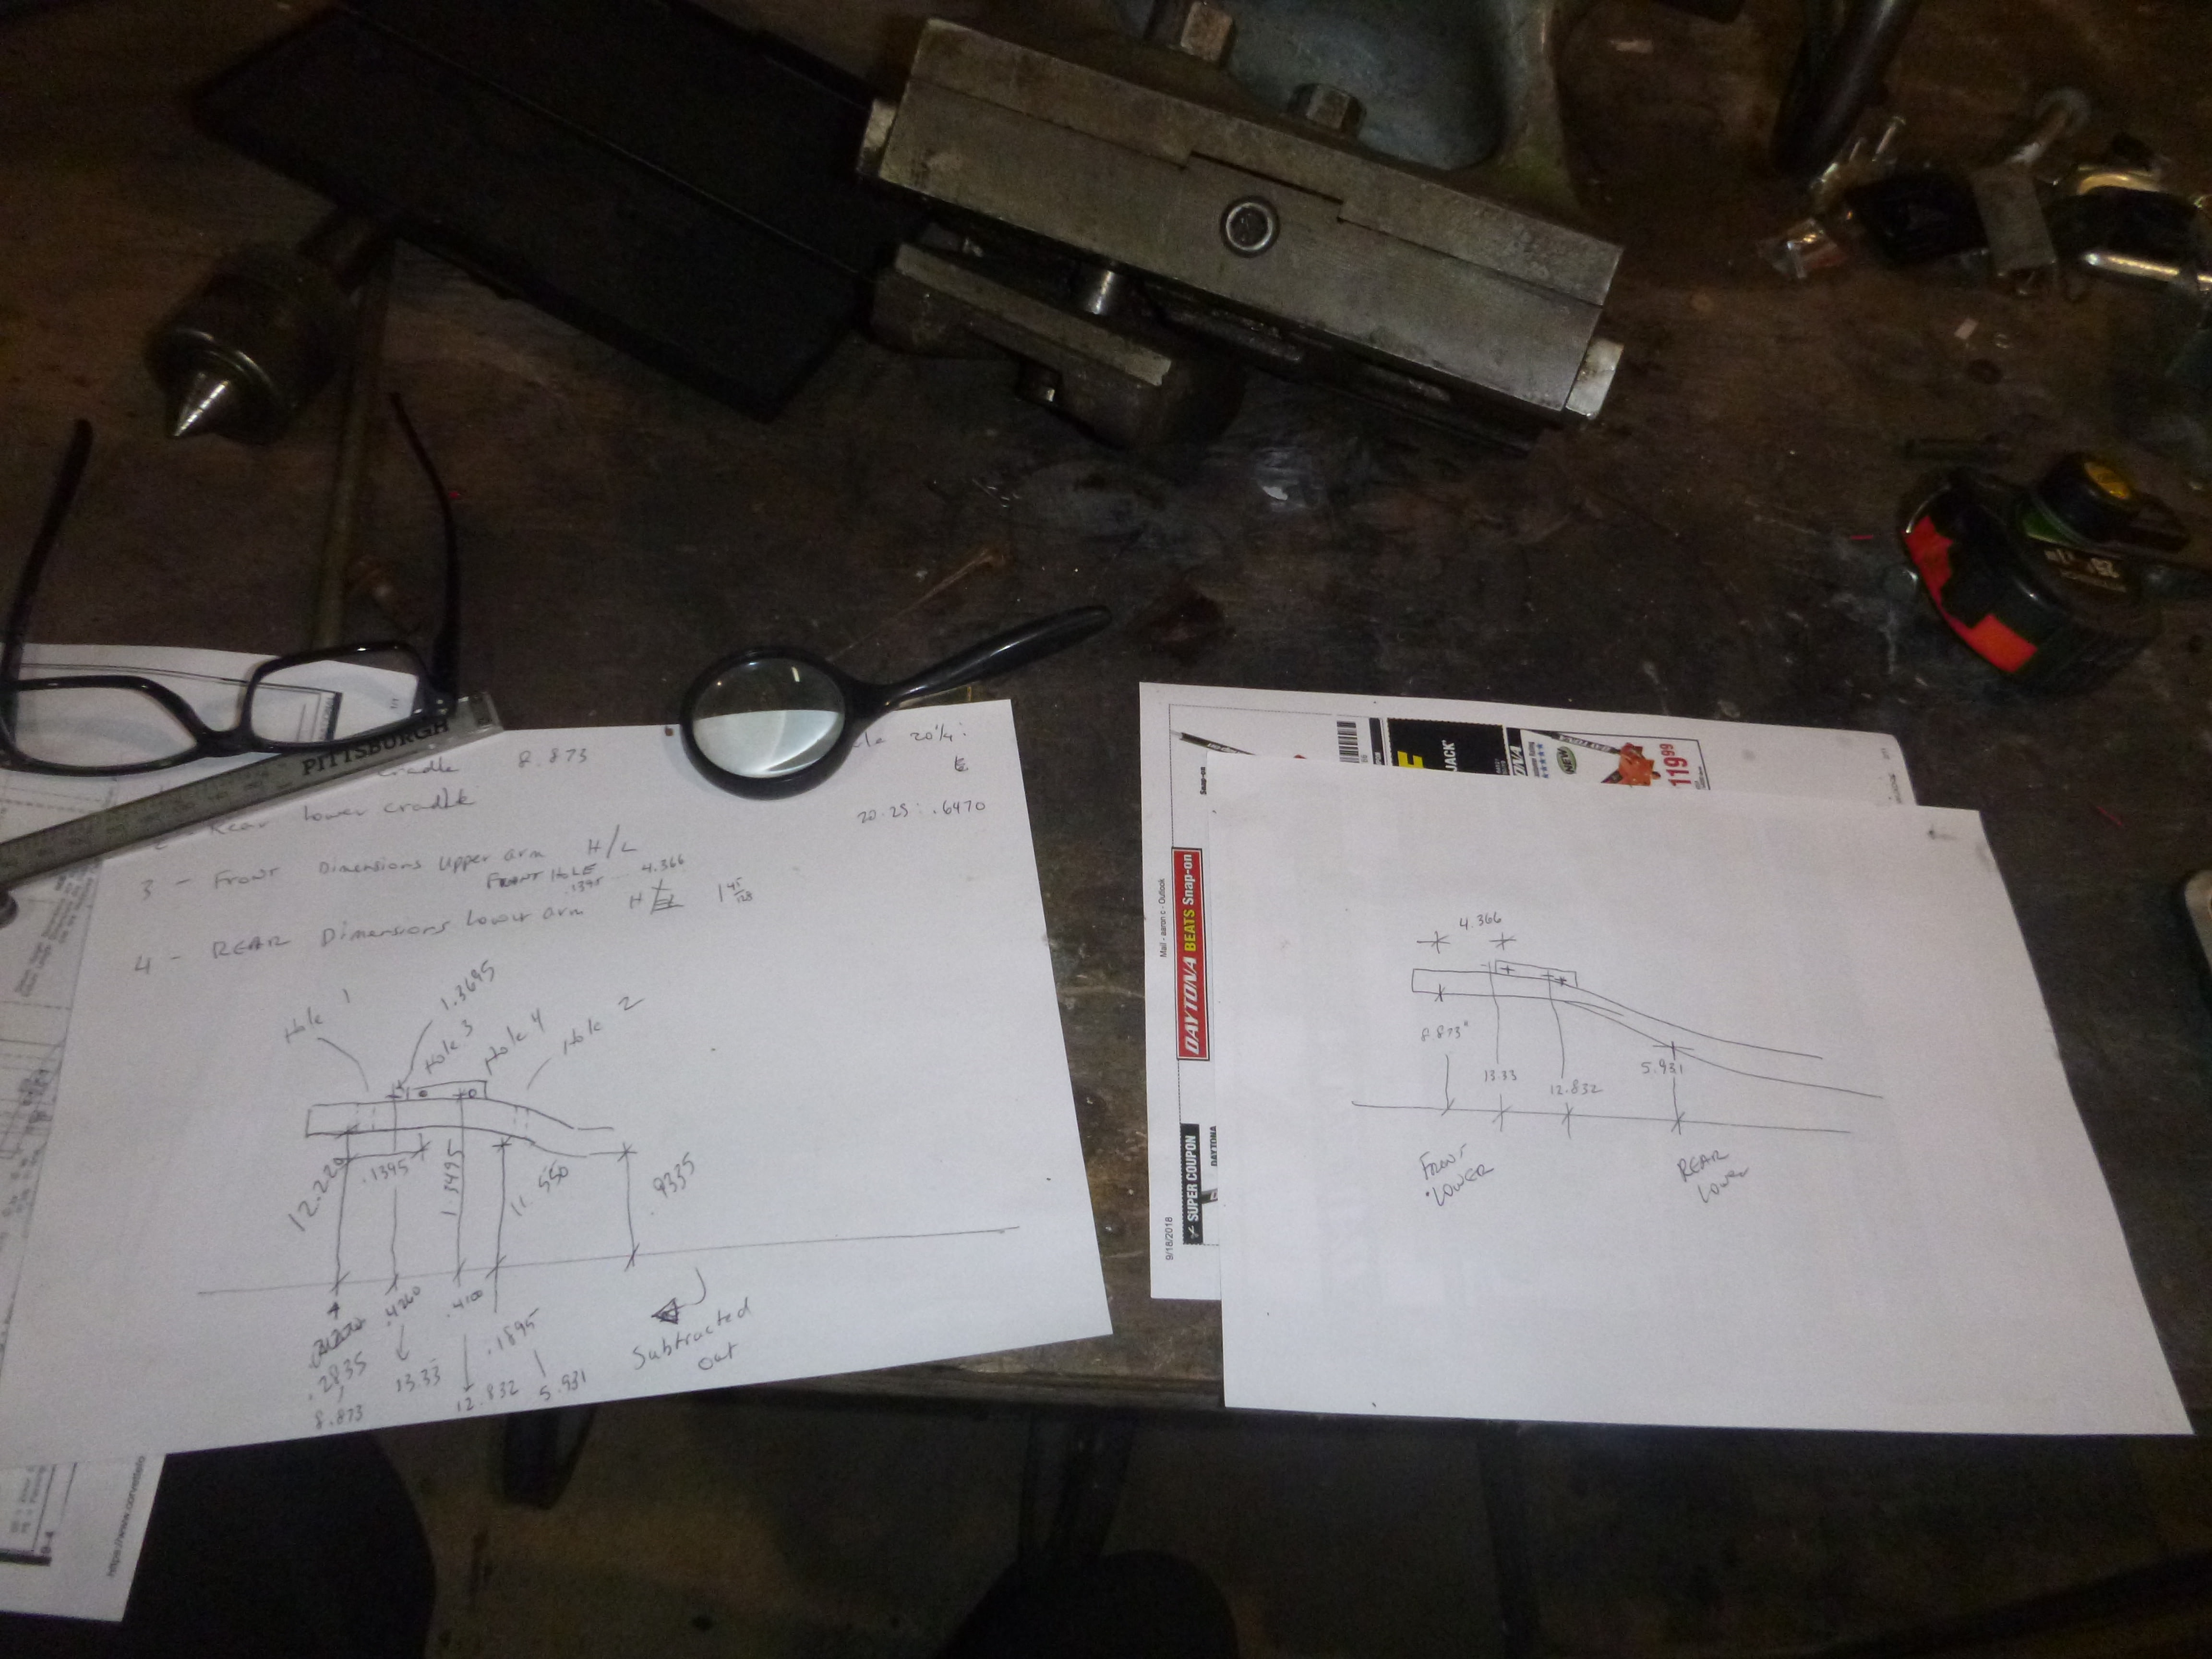
then I needed to measure and translate the numbers to make a drawing to install the new cradle and suspension
that is what the paper on the left then right are.... dimensions
as an aside, in searching for the drawings, I found there is a shop that installs the C5 stuff on C3s using the cradle like I'm doing.... my install will have a bit more detail than theirs did.... nice to know it's doable, though.
under the stack is a printout from Mitchells that gives the data points to align a C5 Corvette
then I needed to measure and translate the numbers to make a drawing to install the new cradle and suspension
that is what the paper on the left then right are.... dimensions
as an aside, in searching for the drawings, I found there is a shop that installs the C5 stuff on C3s using the cradle like I'm doing.... my install will have a bit more detail than theirs did.... nice to know it's doable, though.
10-07-2018, 09:17 PM
#192
Melting Slicks
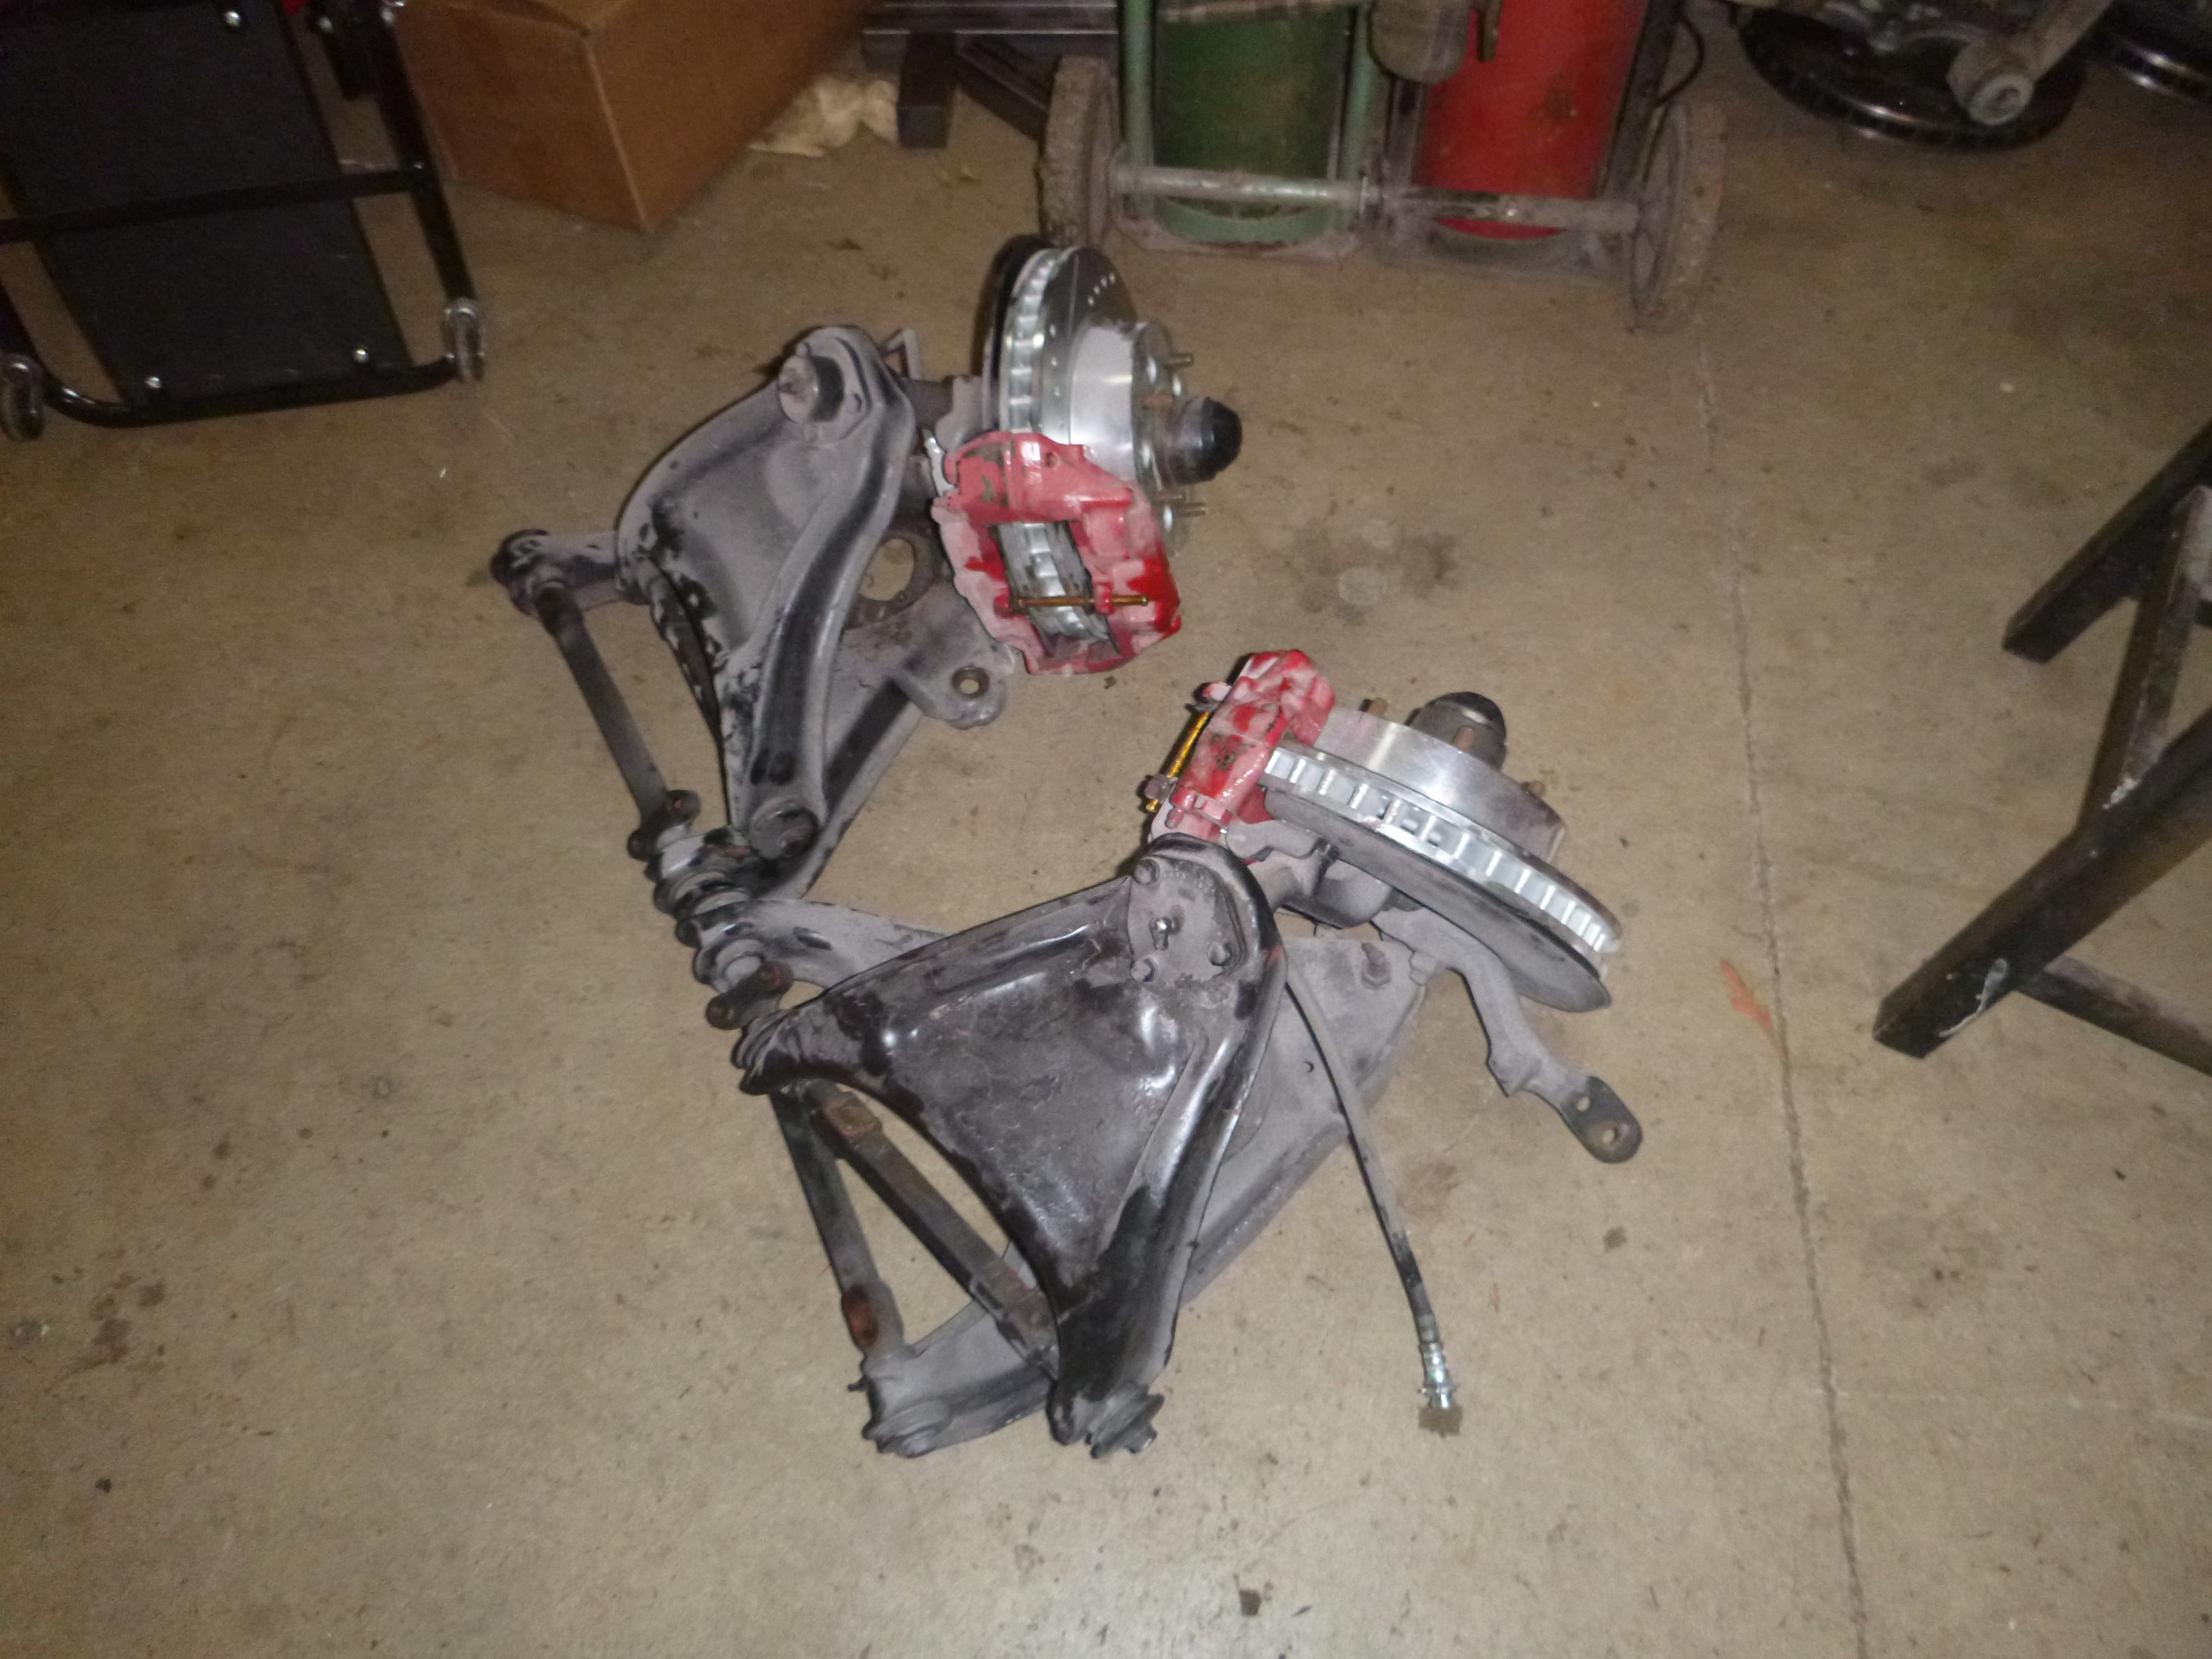
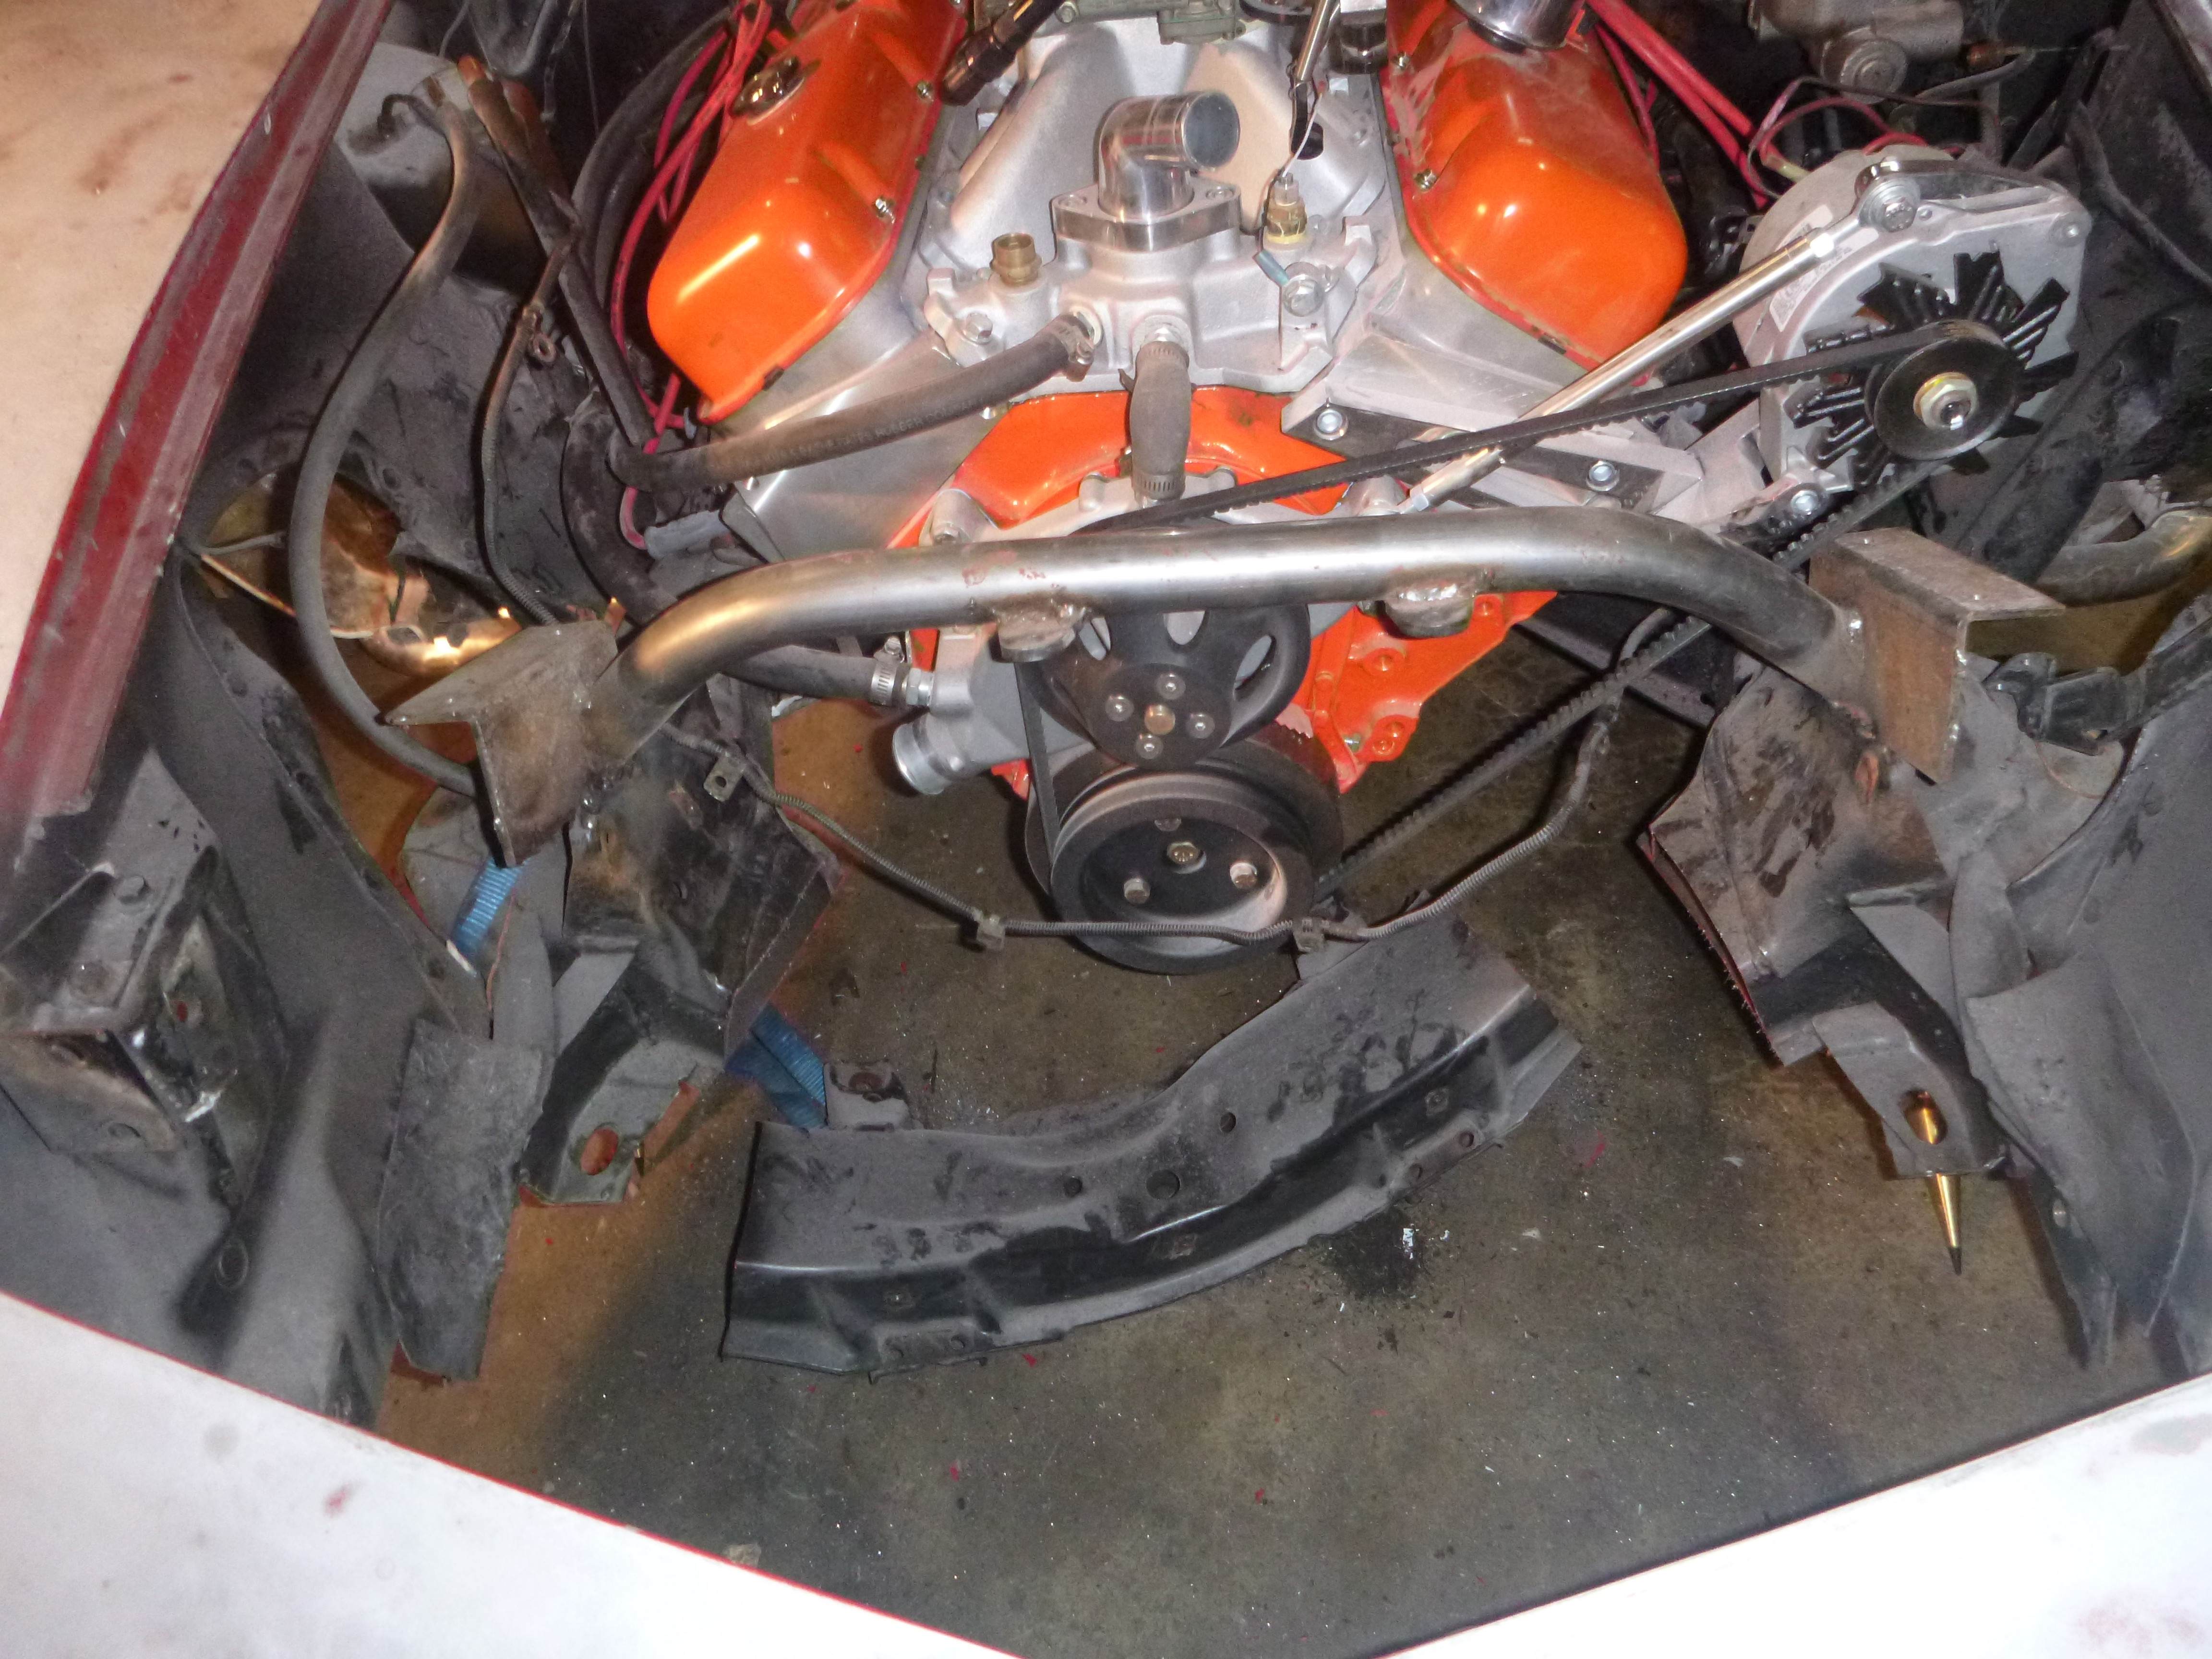
as we all know, stock is WAY too reliable for my tastes.... so we remove this
GM really should have put them on better... they just fell off
a bit of centering
all it needs to do is go straight up 5"
anyone needs a new brake system...
GM really should have put them on better... they just fell off
a bit of centering
all it needs to do is go straight up 5"
anyone needs a new brake system...
10-08-2018, 09:23 PM
#193
Melting Slicks
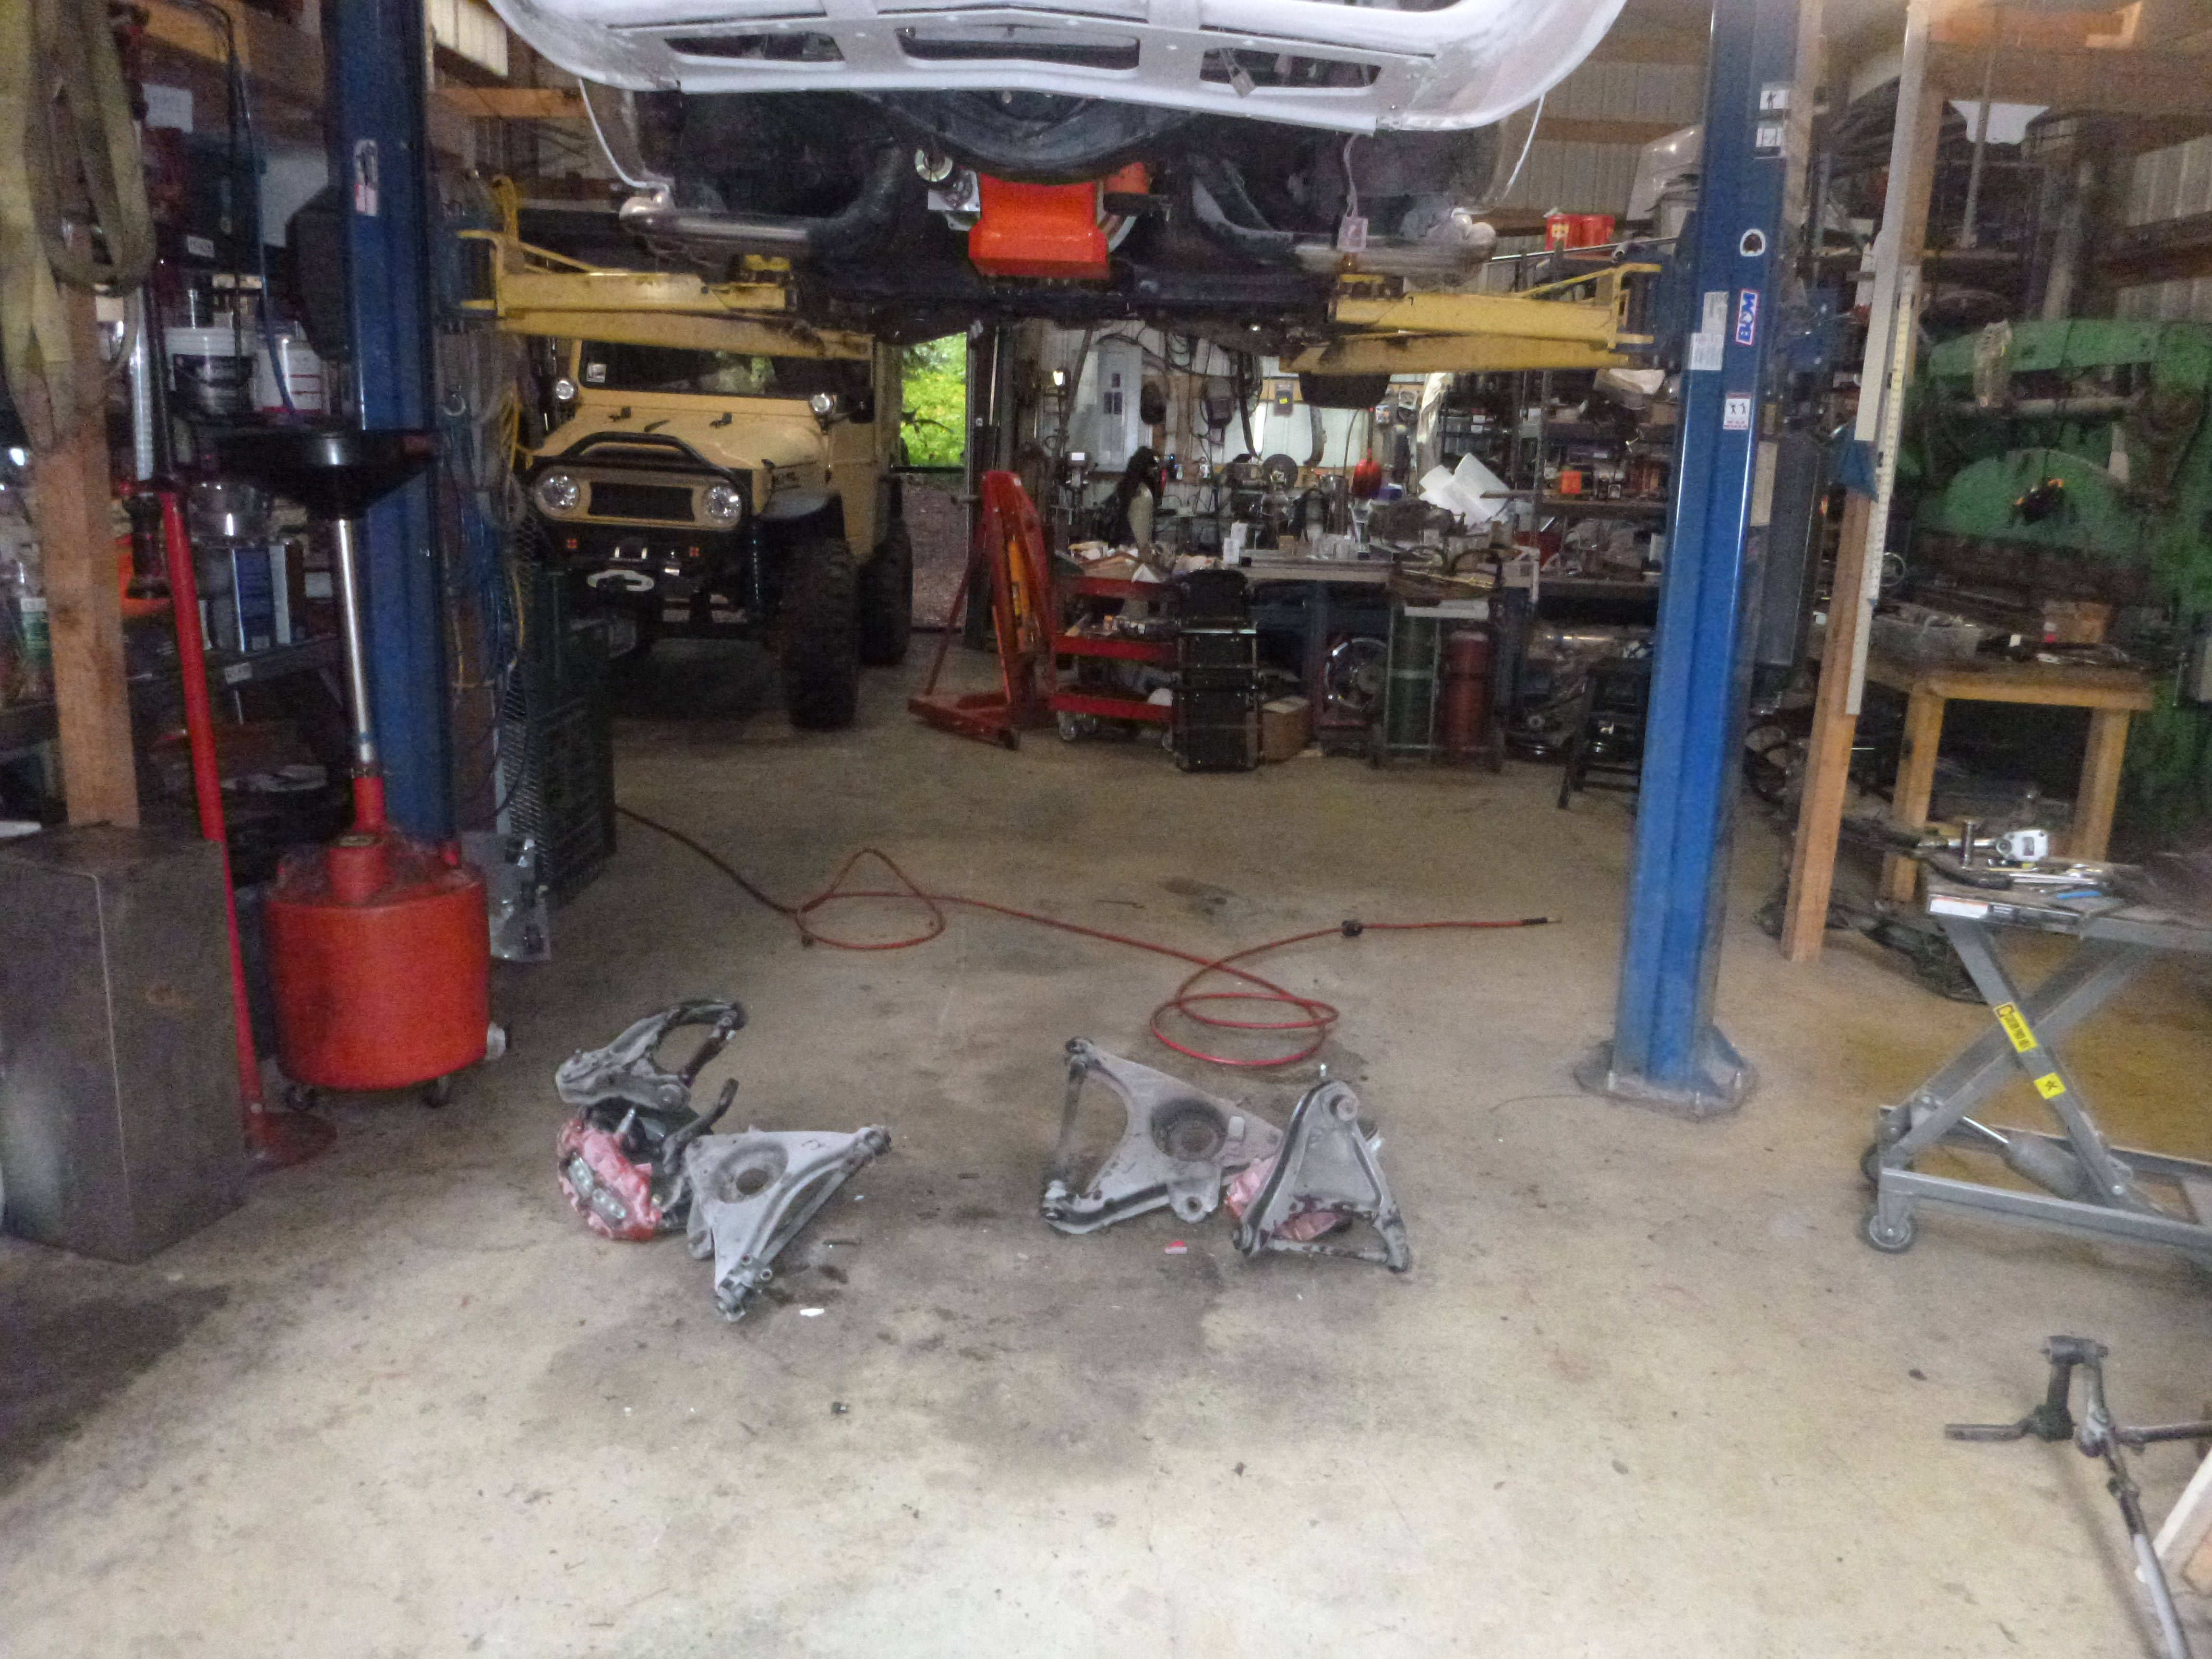
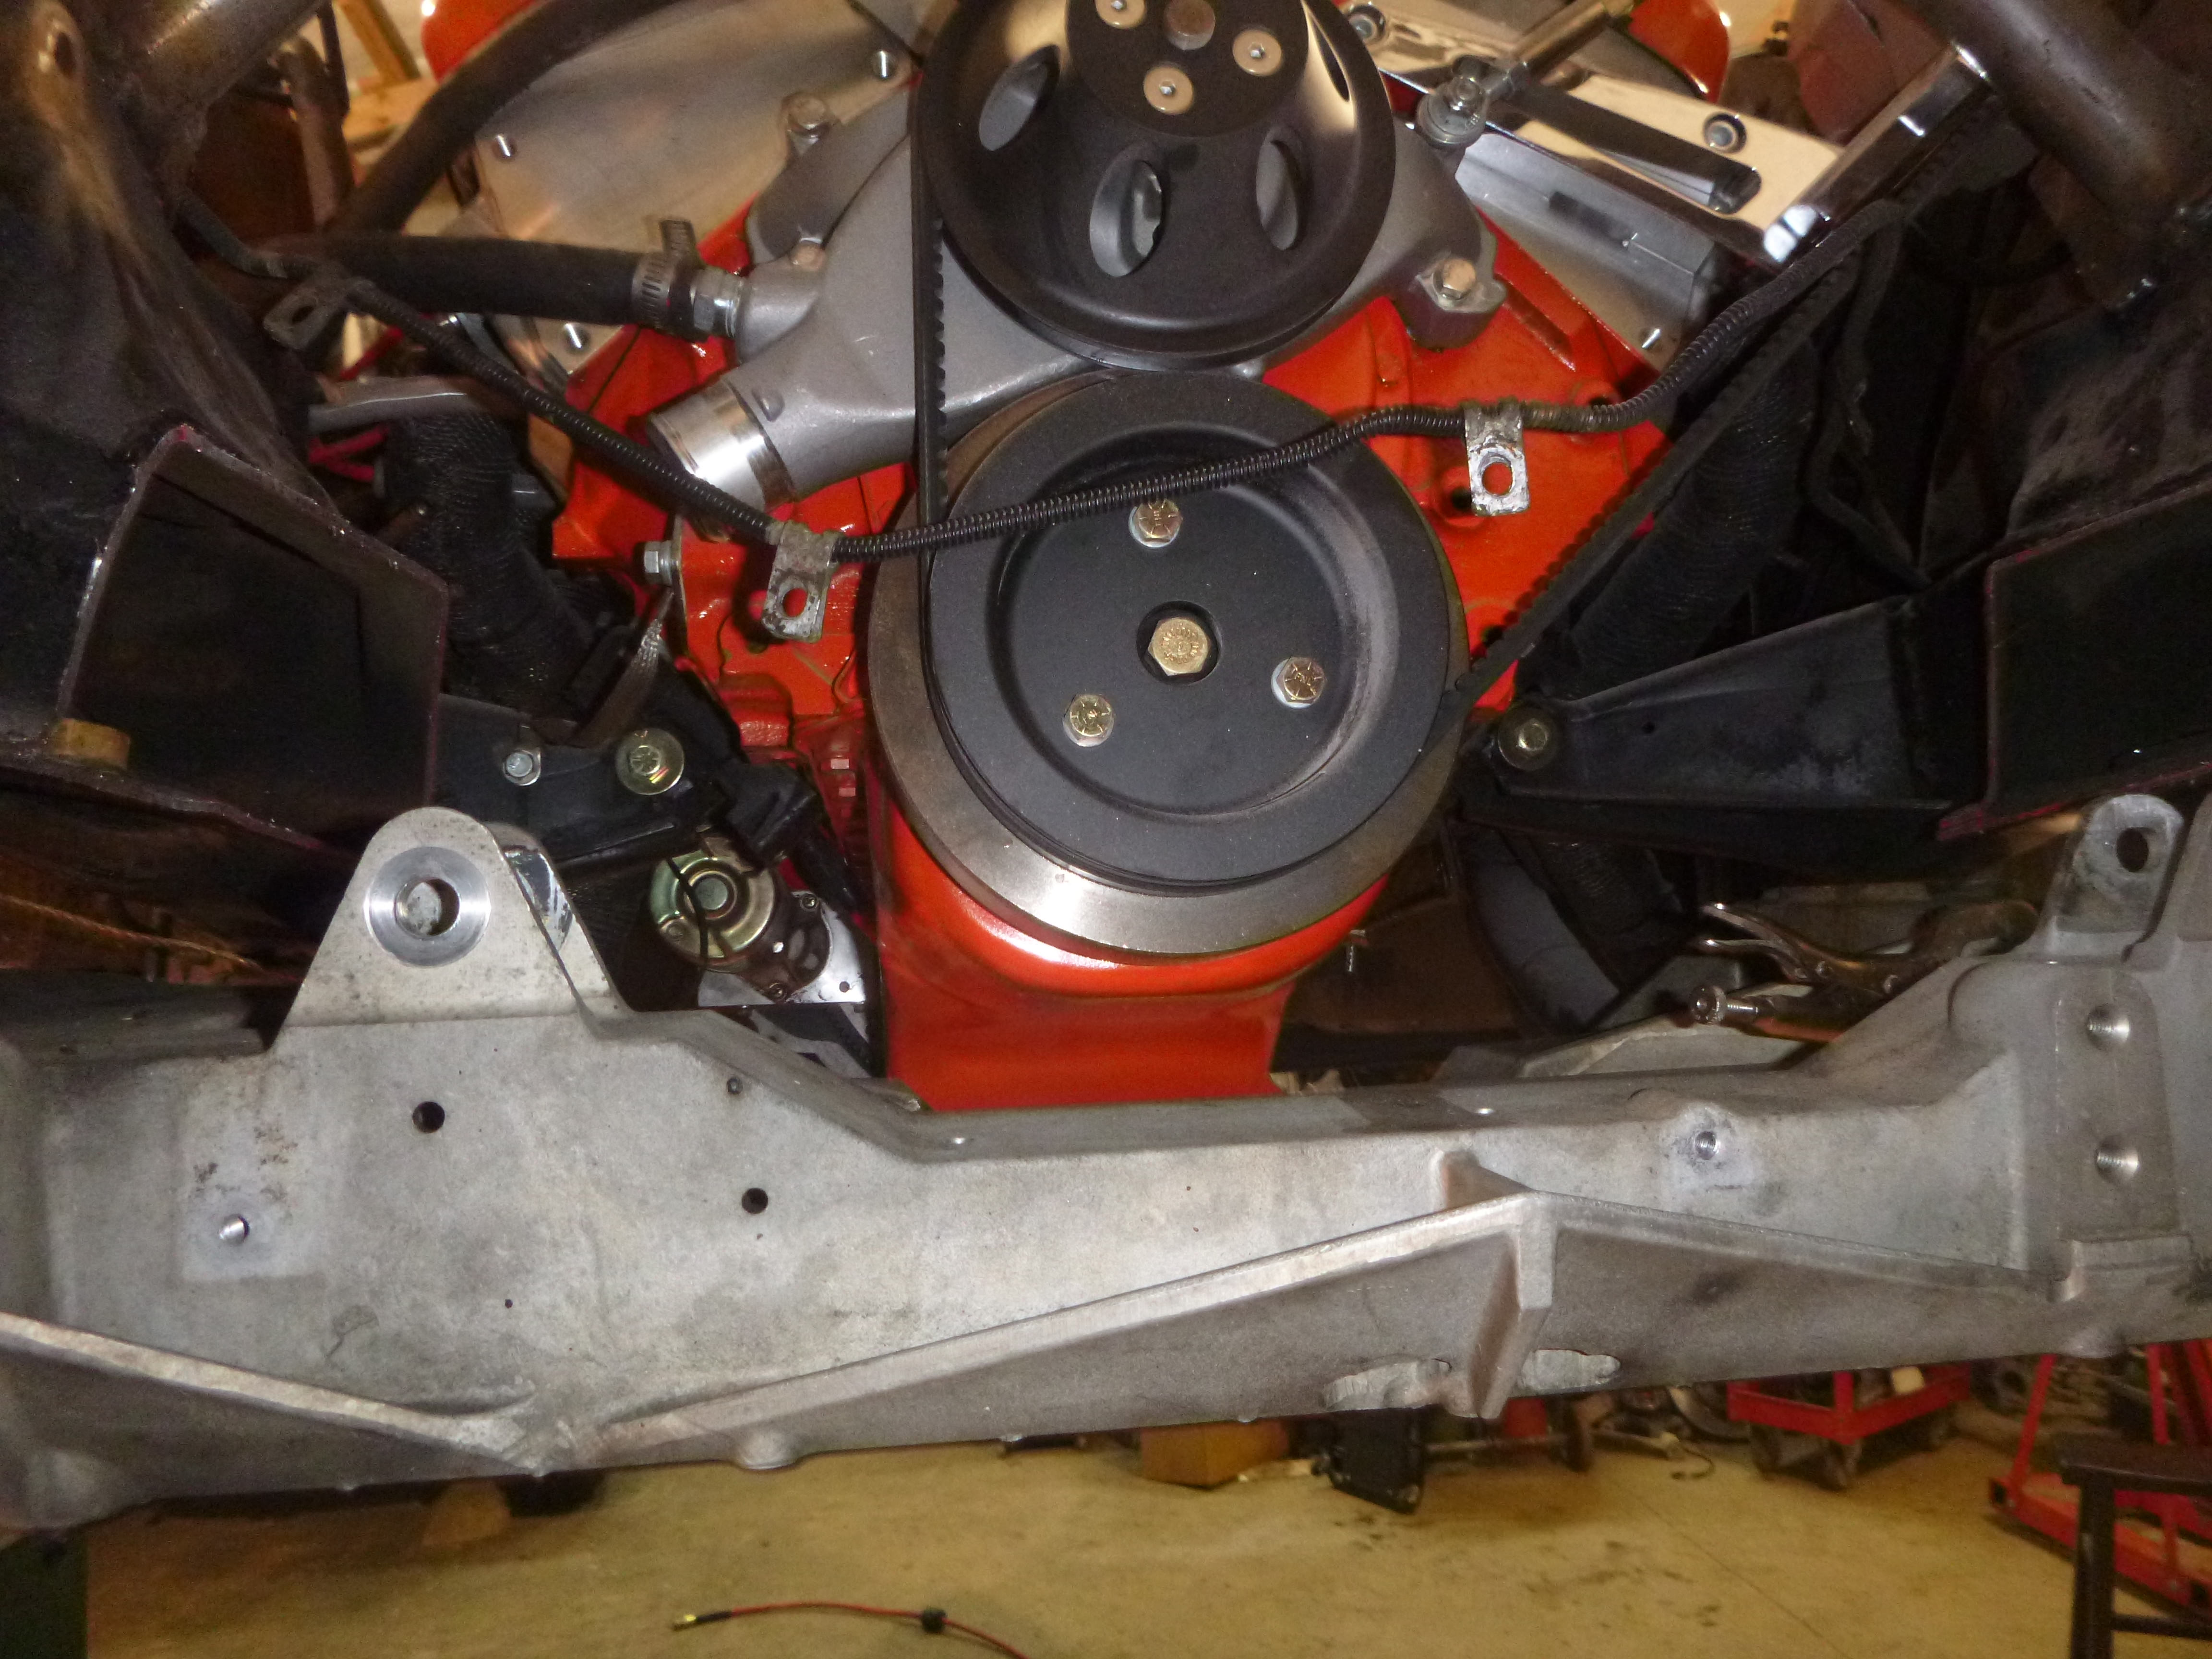
time to clear the space
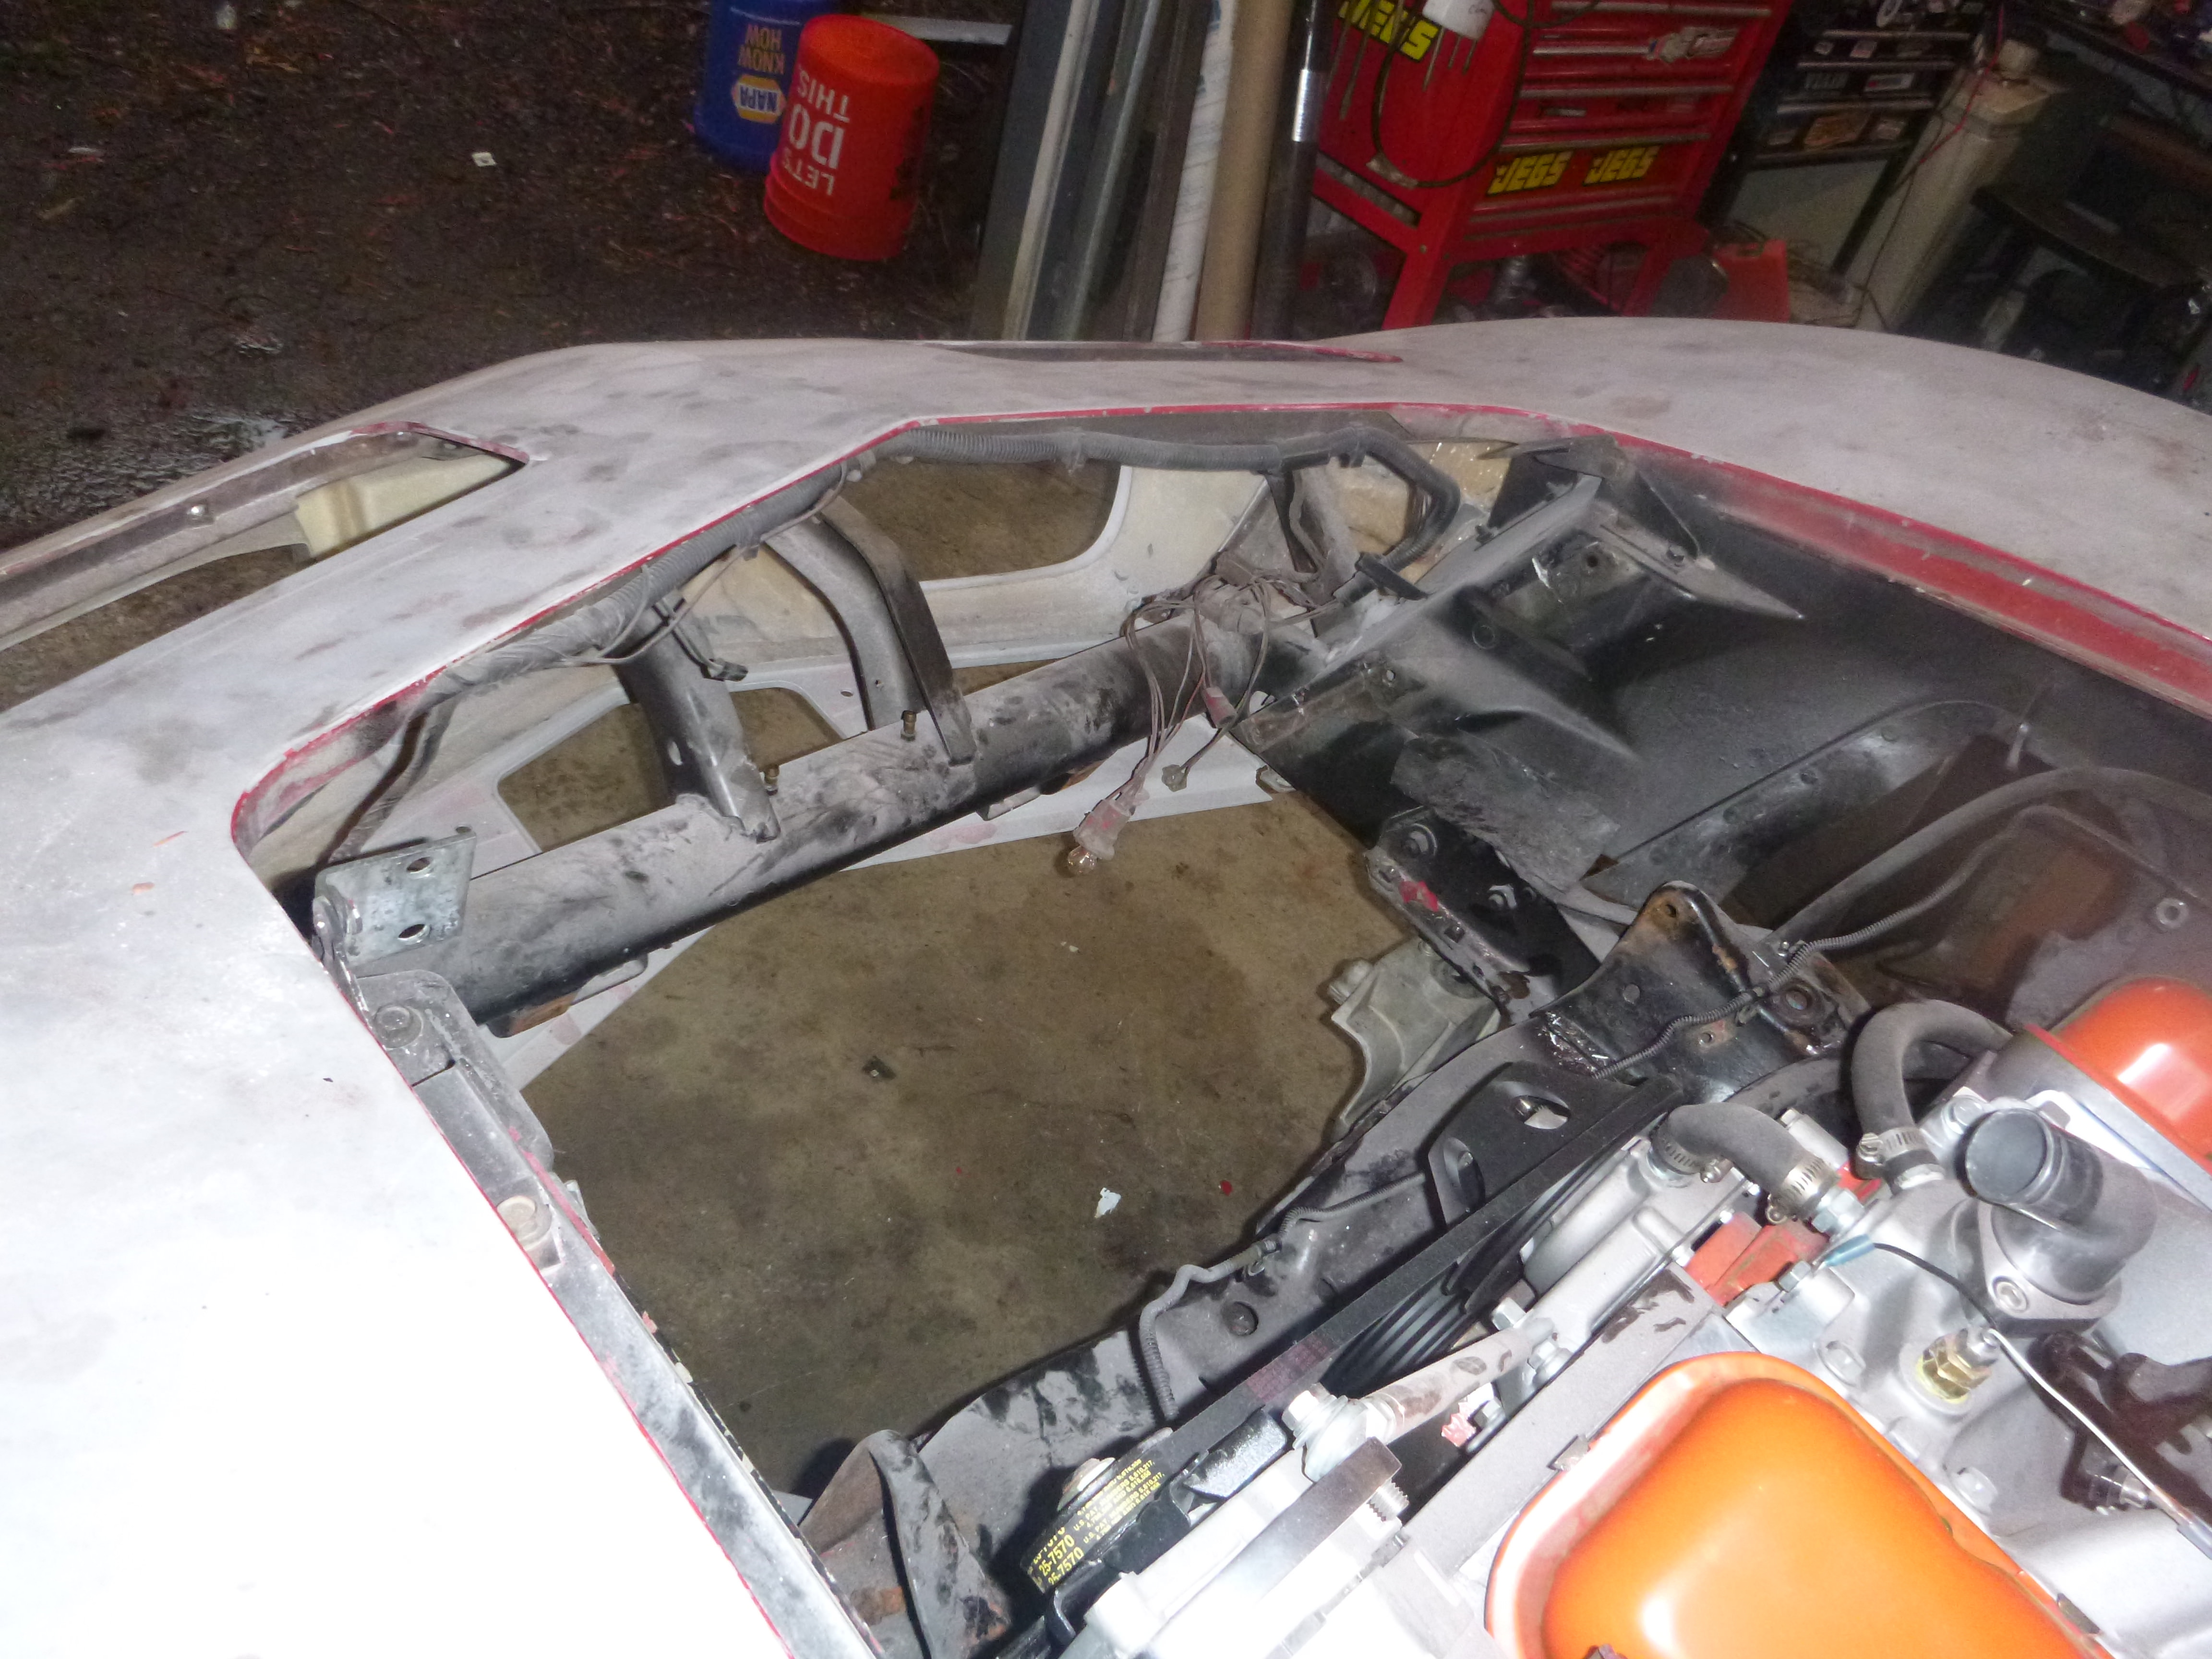
I'll need to build new structure to support the fiberglass... but there is space
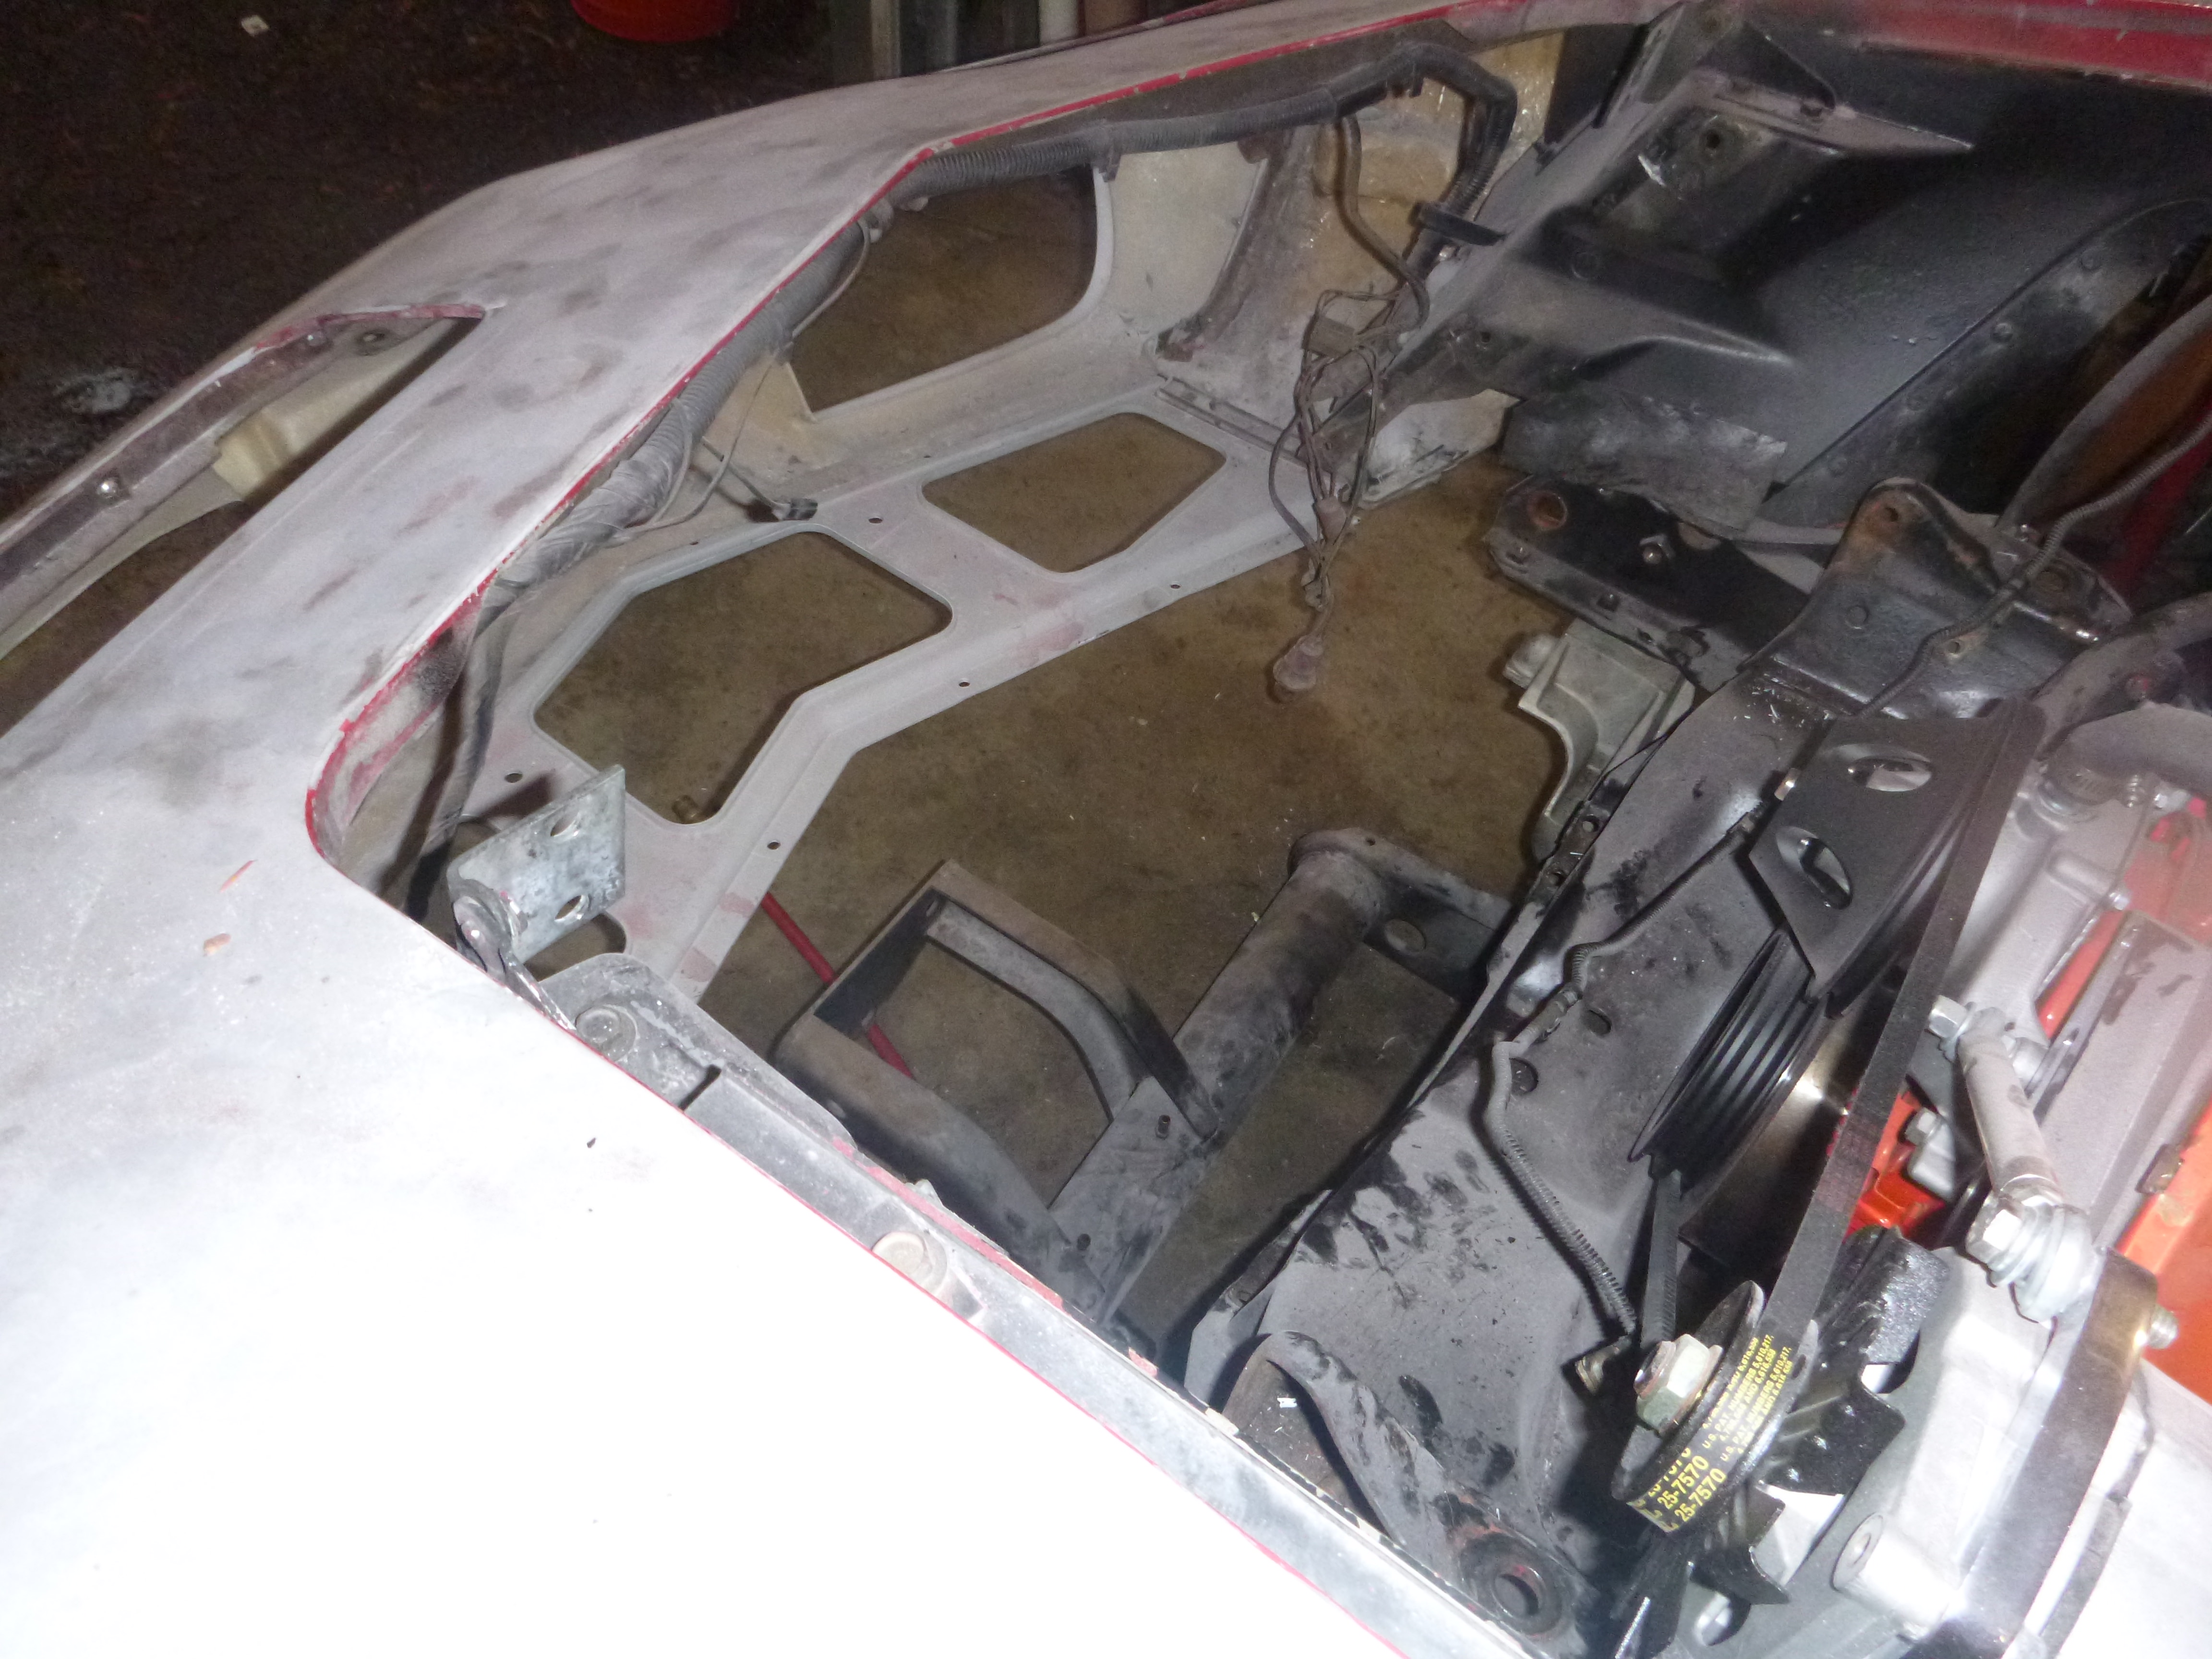
roughly in place.... it needs to move up 2 1/2"
of course, that means removing the cross member
tomorrow I'll build support structure for the frame - most likely that means building some kind of front roll cage then attaching the body to it...
I'll need to build new structure to support the fiberglass... but there is space
roughly in place.... it needs to move up 2 1/2"
of course, that means removing the cross member
tomorrow I'll build support structure for the frame - most likely that means building some kind of front roll cage then attaching the body to it...
10-09-2018, 11:36 PM
#194
Melting Slicks
So more work
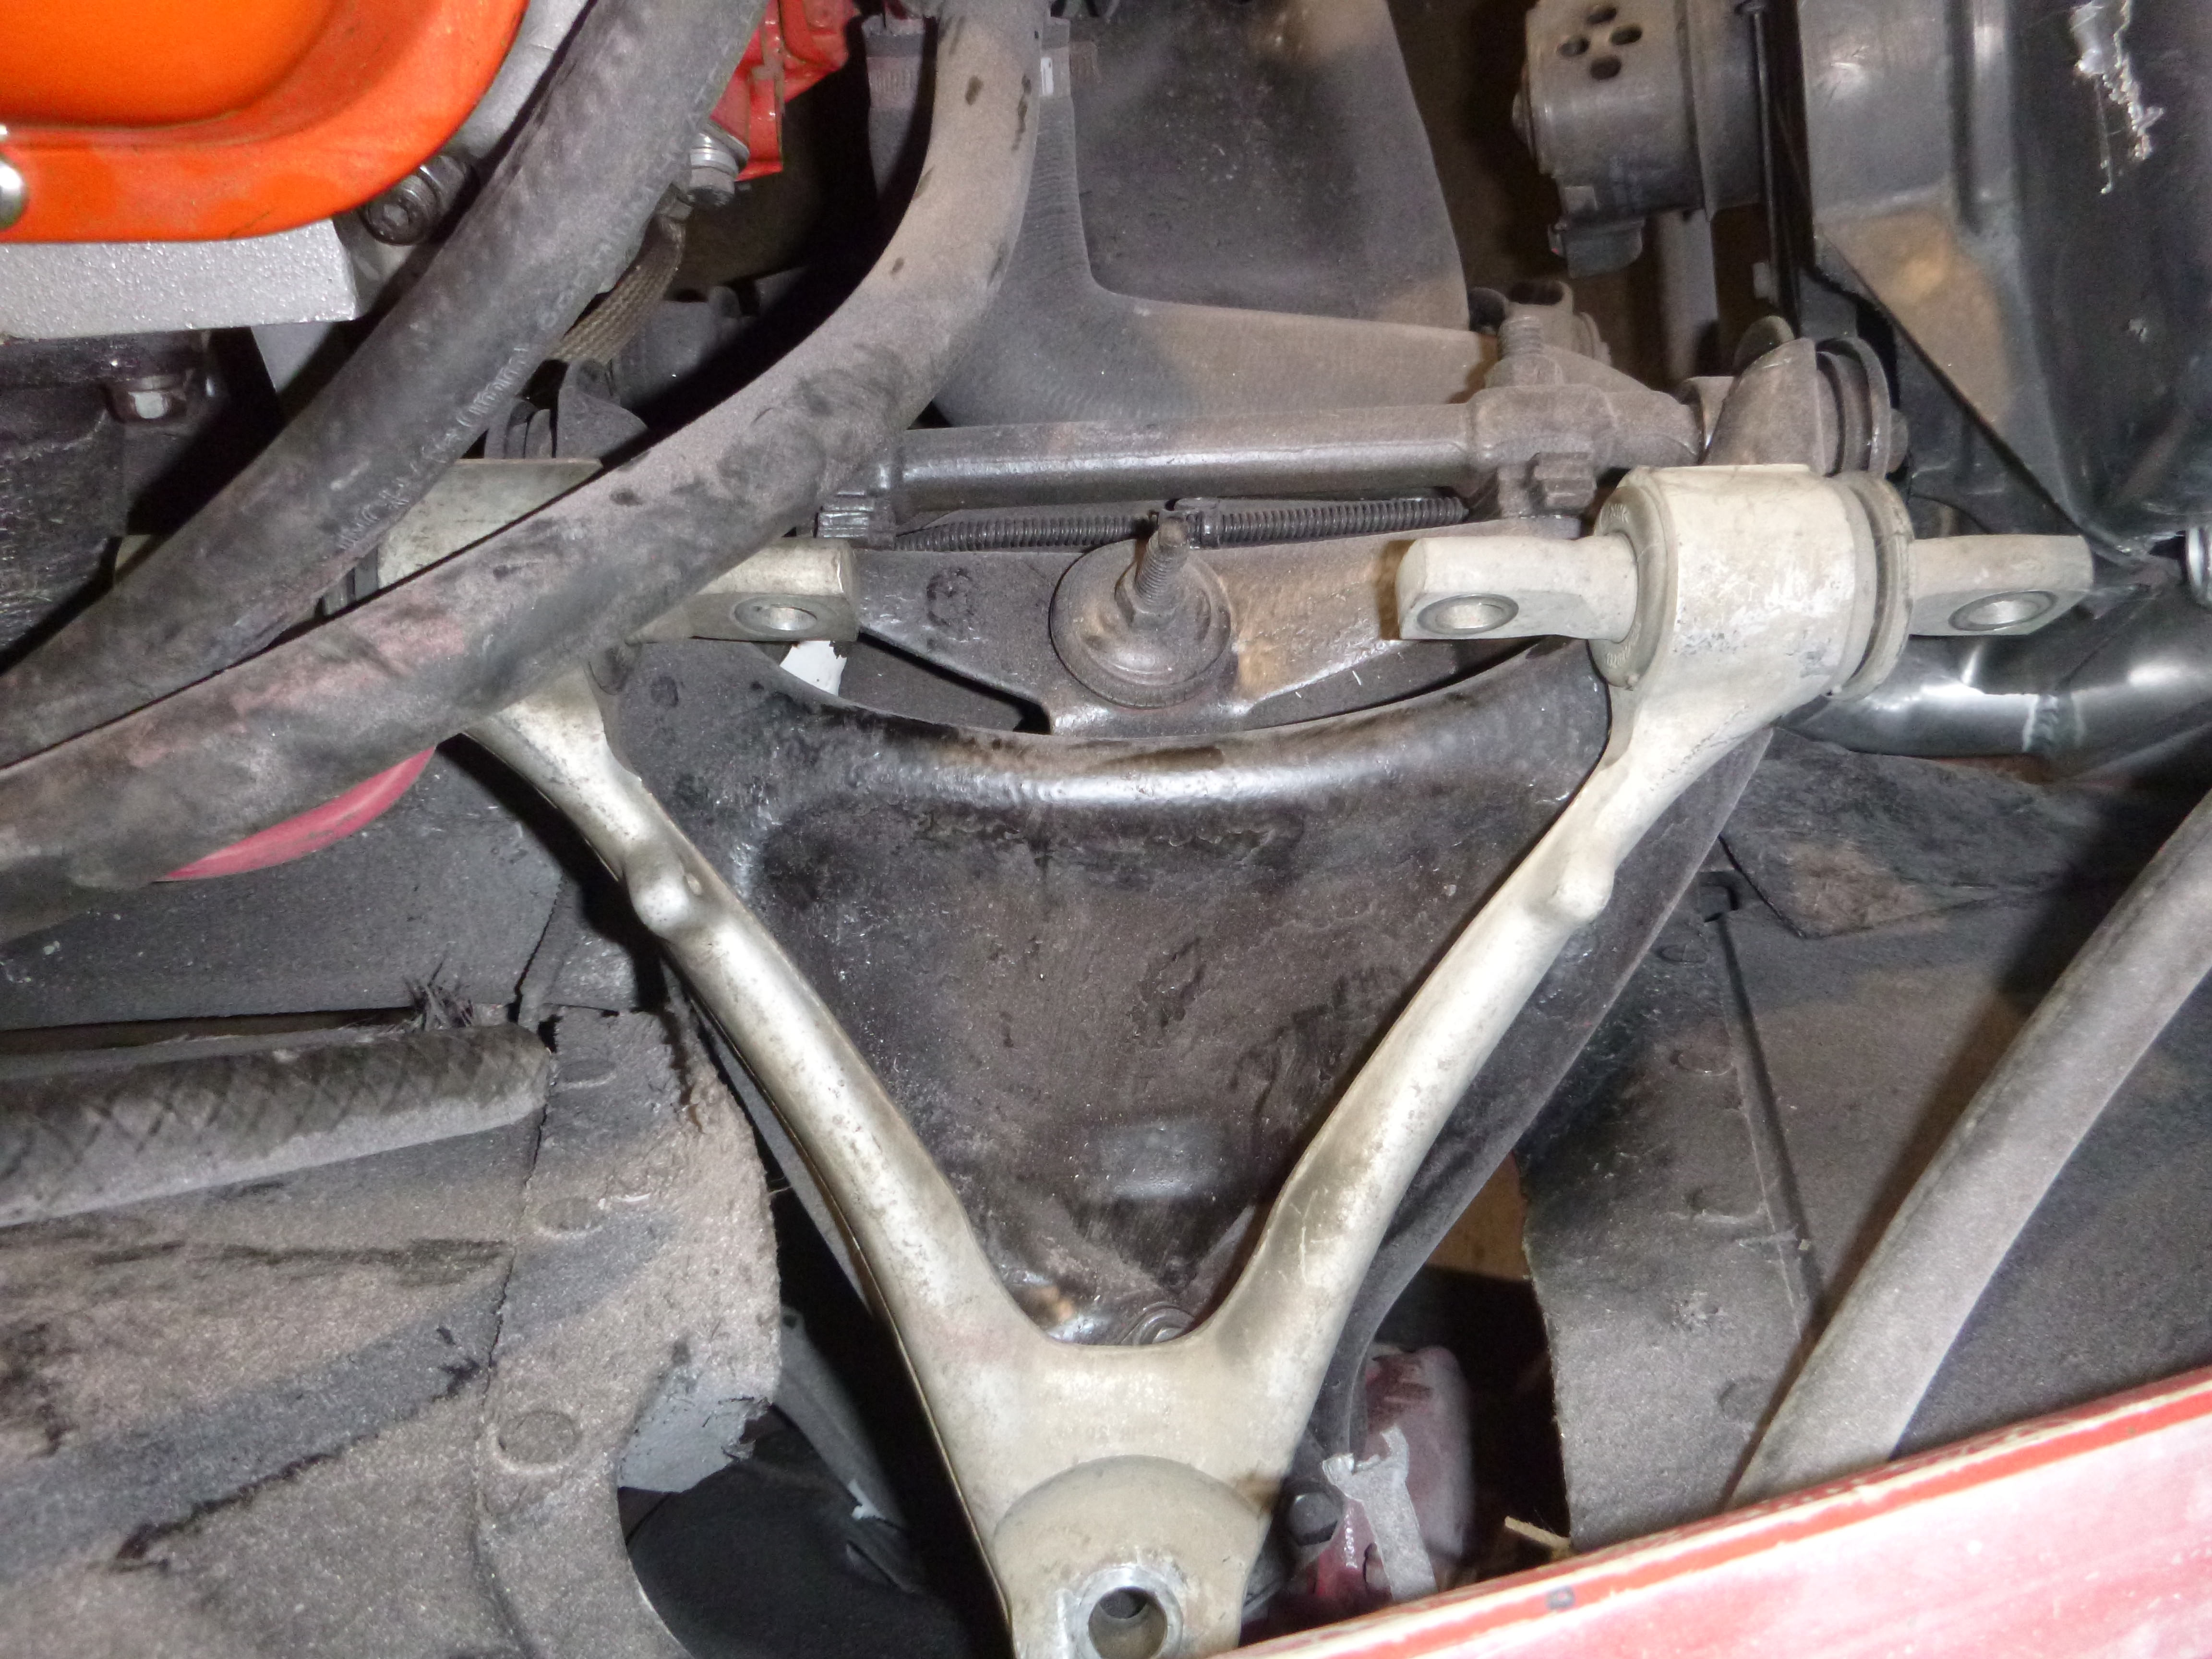
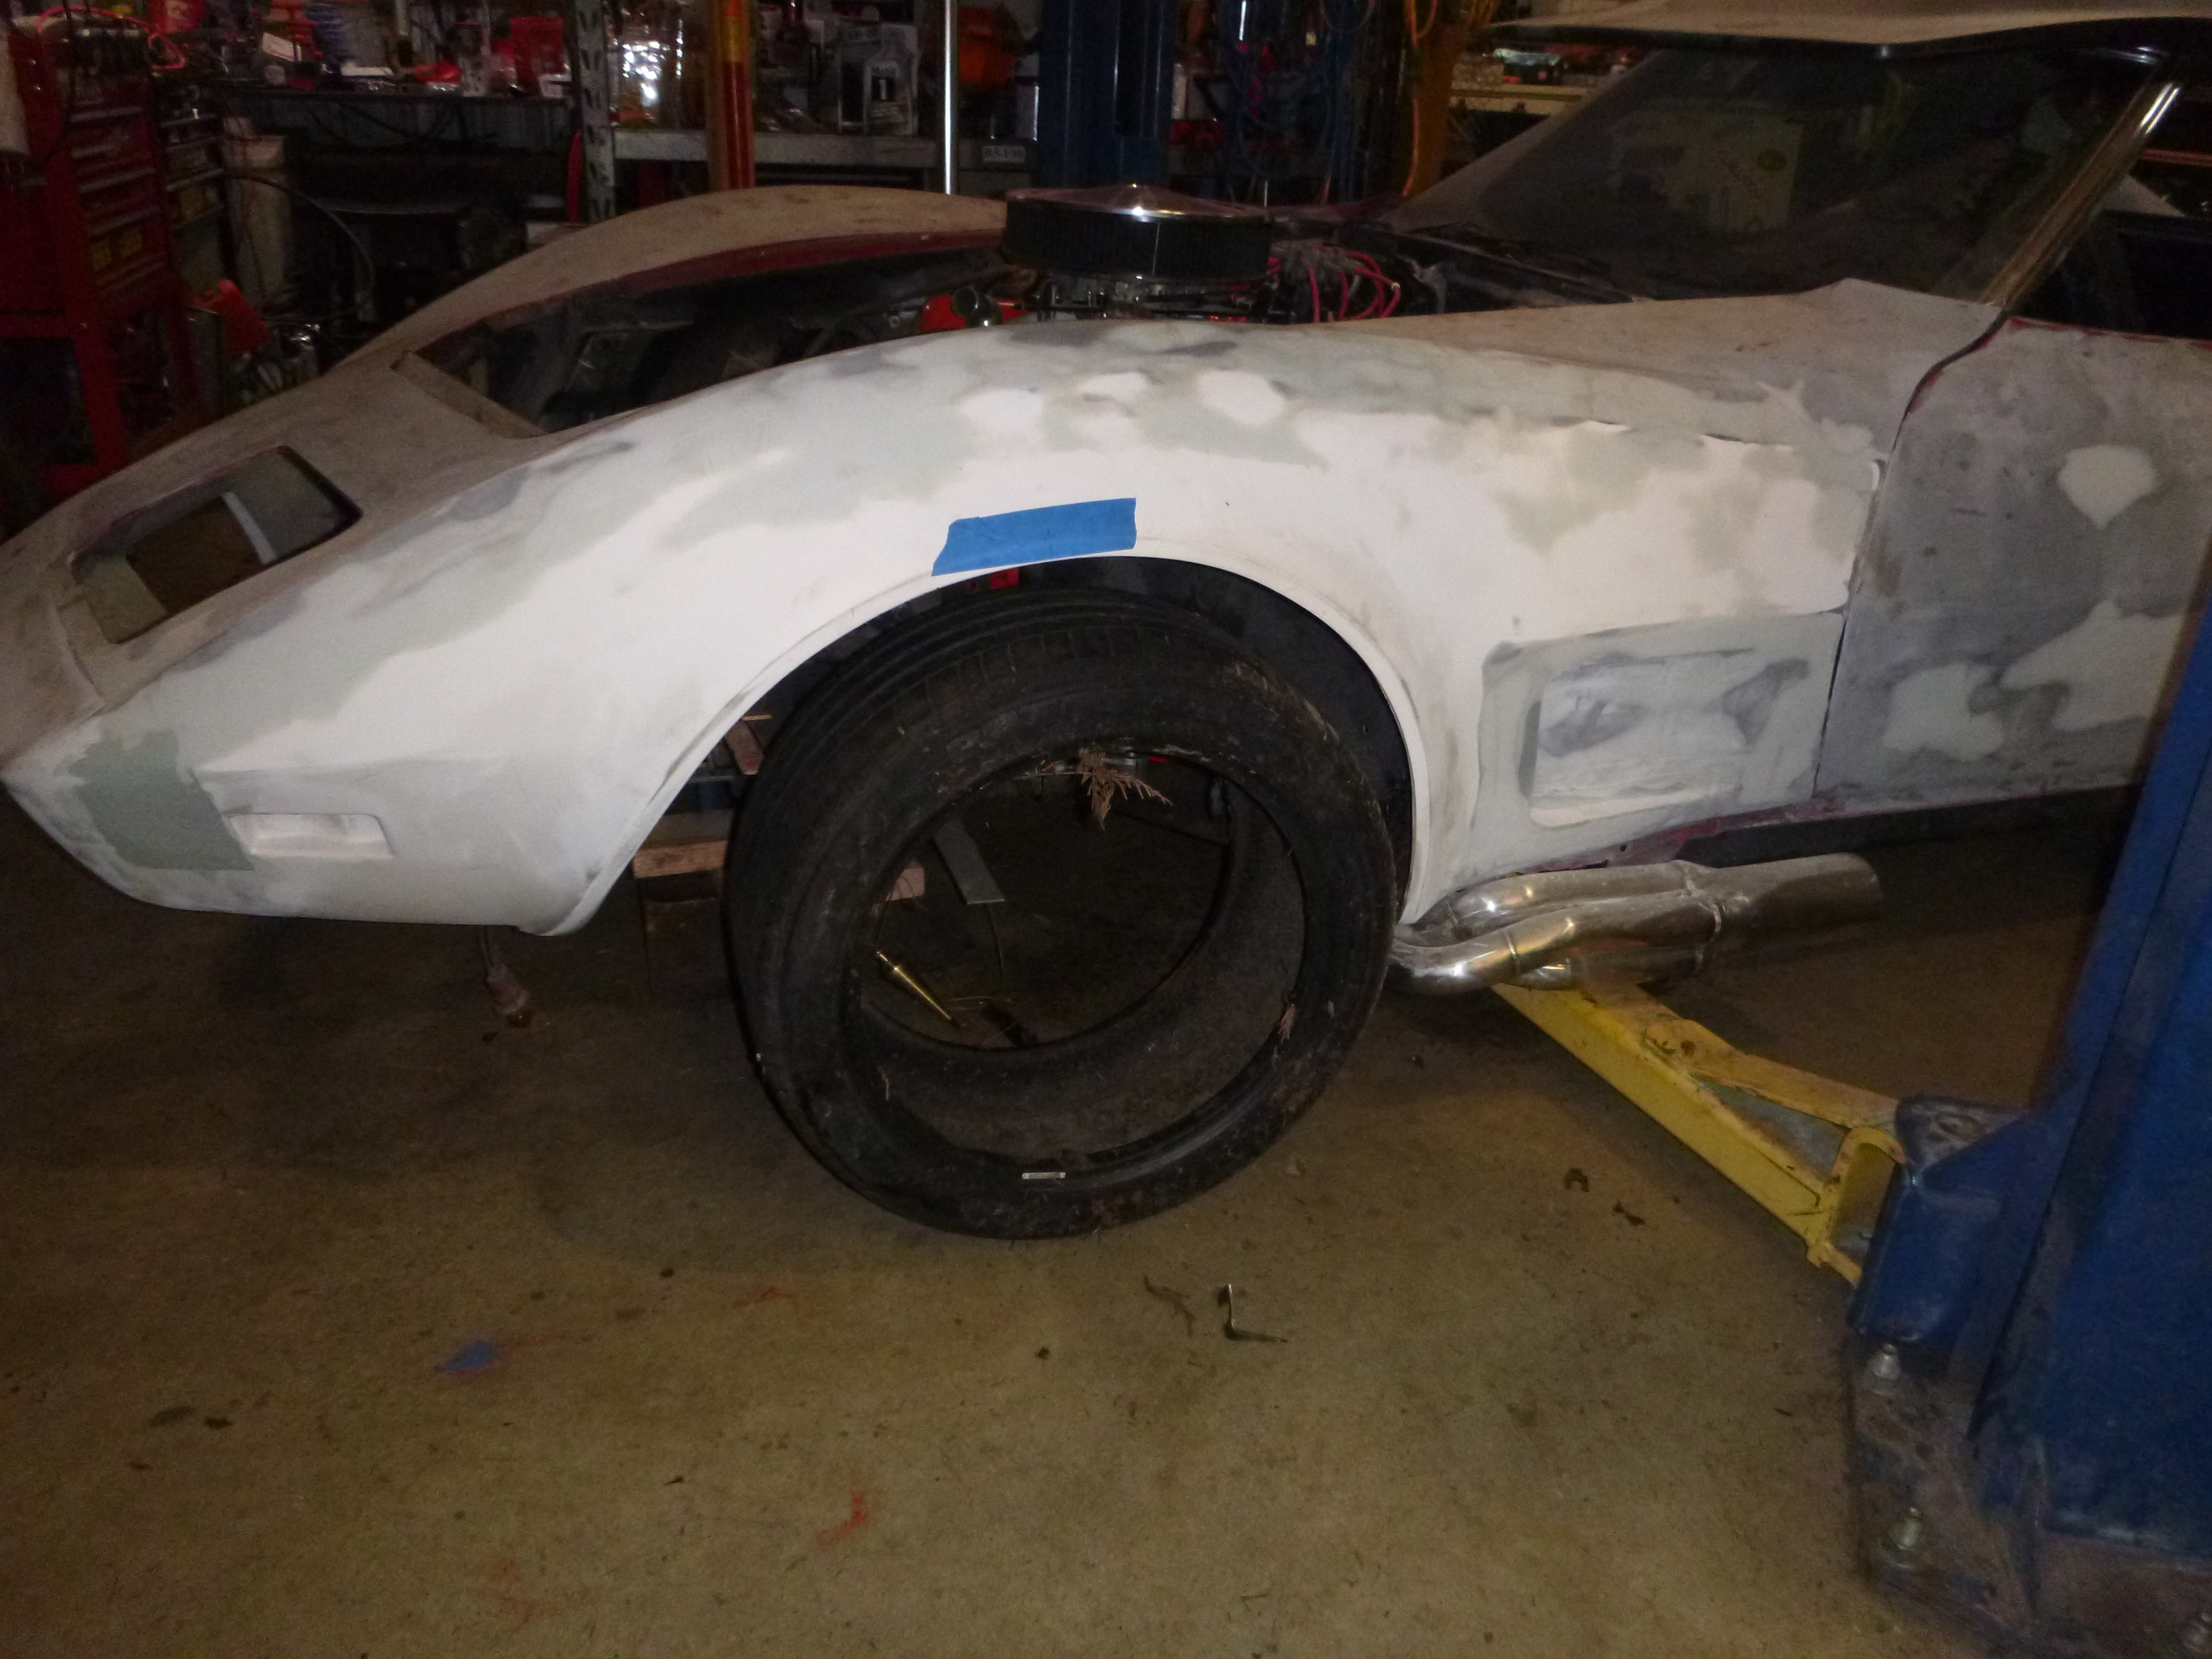
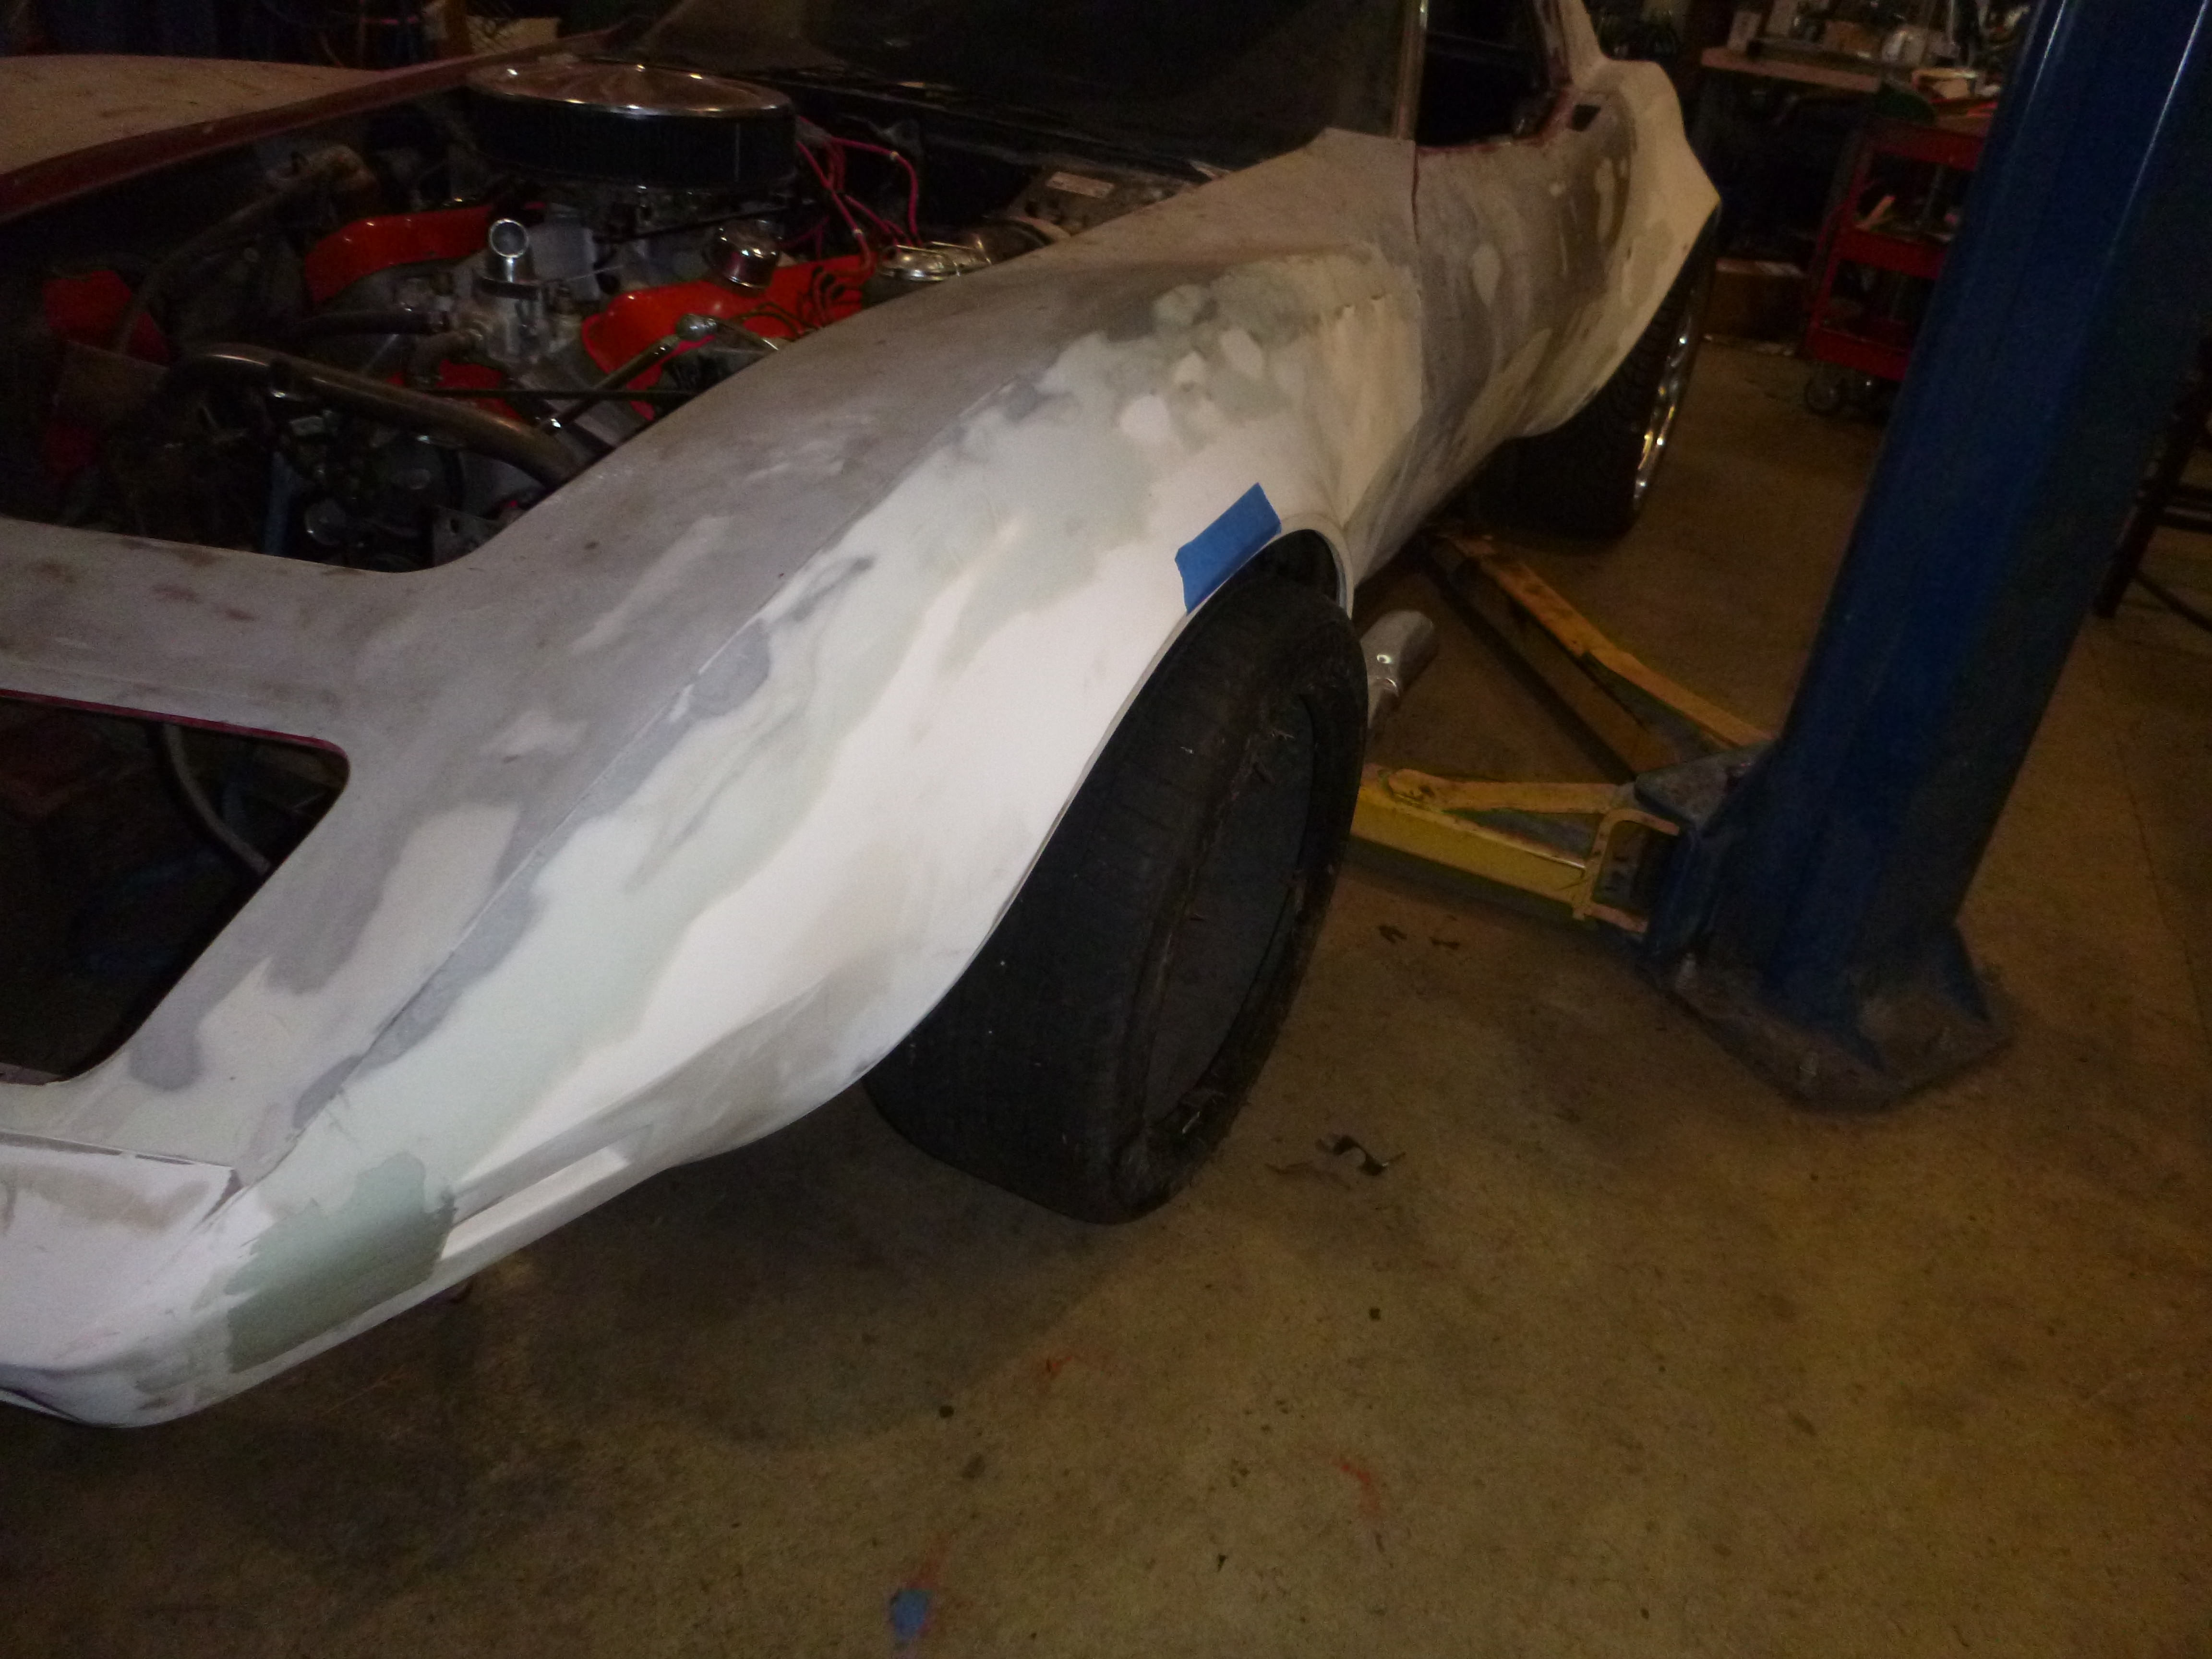
notice how the pivot and the ball joint are on different planes?
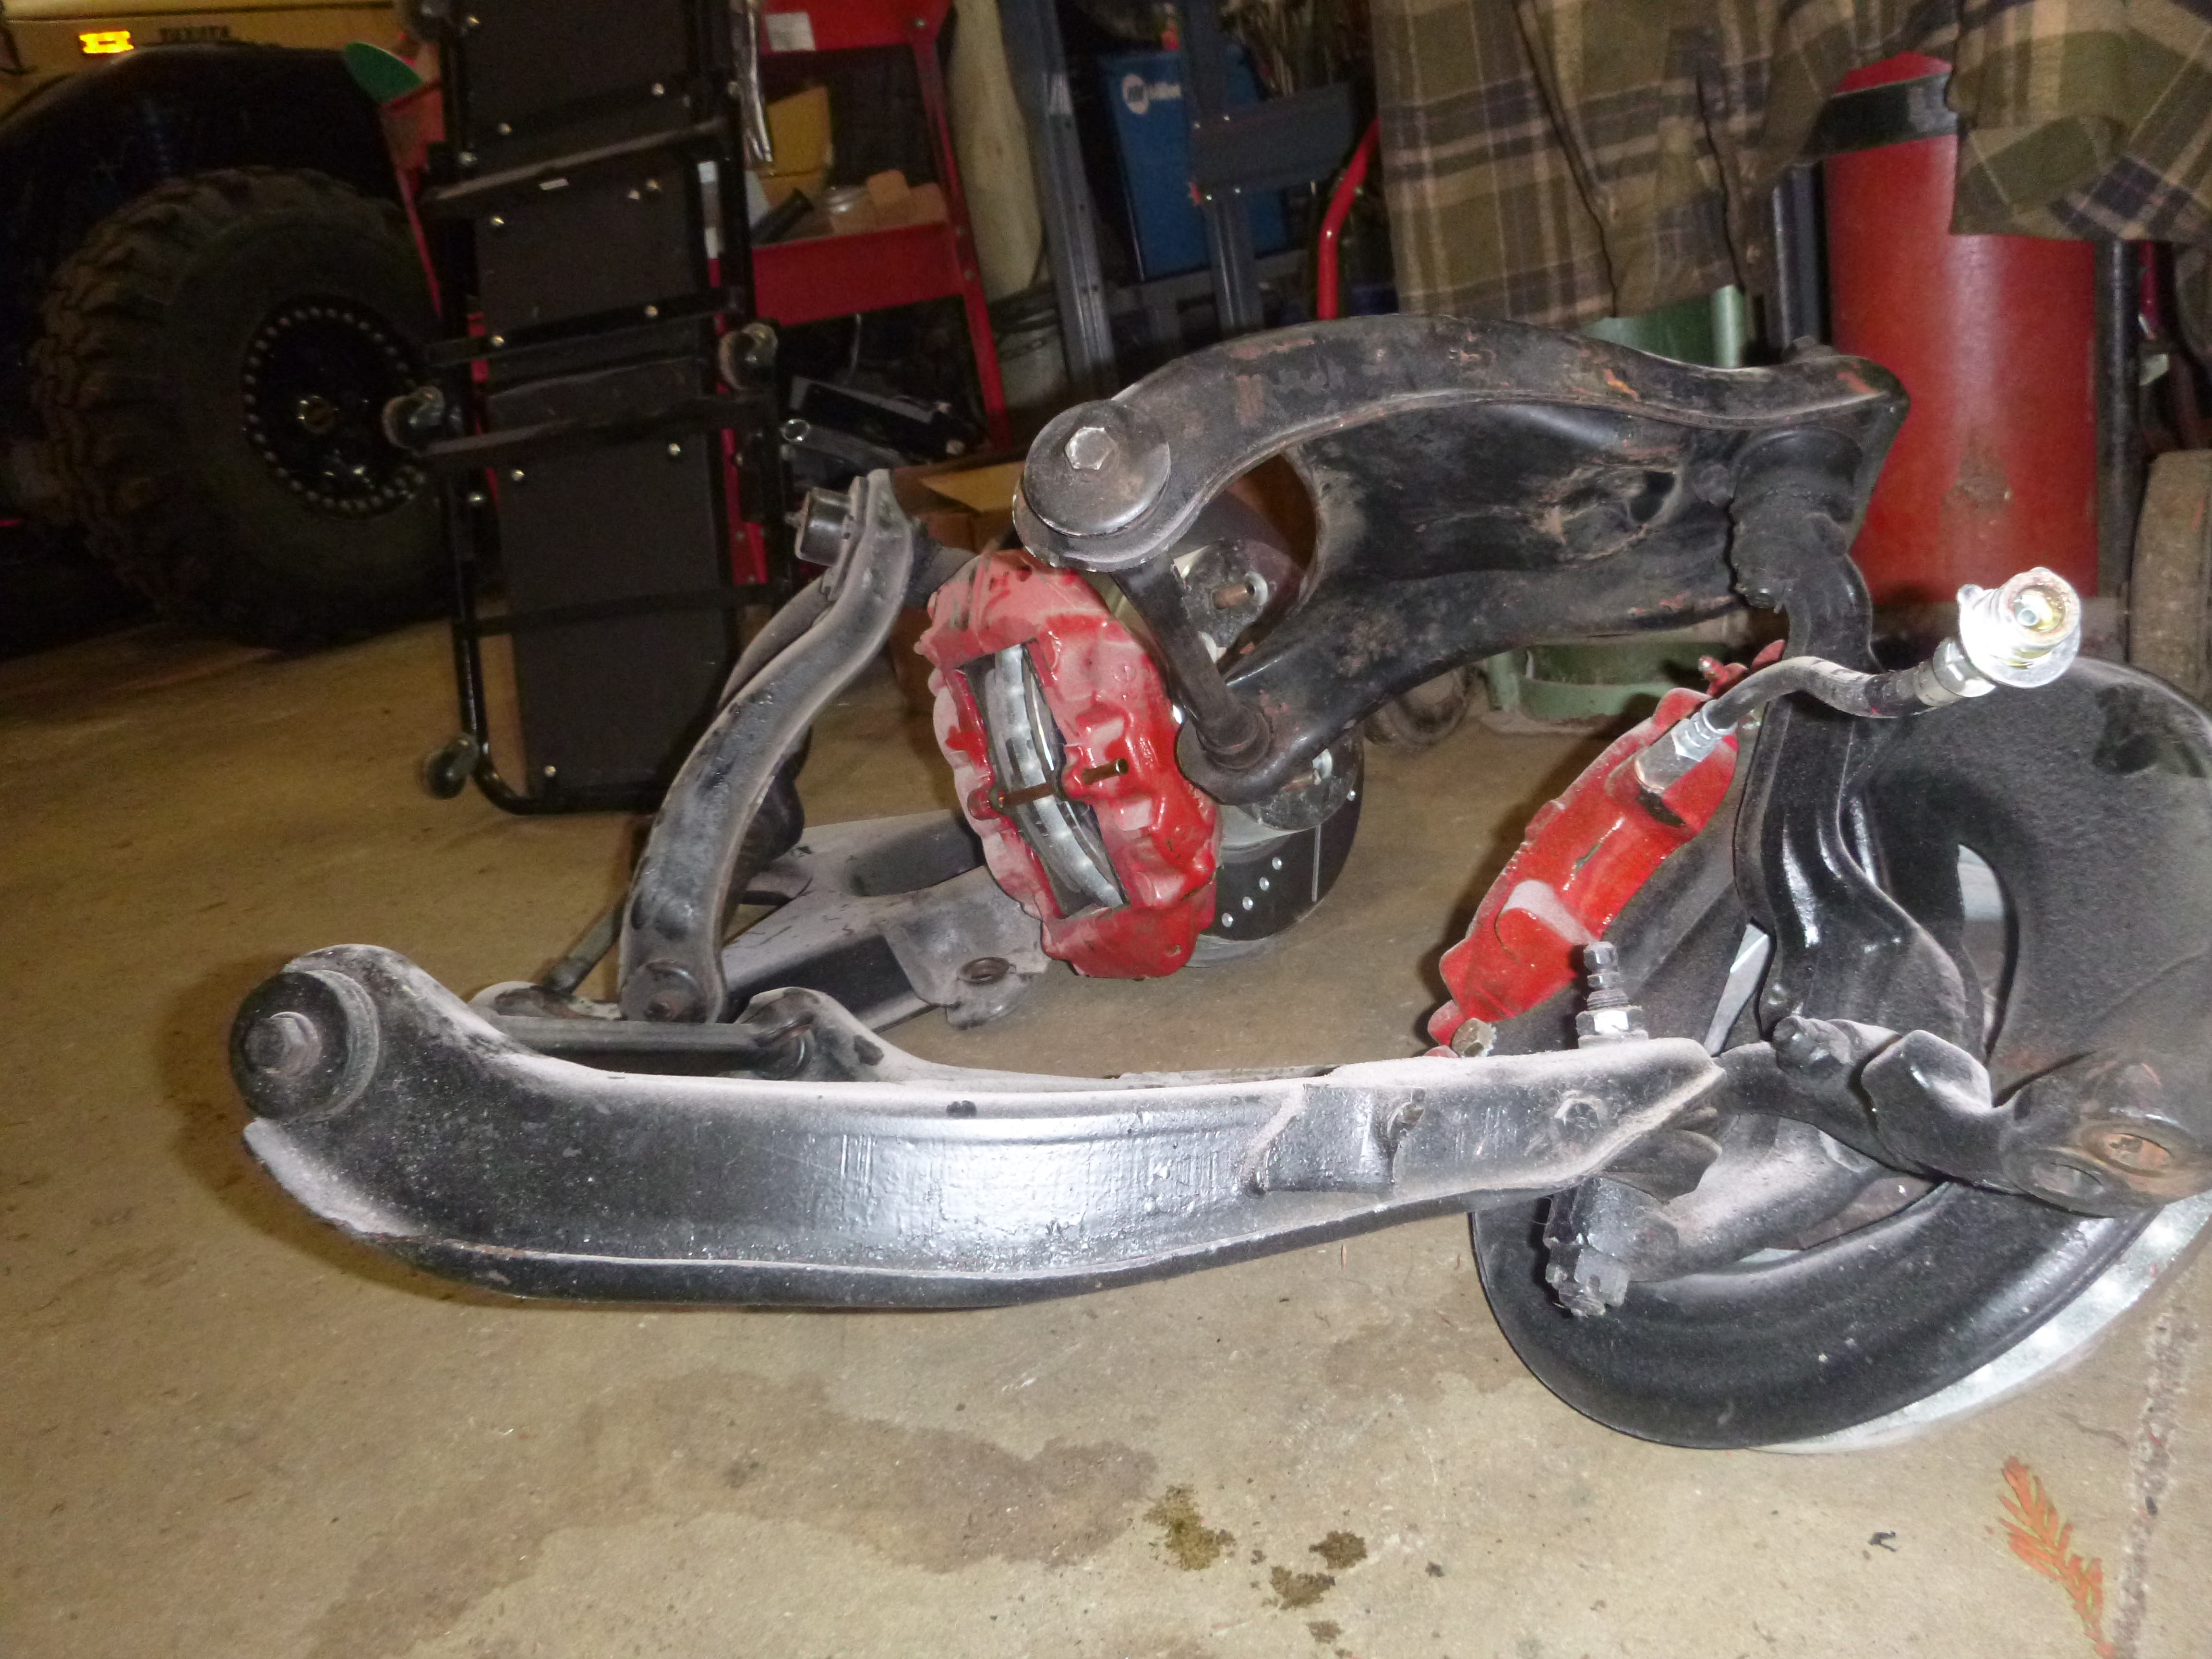
though the Russian judge will never give more score for it, the C5 has a different spindle height and different pivot plane
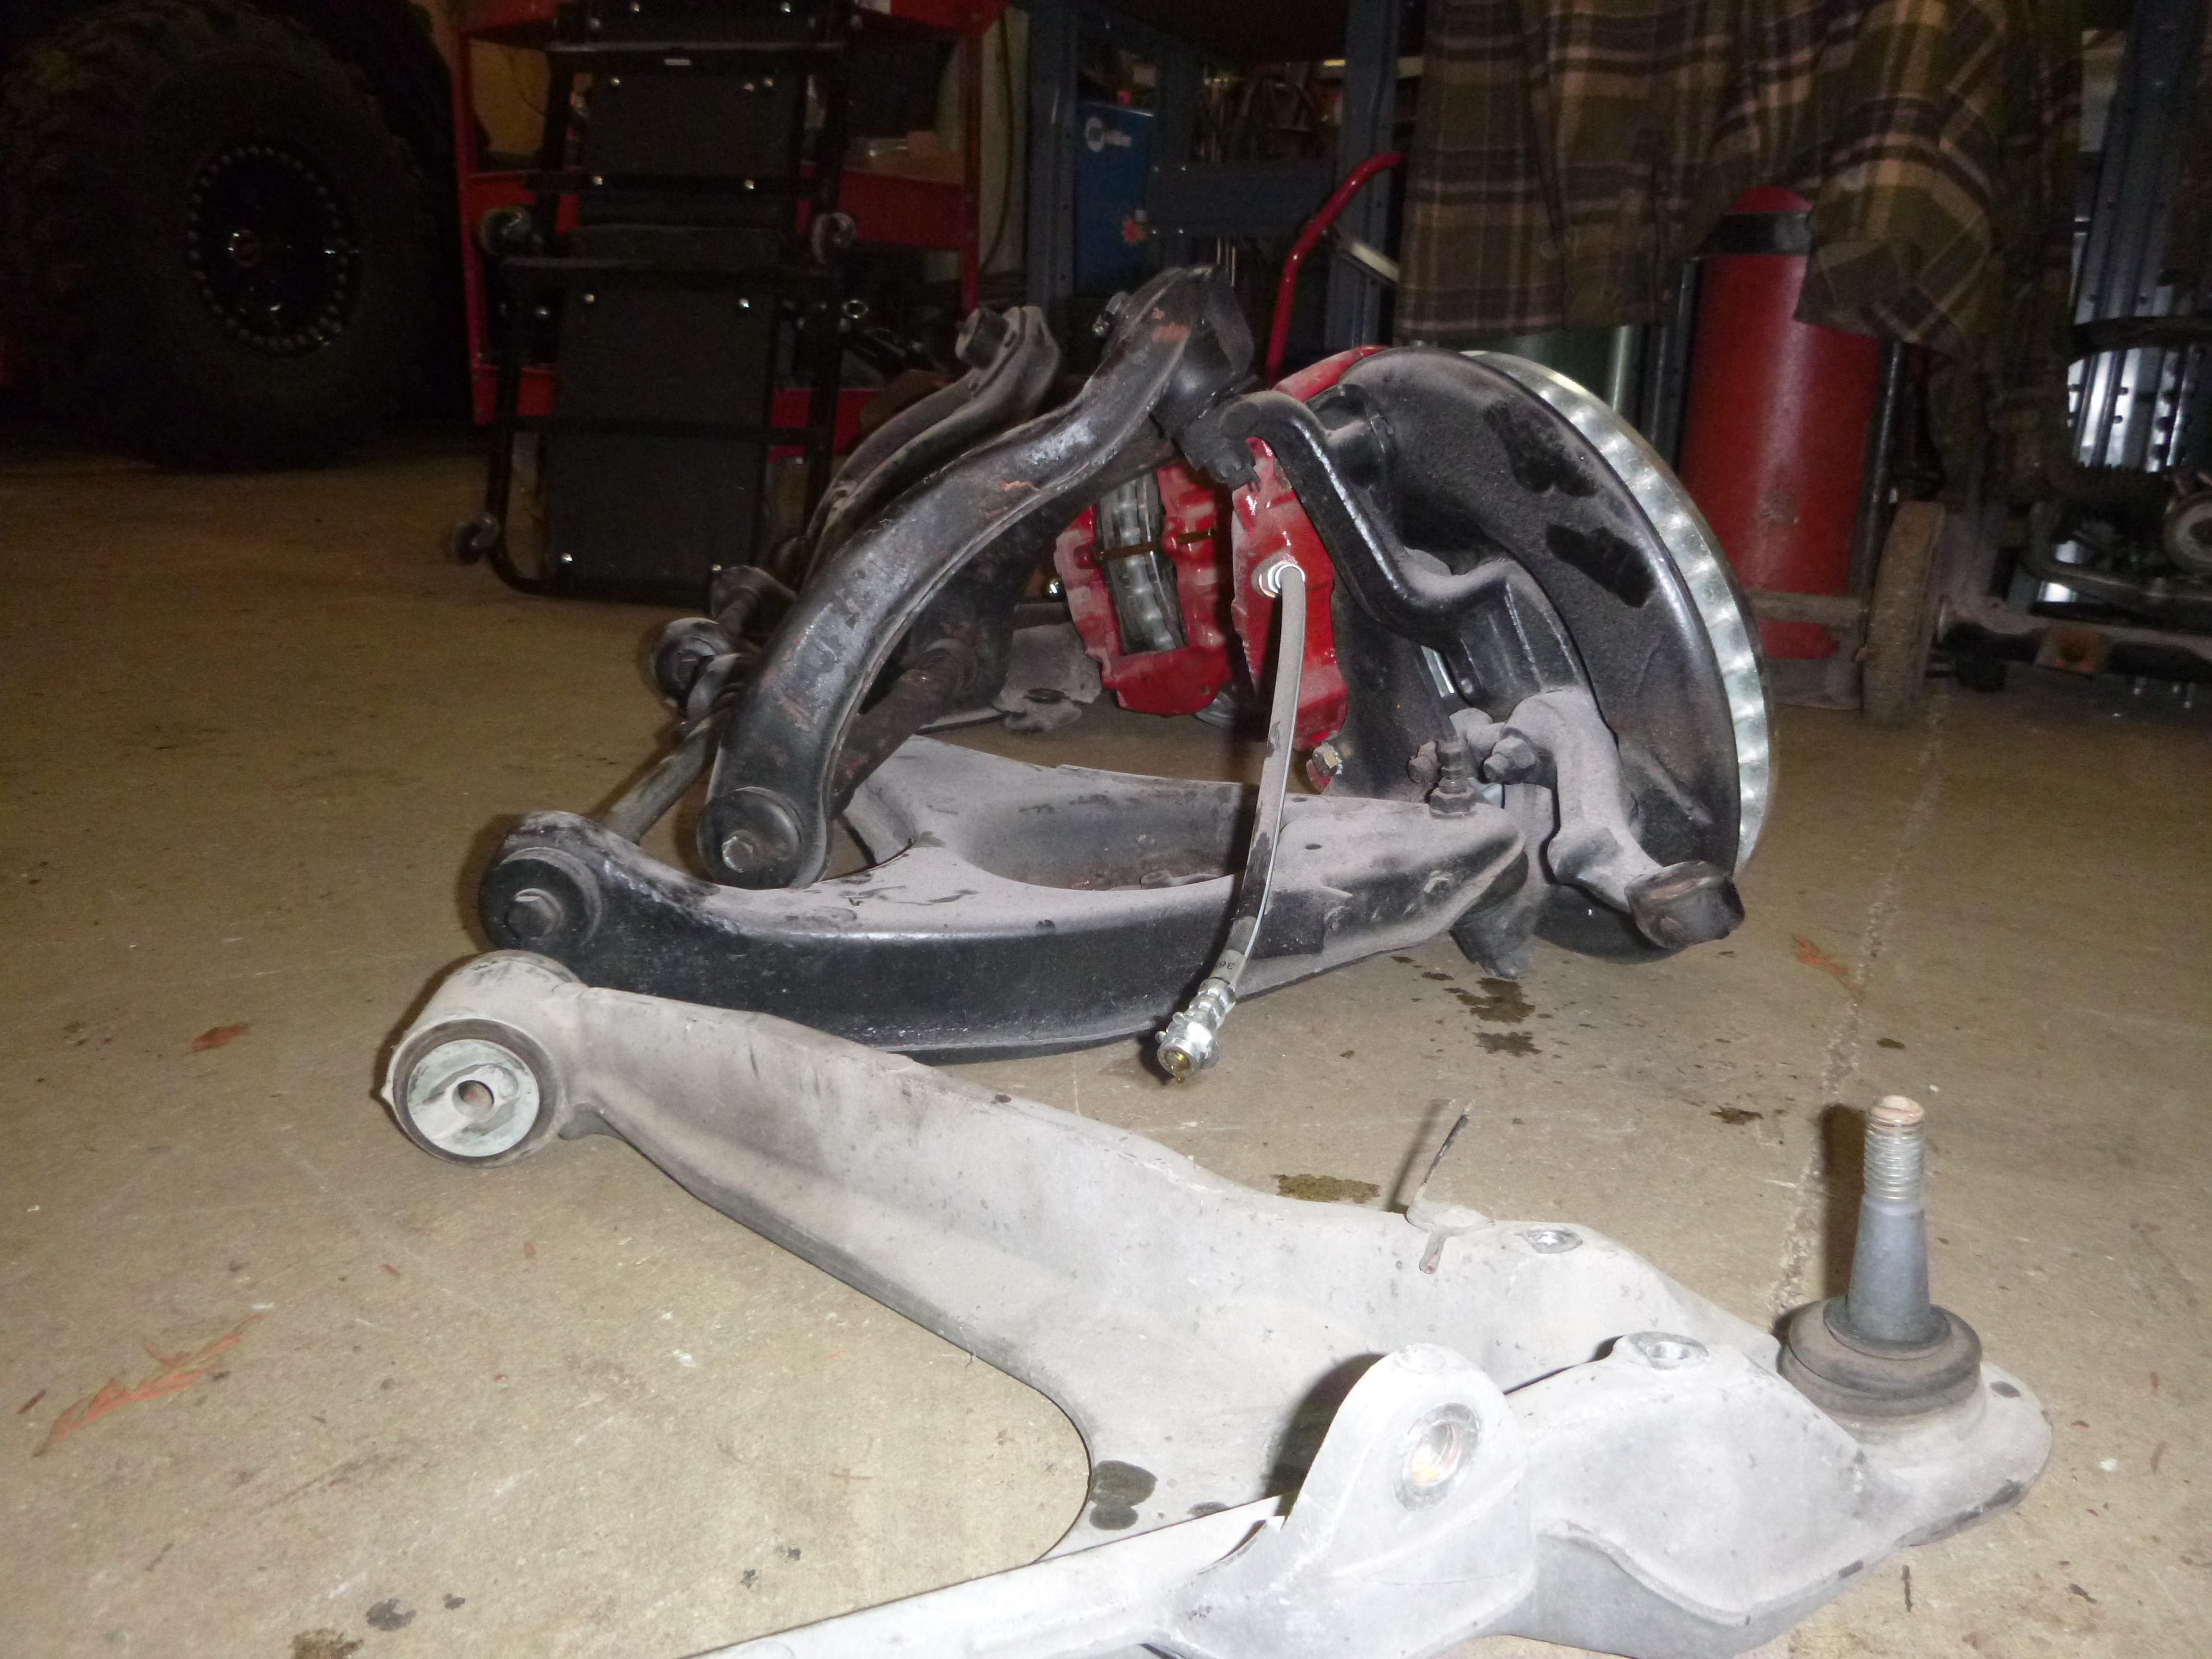
so let's eyeball the problem. the ball joint is about in the same place as the C3 pivot would be..... only difference is the center of the hub is 20" away from the fender vs. the 16 or so that's stock
so time to move the frame into the frame
first cuts
chopped
time to weld a brace in place
chopped again
now things can move up
and it needs to move back a bit
notice how the pivot and the ball joint are on different planes?
though the Russian judge will never give more score for it, the C5 has a different spindle height and different pivot plane
so let's eyeball the problem. the ball joint is about in the same place as the C3 pivot would be..... only difference is the center of the hub is 20" away from the fender vs. the 16 or so that's stock
so time to move the frame into the frame
first cuts
chopped
time to weld a brace in place
chopped again
now things can move up
and it needs to move back a bit
The following users liked this post:
Metalhead140 (10-10-2018)
 10-12-2018, 10:08 AM
#196
Melting Slicks
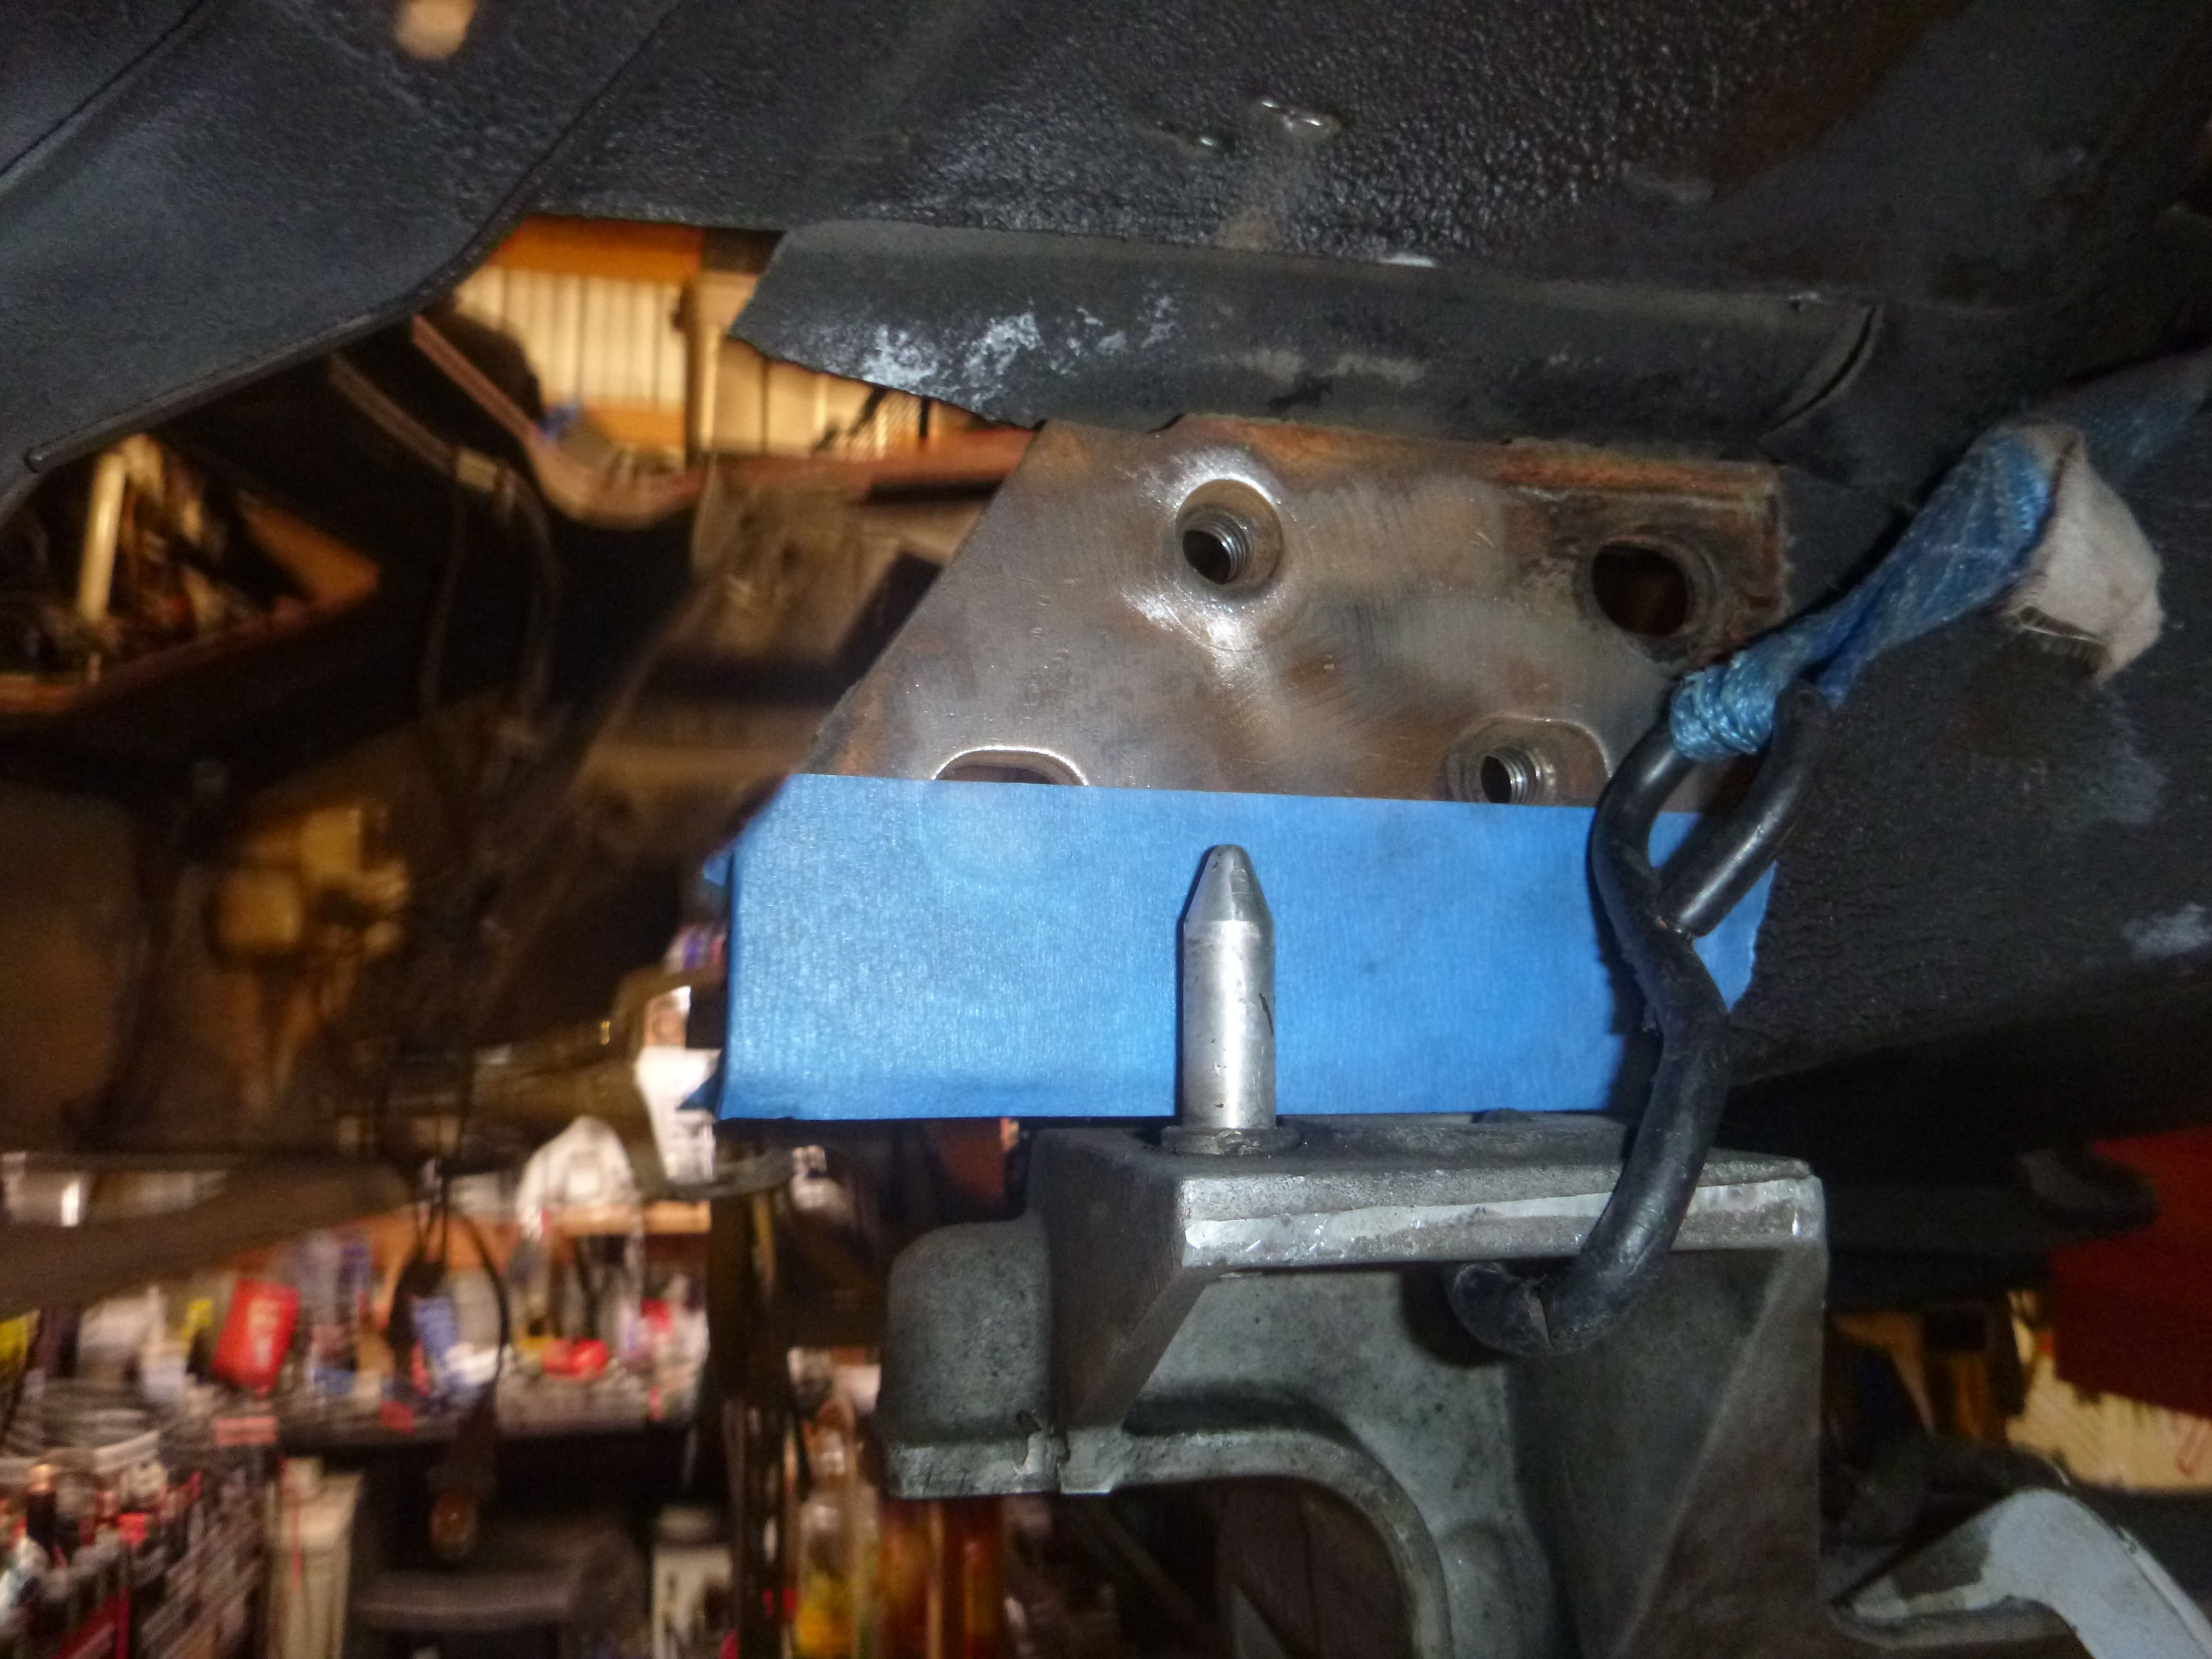
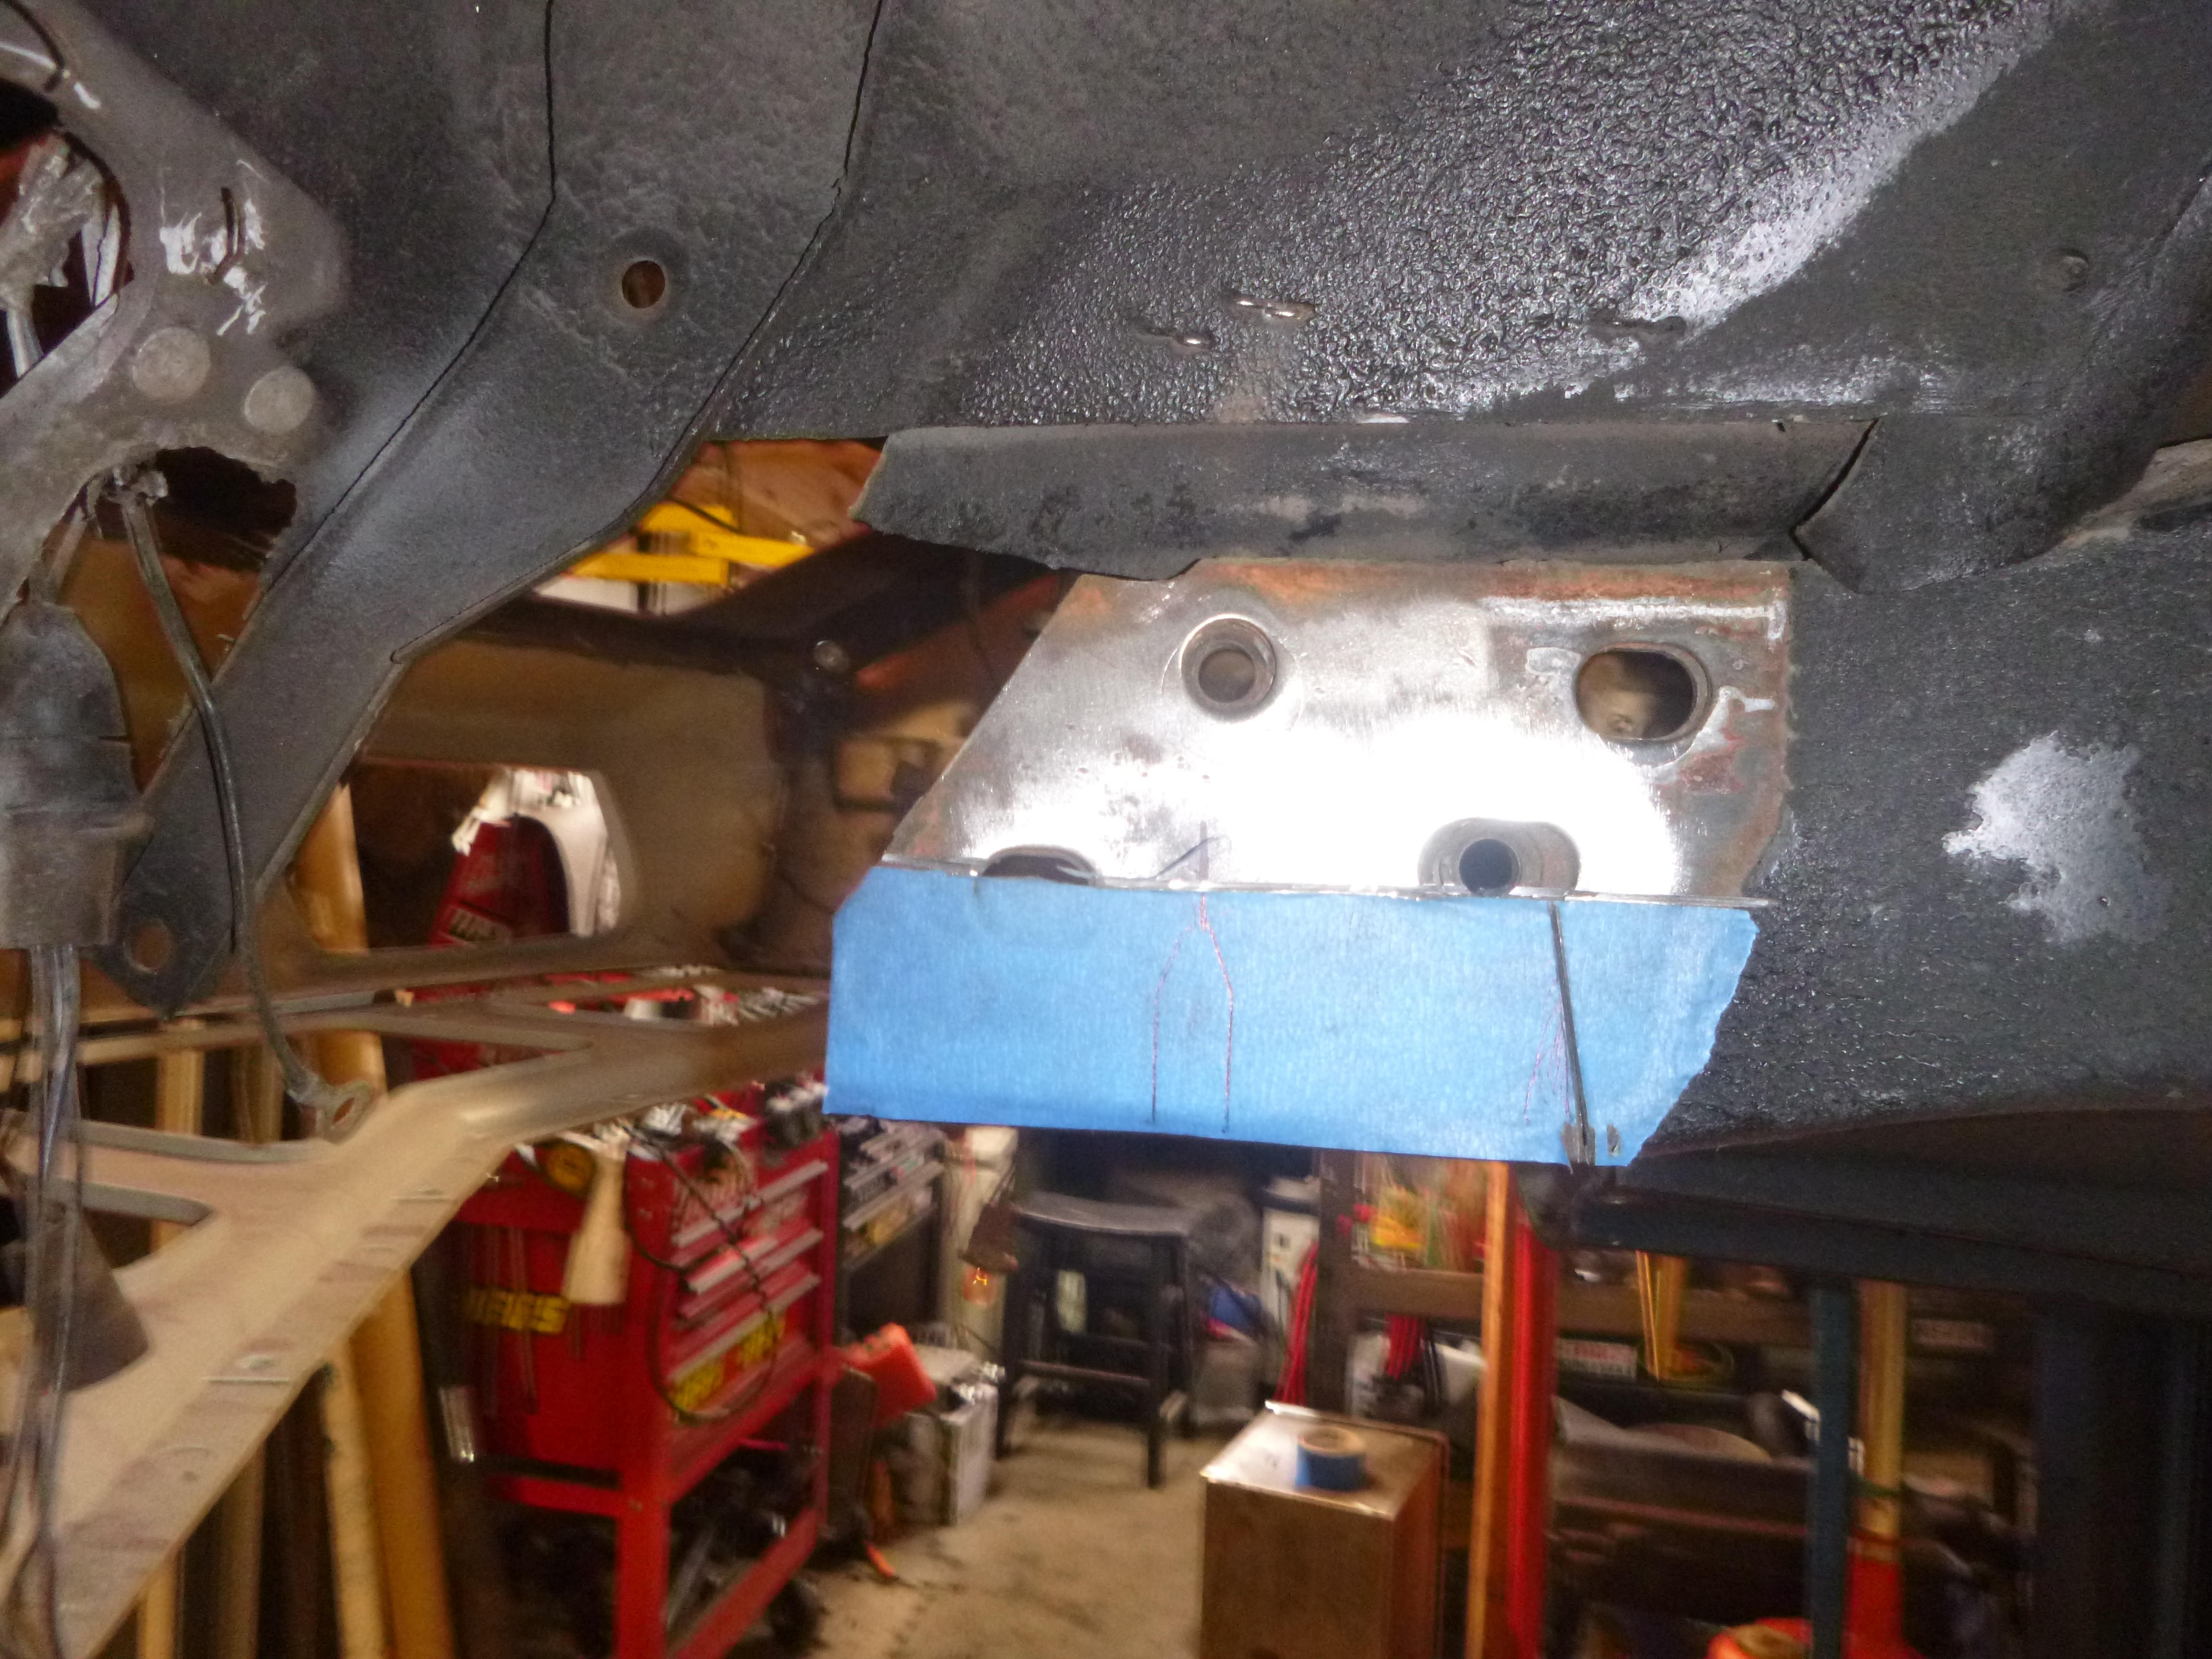
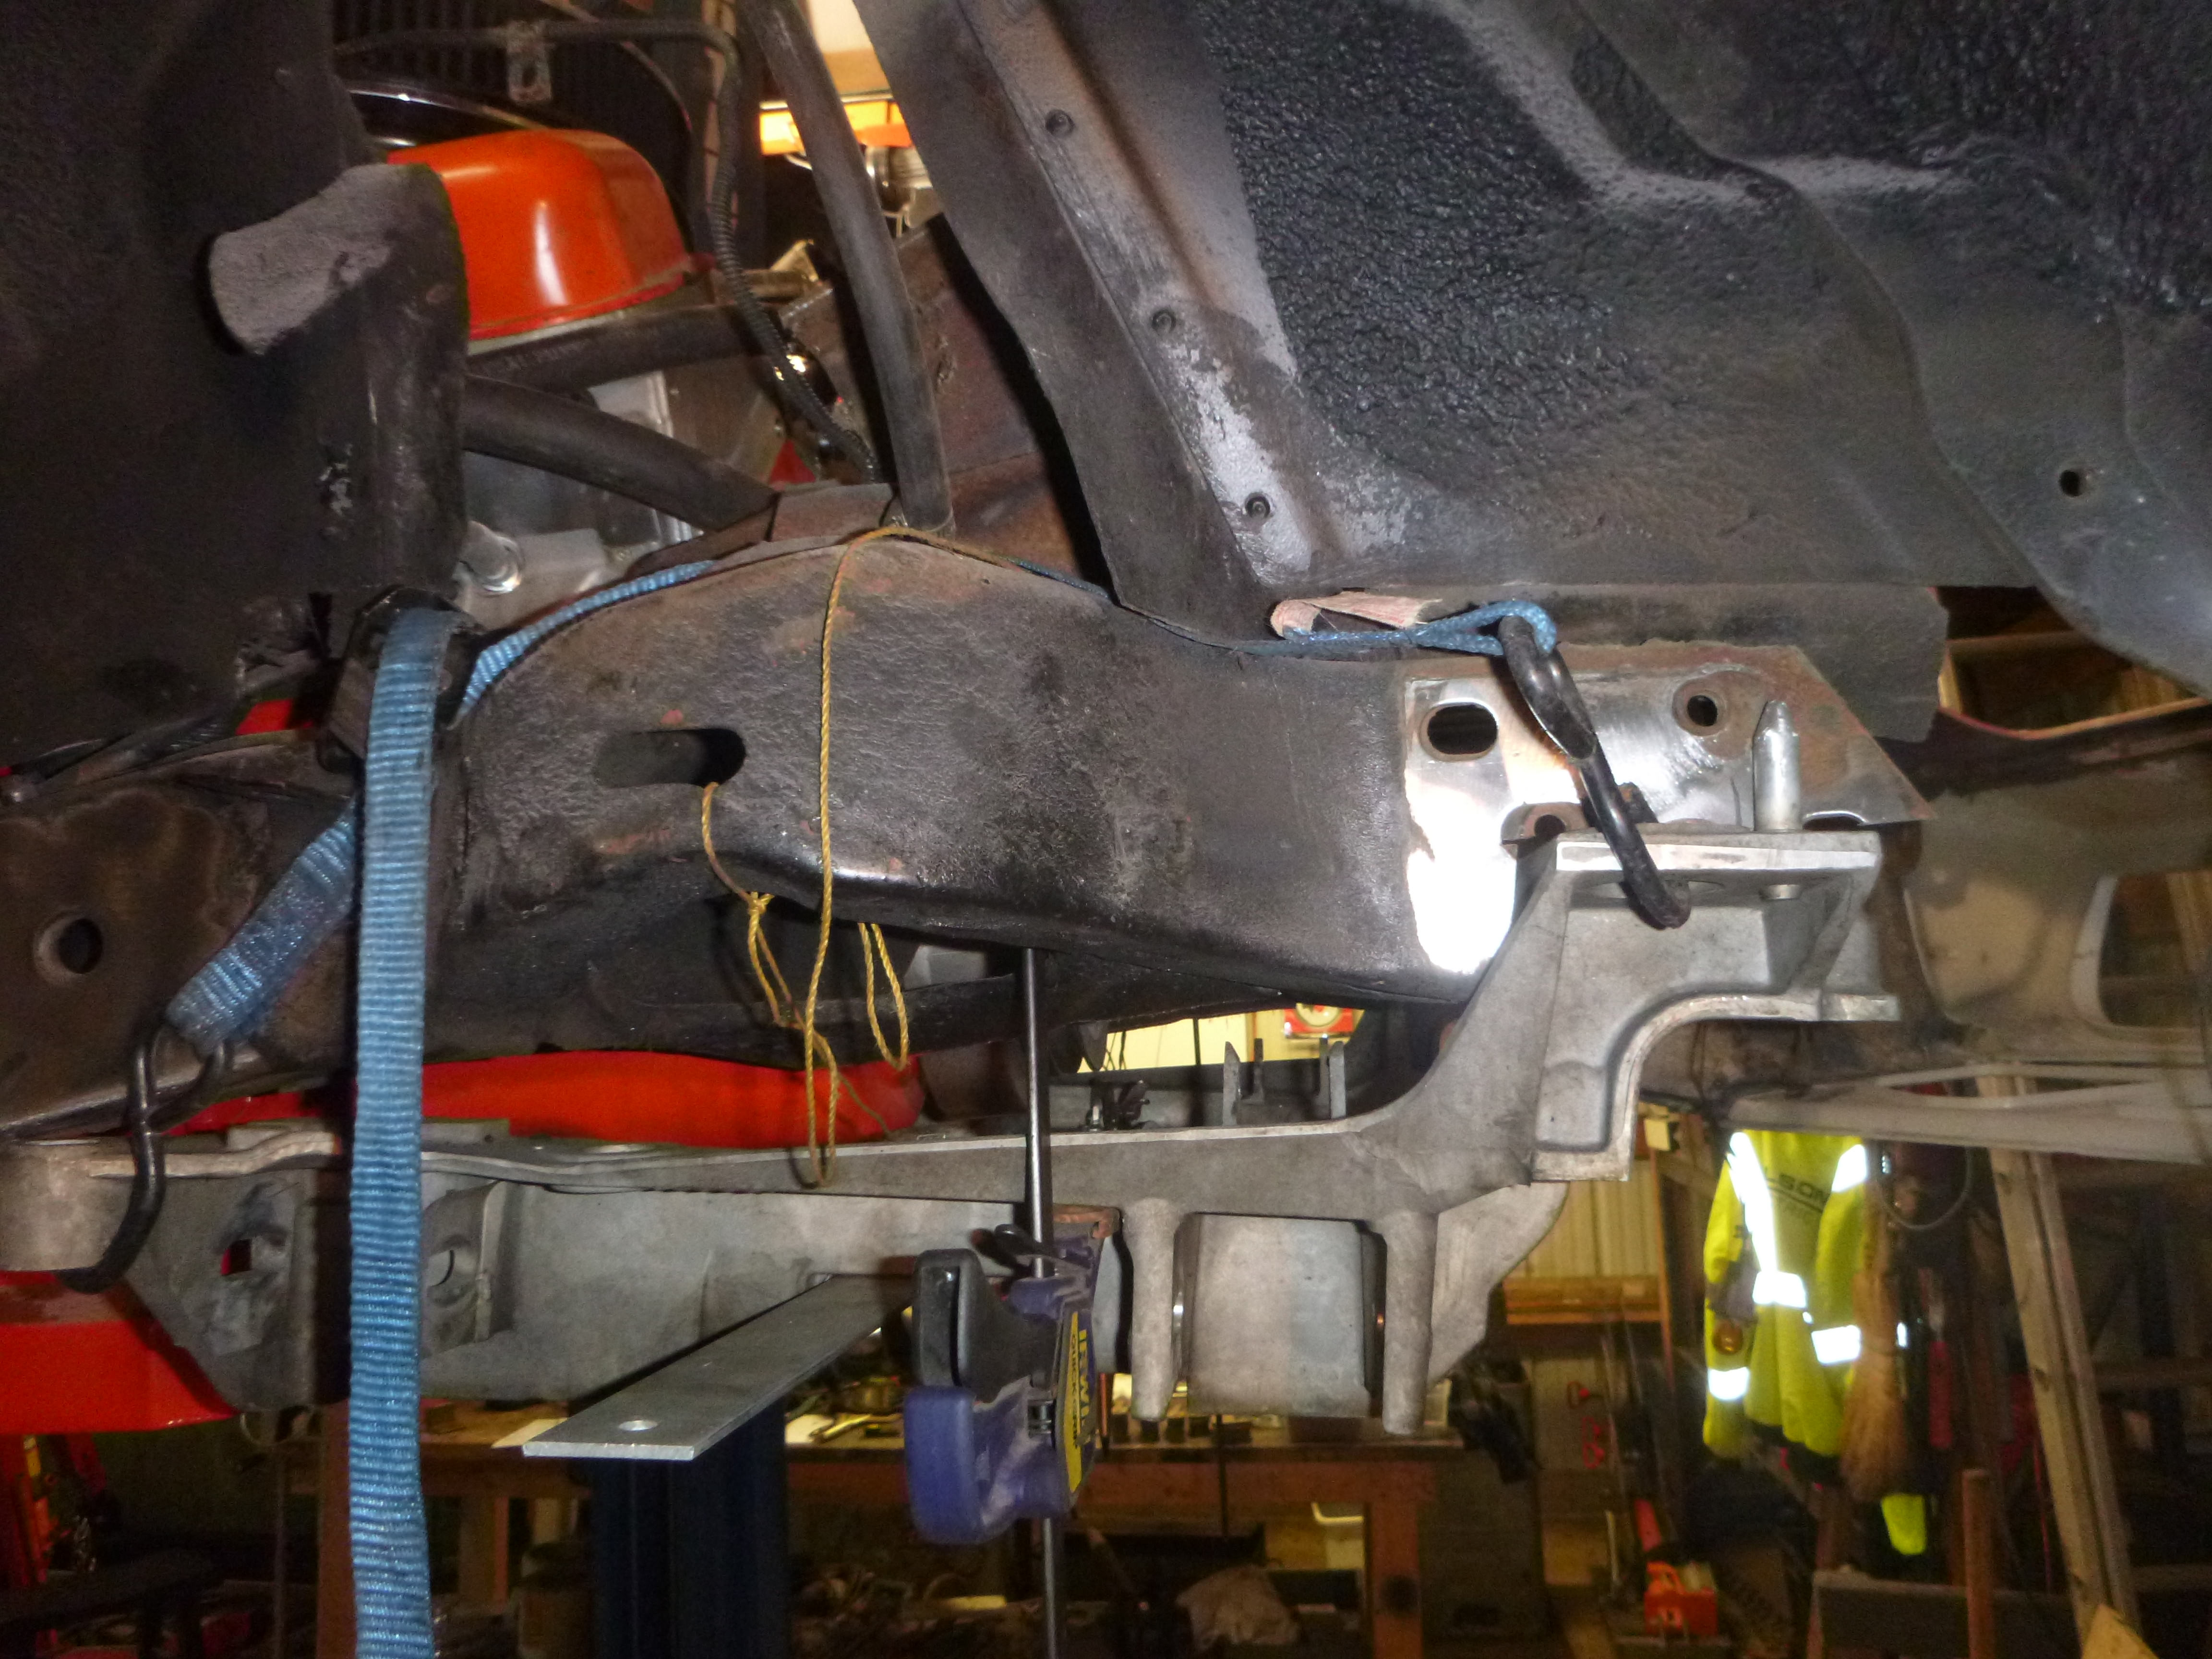
so to more detail.
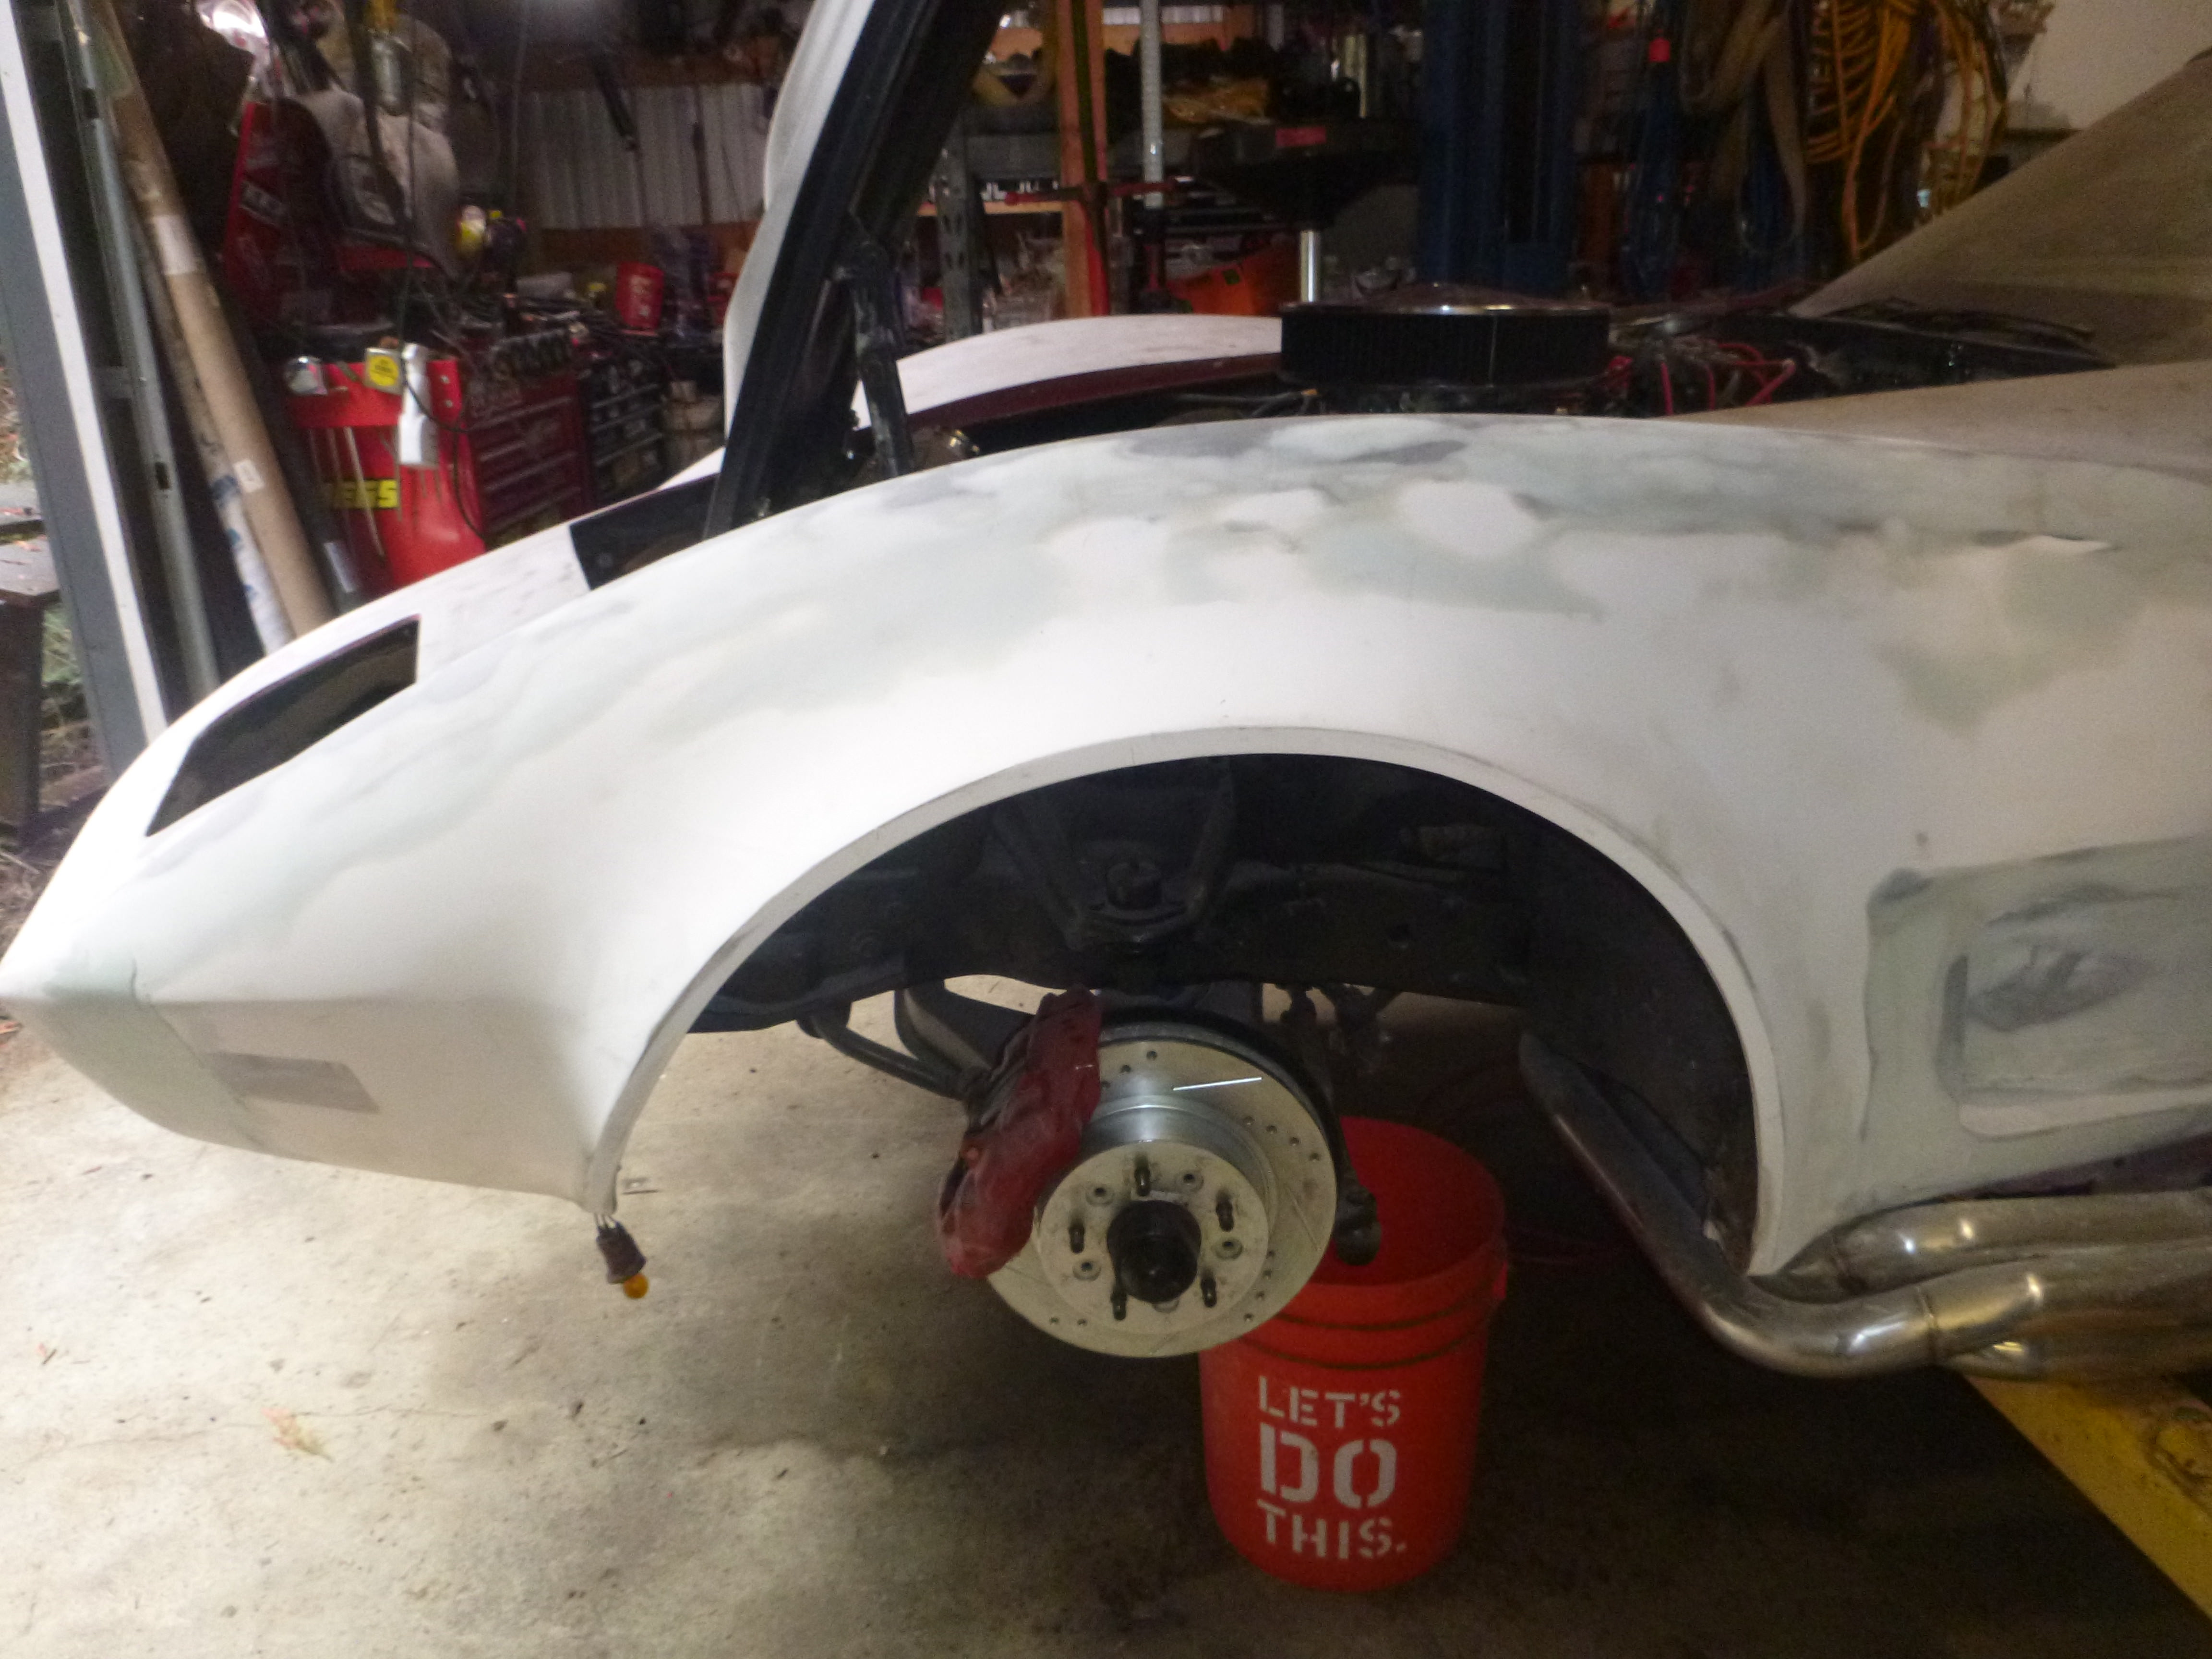
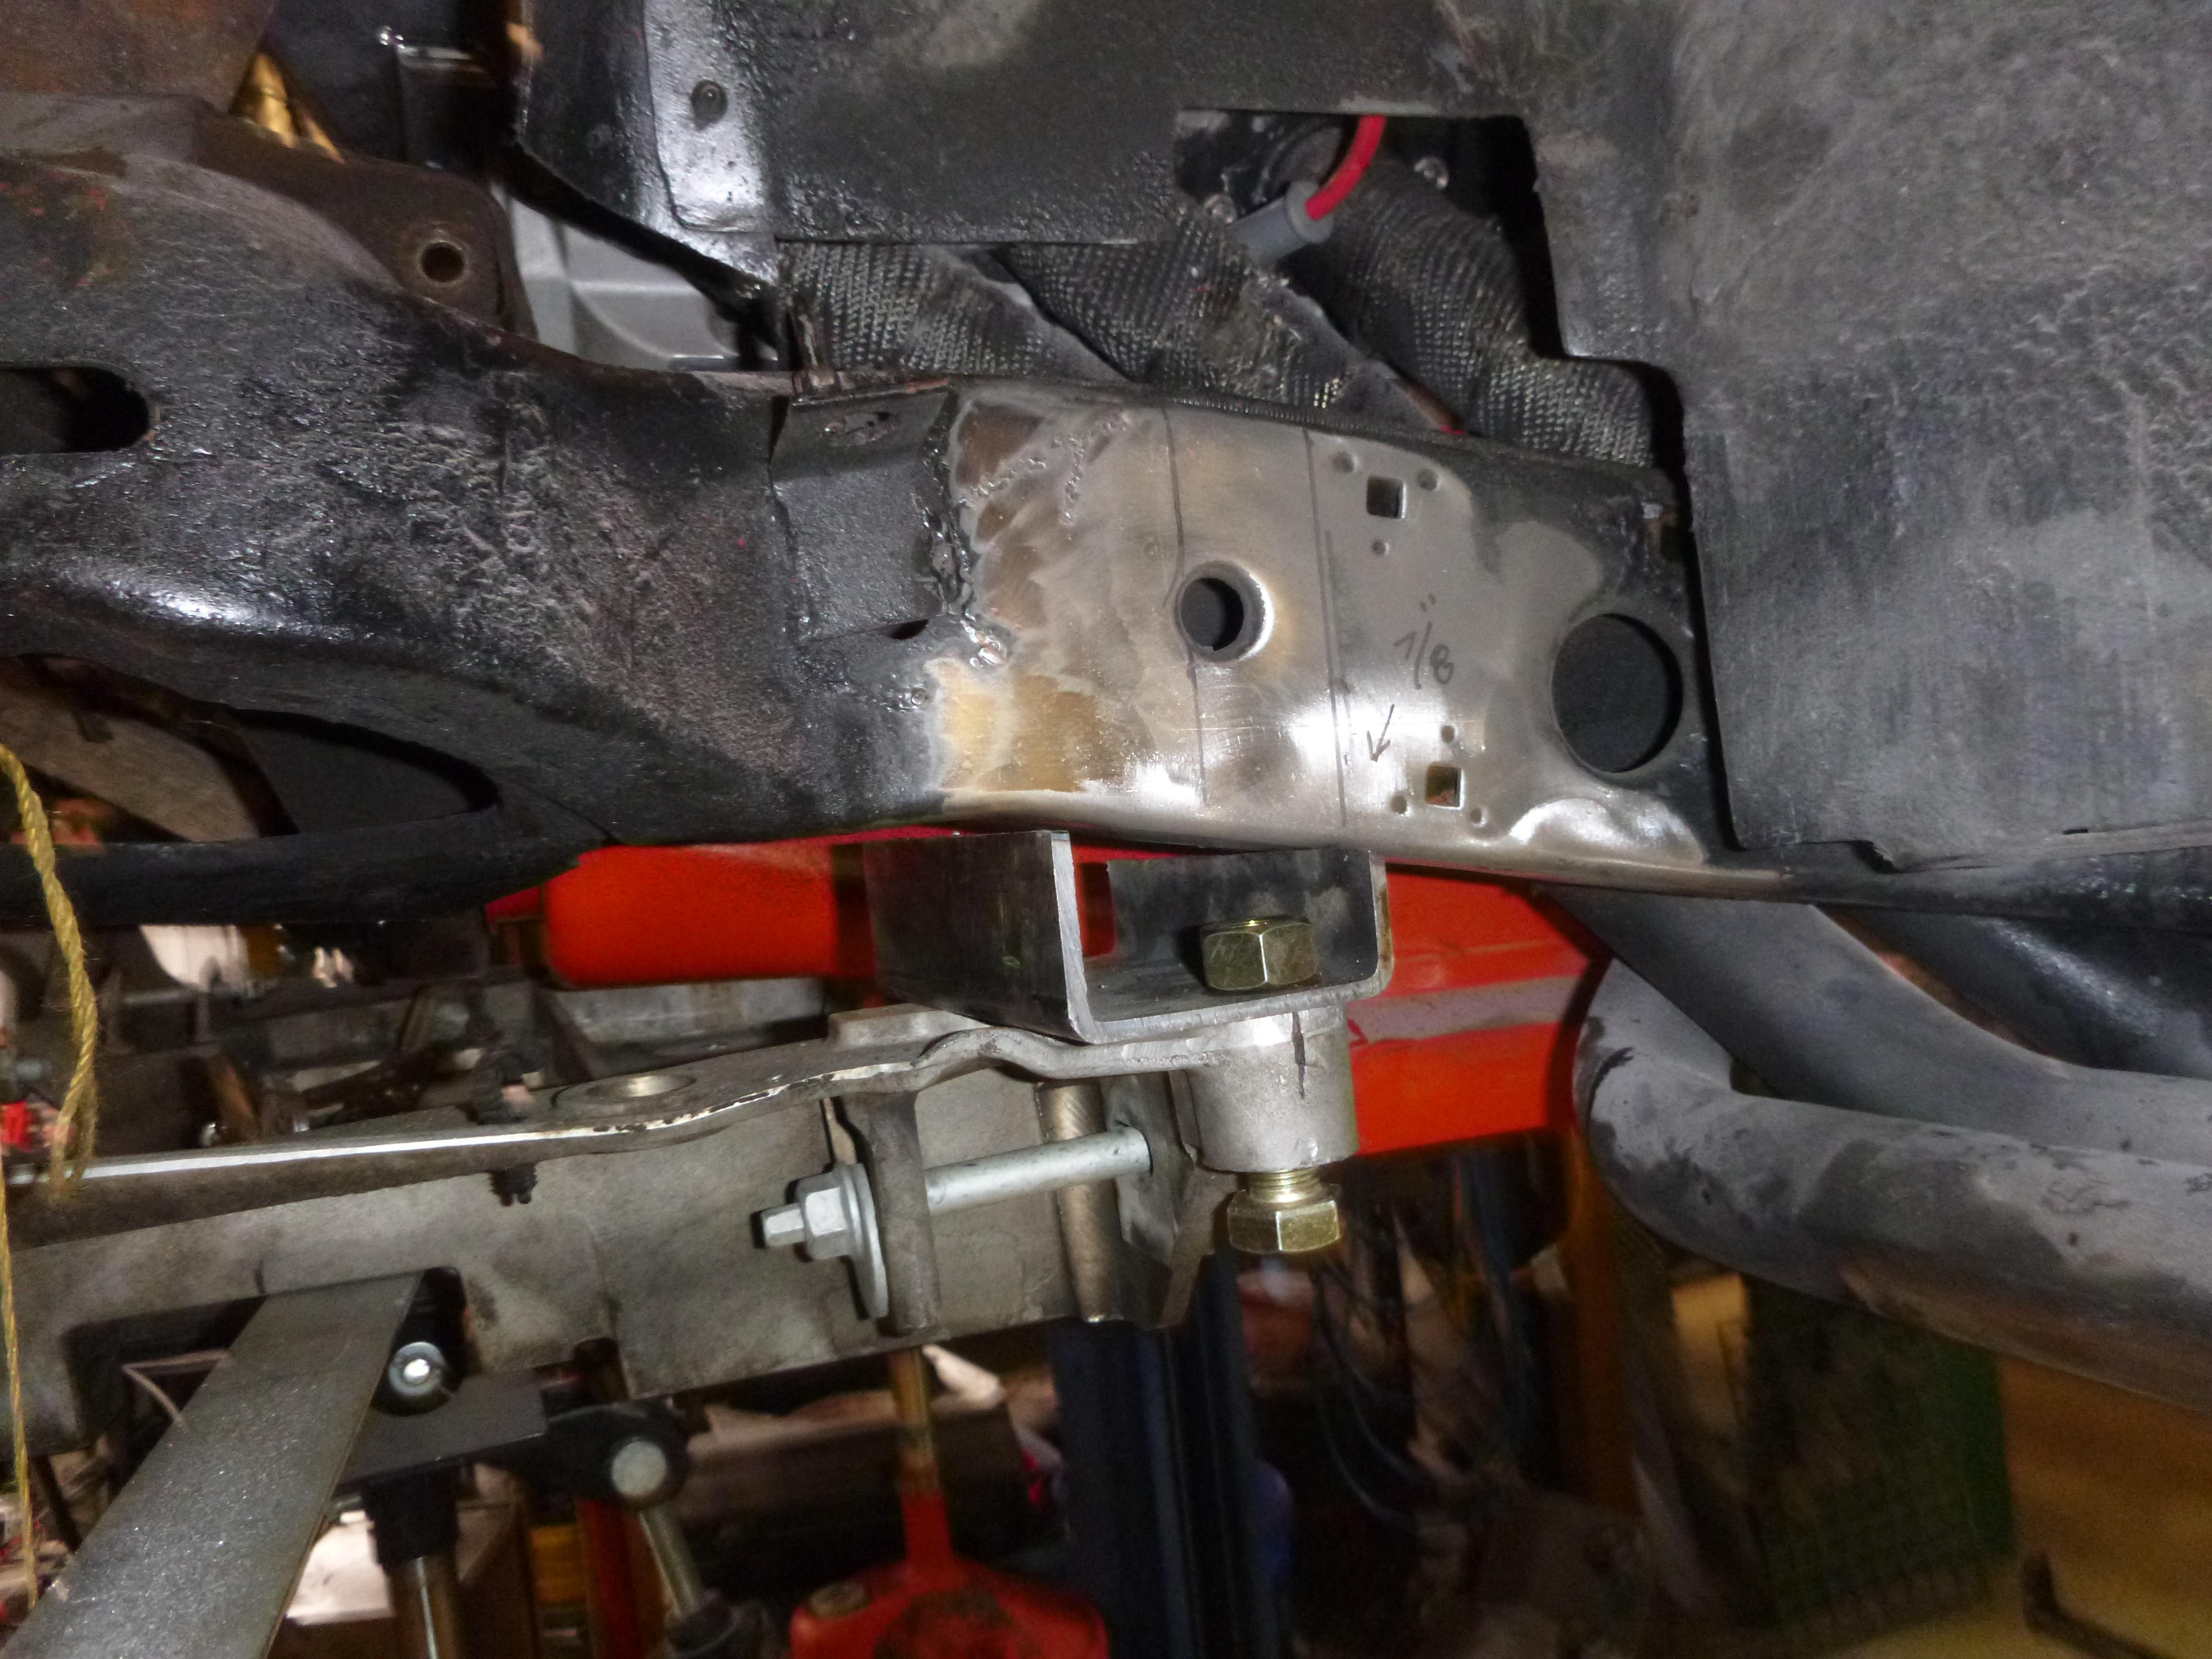
last night I got it more centered - look at the front, bumper bolt hole
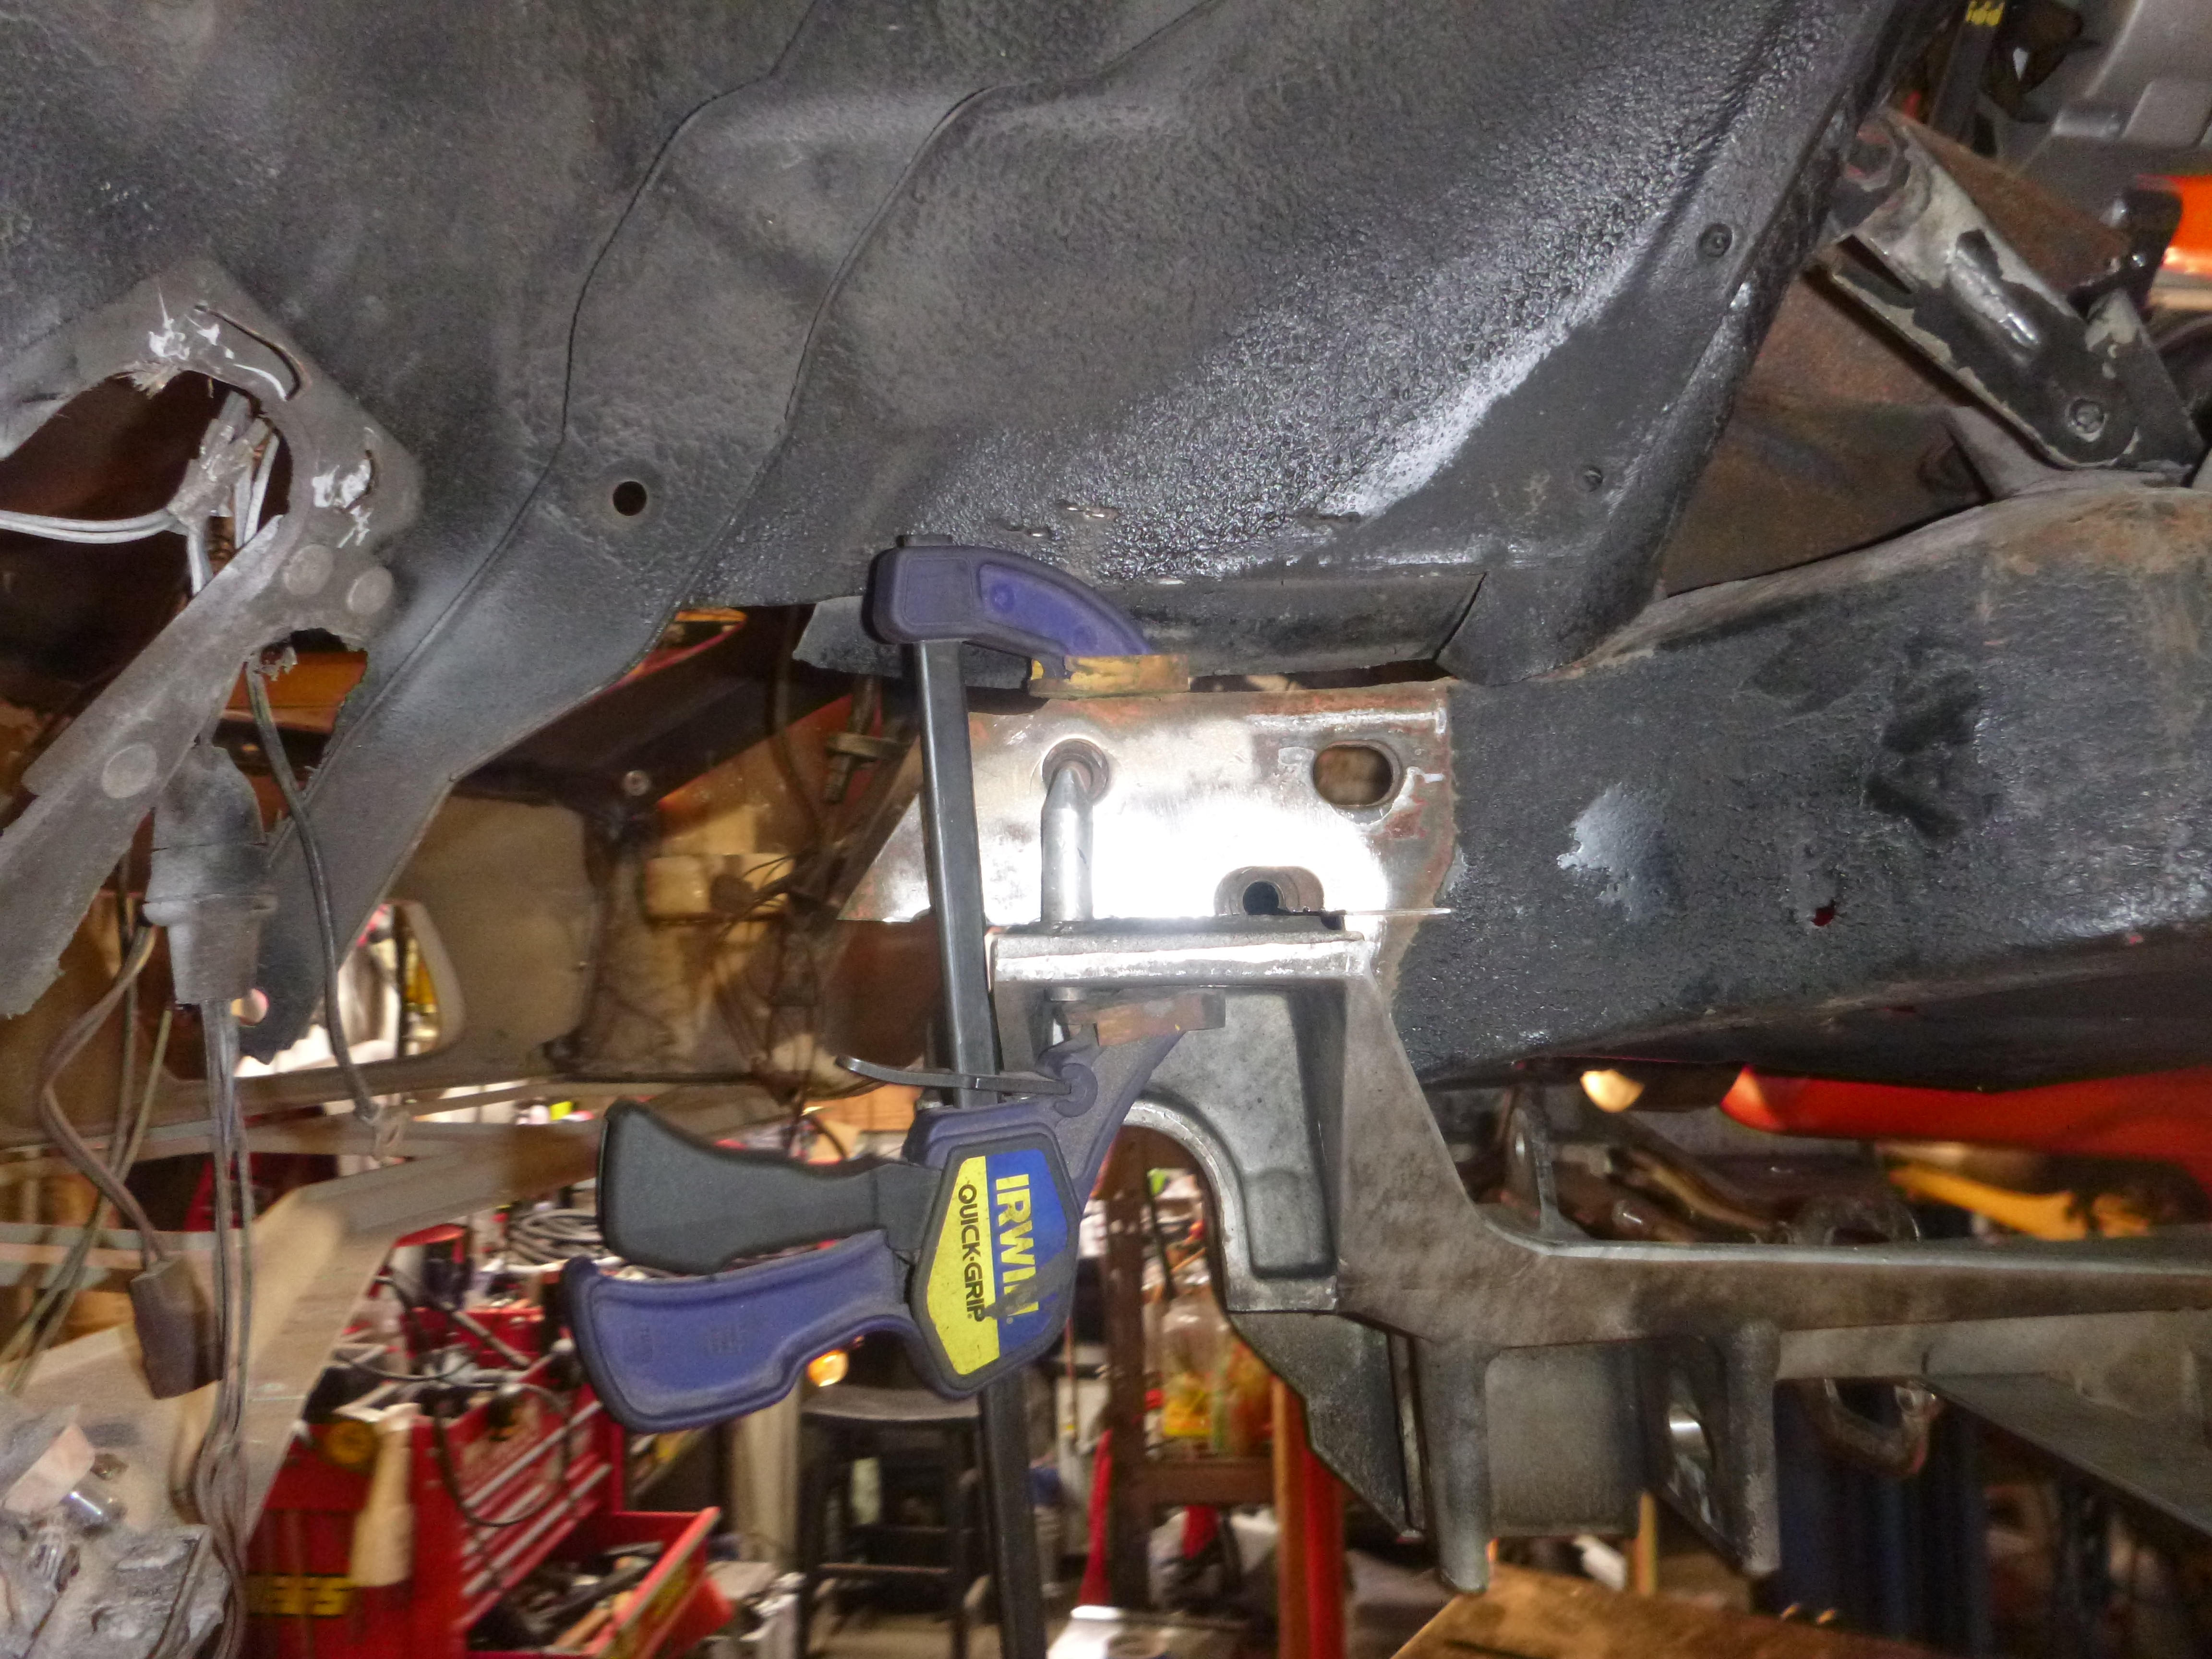
warning if anyone is copying this - those holes are not, exactly in the same spot on either side

another tip - the front control arm hole is 3/4" lower then the rear hole.... this picture is close to where it needs to live
Use the hole where the lines are drawn (rear) - those holes are supposed to be in the same spot on either side. That said, trust but verify.
last night I got it more centered - look at the front, bumper bolt hole
warning if anyone is copying this - those holes are not, exactly in the same spot on either side
another tip - the front control arm hole is 3/4" lower then the rear hole.... this picture is close to where it needs to live
Use the hole where the lines are drawn (rear) - those holes are supposed to be in the same spot on either side. That said, trust but verify.


 10-15-2018, 12:41 AM
#198
Melting Slicks
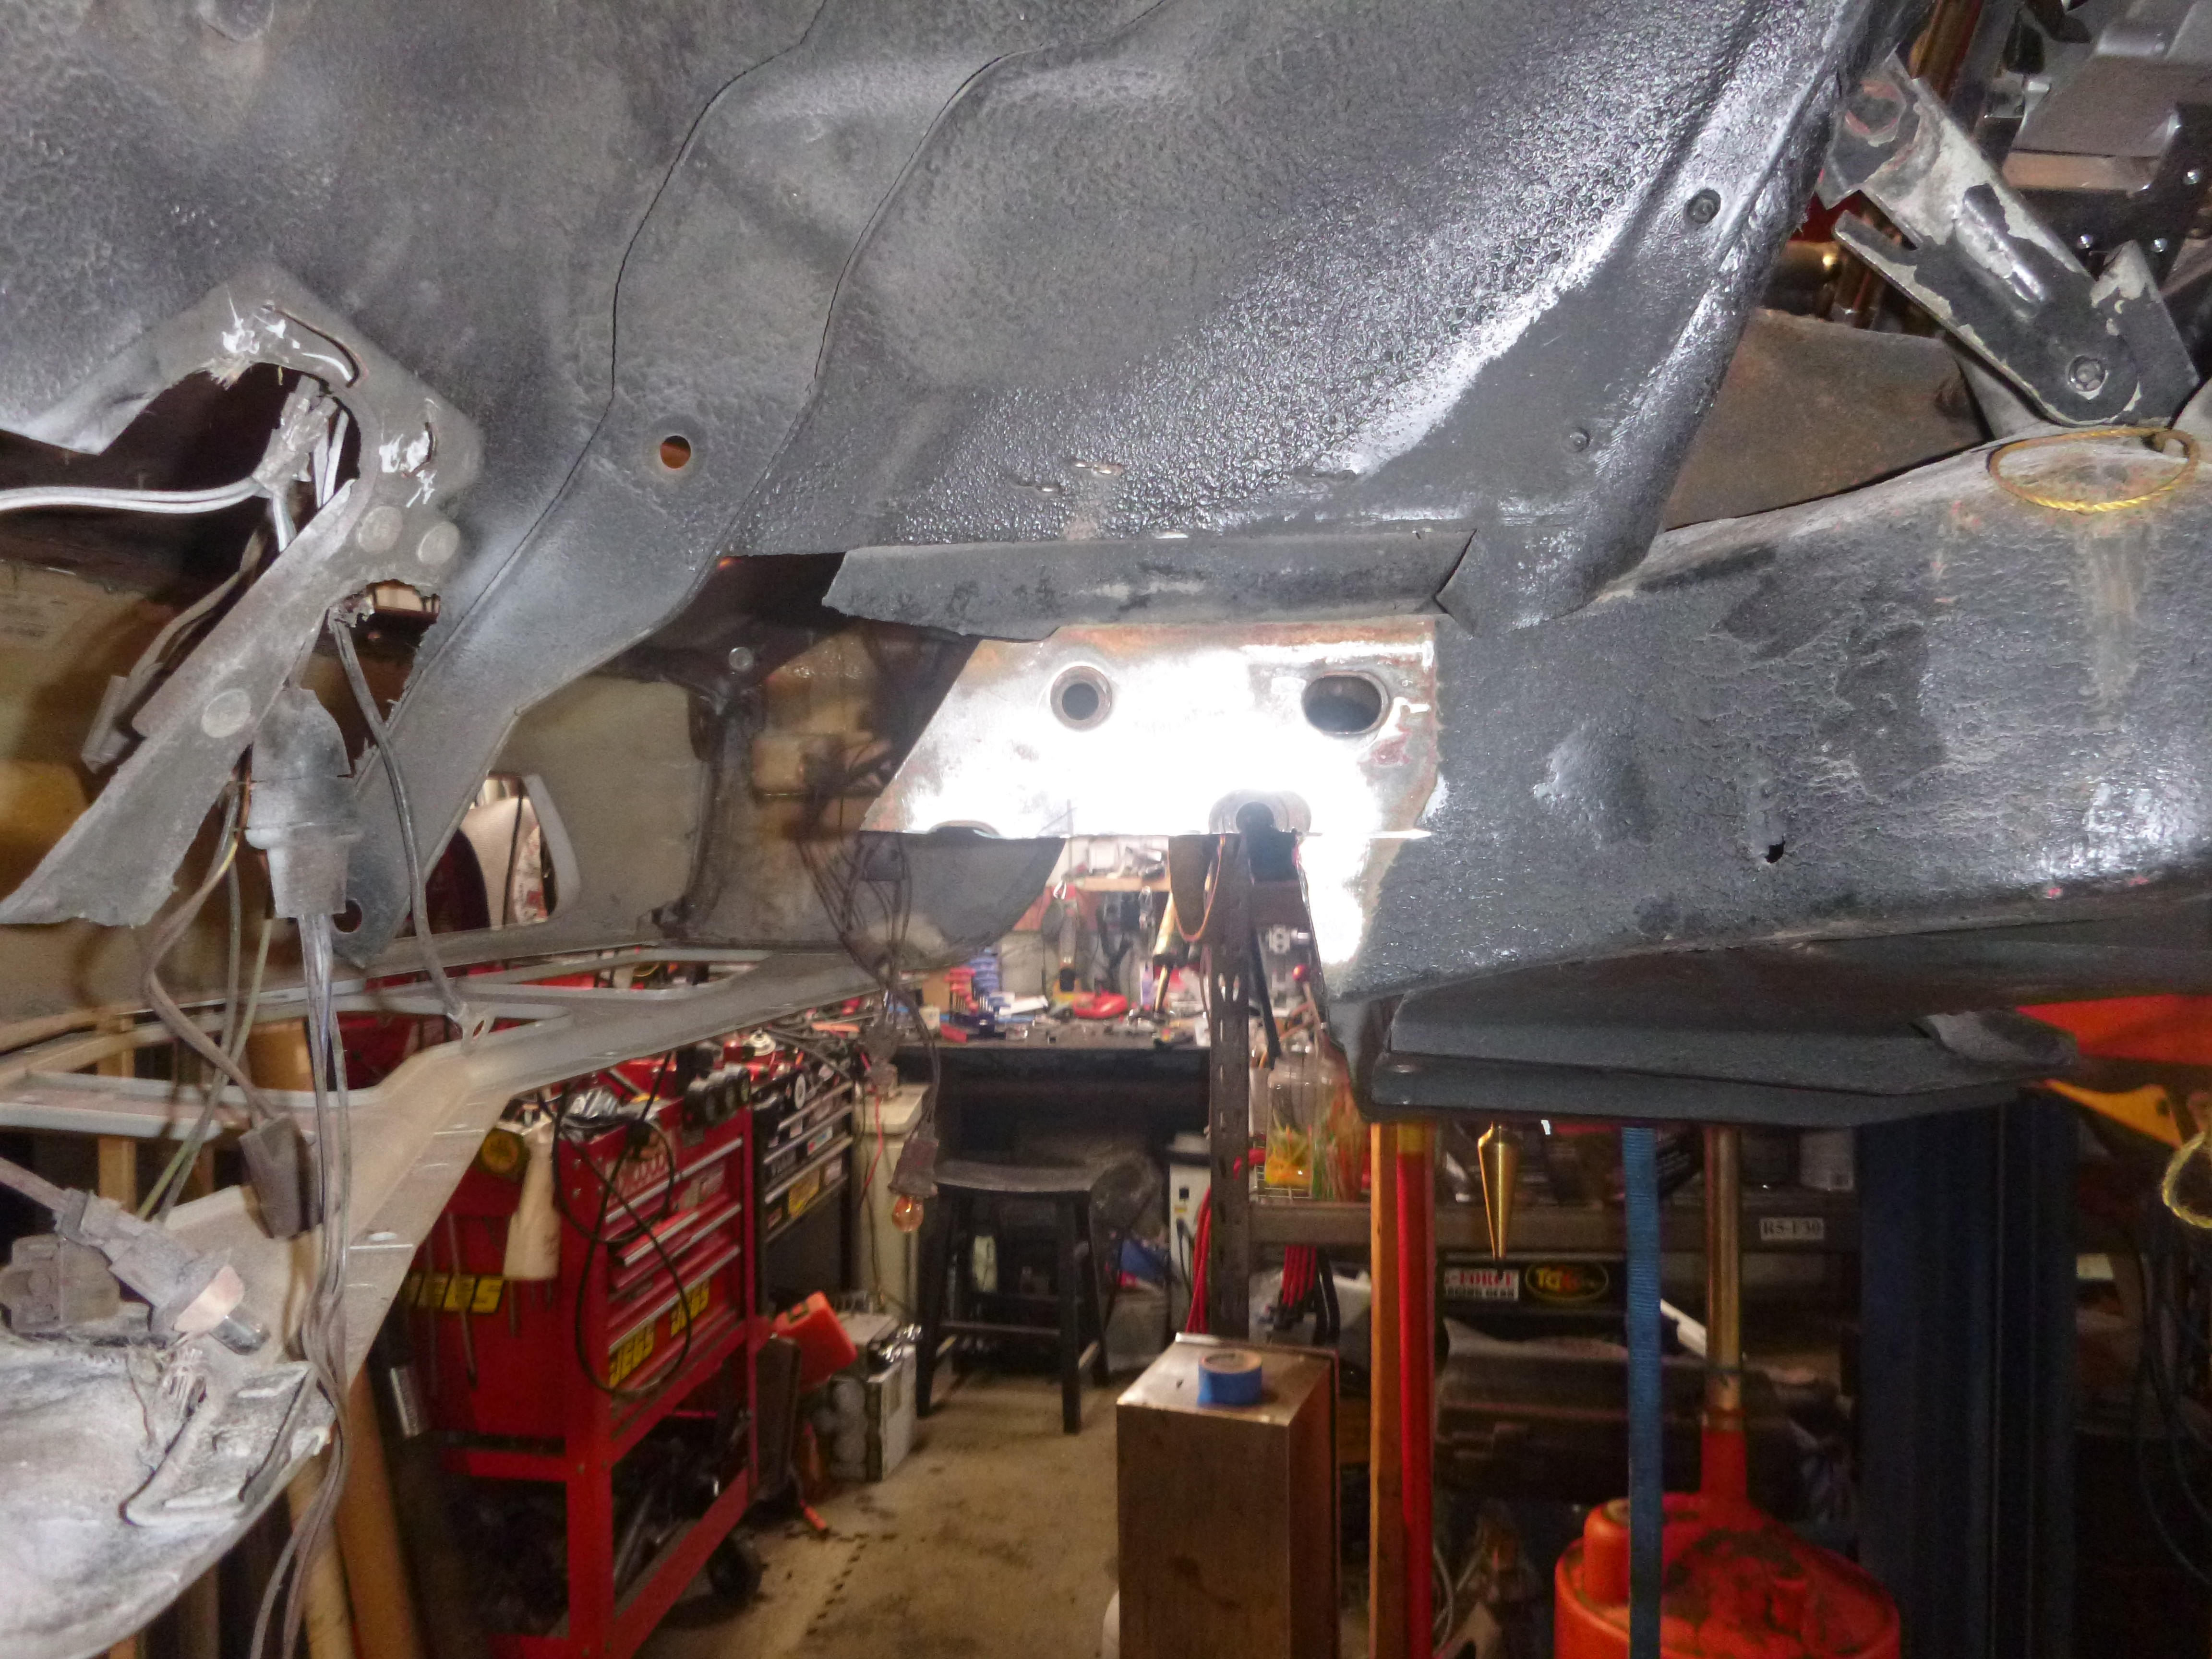
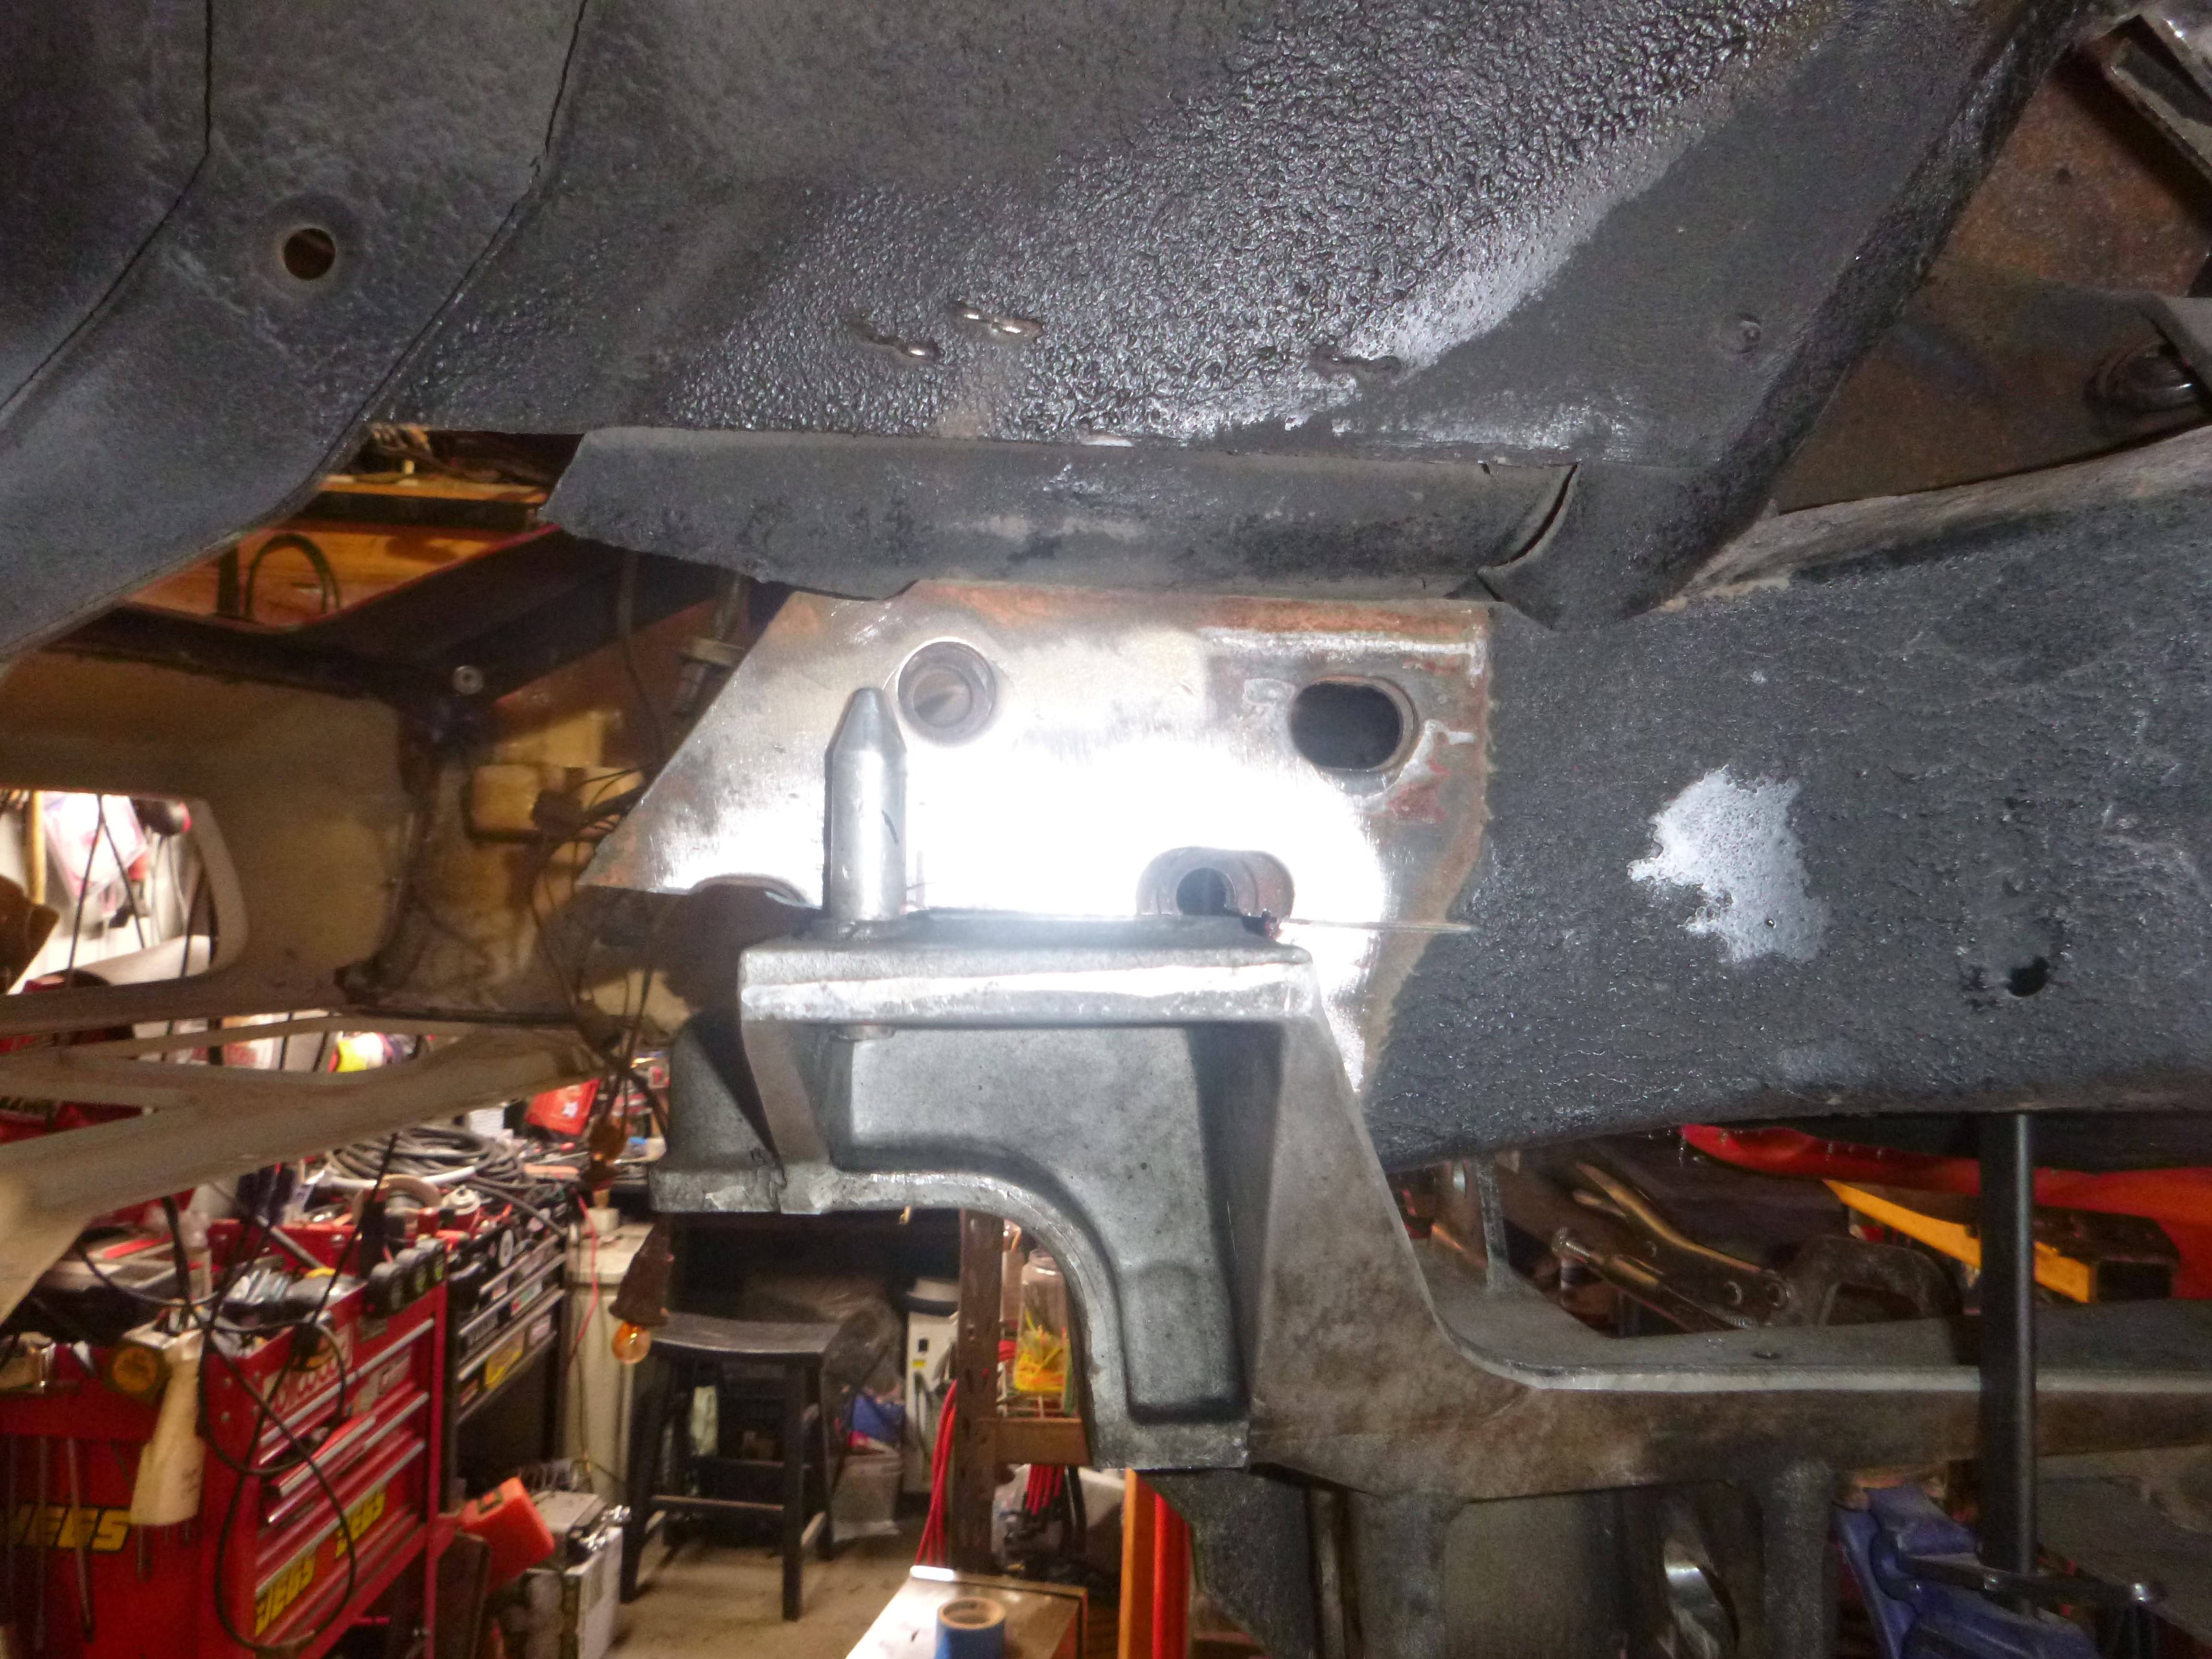
so more fitting.... I think (hope) it'll be okay to move it up 1 1/2" .... I still need to get a legible copy of the suspension points on a C5;

originally, my calculations showed it here

but I talked myself out of it.... we will see, I'll mock it together before I do any more cutting to doubly verify where the wheel will end (vertically) in the wheel well. Even if this is a bit further from the ground the 1/2" at the ball joint won't make much, if any, handling difference.
The other thing... I'm going to eventually cut the stubs off in front of the motor mount and use new metal...
originally, my calculations showed it here
but I talked myself out of it.... we will see, I'll mock it together before I do any more cutting to doubly verify where the wheel will end (vertically) in the wheel well. Even if this is a bit further from the ground the 1/2" at the ball joint won't make much, if any, handling difference.
The other thing... I'm going to eventually cut the stubs off in front of the motor mount and use new metal...
10-16-2018, 01:47 PM
#199
Melting Slicks
so a brief note on course a course change
Originally, it was flares and 427. That remains the same, as most who follow know, I love my manual-everything C3s. However, with wide tires, 14" brakes along with a power rack (which I could simply short-circuit), I'm going to add hydraboost to the brakes and plumb the rack and then EFI on the 427. Likely I'll use a throttle-body based system (like FI tech). The reason for EFI is there is a possibility this car is going to get pitted against a C3 with a SBC 427 Corvette and a C3 with a LS 427 - both of which are going to be EFI cars, both of which have updated suspensions.... don't hold your breath for this, though, all of the cars have 2 year min. completion dates....
Originally, it was flares and 427. That remains the same, as most who follow know, I love my manual-everything C3s. However, with wide tires, 14" brakes along with a power rack (which I could simply short-circuit), I'm going to add hydraboost to the brakes and plumb the rack and then EFI on the 427. Likely I'll use a throttle-body based system (like FI tech). The reason for EFI is there is a possibility this car is going to get pitted against a C3 with a SBC 427 Corvette and a C3 with a LS 427 - both of which are going to be EFI cars, both of which have updated suspensions.... don't hold your breath for this, though, all of the cars have 2 year min. completion dates....
10-17-2018, 12:40 AM
#200
Melting Slicks
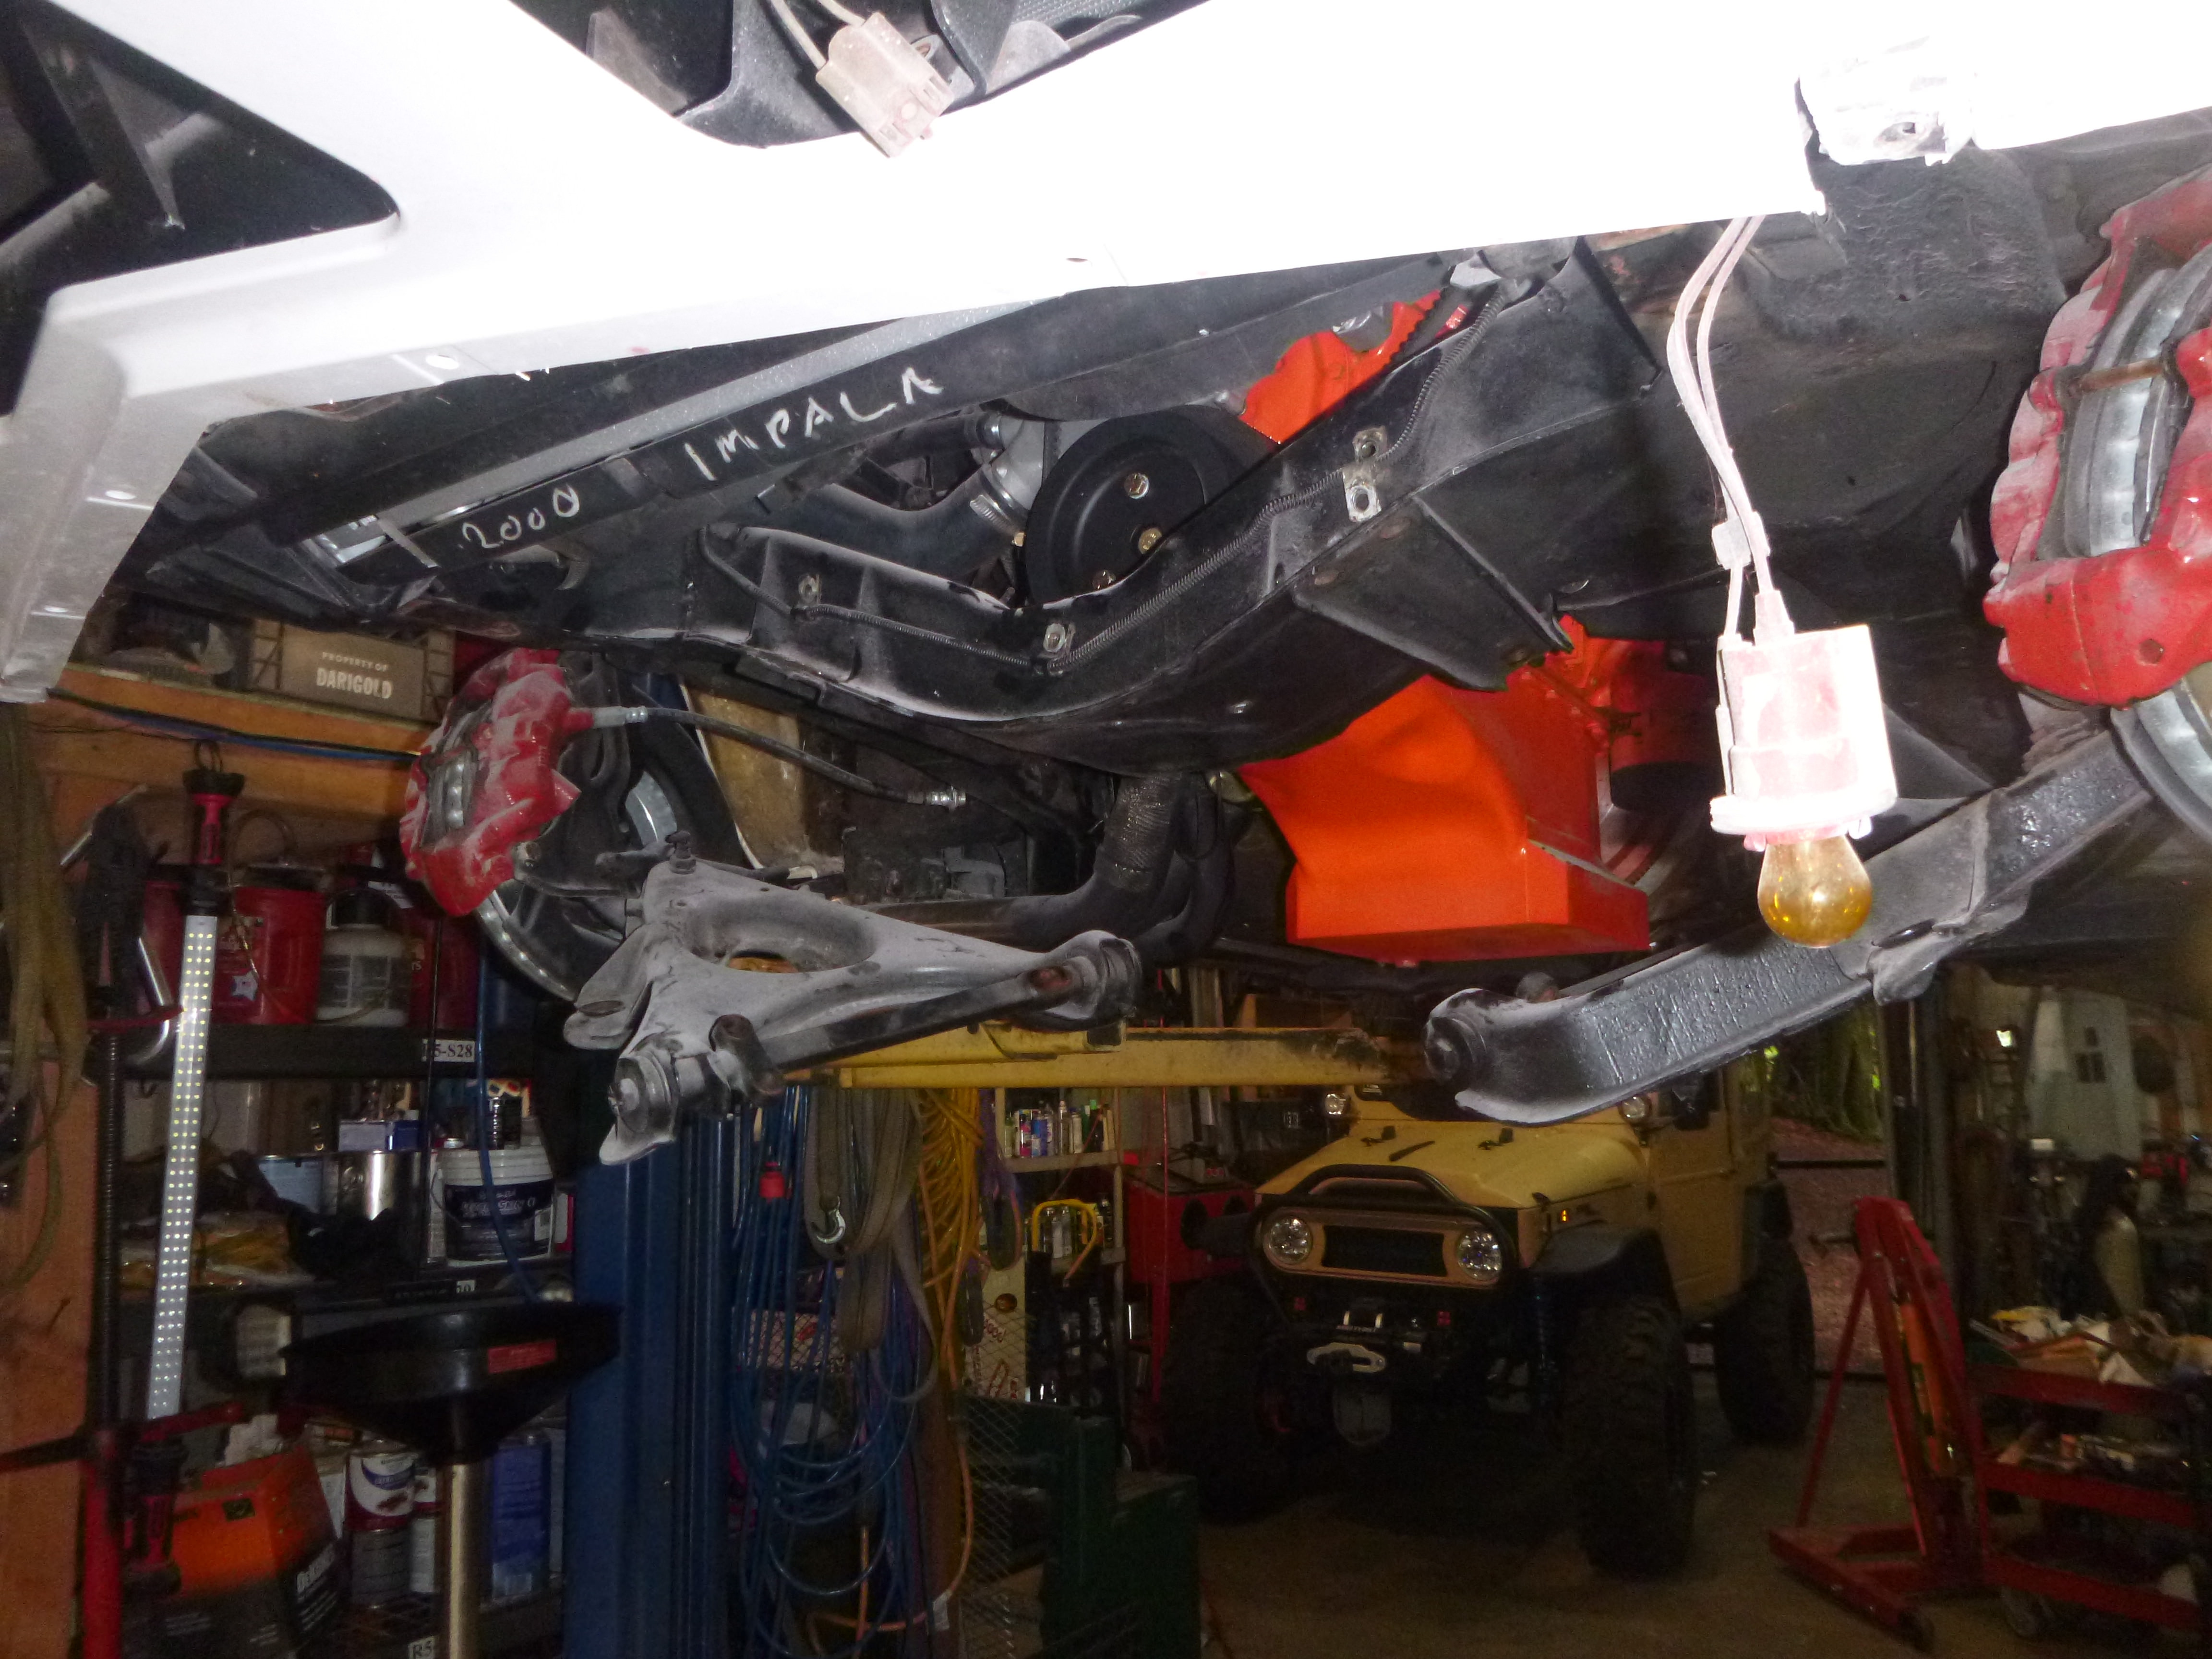
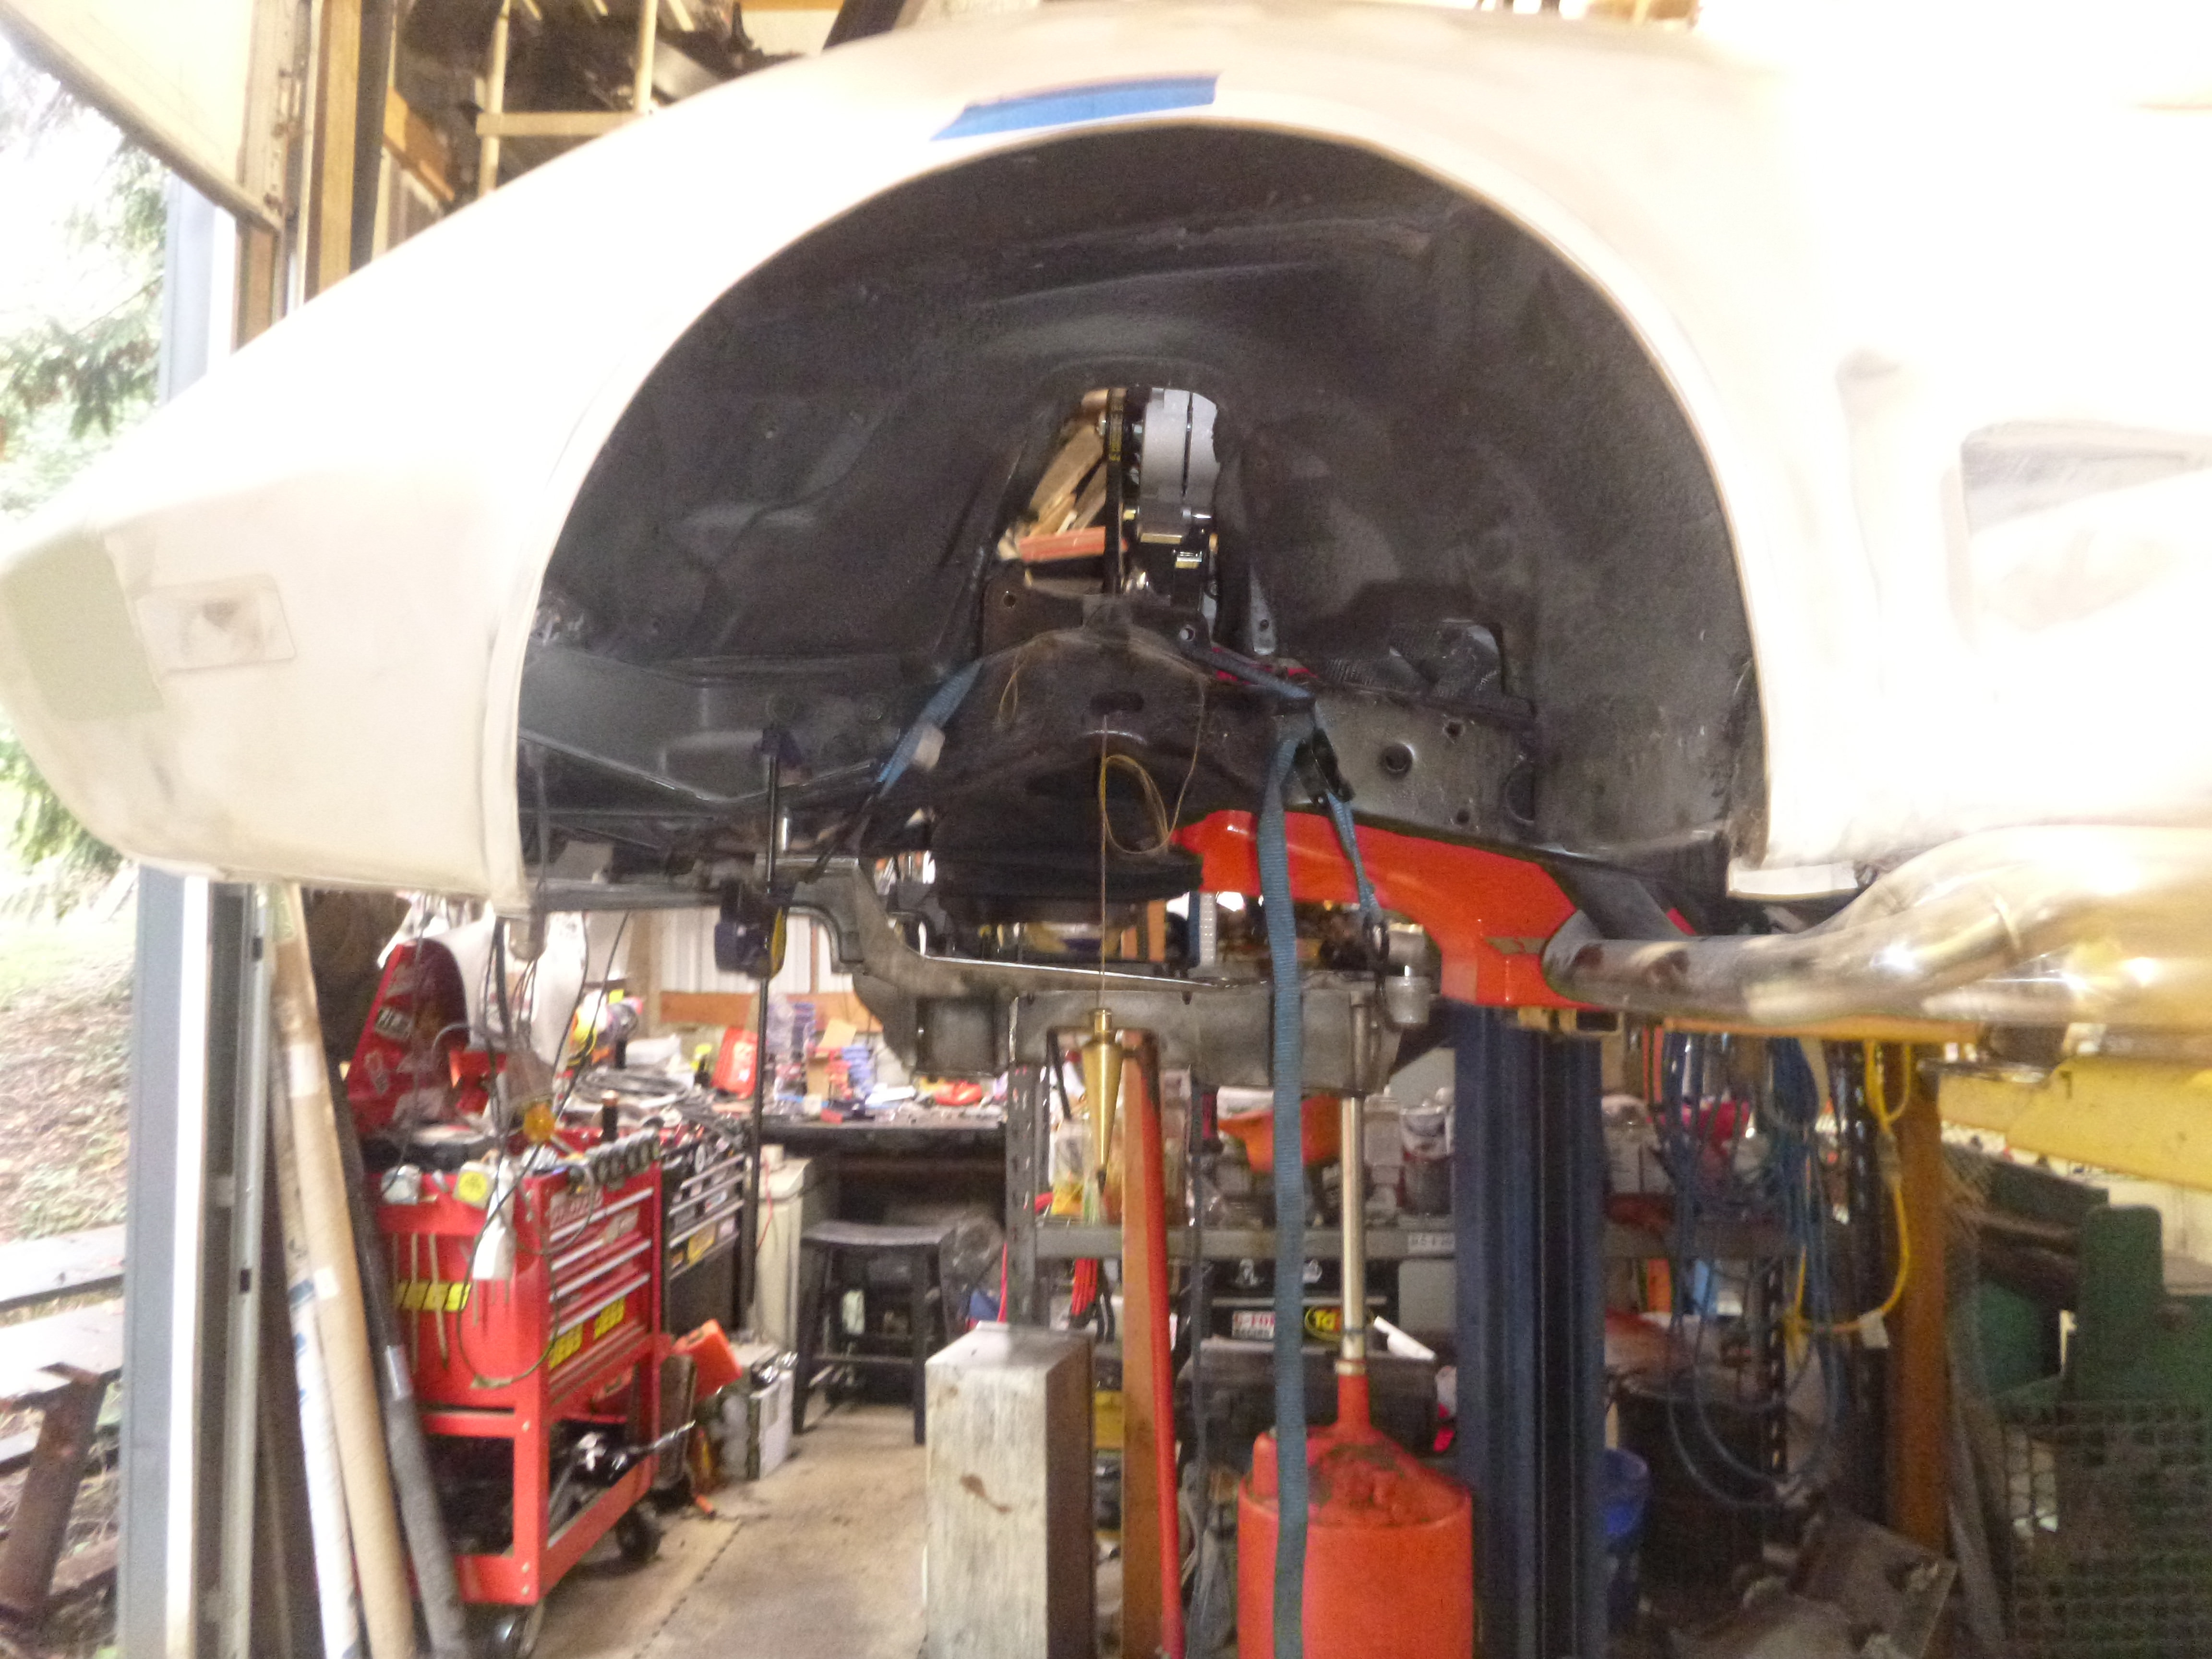
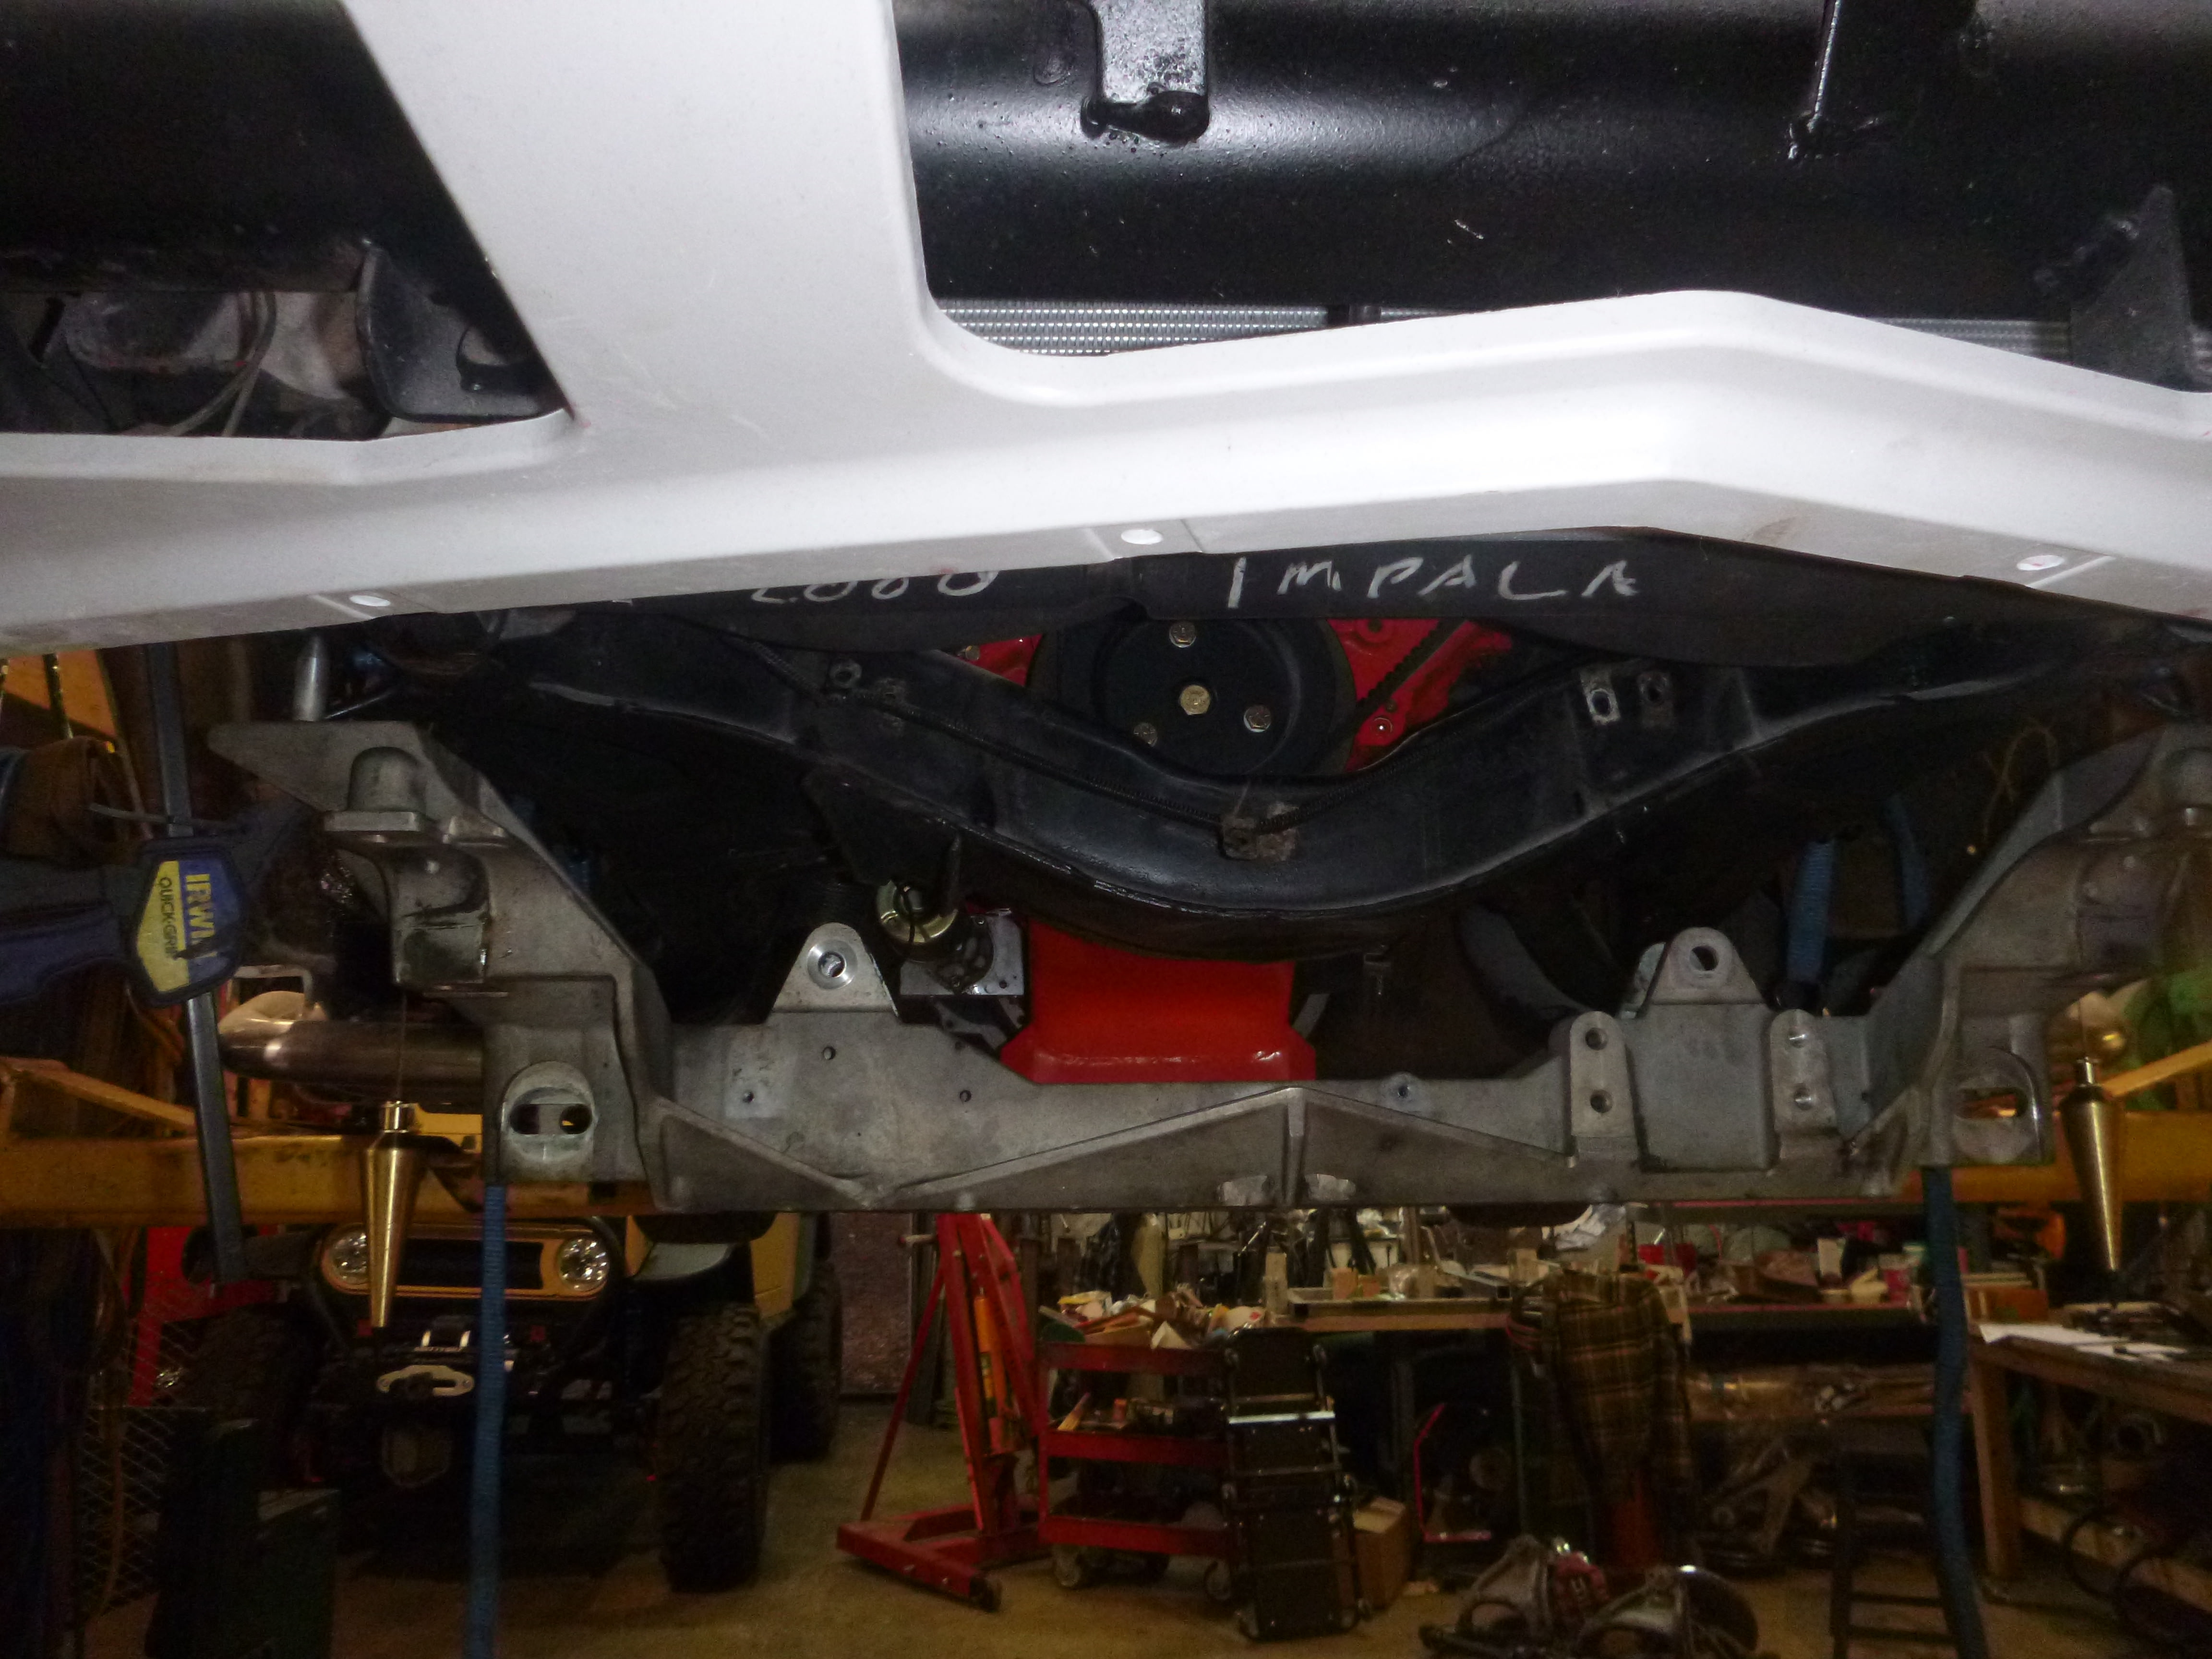
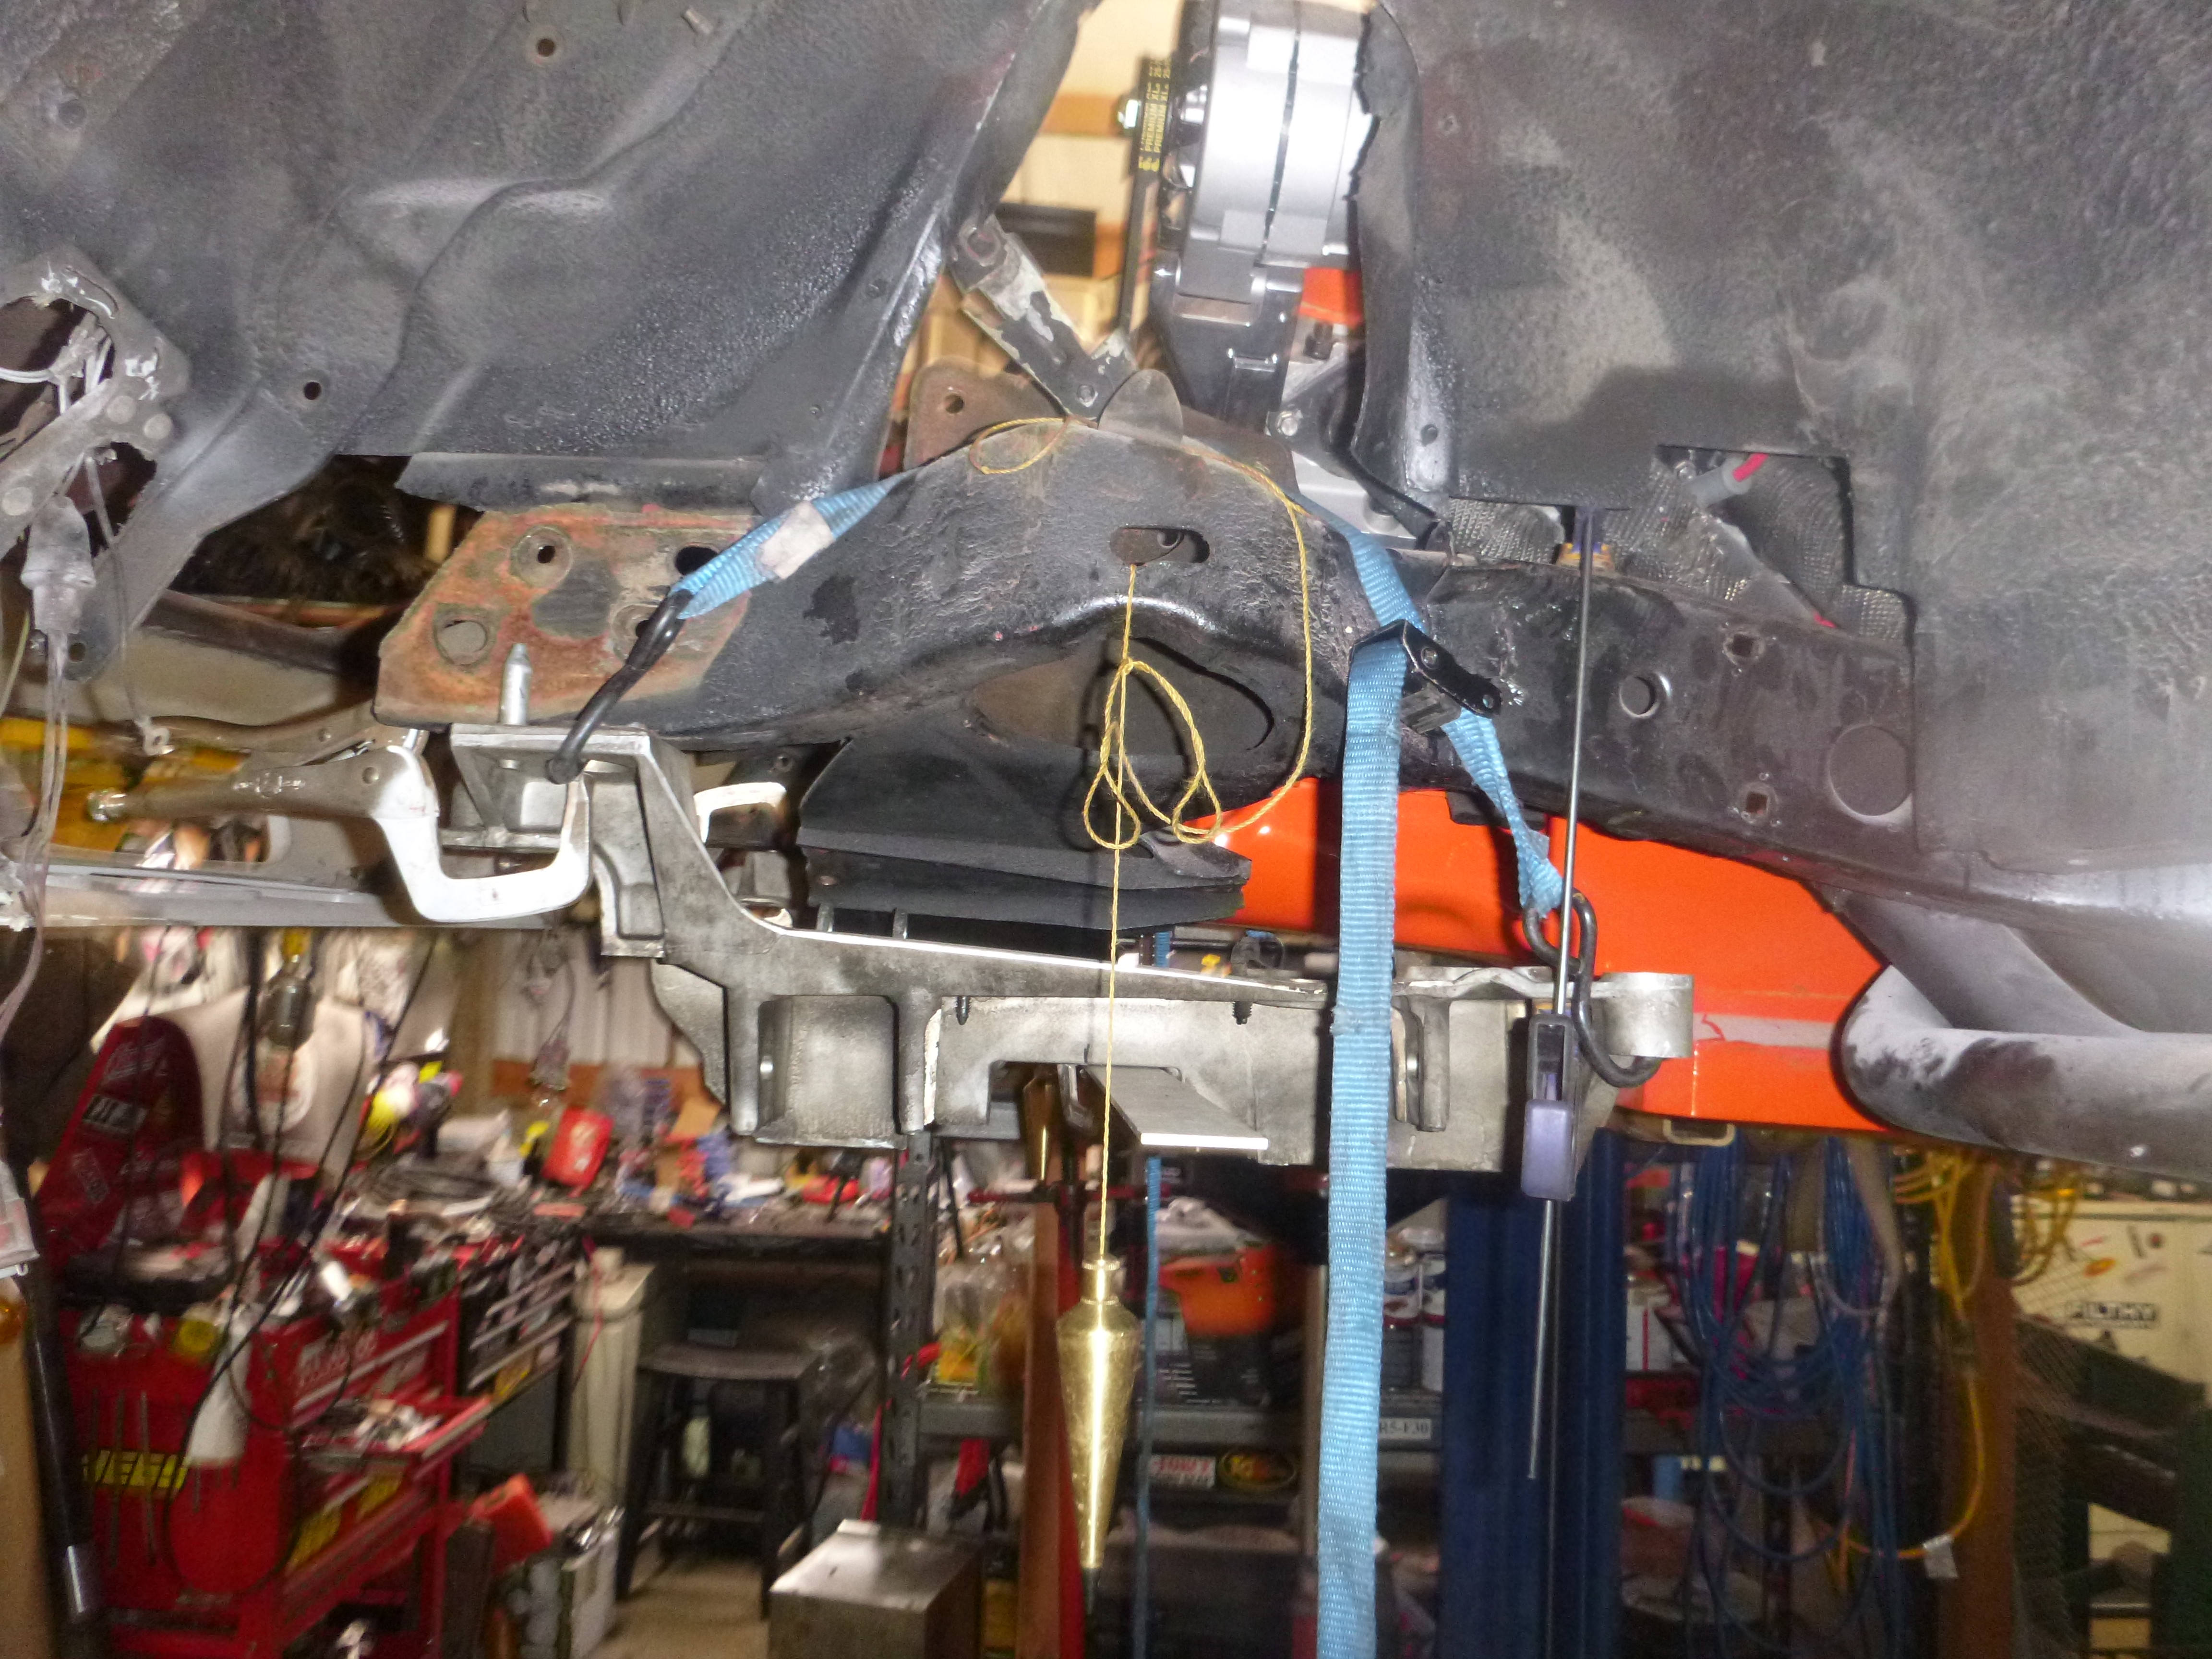
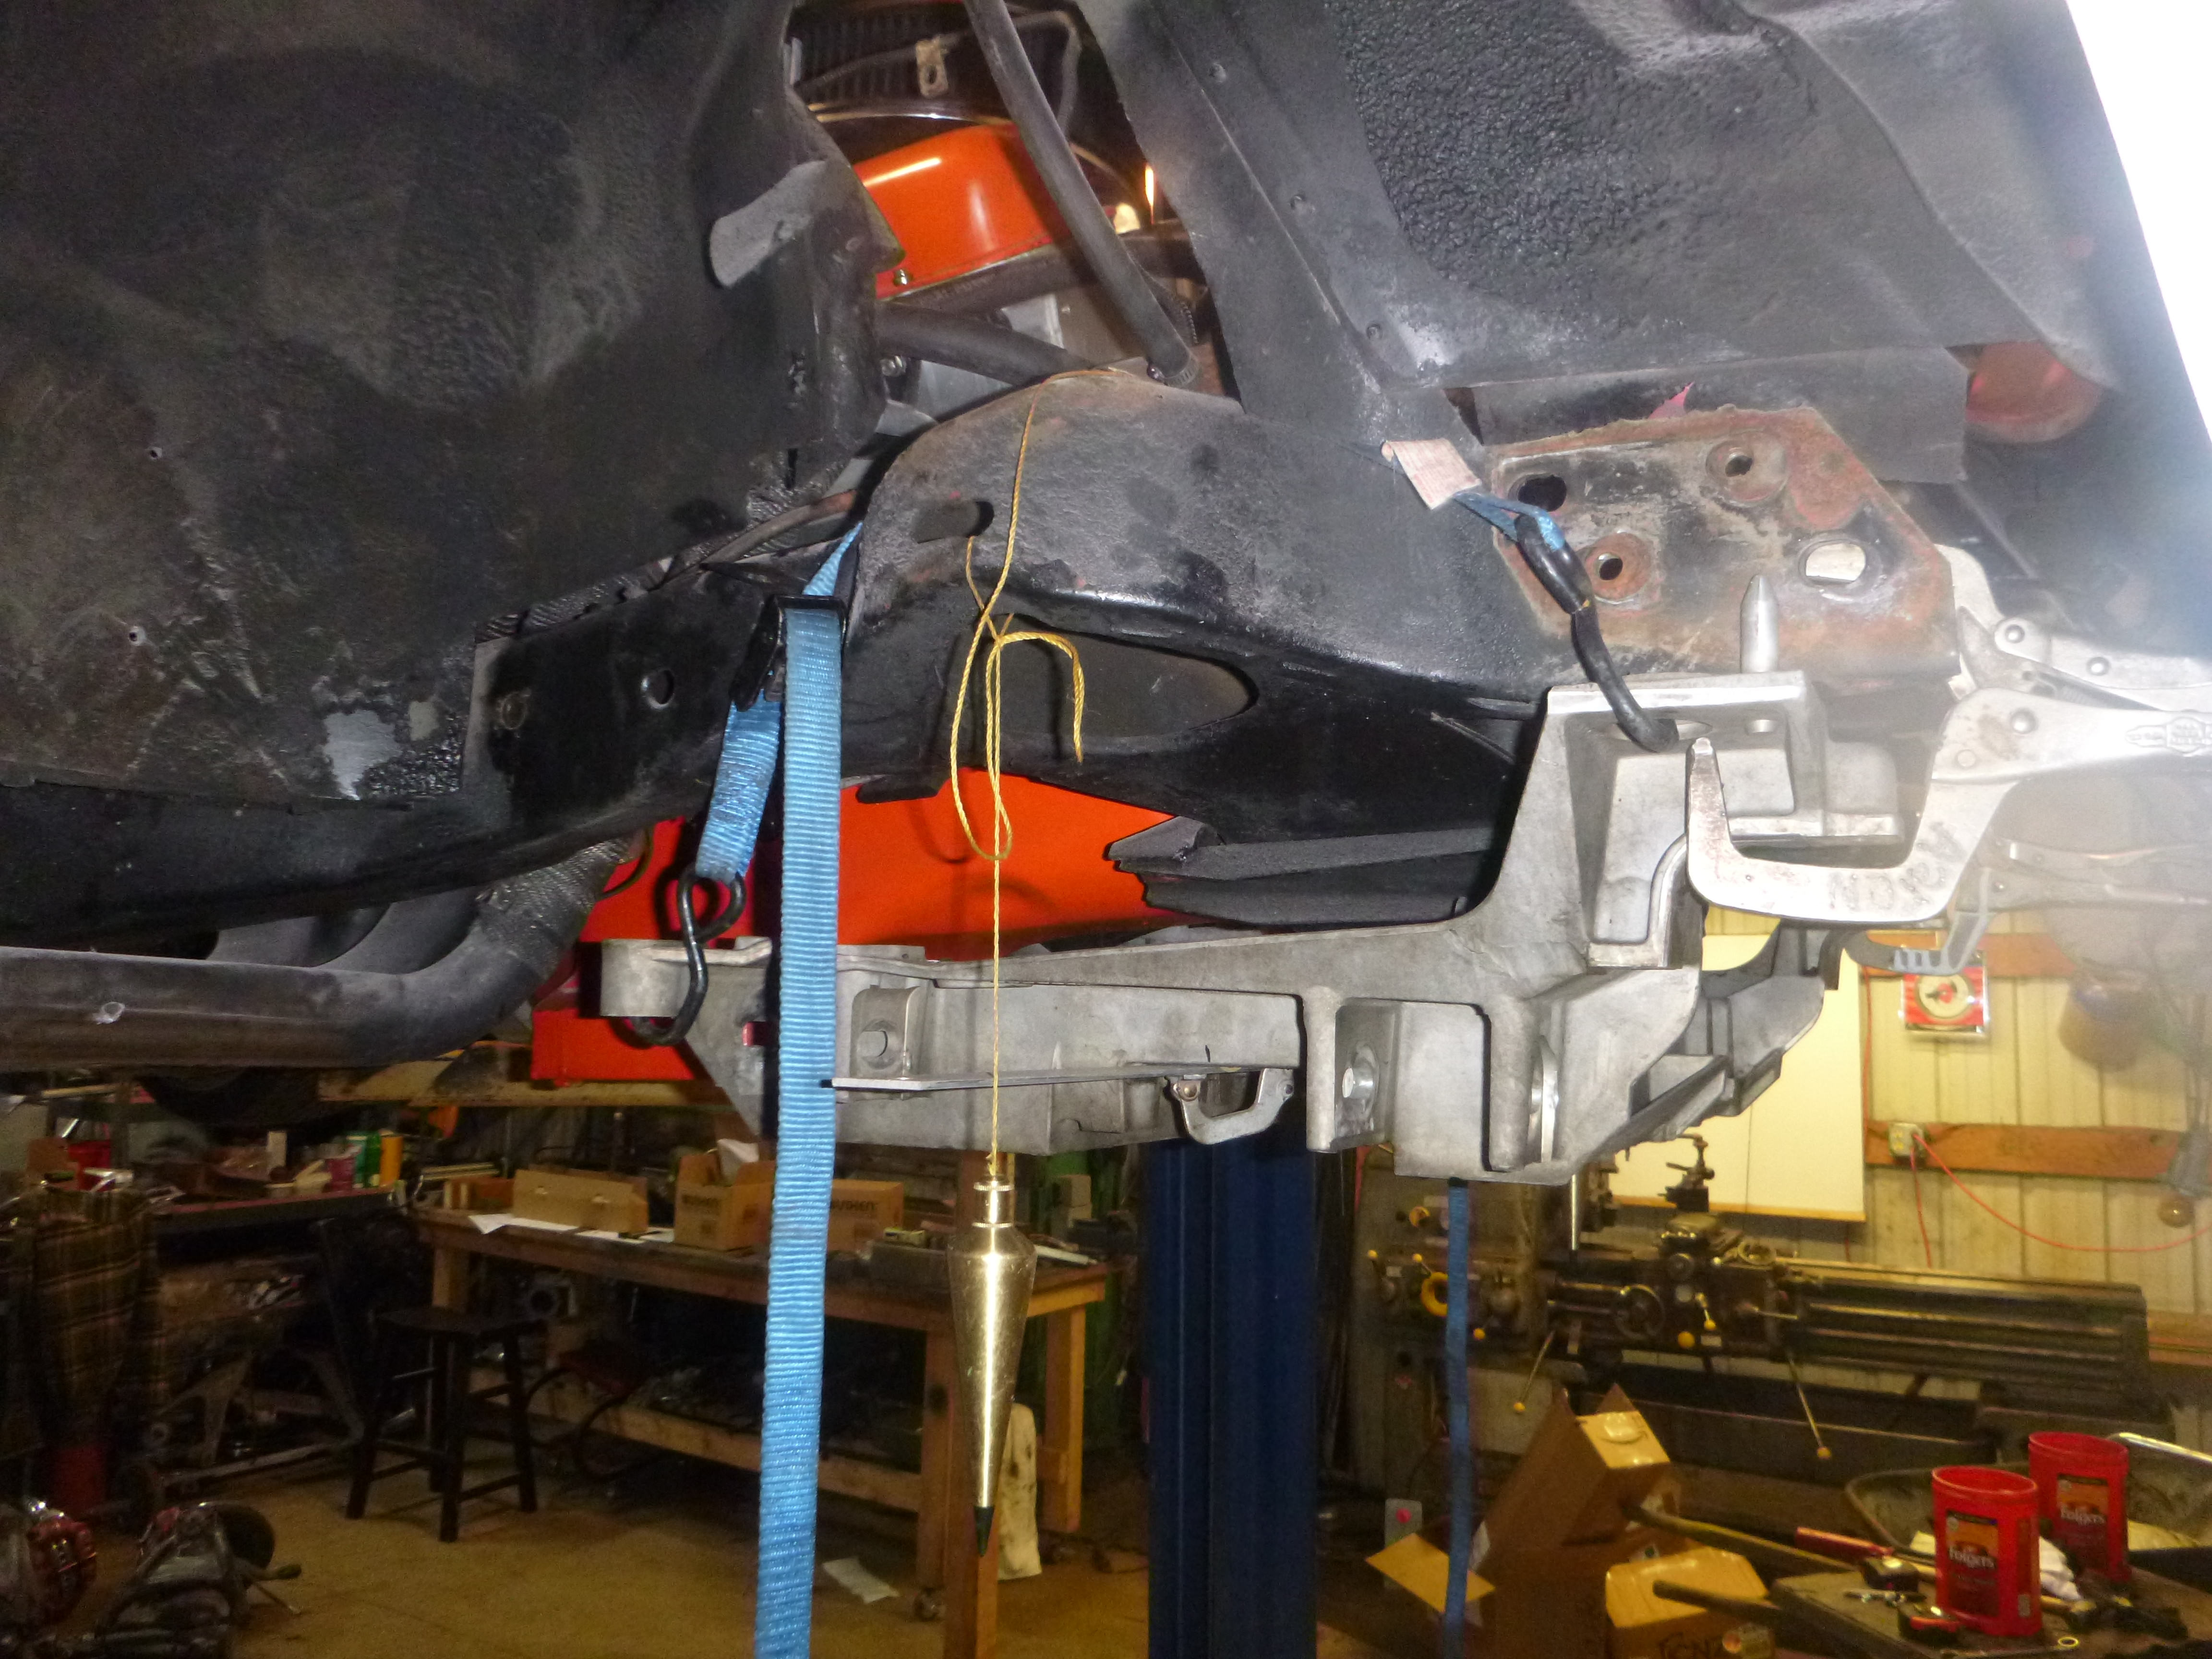
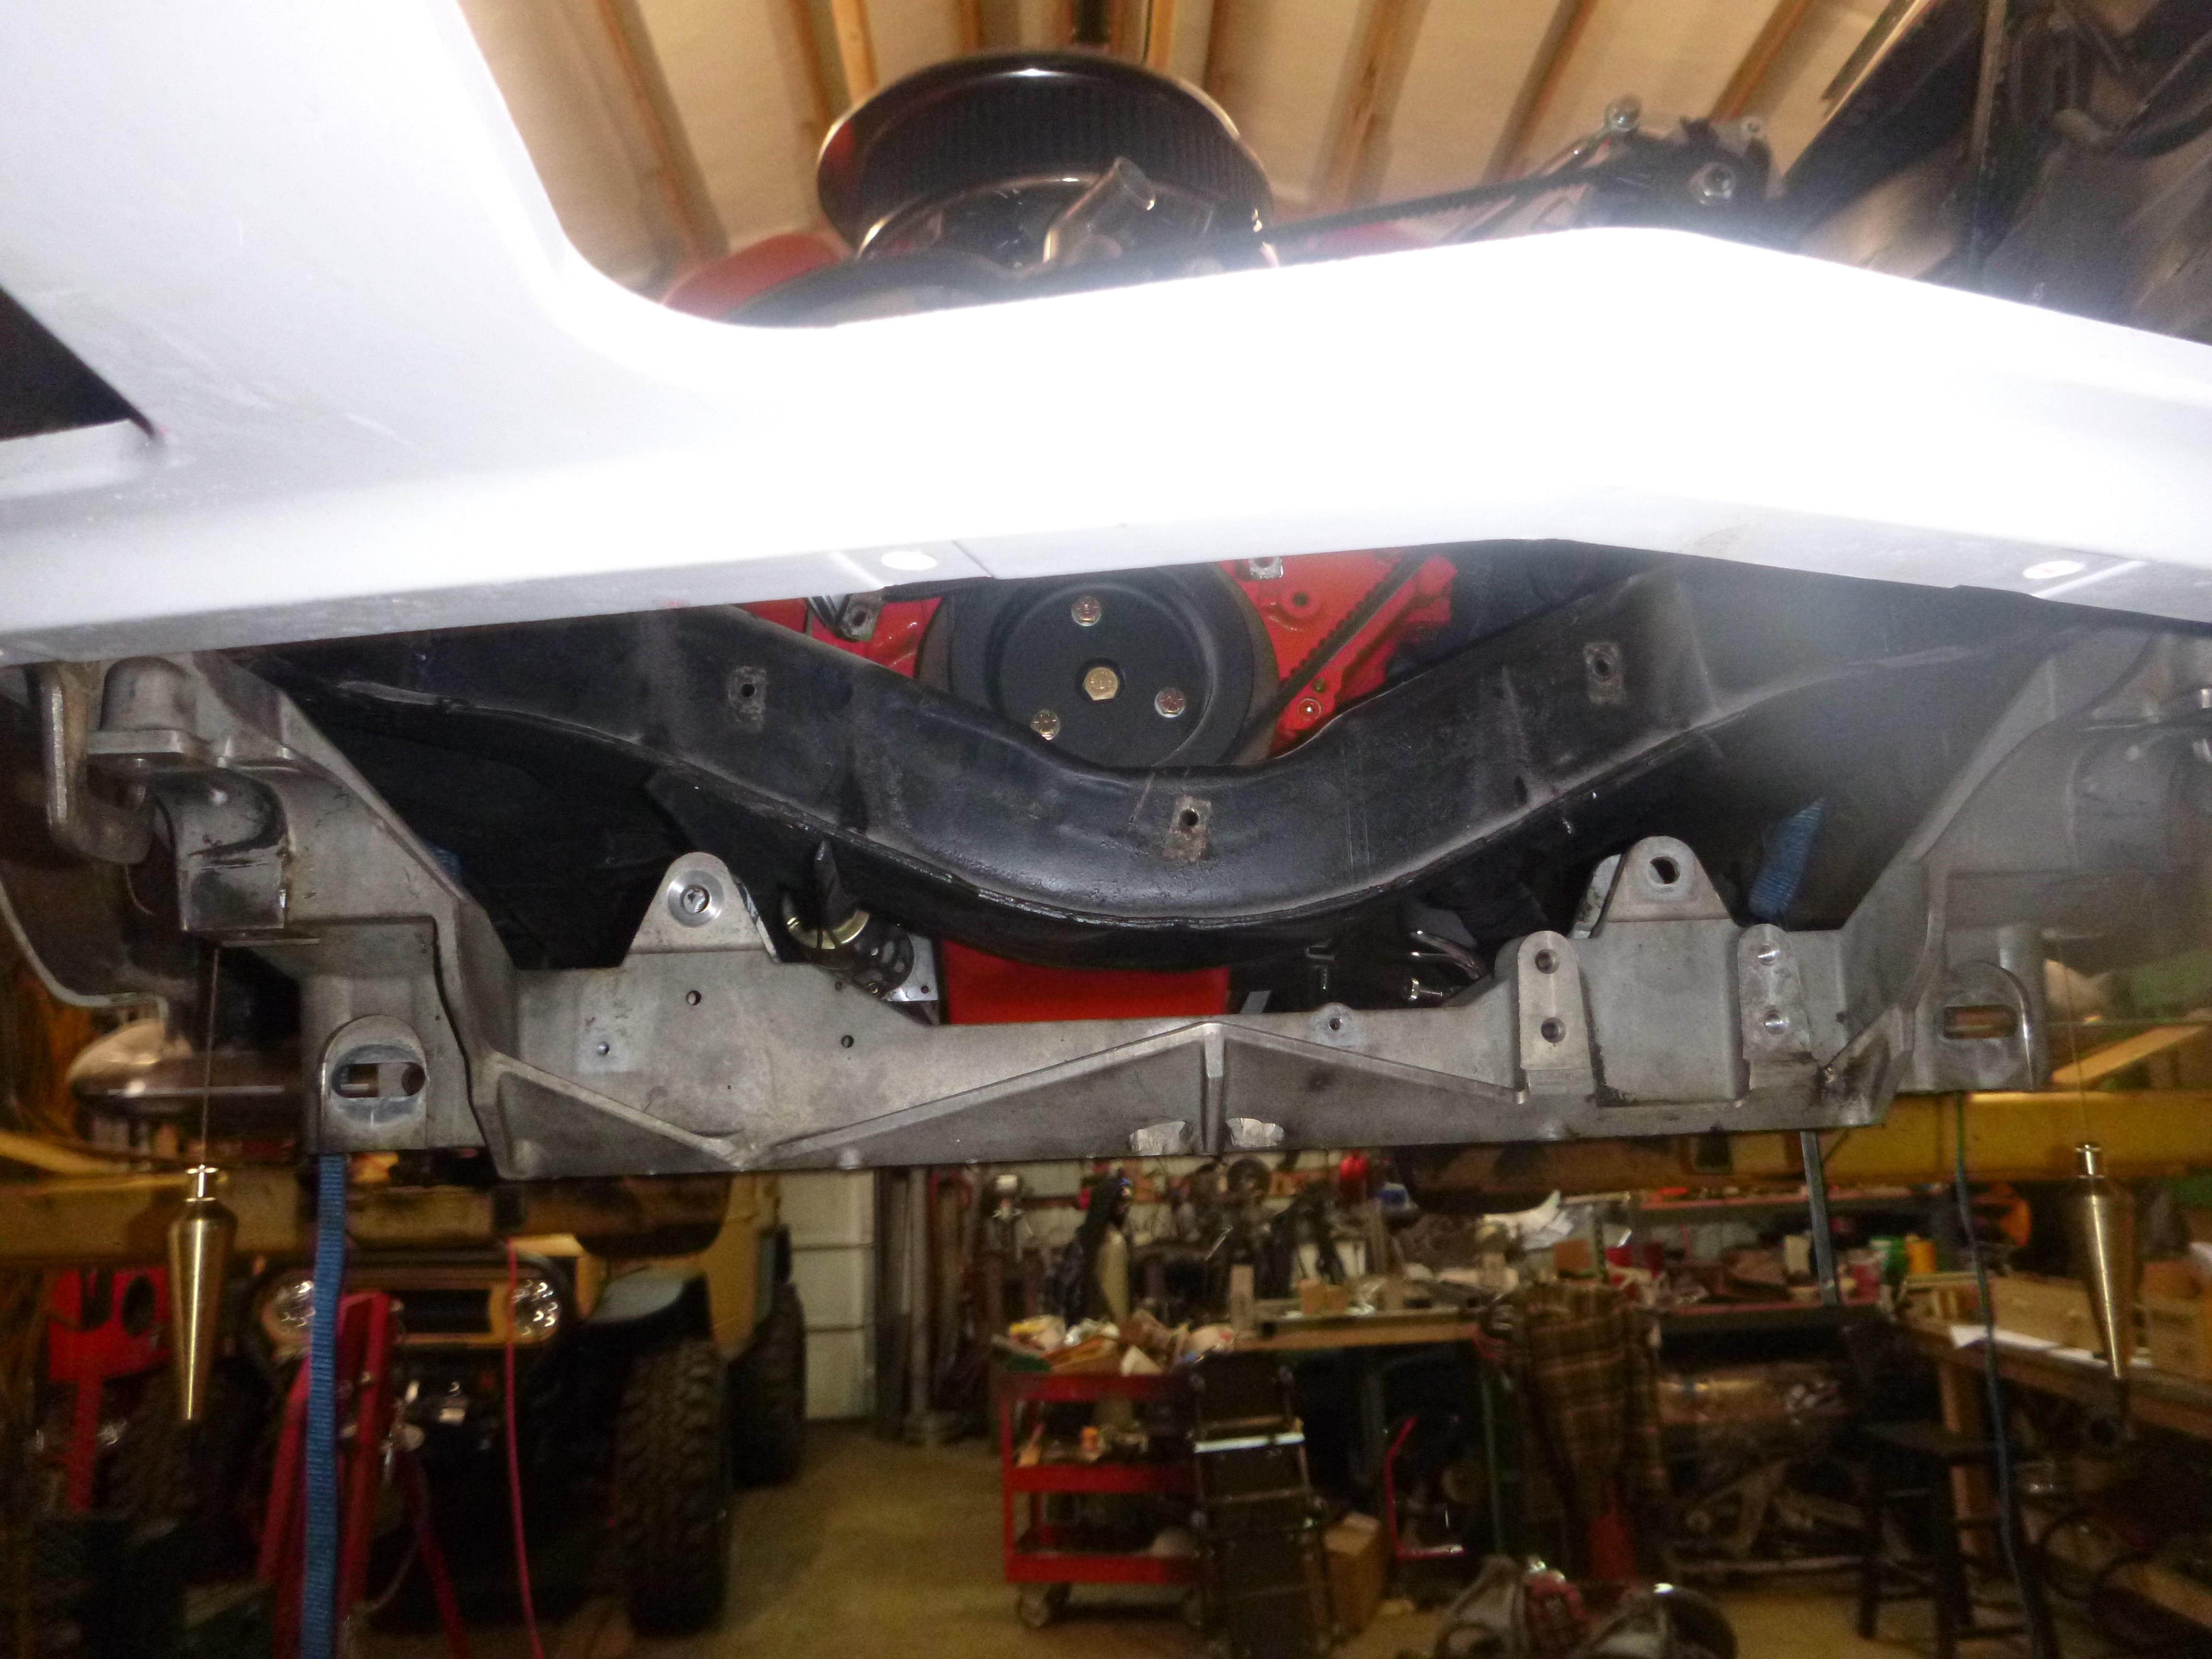
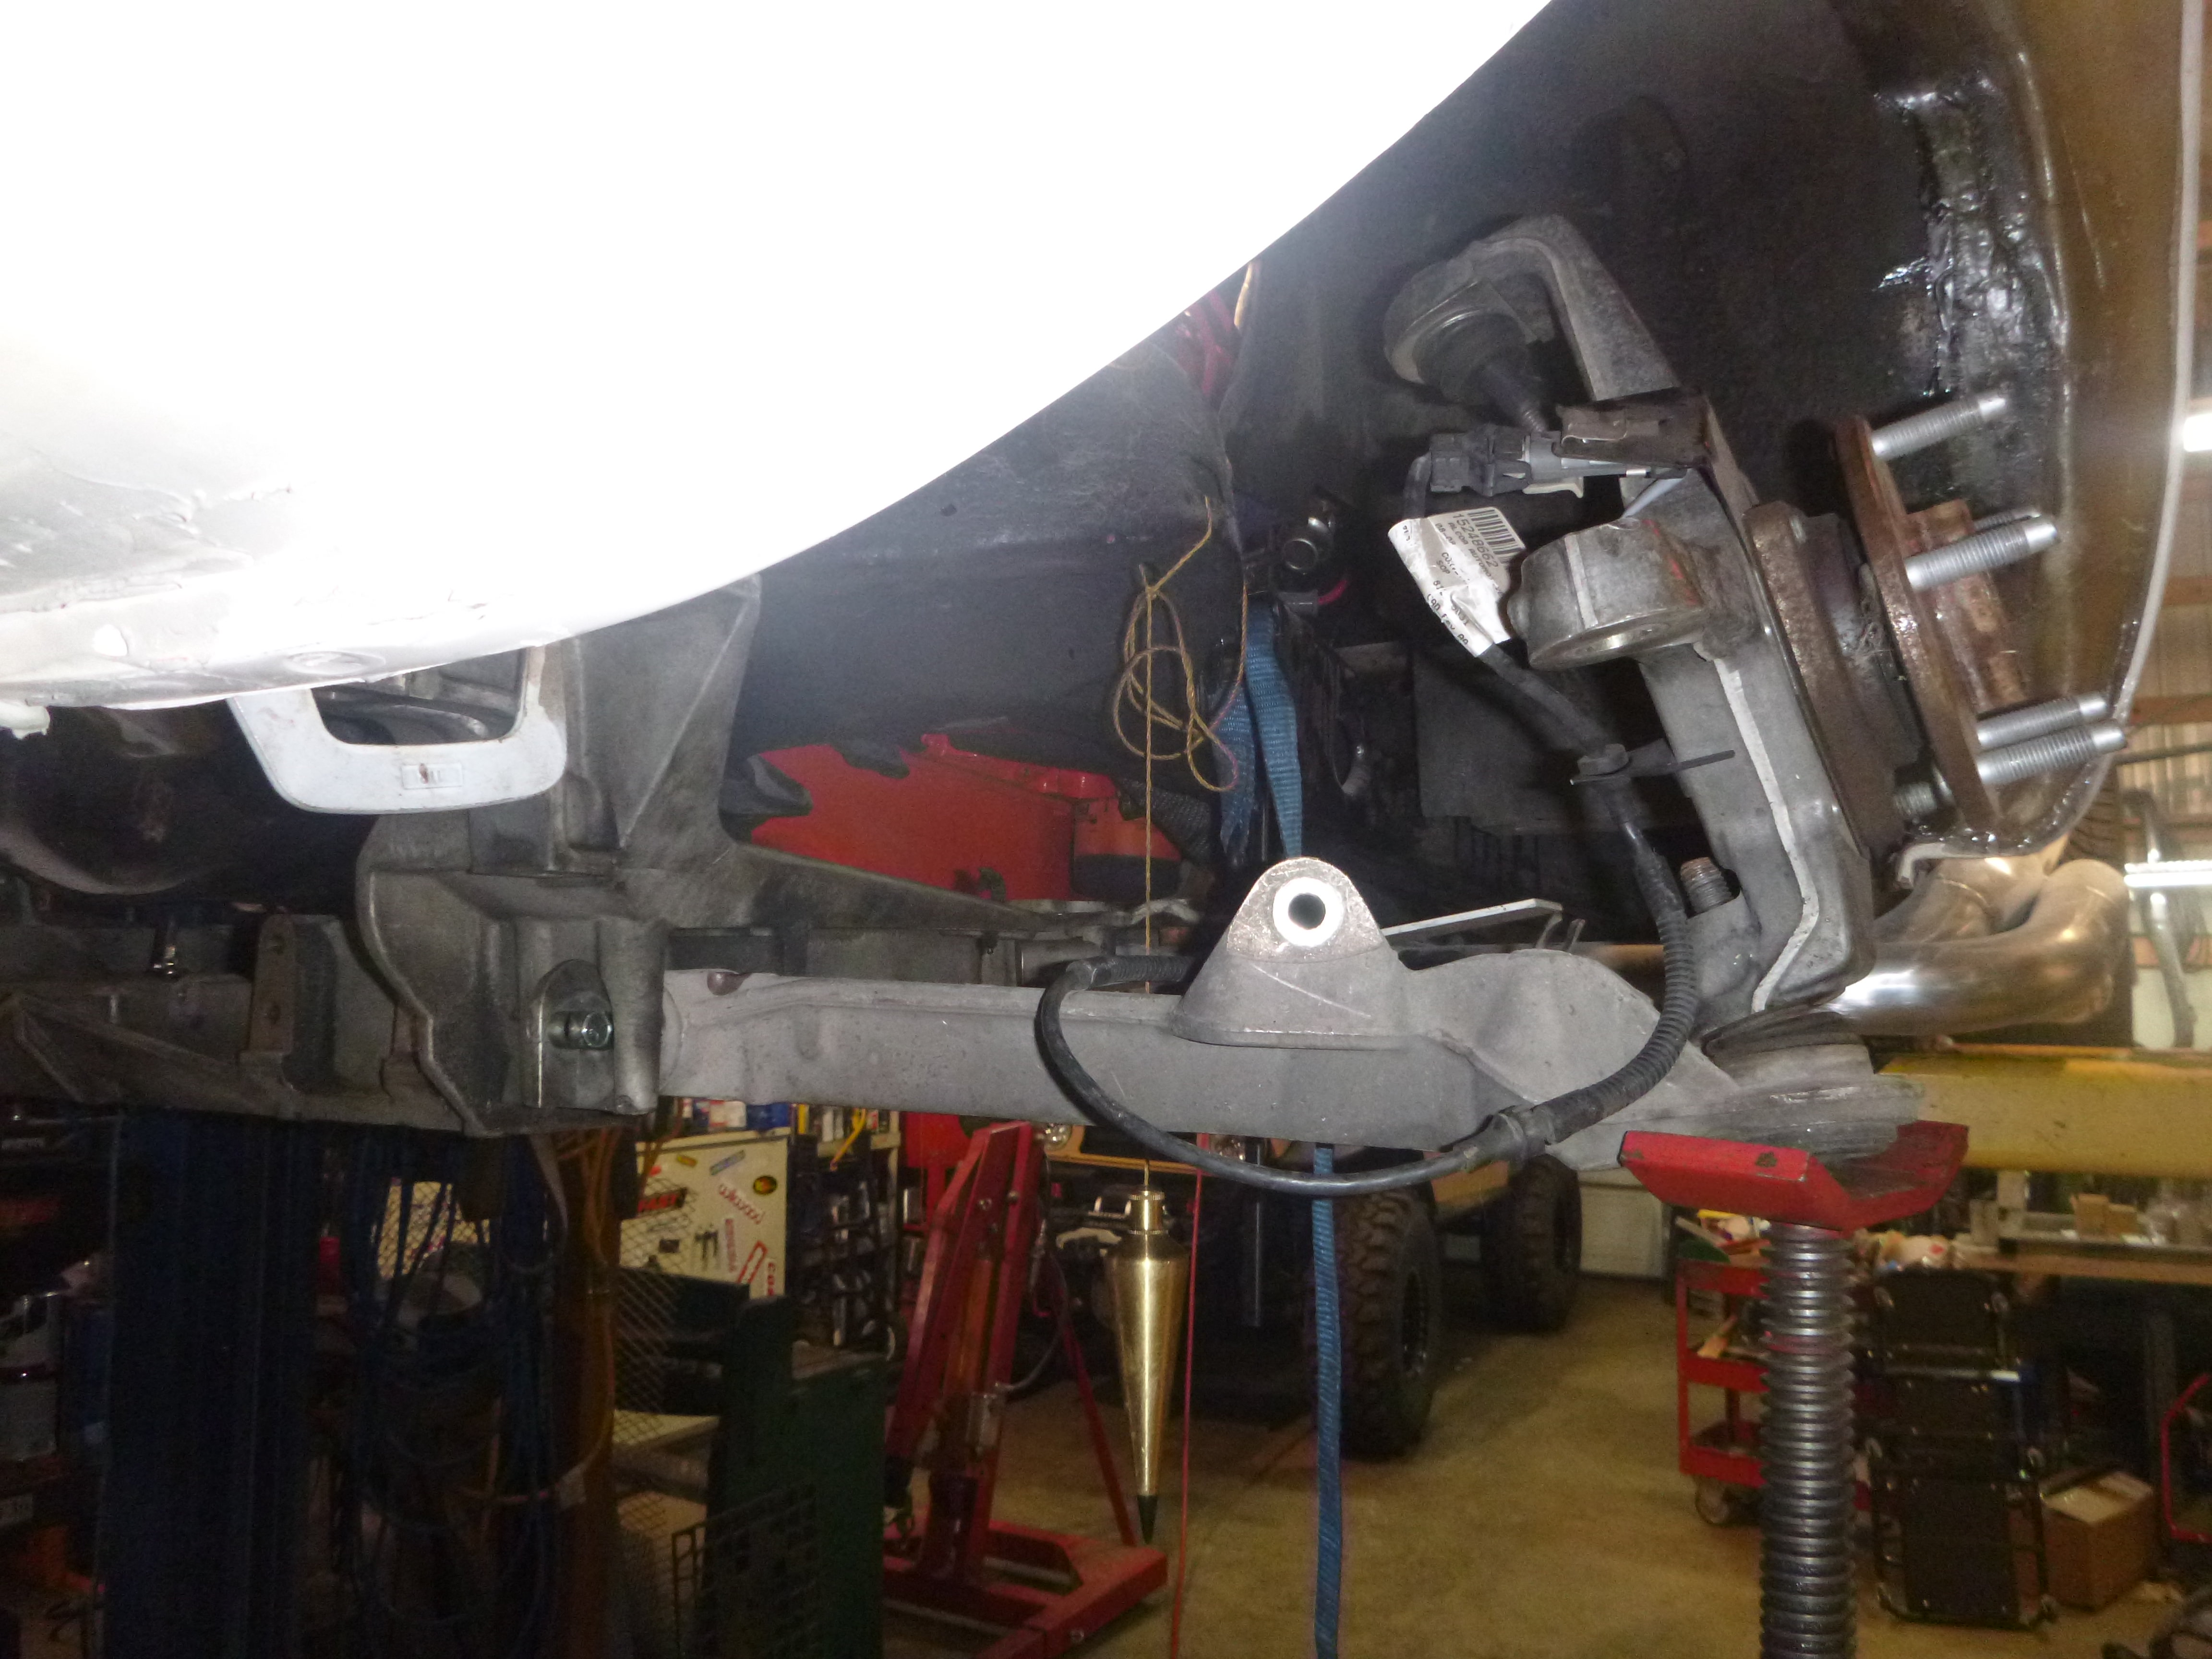
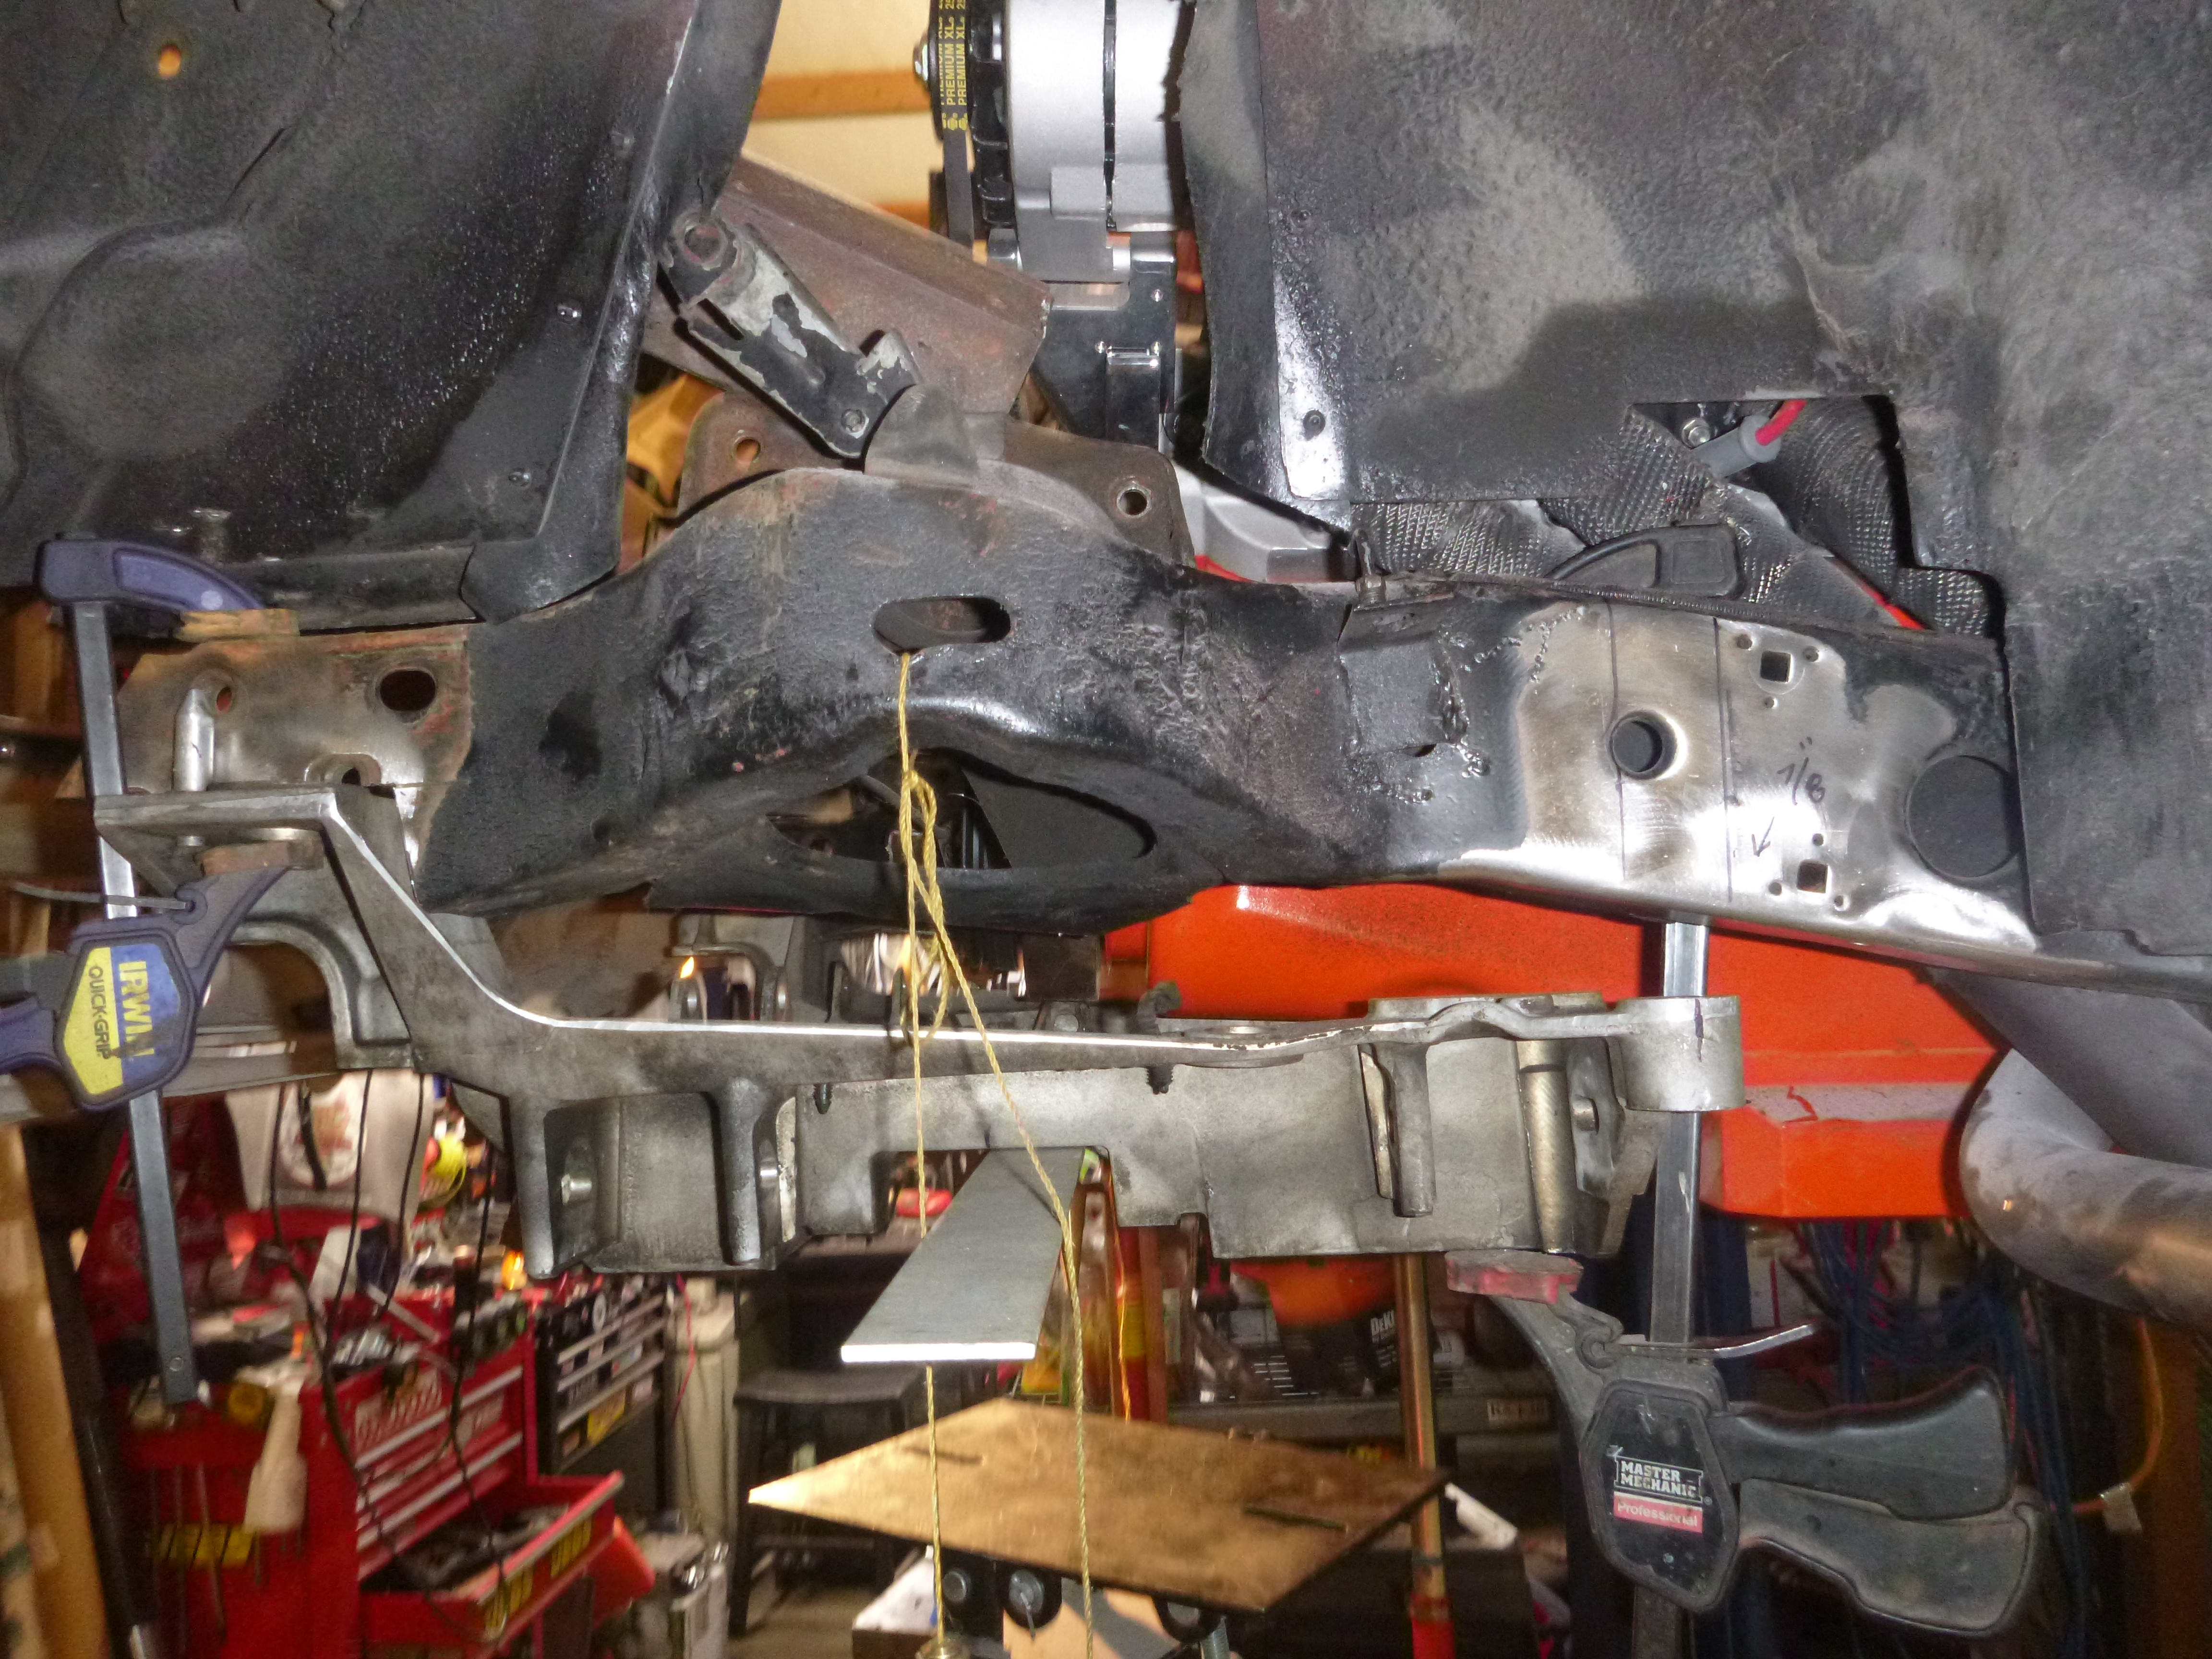
Today, I got a chance to get some good measurements off a C5 Corvette
what surprised me was that the cradle is 5 3/4 inches off the ground.... as of yesterday, it was 8
255 tire, now 7 1/4 off the ground
that is about right sitting in the car, yes, it looks low but I could put a 275/20 tire under it ...
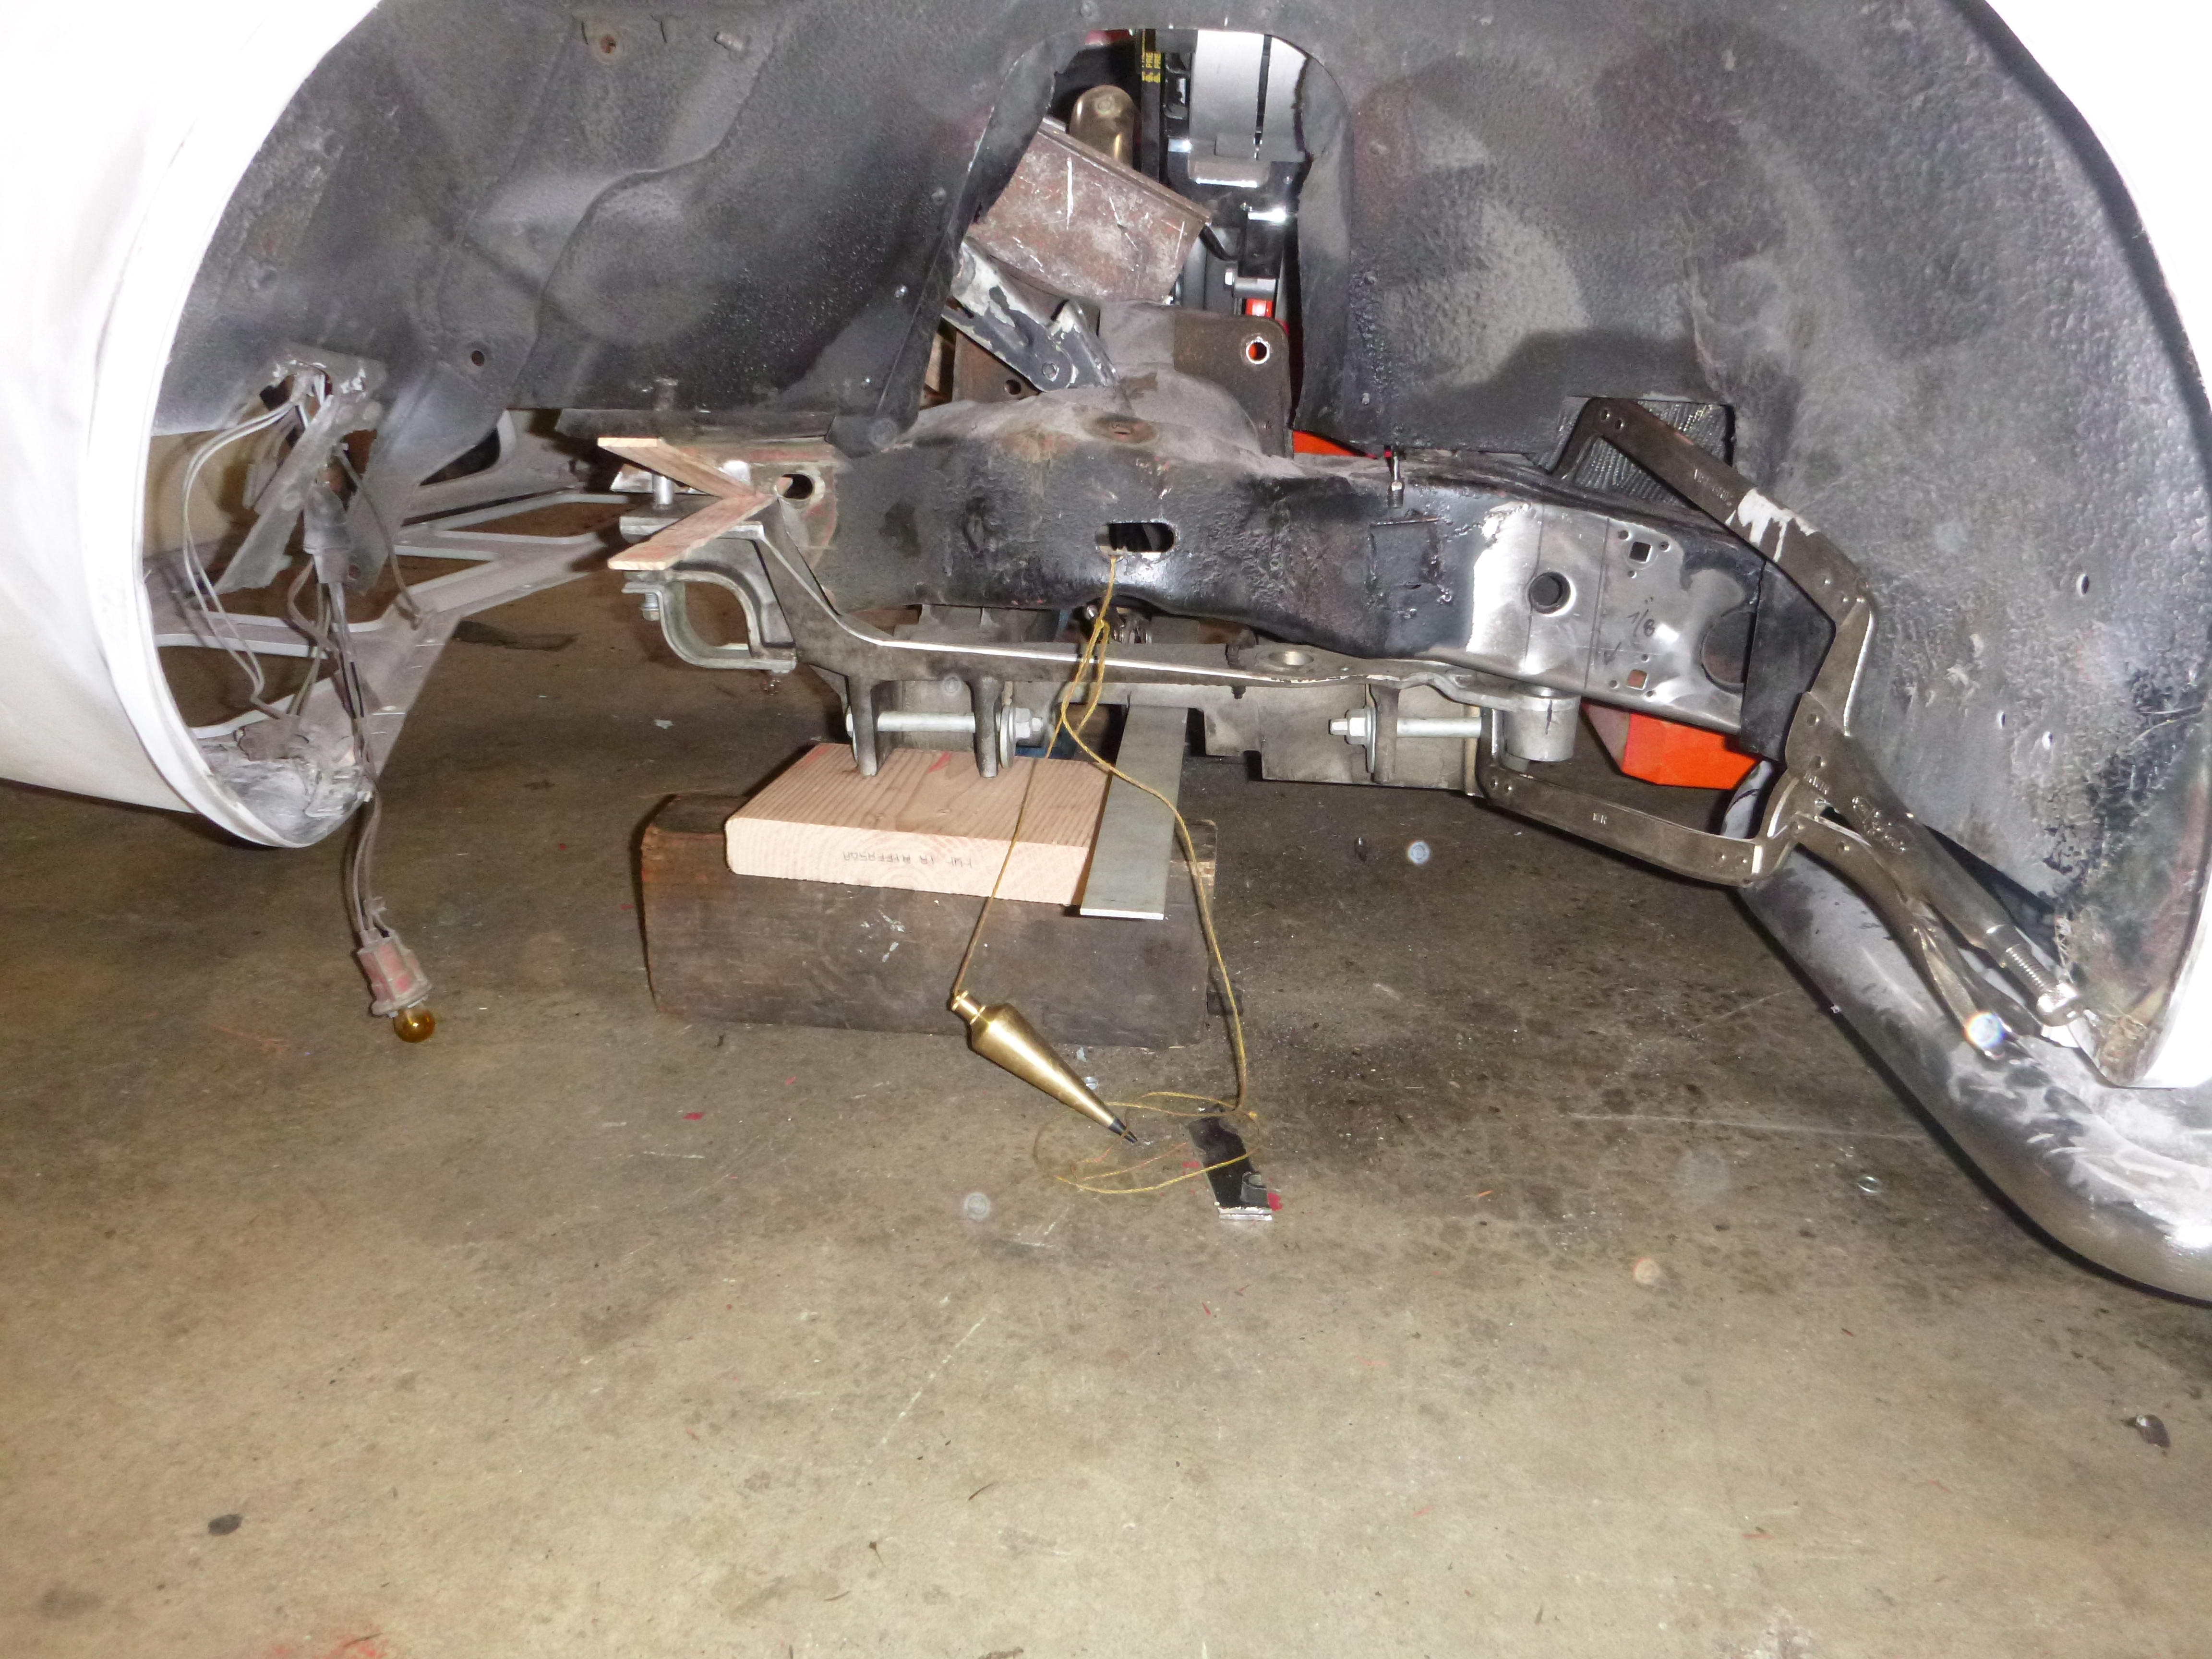
time to make it permanent
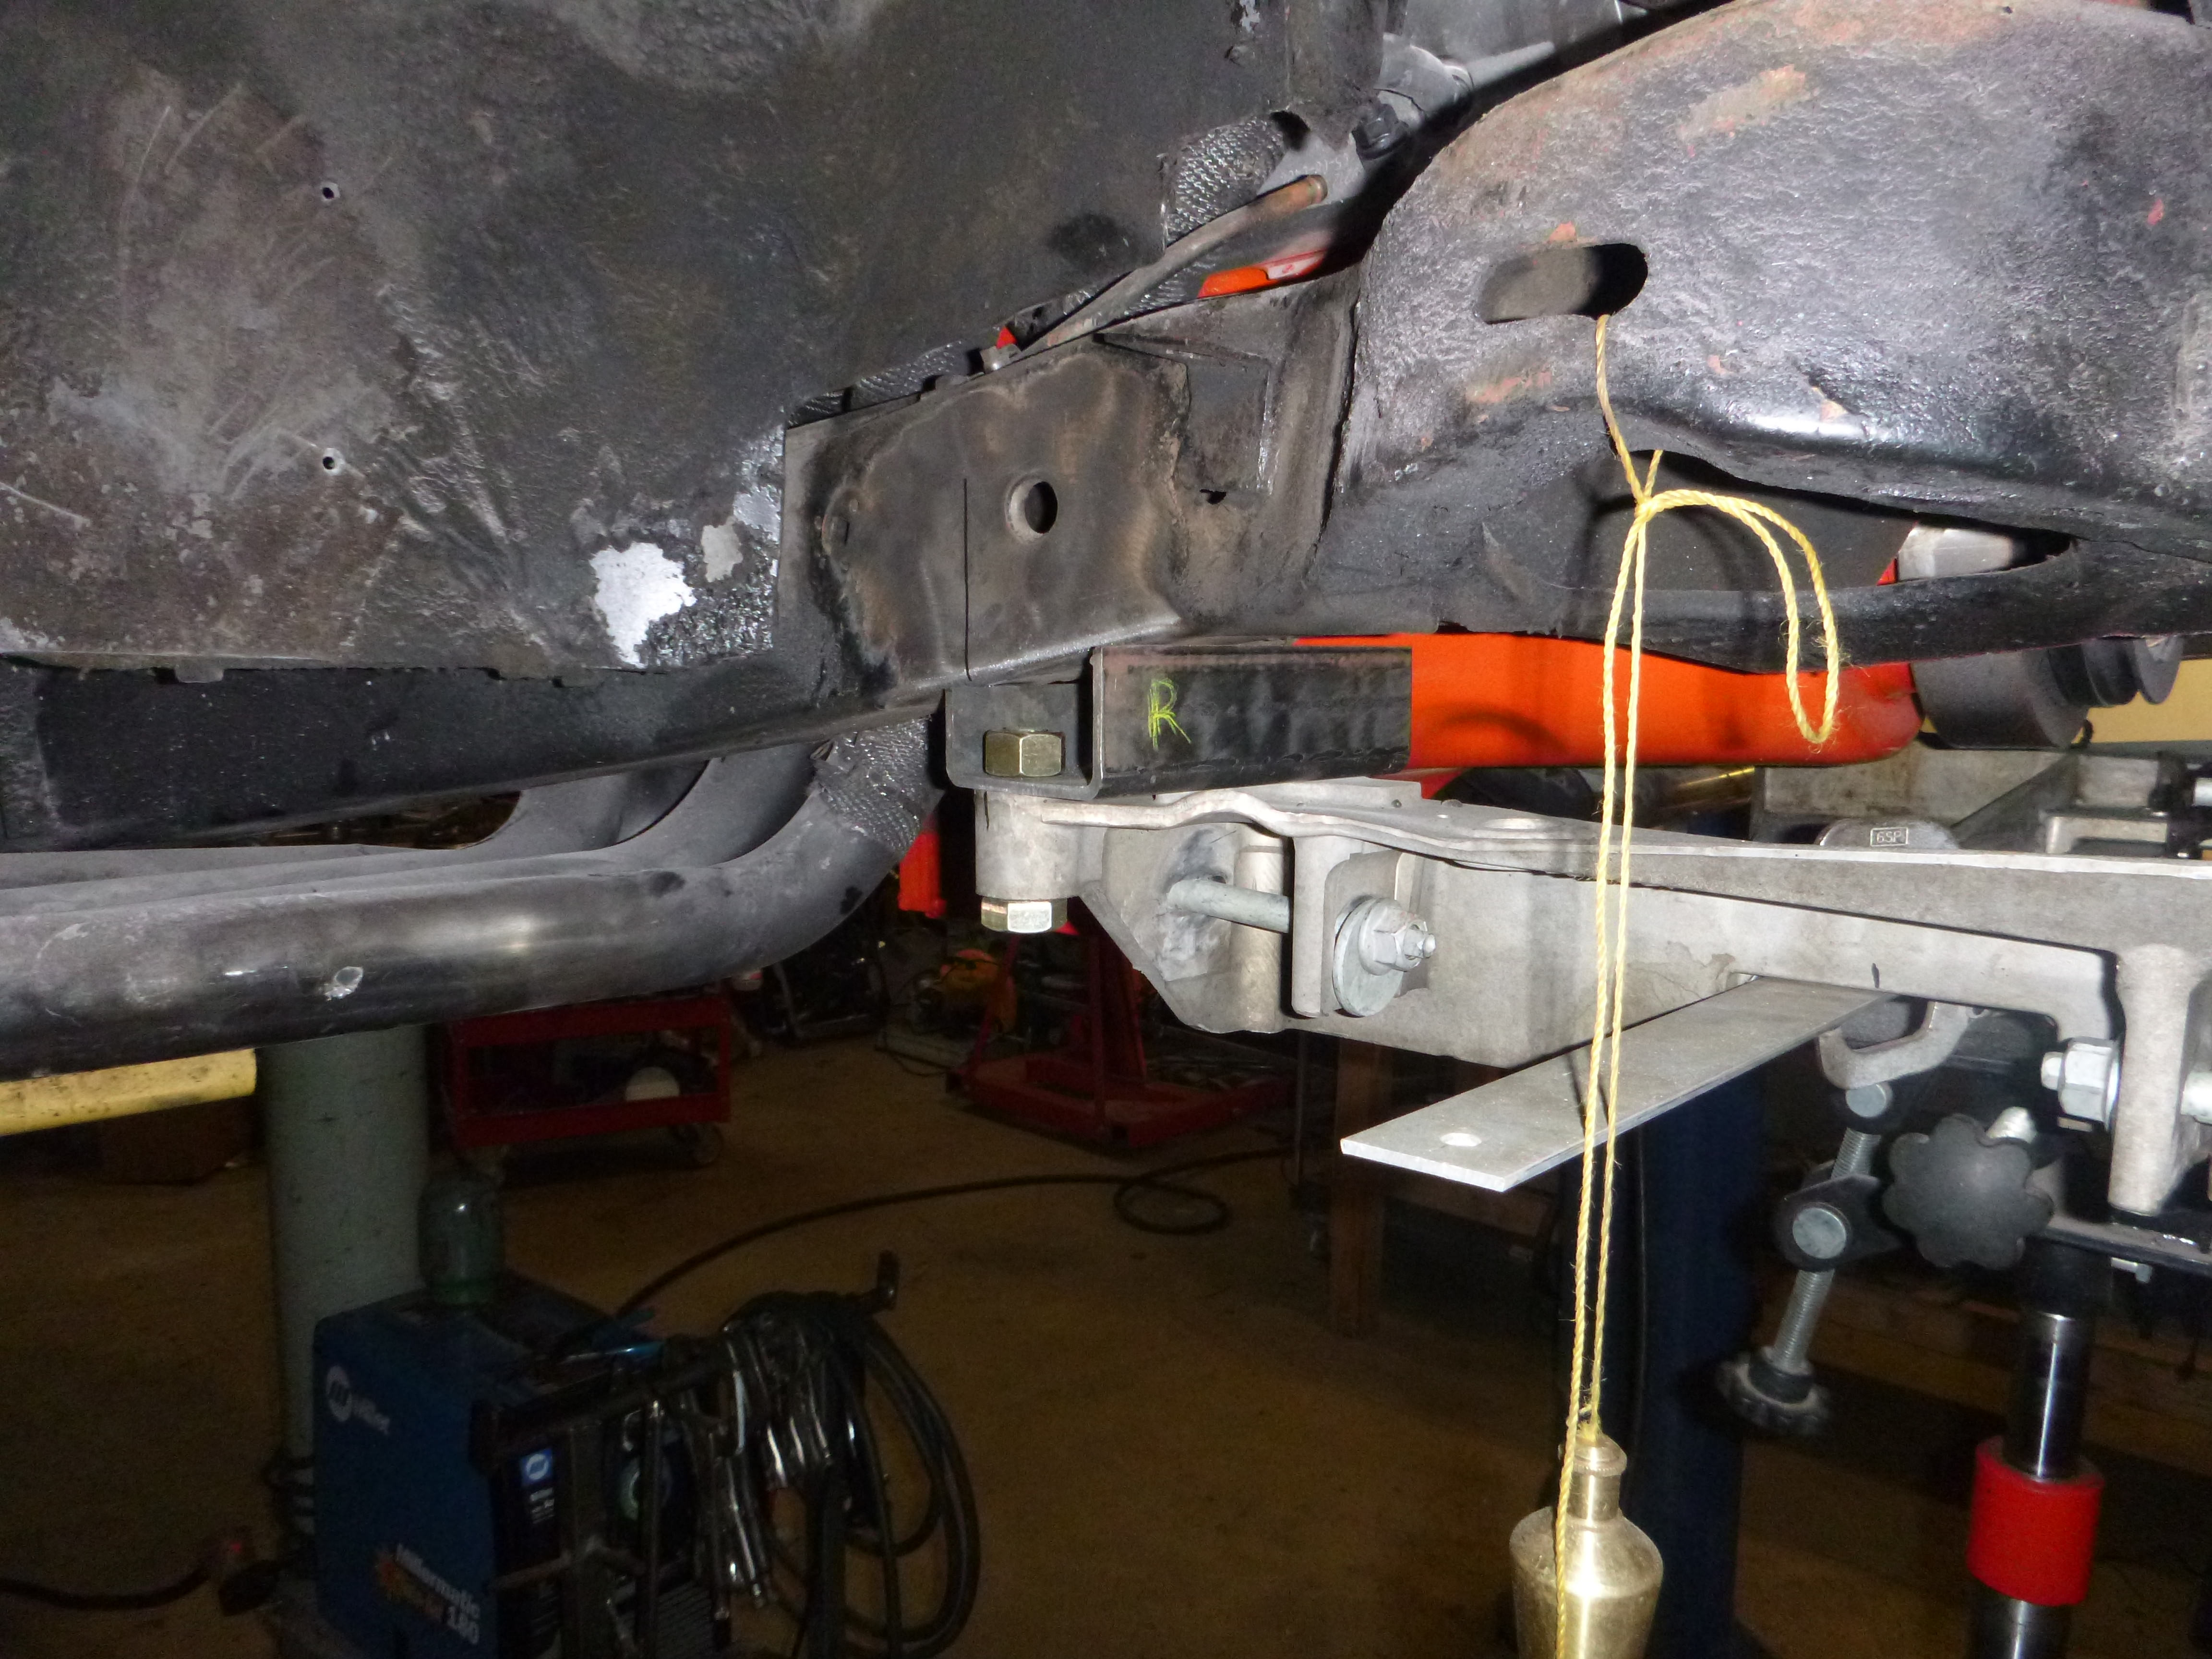
the oil pan is actually above the cradle and the cradle is basically flat to the center cross member (meaning I can do a belly pan pretty easiliy
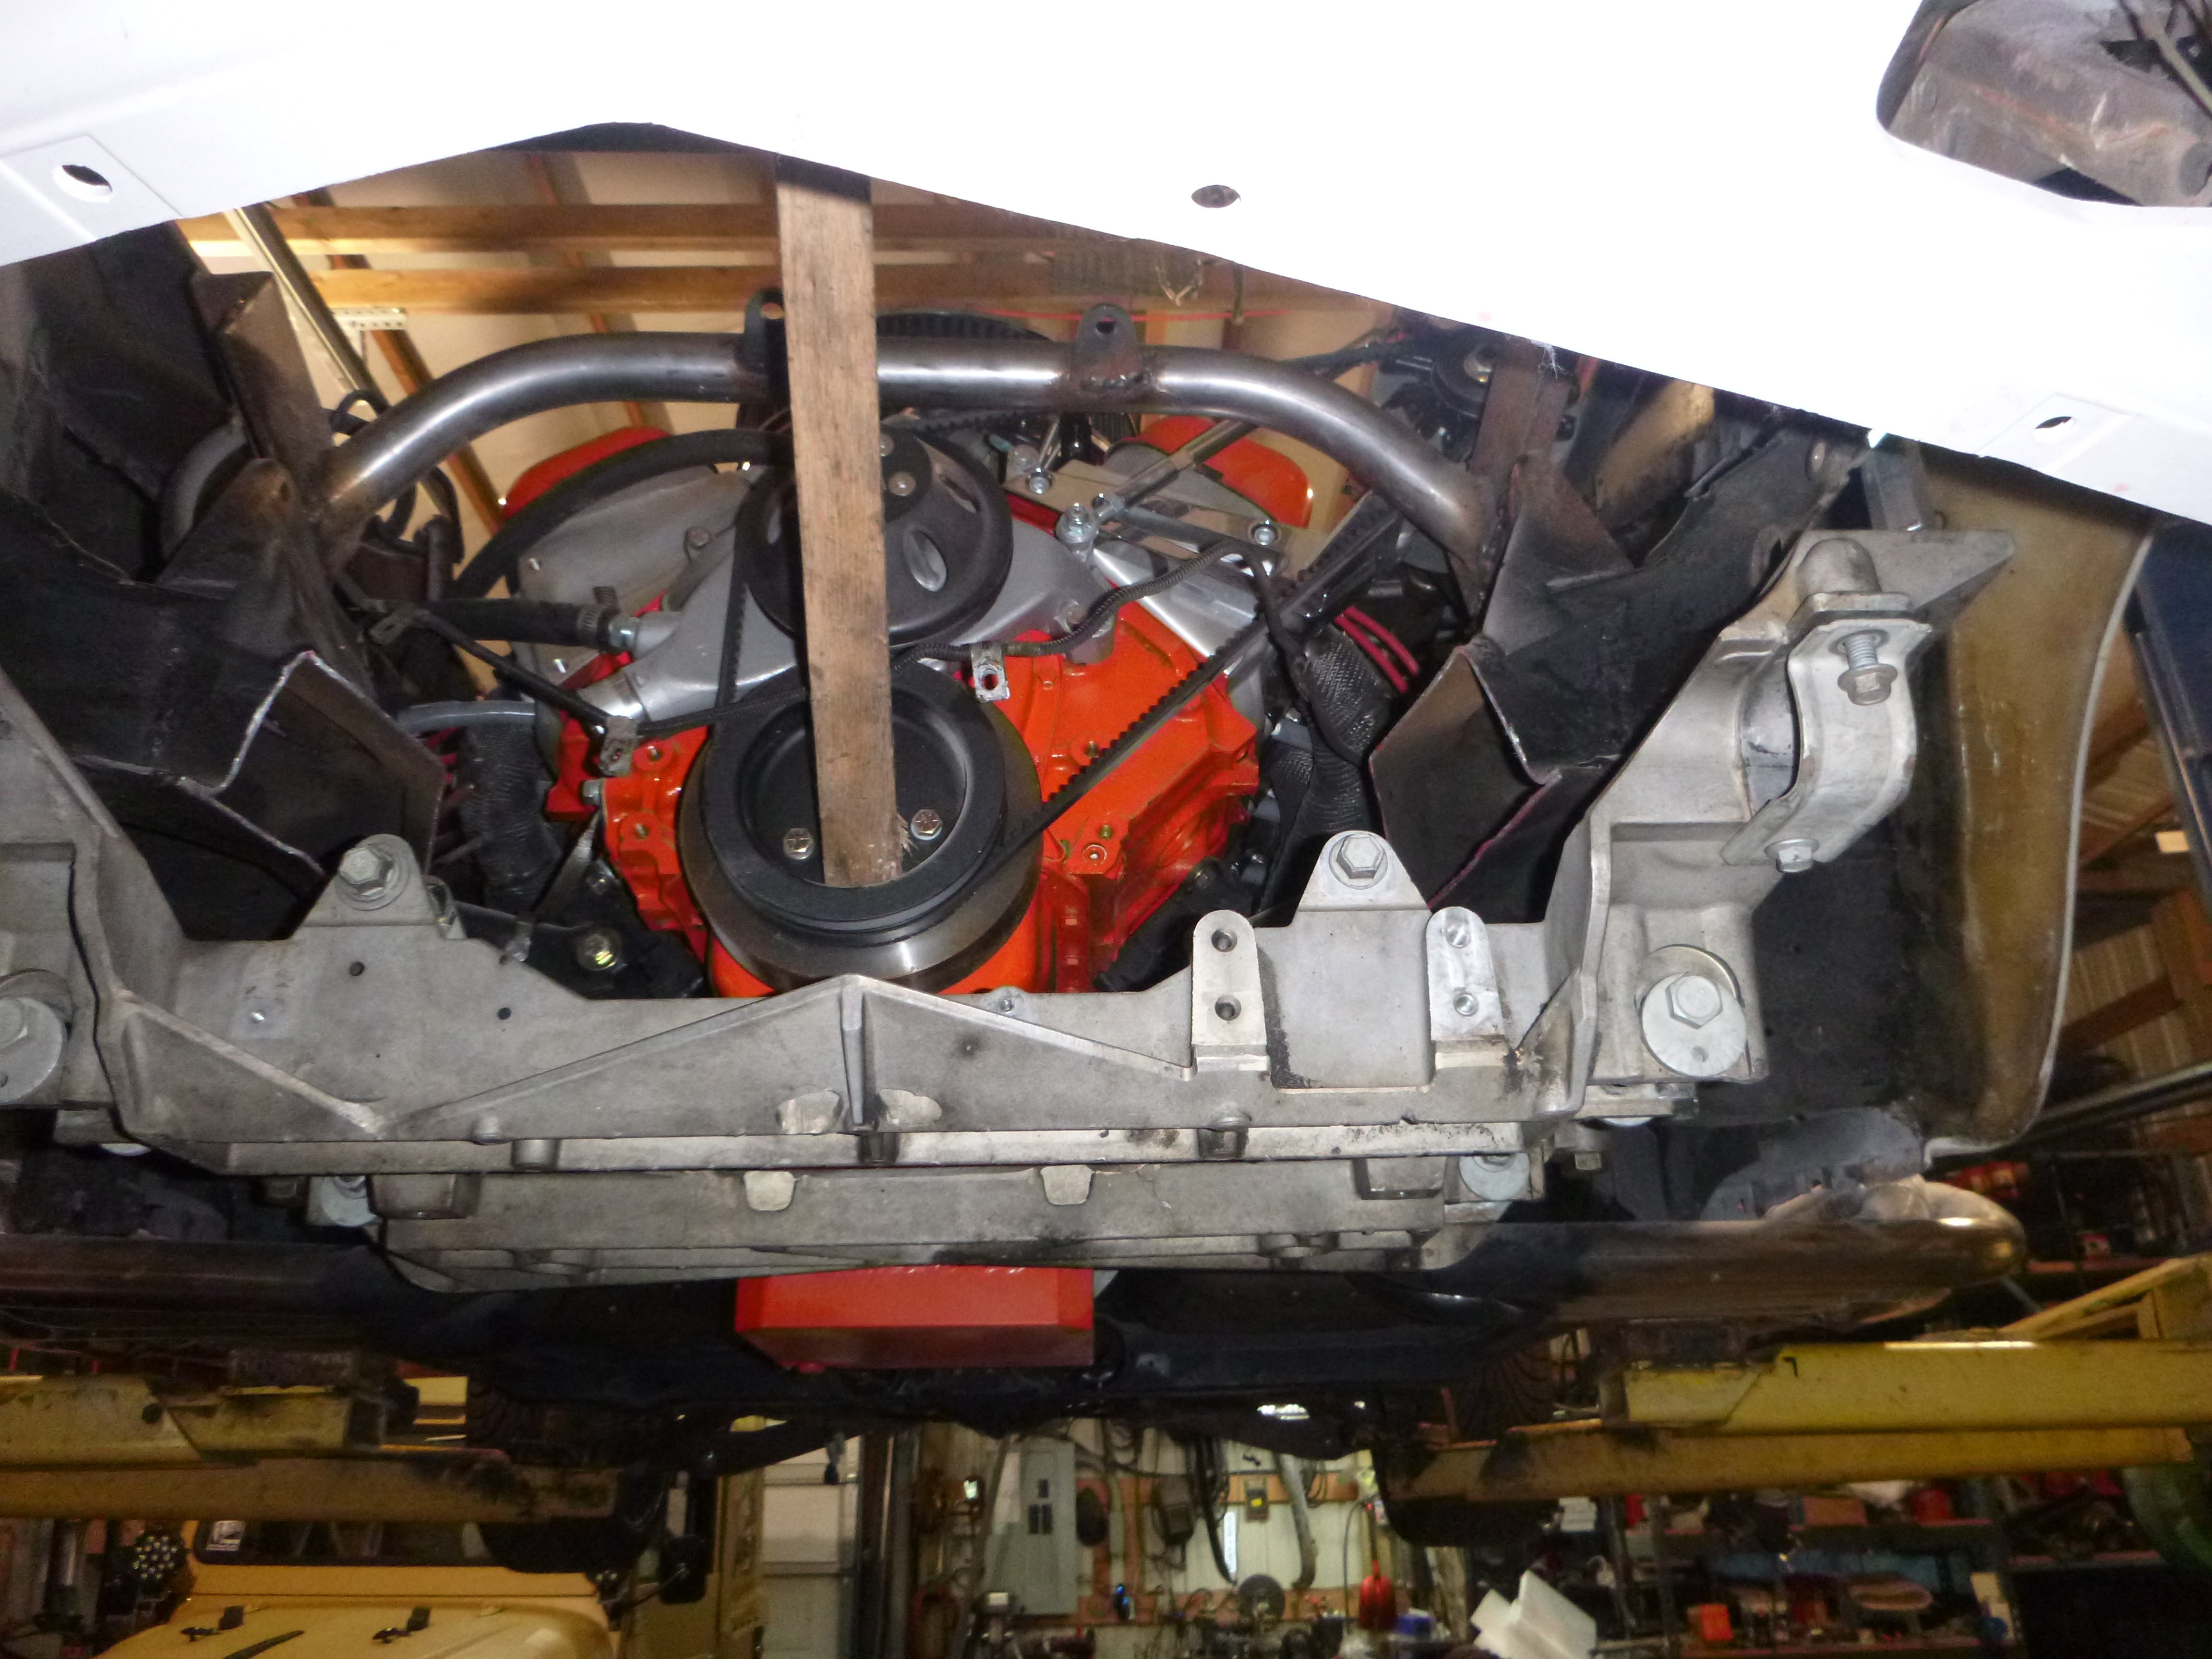
looking from the back
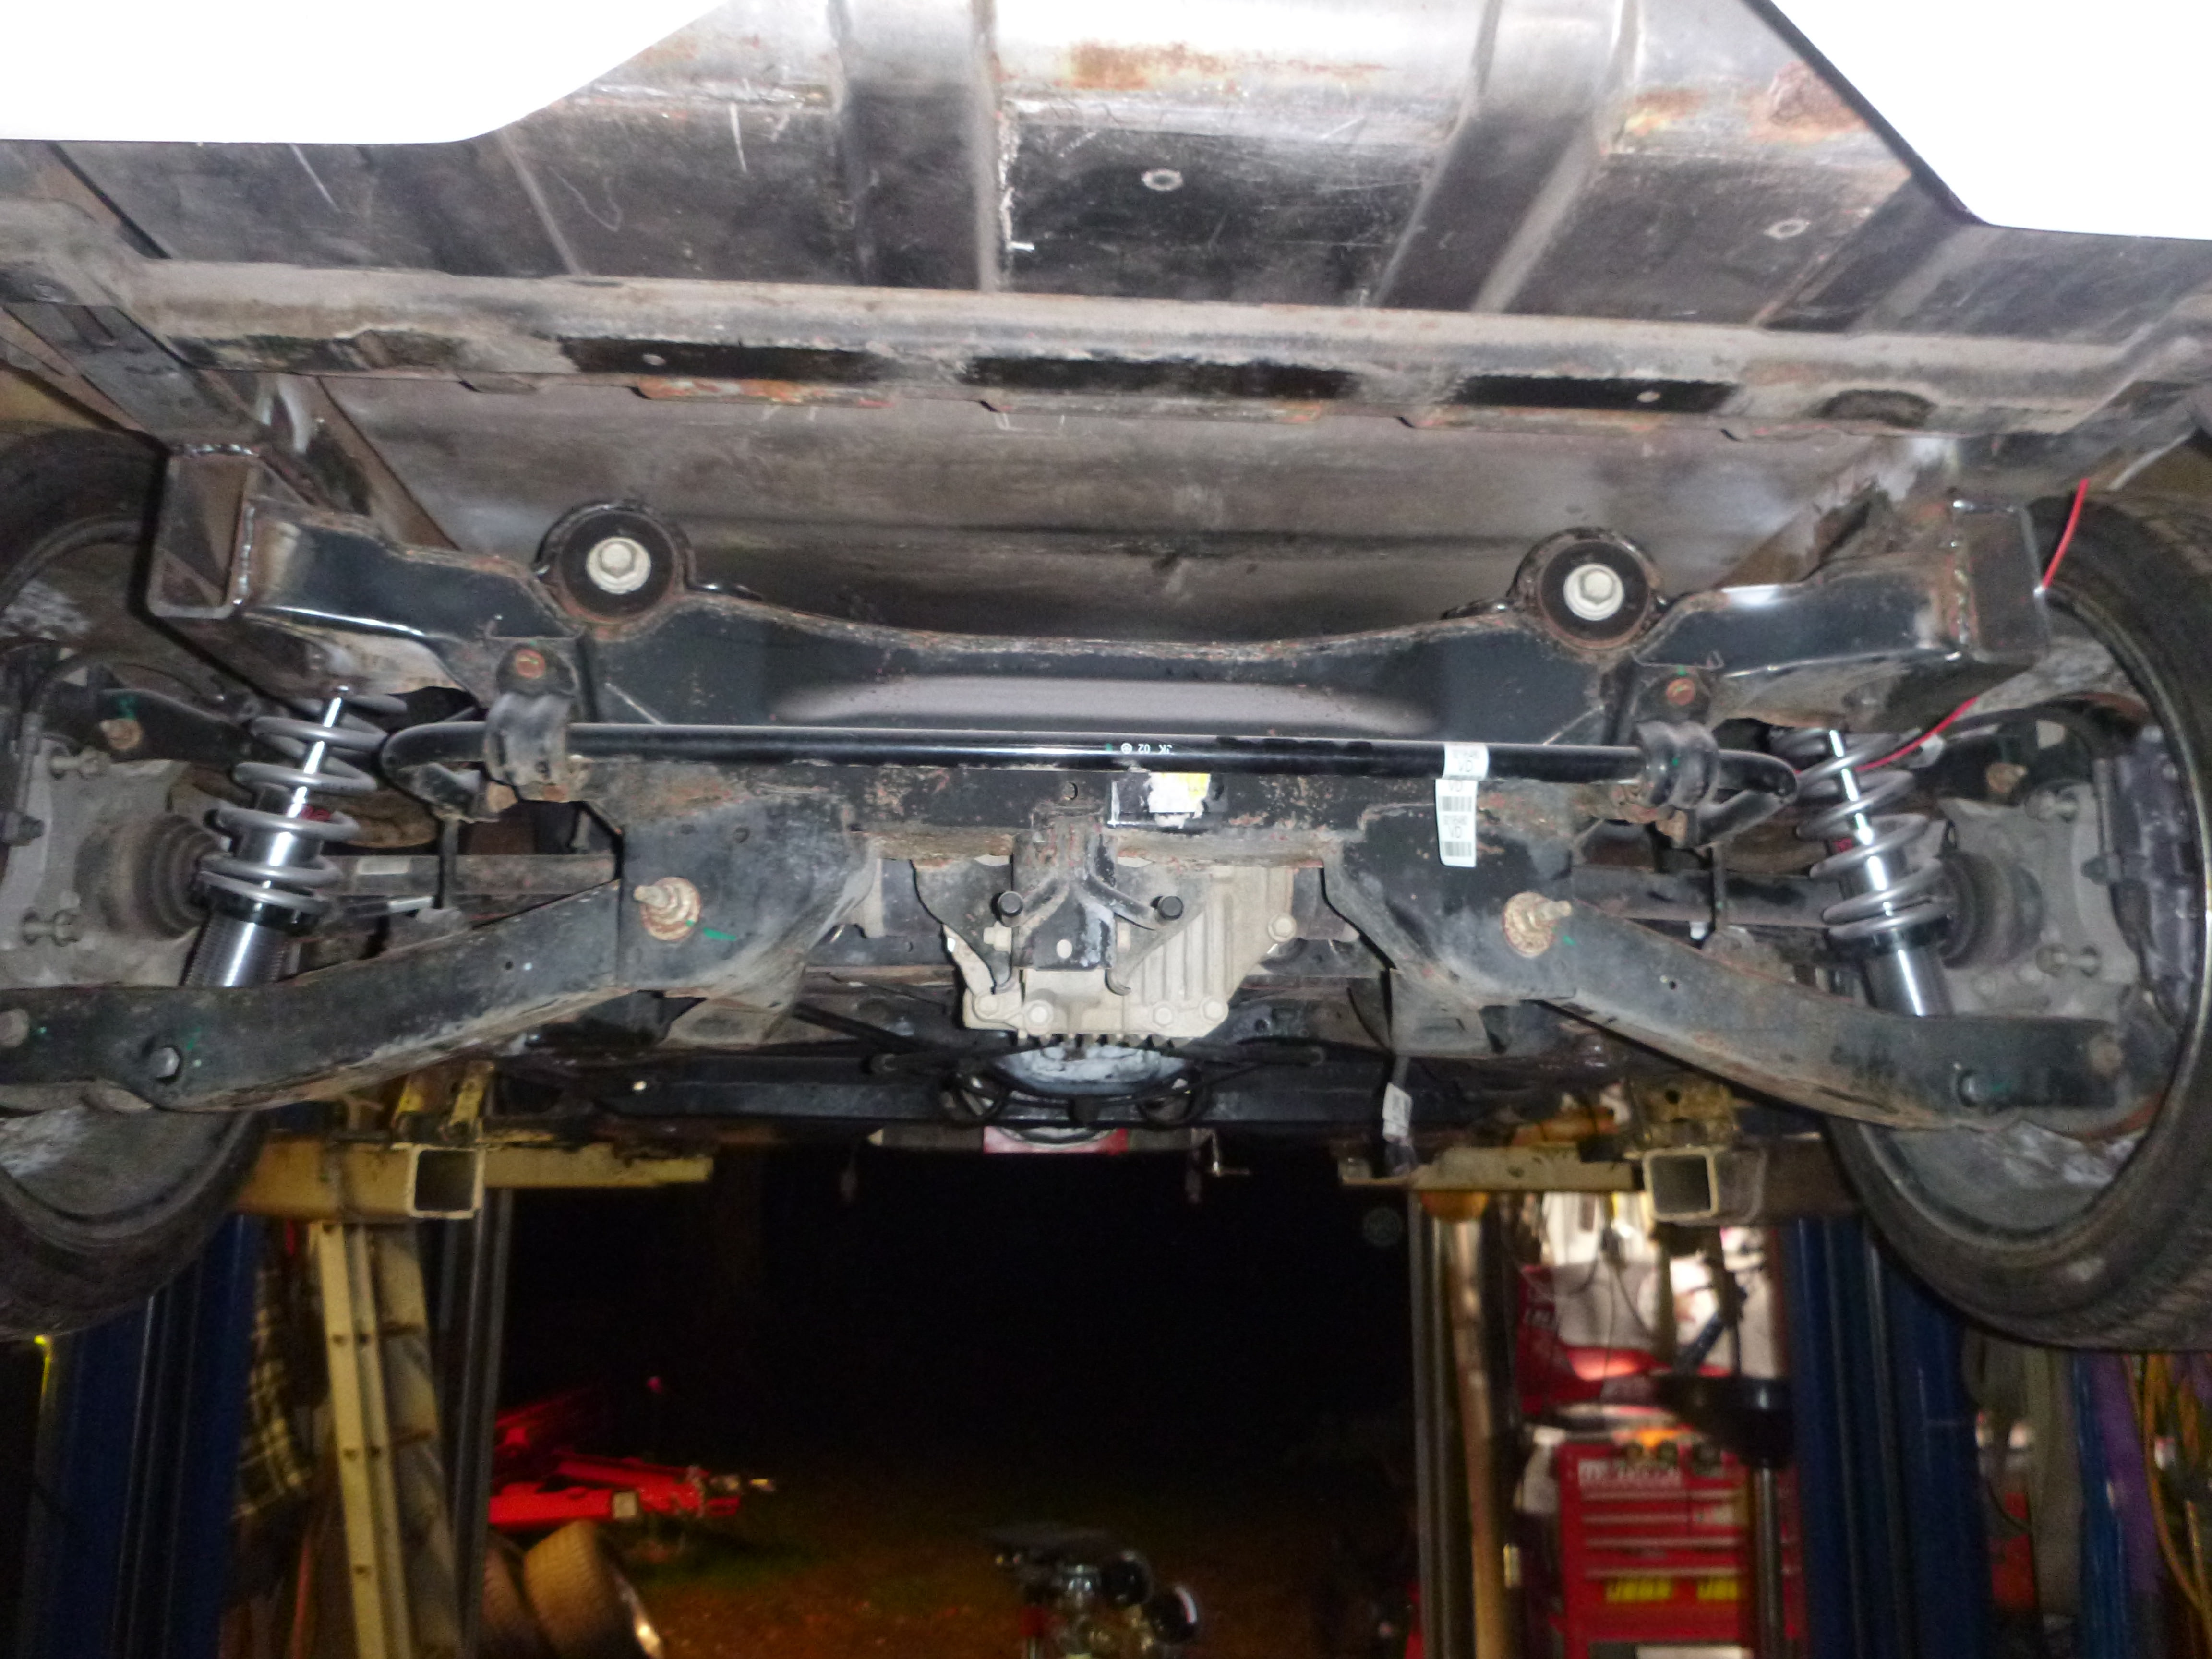
and again the front
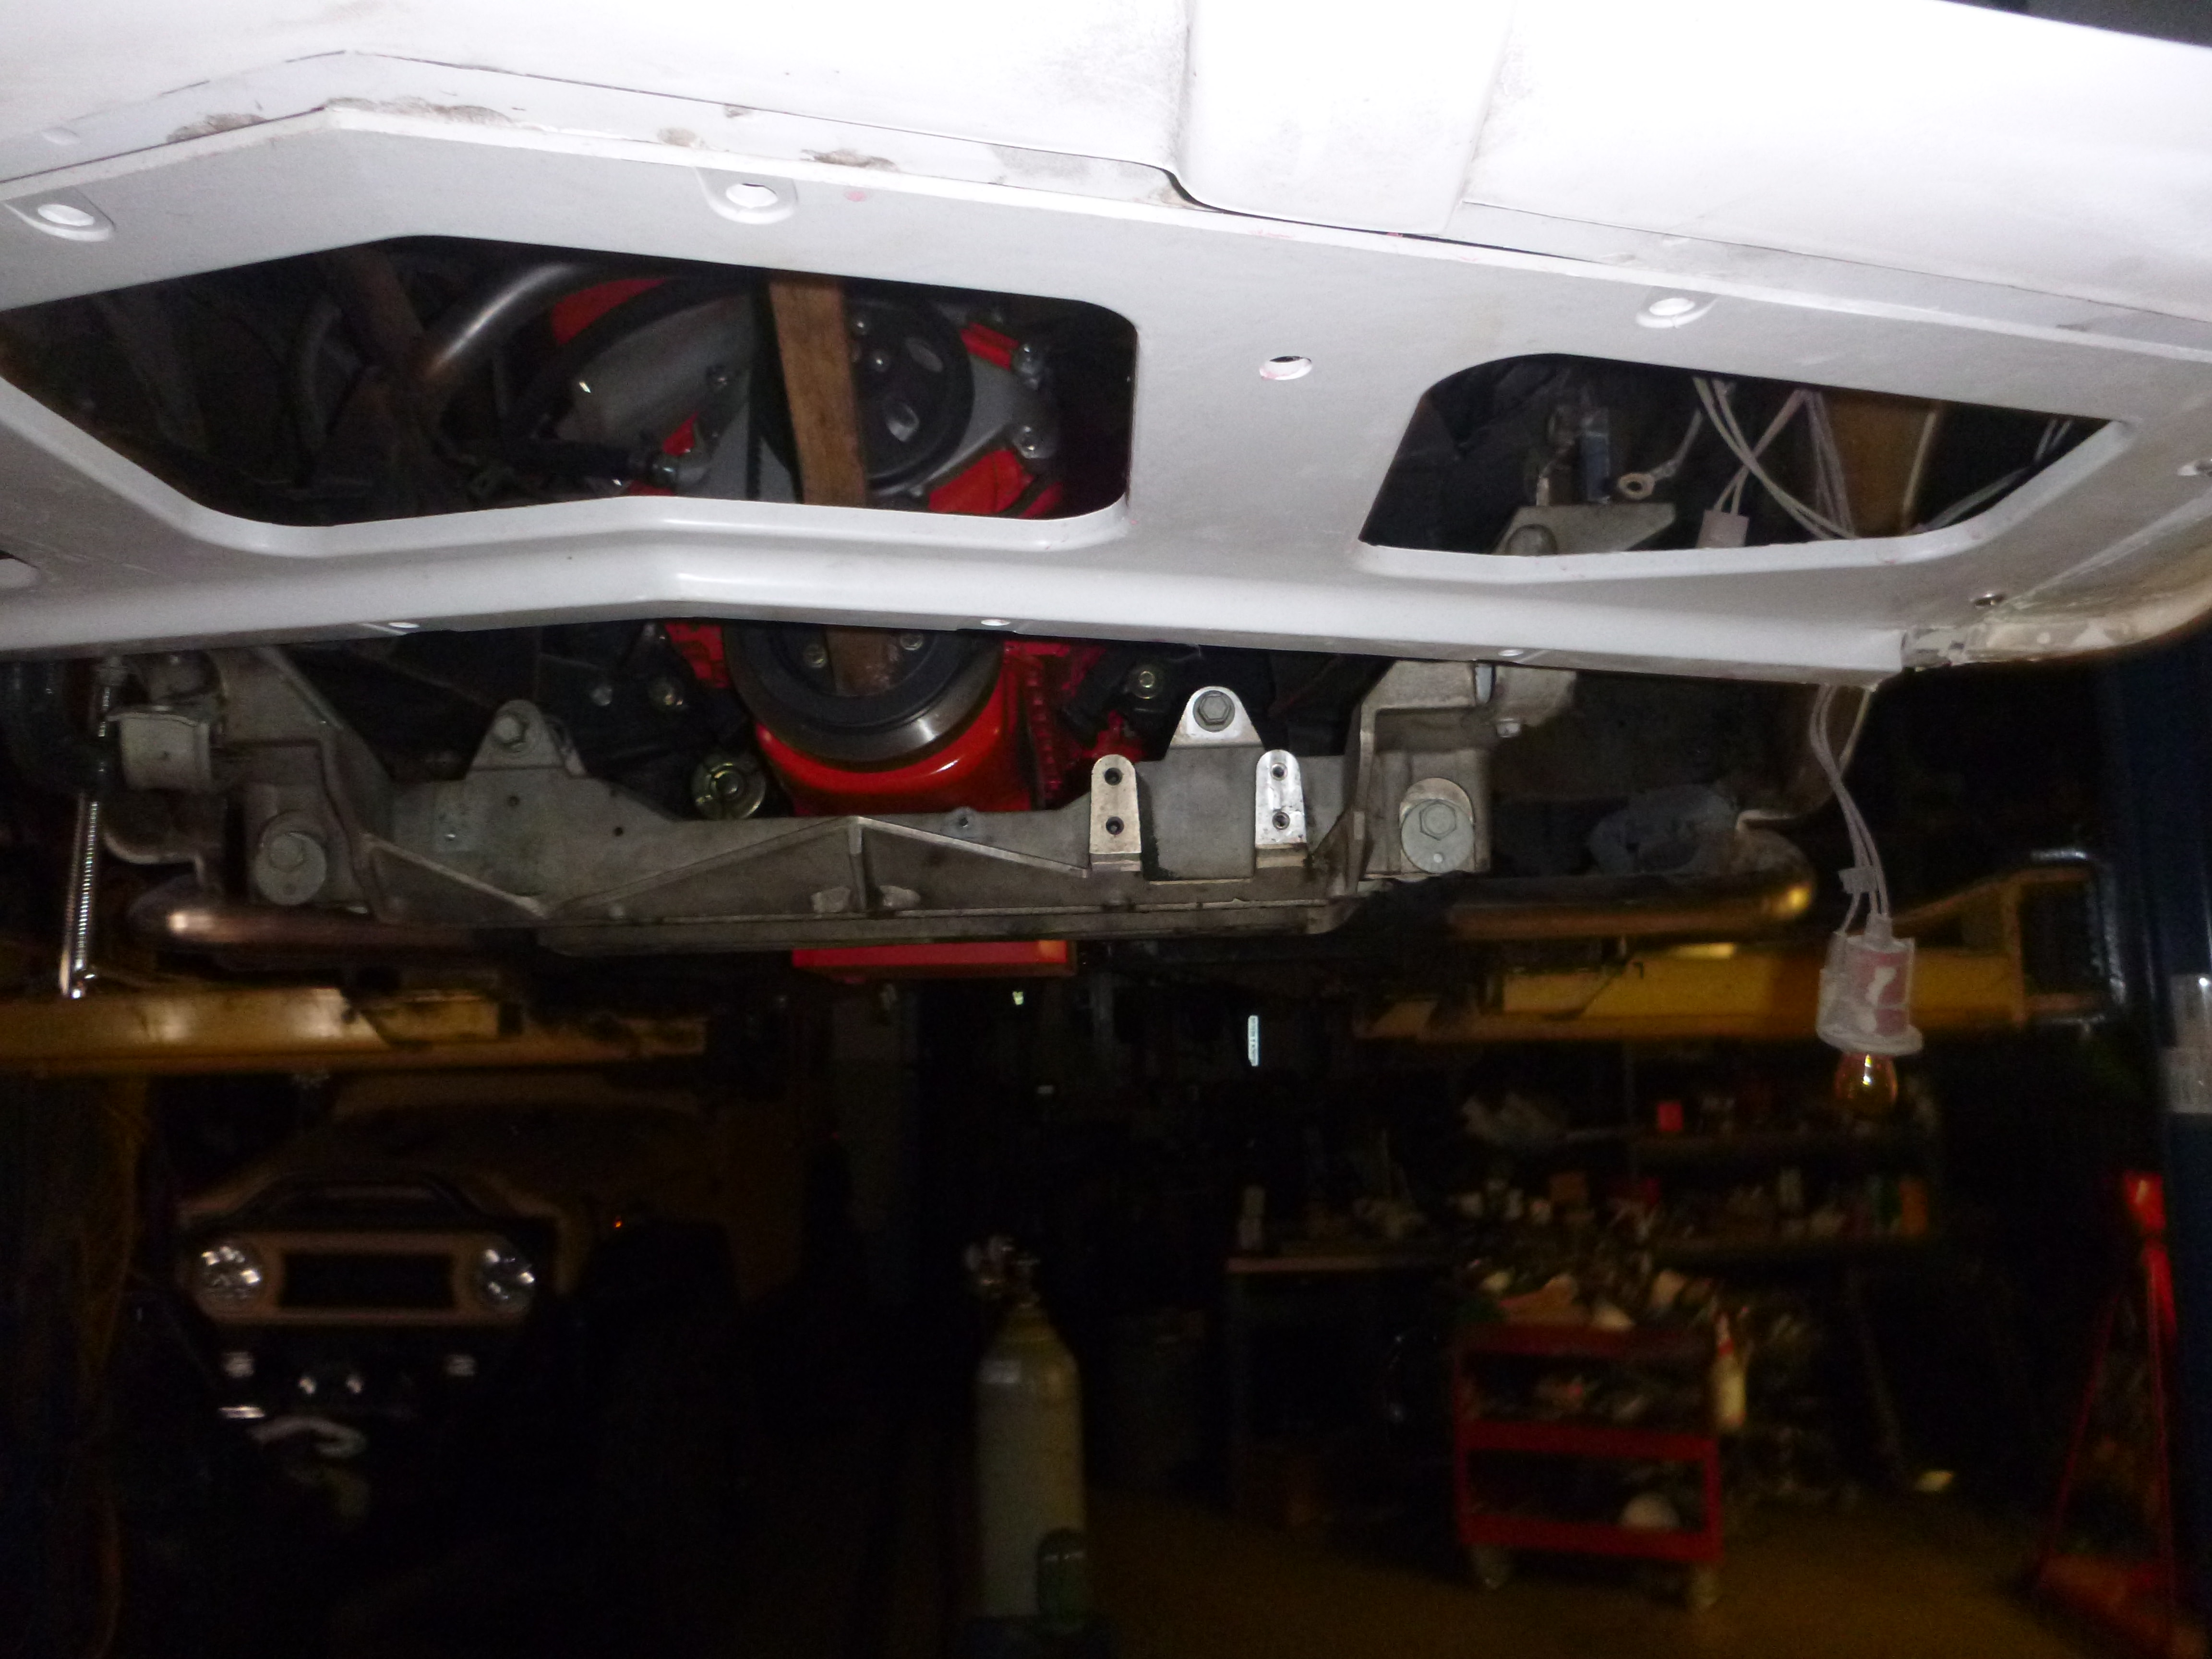
next up is the front mount which will include the upper control arm mount. they are 13 inches above the lower control arm in the back 9 1/2 in the front..... basically as the tire goes up the upper arm is moving backward while the lower arm is going forward - but at different rates (I think I got that right, there may be edits).... how the GM engineers figured all this out is pretty fascinating to me, hope it works with the Camaro rear
what surprised me was that the cradle is 5 3/4 inches off the ground.... as of yesterday, it was 8
255 tire, now 7 1/4 off the ground
that is about right sitting in the car, yes, it looks low but I could put a 275/20 tire under it ...
time to make it permanent
the oil pan is actually above the cradle and the cradle is basically flat to the center cross member (meaning I can do a belly pan pretty easiliy
looking from the back
and again the front
next up is the front mount which will include the upper control arm mount. they are 13 inches above the lower control arm in the back 9 1/2 in the front..... basically as the tire goes up the upper arm is moving backward while the lower arm is going forward - but at different rates (I think I got that right, there may be edits).... how the GM engineers figured all this out is pretty fascinating to me, hope it works with the Camaro rear
Last edited by SuperBuickGuy; 10-17-2018 at 12:43 AM.