
Plastic Fantastic tew


 12-18-2018, 01:22 AM
#222
Melting Slicks

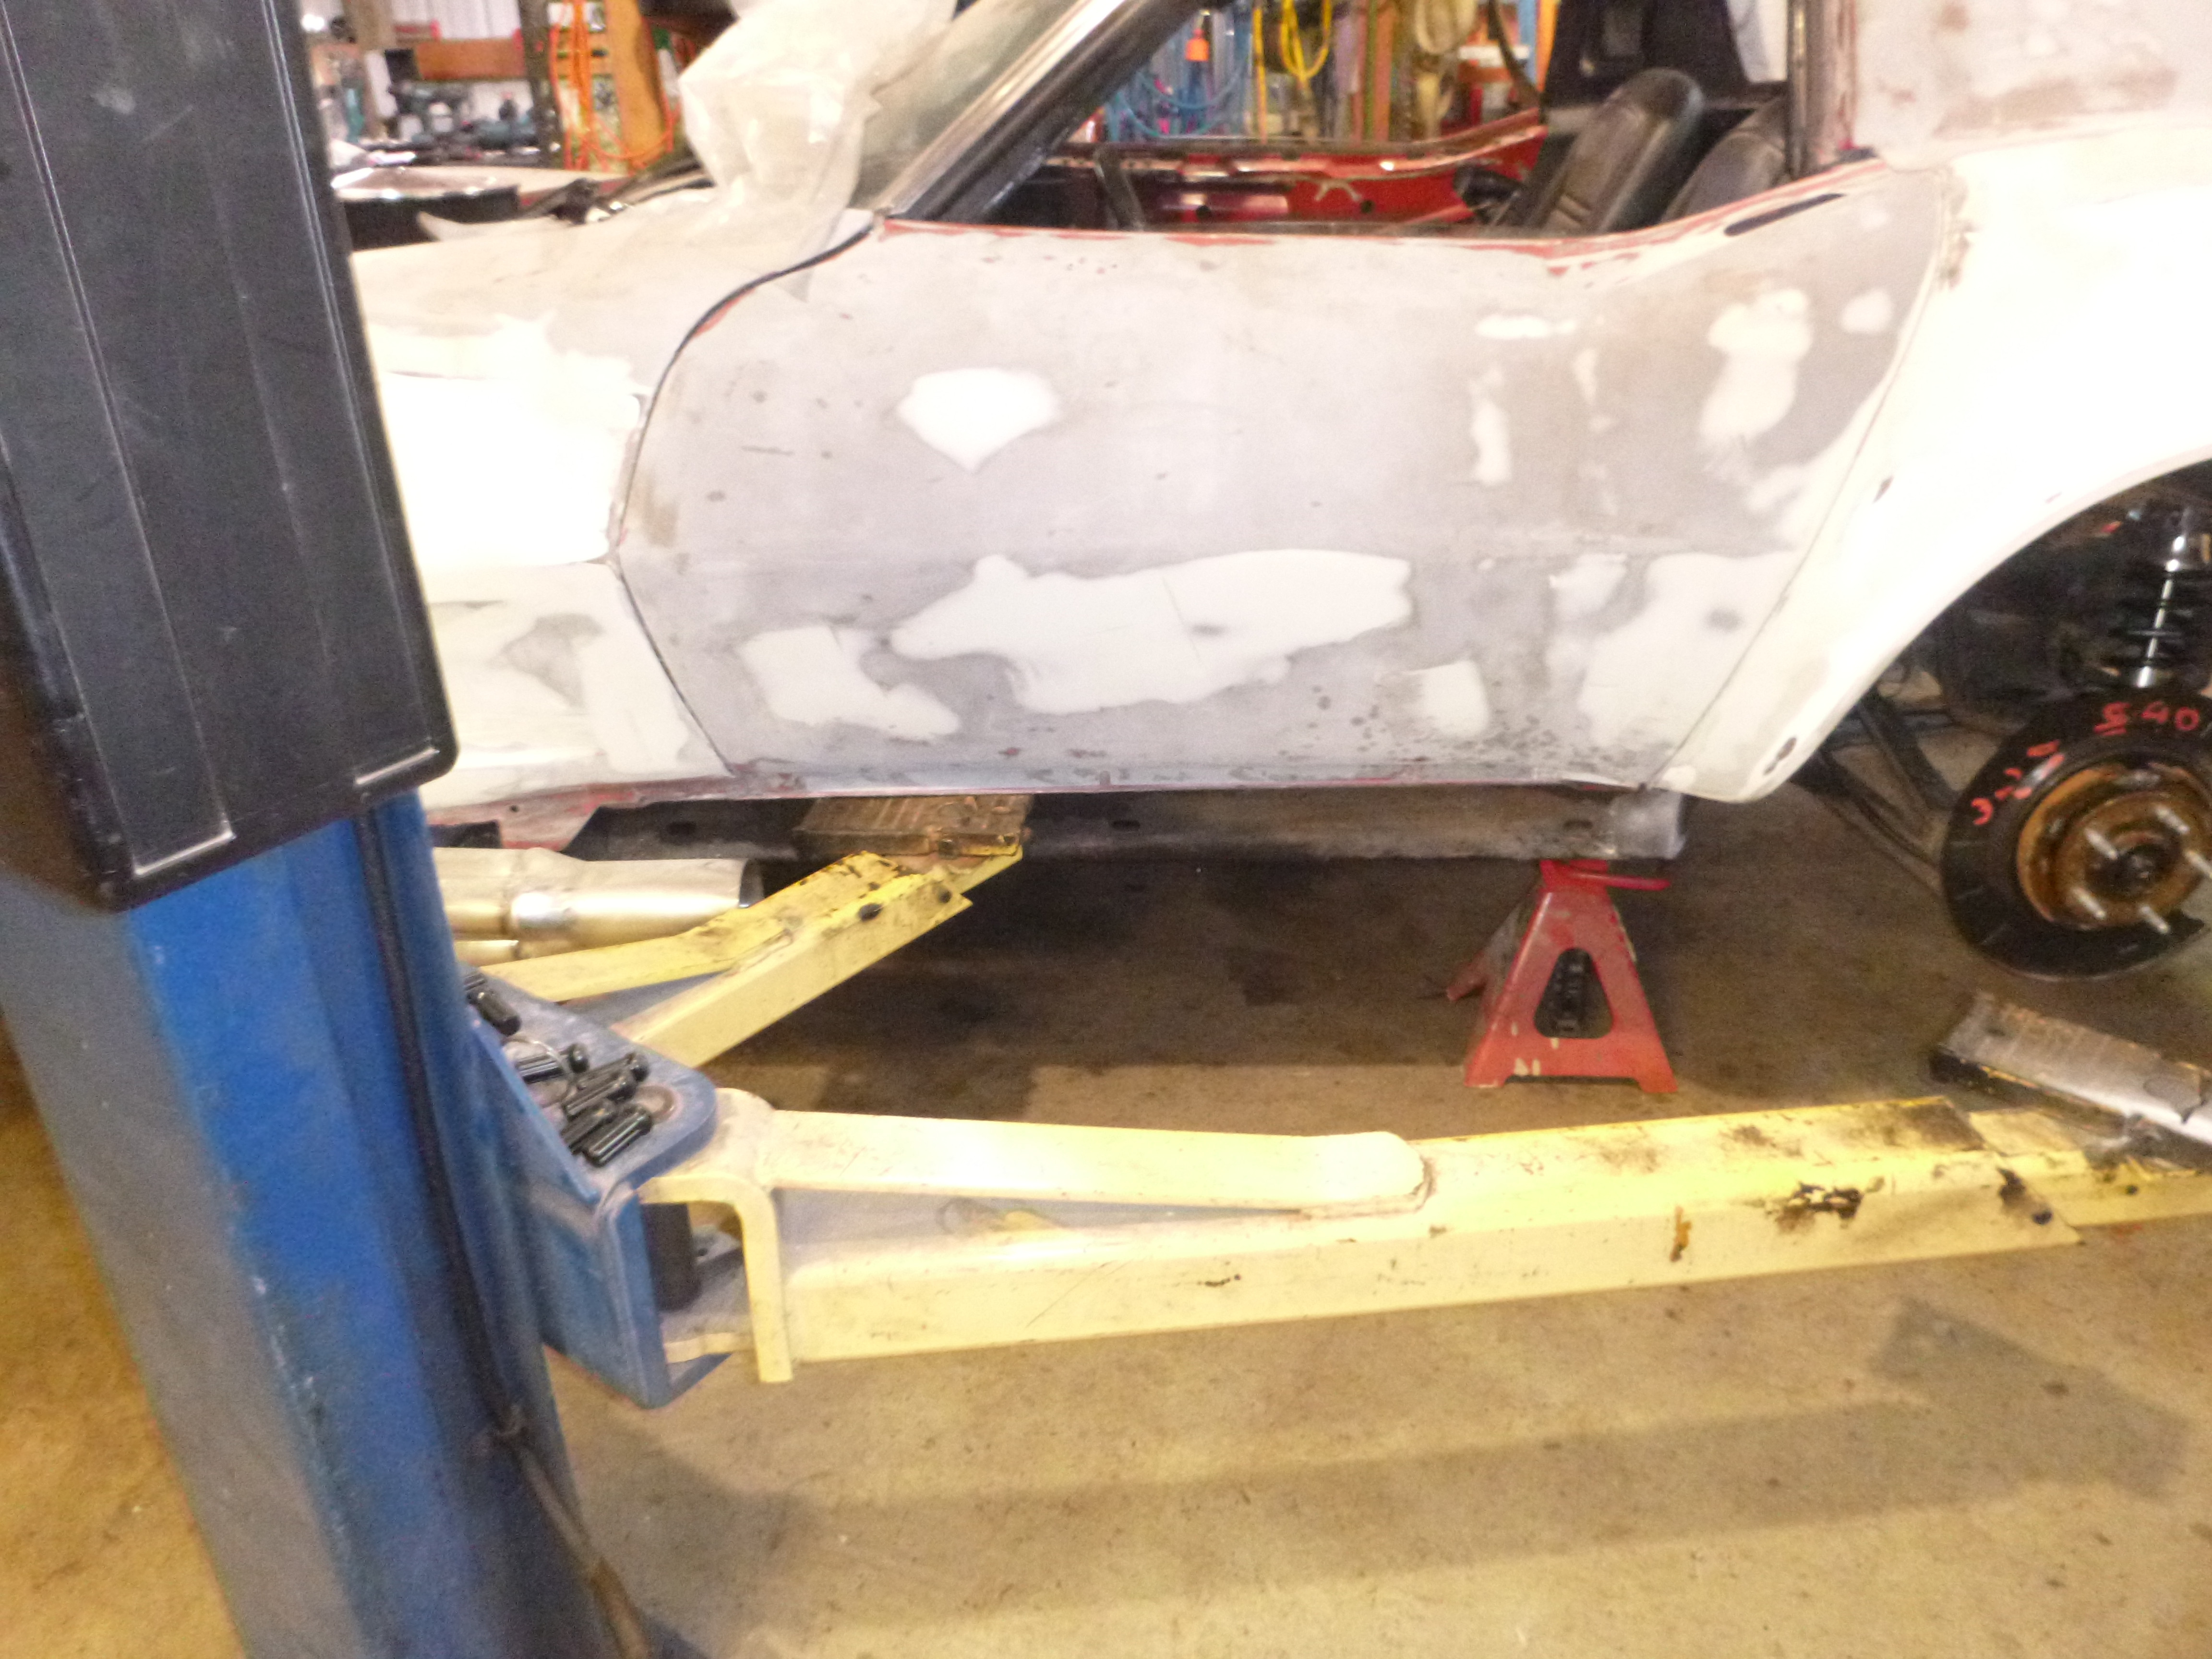
No, I haven't forgotten this. My friend with the mill is on vacation until early next year, so the front brake/spindle mods get to wait, also I have a stack of postponed projects that really need movement (e.g. Colorado air compressor, rack, lights, sliders; Suburban stuff). Also, the next step after the brakes is pull the body off. That, of course, fills my shop and lift - so the other projects plus my wife's craptastic Jeep JK Rubicon (which is leaking coolant, again) means I need to put this on a 2 month or so hold... leaving the body on the frame makes it far easier to move.
in other news, I've been building a plasma table so I can make nice pieces for the frame work that is soon to come
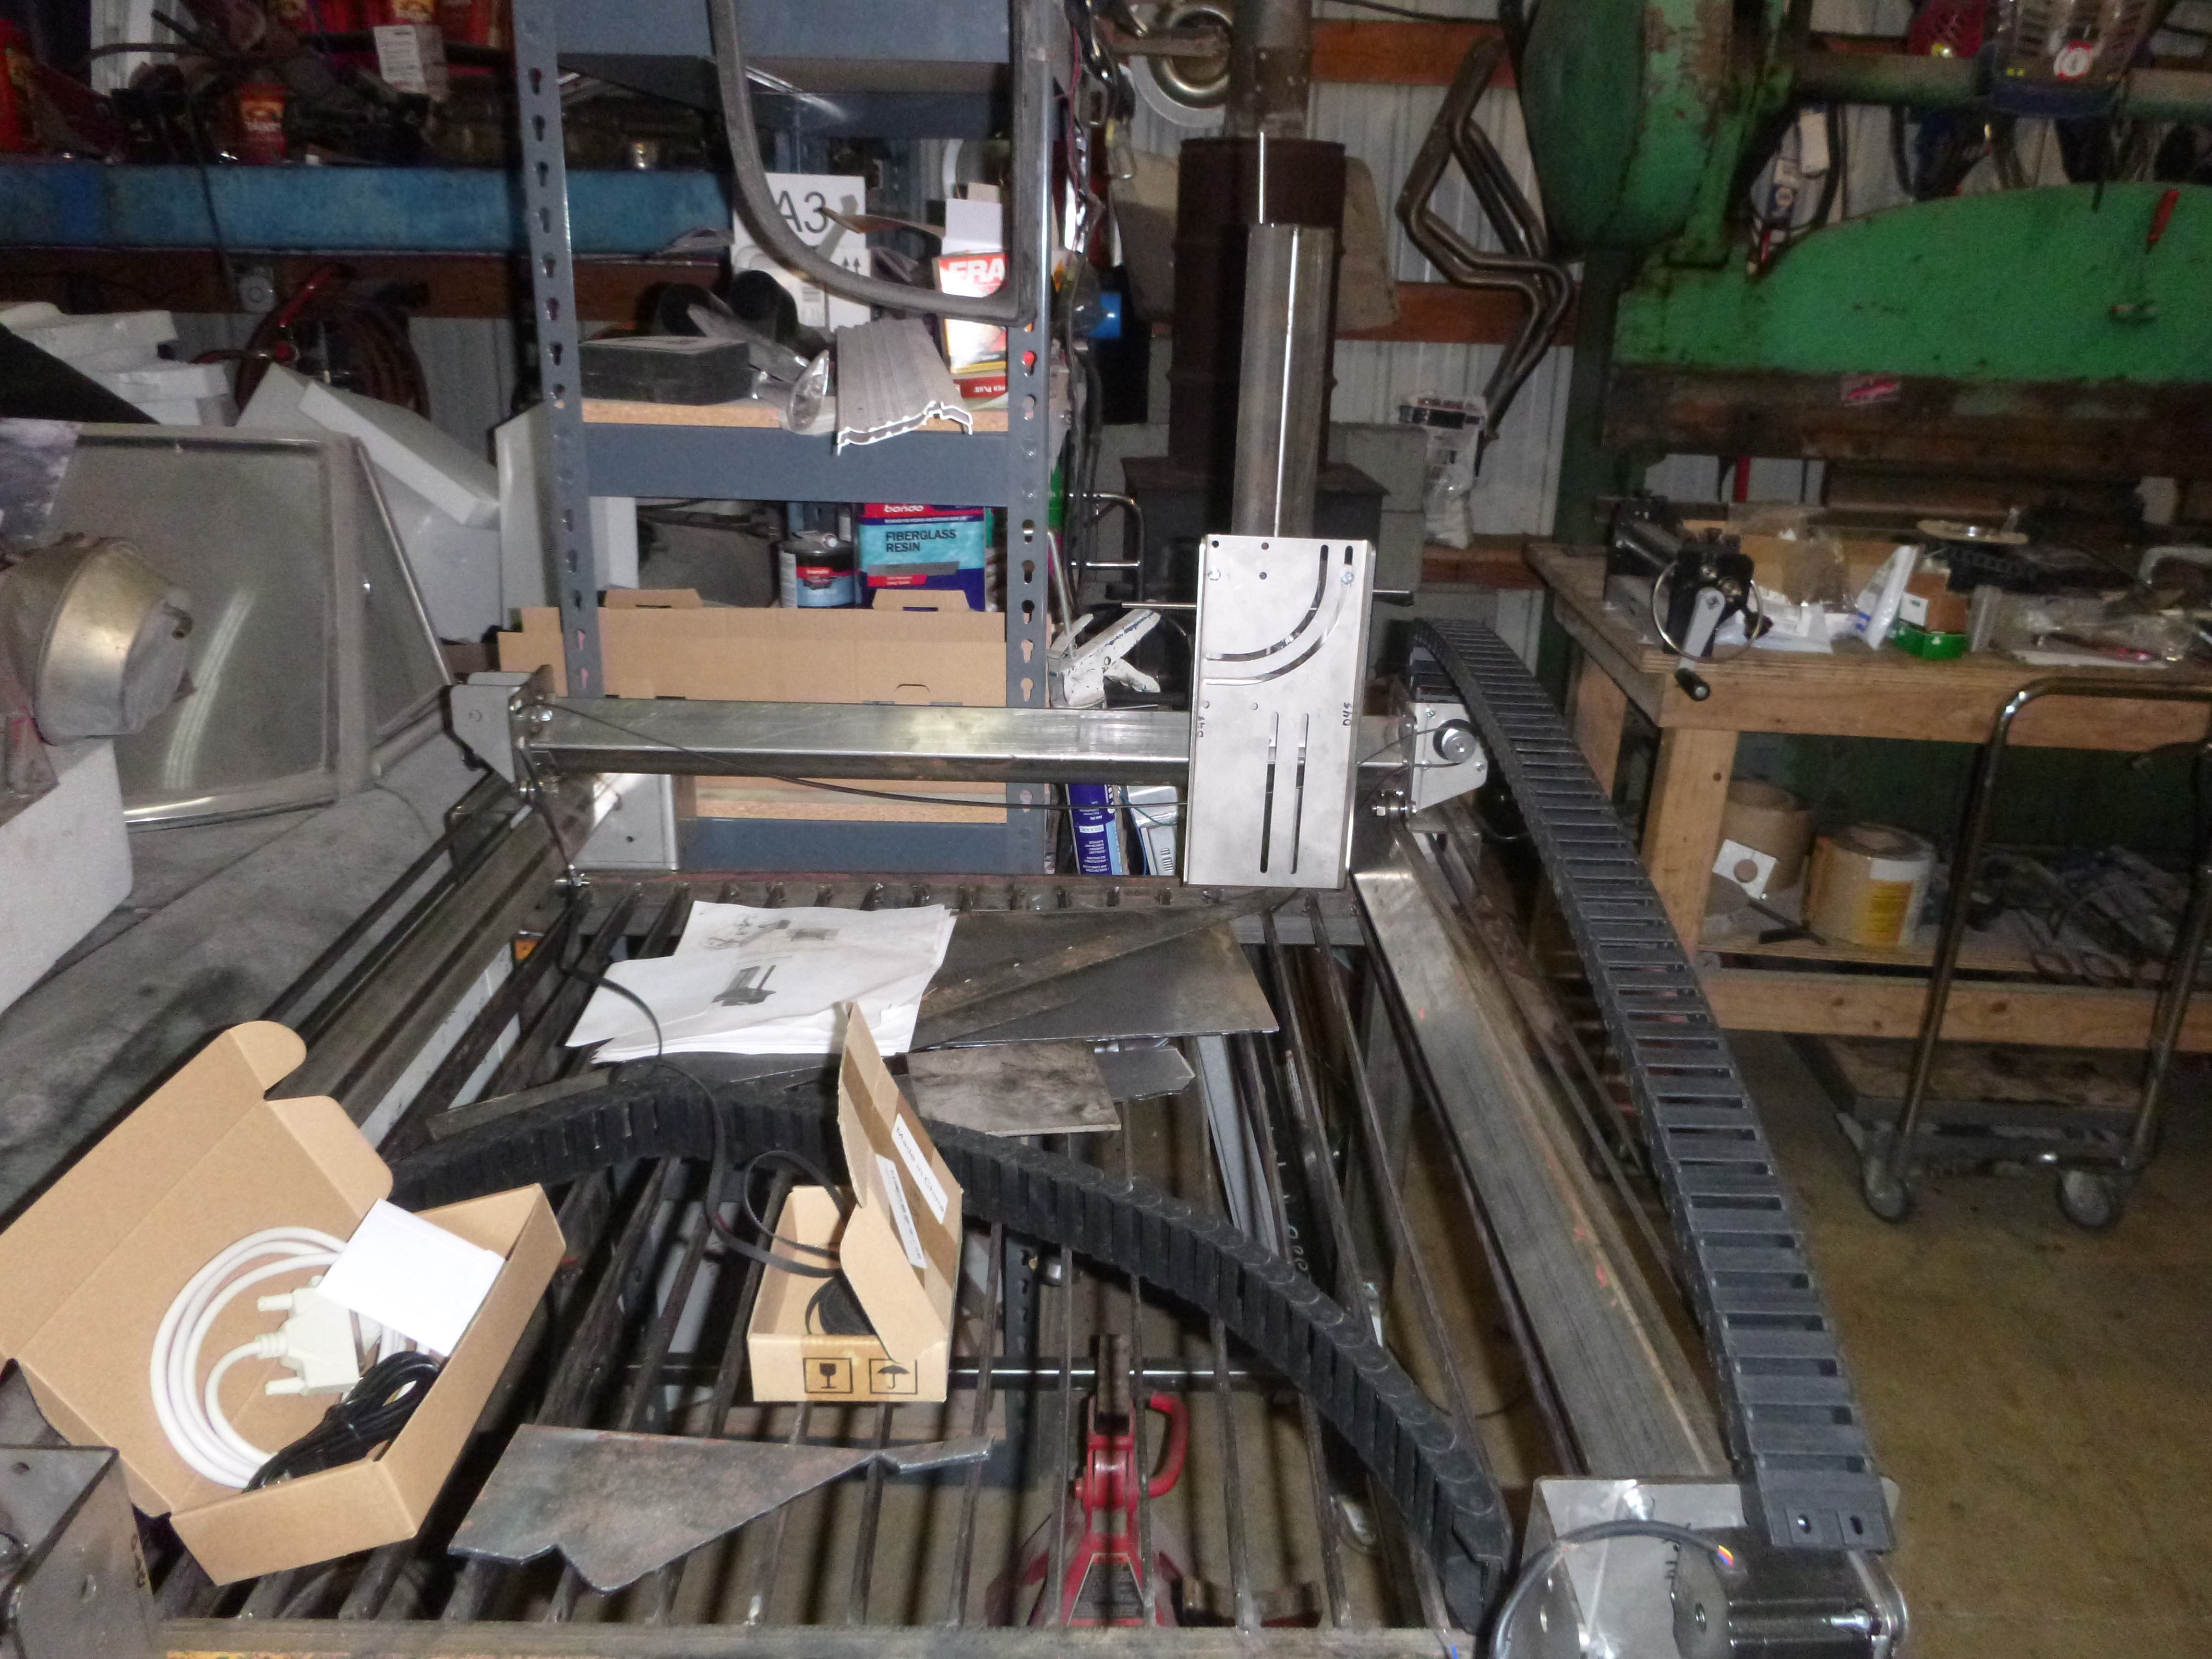
in other news, I've been building a plasma table so I can make nice pieces for the frame work that is soon to come
12-19-2018, 12:06 AM
#223
Melting Slicks
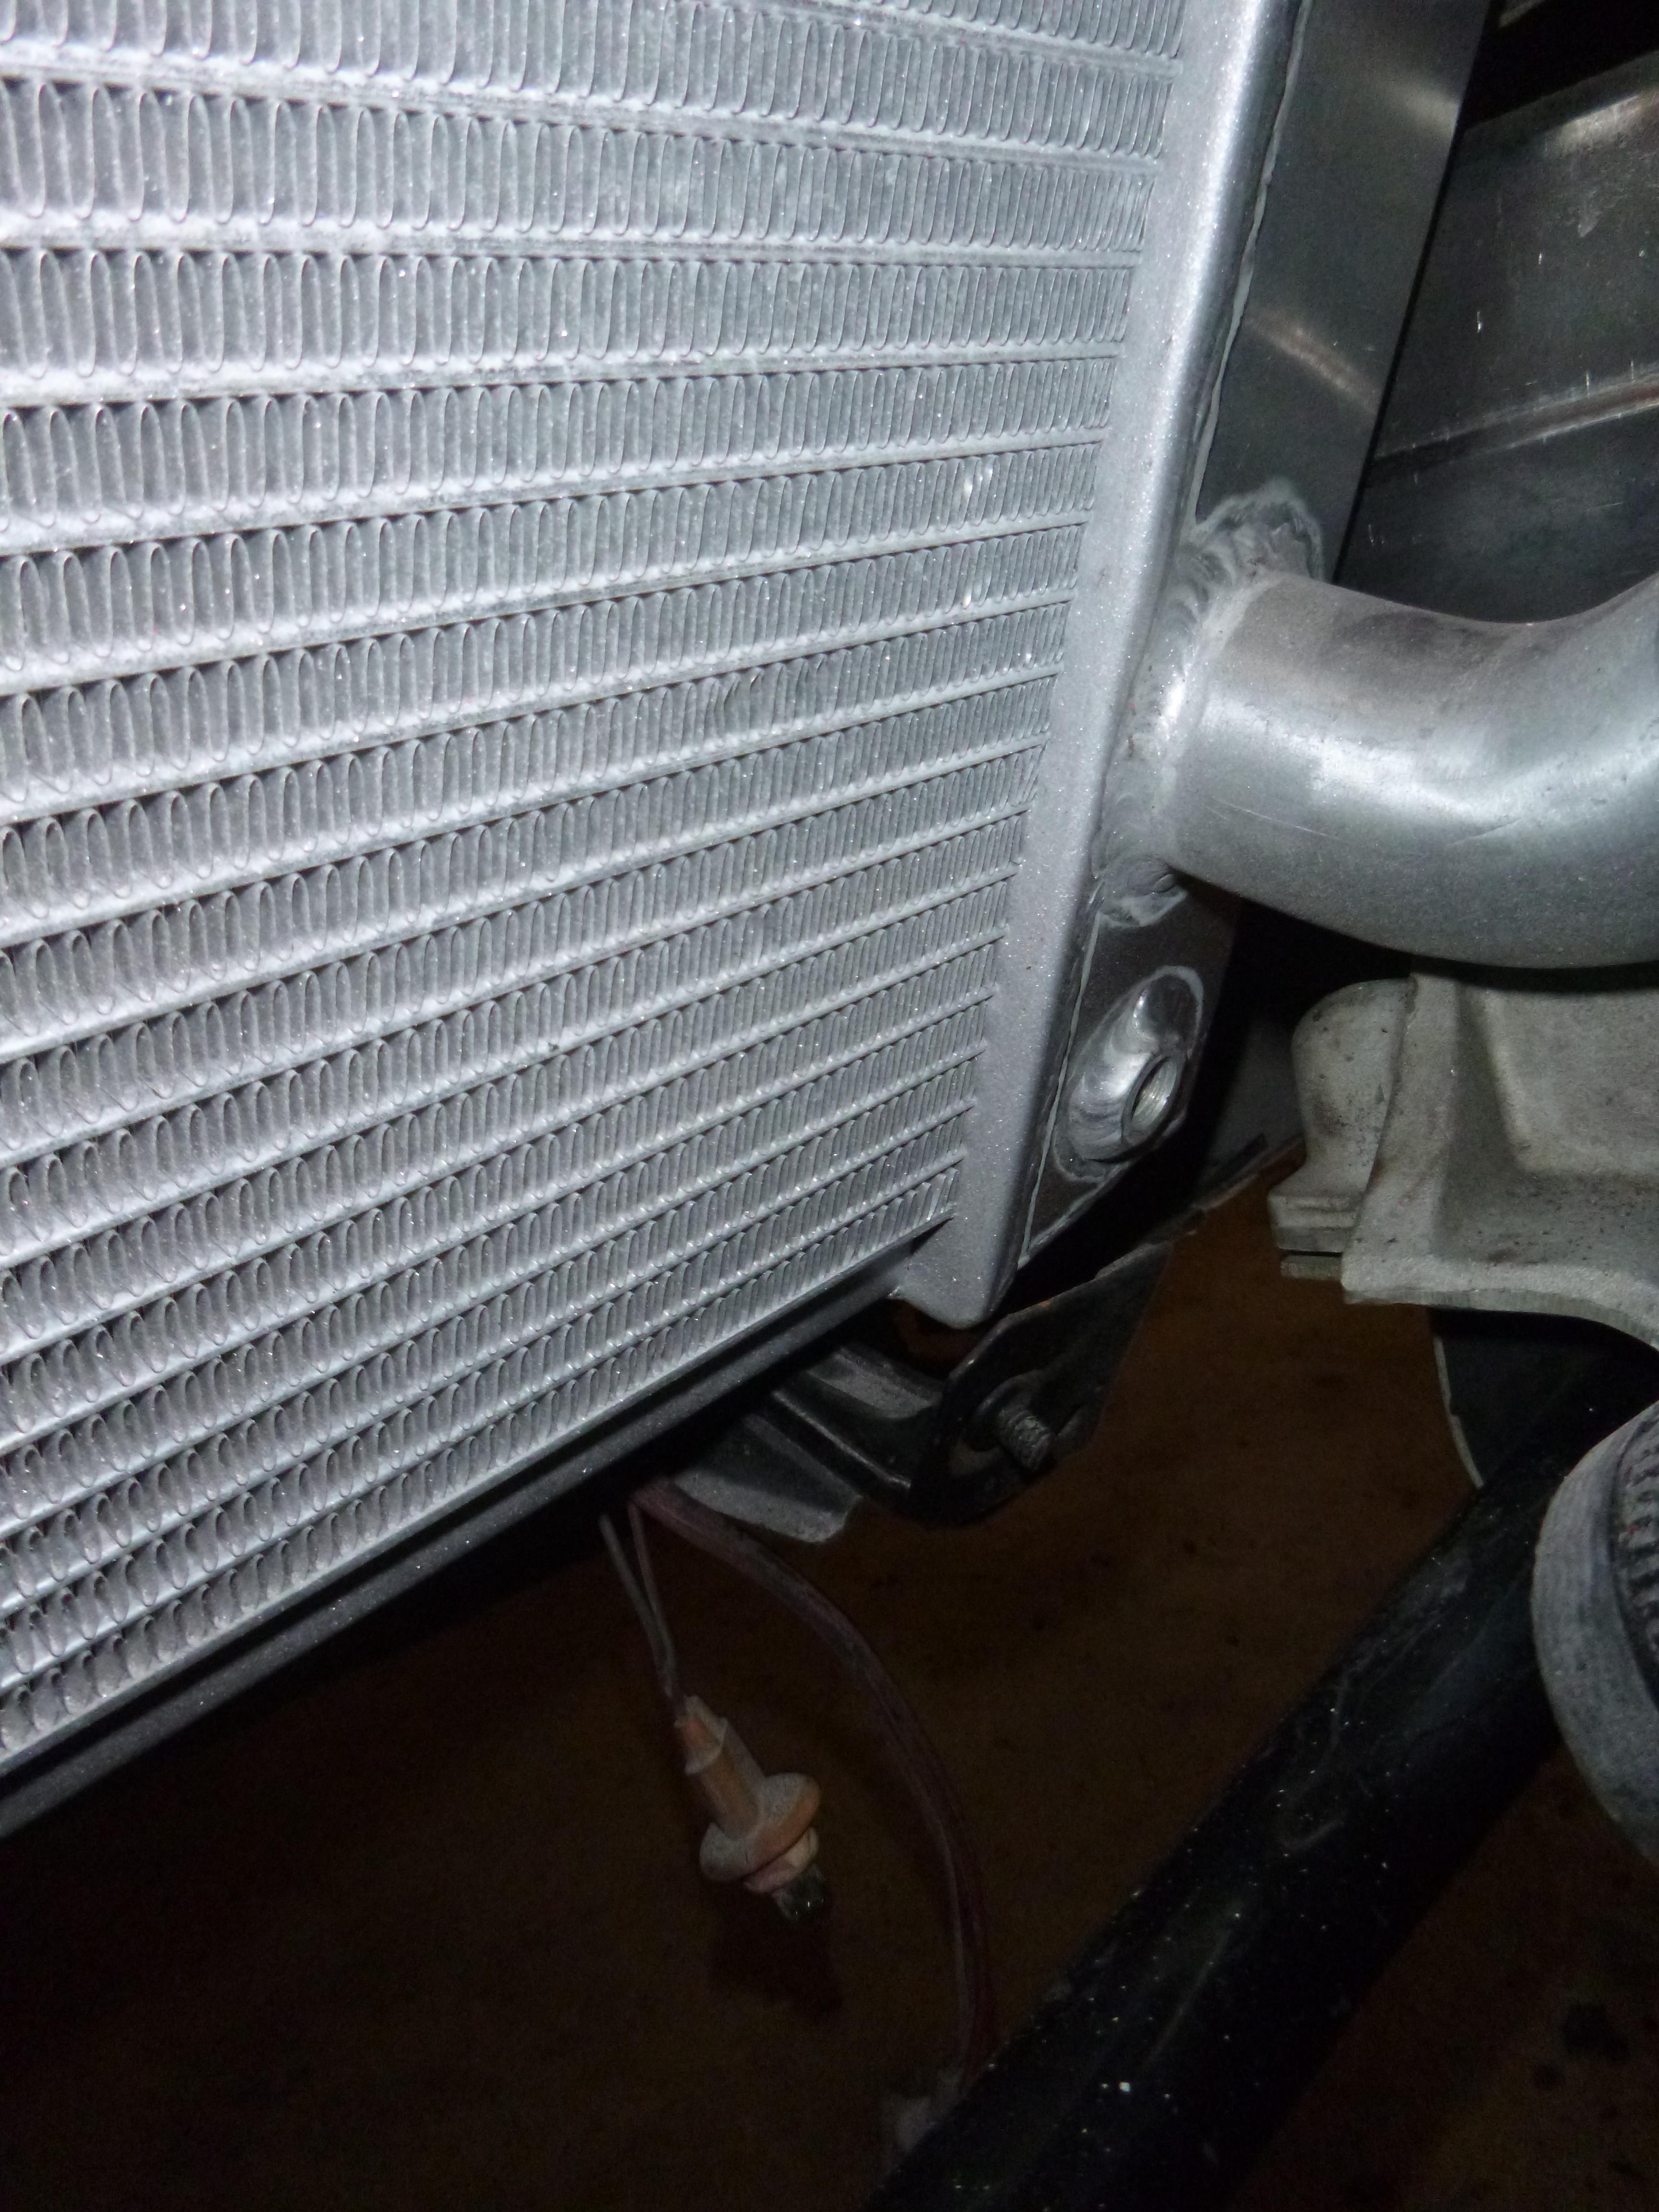
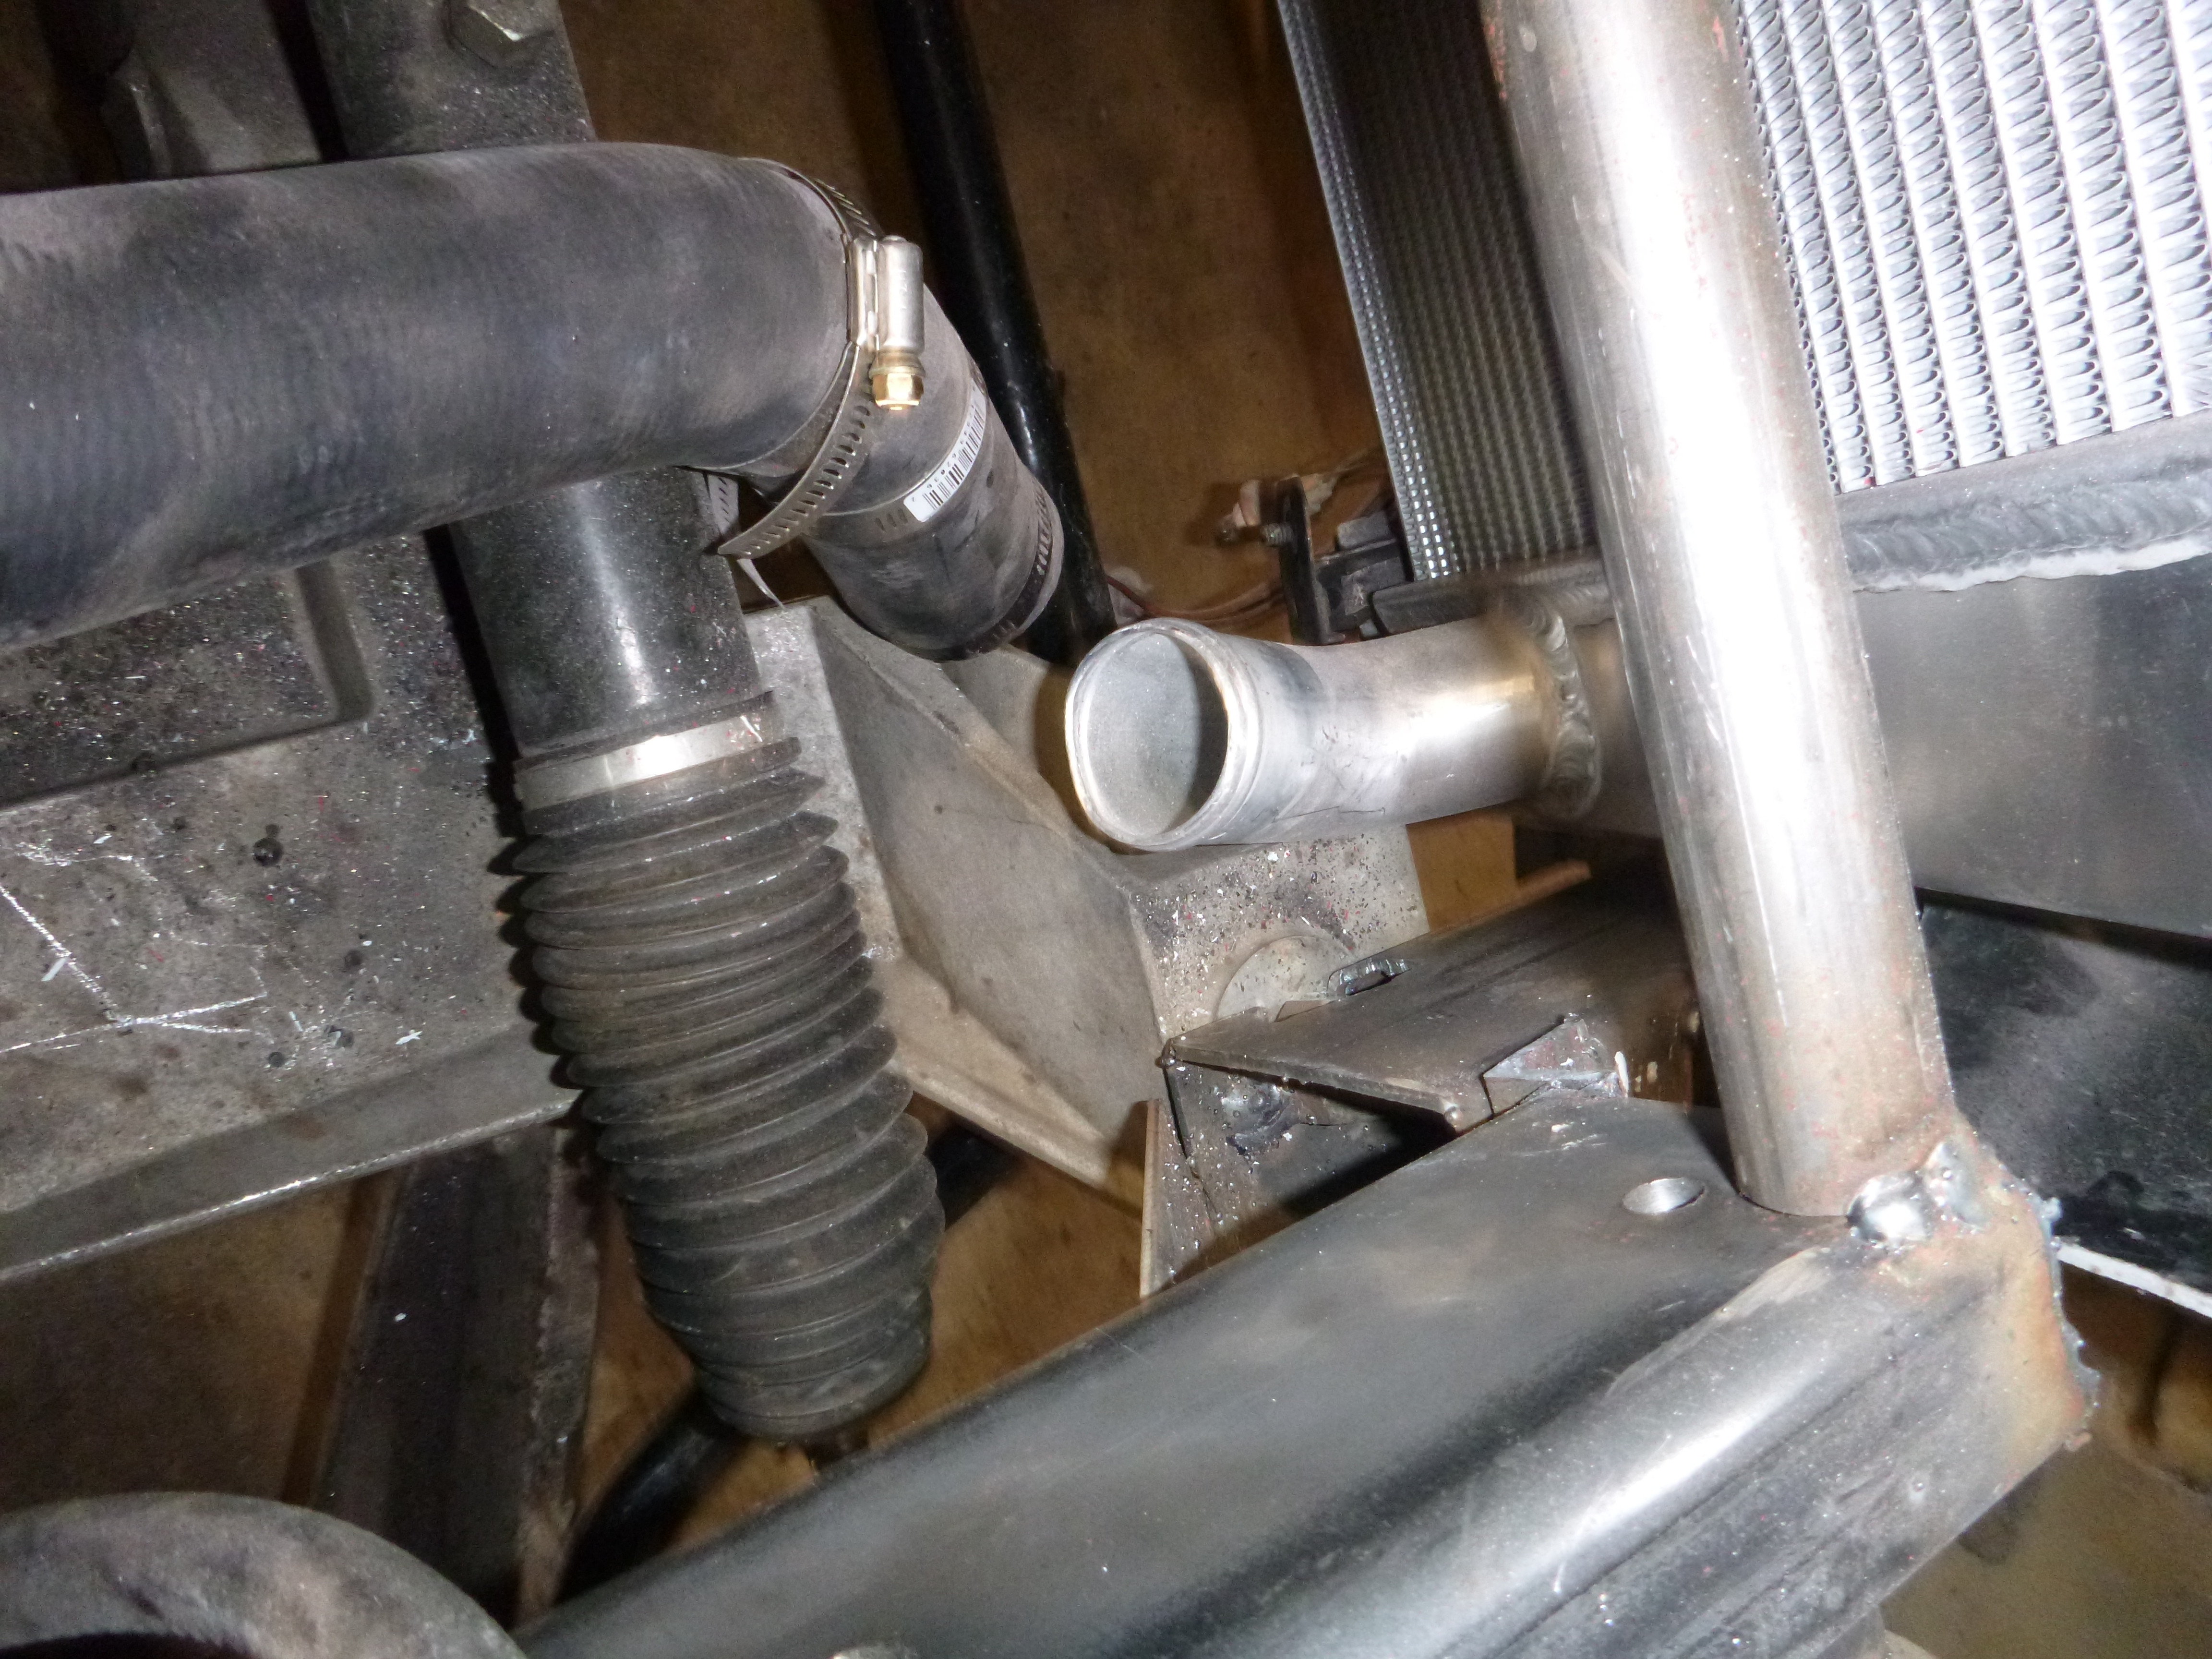
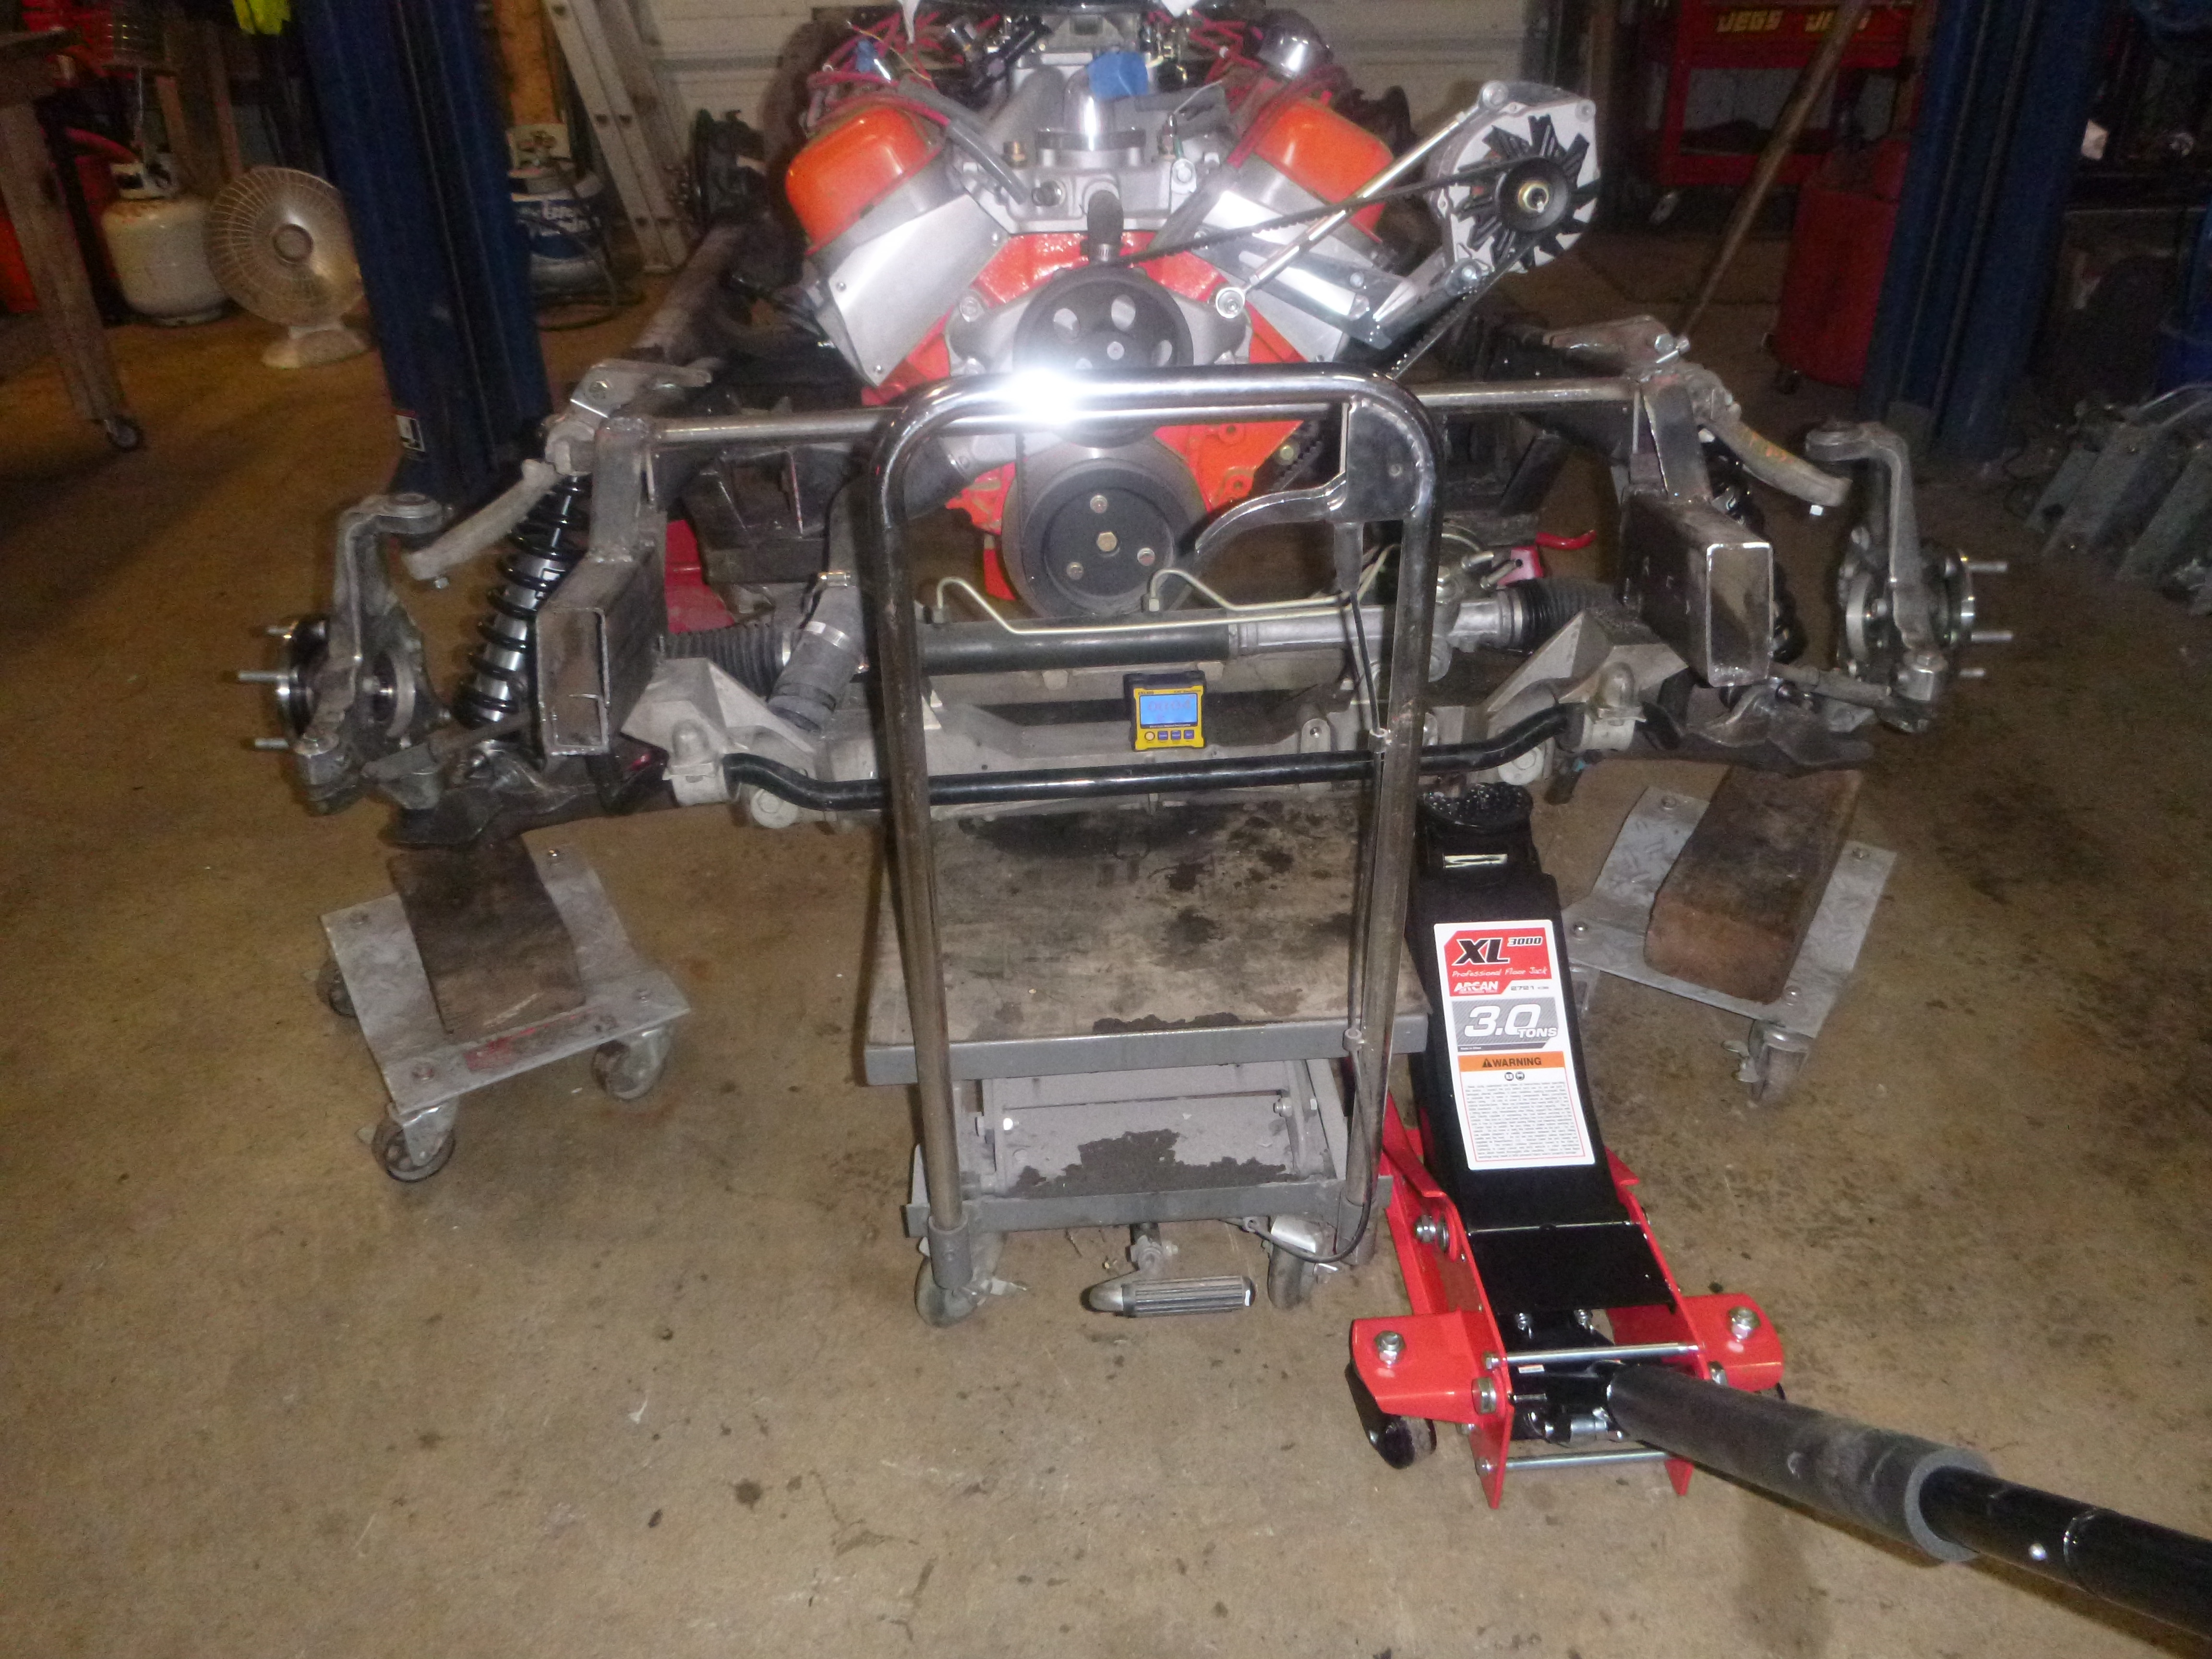
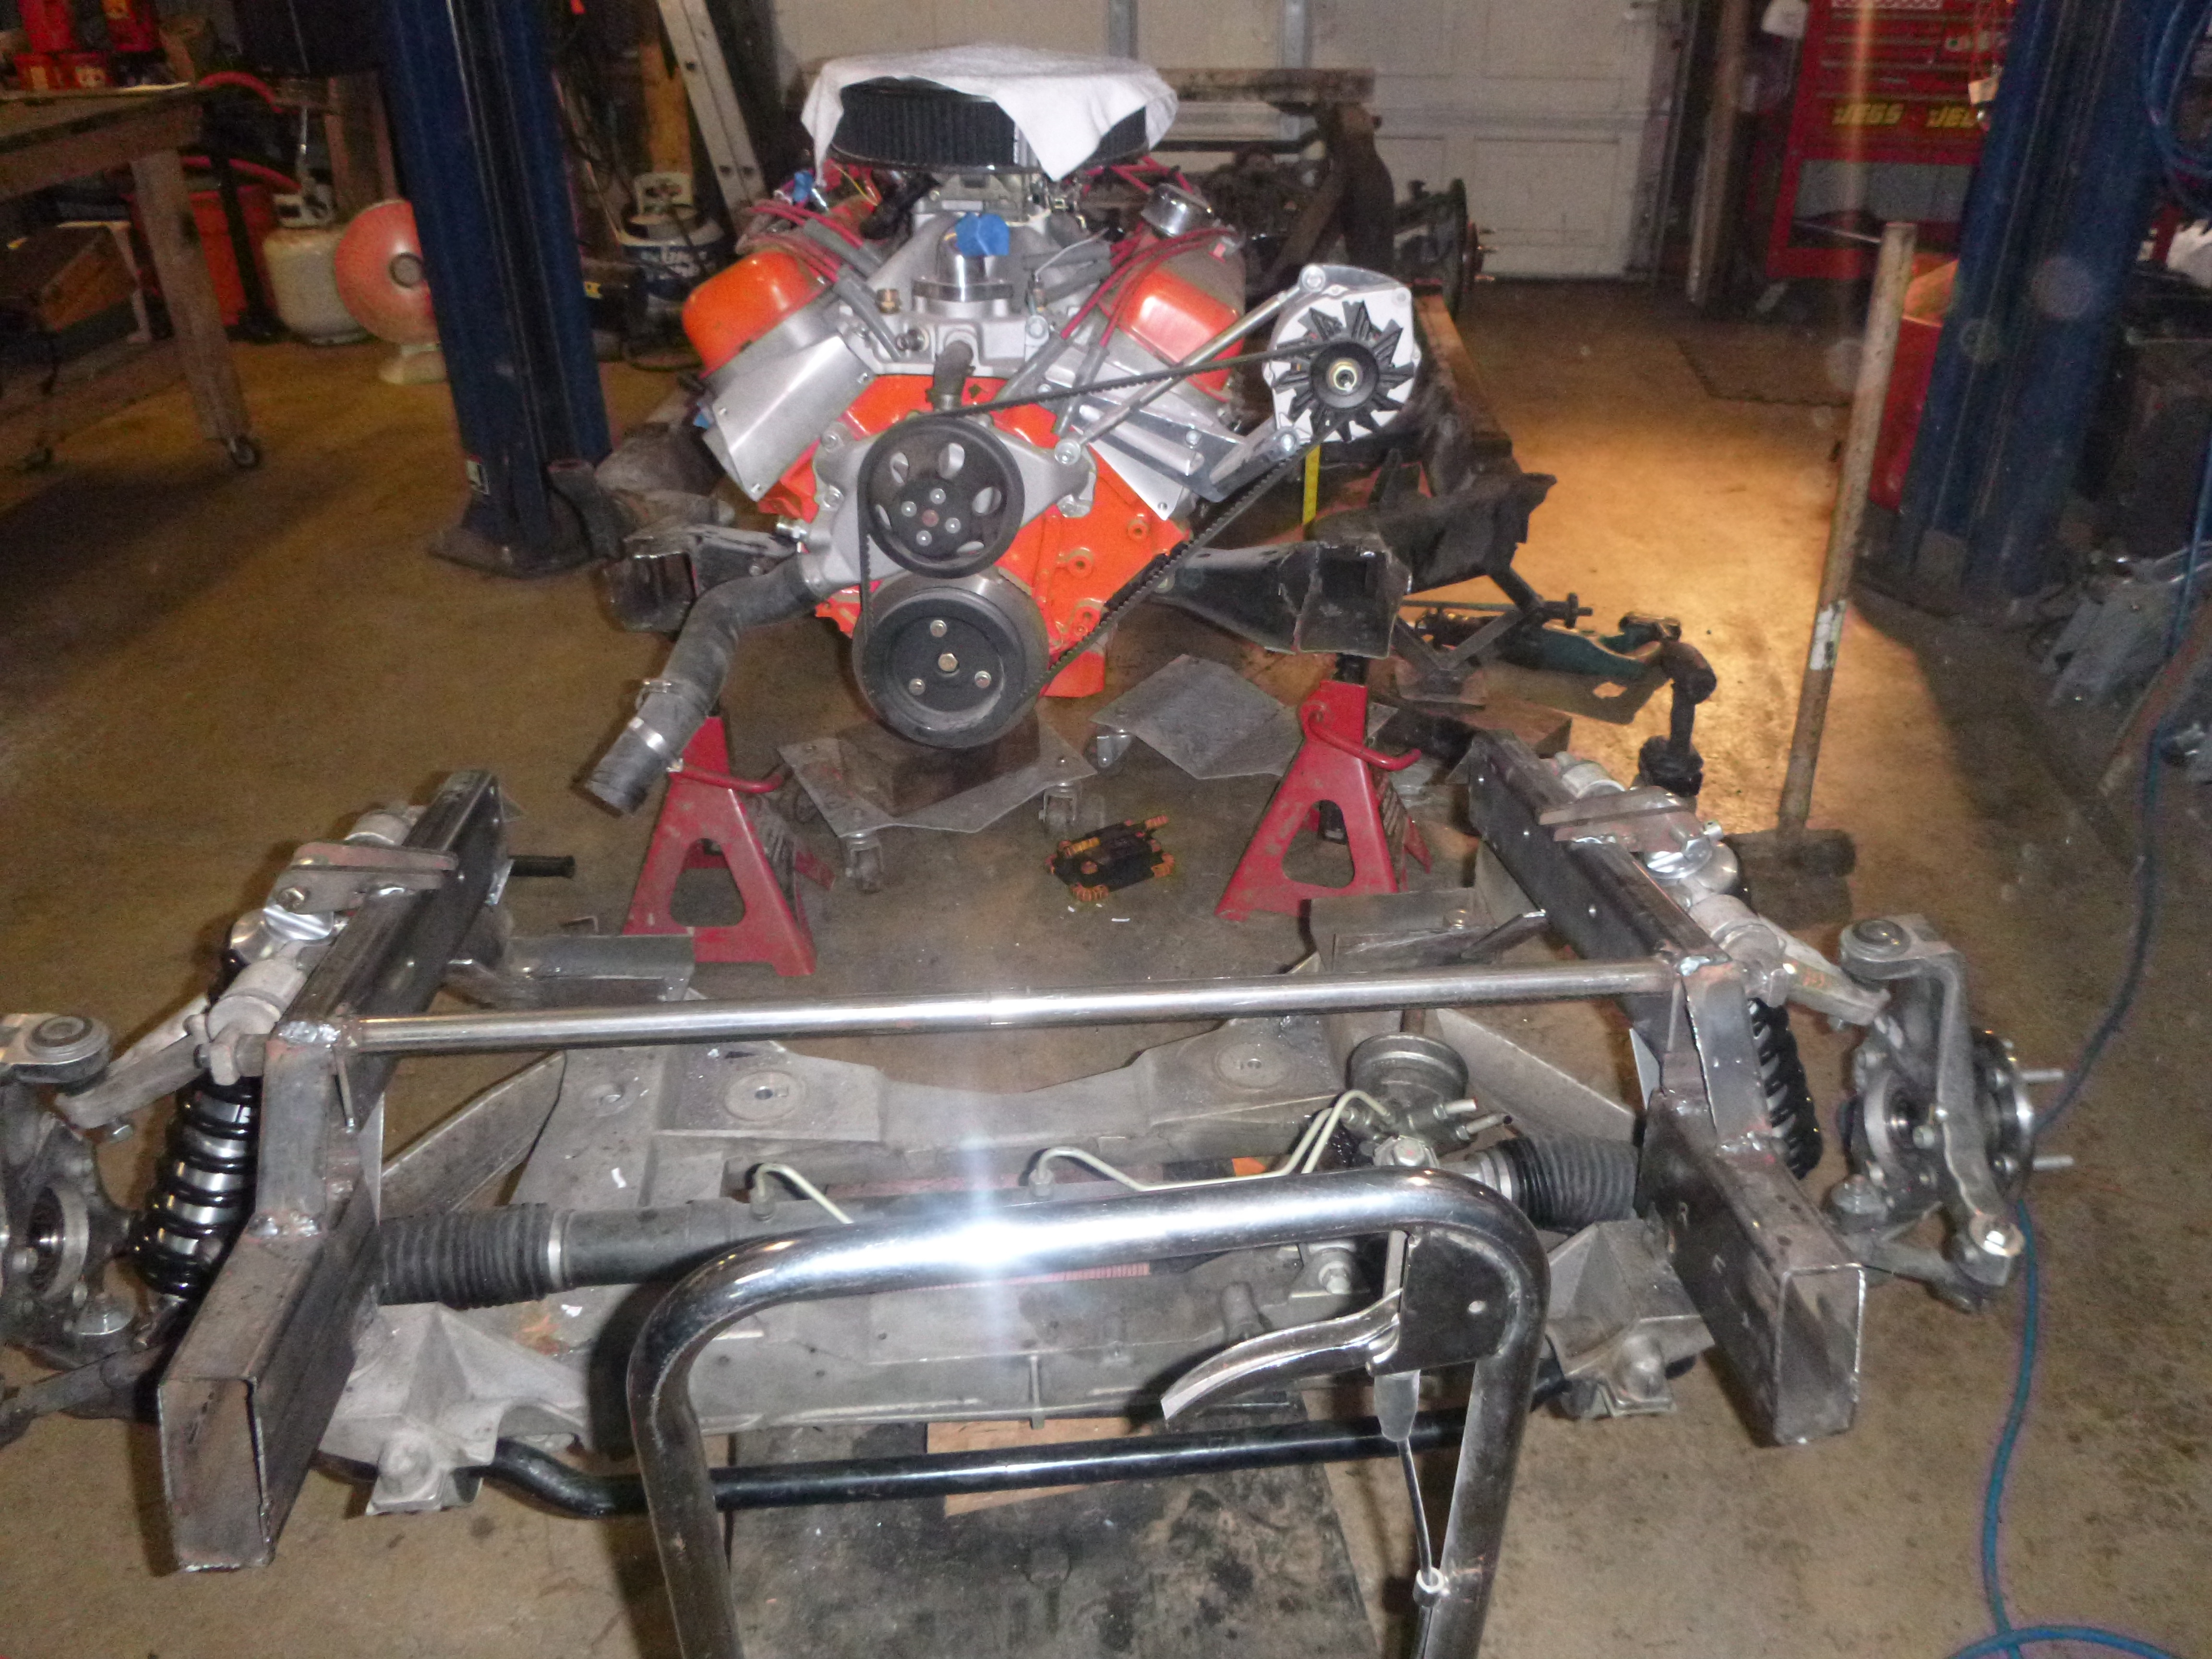
package it up to roll it out.... radiator
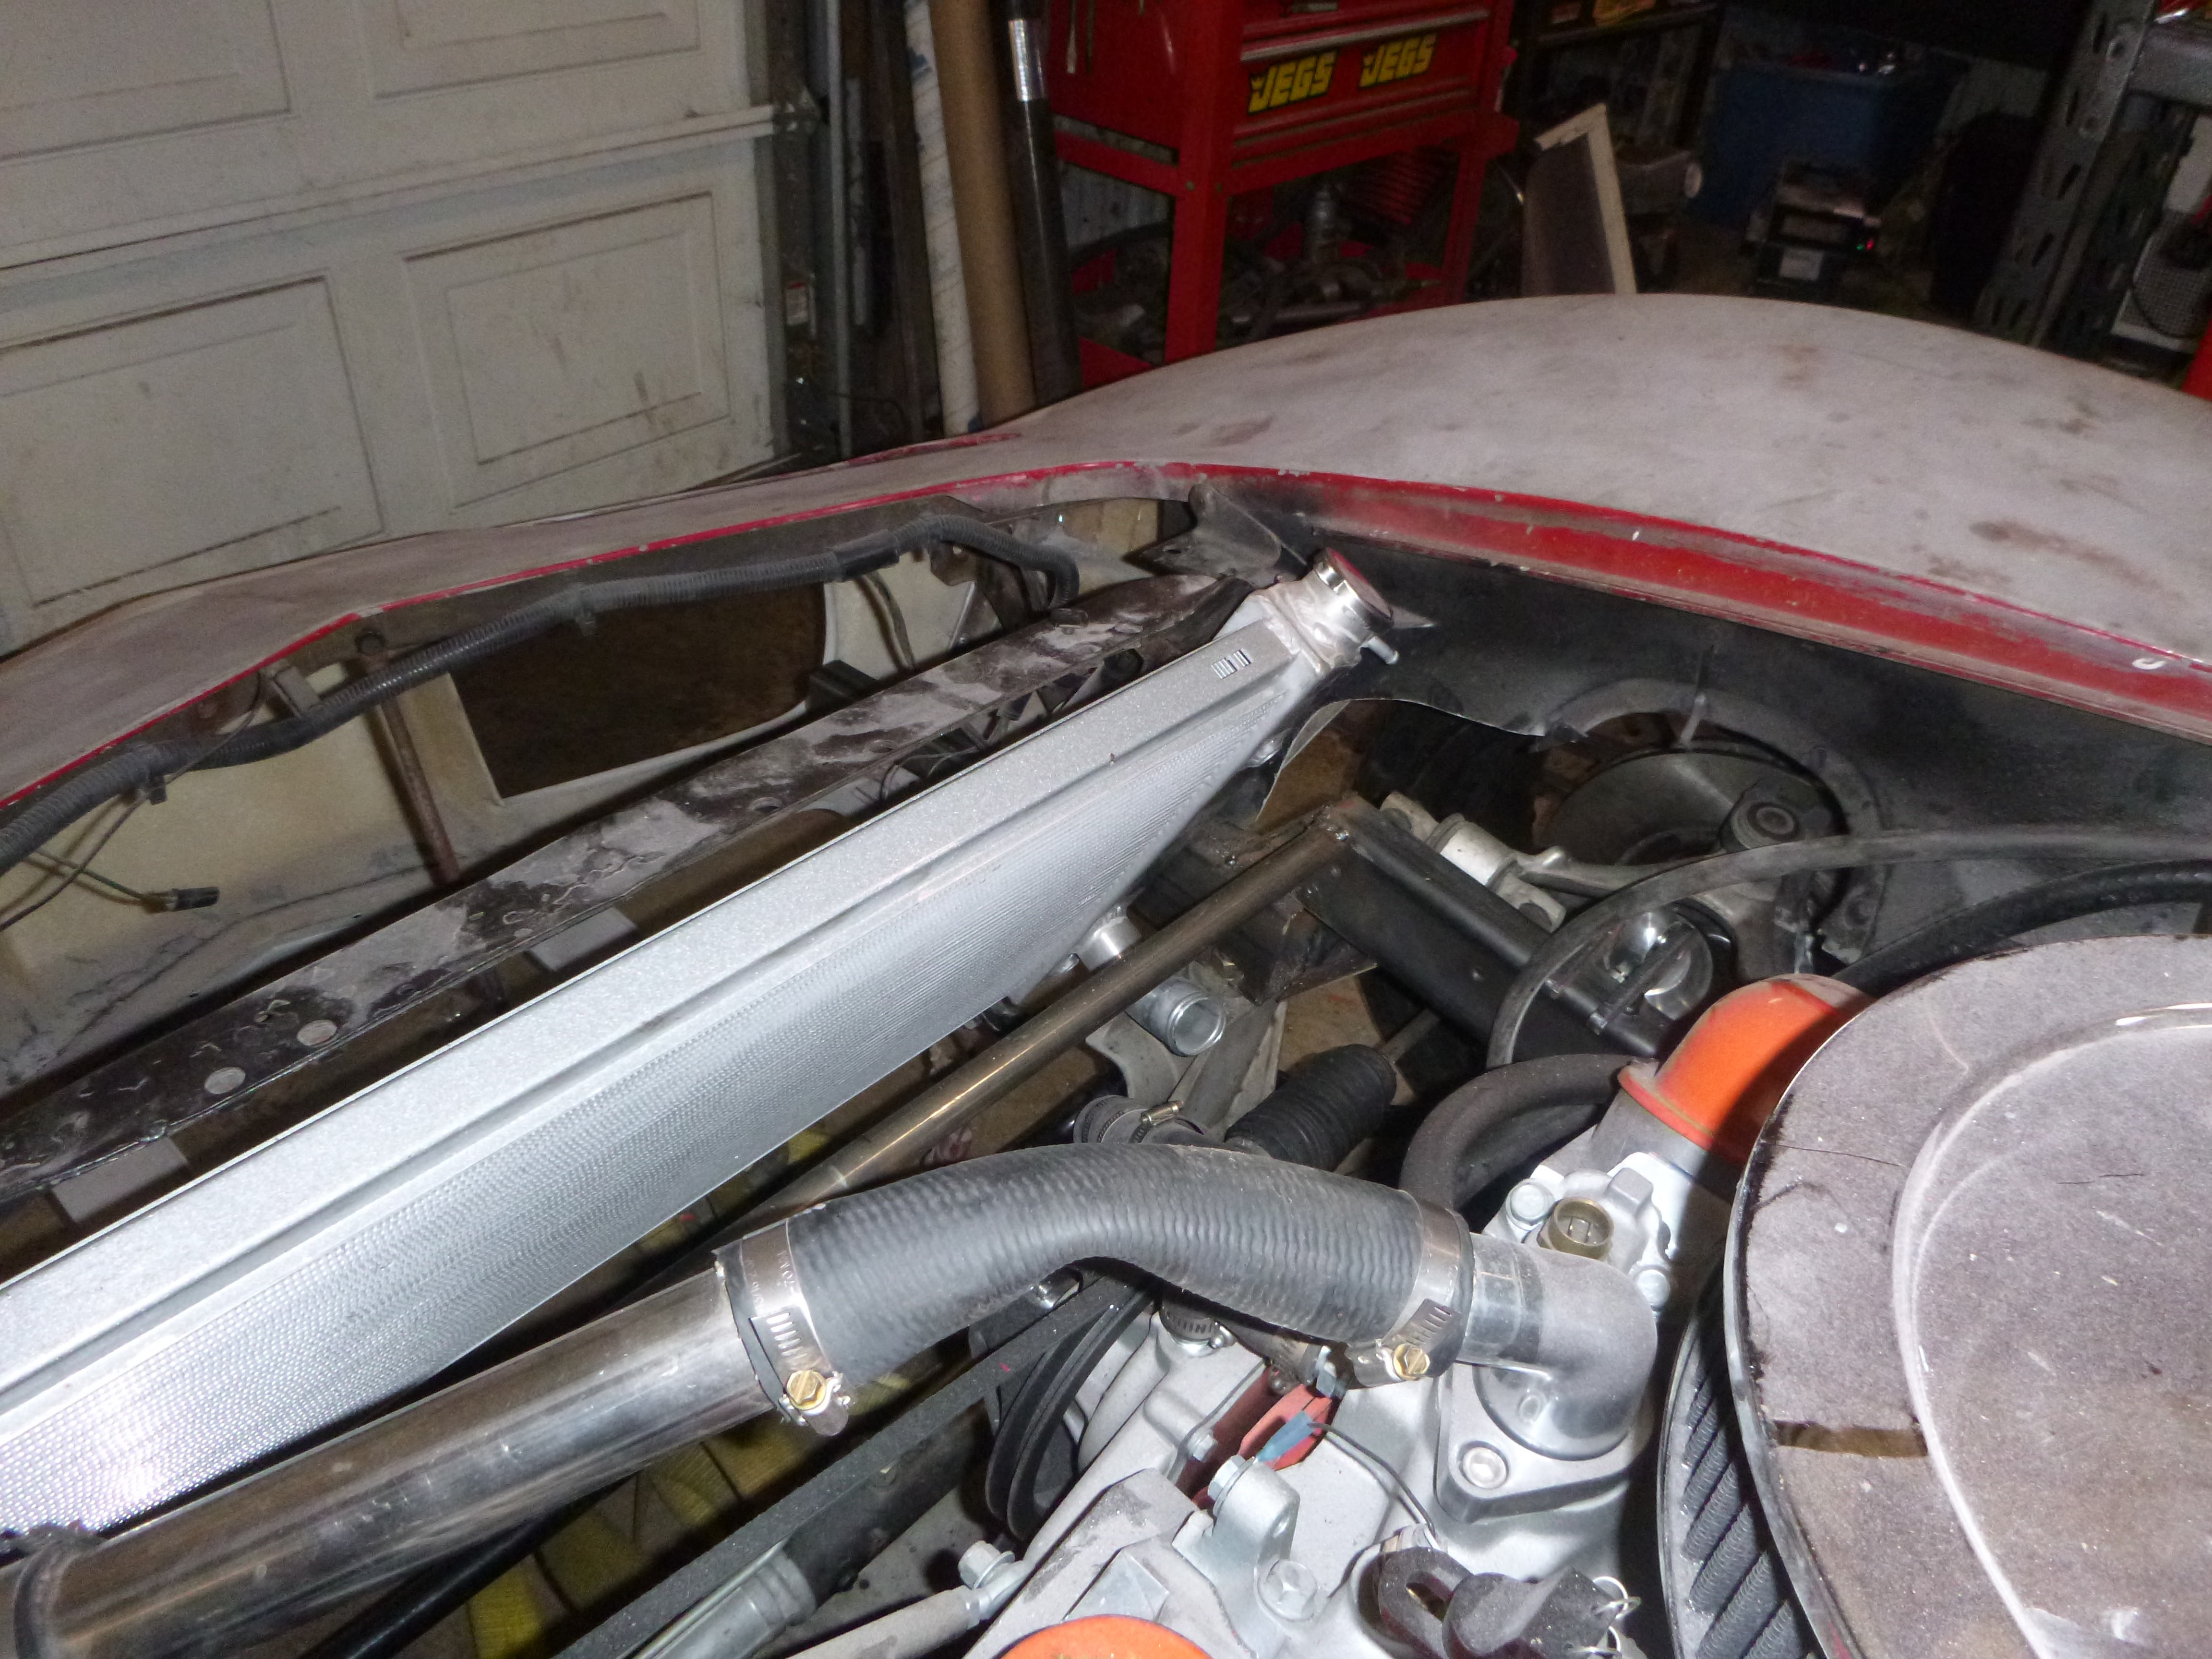
yeah, doesn't fit.... ah well - it's not far off
side shot
time to move it out of the way for a couple weeks
yeah, doesn't fit.... ah well - it's not far off
side shot
time to move it out of the way for a couple weeks
12-19-2018, 12:08 AM
#224
Melting Slicks
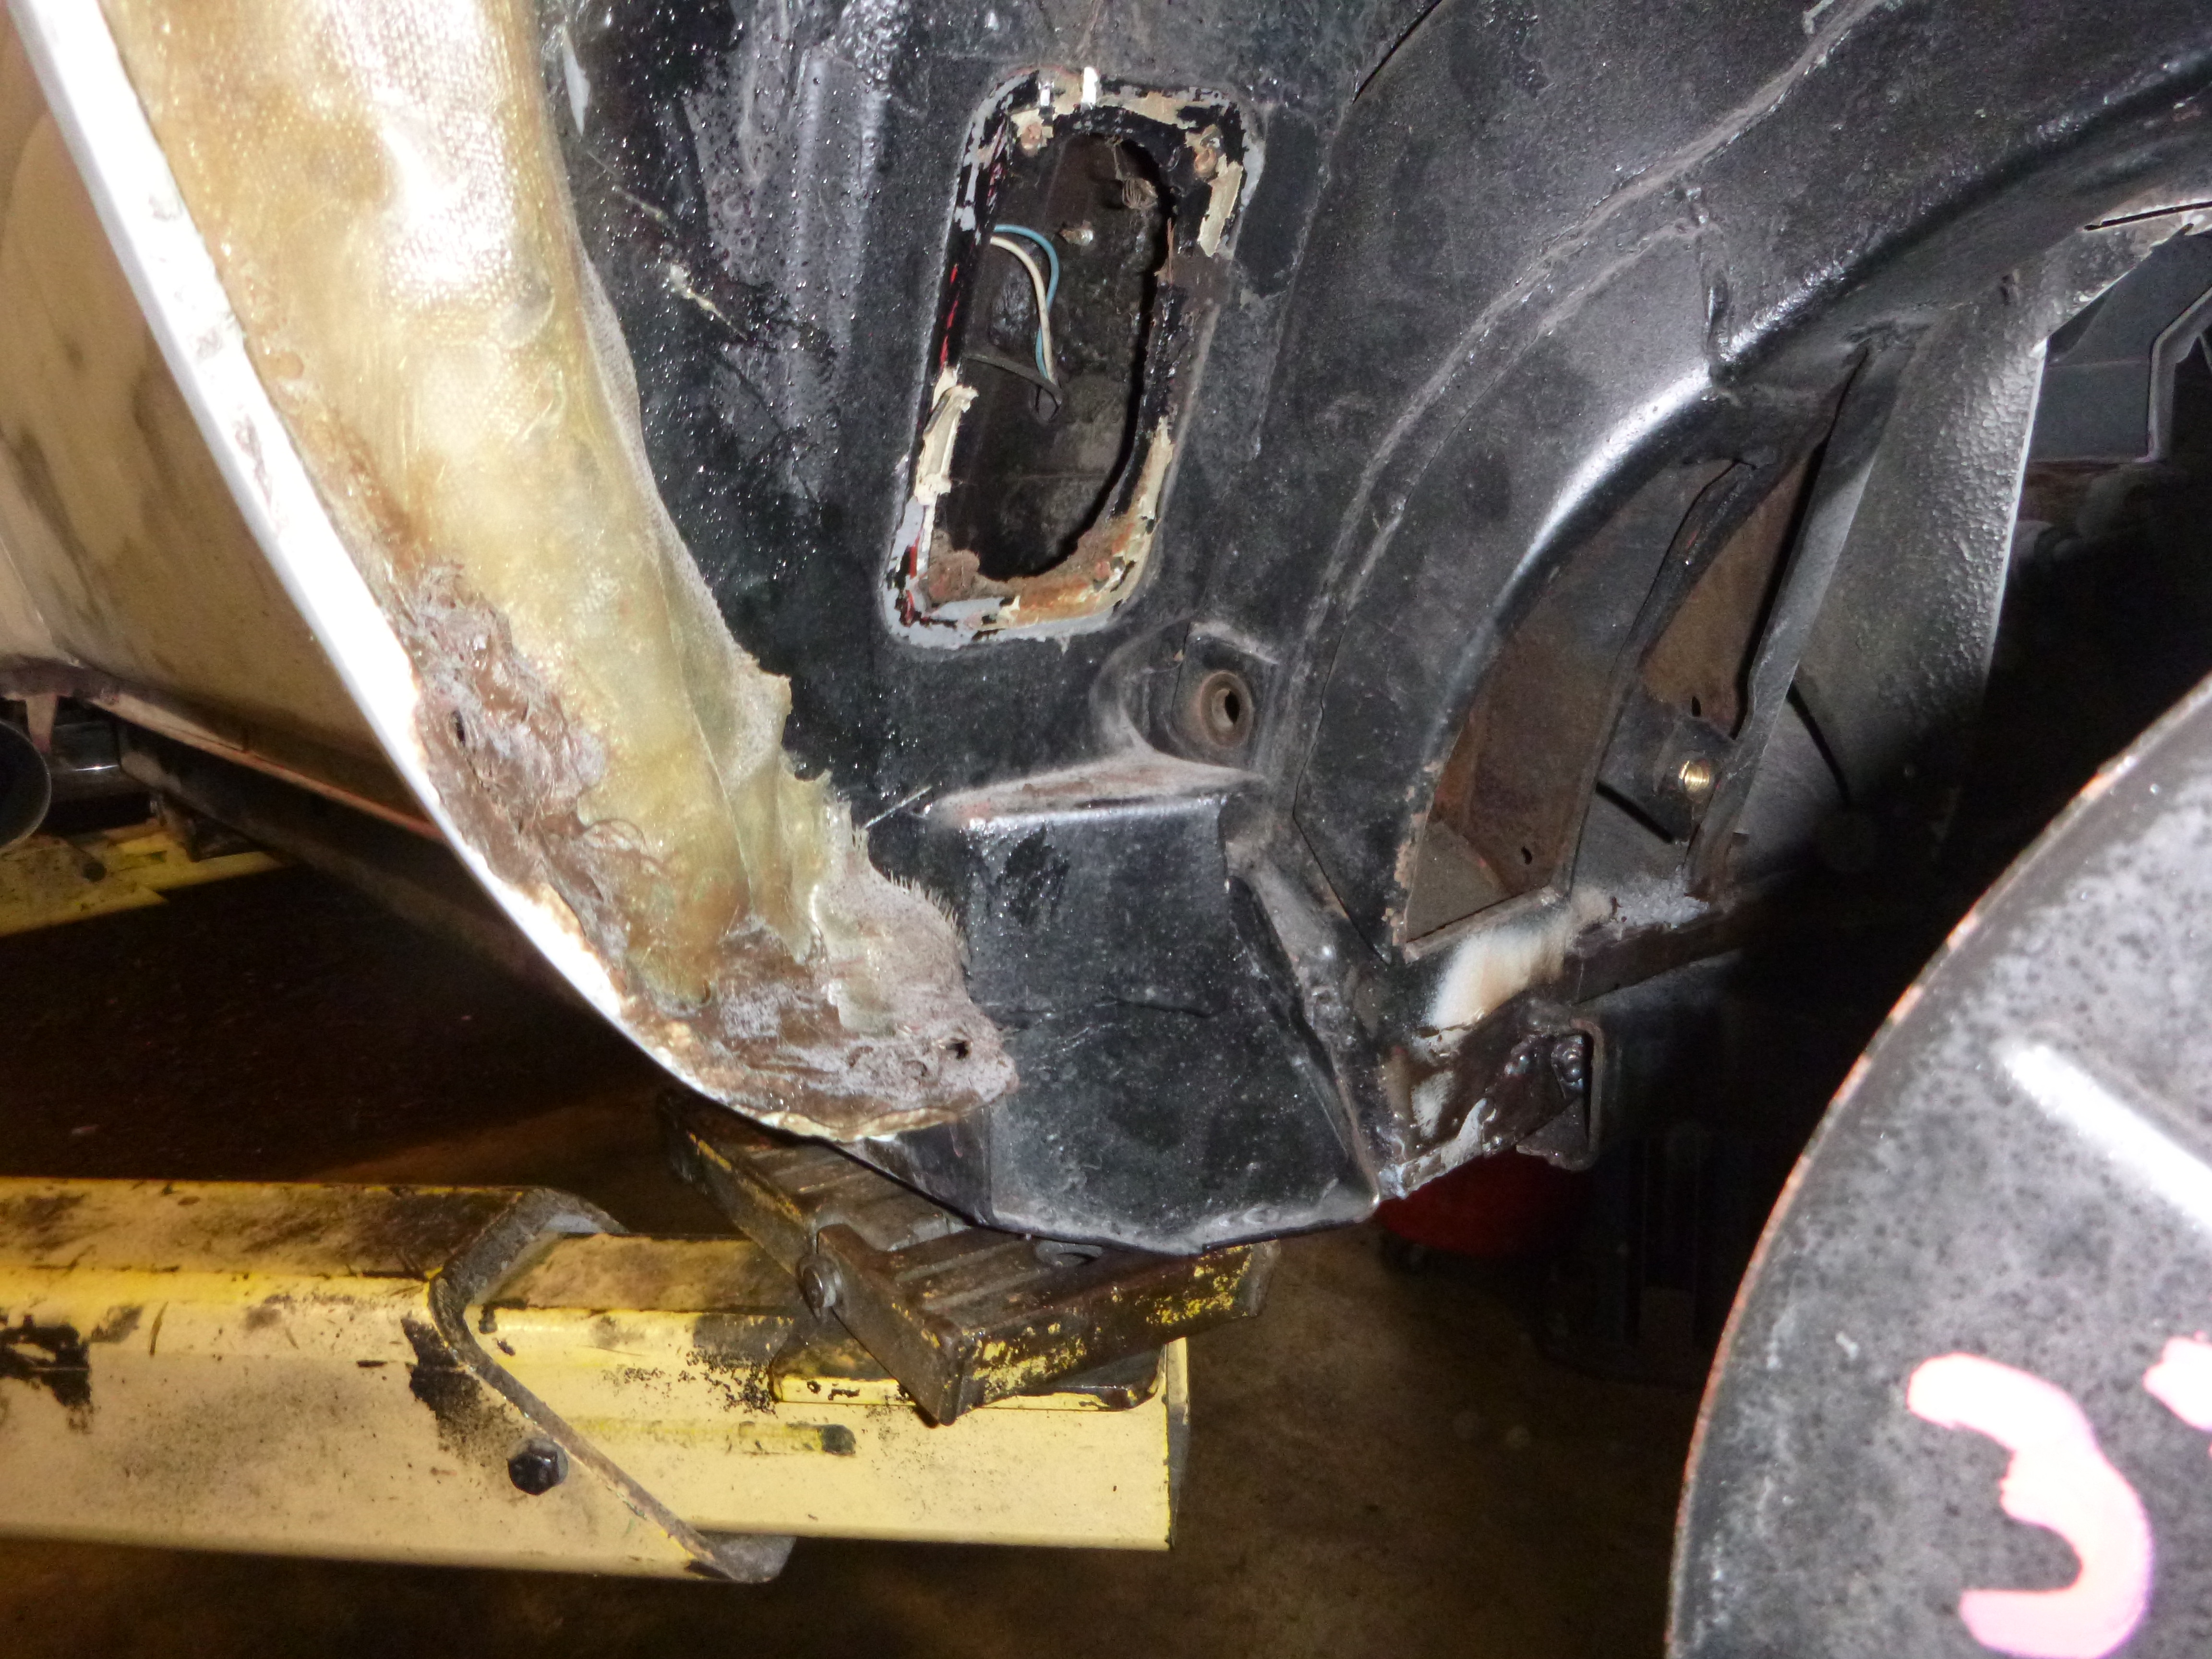
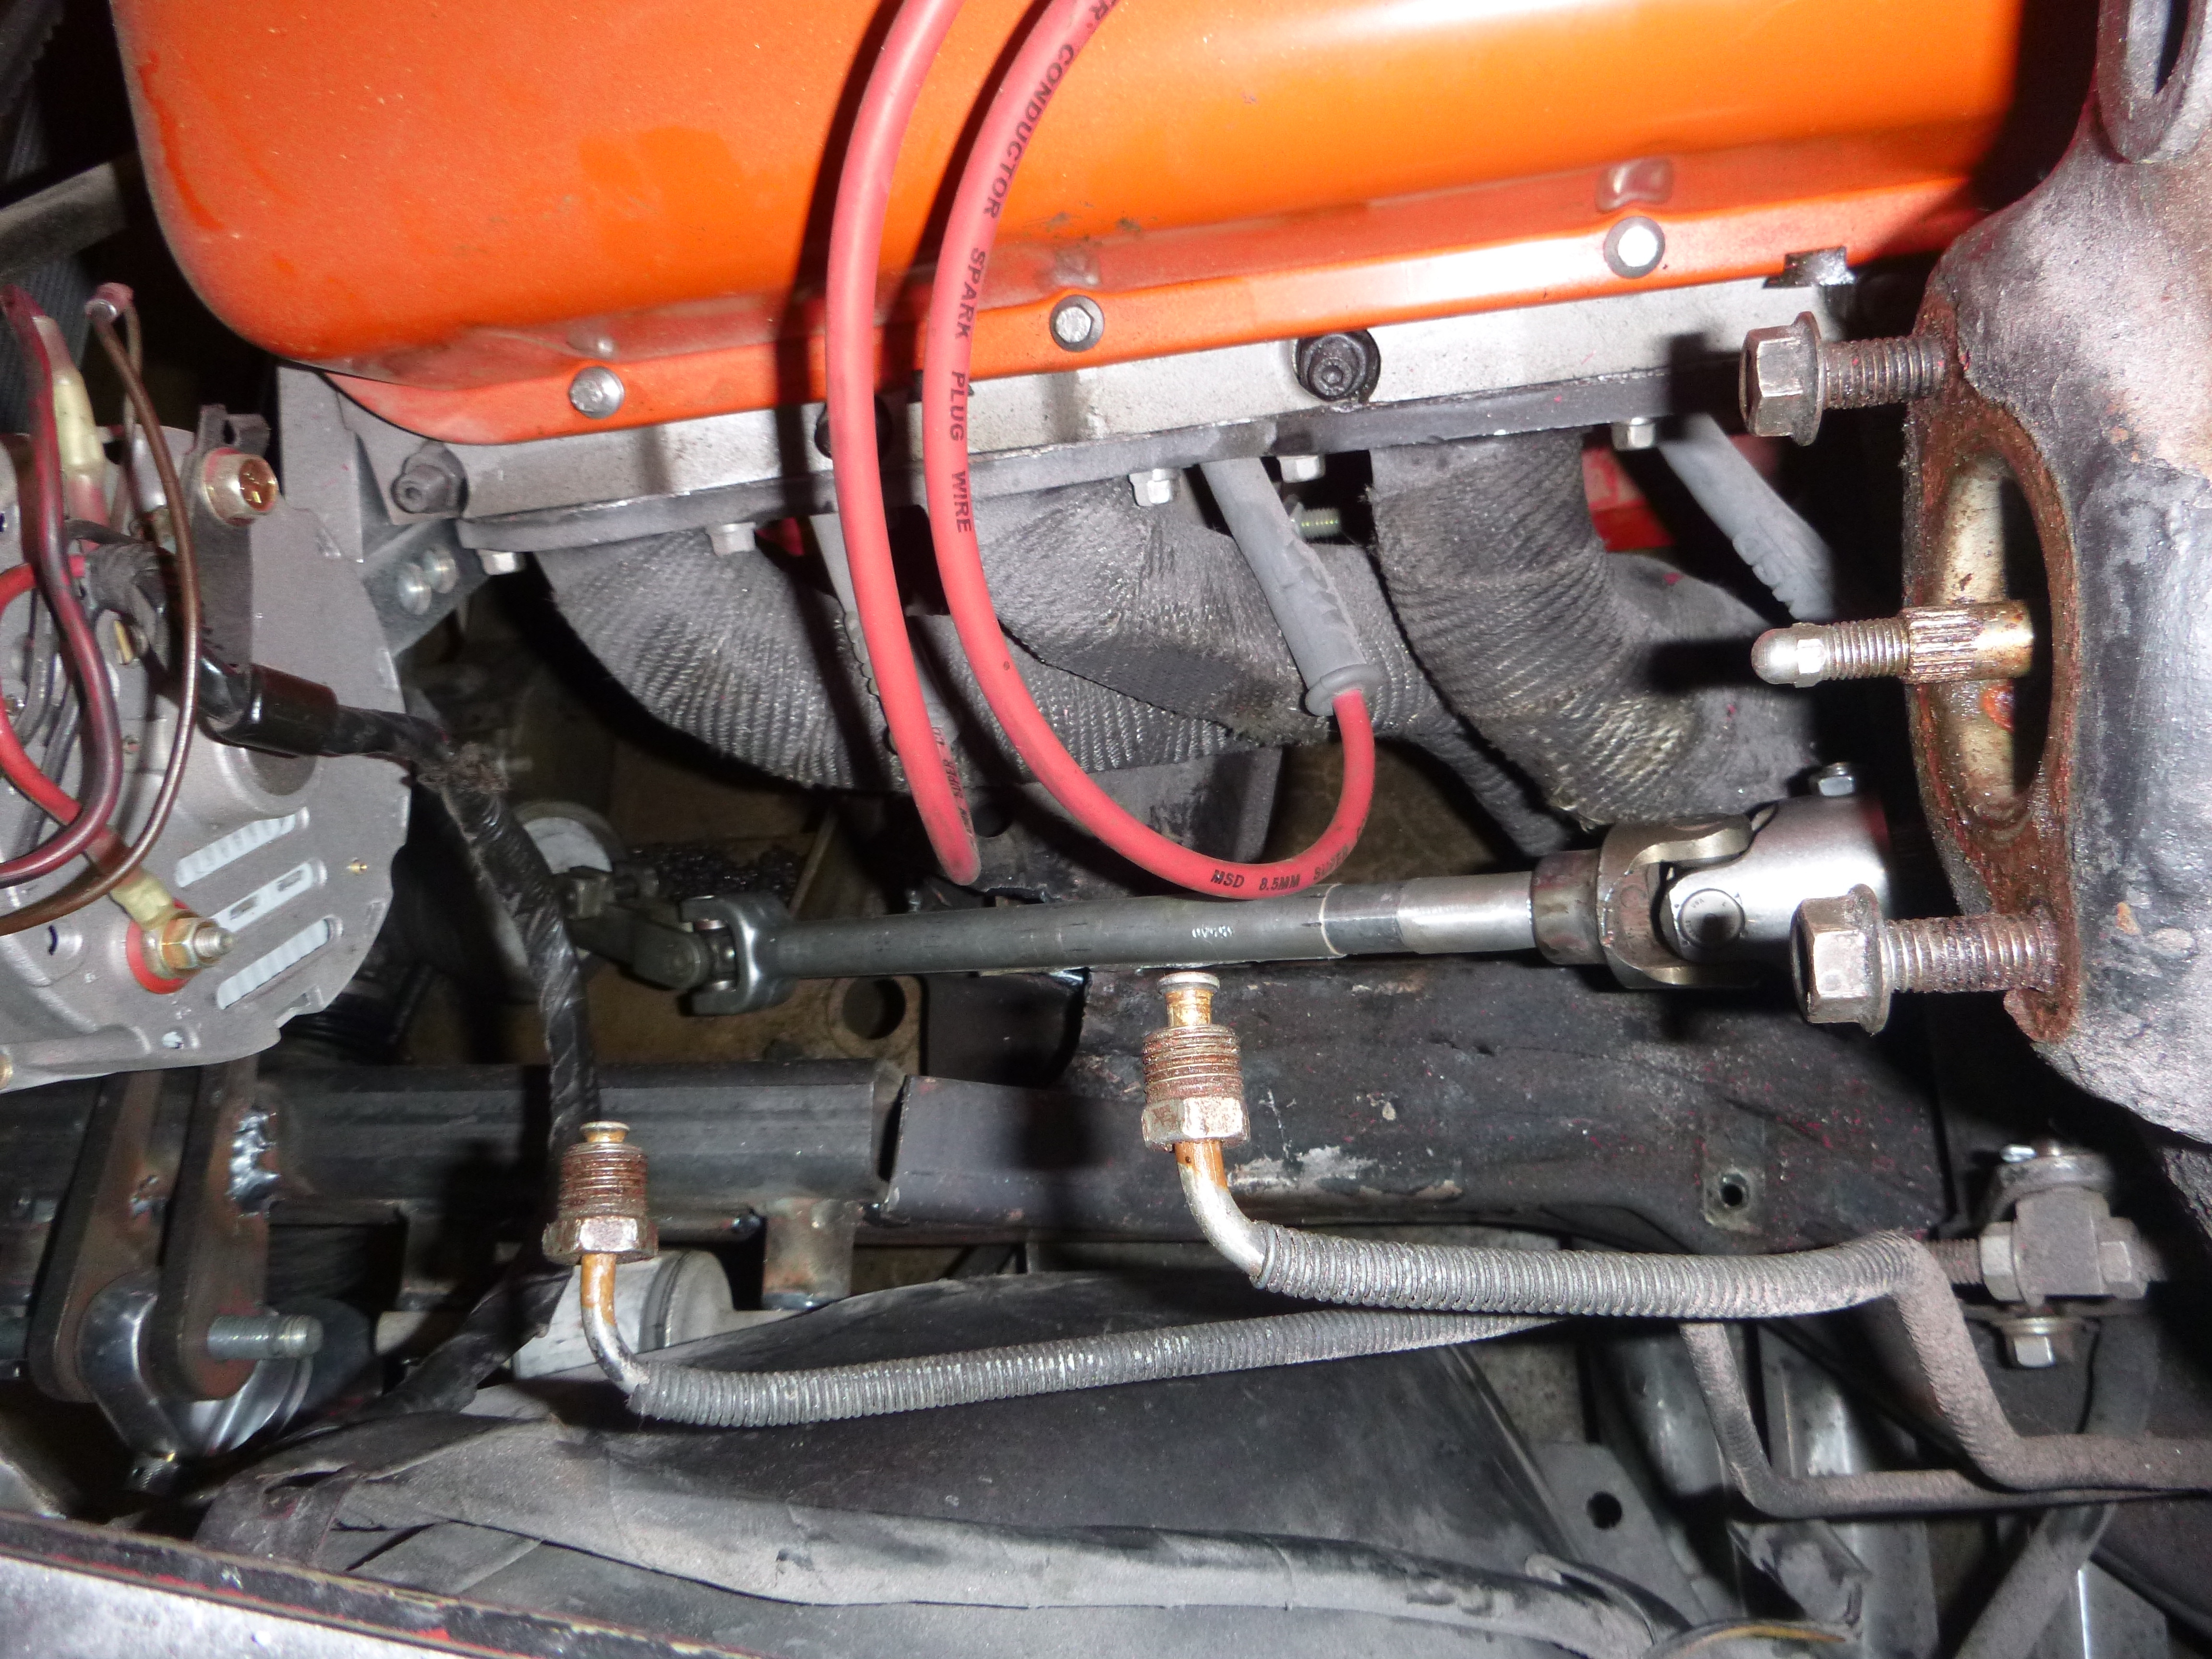
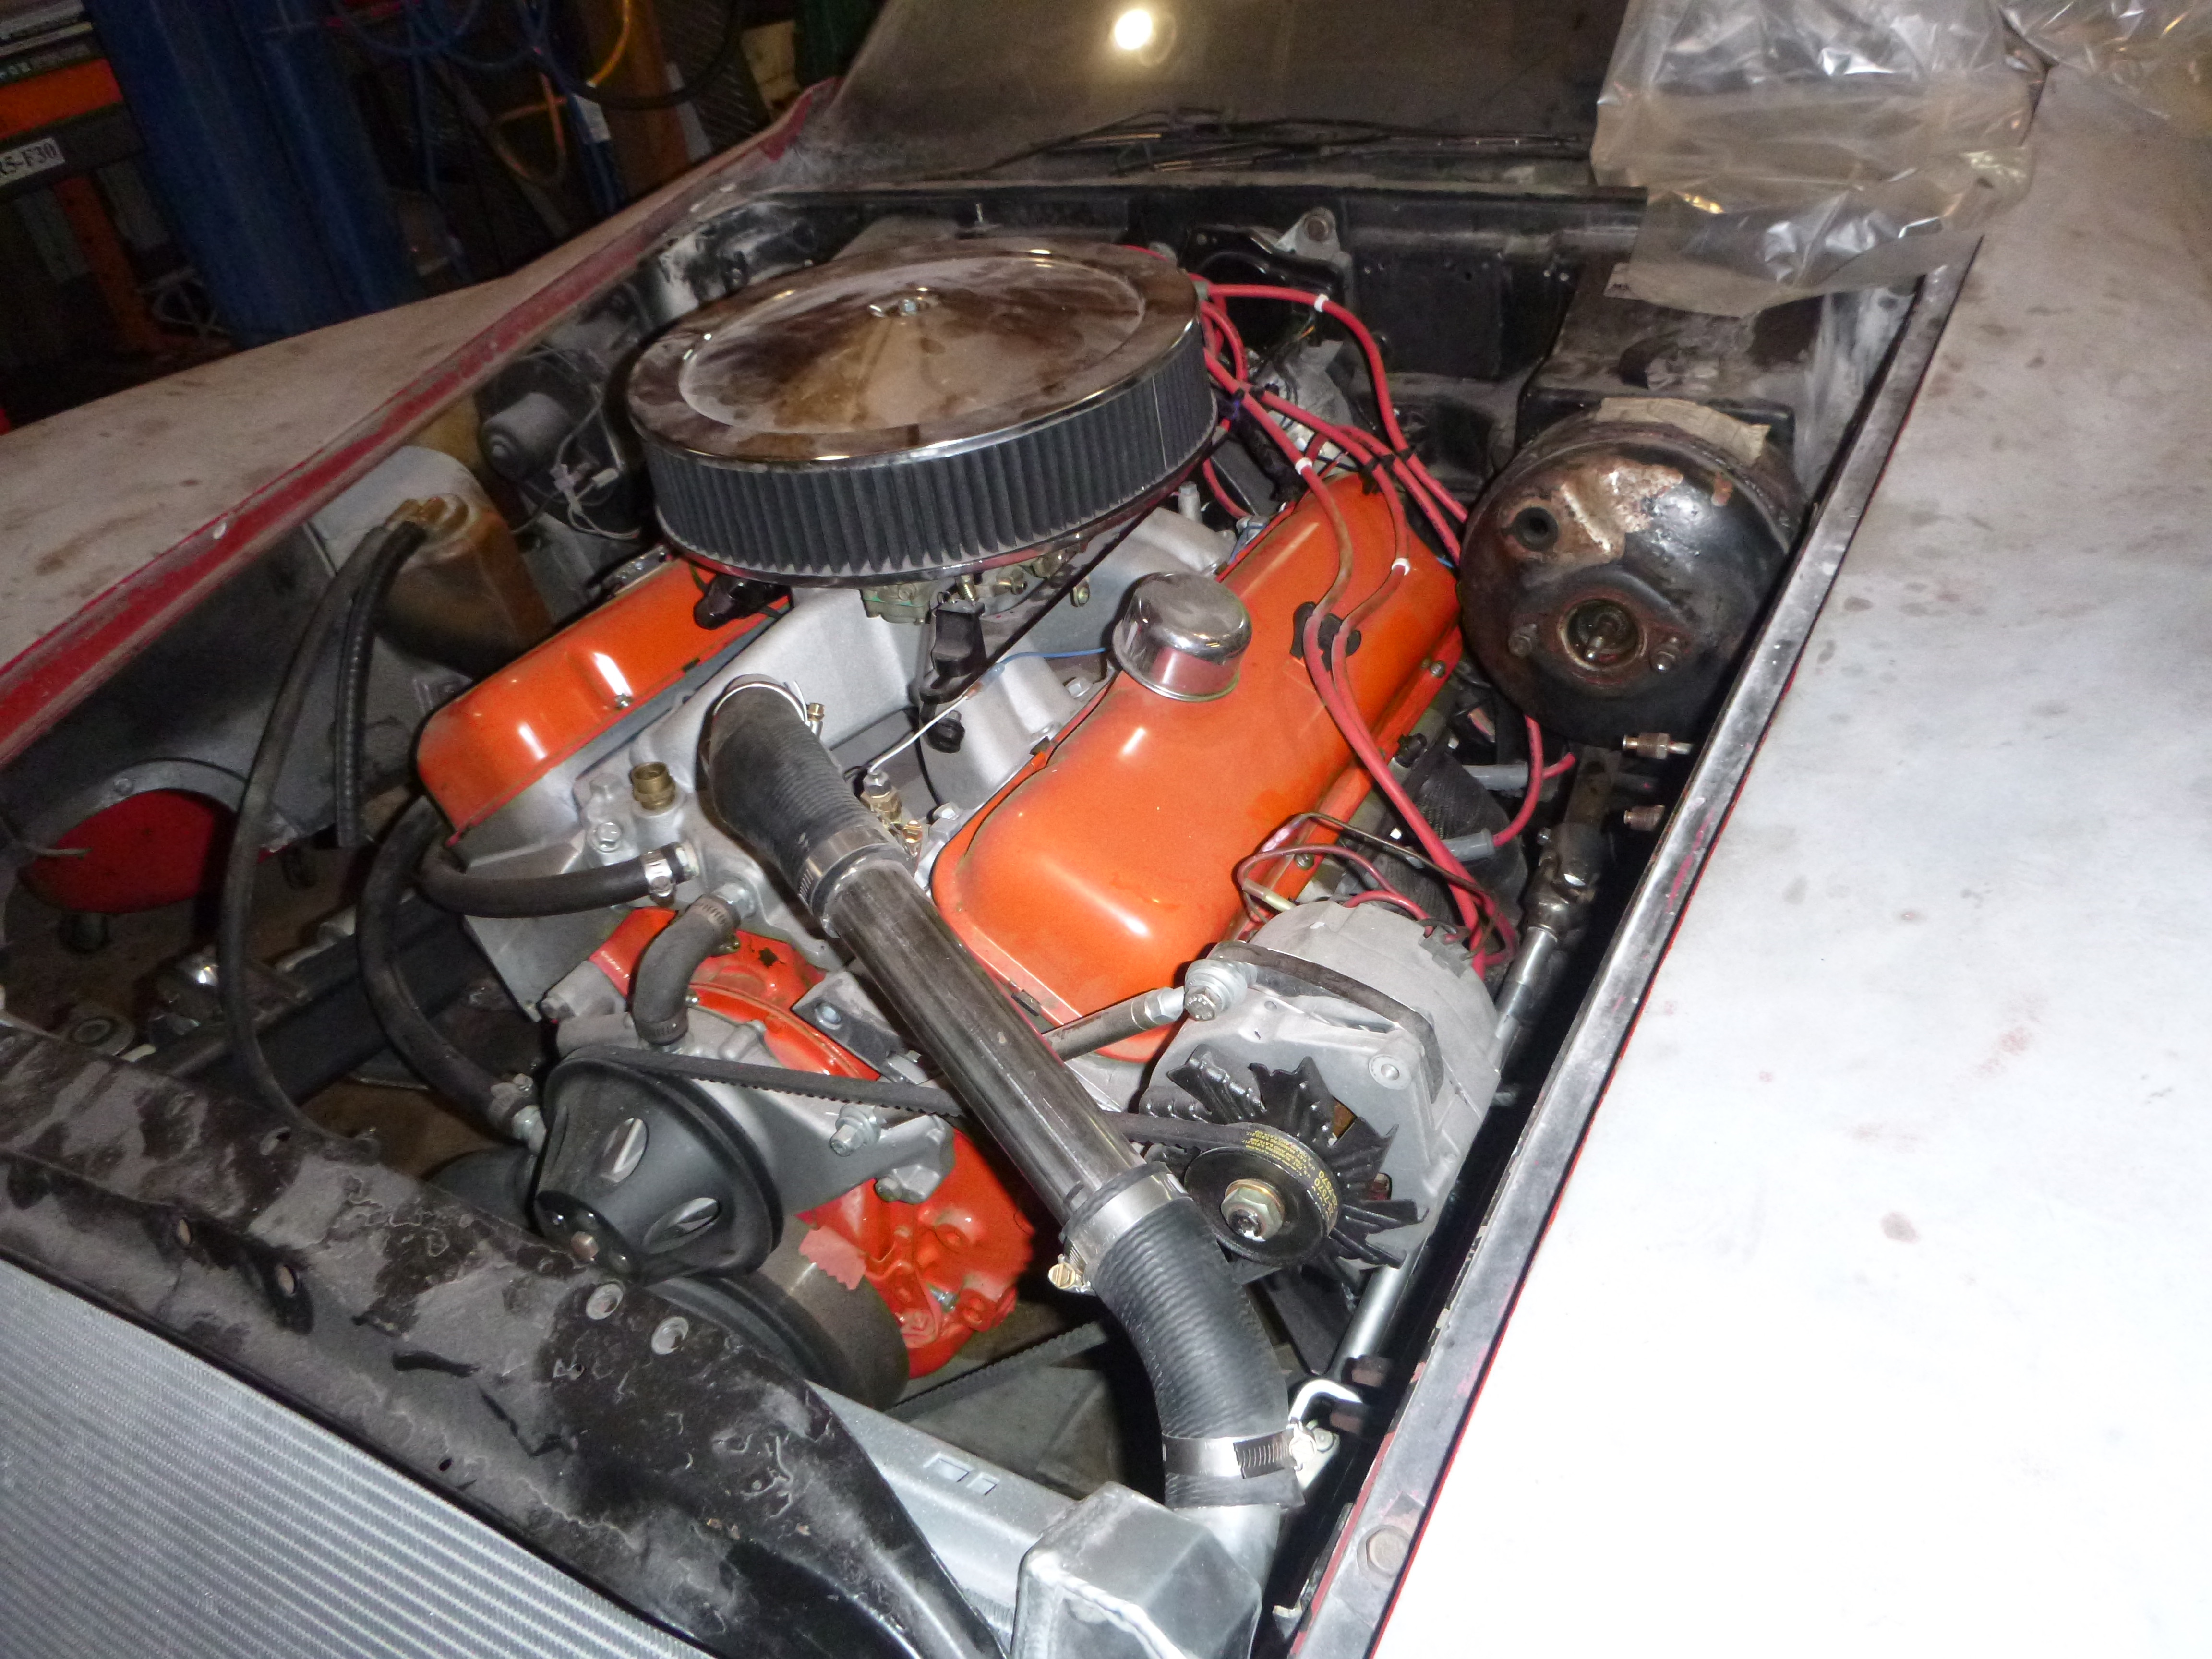
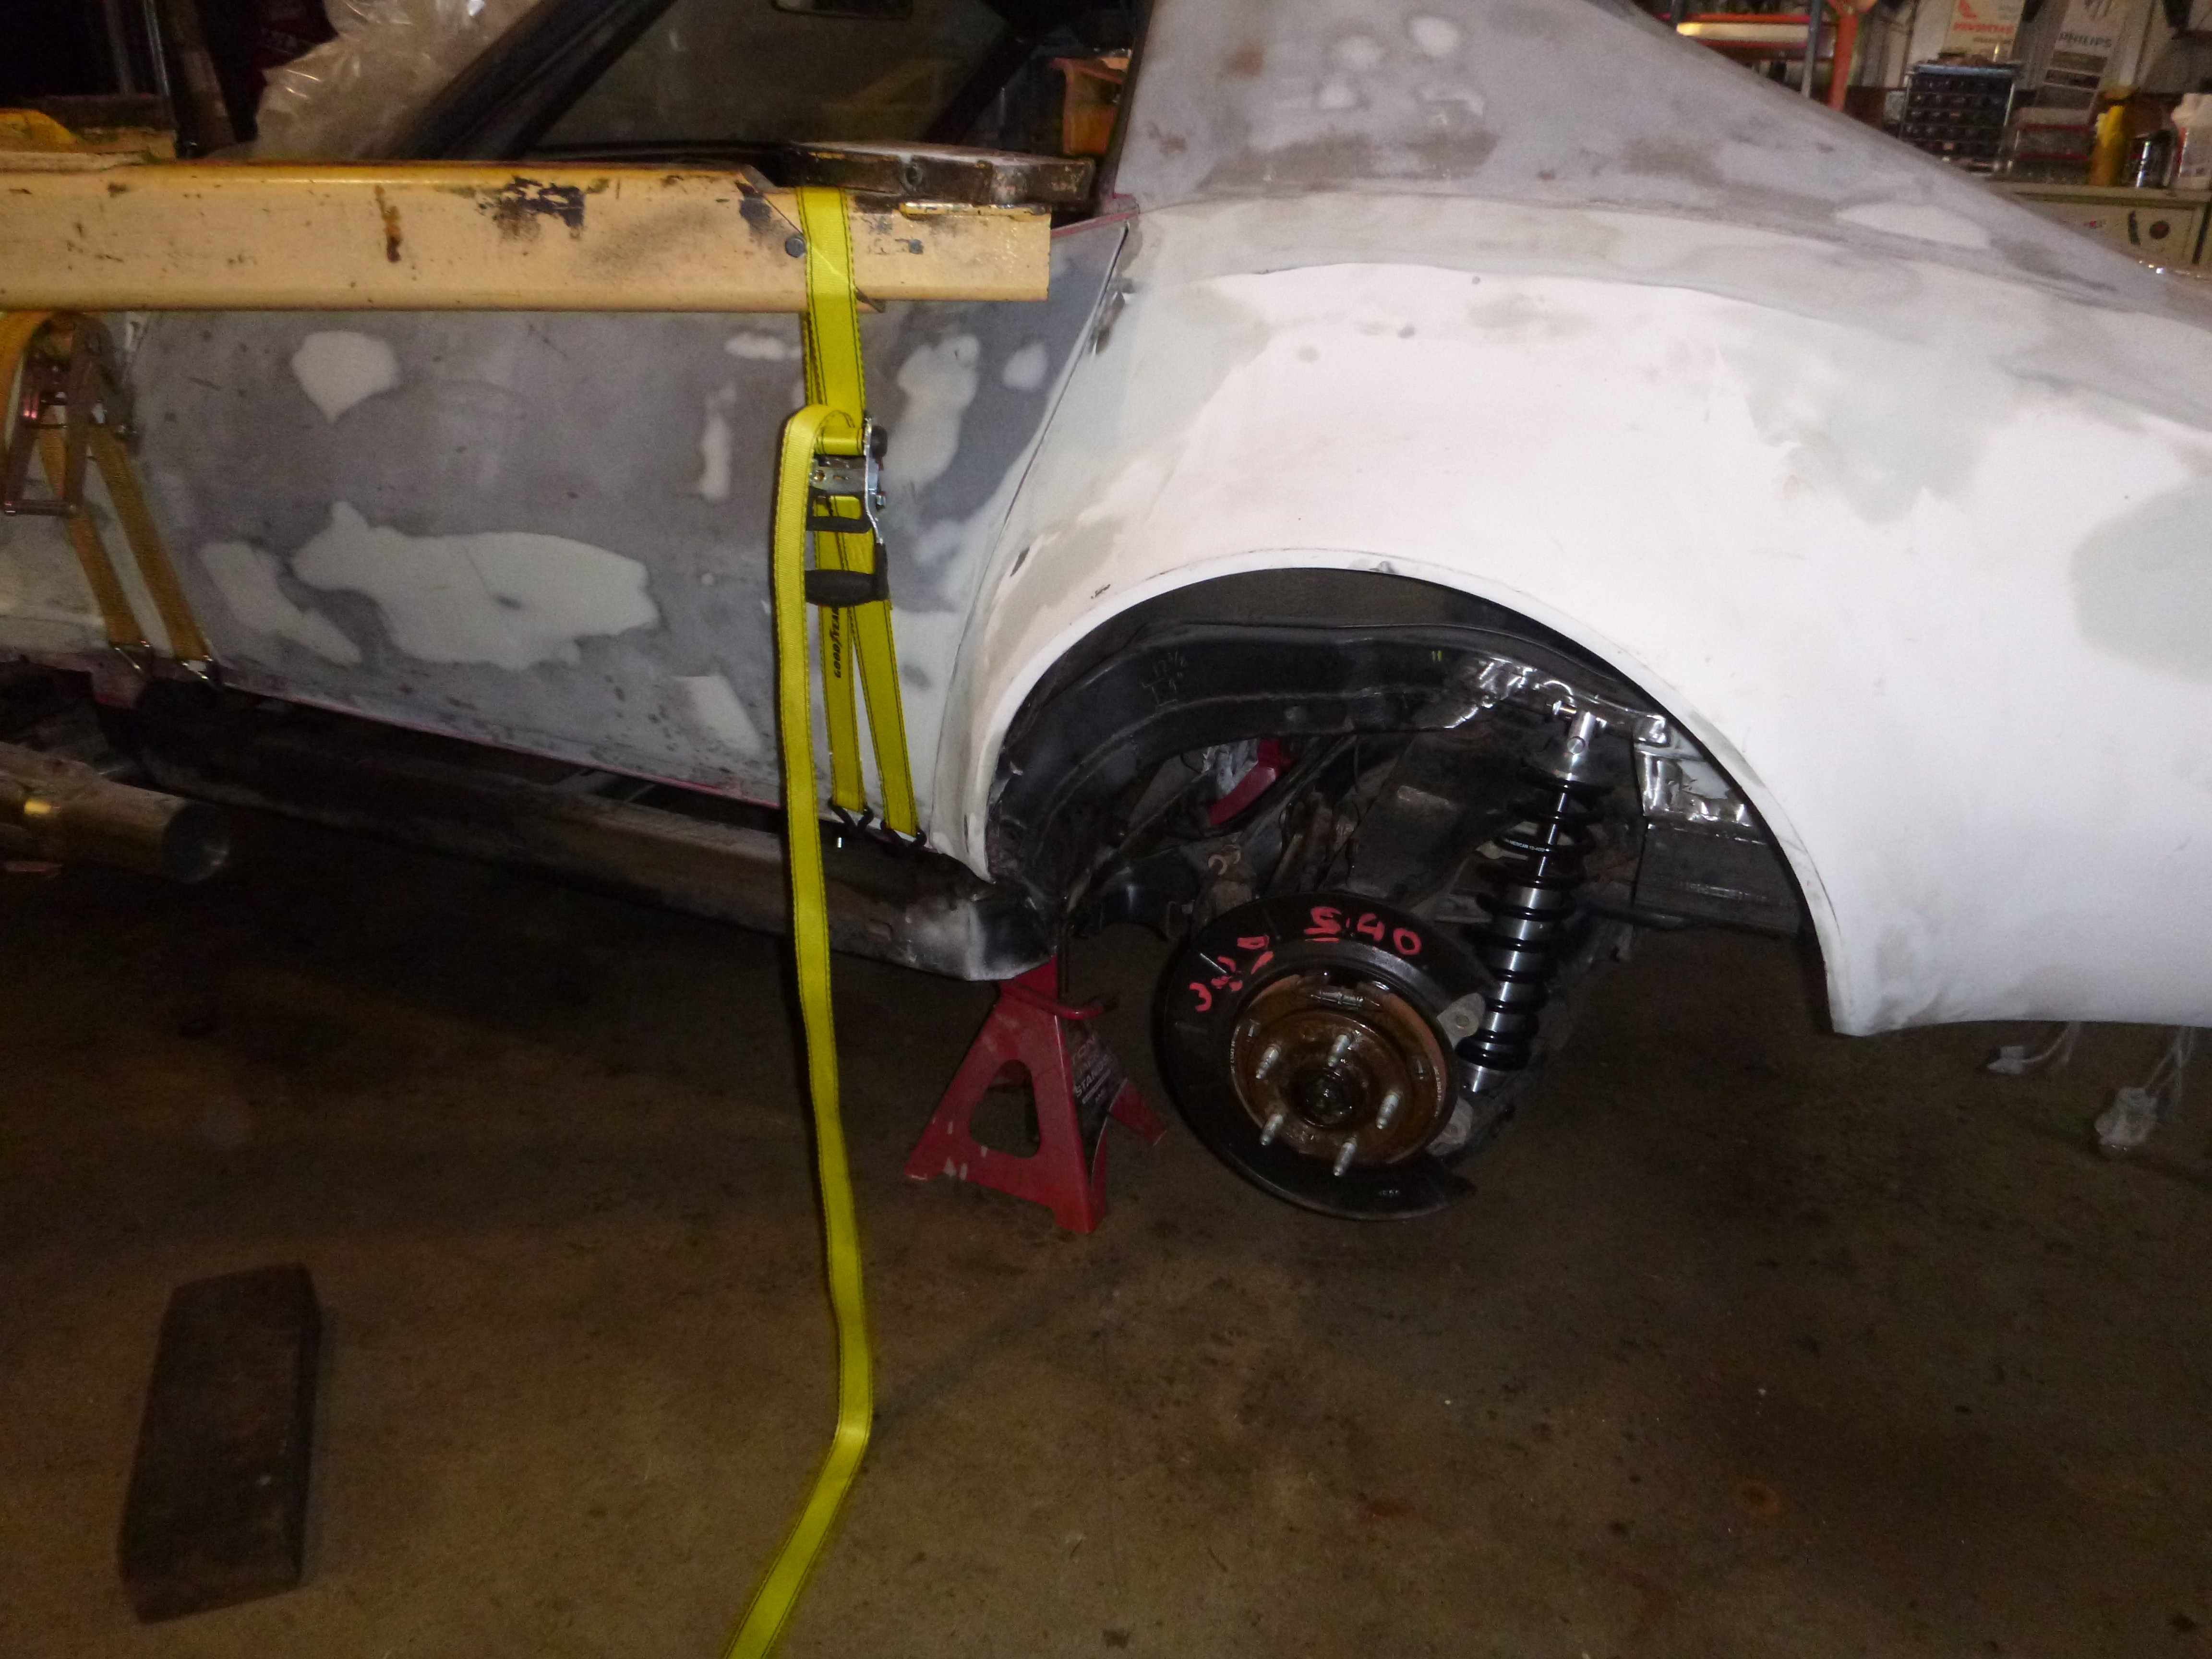
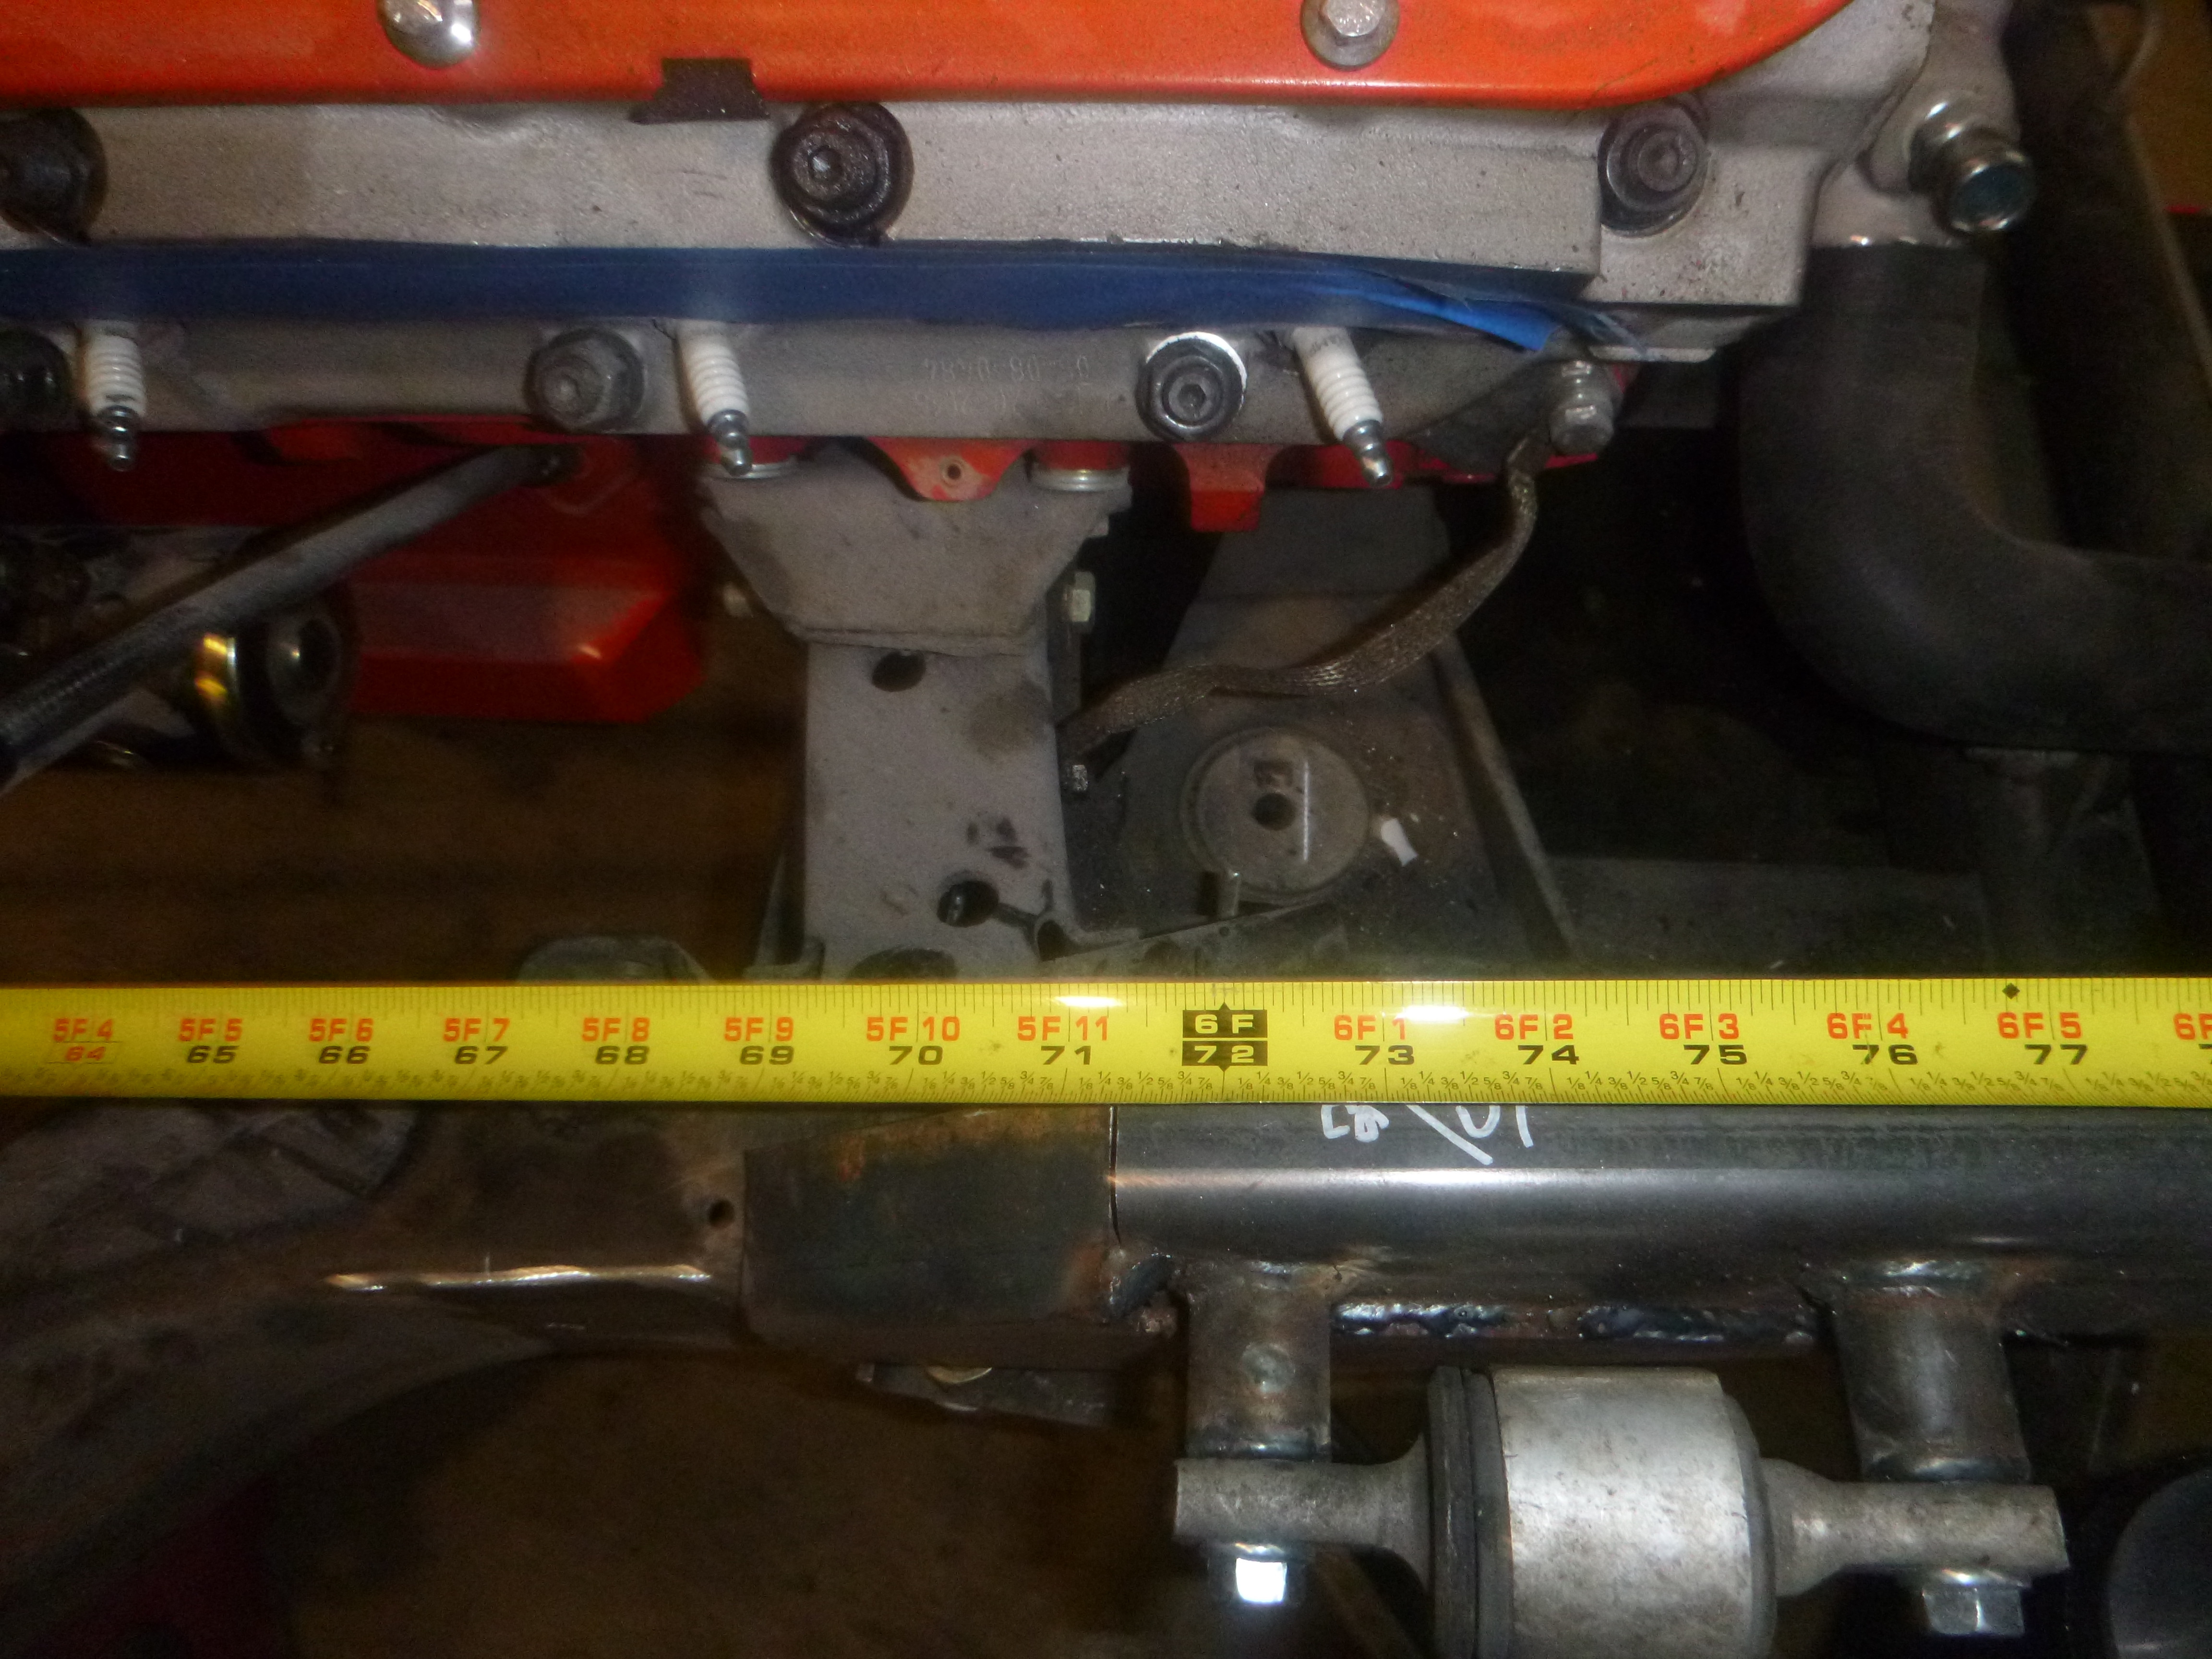
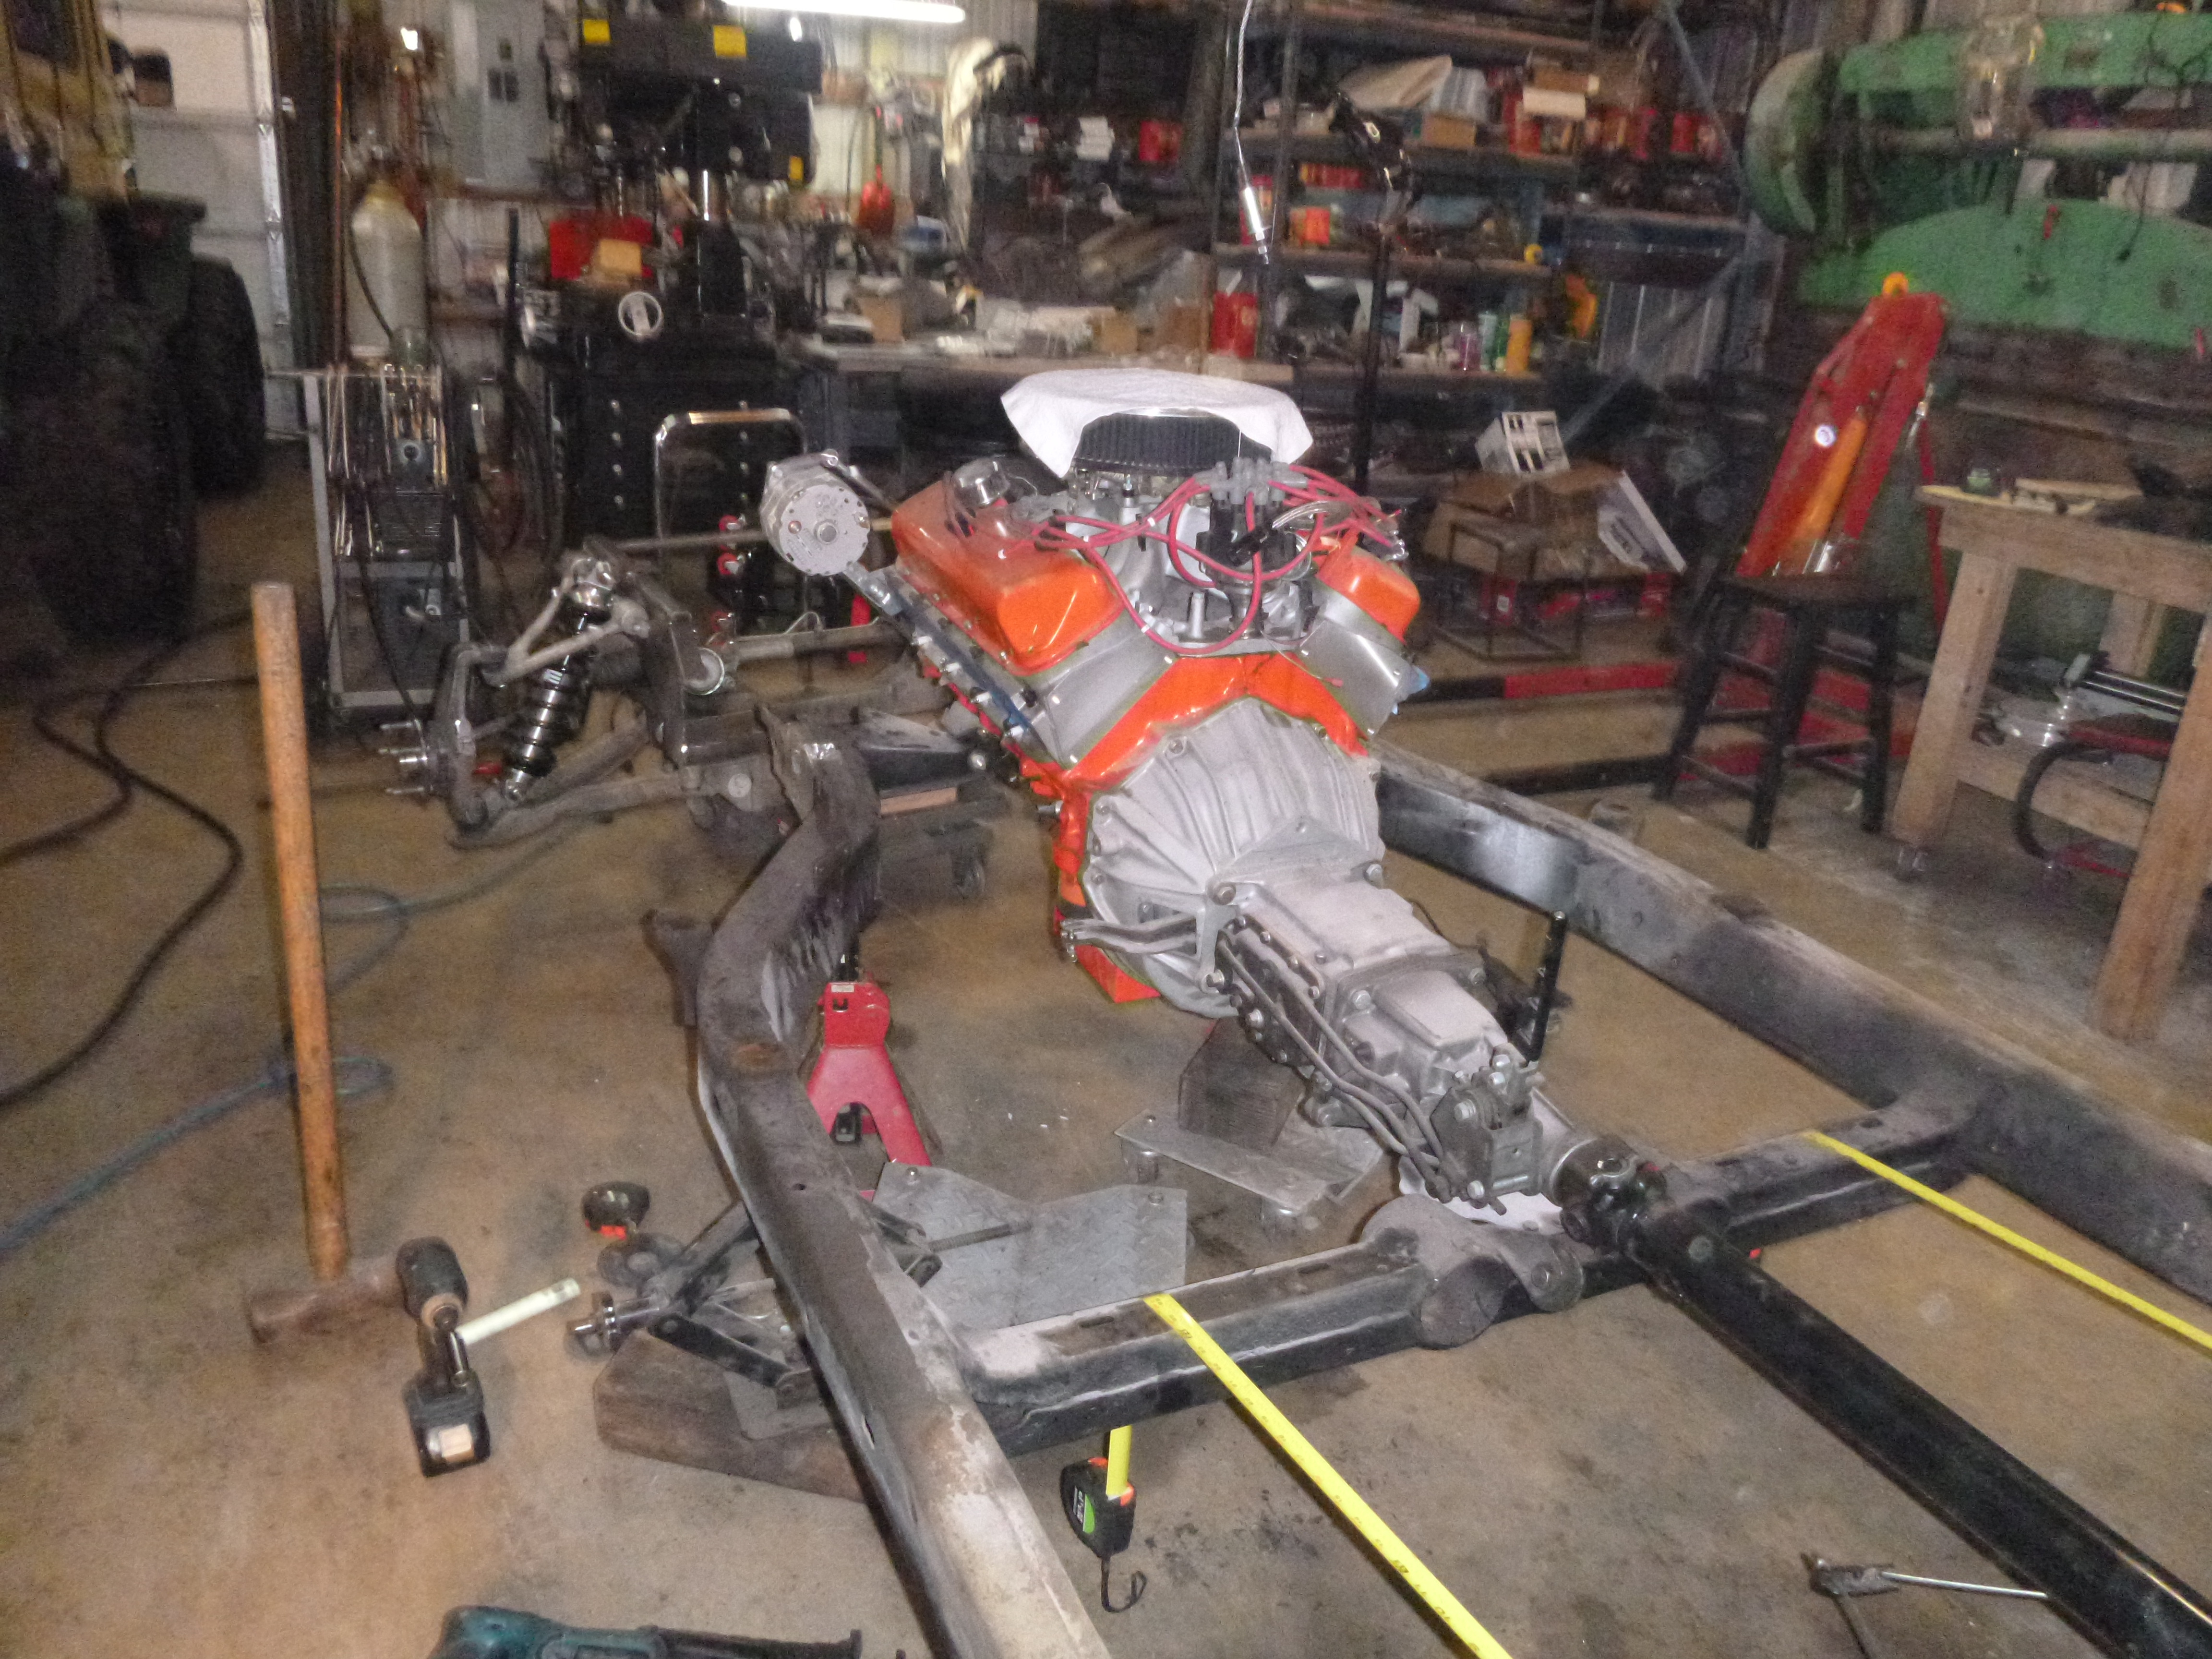
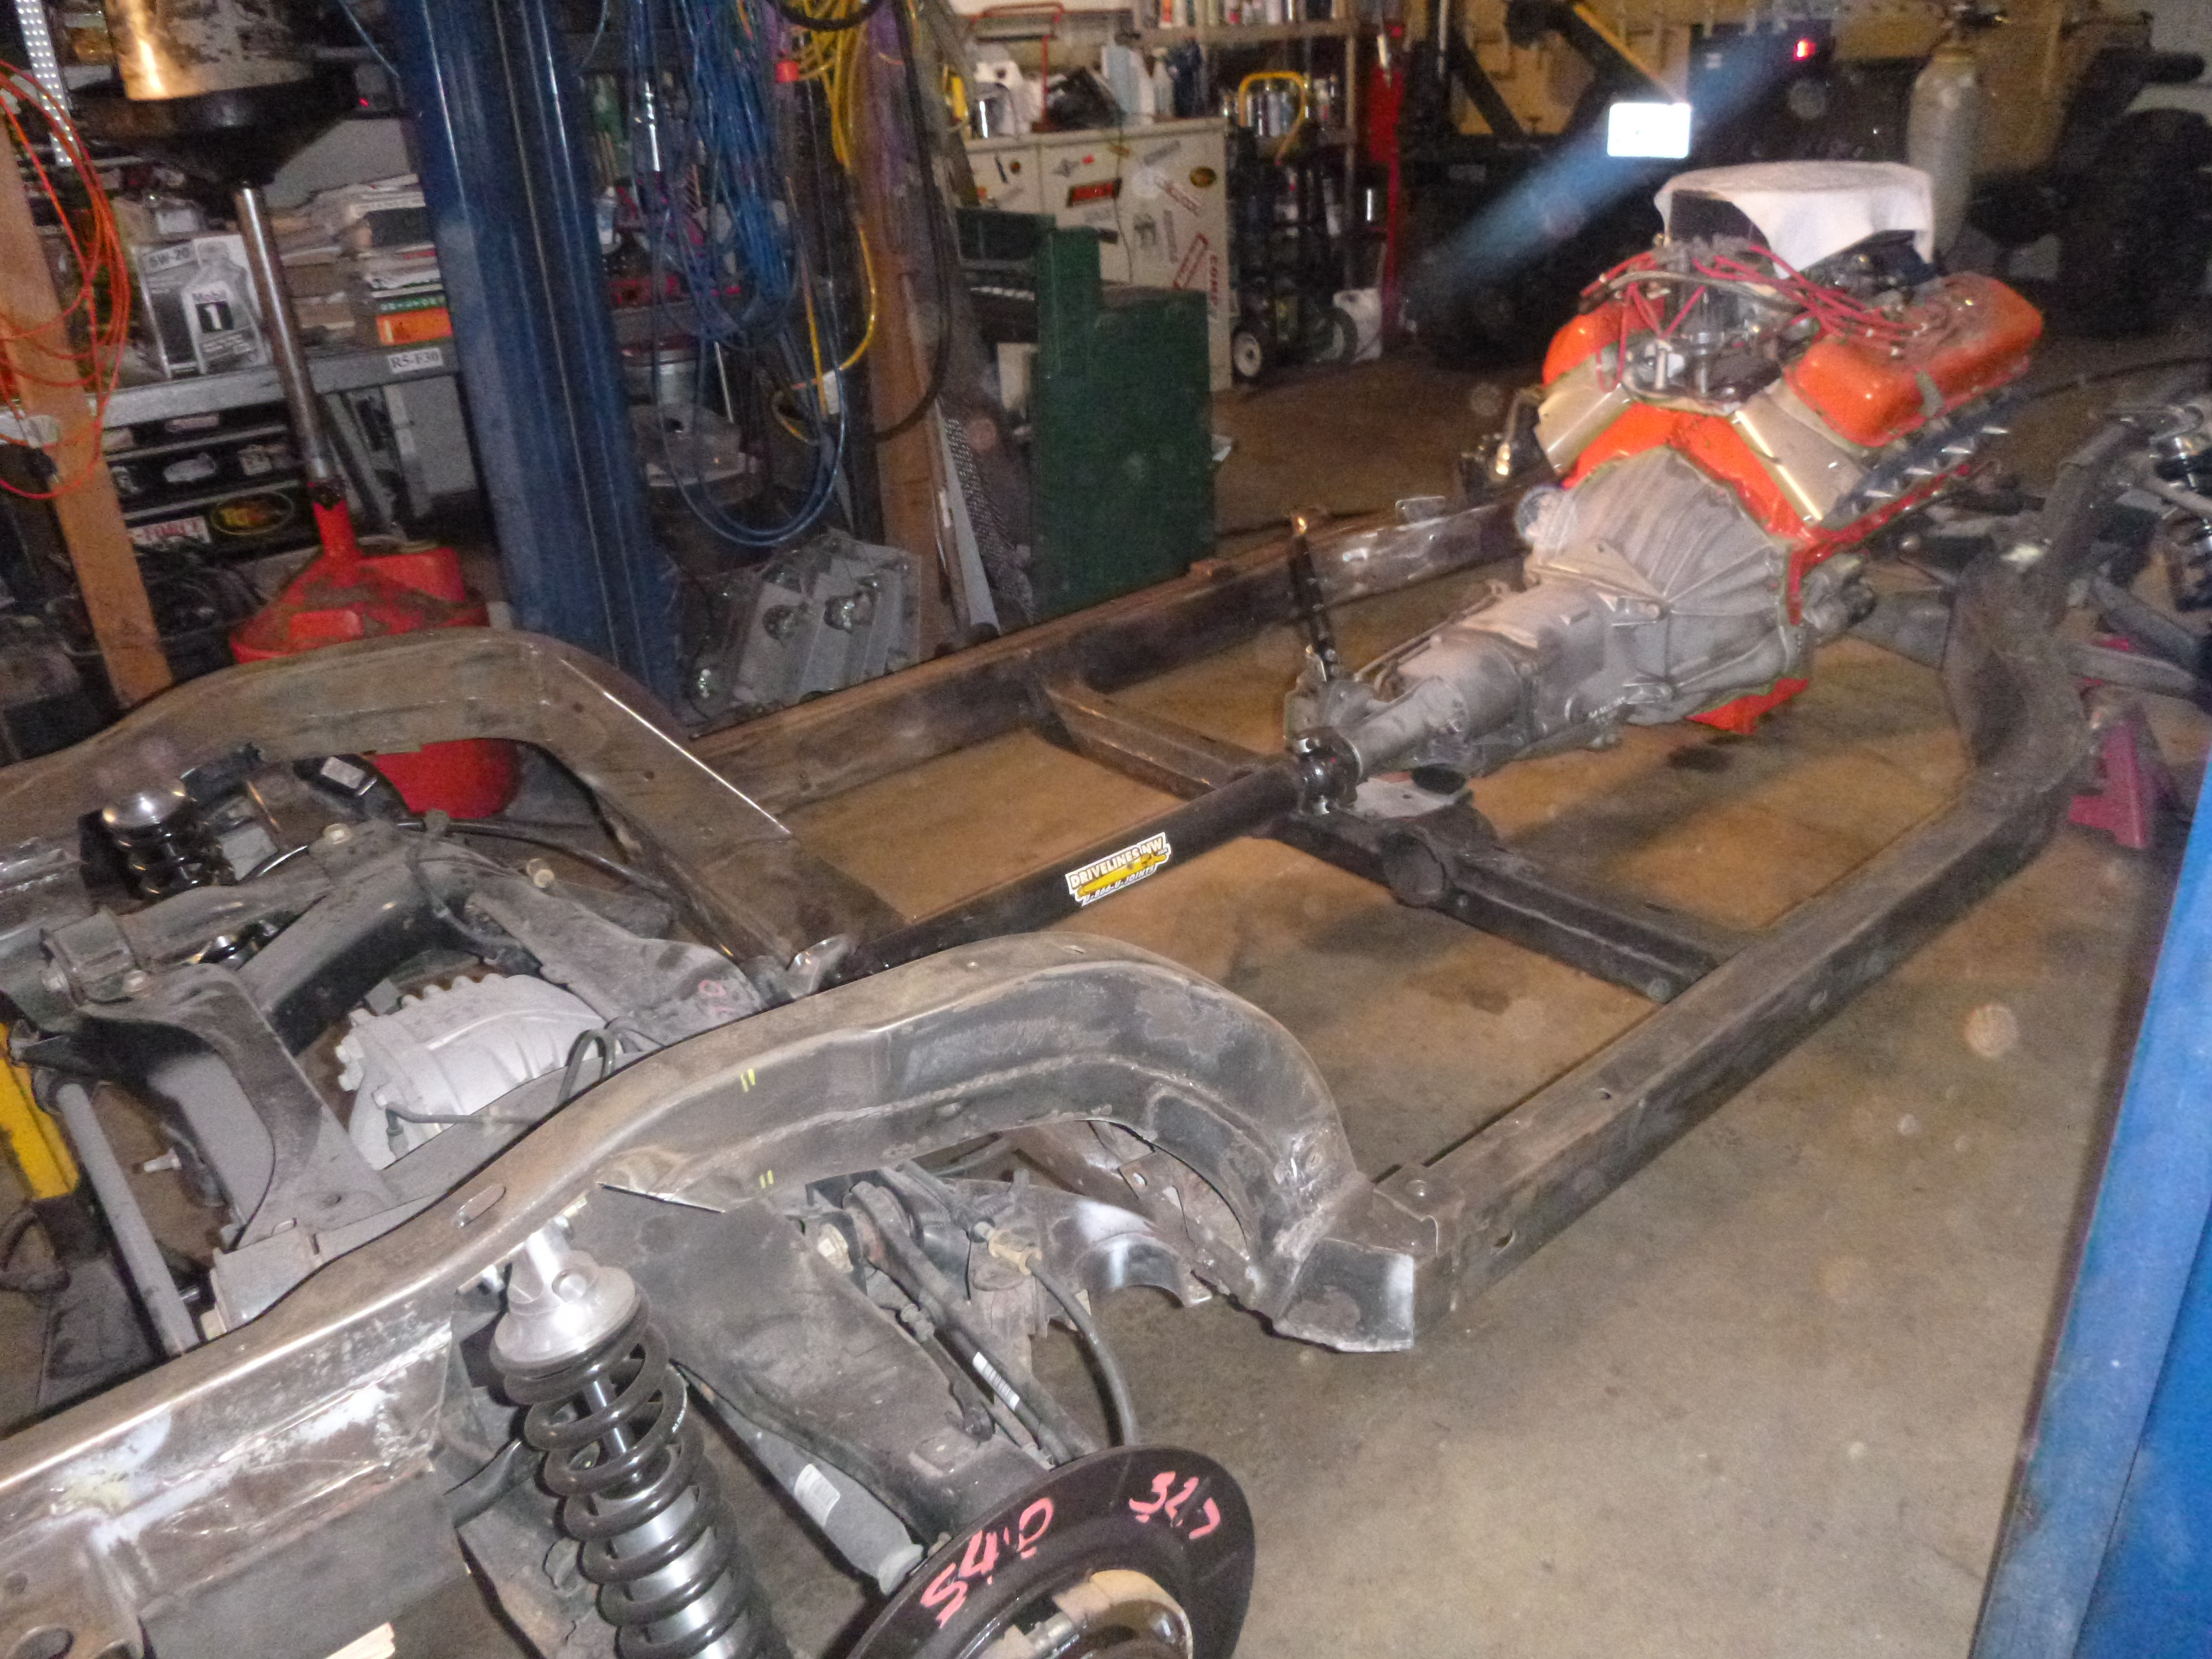
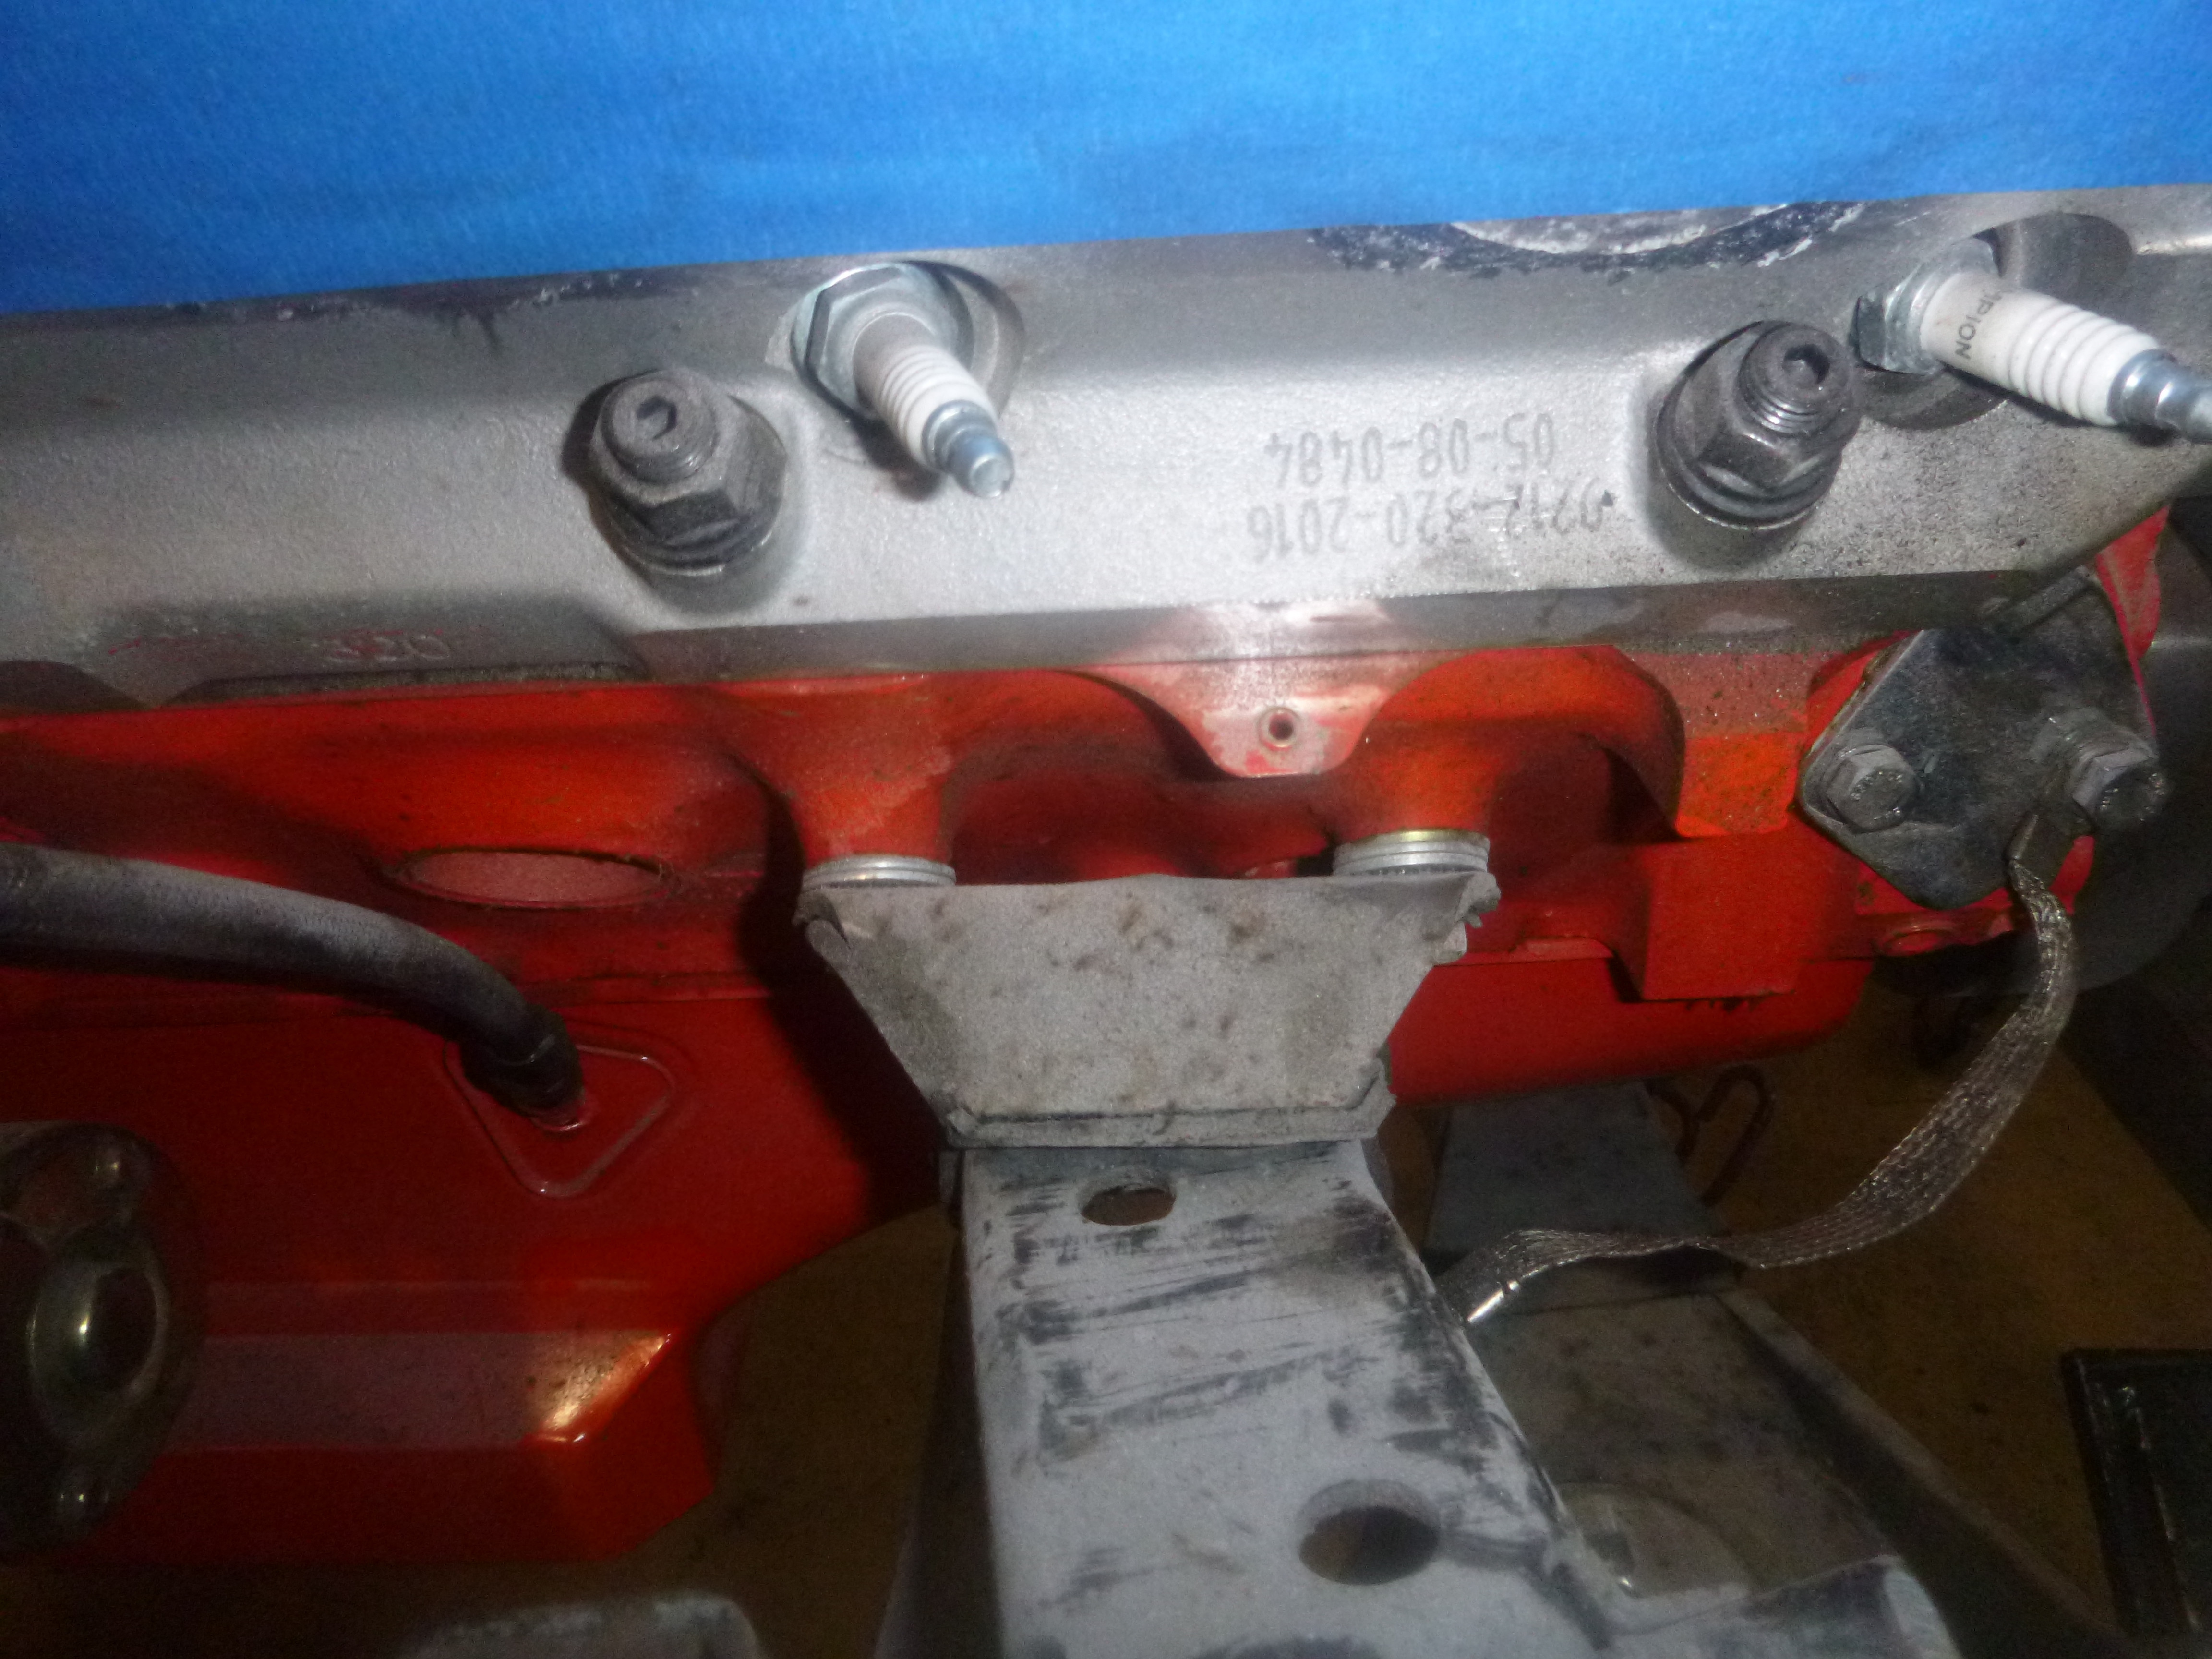
there are washers under the passenger side mount to get the pipes to fit in their correct place.
01-09-2019, 12:37 AM
#226
Melting Slicks
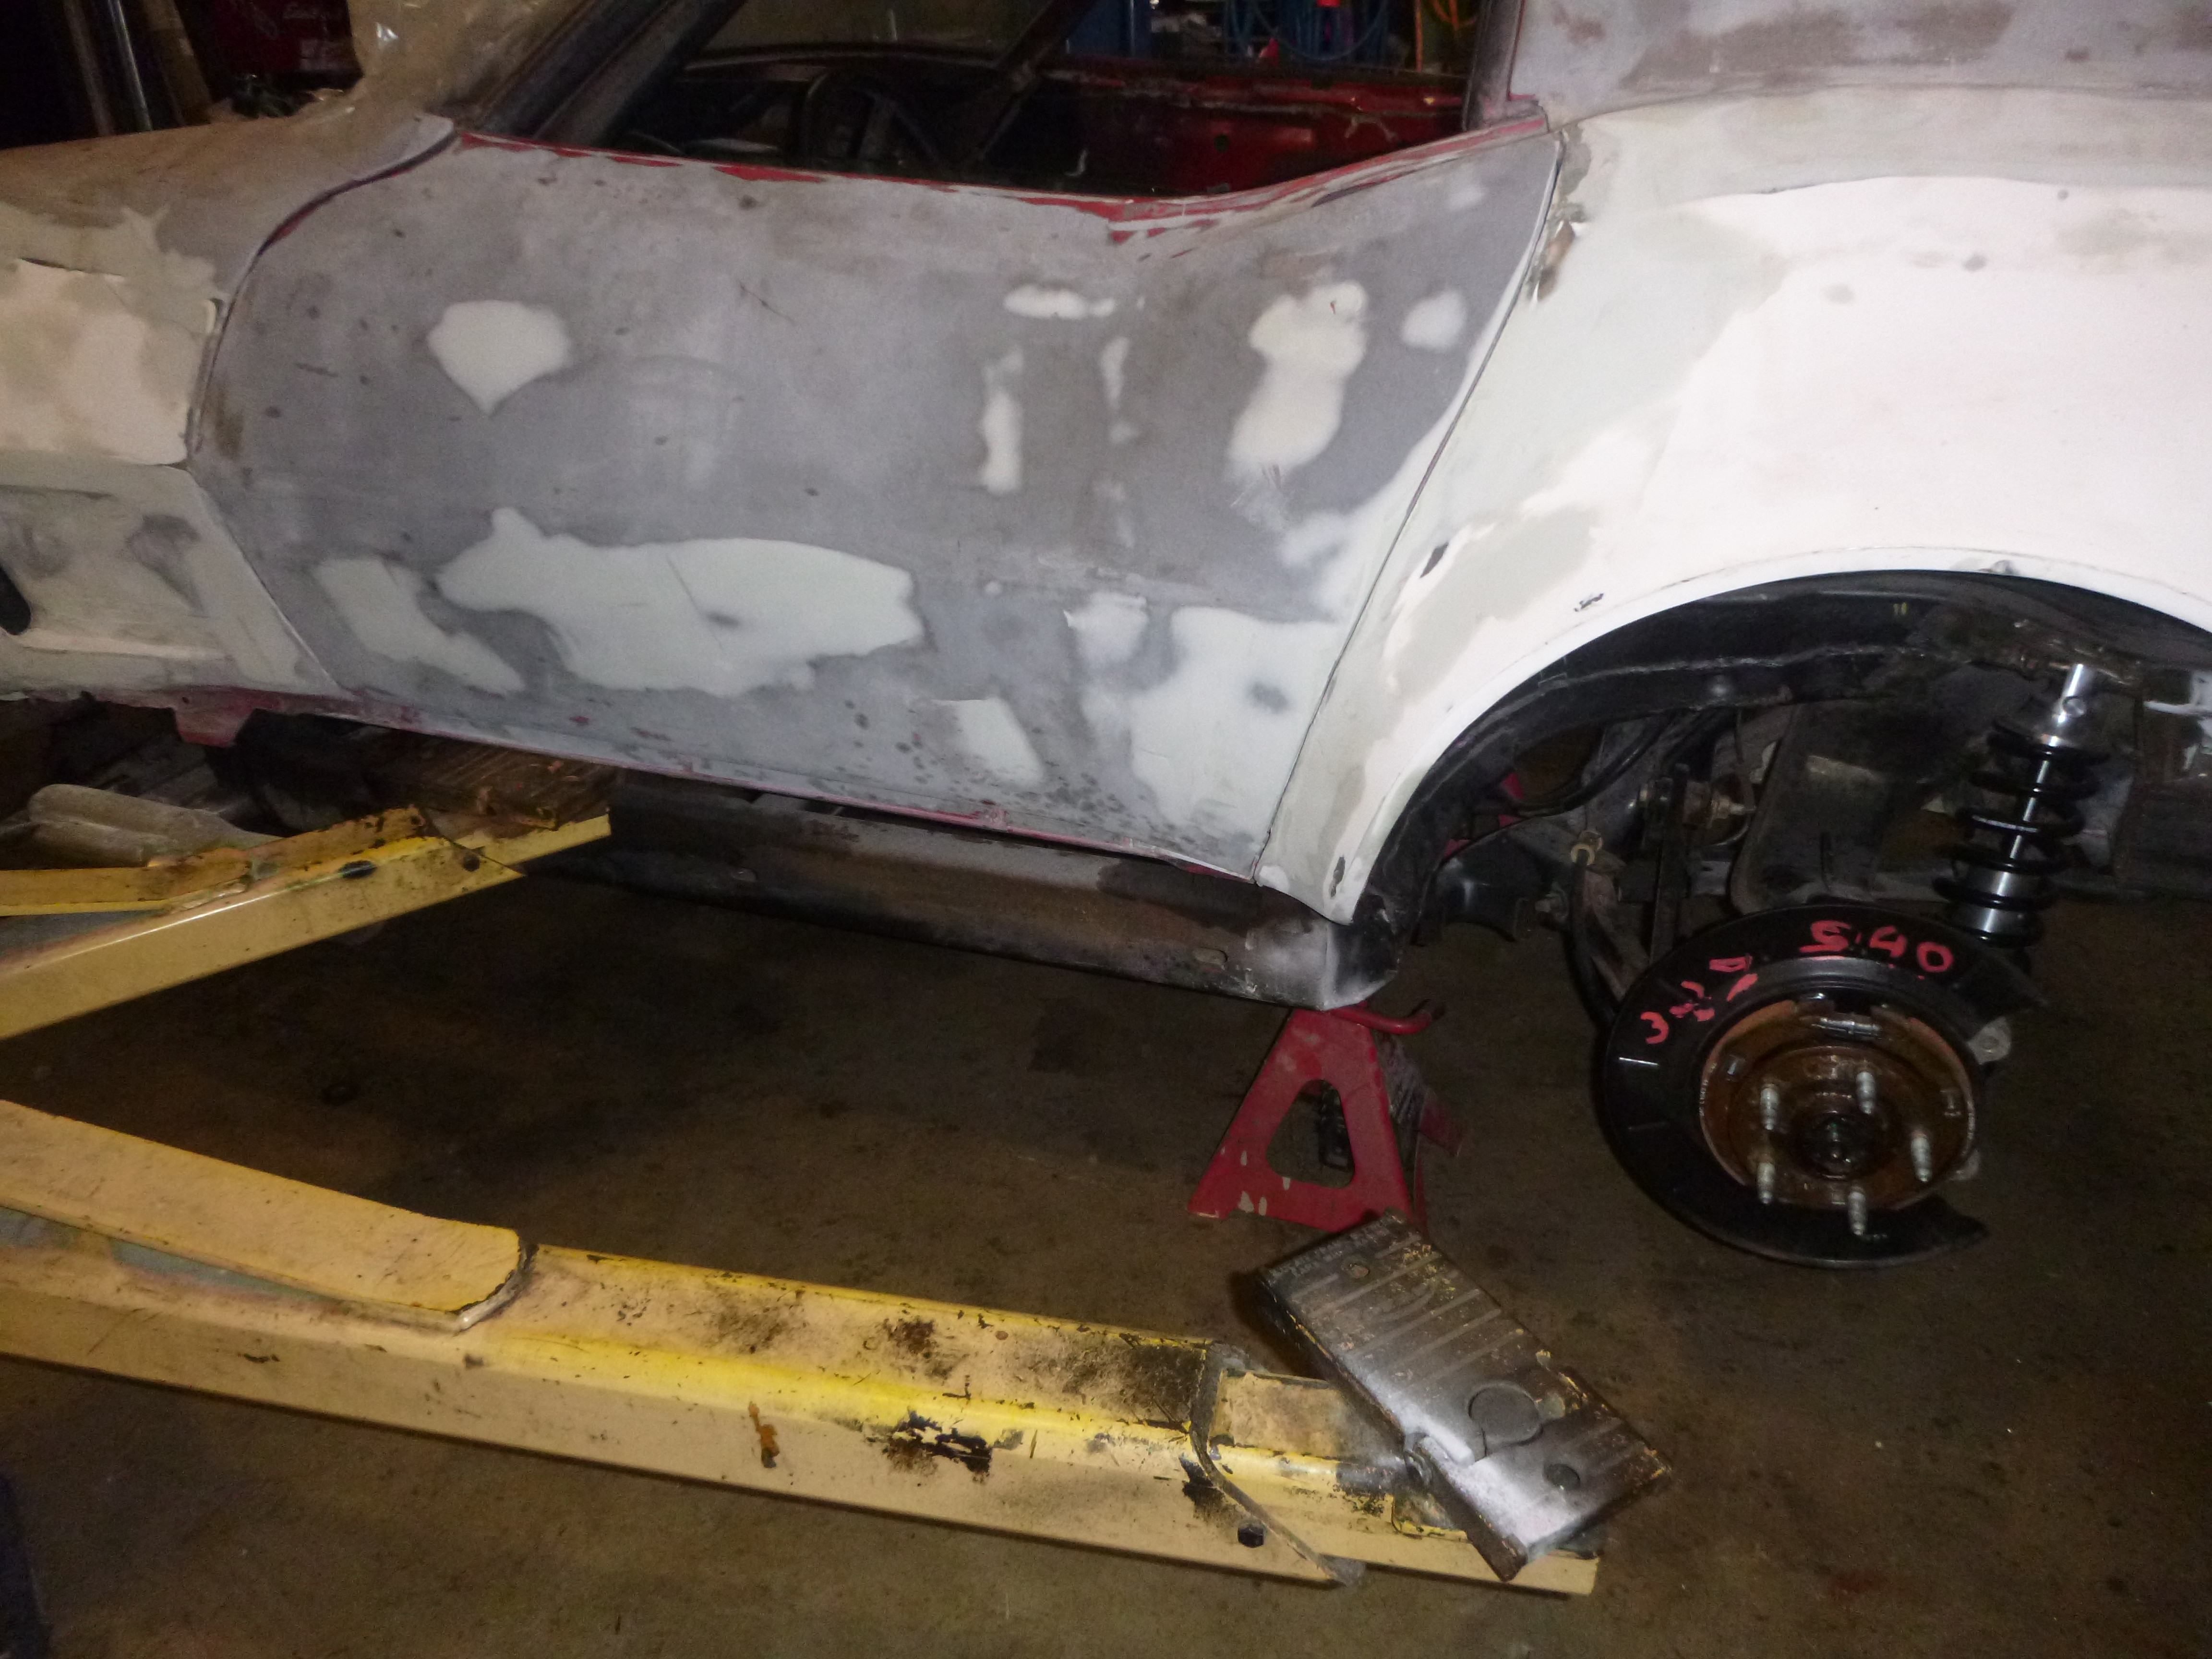
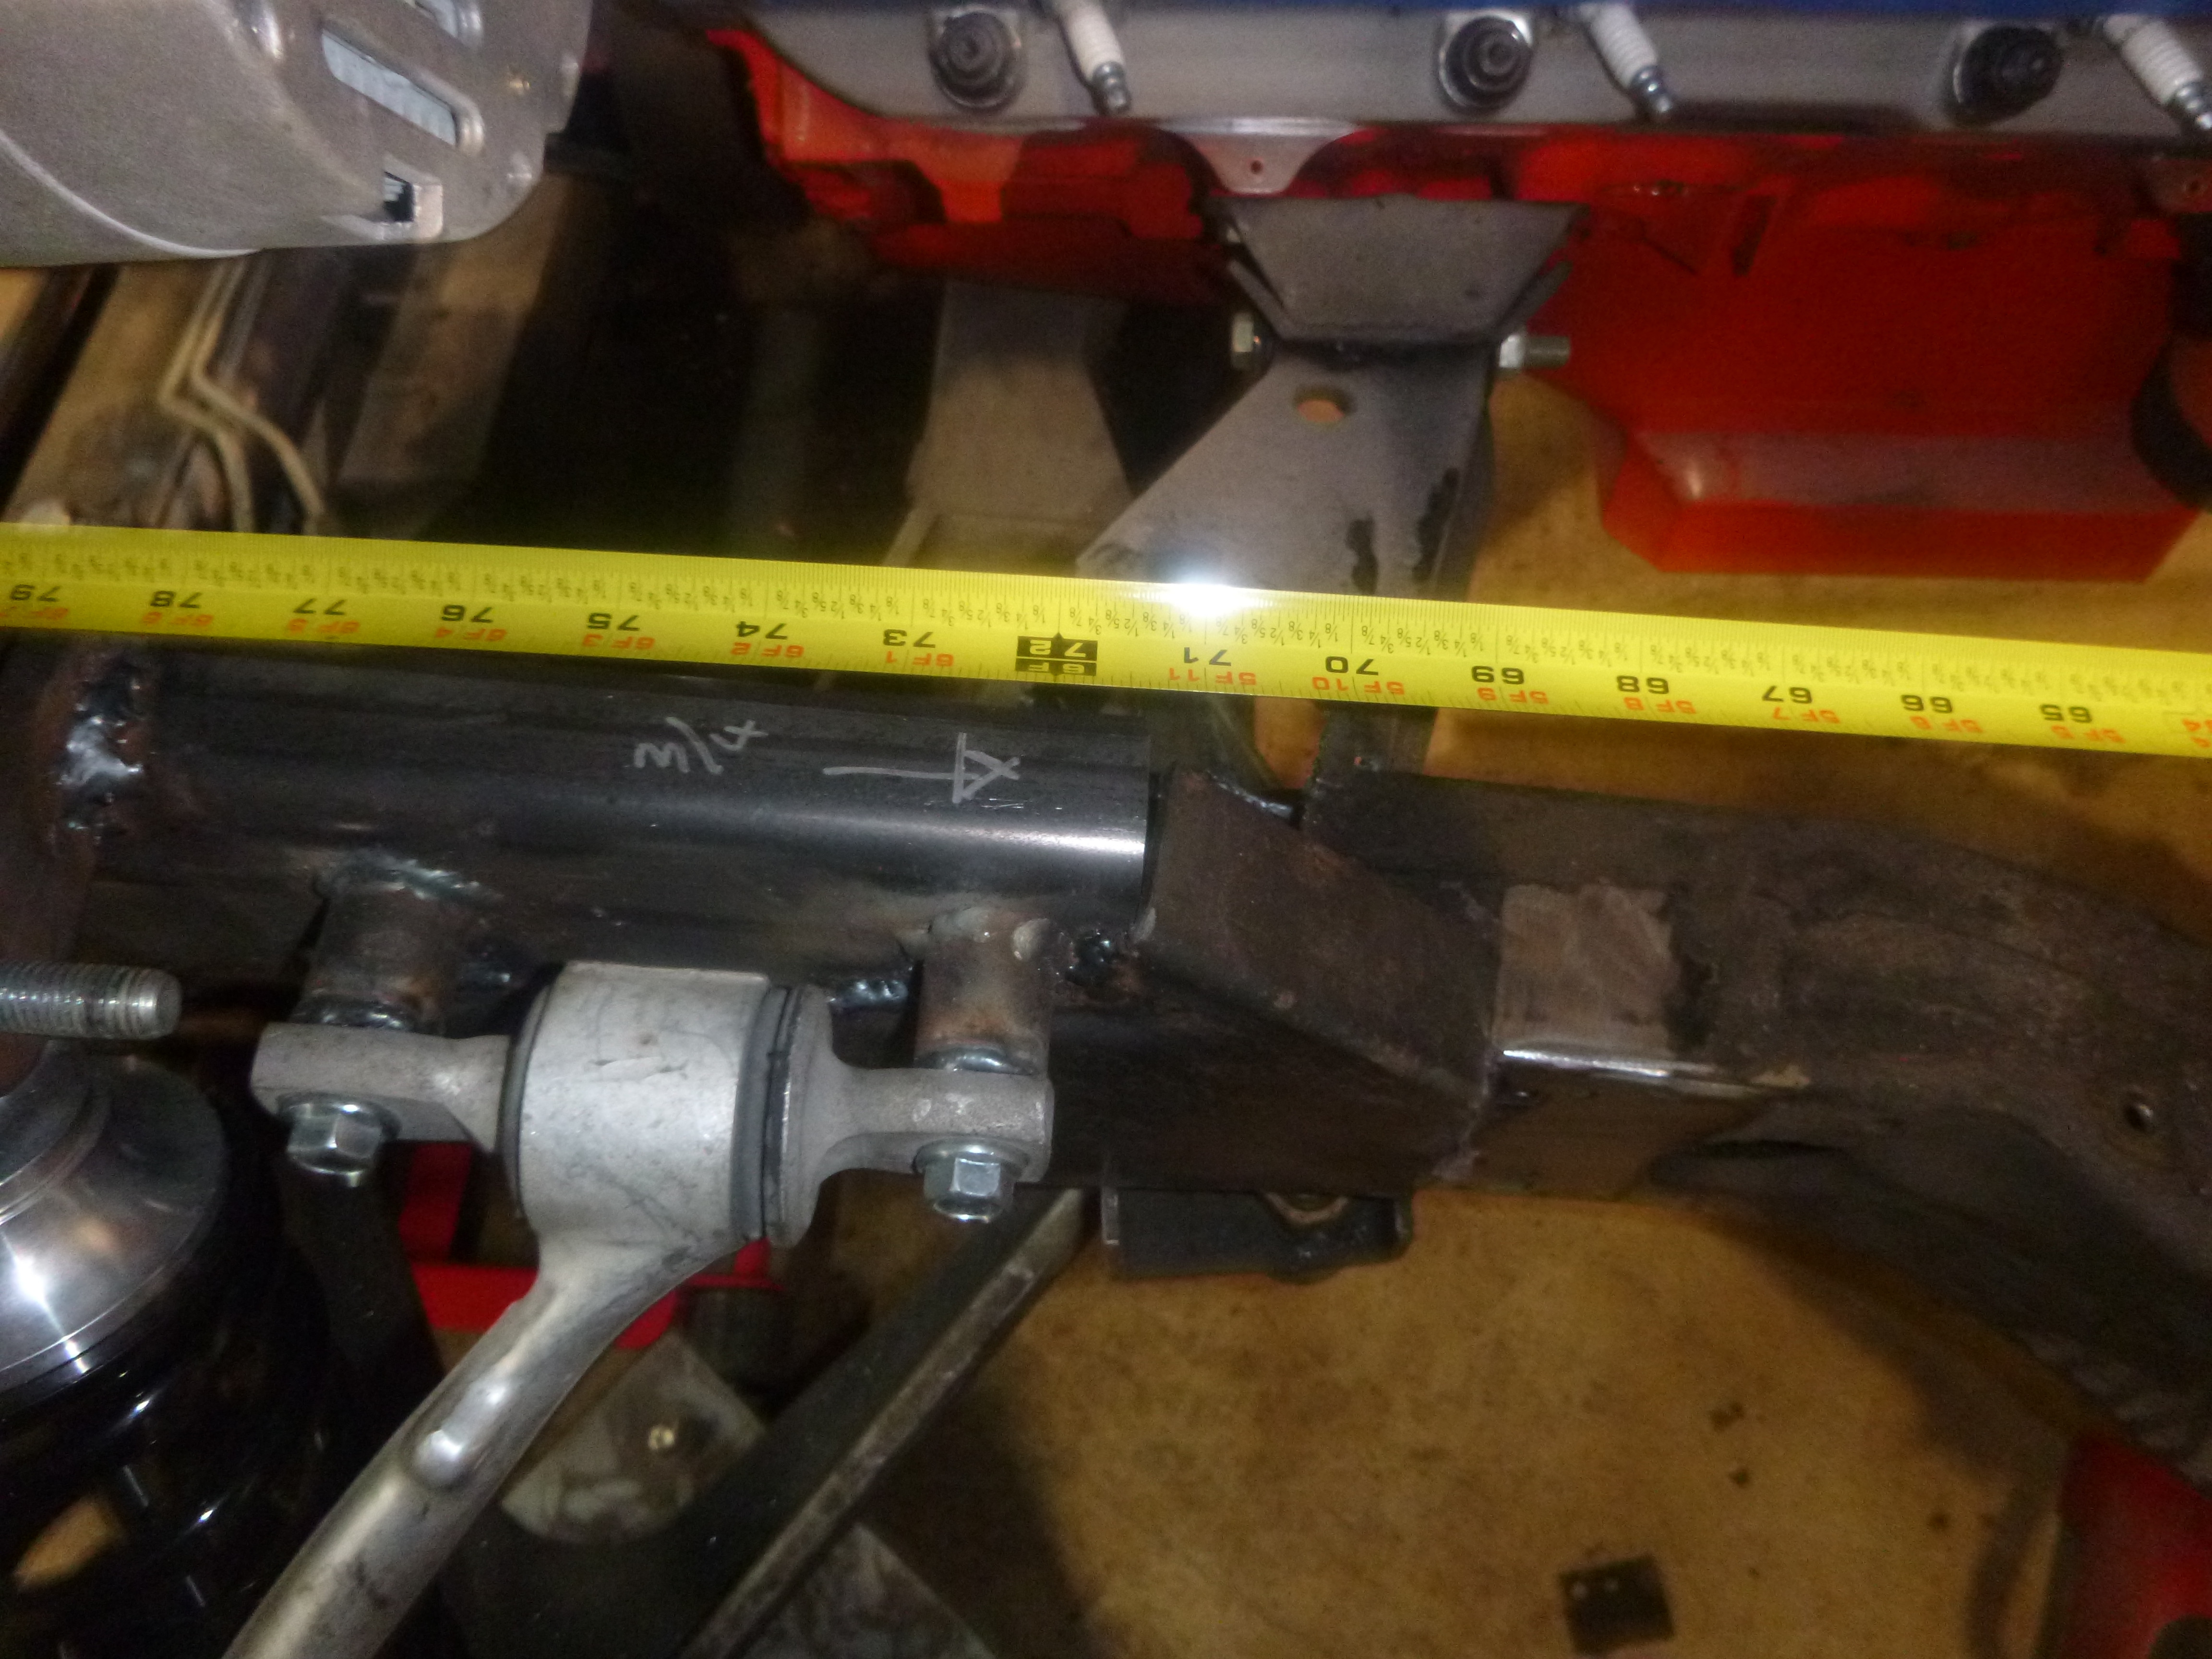
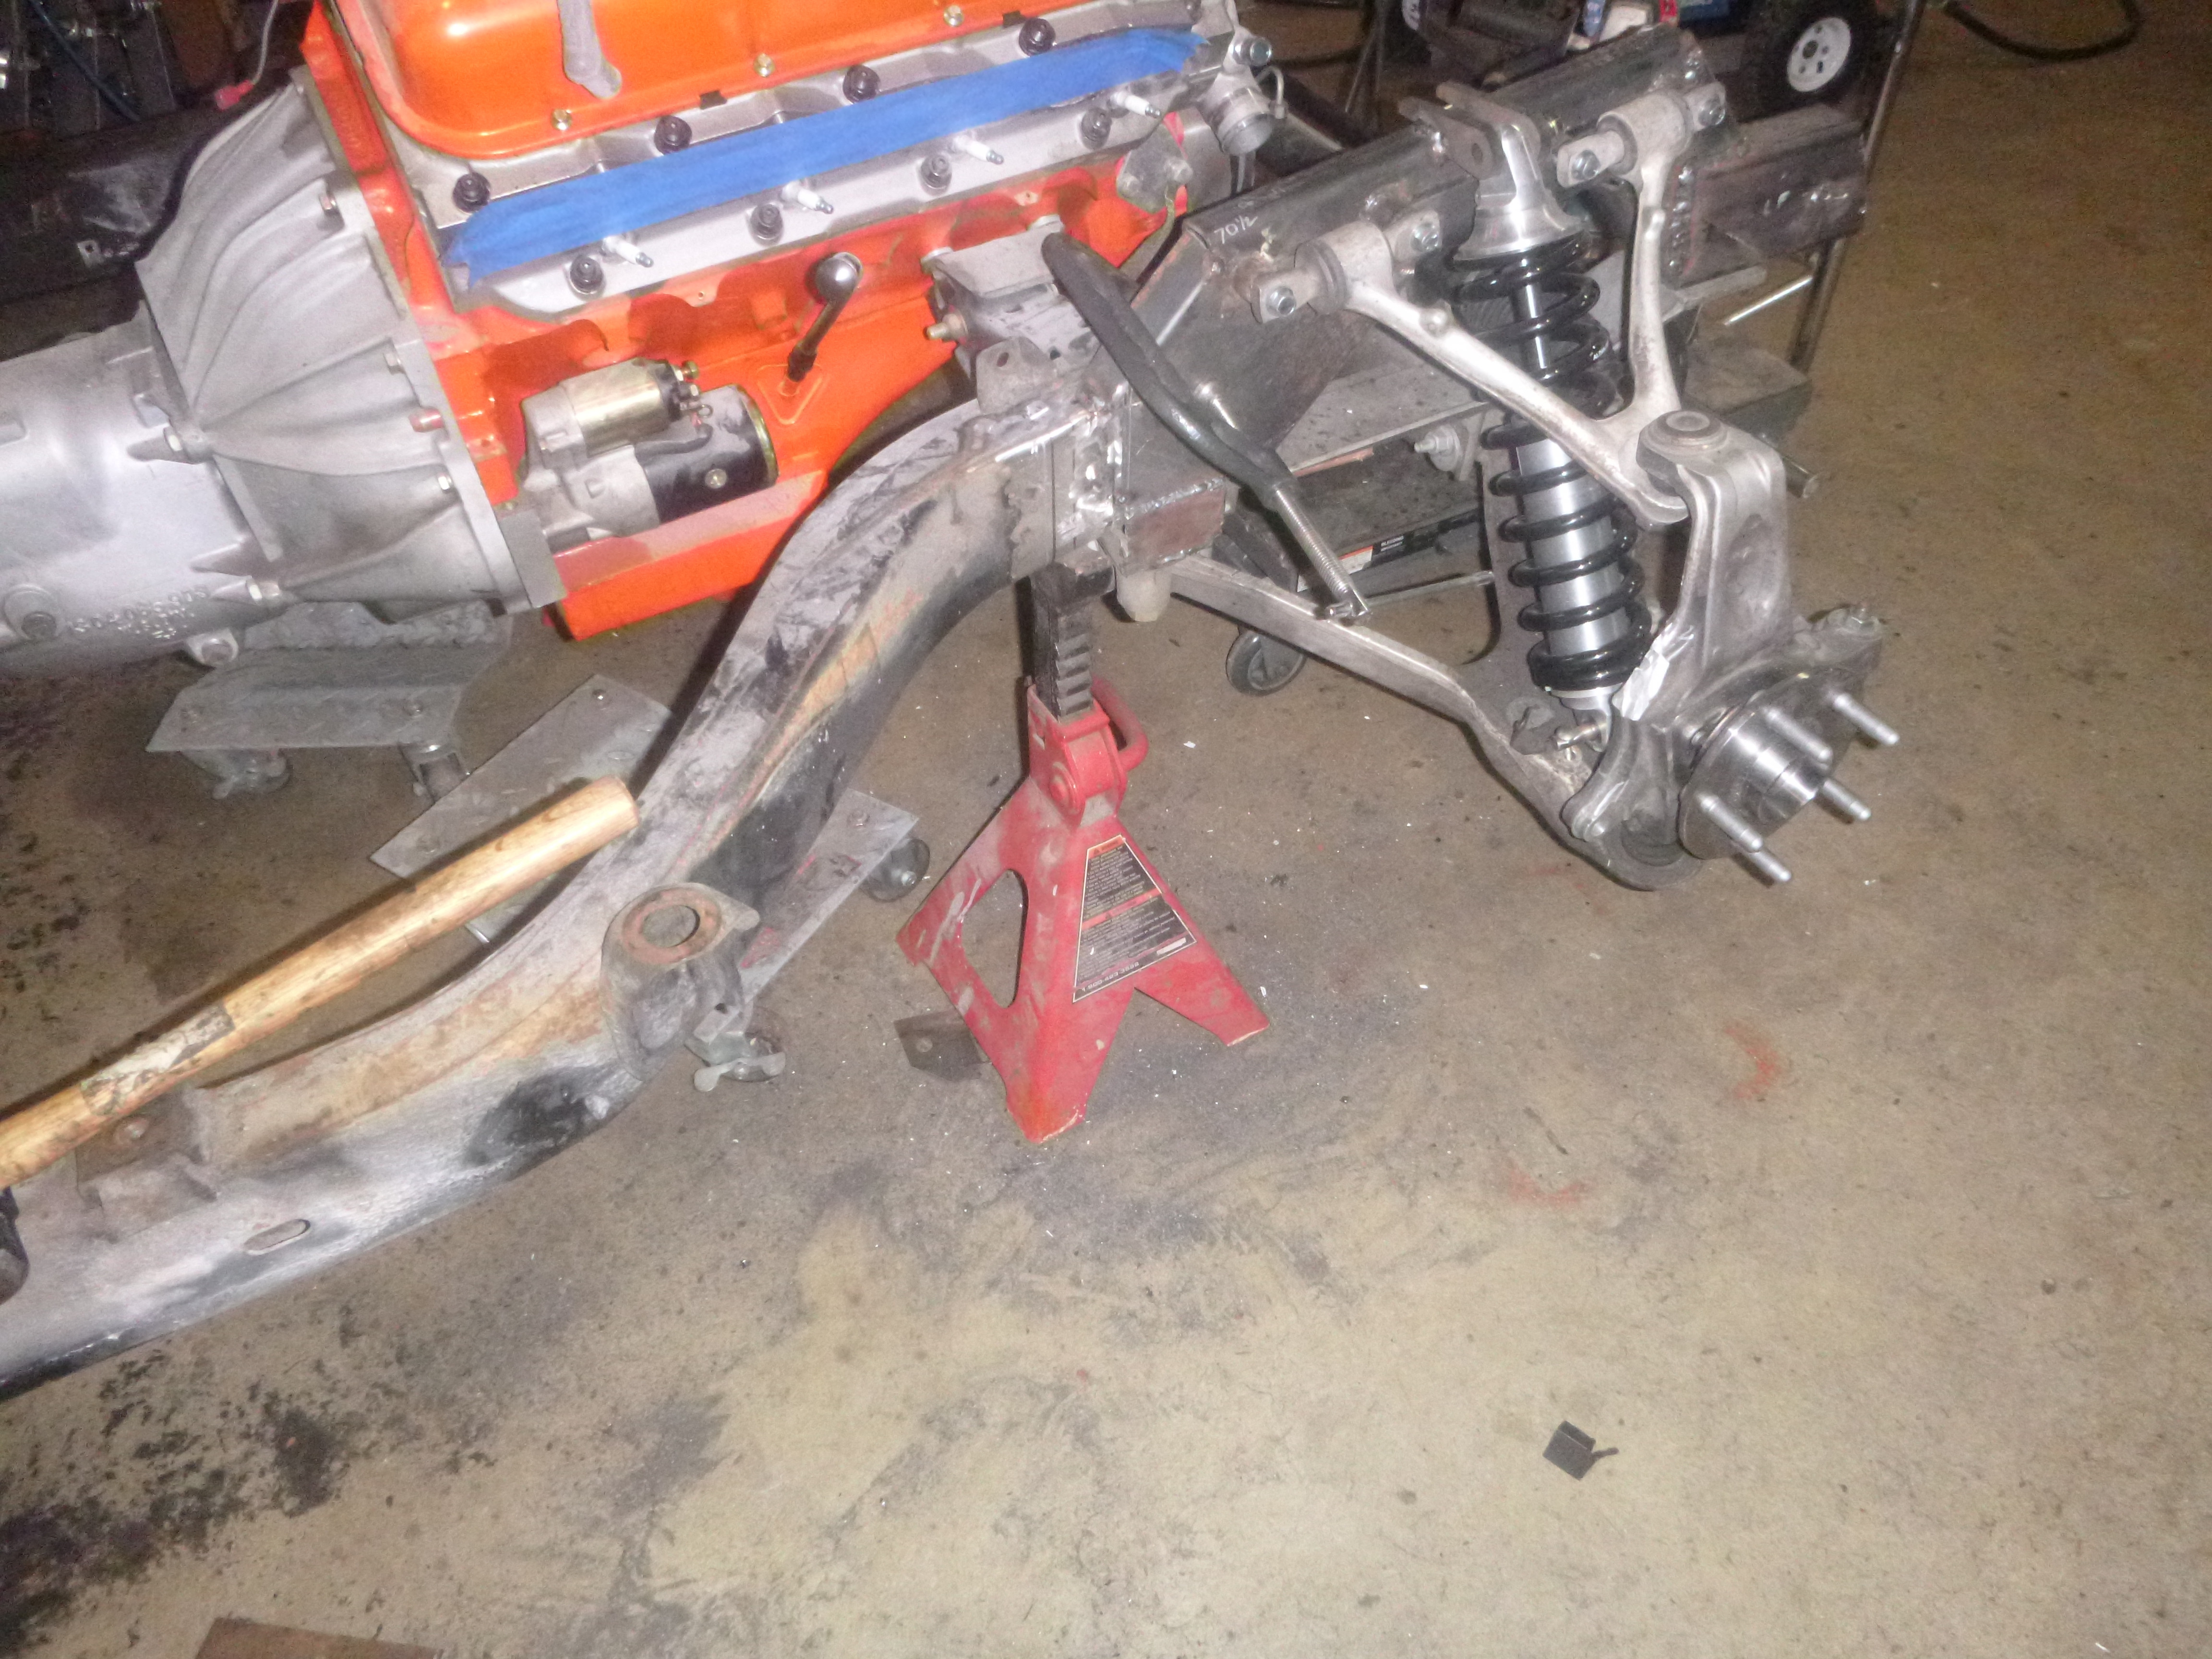
move the front suspension back 3/4" or move the flare....
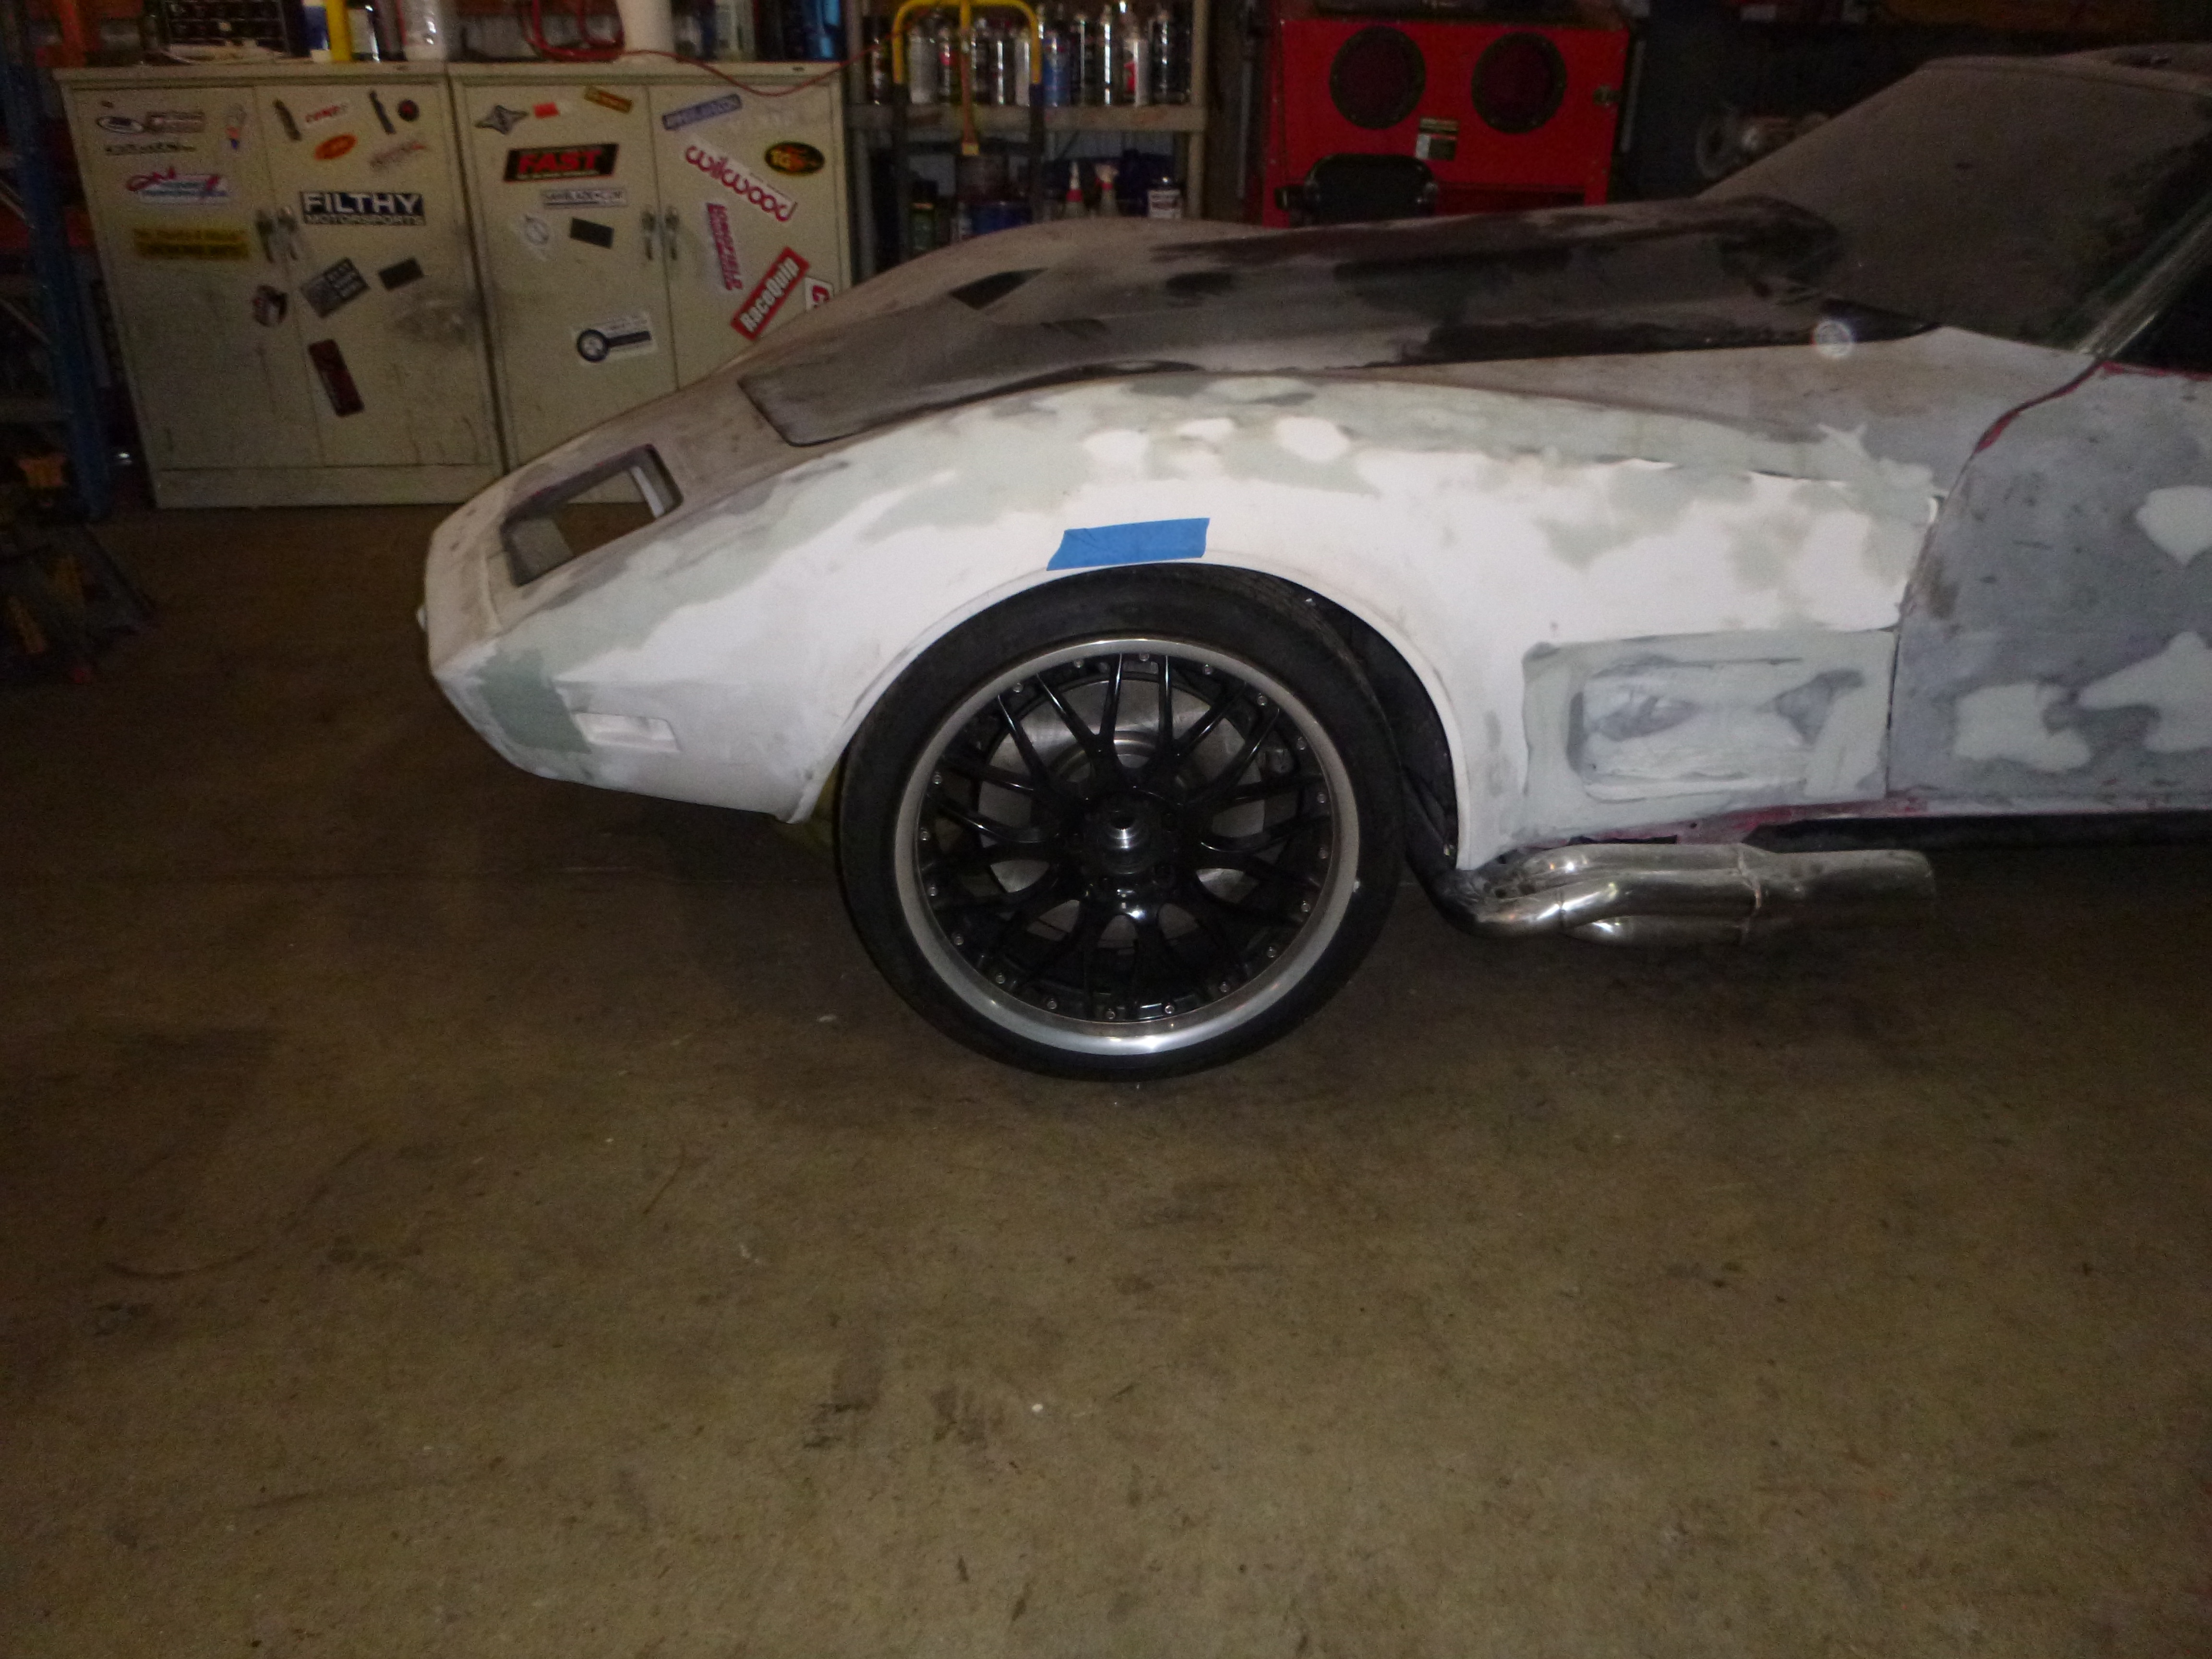
I'm really leaning towards moving the flare and then giving it more flare along with a slightly different shape.... cut right there between the rear of the wheel and the gills.
I'm really leaning towards moving the flare and then giving it more flare along with a slightly different shape.... cut right there between the rear of the wheel and the gills.
The following users liked this post:
Metalhead140 (01-09-2019)
01-10-2019, 09:55 AM
#227
Melting Slicks
not what I found, in my world the manifold bolts to the head so how the hell you adjust that with washers I would like to know, please explain. Then the sidepipes fit to the collector tube at the other end of the manifold and run down the side of the chassis/ rocker panel. Your washers are for mounting the insulation rubbers, the location of the collector is a function of the manifold geometry and on two separate manifolds it was of.
01-11-2019, 12:37 AM
#228
Melting Slicks
and this is exactly why I don't participate anywhere else on Corvette Forum... everything is an argument - even how I did something months ago. But as we have a good example - let's be clear, I post what I do.... you have a question about what I'm doing, ask. That said, my life is too short to even consider feeding trolls.
Last edited by SuperBuickGuy; 01-11-2019 at 12:44 AM.
The following 2 users liked this post by SuperBuickGuy:
73sbvert (01-14-2021),
Metalhead140 (01-11-2019)
01-11-2019, 12:43 AM
#229
Melting Slicks
time to remove the body bolts
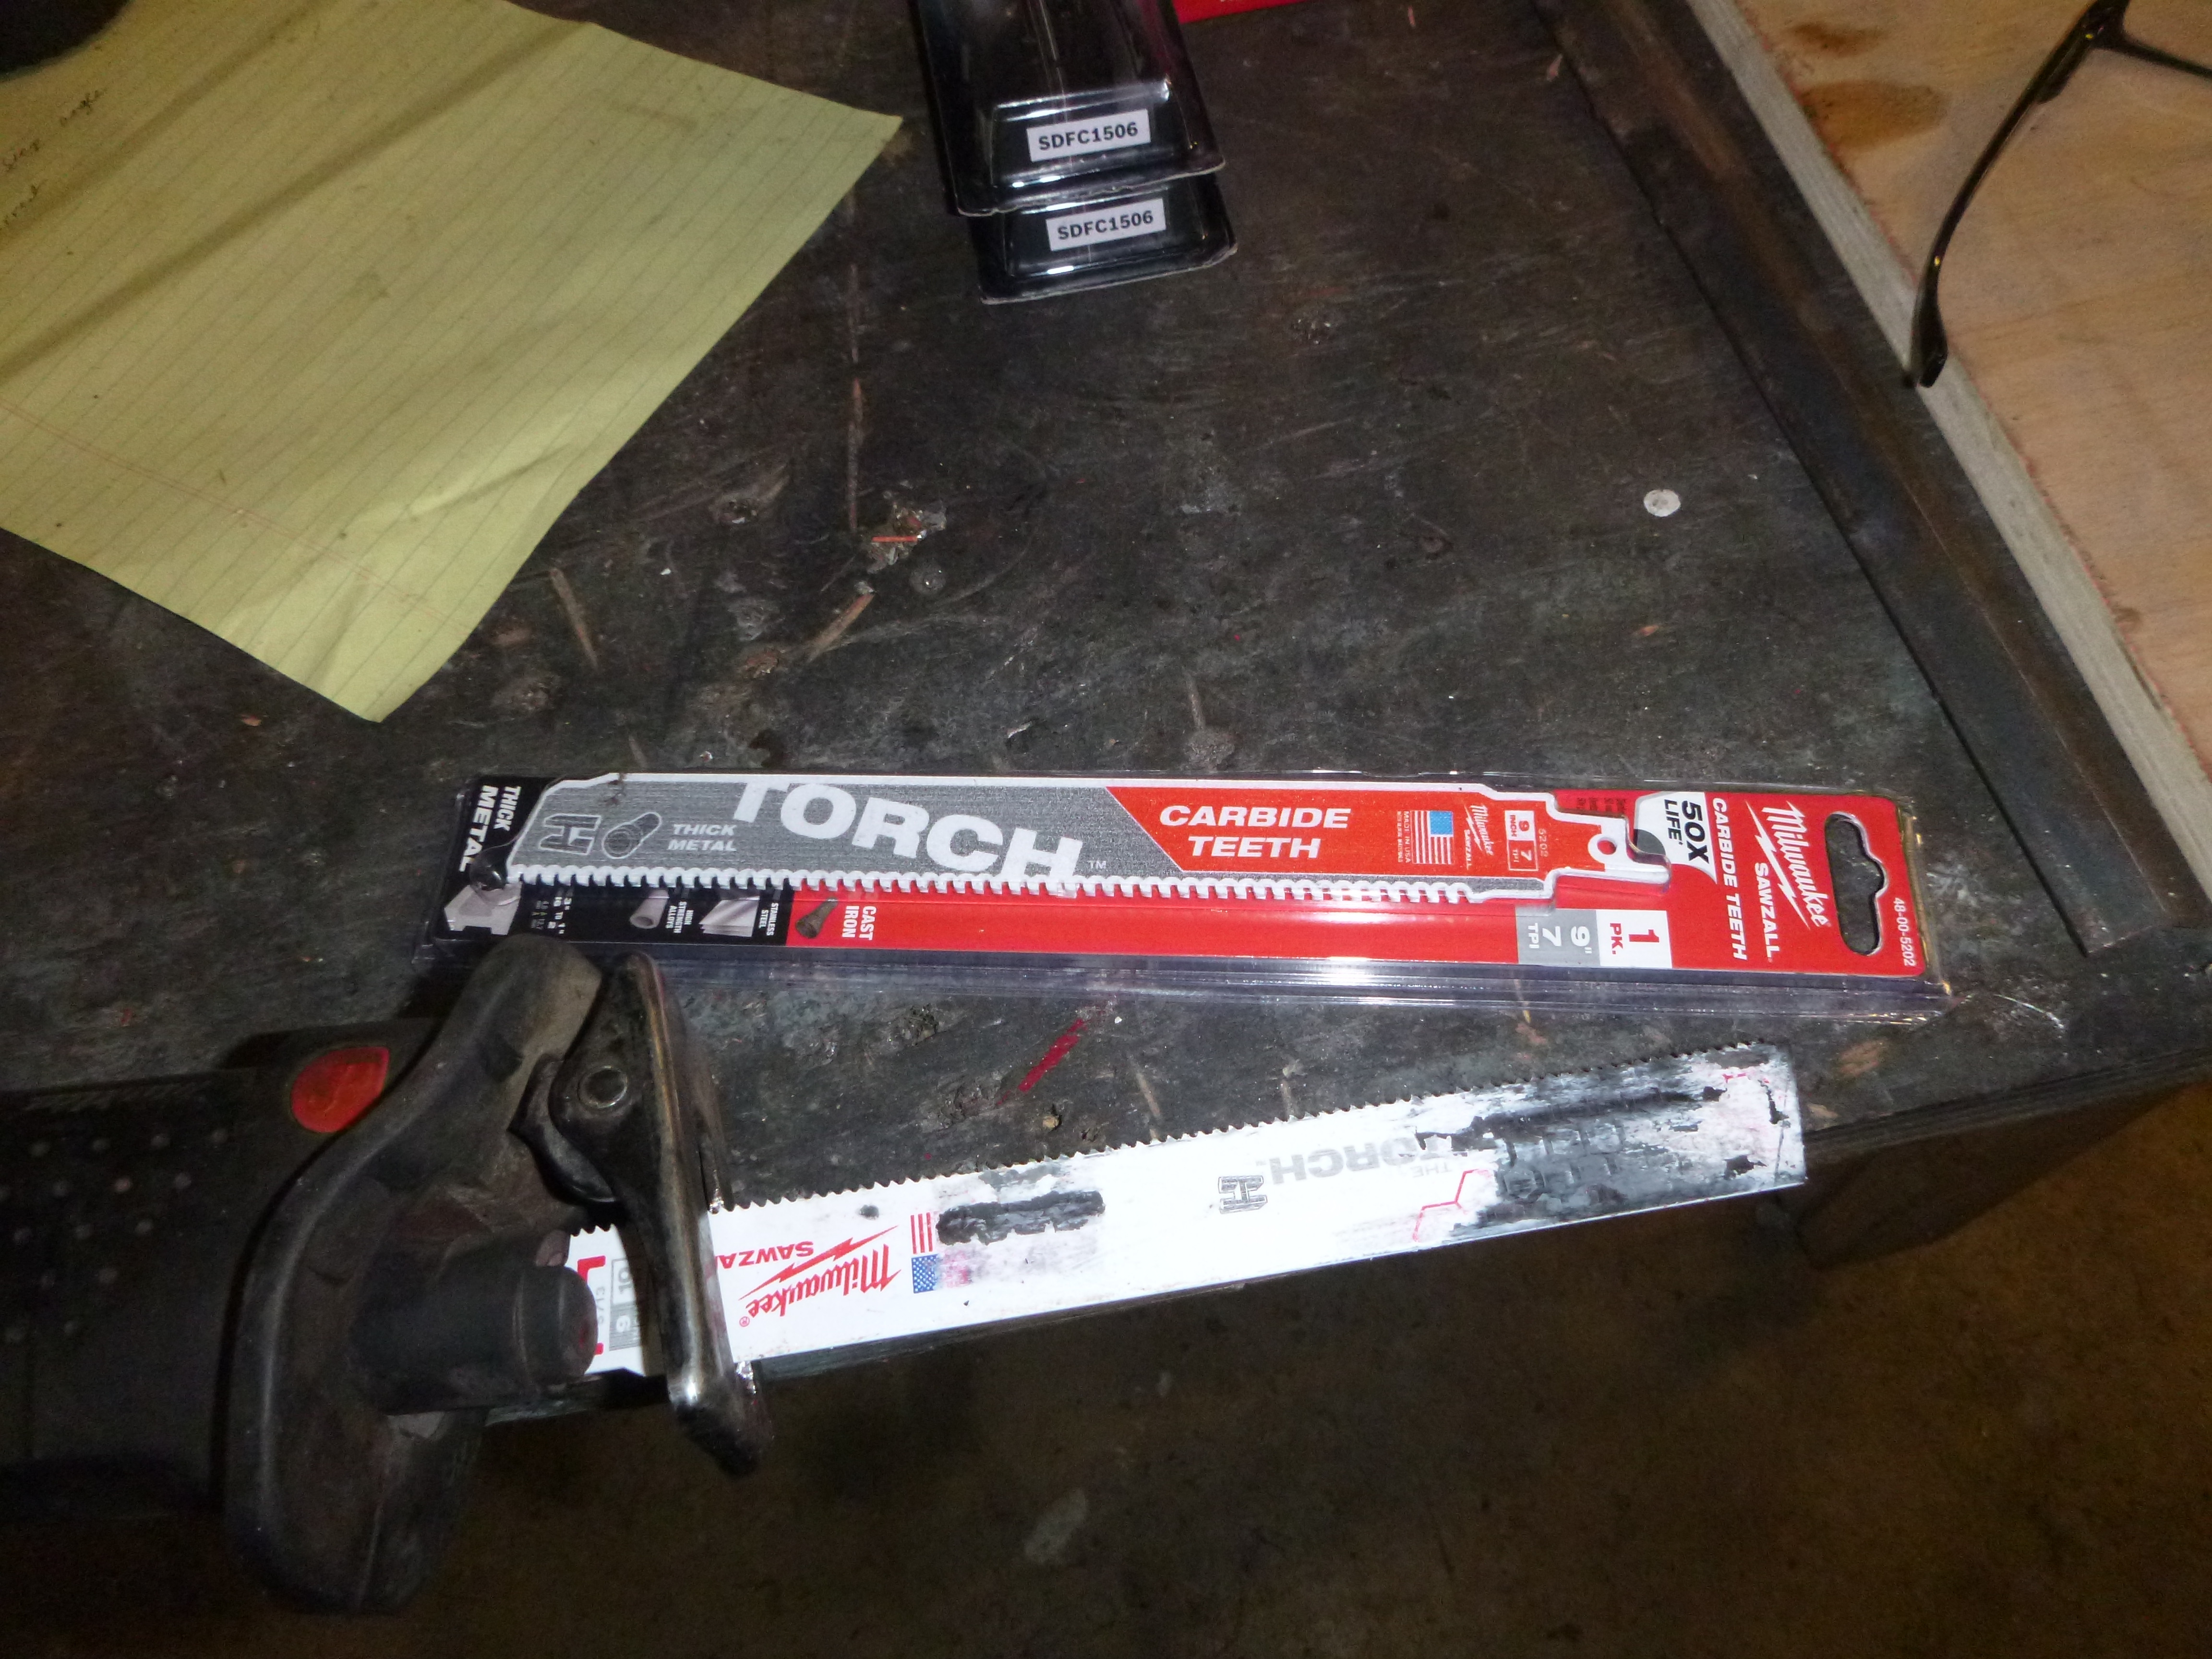
mmmm... good sawblades
a good example.... the first two came out just fine (motor end), second took a bit of lube....
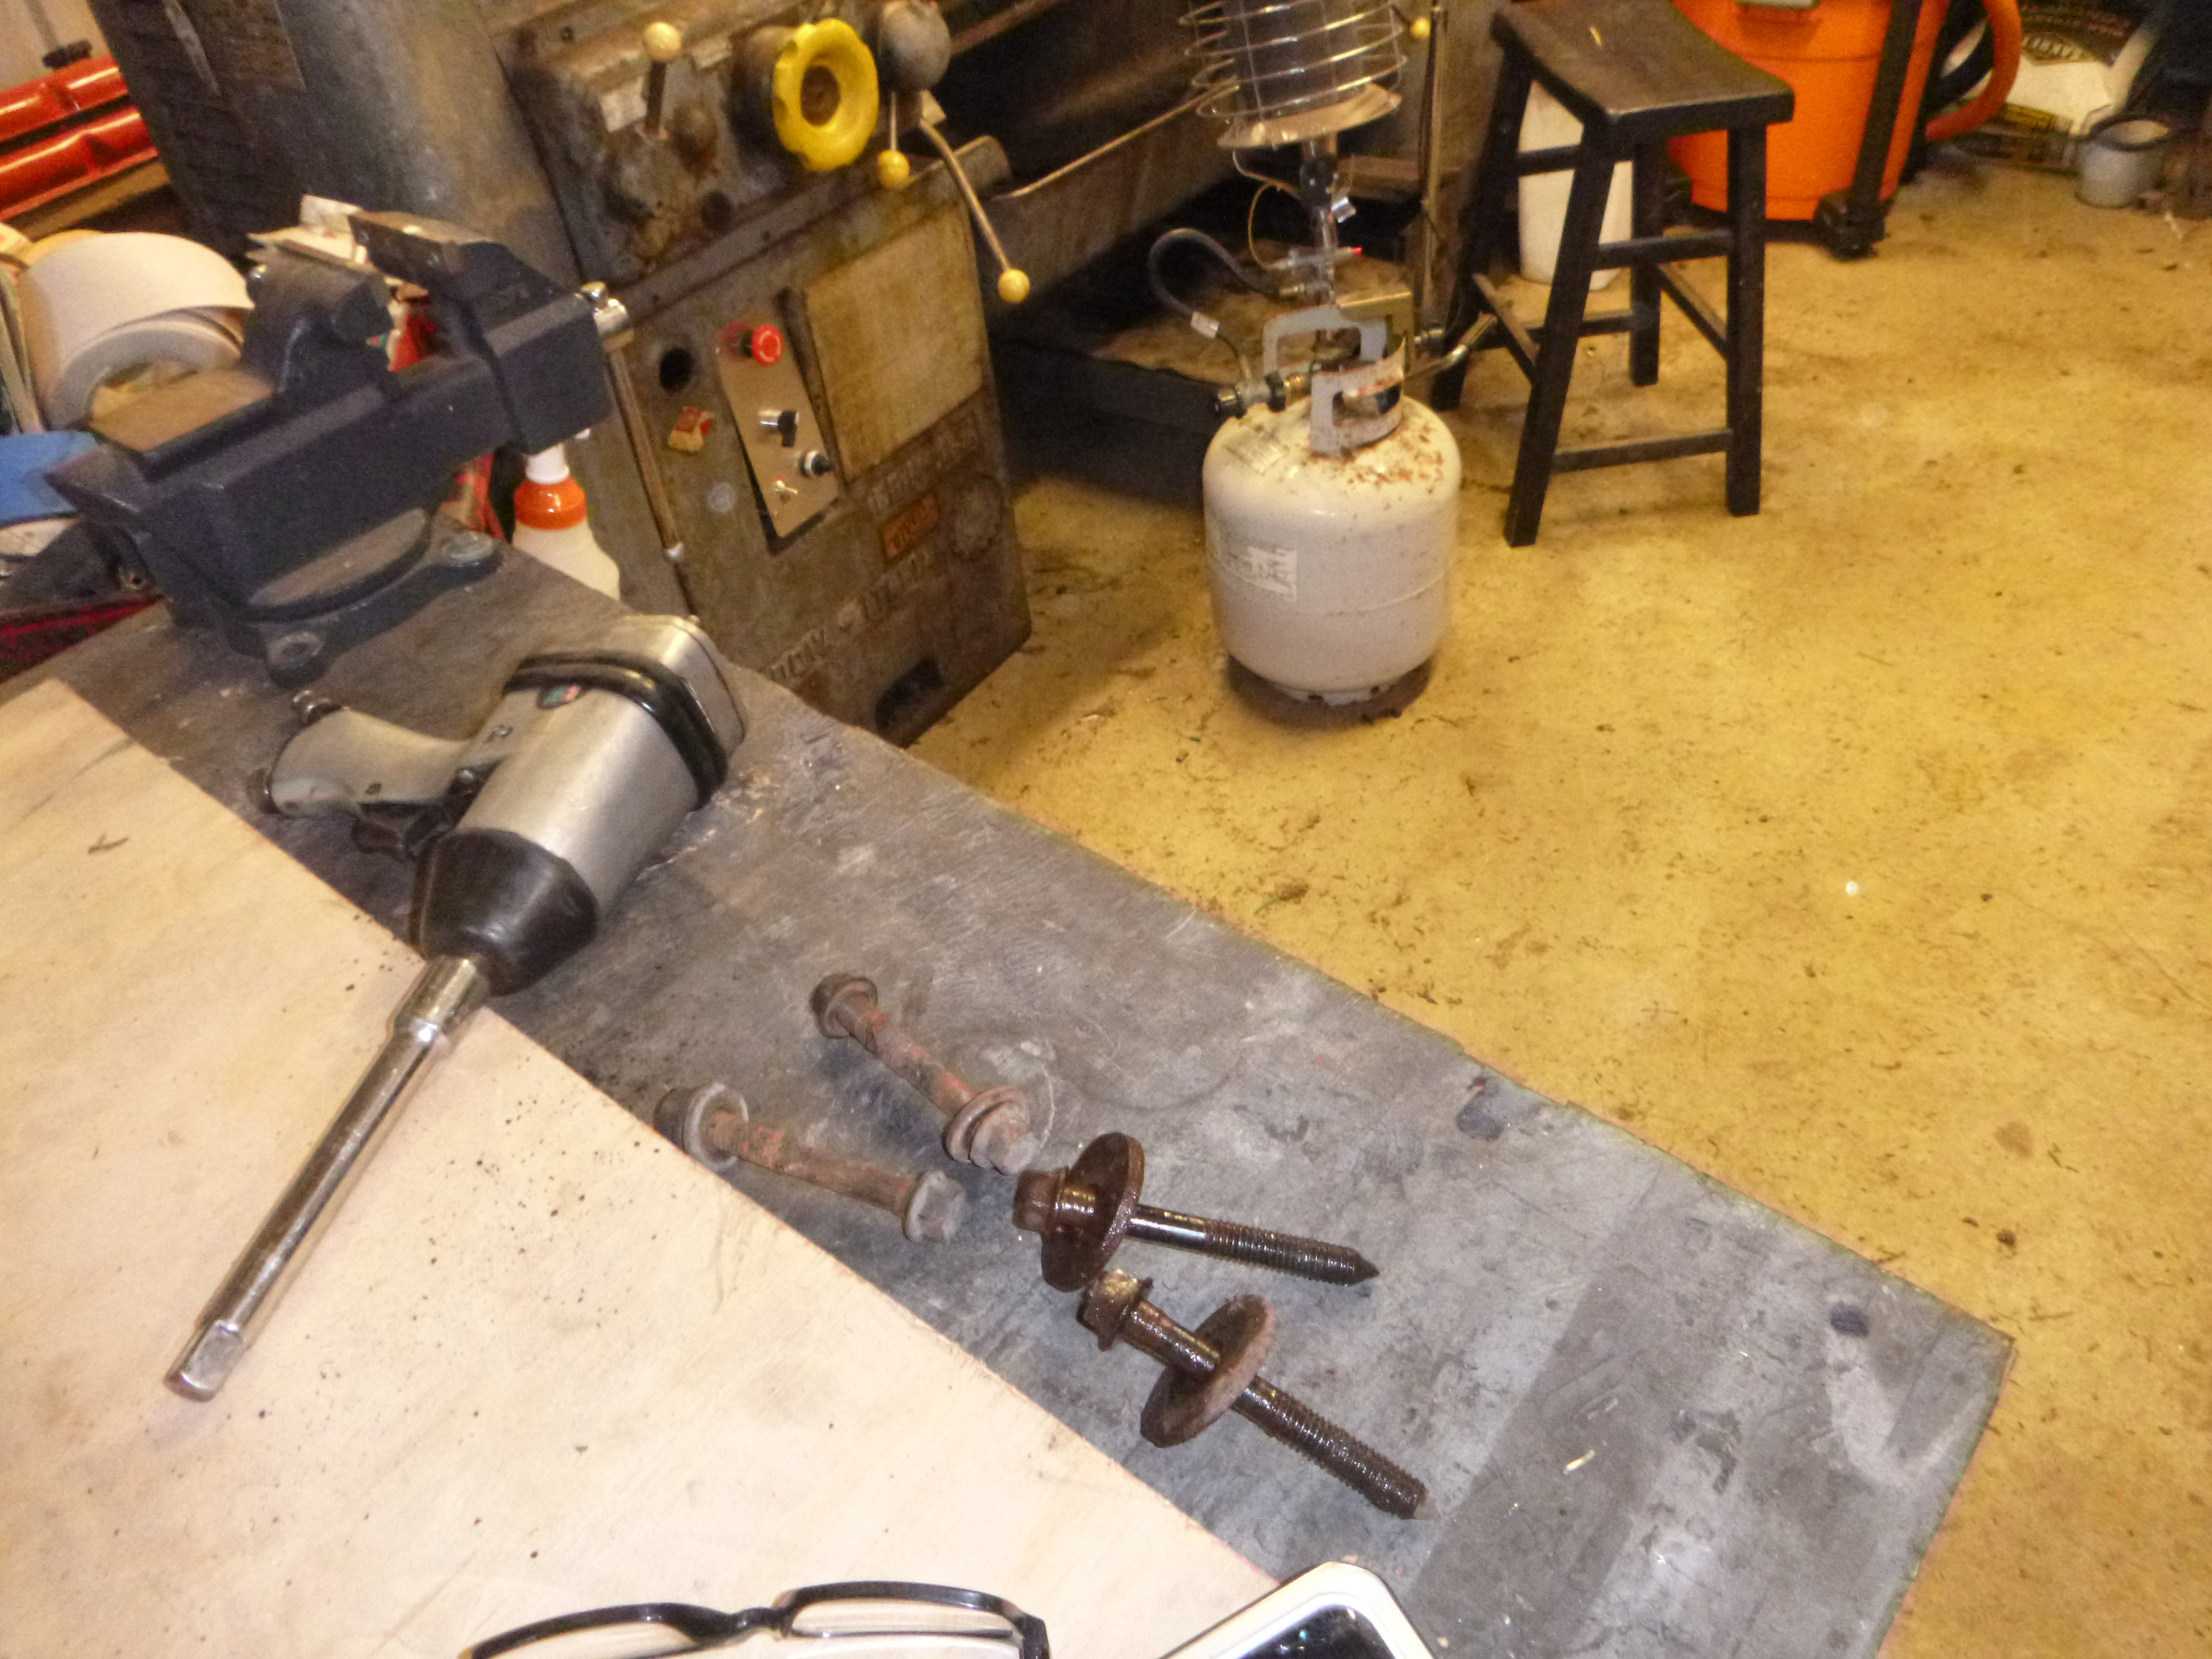
the last, a neanderthal
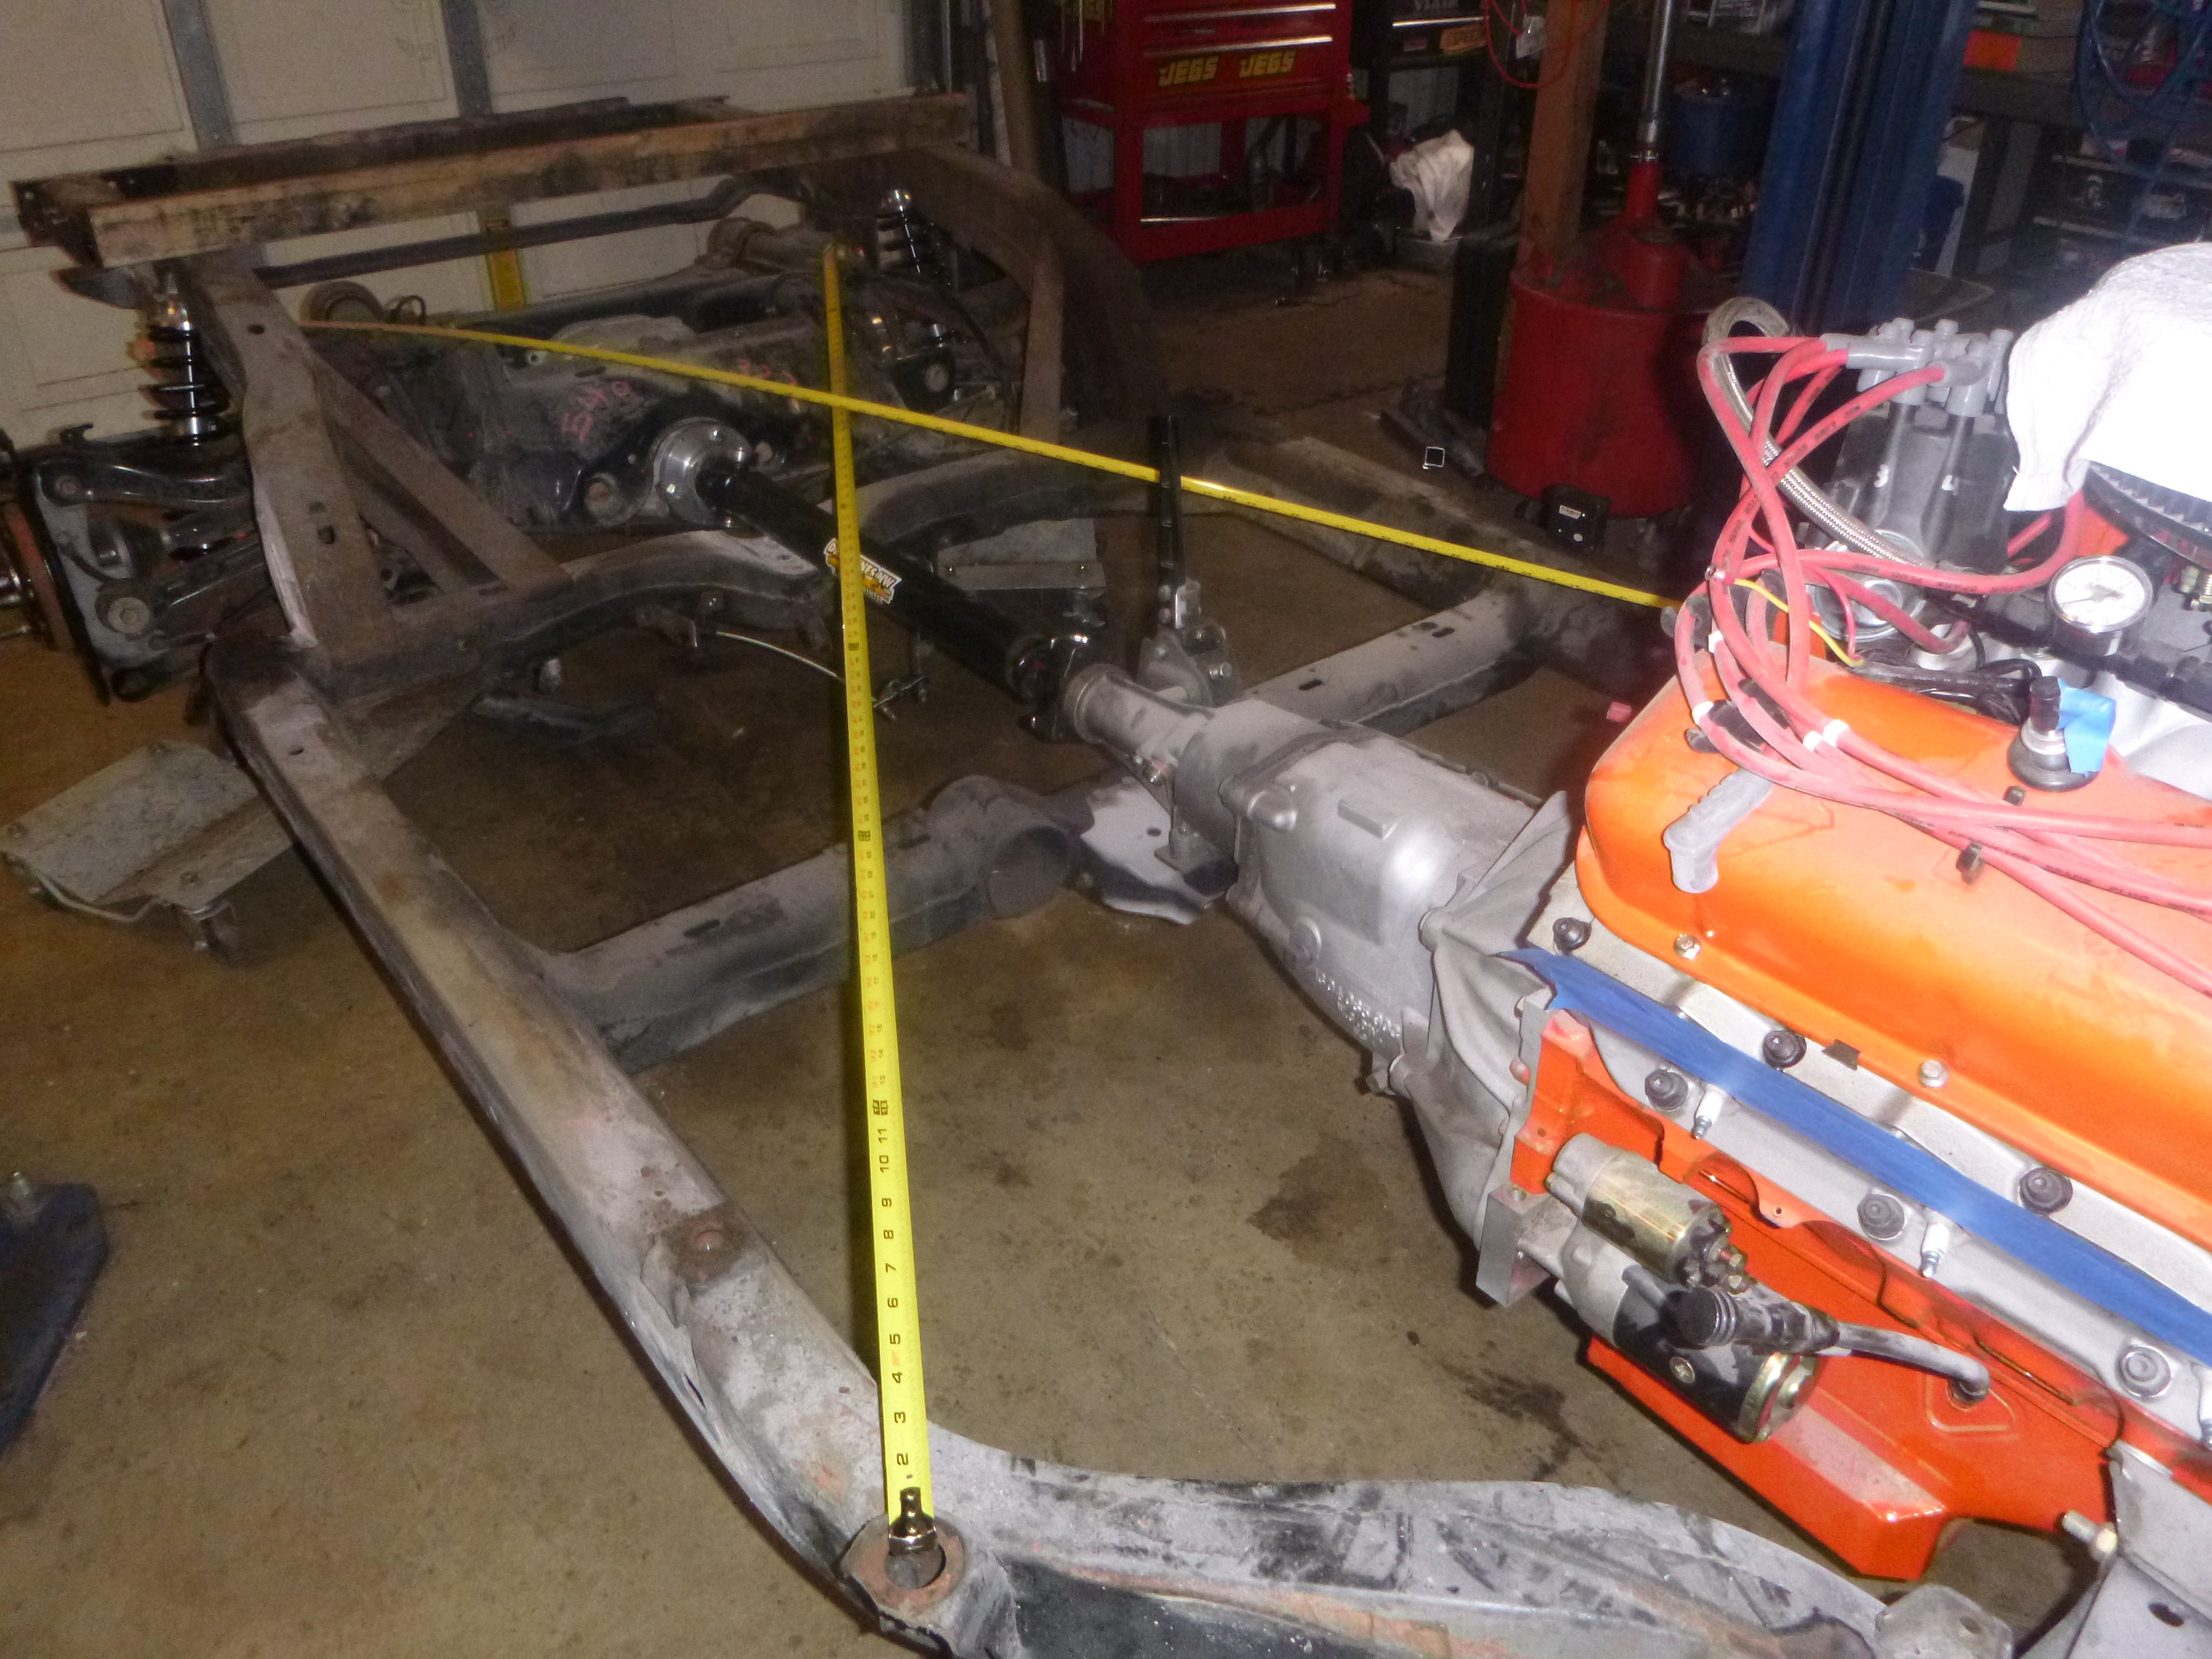
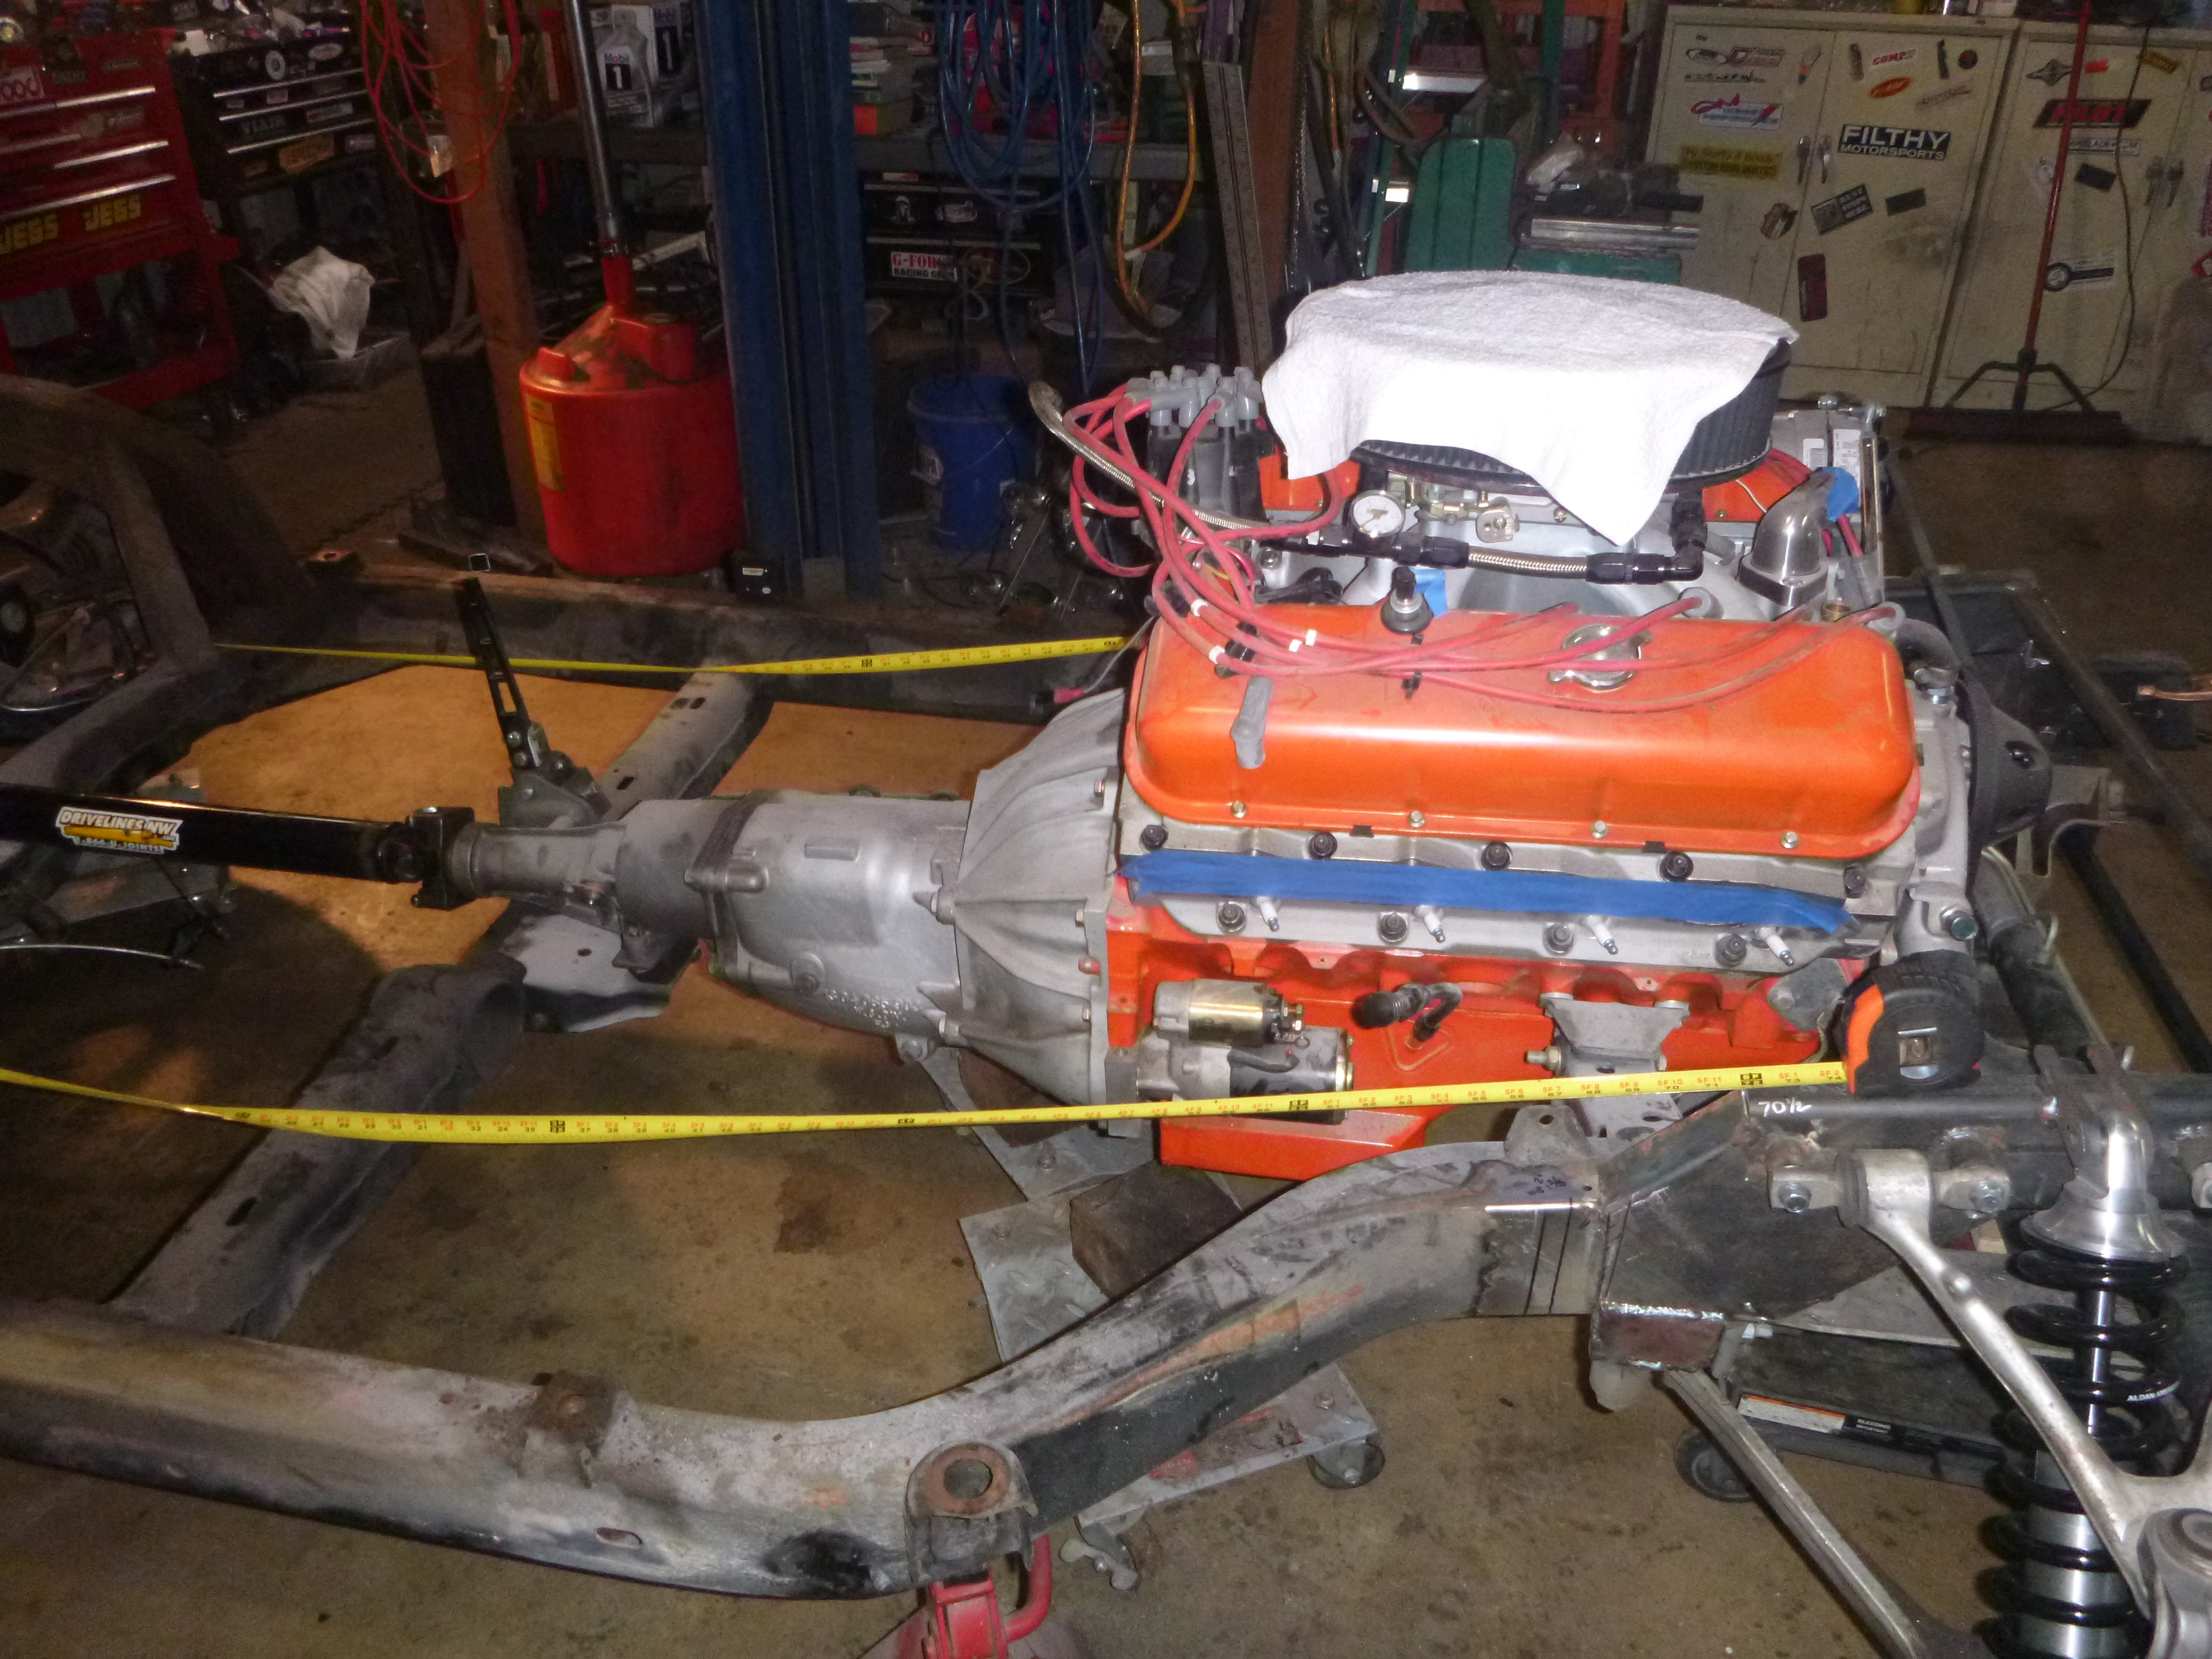
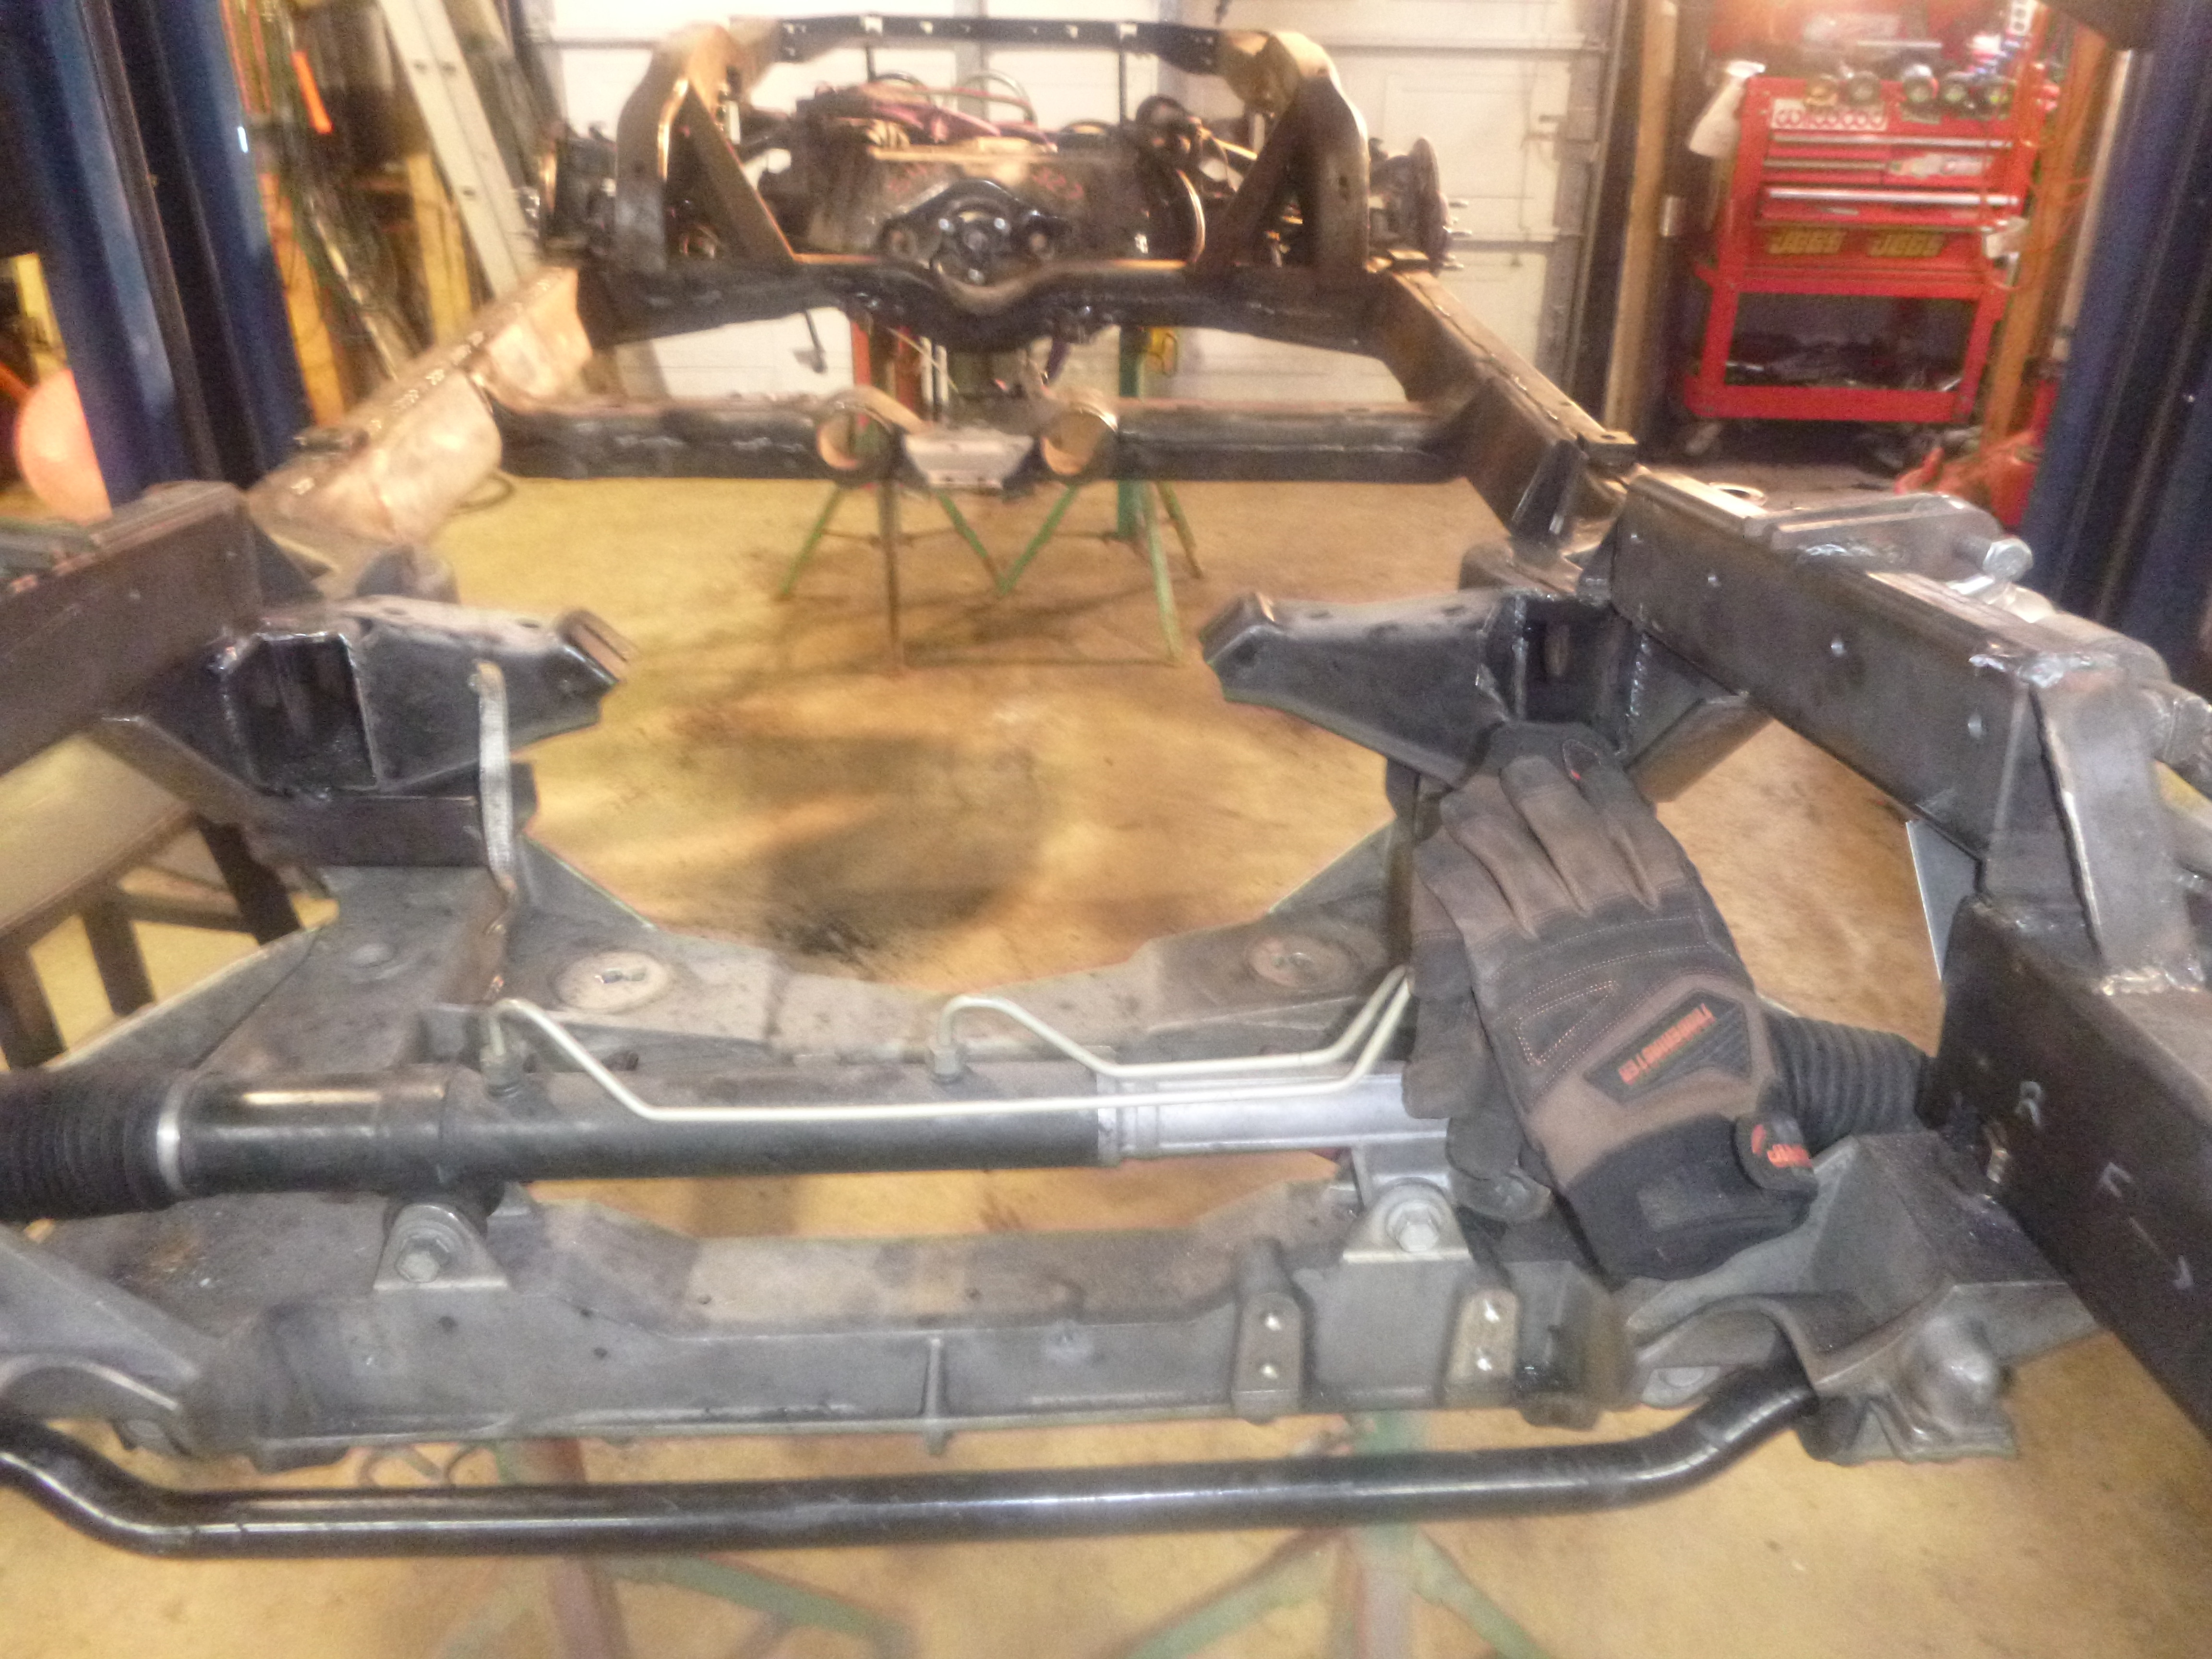
this is more for me - but I'm moving everything back 3/4" so knowing where the steering was will be useful when I build new motor mounts
mmmm... good sawblades
a good example.... the first two came out just fine (motor end), second took a bit of lube....
the last, a neanderthal
this is more for me - but I'm moving everything back 3/4" so knowing where the steering was will be useful when I build new motor mounts
The following 2 users liked this post by SuperBuickGuy:
gtmsomeday (01-11-2019),
Metalhead140 (01-11-2019)
01-11-2019, 12:53 AM
#230
Melting Slicks
edit
I bought the coating for the frame.... so once it's squared, plated, shortened, made pretty... a coat of paint and it'll be good for a long, long time
I bought the coating for the frame.... so once it's squared, plated, shortened, made pretty... a coat of paint and it'll be good for a long, long time
The following 2 users liked this post by SuperBuickGuy:
gtmsomeday (01-11-2019),
Metalhead140 (01-11-2019)
01-13-2019, 12:46 AM
#231
Melting Slicks
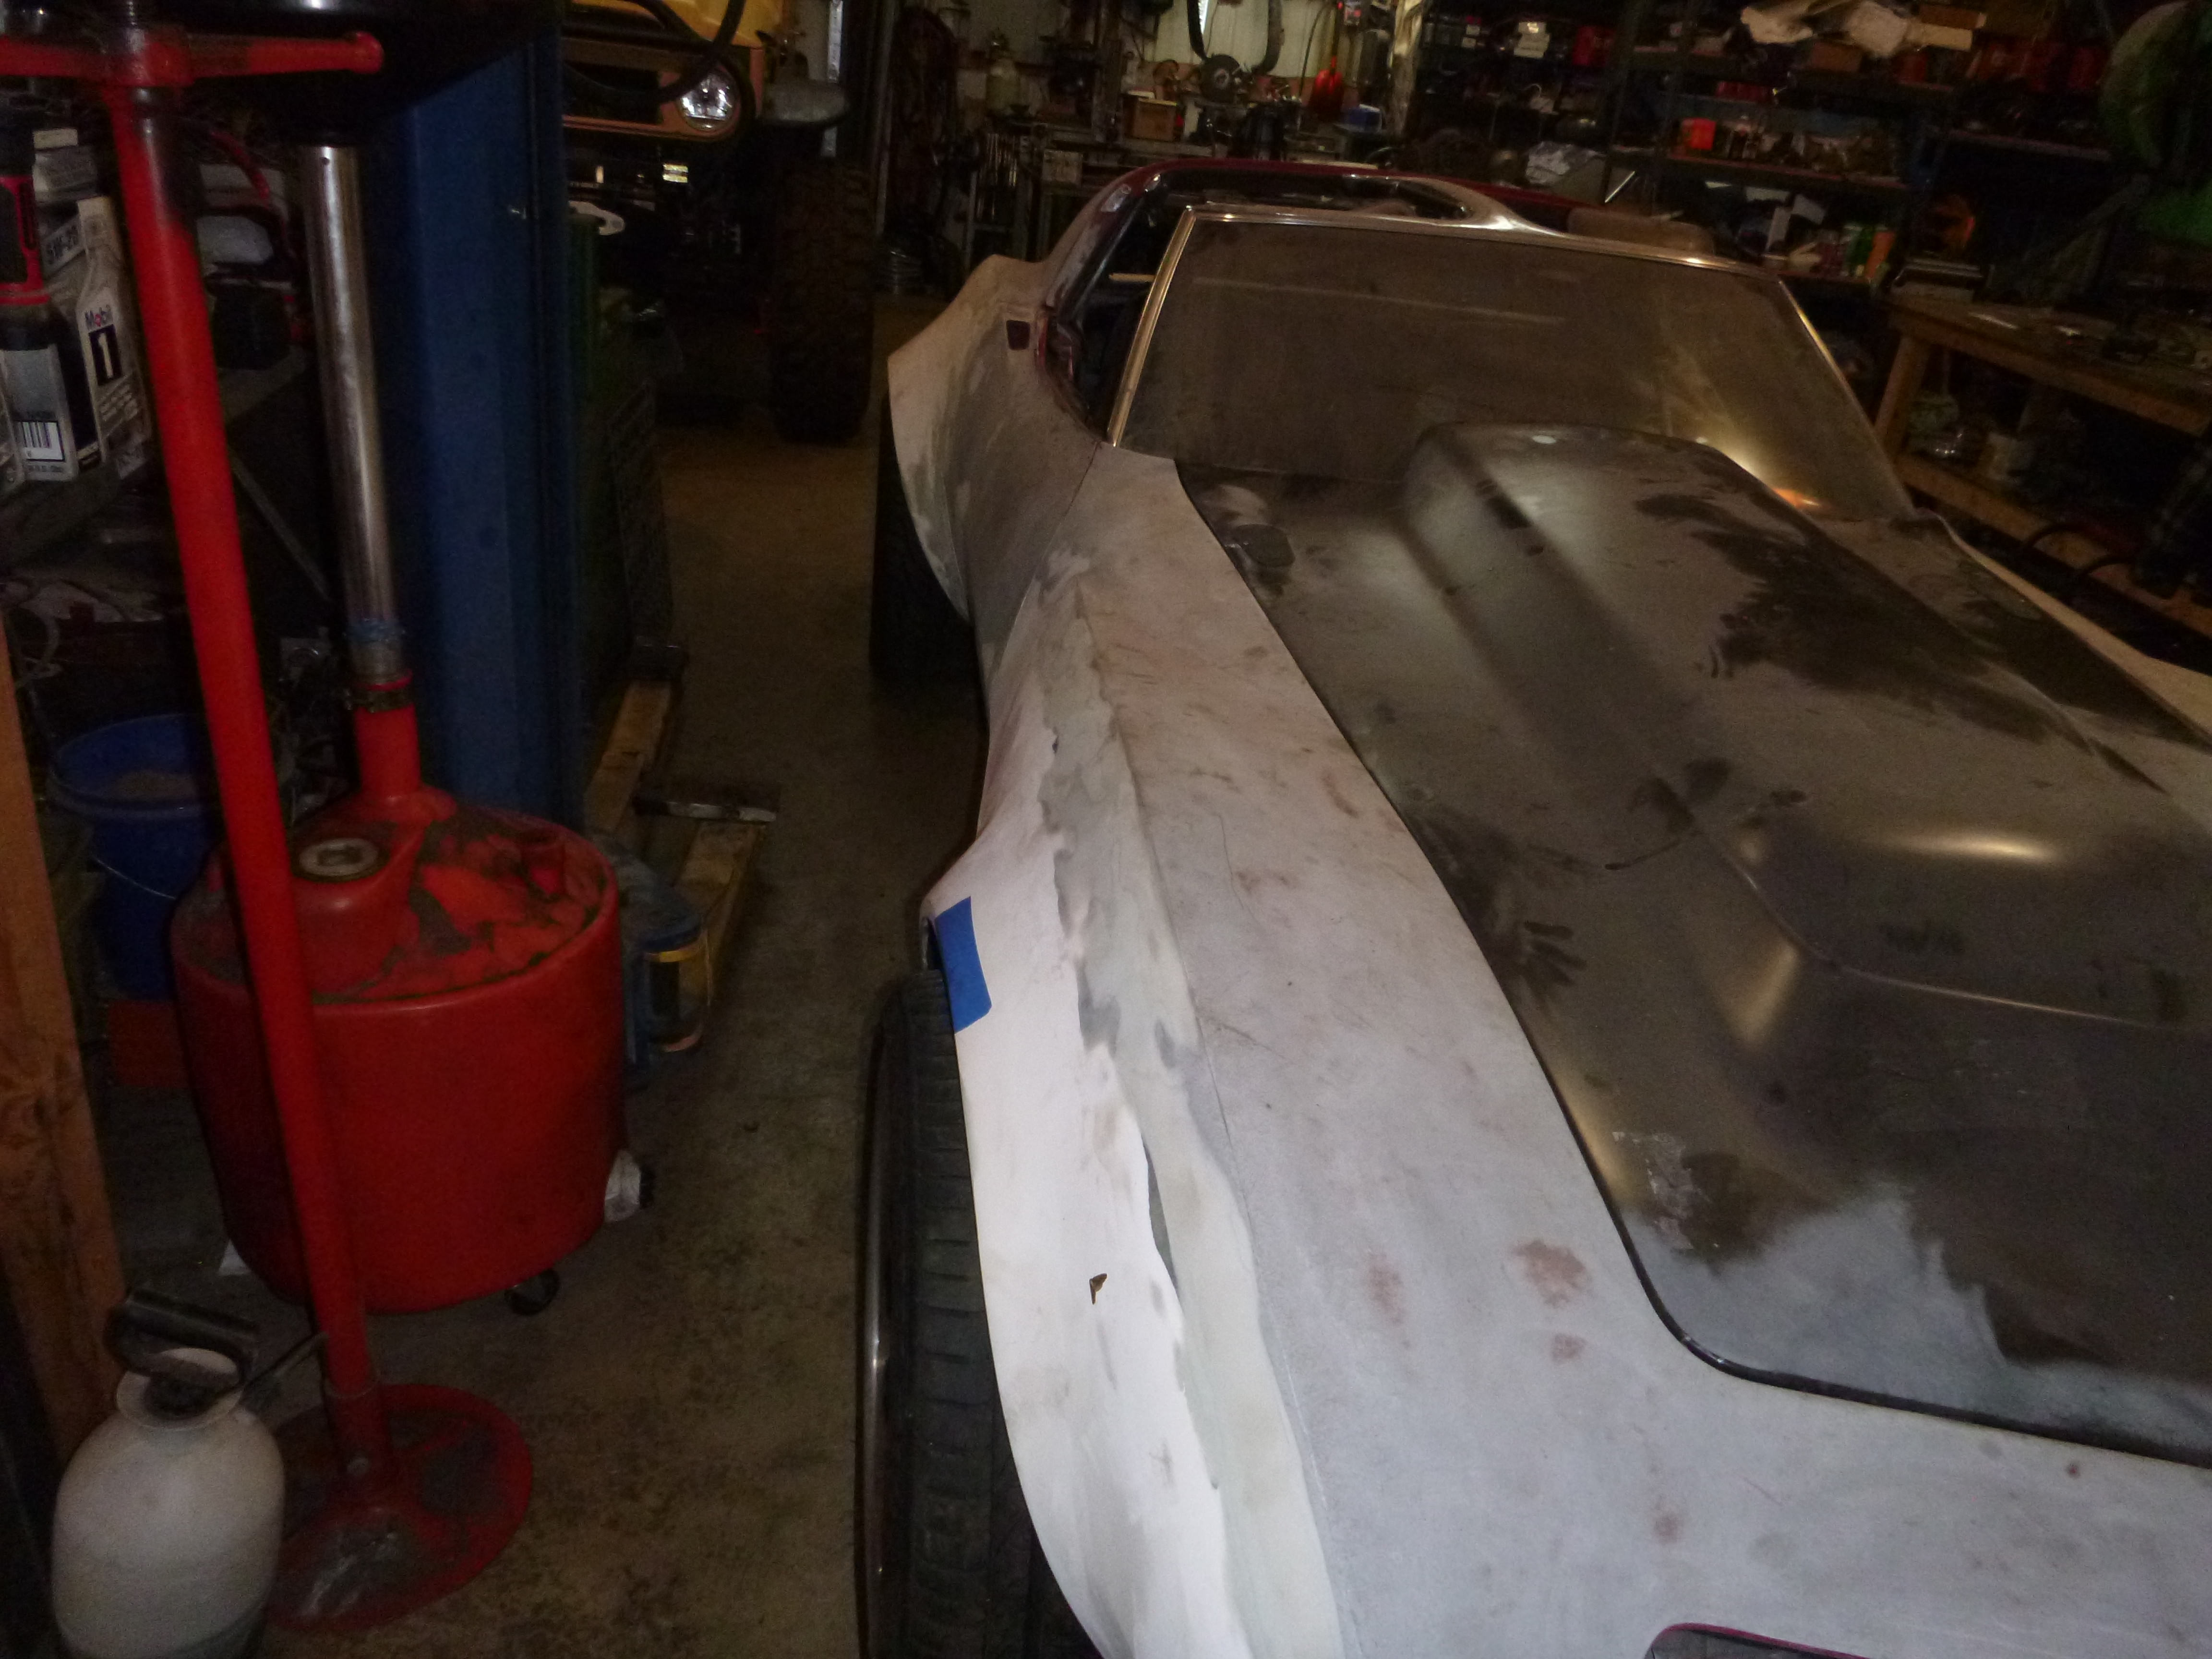
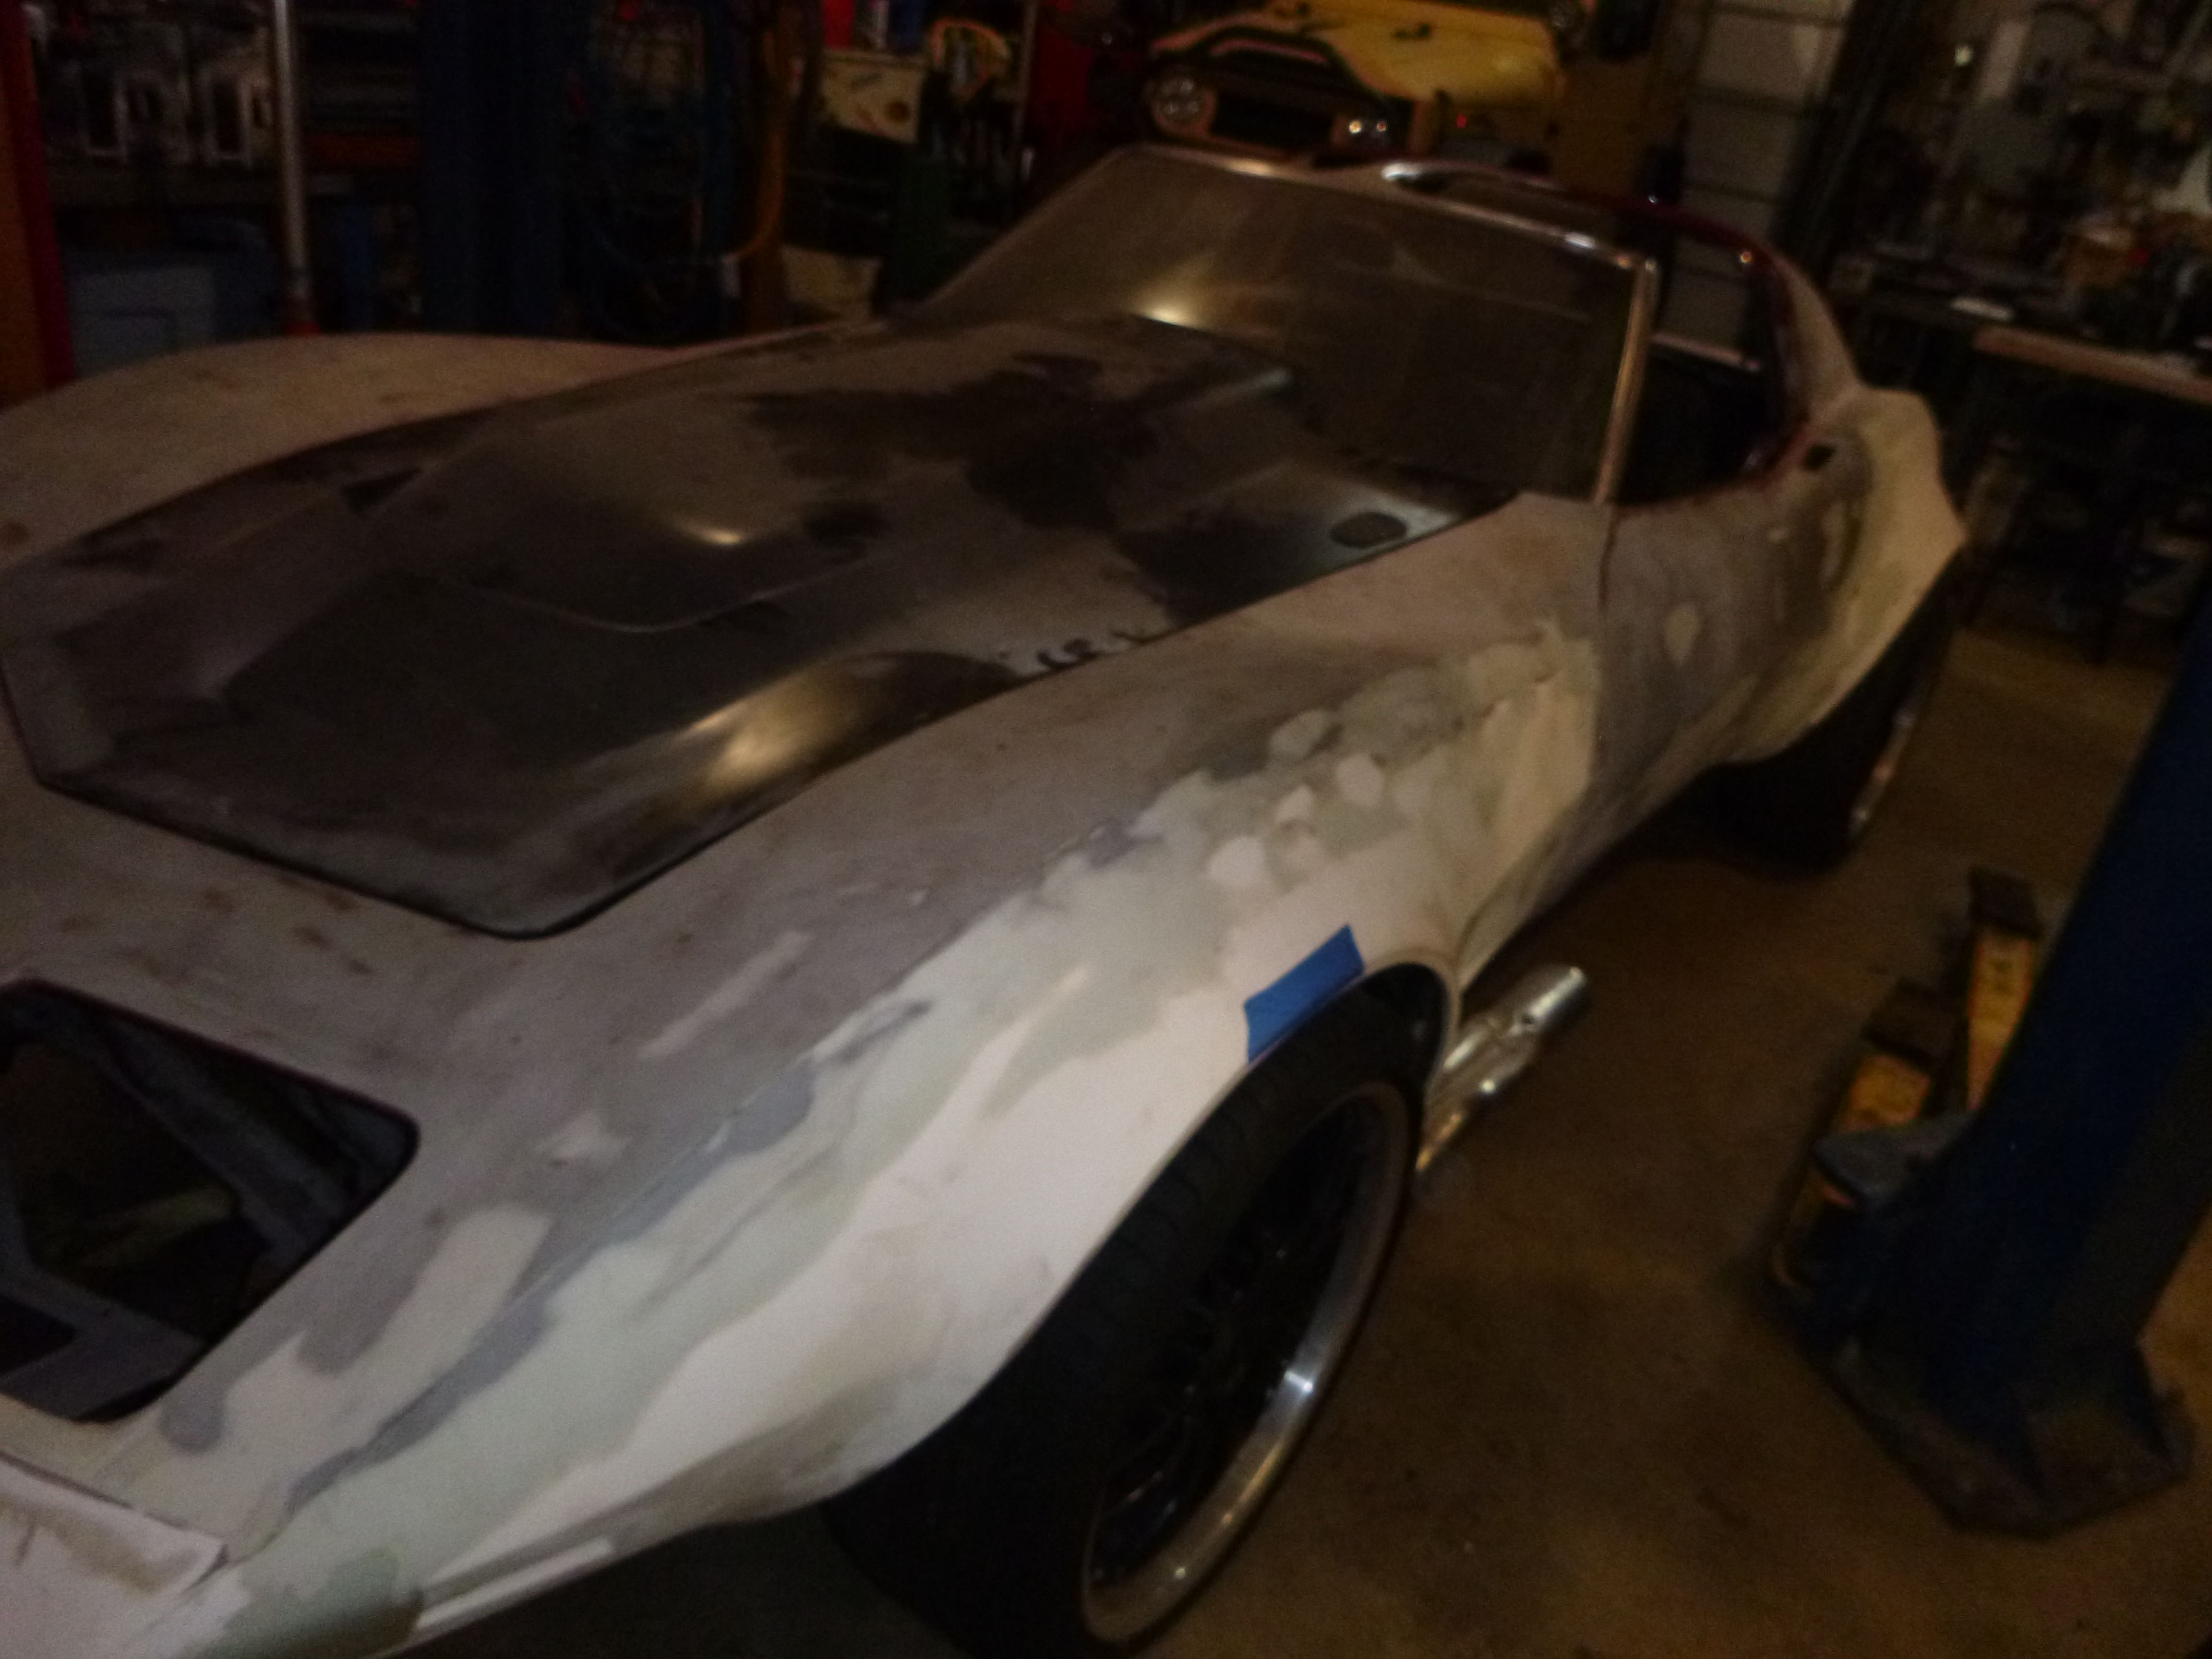
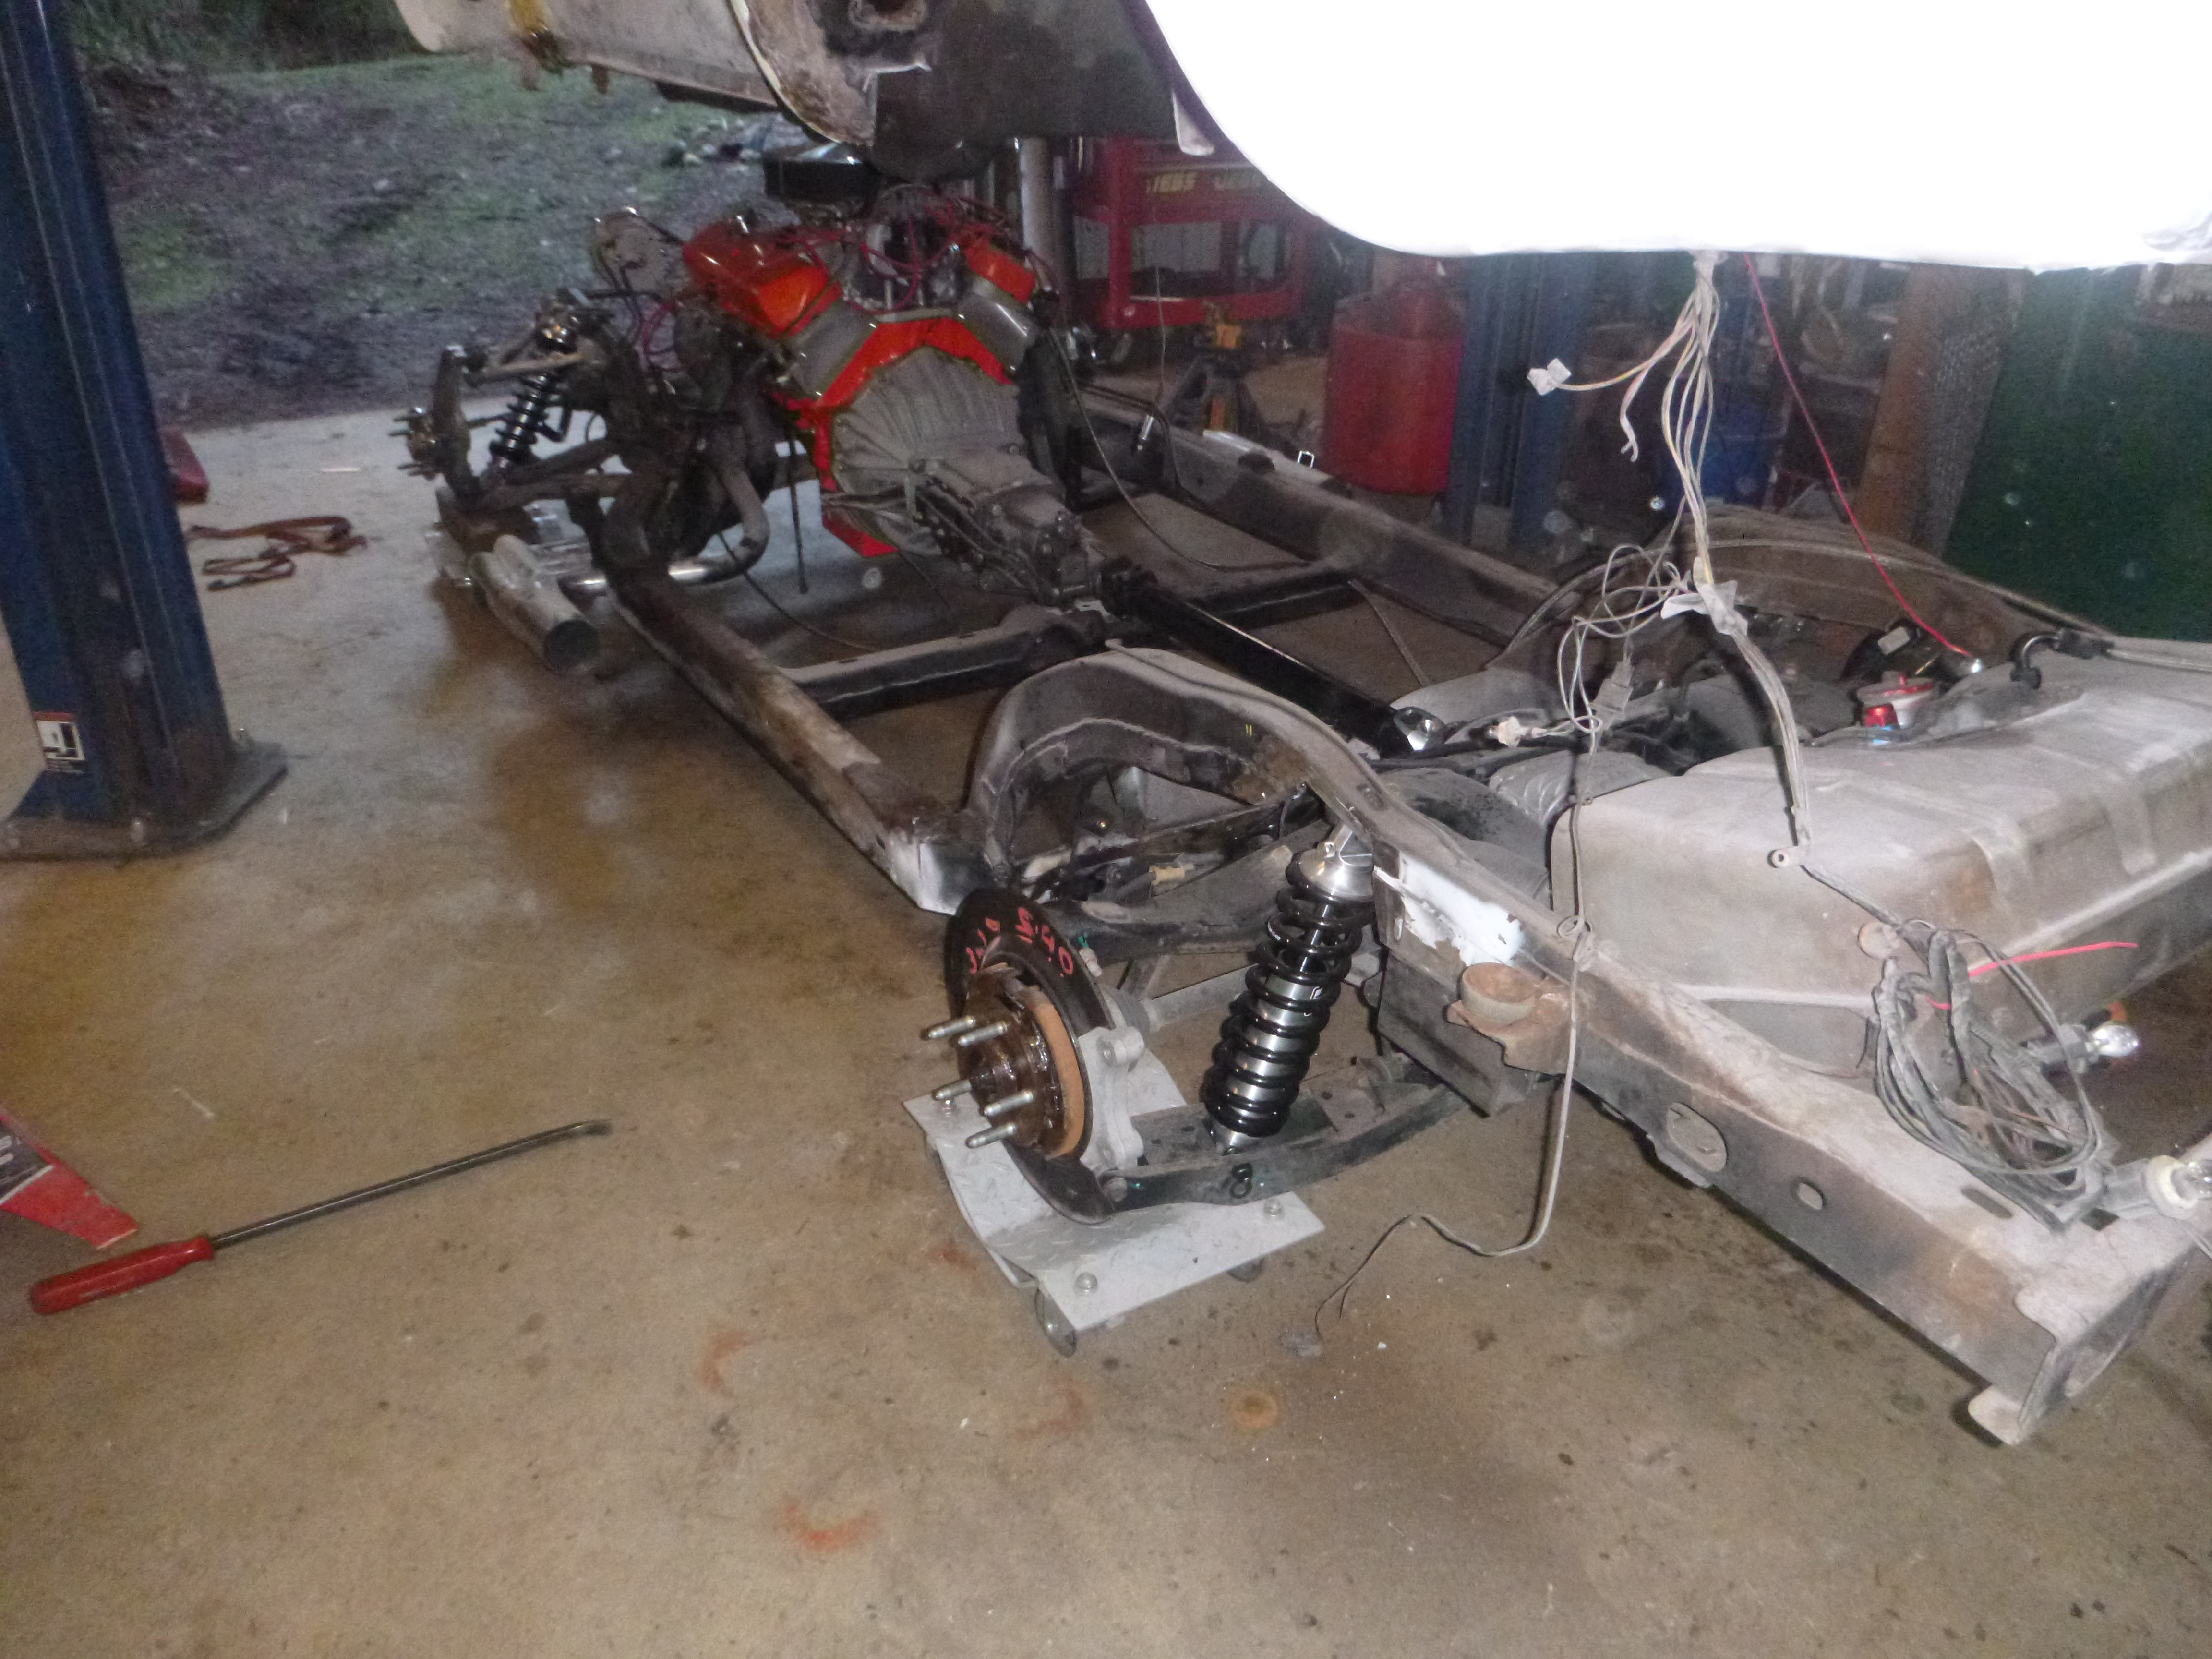
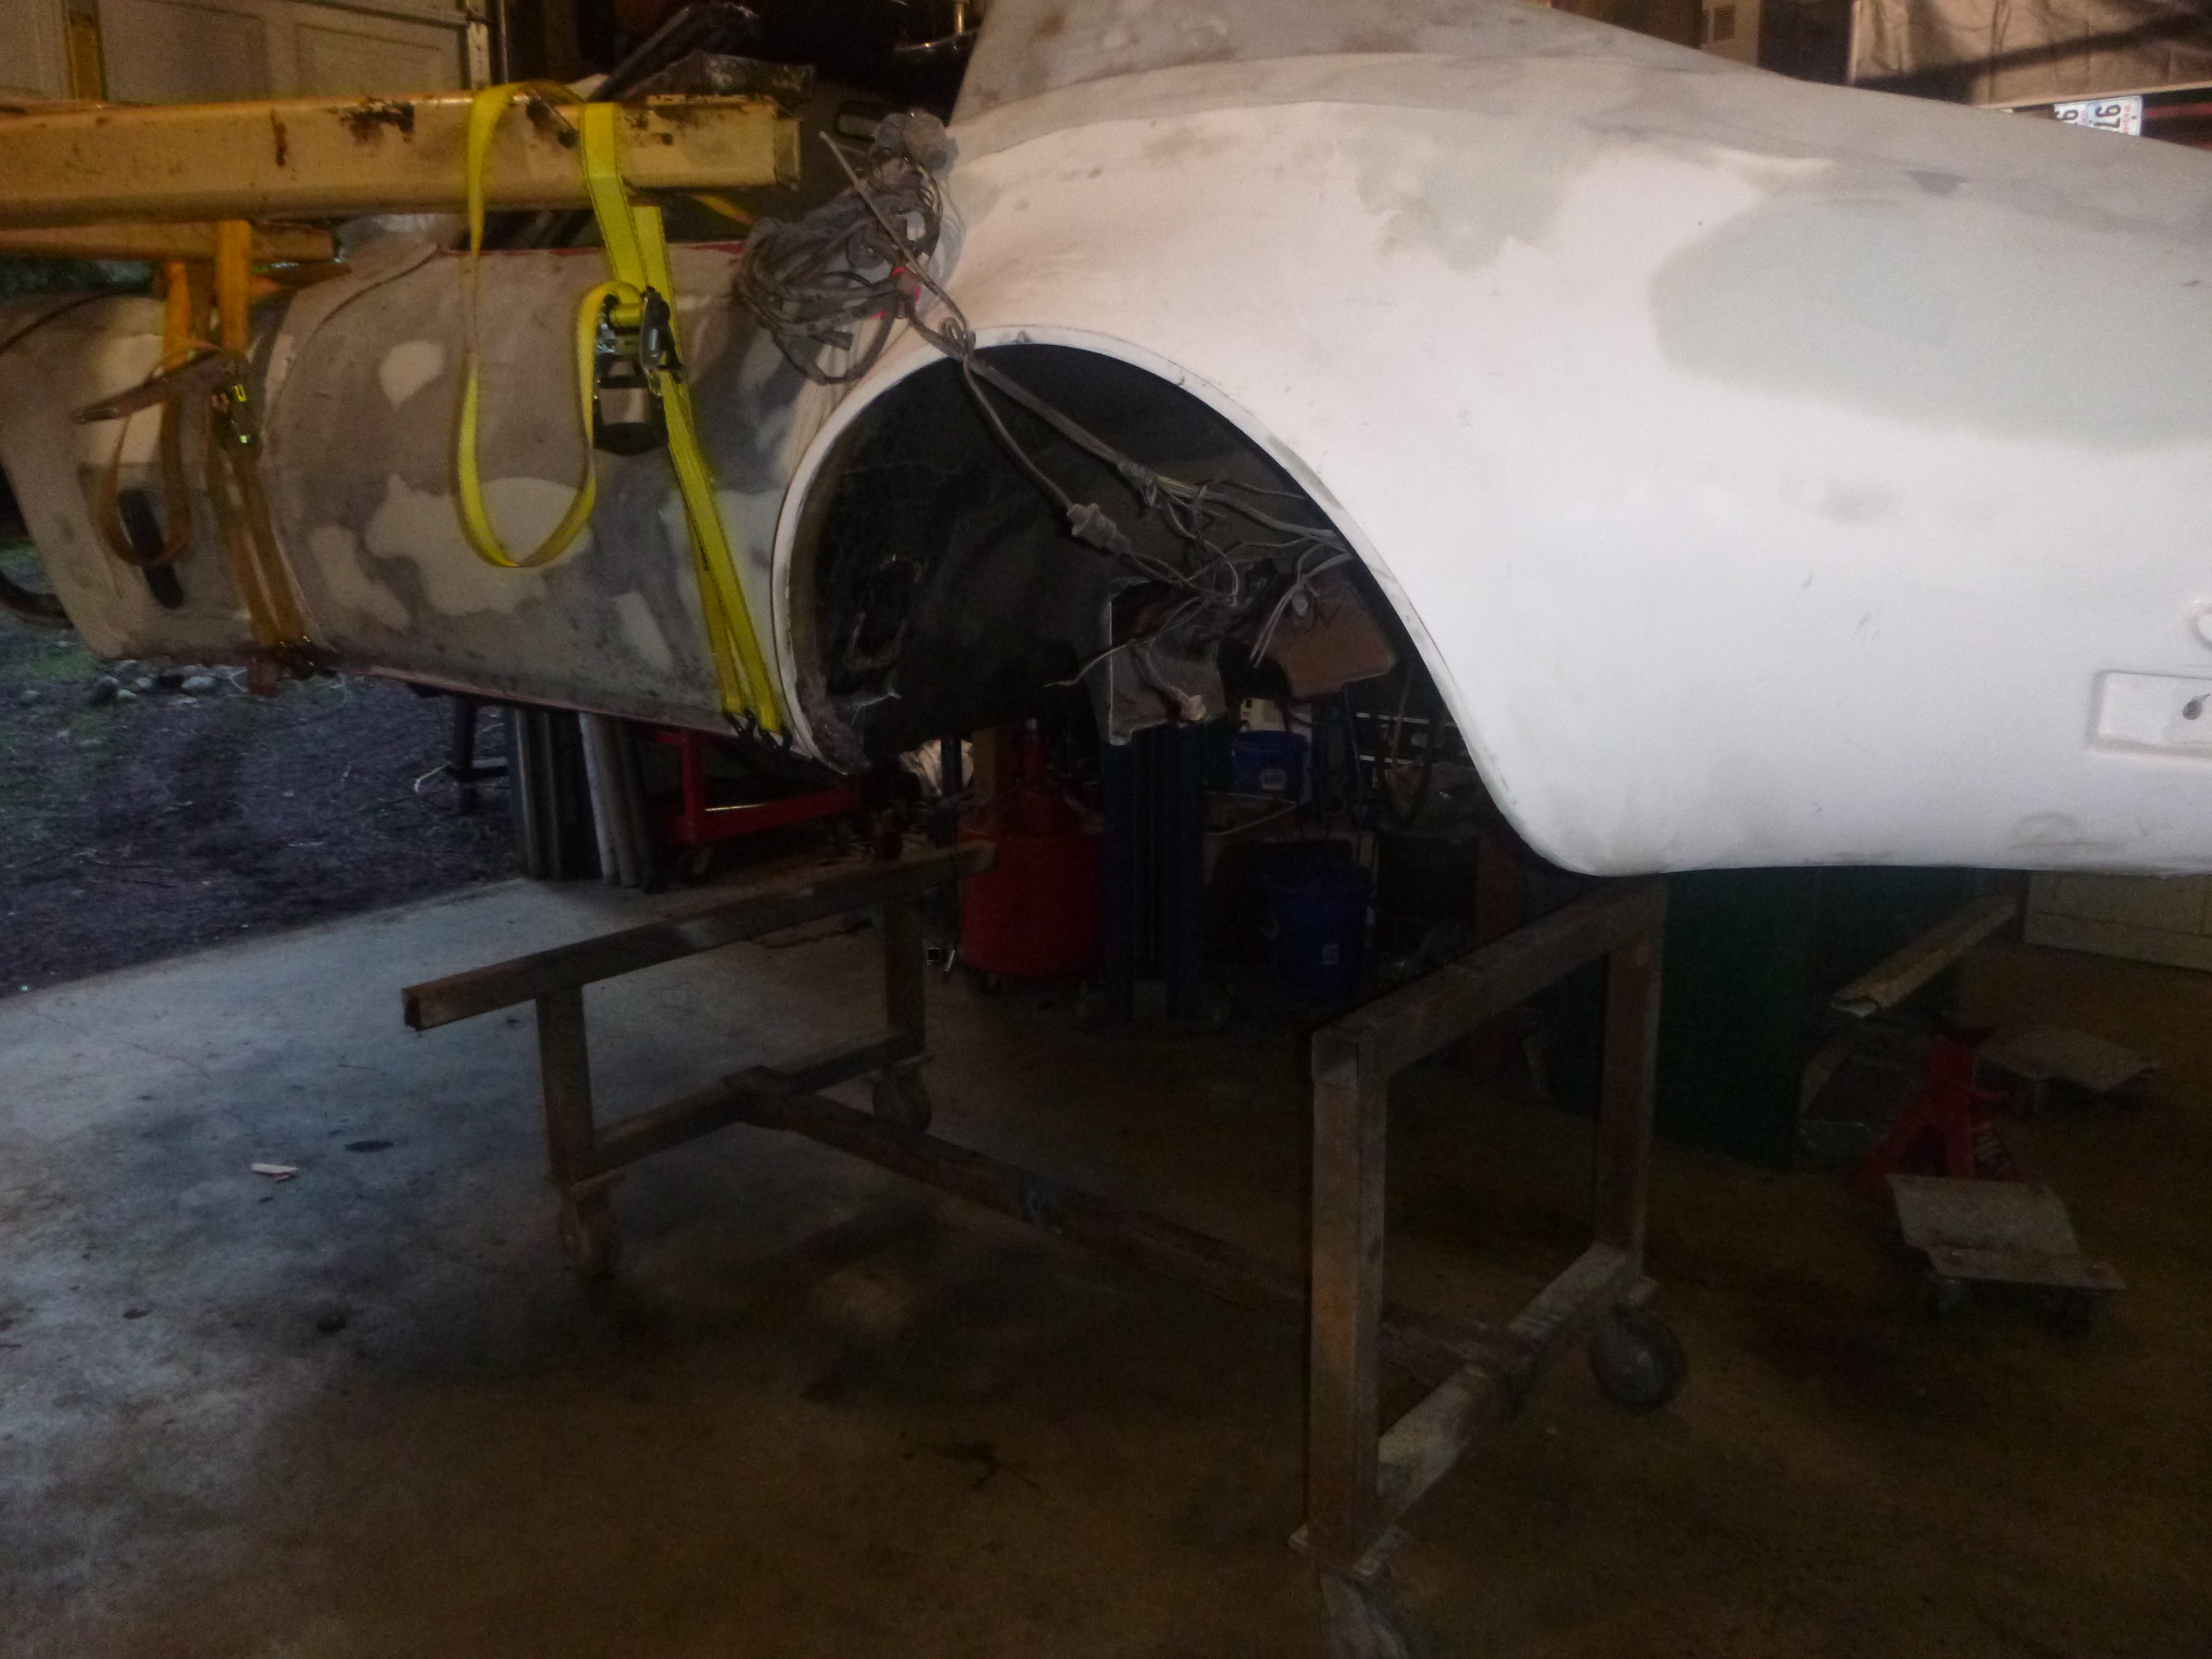
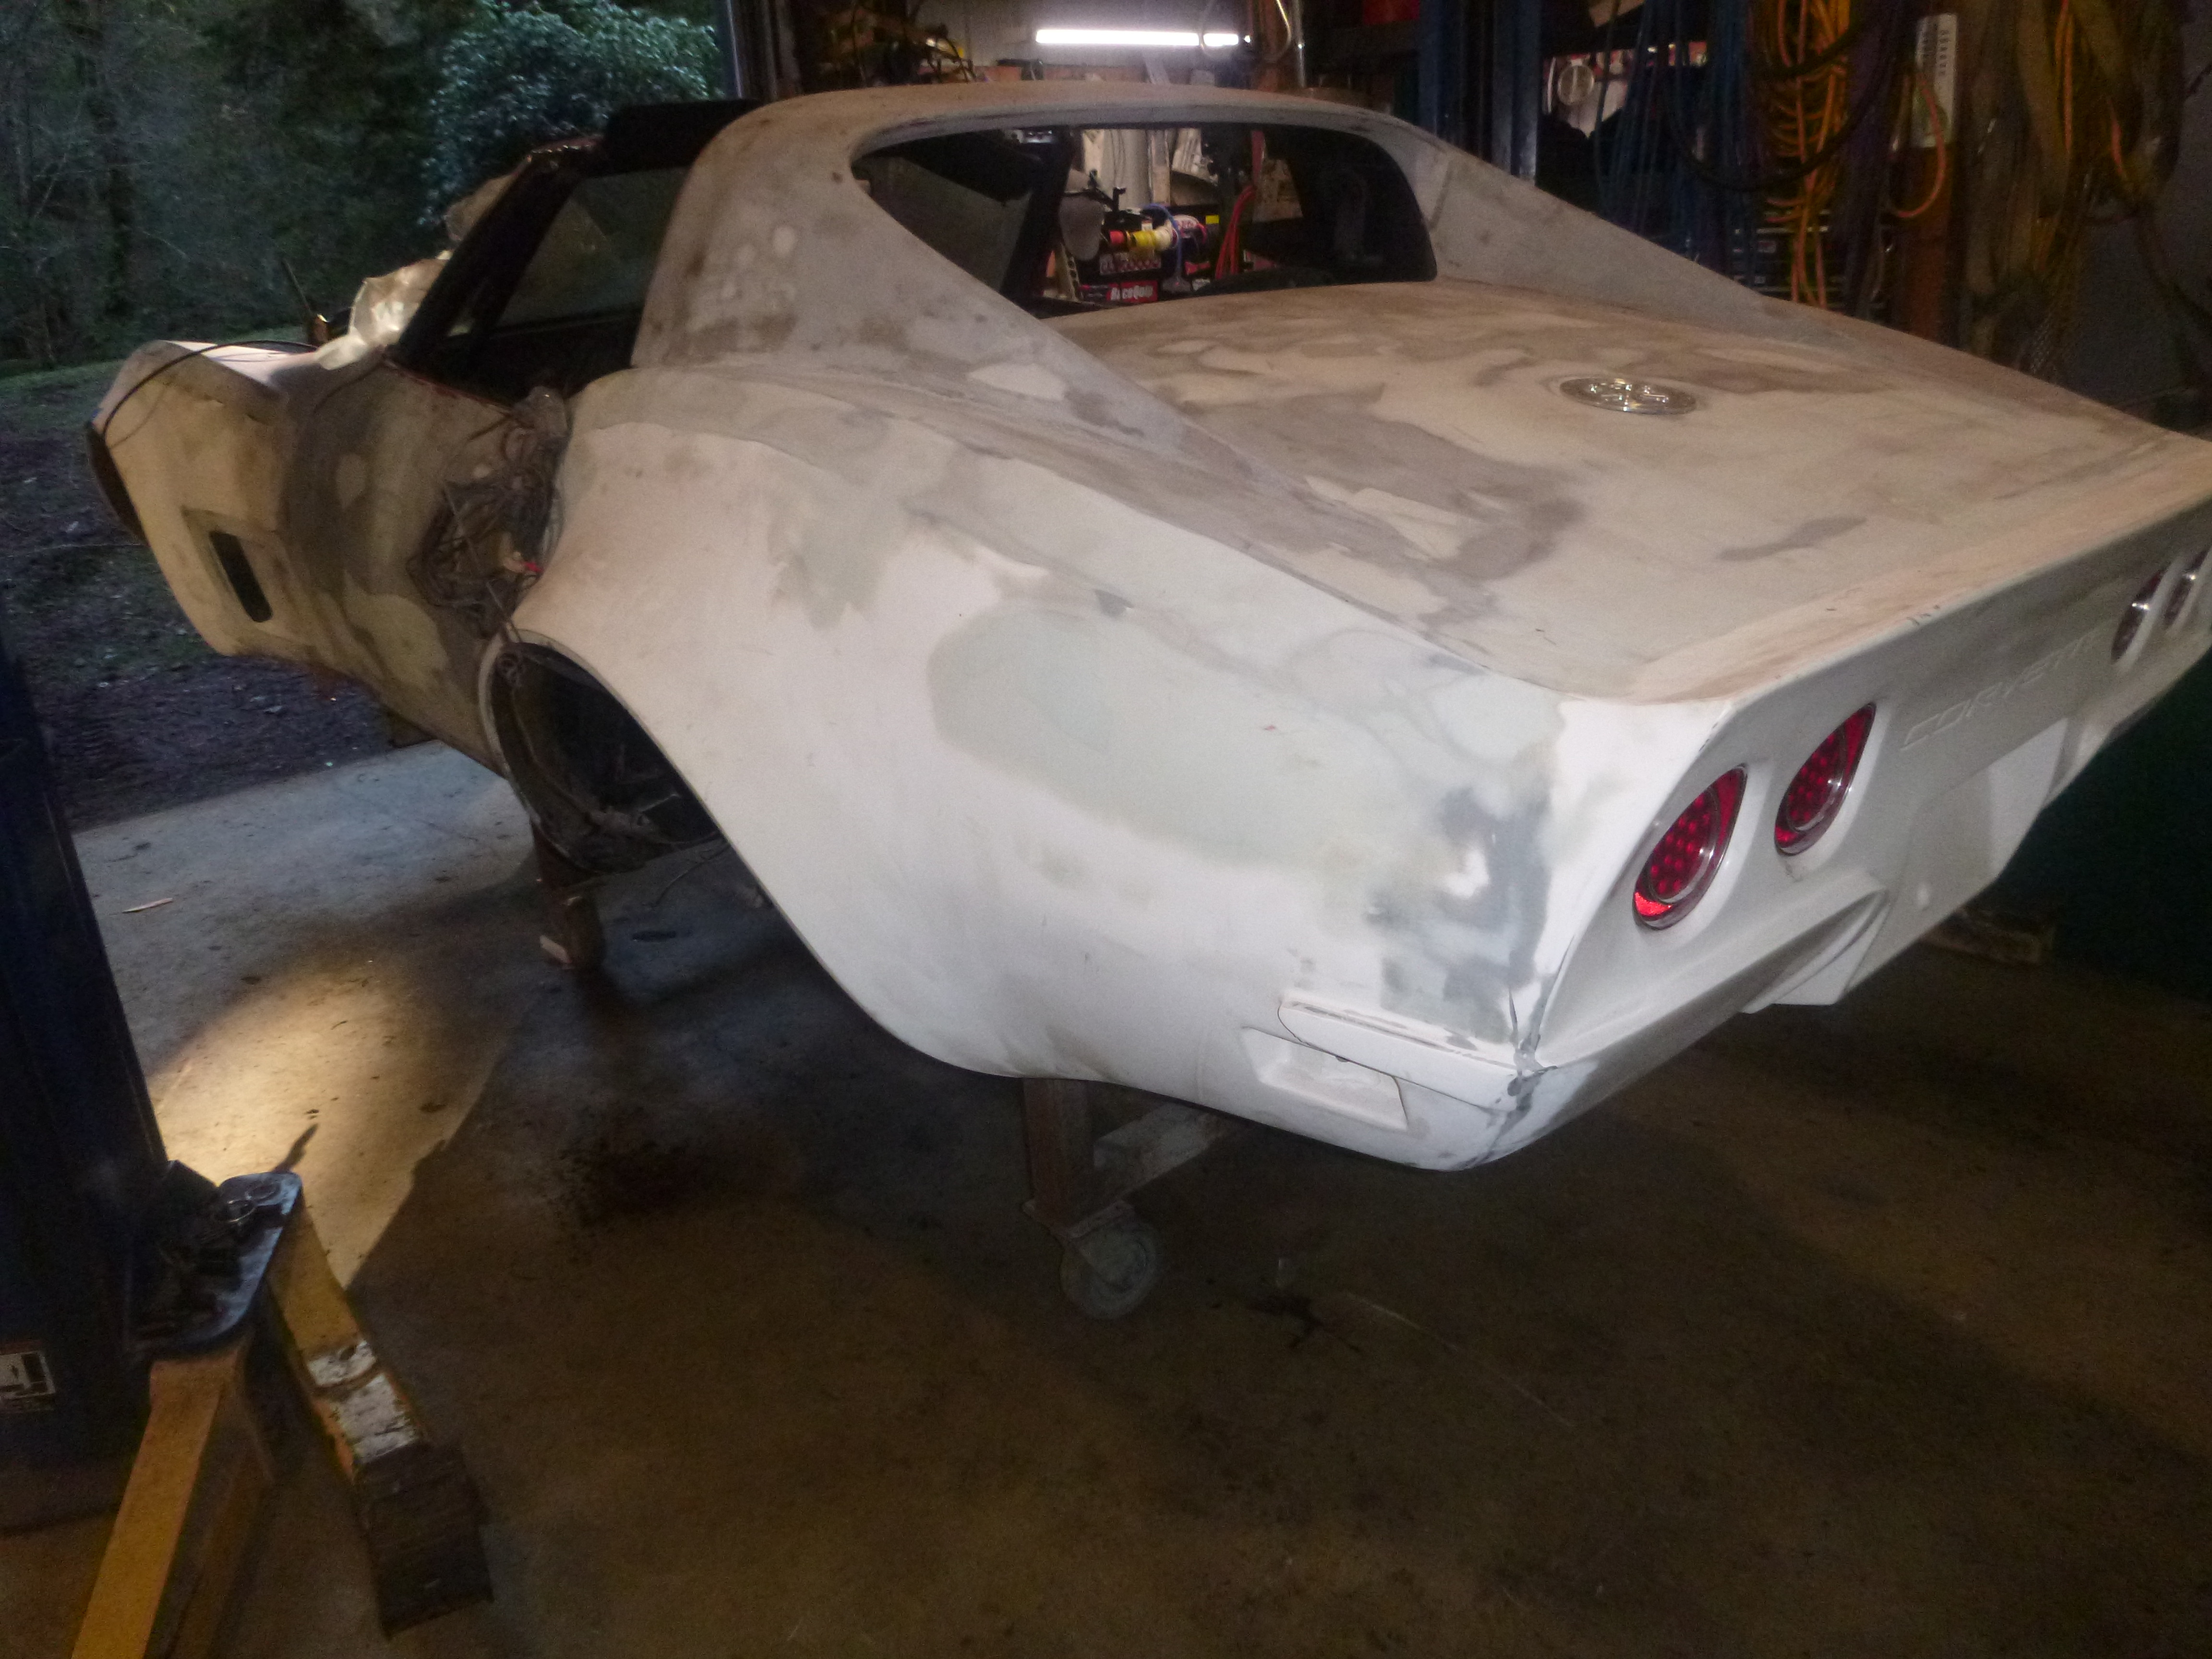
a mistake... and what will stop me from completely getting the body off

up we go, hmm, nose low
once I removed the bumper brackets, and the clutch fork... up
and stopped here
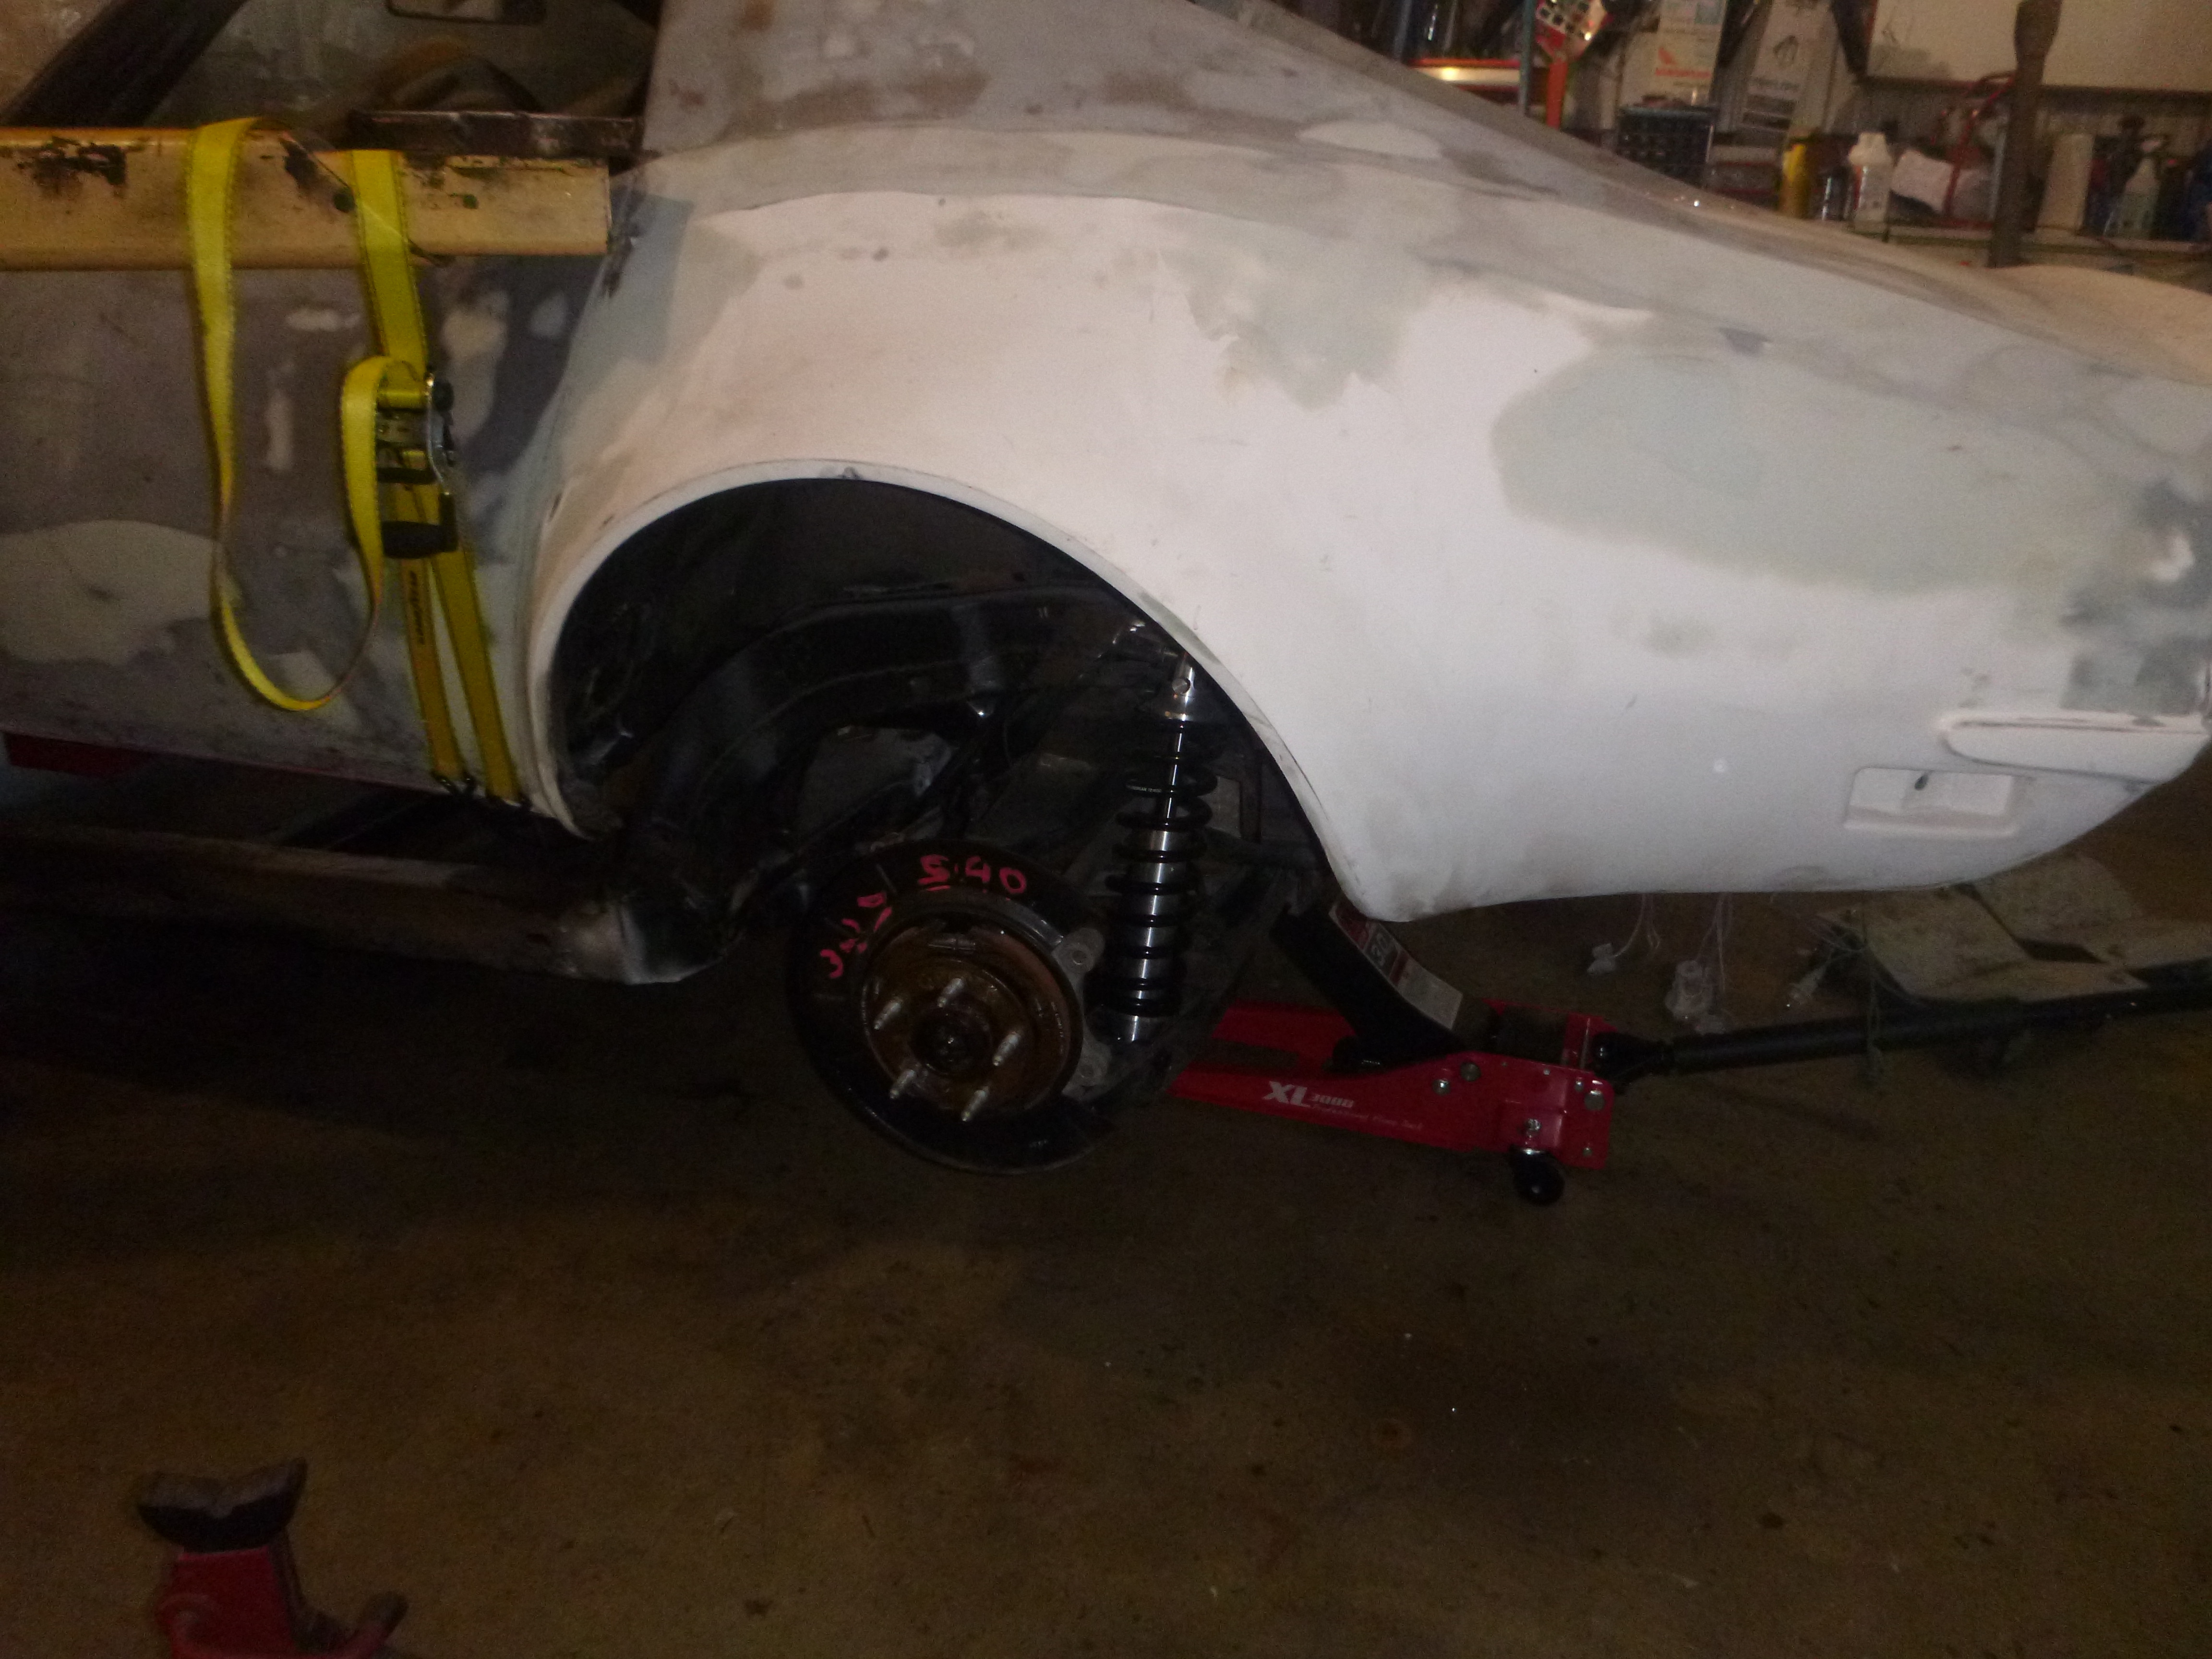
did you guess the problem? the 68-73 rear curls under the rear valance .... had I put those jackstands on dollies - I could have moved the frame forward then completed the lift-off.... and my jack said "oh hell no" so tomorrow get a new jack then finish this.
up we go, hmm, nose low
once I removed the bumper brackets, and the clutch fork... up
and stopped here
did you guess the problem? the 68-73 rear curls under the rear valance .... had I put those jackstands on dollies - I could have moved the frame forward then completed the lift-off.... and my jack said "oh hell no" so tomorrow get a new jack then finish this.
01-13-2019, 09:41 PM
#232
Melting Slicks
So I did do jack today... twice
new hotness
old brokenness
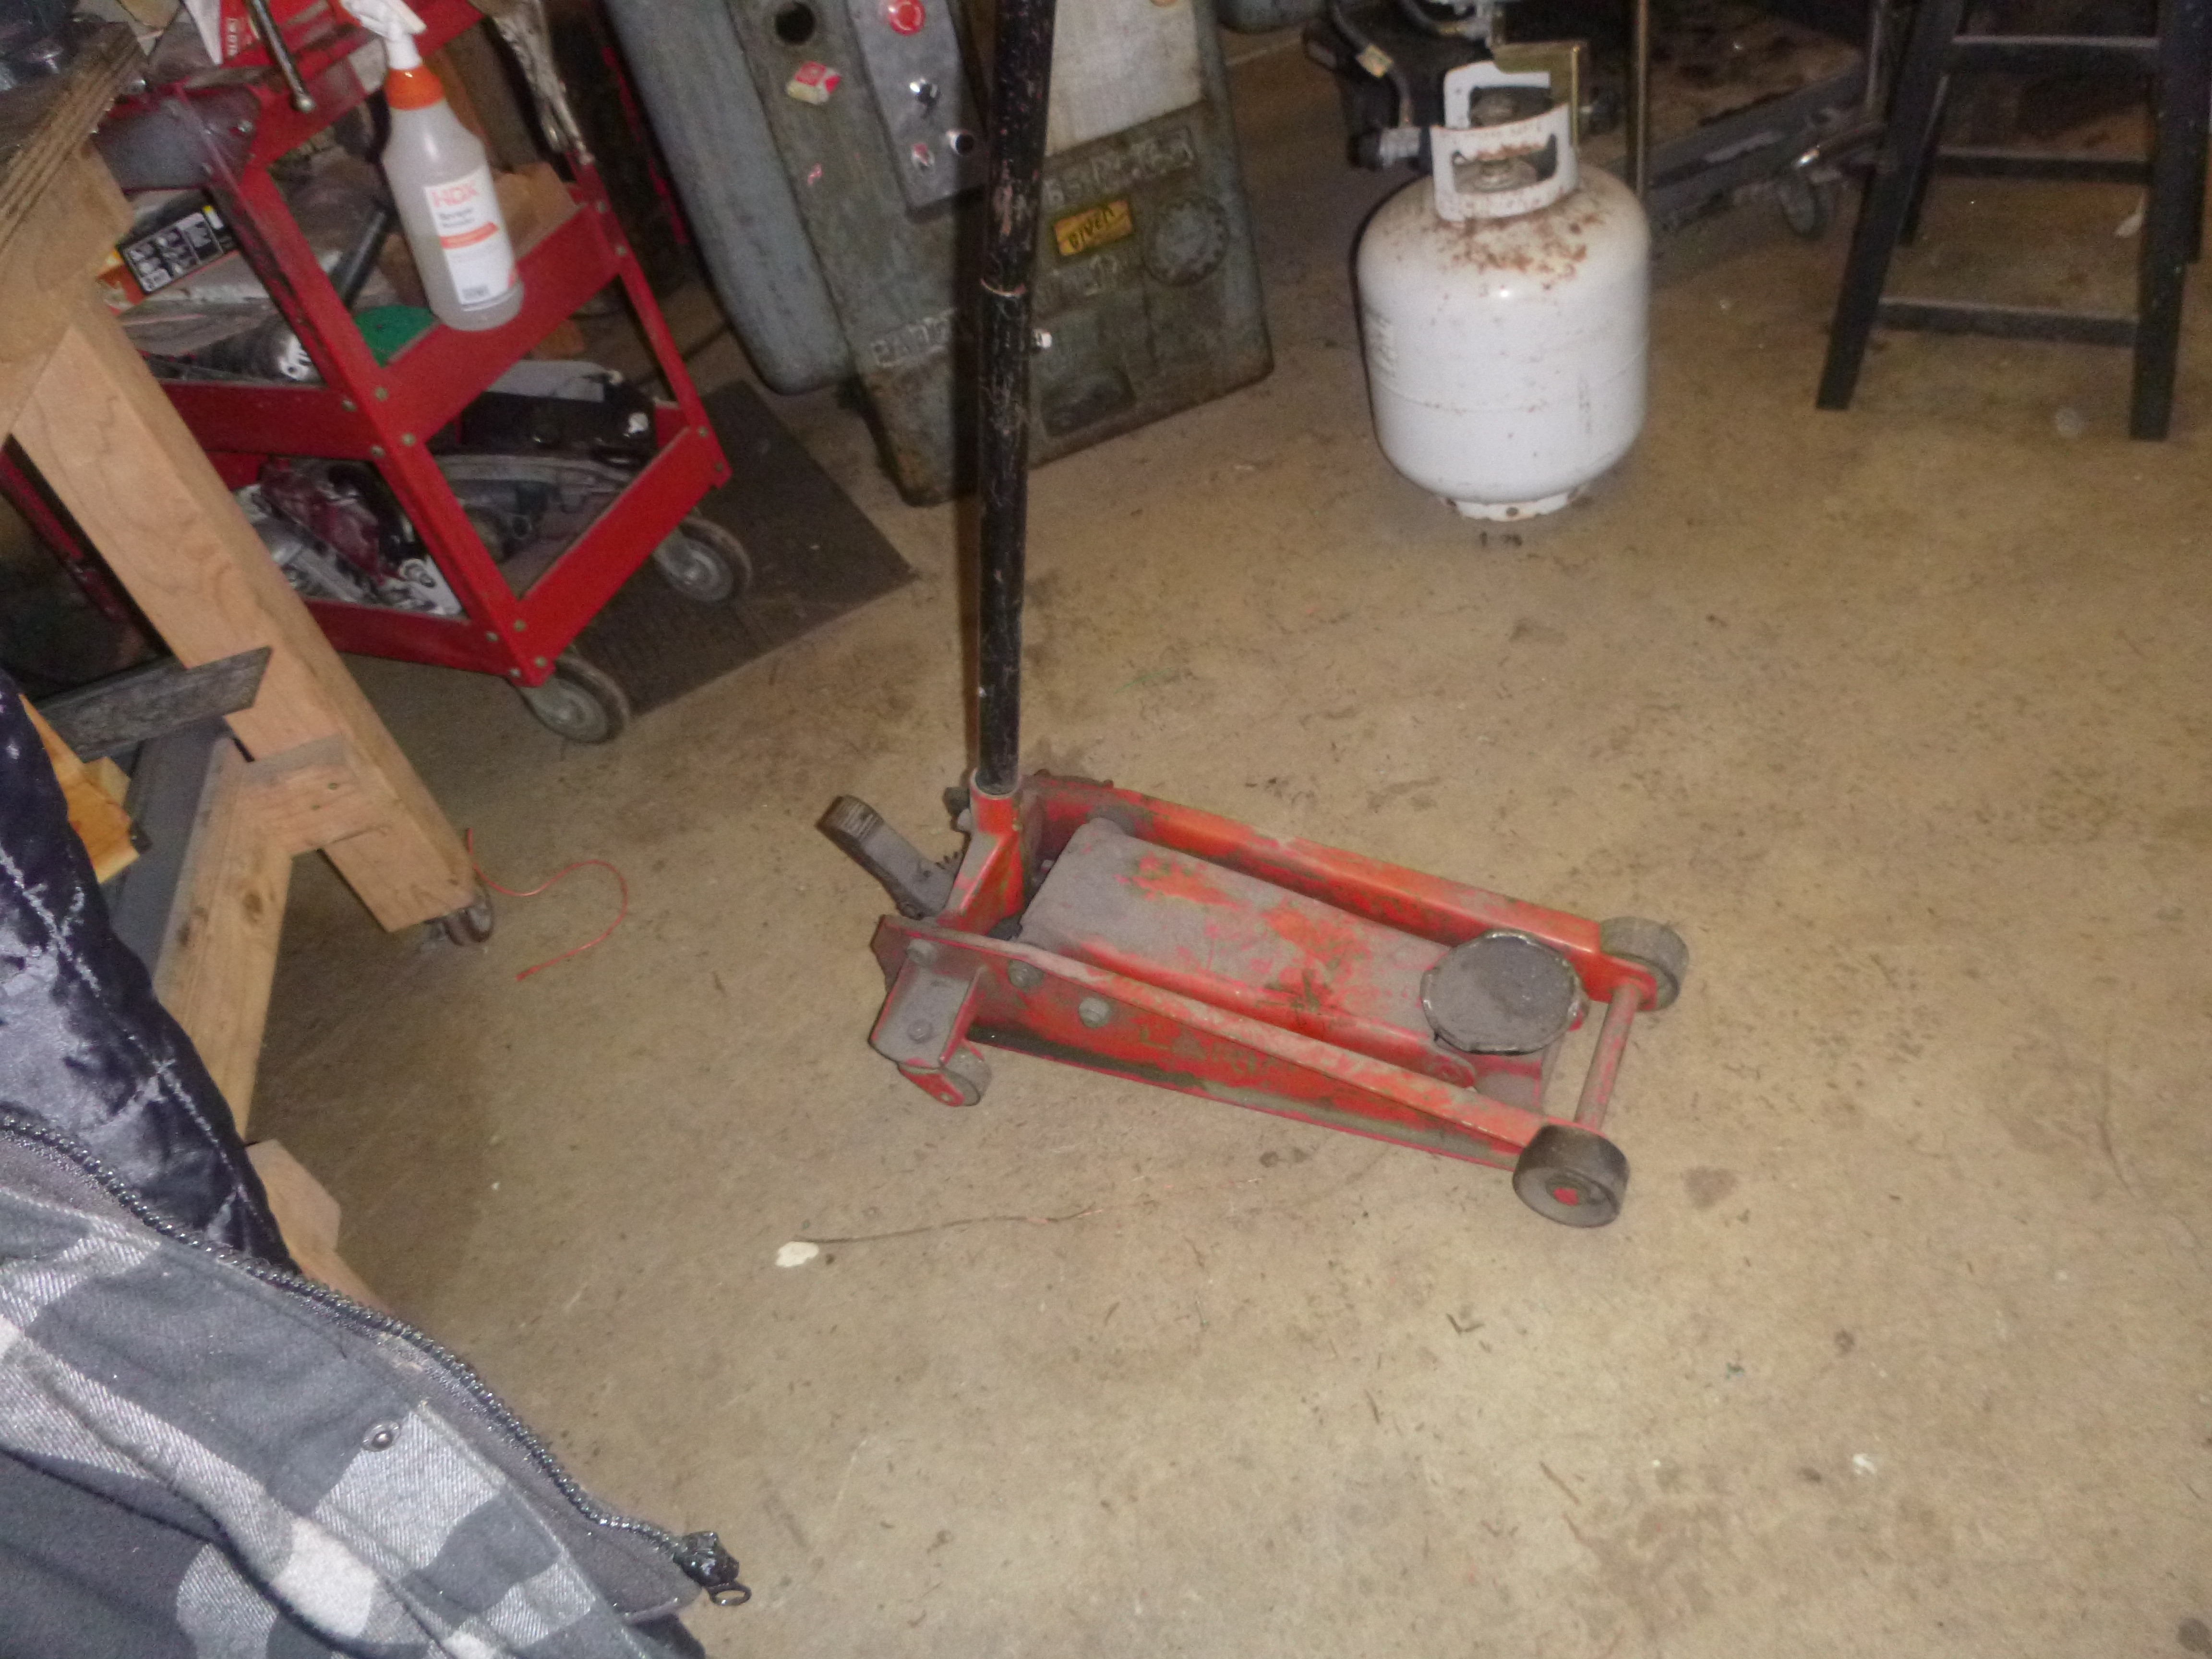
wait.... which one is broken?
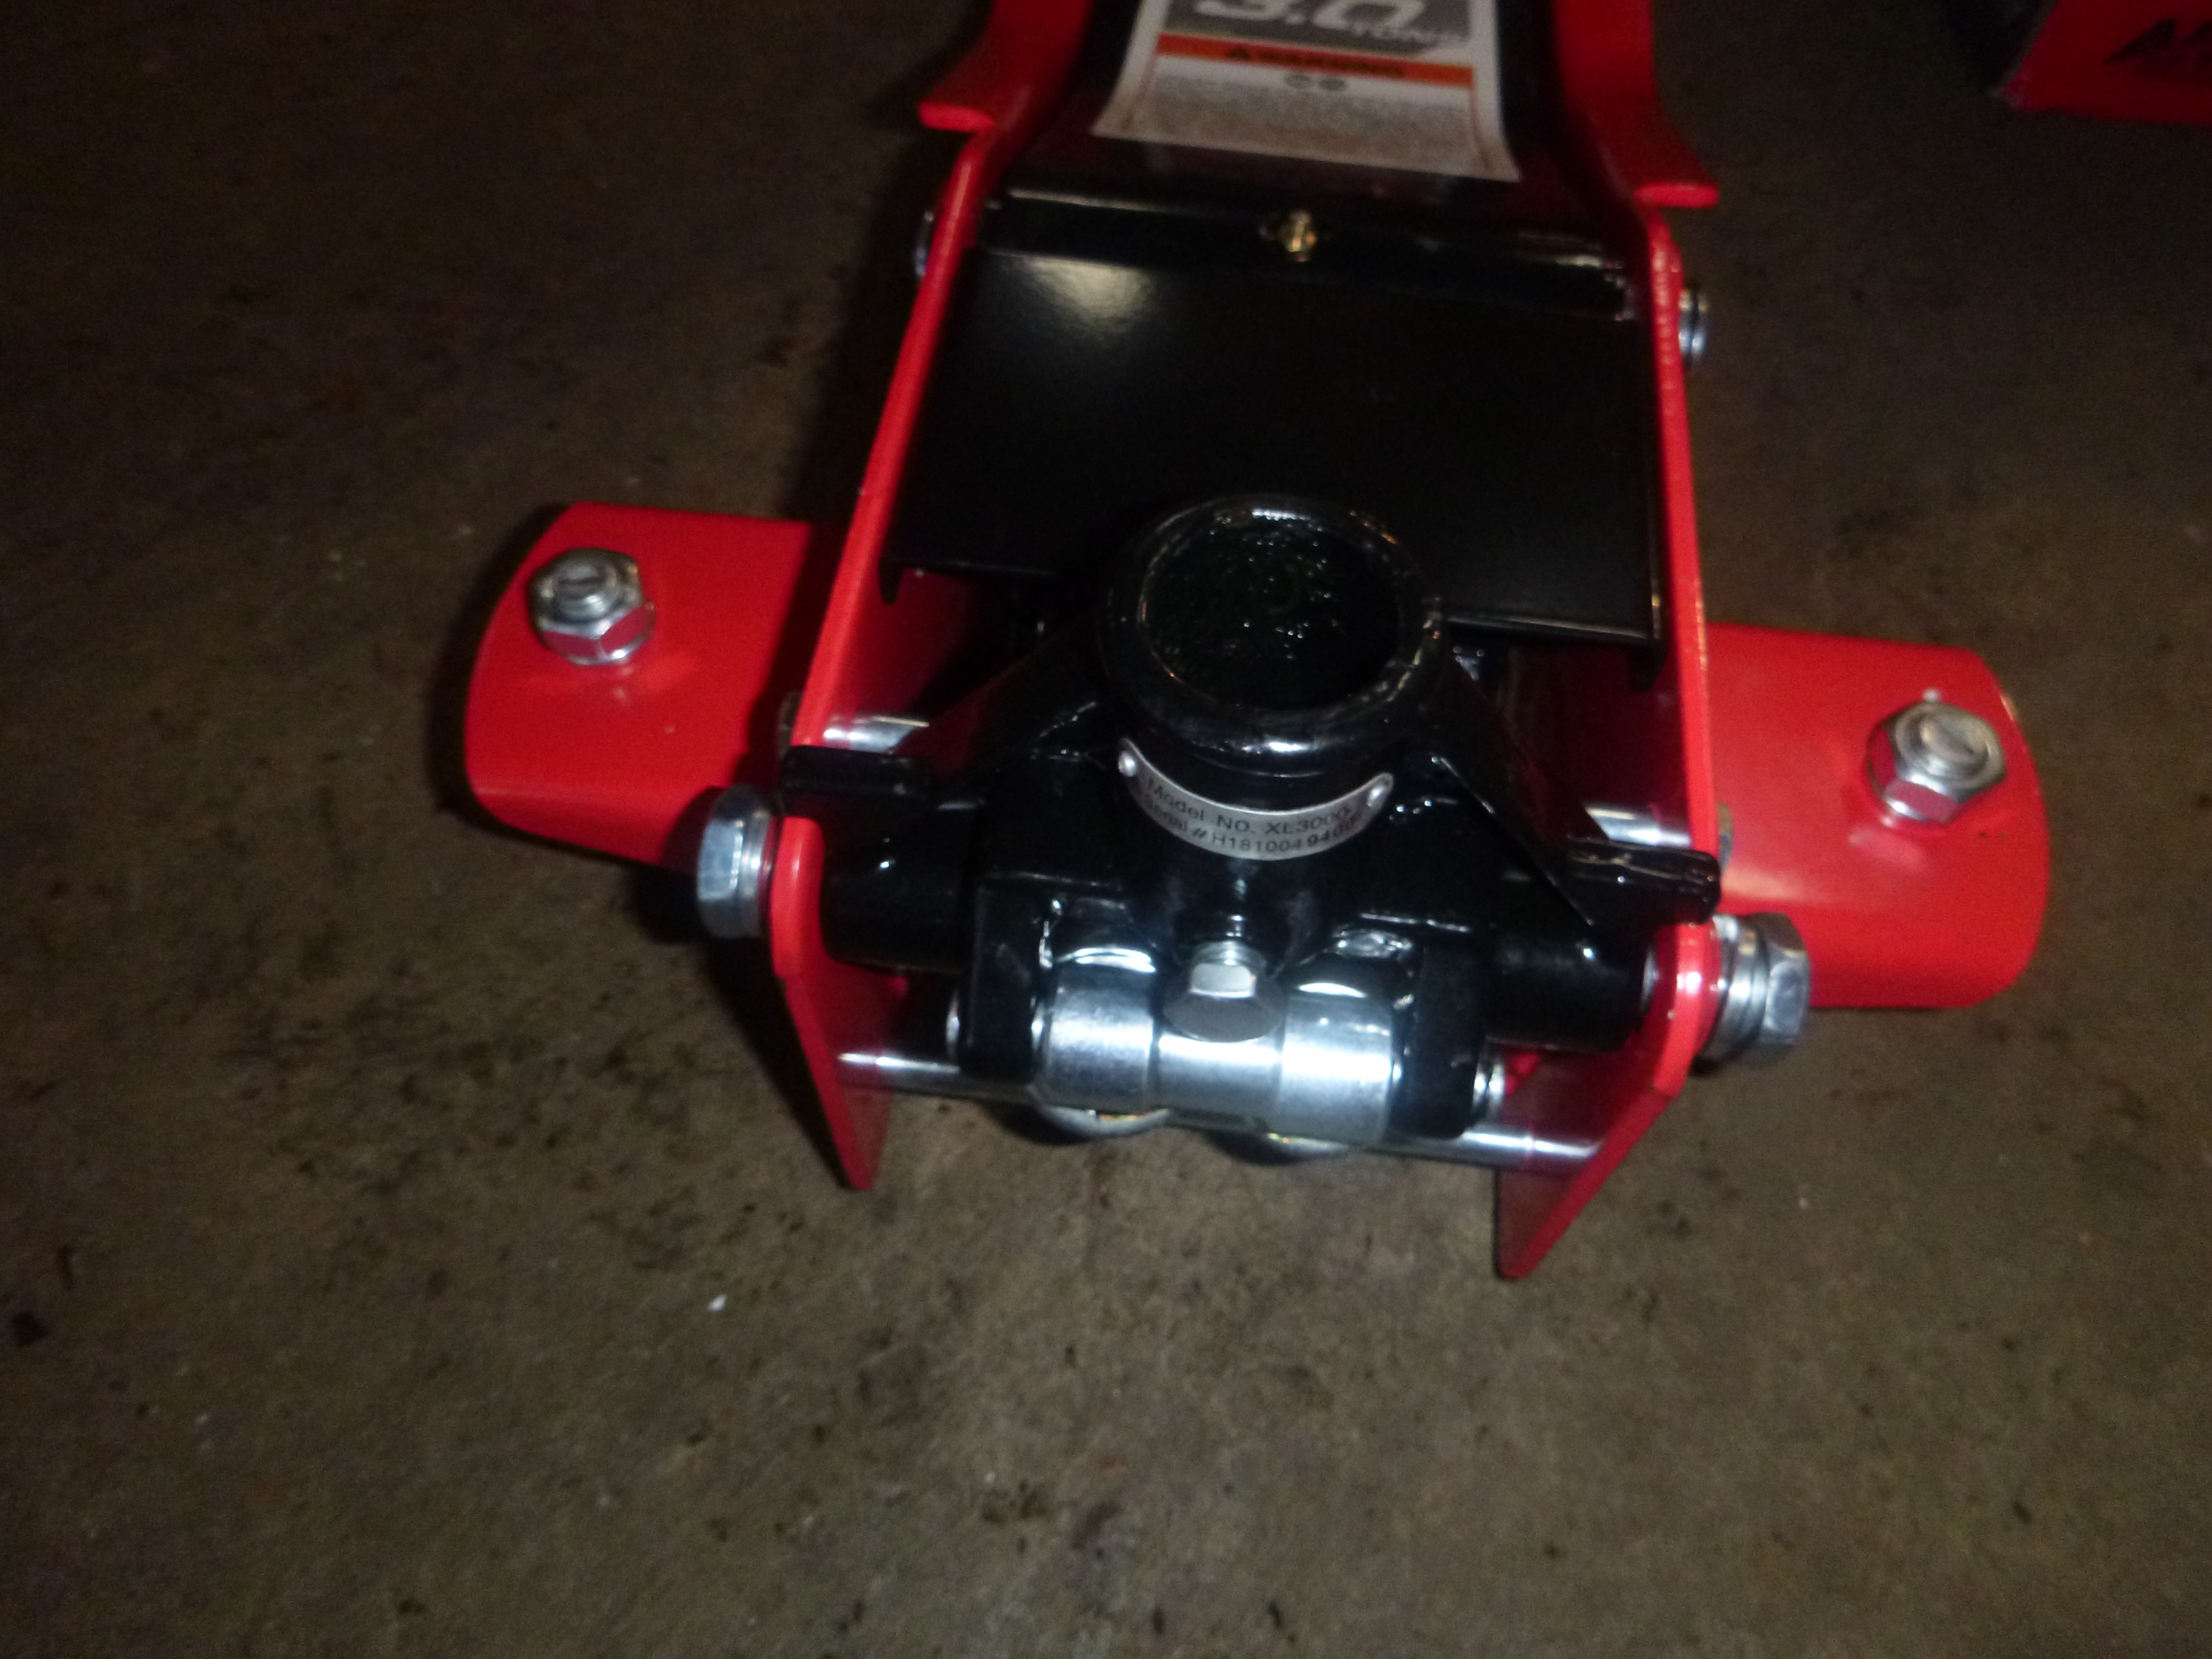
I was all ready to proclaim how my Costco jack outlasted 2 HF jacks.... which, old brokenness did... problem was that was a factory sealed new one that was broken when they put it in the box.... ah well, just 2 hours I'll never get back
putting the new, new one to work
and the divorce is final

finally get to use this cart
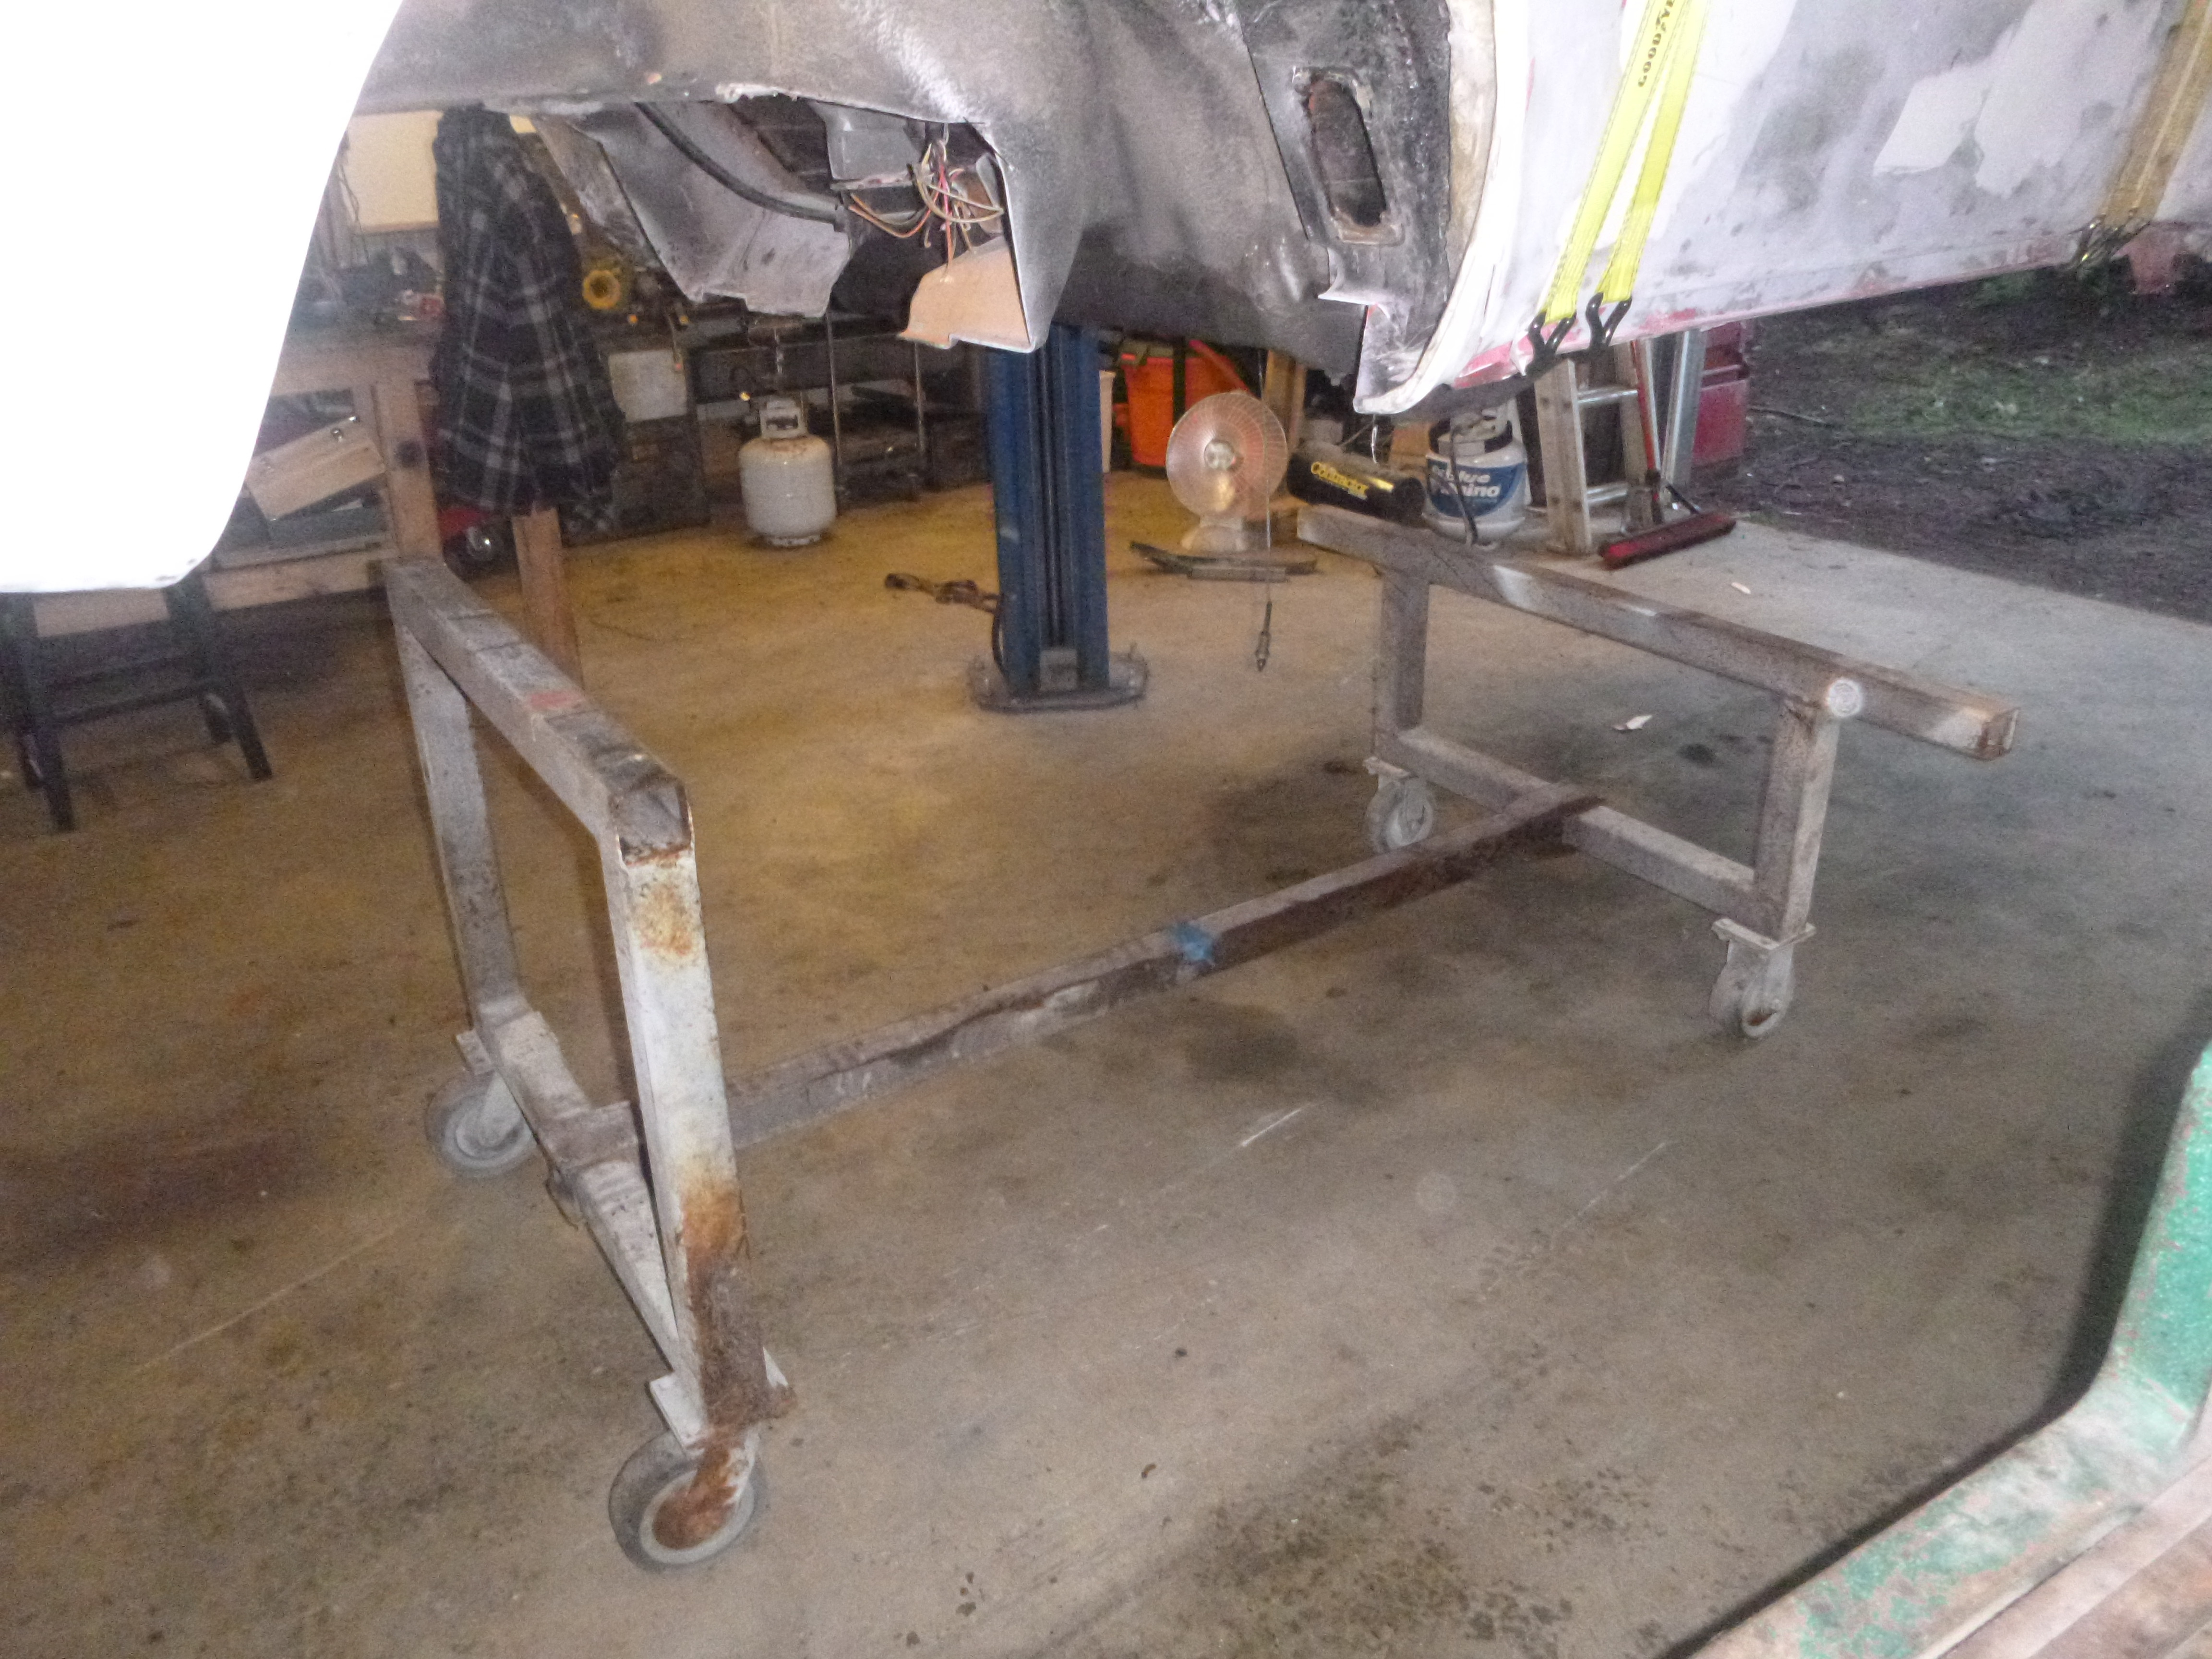
this didn't last long, but it fits so I can move stuff around if needed
stiff stripped off..... more to come
new hotness
old brokenness
wait.... which one is broken?
I was all ready to proclaim how my Costco jack outlasted 2 HF jacks.... which, old brokenness did... problem was that was a factory sealed new one that was broken when they put it in the box.... ah well, just 2 hours I'll never get back
putting the new, new one to work
and the divorce is final
finally get to use this cart
this didn't last long, but it fits so I can move stuff around if needed
stiff stripped off..... more to come
The following 2 users liked this post by SuperBuickGuy:
gtmsomeday (01-13-2019),
Rescue Rogers (01-14-2019)
01-16-2019, 12:16 AM
#233
Melting Slicks
time to use my frame floor
oh yes, and tape measures
it really wasn't that far off (within GM manufacturing tolerances for the day).... but I can do much better, so I will
the challenge, of course, is getting it square to the floor (after verifying squareness of the frame)
lots of this action
It's close, I'll let it settle over night then do the front. The back is 1/16" off square, so I'll fix that as well... but that is for later this week
01-16-2019, 06:41 AM
#234
Dementer sole survivor


Member Since: Oct 2015
Location: YUPPY HELL Westford MASS
Posts: 16,432
Received 6,278 Likes
on
3,915 Posts
2020 C3 of the Year Finalist - Modified
2020 Corvette of the Year Finalist (performance mods)
2019 C3 of Year Winner (performance mods)
2016 C3 of Year Finalist
I'ld give those dollies a good nudge, in case they are hung up on some debris, to help it settle. Looks greaat!!!! thanks for the pics!

 01-16-2019, 05:30 PM
#236
Melting Slicks
01-21-2019, 12:54 AM
#237
Melting Slicks
time to make this real - of course, that means cutting it apart and making it look pretty.
the first step is to weld plates on the rearmost channels to hold things in place
measuring process
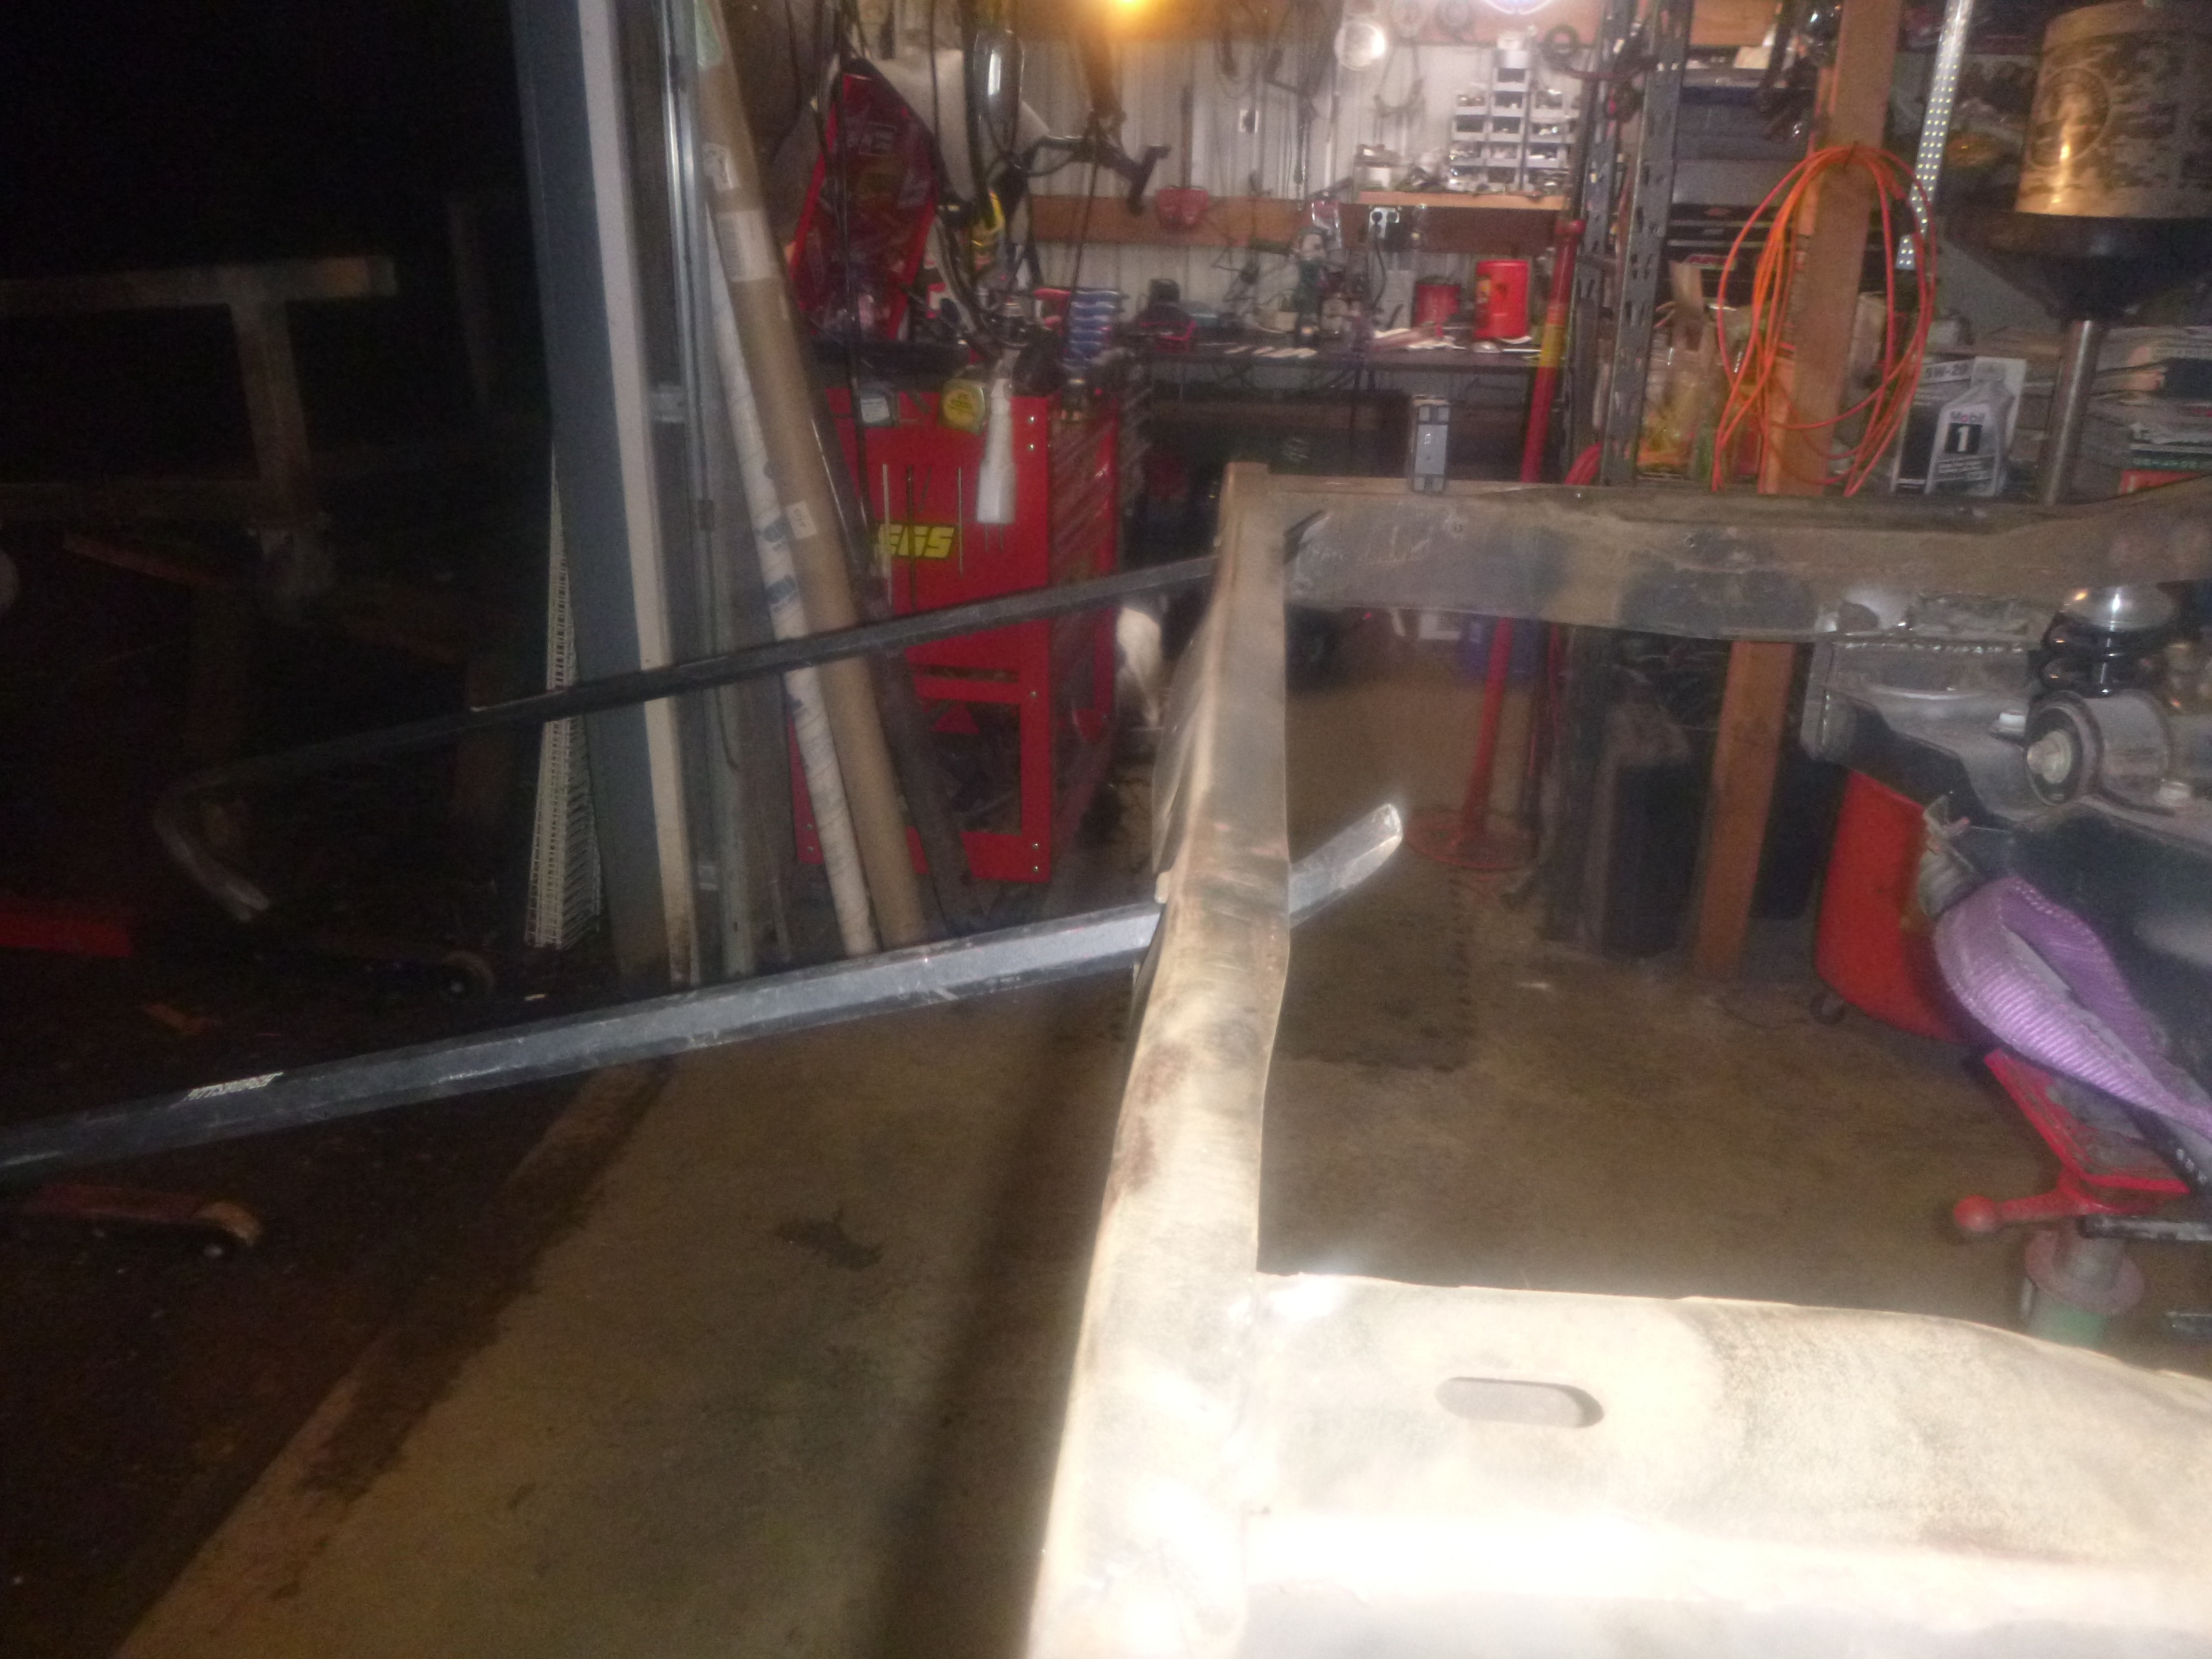
and it's cut apart.....
the first step is to weld plates on the rearmost channels to hold things in place
measuring process
and it's cut apart.....
01-21-2019, 11:14 PM
#238
Melting Slicks
Oh look, Jeep on a trailer.... what keeps sbg from PF2? yeah, a blasted Heep.
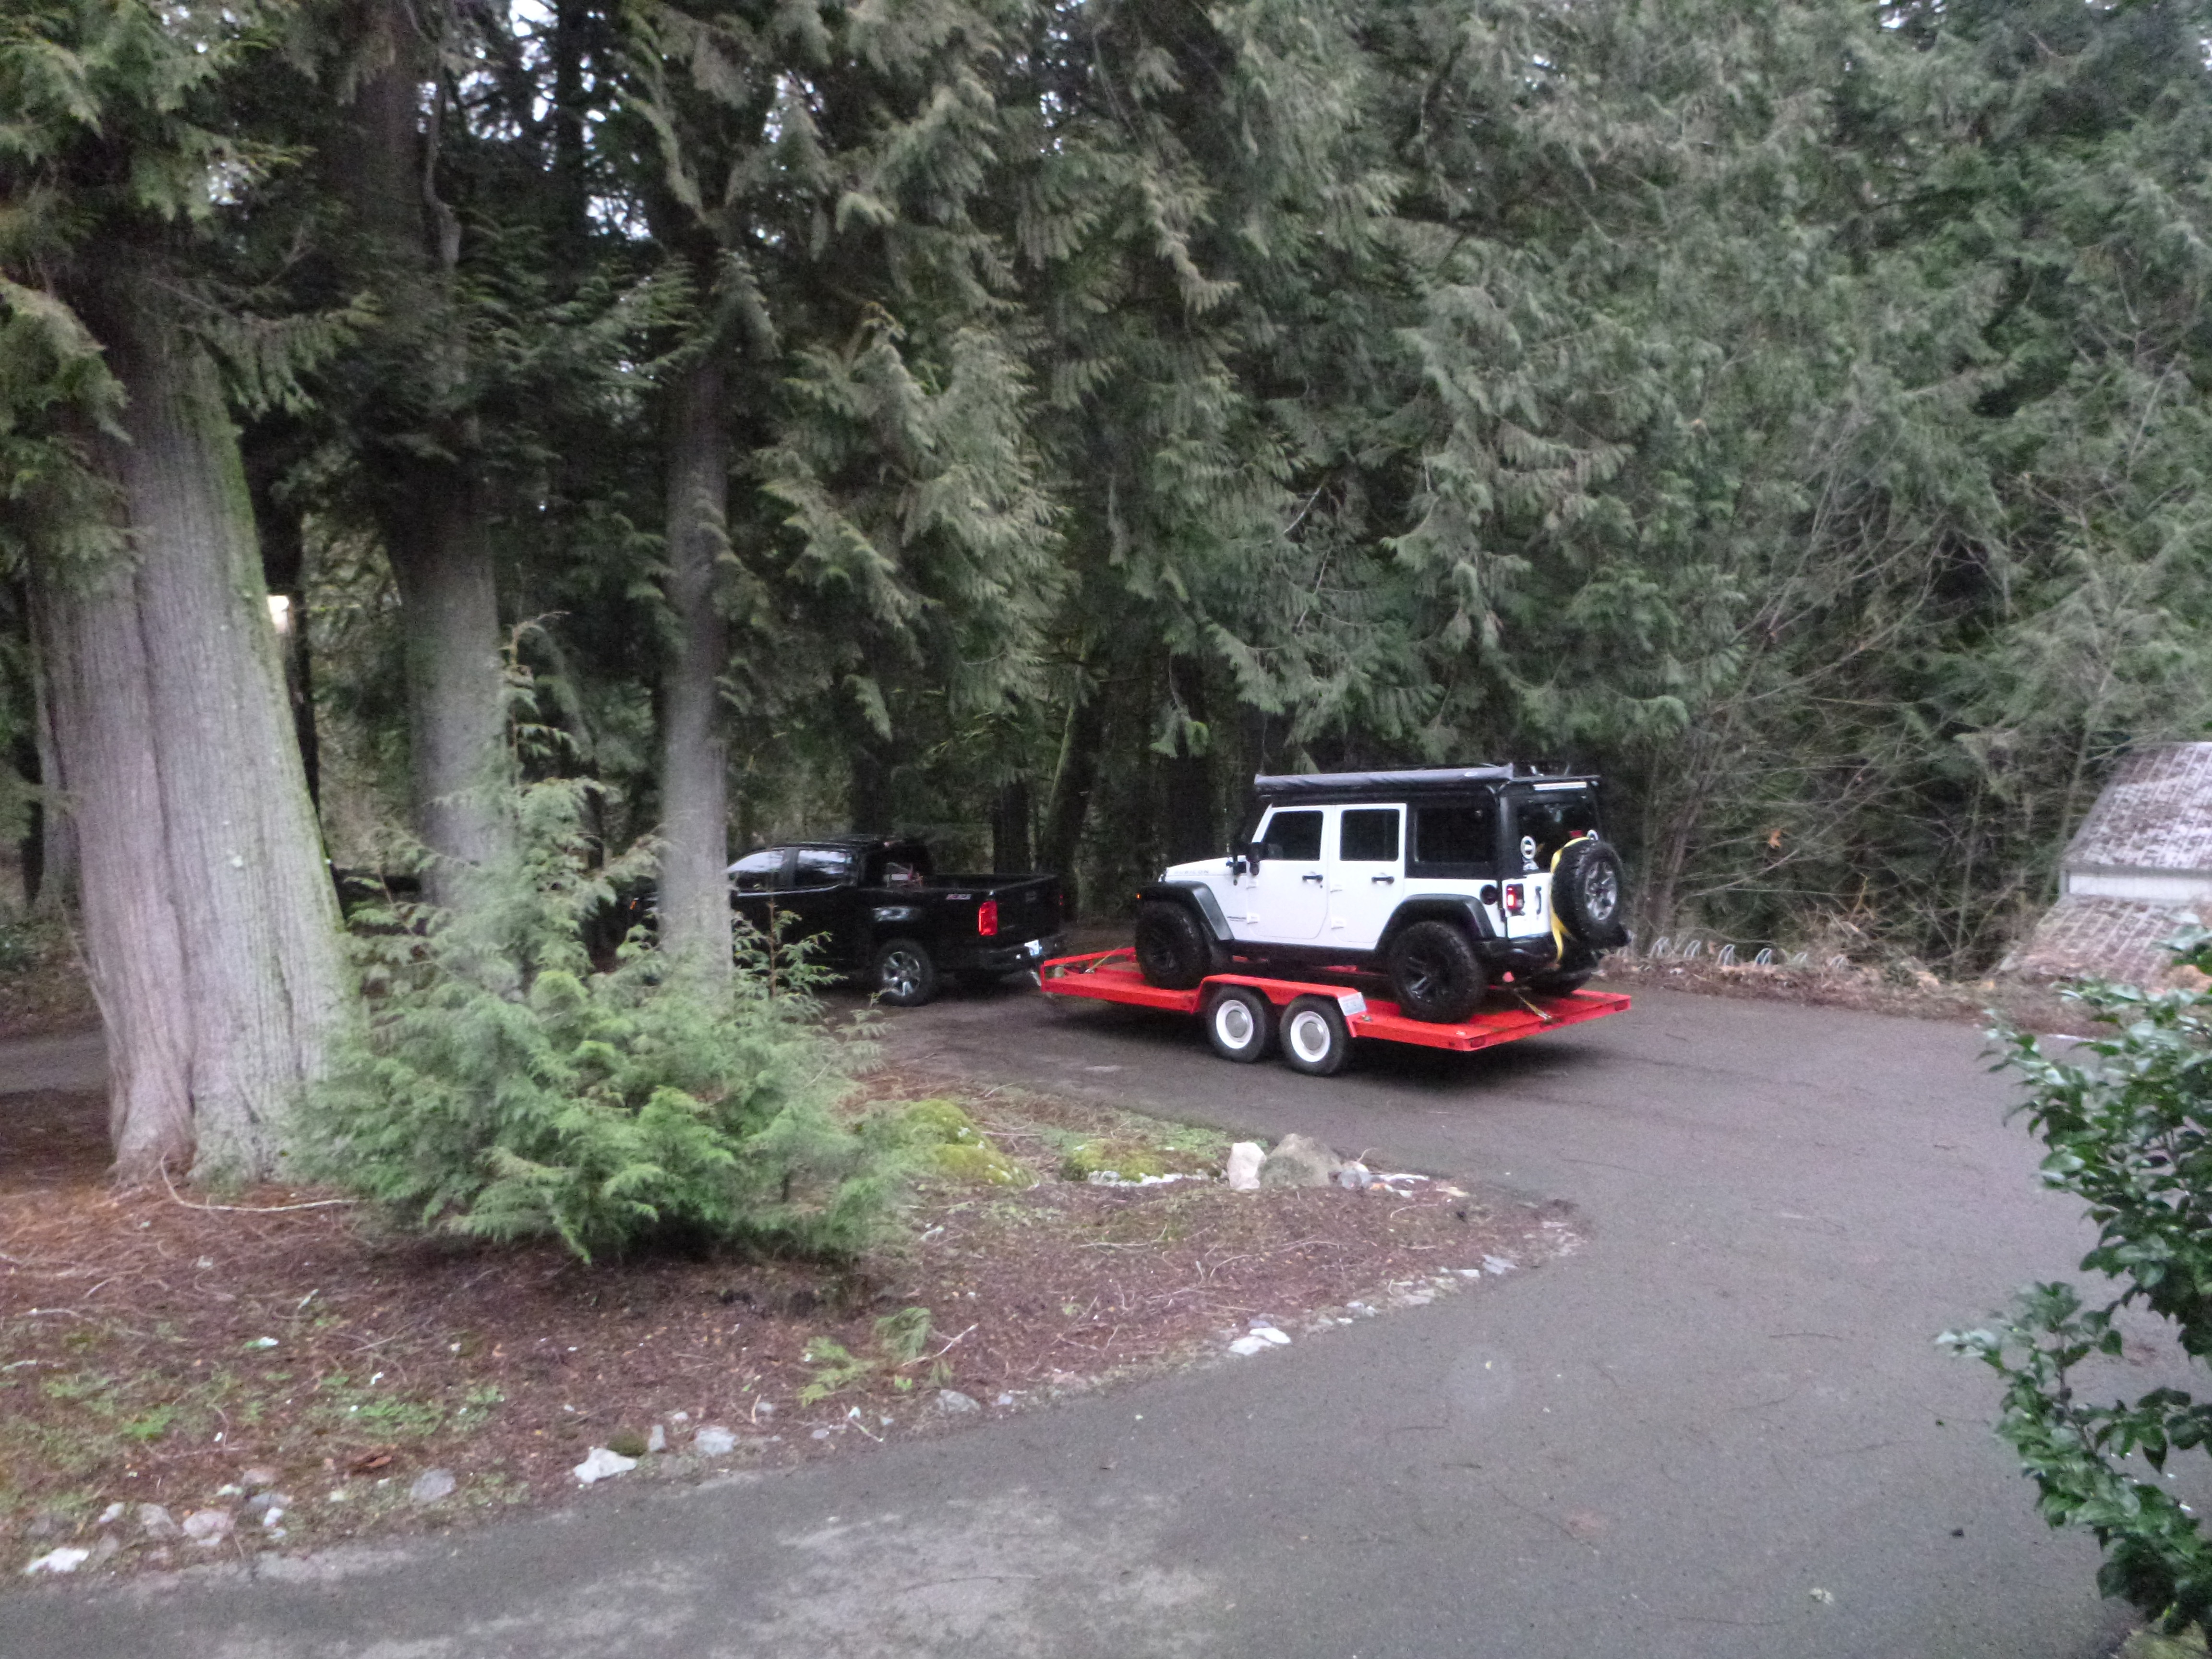
in other news, the Colorado hauls the Jeep even better then the Hummer did - though it may be the Ford hubcaps on the trailer, after all Fords get towed very well
yet I still did get to fun stuff
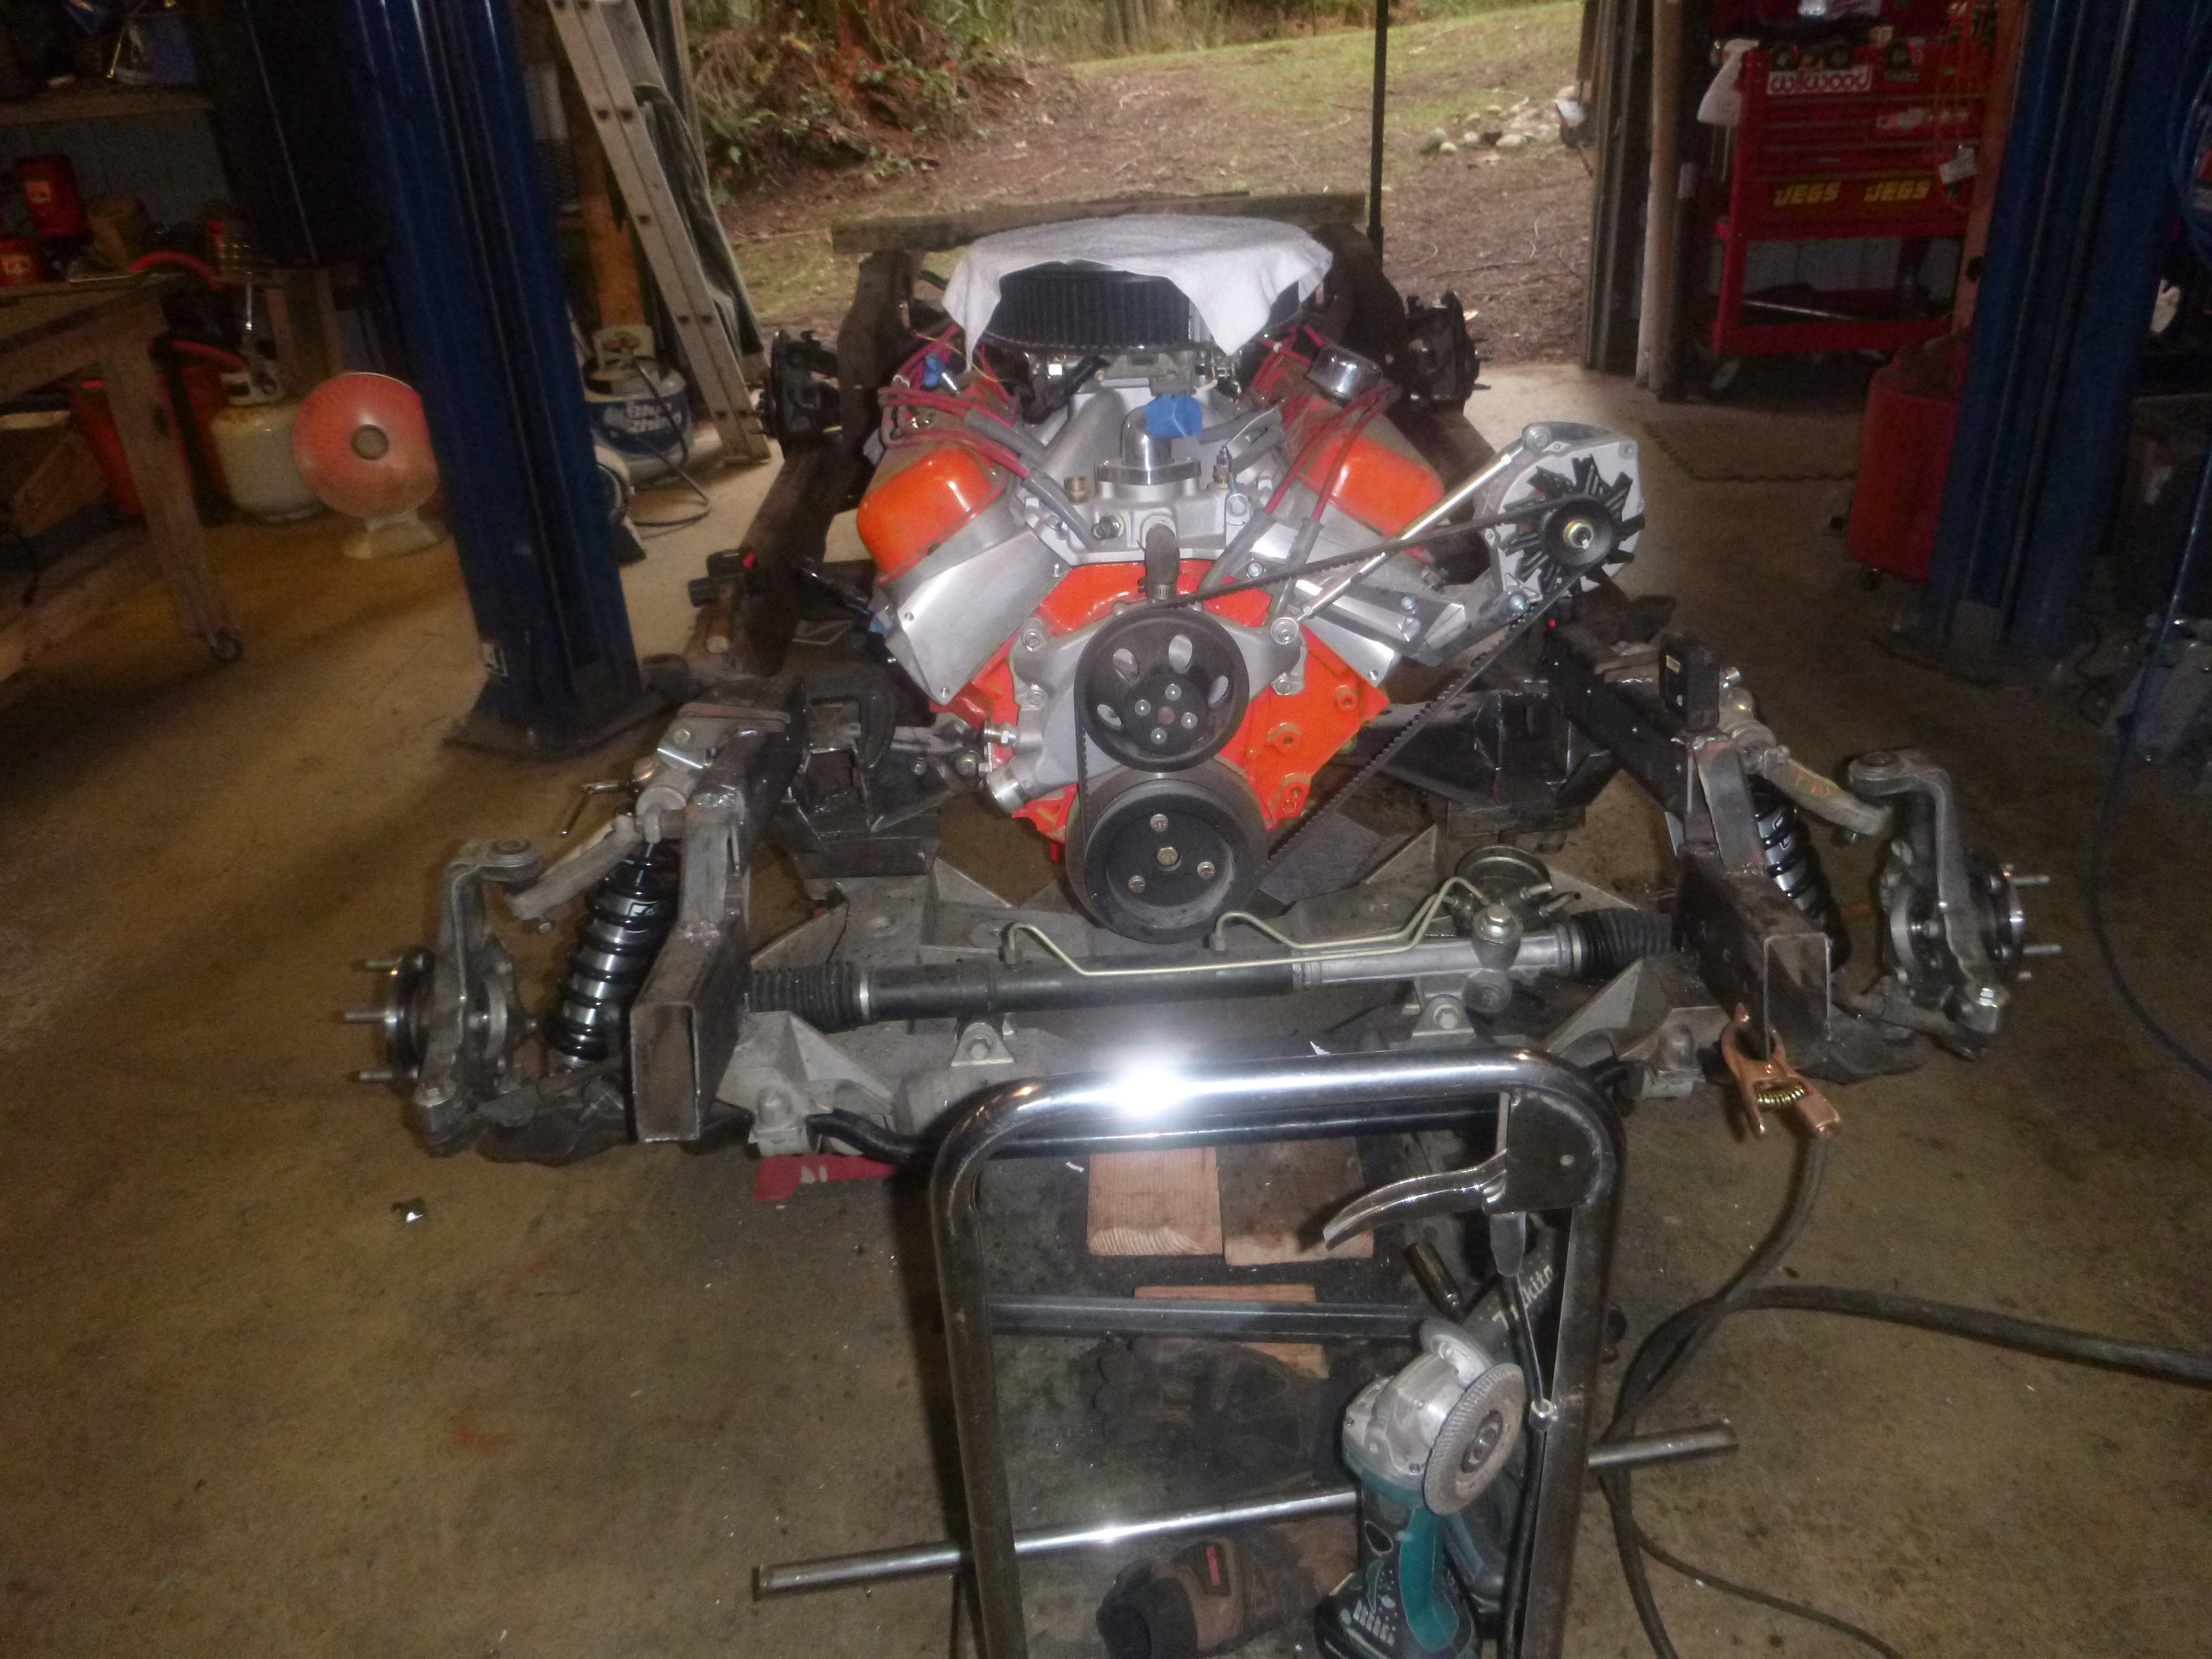
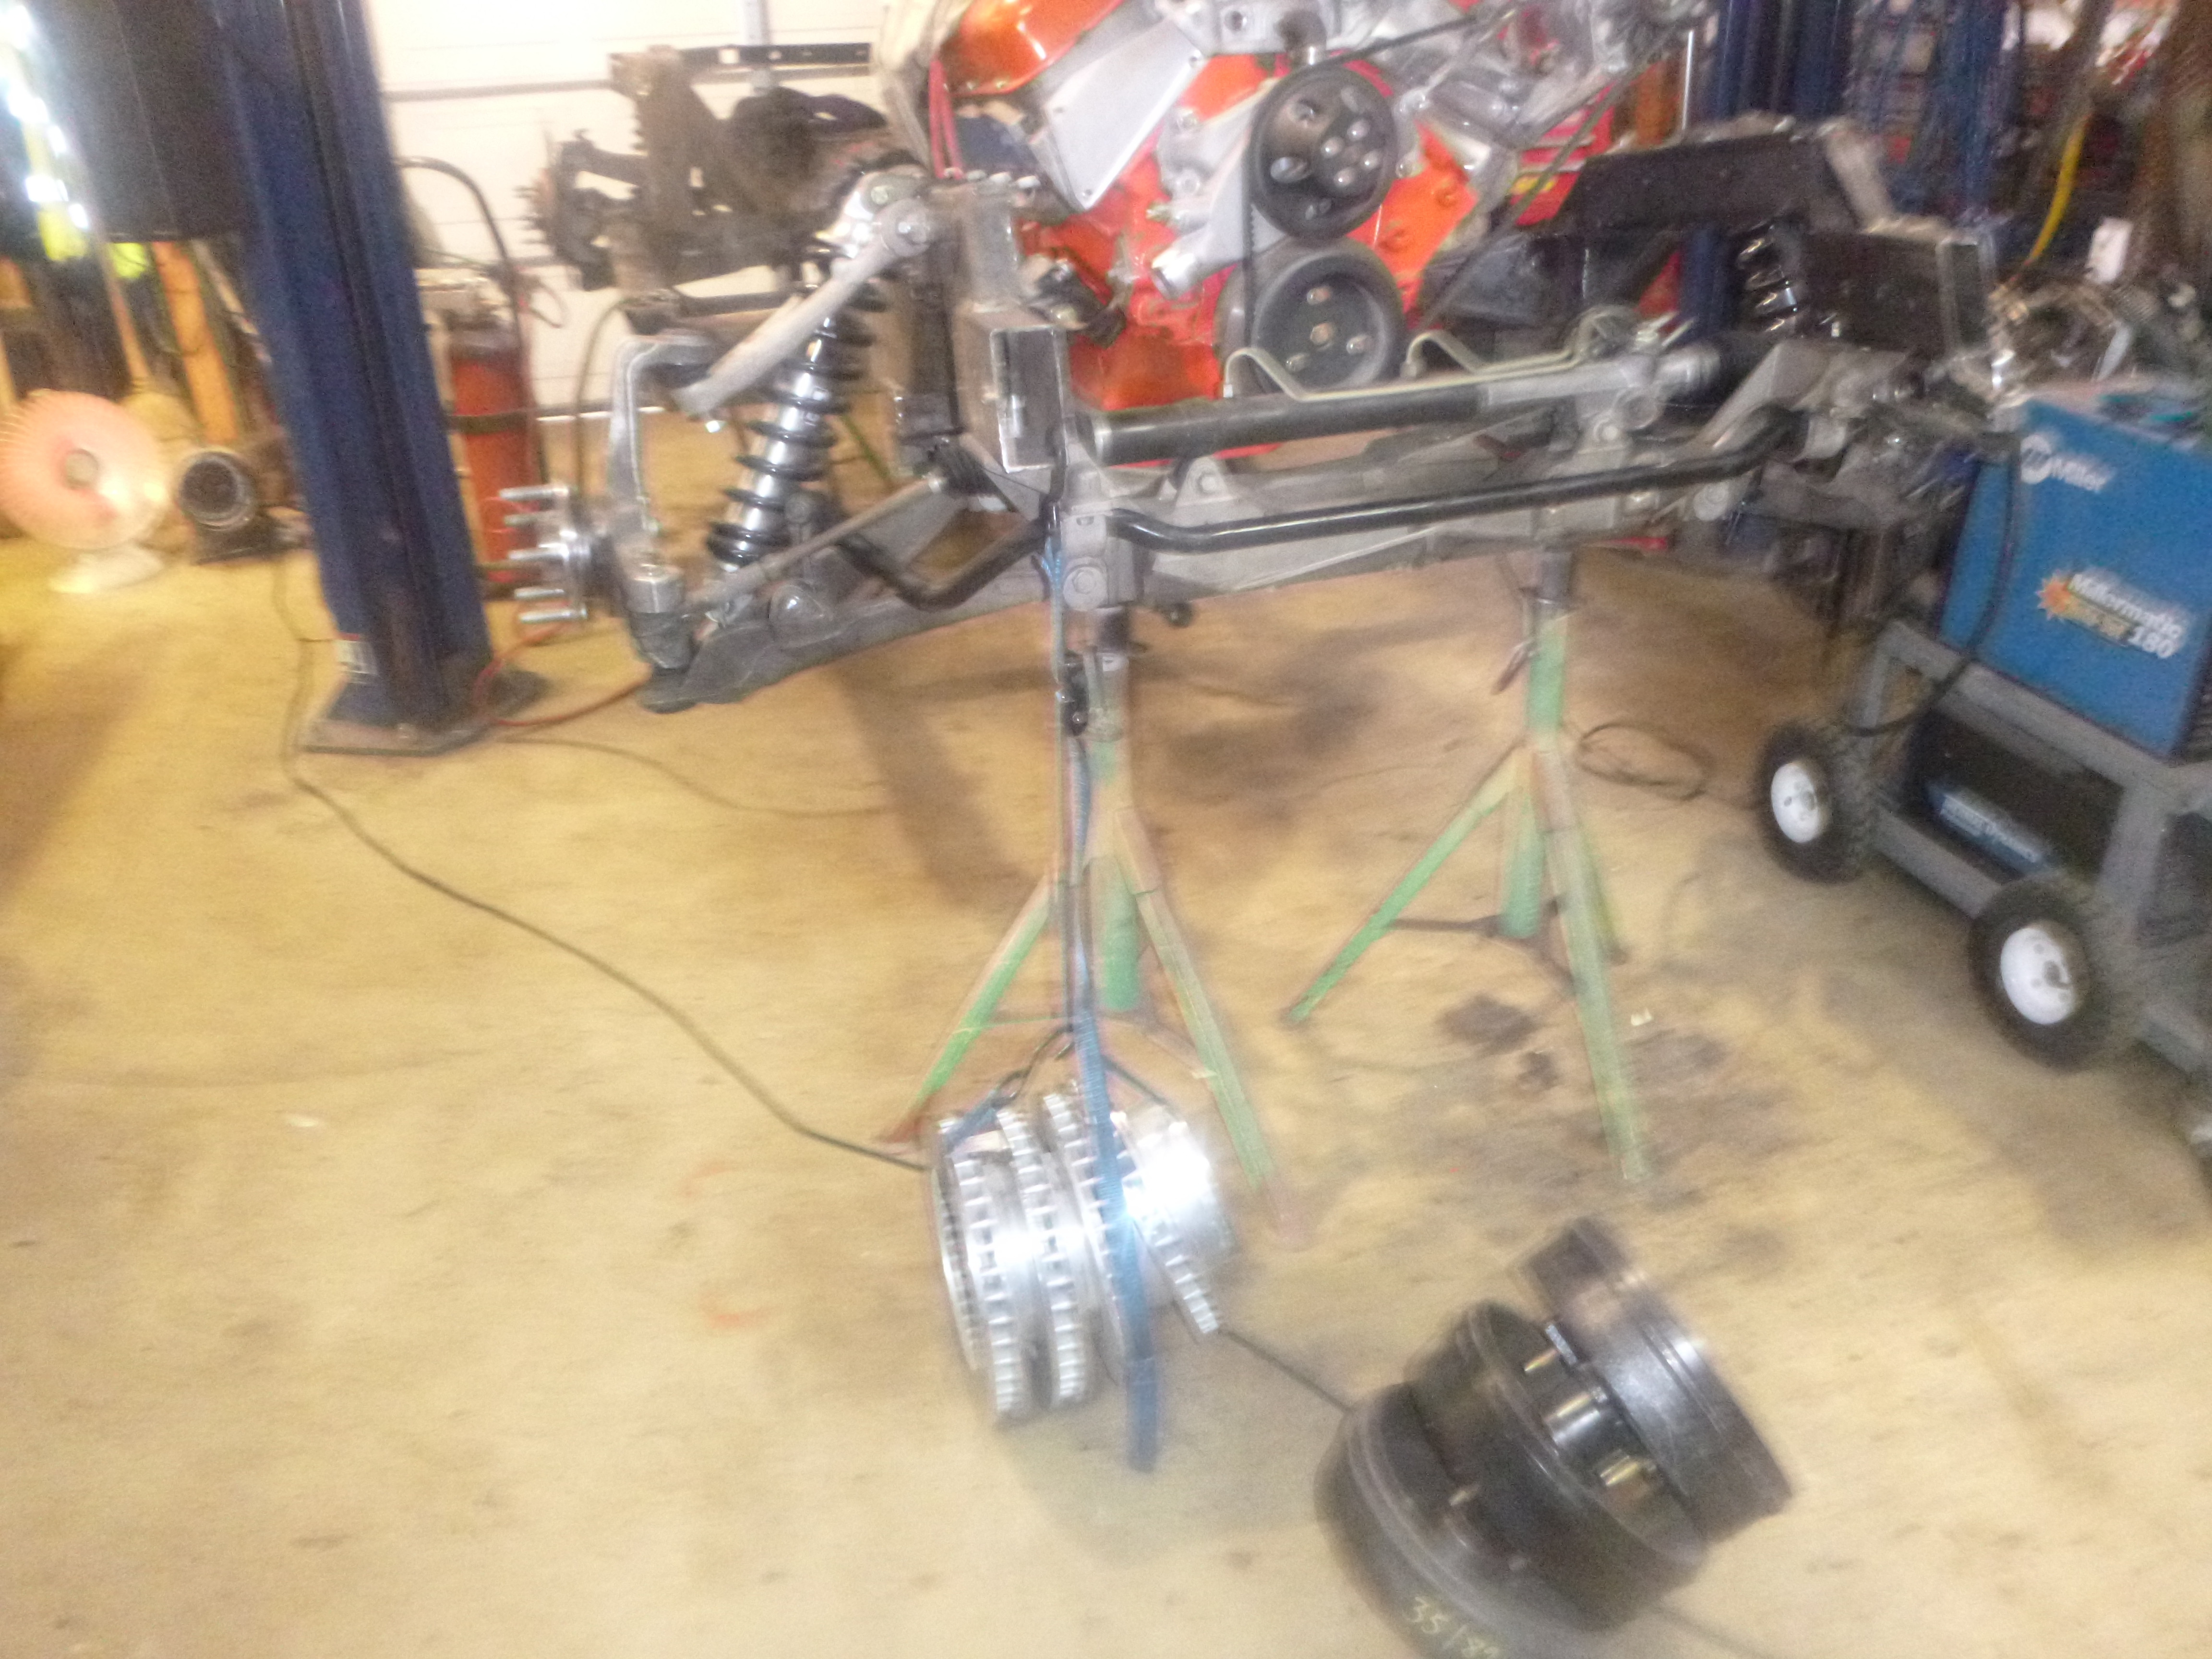
even had a minute to hit the frame with a wire wheel in prep for welding the frame. I think I'm going to weld it with the motor in place then pull the motor, flip the frame then weld and brace the rest....
in other news, the Colorado hauls the Jeep even better then the Hummer did - though it may be the Ford hubcaps on the trailer, after all Fords get towed very well
yet I still did get to fun stuff
even had a minute to hit the frame with a wire wheel in prep for welding the frame. I think I'm going to weld it with the motor in place then pull the motor, flip the frame then weld and brace the rest....
The following users liked this post:
gtmsomeday (01-22-2019)
01-25-2019, 12:49 AM
#239
Melting Slicks
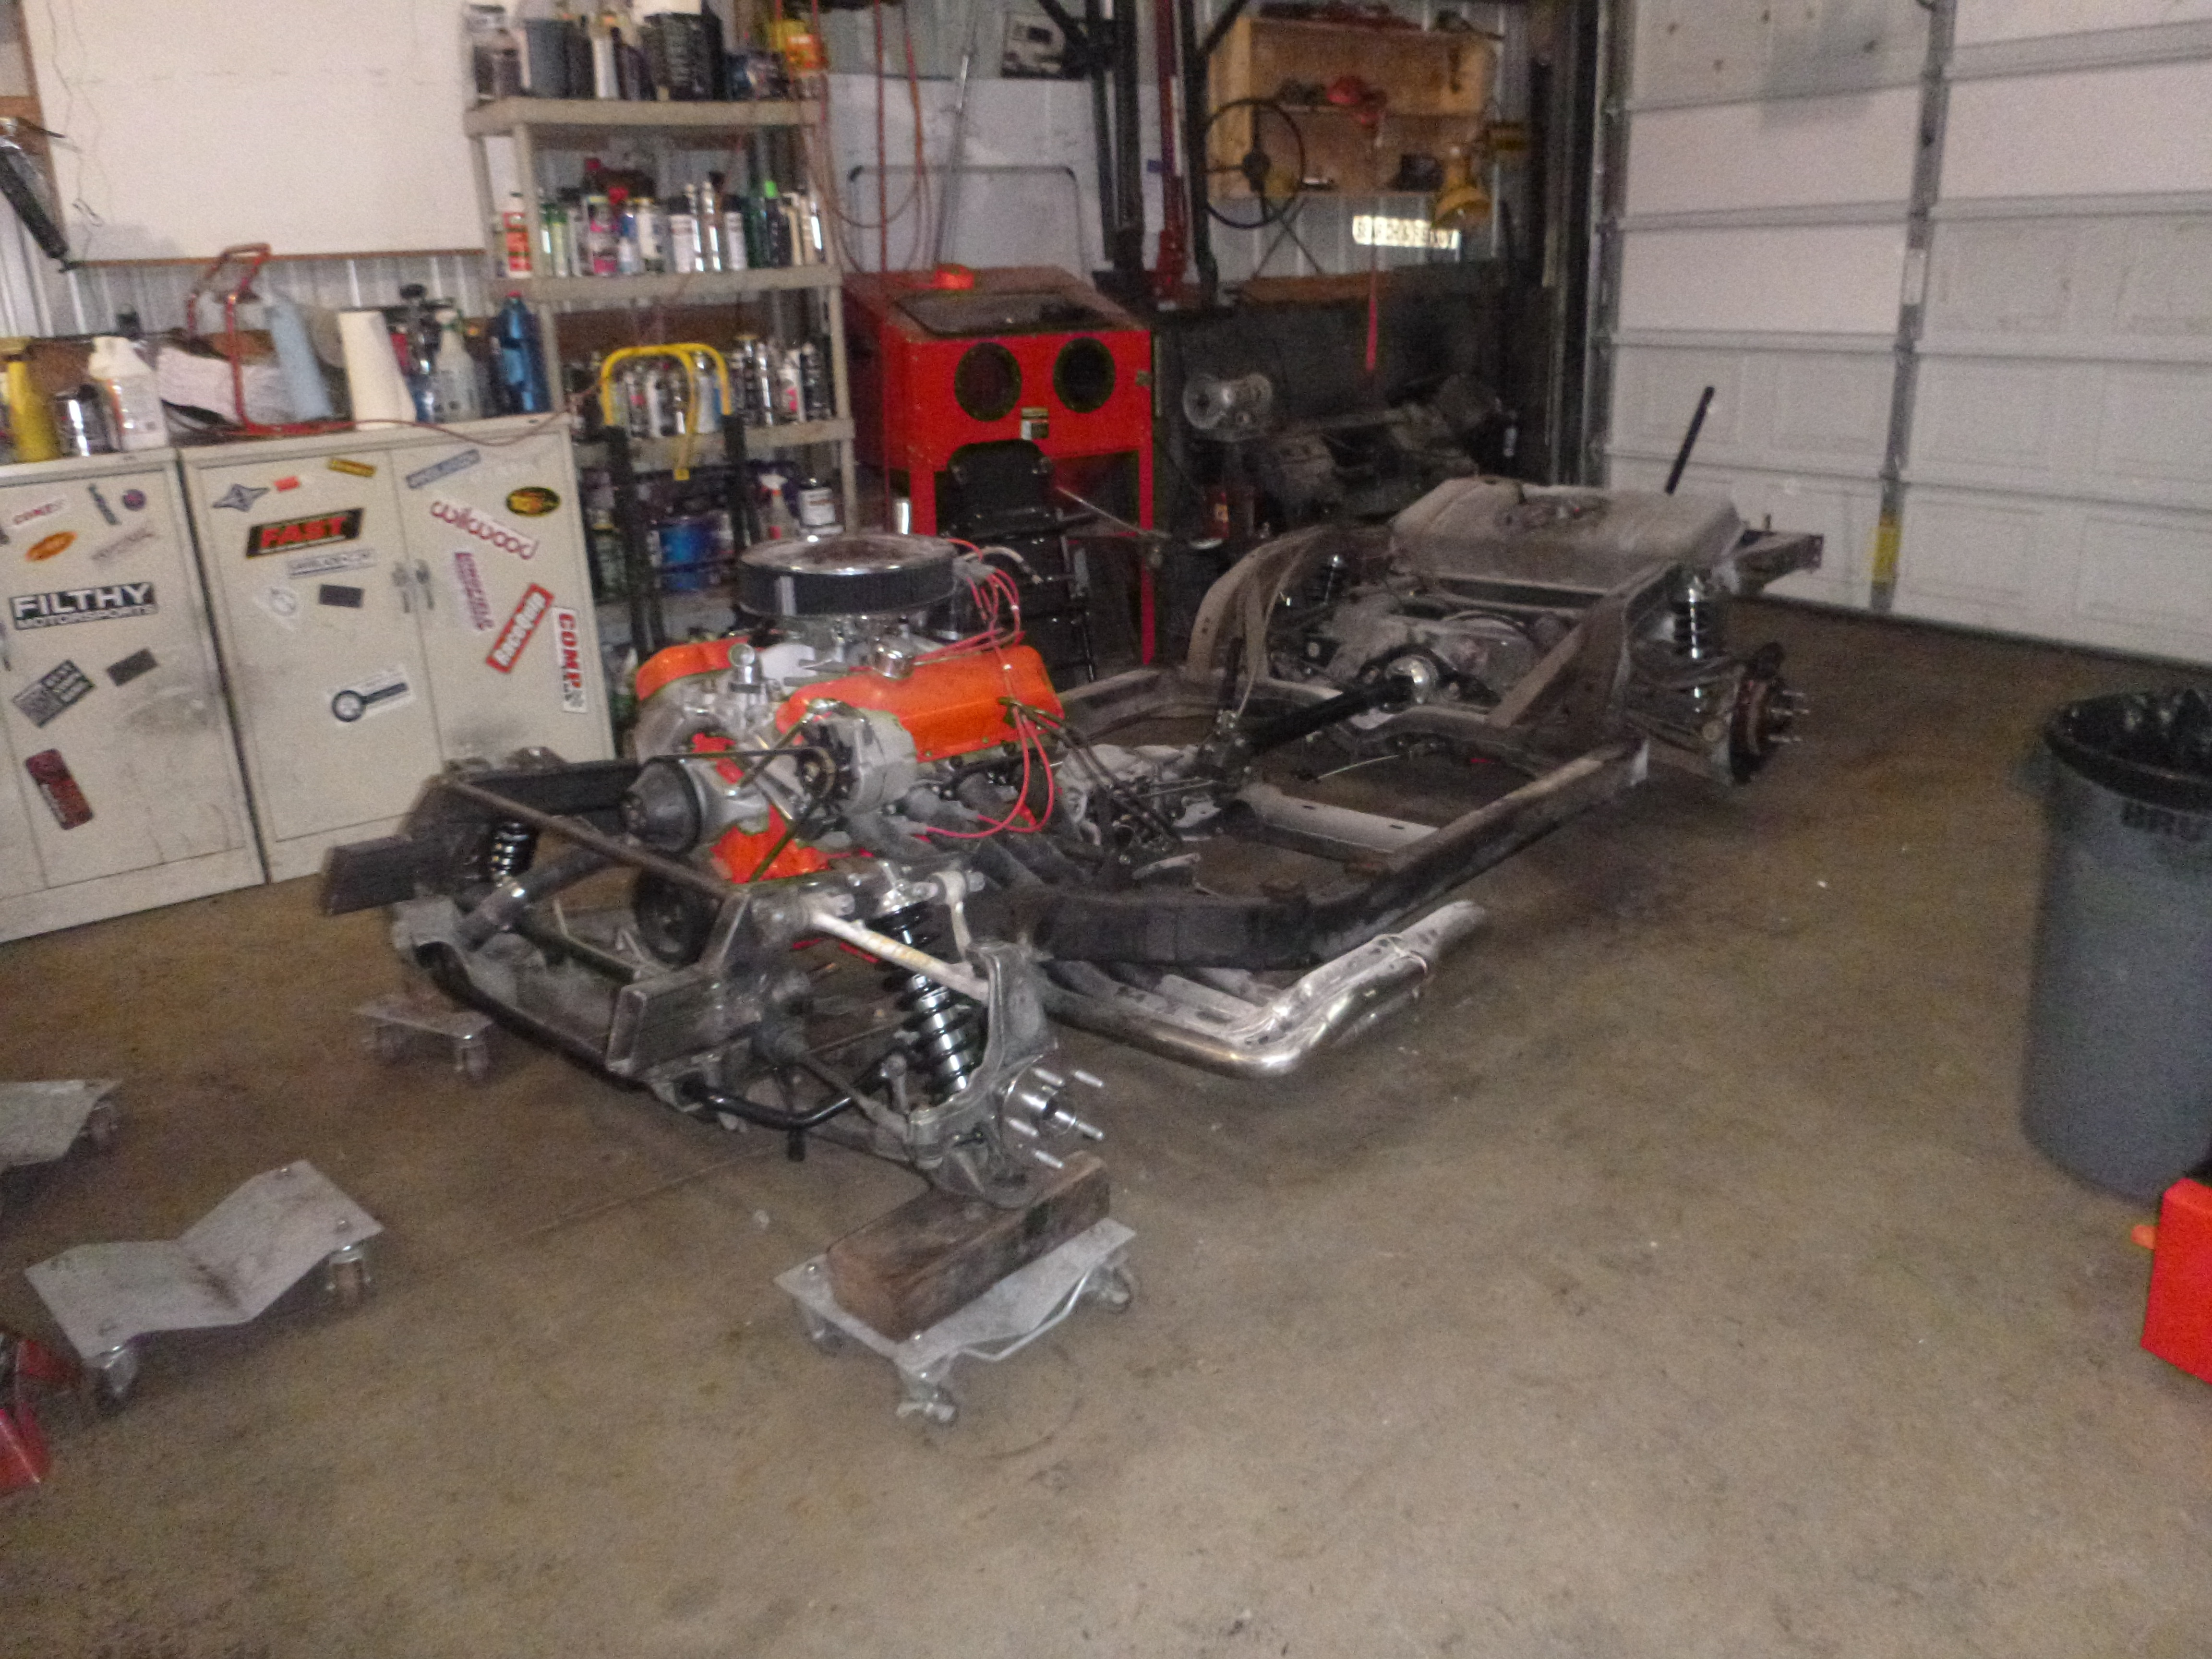
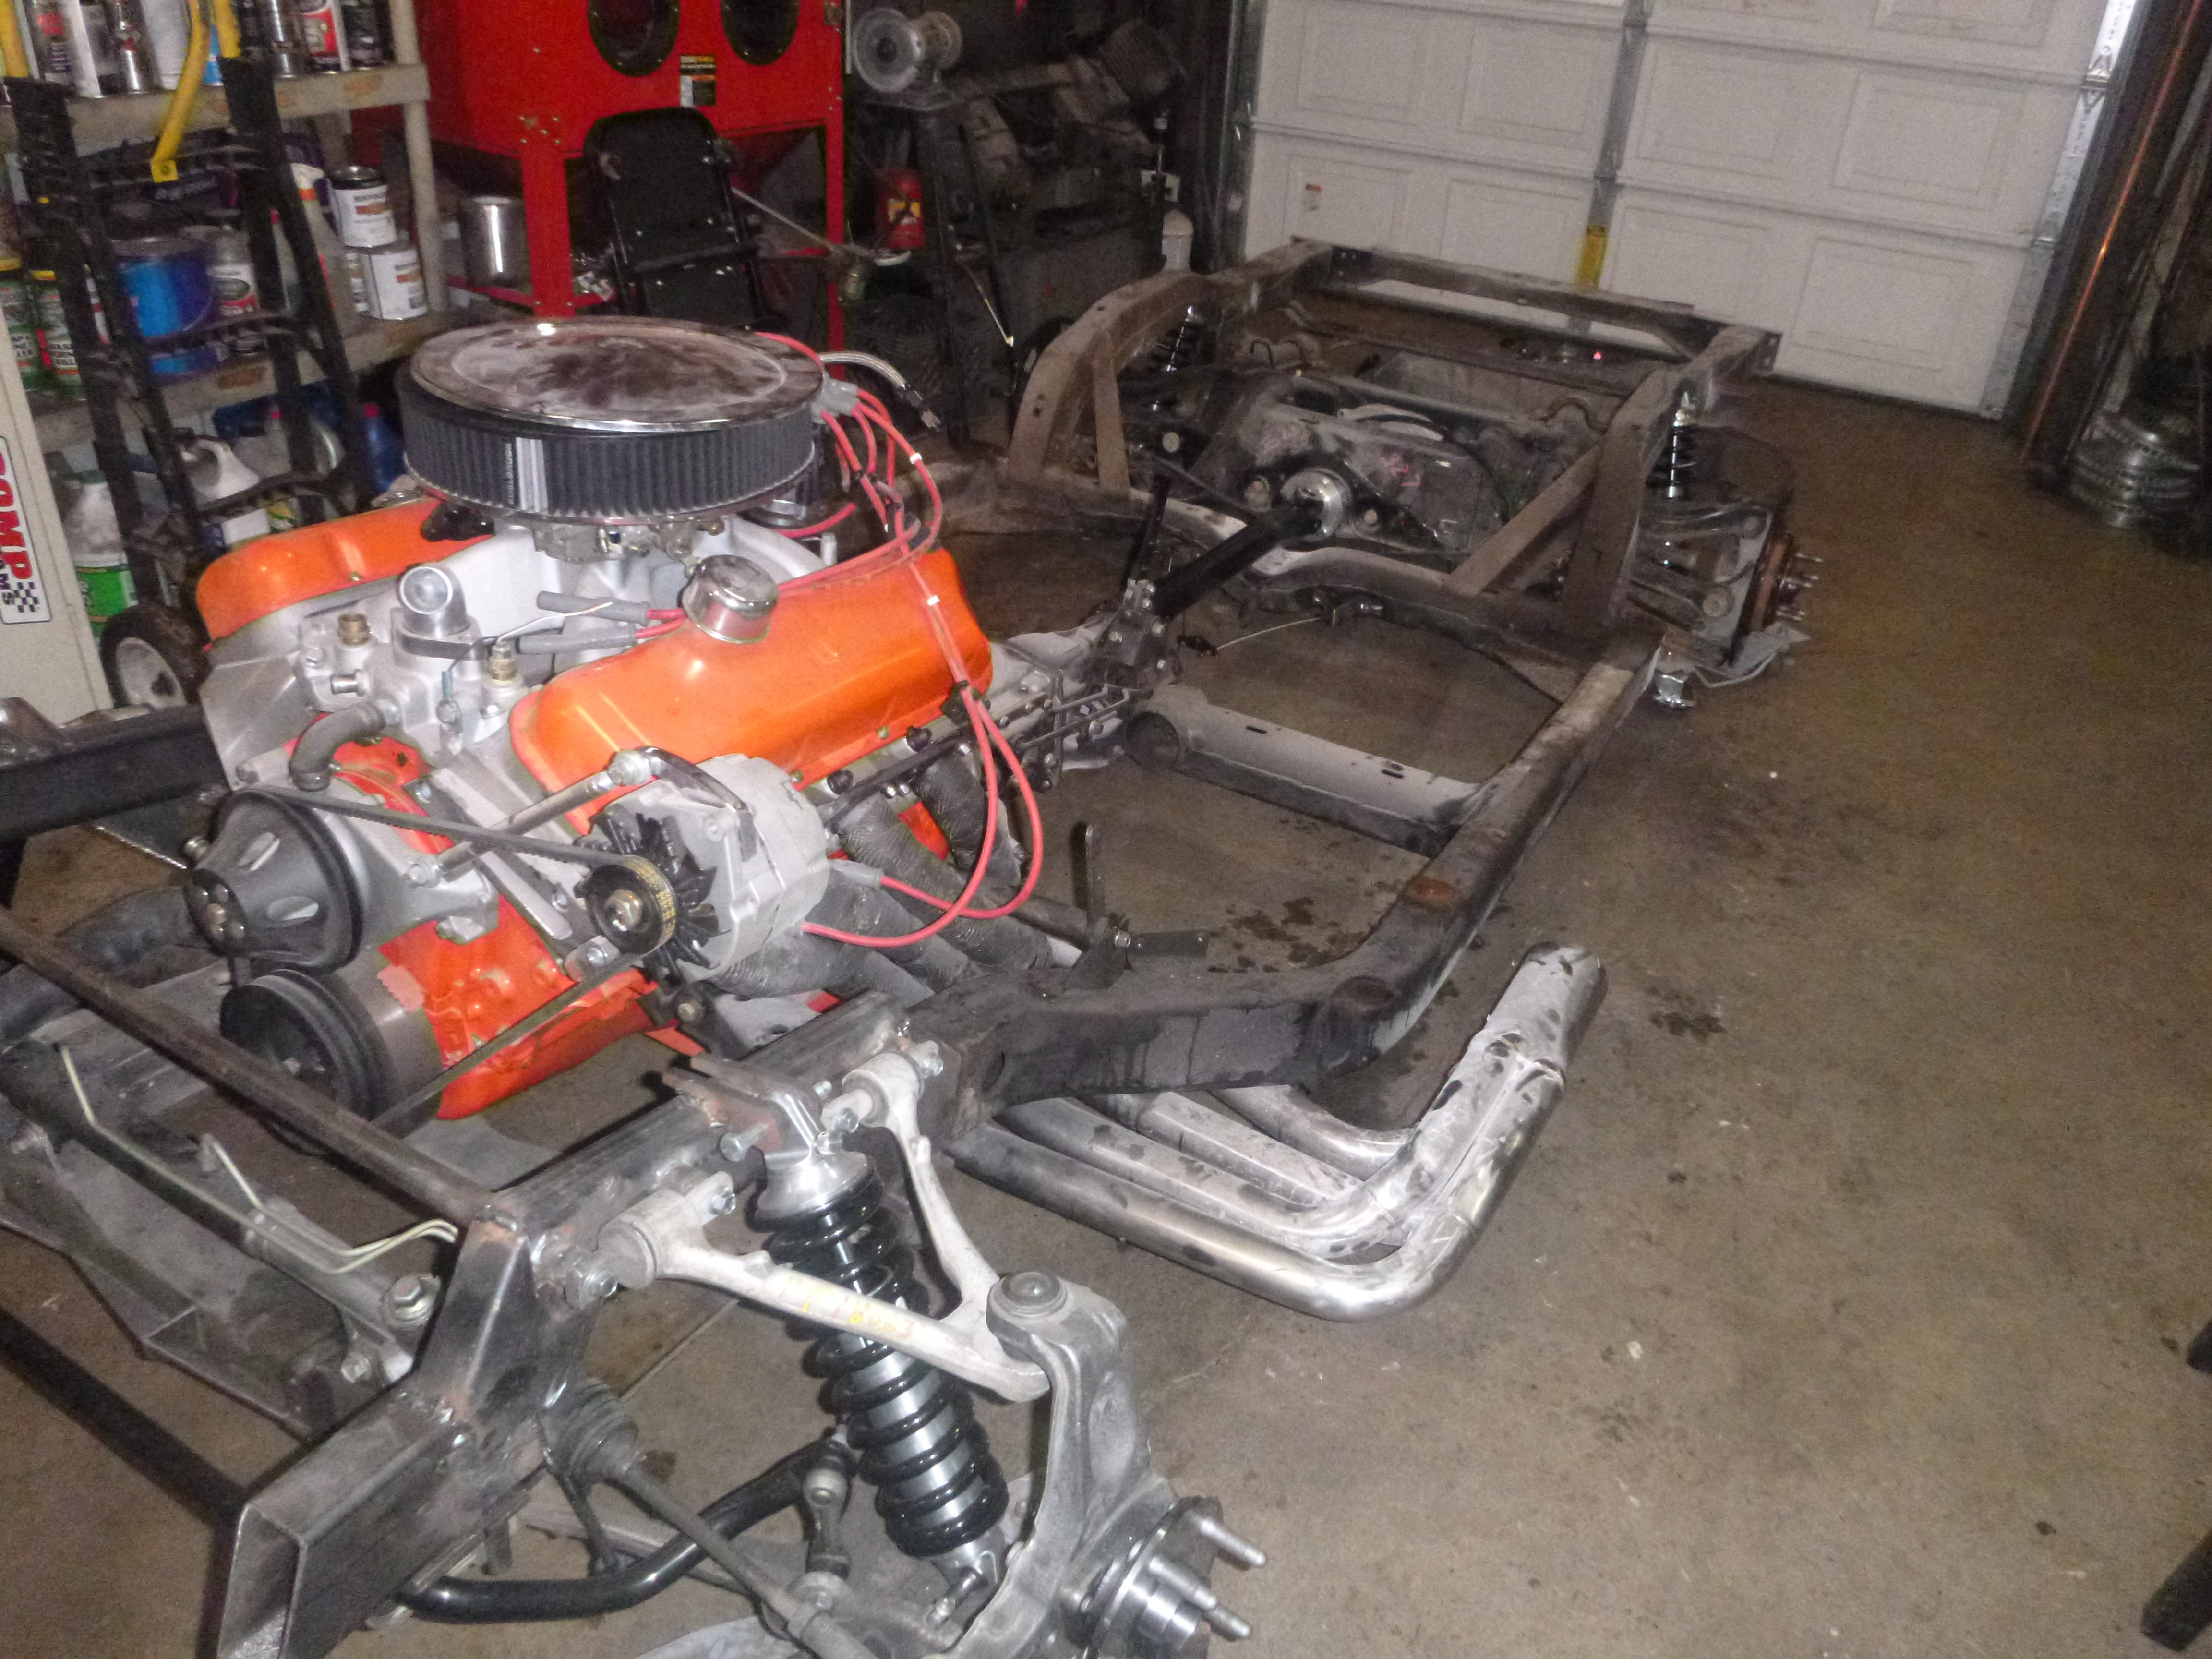
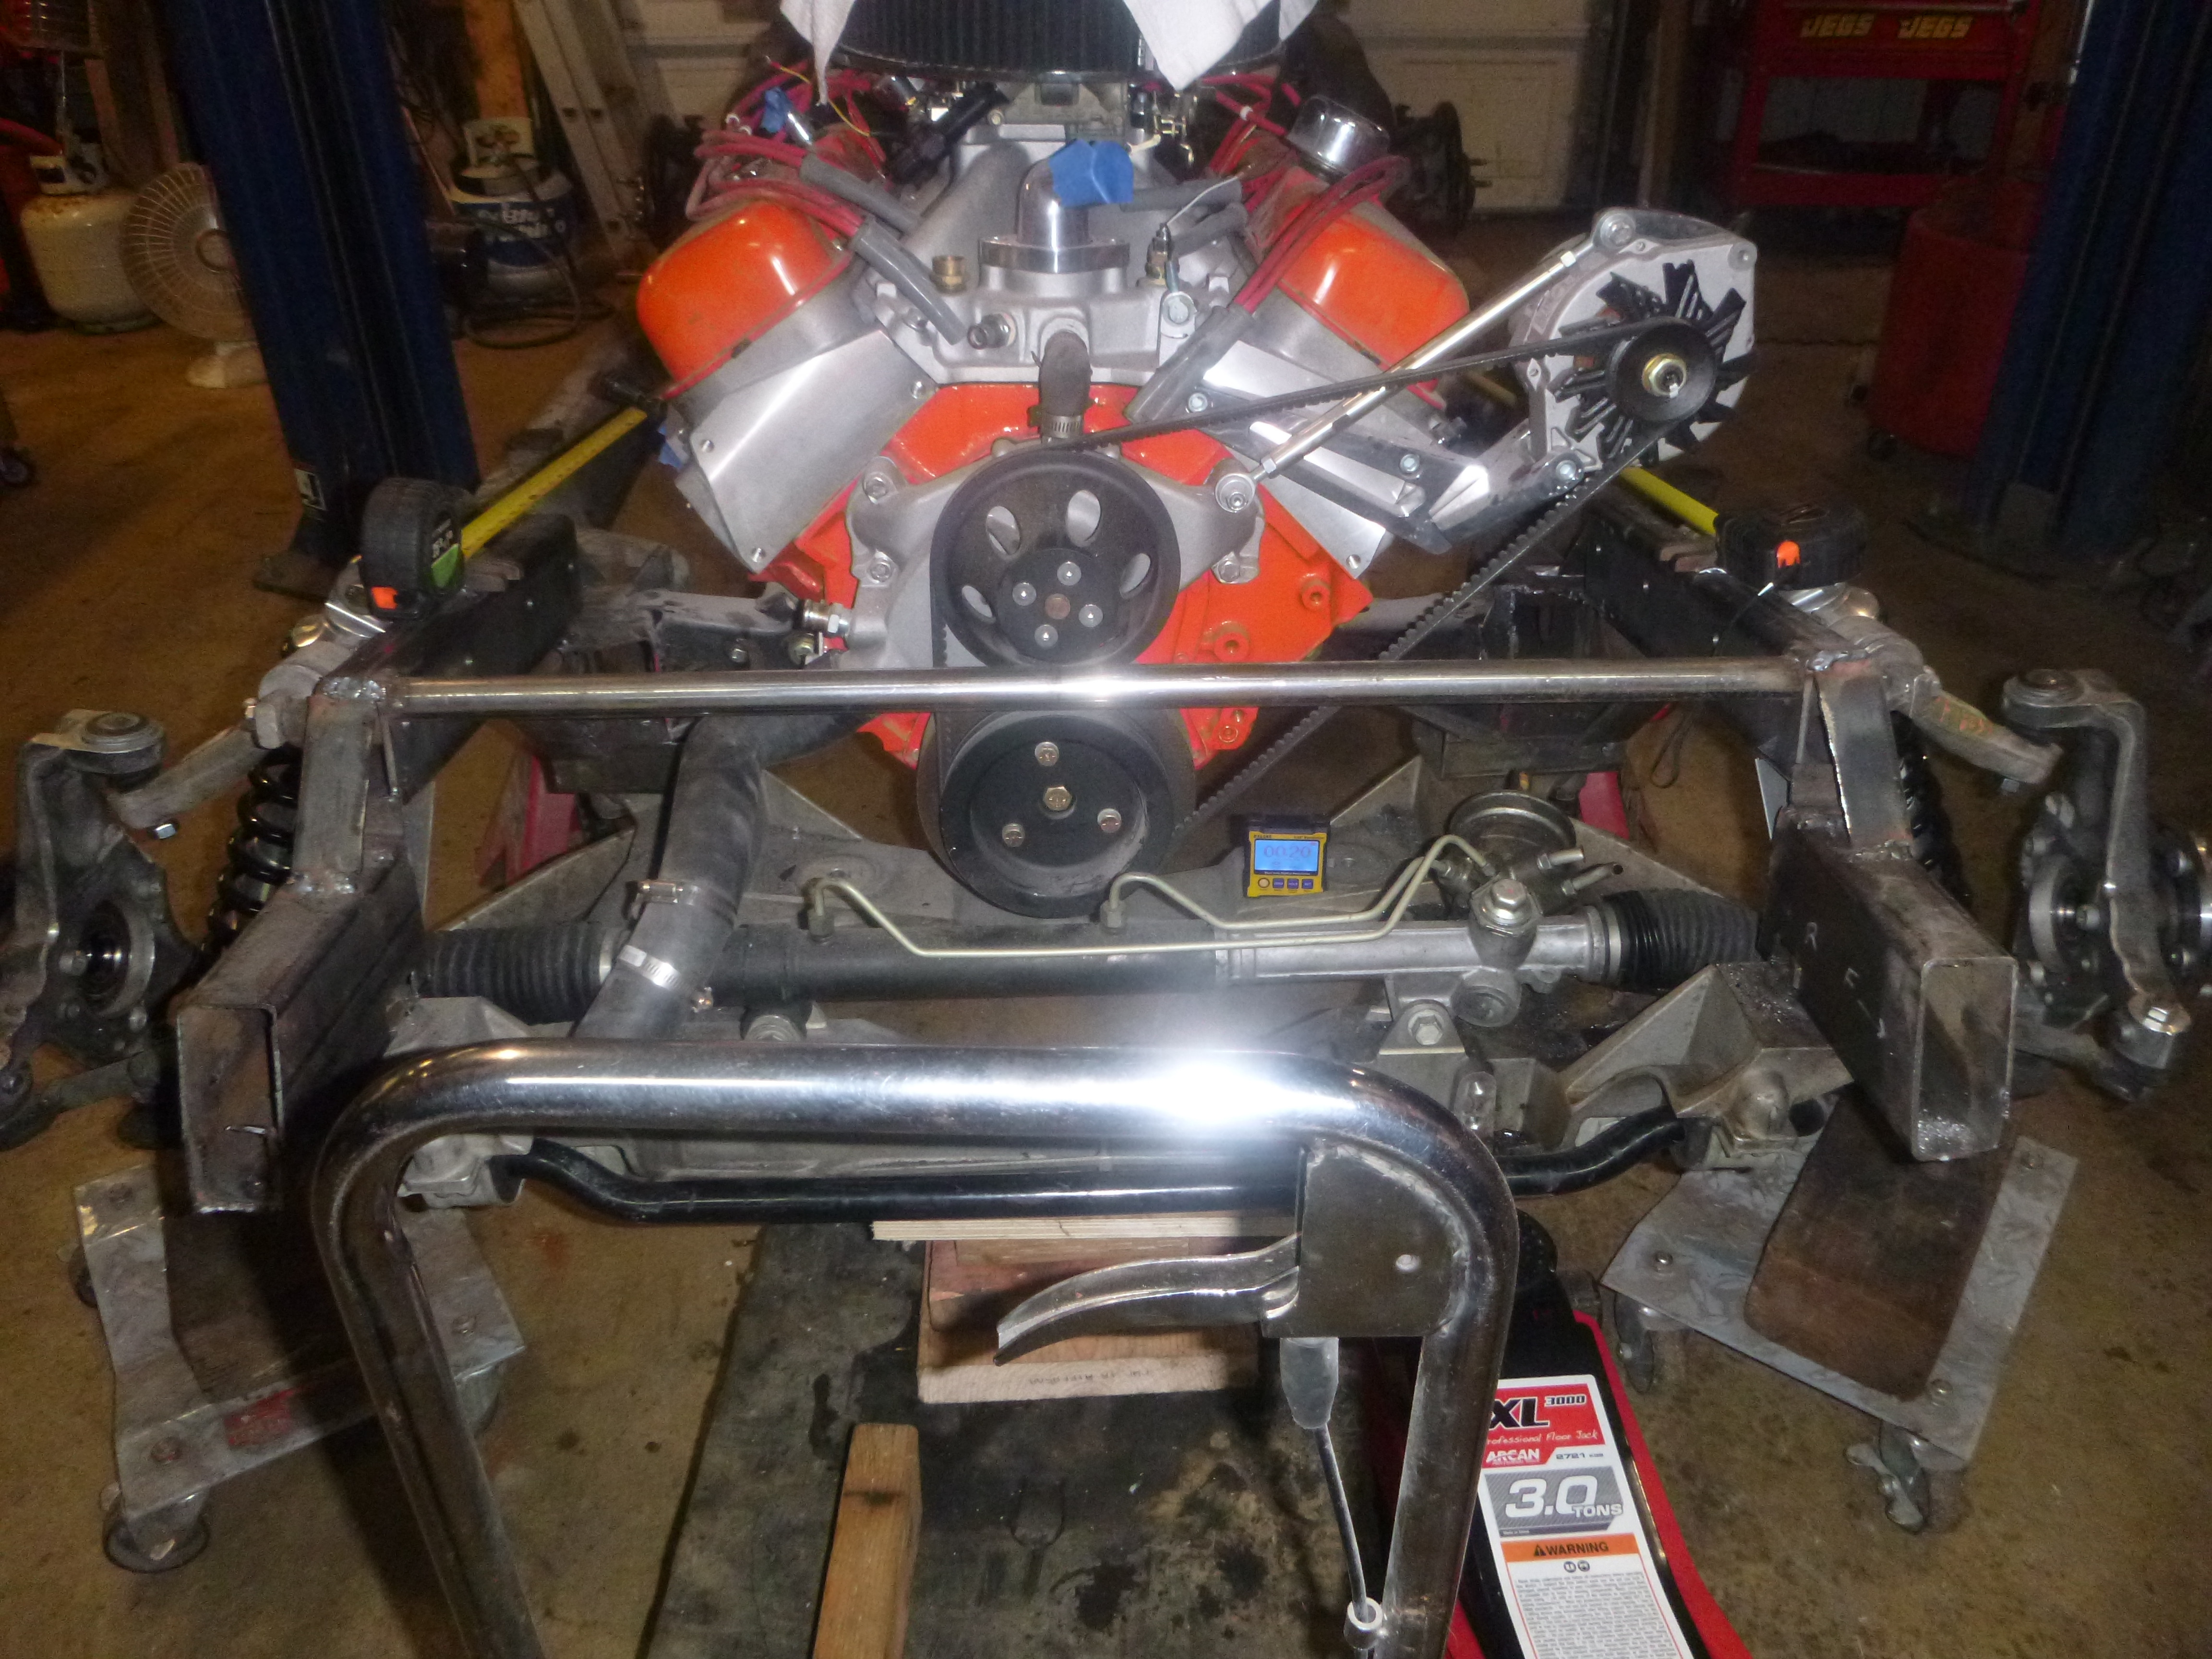
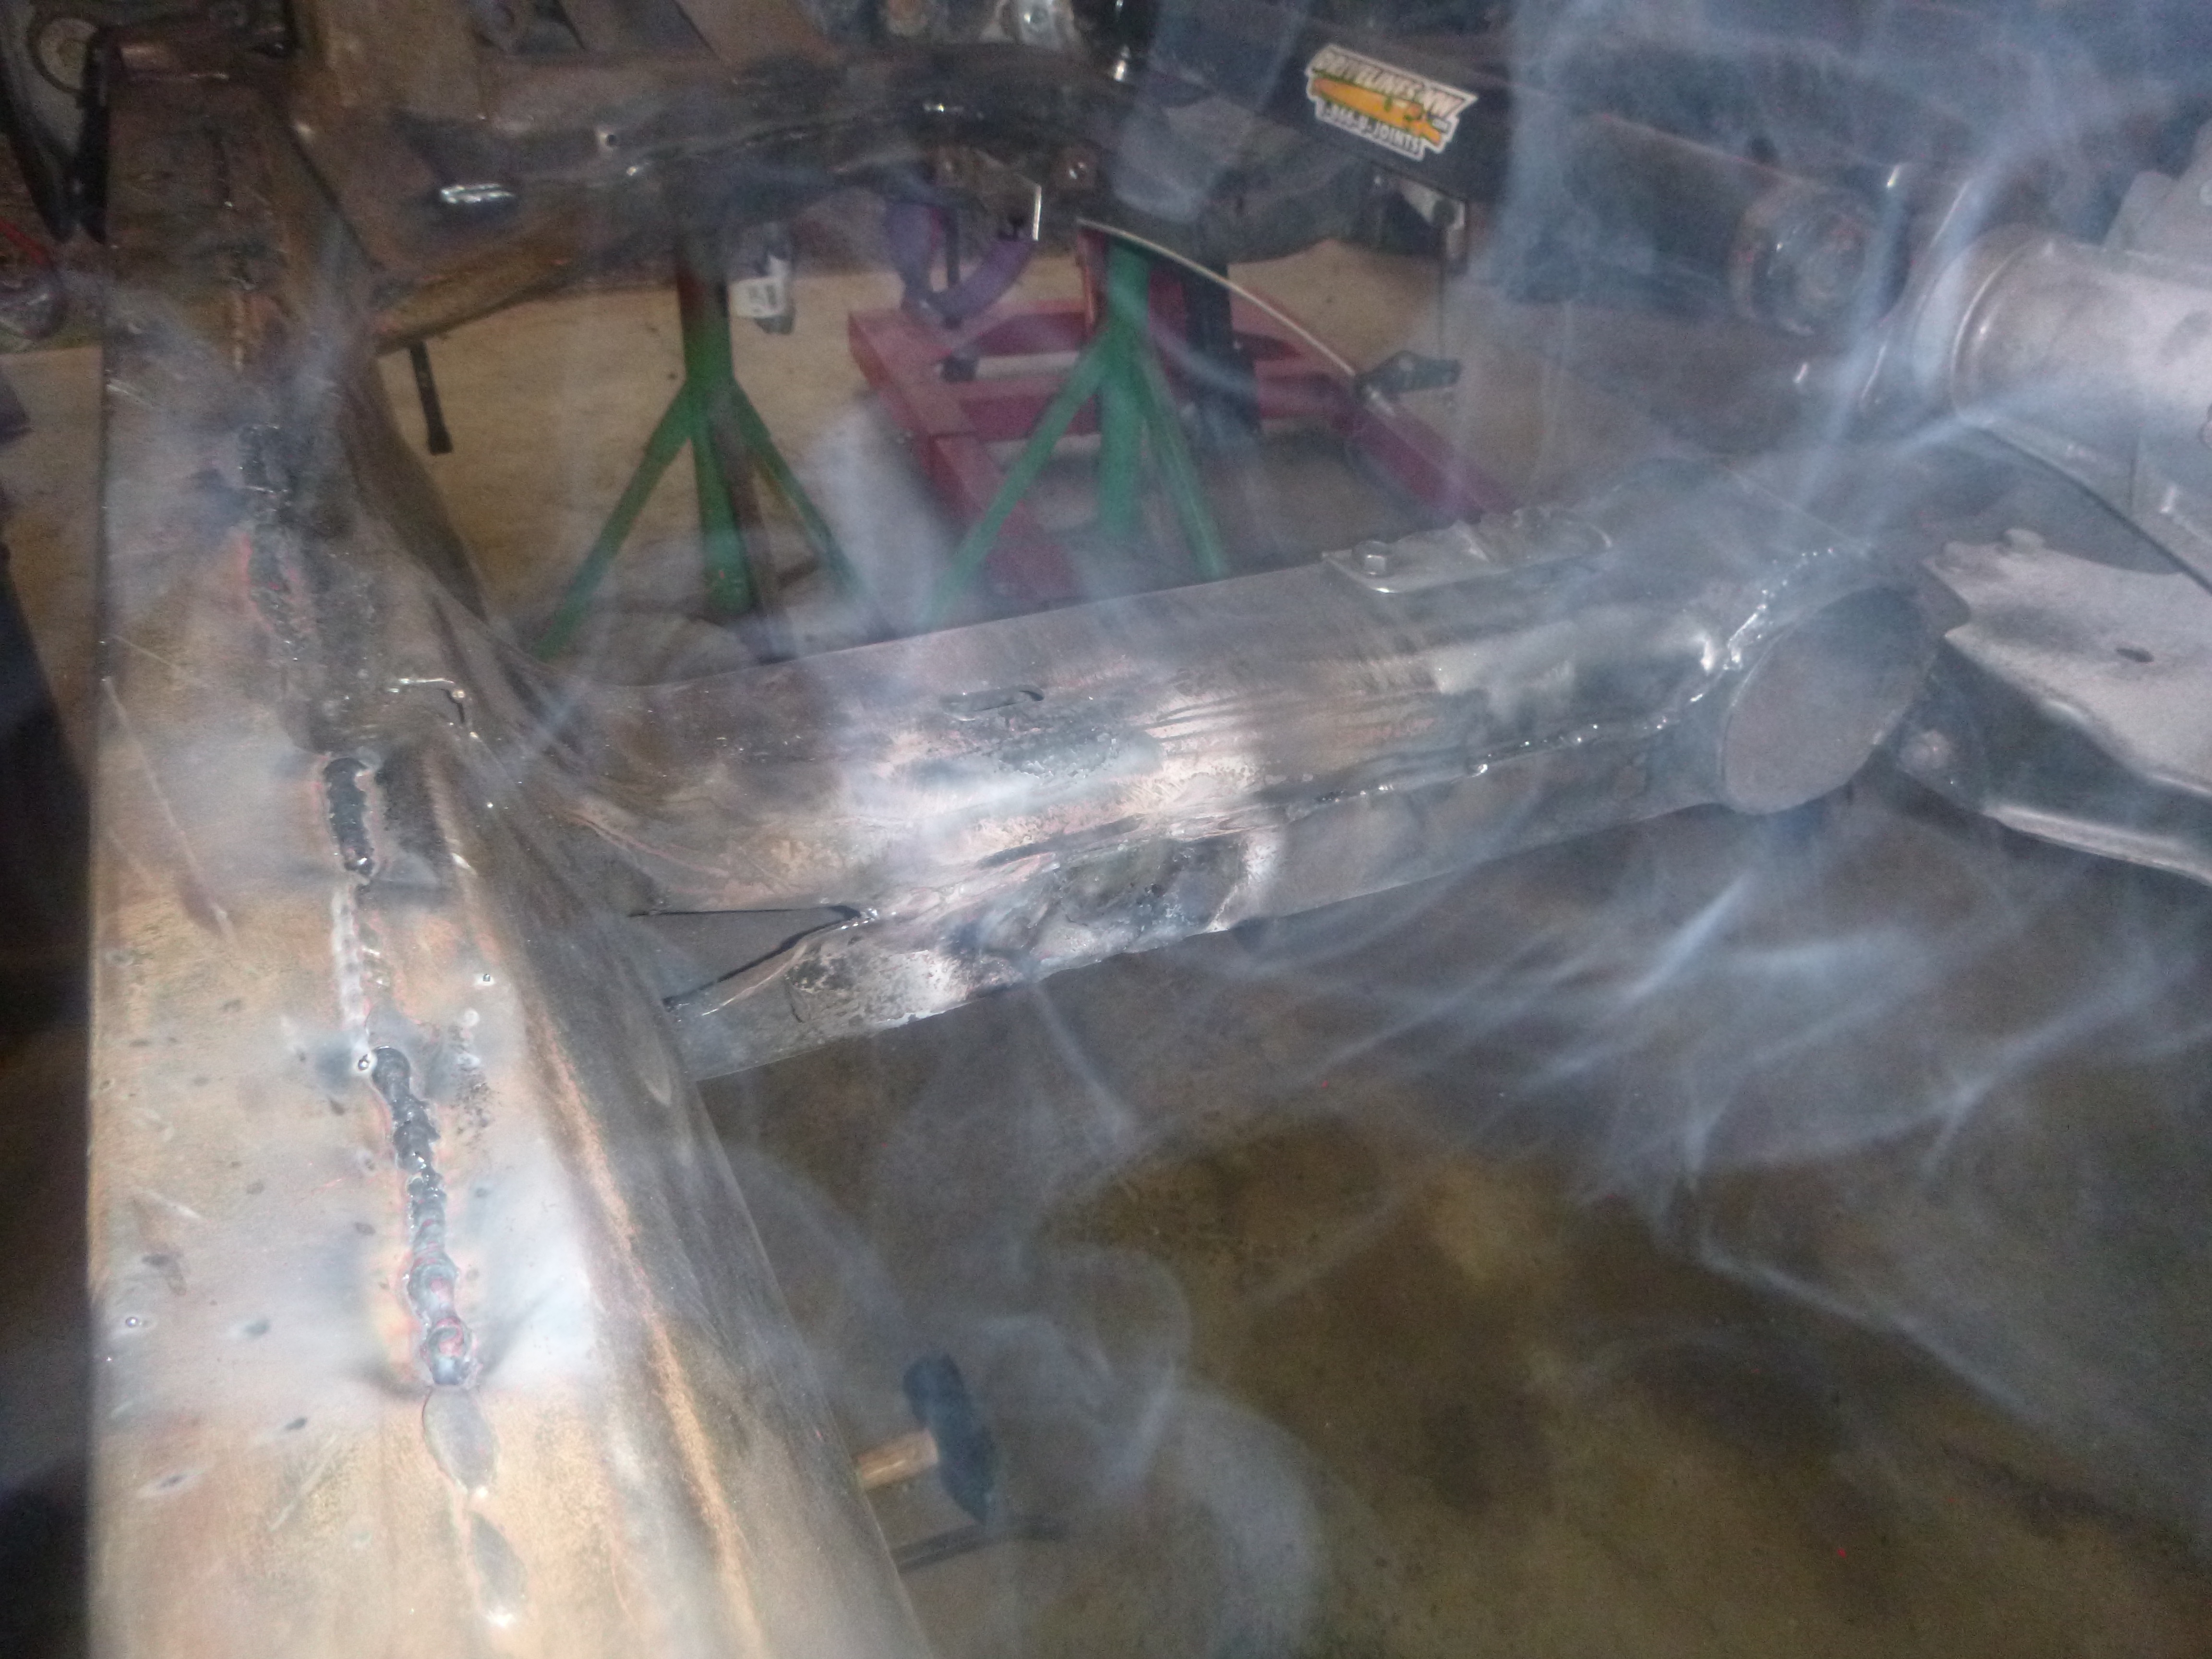
time to start welding.... motor is in and it's resting level and on its suspension points.... and the frame wasn't flat, so I'll weld it flat in this process
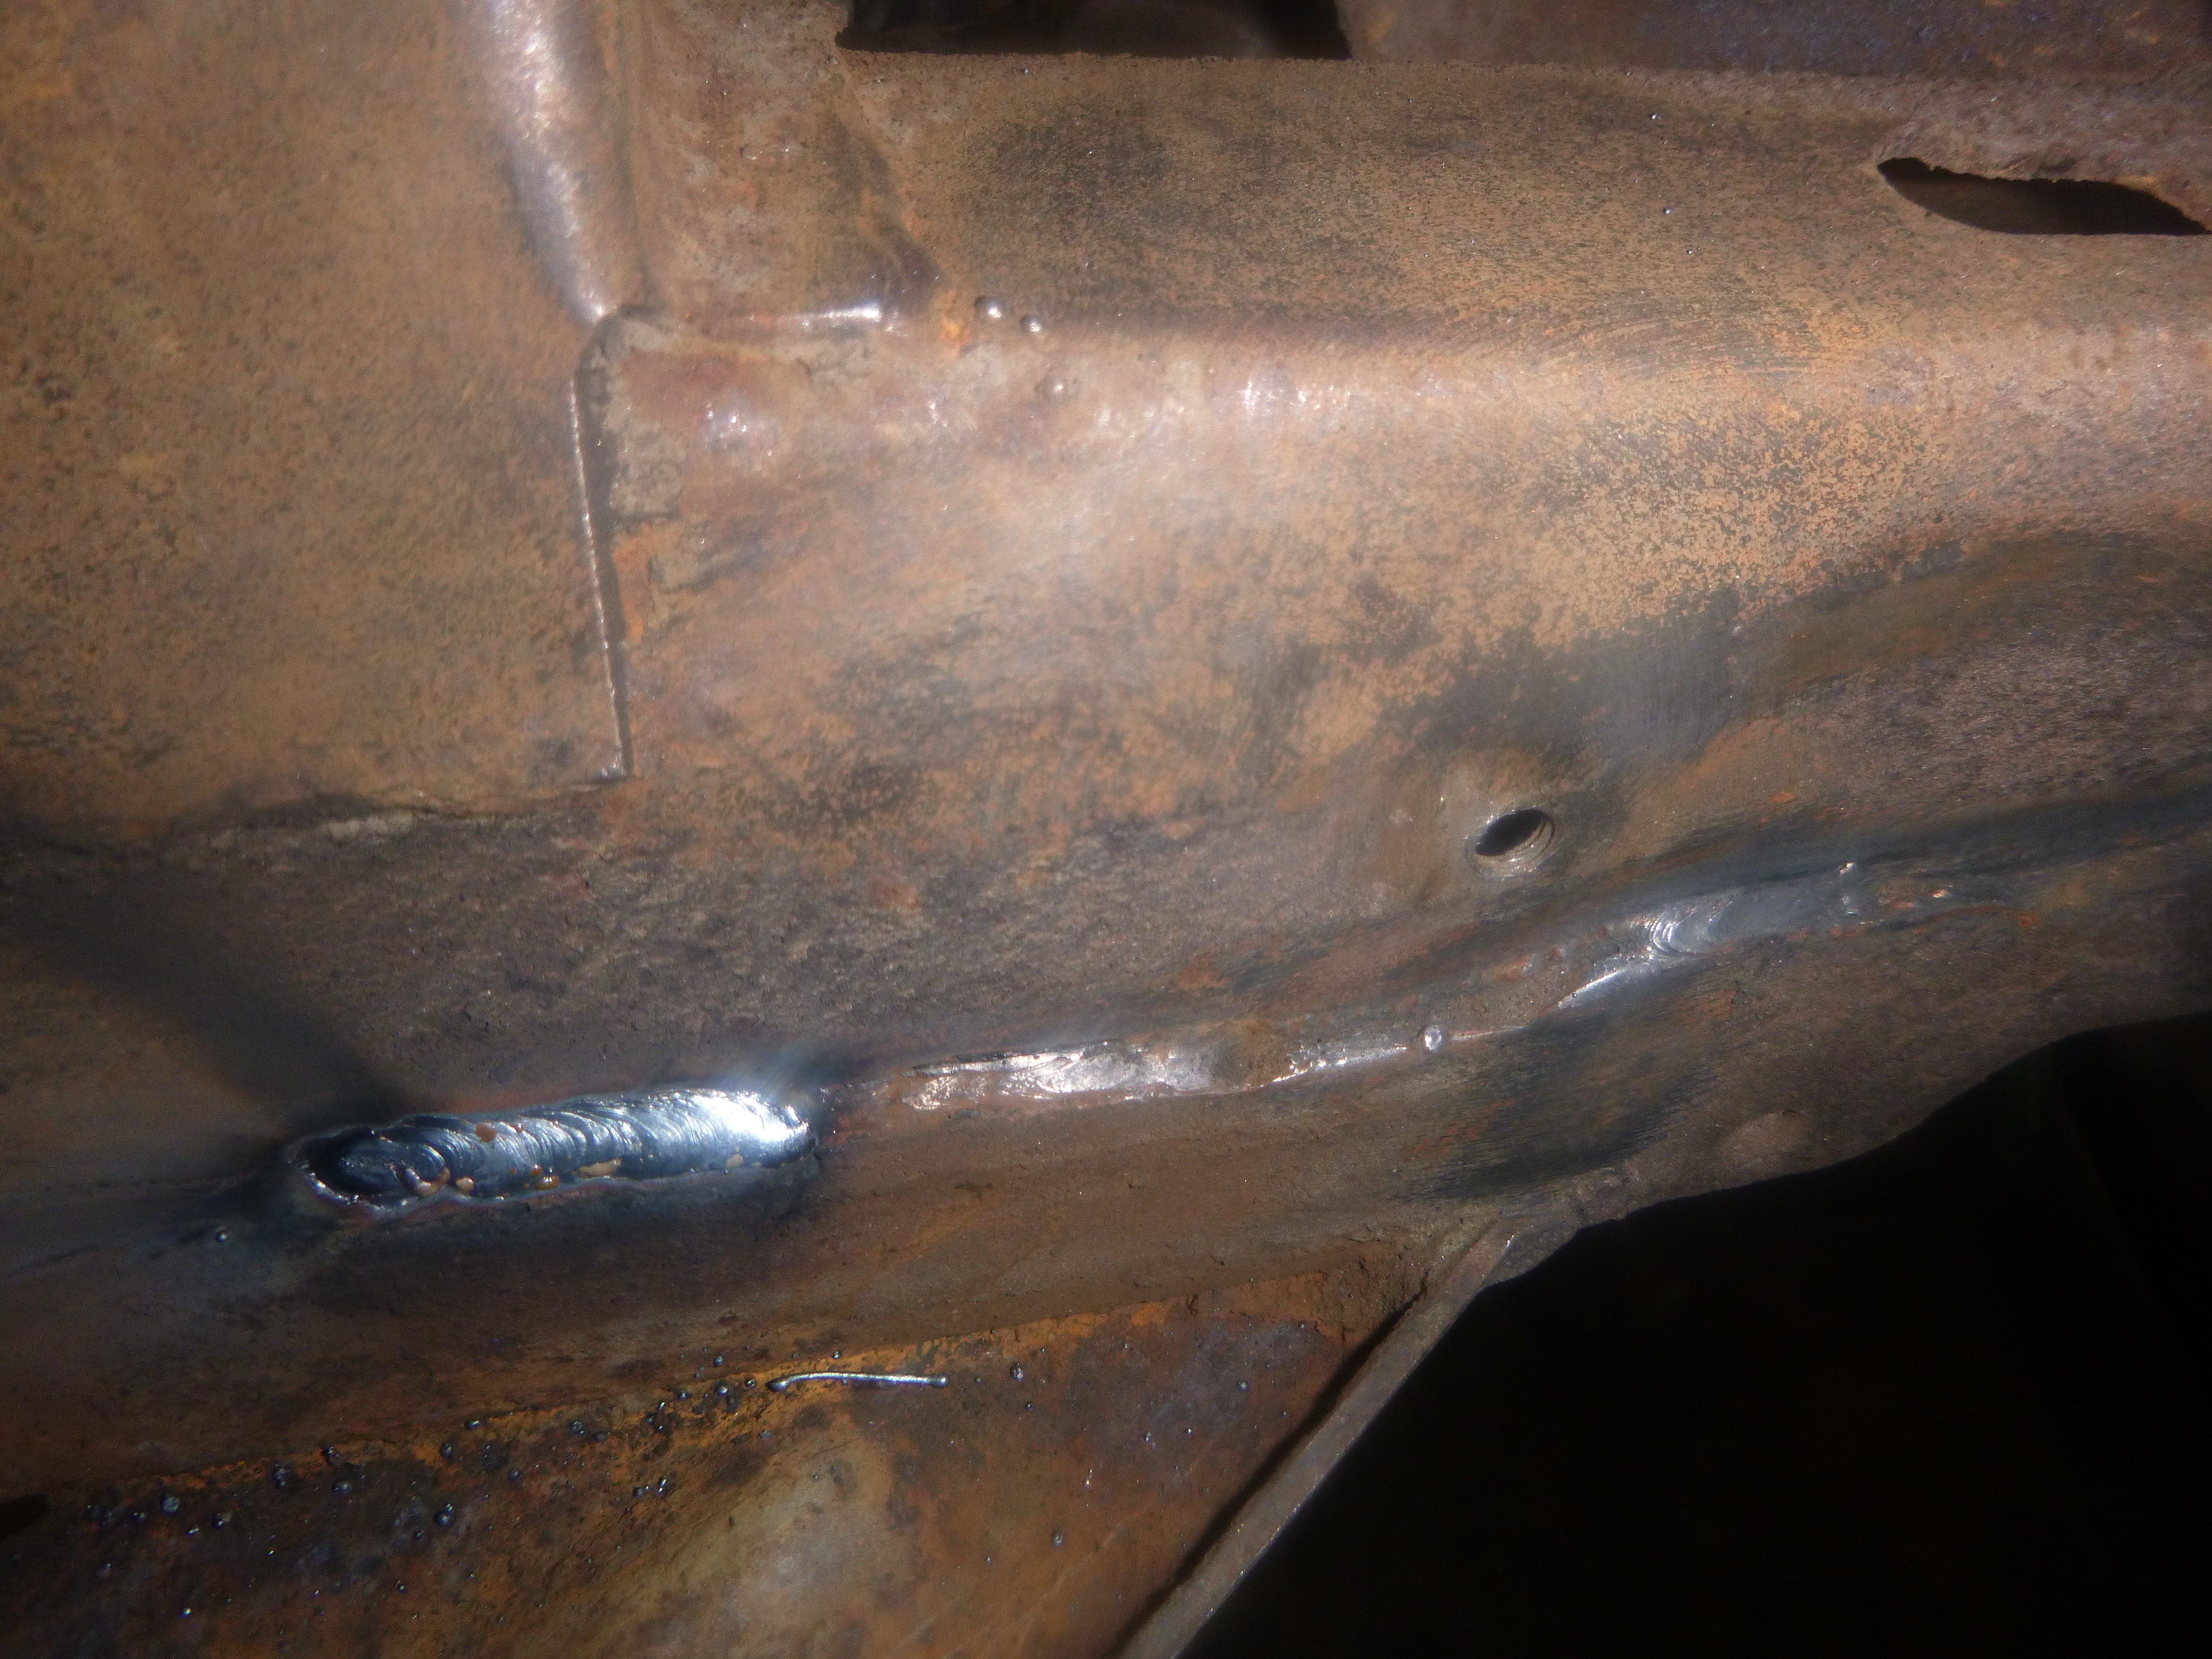
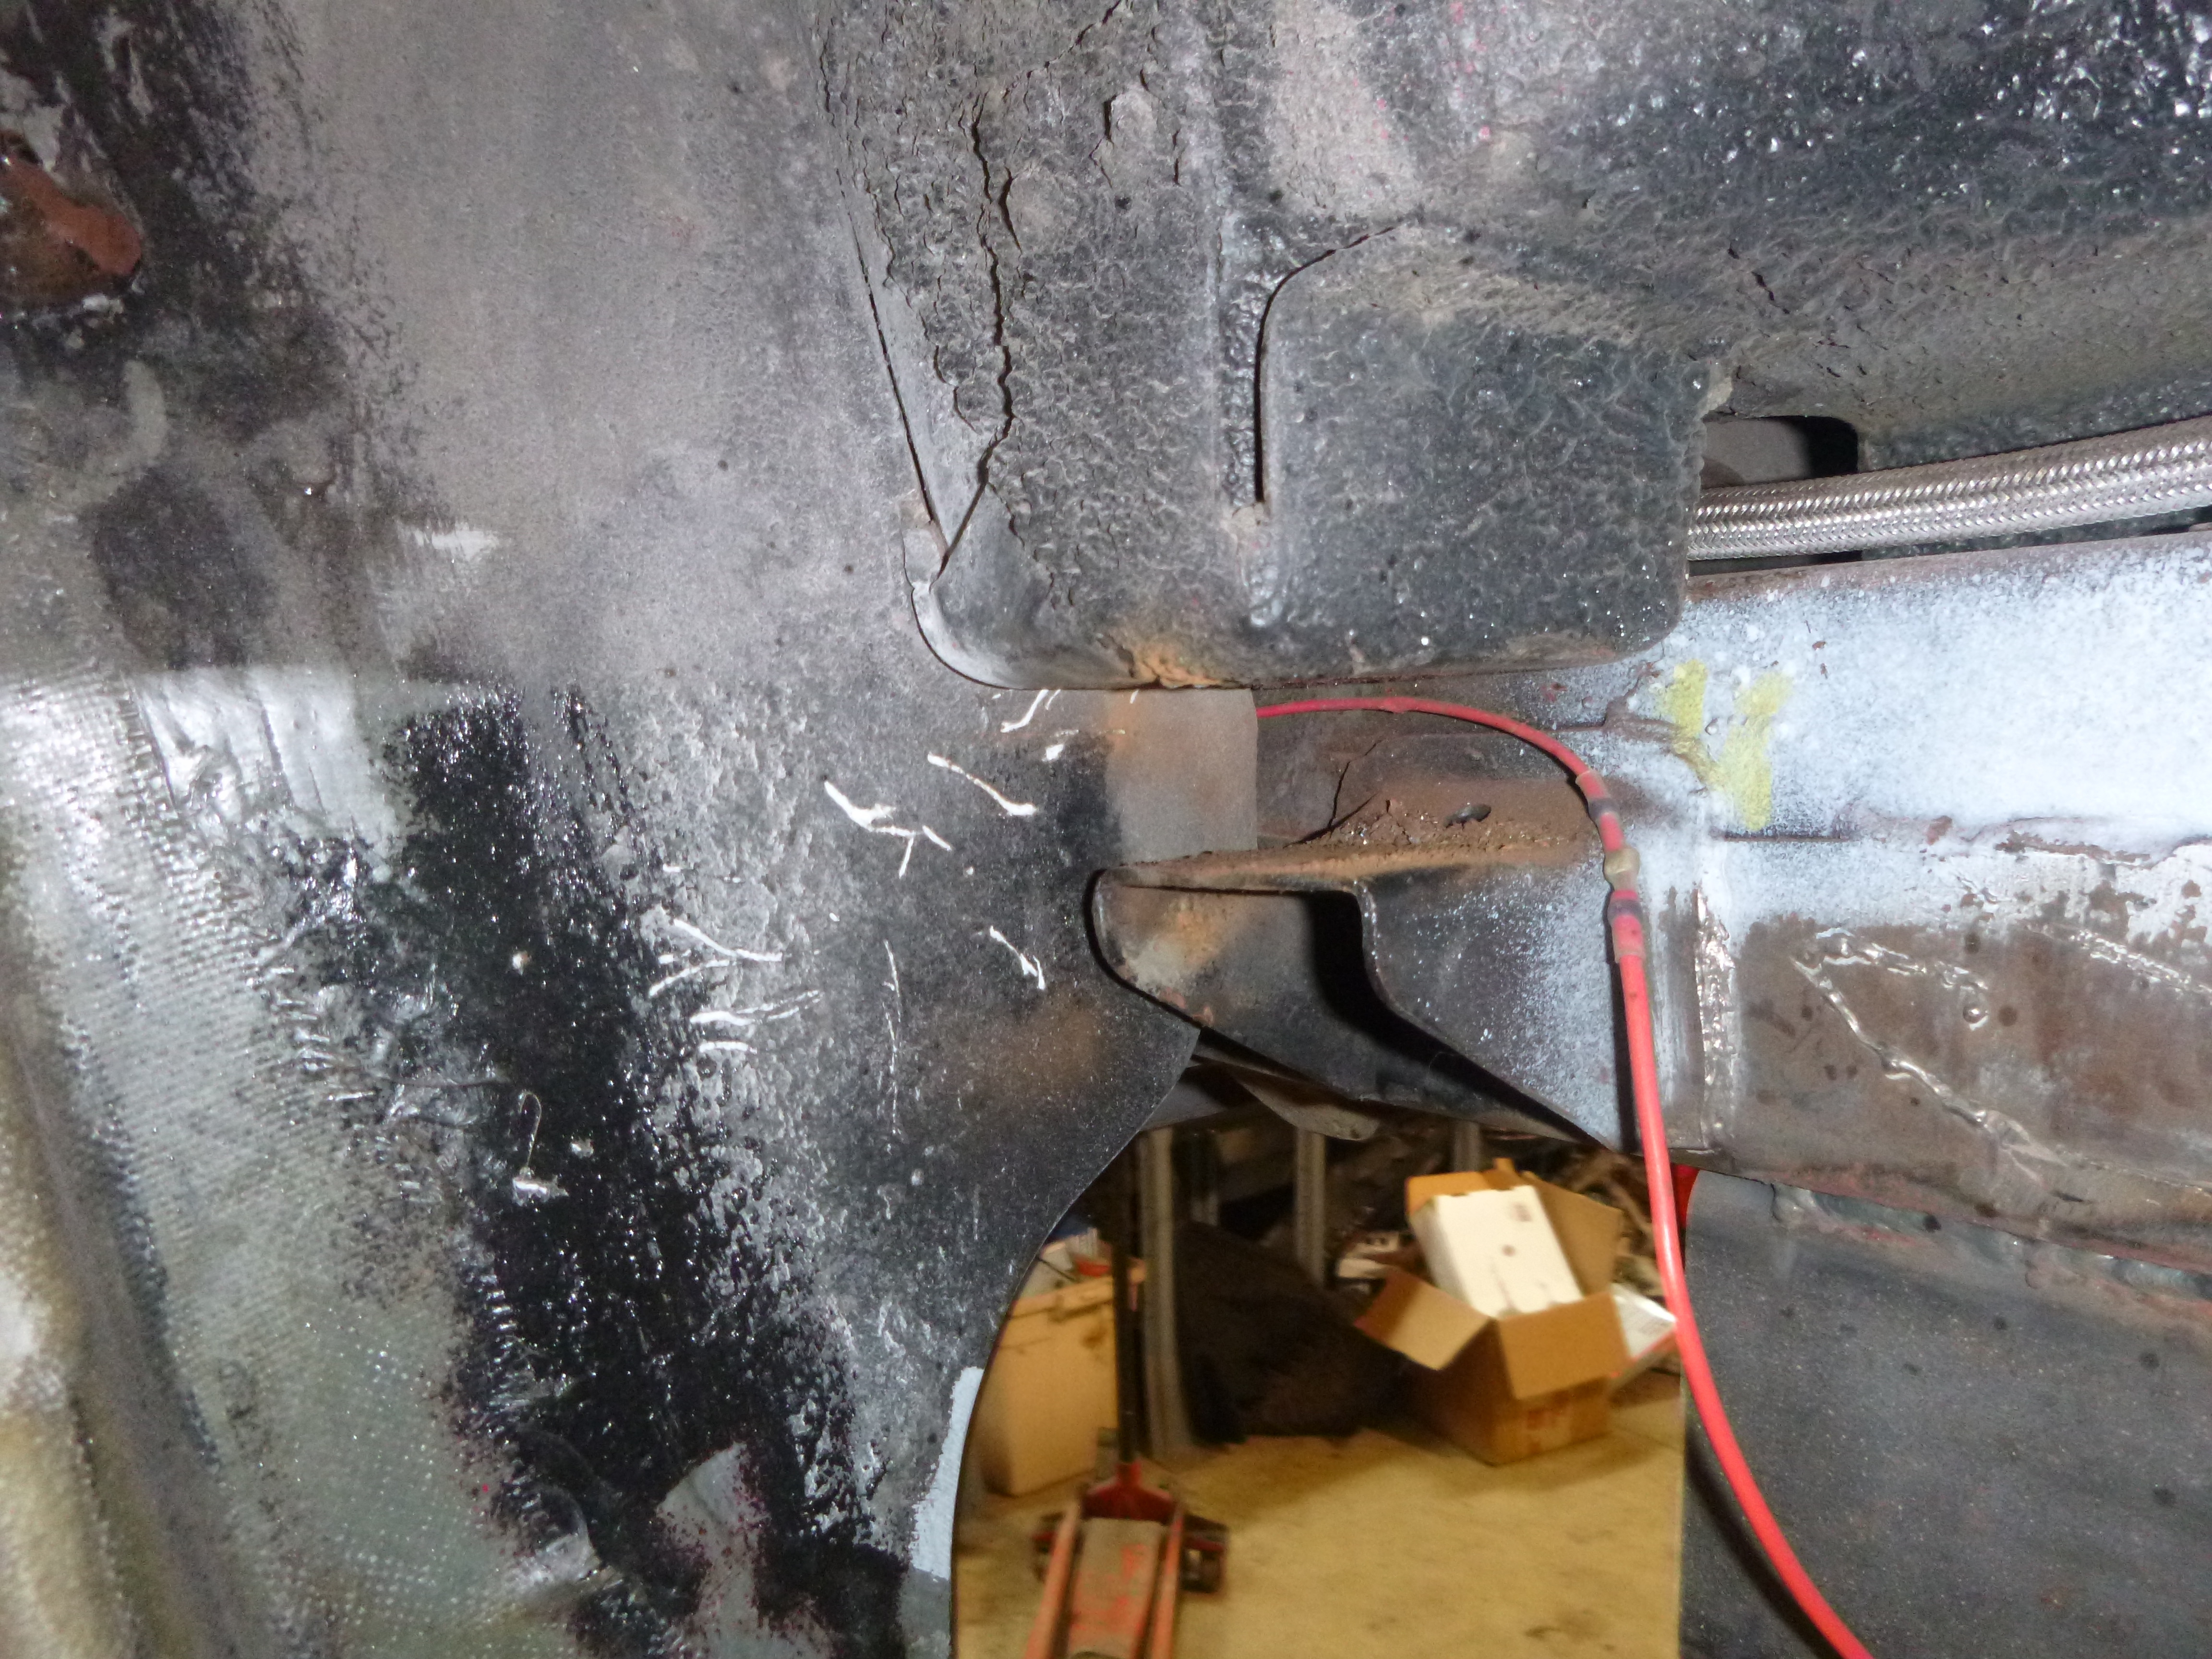
look at the 'weld' to the left of the mig weld.... this is why welding the frame is so important
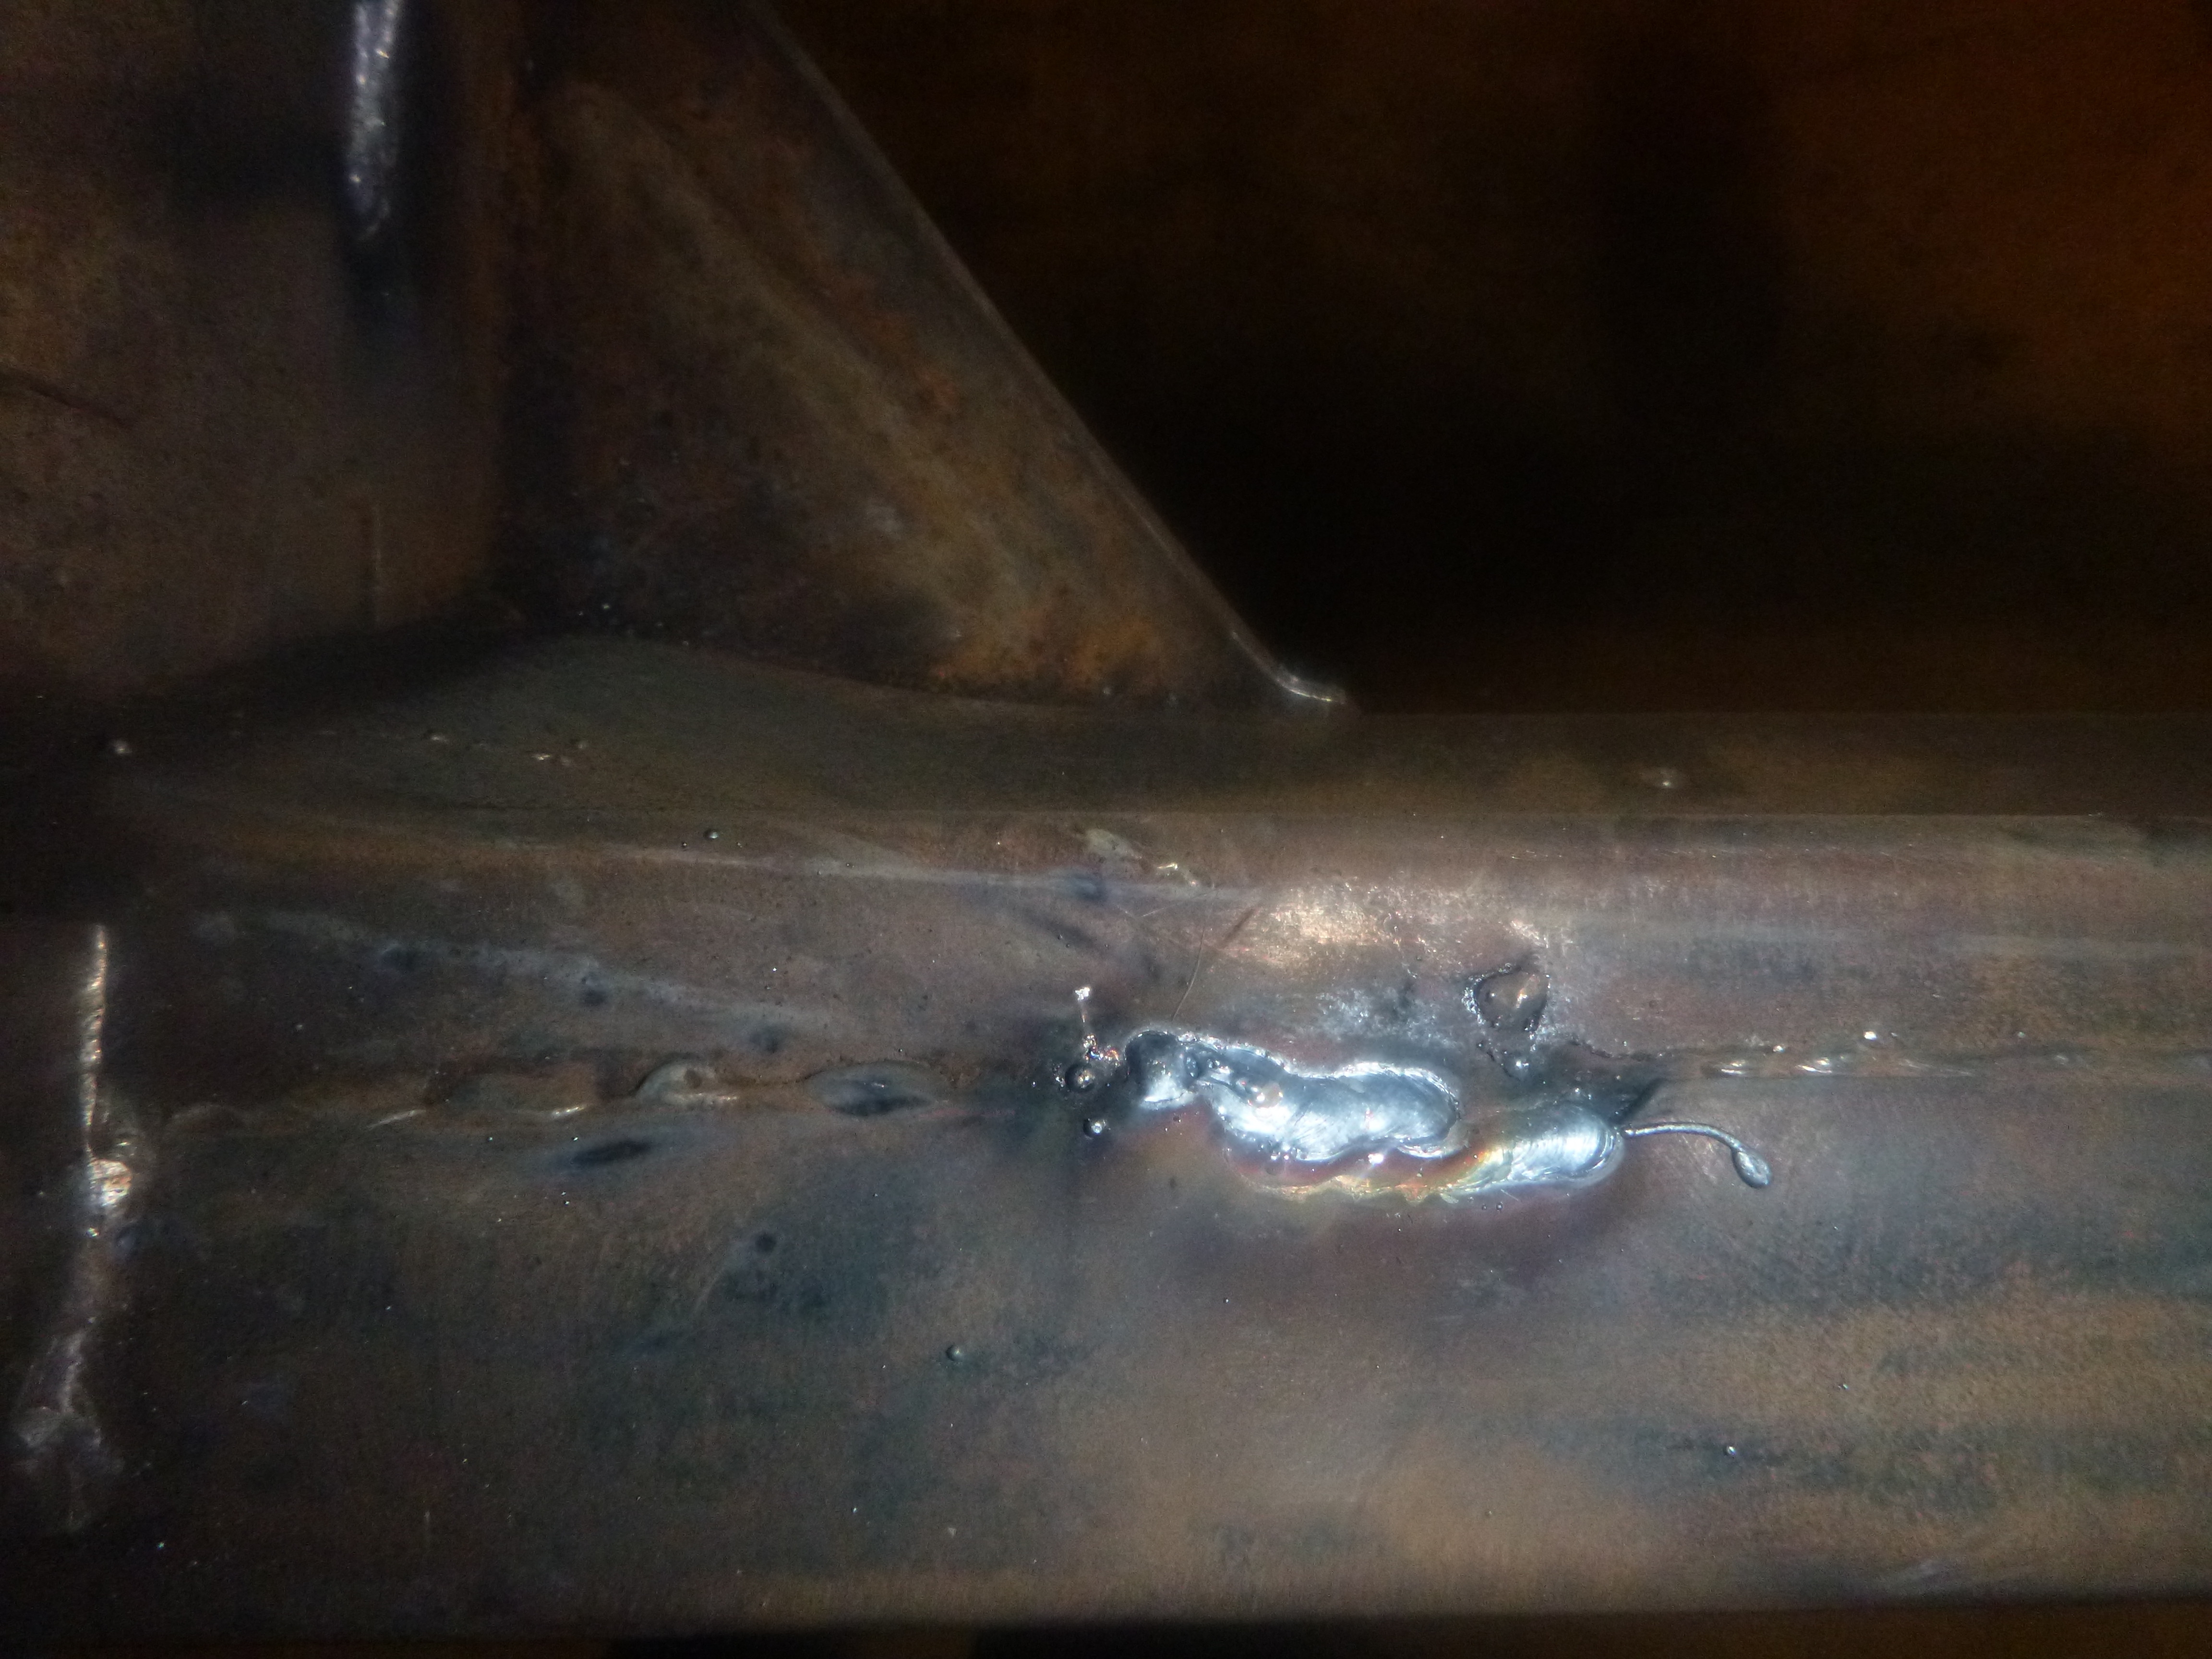
this hole gets filled too
and the fun of straightening the usually bent rear brace
look at the 'weld' to the left of the mig weld.... this is why welding the frame is so important
this hole gets filled too
and the fun of straightening the usually bent rear brace
01-27-2019, 11:14 PM
#240
Melting Slicks
weld frame to make square..... and beat on frame....
along with hanging weights, I did some flame wrench straightening .... frame is dead nuts square, but it has a slight rack to it (thus the weights)
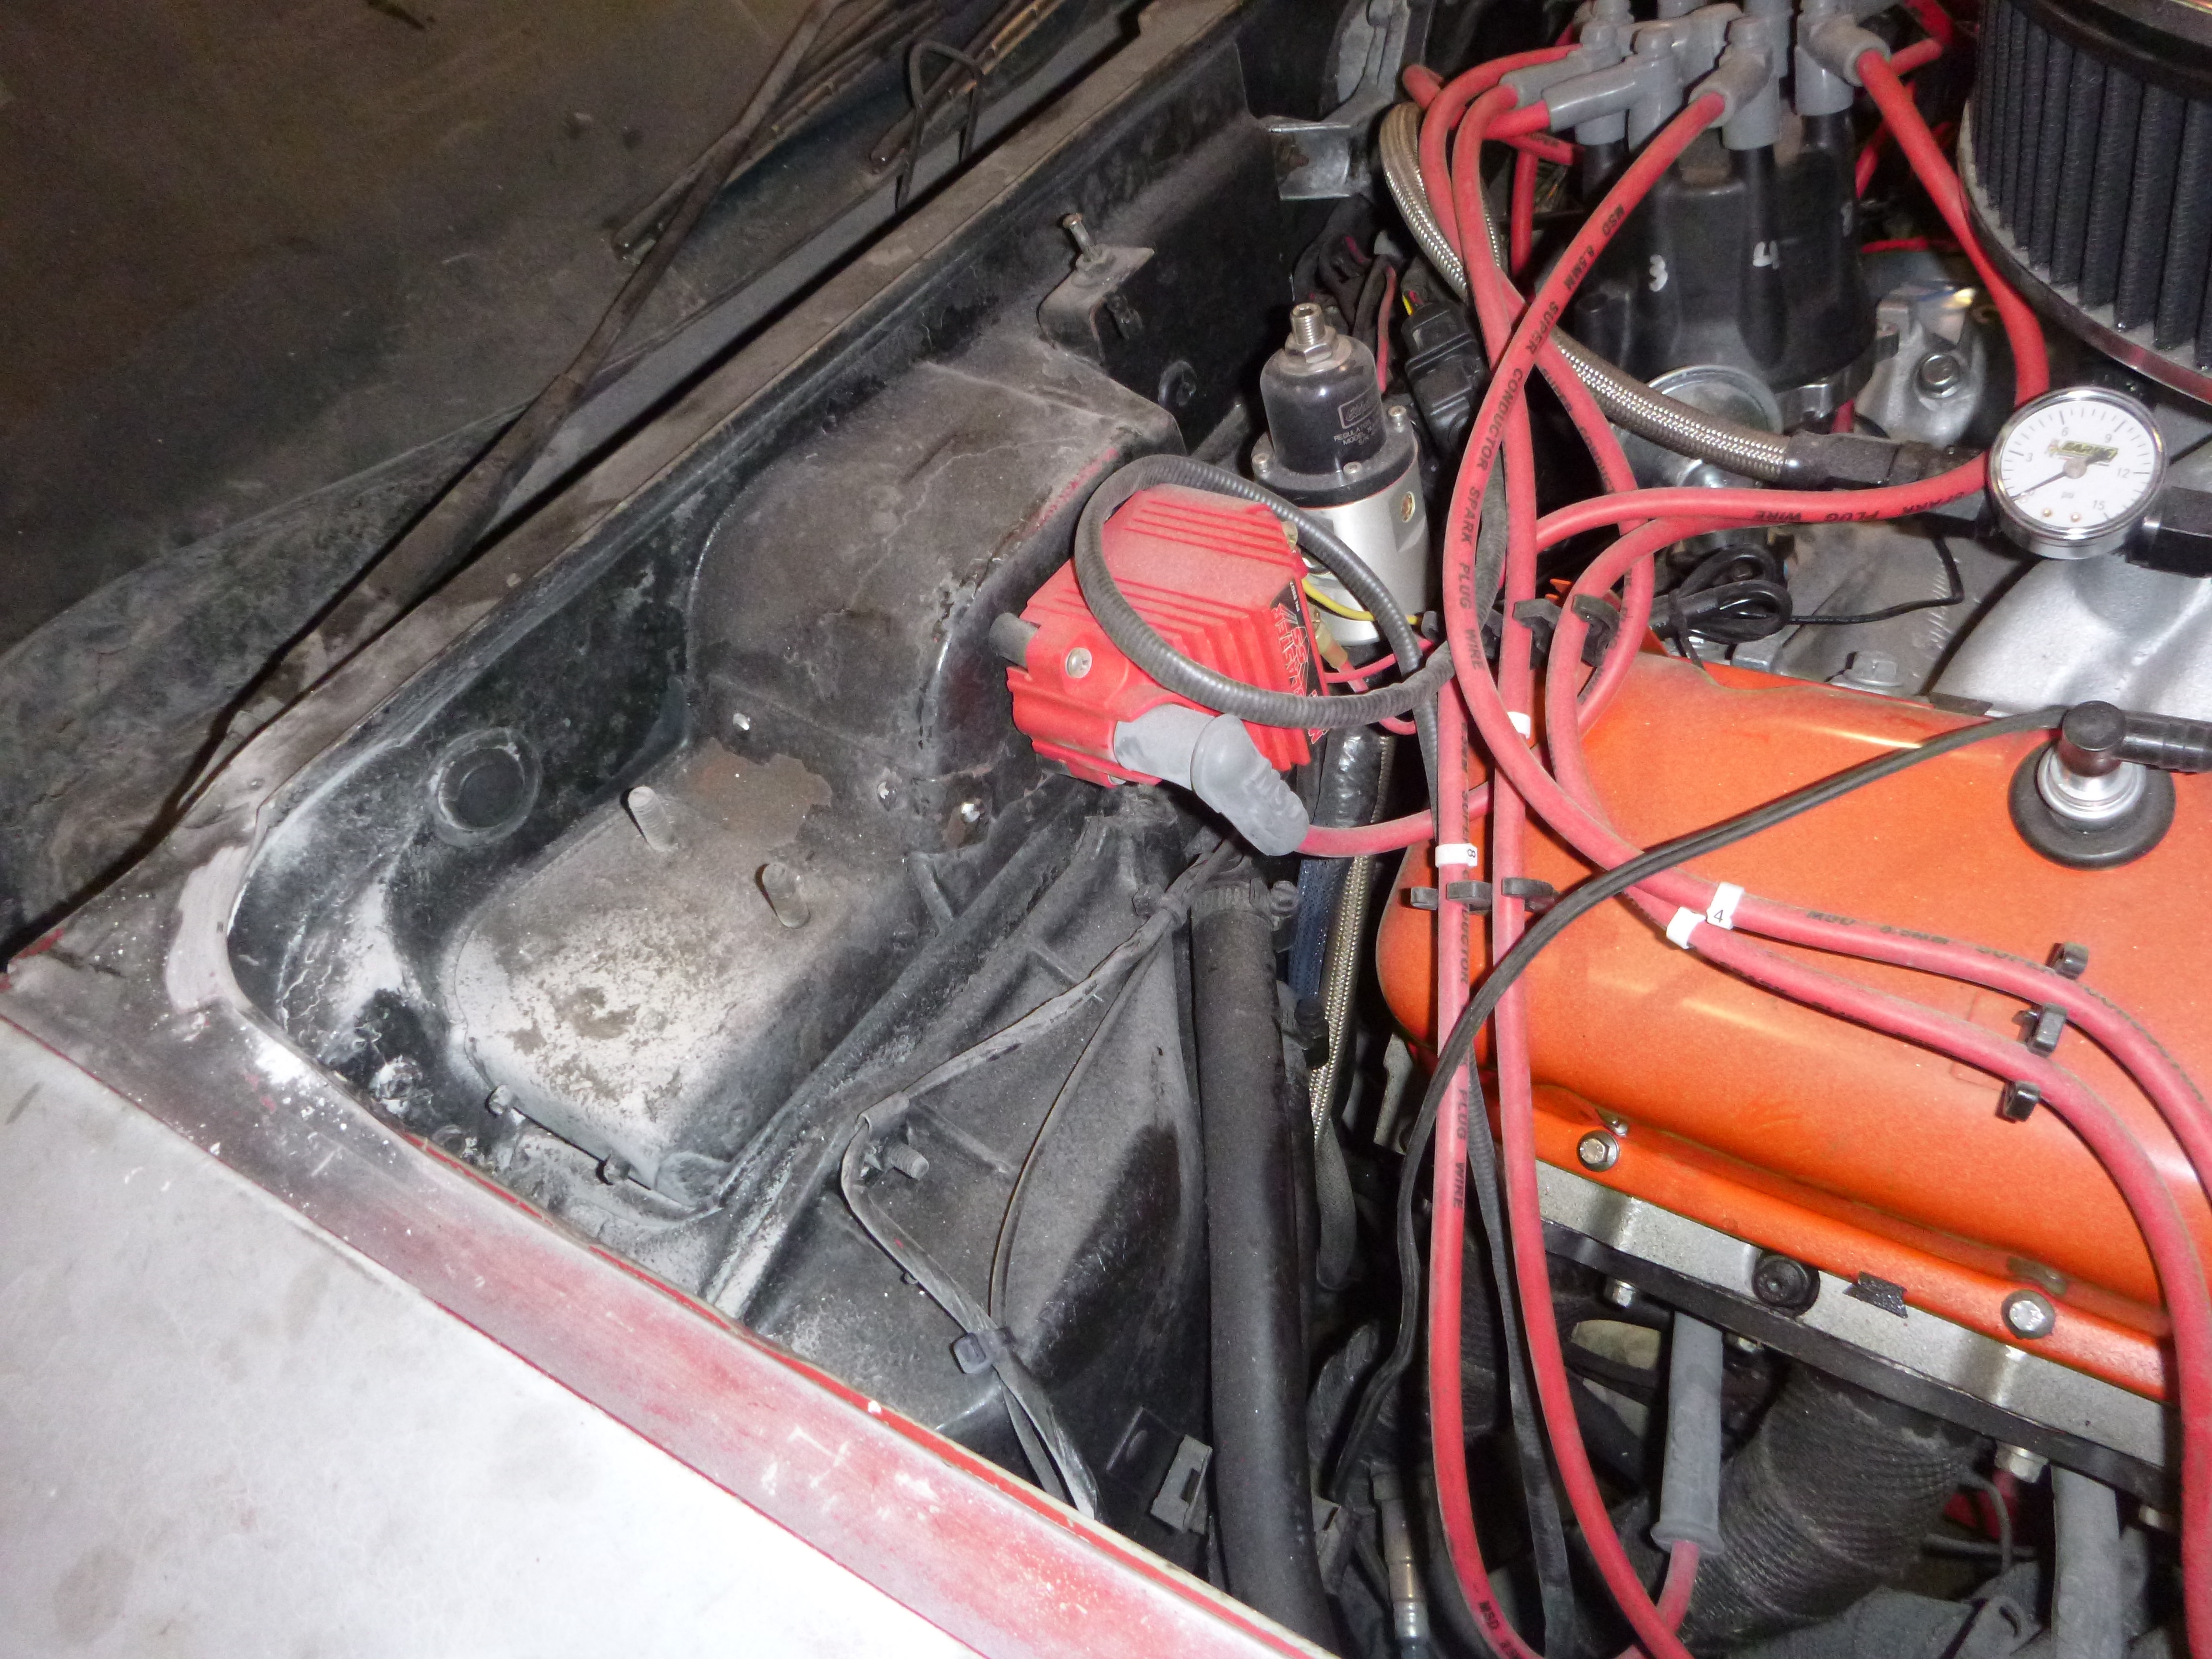
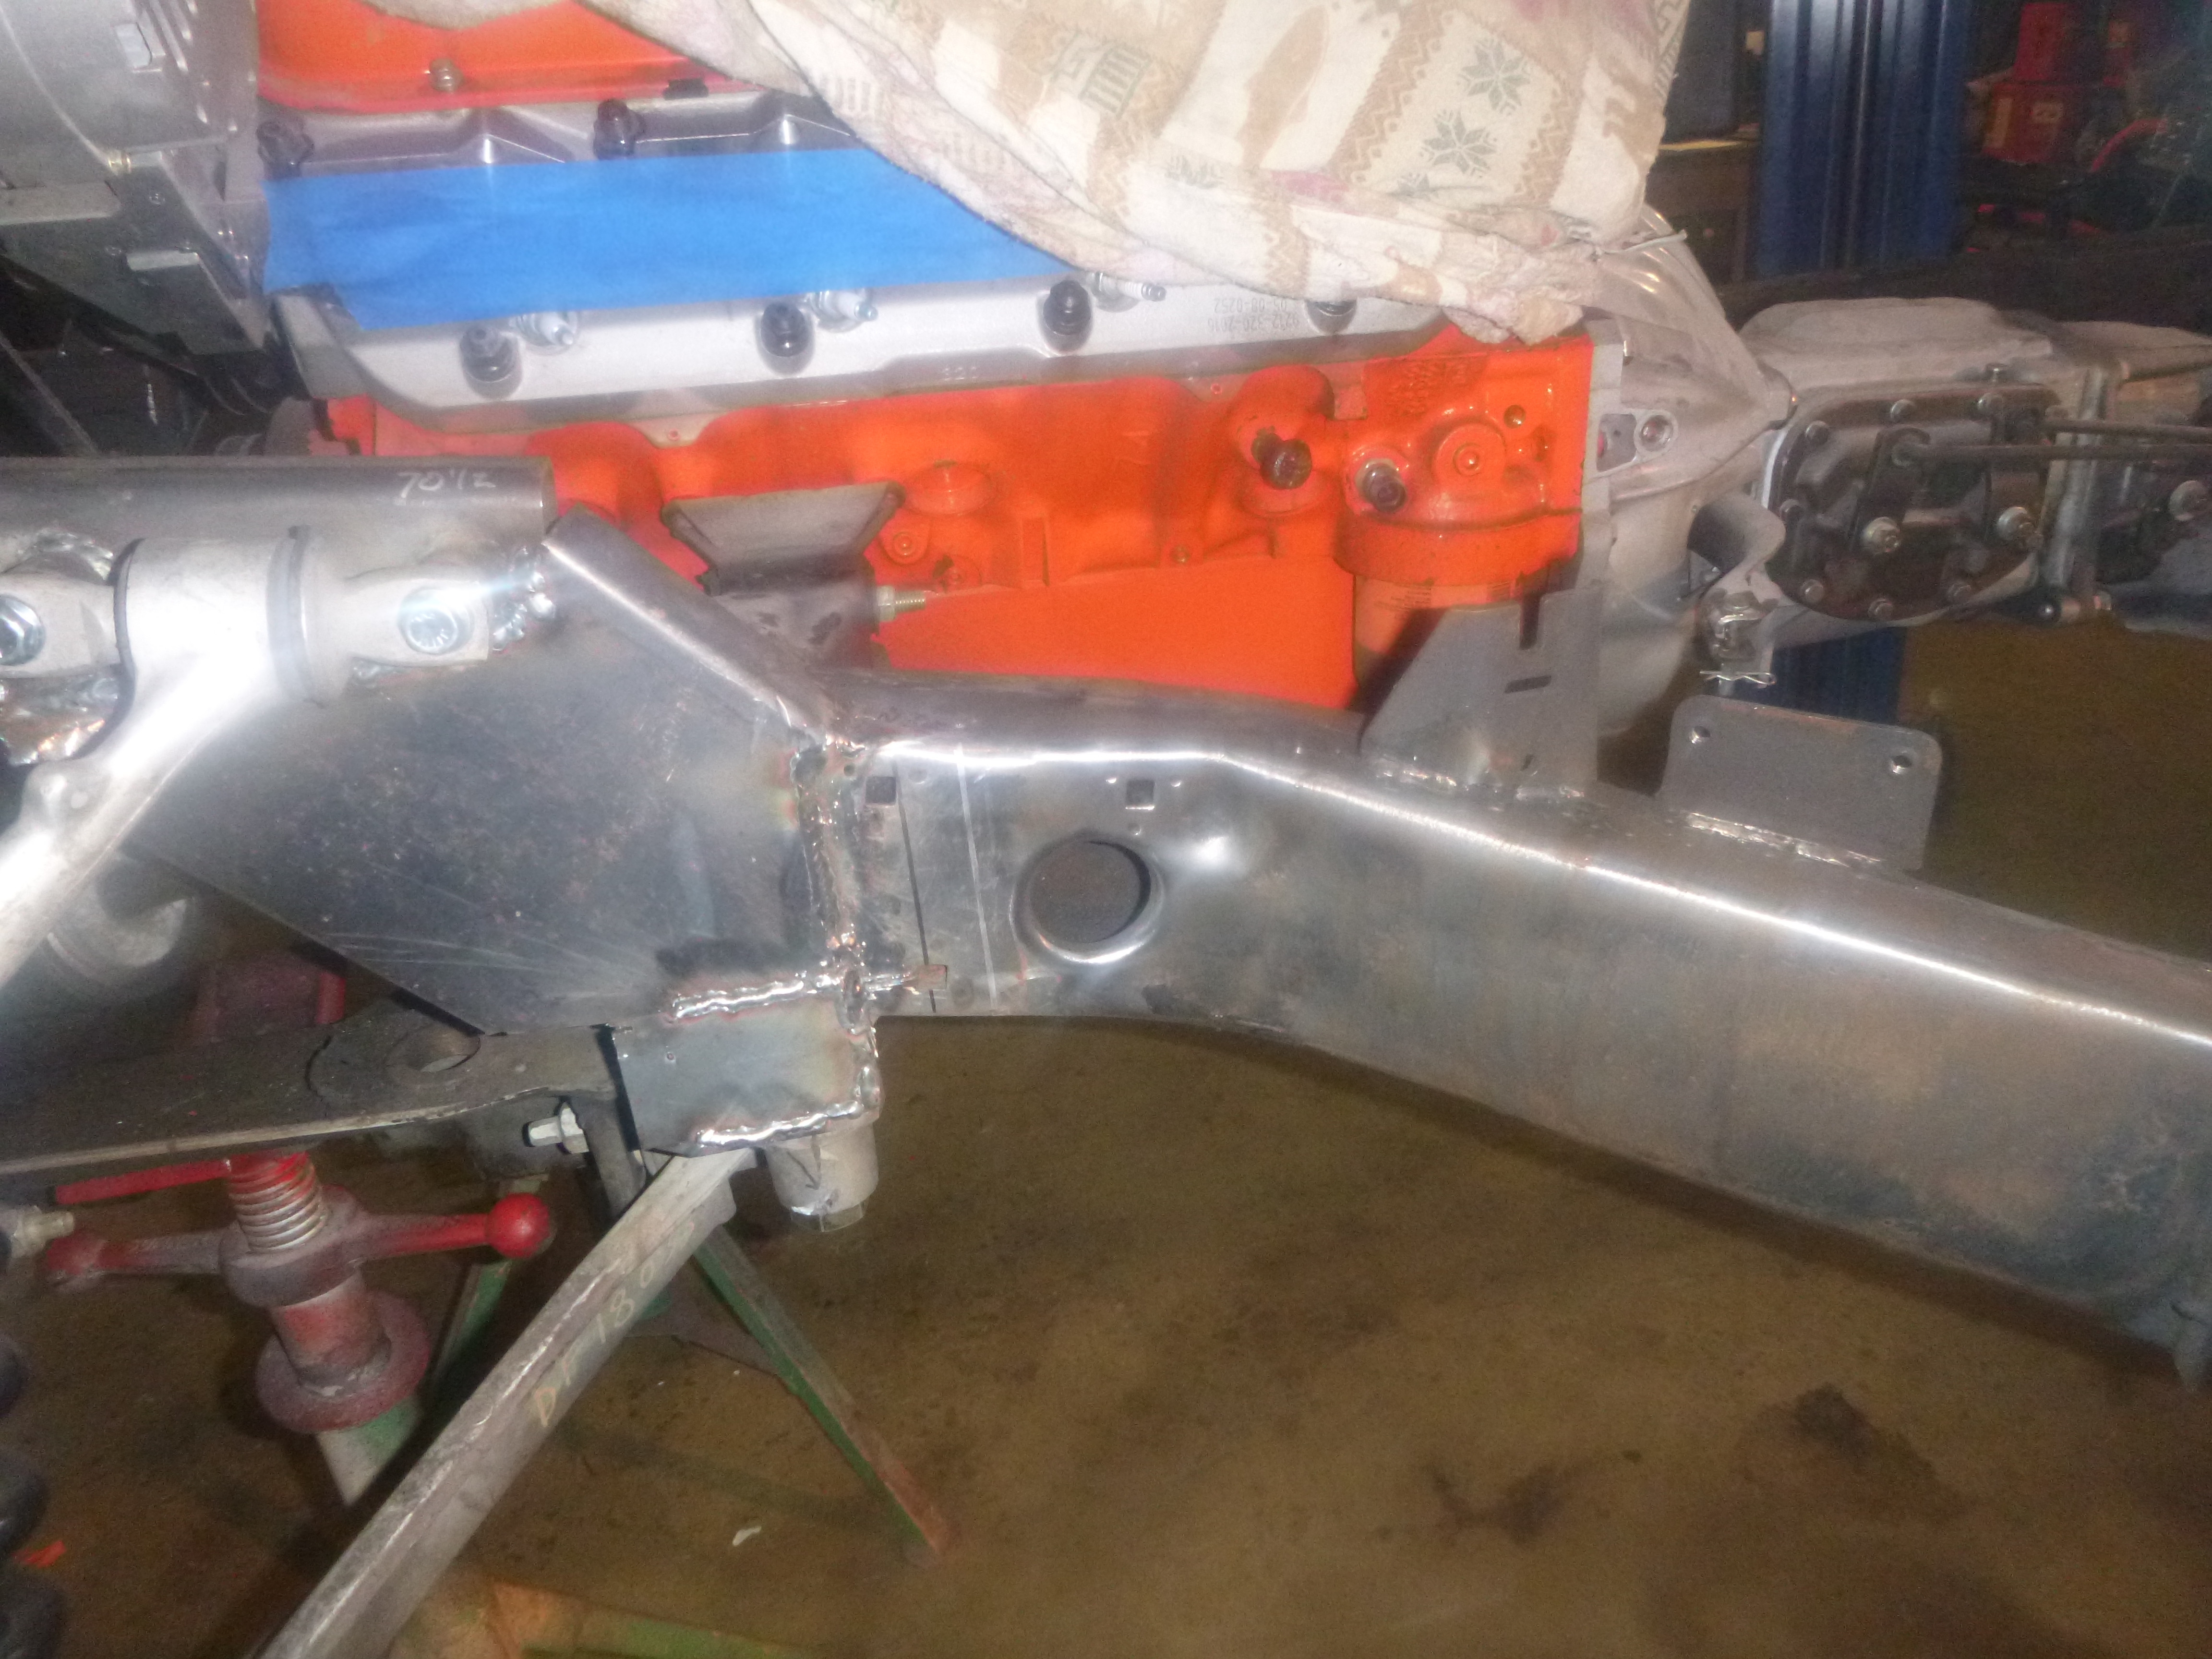
someone told me once that it wasn't possible to shim the side pipes up with washers..... to that person, don't look
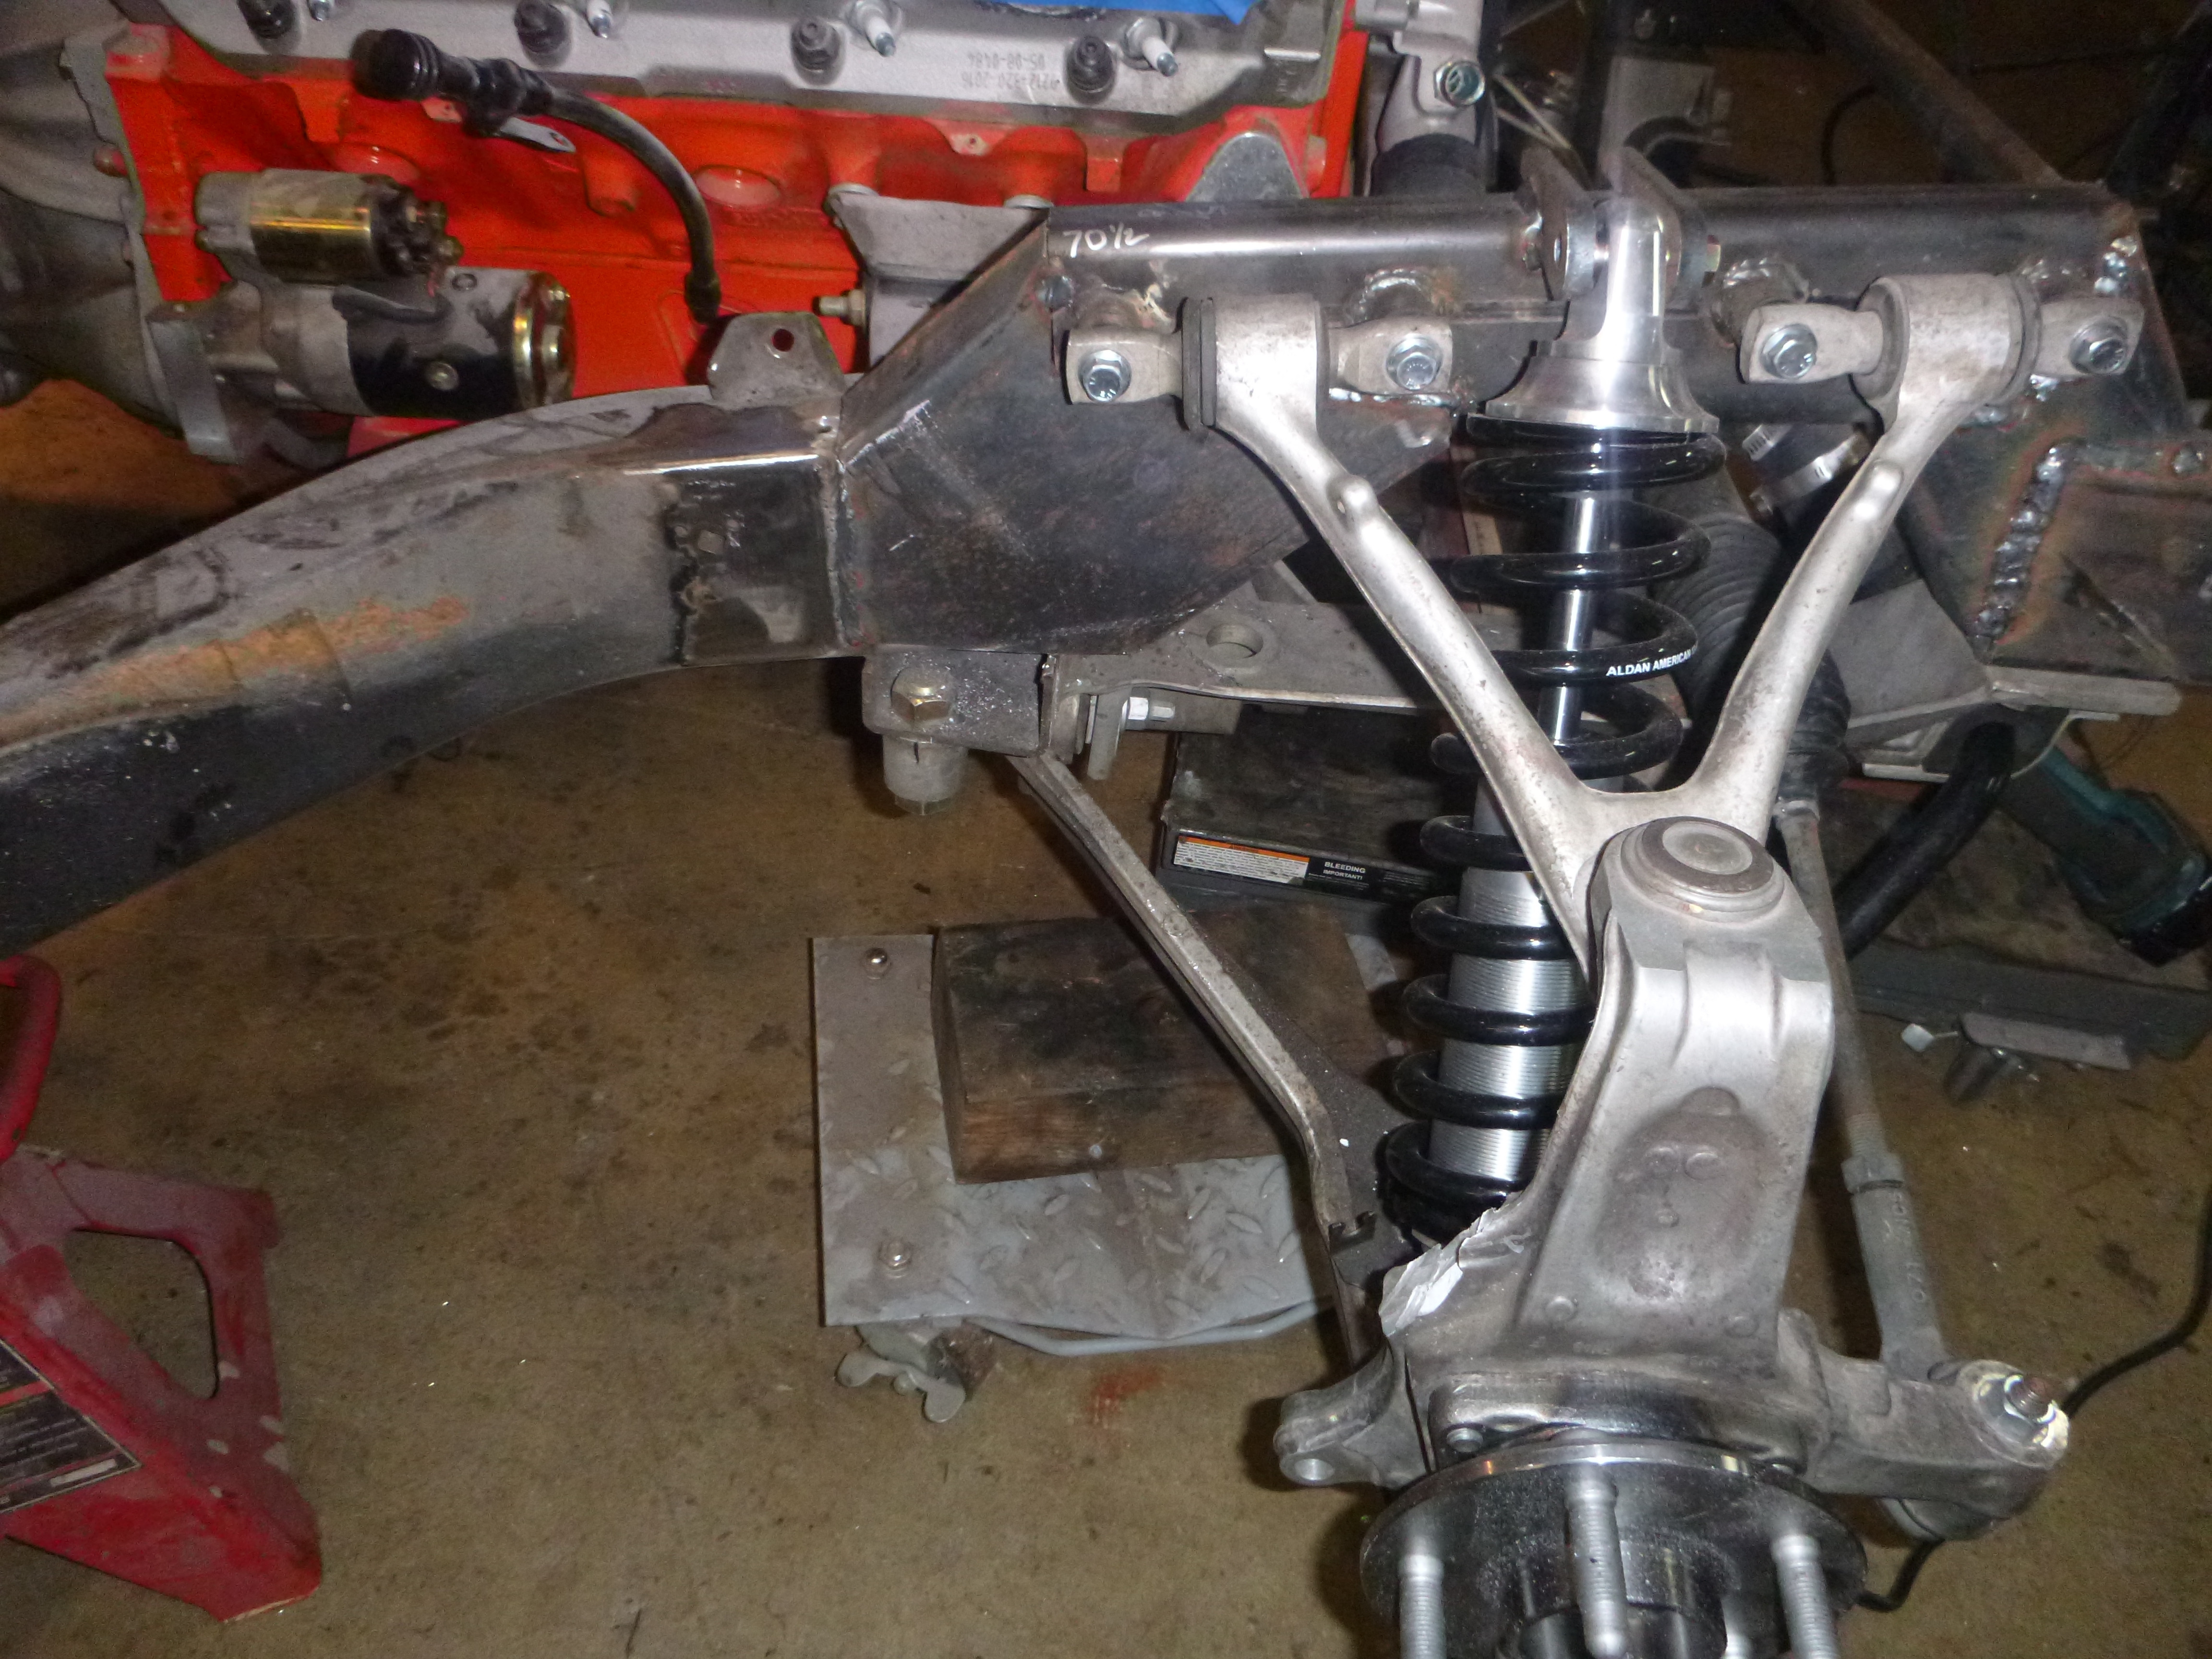
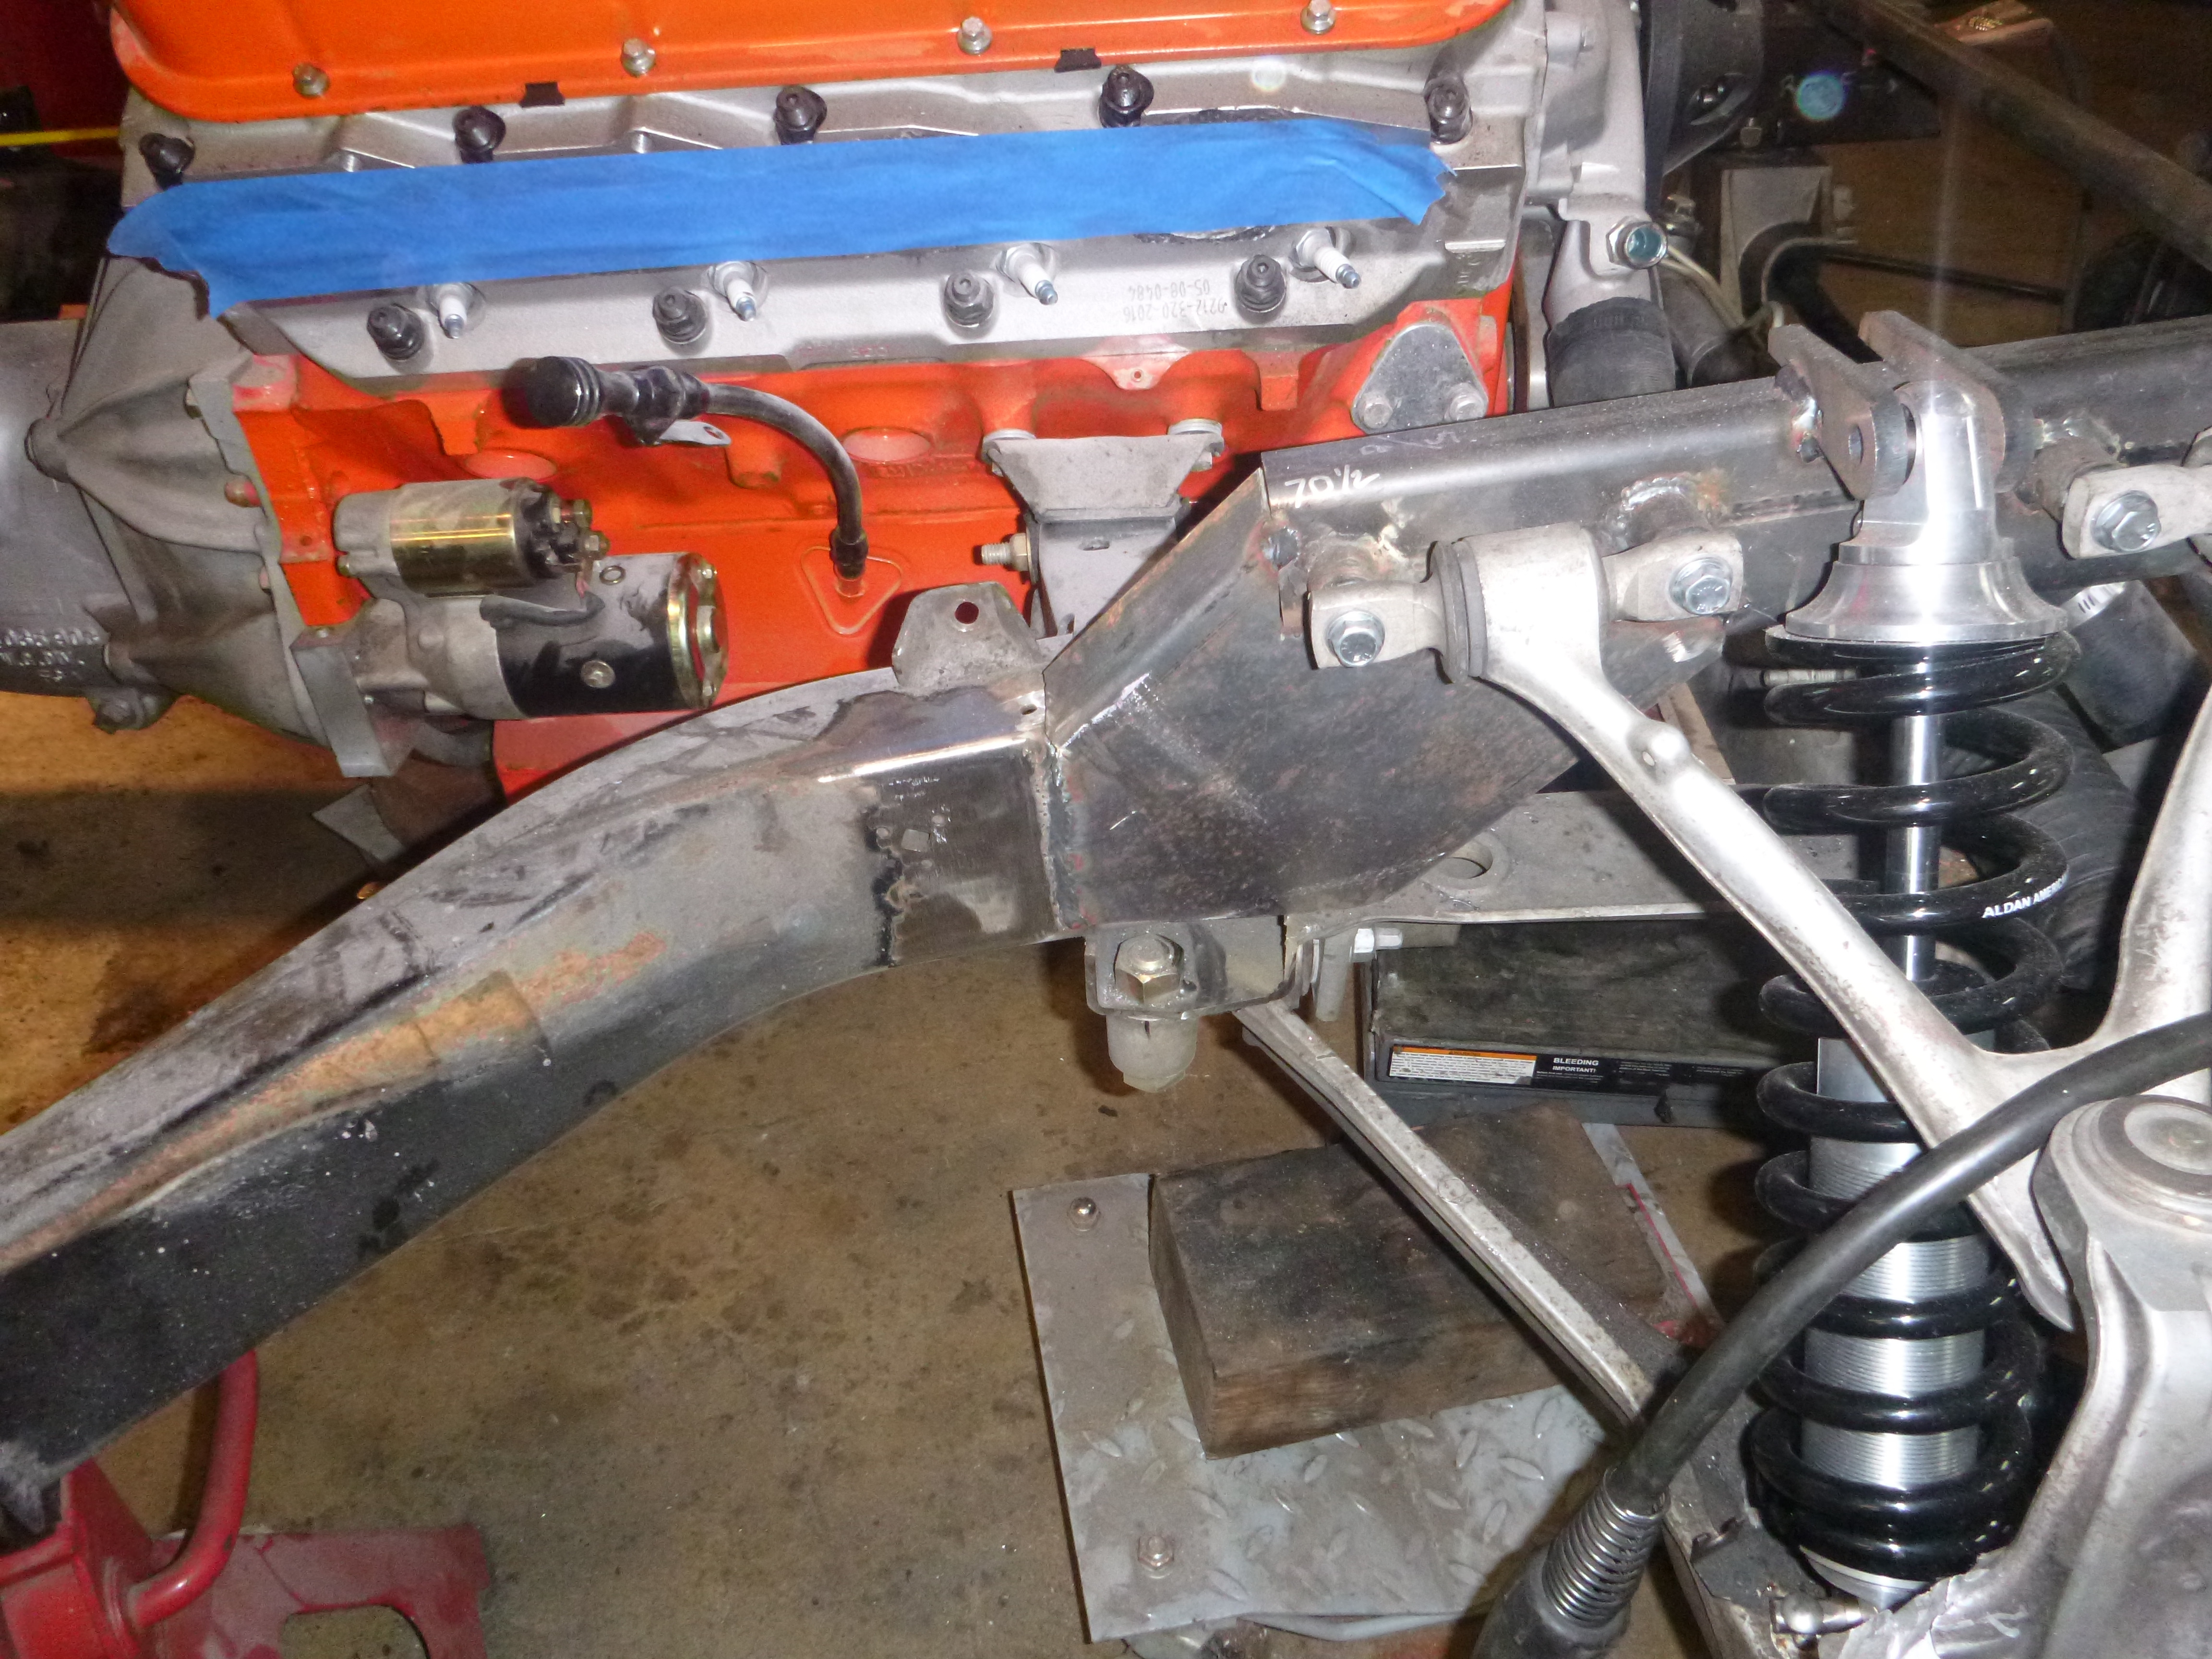
the problem, it turns out, I'm fixing anyway with a new driver's side motor mount (so it clears the steering shaft
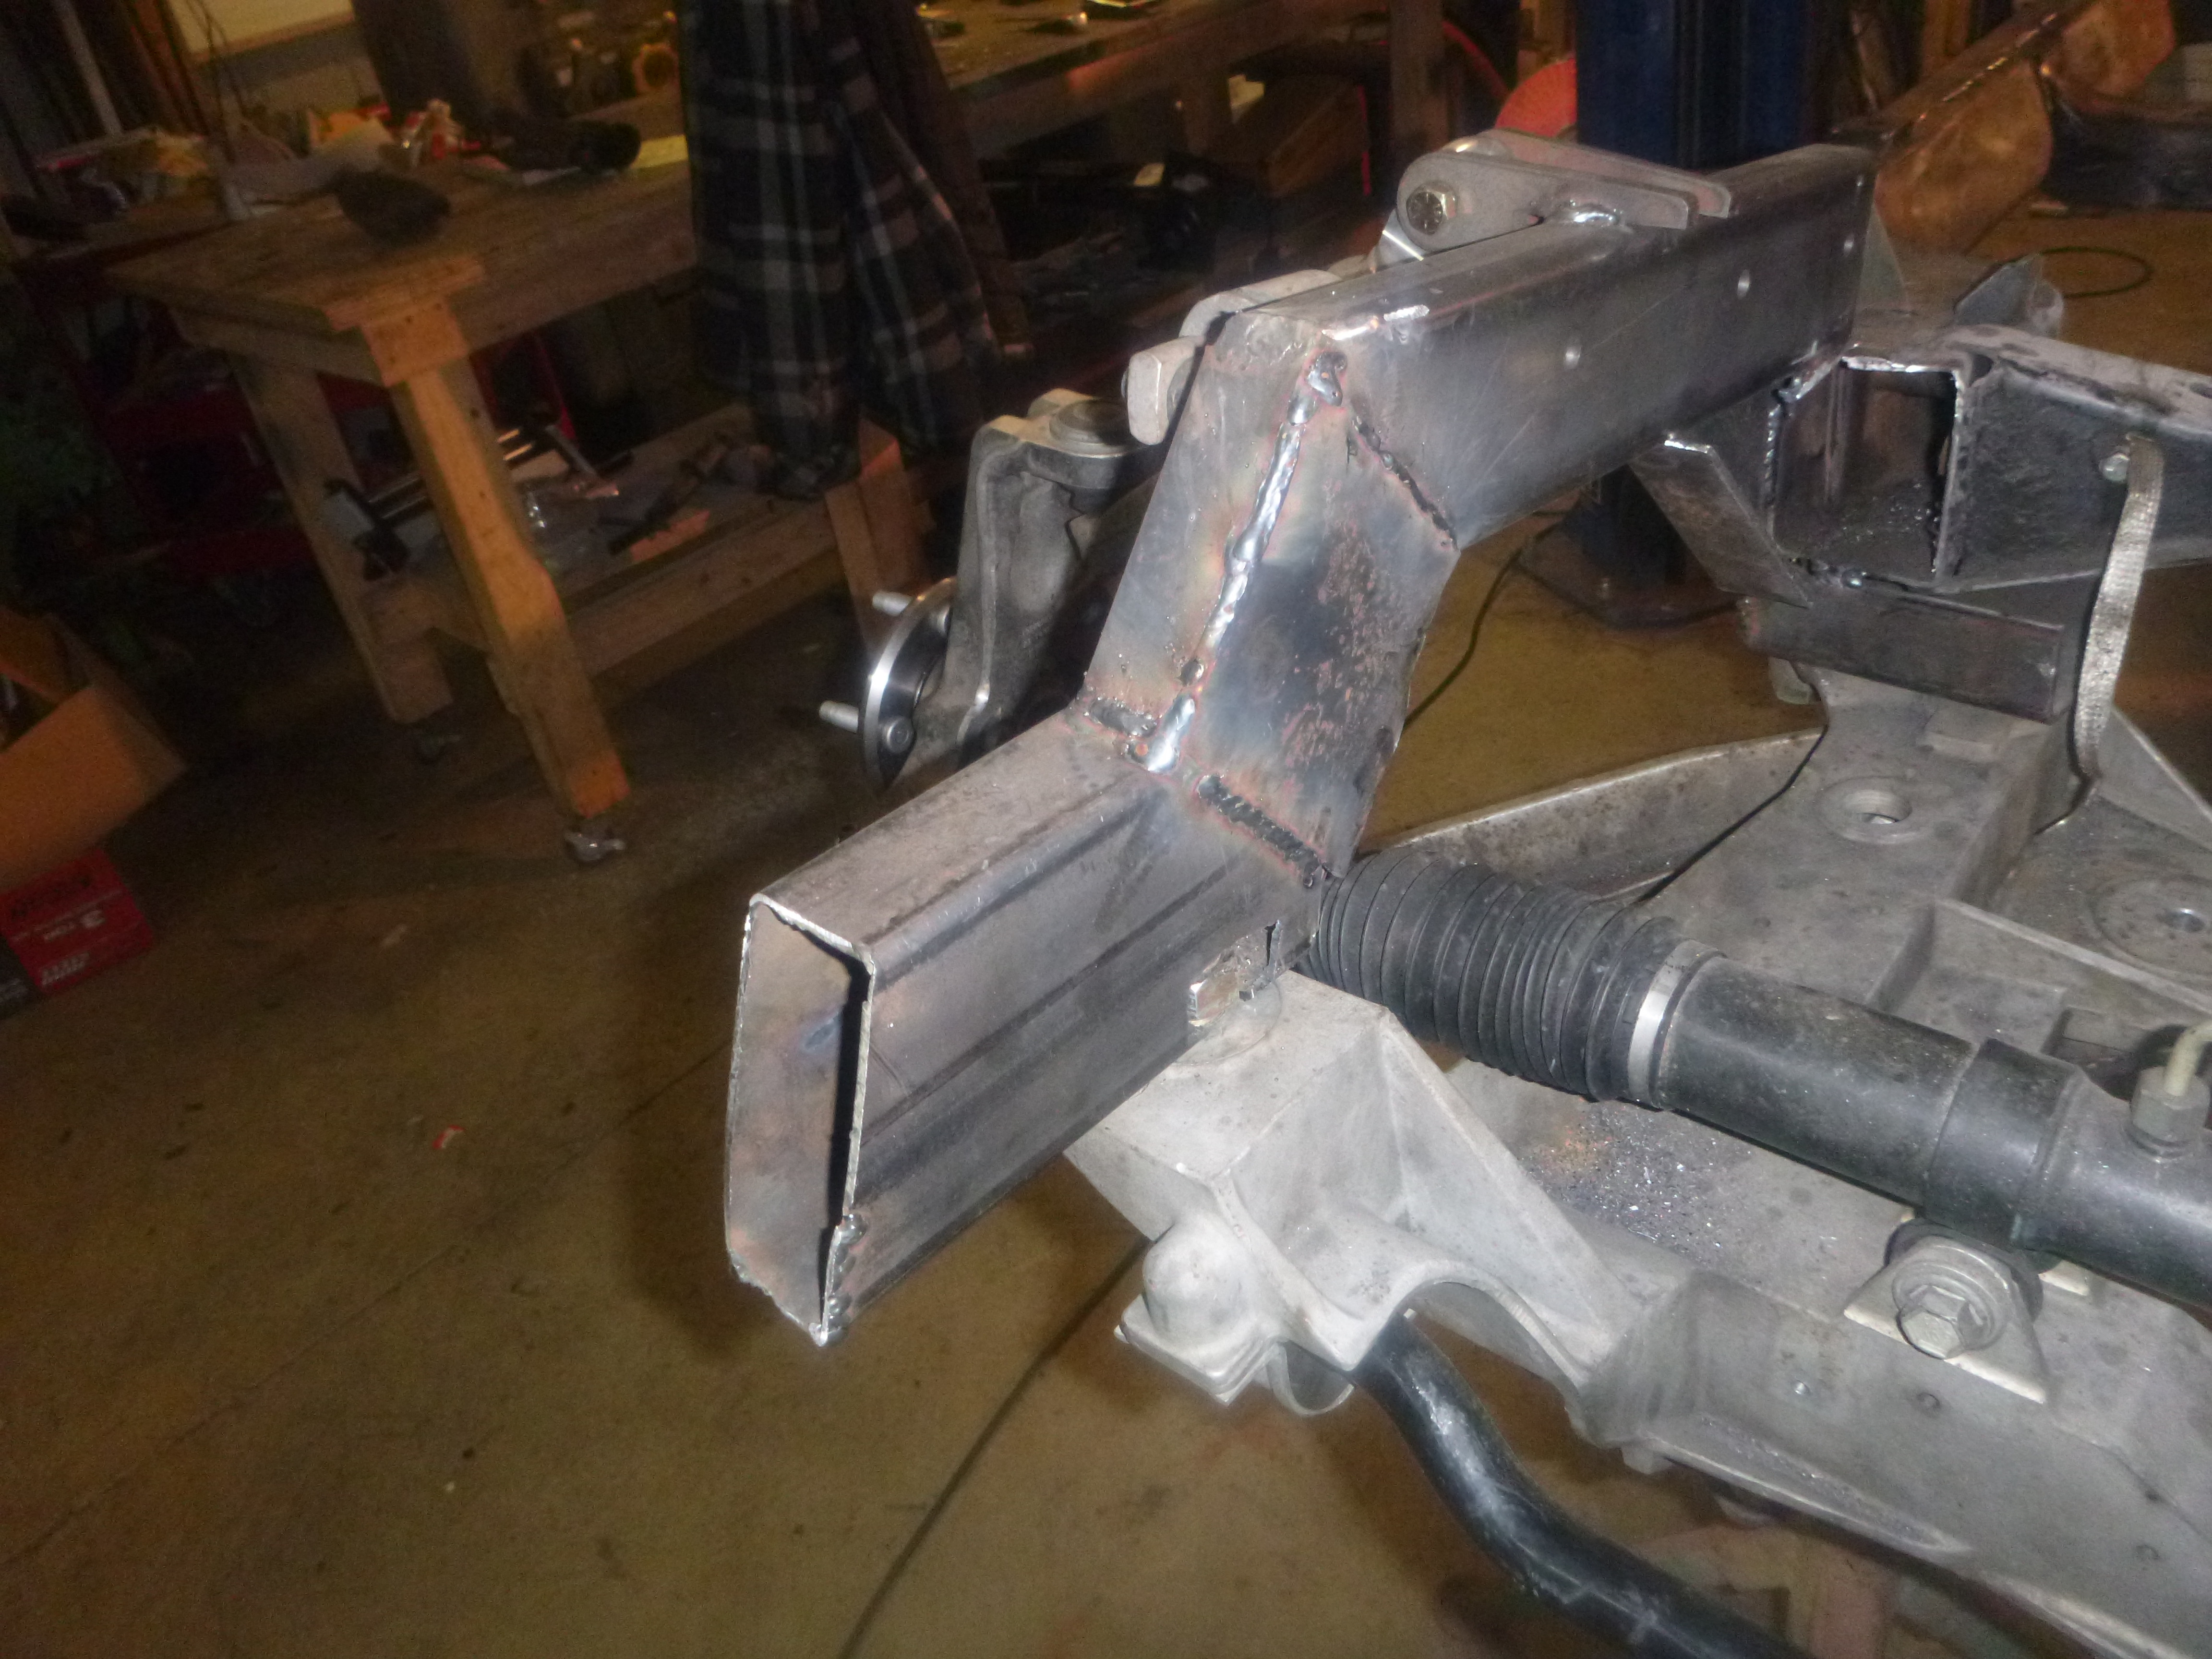
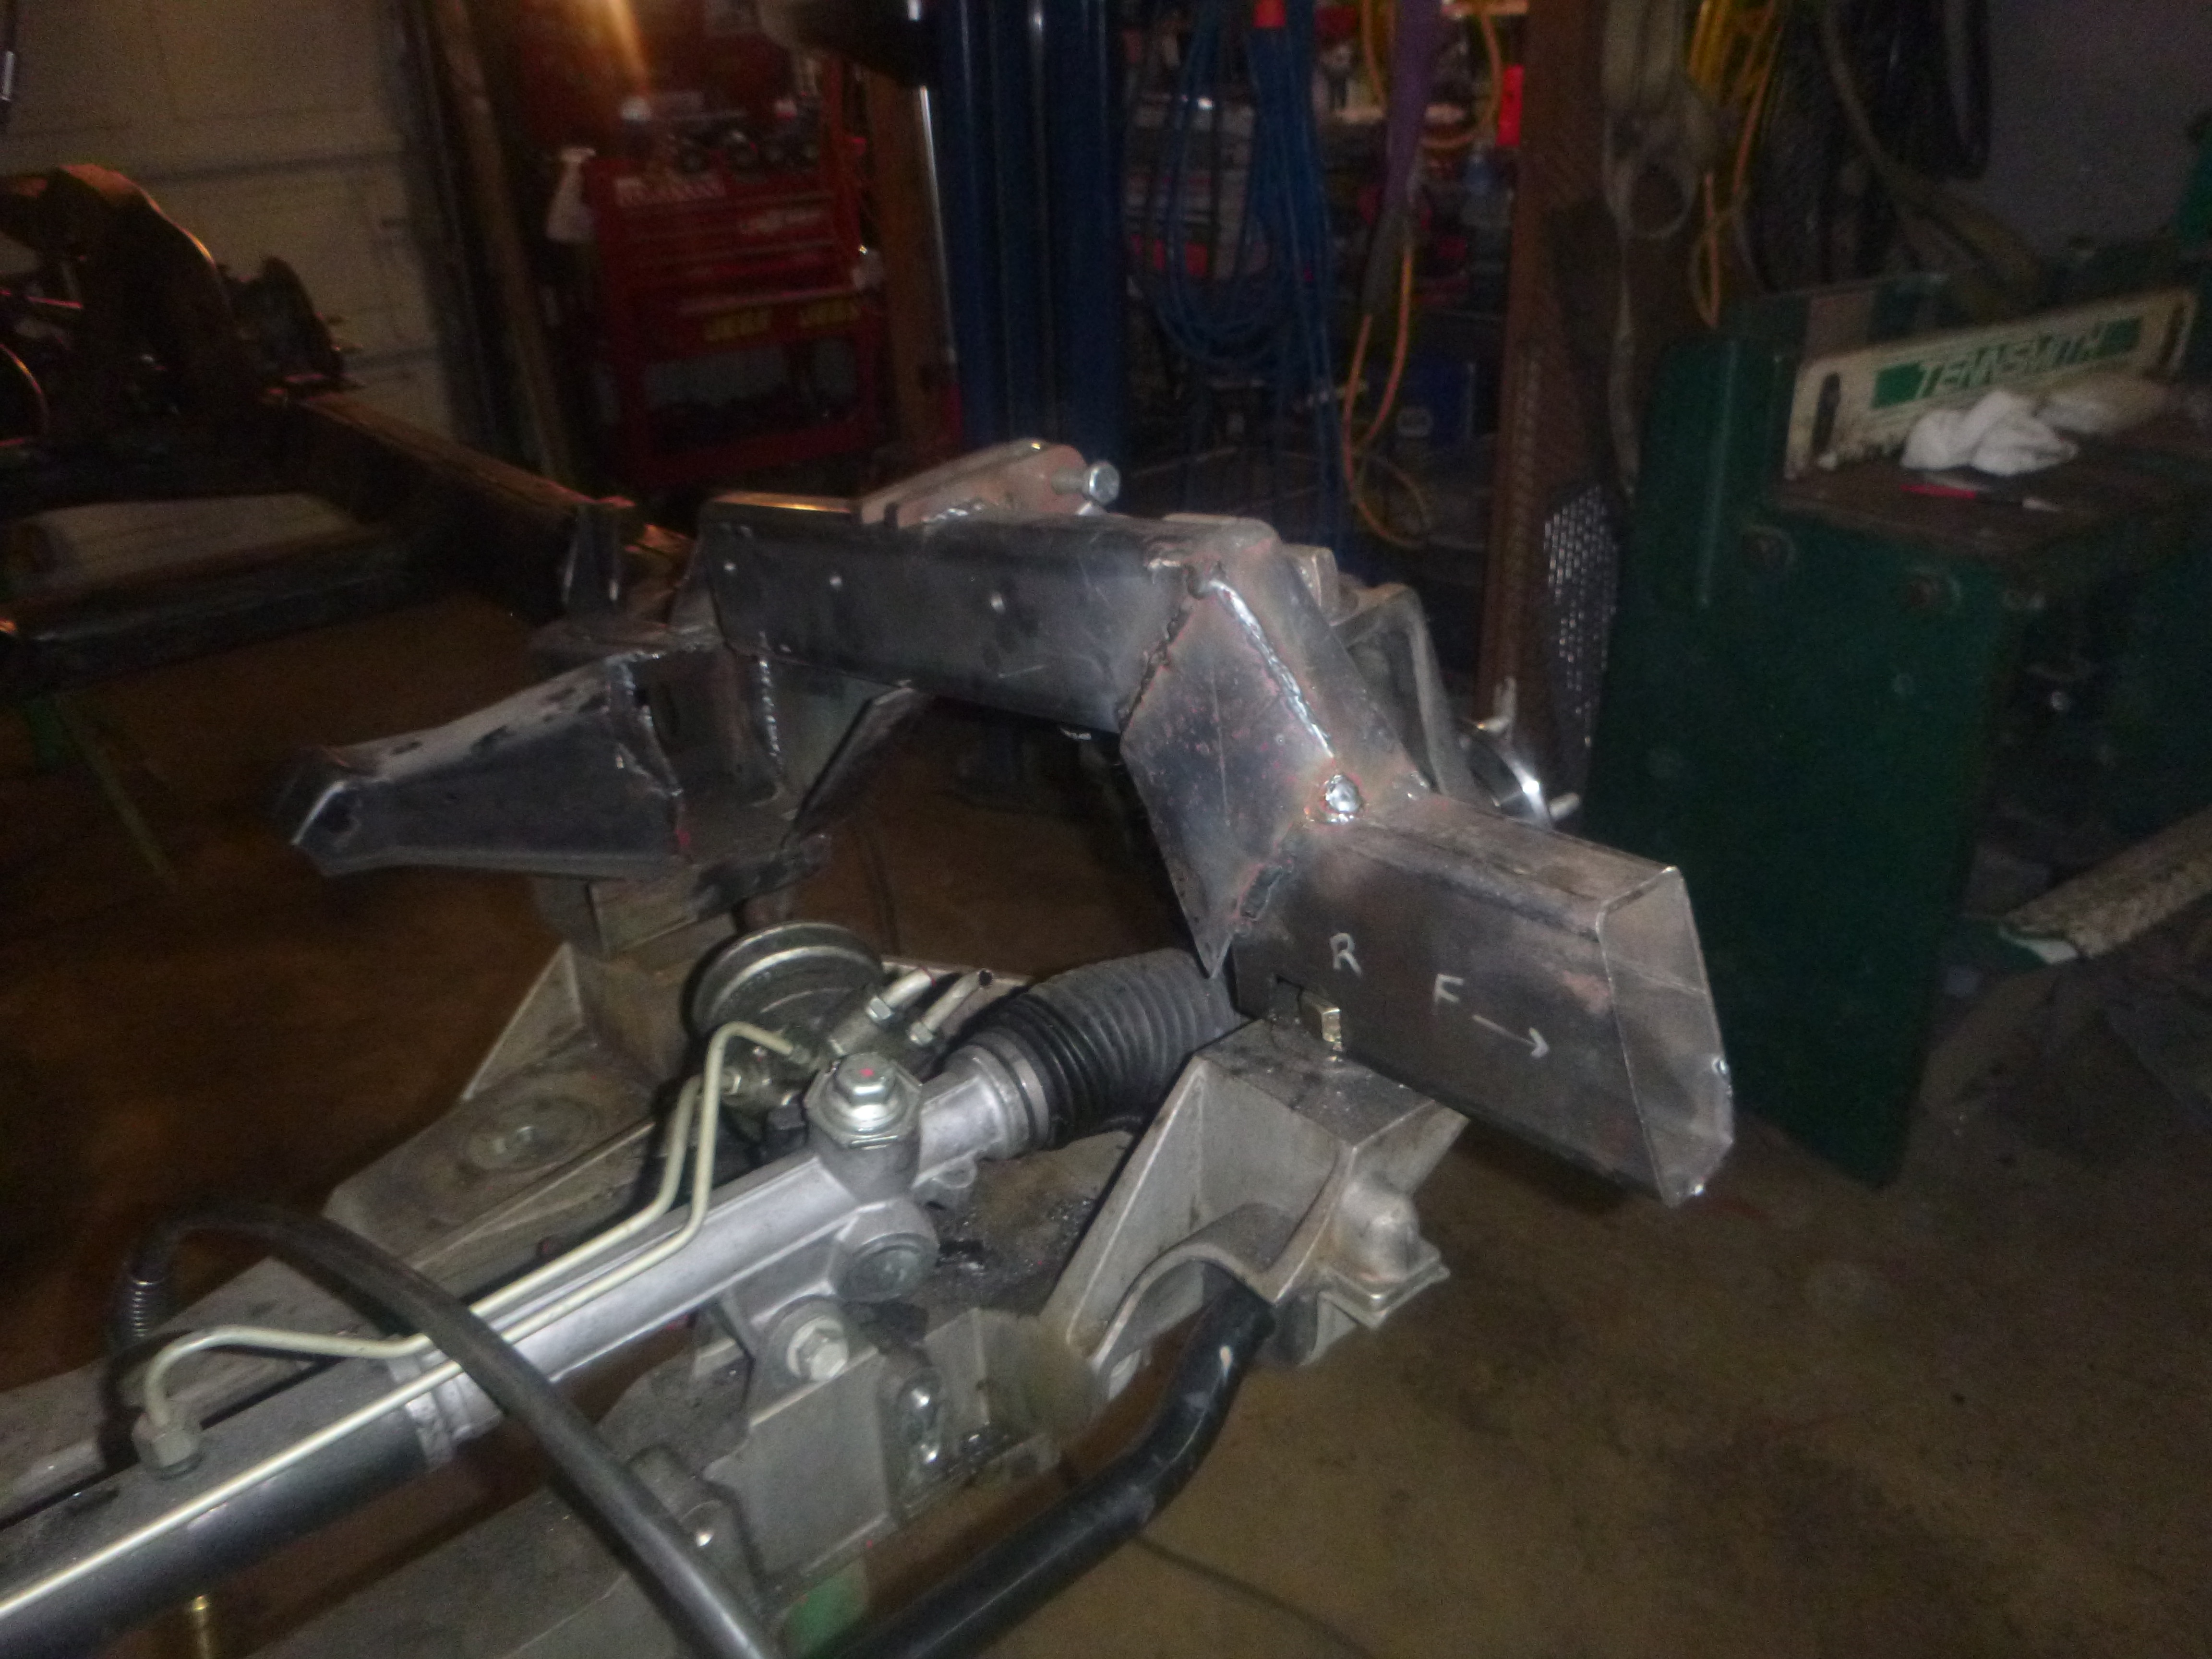
time to start welding plates on
other side
along with hanging weights, I did some flame wrench straightening .... frame is dead nuts square, but it has a slight rack to it (thus the weights)
someone told me once that it wasn't possible to shim the side pipes up with washers..... to that person, don't look
the problem, it turns out, I'm fixing anyway with a new driver's side motor mount (so it clears the steering shaft
time to start welding plates on
other side