
Plastic Fantastic tew
 03-12-2019, 12:35 AM
#261
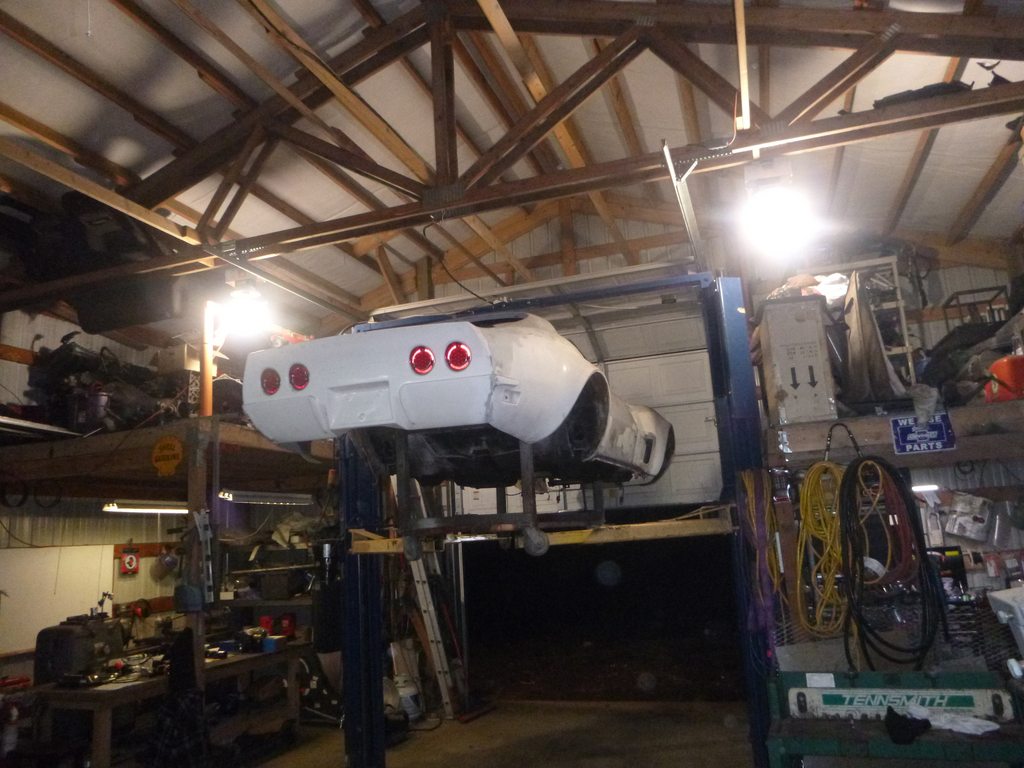
Melting Slicks


back to business
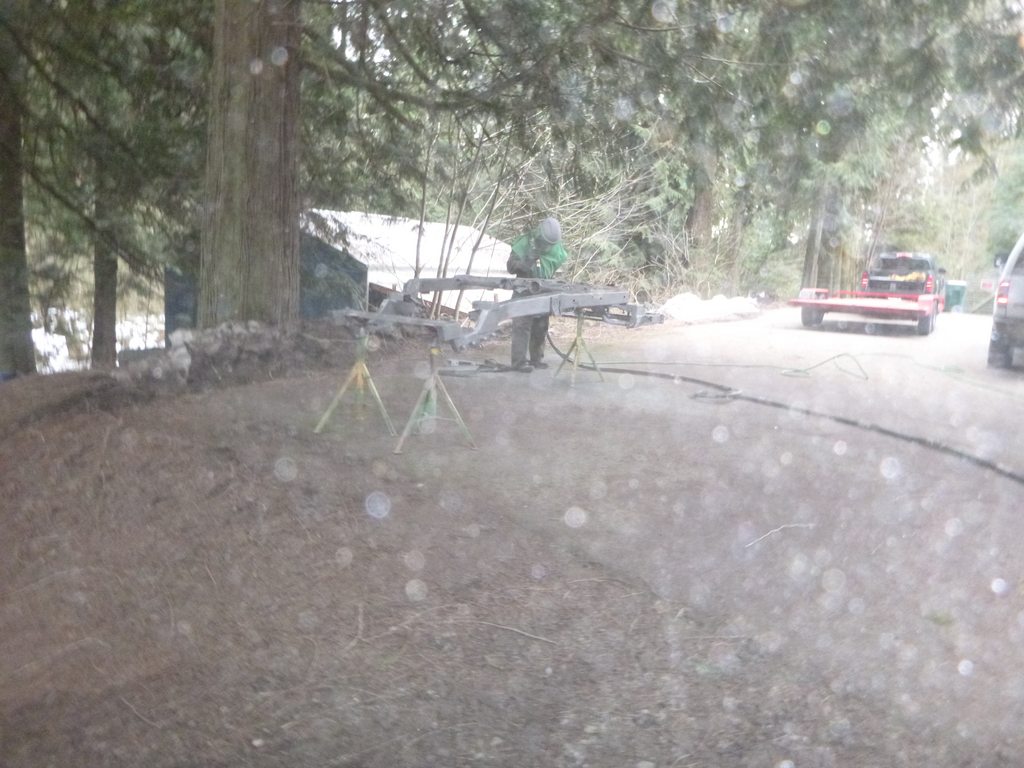
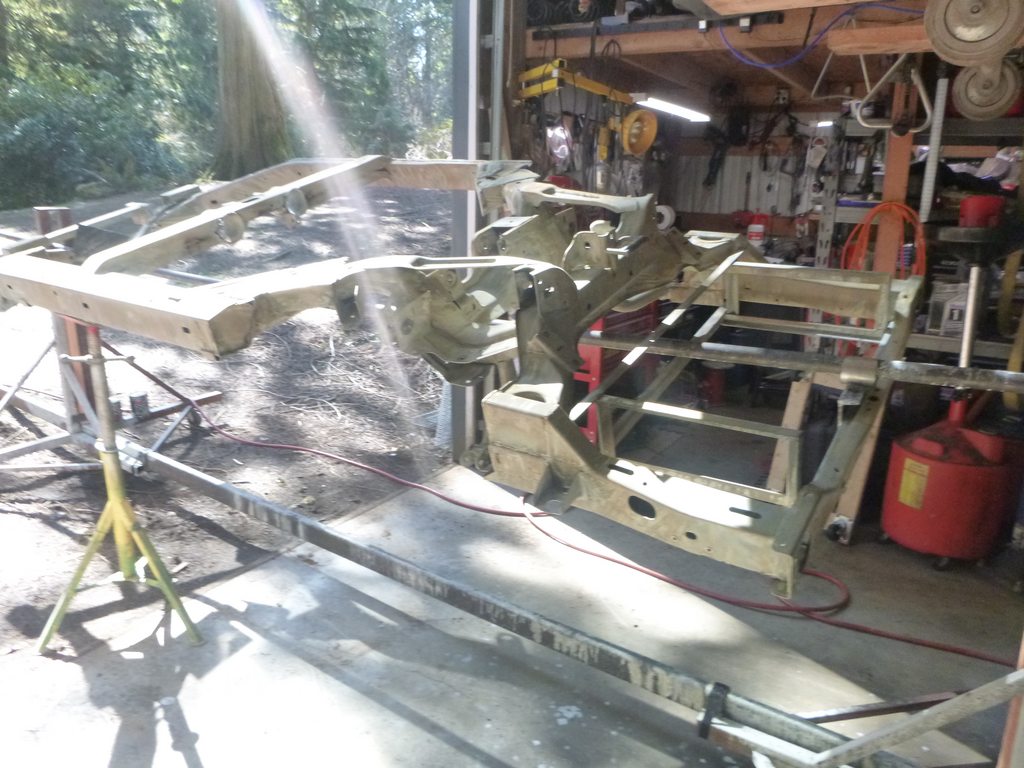
dustless blasting (Sharkblast)
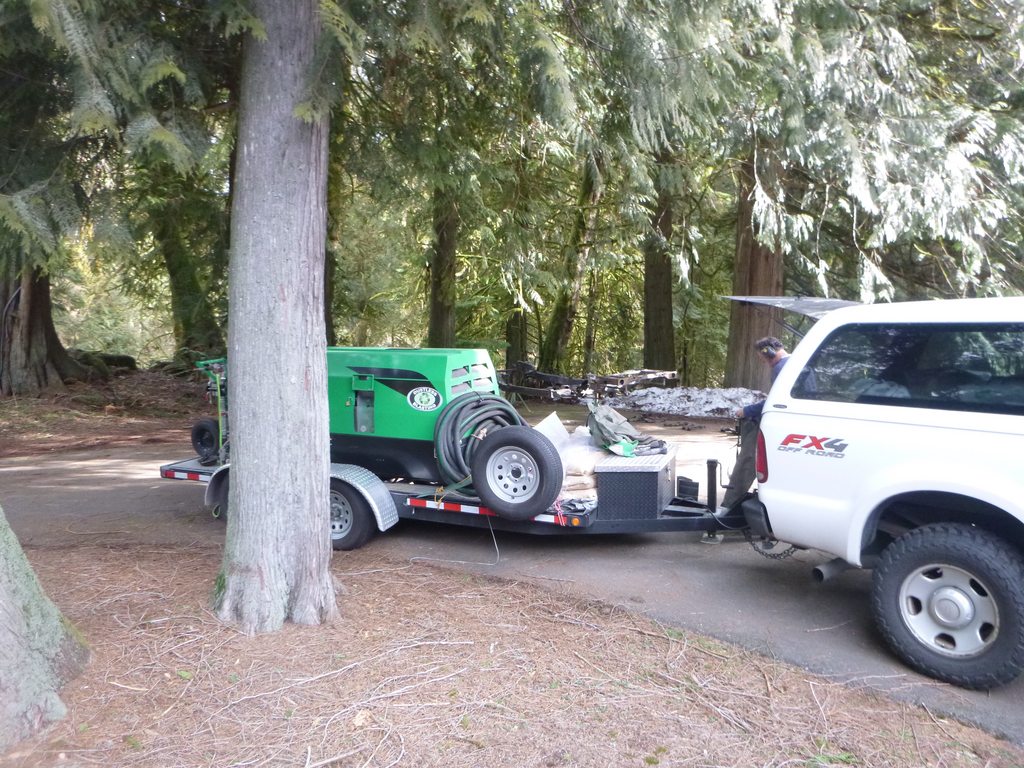
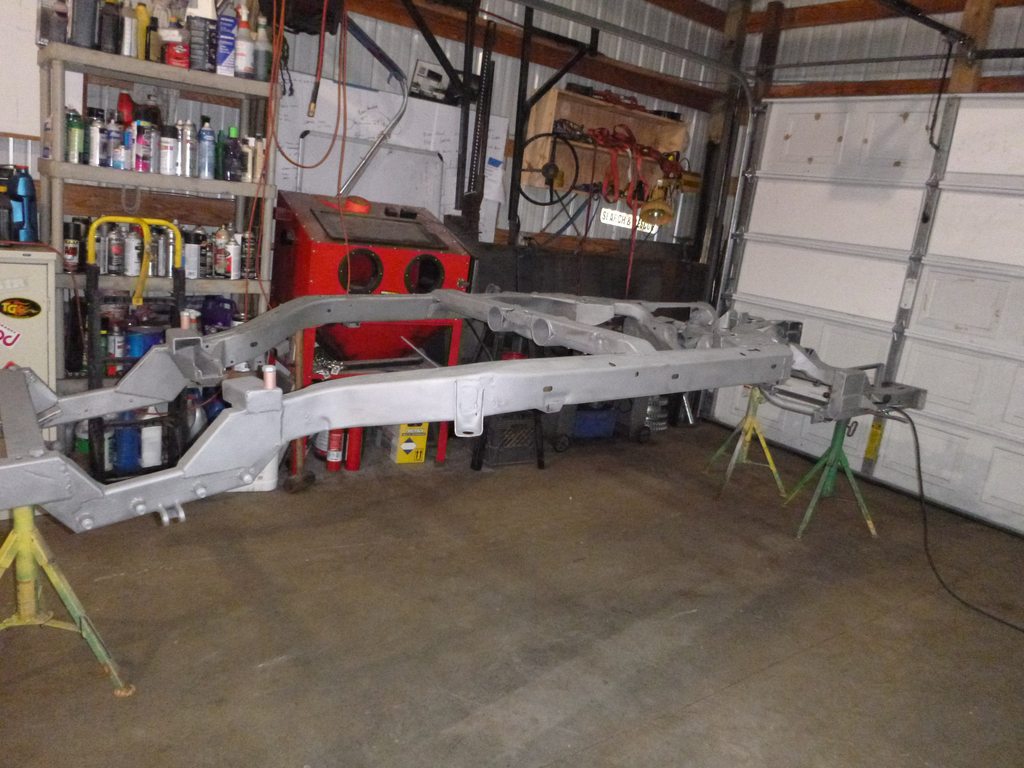
frame on stands
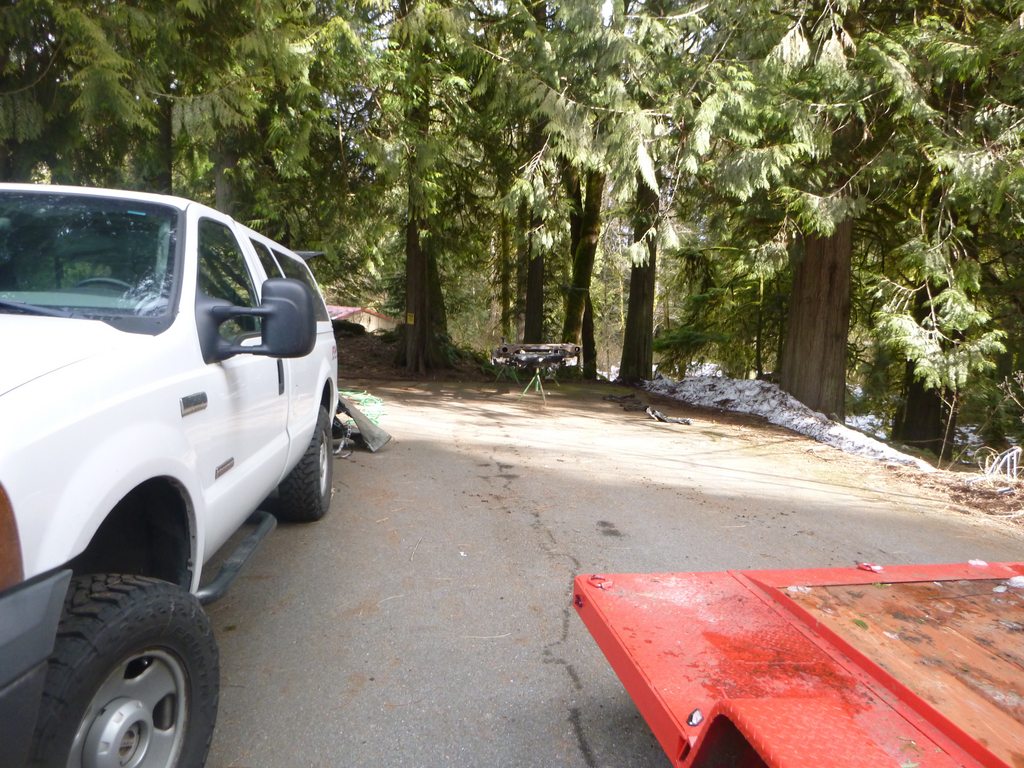
and blasting commences
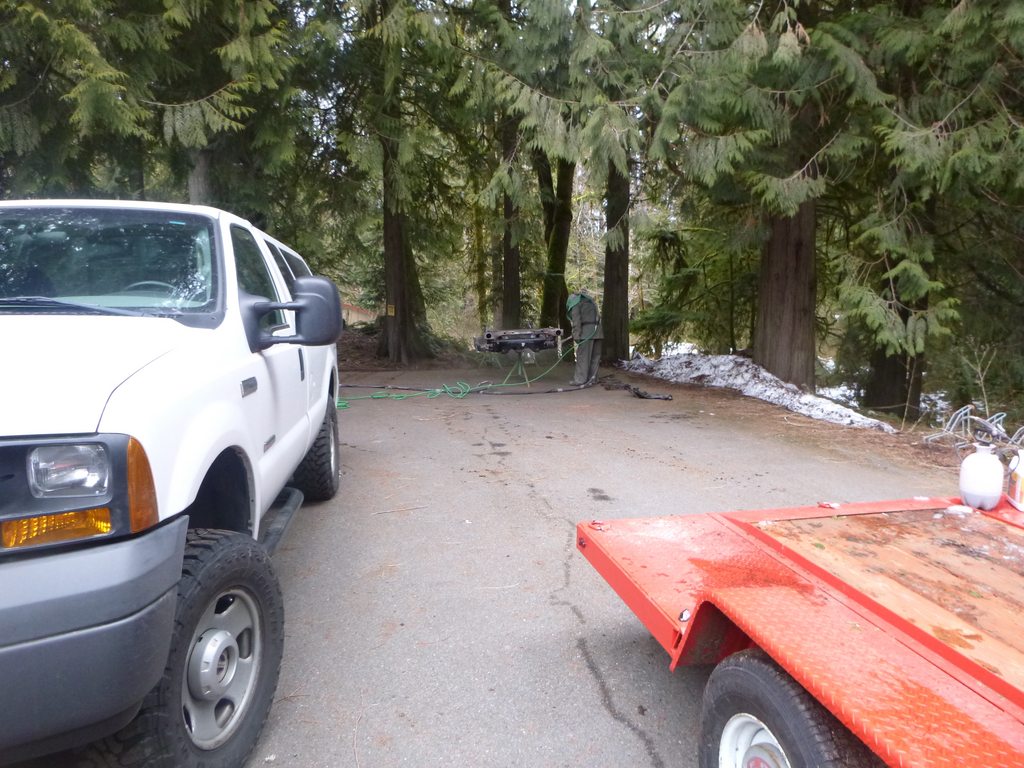
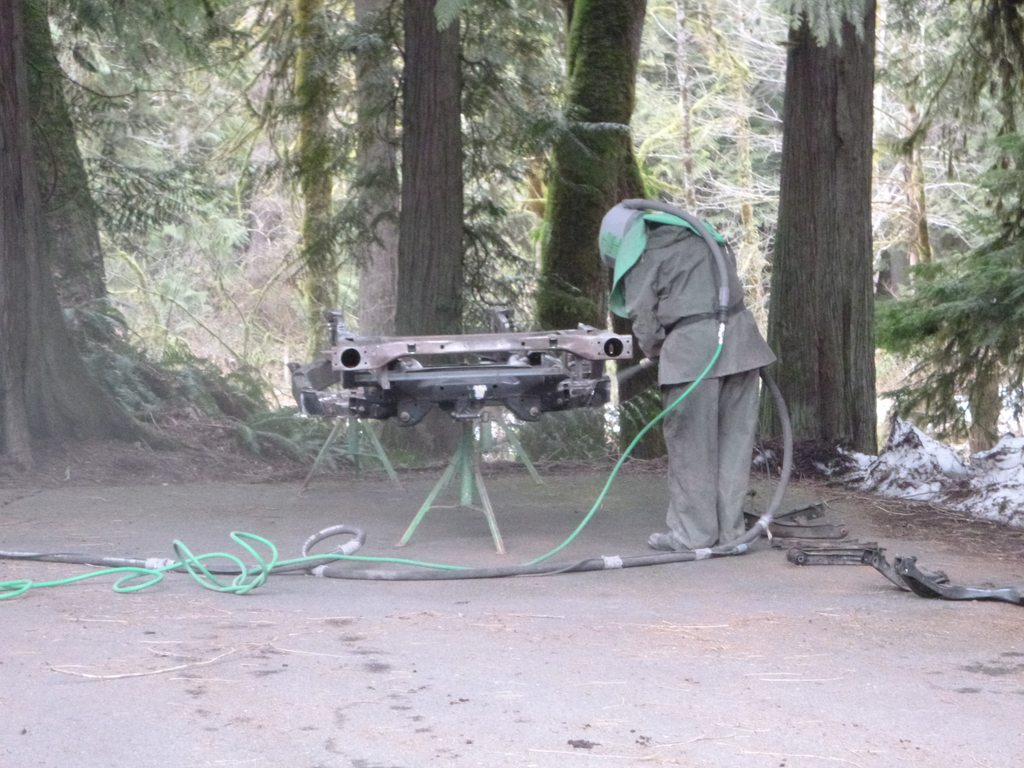
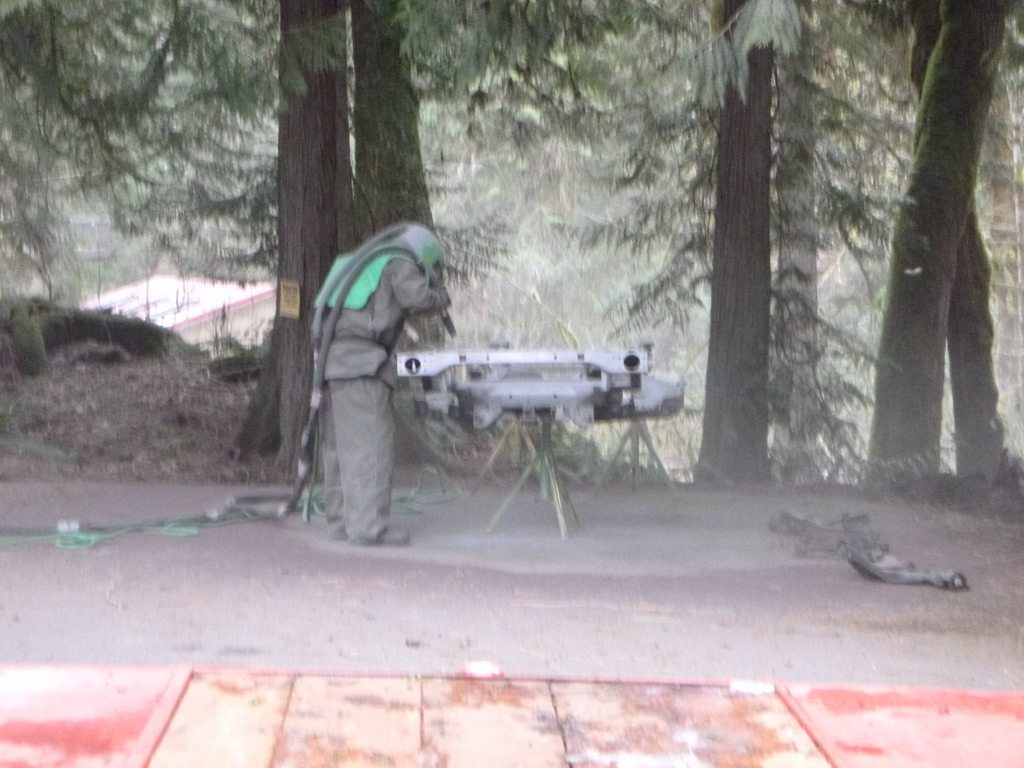
dustless may be a bit misleading
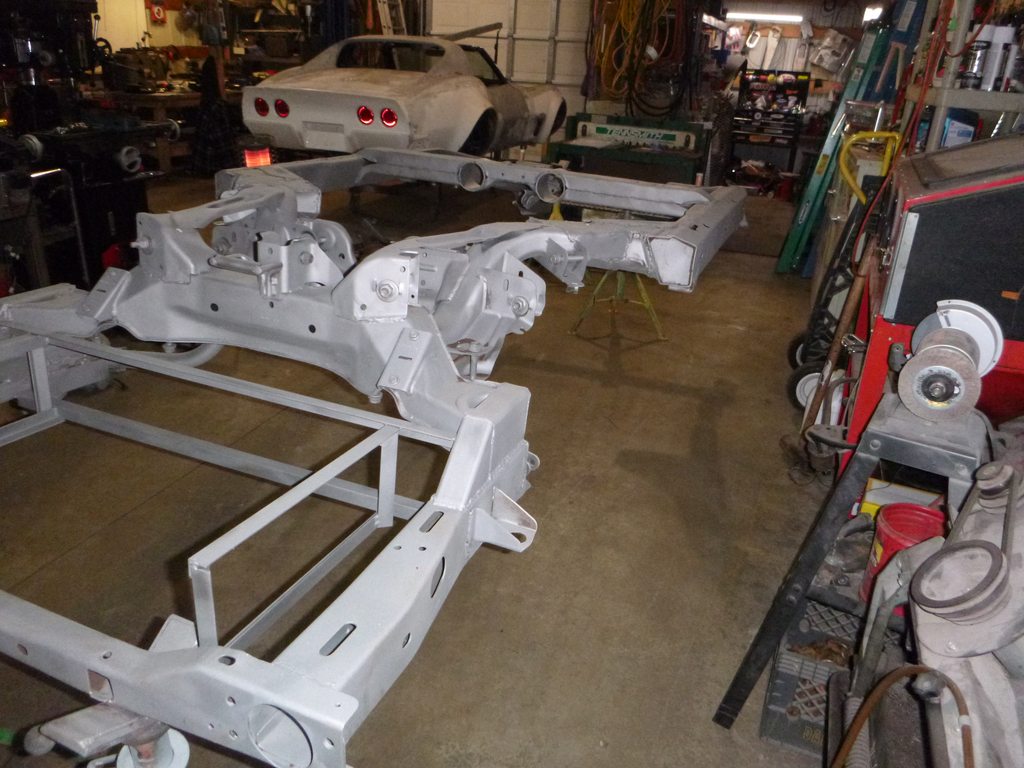
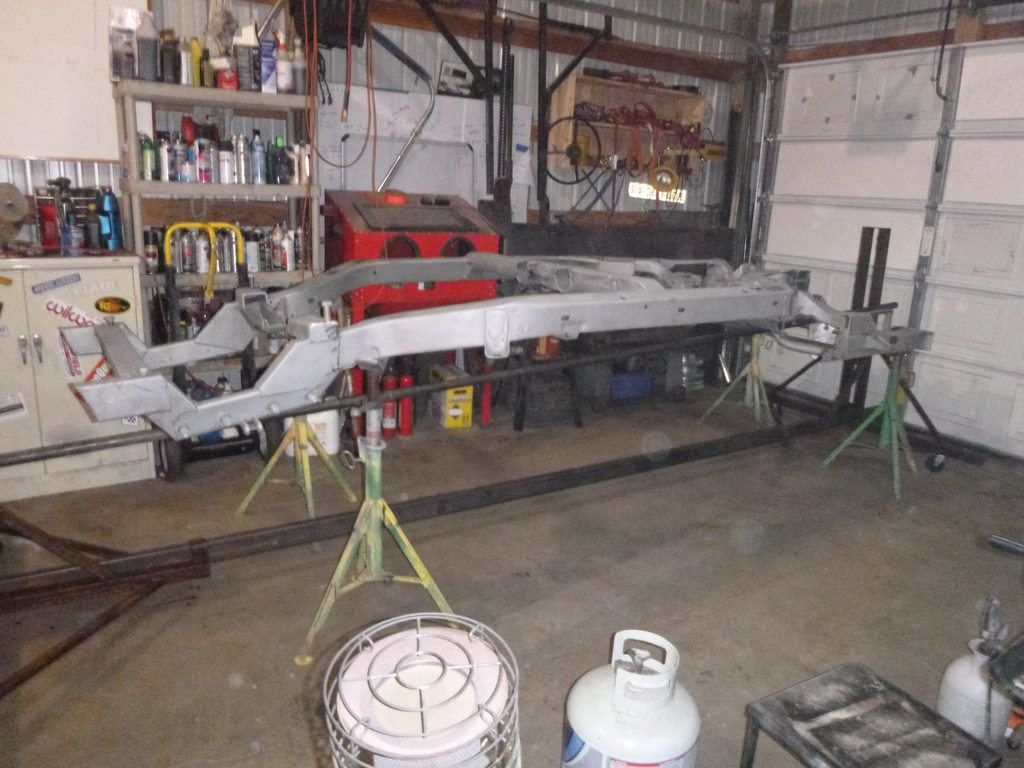
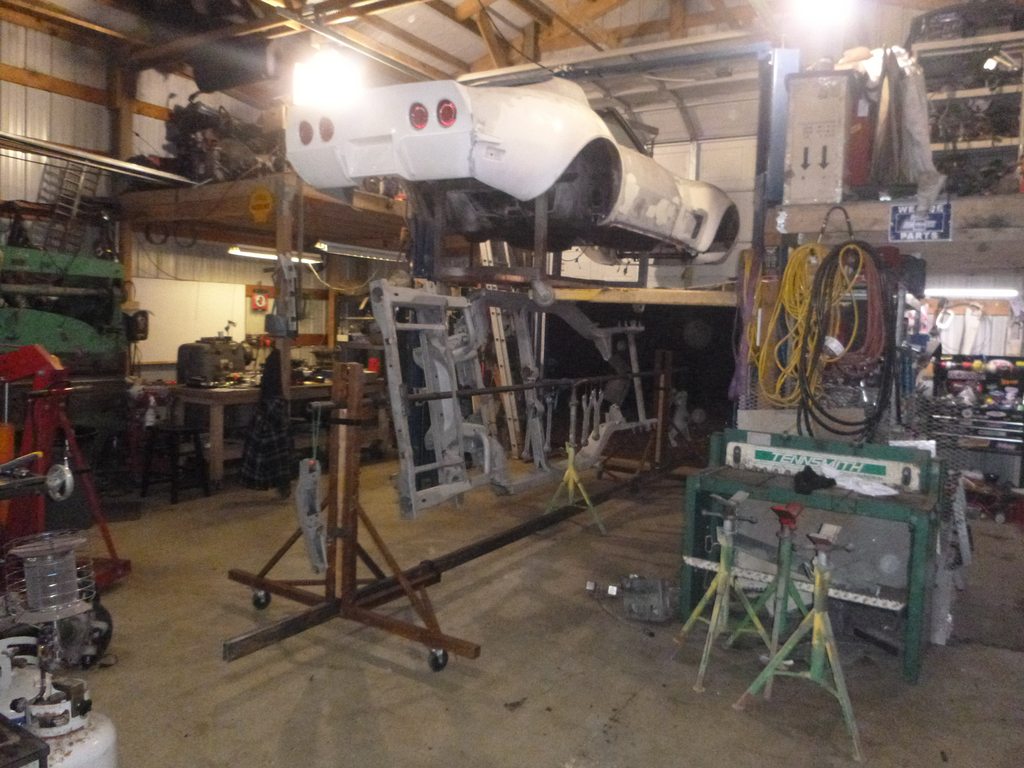
naked frame, oh la la
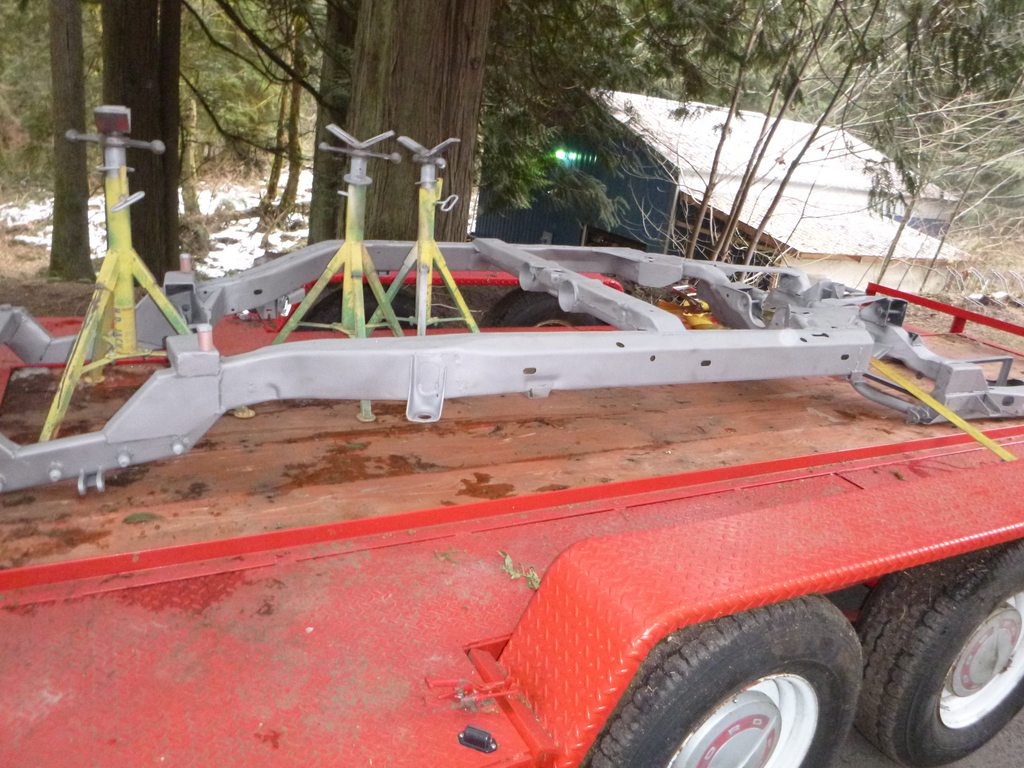
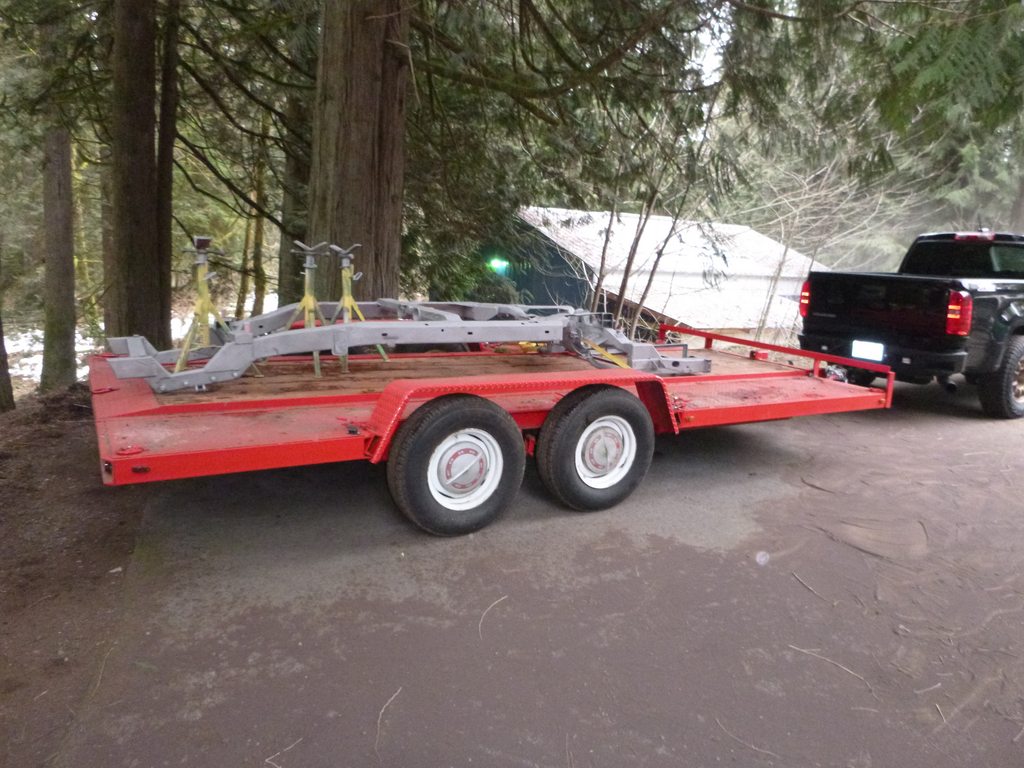
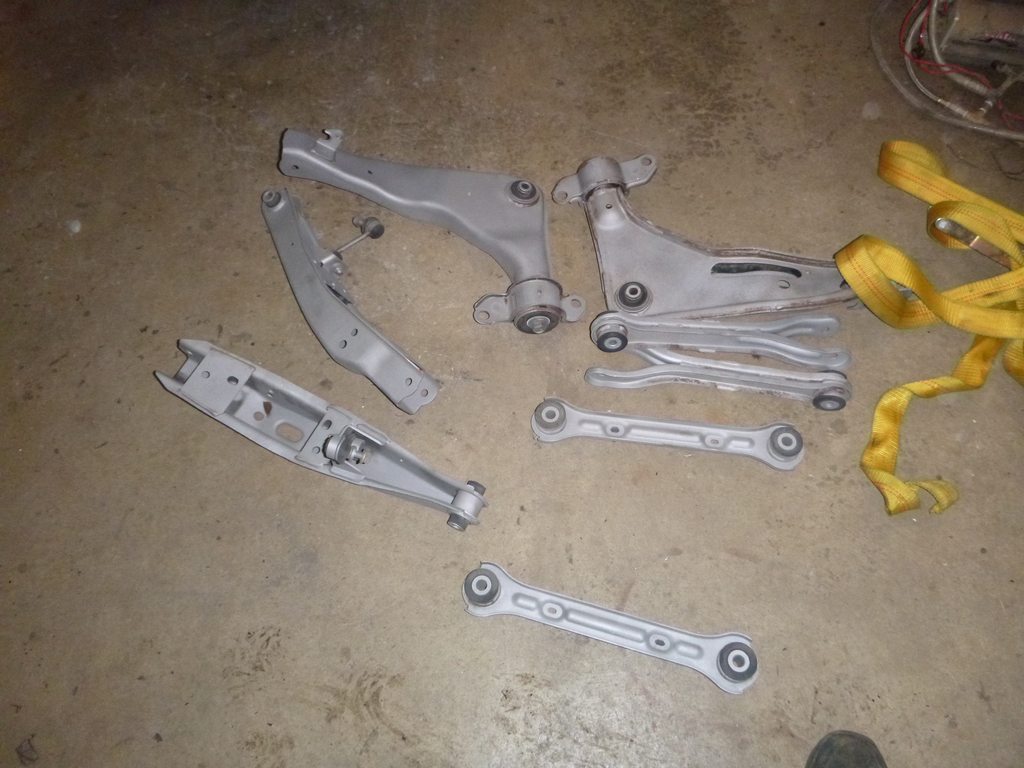
naked arms
pretty slick set up. it took about 3 hours, 2 hours of actual blasting. $300 minimum and that's what he charged me. By comparison, the closest blaster to me is Arlington and at least an hour away. - I presume it'd take 2 hours there too, at $90/hr. So I paid an extra $120 to save myself 4 hours....

the dust wasn't bad, in all reality, but if you're doing this in an HOA - you'll have to wait for warm enough weather so that the media doesn't freeze, the sand or coal slag has some moisture in it, then it clumps - so he couldn't use water to suppress the dust....
and here's this - I'll use him again when I do the Buick wagon to blast the body; and likely the Spider as well, for sure the 50 Buick. The frames on those cars will all get (probably) get powder coated. To have the frame blasted and powder coated is $500.
And for completeness, I'm using KBS coating on this frame. It's $90-100 for materials plus a $10 Harbor freight gun - so I do save a bit in money.... although I don't really save in time because the $500 place is 5 miles from me (so like an hour in Seattle traffic - I kid, sort of)
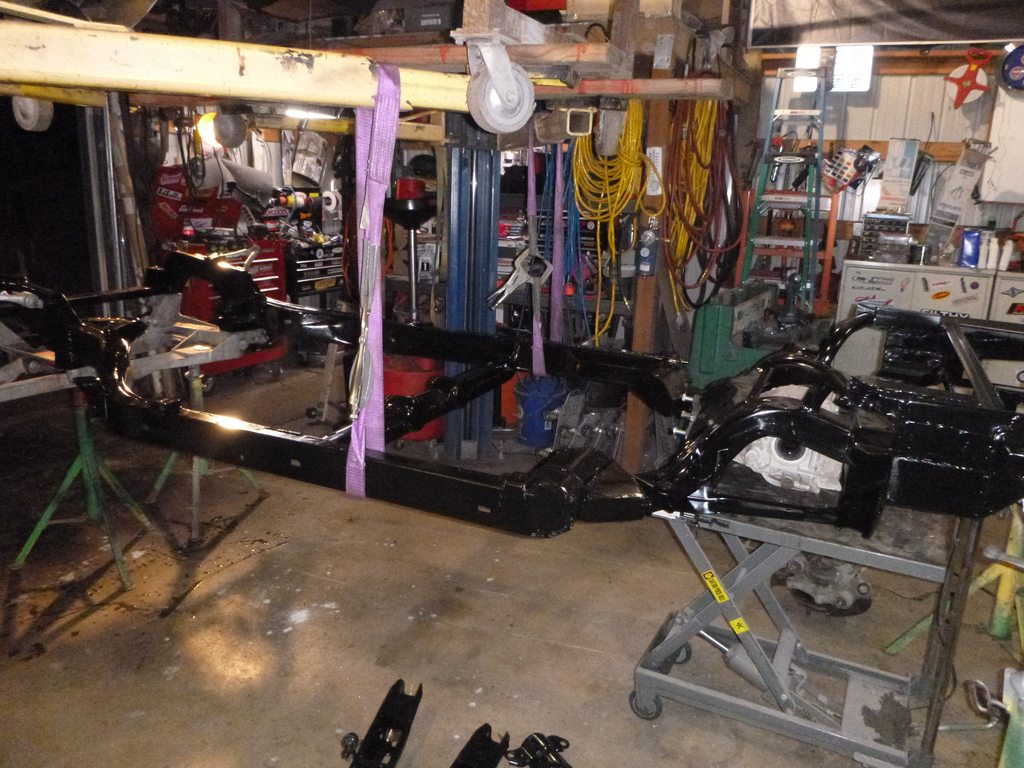
dustless blasting (Sharkblast)
frame on stands
and blasting commences
dustless may be a bit misleading
naked frame, oh la la
naked arms
pretty slick set up. it took about 3 hours, 2 hours of actual blasting. $300 minimum and that's what he charged me. By comparison, the closest blaster to me is Arlington and at least an hour away. - I presume it'd take 2 hours there too, at $90/hr. So I paid an extra $120 to save myself 4 hours....
the dust wasn't bad, in all reality, but if you're doing this in an HOA - you'll have to wait for warm enough weather so that the media doesn't freeze, the sand or coal slag has some moisture in it, then it clumps - so he couldn't use water to suppress the dust....
and here's this - I'll use him again when I do the Buick wagon to blast the body; and likely the Spider as well, for sure the 50 Buick. The frames on those cars will all get (probably) get powder coated. To have the frame blasted and powder coated is $500.
And for completeness, I'm using KBS coating on this frame. It's $90-100 for materials plus a $10 Harbor freight gun - so I do save a bit in money.... although I don't really save in time because the $500 place is 5 miles from me (so like an hour in Seattle traffic - I kid, sort of)
 03-13-2019, 12:11 AM
#262
Melting Slicks
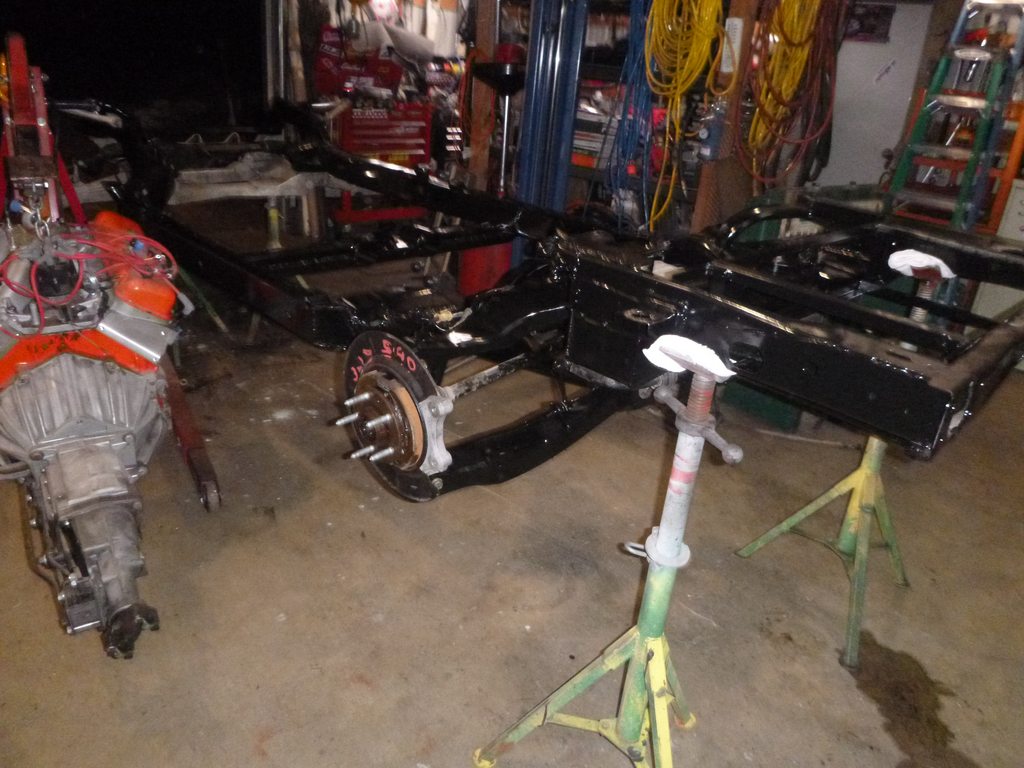
onward
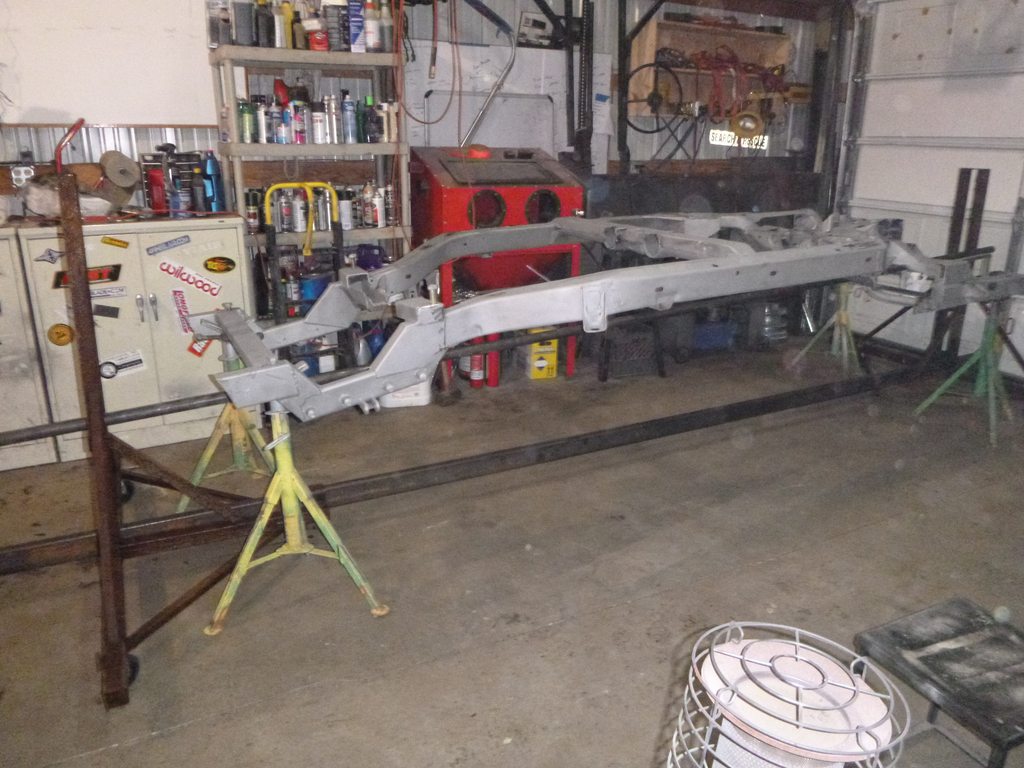
nice and dry and time to find my missing weld spots
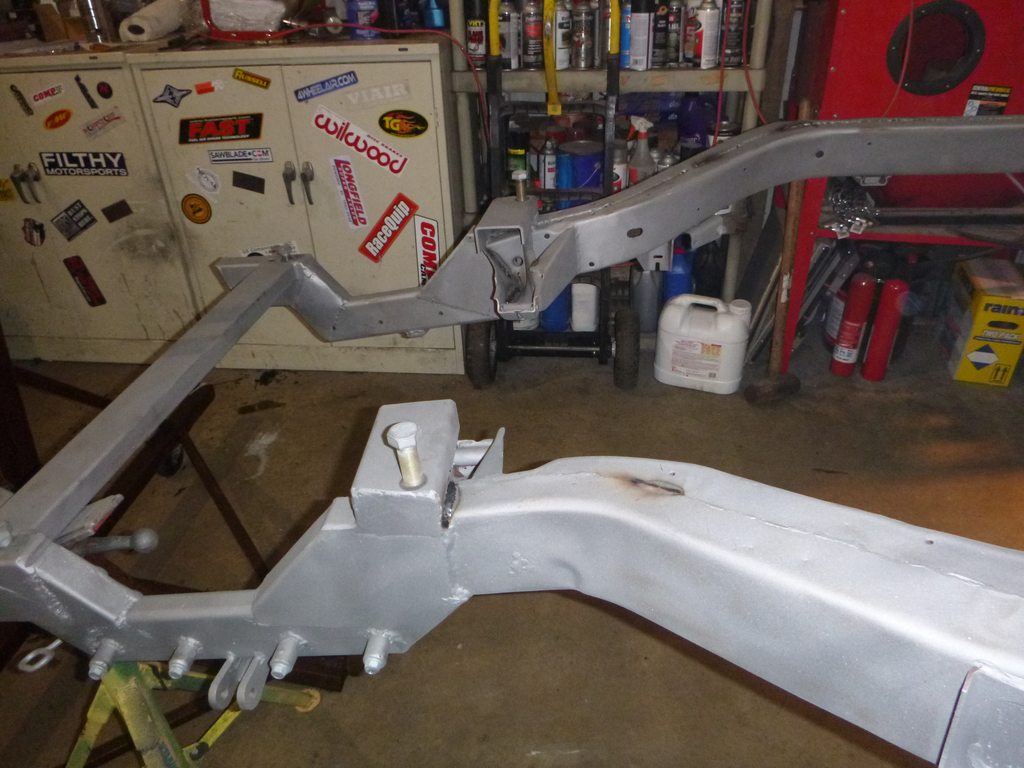

and make it a little easier to paint
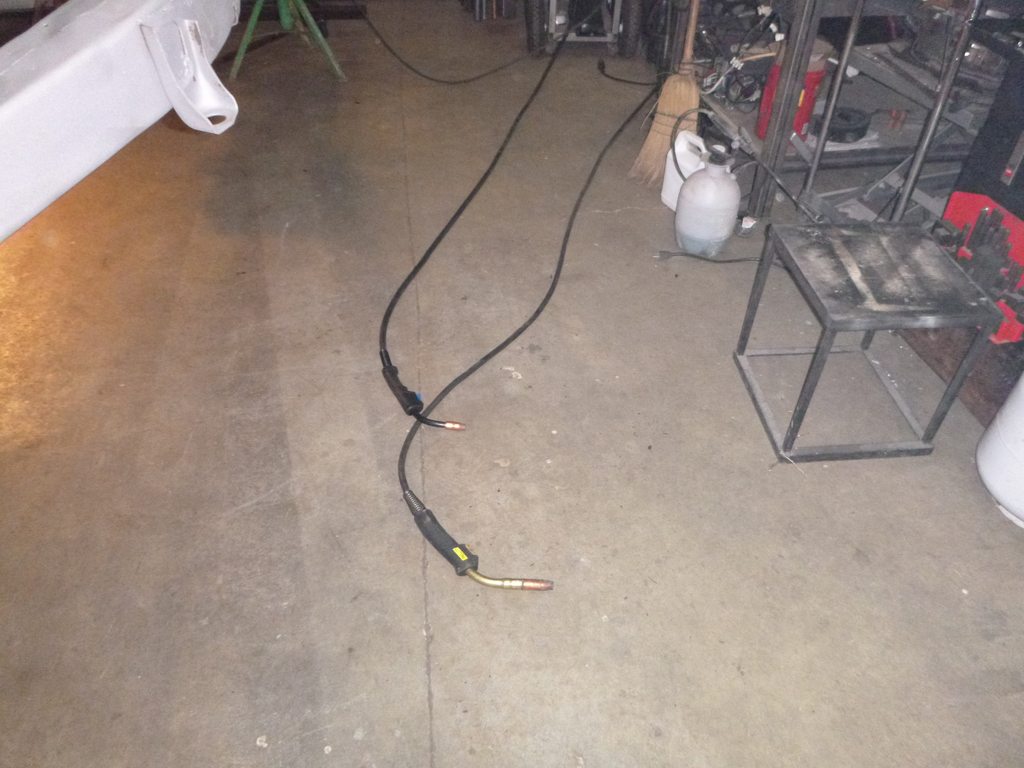
hmmmm, I may have to put my old gun on my new welder
nice and dry and time to find my missing weld spots
and make it a little easier to paint
hmmmm, I may have to put my old gun on my new welder
03-14-2019, 11:52 PM
#263
Melting Slicks
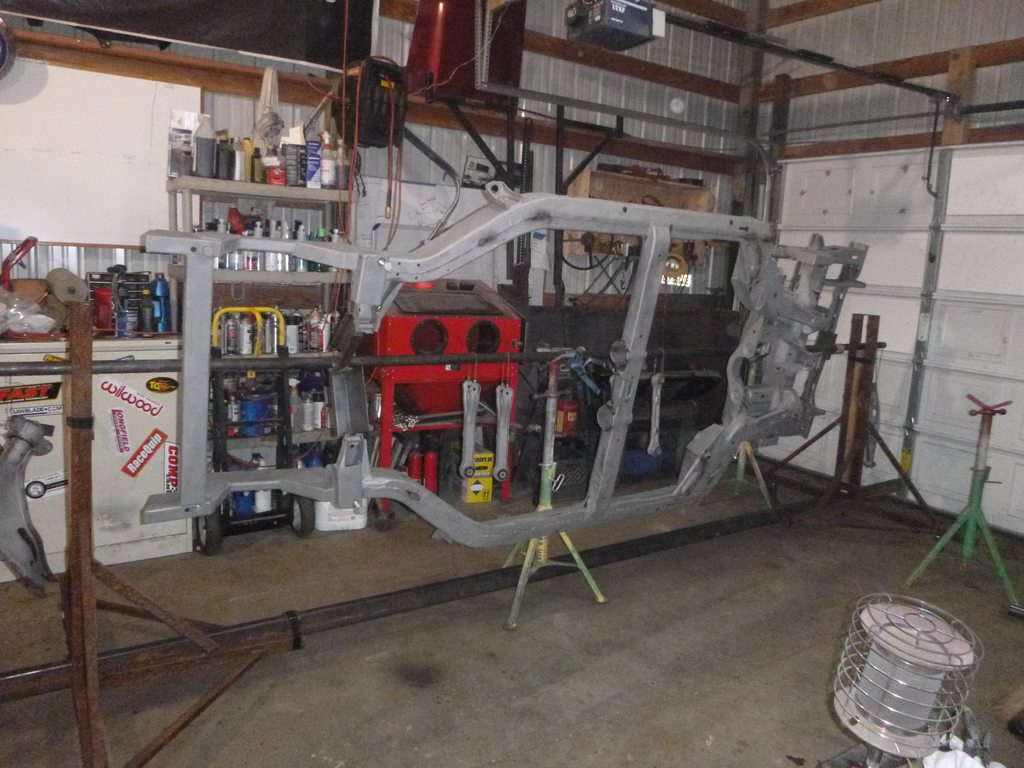
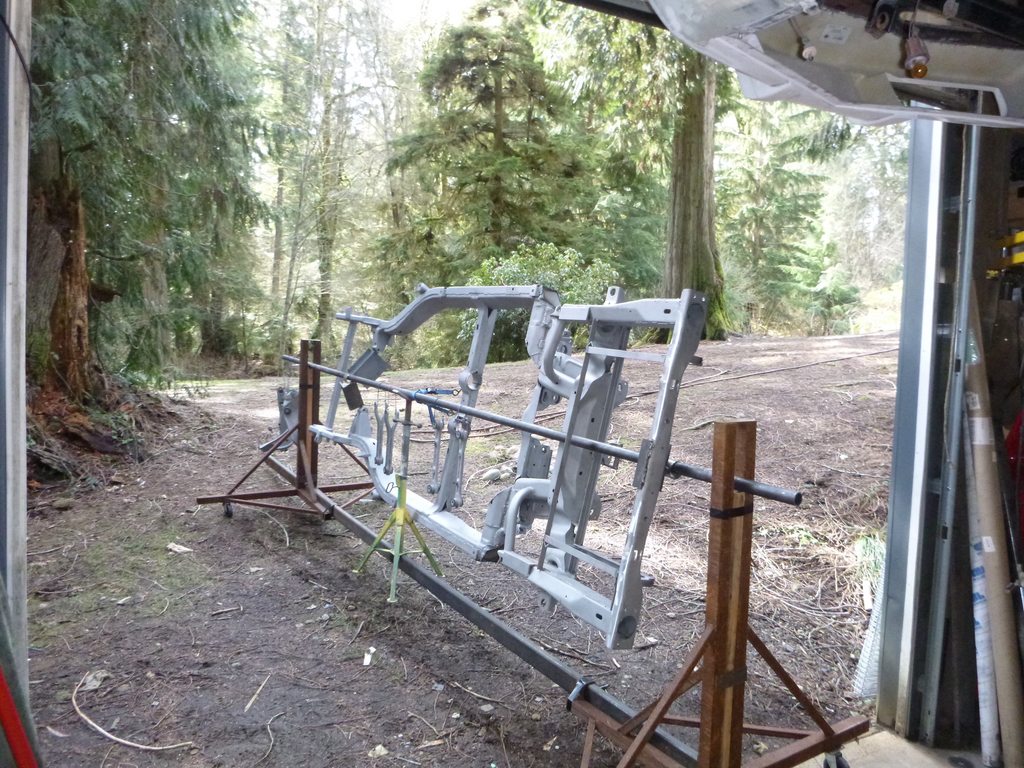
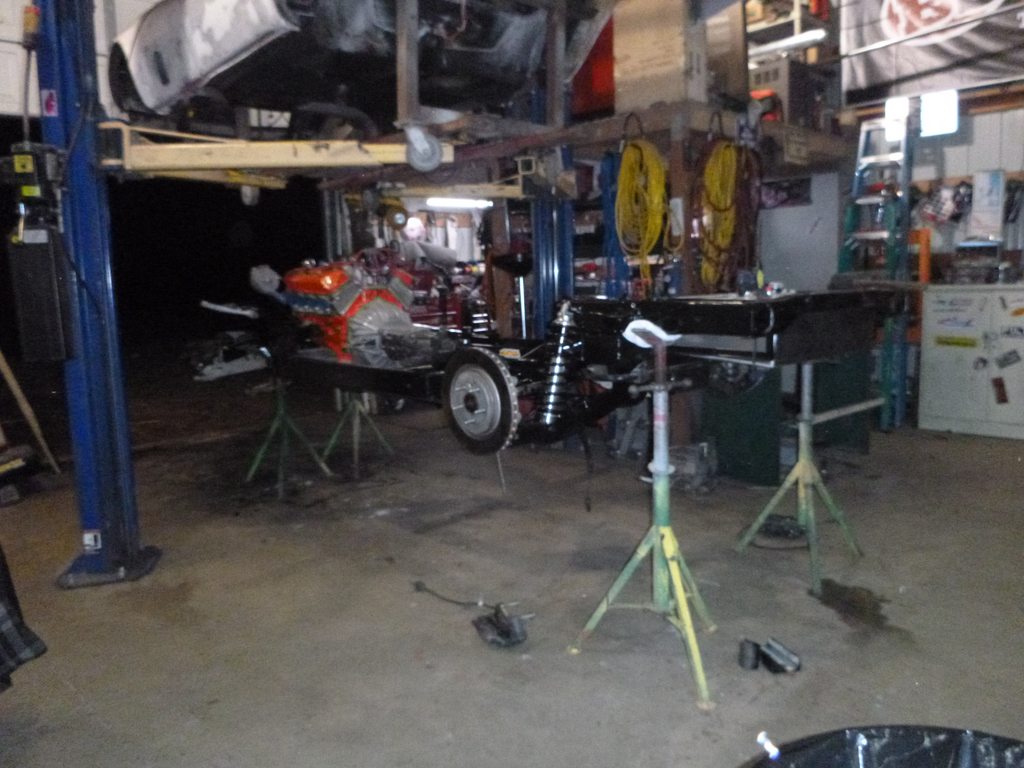
getting ready for paint
those guys stacking a forklift on a forklift.... I taught em
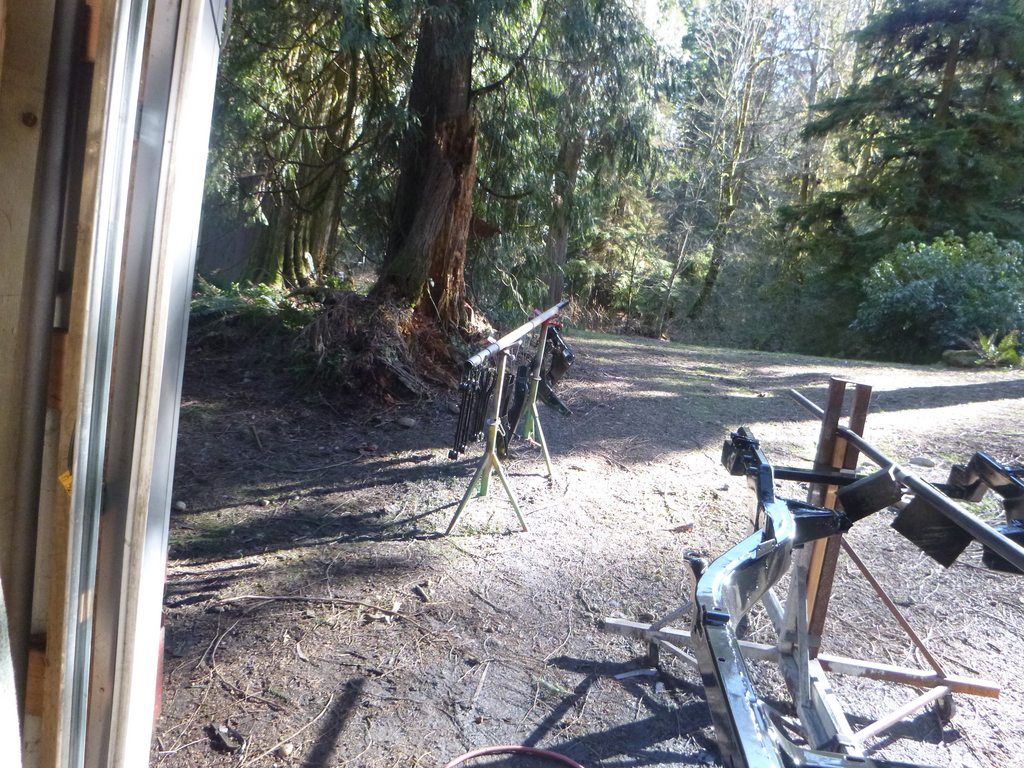
all of this so that I can go out the back of my shop to where the sun is... or will be... I hope
hopefully tomorrow I can etch it, then Sunday shoot it
those guys stacking a forklift on a forklift.... I taught em
all of this so that I can go out the back of my shop to where the sun is... or will be... I hope
hopefully tomorrow I can etch it, then Sunday shoot it
 03-16-2019, 12:28 PM
#265
Dementer sole survivor


Member Since: Oct 2015
Location: YUPPY HELL Westford MASS
Posts: 16,400
Received 6,260 Likes
on
3,905 Posts
2020 C3 of the Year Finalist - Modified
2020 Corvette of the Year Finalist (performance mods)
2019 C3 of Year Winner (performance mods)
2016 C3 of Year Finalist
Thats going to nice. When I can afford to buy a 5 speed im going to do a frame off..... But ALOT less involved than yours
03-17-2019, 05:59 AM
#266
Melting Slicks
I'm still deciding whether or not to allow a frame builder to measure this so they can produce a full frame replacement for the C2/C3s that uses the components I'm using....
and I never do things the easy way - but after building a C3 with as updated stock as I could (and it handled well), I want faster but not 25k faster (the DSE full suspension is 25k).... so work was required. That said, beating up on new car owners with an apparent 50 year old car has some attraction as well
and I never do things the easy way - but after building a C3 with as updated stock as I could (and it handled well), I want faster but not 25k faster (the DSE full suspension is 25k).... so work was required. That said, beating up on new car owners with an apparent 50 year old car has some attraction as well
03-17-2019, 06:36 AM
#267
Dementer sole survivor
Member Since: Oct 2015
Location: YUPPY HELL Westford MASS
Posts: 16,400
Received 6,260 Likes
on
3,905 Posts
2020 C3 of the Year Finalist - Modified
2020 Corvette of the Year Finalist (performance mods)
2019 C3 of Year Winner (performance mods)
2016 C3 of Year Finalist
Do it, write up a contract and take 1% of all sales. $250 bucks everytime they sell one will give you back some of your labor cost after 20 to 30 (or so) frames.
03-17-2019, 07:59 PM
#268
Melting Slicks
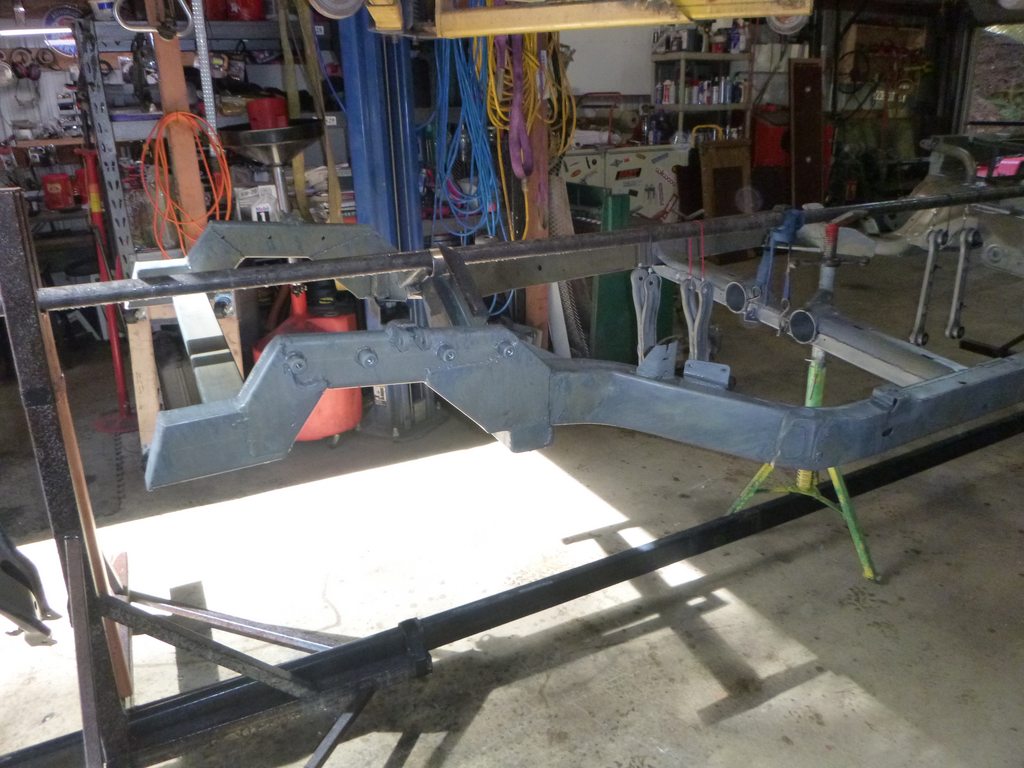
time to make it big and black
I love disposable paint guns.... $10.00 and it'd cost more in acetone to clean it (not to mention time)

time to spray
purdy

drying....
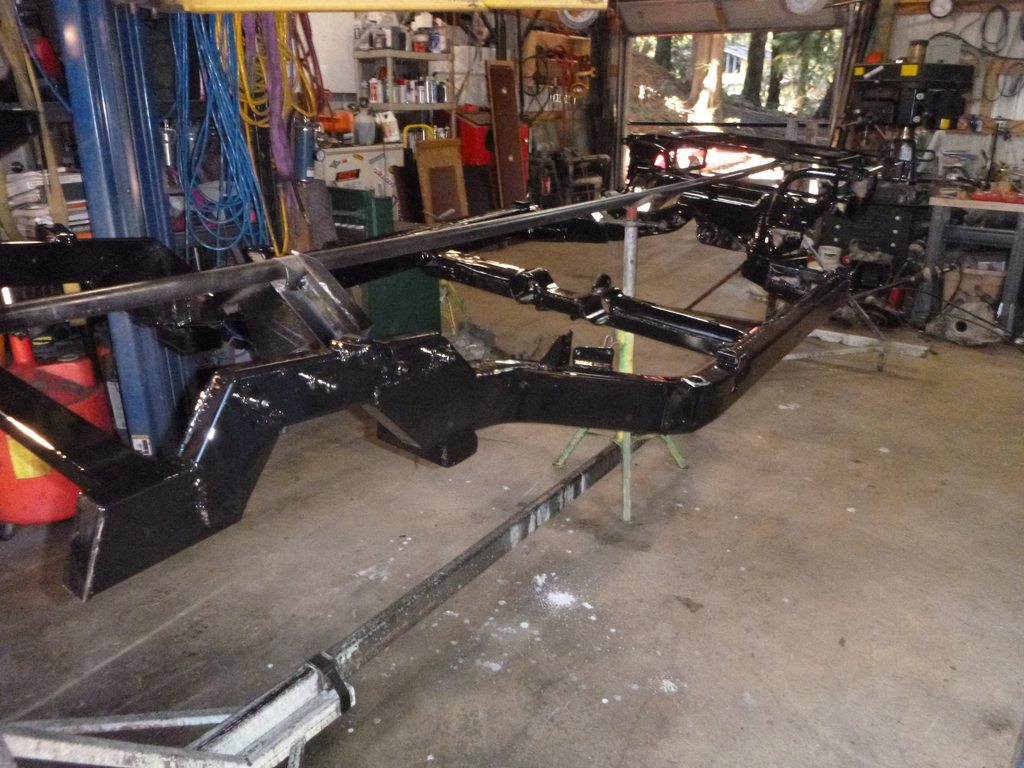
I love disposable paint guns.... $10.00 and it'd cost more in acetone to clean it (not to mention time)
time to spray
purdy
drying....


 03-20-2019, 12:26 AM
#271
Melting Slicks
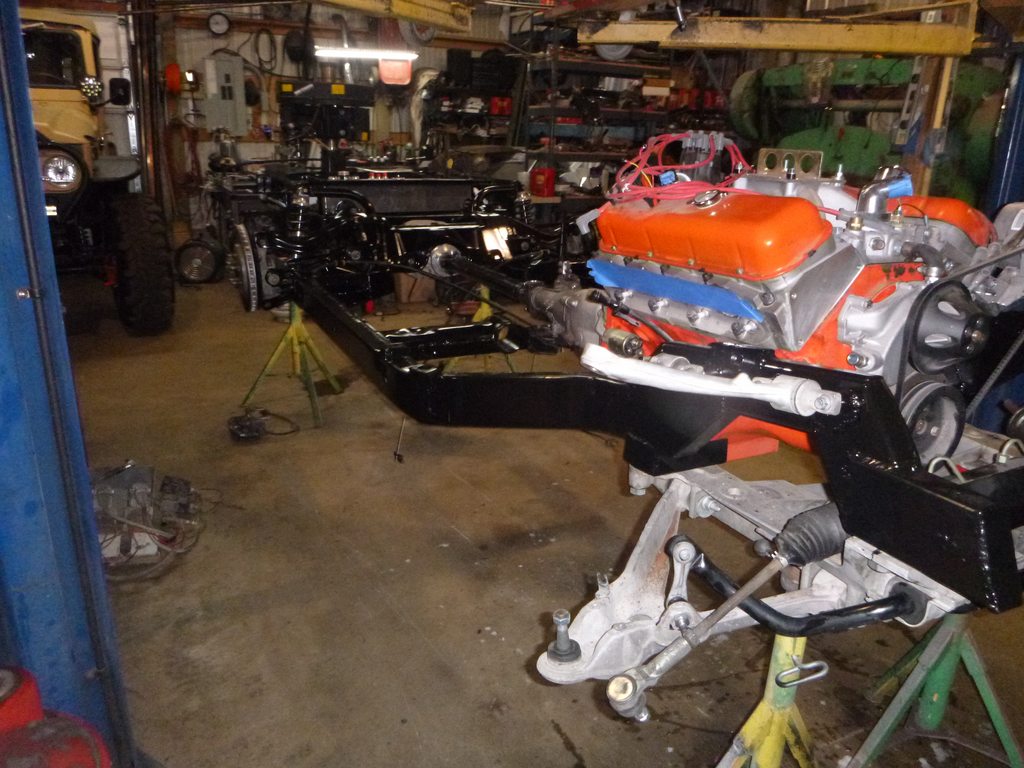
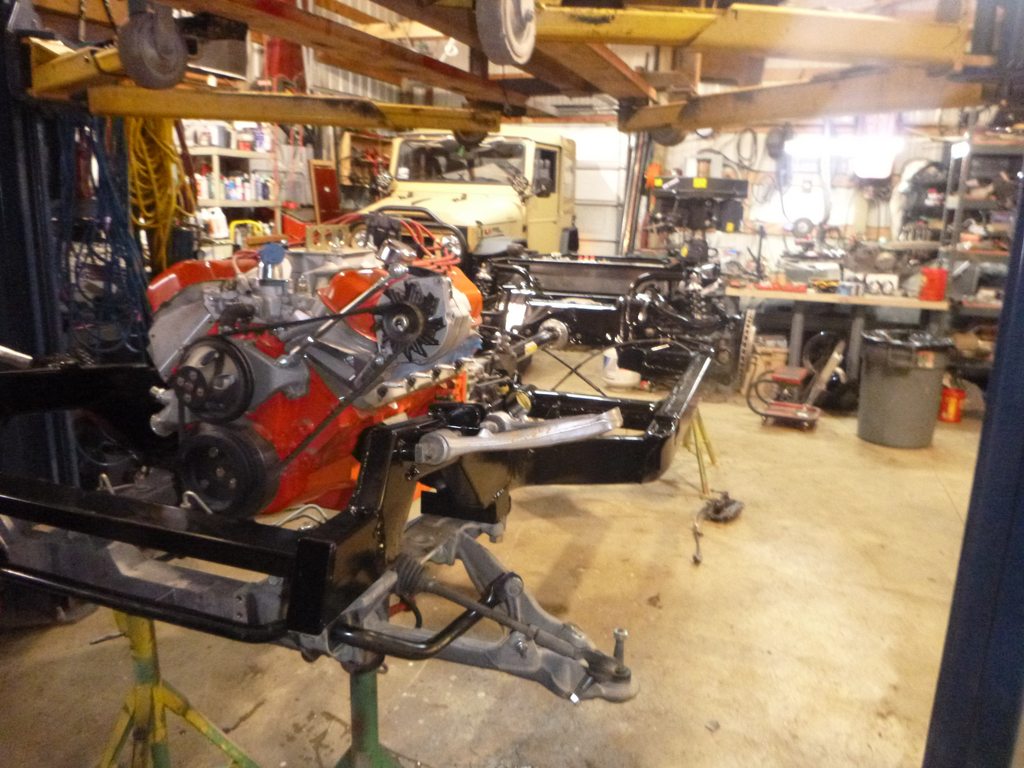
time to add parts
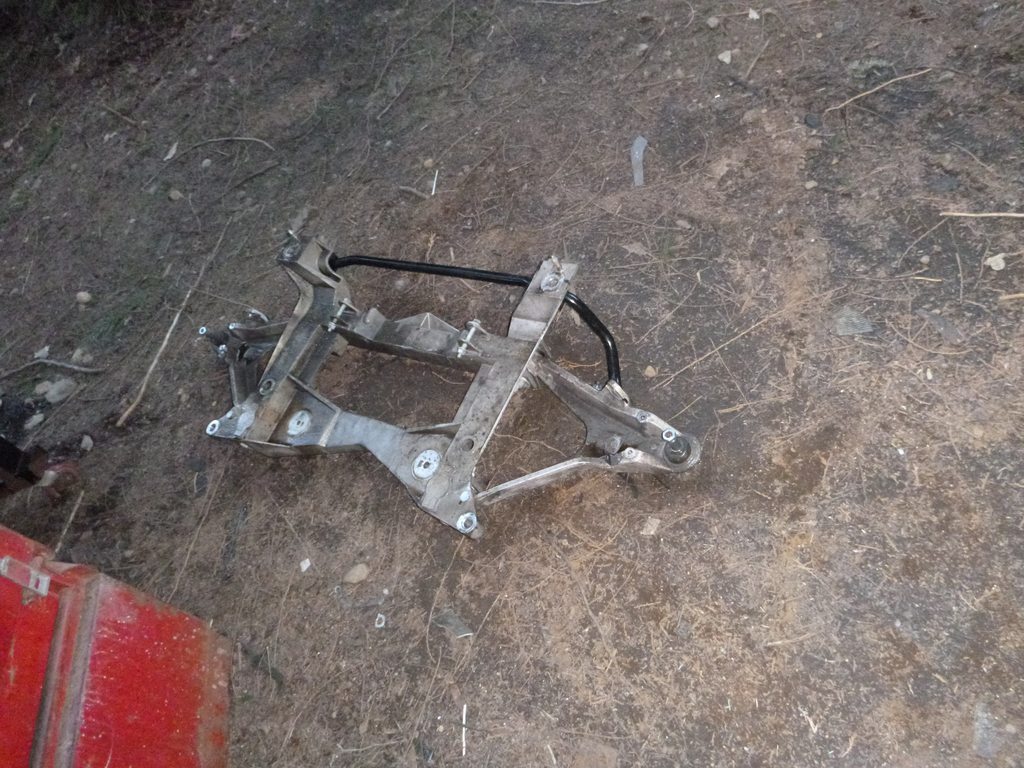
if you're ever replacing C5 or C6 upper control arms.... the long slot goes to the front
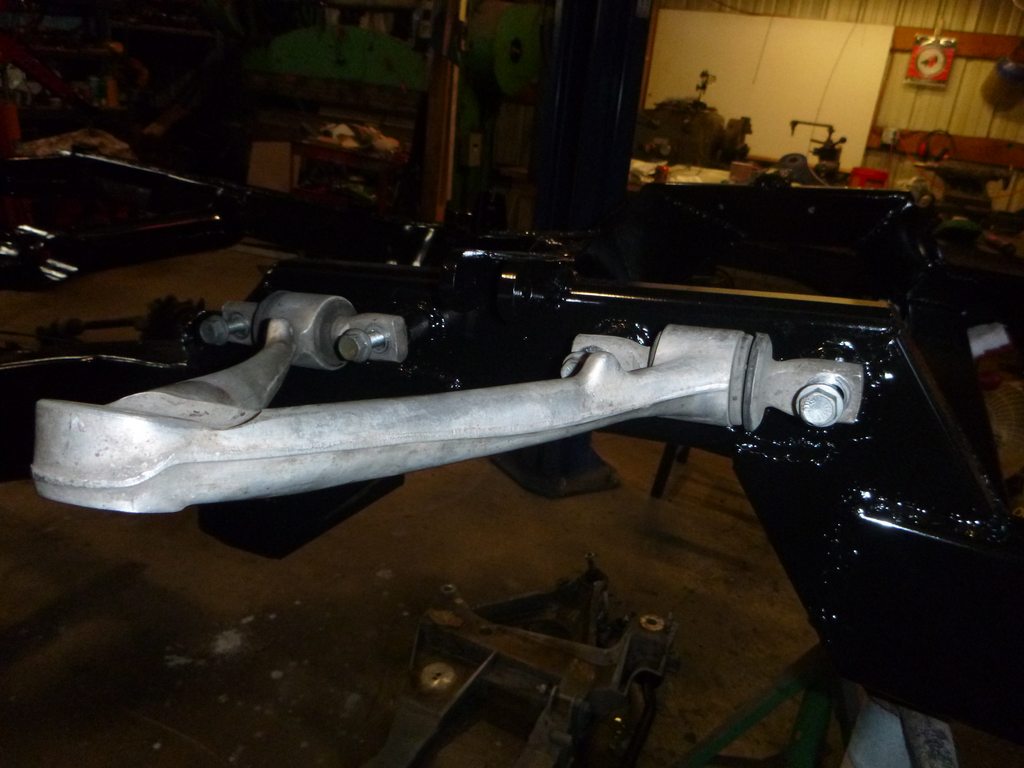
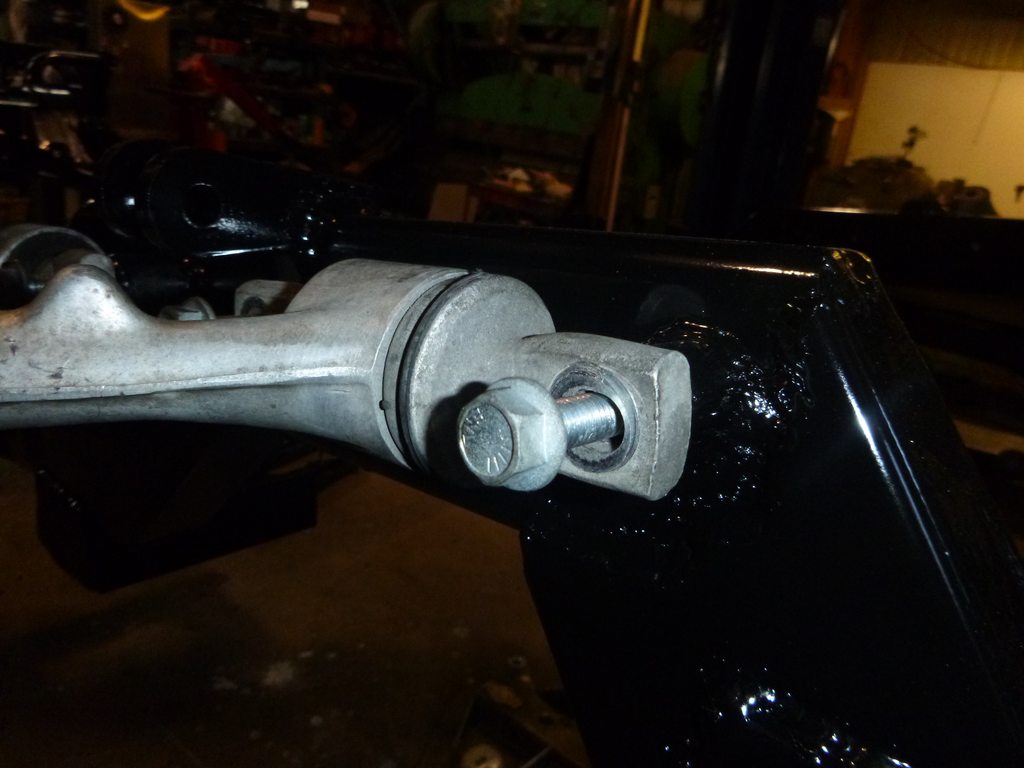
clean, even
the center of gravity at that moment
missed squeezing through by one alternator width
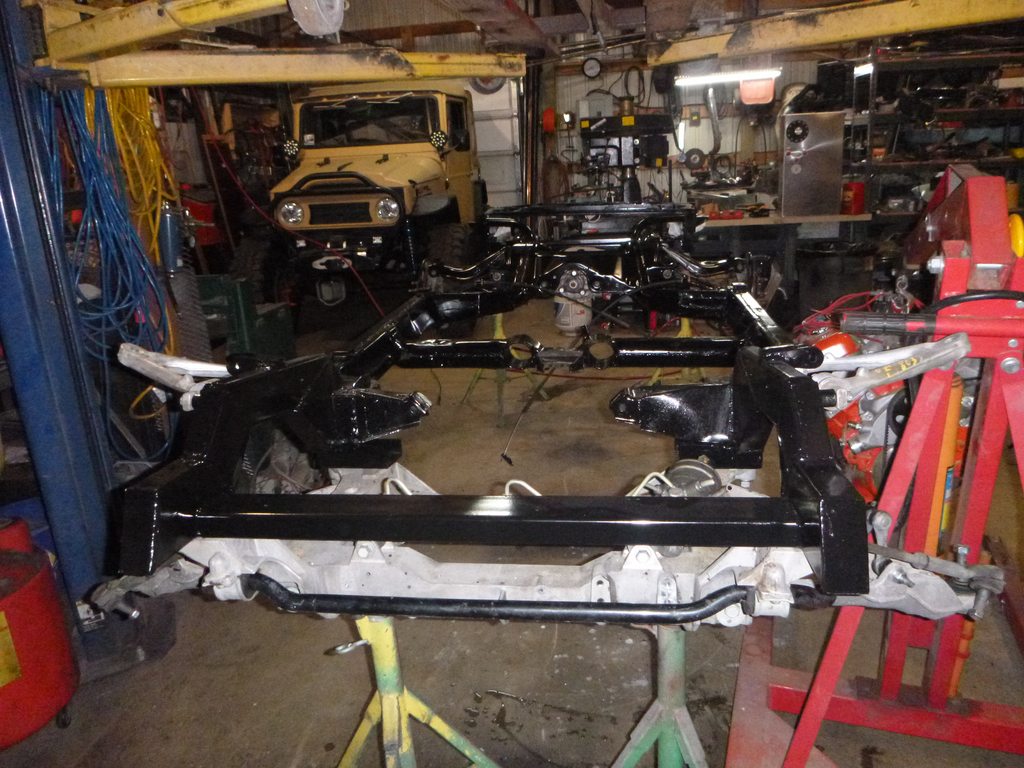
almost a complete frame - with not one bolt tightened (outside of the front cradle
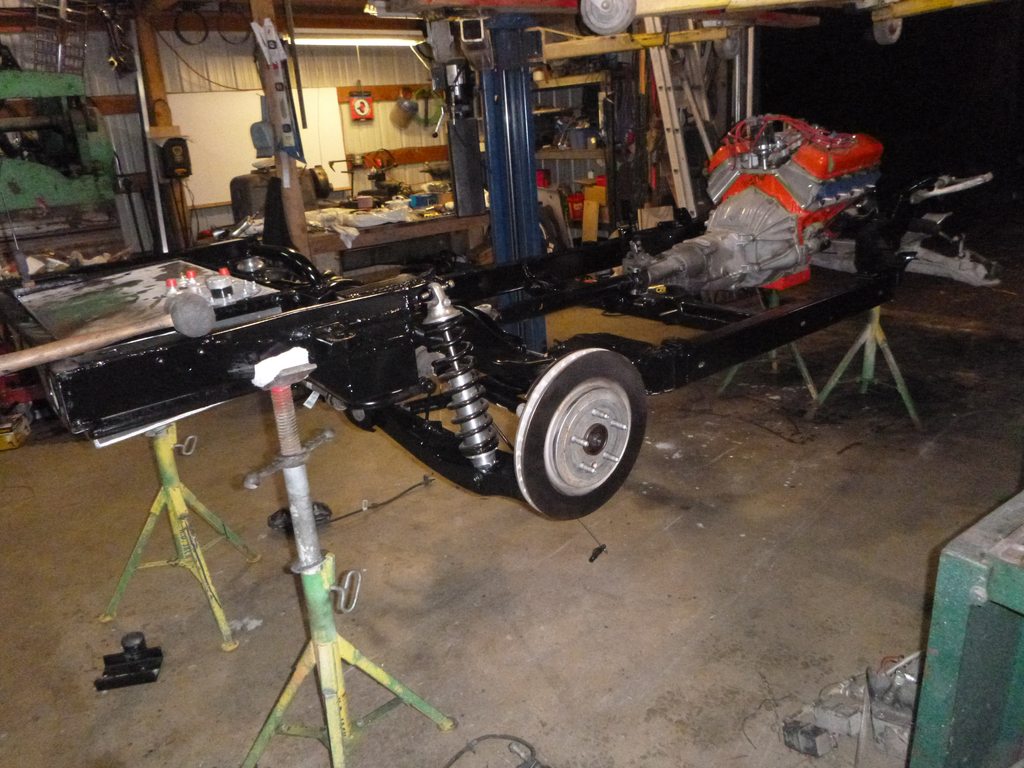
if you're ever replacing C5 or C6 upper control arms.... the long slot goes to the front
clean, even
the center of gravity at that moment
missed squeezing through by one alternator width
almost a complete frame - with not one bolt tightened (outside of the front cradle
03-22-2019, 12:08 AM
#272
Melting Slicks
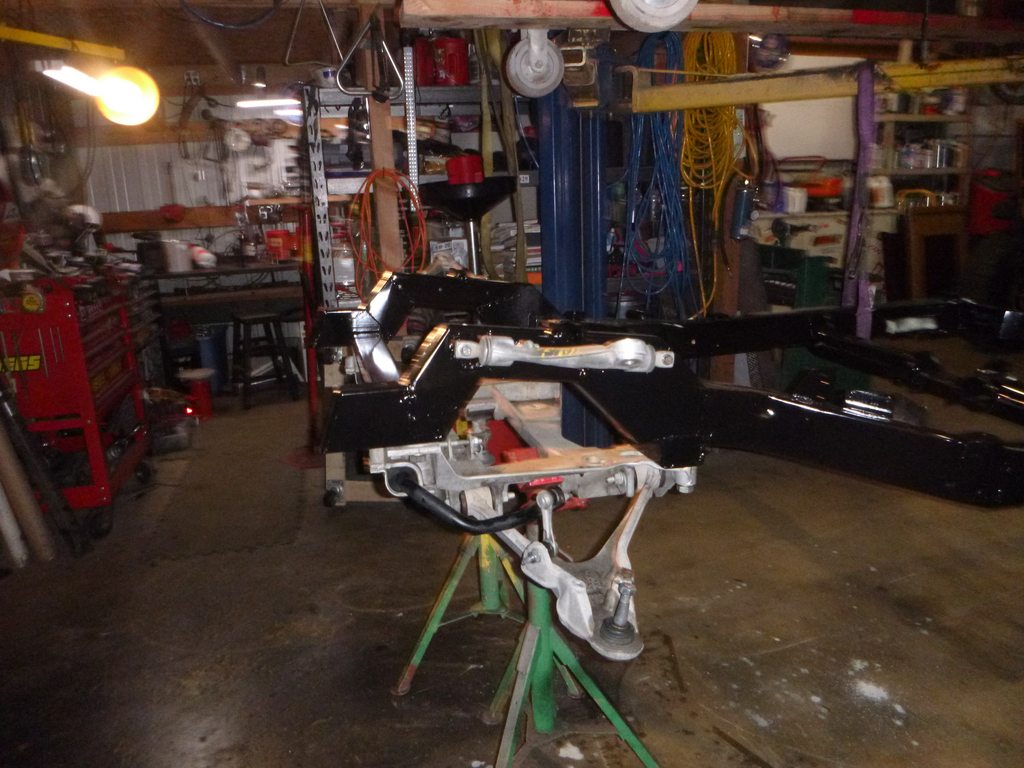
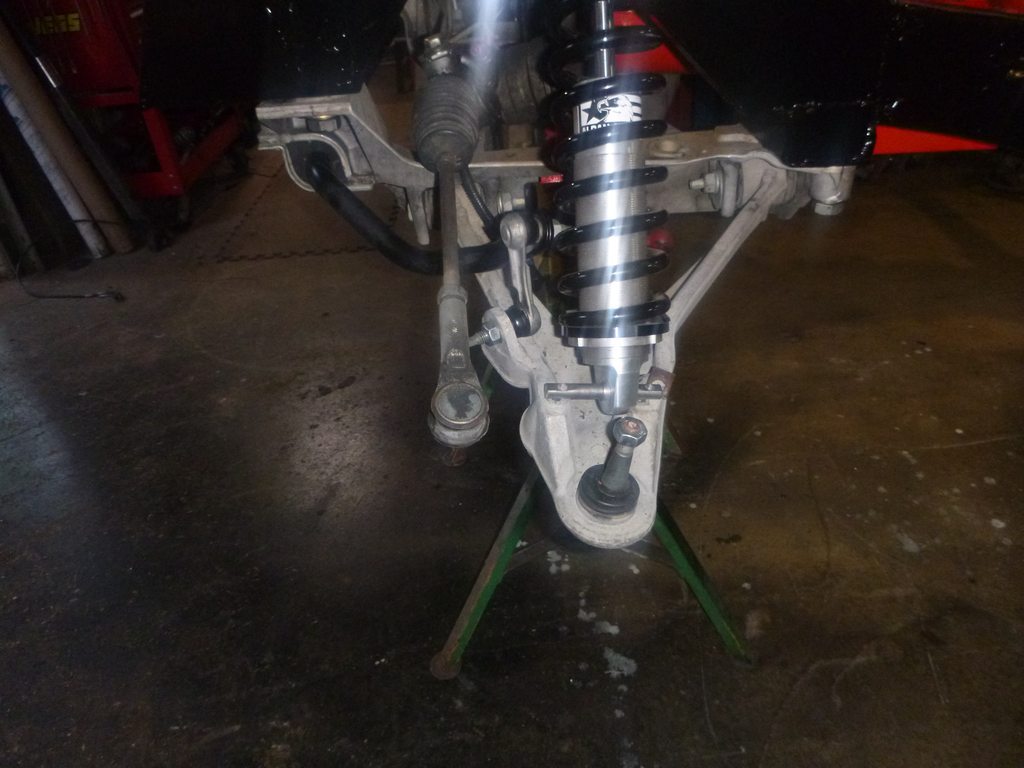
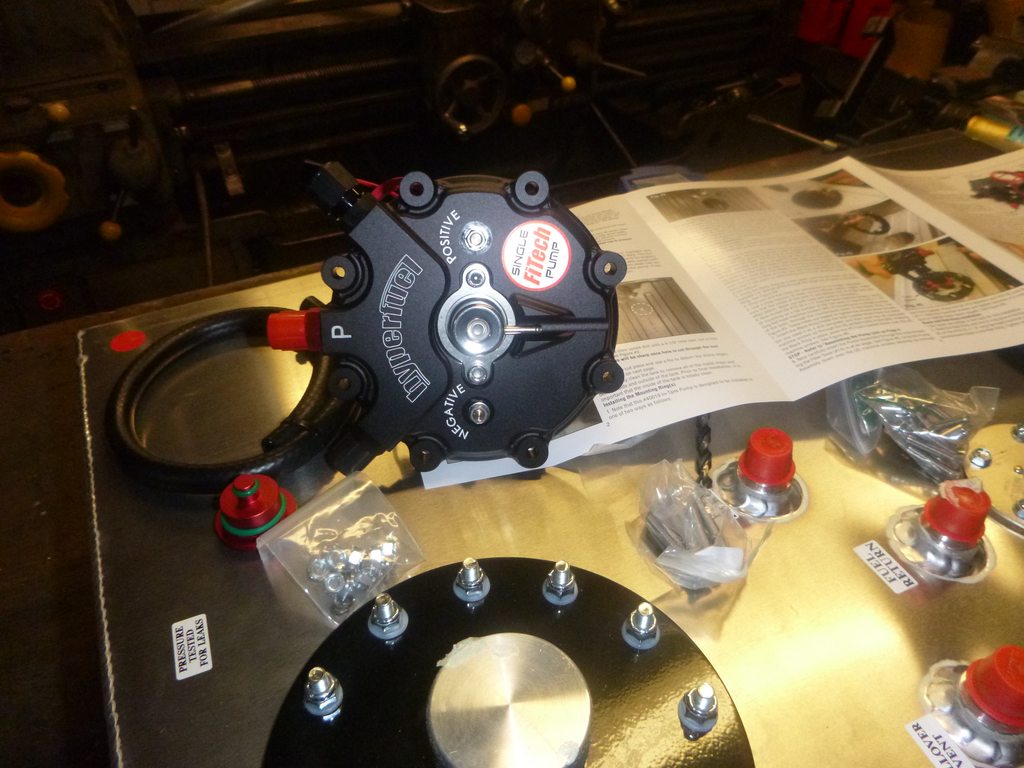
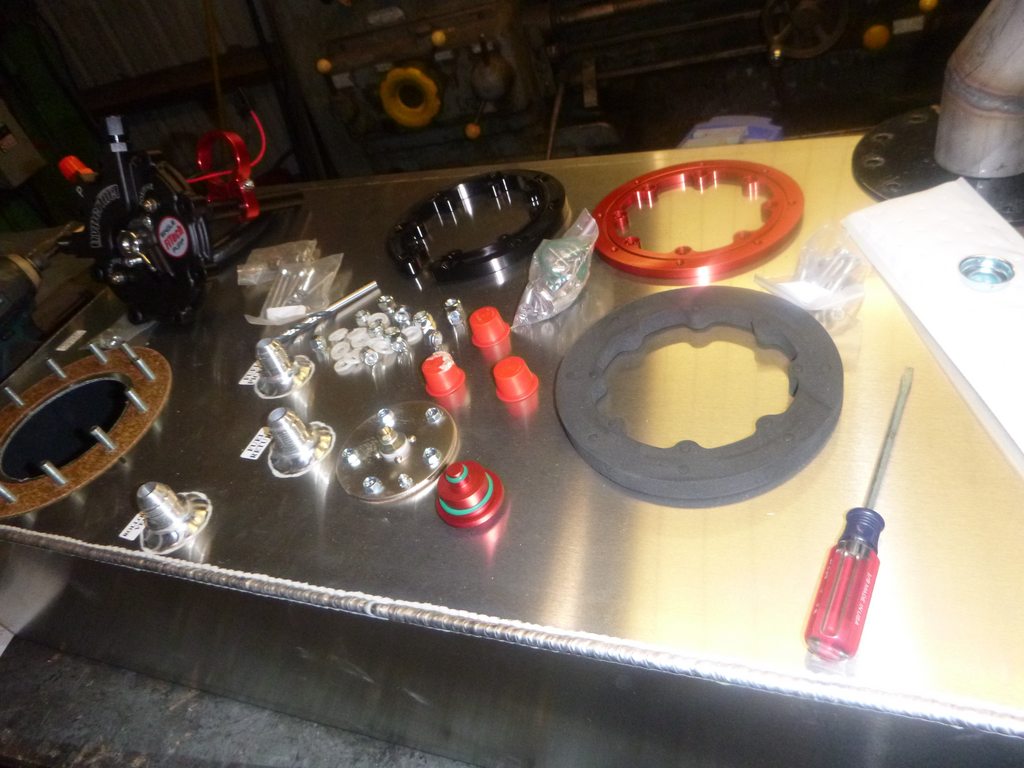
time to start making this all permanent
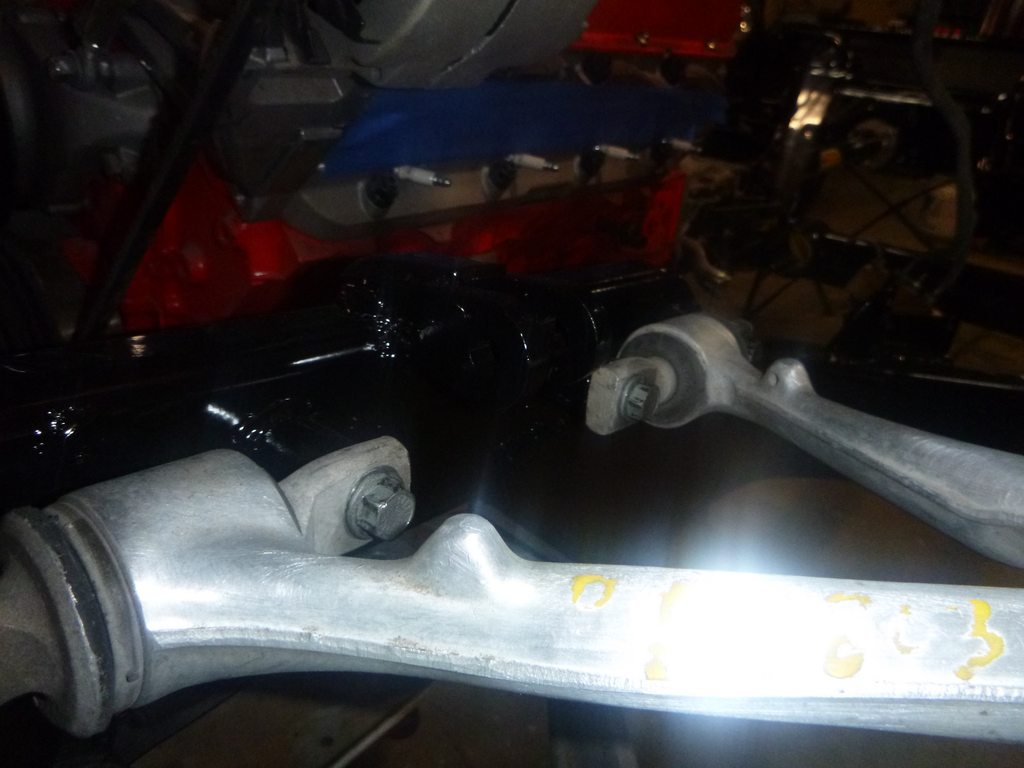
first is drill out the tabs for 1/2" bolts
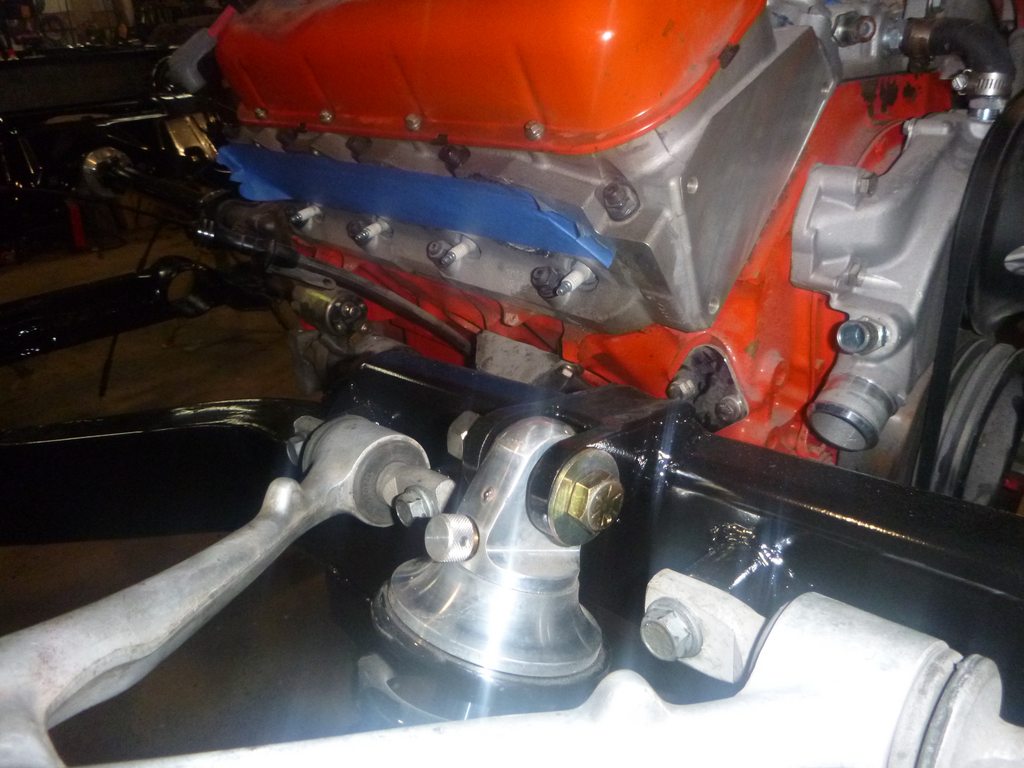
I still haven't come up with a solution I like for the lower mount - Sunday's plan is the spindles and those mounts....
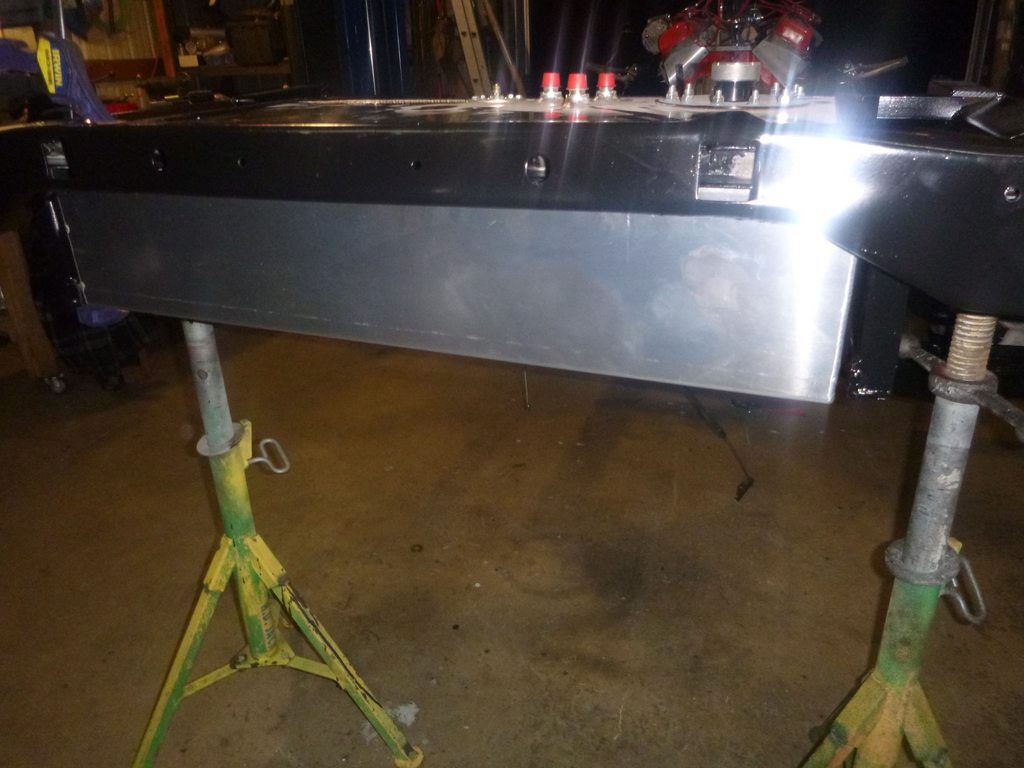
never had something shrink after painting, but this did....
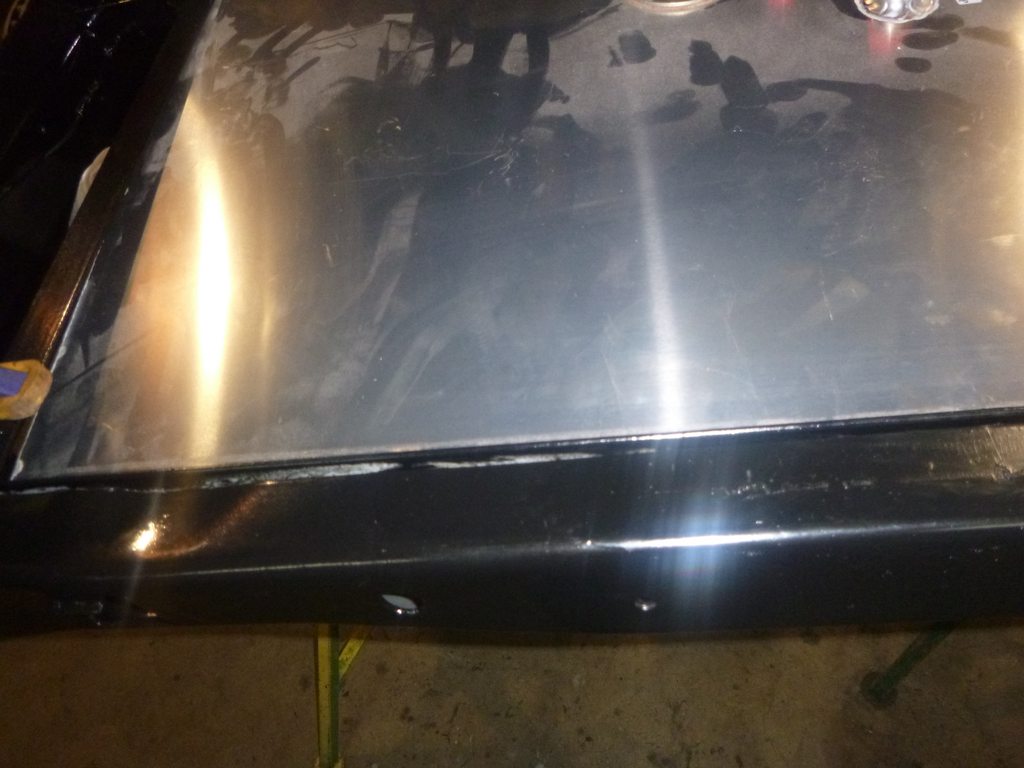
basically had to cut this apart to get it to work....
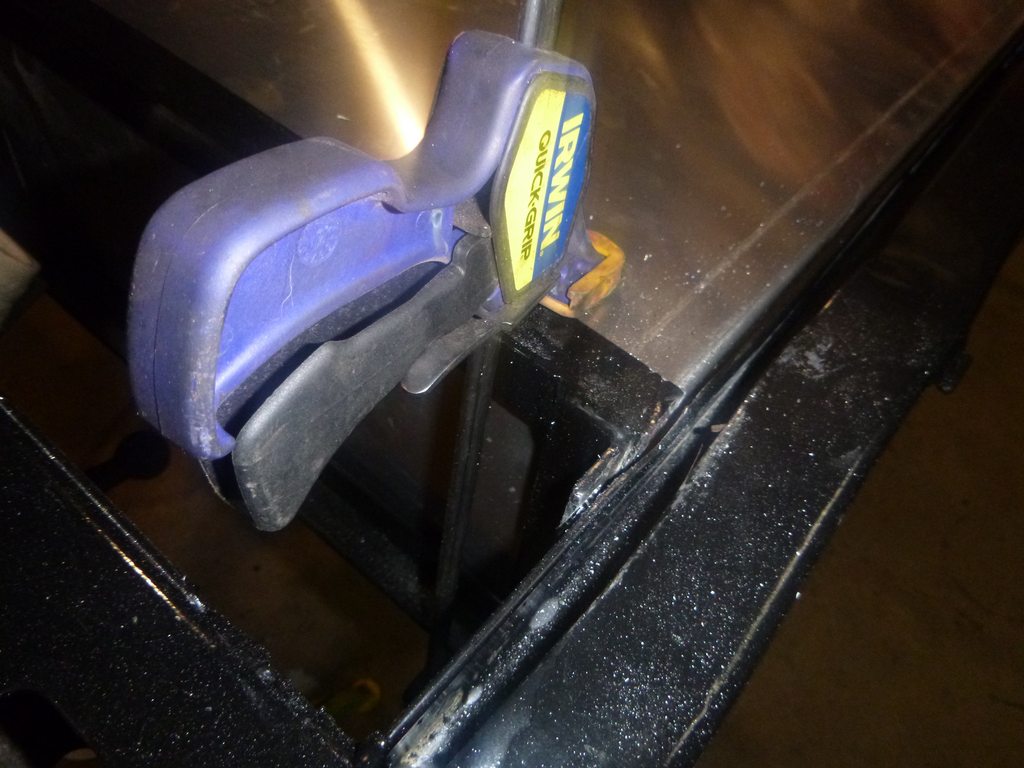
if you look closely, you'll see the tank wasn't welded square.... thanks RCI.... it certainly wasn't damaged in shipping, but welded this way. Guess I need to call Summit.
first is drill out the tabs for 1/2" bolts
I still haven't come up with a solution I like for the lower mount - Sunday's plan is the spindles and those mounts....
never had something shrink after painting, but this did....
basically had to cut this apart to get it to work....
if you look closely, you'll see the tank wasn't welded square.... thanks RCI.... it certainly wasn't damaged in shipping, but welded this way. Guess I need to call Summit.
03-22-2019, 02:11 PM
#273
Melting Slicks
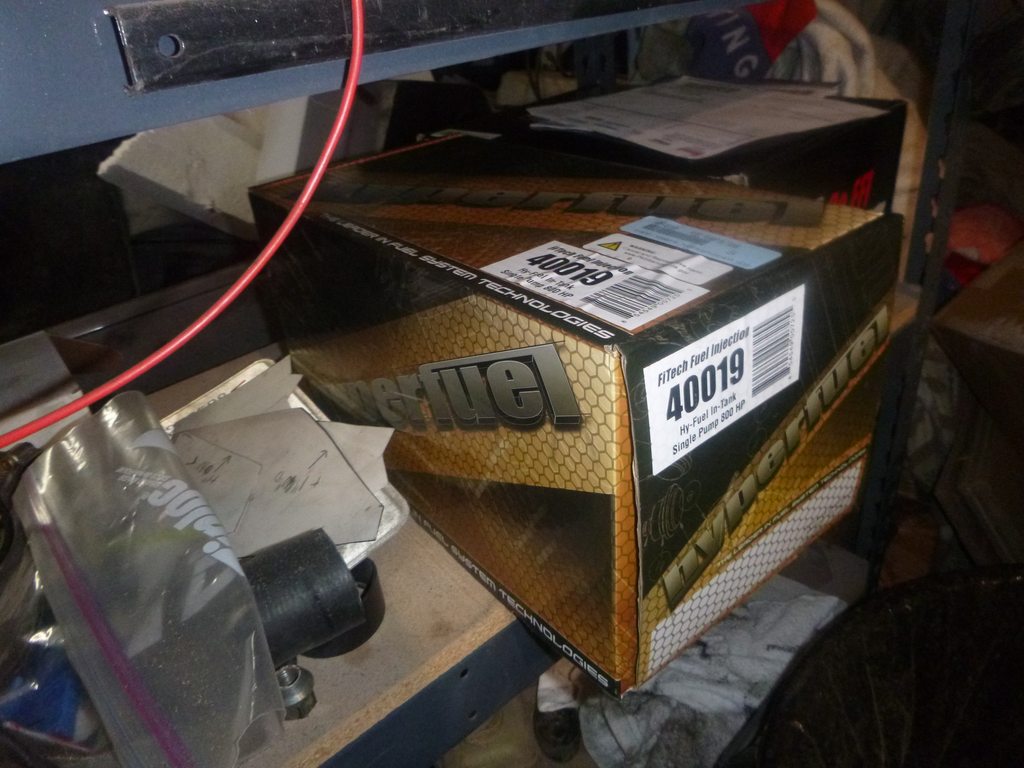
Yay Summit racing. They're replacing the tank and threw a FiTech EFI on the order too.... for a slight cost increase, of course. I've decided I want to drive this, so the Holley stuff goes back into 'future project' bay. That said, the fuel pump is going onto the FJ40 - it's carb pressures, but it's max pressure is 12 psi and I need 9-11 for the TBI.... and this has better volume...
03-22-2019, 02:14 PM
#274
Le Mans Master


Yay Summit racing. They're replacing the tank and threw a FiTech EFI on the order too.... for a slight cost increase, of course. I've decided I want to drive this, so the Holley stuff goes back into 'future project' bay. That said, the fuel pump is going onto the FJ40 - it's carb pressures, but it's max pressure is 12 psi and I need 9-11 for the TBI.... and this has better volume...
 03-25-2019, 12:38 AM
#275
Melting Slicks
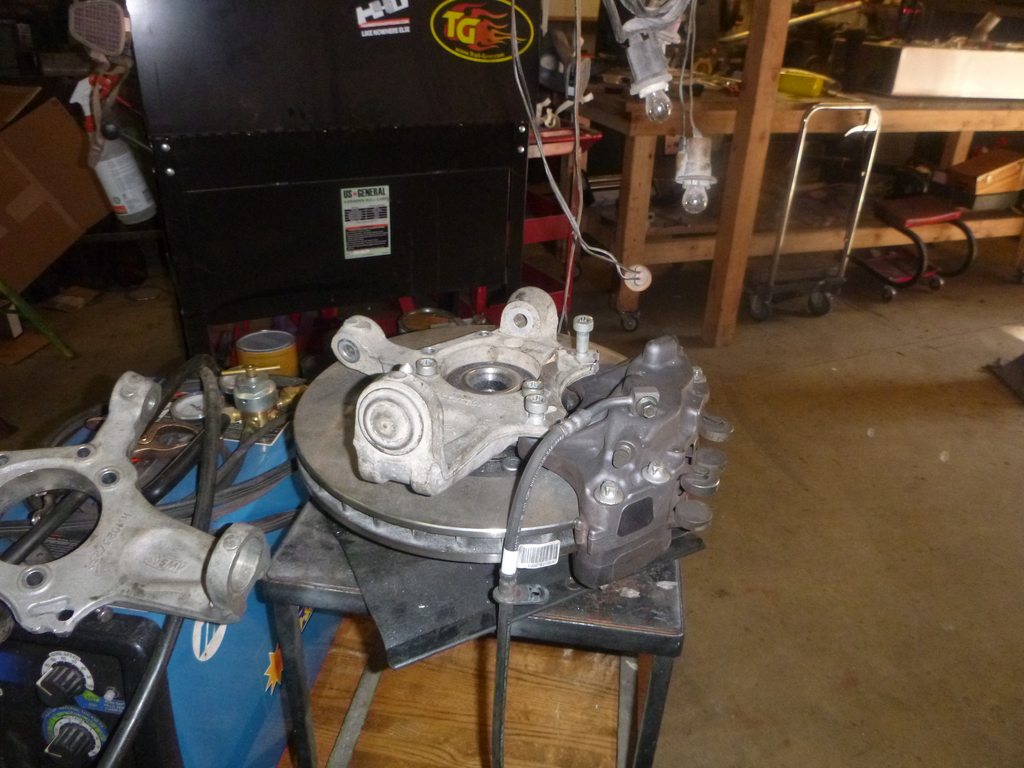
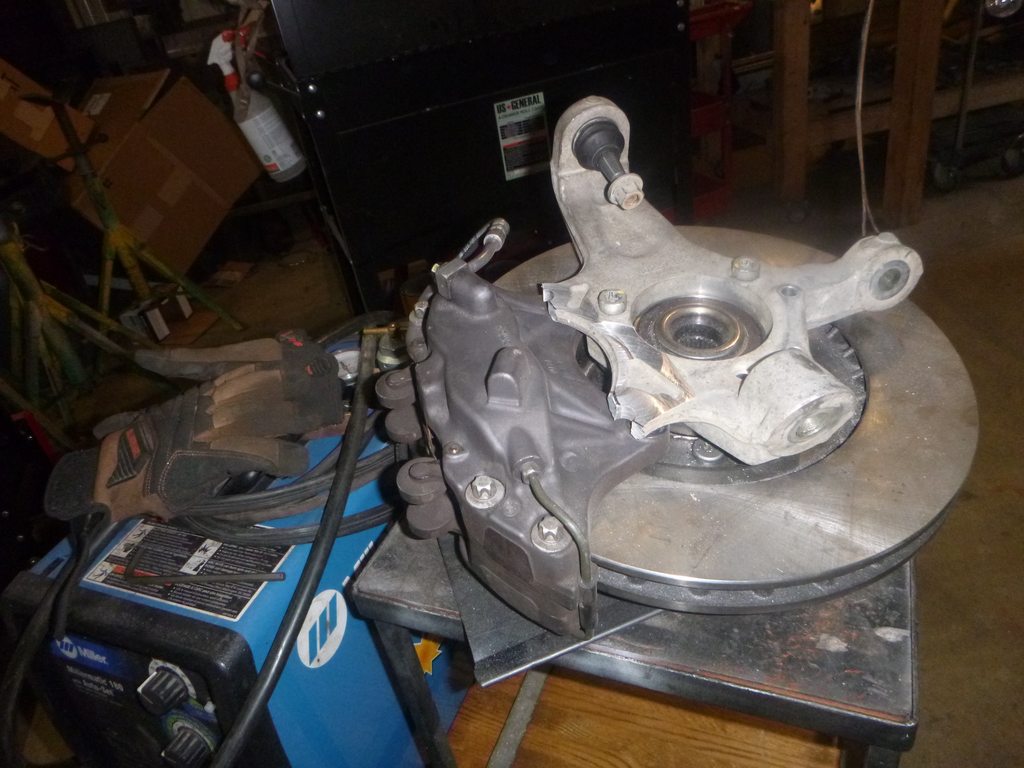
trial fit
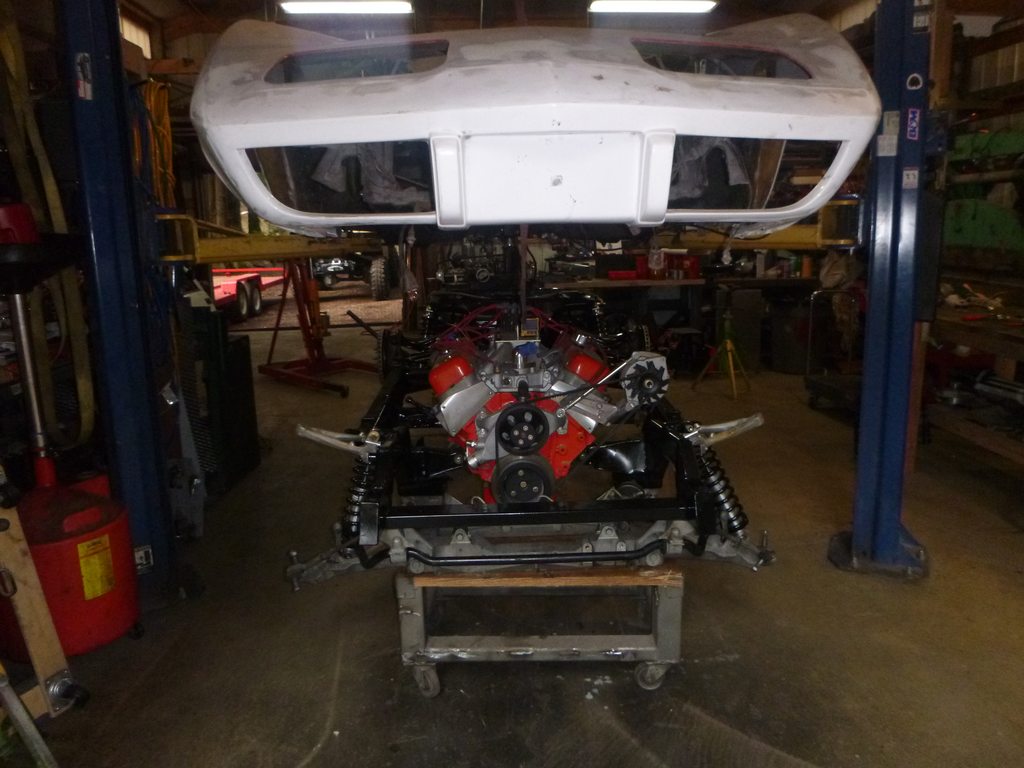
and finally time to open the rubbers
and lower
it's interesting to me that this car, if it was 1978 and newer, could be a 2+2 coupe....
sitting for now.
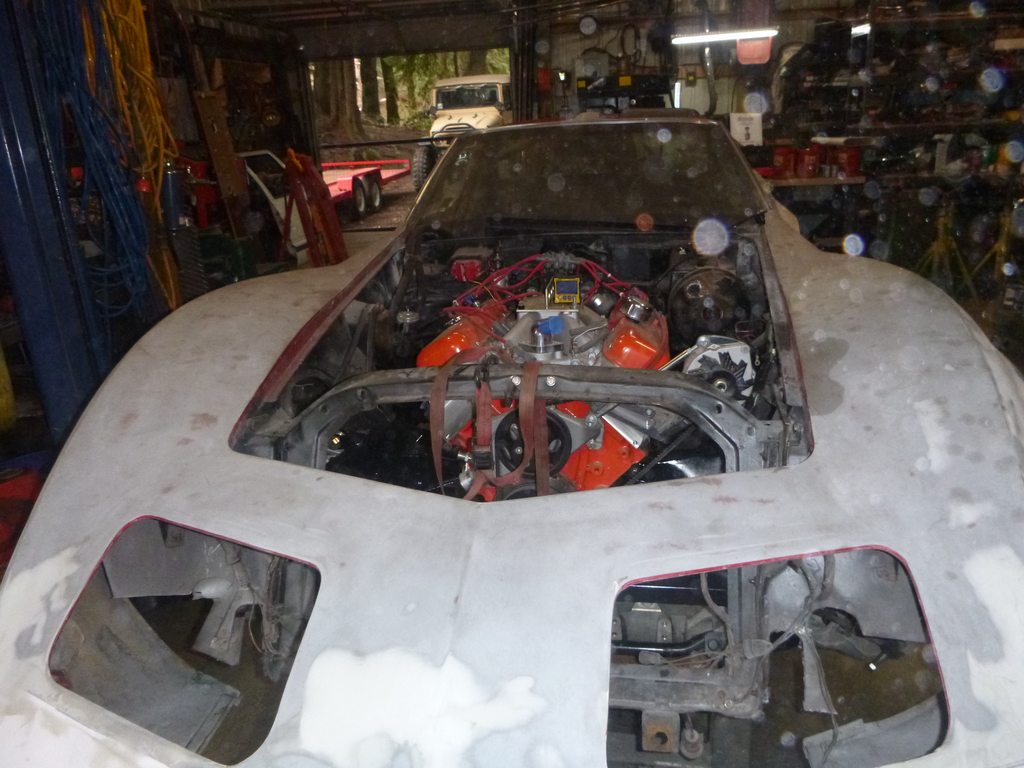
the point of this is to build the cage and the floor in the rear. ..... once that's done, pull it off, plumb the brakes and fuel system, then put it back on for real.... also need to build some inner fenders... fun fun
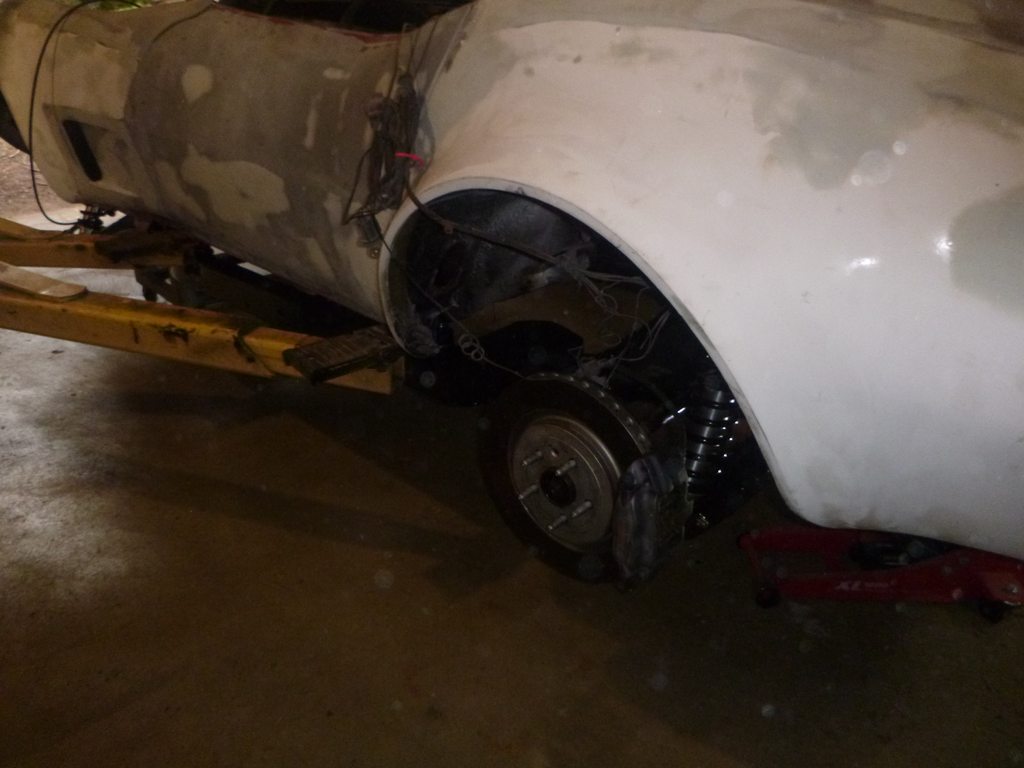
and finally time to open the rubbers
and lower
it's interesting to me that this car, if it was 1978 and newer, could be a 2+2 coupe....
sitting for now.
the point of this is to build the cage and the floor in the rear. ..... once that's done, pull it off, plumb the brakes and fuel system, then put it back on for real.... also need to build some inner fenders... fun fun
03-26-2019, 06:10 PM
#277
Racer

I spent the last day or two reading your thread. You have a bunch of talent and move quickly. What is the purpose of the build? You posted at one point that you were on a two year build schedule for a race with two other enthusiast. Is this going to be for racing only or do you intend to drive it on the road as well? What ever your intentions I love what you have done and envy your talent.
03-27-2019, 10:06 AM
#278
Melting Slicks
I spent the last day or two reading your thread. You have a bunch of talent and move quickly. What is the purpose of the build? You posted at one point that you were on a two year build schedule for a race with two other enthusiast. Is this going to be for racing only or do you intend to drive it on the road as well? What ever your intentions I love what you have done and envy your talent.
The following 2 users liked this post by SuperBuickGuy:
1965markaccount (03-27-2019),
Metalhead140 (03-27-2019)
03-29-2019, 12:30 AM
#279
Melting Slicks
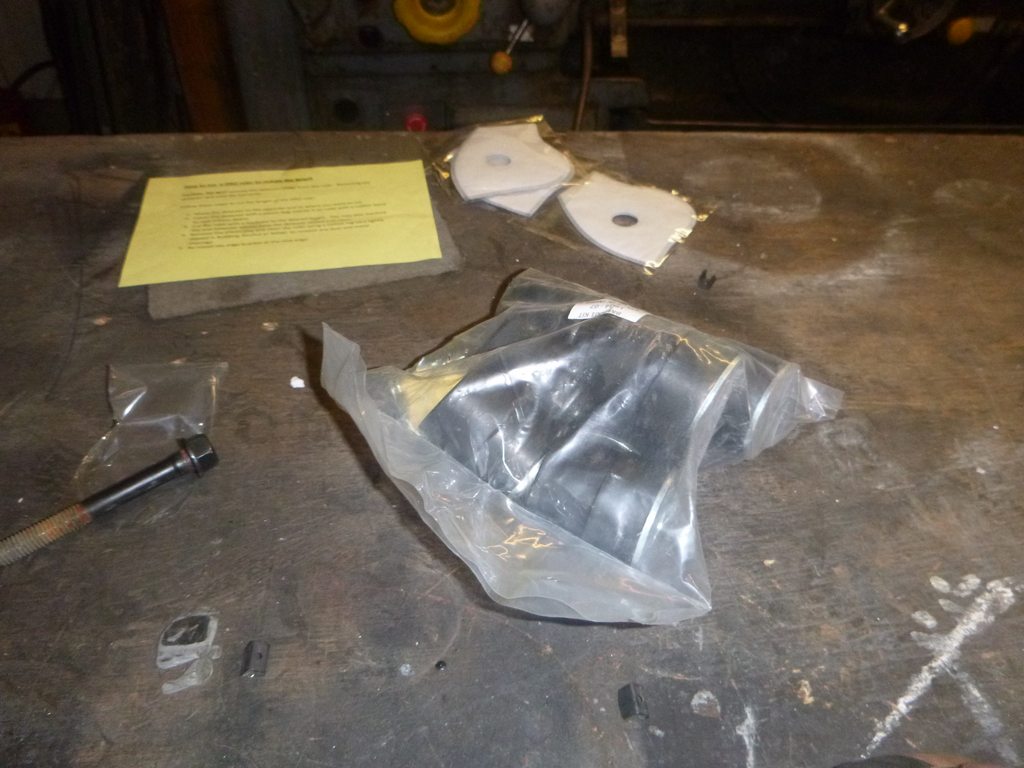
more parts arrived today
when they said 7" they mean 7" .... thankfully it's just enough
the order of events - I work with the time available - I really need to spend some quality time with the welder and milling machine, but that wouldn't be tonight...
when they said 7" they mean 7" .... thankfully it's just enough
the order of events - I work with the time available - I really need to spend some quality time with the welder and milling machine, but that wouldn't be tonight...
04-01-2019, 12:01 AM
#280
Melting Slicks
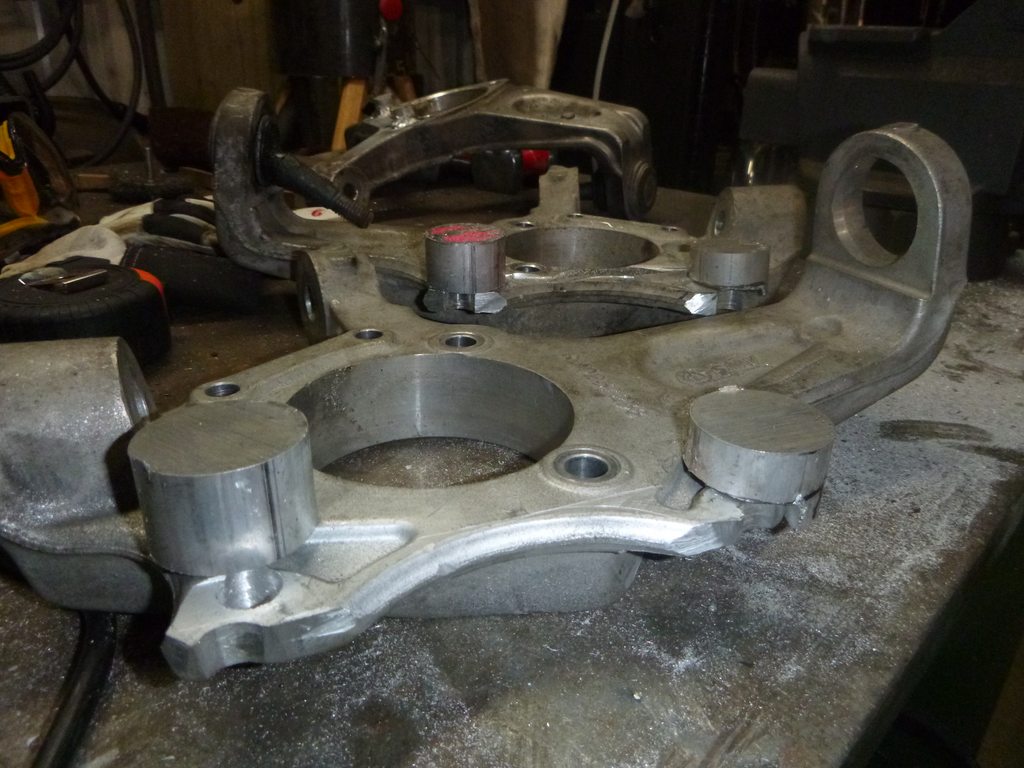
Okay, enough with Uber hookers.... onto more chipping away at this project
heh, I punned
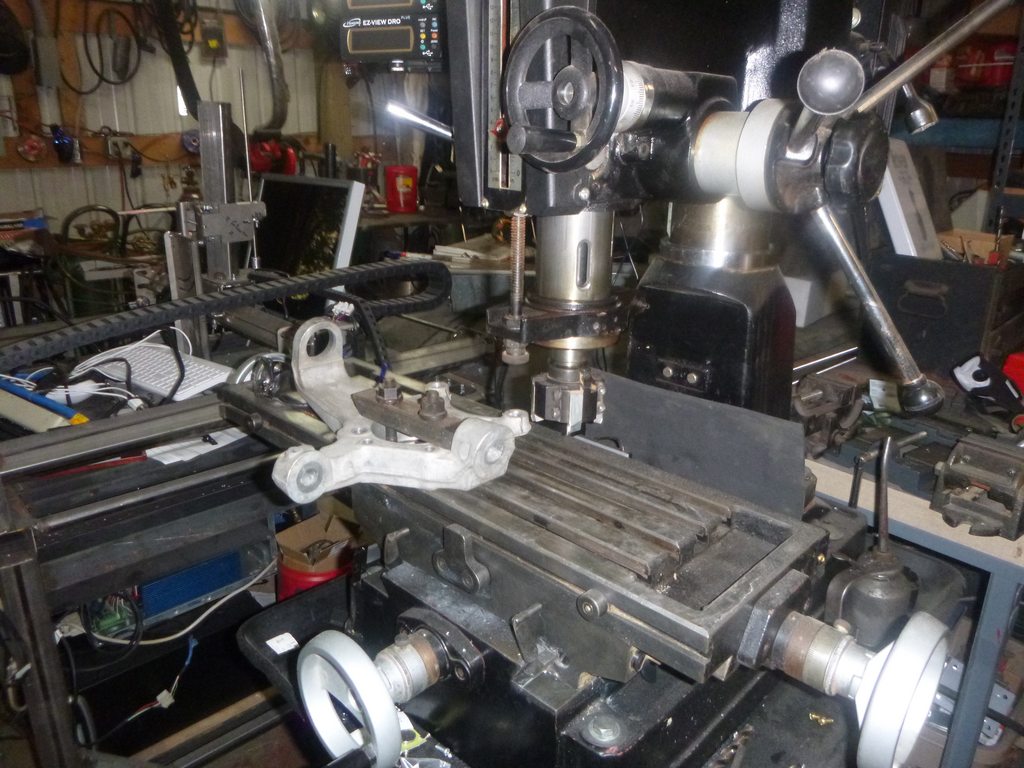
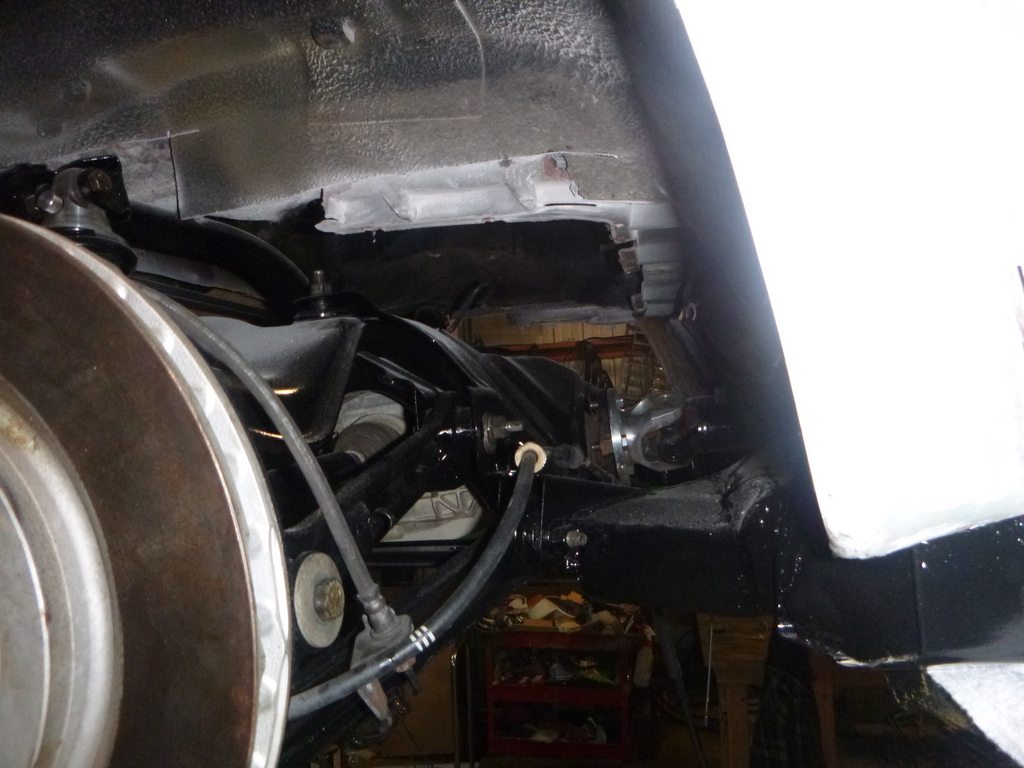
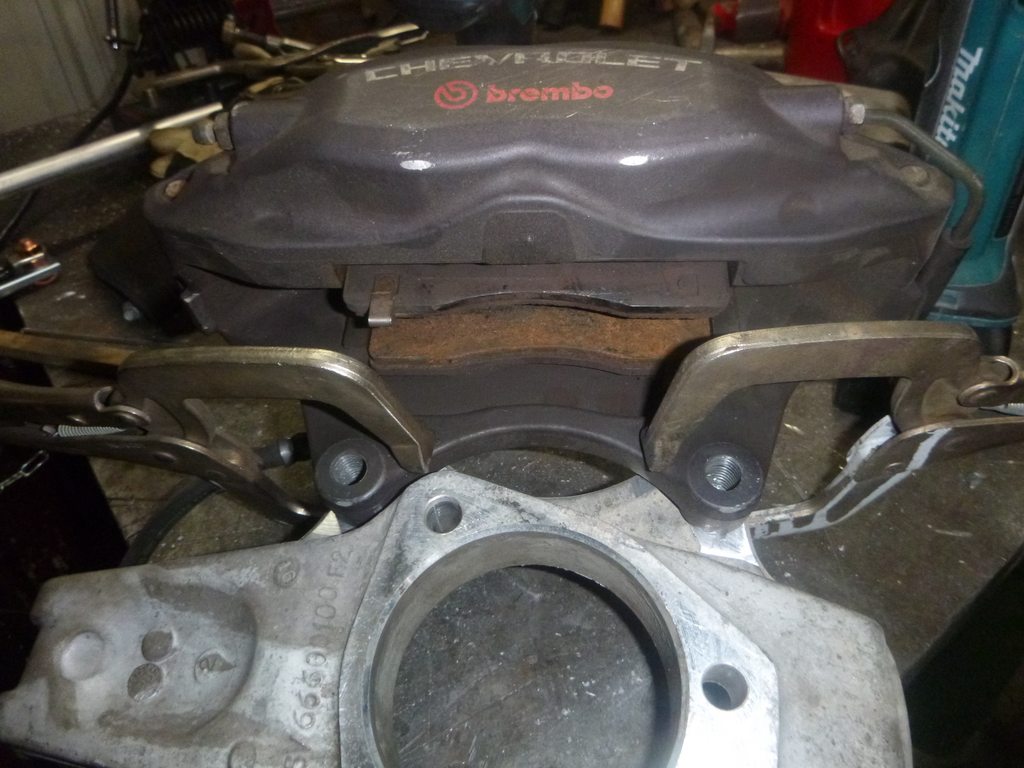
basically the tabs are in the way so I need to move them towards the centerline... yes, people do make stuff that put 13" rotors on these.... but where's the fun in that?
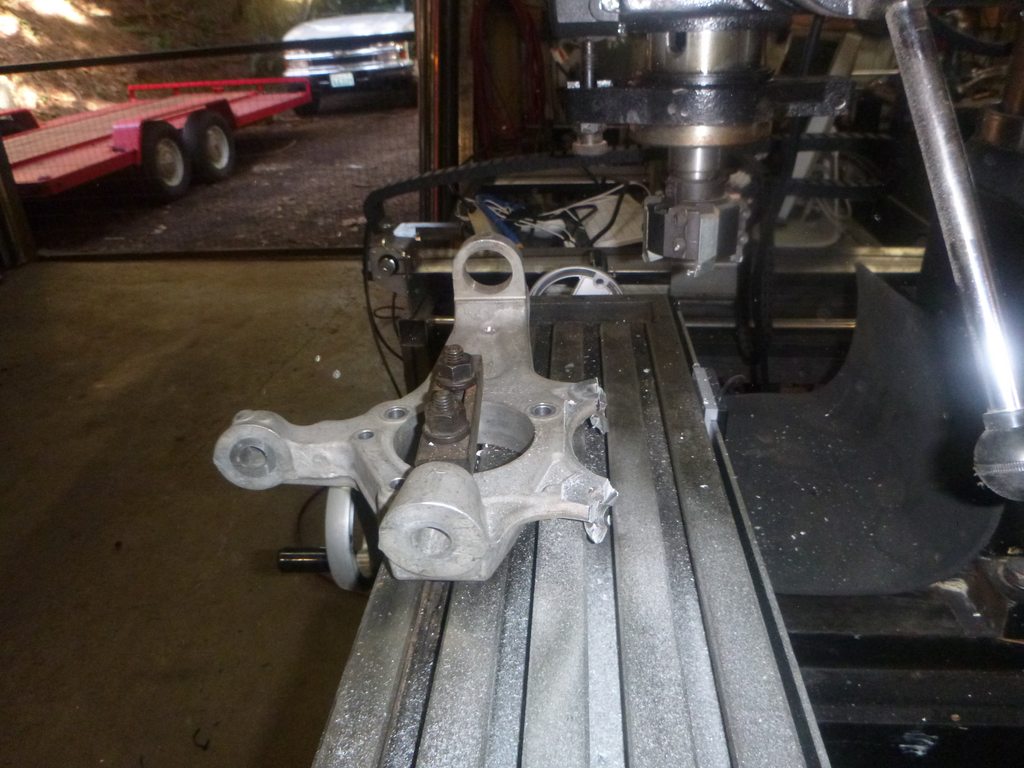
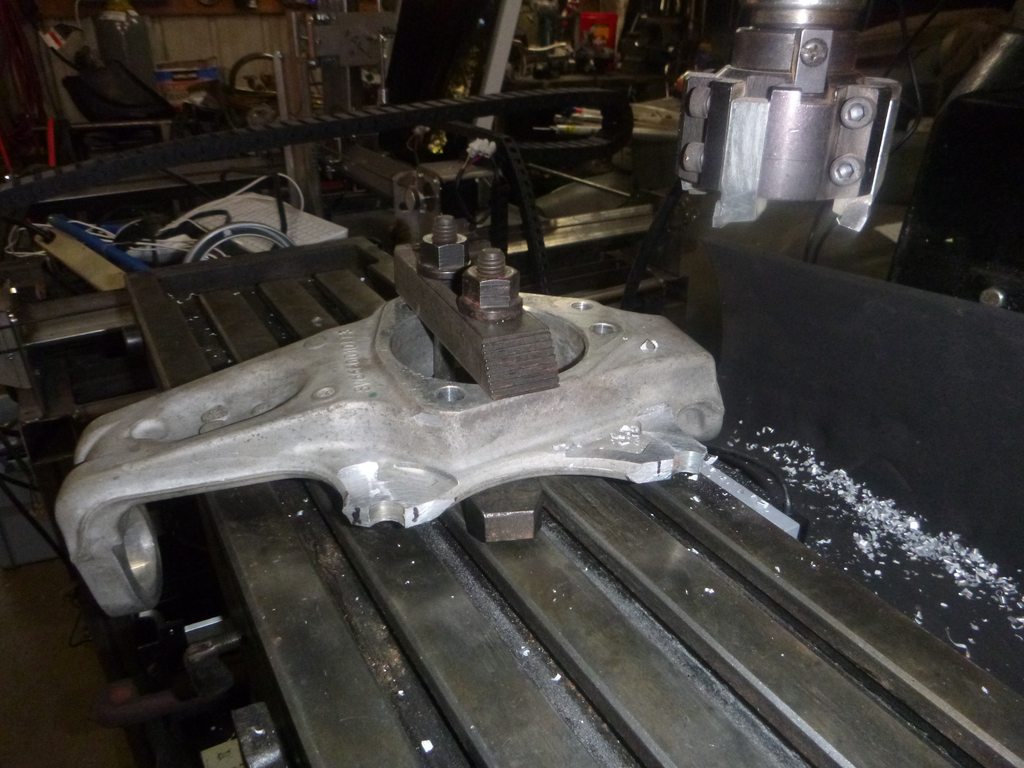
clamping is so much fun
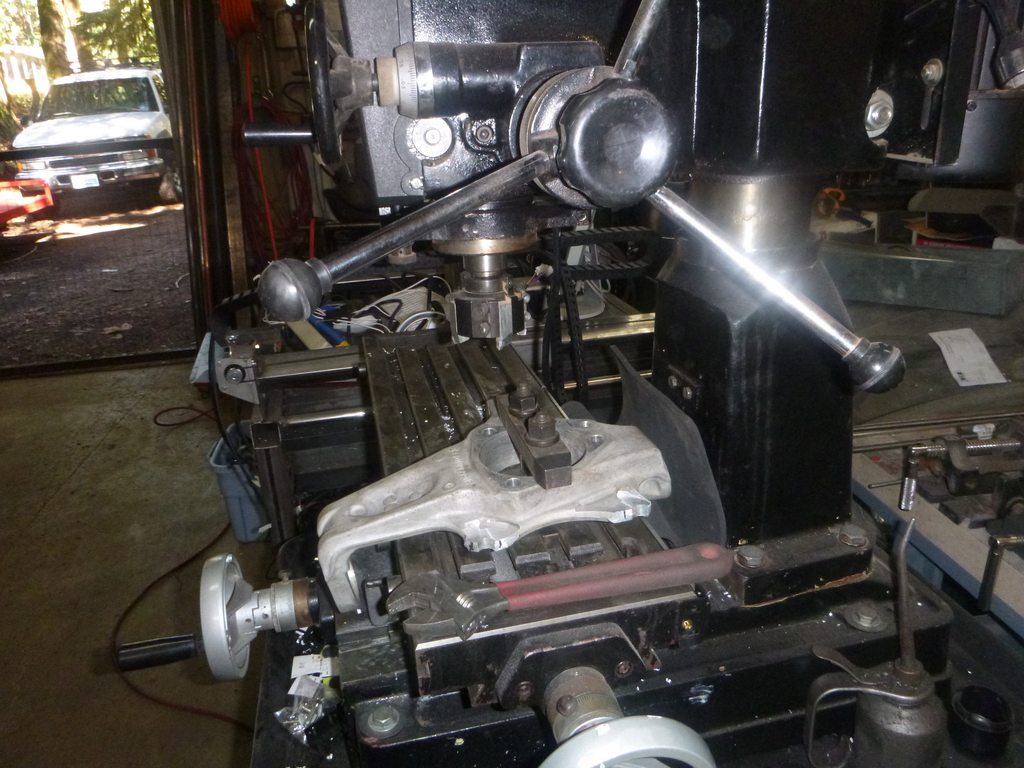
lest you think I gave up on eyeballing... no, I will not
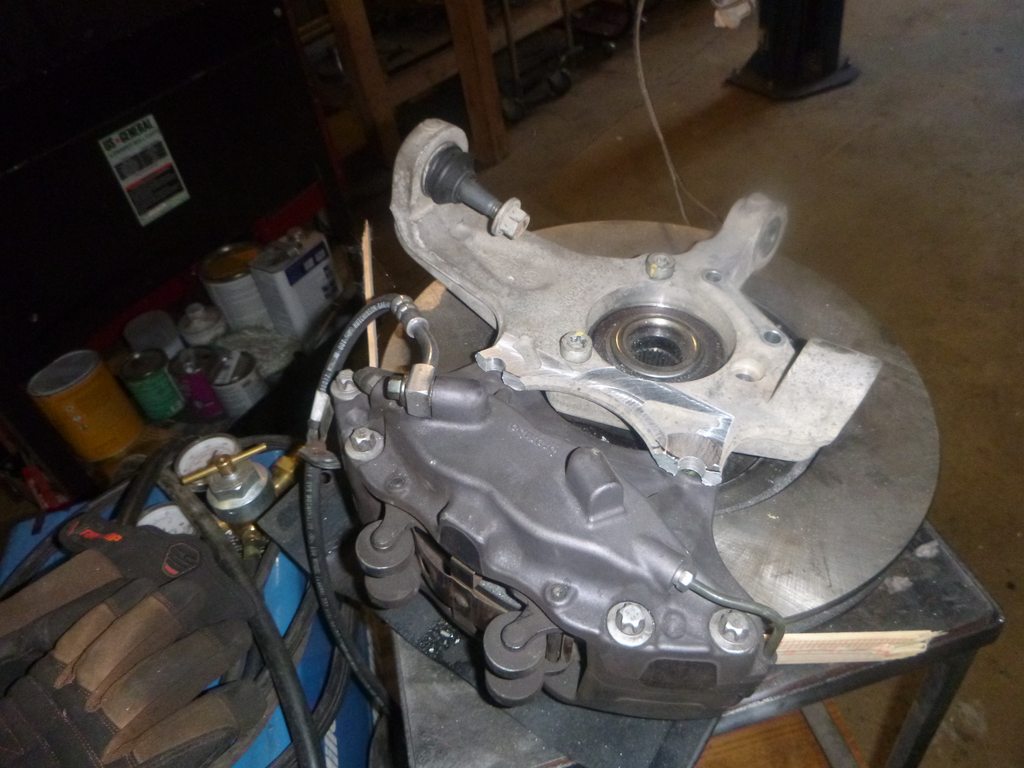
success.... bolt hoes in place and bolts go in.... which there was so question whether or not this would work since I learned today that my key for the chuck is not the key for the chuck that fits my mill
next step. I've taken a tremendous amount of metal off the back, so welding in new backing blocks is more then a good idea
heh, I punned
basically the tabs are in the way so I need to move them towards the centerline... yes, people do make stuff that put 13" rotors on these.... but where's the fun in that?
clamping is so much fun
lest you think I gave up on eyeballing... no, I will not
success.... bolt hoes in place and bolts go in.... which there was so question whether or not this would work since I learned today that my key for the chuck is not the key for the chuck that fits my mill
next step. I've taken a tremendous amount of metal off the back, so welding in new backing blocks is more then a good idea