
Plastic Fantastic tew


 08-16-2017, 02:57 PM
#43
Melting Slicks

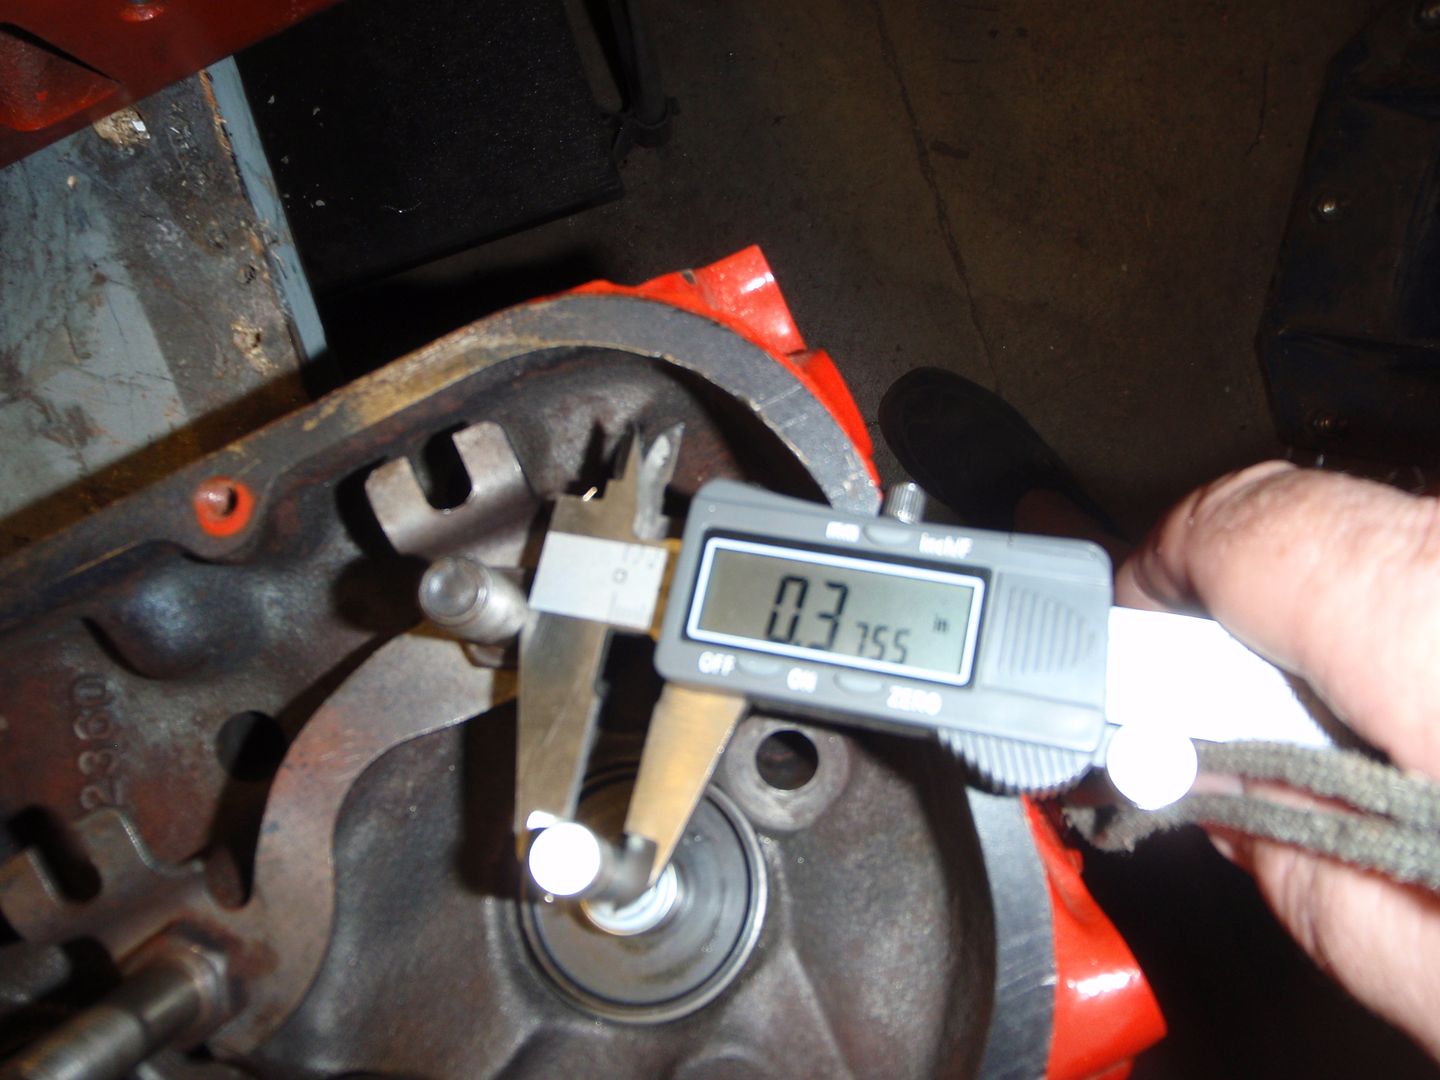
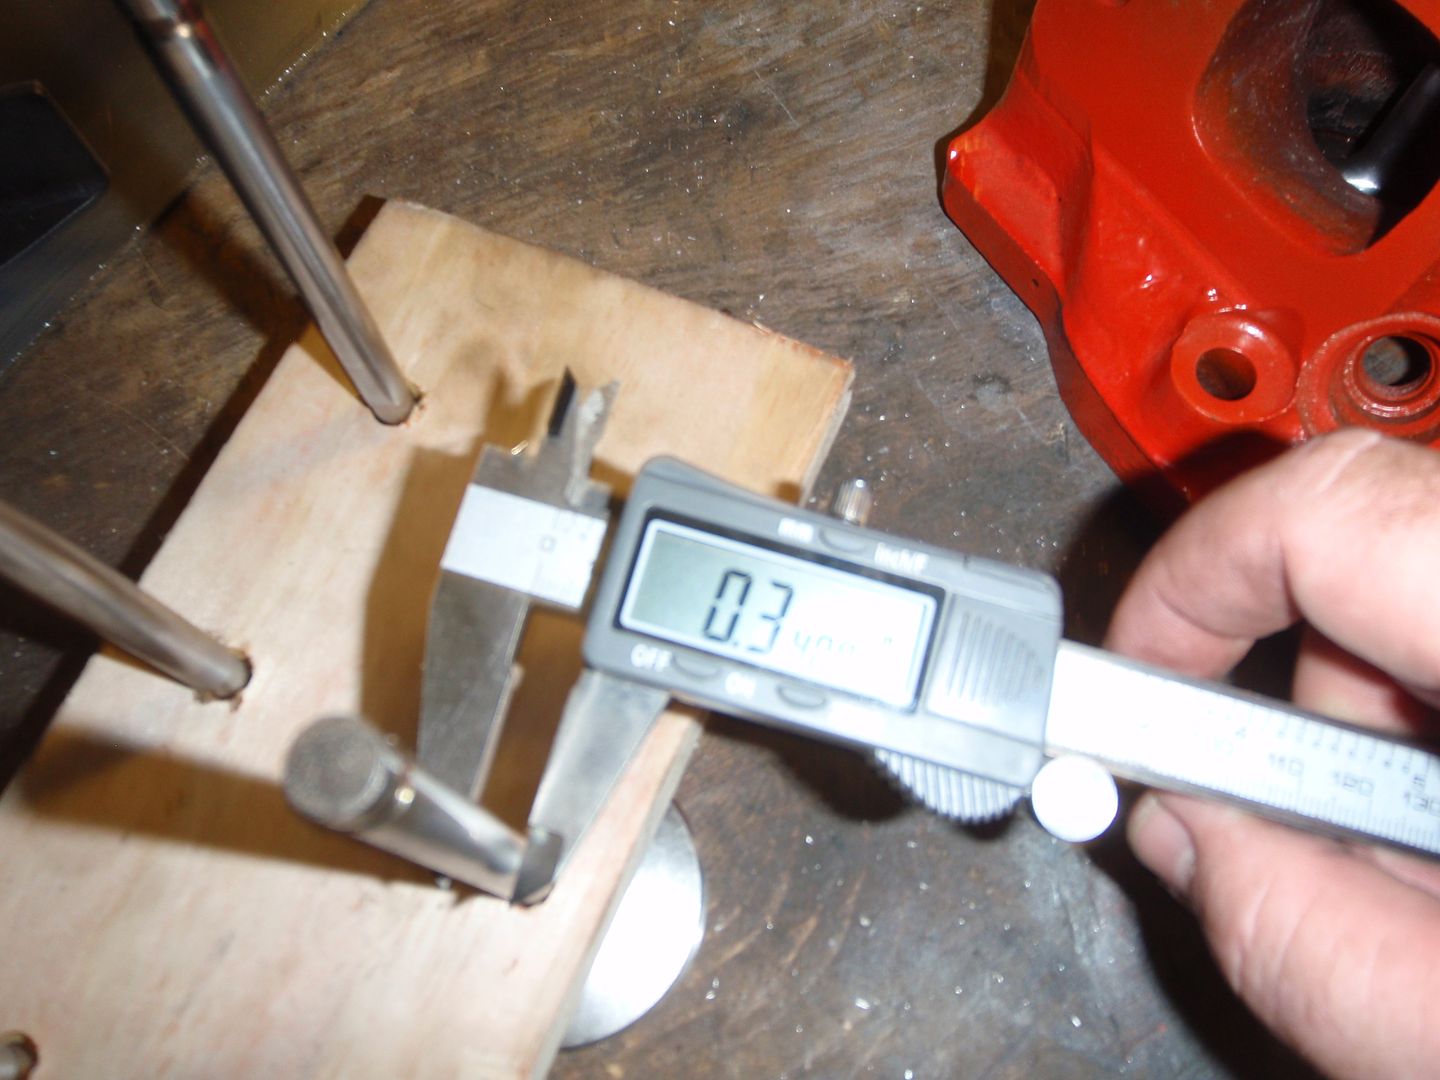
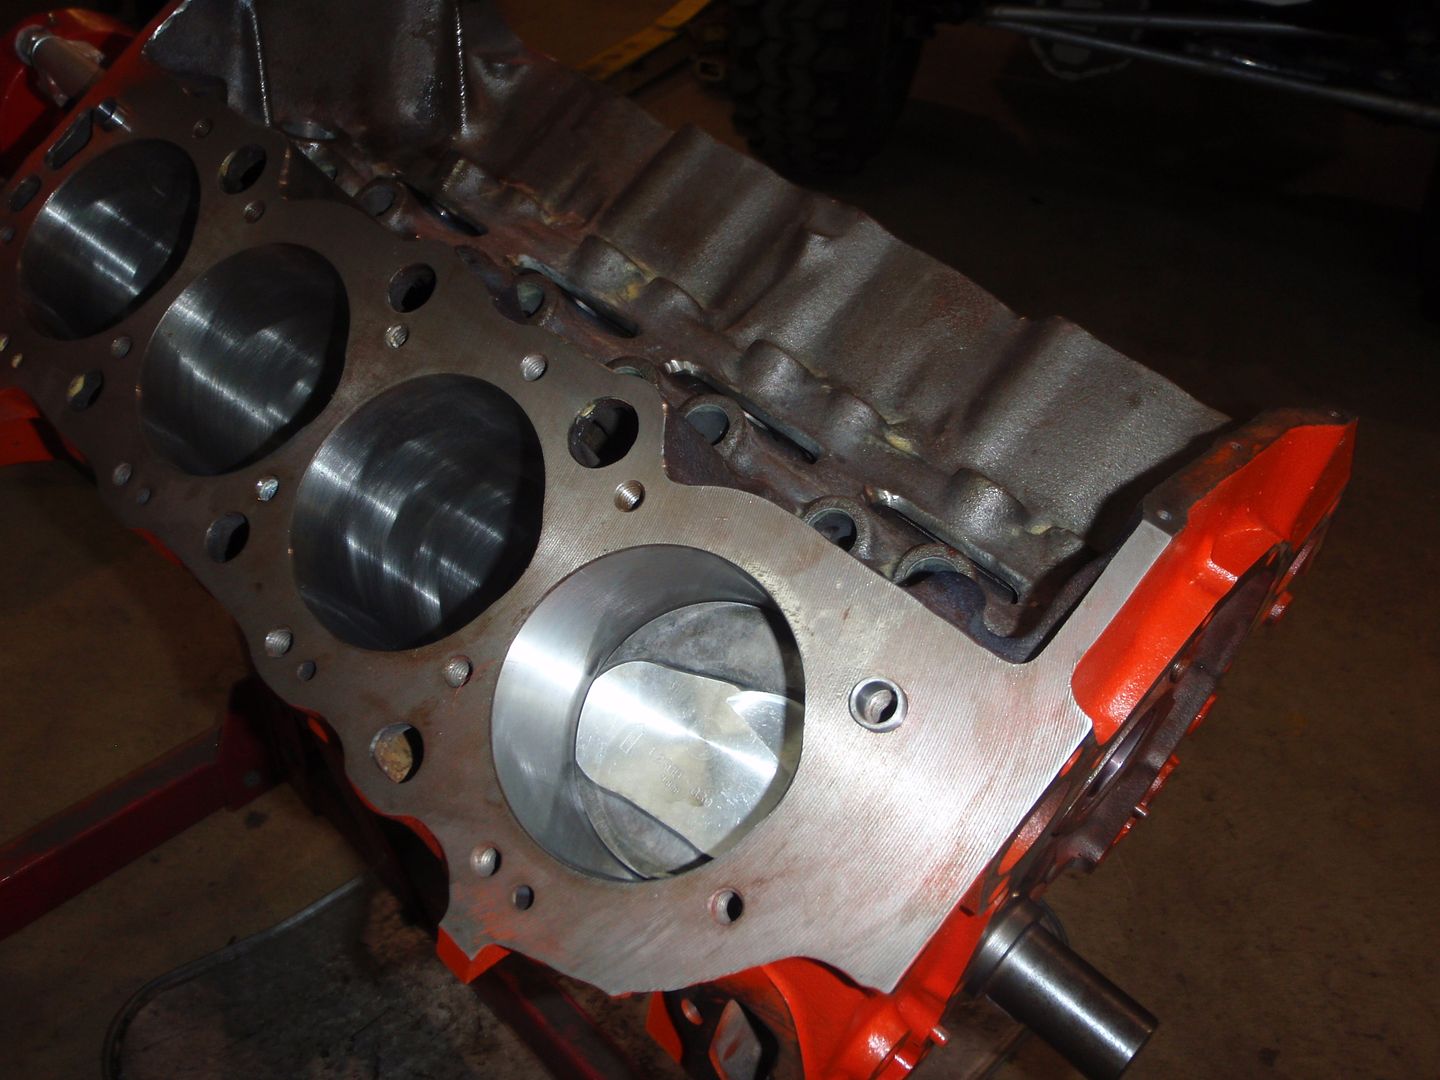
I wouldn't go tighter than .035". On a big block that is already pressing it. I have my squish set at .034" but I have a smaller bore and my Ross ultralight flat top pistons with lightweight tapered wrist pins are way lighter than your domed big block pistons and larger wrist pins.
Mike
08-17-2017, 09:39 AM
#44
Melting Slicks
I think you are going to have some problems with only .027" piston to head clearance, especially since you plan to spin it up in RPM.. Tight squish is great, but with heavy big block pistons I think the heads and pistons are going to be getting well acquainted with each other.
I wouldn't go tighter than .035". On a big block that is already pressing it. I have my squish set at .034" but I have a smaller bore and my Ross ultralight flat top pistons with lightweight tapered wrist pins are way lighter than your domed big block pistons and larger wrist pins.
Mike
I wouldn't go tighter than .035". On a big block that is already pressing it. I have my squish set at .034" but I have a smaller bore and my Ross ultralight flat top pistons with lightweight tapered wrist pins are way lighter than your domed big block pistons and larger wrist pins.
Mike
that's the first time I've ever heard of forged, speedpro pistons as being heavy. remember, I'm superBUICKguy. check out a straight 8 piston sometime
 not just that, but the entire assembly has been lightened. I'll have to look at what we lightened it to....
it will be fine - but it's a good reminder to anyone building an engine to check clearances. I'm more concerned that there could be issues with the .653 lift - my measuring says it should be fine to 1" (not the springs), but still...

The following users liked this post:
Budryzer (01-24-2022)
08-21-2017, 12:48 AM
#46
Melting Slicks
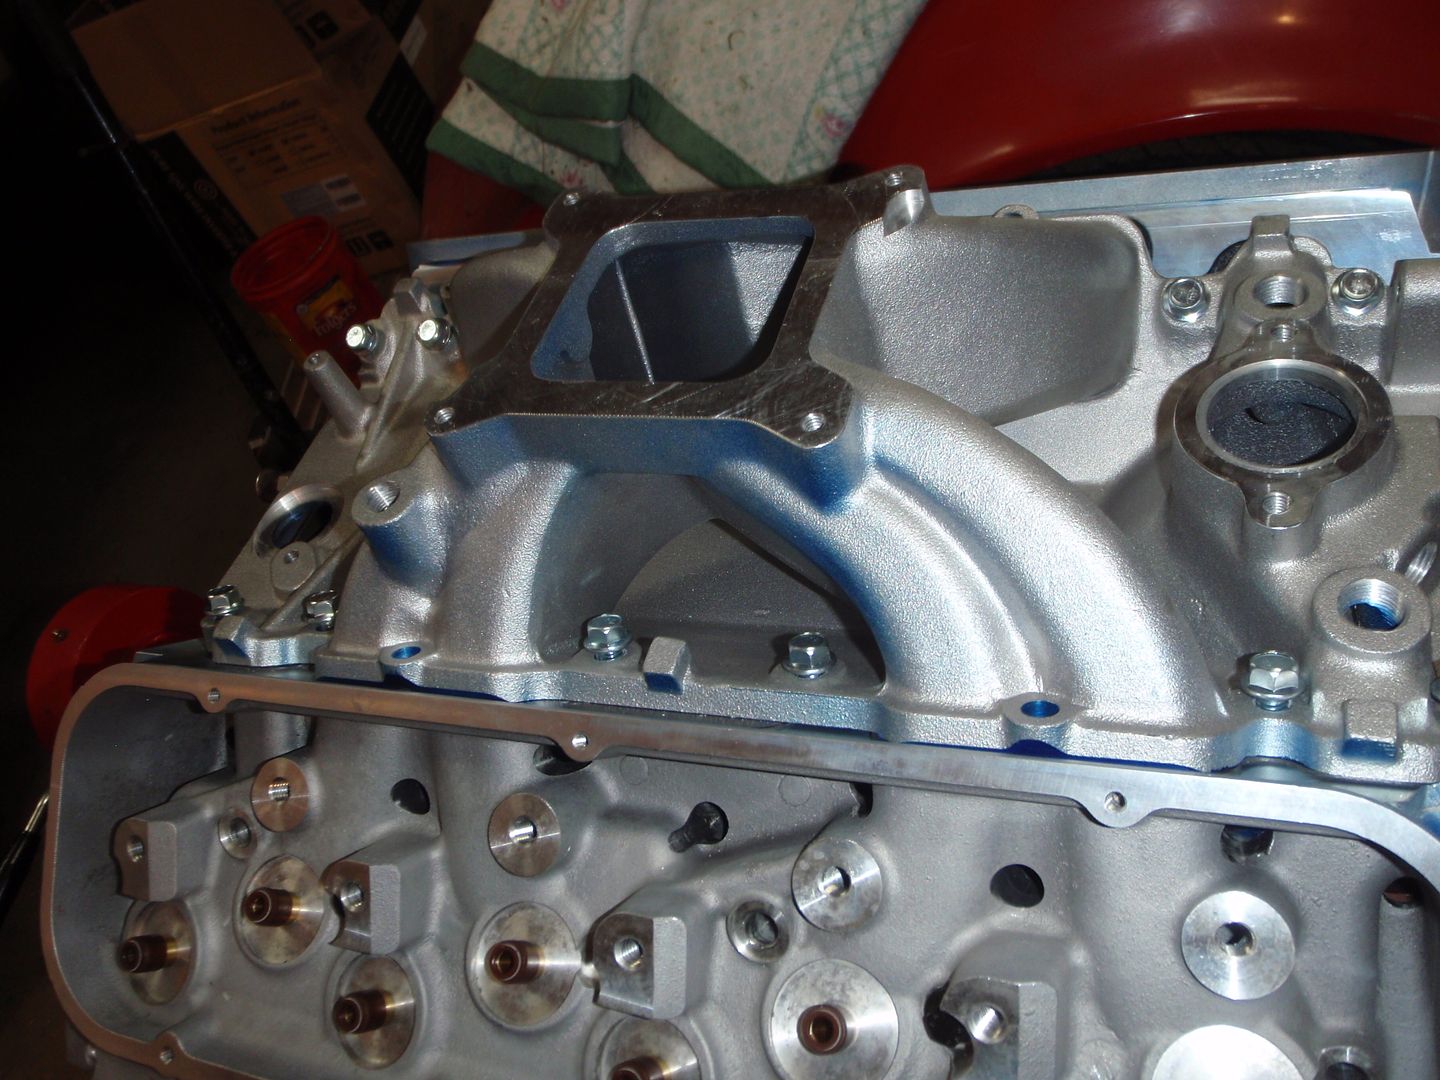
got the intake back after a .075 shave
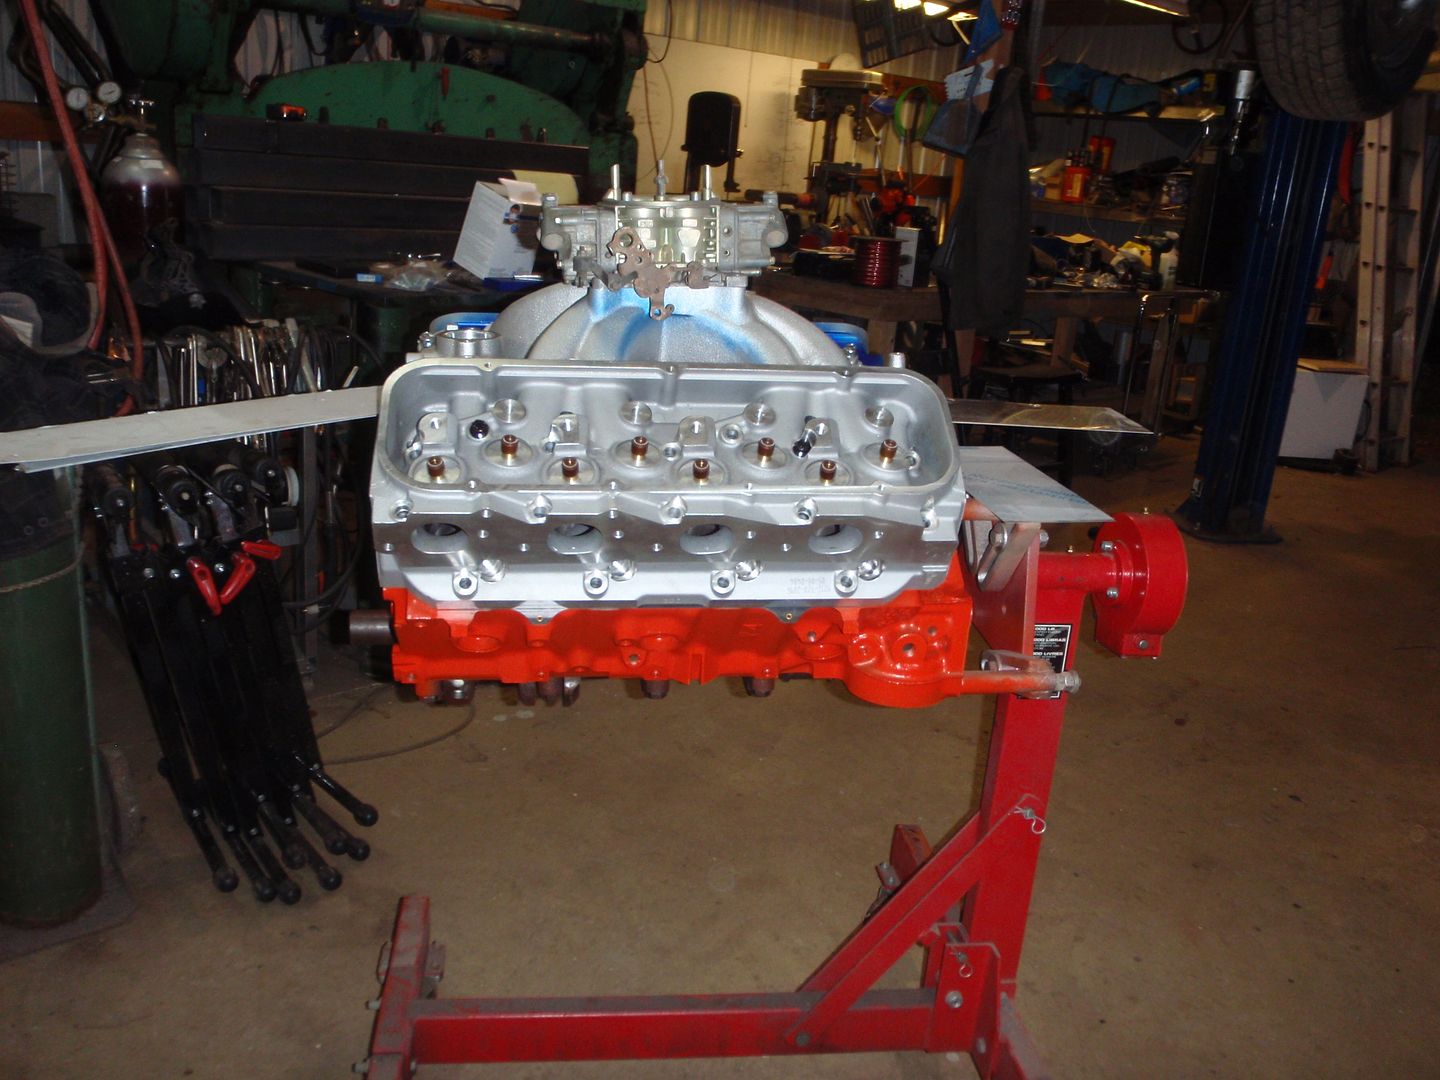
set a carb on top mostly because I have a carb to set on top.... though it won't work as you see because it's got a boost referenced power valve
did some shimming to see if I could get away with .060 gaskets. Yes, yes I can
Once I get the gaskets, I'll start huffing aluminum.... I'm not excited to start this phase.

set a carb on top mostly because I have a carb to set on top.... though it won't work as you see because it's got a boost referenced power valve
did some shimming to see if I could get away with .060 gaskets. Yes, yes I can

Once I get the gaskets, I'll start huffing aluminum.... I'm not excited to start this phase.
The following users liked this post:
Metalhead140 (08-21-2017)
08-23-2017, 12:13 AM
#47
Melting Slicks
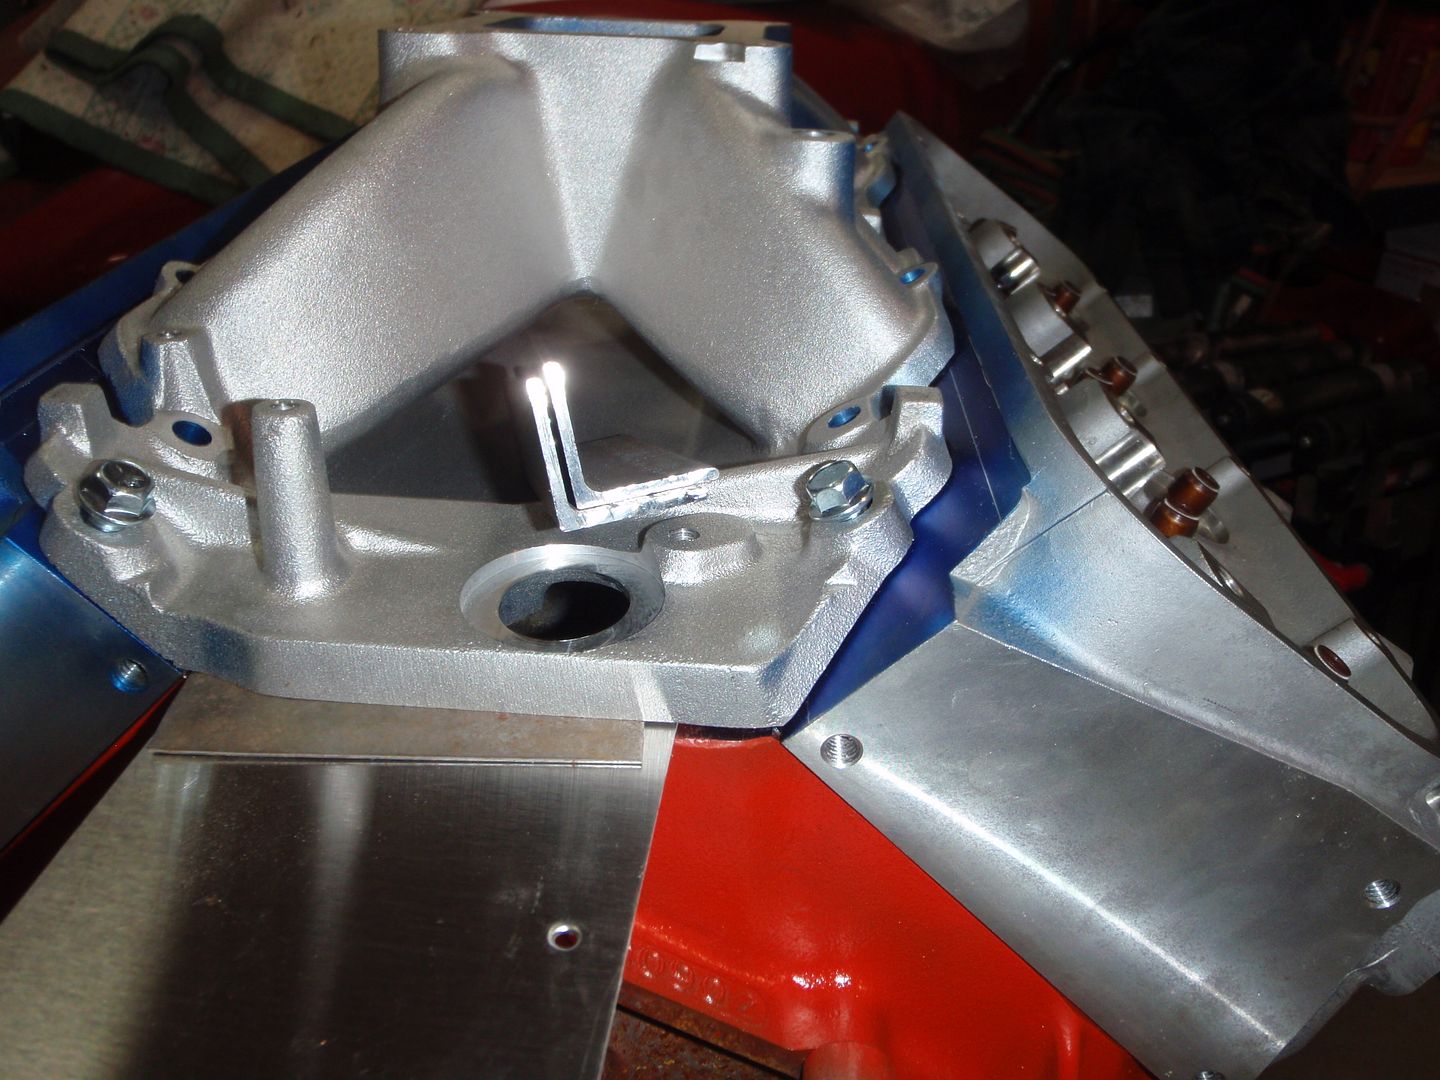
So I worked on the motor a bit yesterday - mostly I decided to leave the heads alone then simply blend the intake into the ports.
the line illustrates about how much I need to take off. I have gaskets coming tomorrow (I don't need to shave the intake) then I'll blend and get to work assembling this little beastie
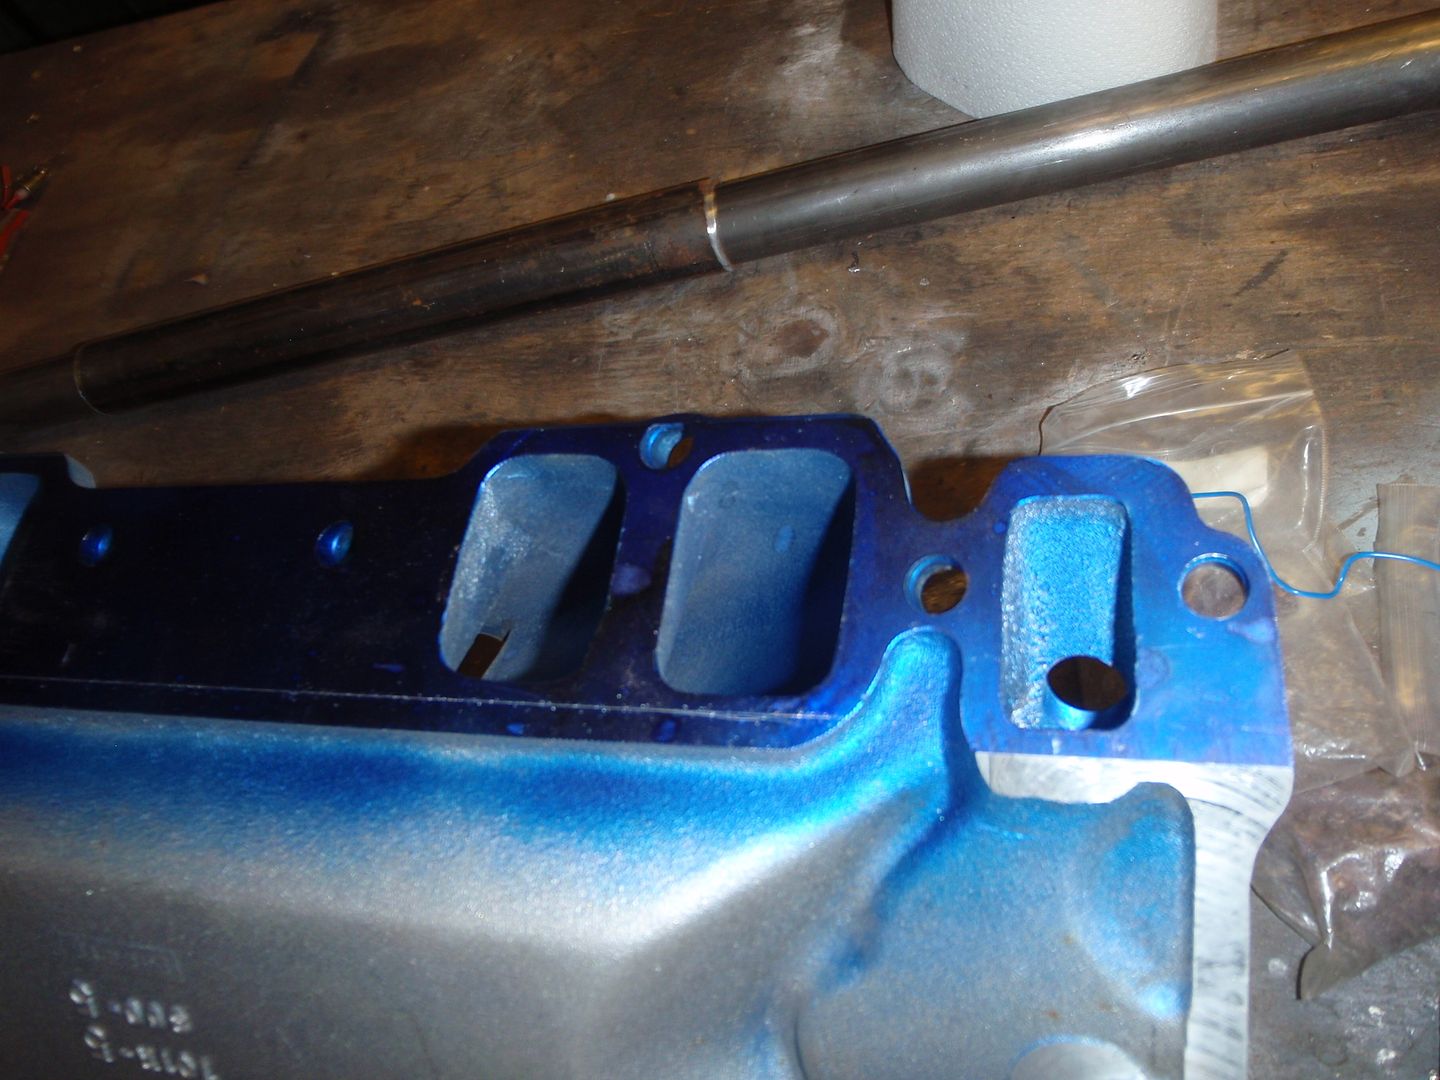

the line illustrates about how much I need to take off. I have gaskets coming tomorrow (I don't need to shave the intake) then I'll blend and get to work assembling this little beastie

The following users liked this post:
Metalhead140 (08-23-2017)
08-25-2017, 12:44 AM
#48
Melting Slicks
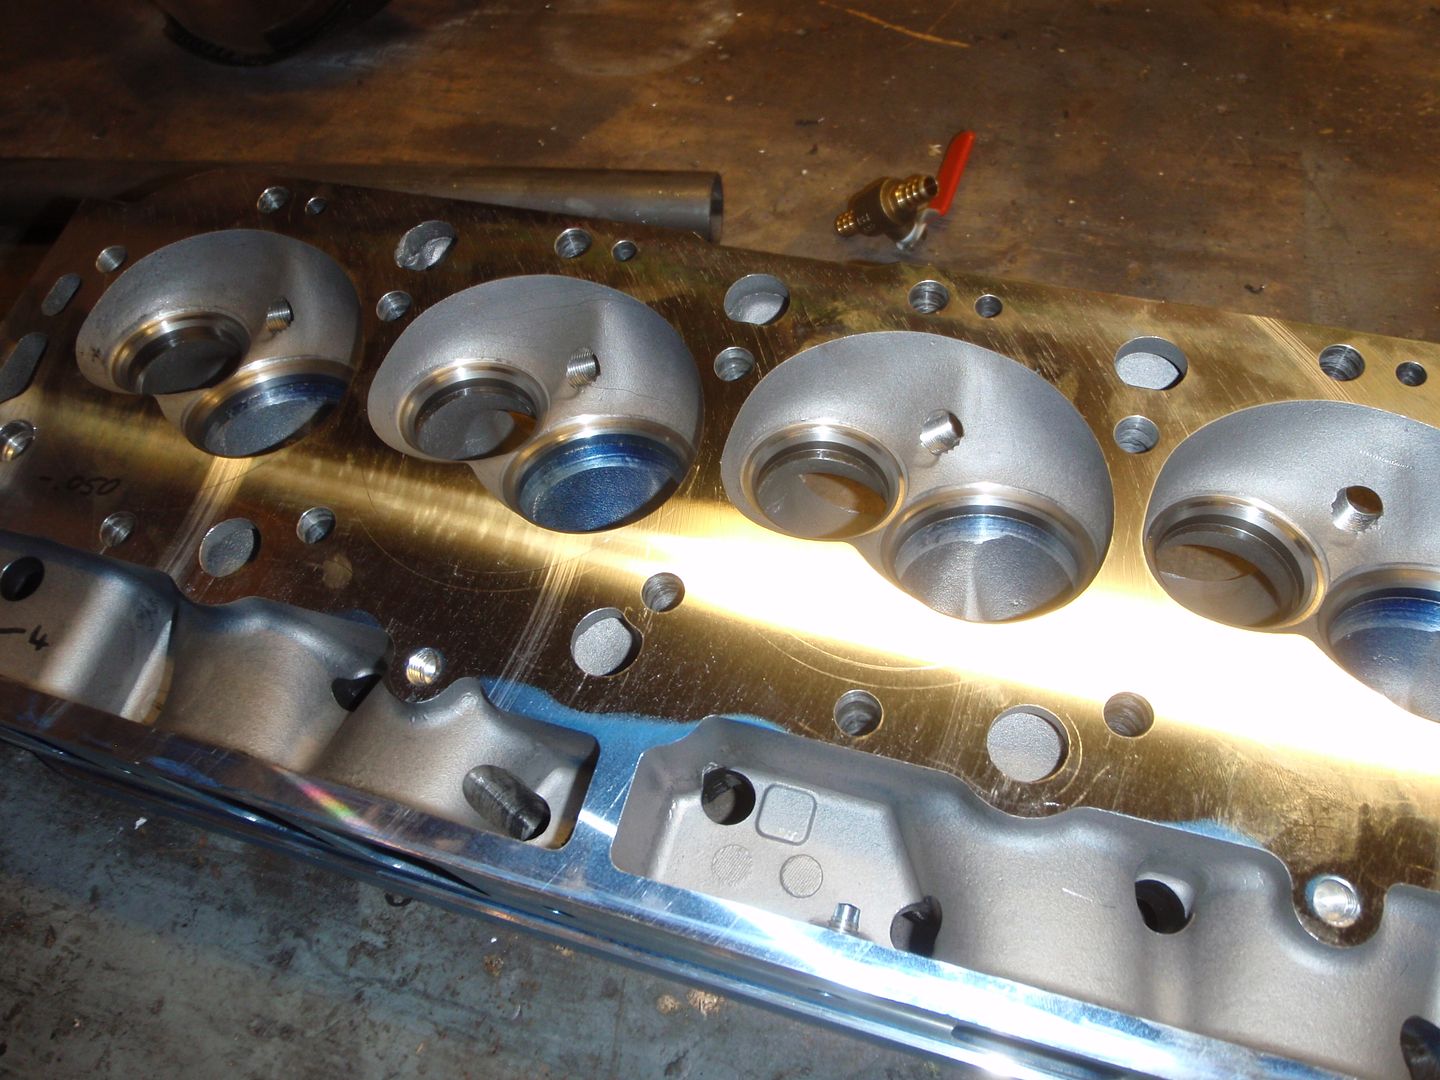
talking a machinist yesterday (the one who shaved the heads and the intake) he suggested simply hogging out the holes
the problem
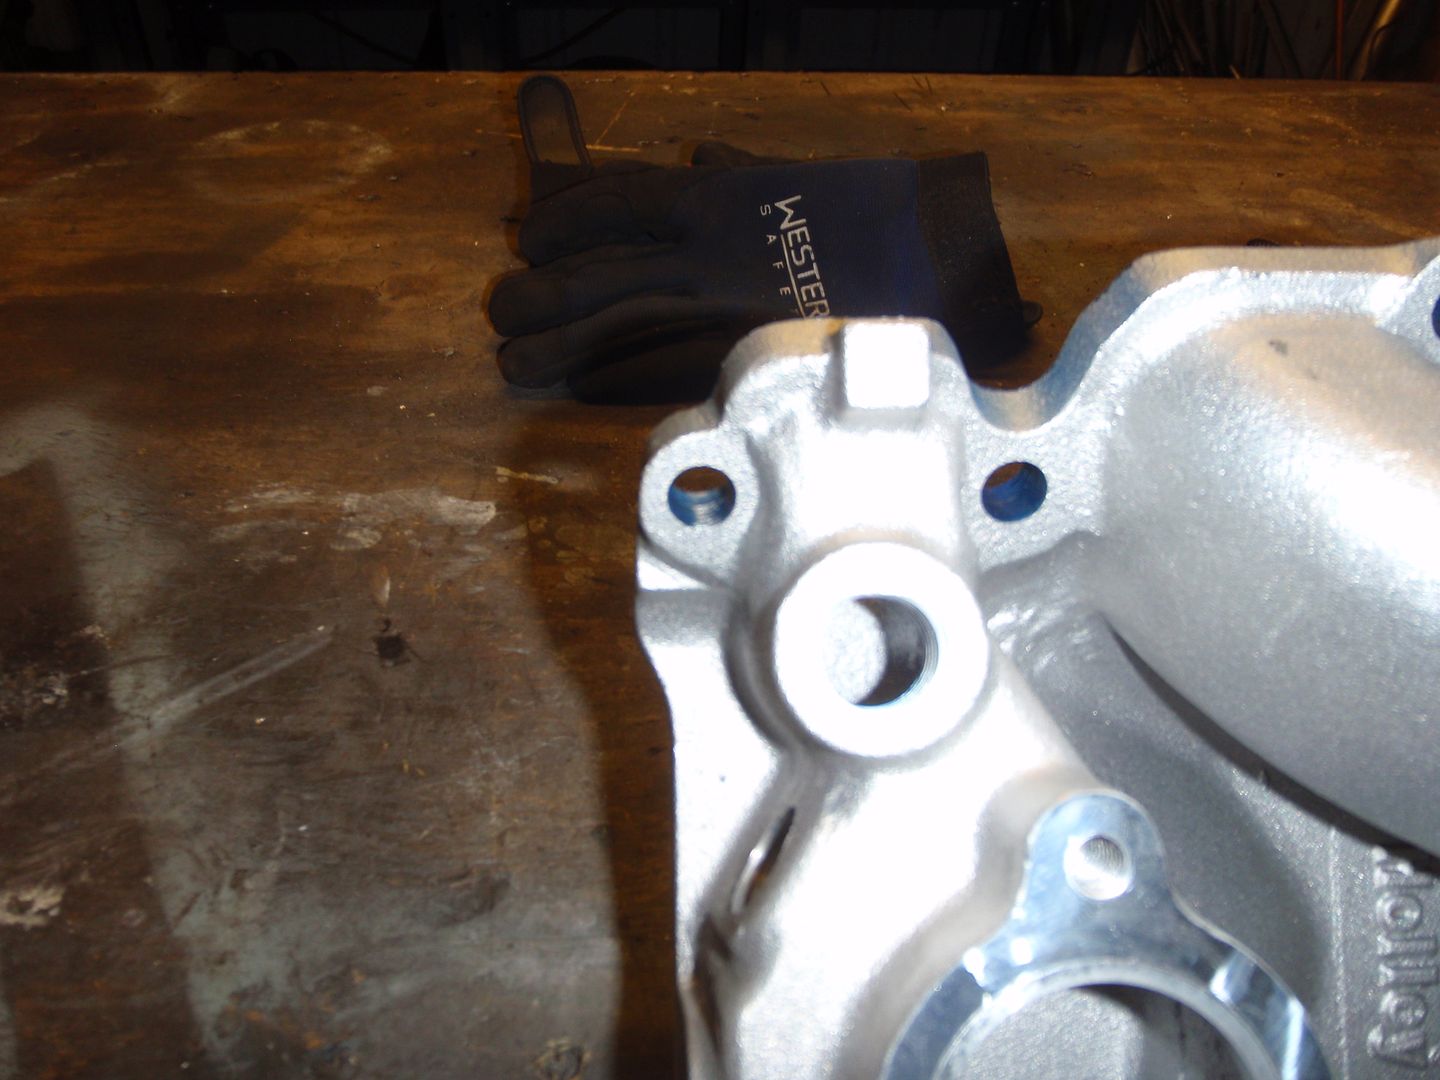
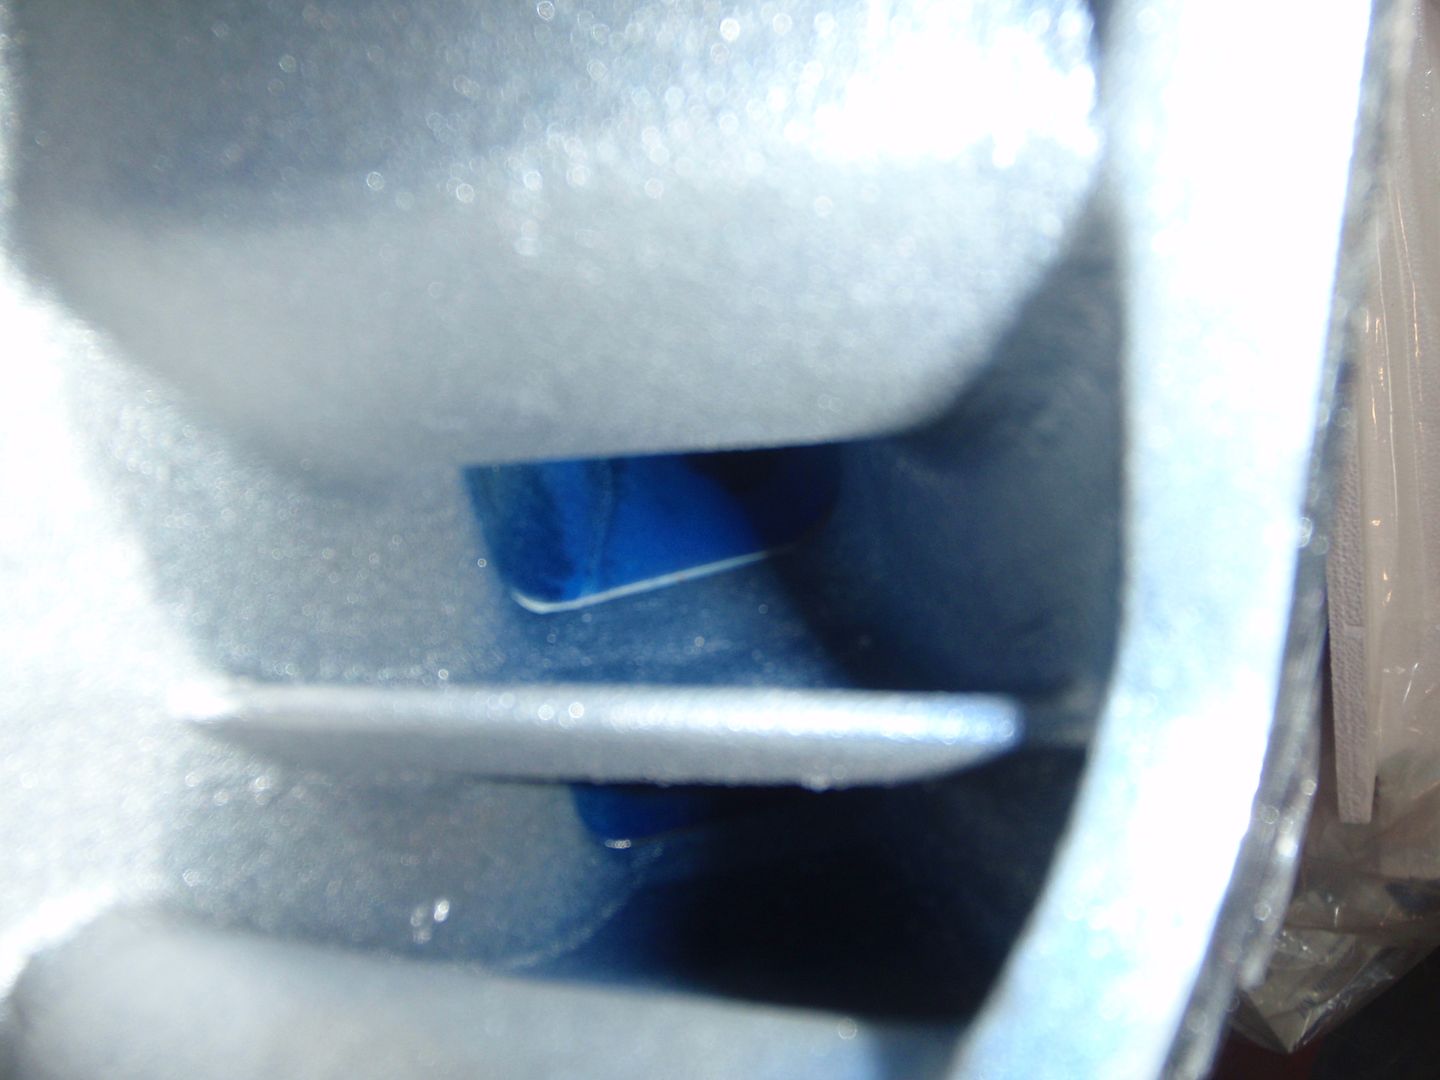
see the threads on the lower side? need to open up the hole so that doesn't happen
grind grind grind
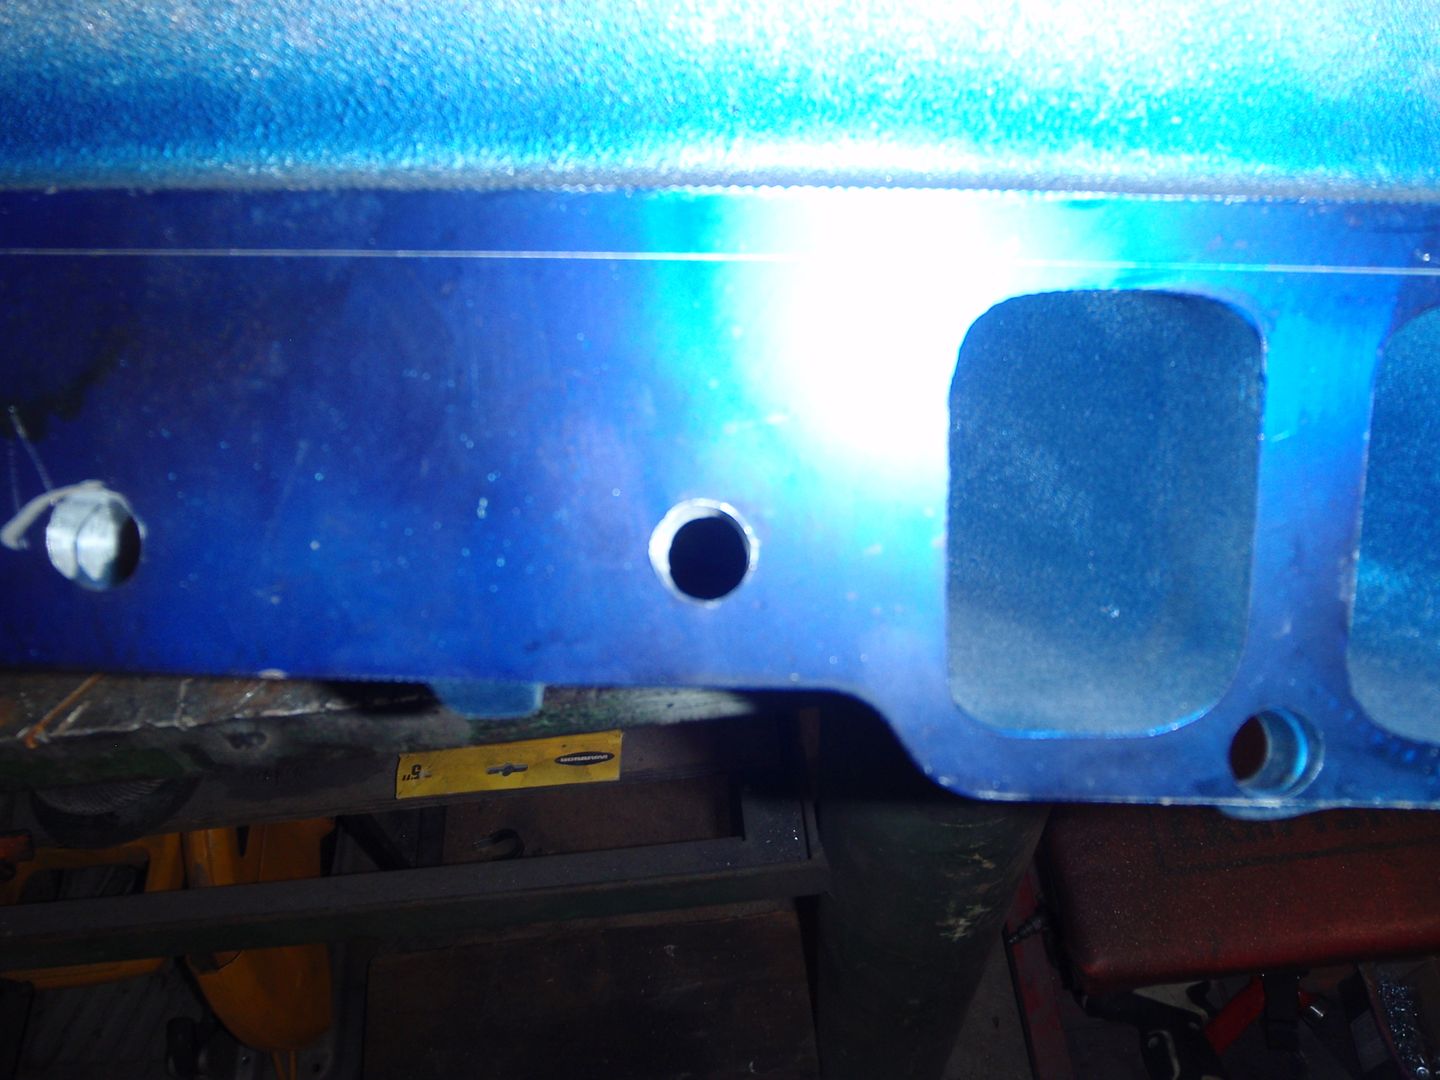
looks like it worked
I need to do a bit of minor port matching, but it worked (yay, saved $200 in machine work)
the problem

see the threads on the lower side? need to open up the hole so that doesn't happen
grind grind grind

looks like it worked

I need to do a bit of minor port matching, but it worked (yay, saved $200 in machine work)


 09-01-2017, 12:35 AM
#51
Melting Slicks
Good news, meh news..... good news is the springs on the iron heads are 485 lb springs

bad news is the locks are for 3/8 valves
and the aluminum valves are 11/32
I may come back later and do a mea culpa* when I should have swapped to brand-name 3/8 valves... but I'm not going to - I blow it up and those higher-compression pistons I was thinking I would upgrade to will become a necessity - remember, I'm at 10.5:1 compression and I want at least 12:1... that said, the hot rod swap meet happens before race season restarts so those valves could happen still.... good thing I'm using a reuseable head gasket
*which is me saying "convince me to simply update now"... I think it'll be fine as long as I don't use this in anger - but I think those chinese valves with 11/32 stems are almost a guaranteed boom.... though I've kept sketchier things together by just practicing a bit of restraint...

bad news is the locks are for 3/8 valves

and the aluminum valves are 11/32

I may come back later and do a mea culpa* when I should have swapped to brand-name 3/8 valves... but I'm not going to - I blow it up and those higher-compression pistons I was thinking I would upgrade to will become a necessity - remember, I'm at 10.5:1 compression and I want at least 12:1... that said, the hot rod swap meet happens before race season restarts so those valves could happen still.... good thing I'm using a reuseable head gasket
*which is me saying "convince me to simply update now"... I think it'll be fine as long as I don't use this in anger - but I think those chinese valves with 11/32 stems are almost a guaranteed boom.... though I've kept sketchier things together by just practicing a bit of restraint...
 09-08-2017, 01:44 AM
#53
Nam Labrat


Member Since: Sep 2013
Location: New Orleans Loo-z-anna
Posts: 33,881
Received 4,153 Likes
on
2,726 Posts

"You can do-it!"

 09-12-2017, 12:51 AM
#55
Melting Slicks
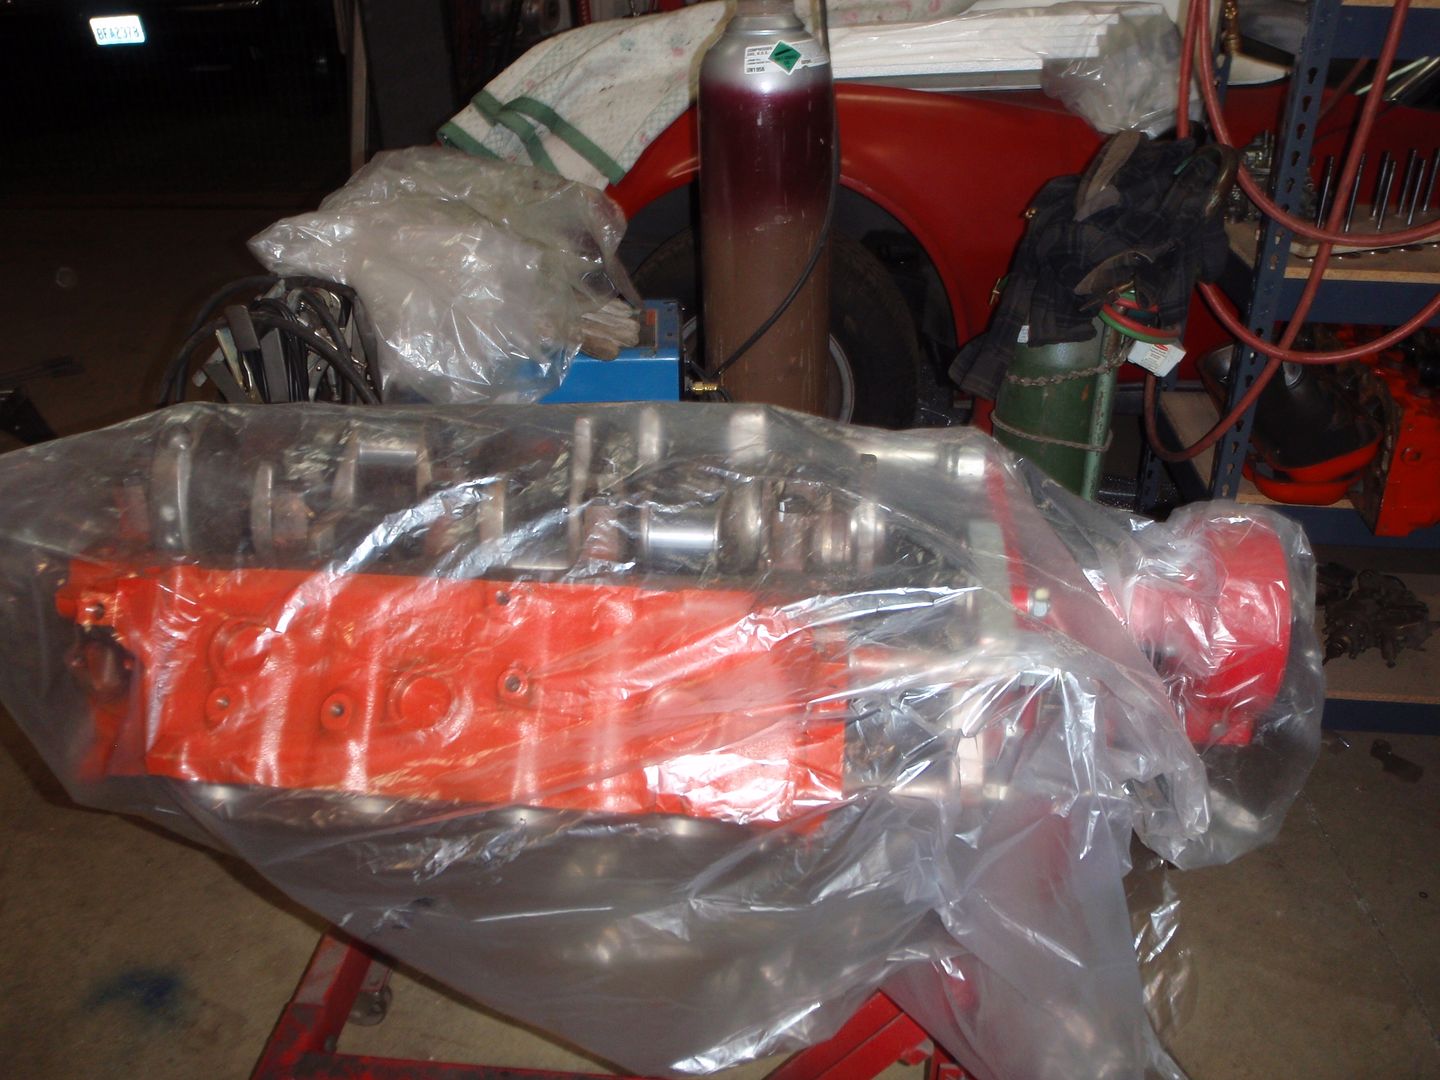
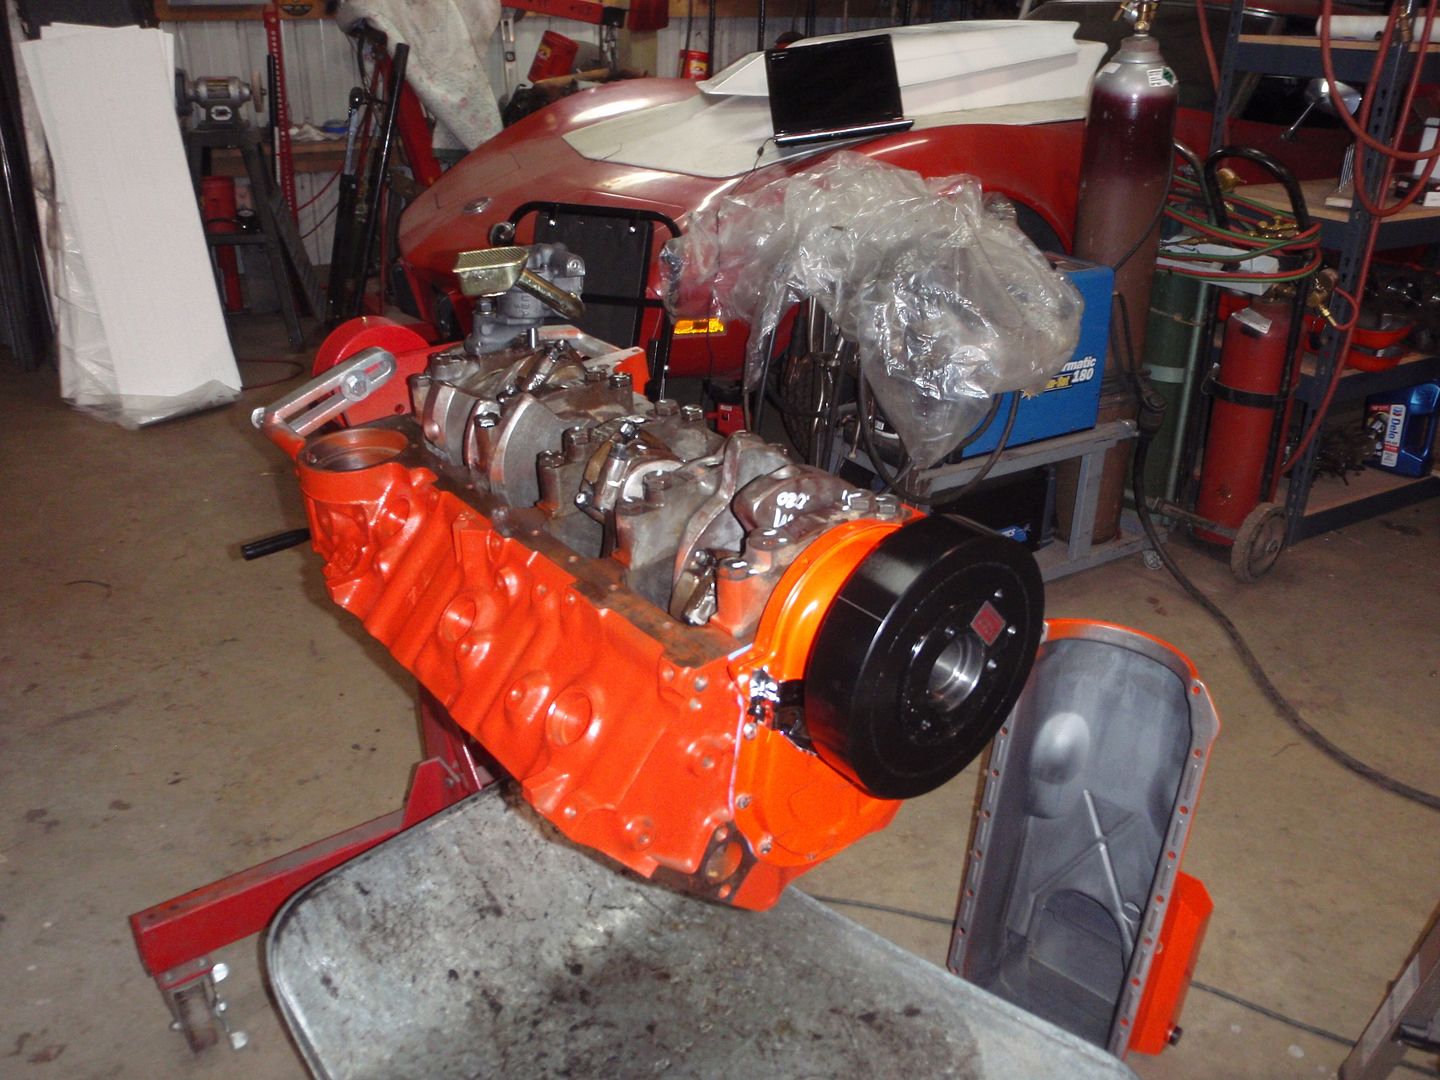
finally some progress.
clean it up
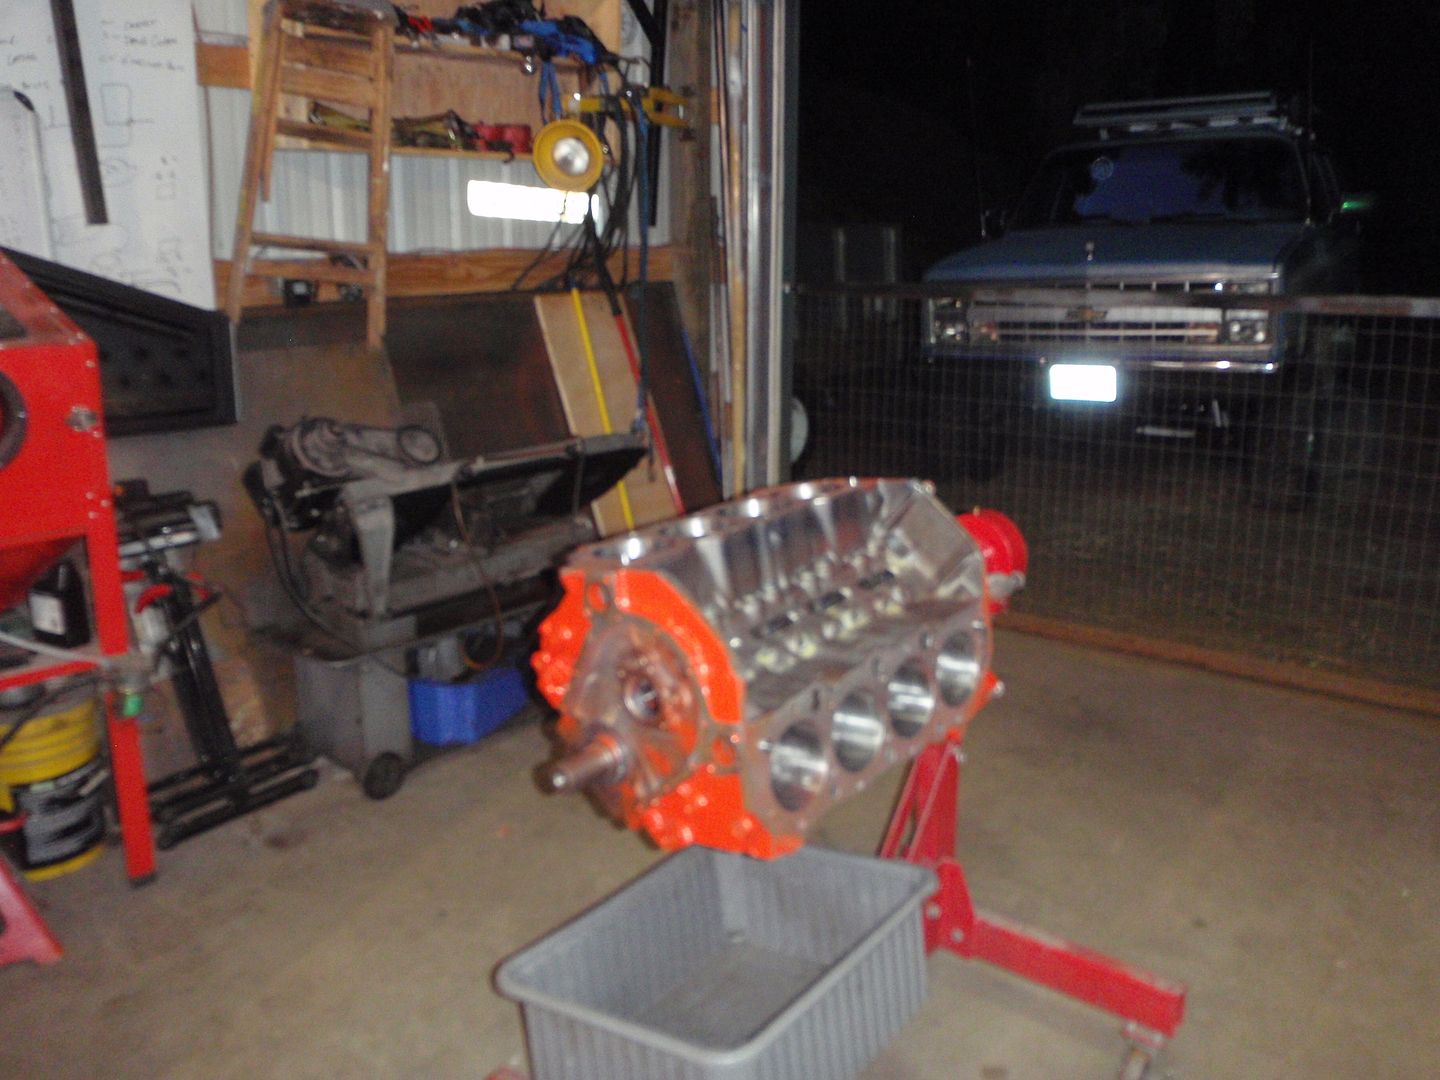
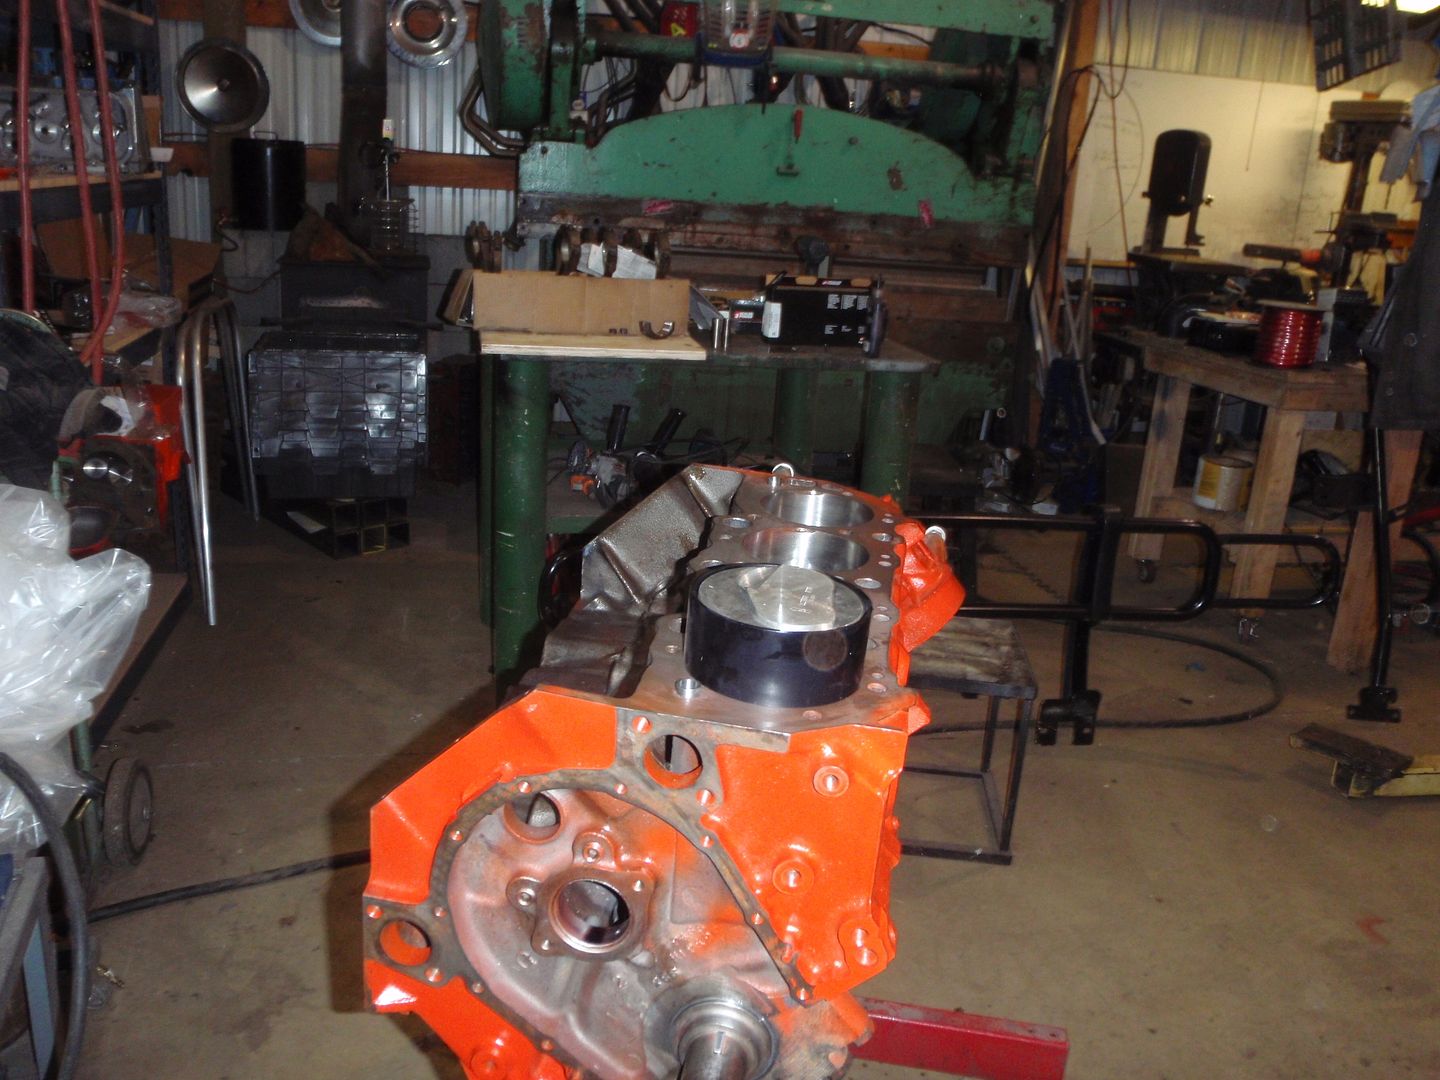
install the crank with a new rear seal

and that's all(ish) for tonight
I ordered rockers and measured the studs on the other heads. rockers are on the raggity edge of max lift.... ah well, gotta live.
clean it up

install the crank with a new rear seal

and that's all(ish) for tonight

I ordered rockers and measured the studs on the other heads. rockers are on the raggity edge of max lift.... ah well, gotta live.
09-13-2017, 12:44 AM
#56
Melting Slicks
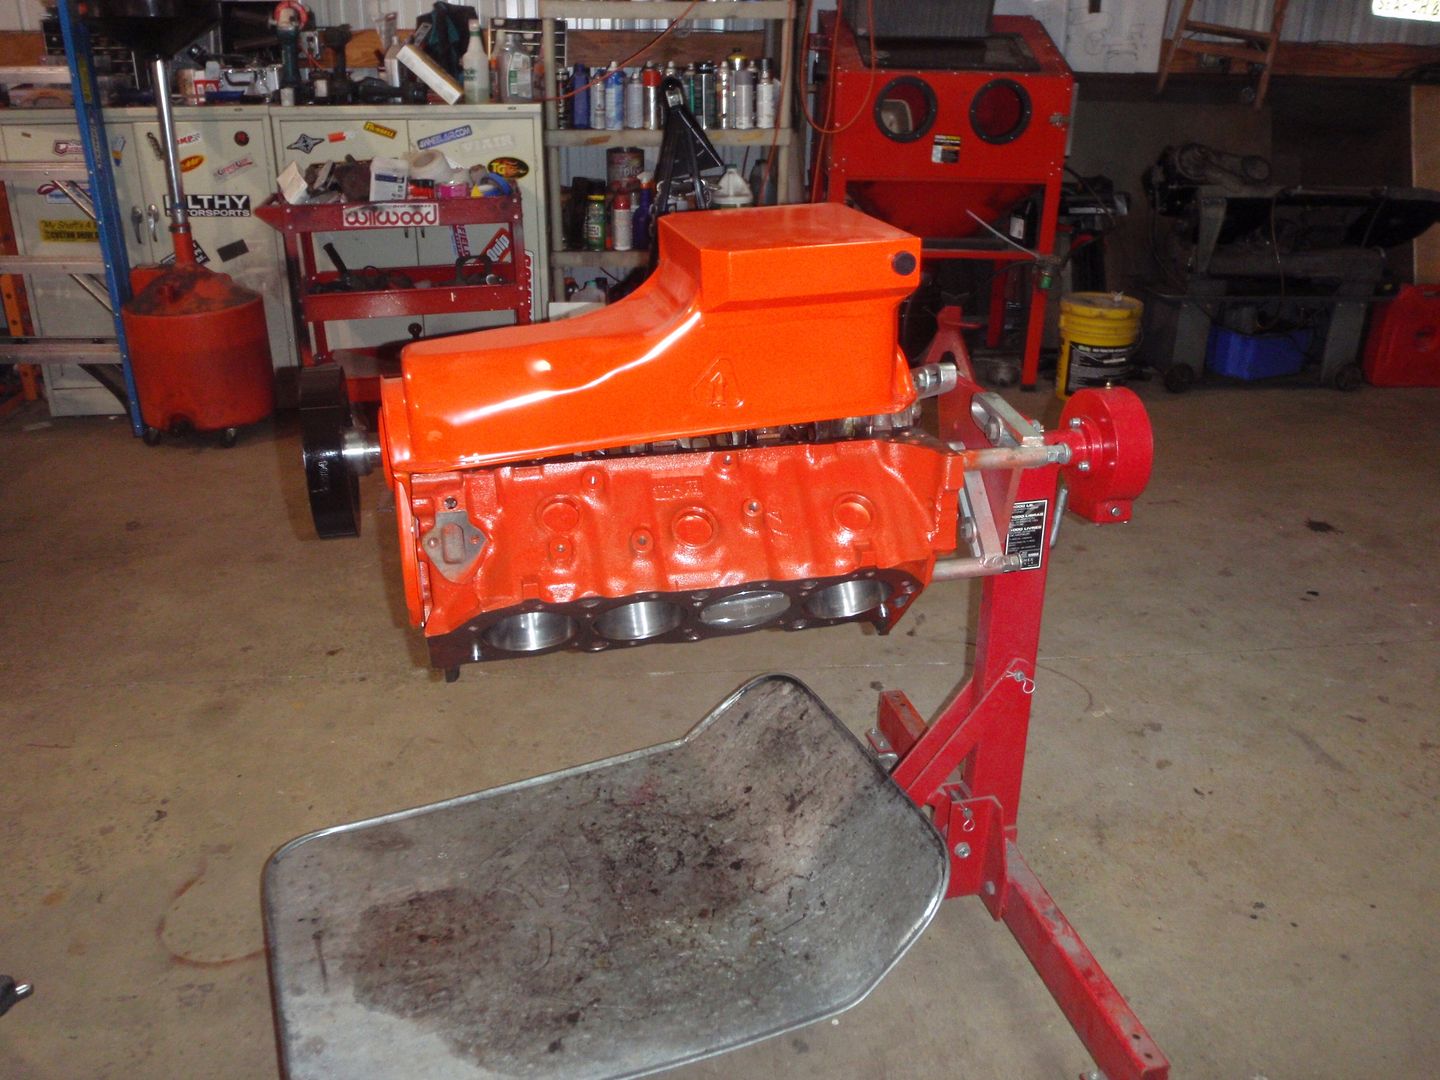
so first a fright

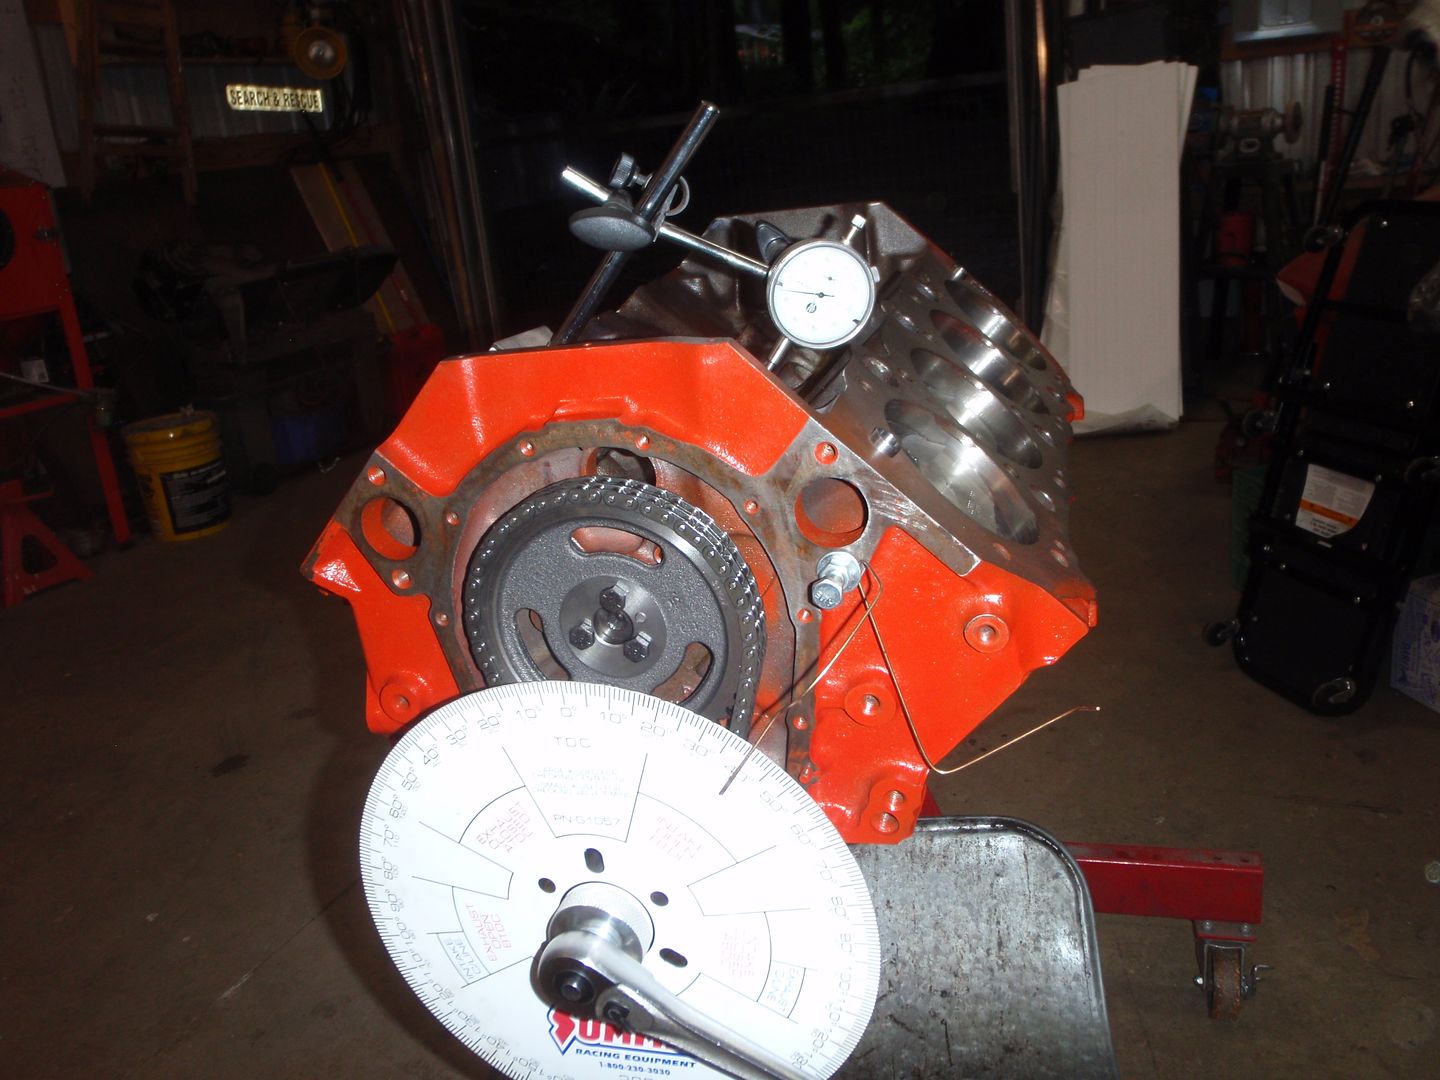
notice the cam plate bolt holes? anyone want to hazard a guess as to whether or not a Gen 4 or Gen 5 cam and timing set is required? the block is an 89
fortunately, I have other stuff to do
I've finally given up - I'll buy the tapered ring compressors for all my builds - this one will work also with my Buick motor but I am not doing the hateful compressors again...
then I noticed that the numbers on the rods are not the same as the numbers on the pistons.... the seller told me that the marked numbers (yellow) matched the holes so I went with that - but the rod numbers do not. I'd love to hear why he didn't number the rods correctly (they were resized) oh well.. I'm sure when HRM takes this motor apart in a few years they'll make much ado about how the rods were on the wrong journal... to them I say "HA"
after number 2 I had to go do SAR stuff.... ah well, things are progressing
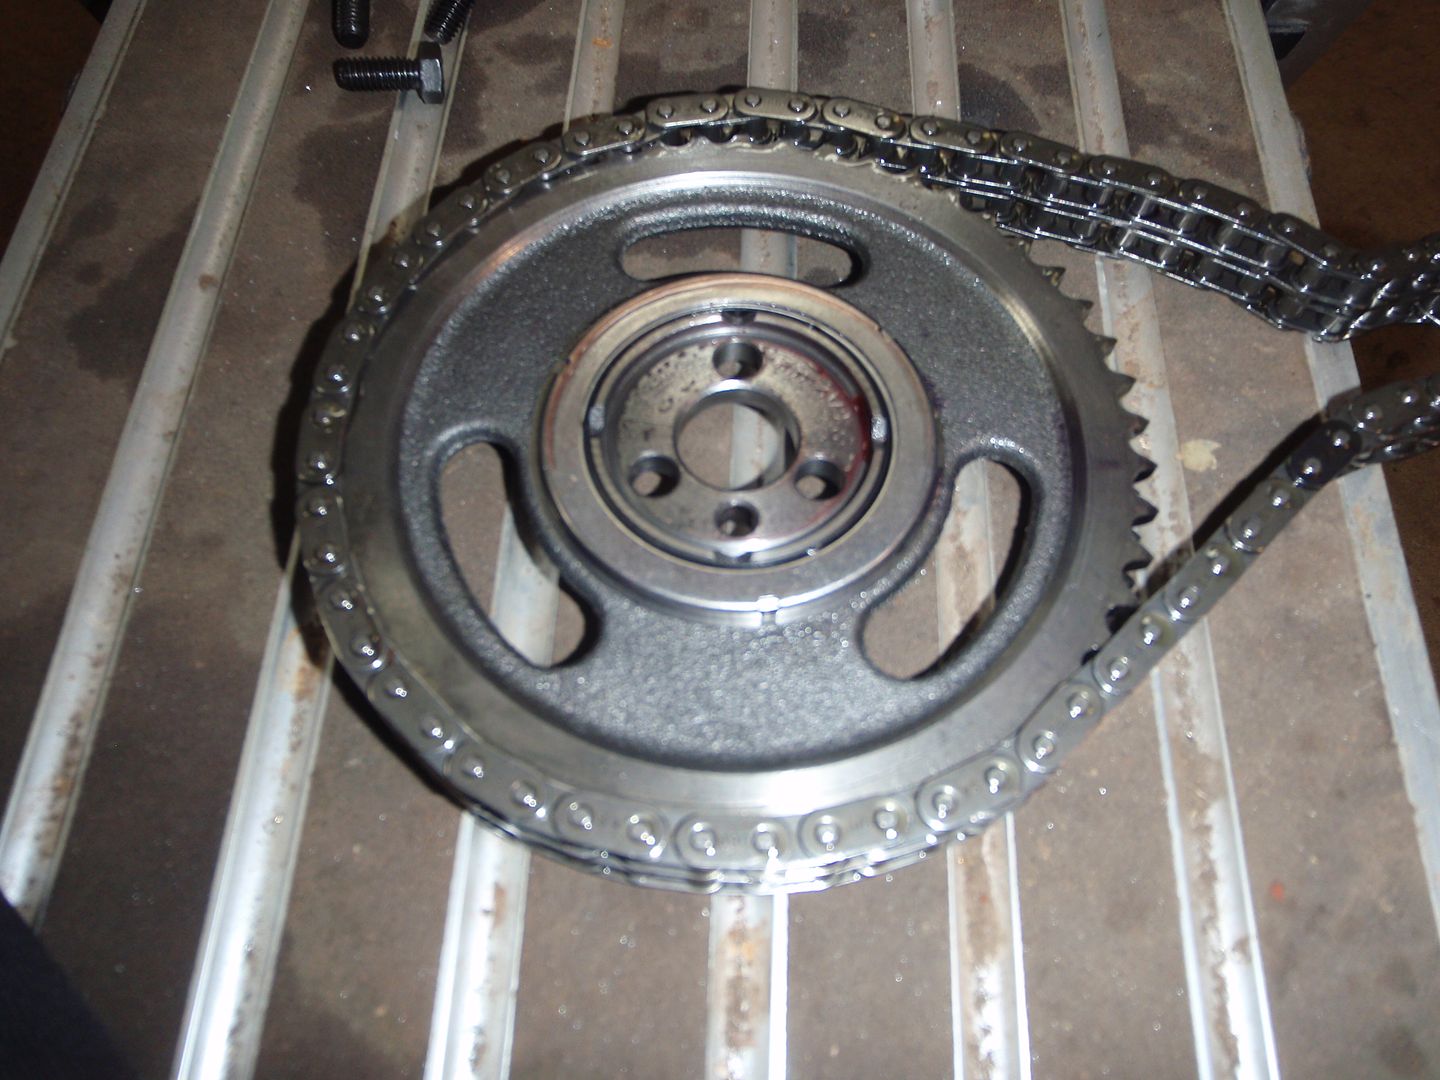
for those interested - Gen 4.... gave me a heart attack though when I saw that....there are no pedestals - which means that had I noticed before, I could have done away with the cam button.... ah well.

notice the cam plate bolt holes? anyone want to hazard a guess as to whether or not a Gen 4 or Gen 5 cam and timing set is required? the block is an 89
fortunately, I have other stuff to do
I've finally given up - I'll buy the tapered ring compressors for all my builds - this one will work also with my Buick motor but I am not doing the hateful compressors again...

then I noticed that the numbers on the rods are not the same as the numbers on the pistons.... the seller told me that the marked numbers (yellow) matched the holes so I went with that - but the rod numbers do not. I'd love to hear why he didn't number the rods correctly (they were resized) oh well.. I'm sure when HRM takes this motor apart in a few years they'll make much ado about how the rods were on the wrong journal... to them I say "HA"

after number 2 I had to go do SAR stuff.... ah well, things are progressing
for those interested - Gen 4.... gave me a heart attack though when I saw that....there are no pedestals - which means that had I noticed before, I could have done away with the cam button.... ah well.


 09-22-2017, 12:11 AM
#58
Melting Slicks
I added another holley carb to my collection - in reality, I think I'll use the body from my blower carb and the base (since I modified it) from this carb.... totally worth it to do
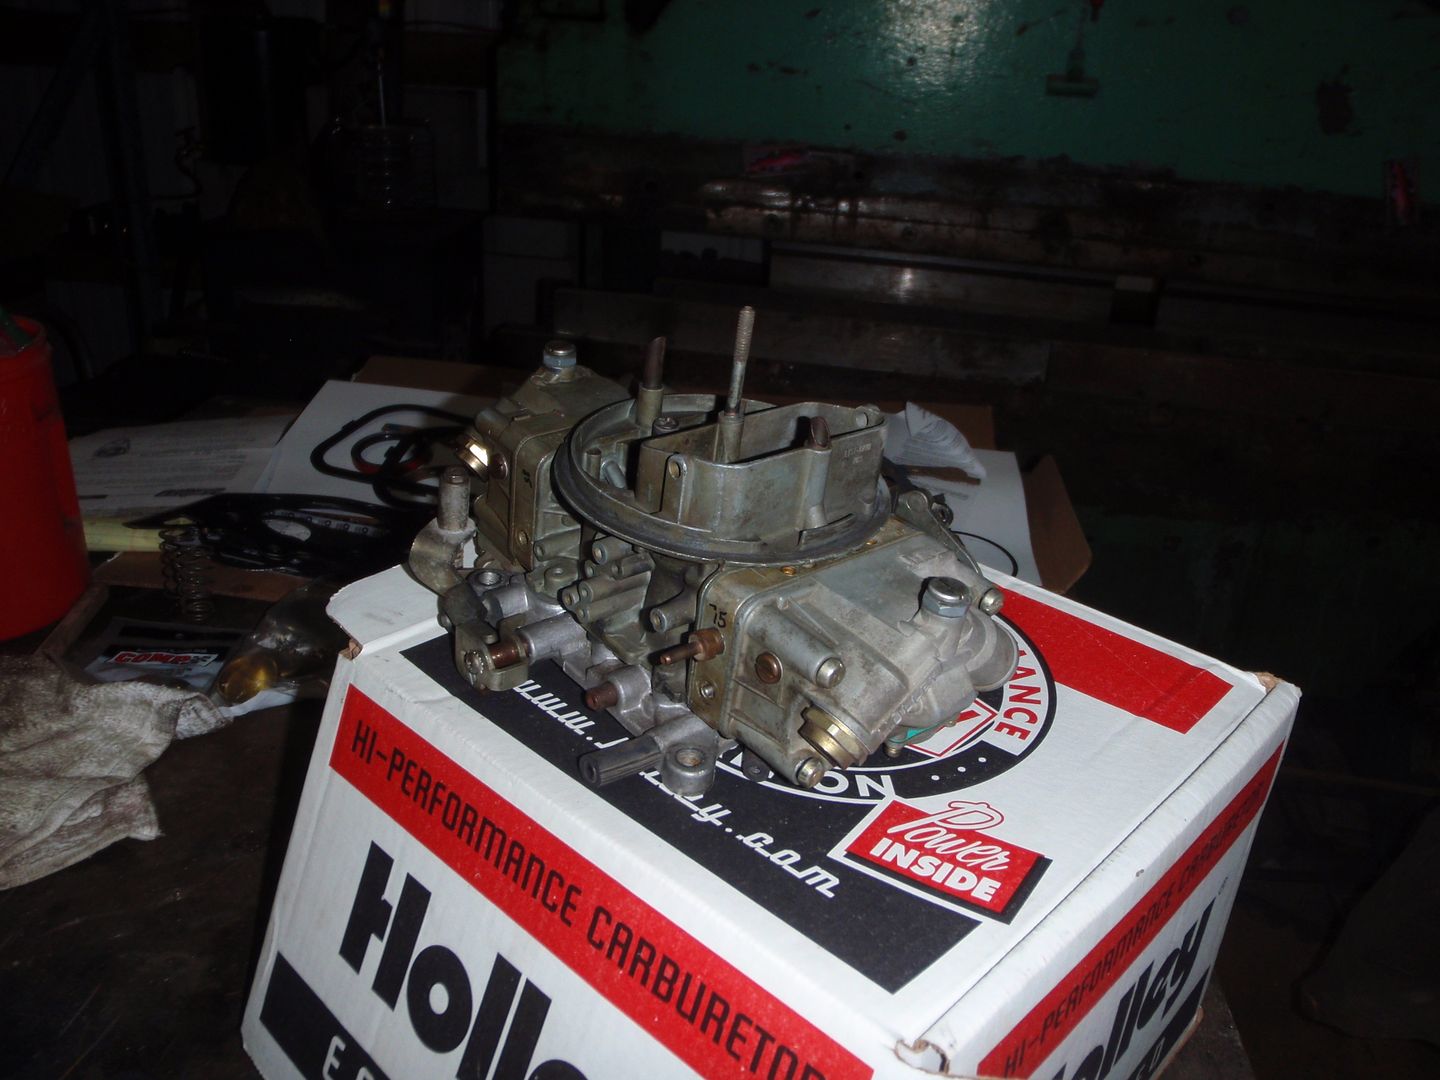
the aforementioned blower carb
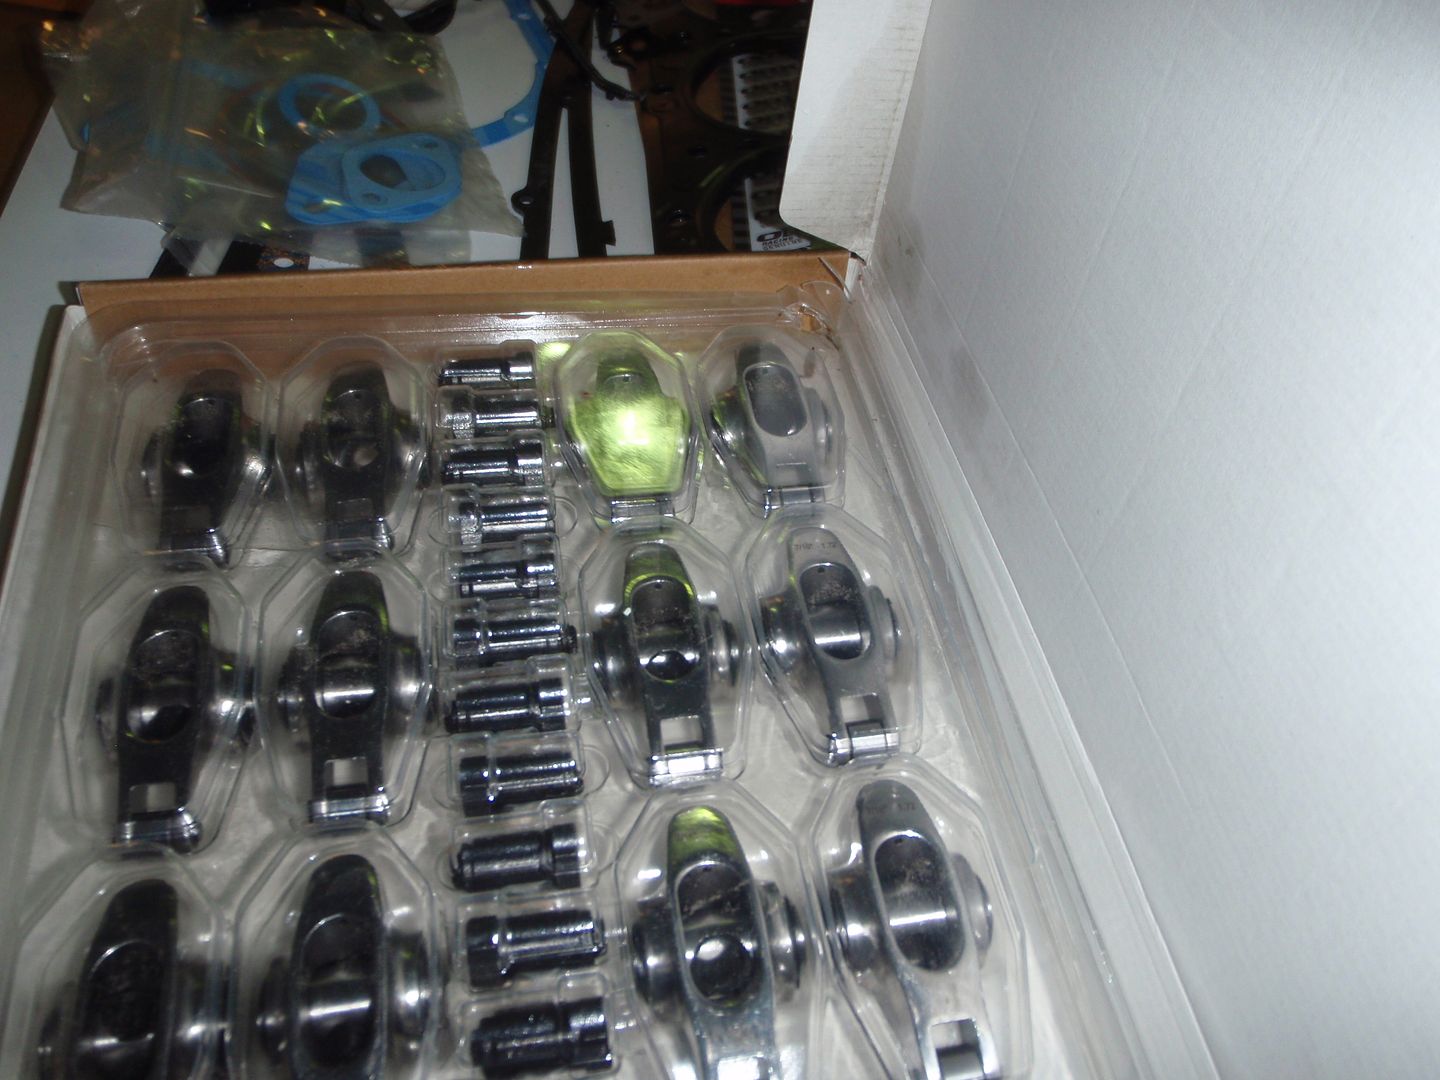
right or wrong these were the decision. Stainless Elgin full roller rockers. Thought seriously about the aluminum but know that the guy with the 427 in his boat had nothing but trouble with them.... so here it is
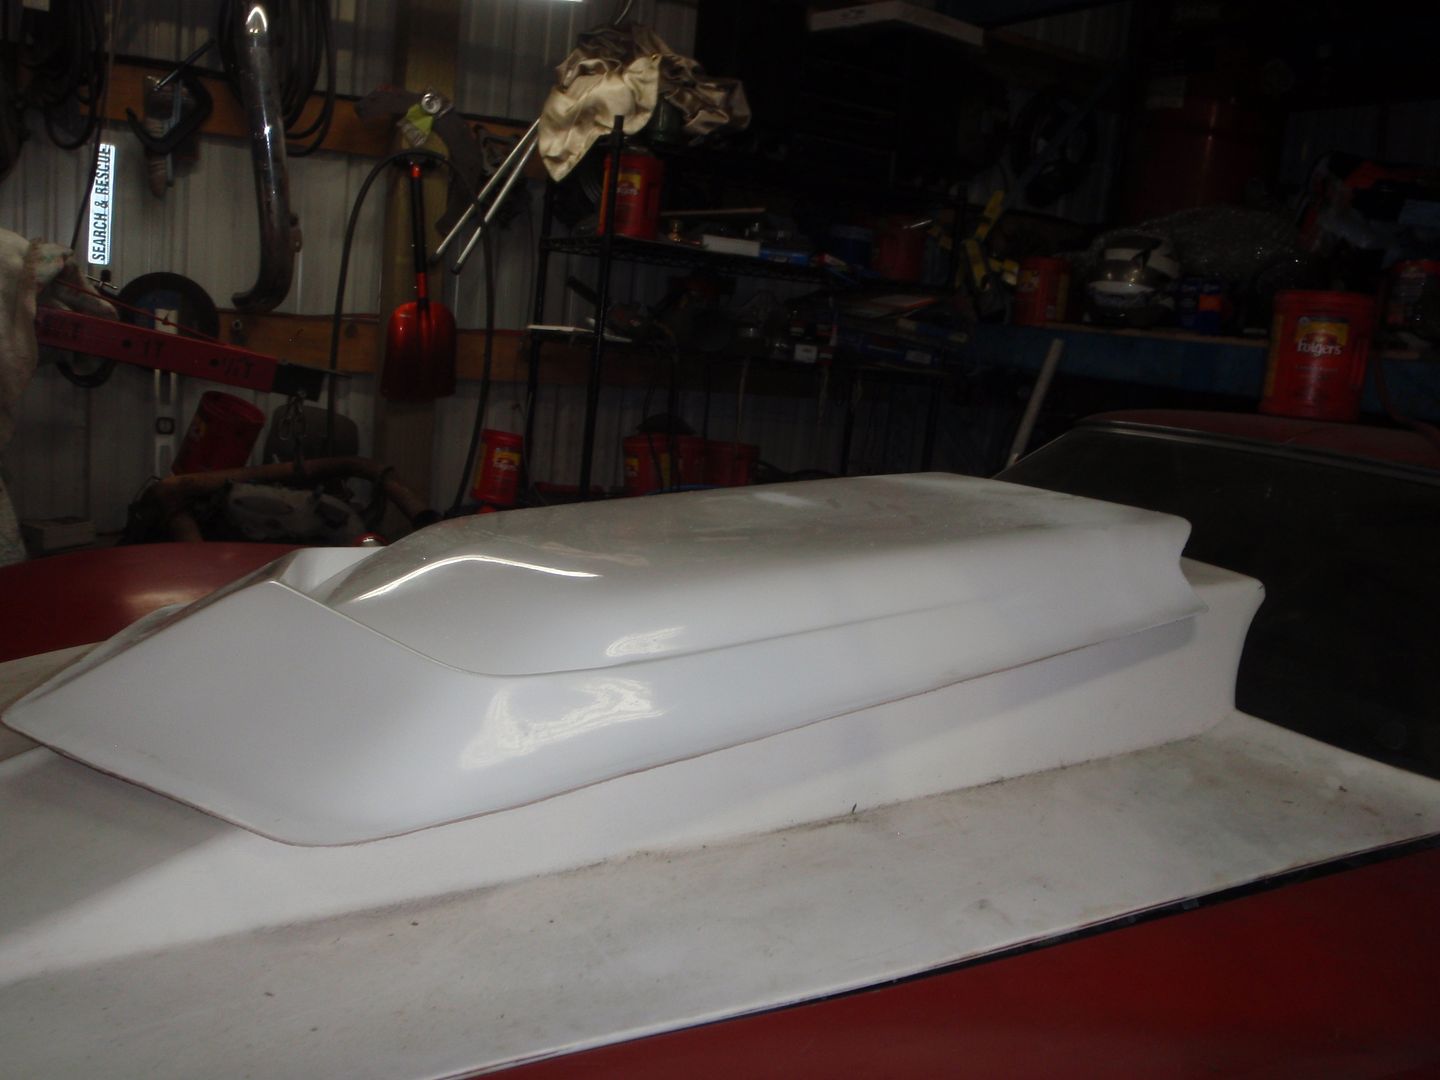
maybe I should just stack this scoop on top of the current one....
2 degrees off. instead of 4 advanced it's 2 degrees advanced. close enough
so this is the bearing on the back to keep from eating into the block (and of more concern putting showers of iron in the oil)
most of the time tonight was spent adjusting to zero lash on the cam... but it's done
next issue is on the floor
I suppose I could fill the gap with silicone.....
I am concerned about oil pan clearance - not cross member because that's actually in front of the motor, but how close the pan is to the ground... ah well, if it was easy, Pirate 4x4 could do it.

the aforementioned blower carb

right or wrong these were the decision. Stainless Elgin full roller rockers. Thought seriously about the aluminum but know that the guy with the 427 in his boat had nothing but trouble with them.... so here it is

maybe I should just stack this scoop on top of the current one....

2 degrees off. instead of 4 advanced it's 2 degrees advanced. close enough

so this is the bearing on the back to keep from eating into the block (and of more concern putting showers of iron in the oil)

most of the time tonight was spent adjusting to zero lash on the cam... but it's done


next issue is on the floor

I suppose I could fill the gap with silicone.....

I am concerned about oil pan clearance - not cross member because that's actually in front of the motor, but how close the pan is to the ground... ah well, if it was easy, Pirate 4x4 could do it.


