
Plastic Fantastic tew
 09-26-2017, 12:22 AM
#61
Melting Slicks

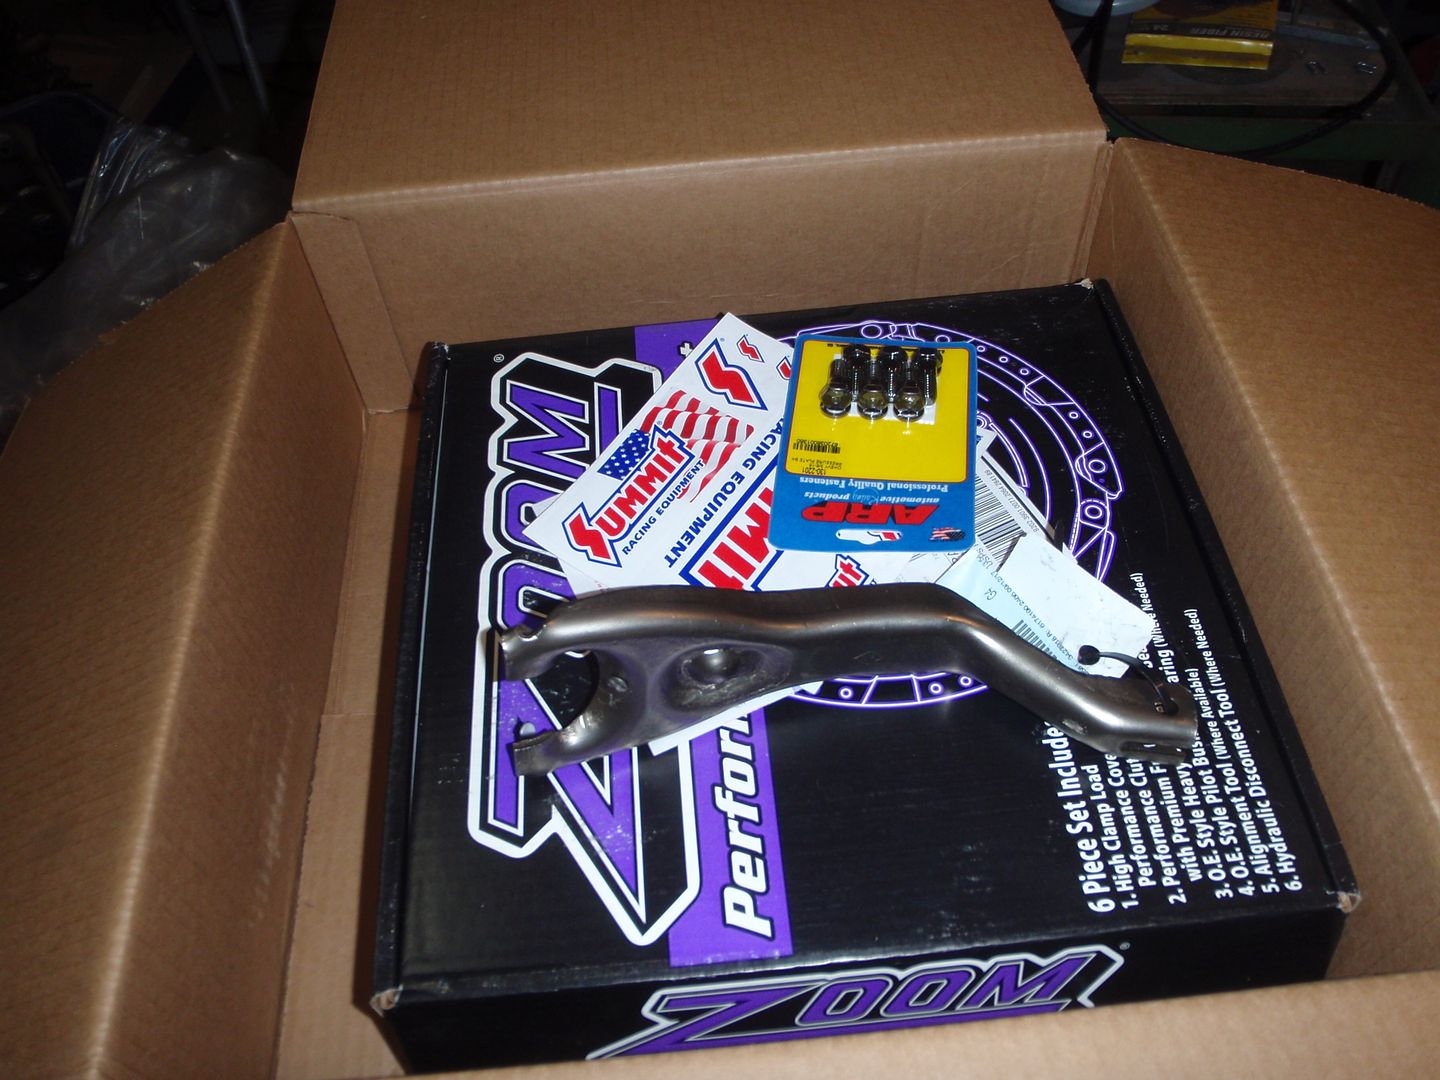
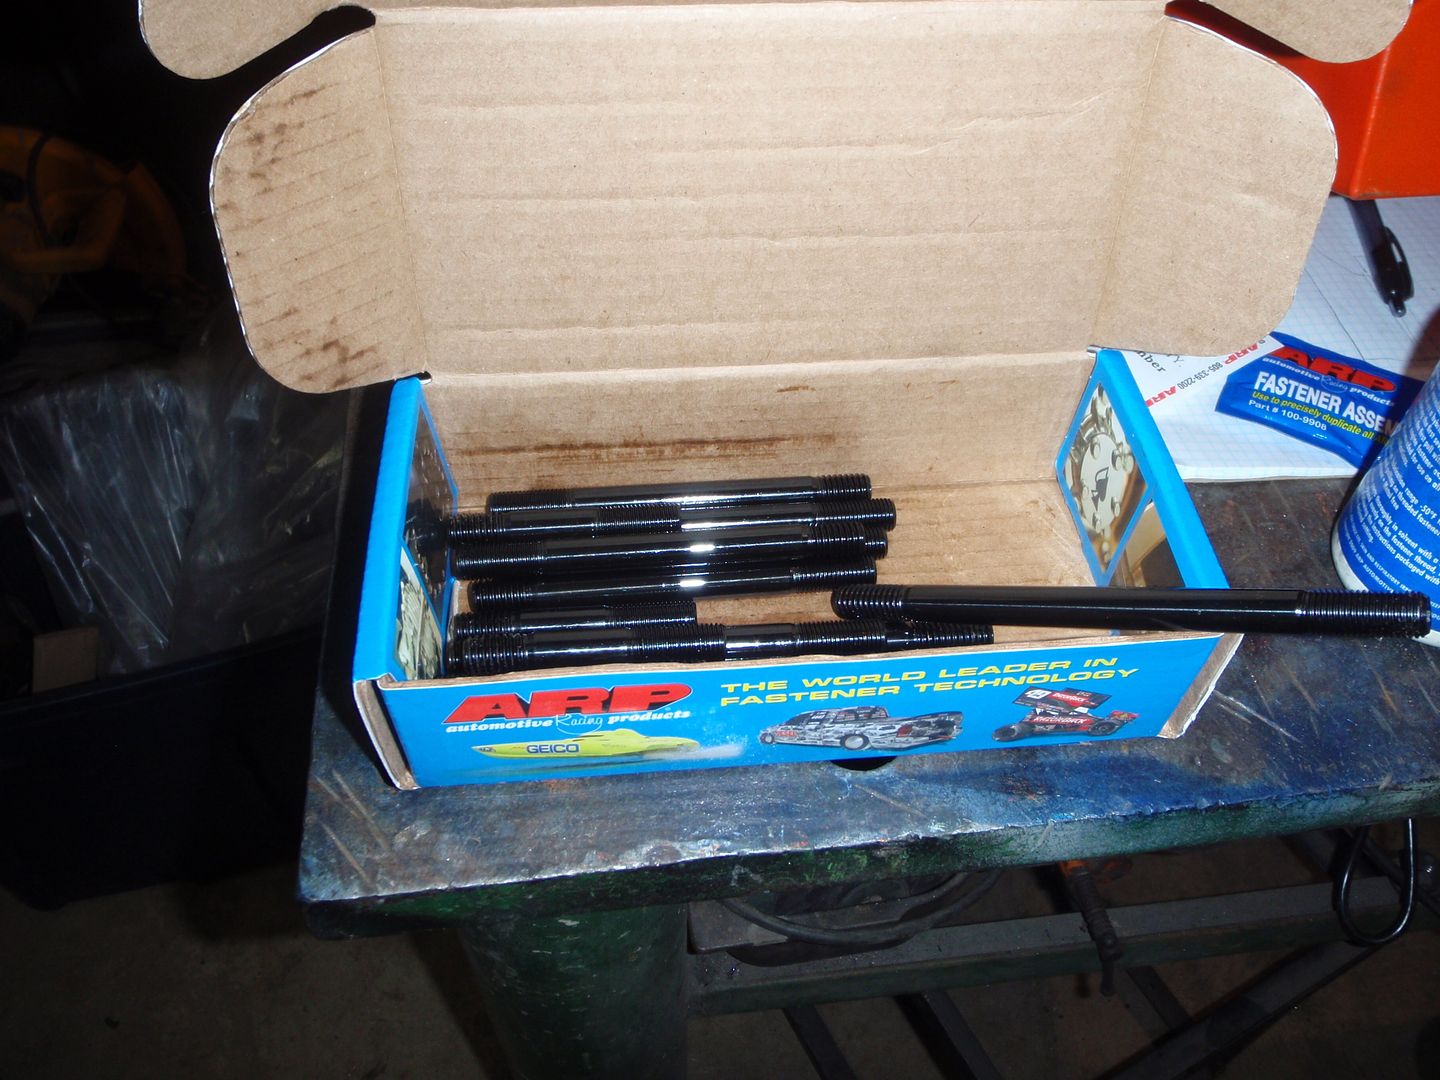
so tonight I didn't have much time so it was time to dig in my stash of stuff and find a mini-starter, motor mounts, steel sfi flywheel, and oil pump stuff.... I also found some roller rockers that I forgot I had, though not for a BBC.

I also found a second set of motor mounts...

I also found a second set of motor mounts...
 09-27-2017, 12:47 AM
#62
Melting Slicks
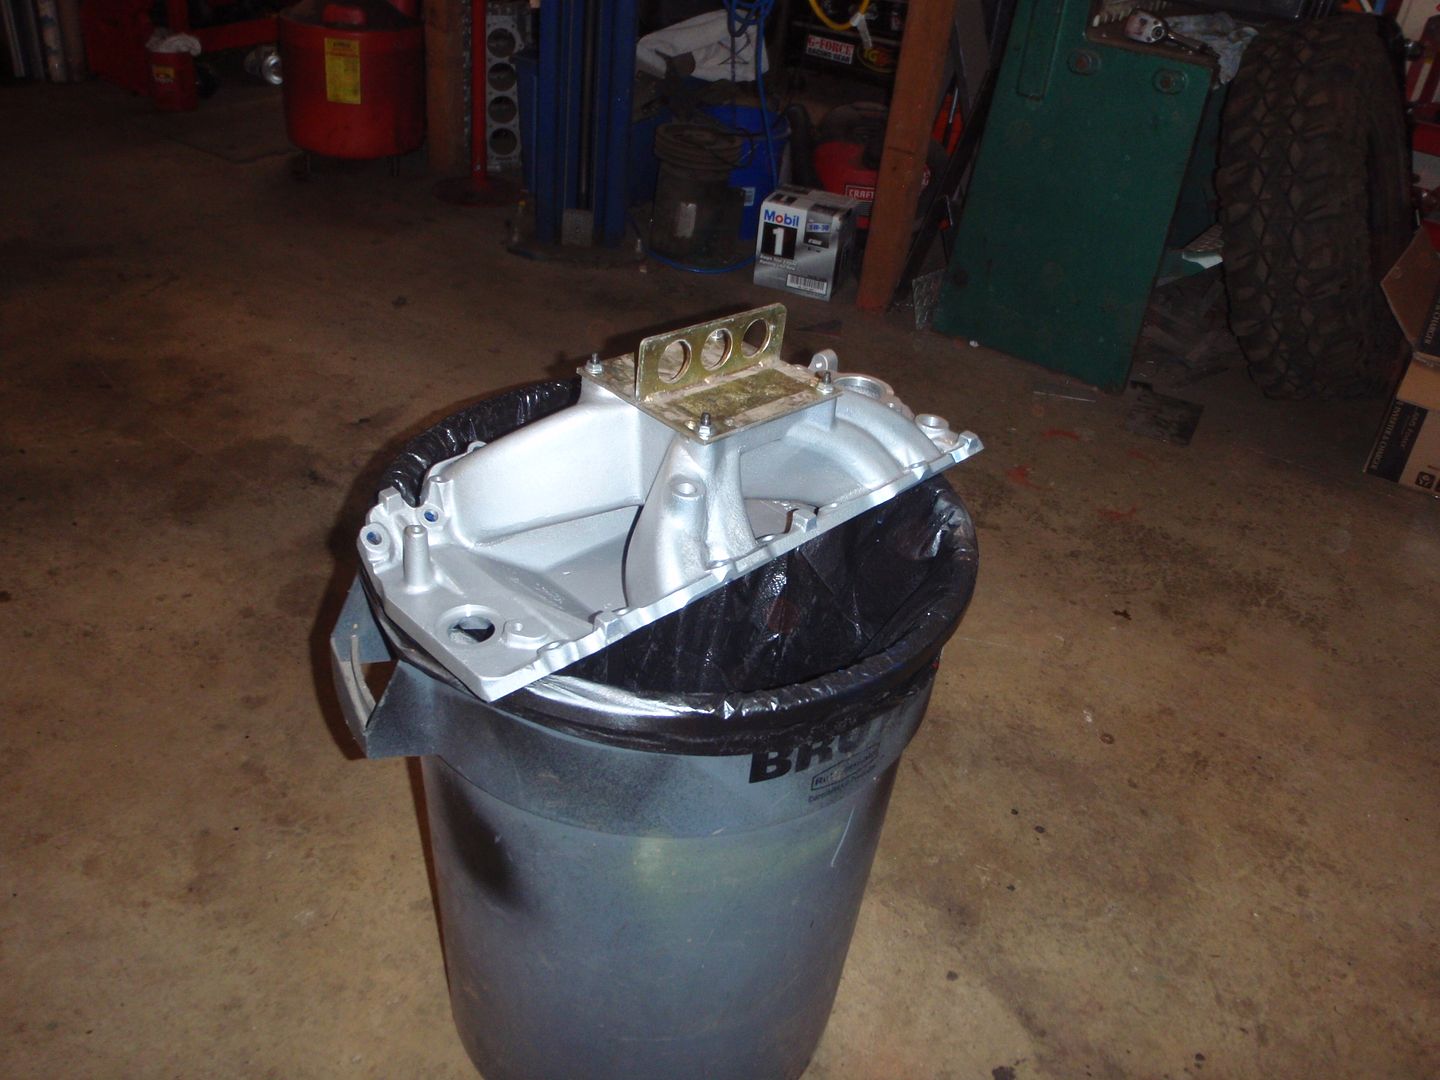
I just couldn't leave that one in the block
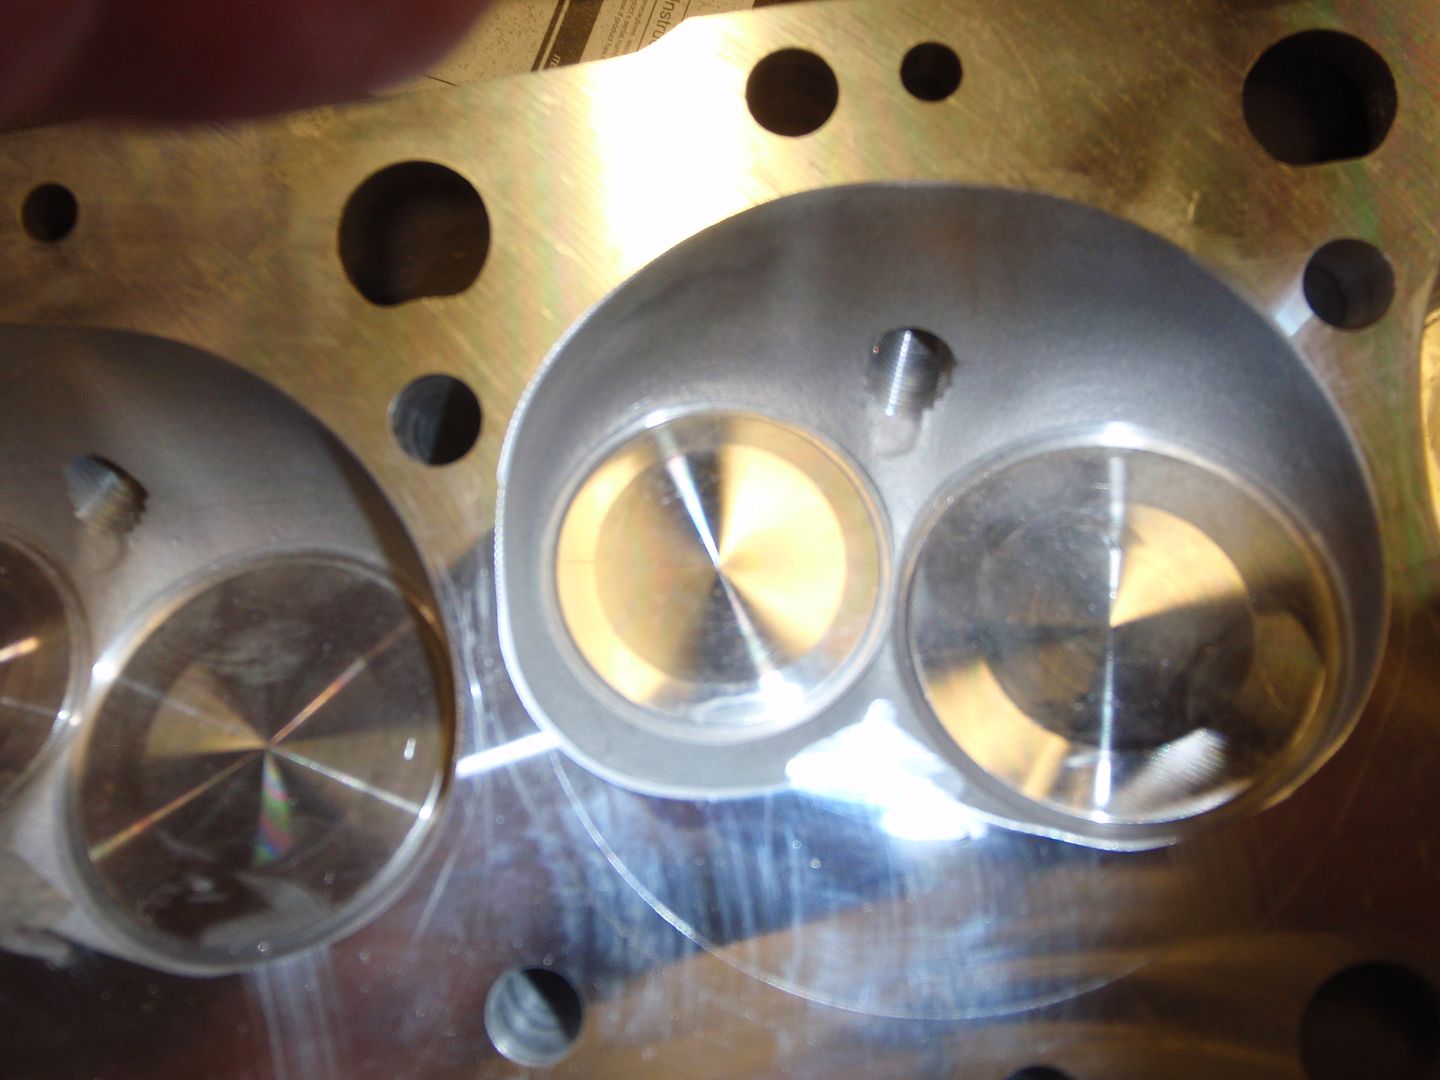
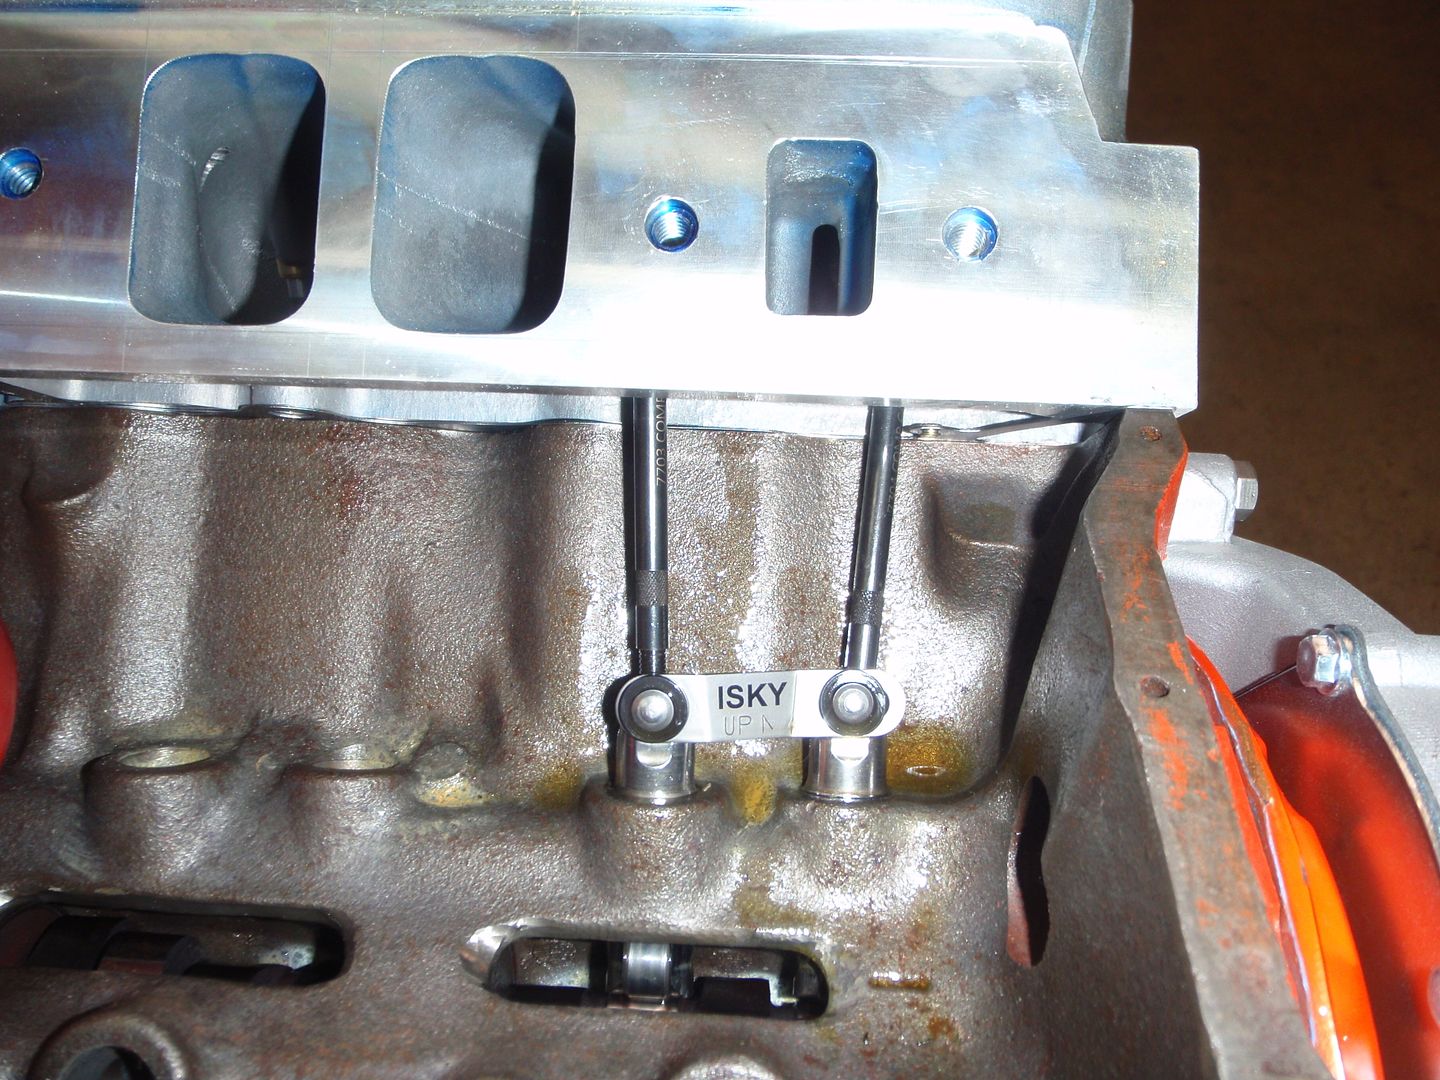
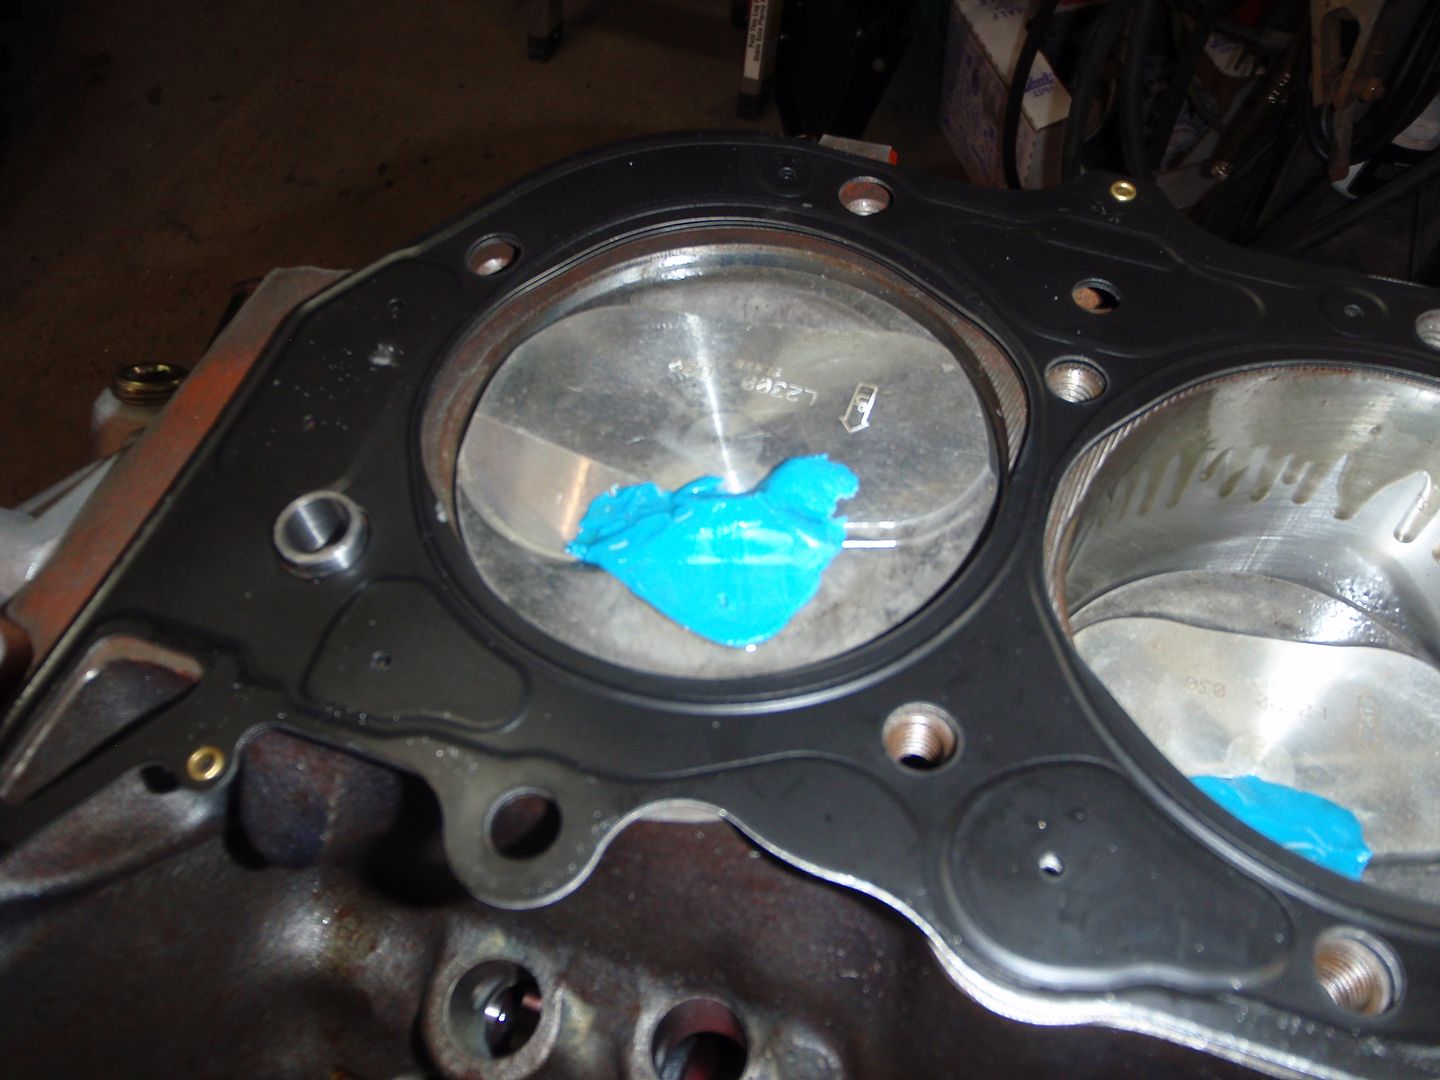
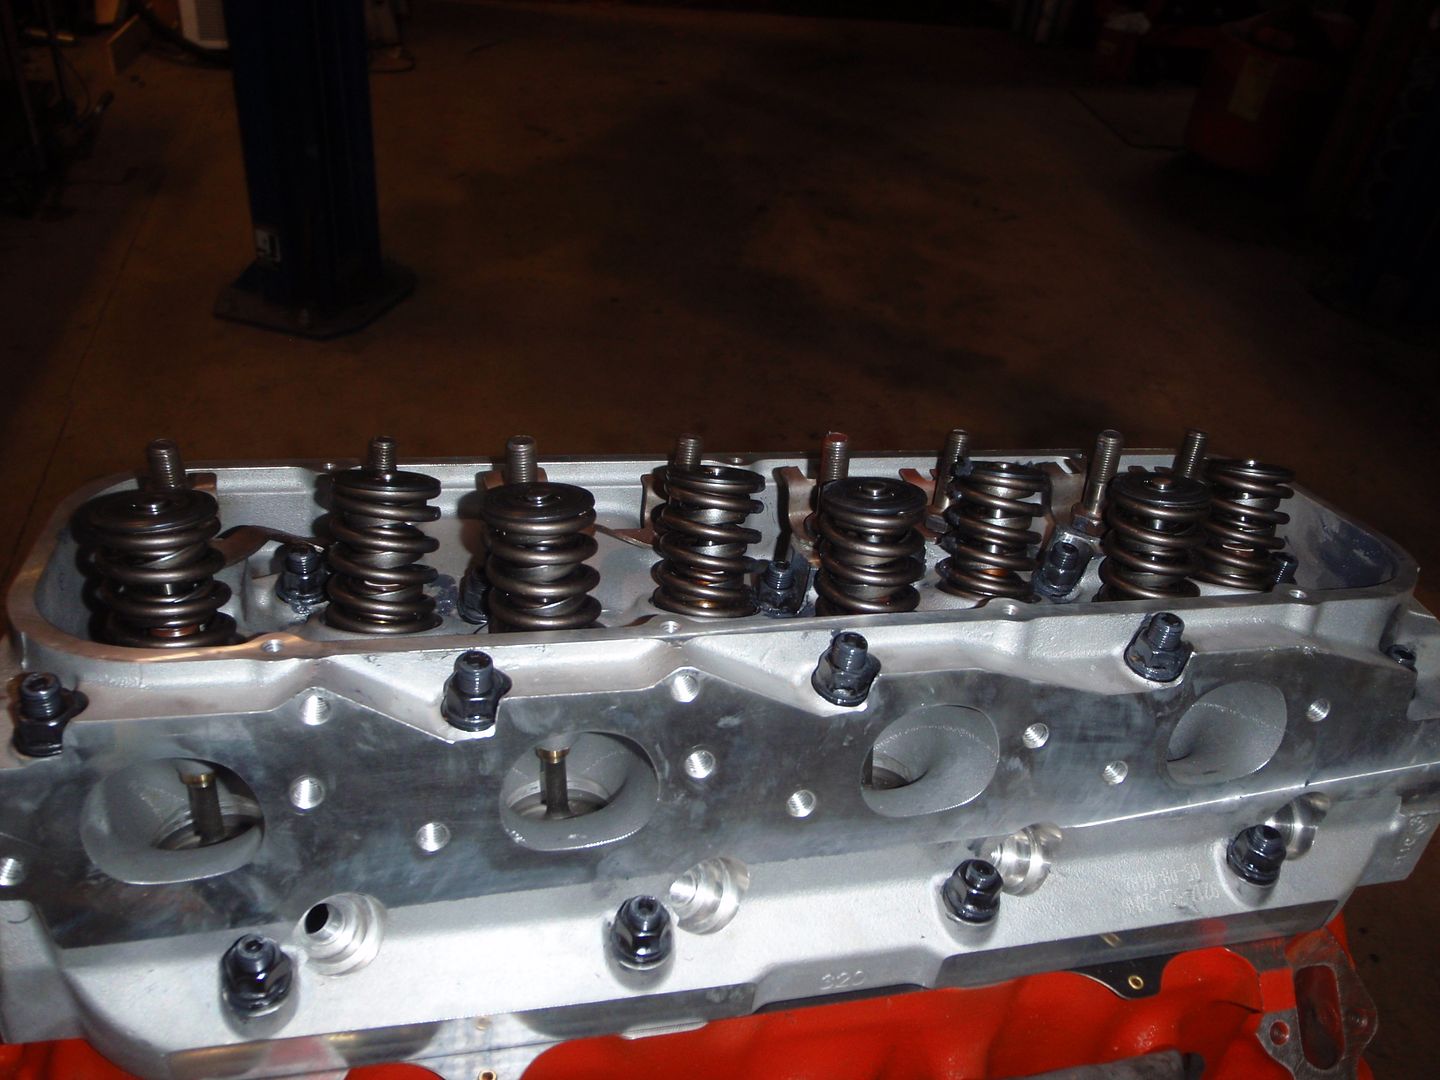
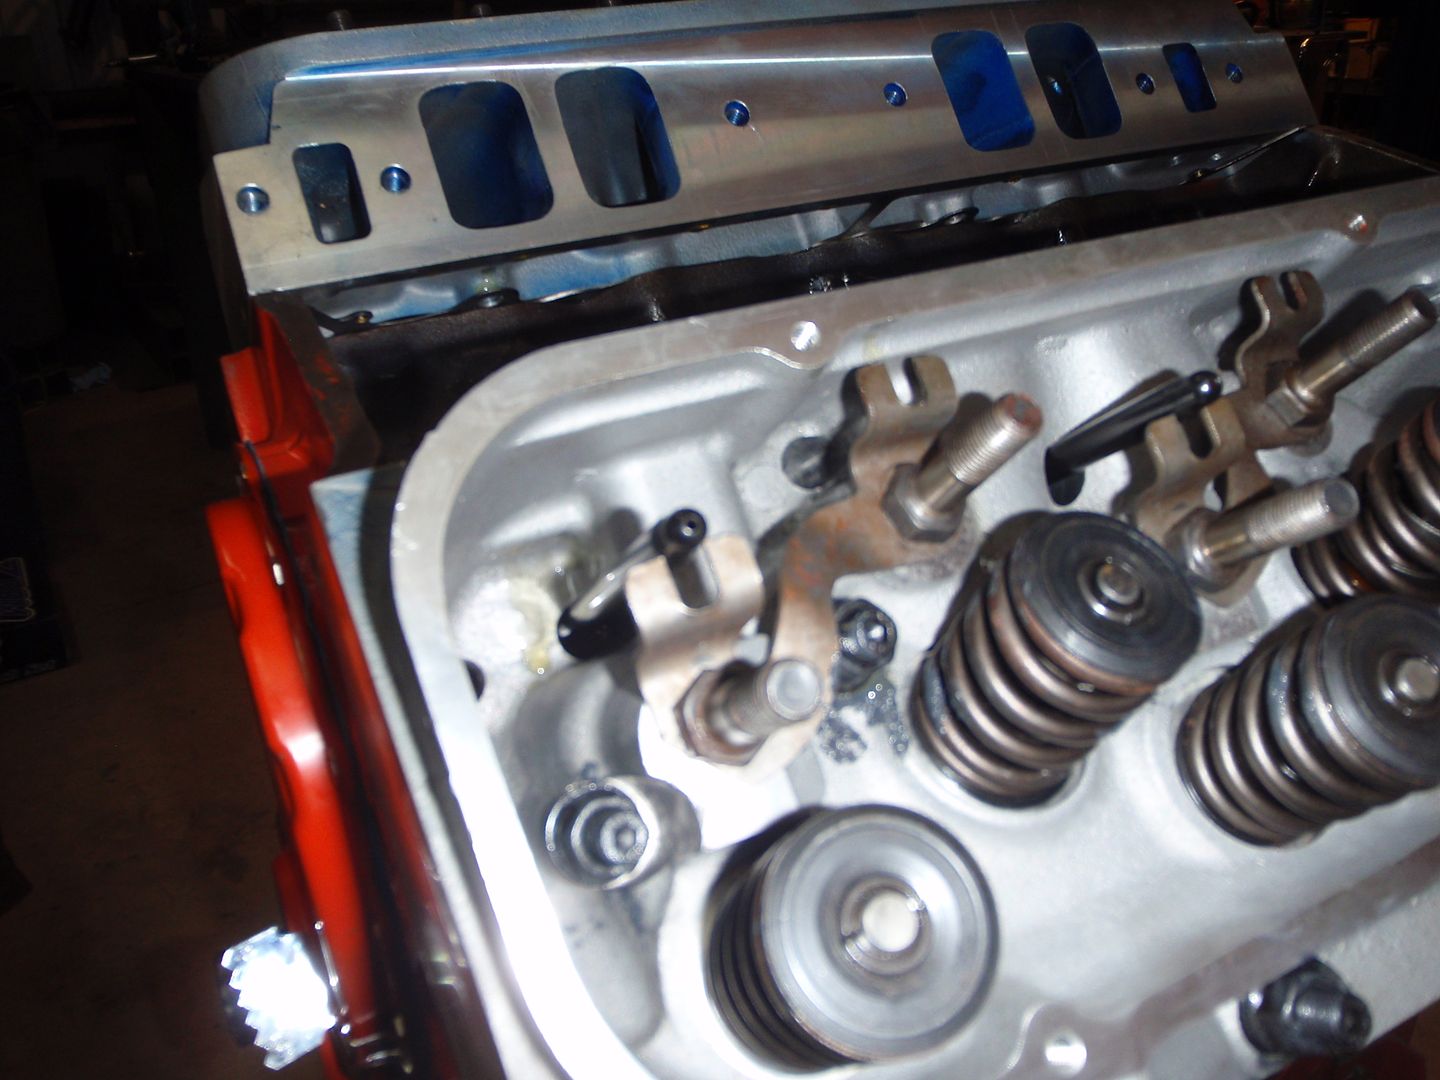
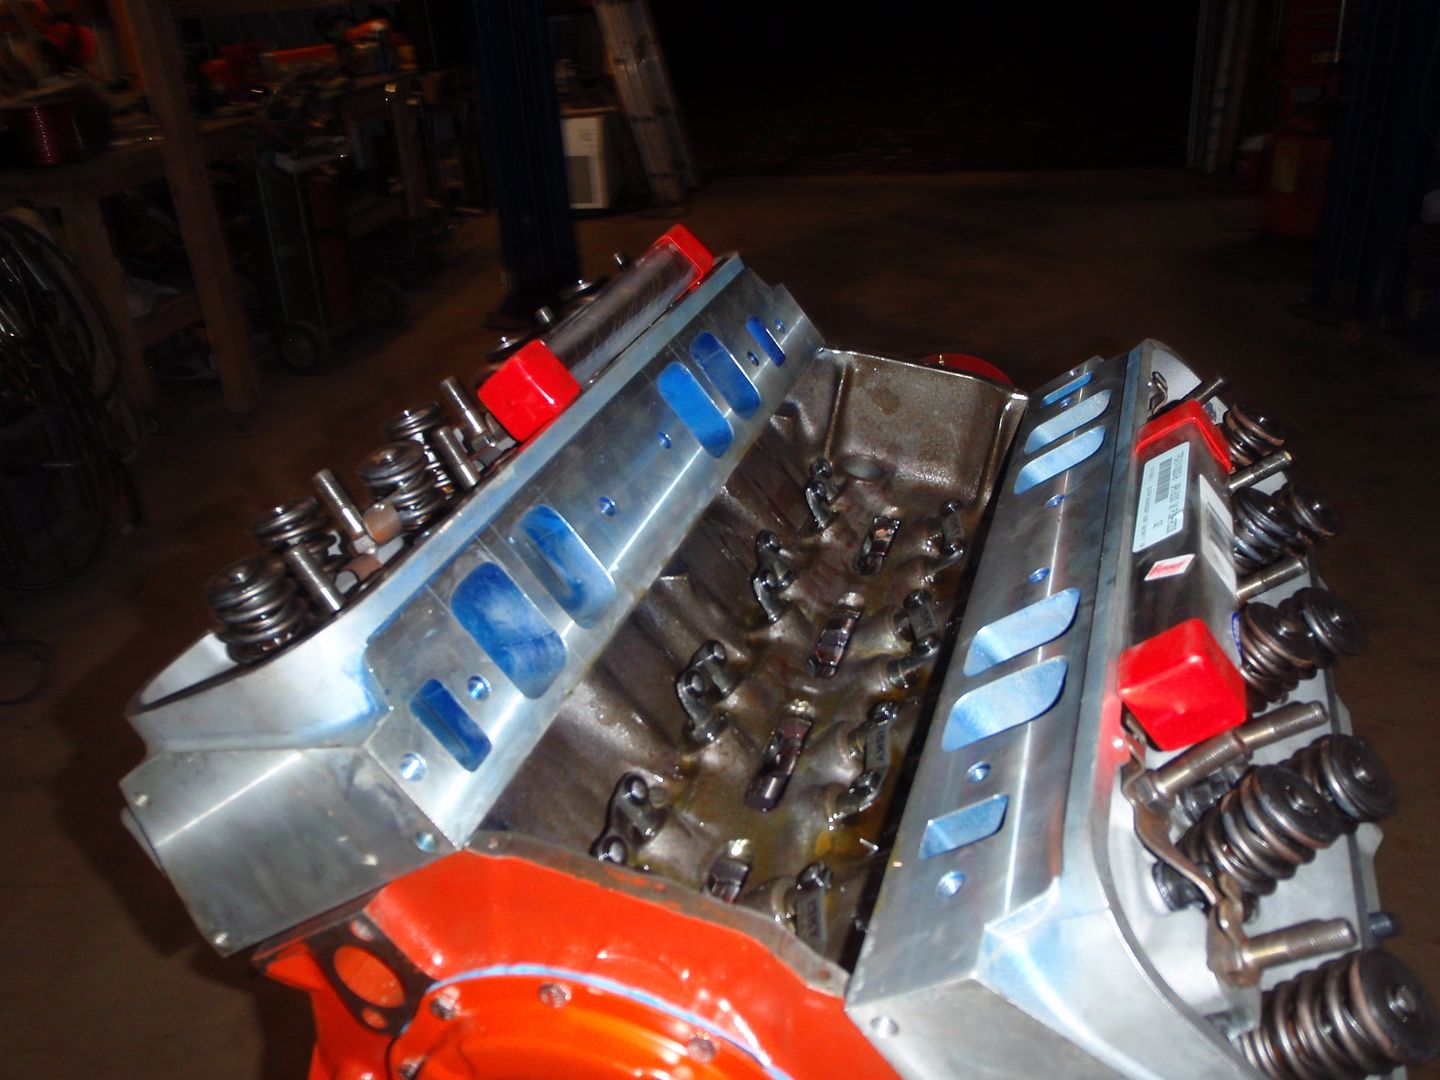
pushrod checking length - as is normal, one of the checkers won't work because you can't get the jam nut past the guideplate
which lead to another issue... there's an interference between the head and the piston
cute,no?
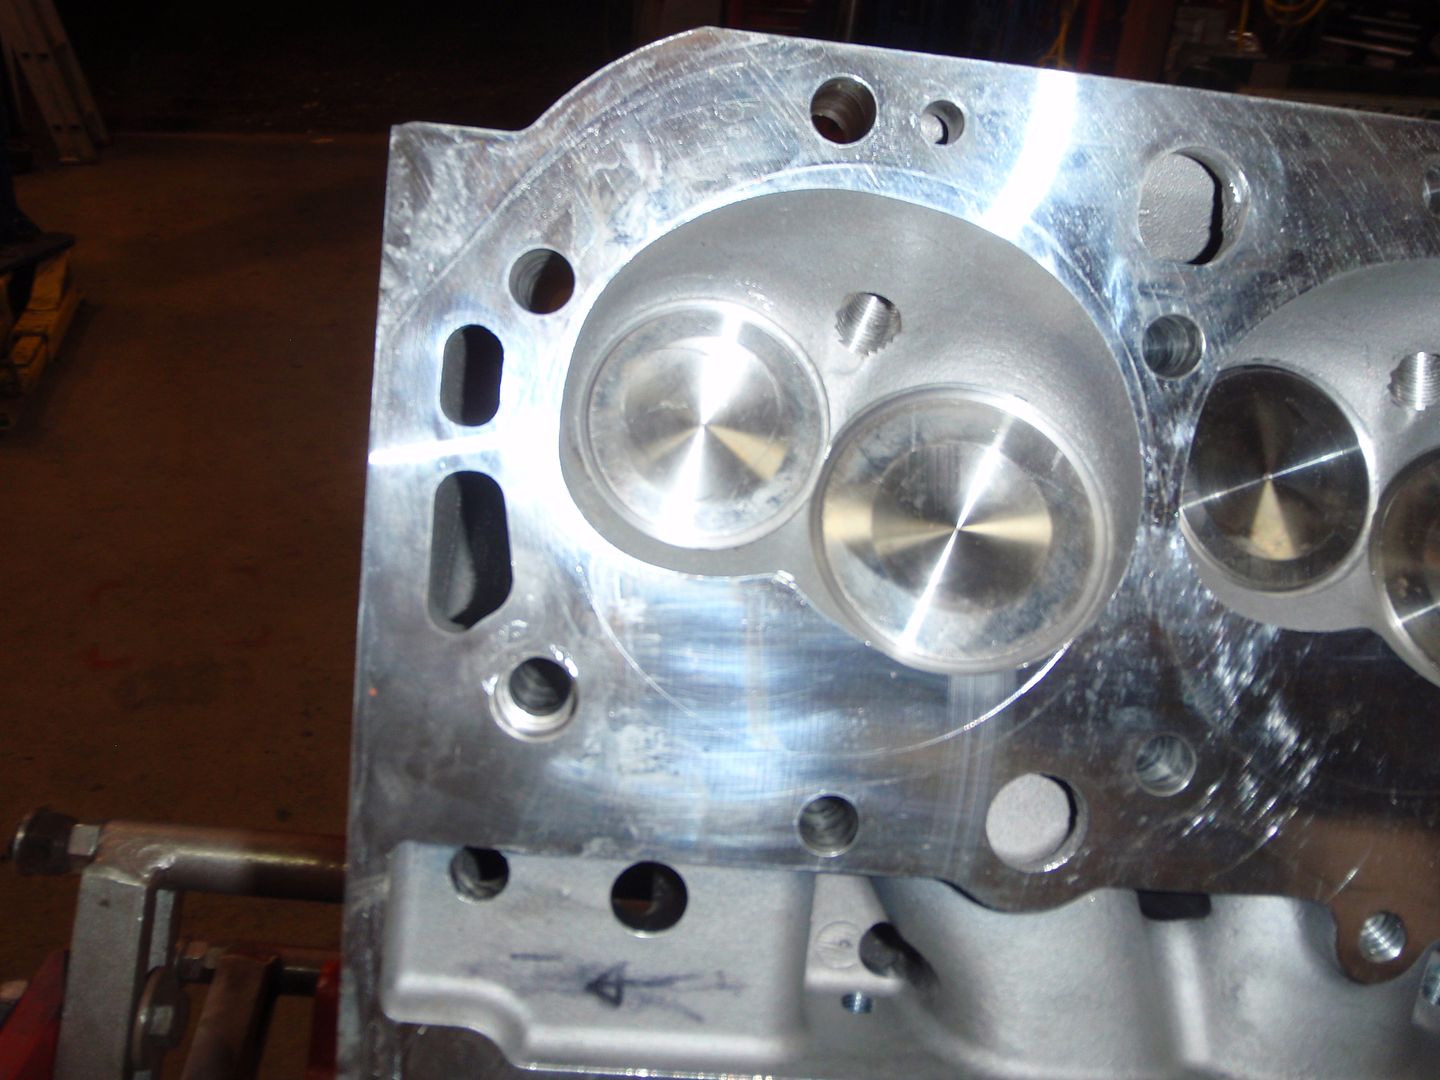
the repair
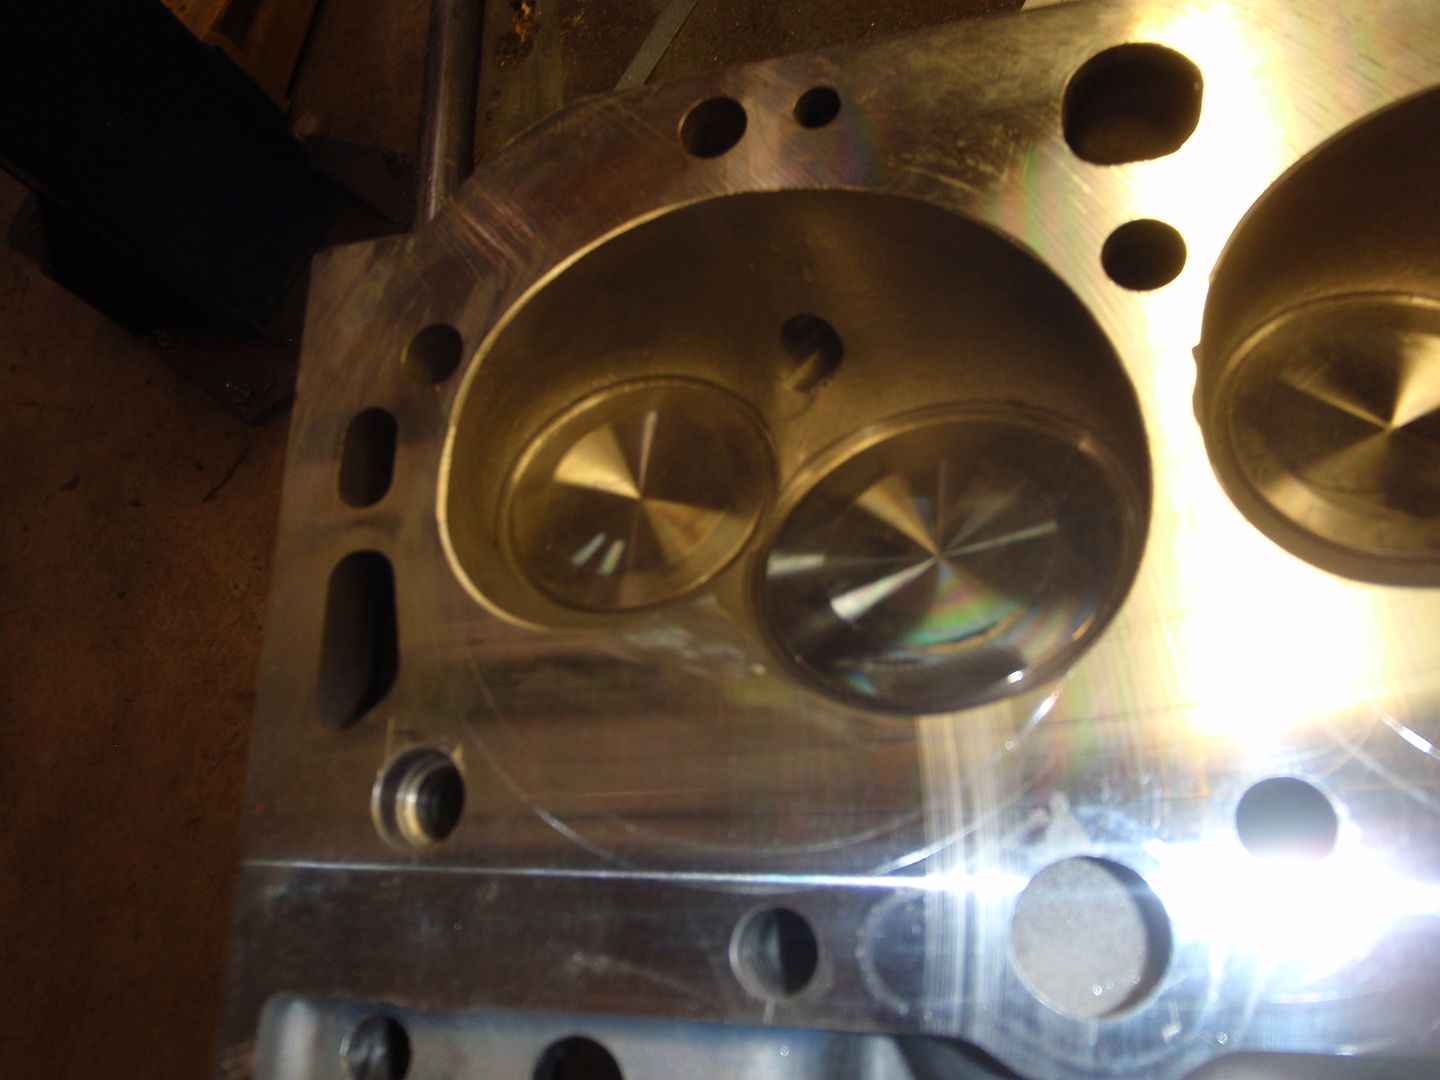
see the straight edge? it's designed for the older, closed port heads
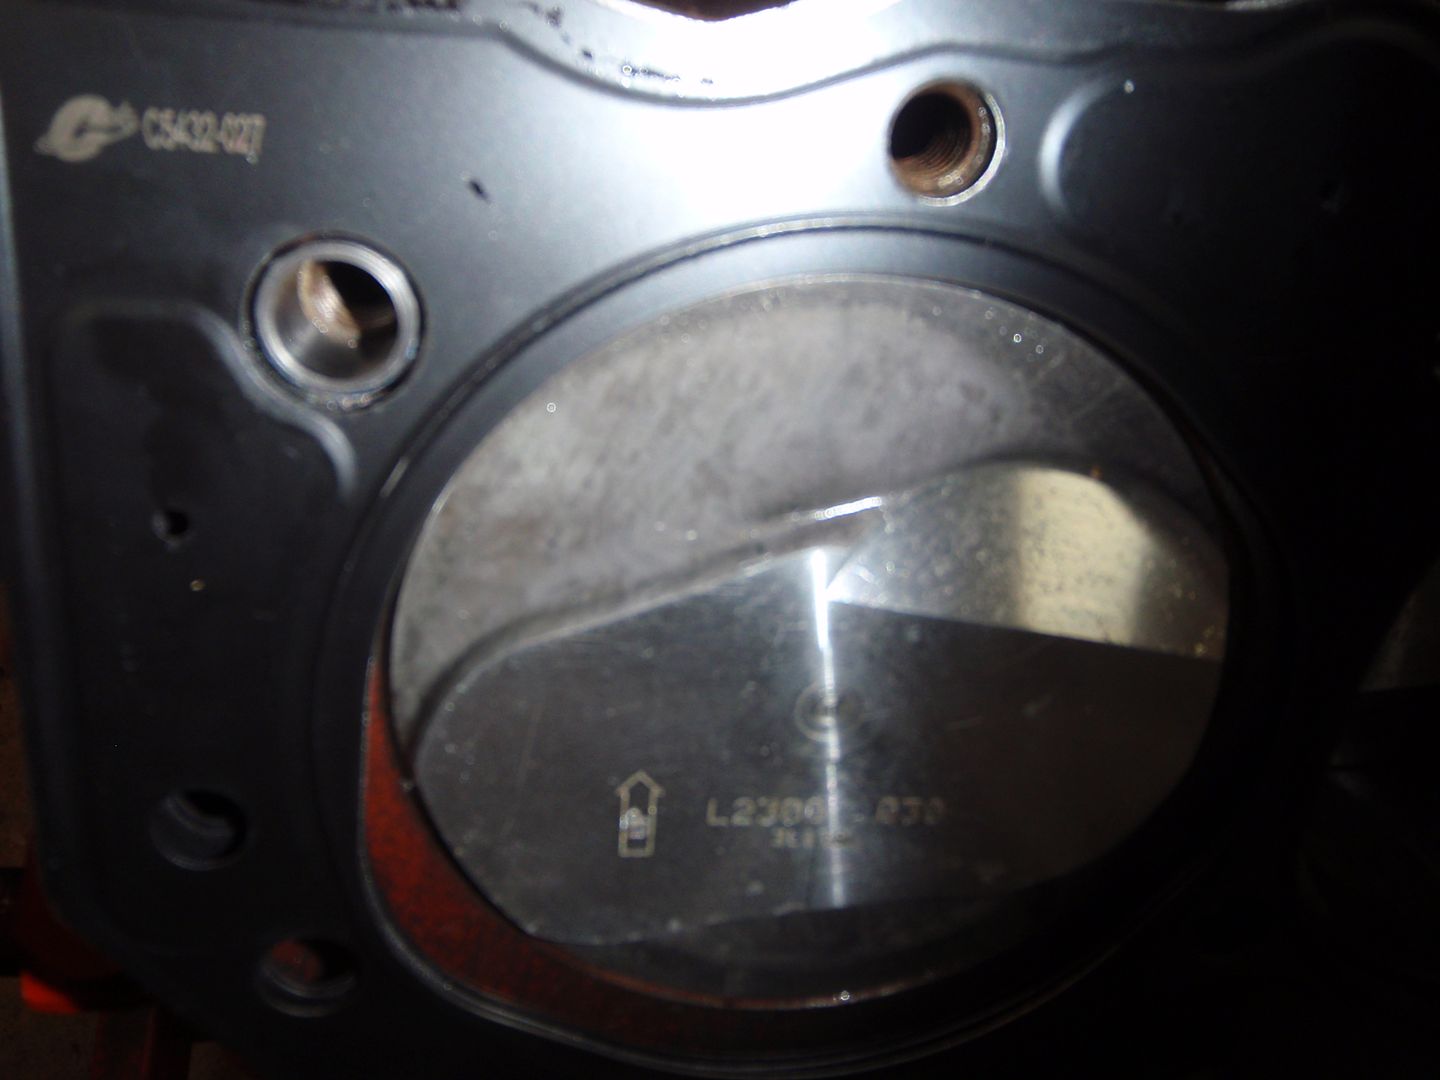
now it's all heart shaped.... and an interference.
yeah, precision work....
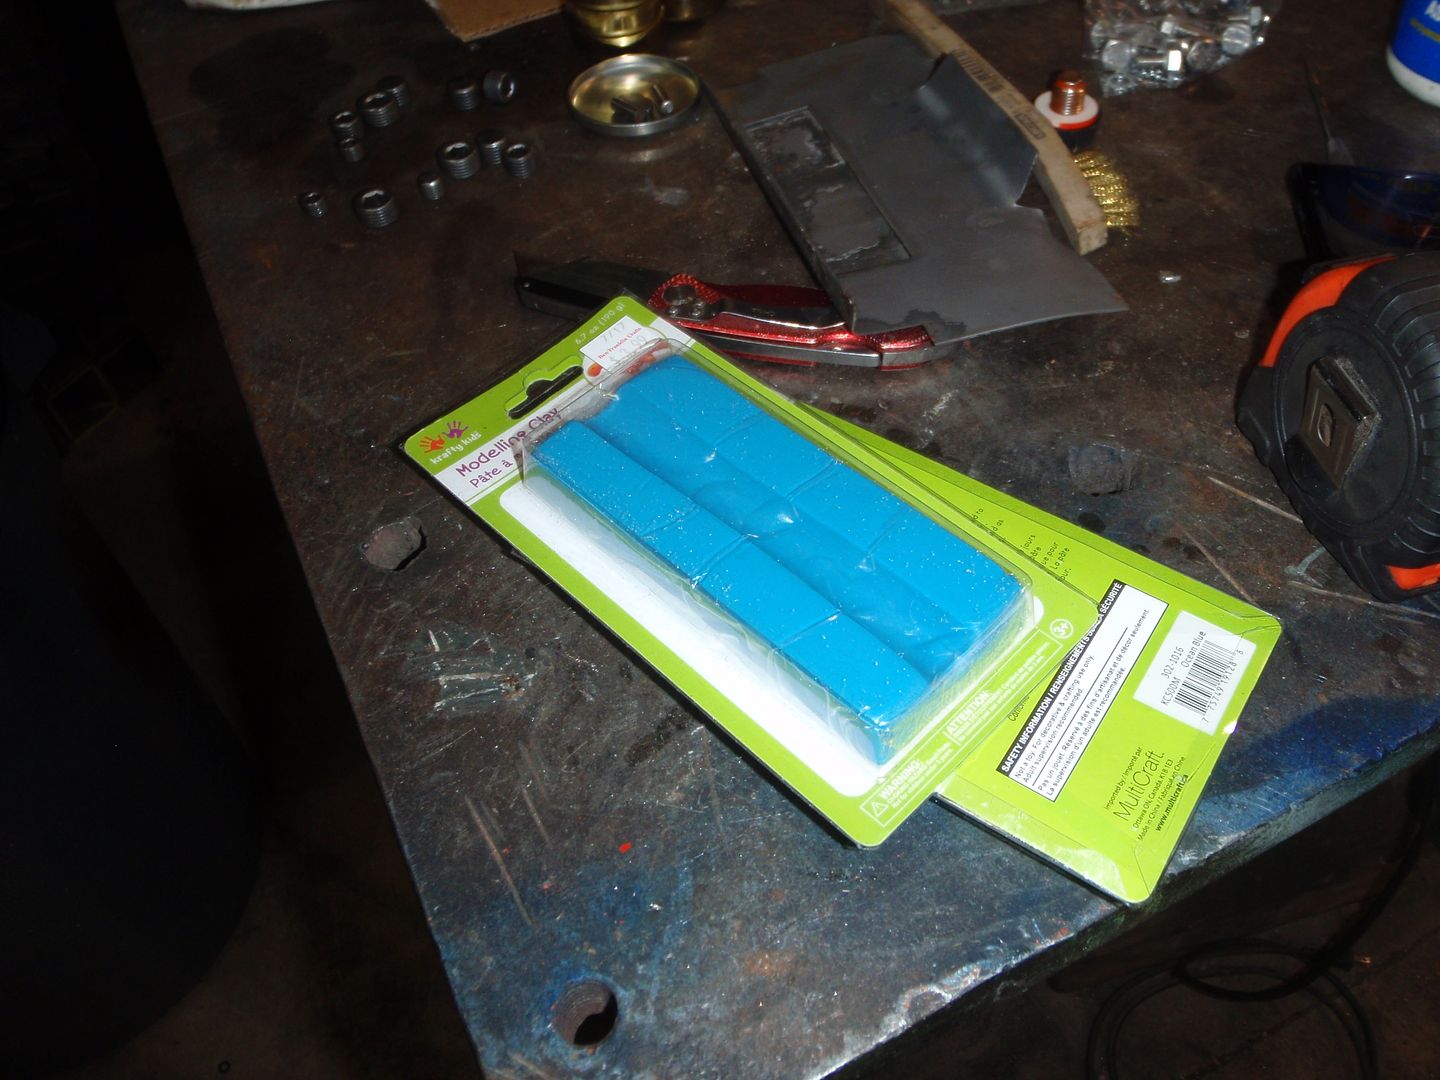
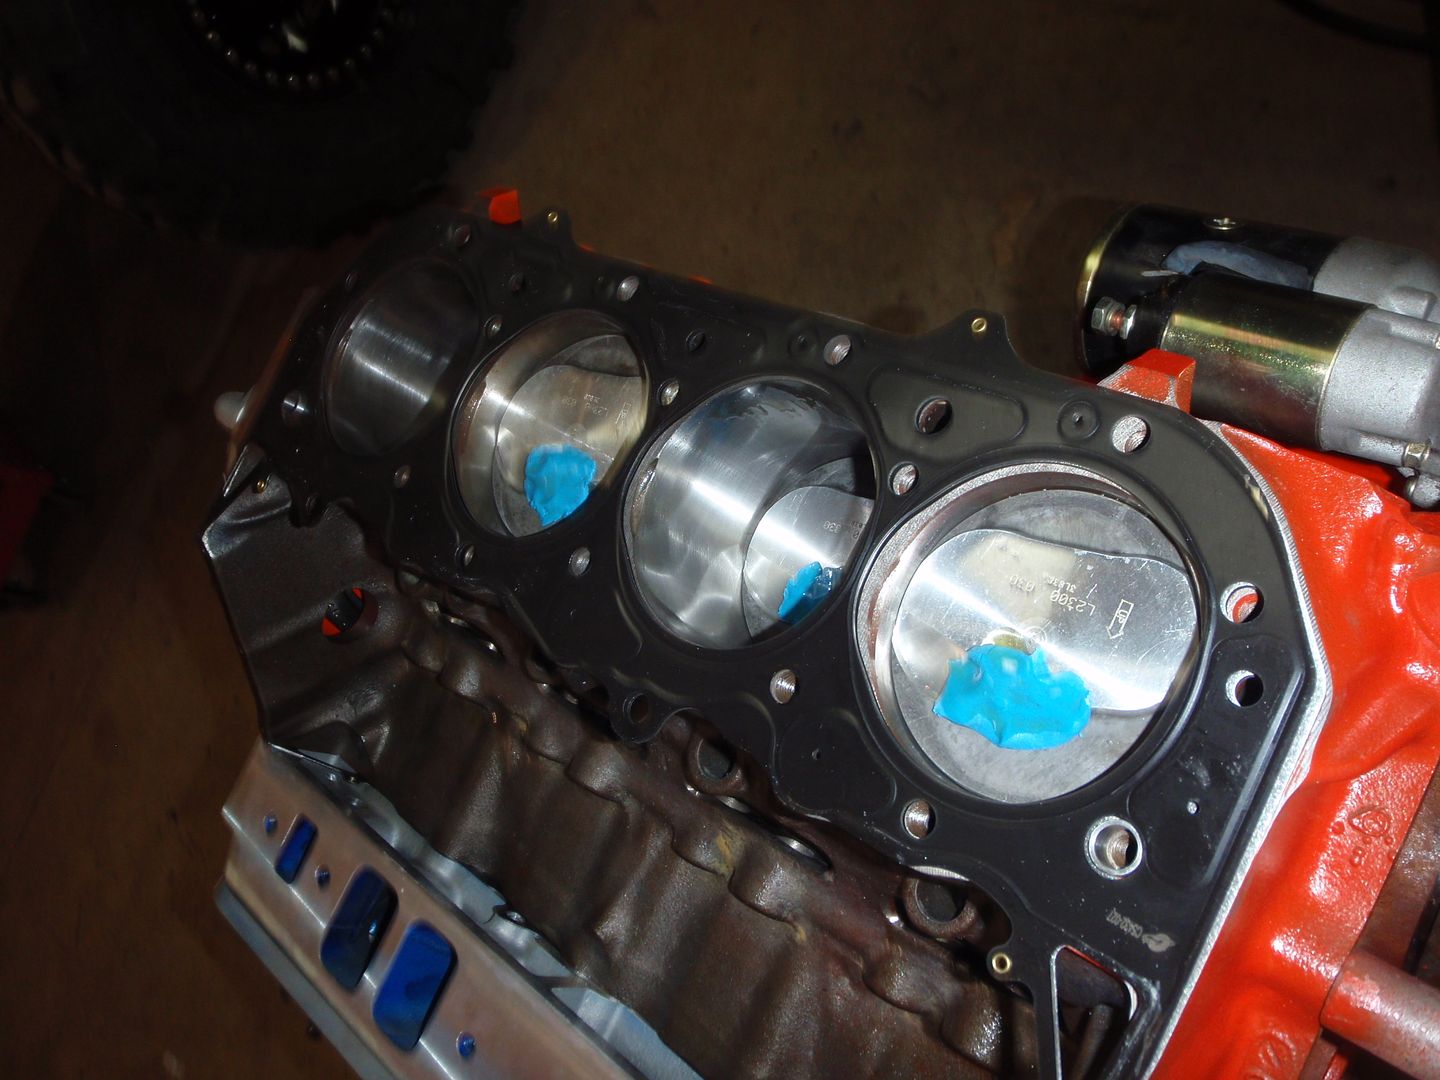
I'm still not sure I took enough off but until I get clay and check that along with the valve clearance, at least it doesn't hit on rotation. I'm going for .050 clearance
pretty, even with the missing tooth
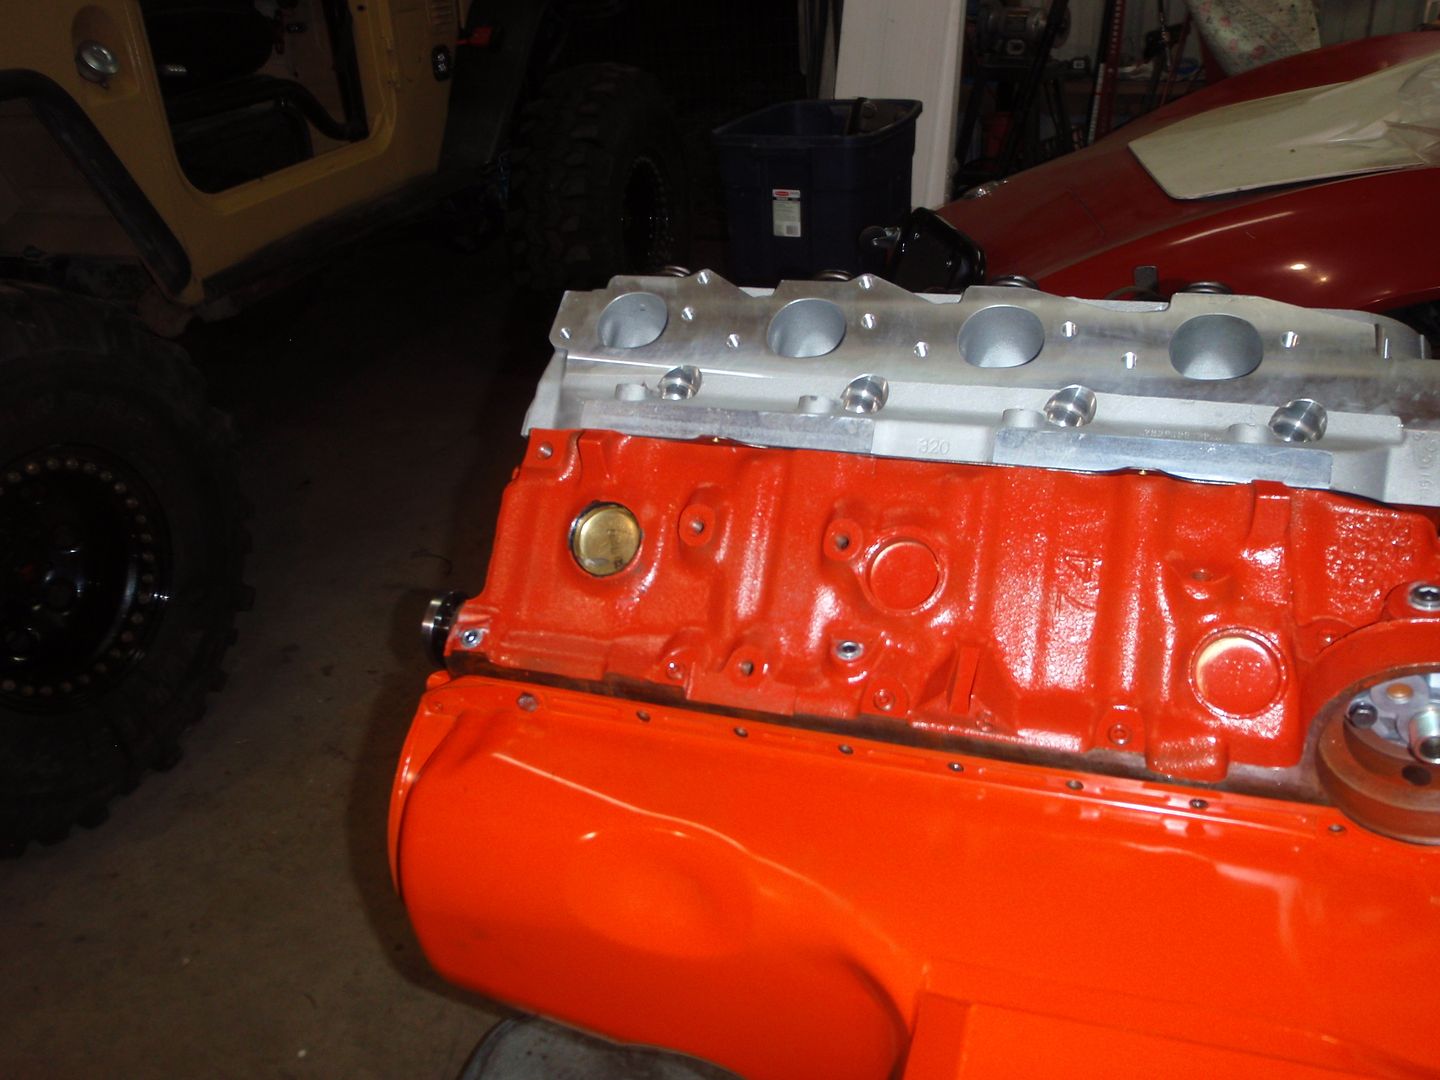
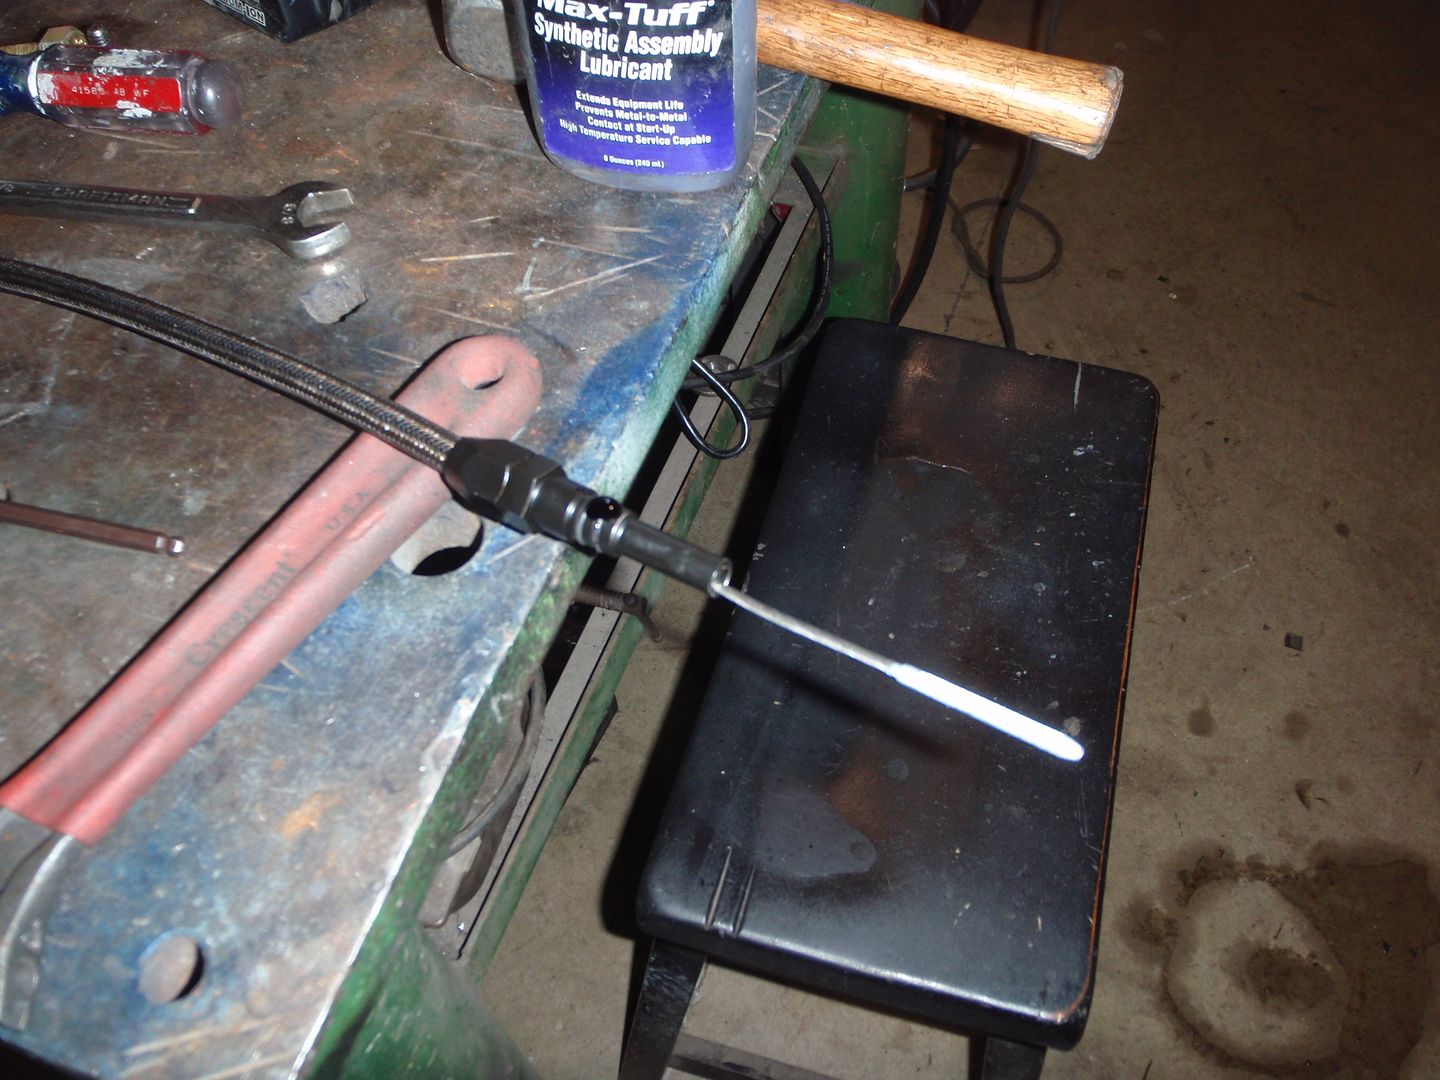
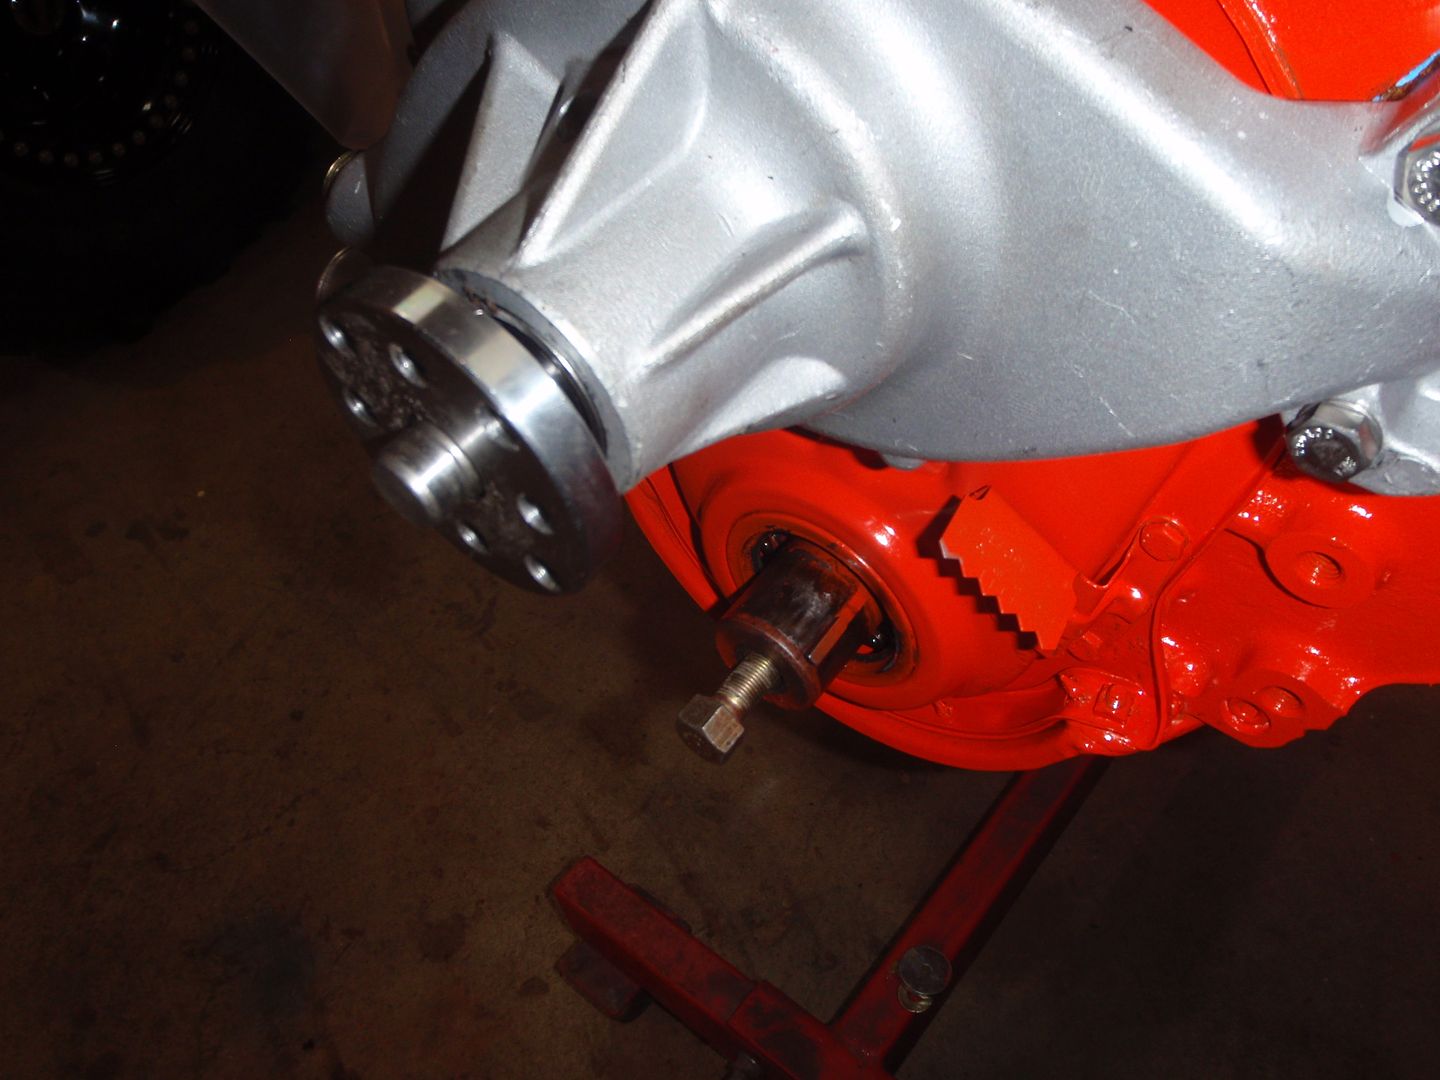
the water pump is on because I can - not because I should

pushrod checking length - as is normal, one of the checkers won't work because you can't get the jam nut past the guideplate

which lead to another issue... there's an interference between the head and the piston
cute,no?

the repair

see the straight edge? it's designed for the older, closed port heads

now it's all heart shaped.... and an interference.

yeah, precision work....
I'm still not sure I took enough off but until I get clay and check that along with the valve clearance, at least it doesn't hit on rotation. I'm going for .050 clearance
pretty, even with the missing tooth

the water pump is on because I can - not because I should

09-27-2017, 02:05 AM
#63
Nam Labrat


Member Since: Sep 2013
Location: New Orleans Loo-z-anna
Posts: 33,898
Received 4,176 Likes
on
2,737 Posts

You're "ironing out" the problems and making progress.....I'm jealous.

The following users liked this post:
SuperBuickGuy (09-28-2017)
09-29-2017, 01:24 AM
#64
Melting Slicks
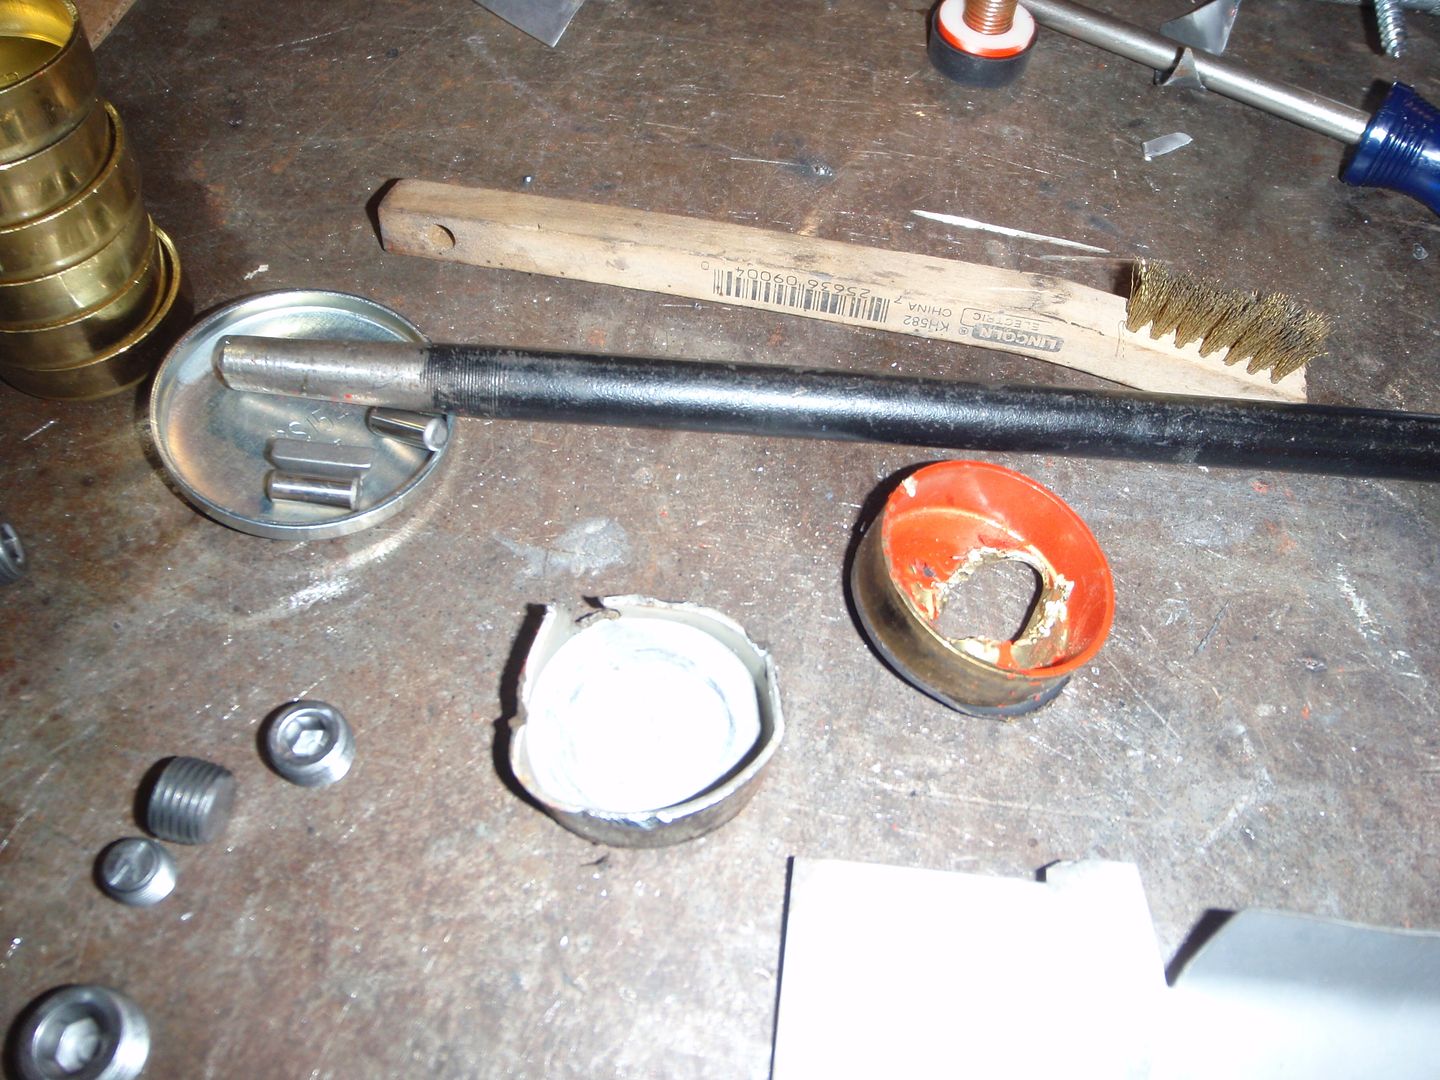
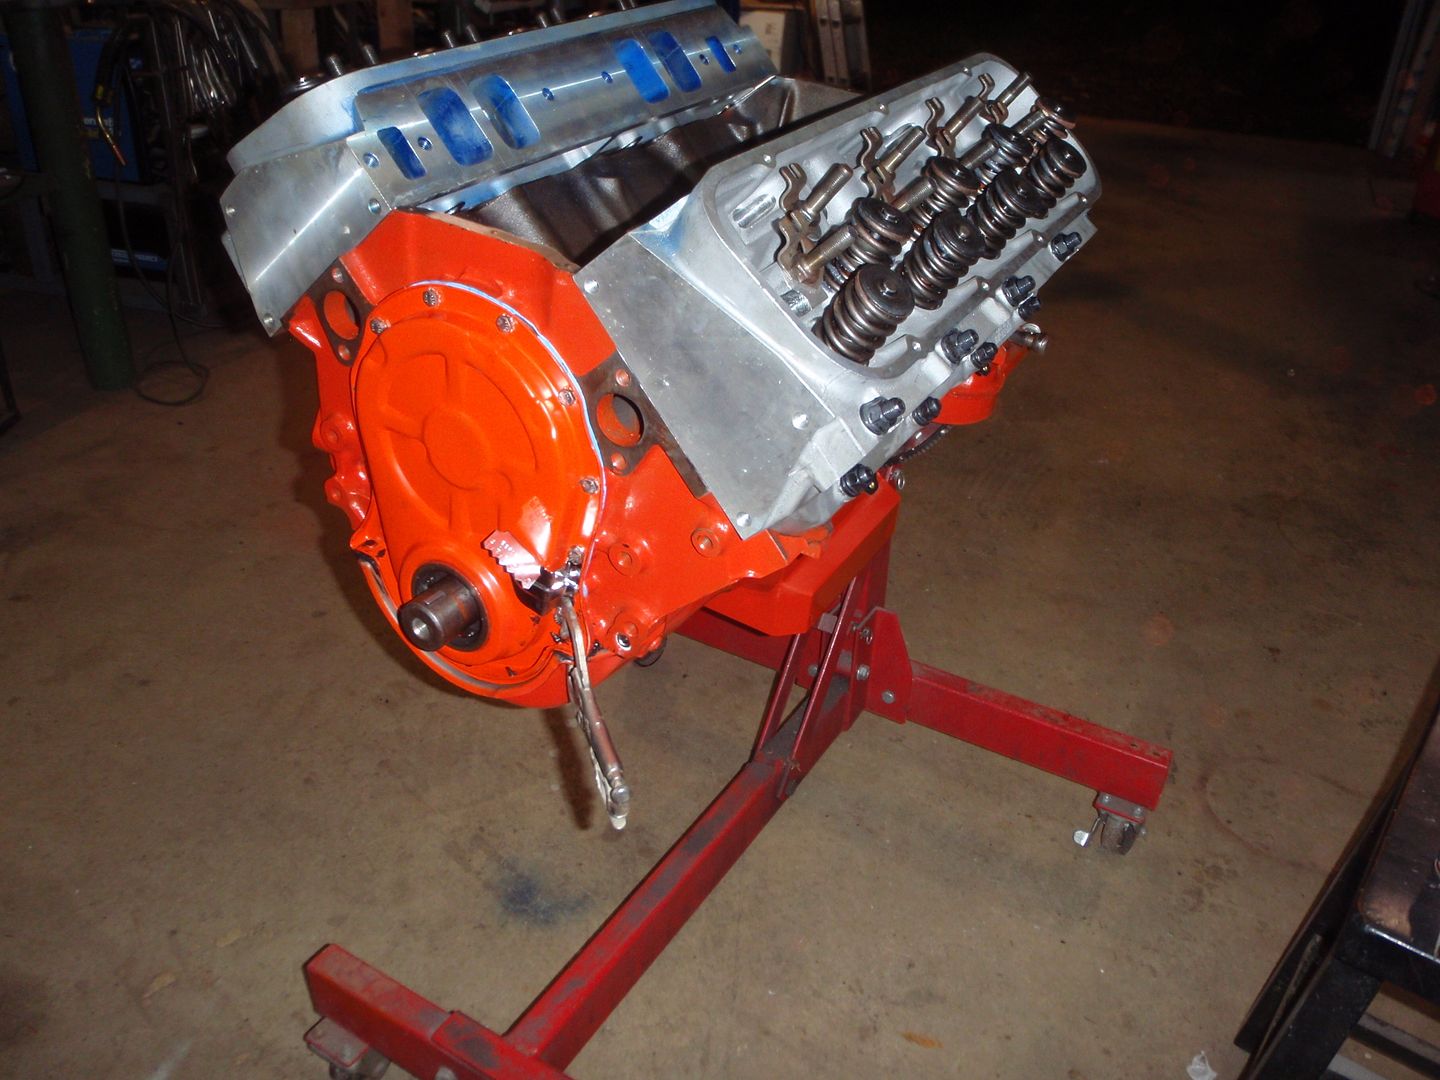
first things first.... replace the plug
then measure for new pushrods
verify that nothing is going to hit (and who says I'm not crafty?)
at least .0740 of clearance
verified both sides
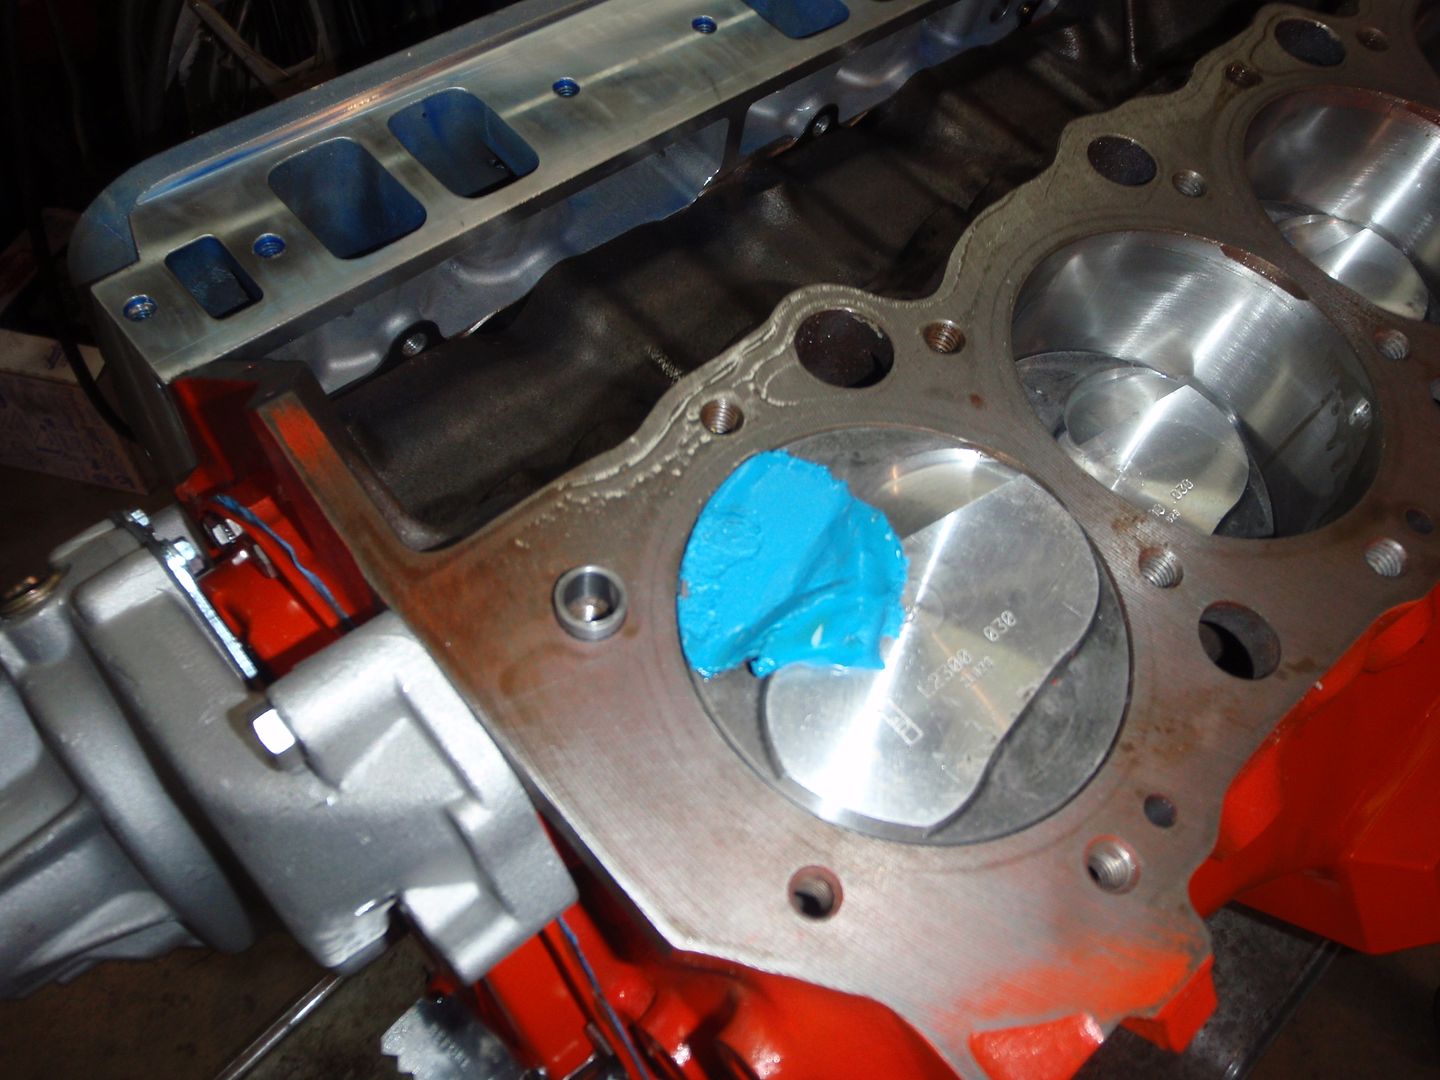
stack it all together again

which brings the new problem.... I ordered the wrong head bolts, in case anyone is copying this - the heads are similar to a Profiler 18 or 24, so those are the head bolts to get. Ah well, it's all moving the right way

then measure for new pushrods

verify that nothing is going to hit (and who says I'm not crafty?)


at least .0740 of clearance

verified both sides

stack it all together again

which brings the new problem.... I ordered the wrong head bolts, in case anyone is copying this - the heads are similar to a Profiler 18 or 24, so those are the head bolts to get. Ah well, it's all moving the right way
10-01-2017, 11:59 PM
#65
Melting Slicks
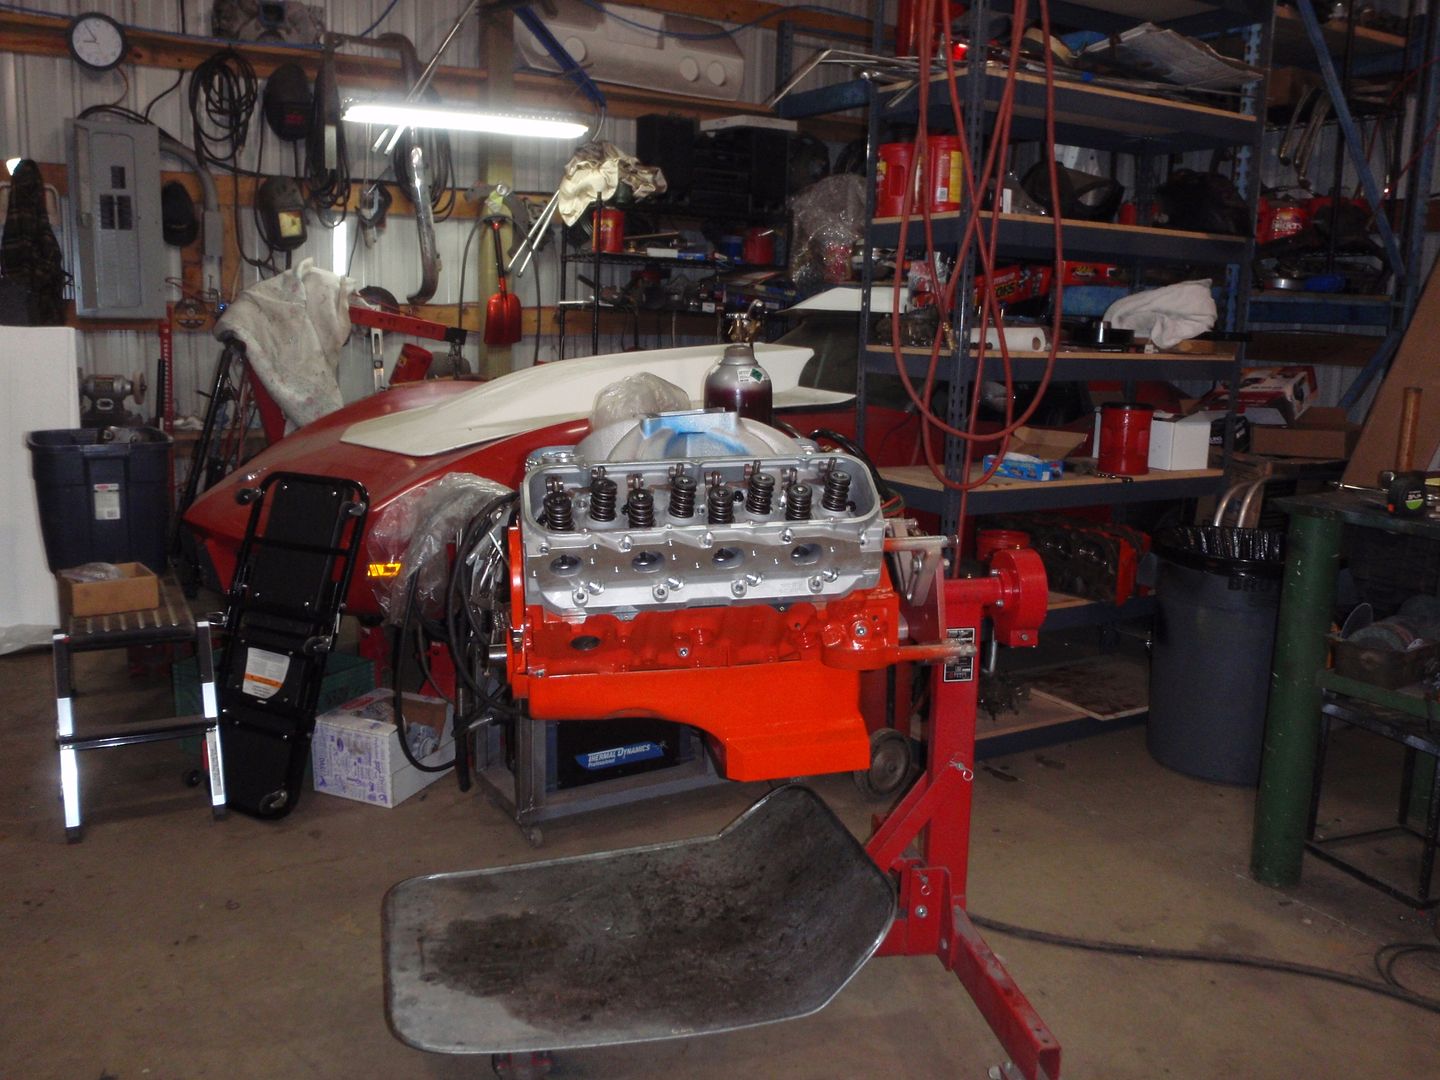
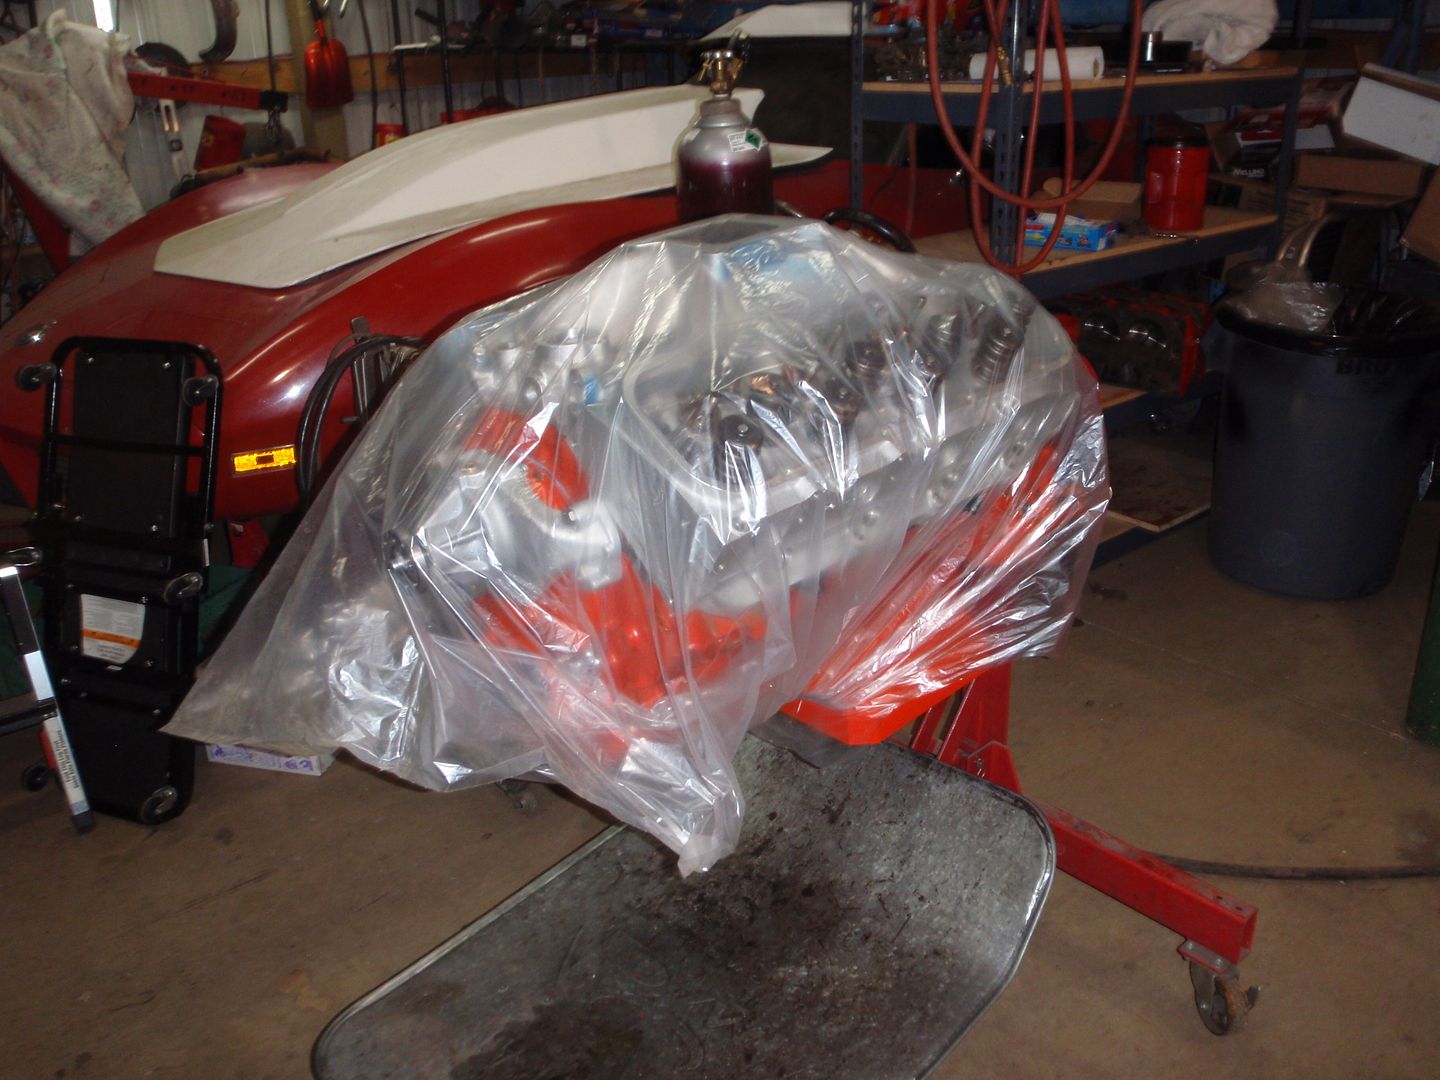
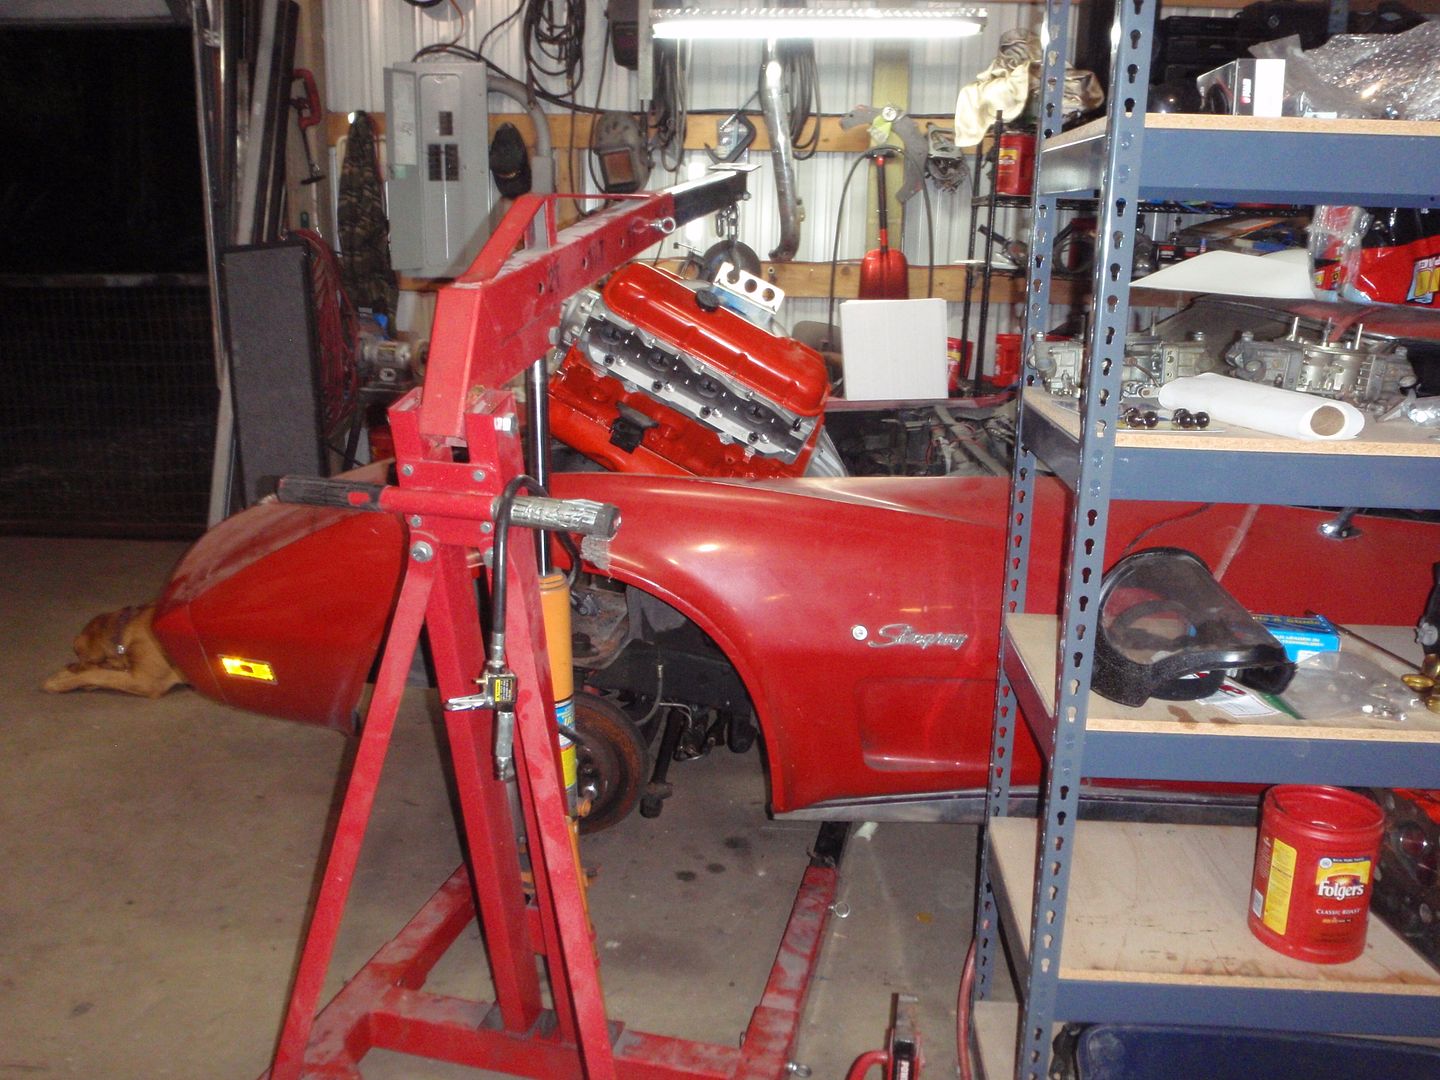
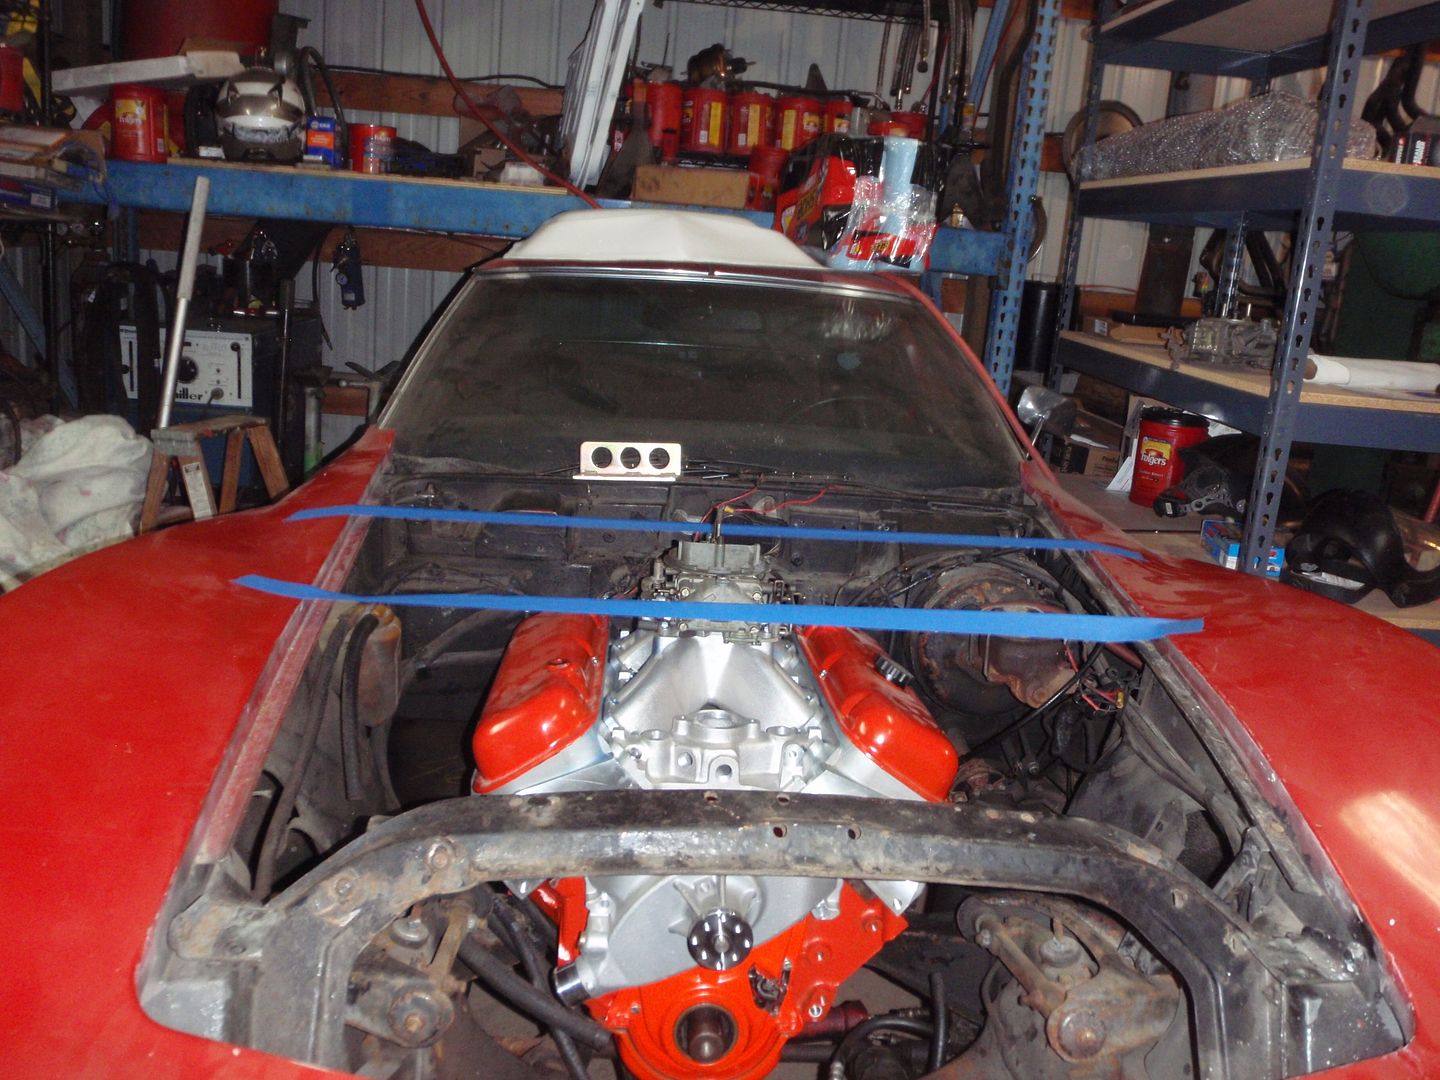
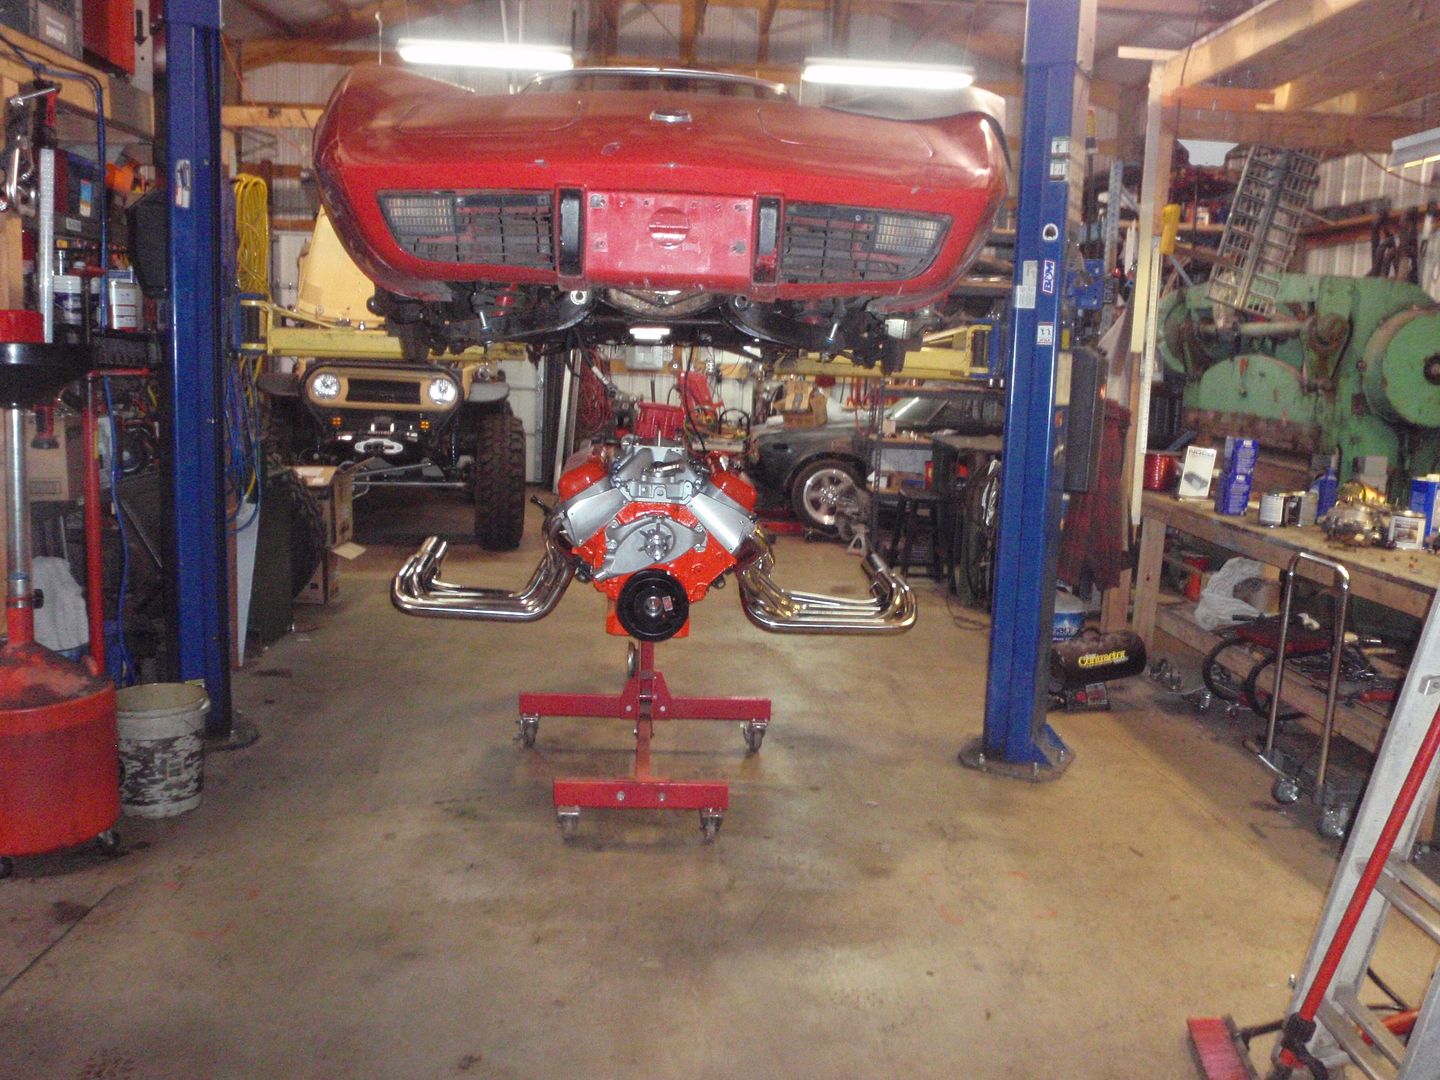
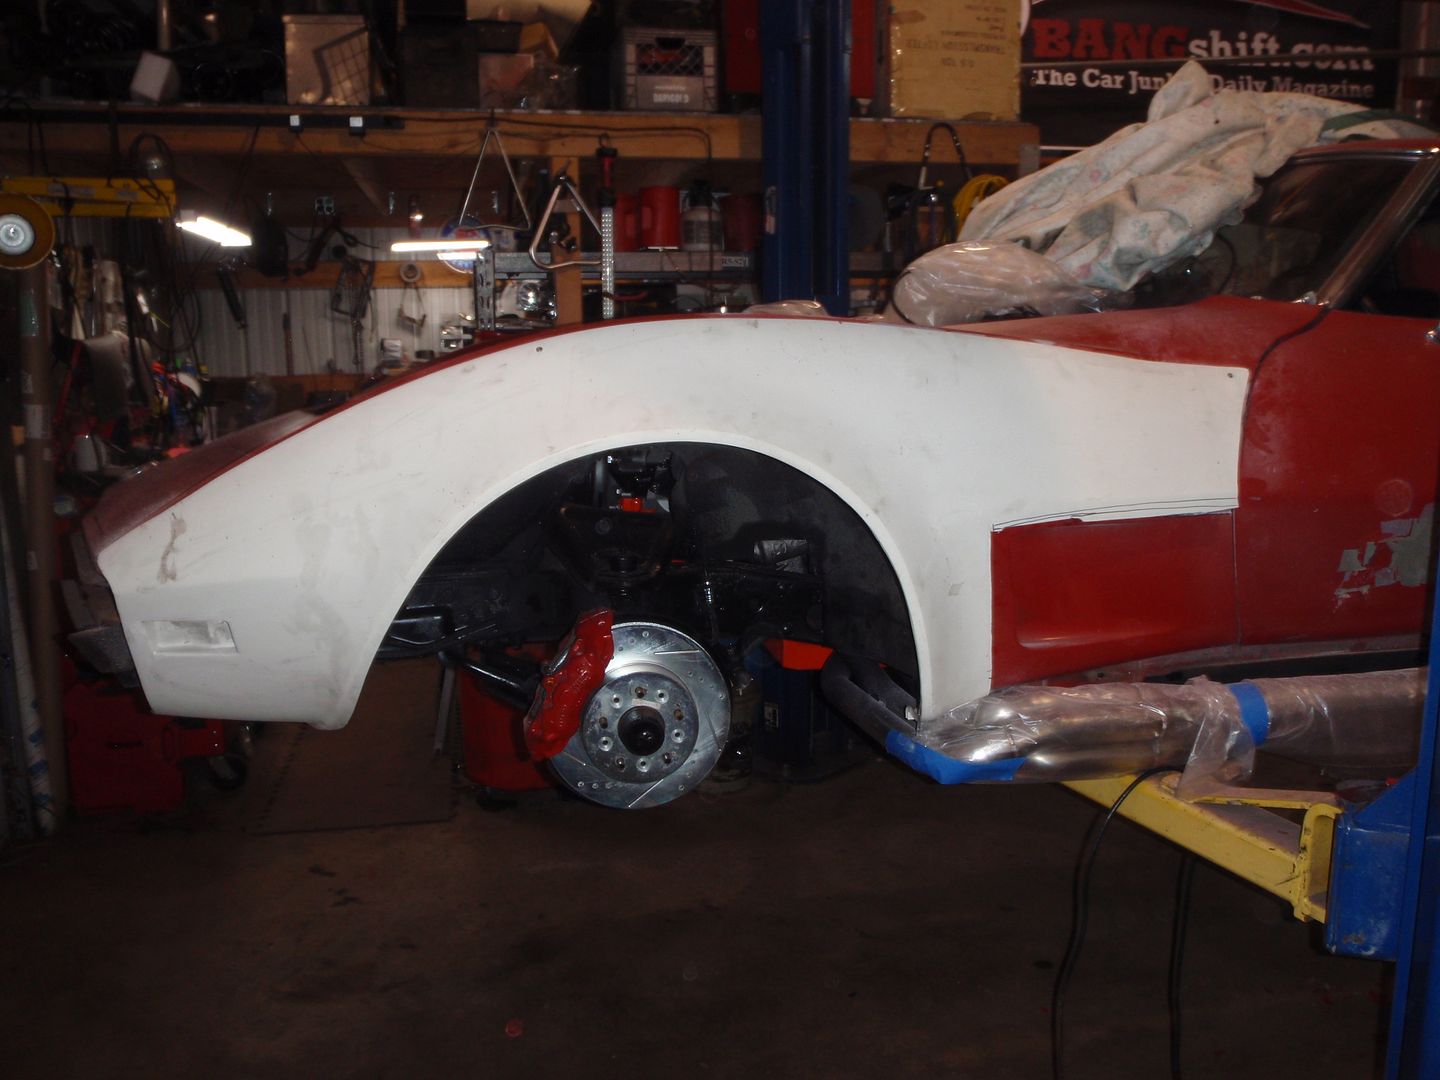
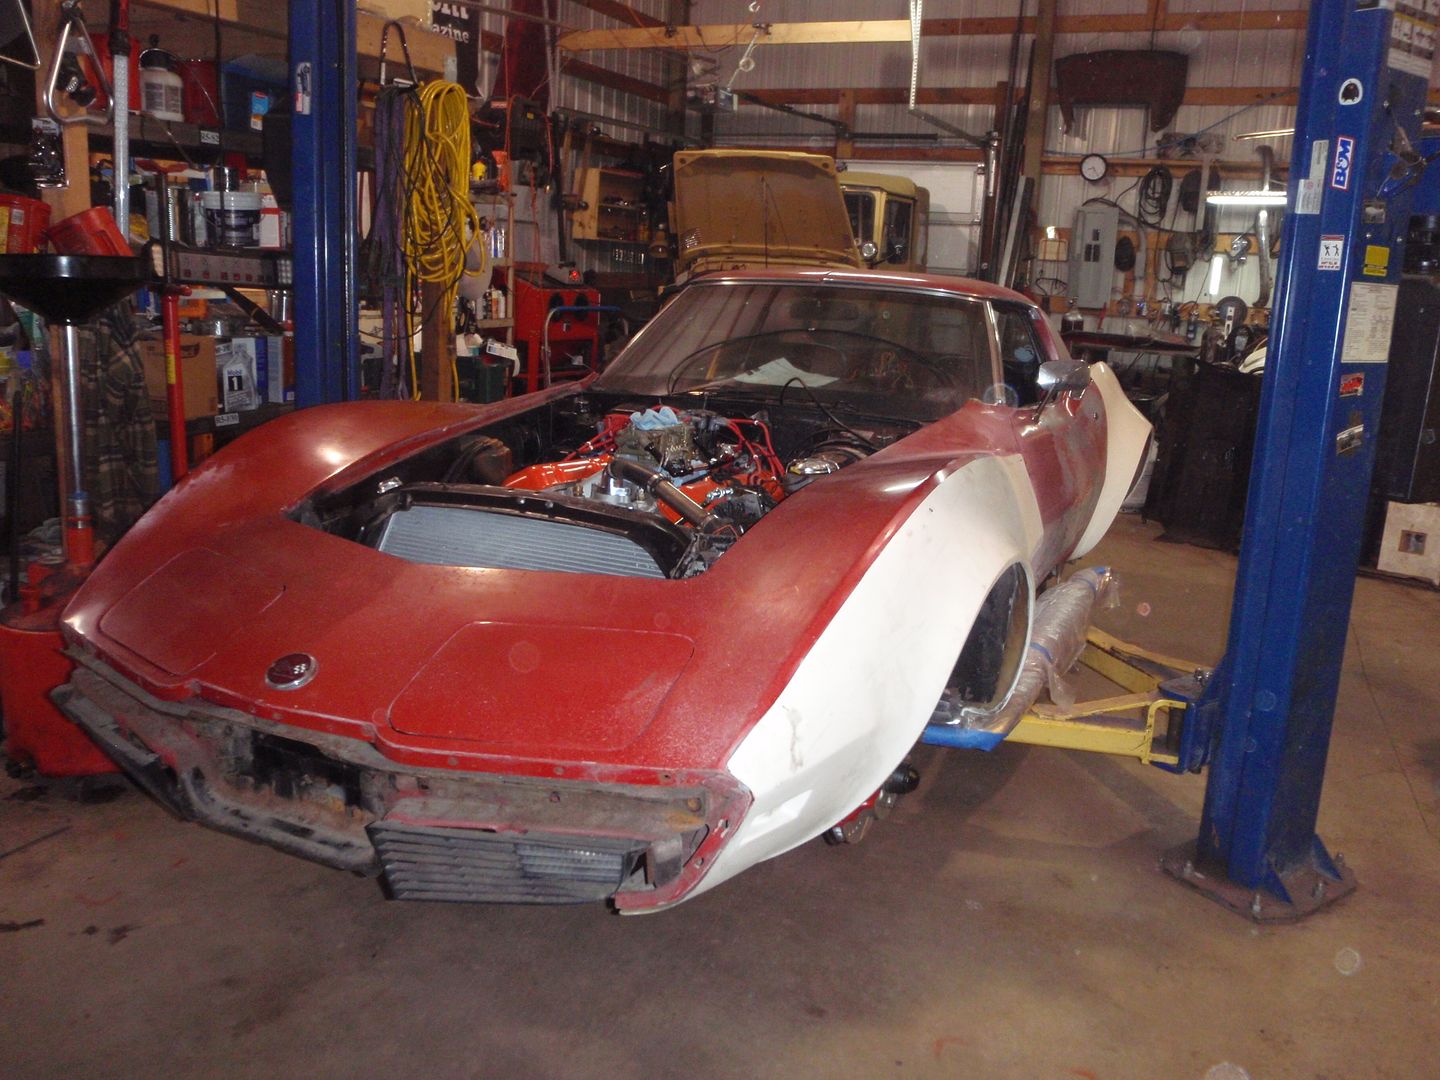
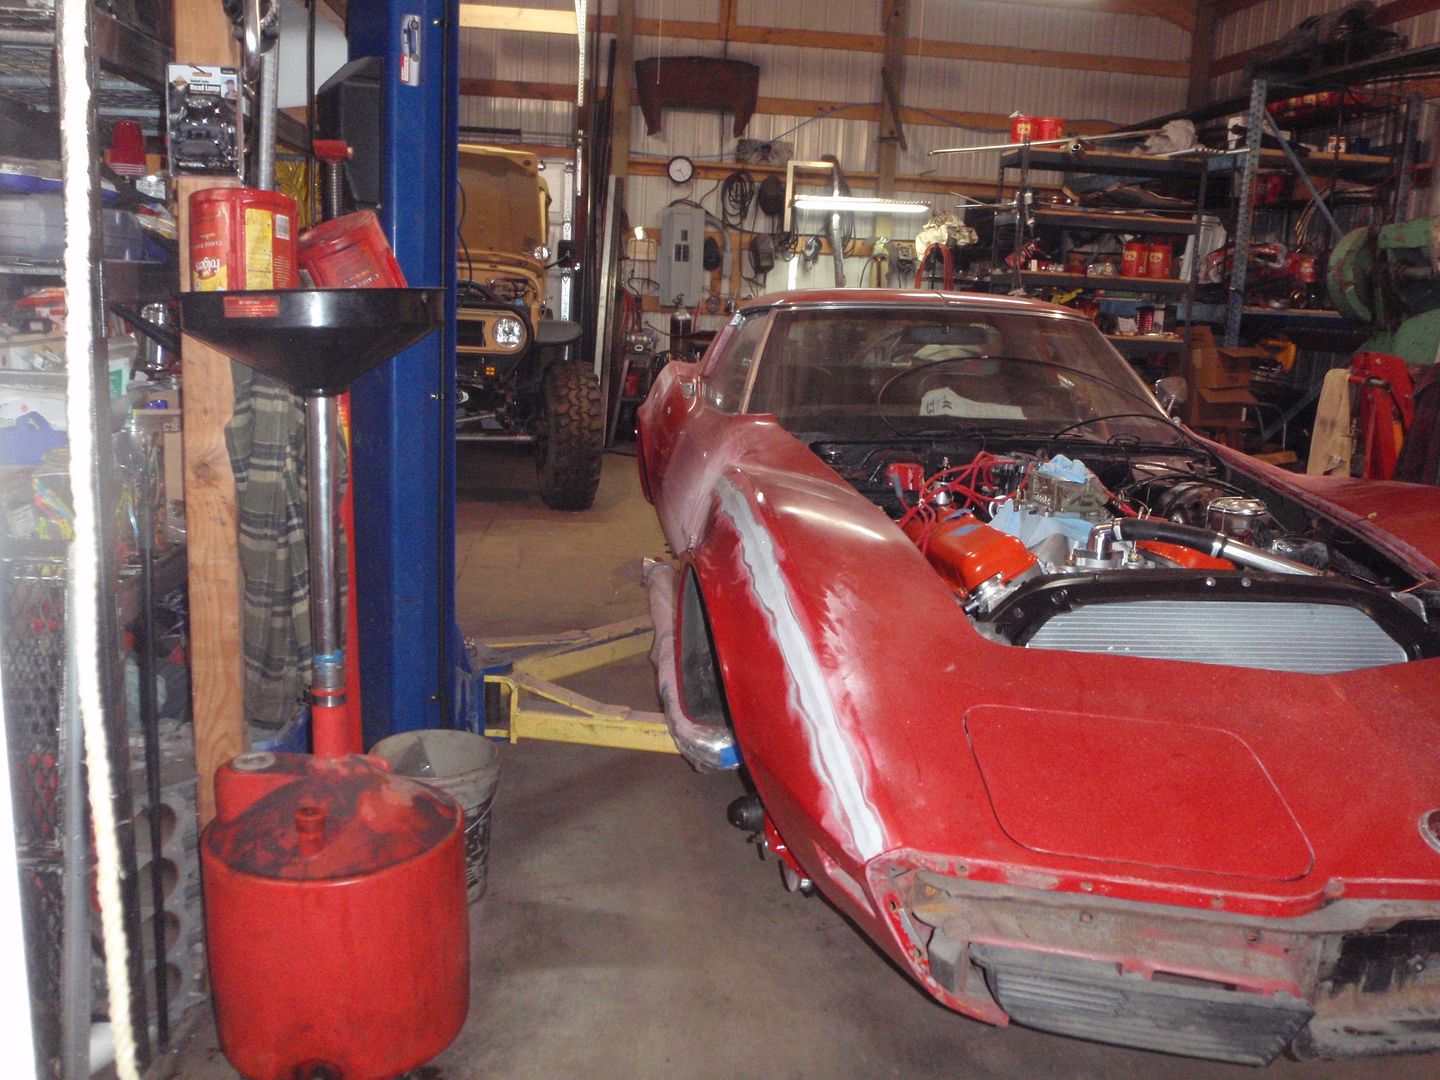
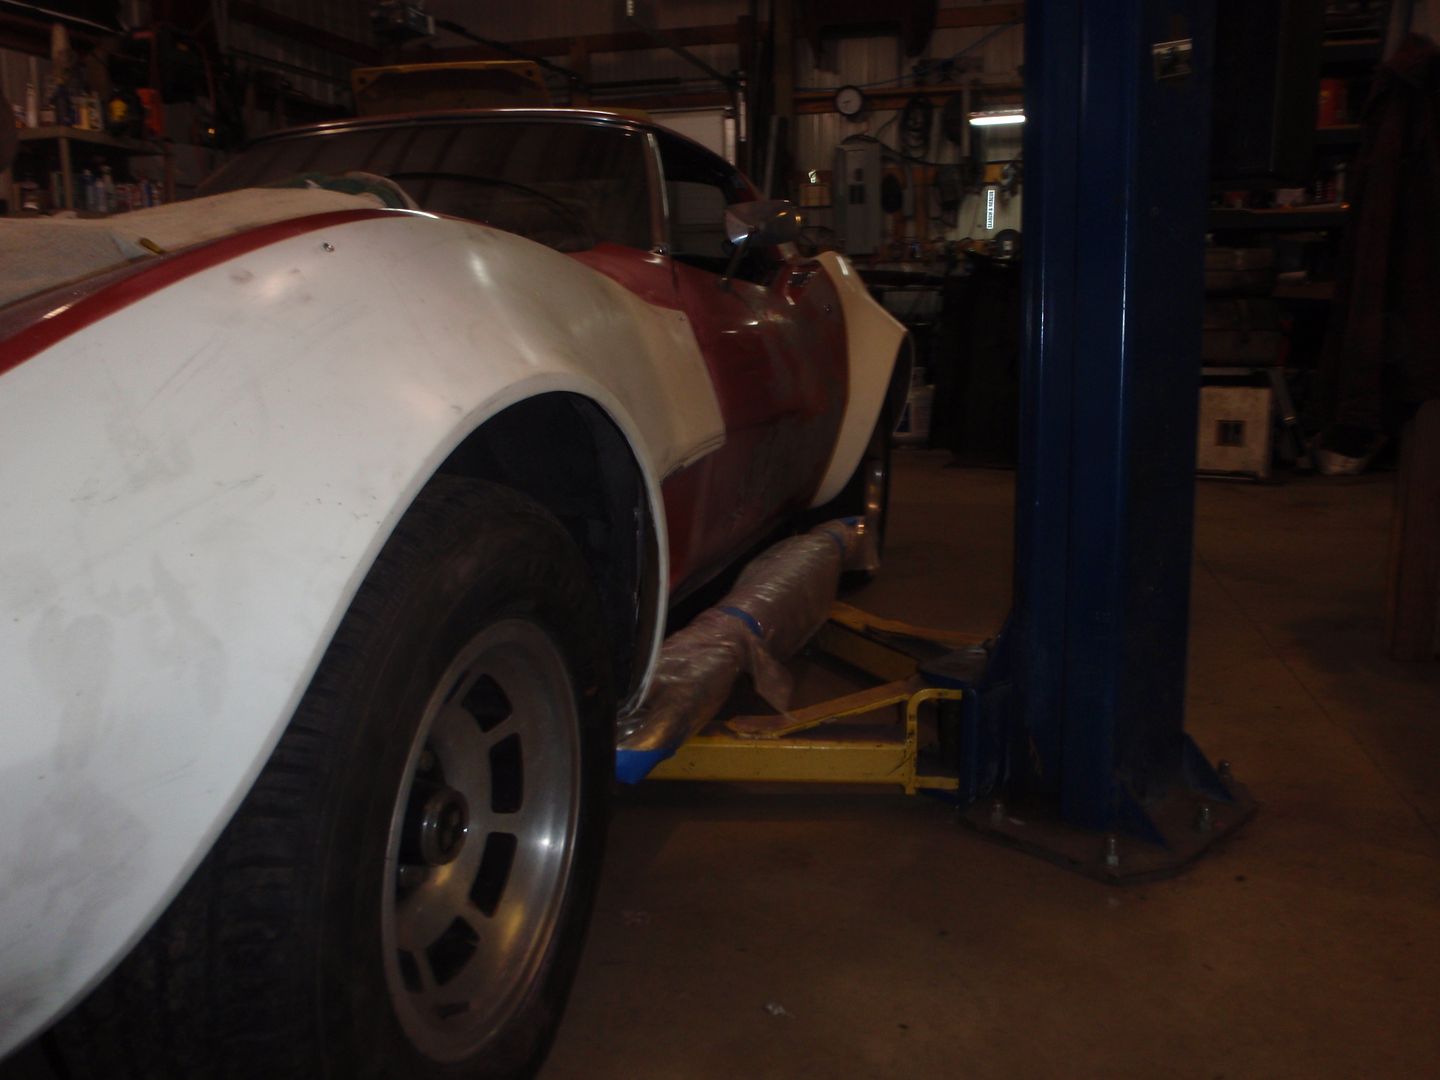
test fit time
with supervision
this was a bit spun up because a balloon went over....
hmmm, nice balance
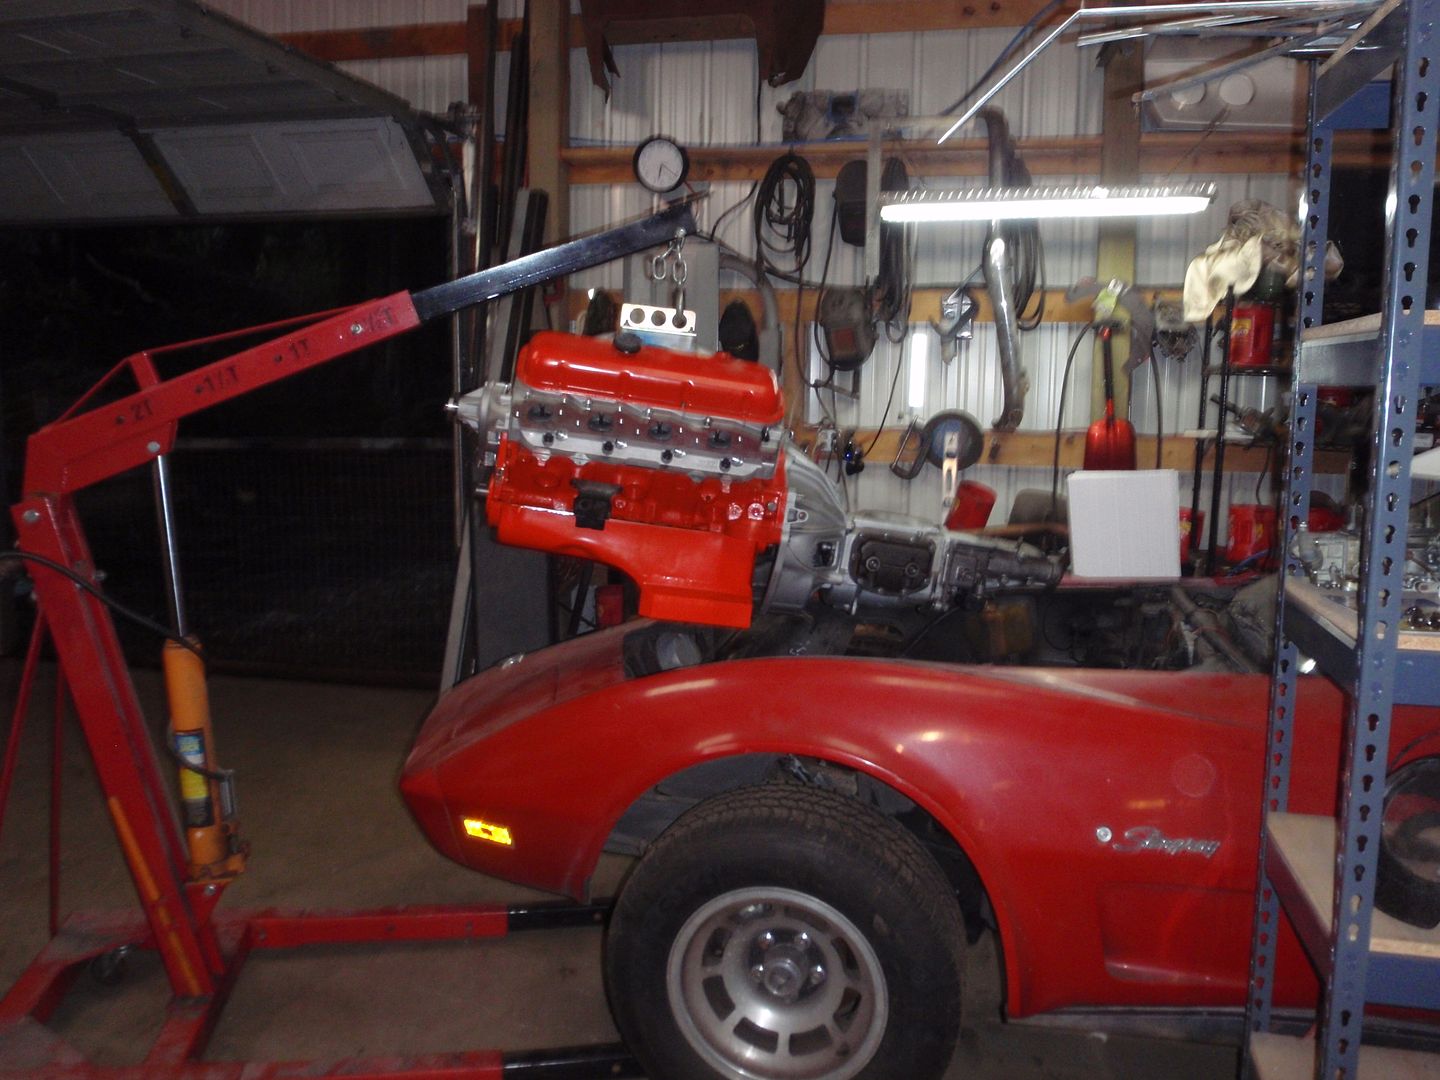
let's try that again
take wheel off.... life is easier until I finally build a gantry
almost like GM planned it this way
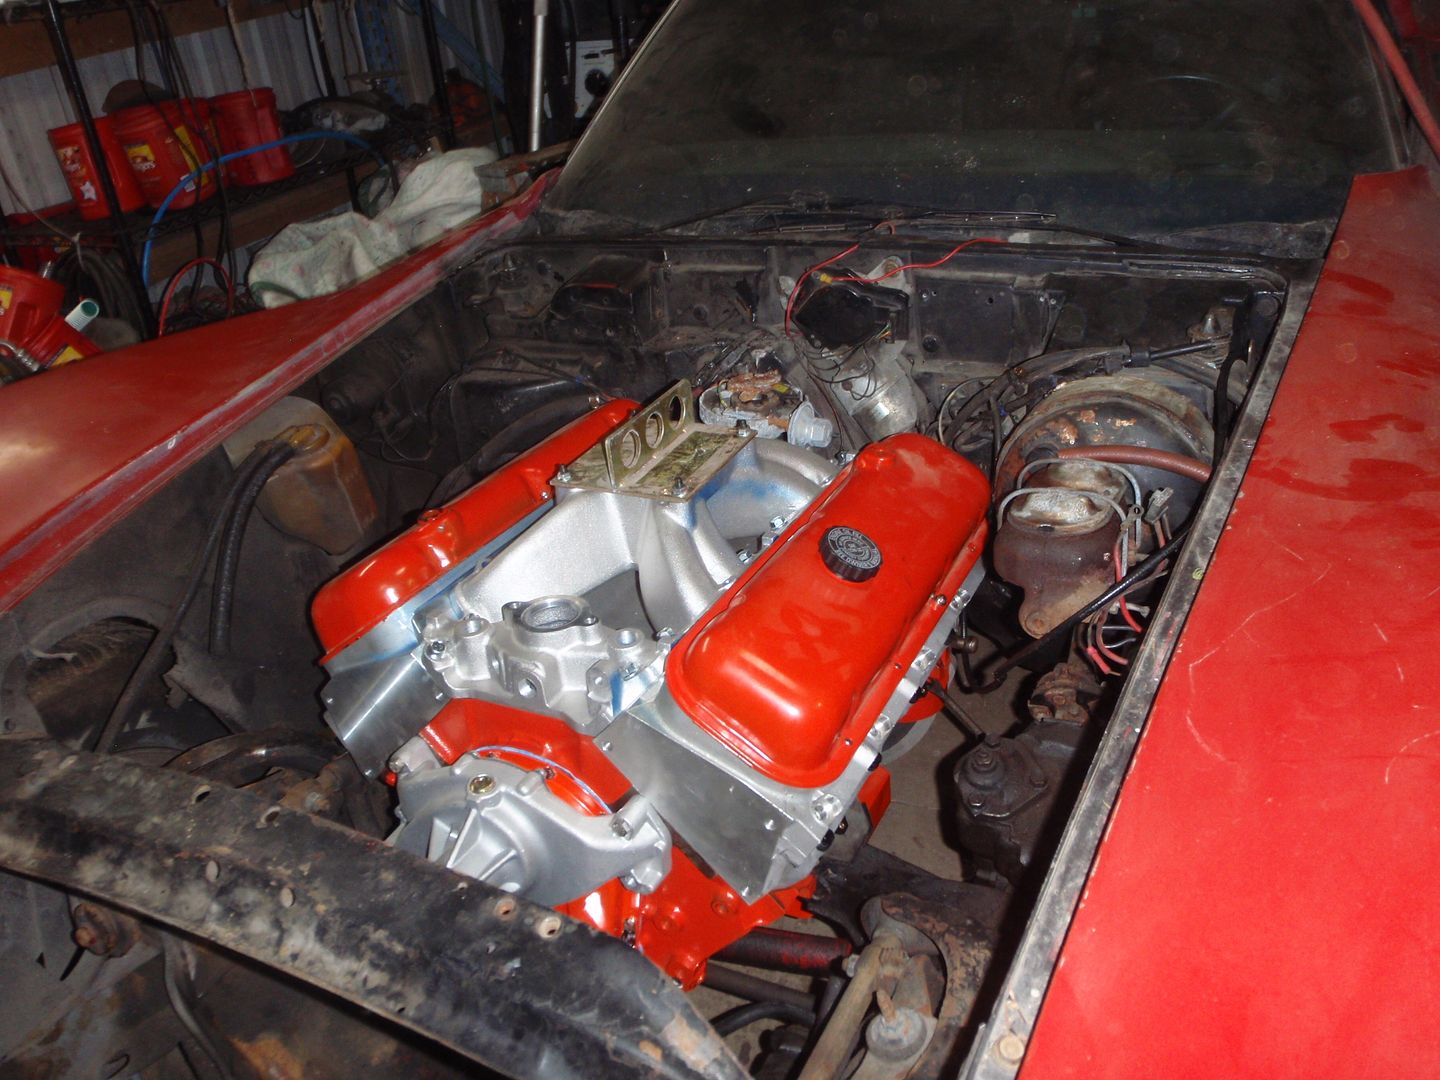
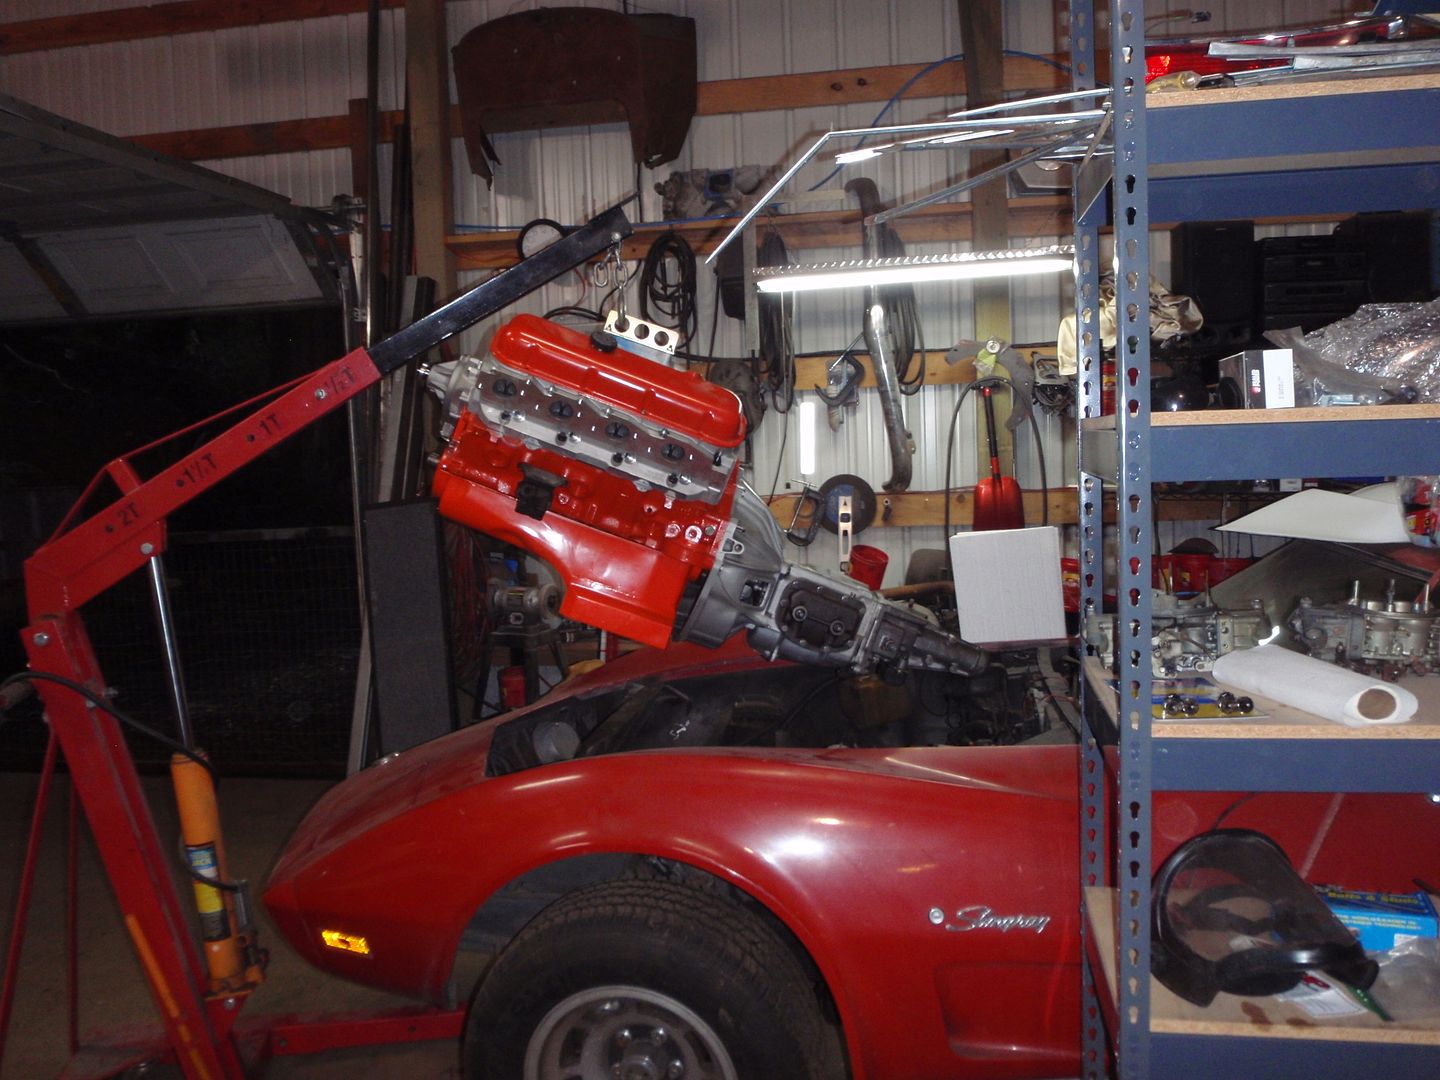
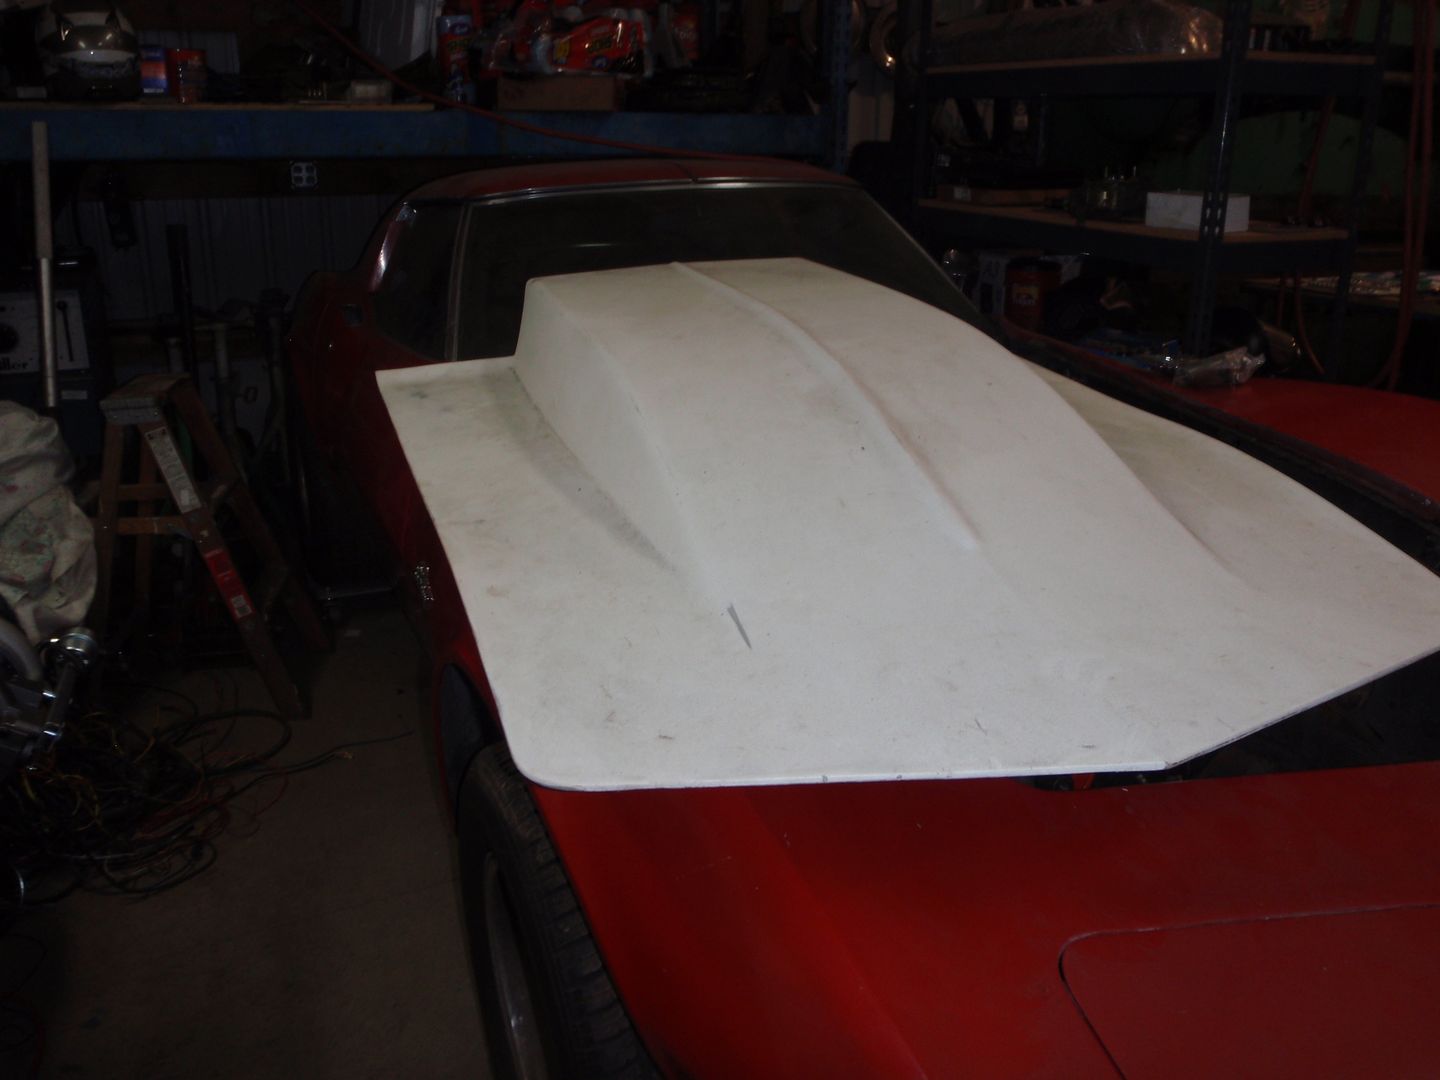
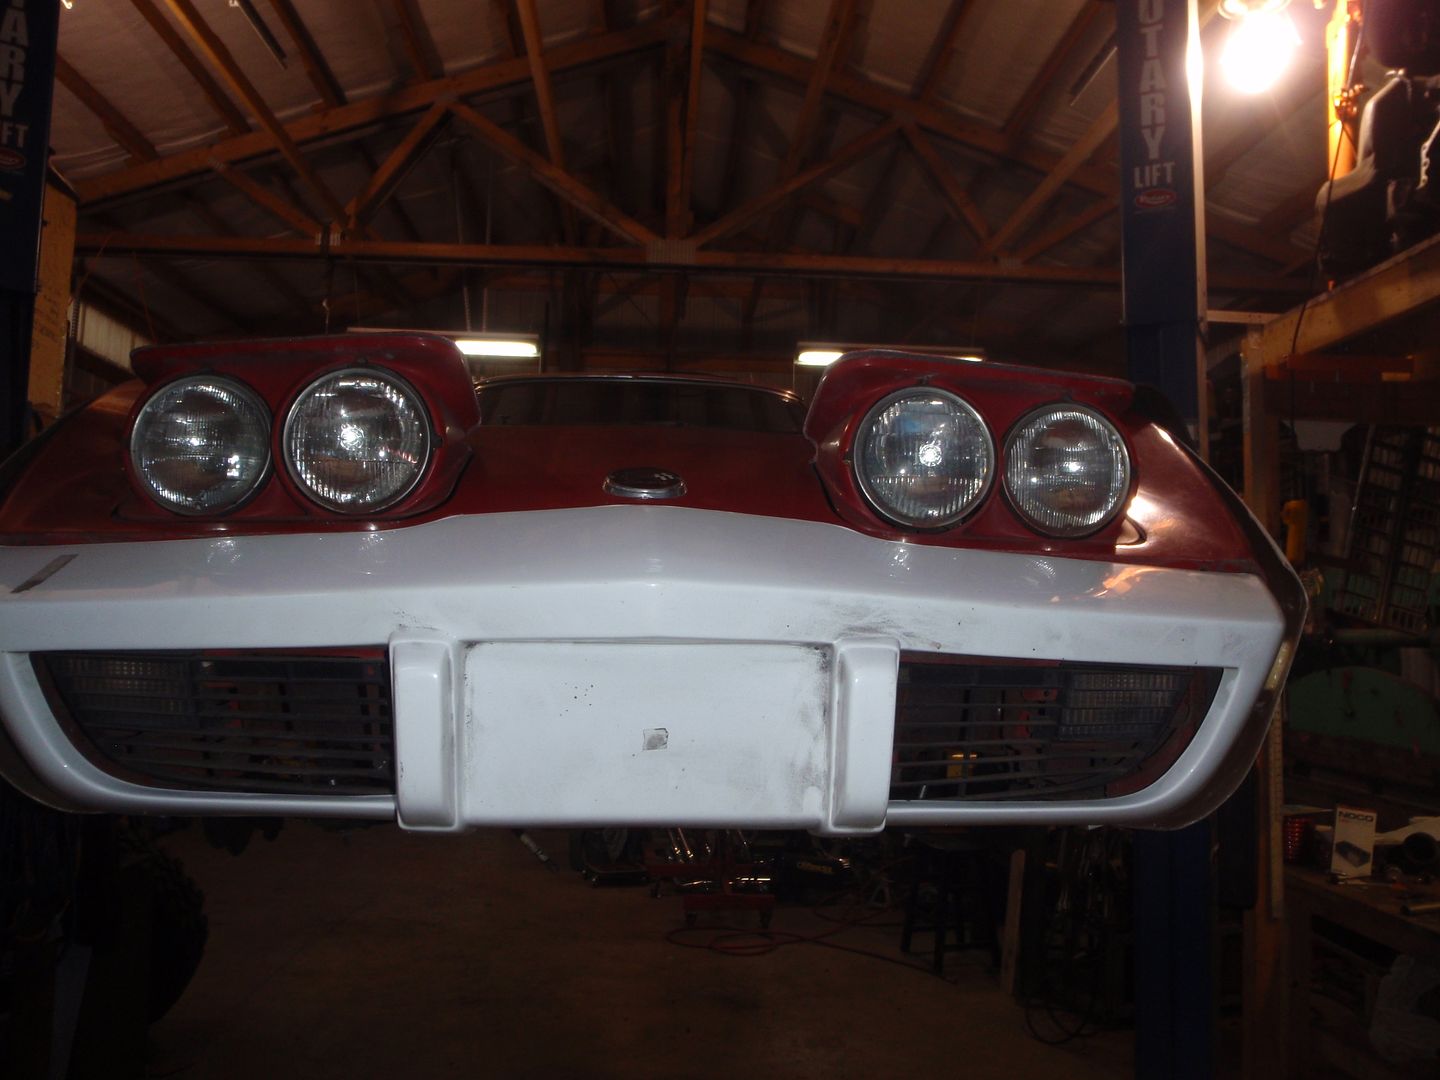
part one was how tall of valve cover would fit

this is why there is a big hit on the header tube from OBX - still looks like crap
miles of room
and the other thing I needed to know - how much scoop
certainly won't be doing a tall filter but it looks like just enough clearance for my L88 scoop

with supervision

this was a bit spun up because a balloon went over....

hmmm, nice balance

let's try that again

take wheel off.... life is easier until I finally build a gantry

almost like GM planned it this way

part one was how tall of valve cover would fit

this is why there is a big hit on the header tube from OBX - still looks like crap

miles of room

and the other thing I needed to know - how much scoop

certainly won't be doing a tall filter but it looks like just enough clearance for my L88 scoop

10-05-2017, 12:23 AM
#66
Melting Slicks
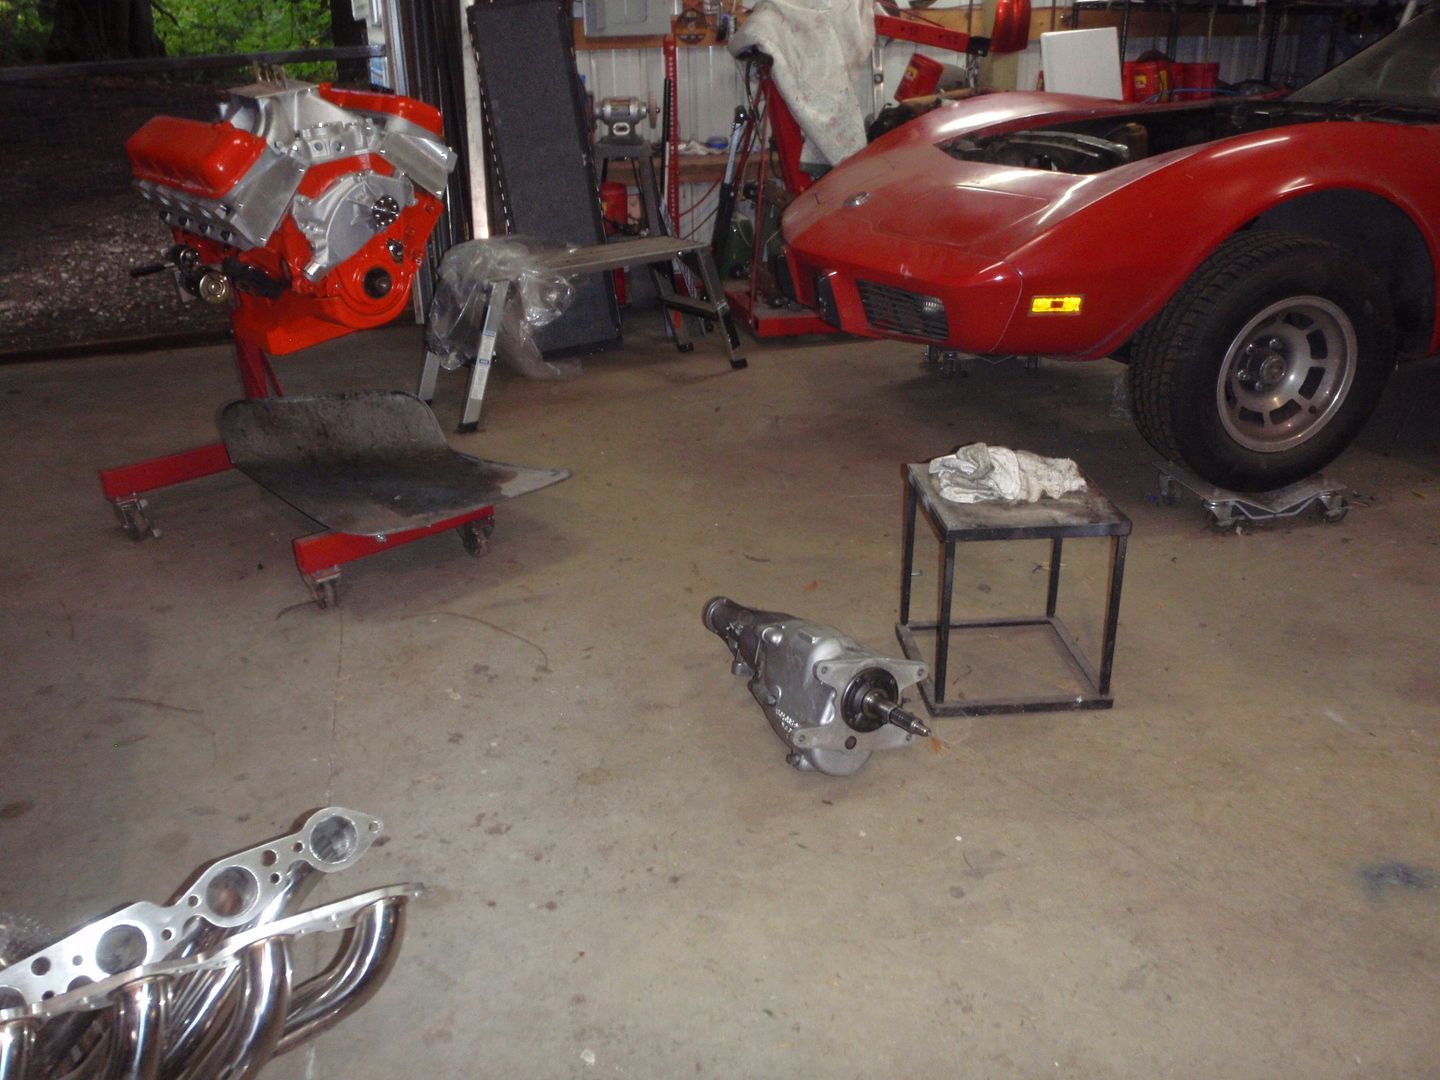
so, other then the DD distraction, parts are coming together to move forward ..
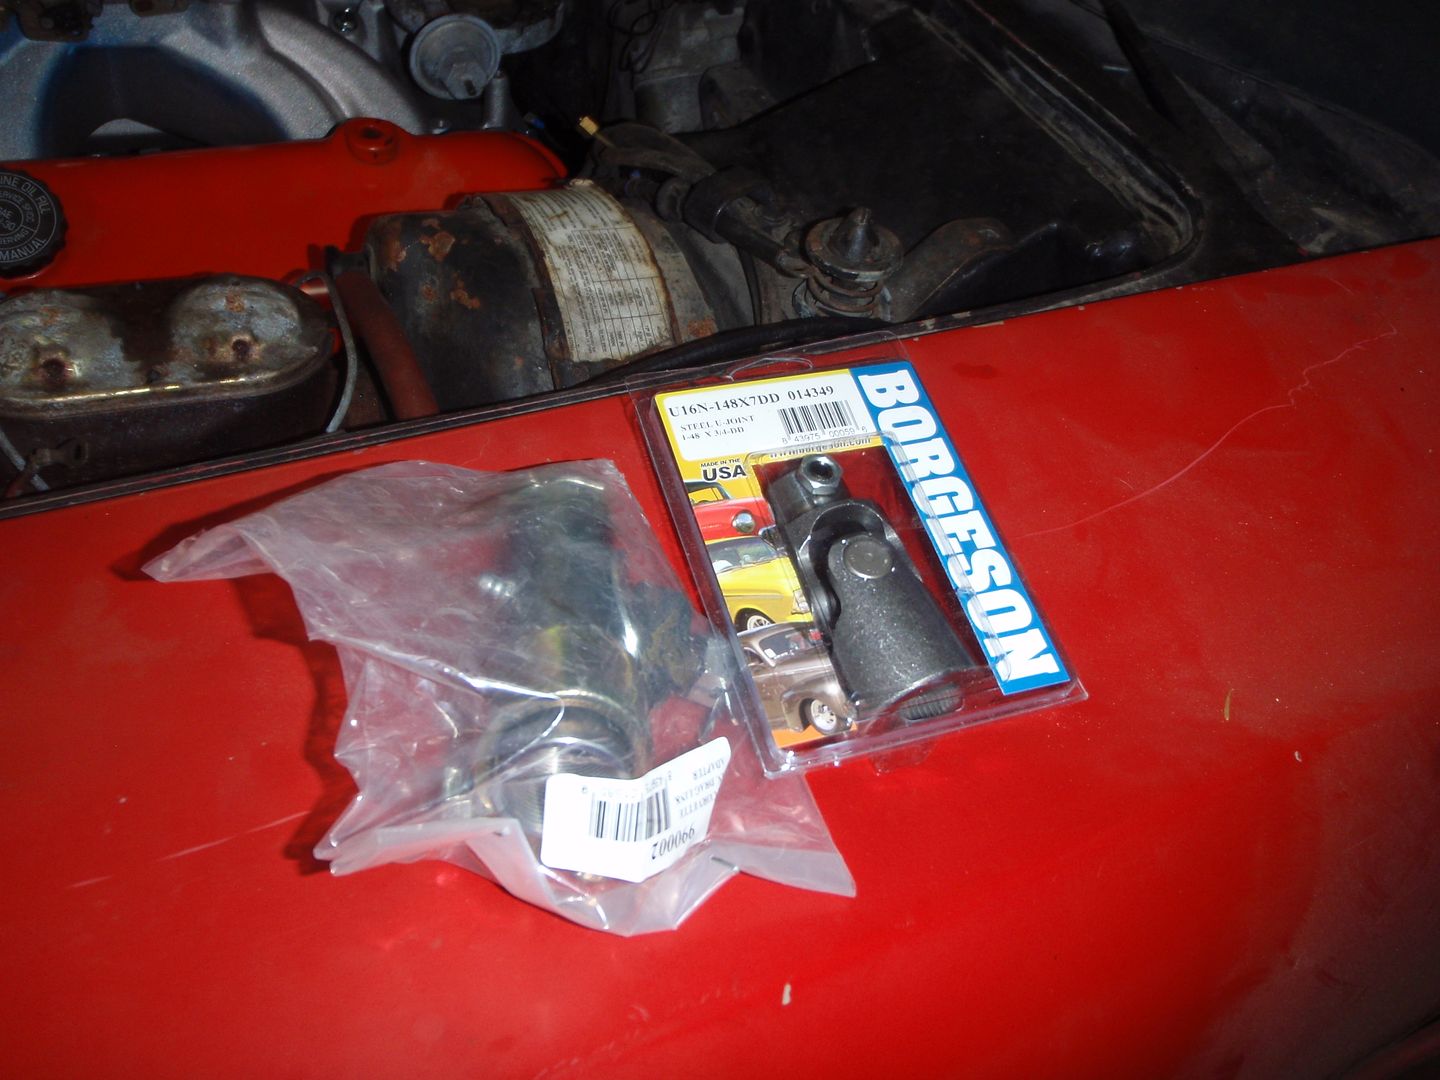
first, and oh how I loved the howl last time I changed the rag joint for a solid borgeson joint.... these are the bits to remove the power steering and the rag joint
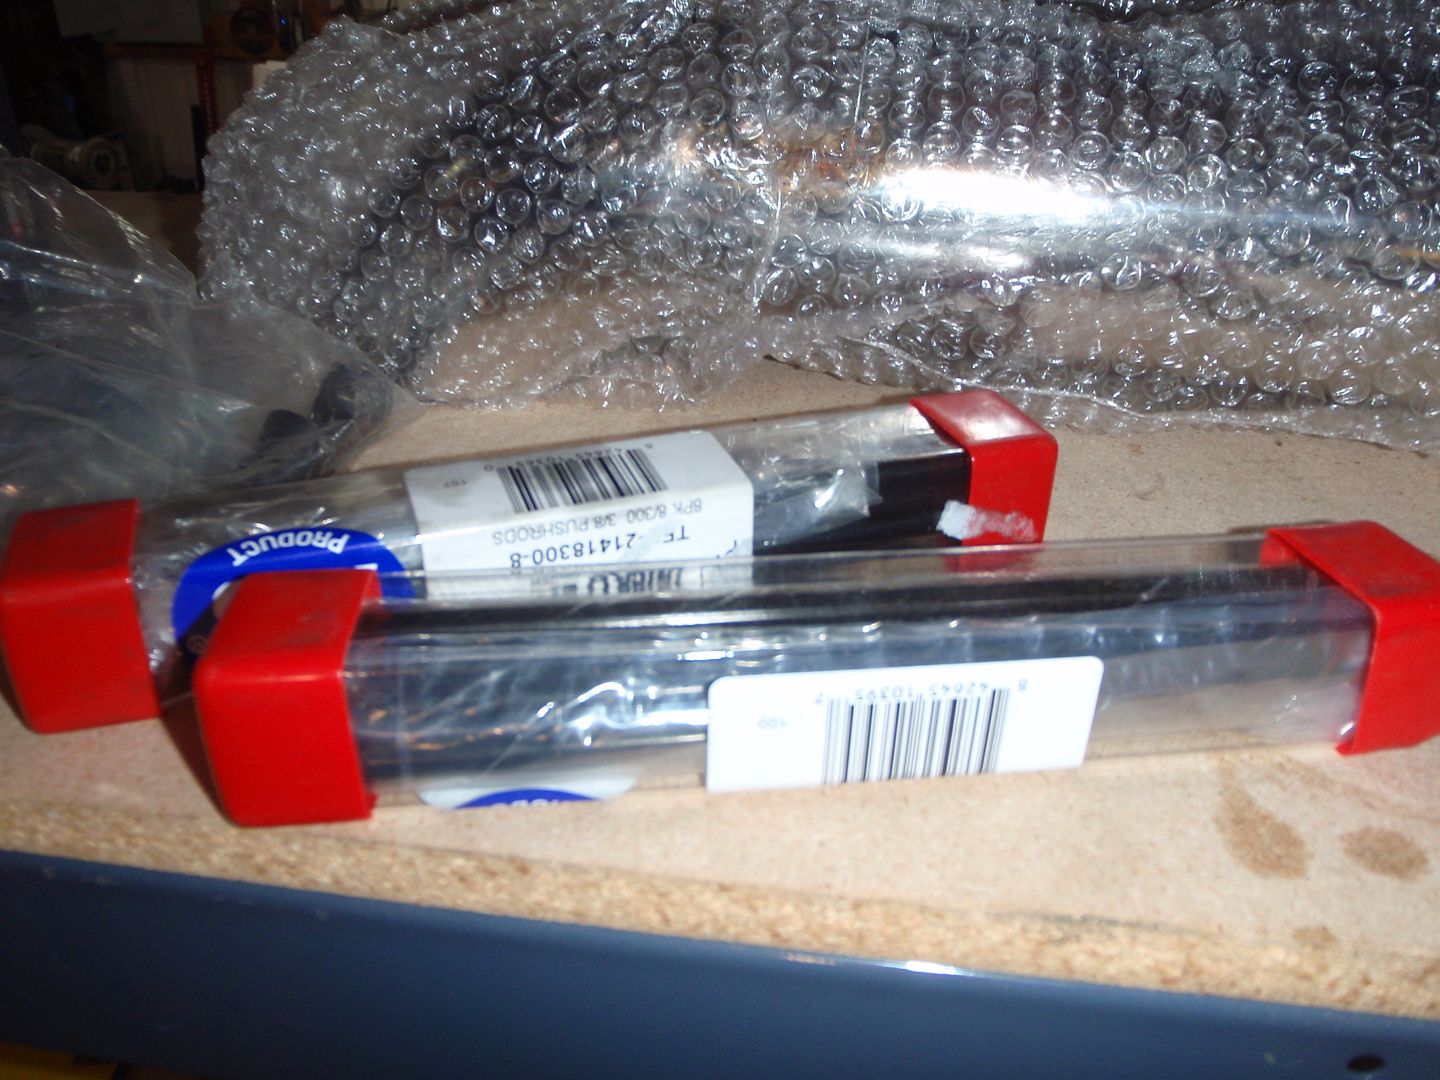
and I got the pushrods
now it's time to start pulling the stuff down for the rest of this build
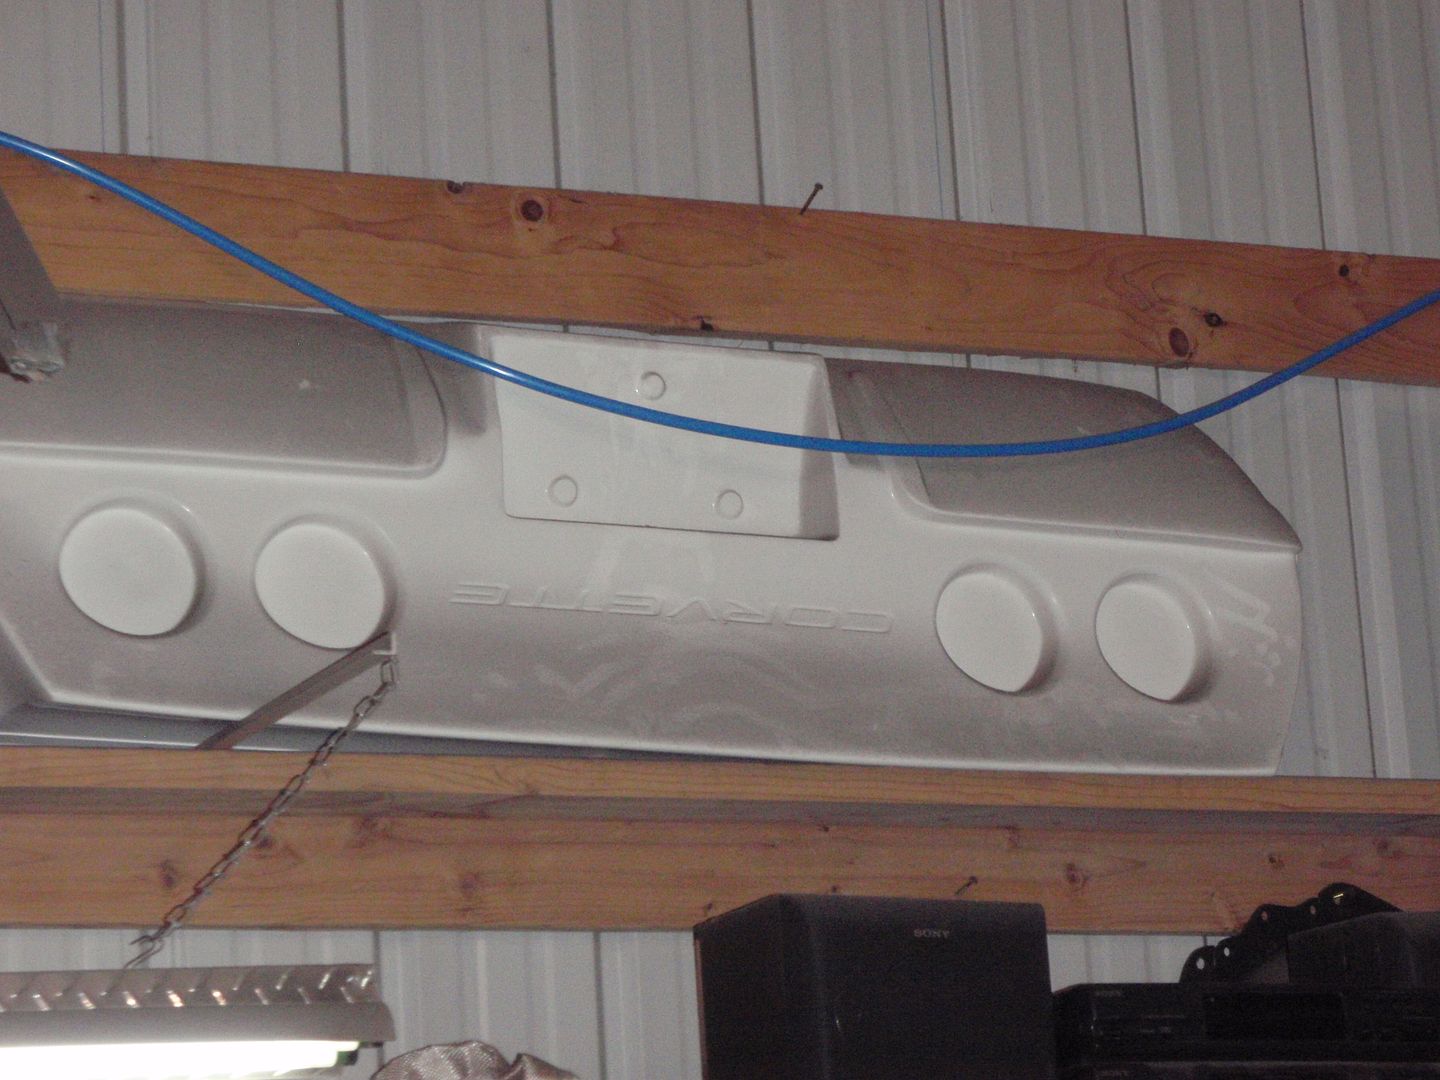
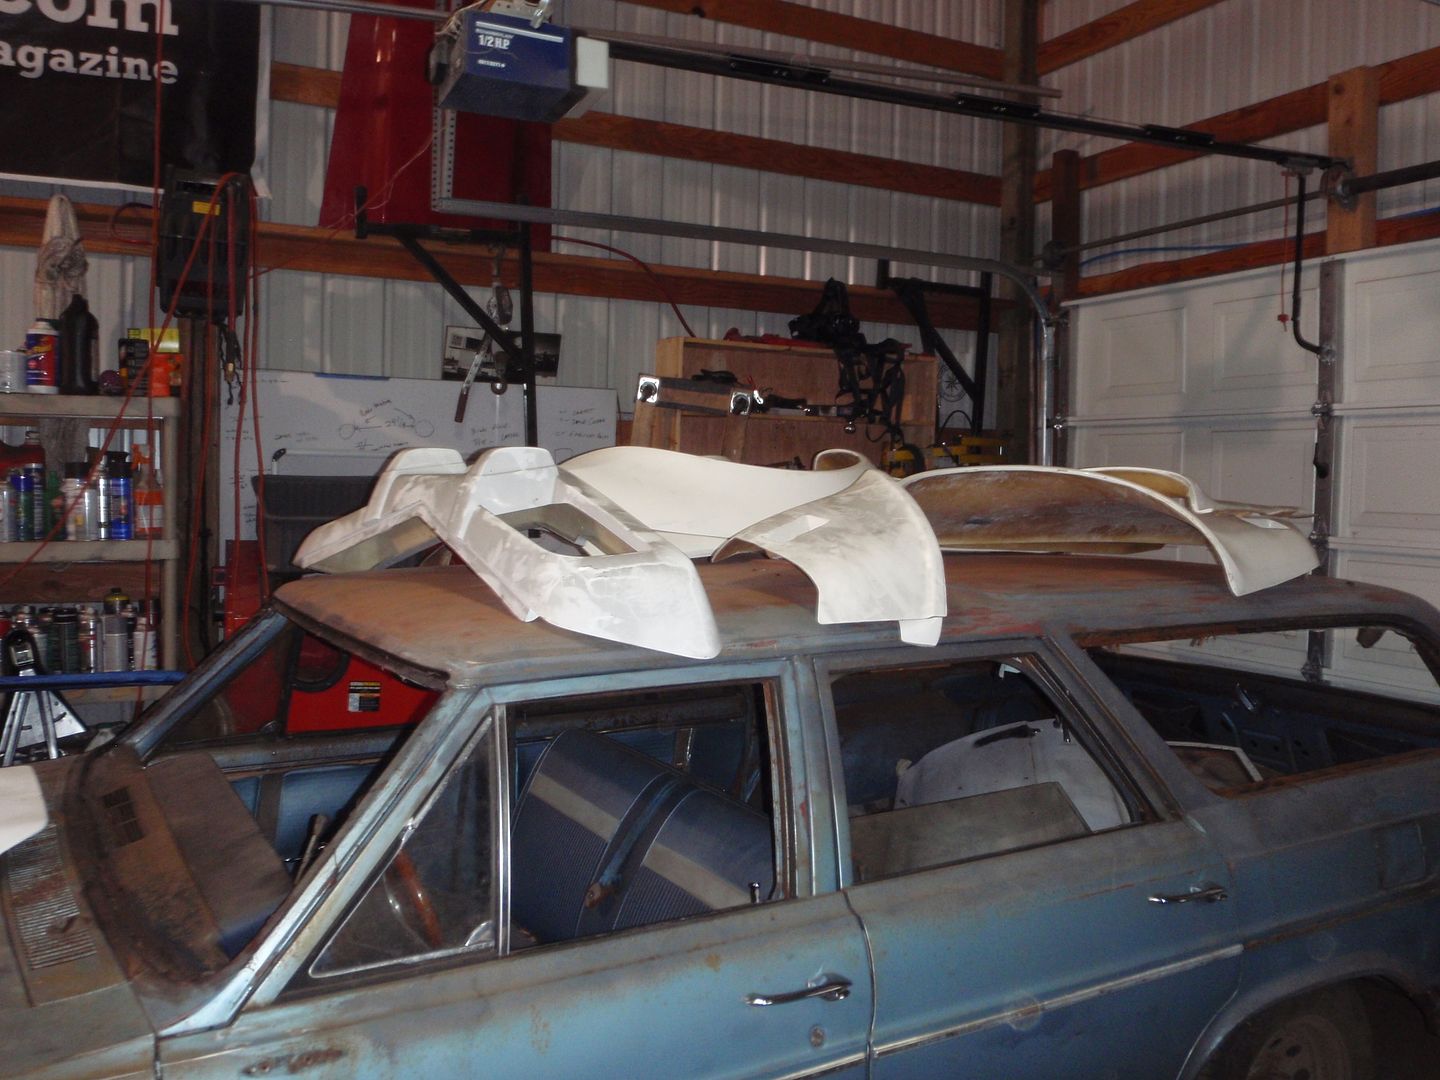
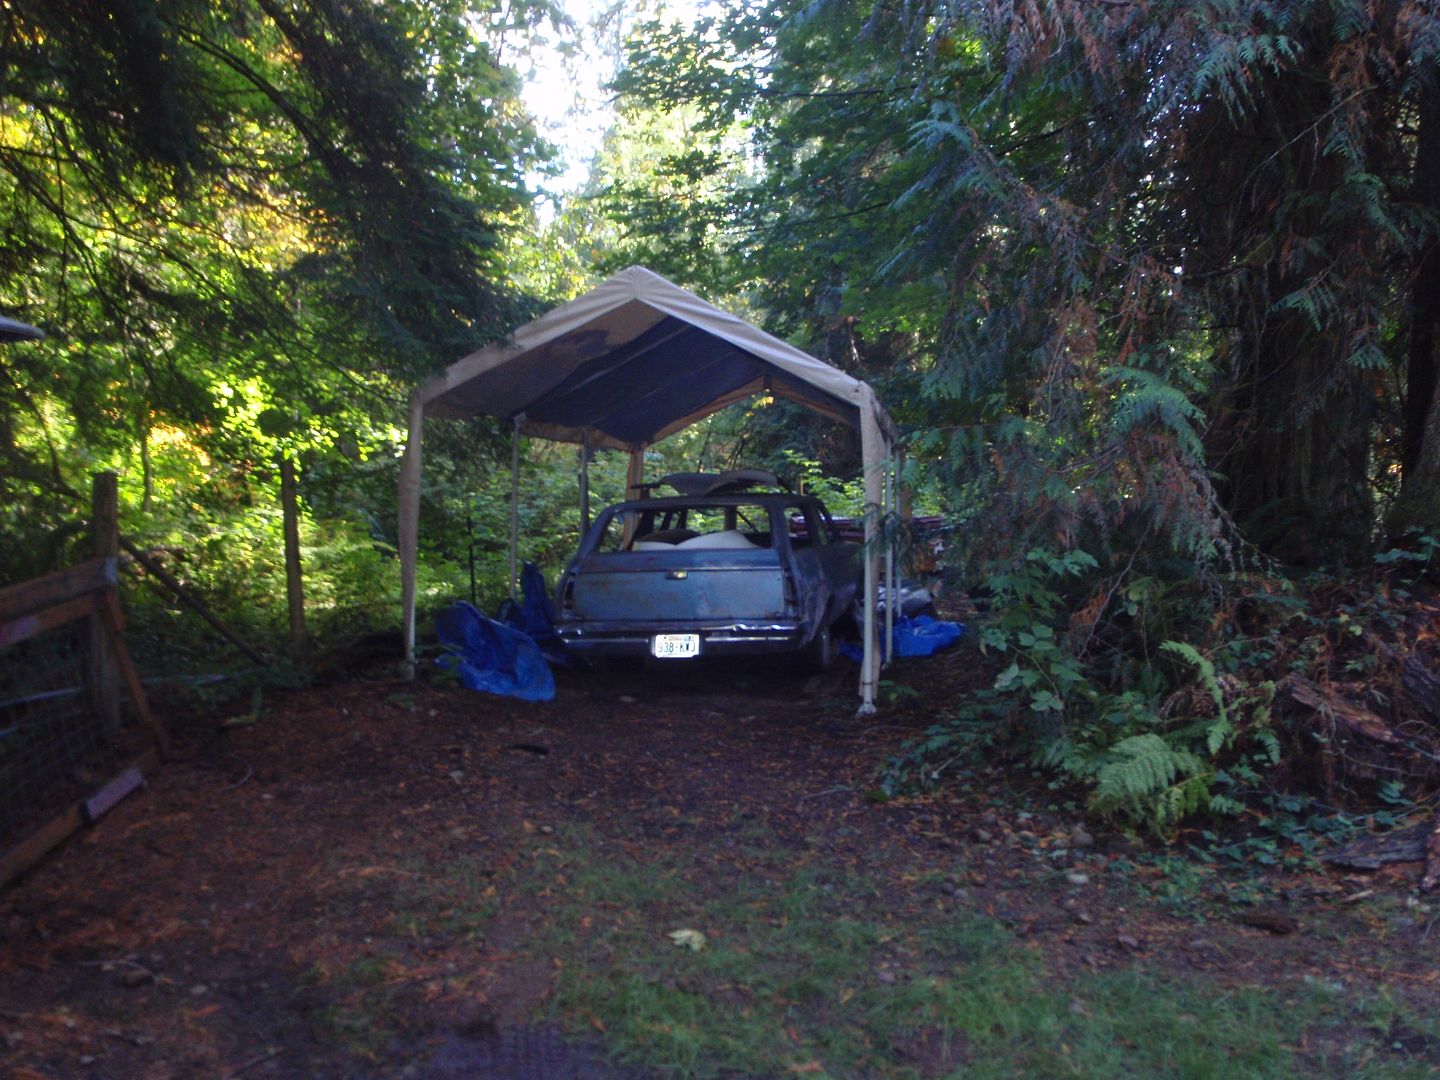
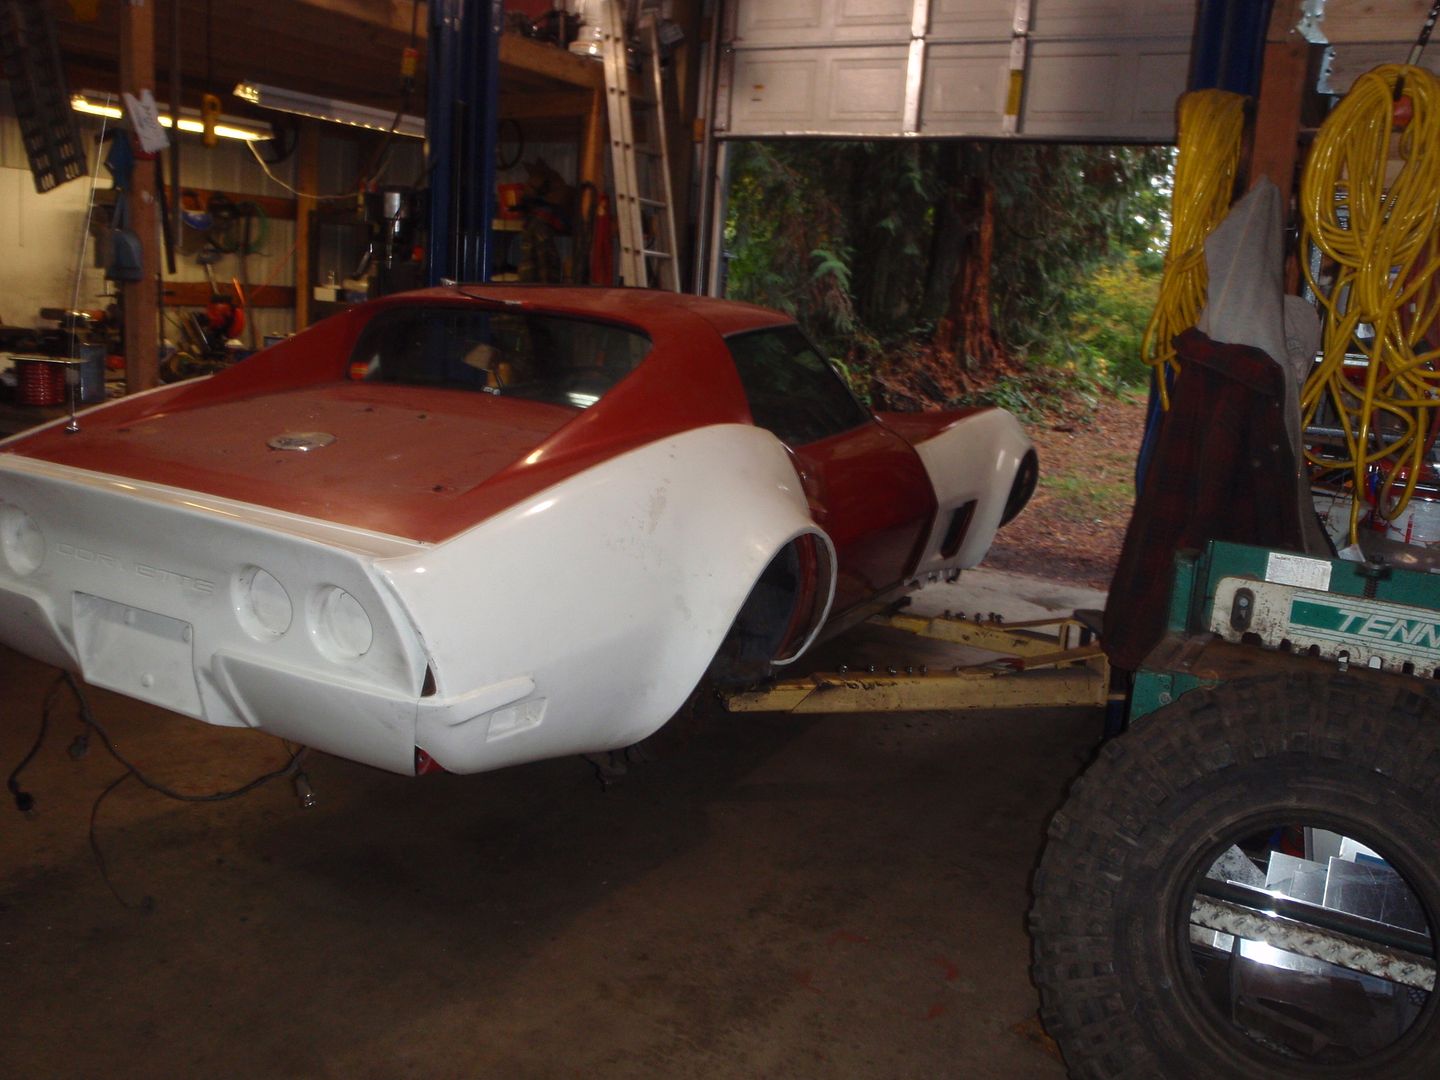
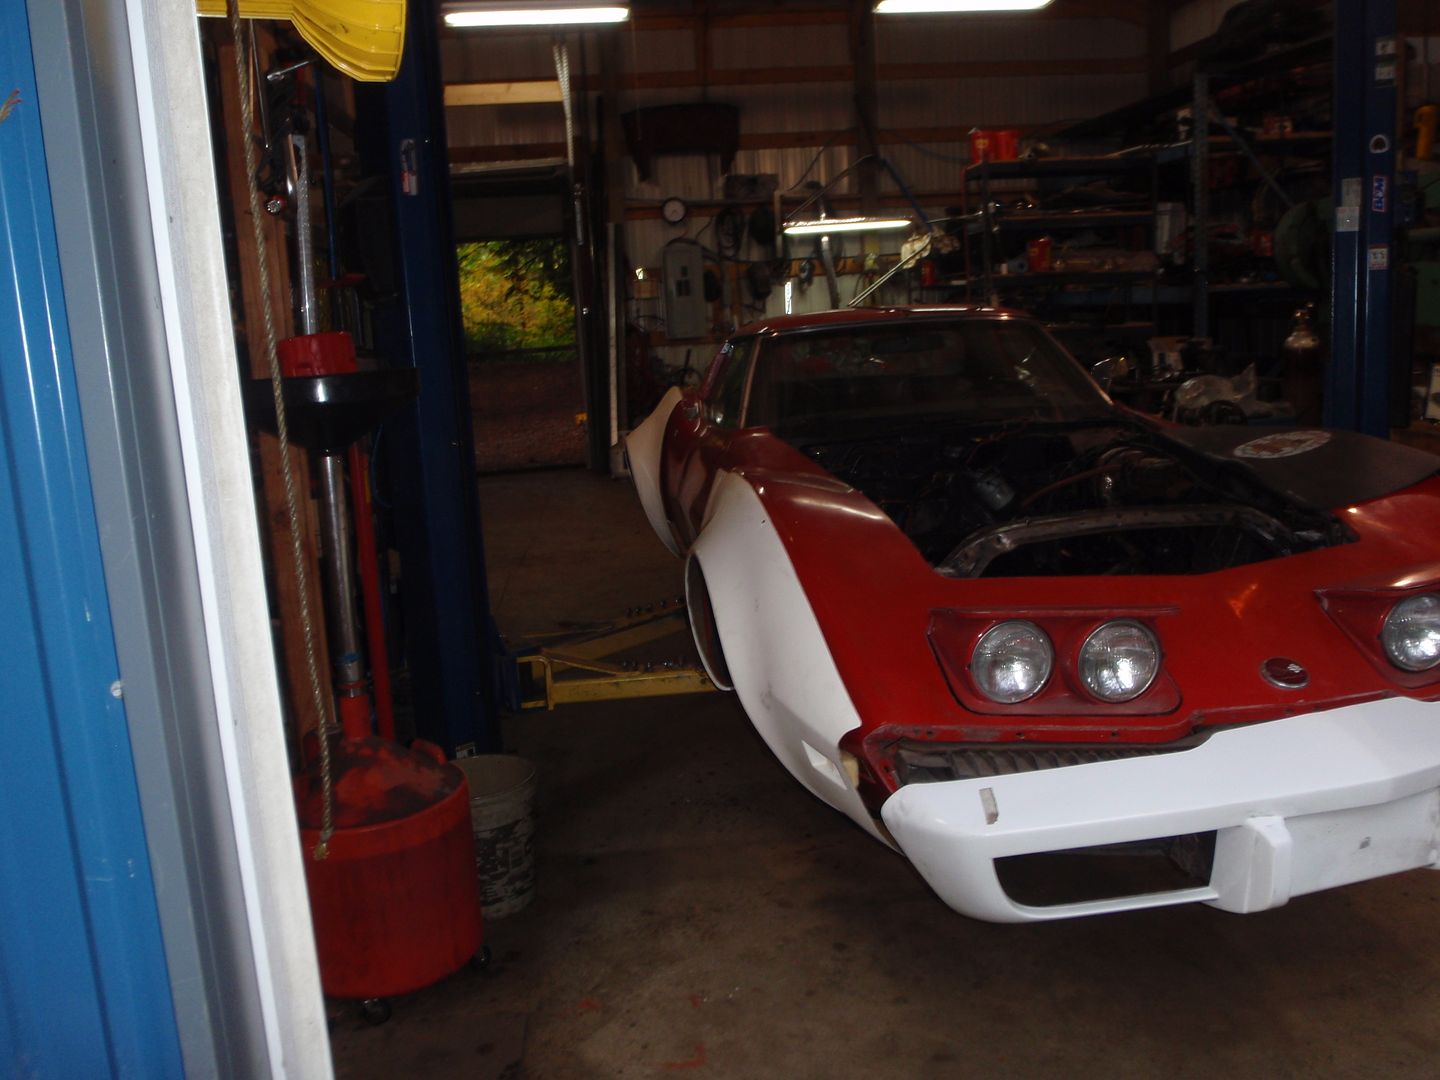
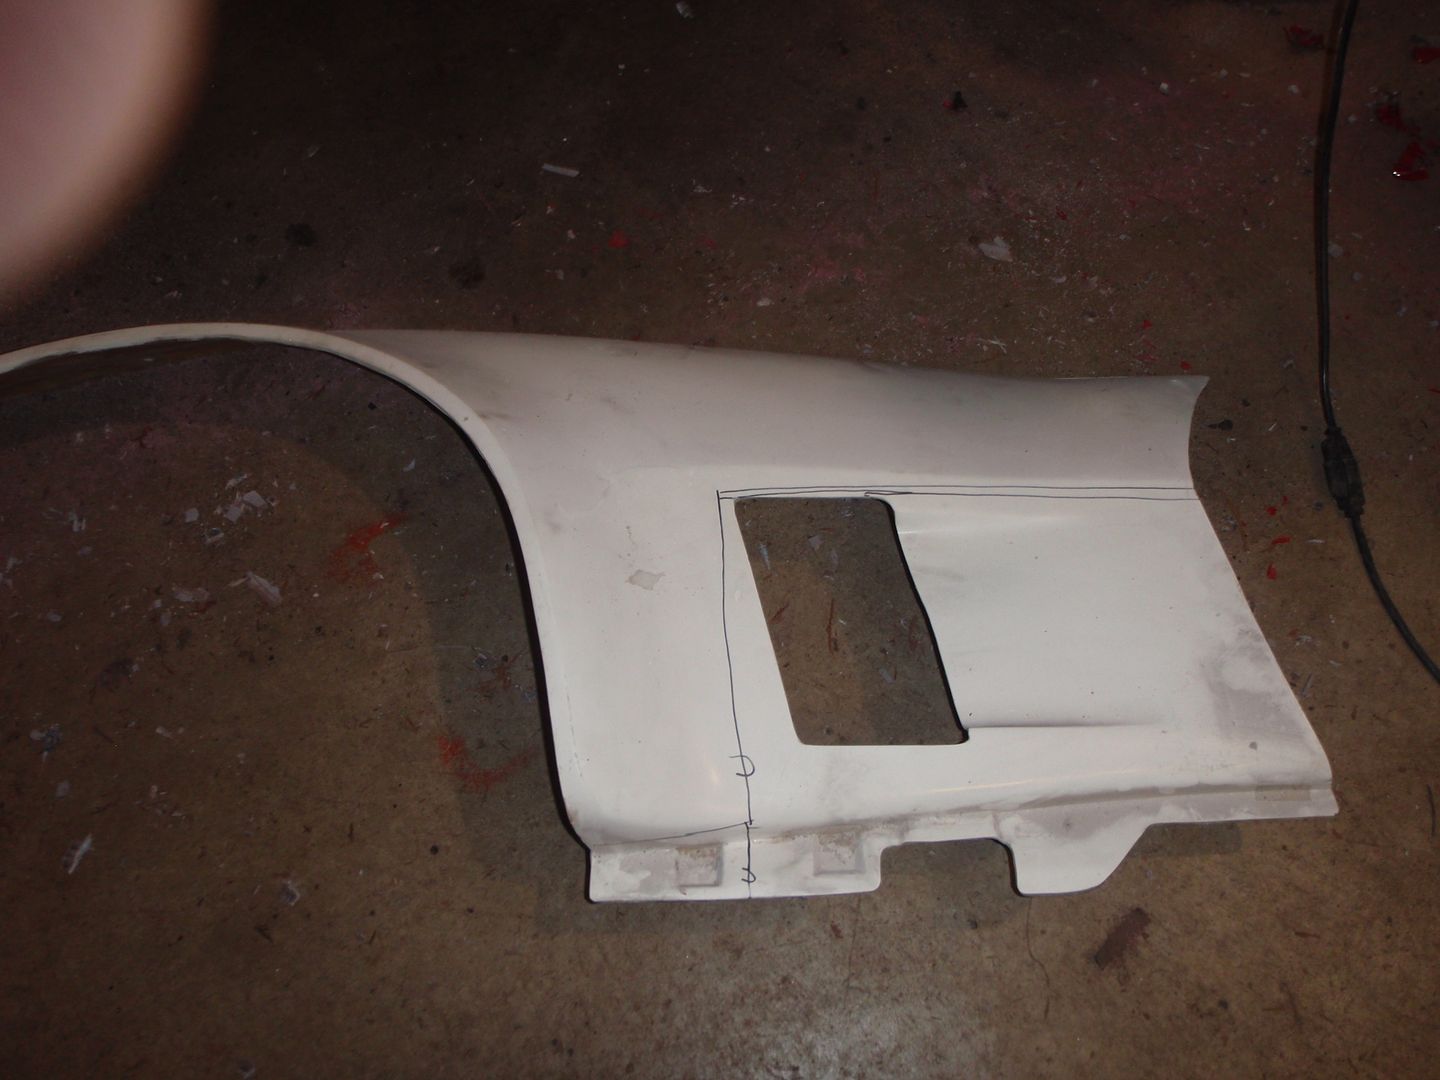
I'm sure someone, somewhere needs this cowl hood and wants to trade me for their flat one - so I can put a different scoop in it. The guy who did this did a reasonable job installing the scoop so it seems kind of a shame to cut it one up
first, and oh how I loved the howl last time I changed the rag joint for a solid borgeson joint.... these are the bits to remove the power steering and the rag joint

and I got the pushrods

now it's time to start pulling the stuff down for the rest of this build


I'm sure someone, somewhere needs this cowl hood and wants to trade me for their flat one - so I can put a different scoop in it. The guy who did this did a reasonable job installing the scoop so it seems kind of a shame to cut it one up
 10-06-2017, 11:38 PM
#67
Melting Slicks
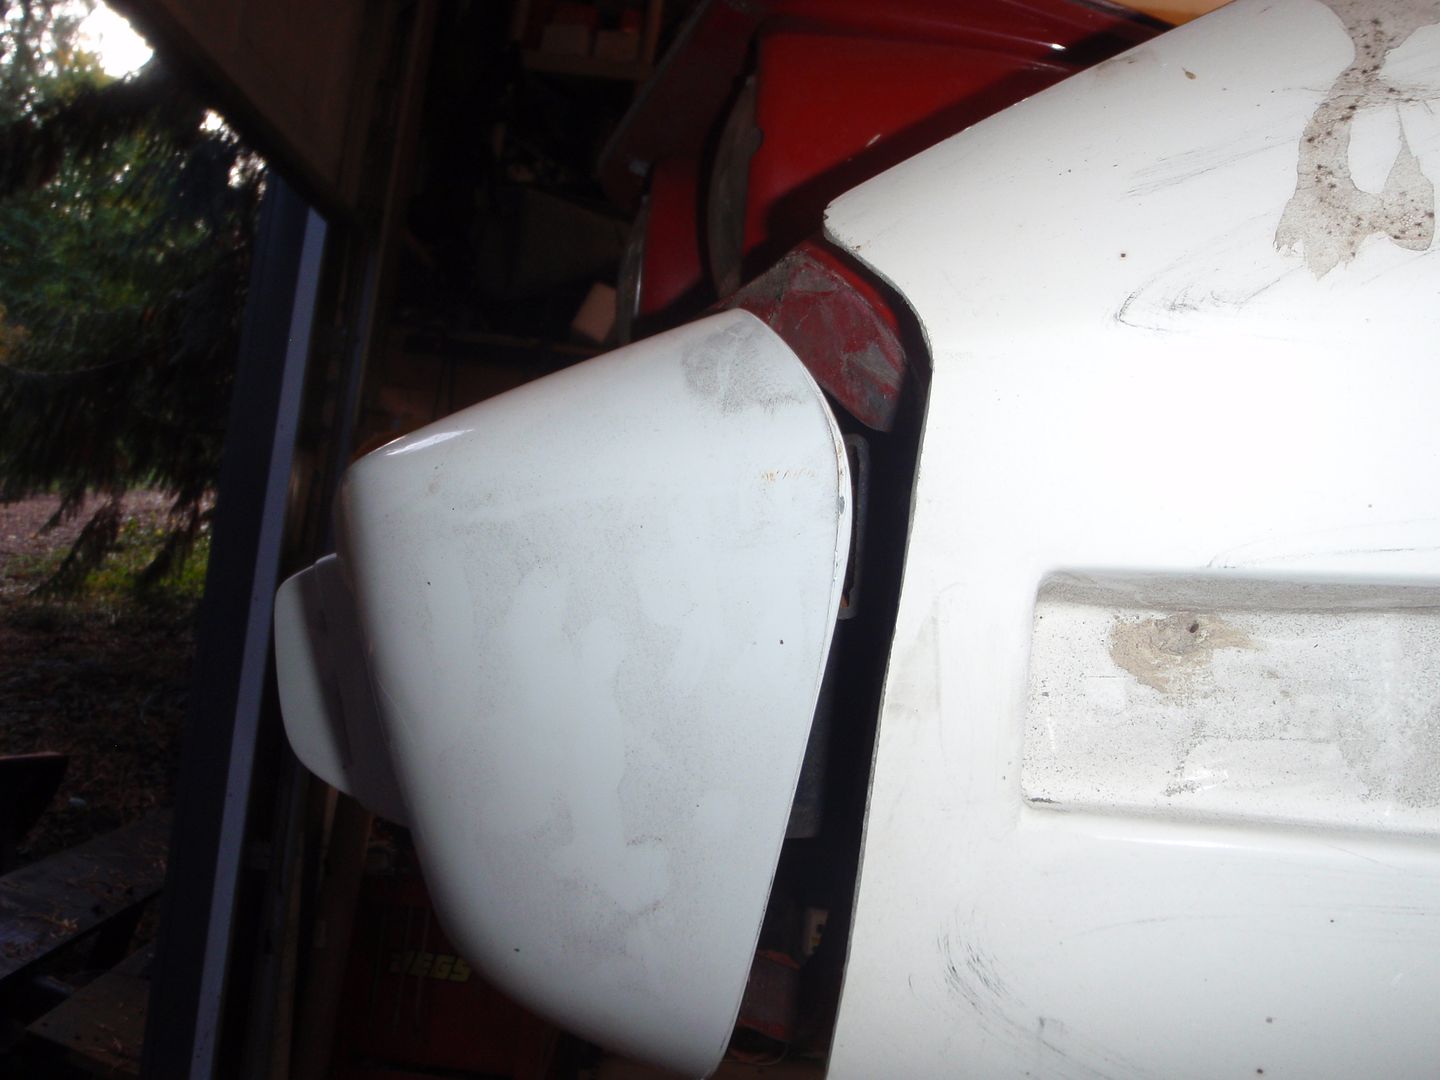
the only thing interesting about this picture (other then the sweet flare) is this...

I hit the paint with 80 grit sand paper and it didn't even scratch the surface, but that duct tape took off a layer of paint in 10 minutes.

I hit the paint with 80 grit sand paper and it didn't even scratch the surface, but that duct tape took off a layer of paint in 10 minutes.
10-09-2017, 12:40 AM
#68
Melting Slicks
I was right, dammit, I was right. But before the details....
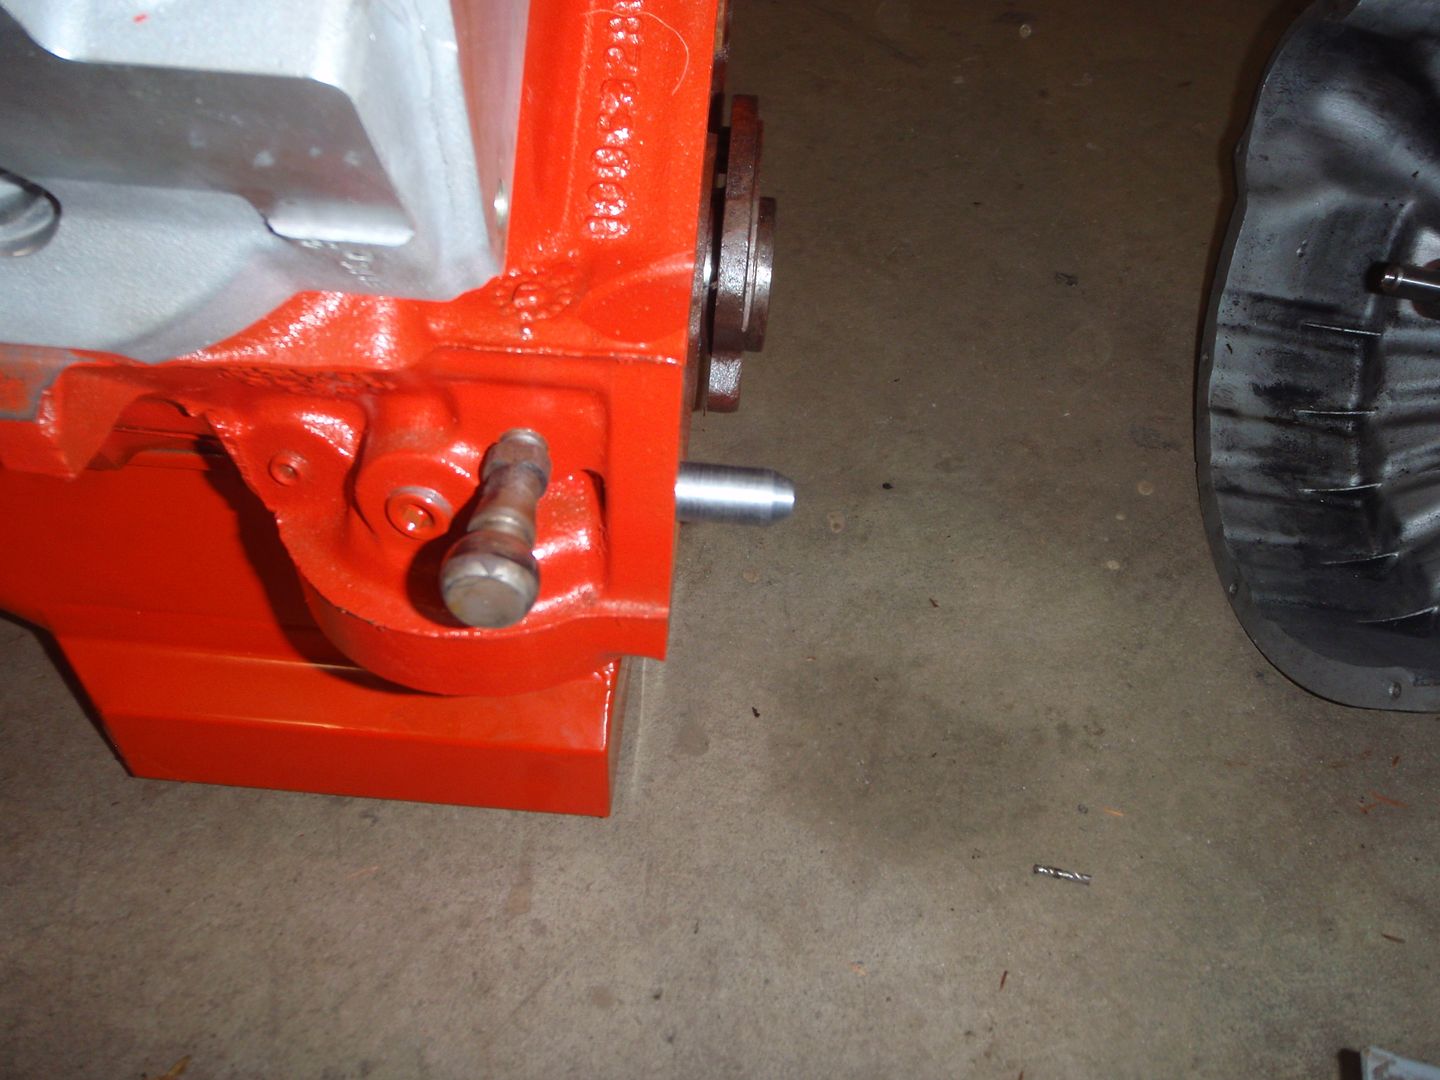
got the pins for the bellhousing
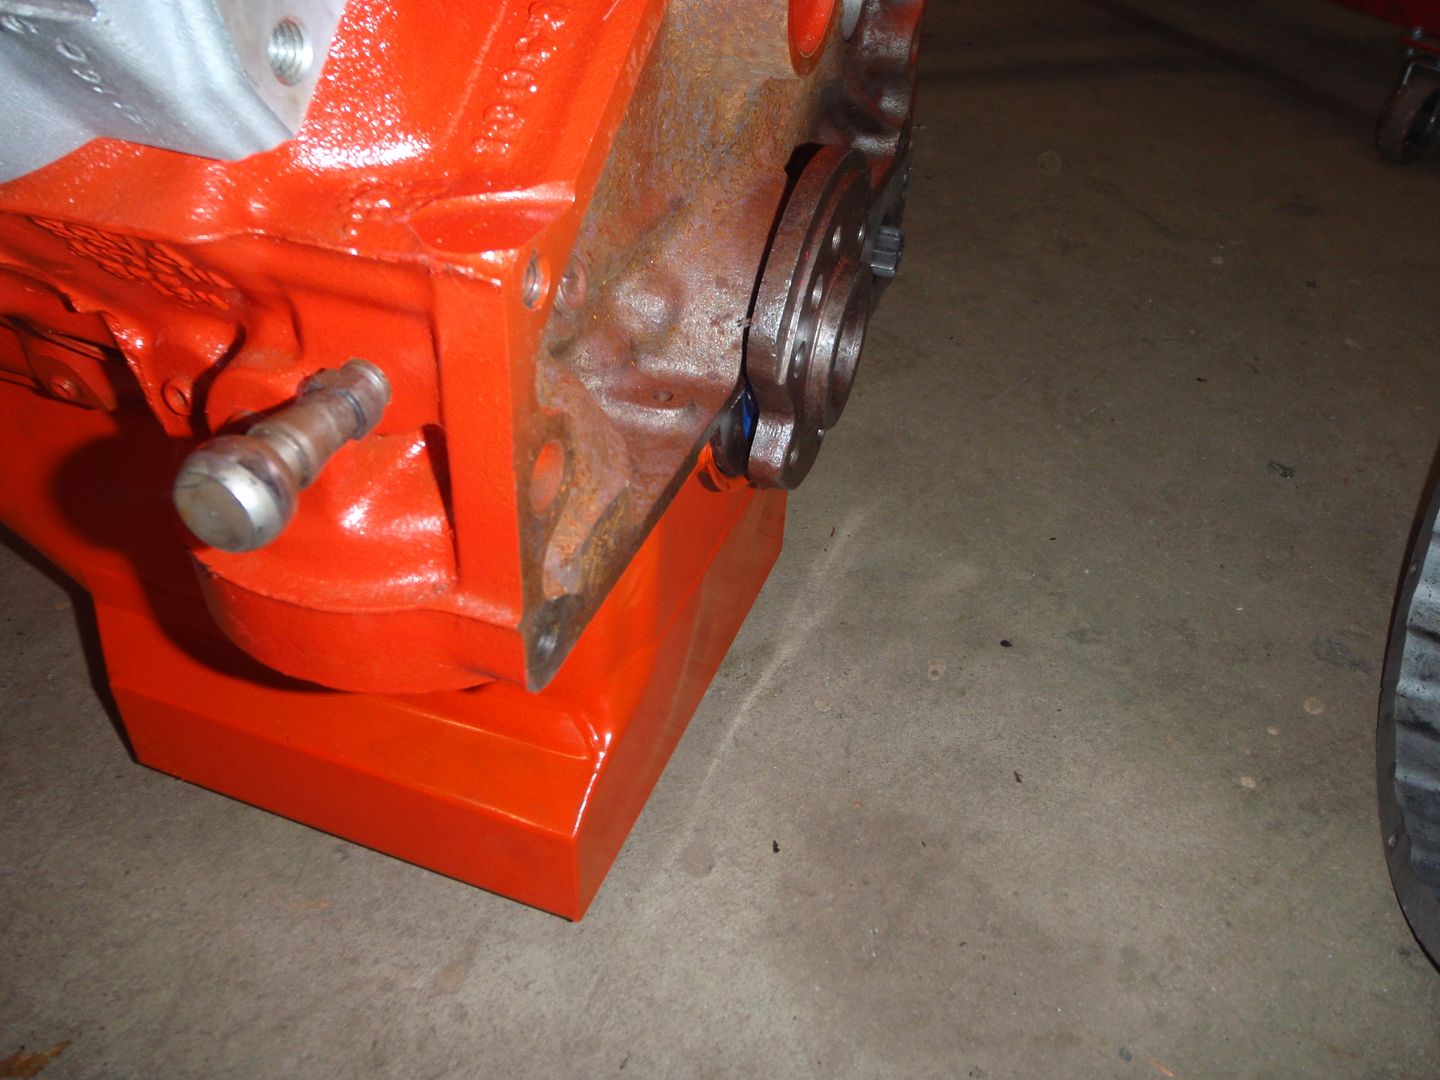
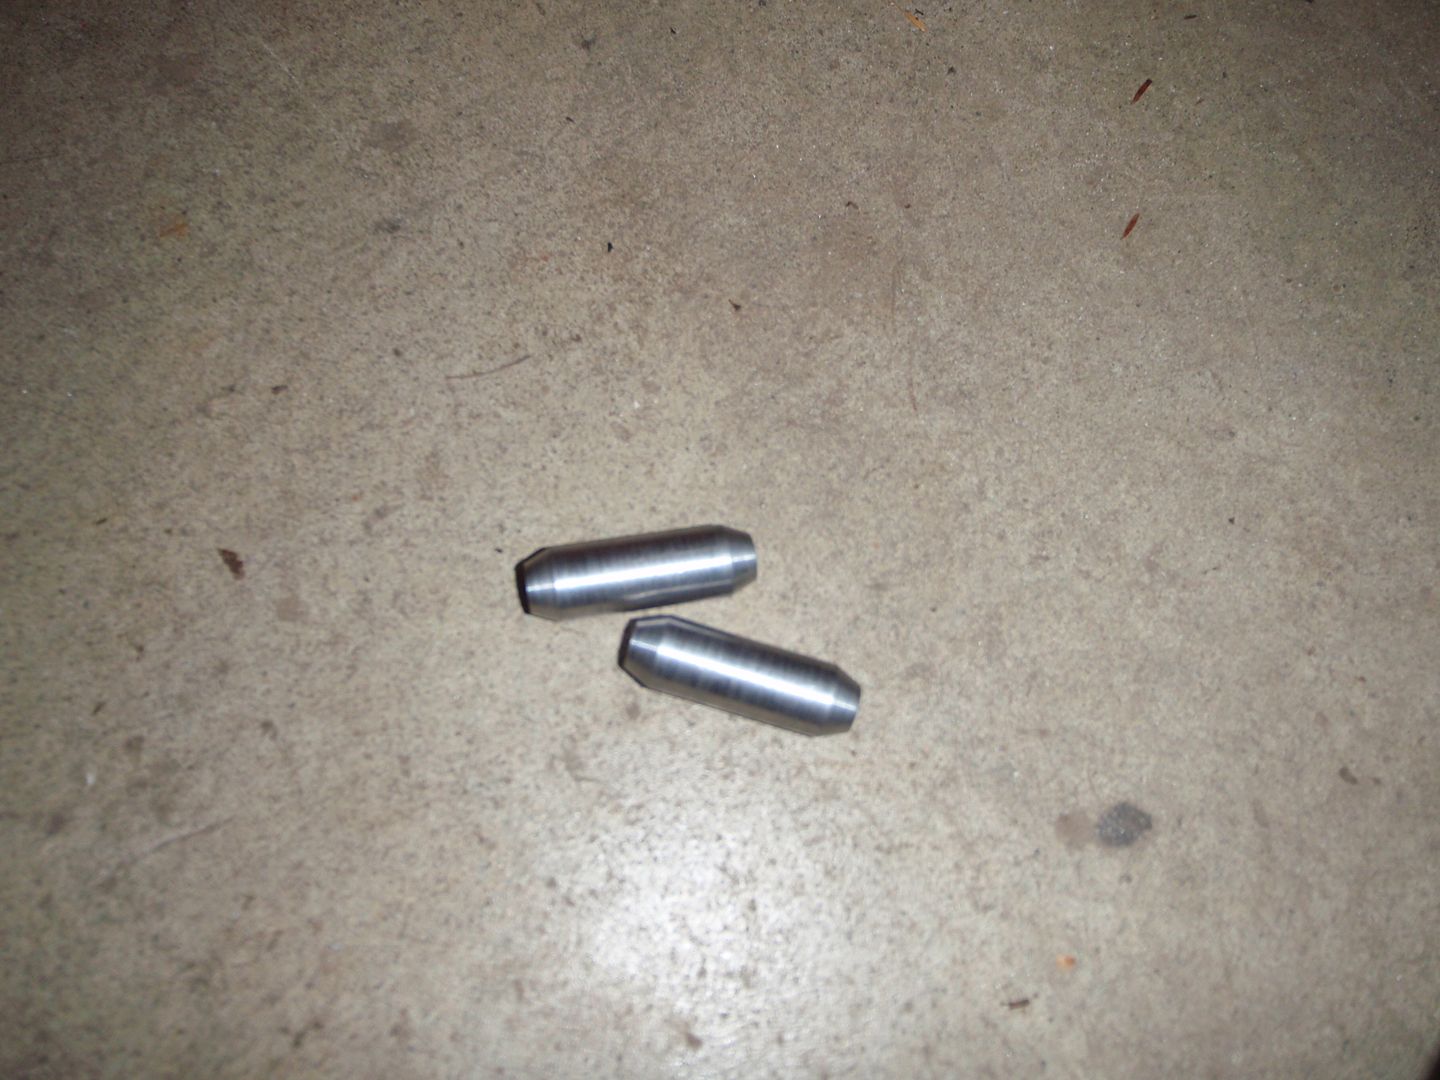
yes, extra long, not sure that's a good idea but it's what I've got
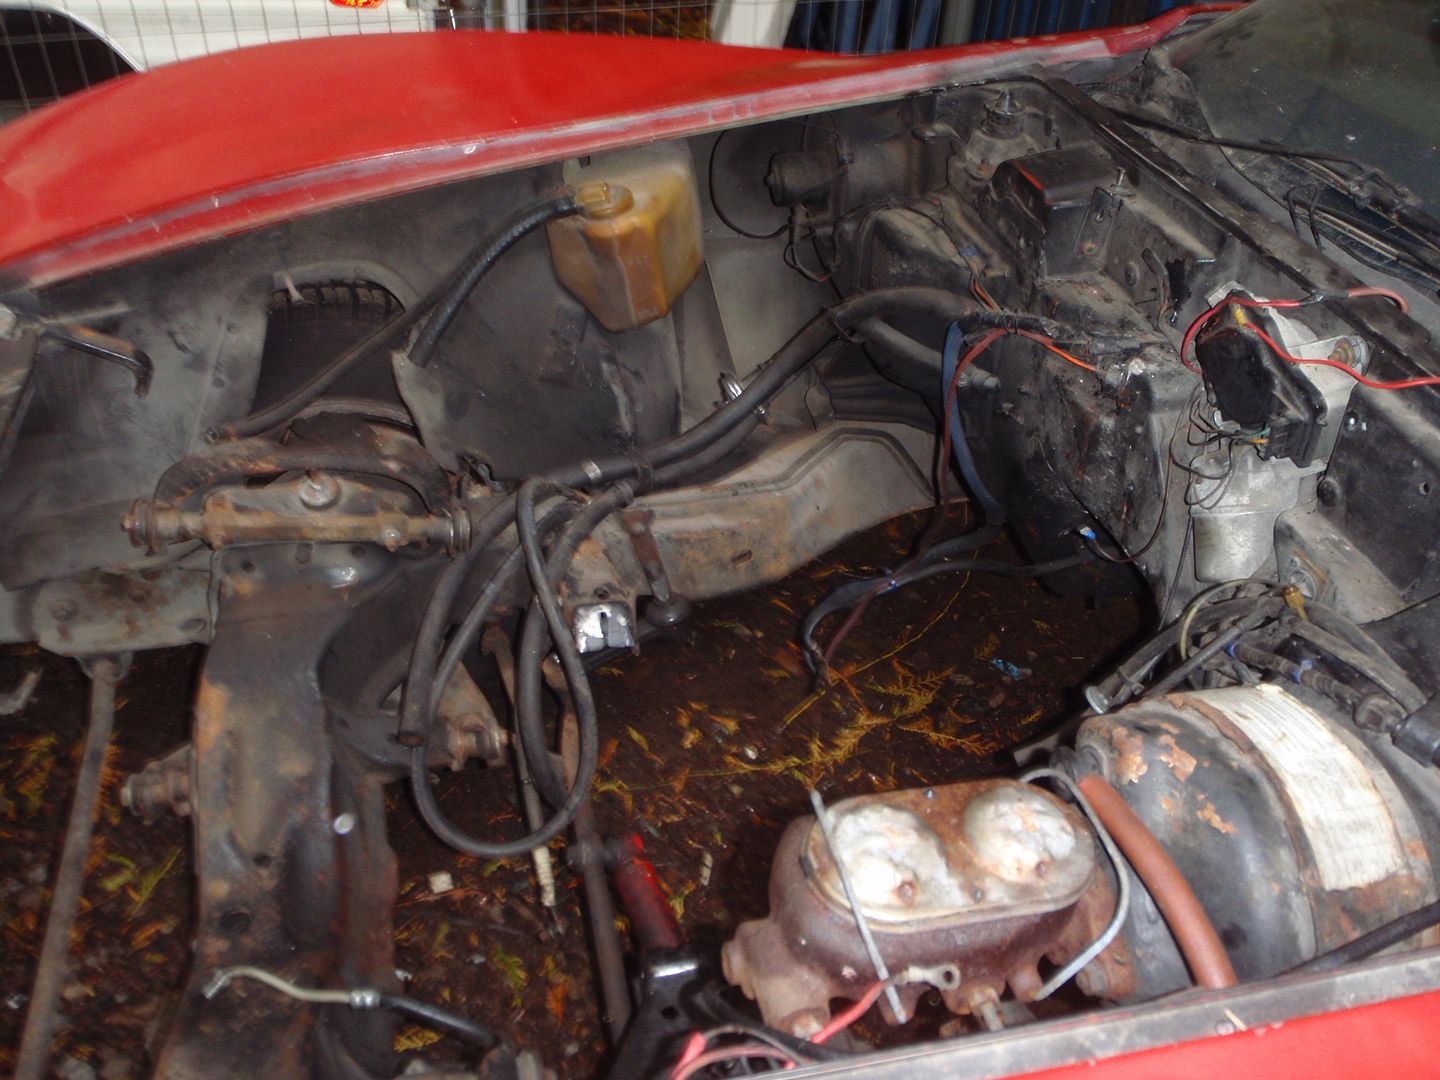
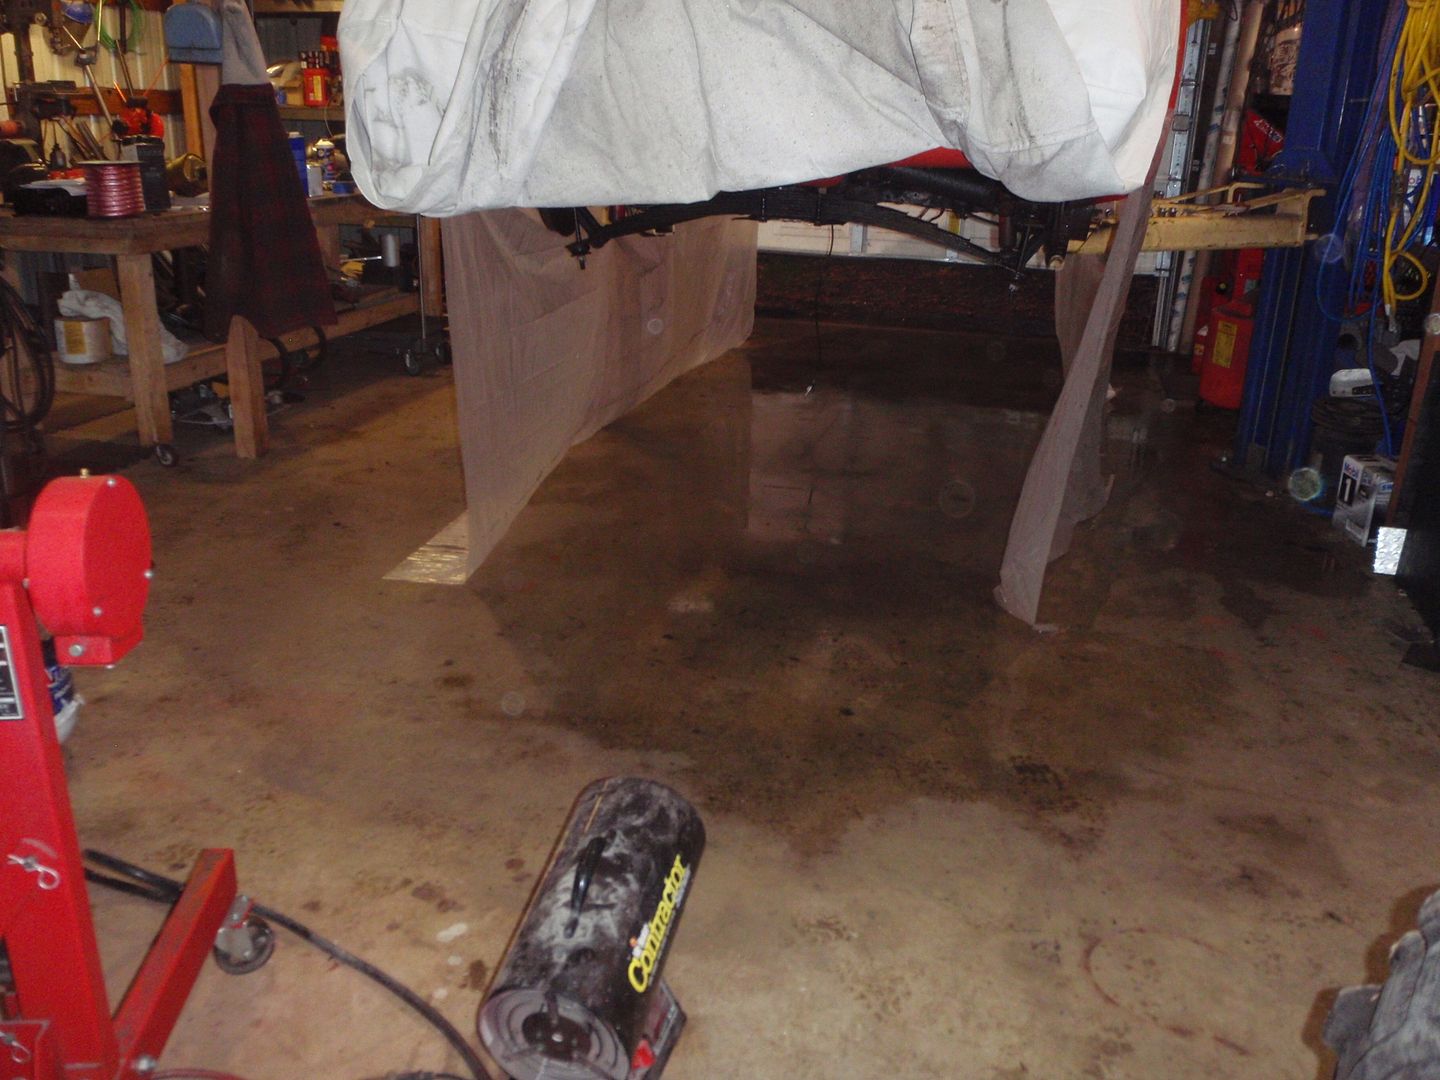
part of the day was cleaning the engine bay - which happened after the motor was removed
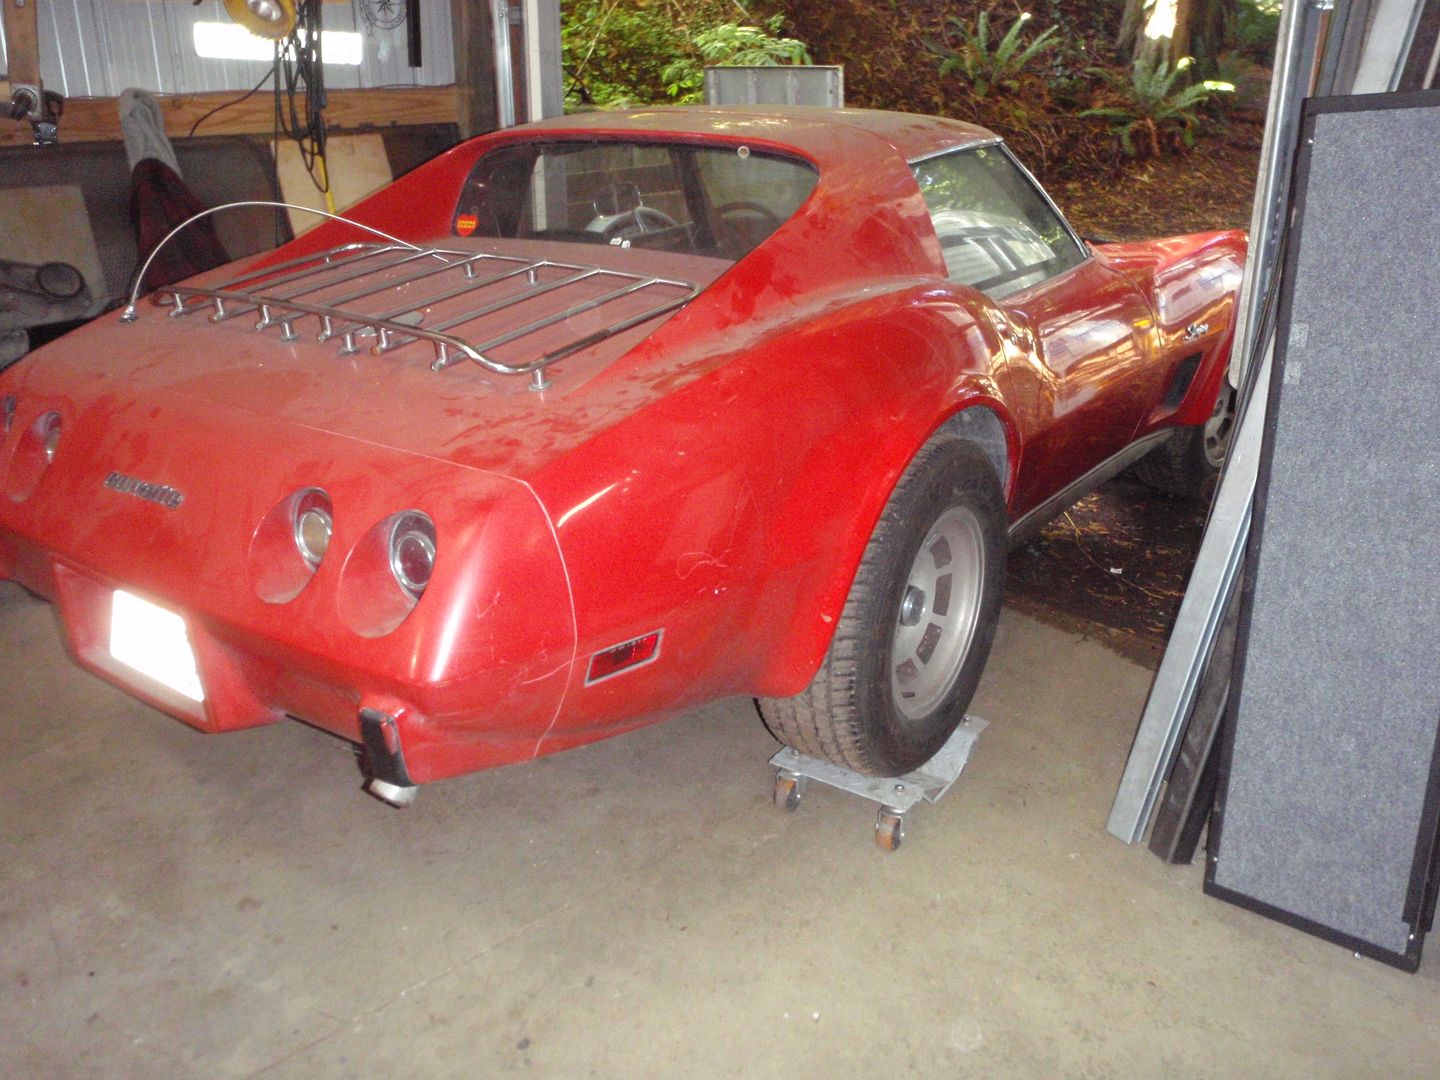
not terrible, but dirty
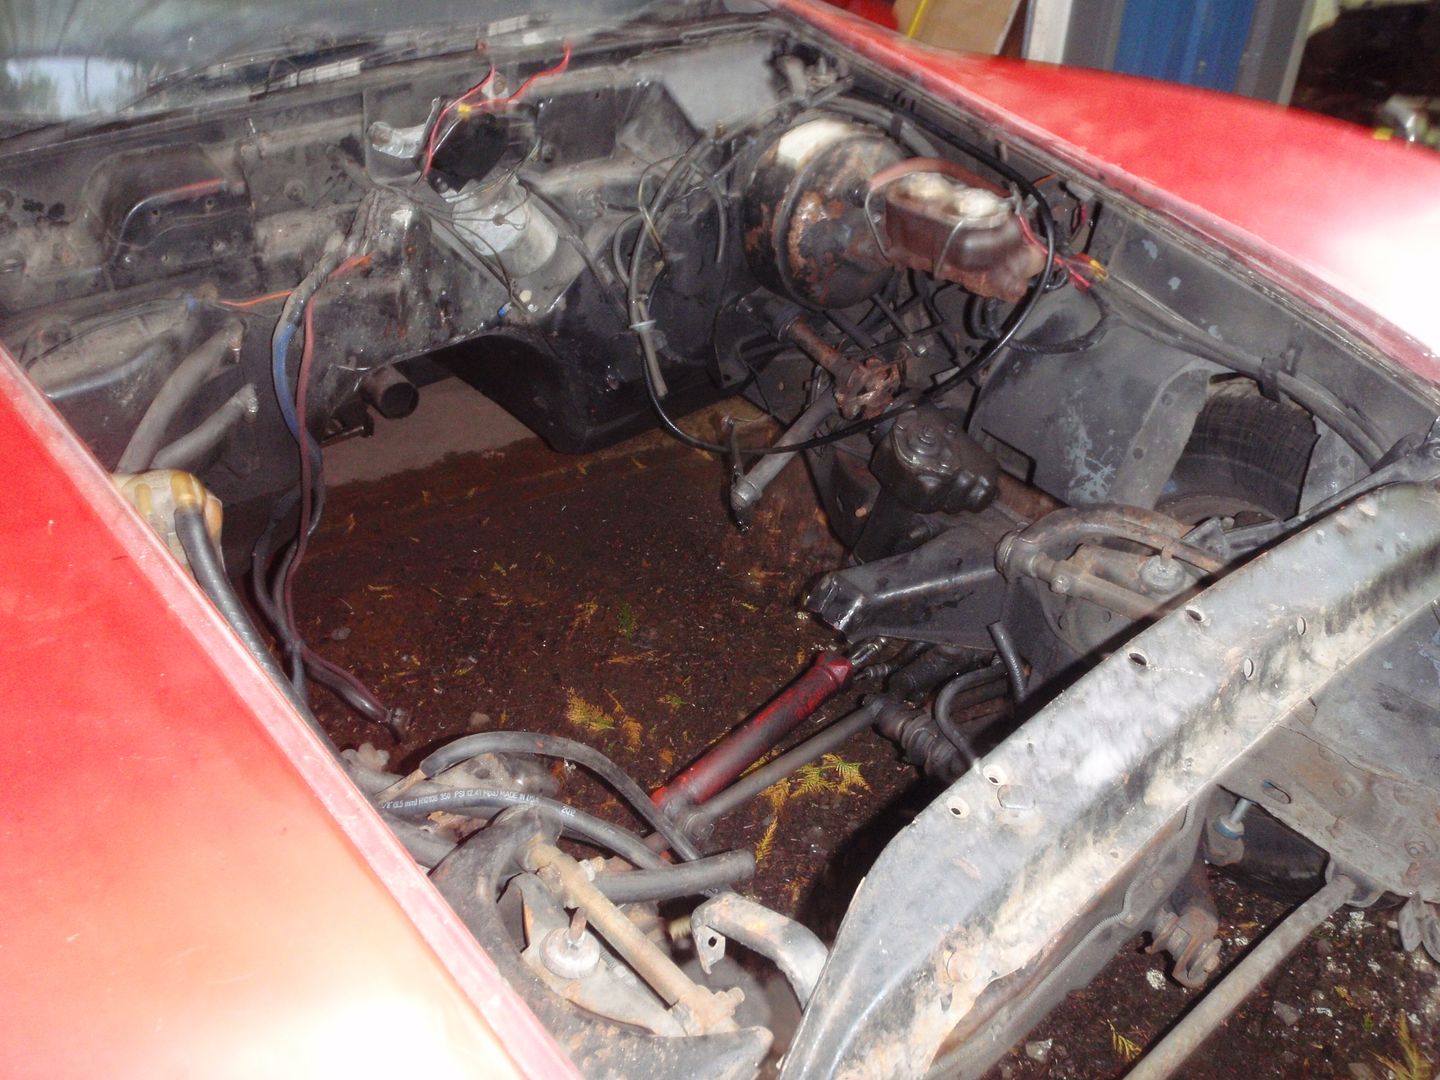
much better
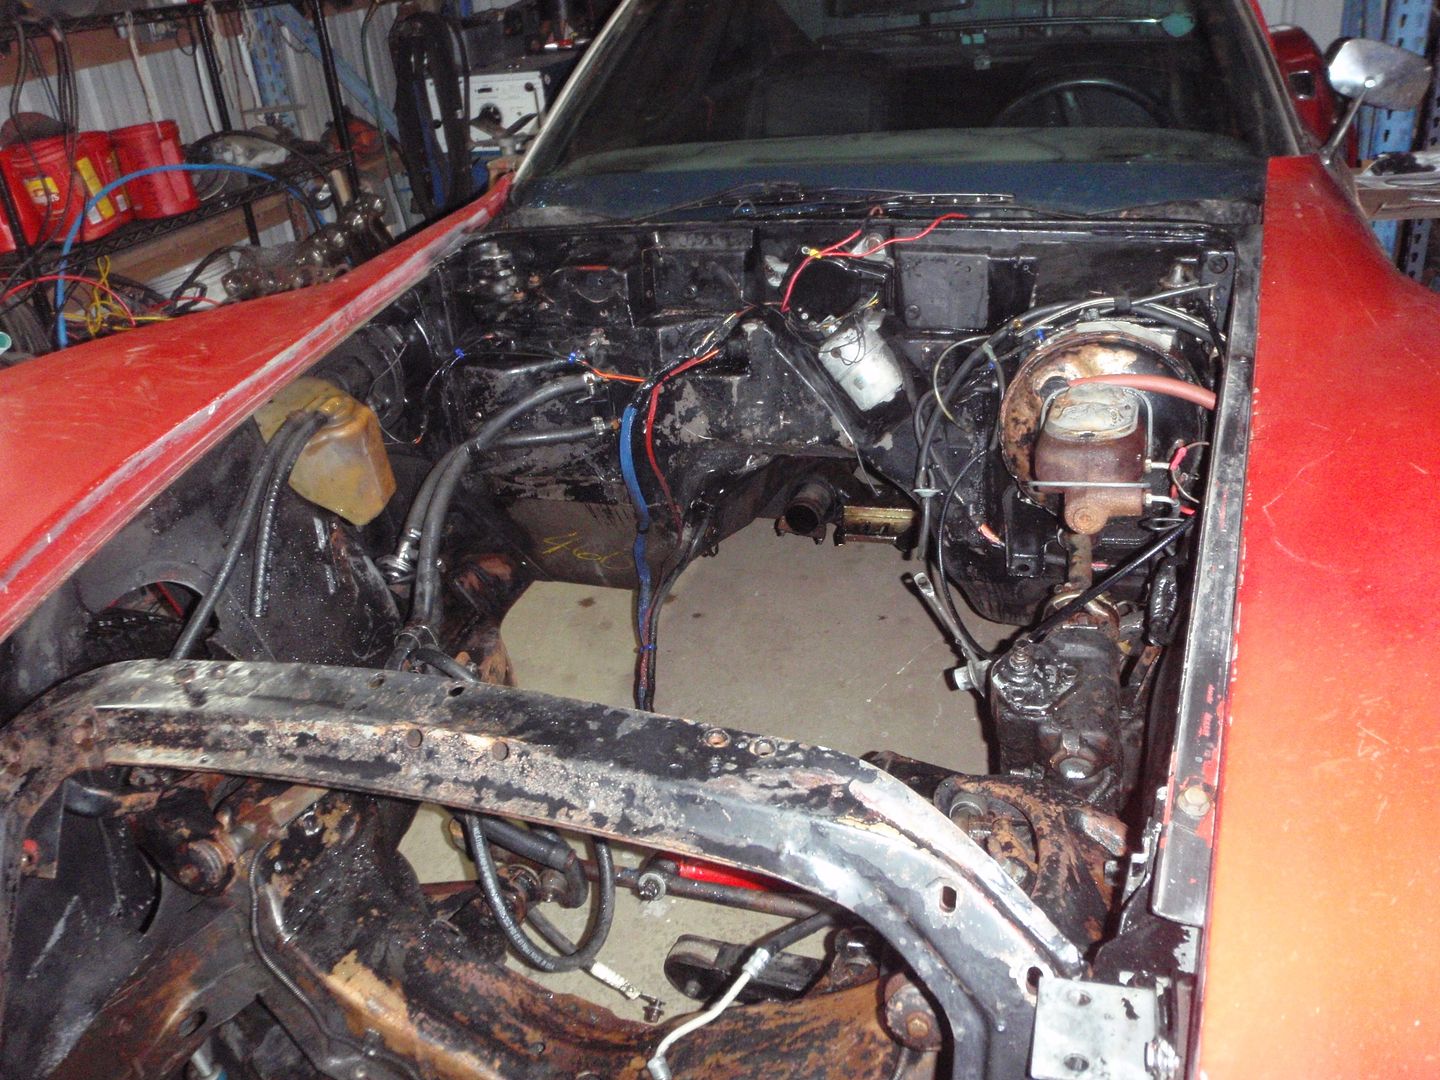
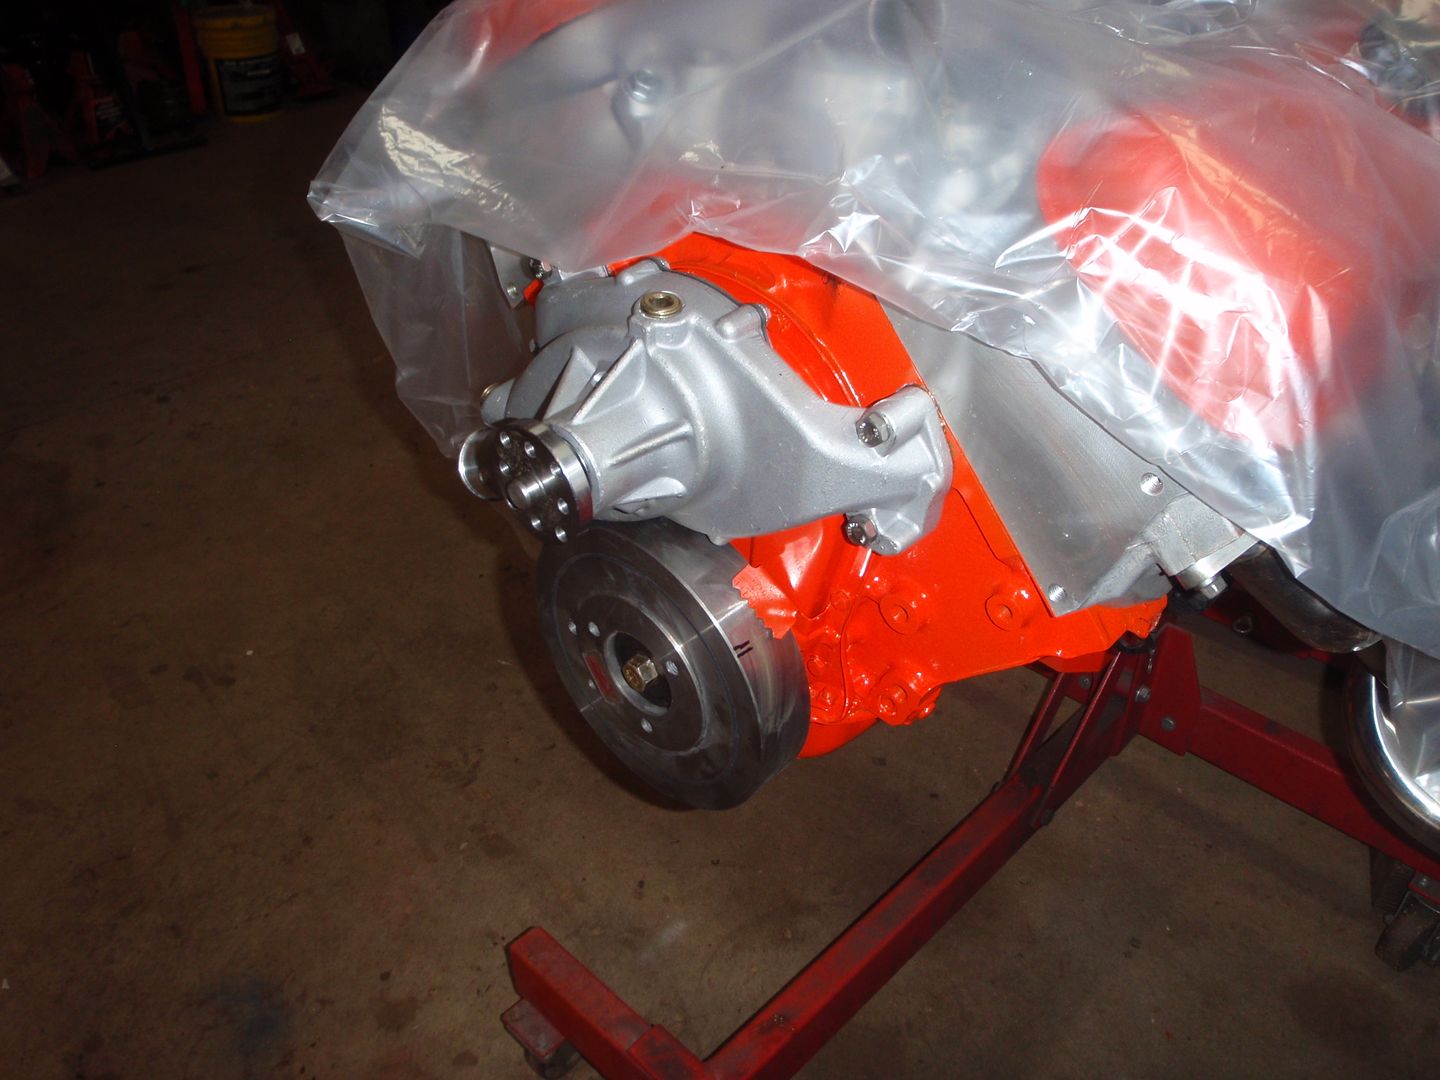
after it dries, paint...
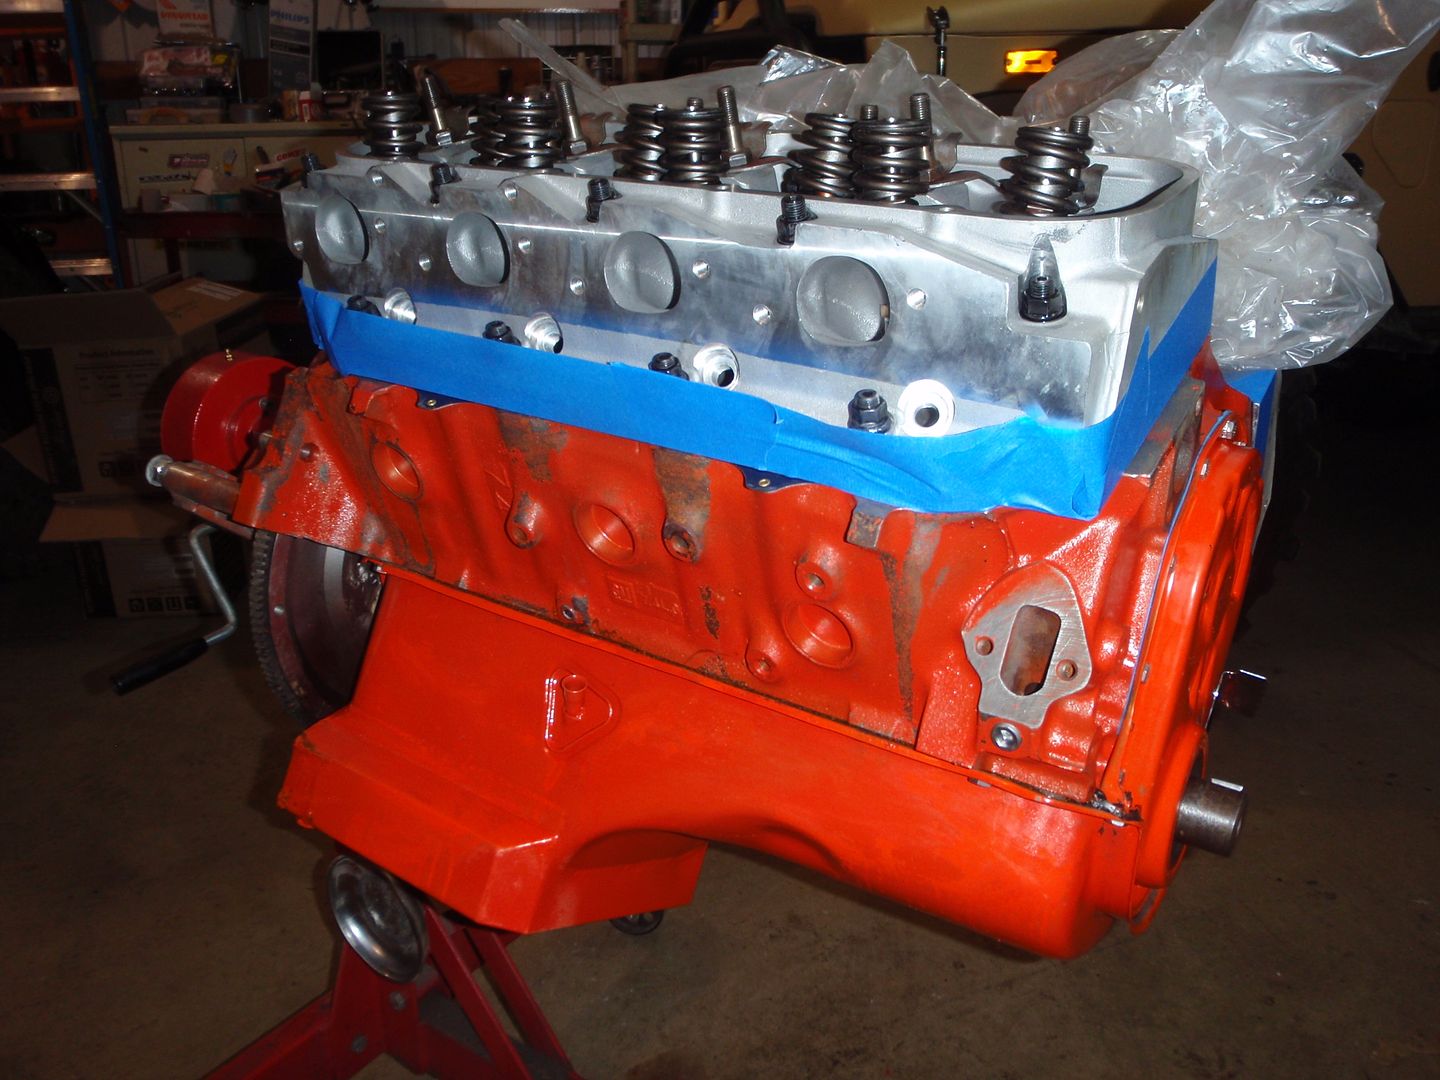
pulled the pan off to do the mods I need to finish on it
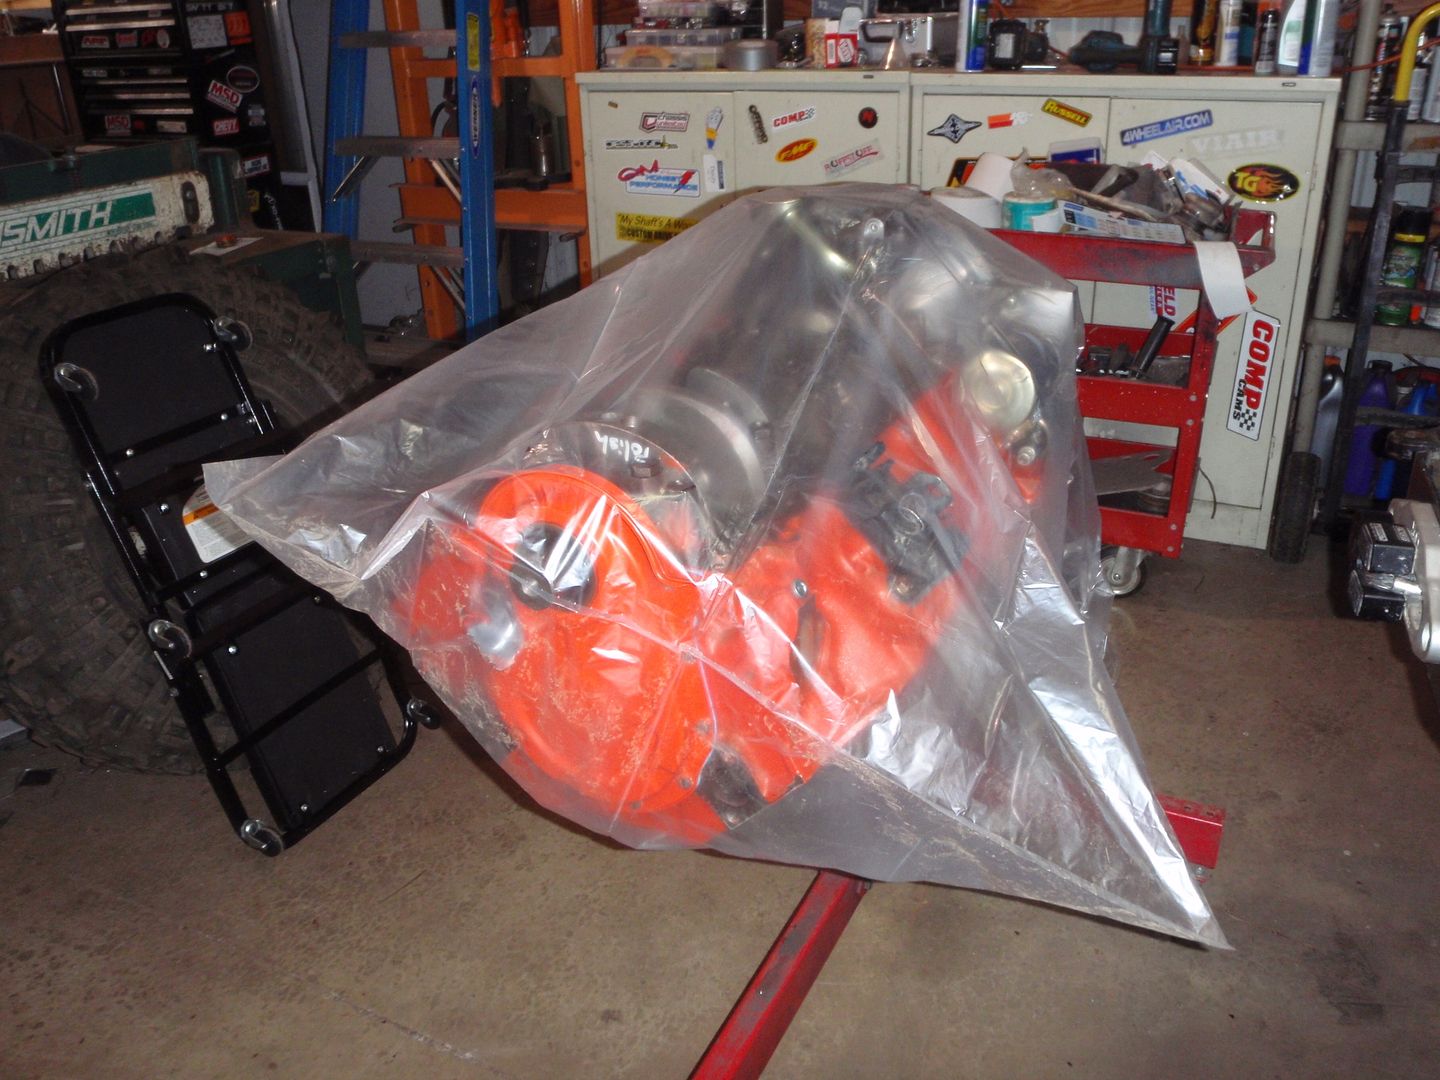
you'll note the engine doesn't have heads on it.... that's because the chinesium head bolts broke at 74 lbs....
I knew it. I knew I should have just bought ARP studs. They're $220 (that I would have had to buy twice because I would have bought the wrong ones first).... The chinese heads are profiler 24 heads that require a bit shorter outside bolts and 1" longer bolts across the top of the exhaust ports... ah well, I'm seriously just one crank away from having a complete 2nd BBC with all the spare parts.... did I mention that I was building another 427? this one is a gift for my dad and his 65 Chevelle SS (no telling).
got the pins for the bellhousing


yes, extra long, not sure that's a good idea but it's what I've got

part of the day was cleaning the engine bay - which happened after the motor was removed

not terrible, but dirty


much better

after it dries, paint...
pulled the pan off to do the mods I need to finish on it

you'll note the engine doesn't have heads on it.... that's because the chinesium head bolts broke at 74 lbs....

I knew it. I knew I should have just bought ARP studs. They're $220 (that I would have had to buy twice because I would have bought the wrong ones first).... The chinese heads are profiler 24 heads that require a bit shorter outside bolts and 1" longer bolts across the top of the exhaust ports... ah well, I'm seriously just one crank away from having a complete 2nd BBC with all the spare parts.... did I mention that I was building another 427? this one is a gift for my dad and his 65 Chevelle SS (no telling).
10-12-2017, 12:13 AM
#69
Melting Slicks
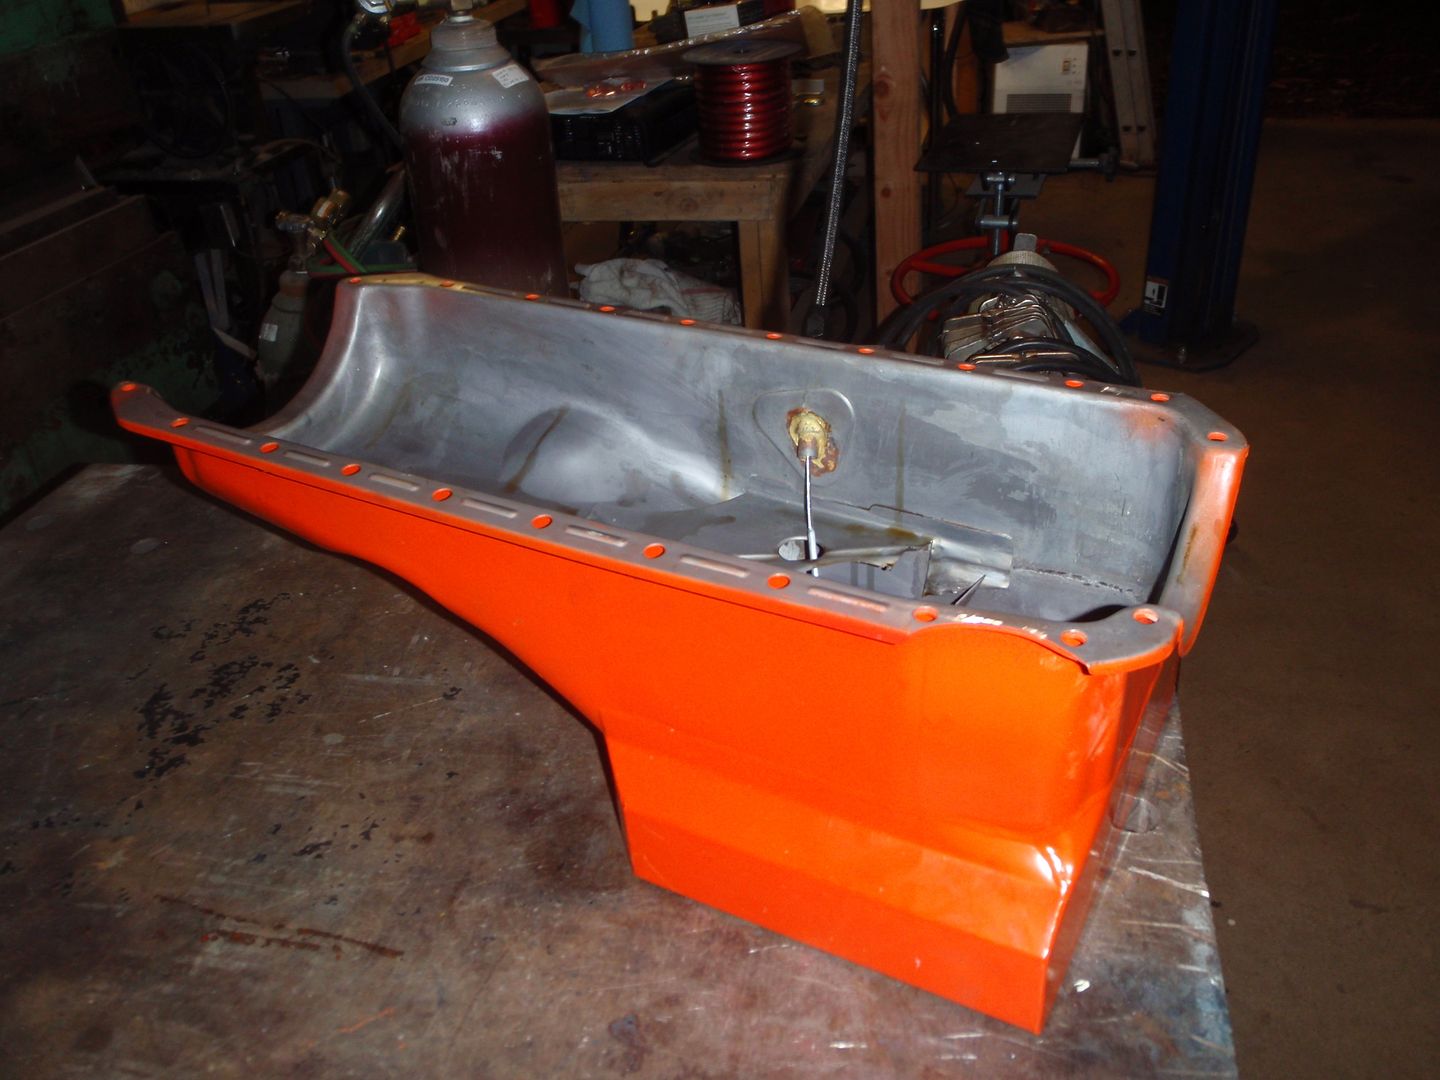
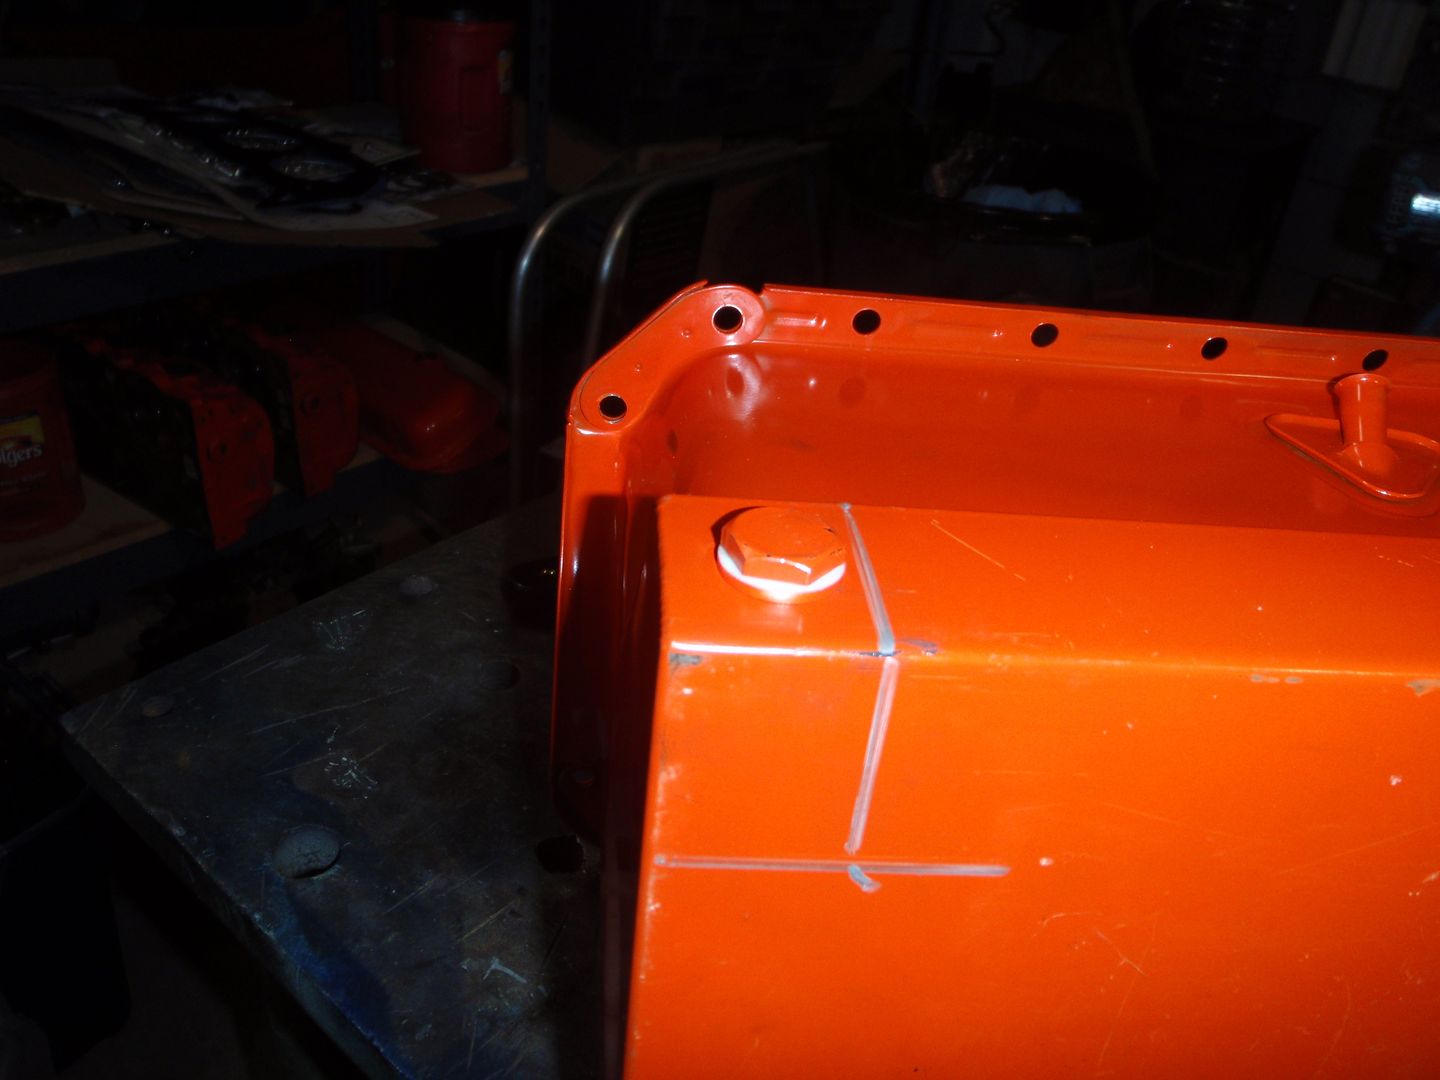
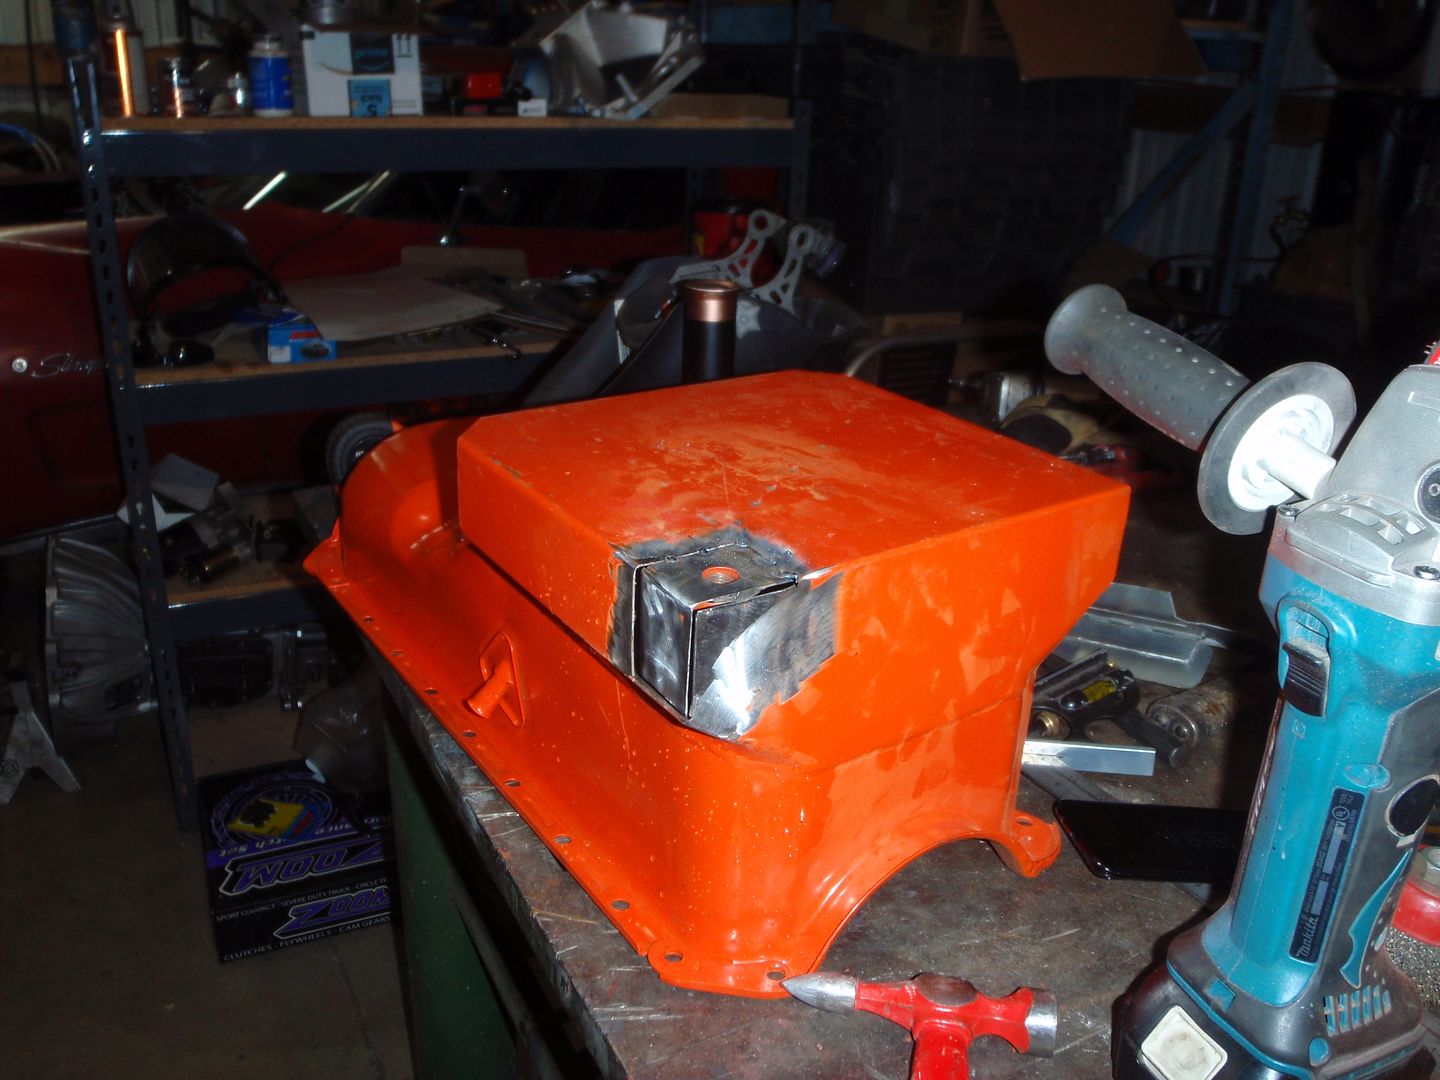
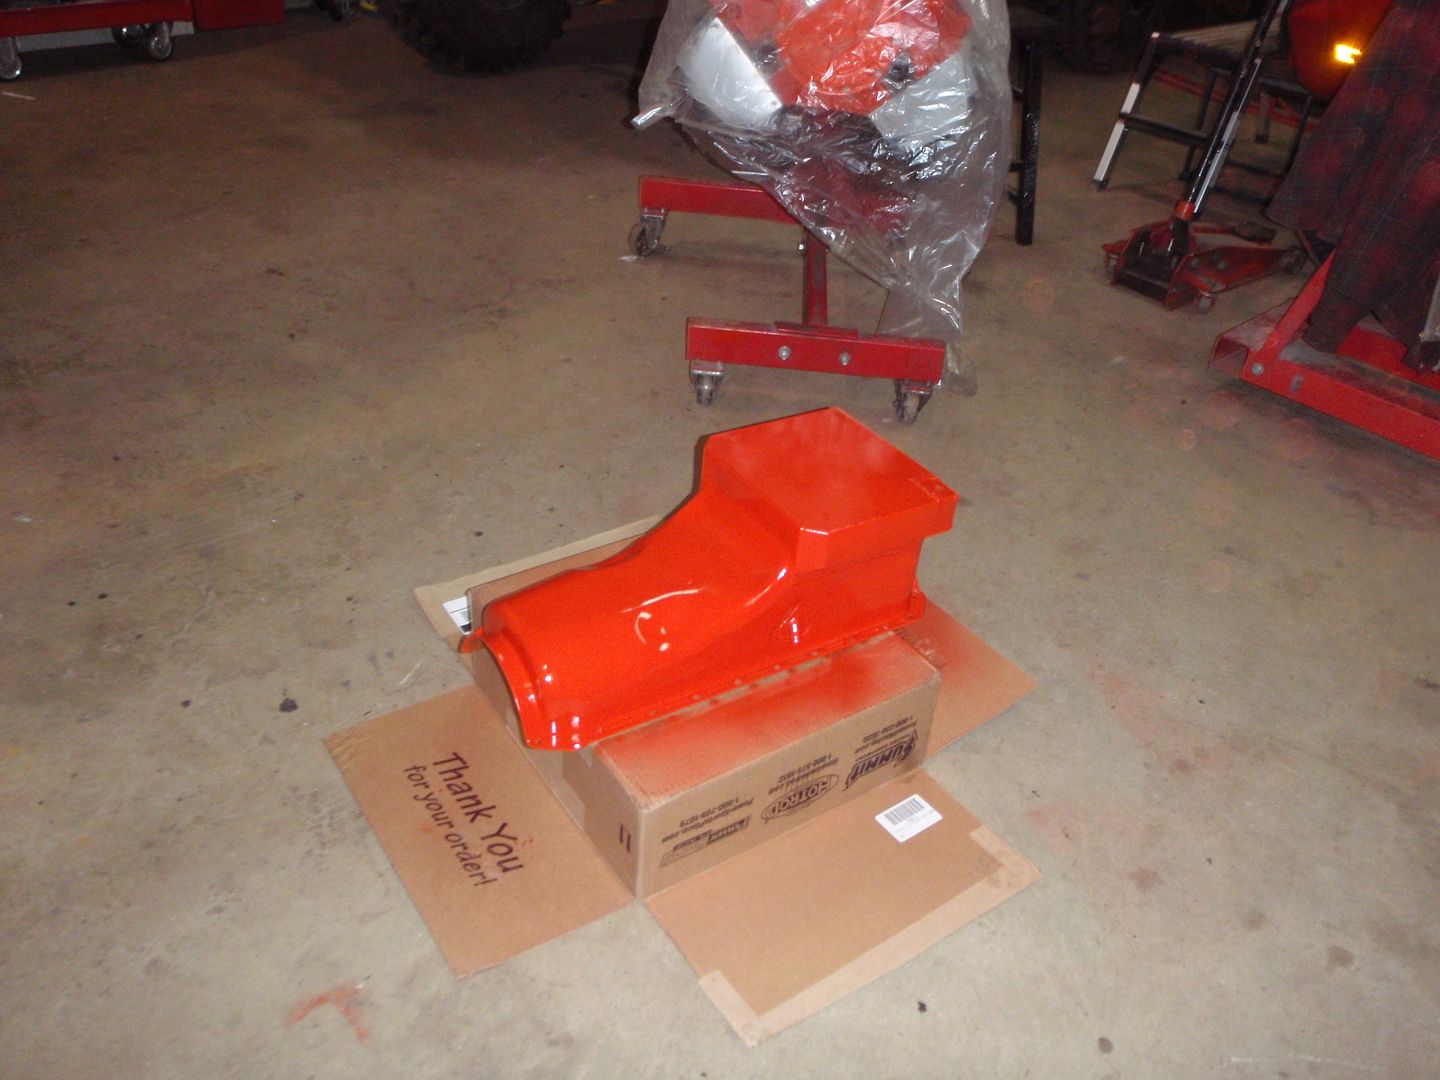
started fixing the oil pan. I'm not sure I'm going to make it shallower however, I will fix the drain plug being an inch above the floor
yummy parts
and studs.... you know, I could occasionally bottle feed this
no torque, just snugged down

yummy parts

and studs.... you know, I could occasionally bottle feed this

no torque, just snugged down

10-13-2017, 12:21 AM
#70
Melting Slicks
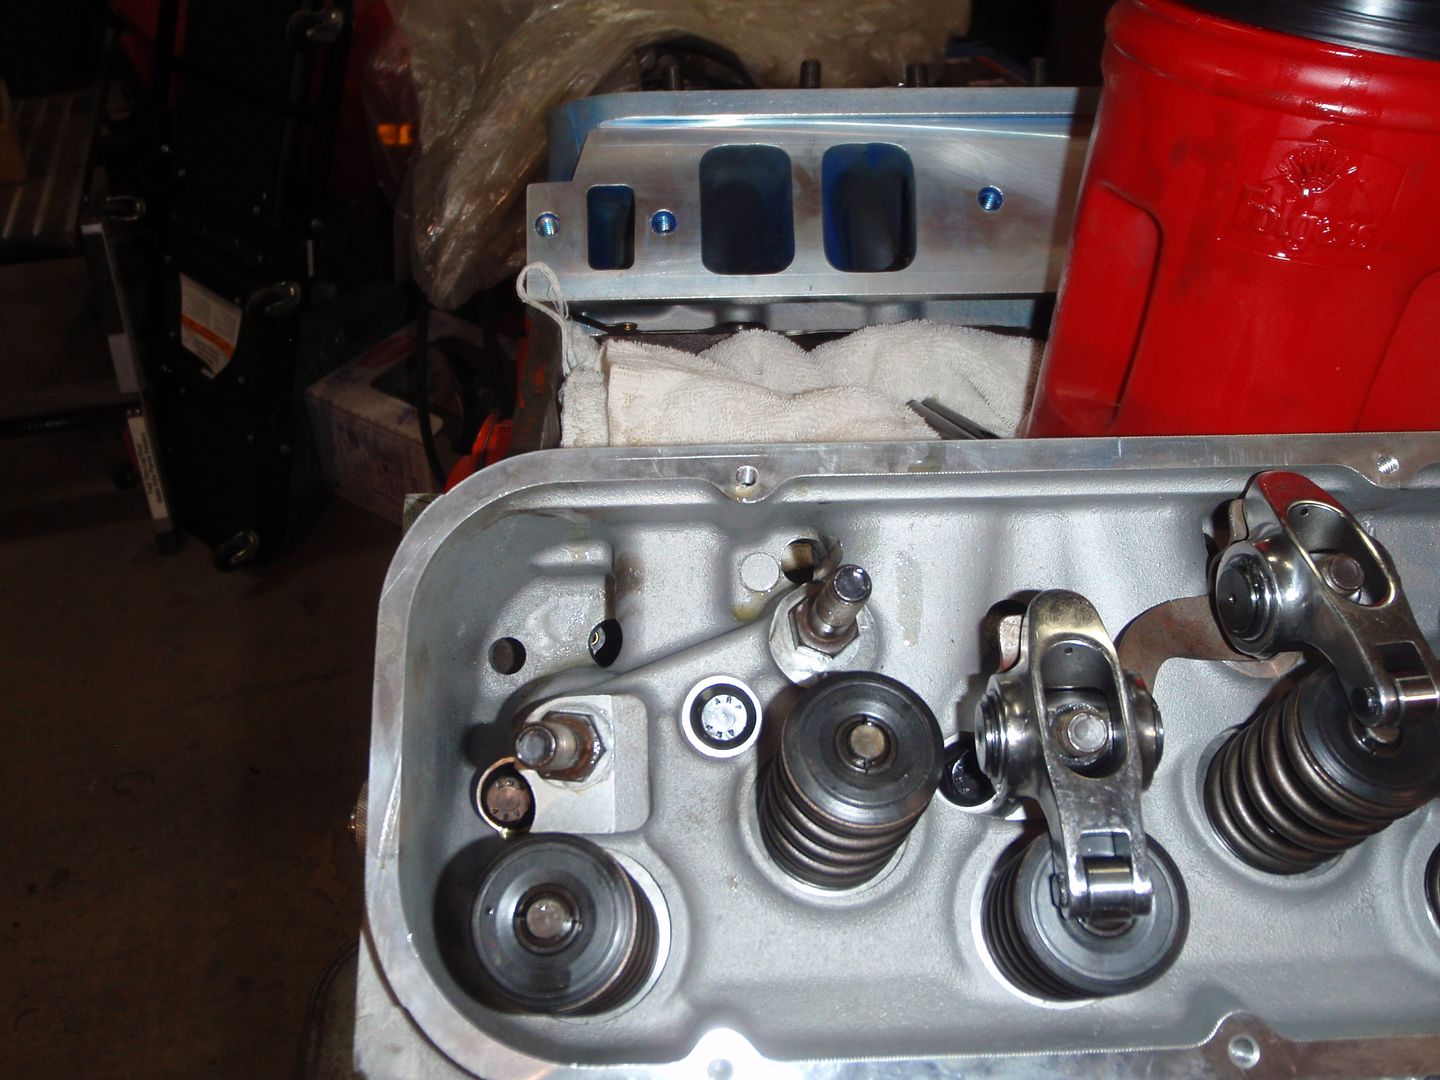
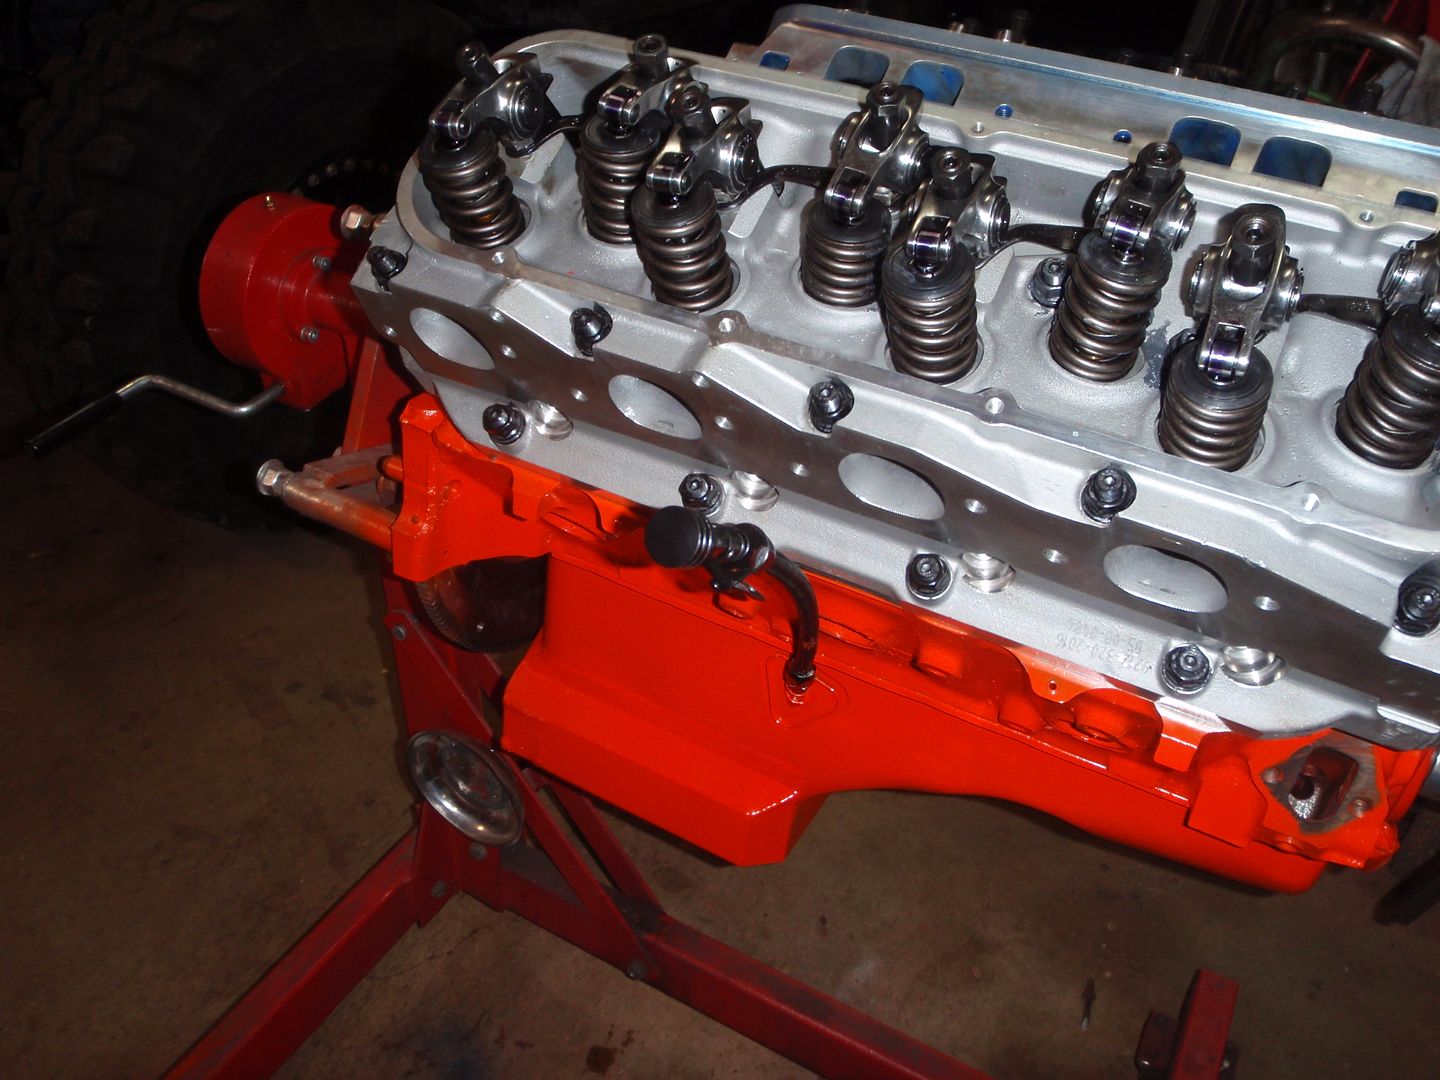
heads are torqued down... next problem, 3/8" pushrods don't fit in 3/8" guides... grumble
hey look, lifters finally in
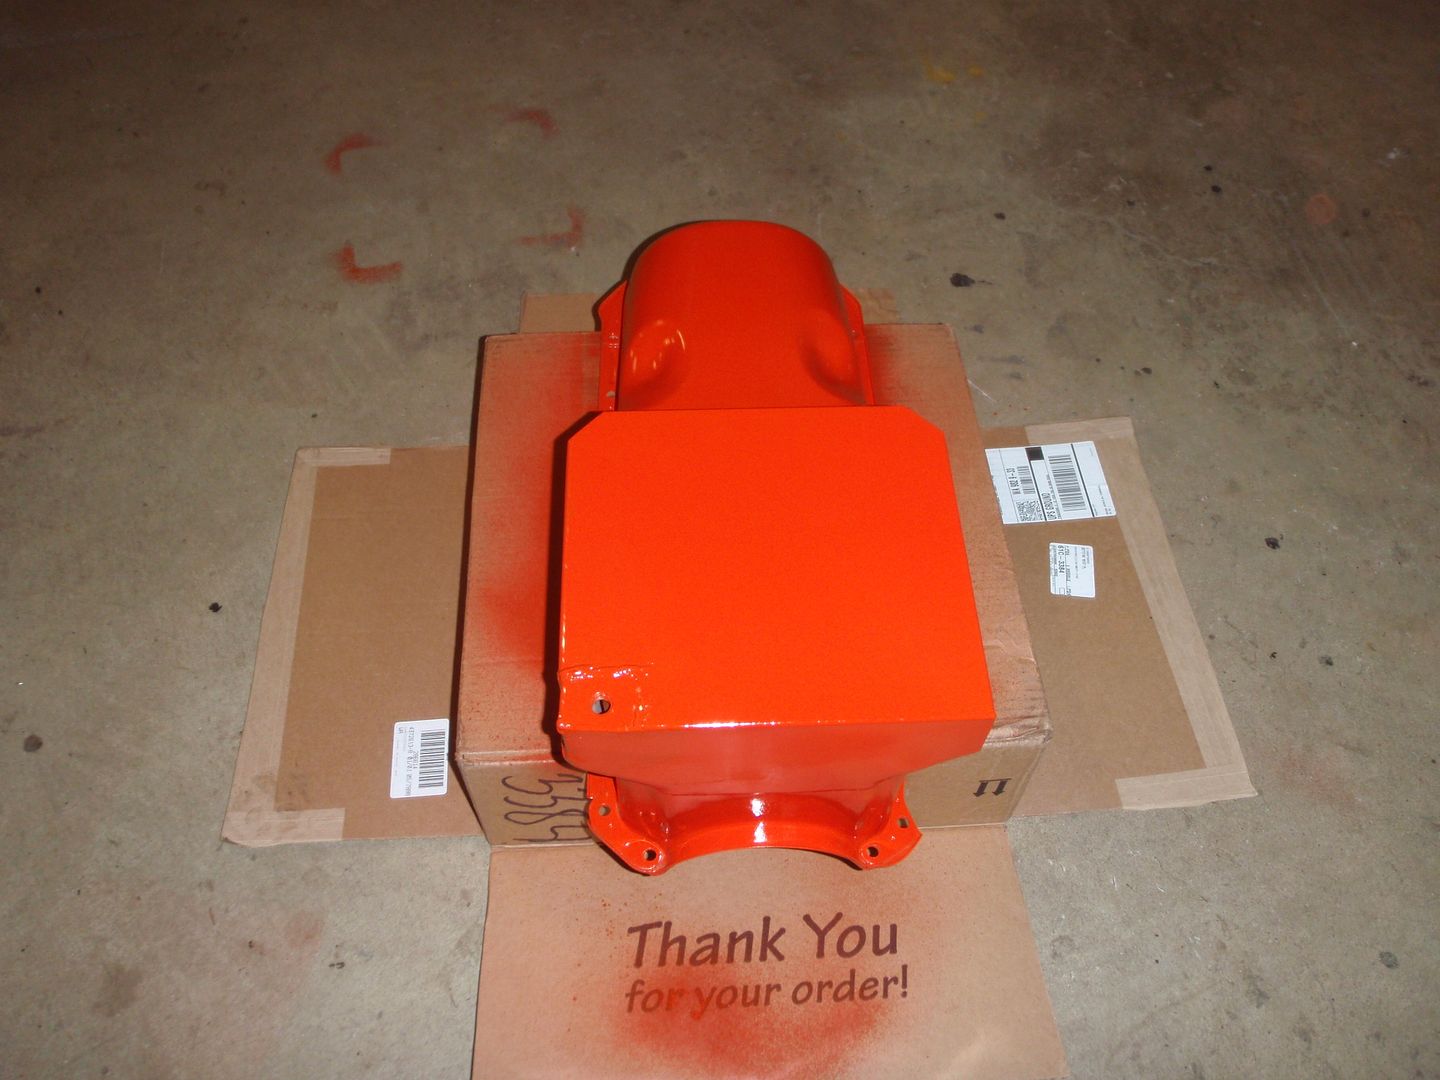
oil pan mostly installed... need to tap that hole
moved the oil plug
started on the engine bay

hey look, lifters finally in

oil pan mostly installed... need to tap that hole

moved the oil plug


started on the engine bay
 10-16-2017, 12:27 AM
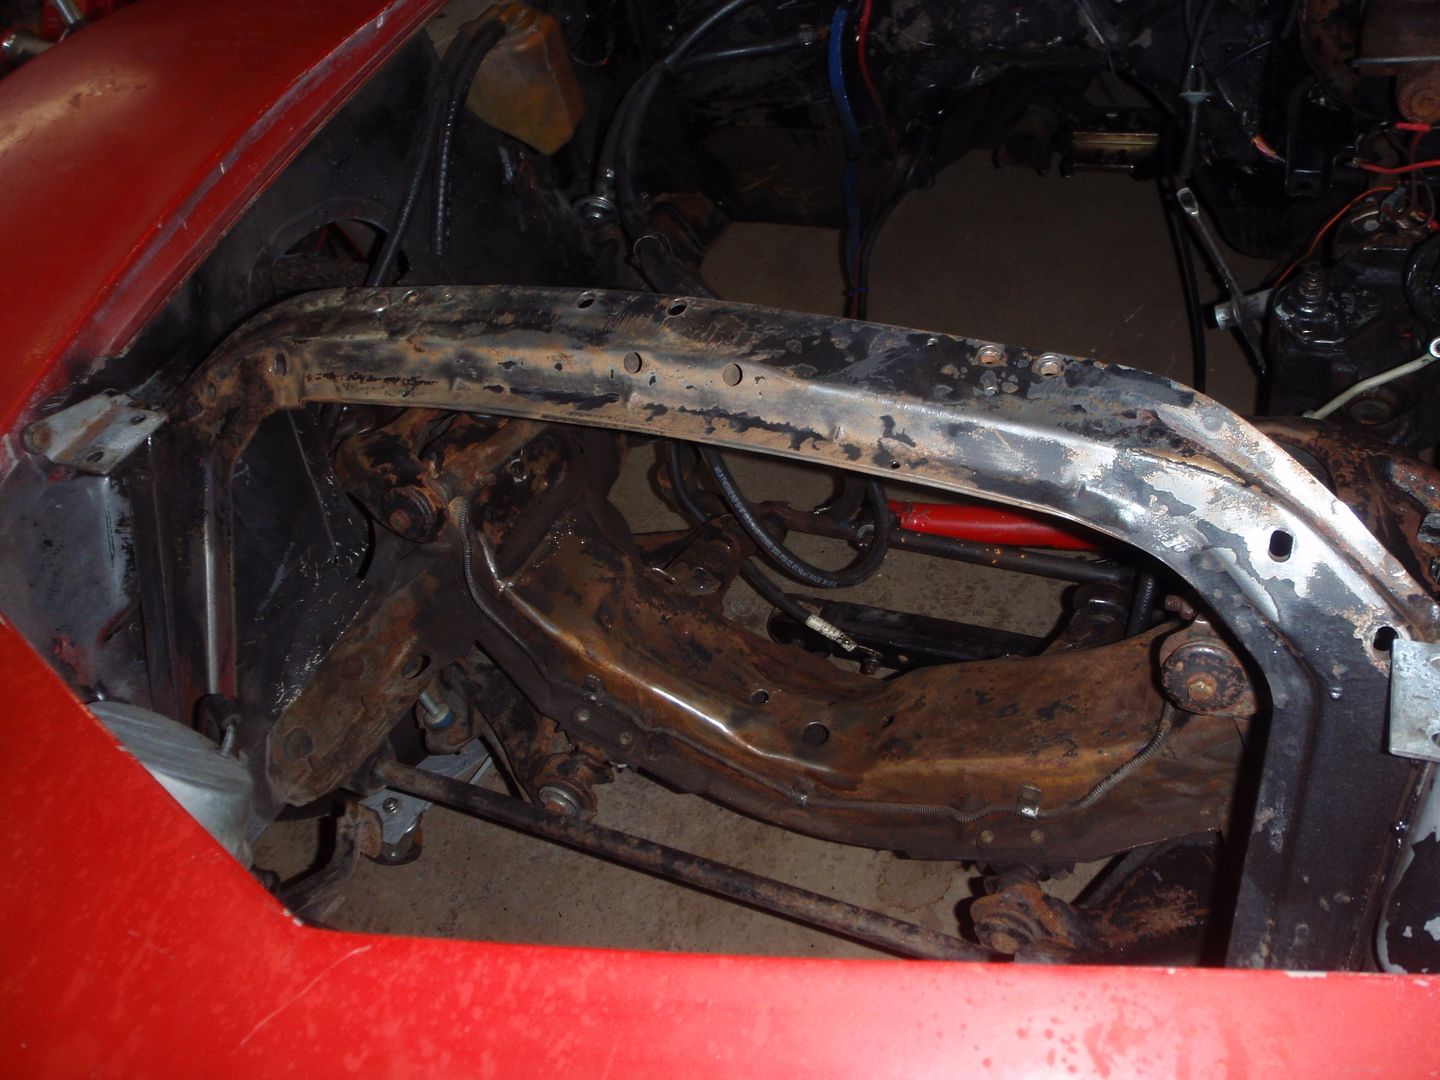
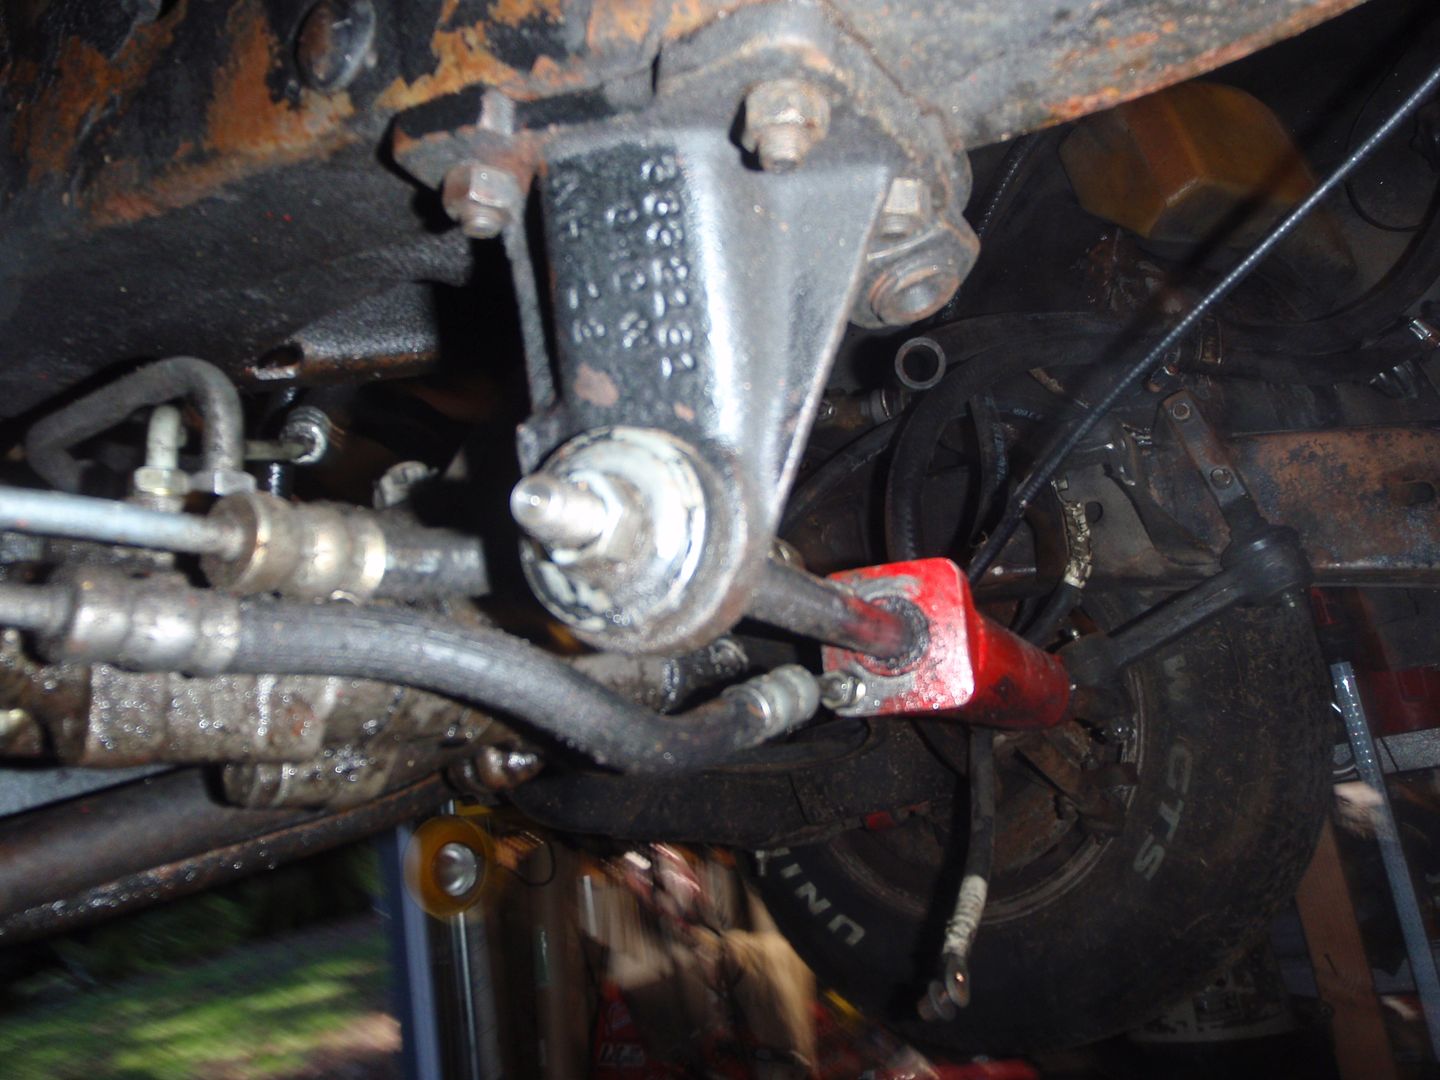
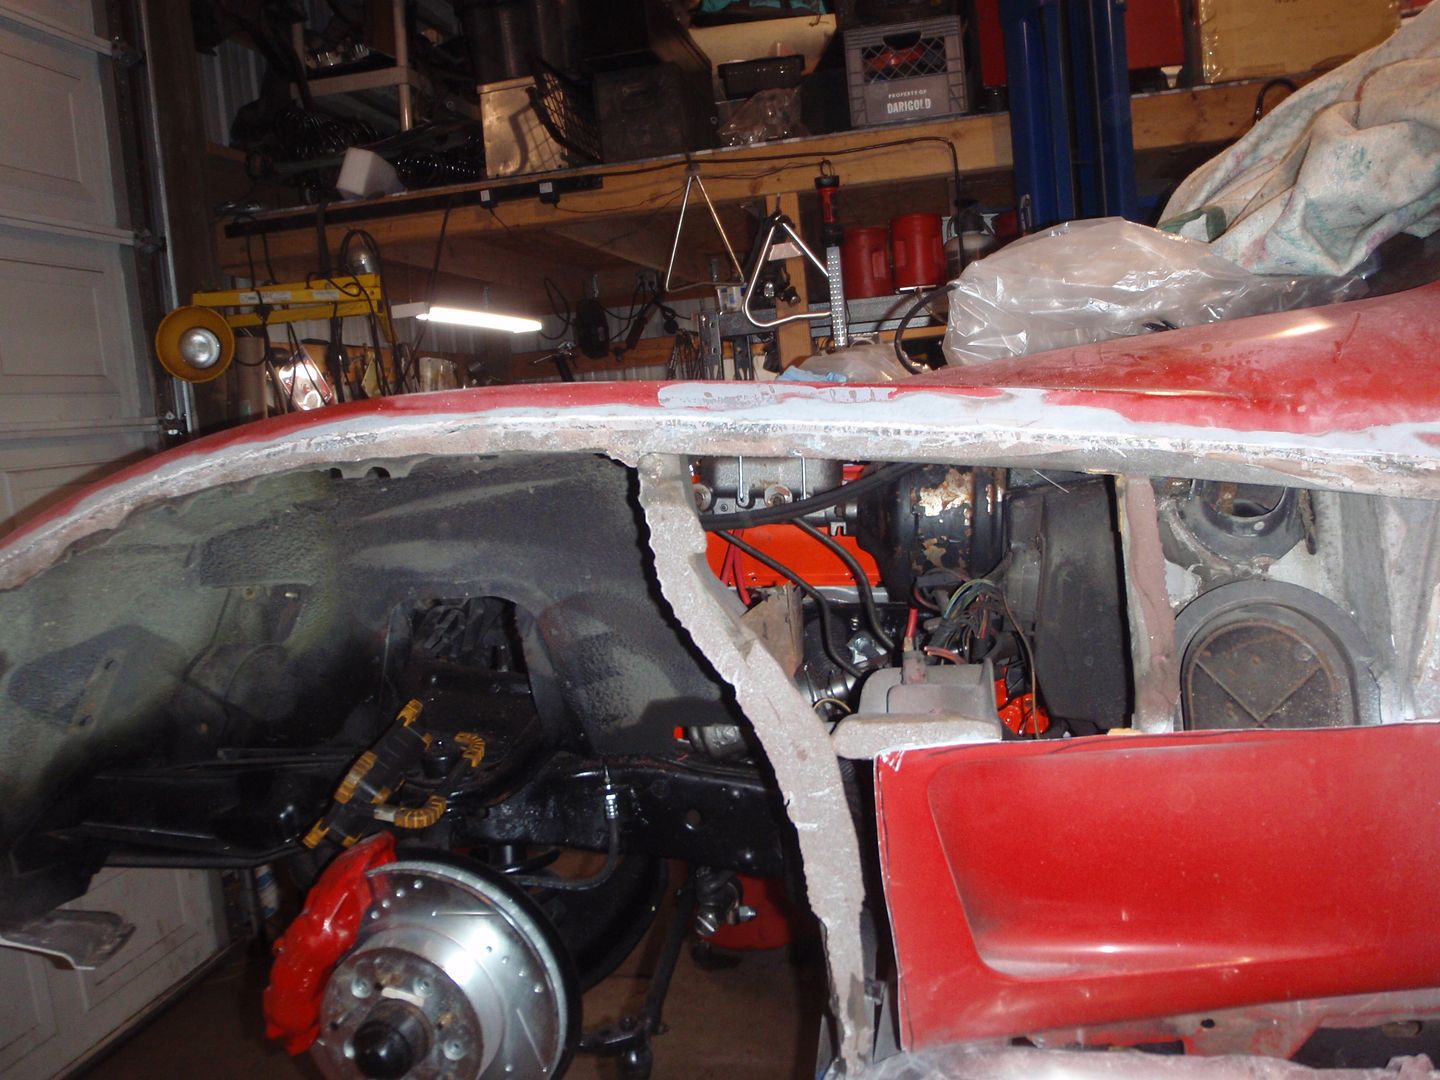
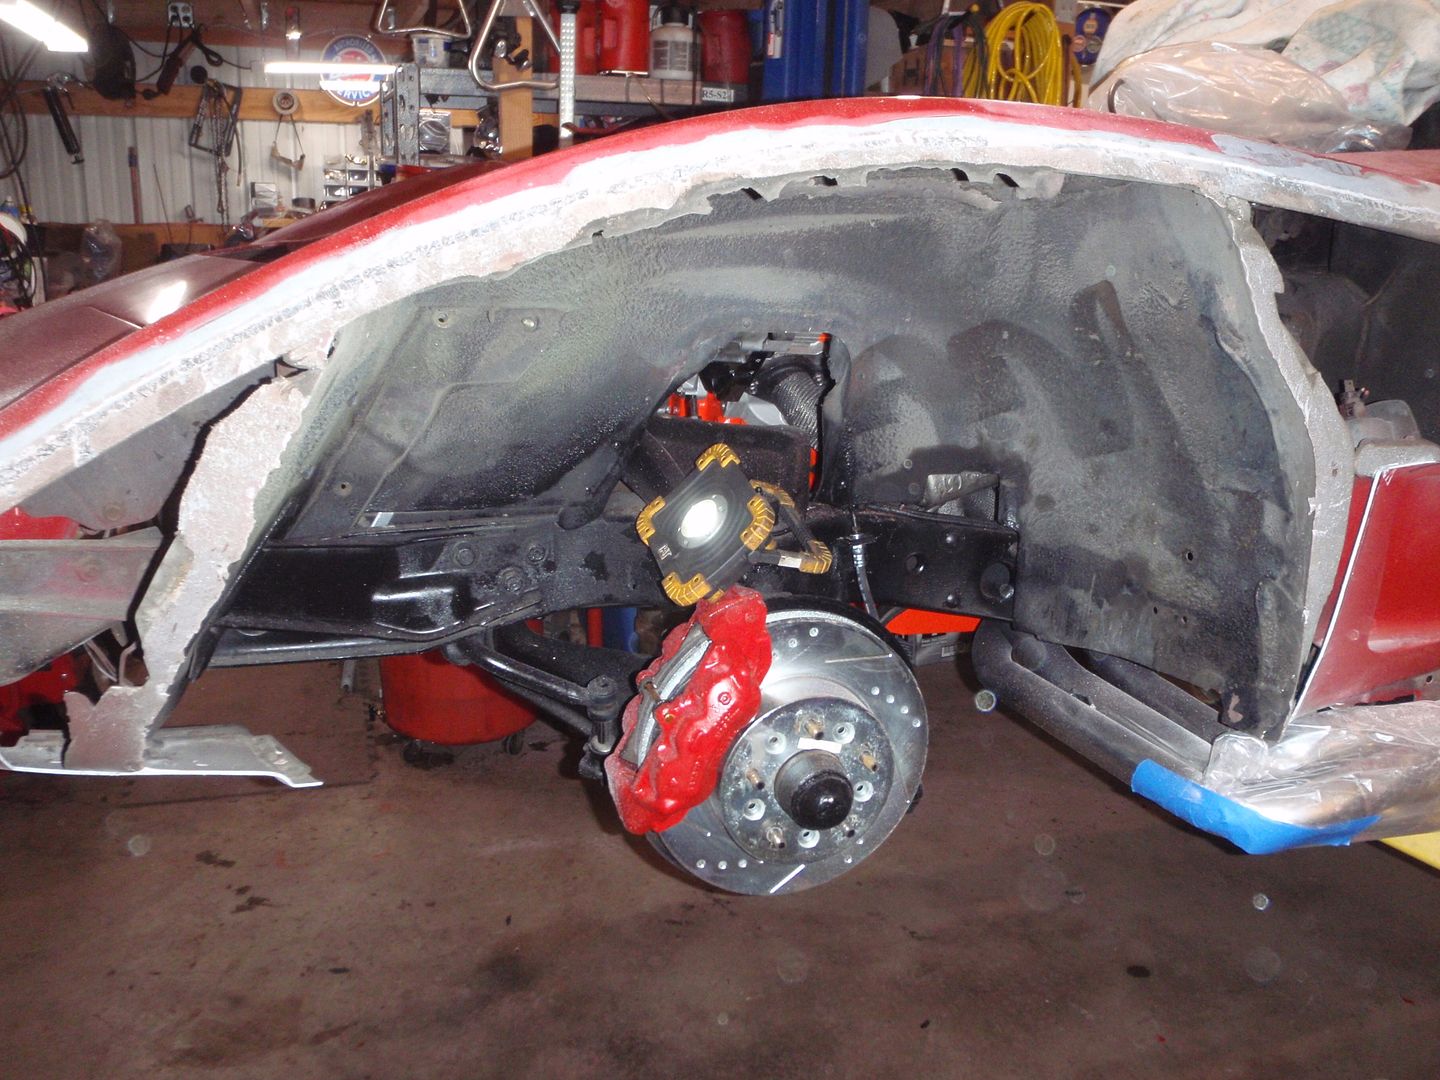
#71
Melting Slicks
today, remove such silly stuff as steering
first remove power part
it's in good shape (painted pretty)
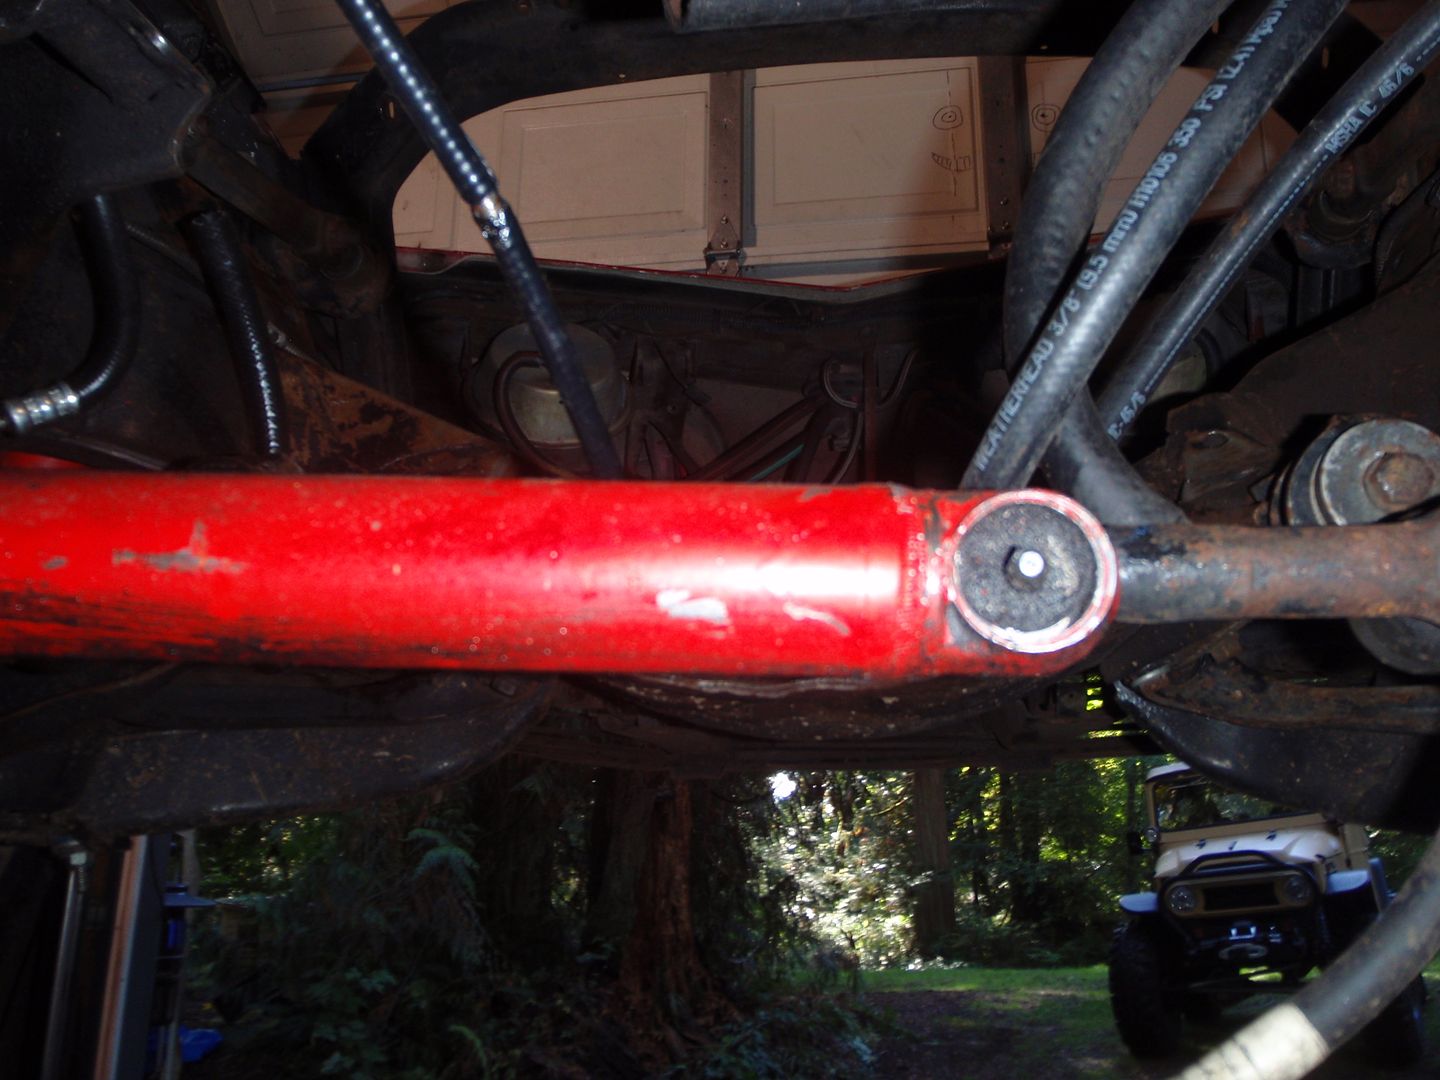
move the tie rods to the manual hole
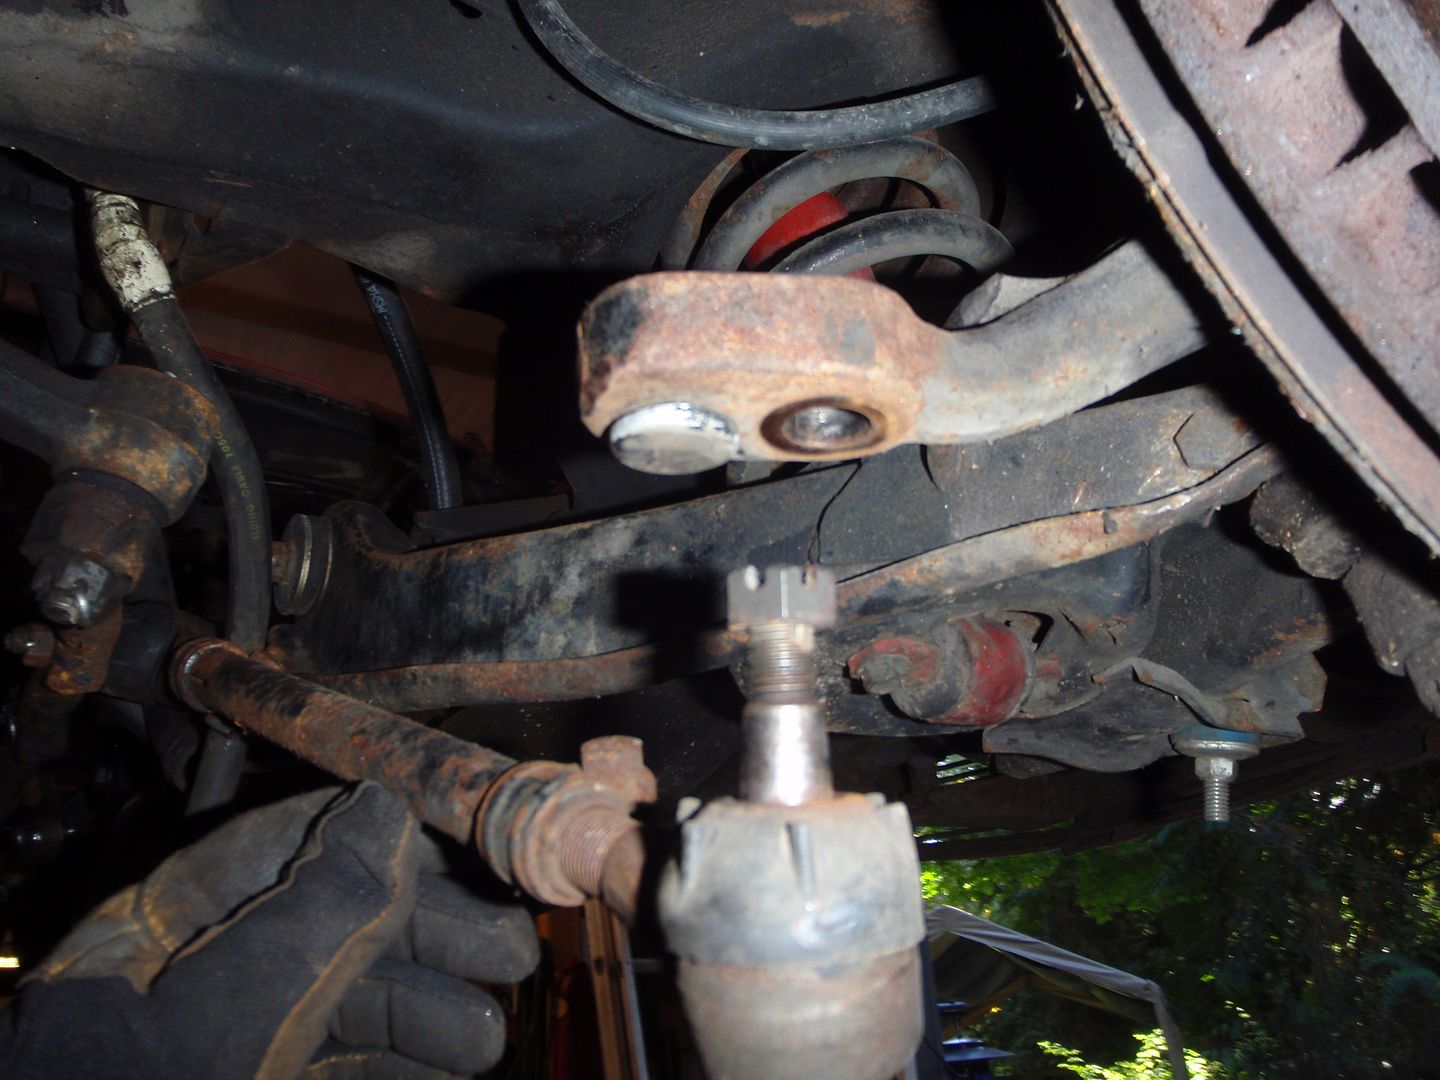
move the Buick to the Fiat hole, the the Fiat to the Corvette hole, then the Corvette to the lift
time to start cleaning it up

all of these have issues - but between the all, I think I have one good one
finish remove steering
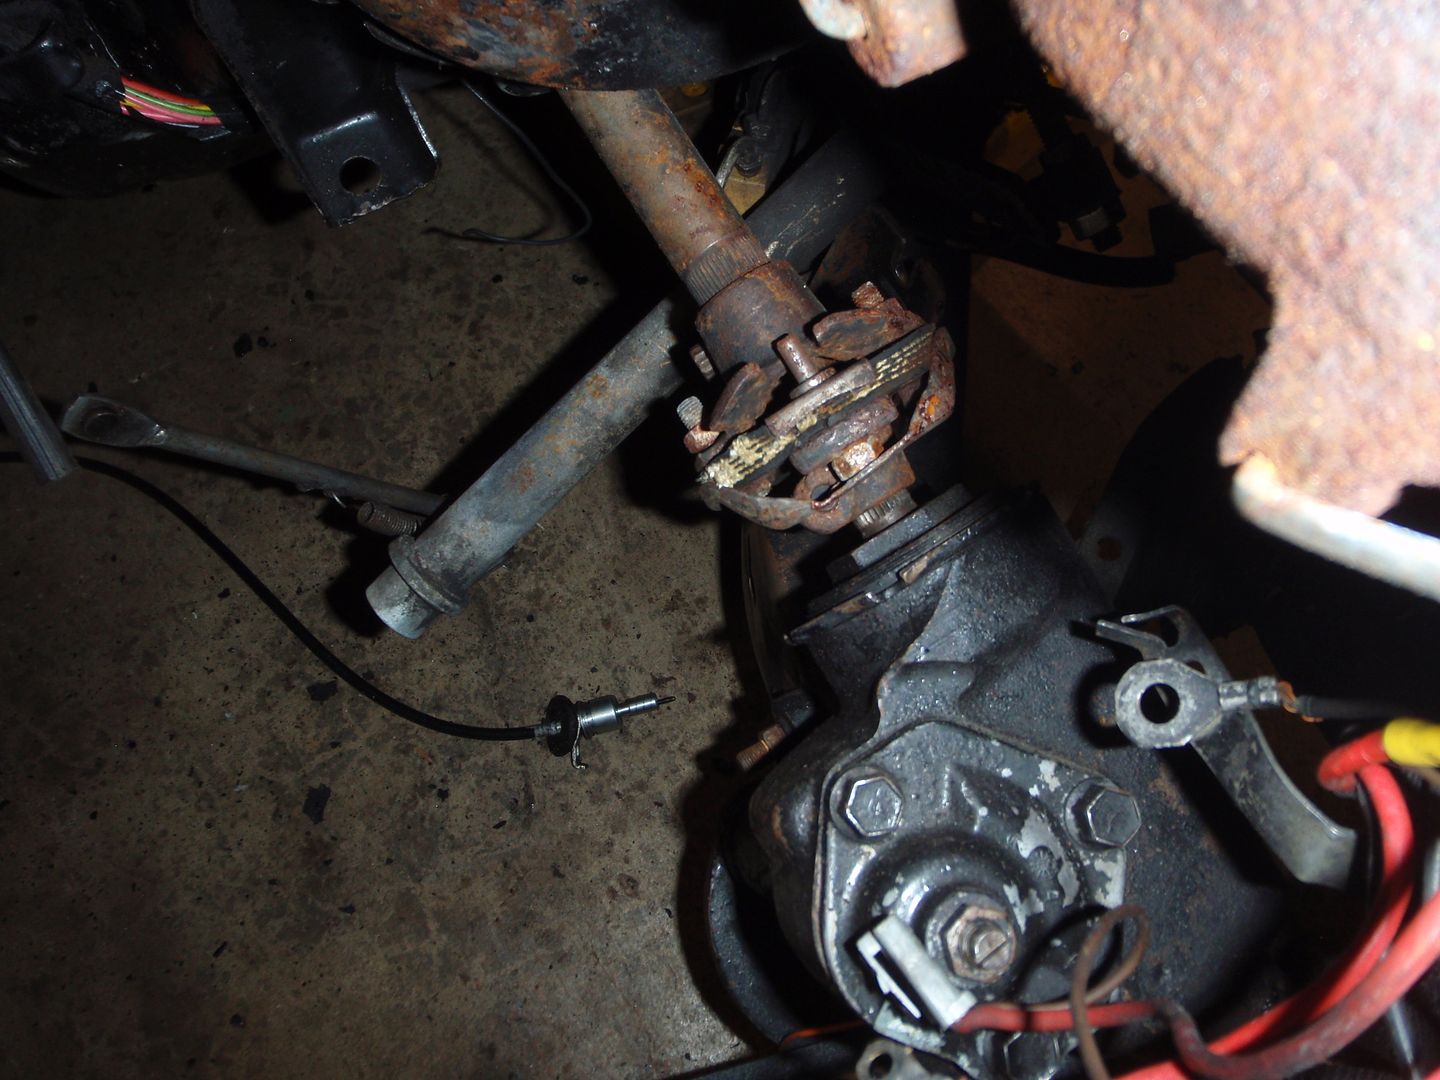
pretty part... wrong one.... again, this is a 48 spline 1" and a 30 spline 3/4.... which is exactly what I didn't order

I did, however, get medieval getting it apart
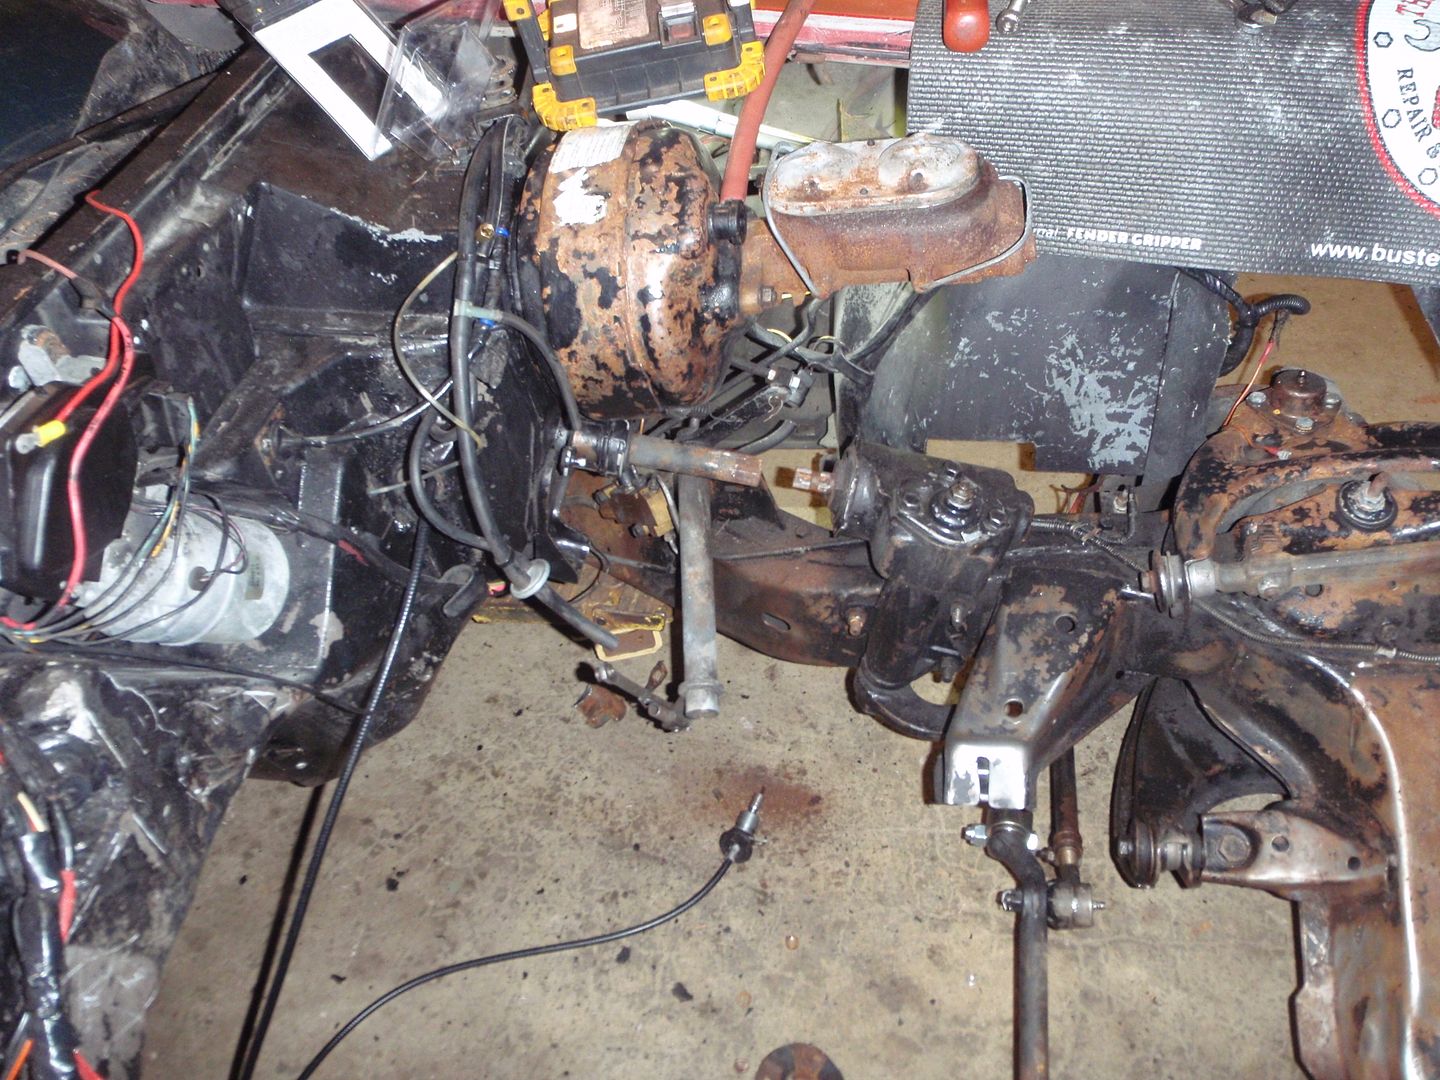
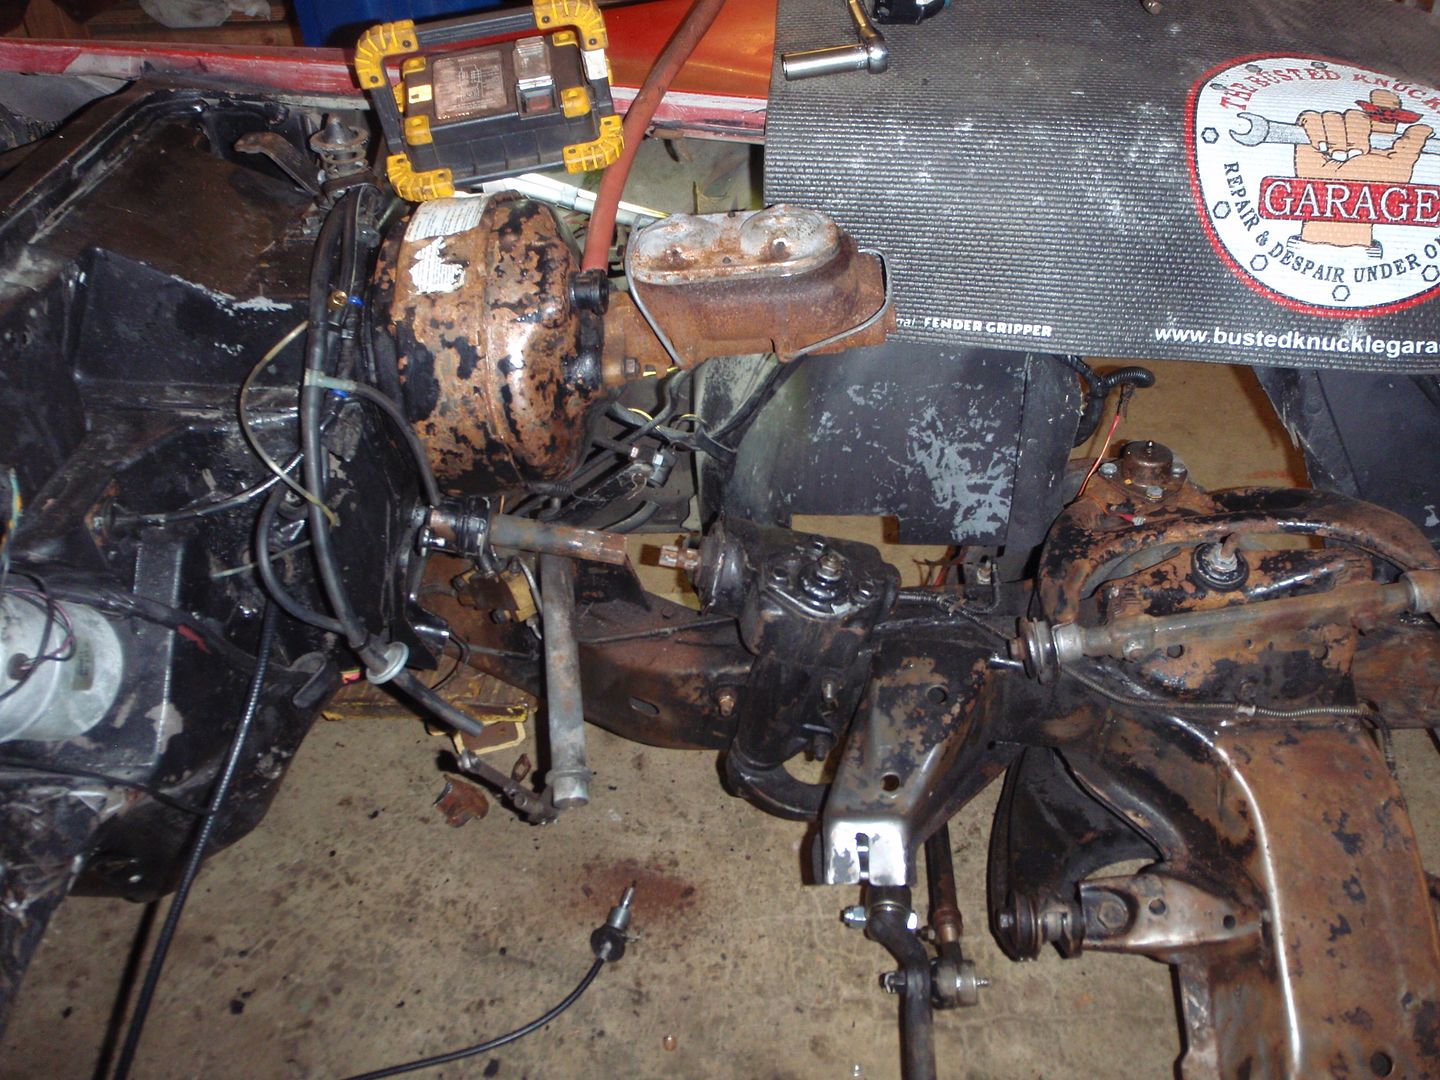
so I'm kind of stopped there for a moment - no worries, there is much I can do.... what? well, you'll just have to tune in next time on As the Corvette Flops.
first remove power part

it's in good shape (painted pretty)

move the tie rods to the manual hole

move the Buick to the Fiat hole, the the Fiat to the Corvette hole, then the Corvette to the lift


time to start cleaning it up

all of these have issues - but between the all, I think I have one good one

finish remove steering

pretty part... wrong one.... again, this is a 48 spline 1" and a 30 spline 3/4.... which is exactly what I didn't order

I did, however, get medieval getting it apart


so I'm kind of stopped there for a moment - no worries, there is much I can do.... what? well, you'll just have to tune in next time on As the Corvette Flops.
10-17-2017, 11:59 PM
#72
Melting Slicks
Apparently the old engine paint I had does not like brake clean
I have to paint anyway, so here it goes
yes, I painted aluminum aluminum color
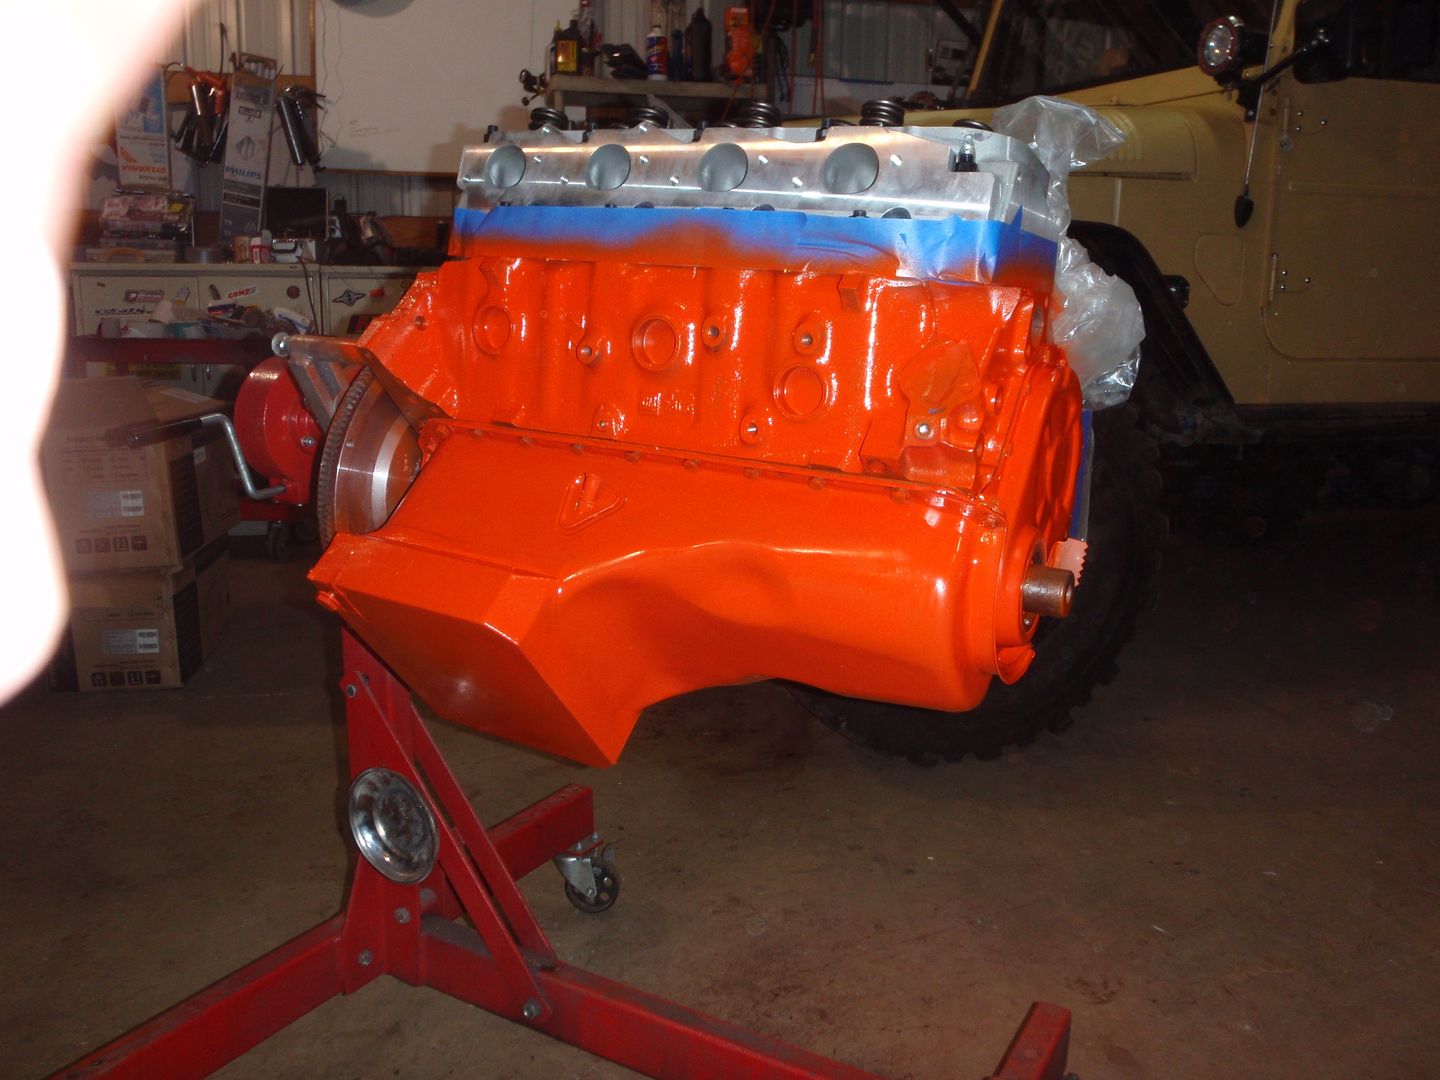
shiney and orangey
cleared
tomorrow is all about the pressure washer under the car.... get it squeaky clean then shoot paint over it all.

I have to paint anyway, so here it goes

yes, I painted aluminum aluminum color
shiney and orangey

cleared

tomorrow is all about the pressure washer under the car.... get it squeaky clean then shoot paint over it all.
10-19-2017, 12:10 AM
#73
Melting Slicks
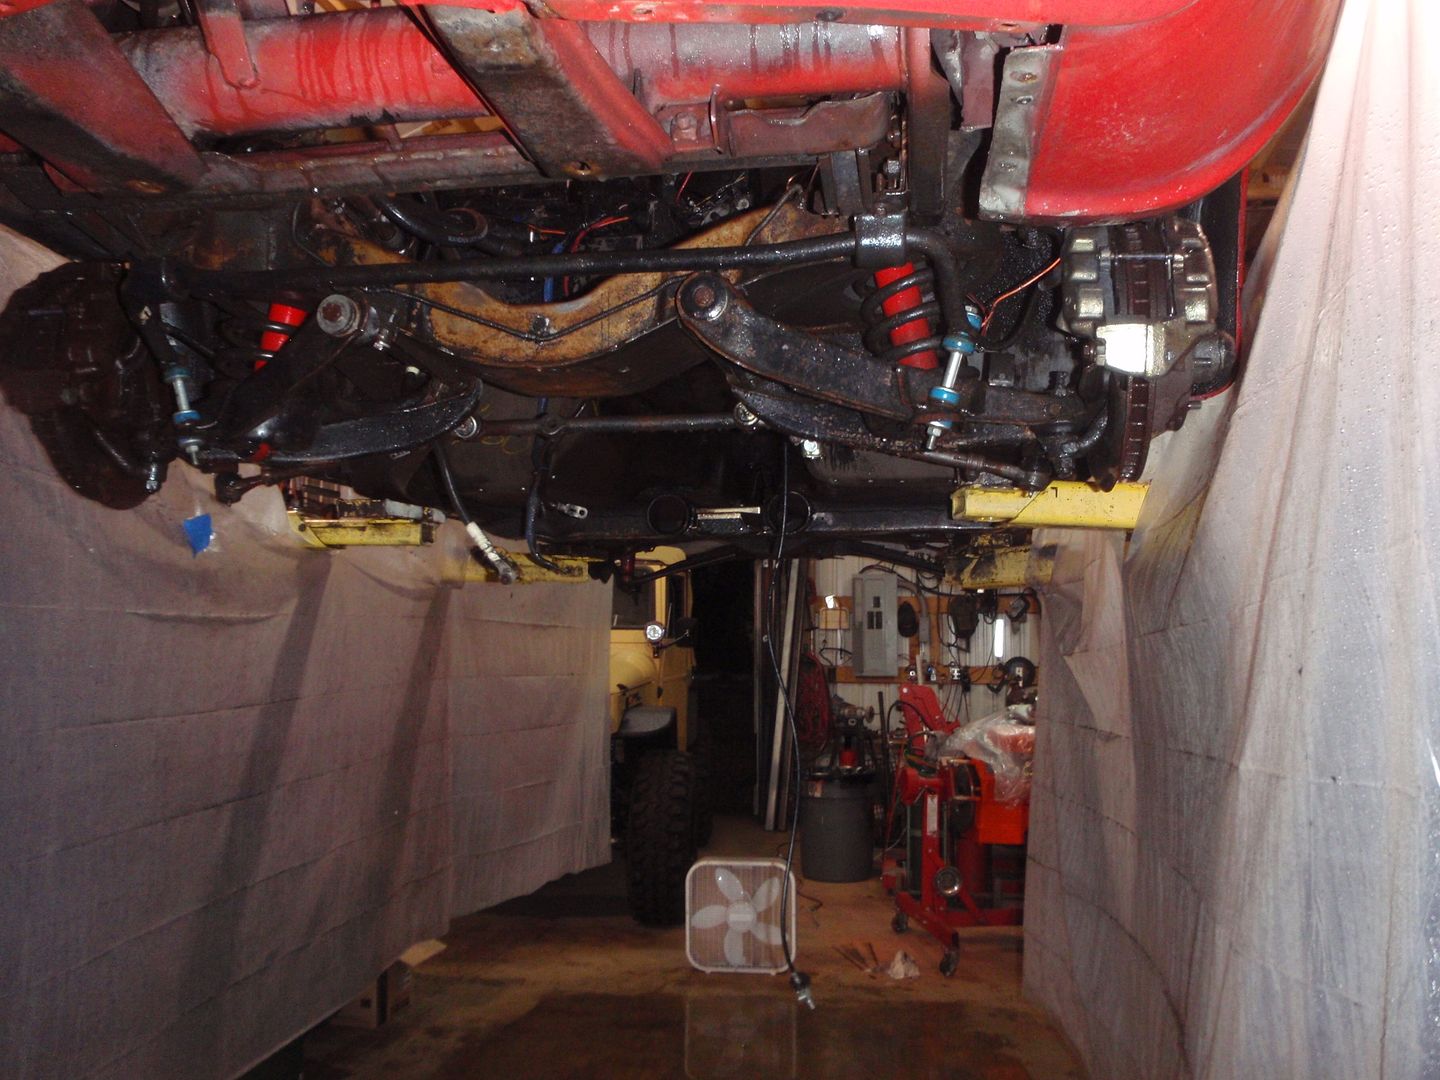
time to clean the underneath

then the long part, dry it
finally got the guides so tomorrow night I may be able to finish assembly of the long block - of course, the other plan is to paint the underside


then the long part, dry it

finally got the guides so tomorrow night I may be able to finish assembly of the long block - of course, the other plan is to paint the underside


 10-19-2017, 12:24 AM
#75
Nam Labrat
Member Since: Sep 2013
Location: New Orleans Loo-z-anna
Posts: 33,898
Received 4,176 Likes
on
2,737 Posts
New paint 
10-20-2017, 01:02 AM
#77
Melting Slicks
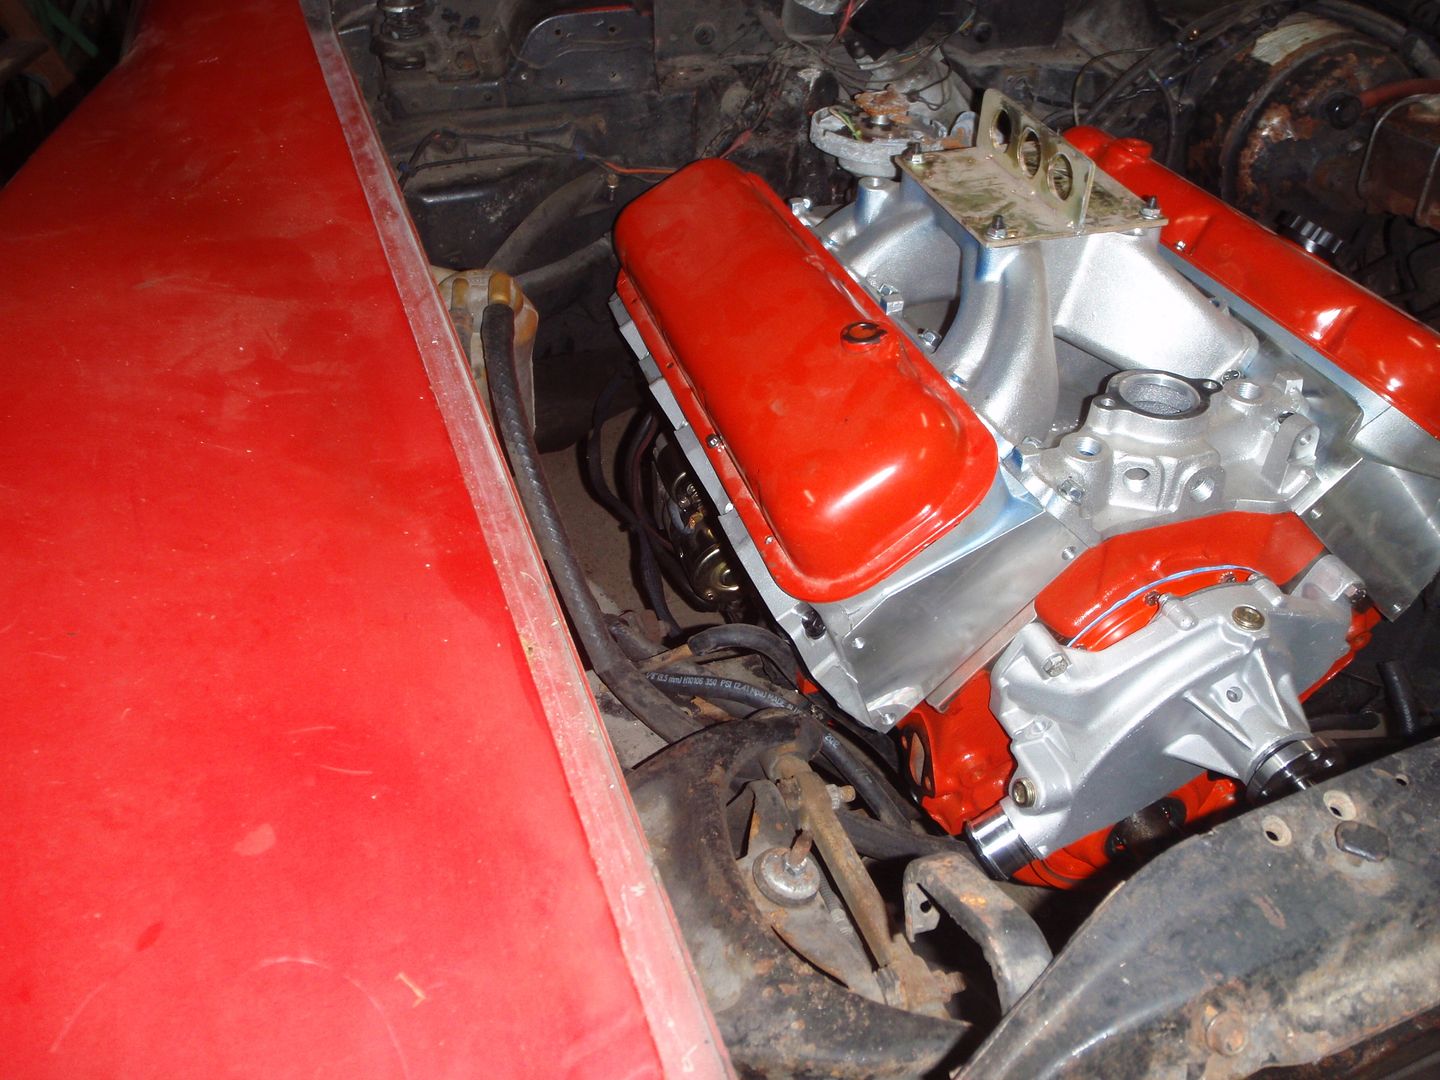
back to 427s
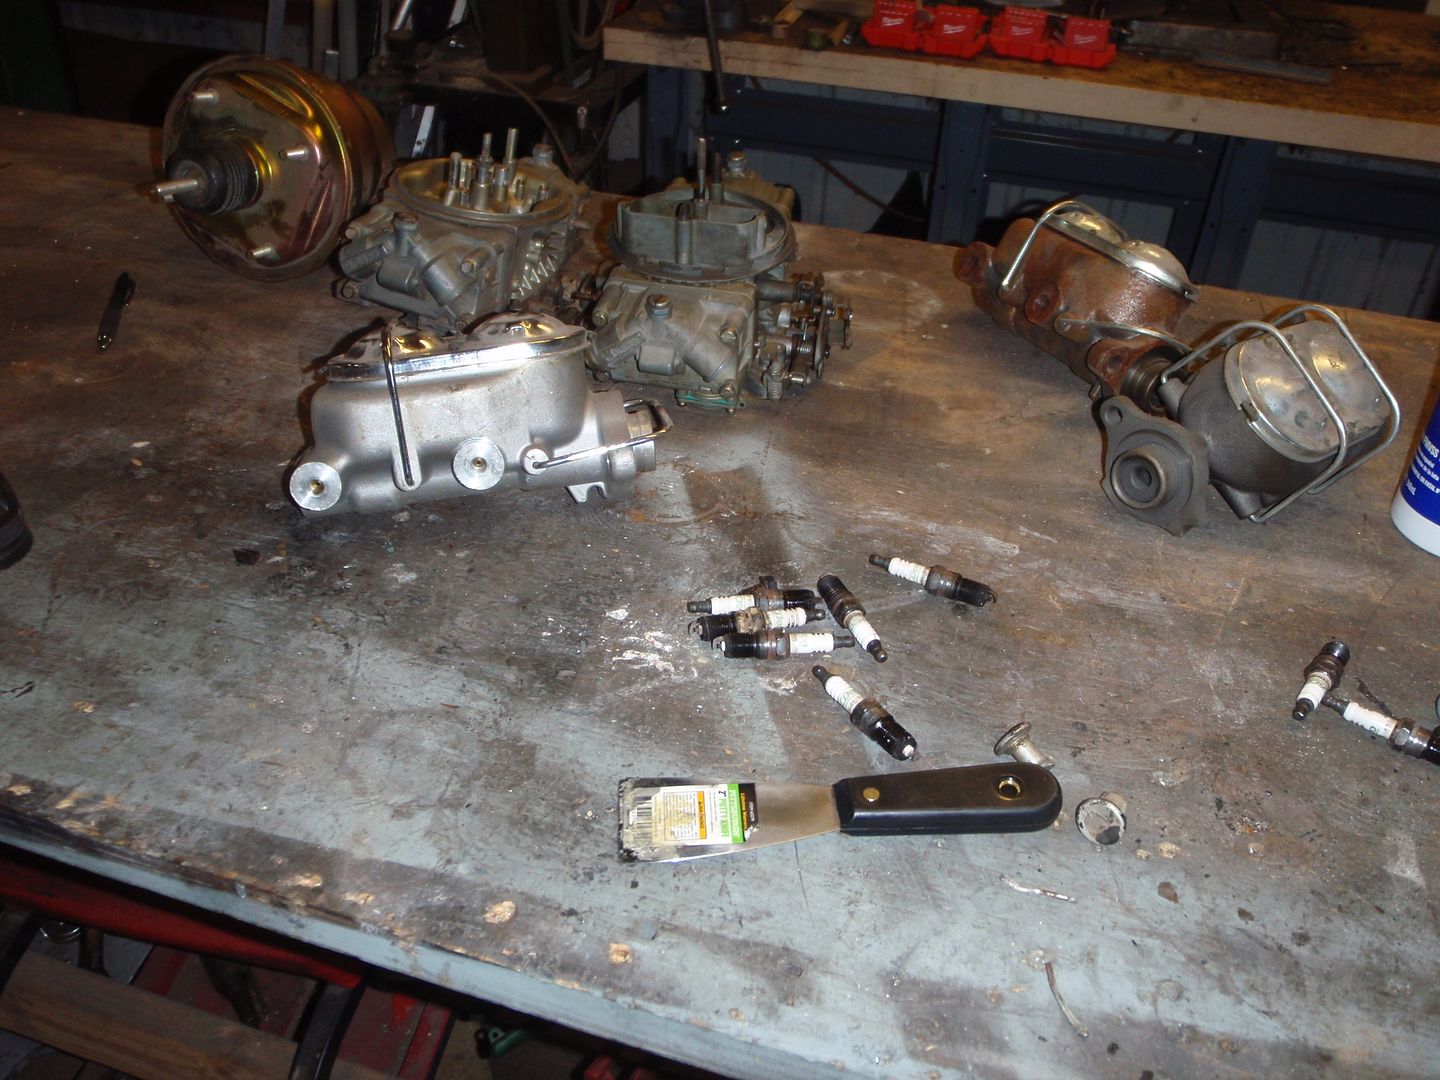
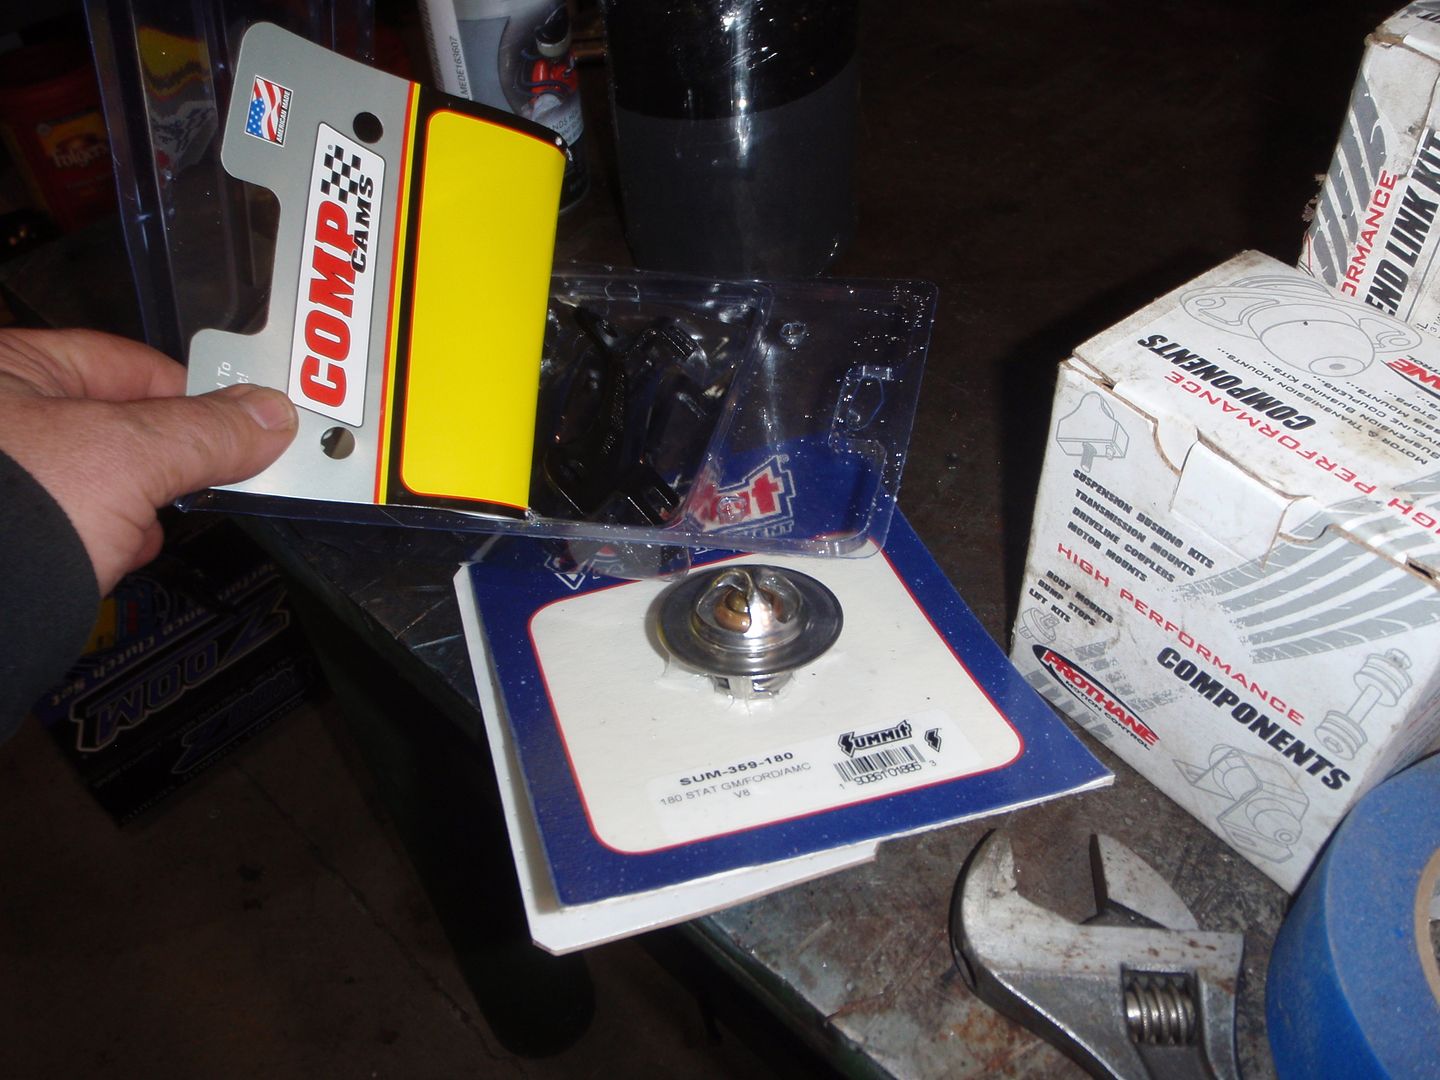
box of receipts, most importantly the lash adjustment (16,18)
shortened the dipstick so it reads accurately
lash adjustment
and yes, I need a touch taller valve cover
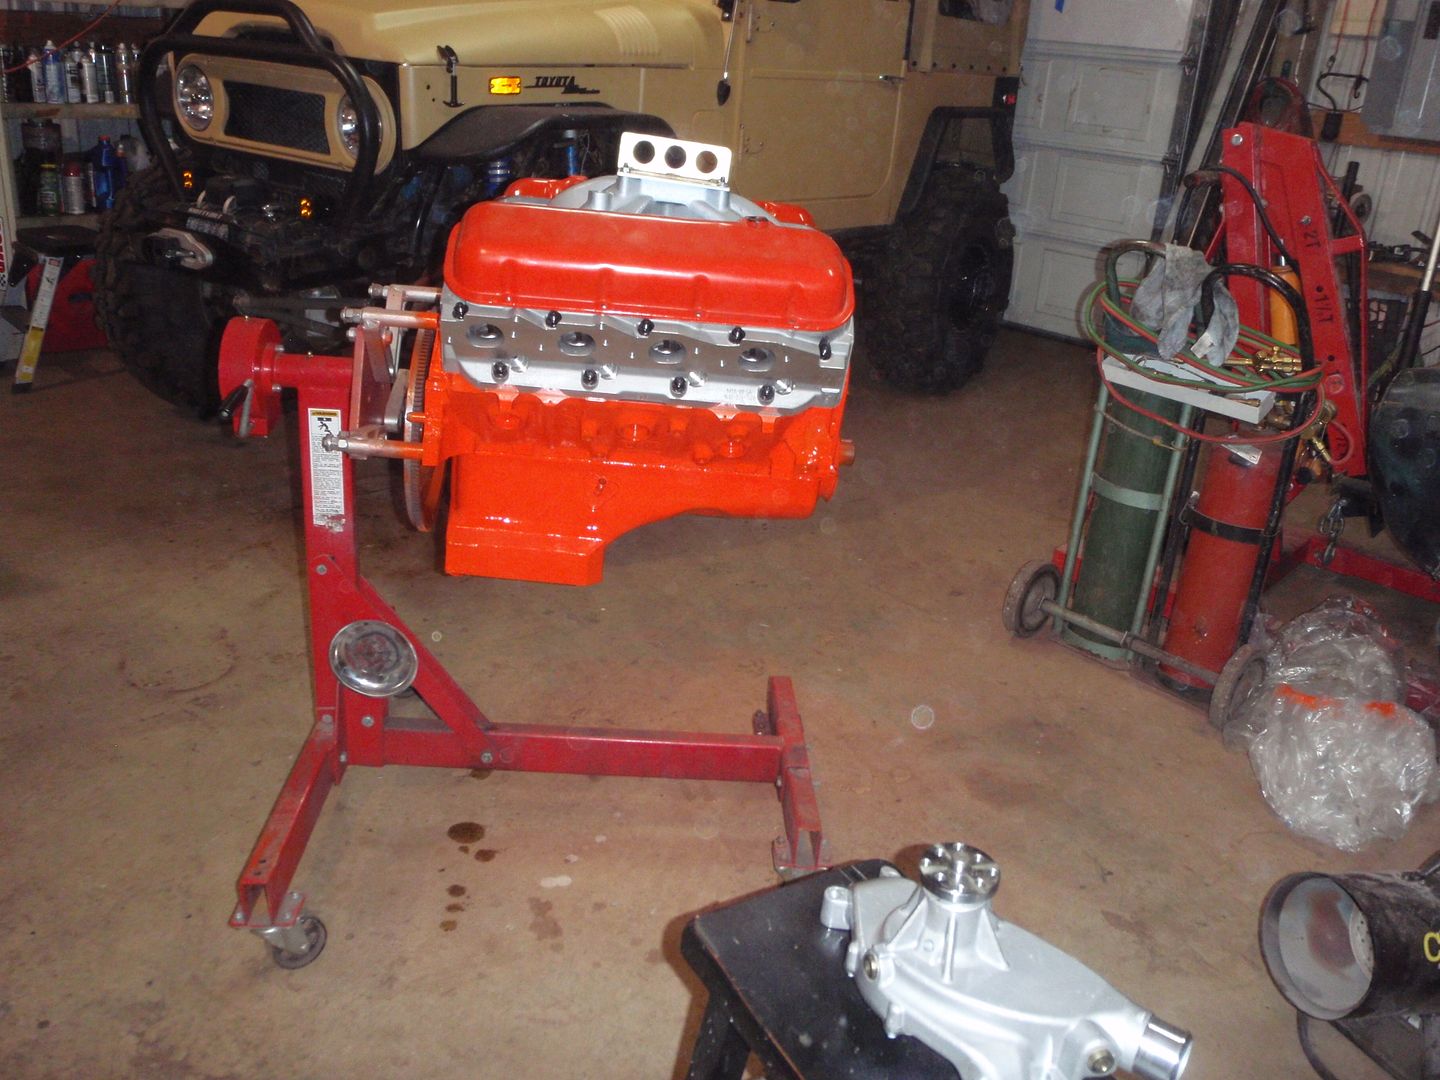
intake manifold glued in place
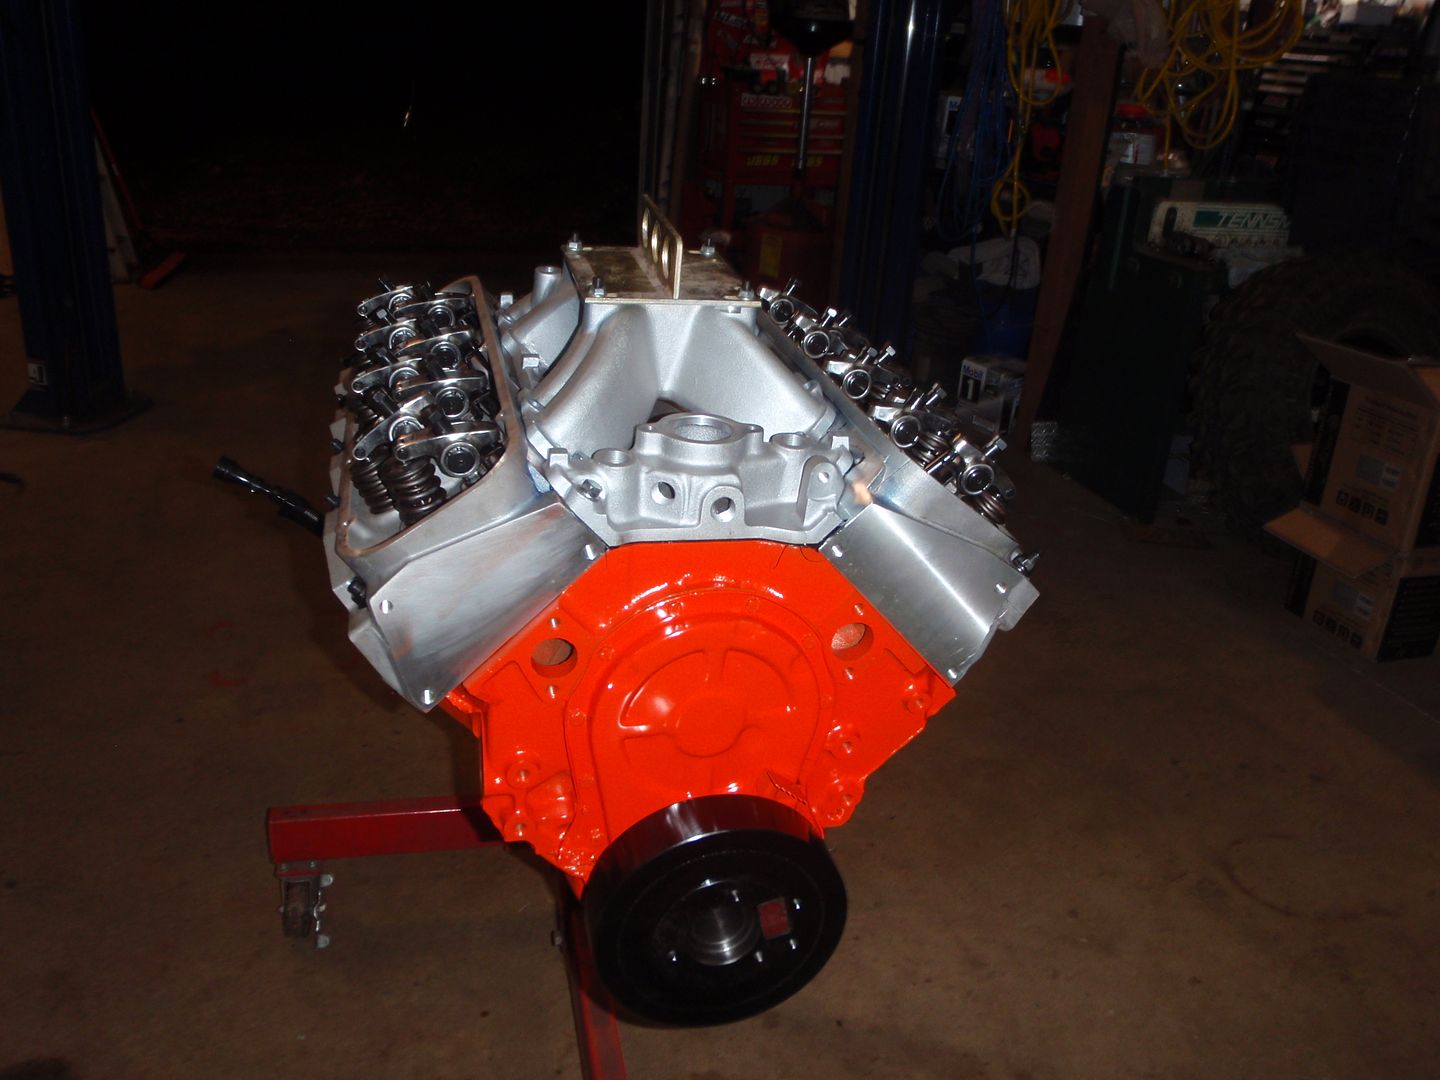
test fit the side pipes
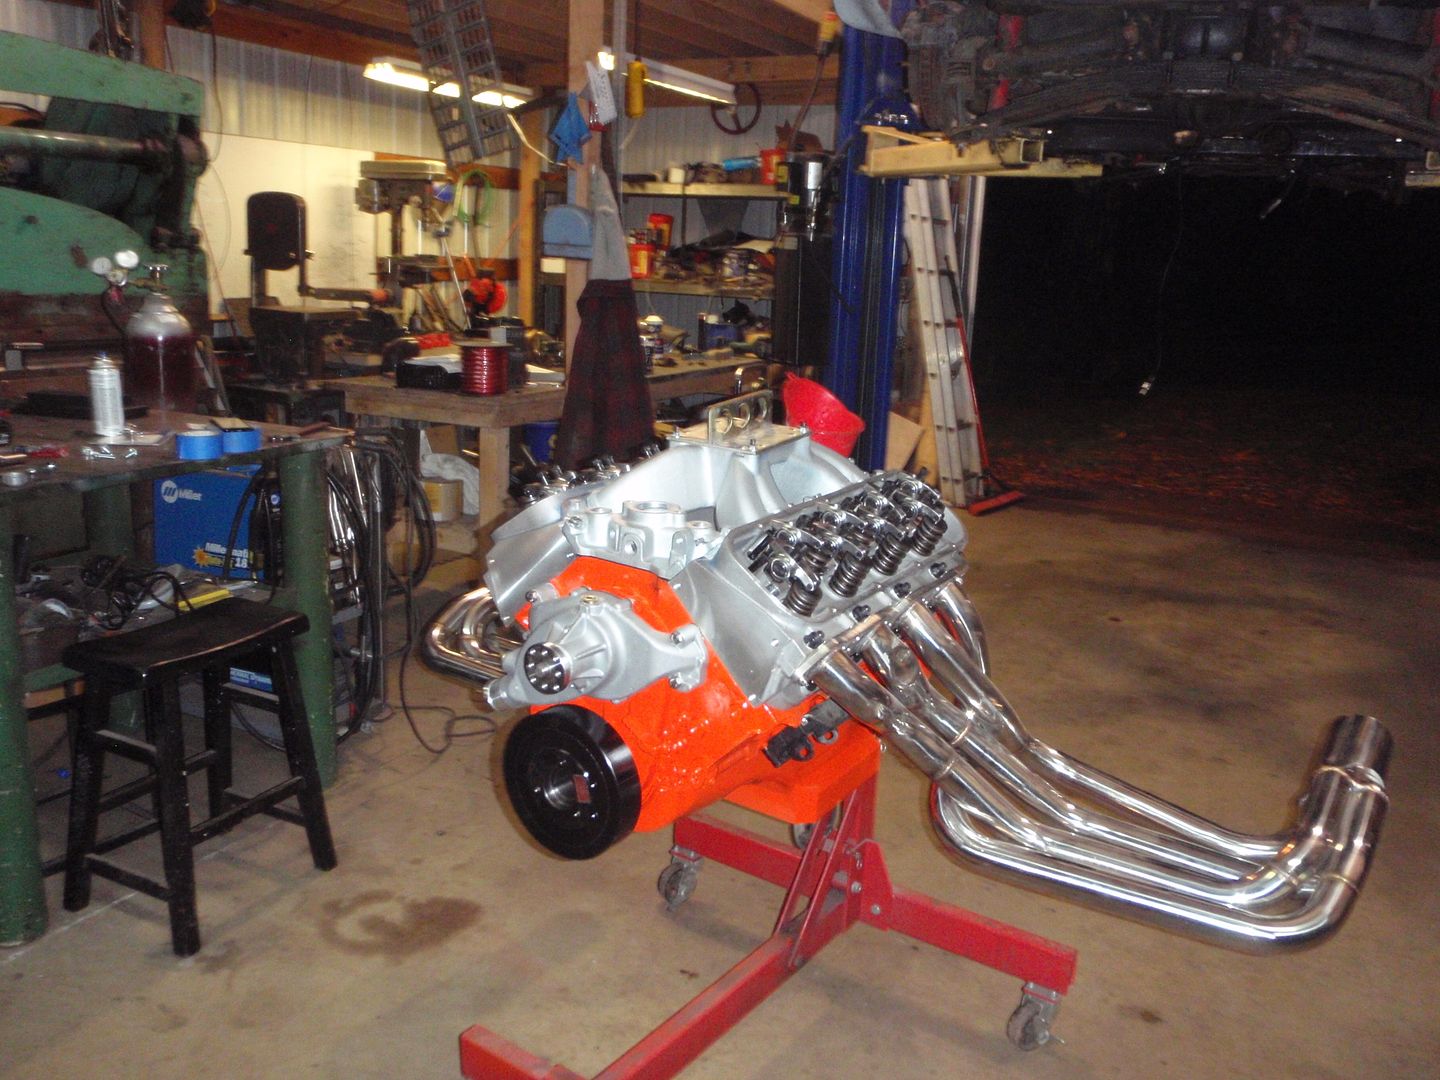
it'll do
My goal is fired it a week from Sunday - that actually means driveable

box of receipts, most importantly the lash adjustment (16,18)

shortened the dipstick so it reads accurately

lash adjustment

and yes, I need a touch taller valve cover
intake manifold glued in place

test fit the side pipes

it'll do

My goal is fired it a week from Sunday - that actually means driveable
10-20-2017, 01:59 AM
#78
Melting Slicks
bloody hell that was a pain to find.... no special-material-distributor gear required - this from Comp Cams web page http://www.compcams.com/Pages/402/camshaft-cores.aspx
Street Roller Cam Cores (Hydraulic or Solid Roller)
(special material - works with most standard distributor gears)
01-000-8 CHEVROLET 454-502 Generation VI Big Block
07-000-8 CHEVROLET LT1 Engine
08-000-8 CHEVROLET 262-400 V8 with Roller Cam (1987-98)
09-000-8 CHEVROLET 4.3L V6 with Roller Cam (1987-98)
11-000-8 CHEVROLET 396-454 V8 (1967-96)
12-000-8 CHEVROLET 262-400 V8 (1957-98)
18-000-8 CHEVROLET 4.3L V6 (1985-99)
56-000-8 CHEVROLET 4.3L V6 (1992-99) with Balance Shaft
Last edited by SuperBuickGuy; 10-20-2017 at 02:00 AM.
10-22-2017, 11:43 PM
#79
Melting Slicks
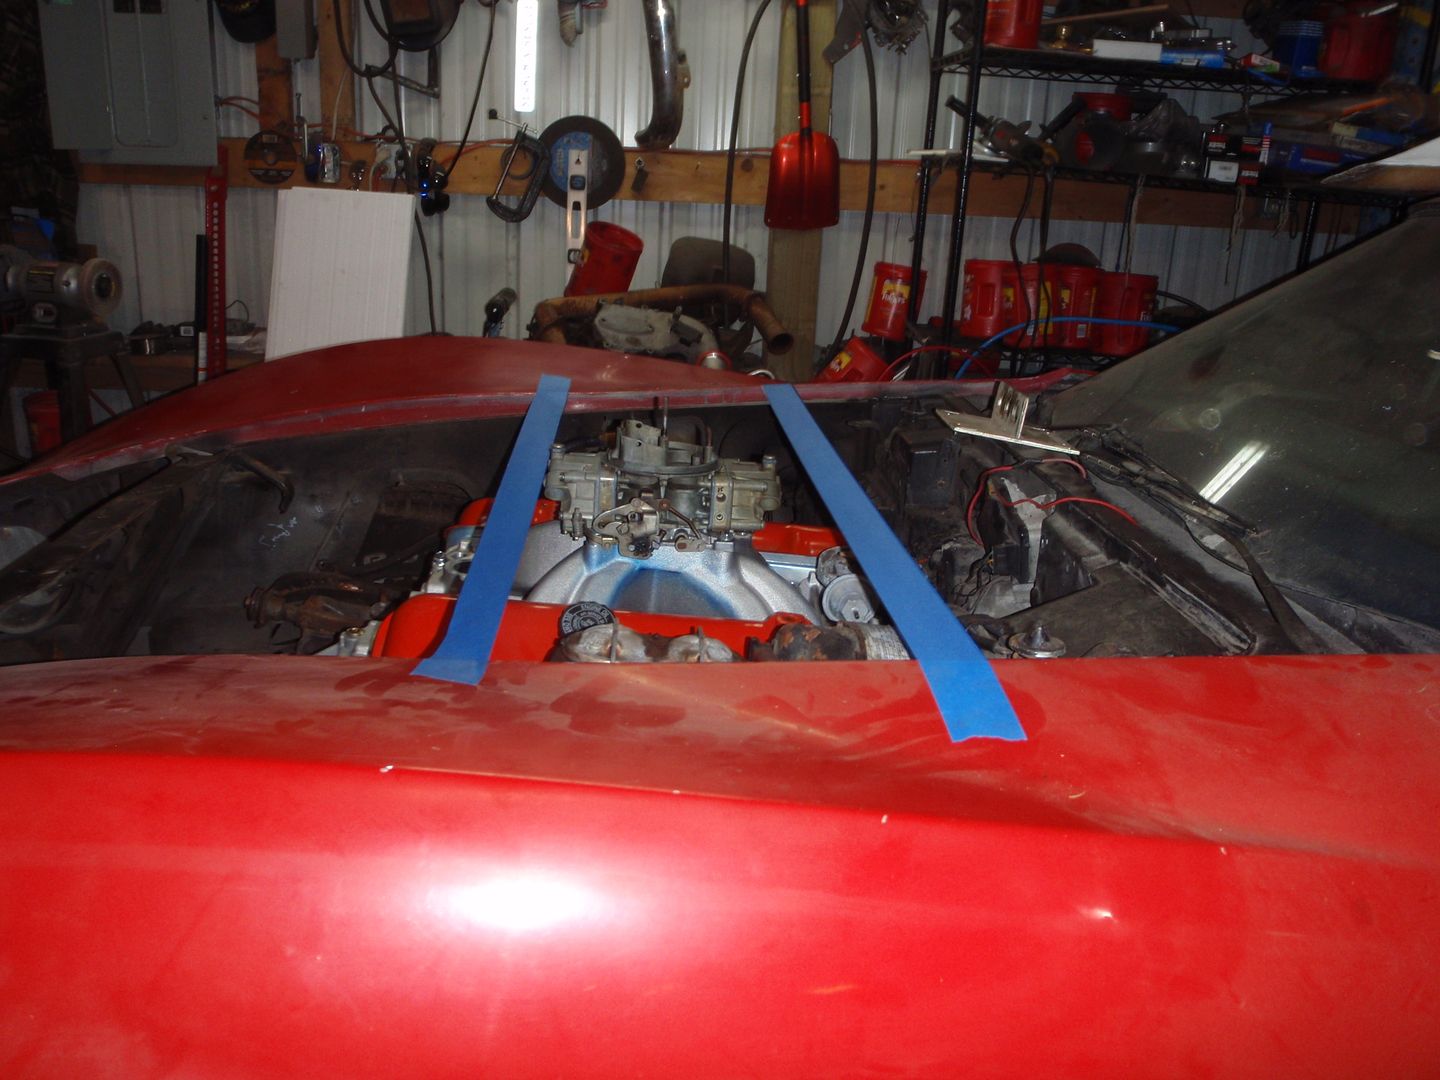
so a bit got done. First was get the balancer on - which meant taking it off because it wasn't fitting correctly
now it does and brake clean does wonders getting the paint off
I'm glad I test-fit the headers - I need to get medieval on this header otherwise the plug doesn't come out
I also did some test fitting
why have a box when you can have a sexy, shapely girl?
basically it's just sitting on there - so now I can daydream on how it all will fit together.
and some fitting is required (a lot)
How I ended up with 2 shifters is a mystery to me - but it's good because wretched excess is a good start.


now it does and brake clean does wonders getting the paint off

I'm glad I test-fit the headers - I need to get medieval on this header otherwise the plug doesn't come out

I also did some test fitting

why have a box when you can have a sexy, shapely girl?
basically it's just sitting on there - so now I can daydream on how it all will fit together.

and some fitting is required (a lot)


How I ended up with 2 shifters is a mystery to me - but it's good because wretched excess is a good start.

10-24-2017, 12:32 PM
#80
Melting Slicks
an occasional update
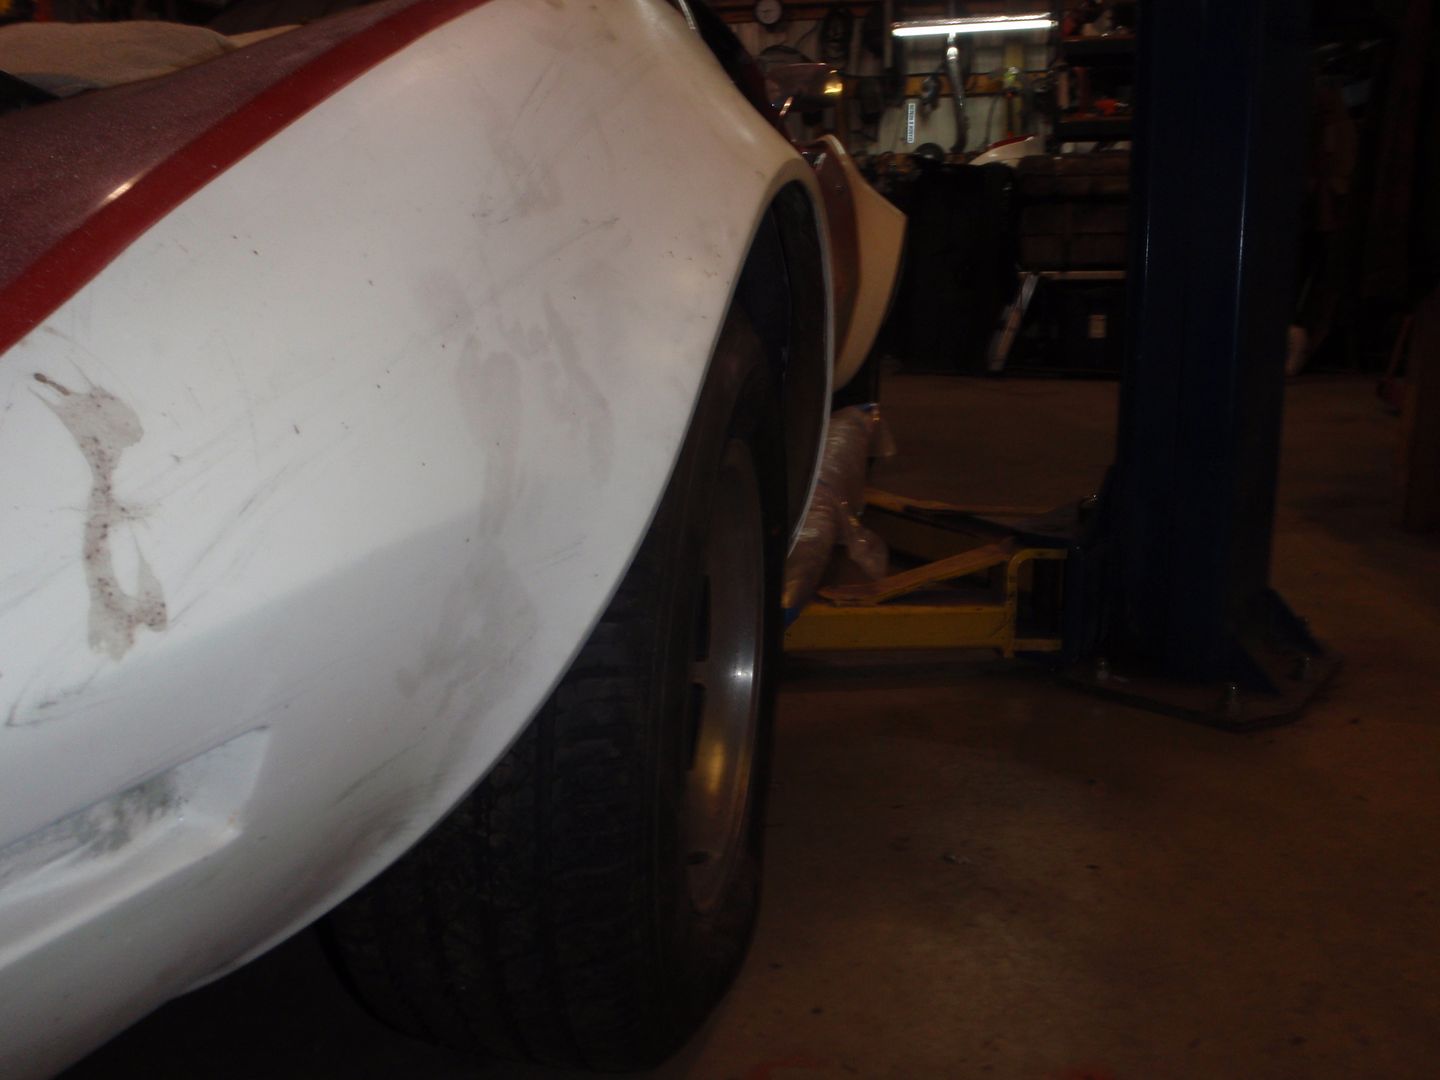
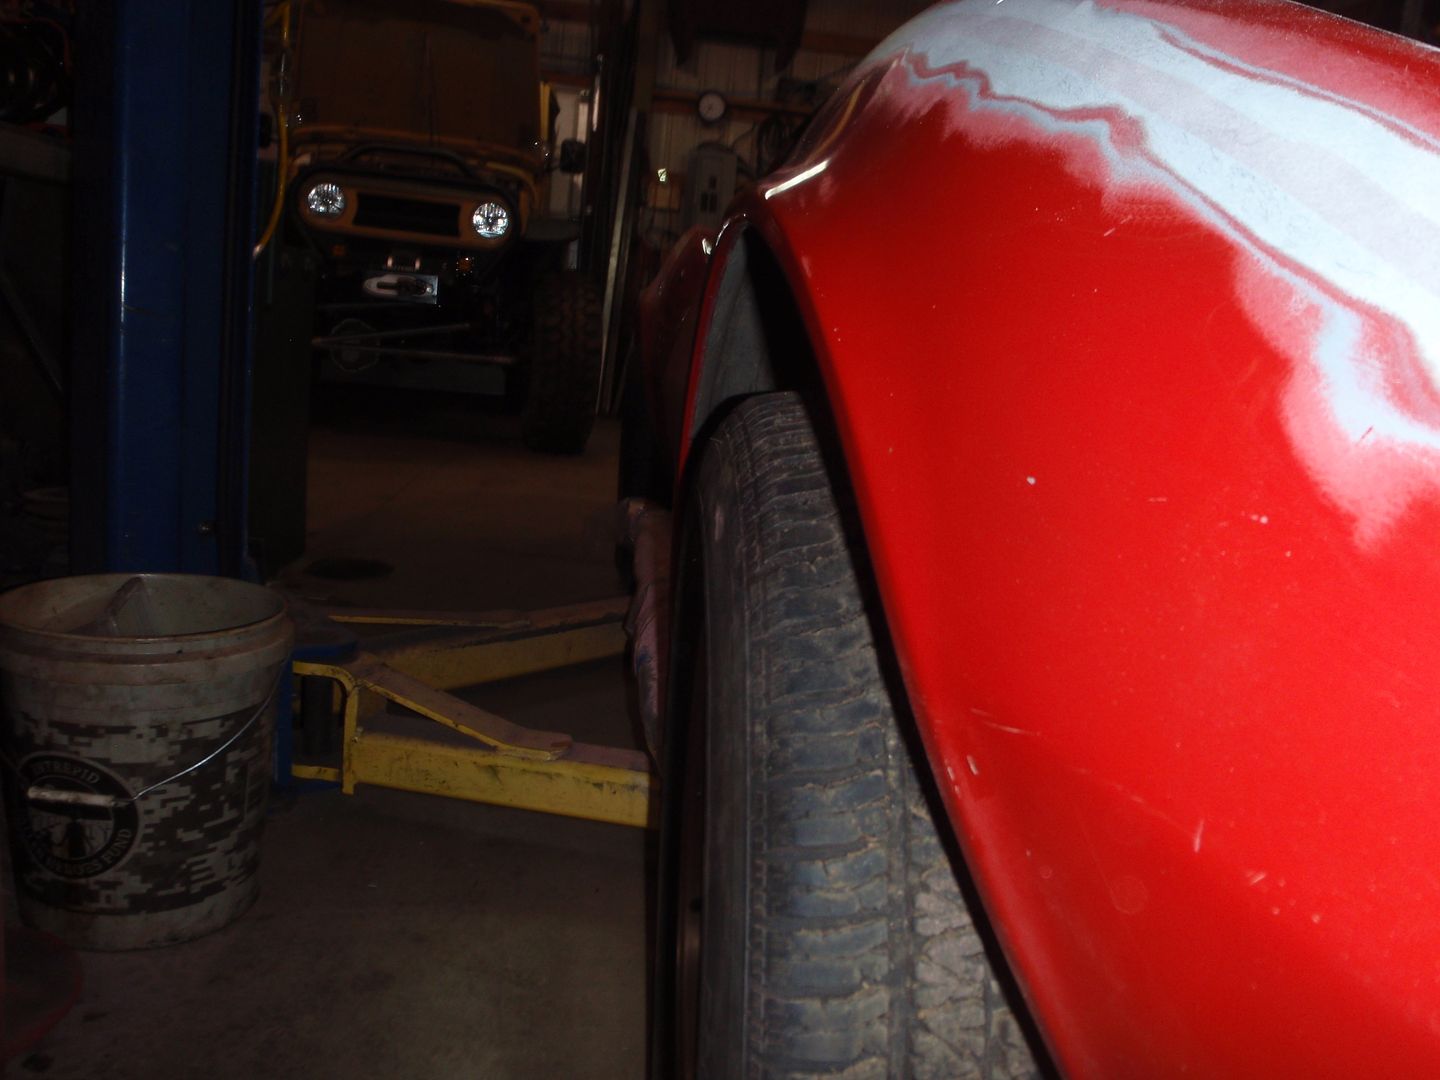
time for flares
add heat
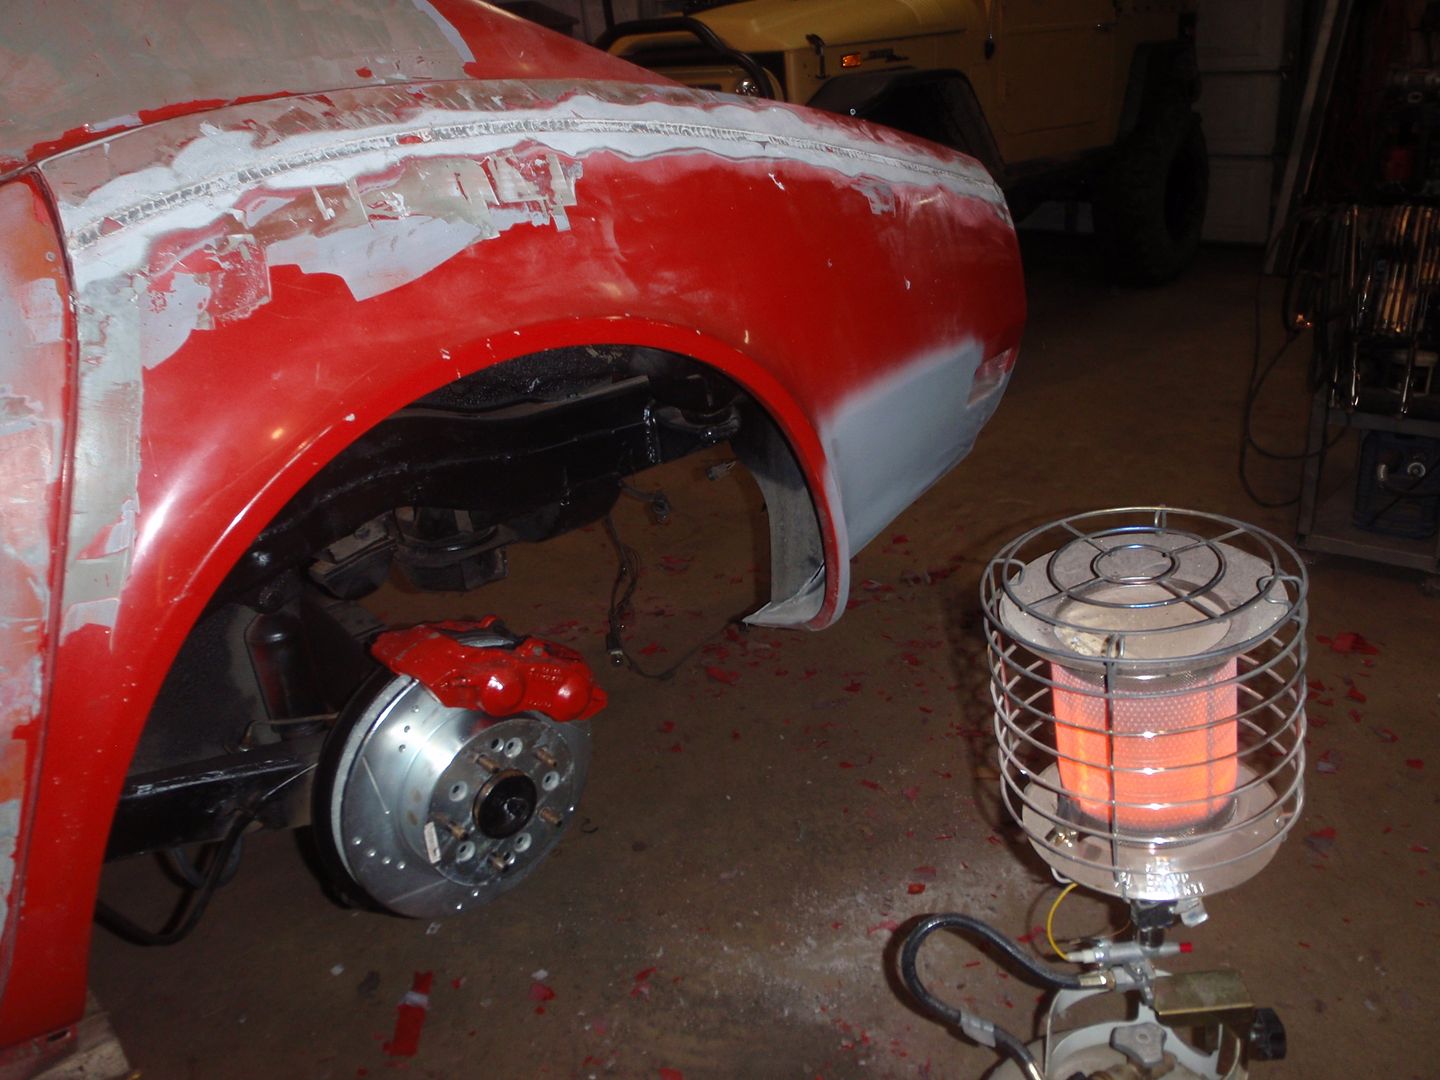
and pop, off it comes
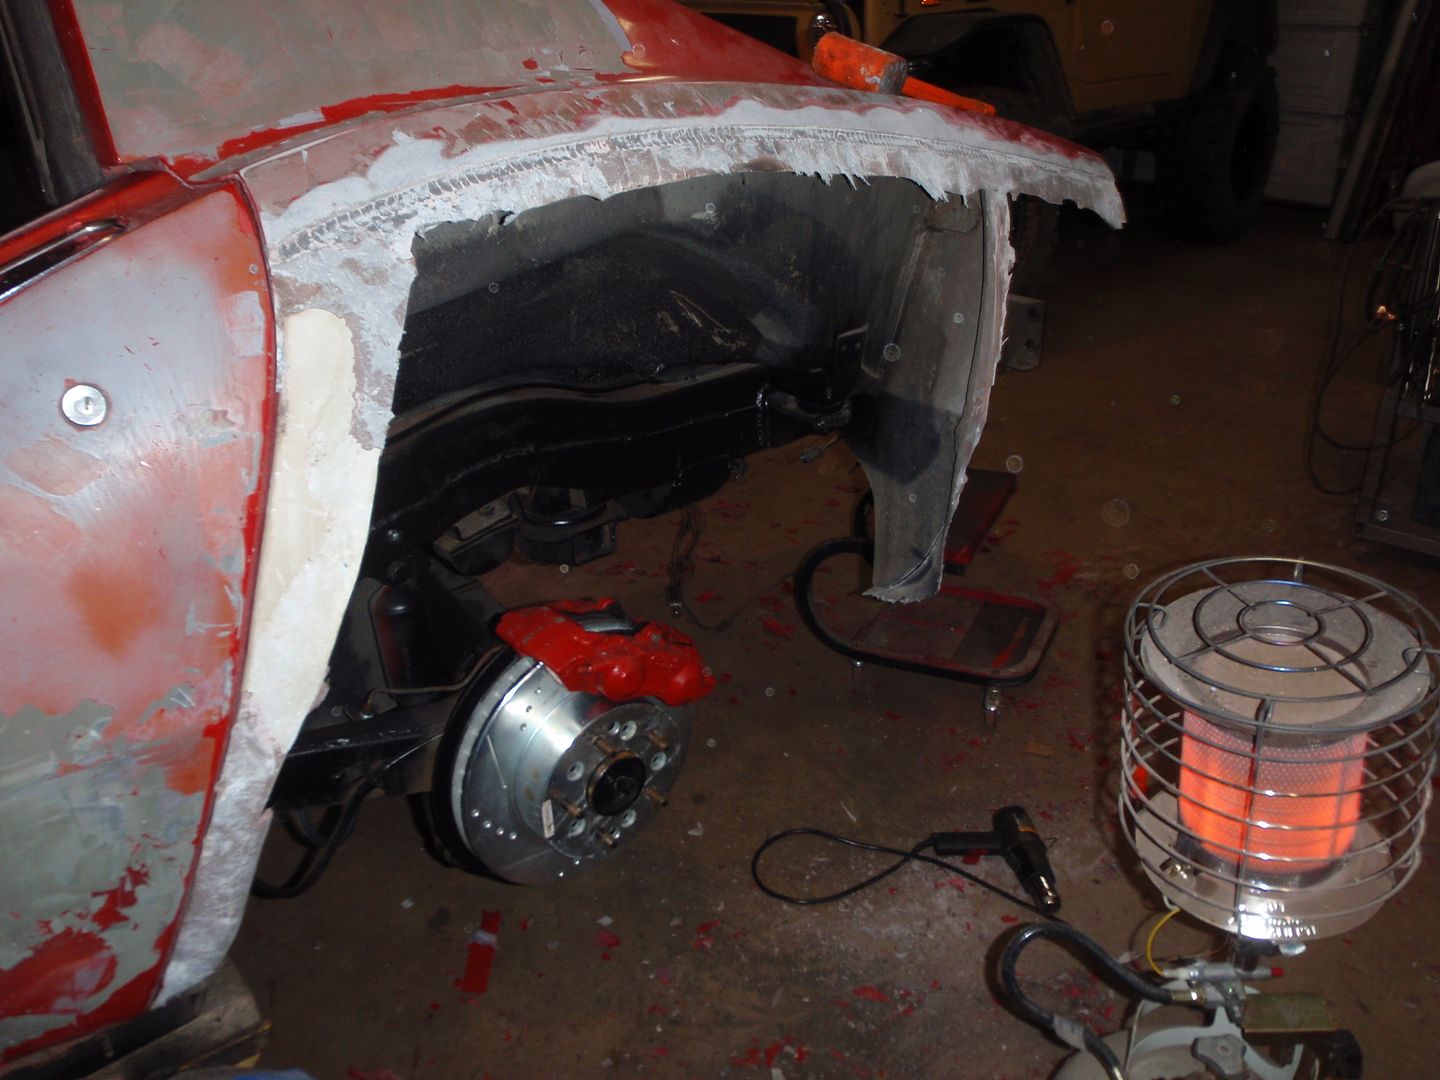
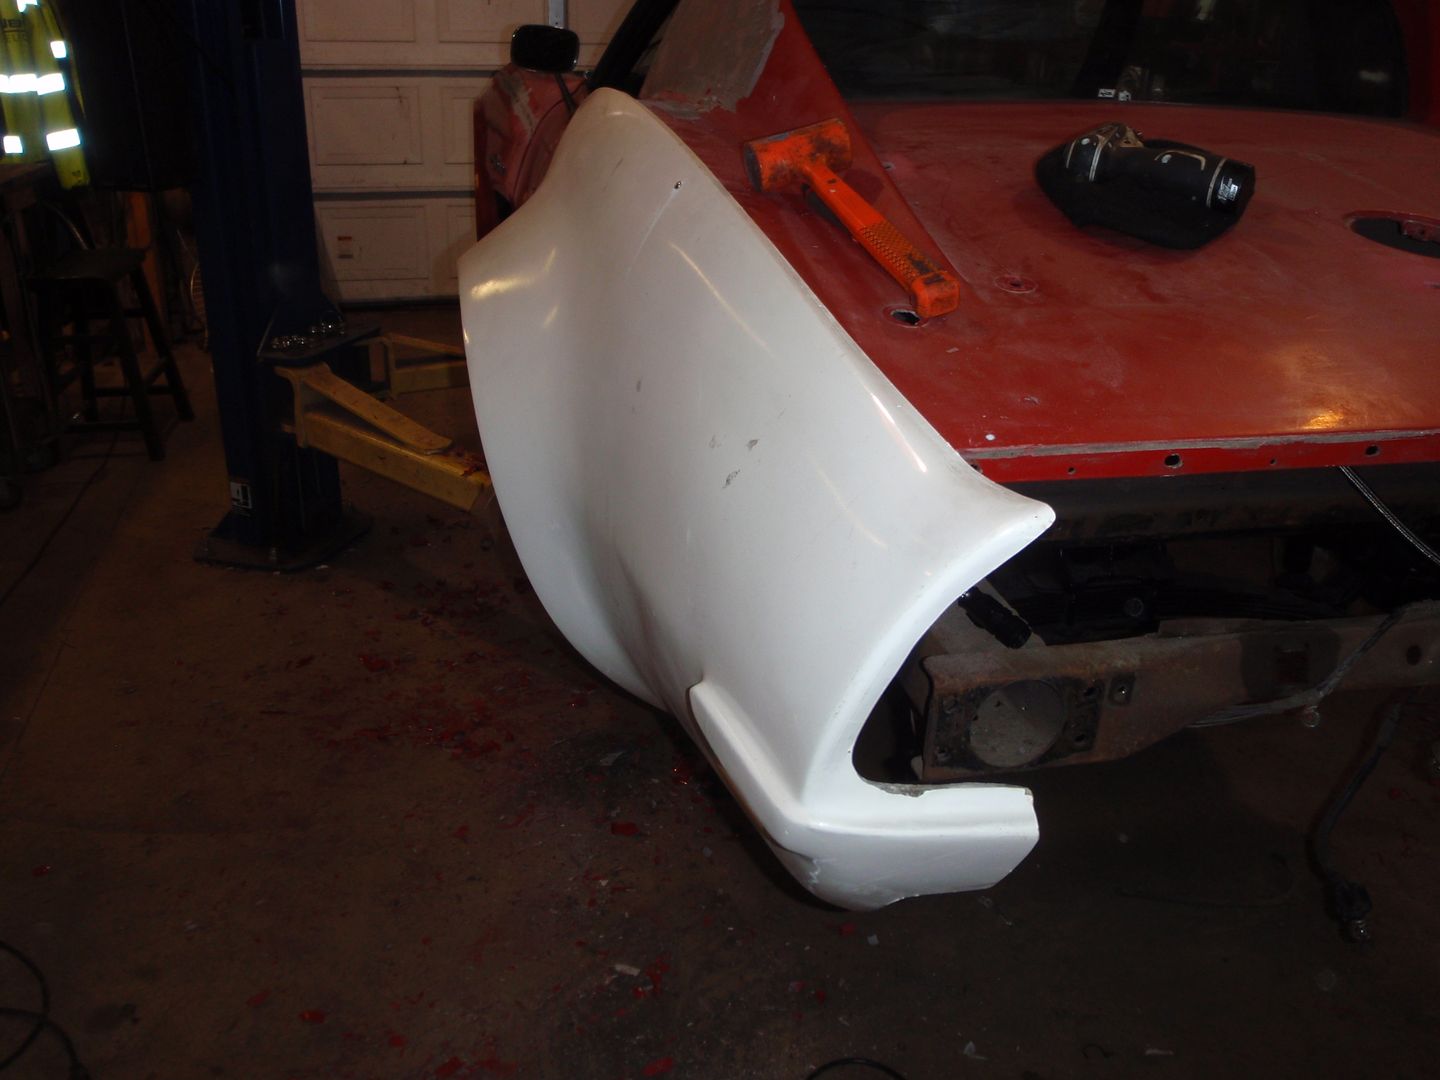
and the new sitting in place
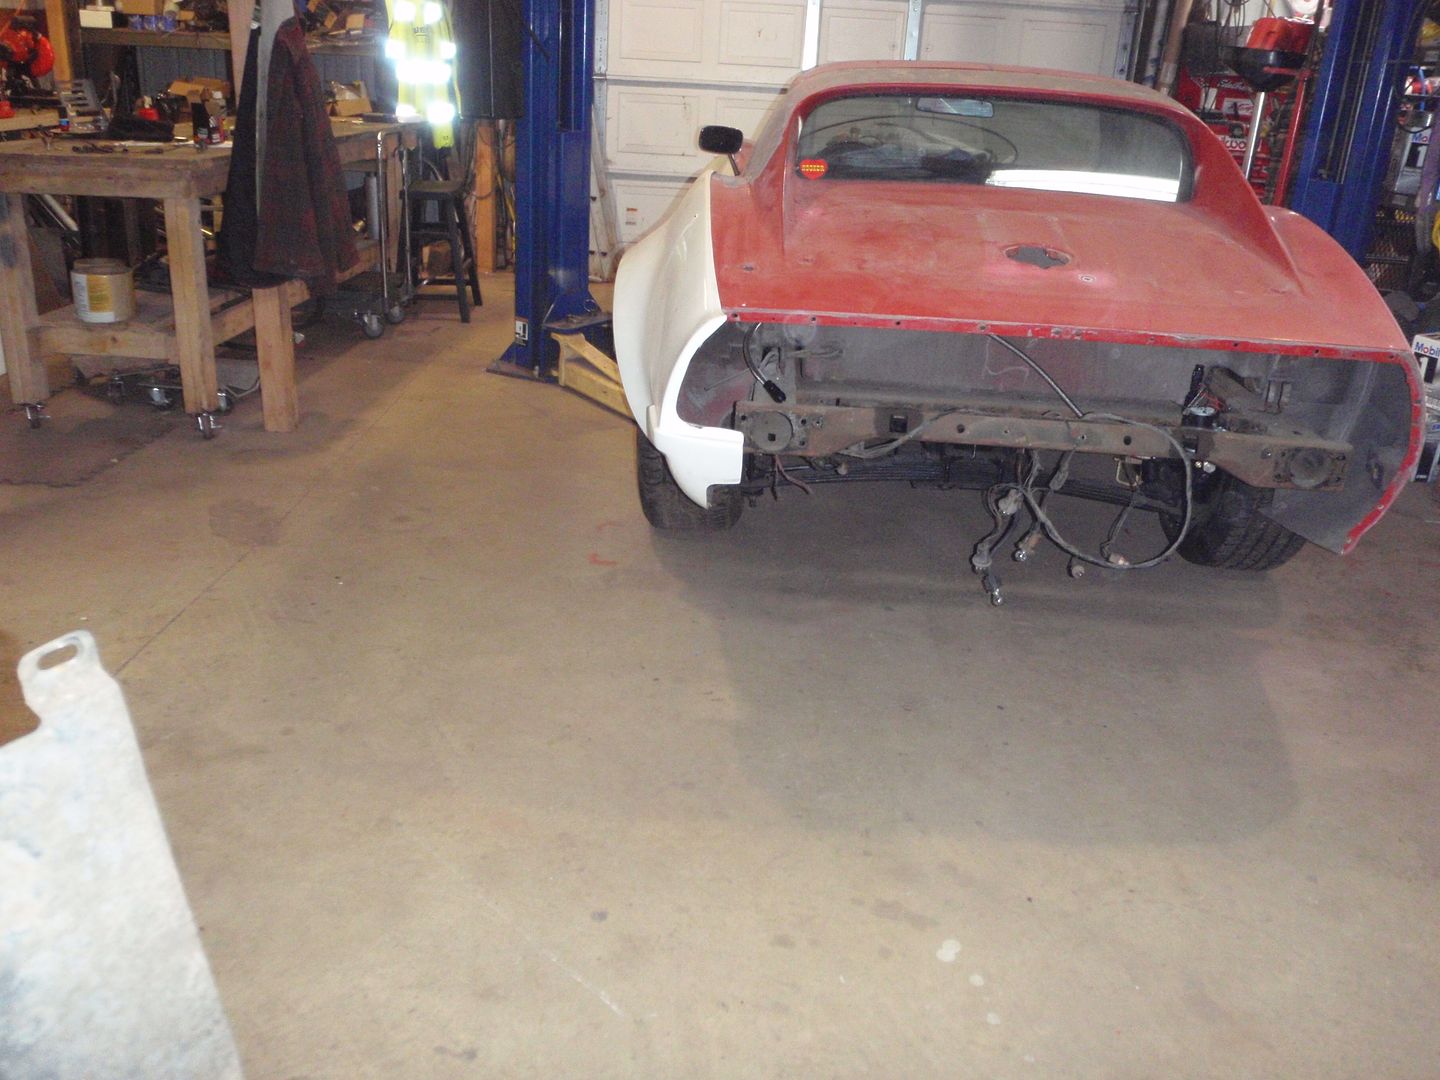
time for an executive decision on where to splice this together
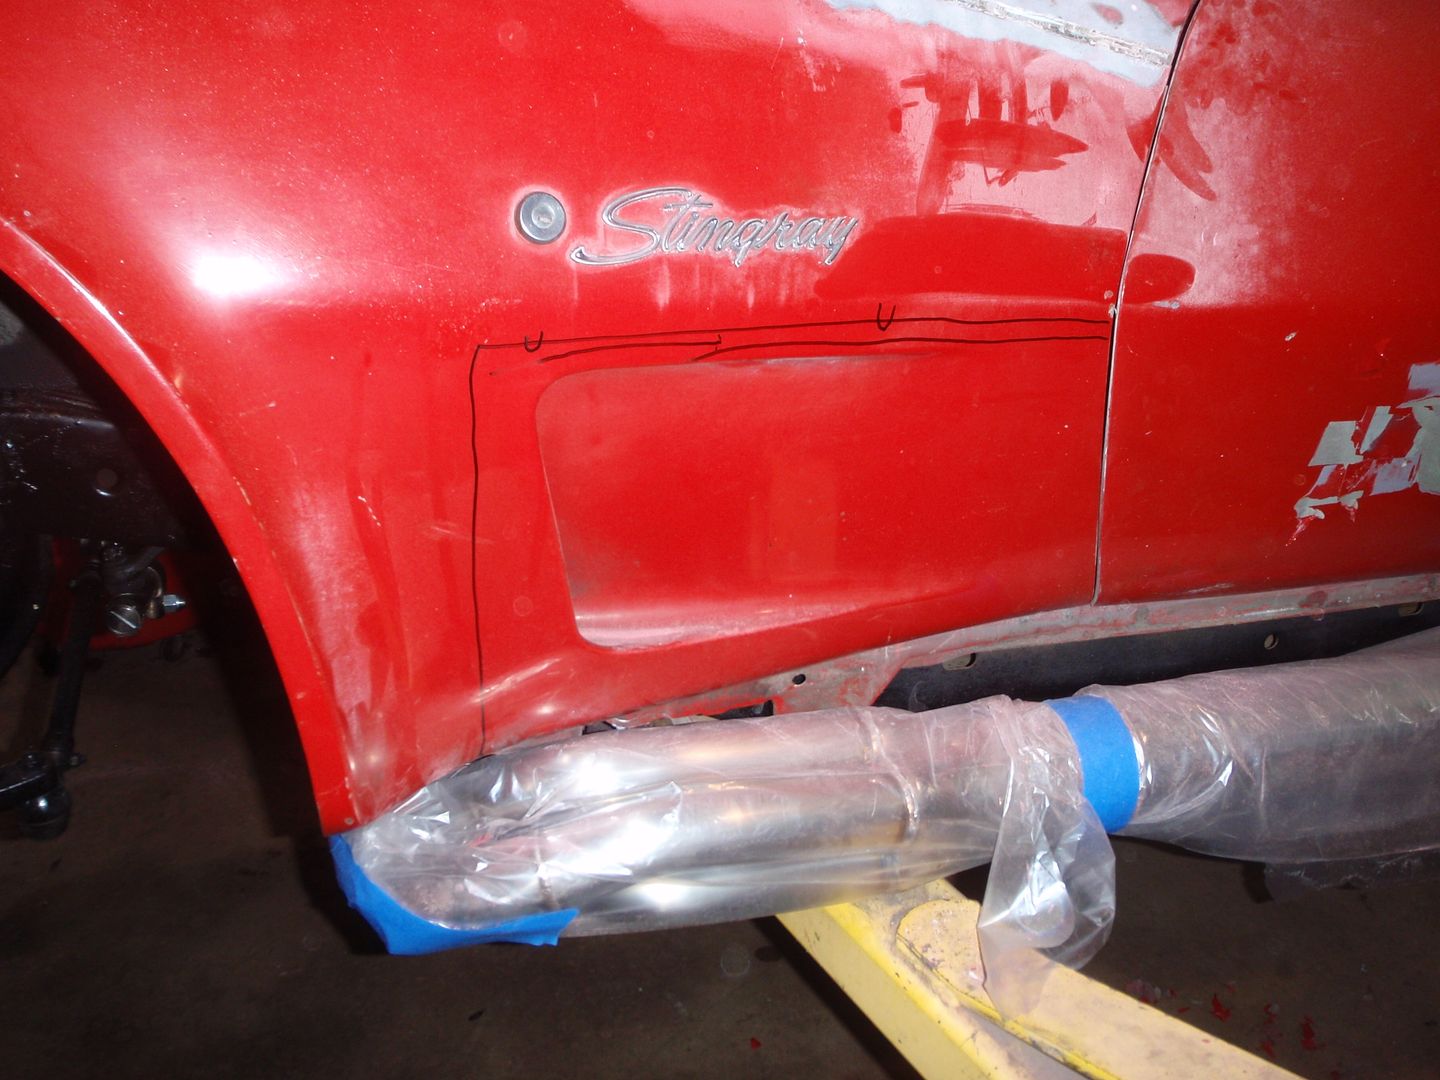
chop chop

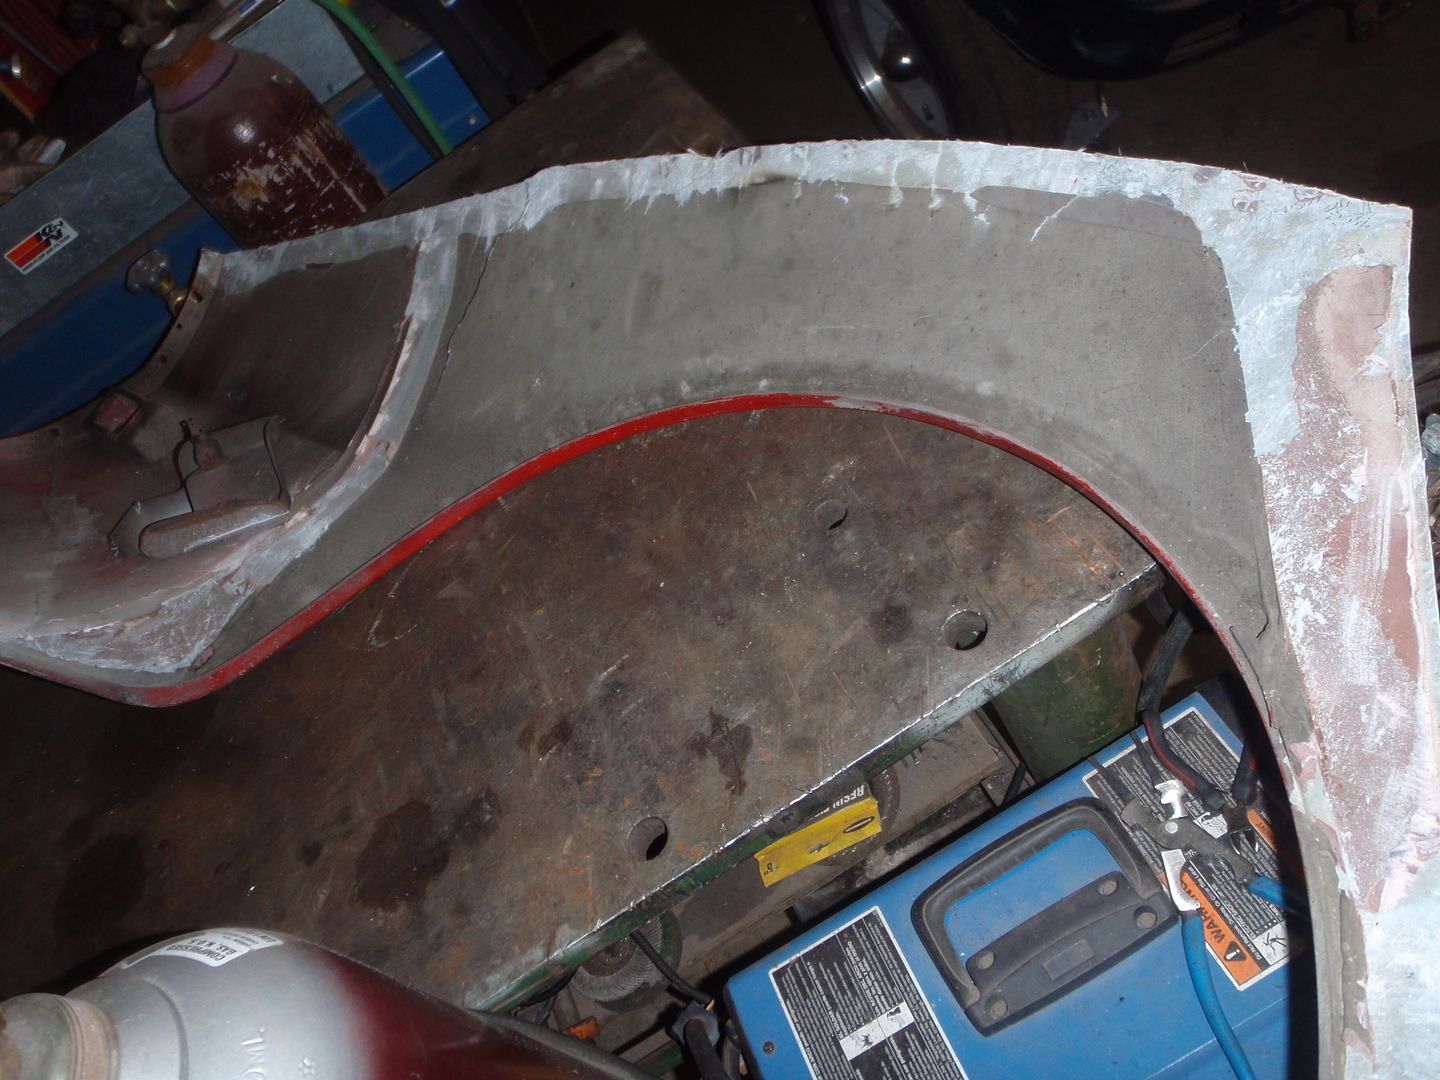
The CIC flares don't wrap all the way under, nor does it maintain this edge - even if I fill it, I want the strength so here's what I did

and pop, off it comes
rough cut
seems to be going the right direction
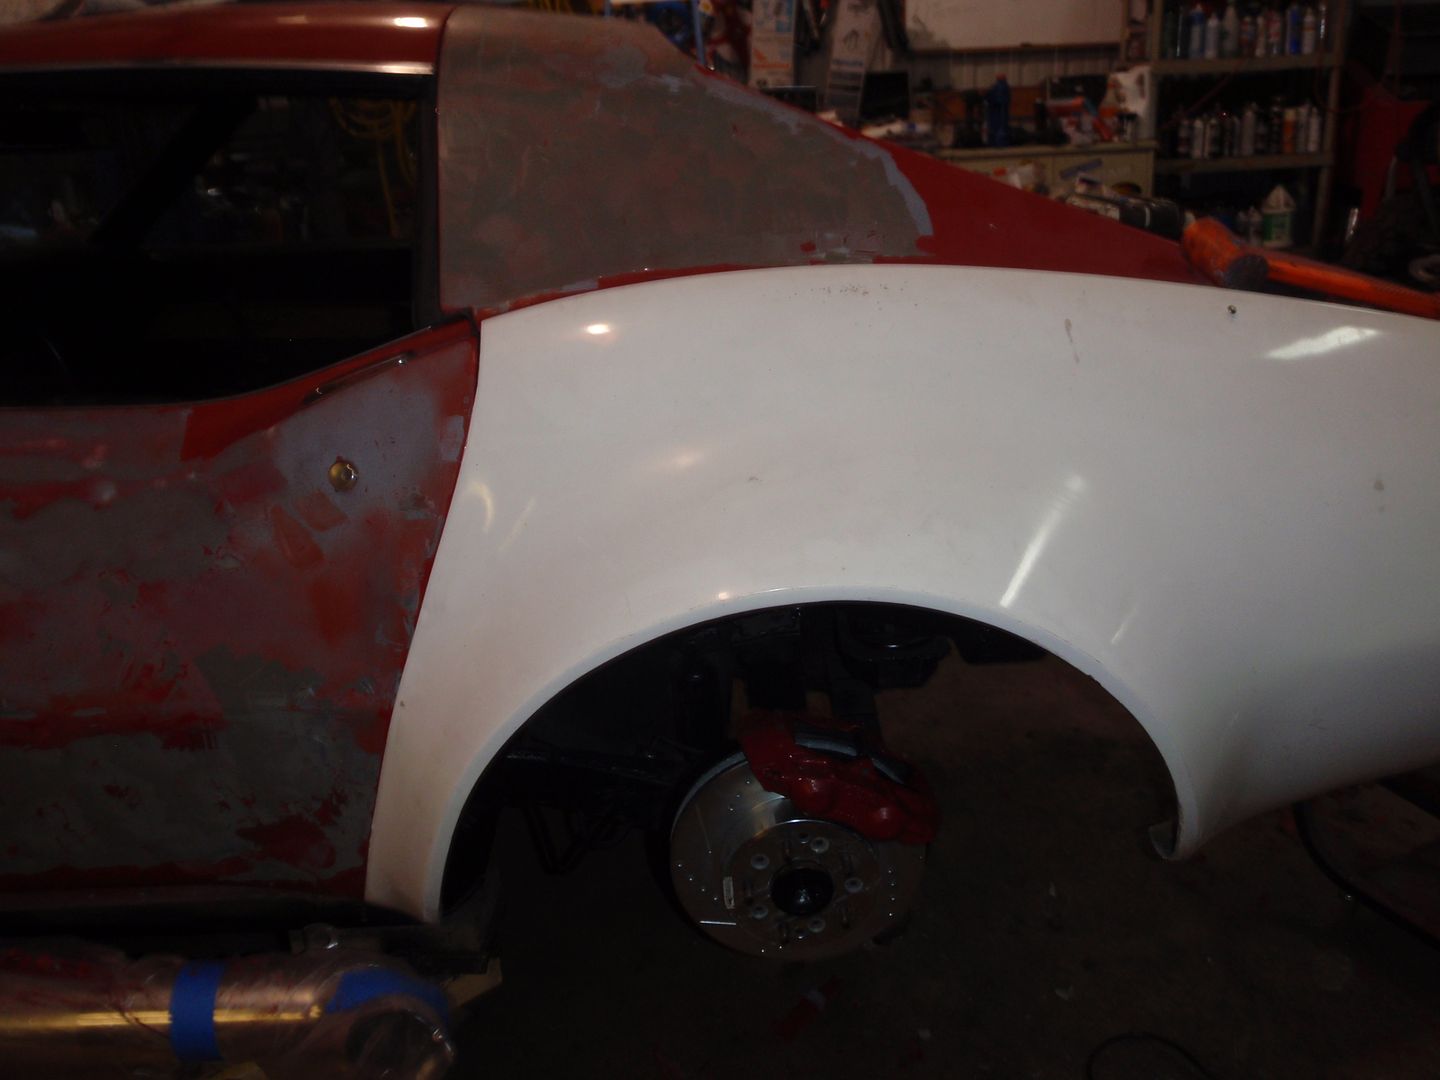
I plan on filming a YouTube video of the second side when I do it, but here's the comparison to 'before'
now you can really see how much extra flare there is
and the back, again
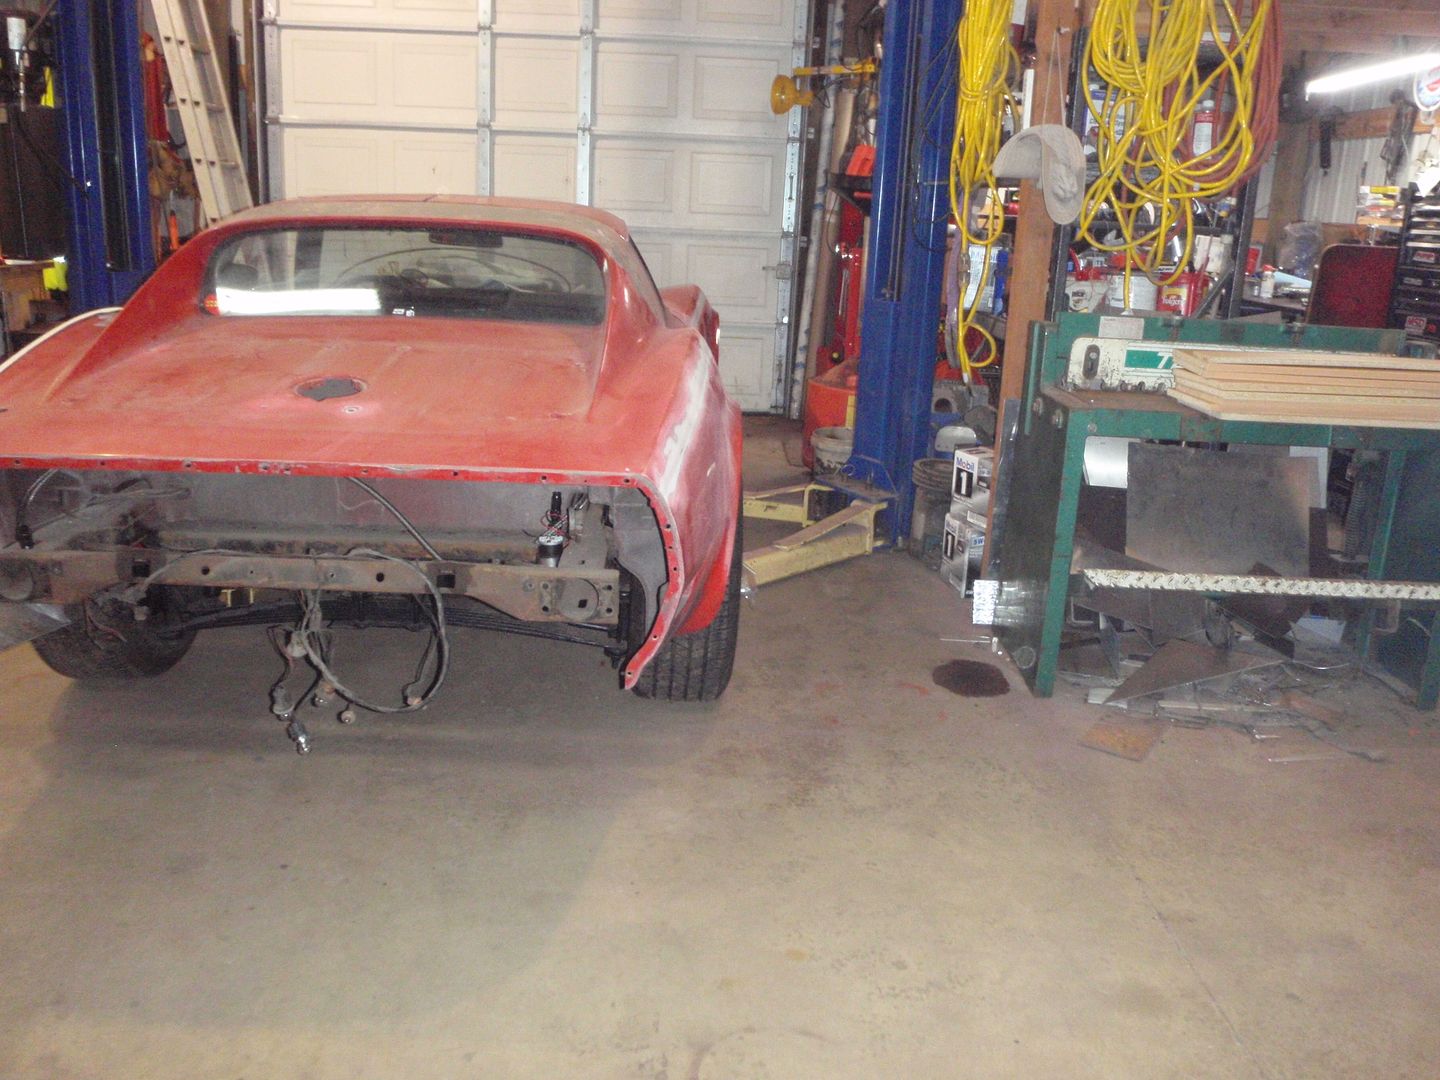
a picture of how much of the back is bonded
I think I want the flares bonded in place before I finish the fuel system, which isn't a huge deal because it's really not going to be driveable for a bit longer
time for flares
add heat

and pop, off it comes

and the new sitting in place


time for an executive decision on where to splice this together

chop chop

The CIC flares don't wrap all the way under, nor does it maintain this edge - even if I fill it, I want the strength so here's what I did

and pop, off it comes


rough cut


seems to be going the right direction

I plan on filming a YouTube video of the second side when I do it, but here's the comparison to 'before'

now you can really see how much extra flare there is


and the back, again


a picture of how much of the back is bonded

I think I want the flares bonded in place before I finish the fuel system, which isn't a huge deal because it's really not going to be driveable for a bit longer
Last edited by SuperBuickGuy; 12-15-2017 at 12:14 AM.