Plastic Fantastic tew

 03-04-2018, 11:44 PM
#122
Melting Slicks

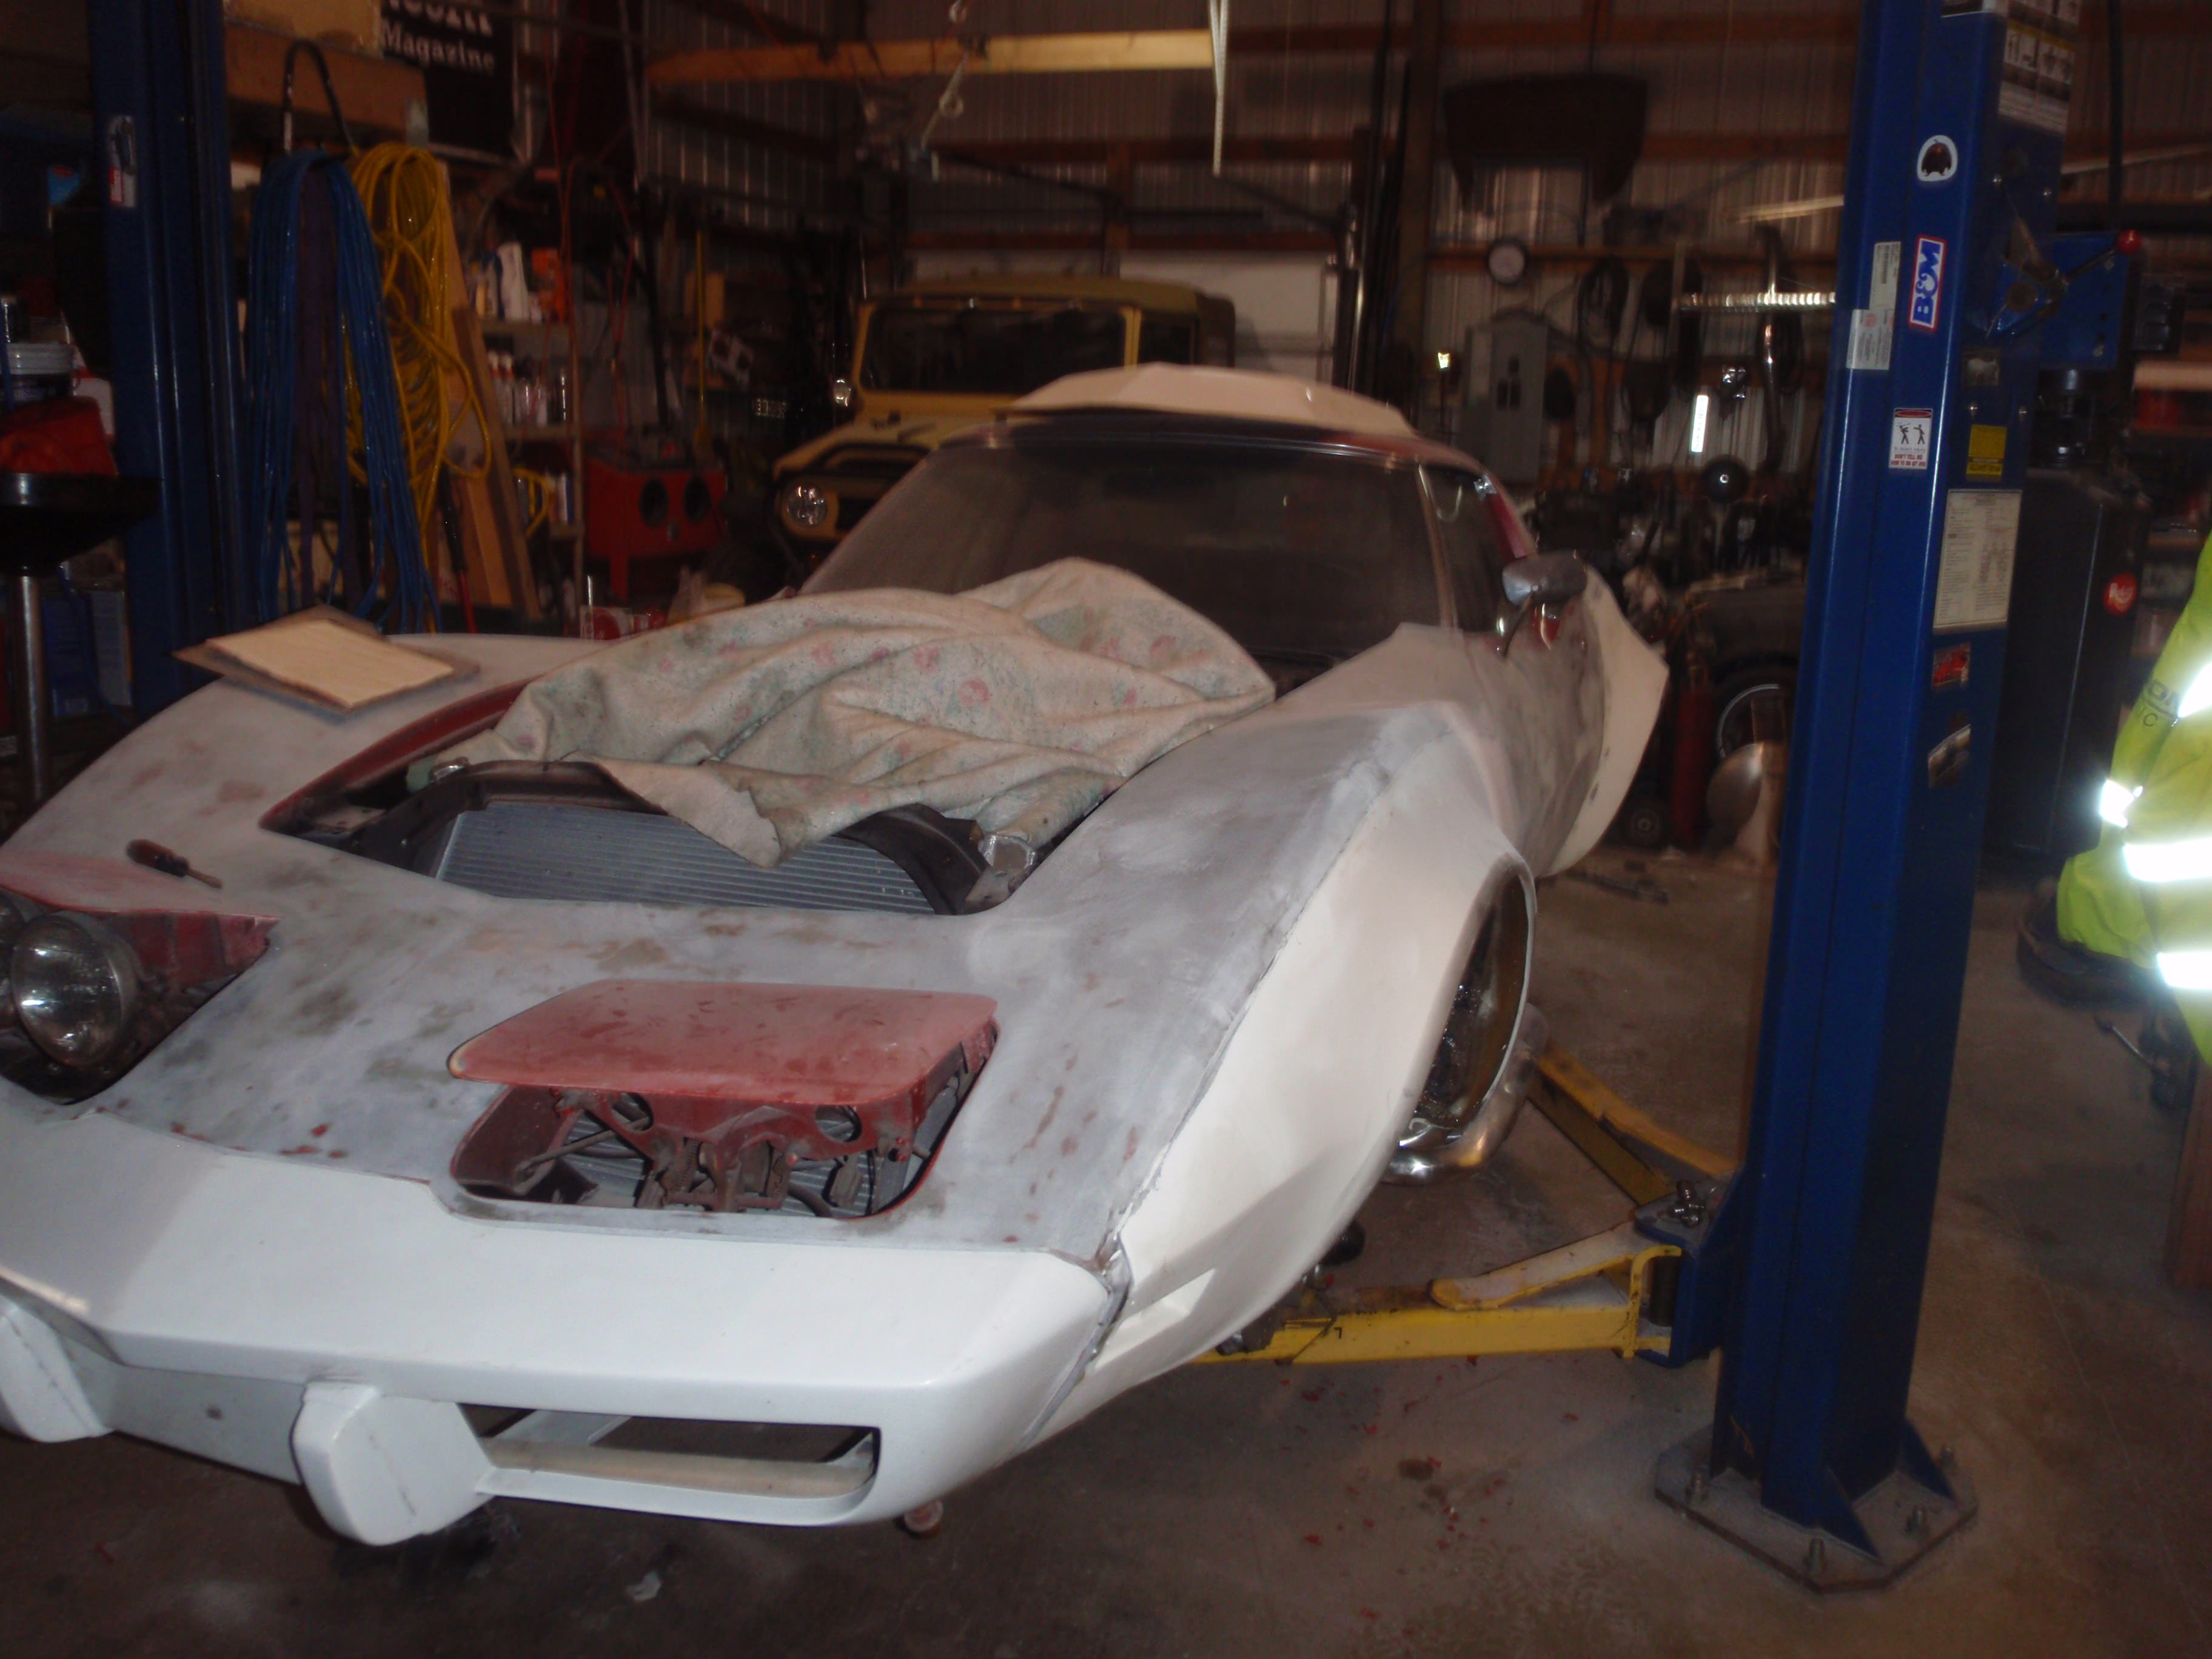
I need to make this crystal clear before I start. I love the flares. I think they saved me a great deal of time but I think sometimes it's best to detail some of the challenges to point out that these are not just plug and play... and sometimes, even though I'd be embarrassed to let anything like it out of my place, it's still something I'd buy again.... though next up are greenwood flares because I may have just ended up with a complete, raced set.... anyway.
tl;dr is body mods take a lot of work and just because they may take a bit more work - it's nothing that can't be fixed. Okay? no calling anyone out. please.
anyway, now that I've found the proper bleach onward with Corvette stuff

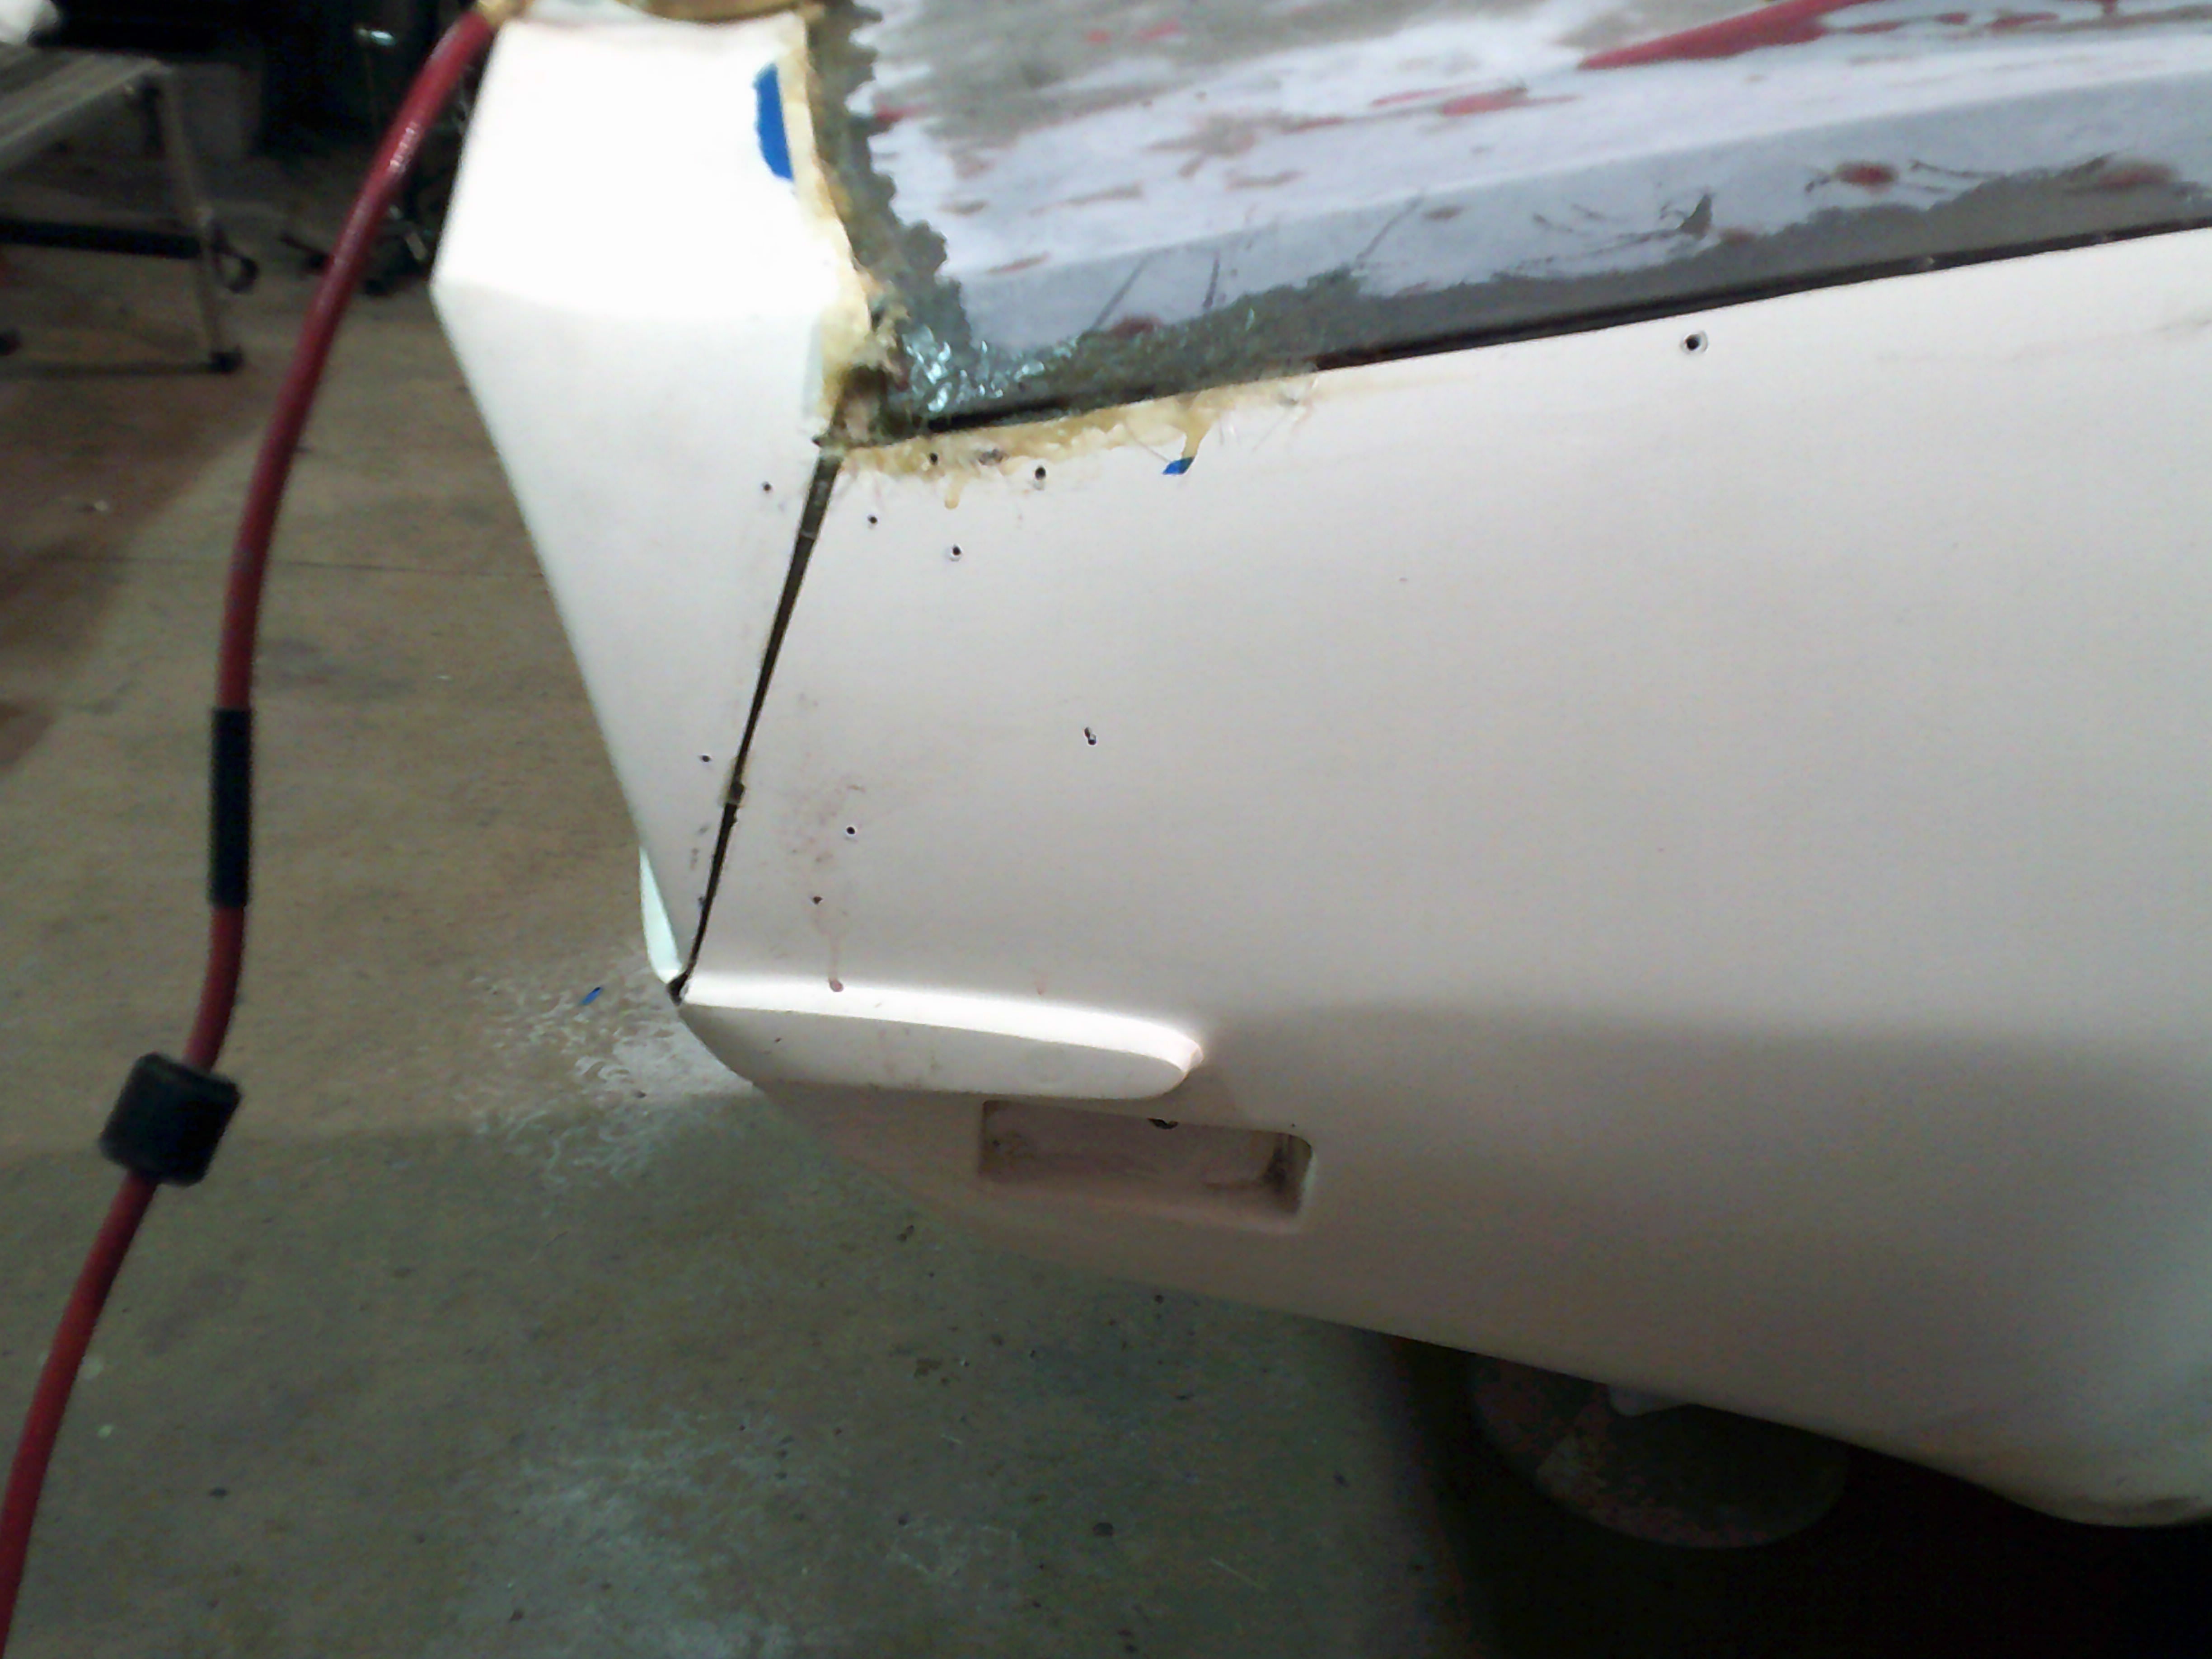
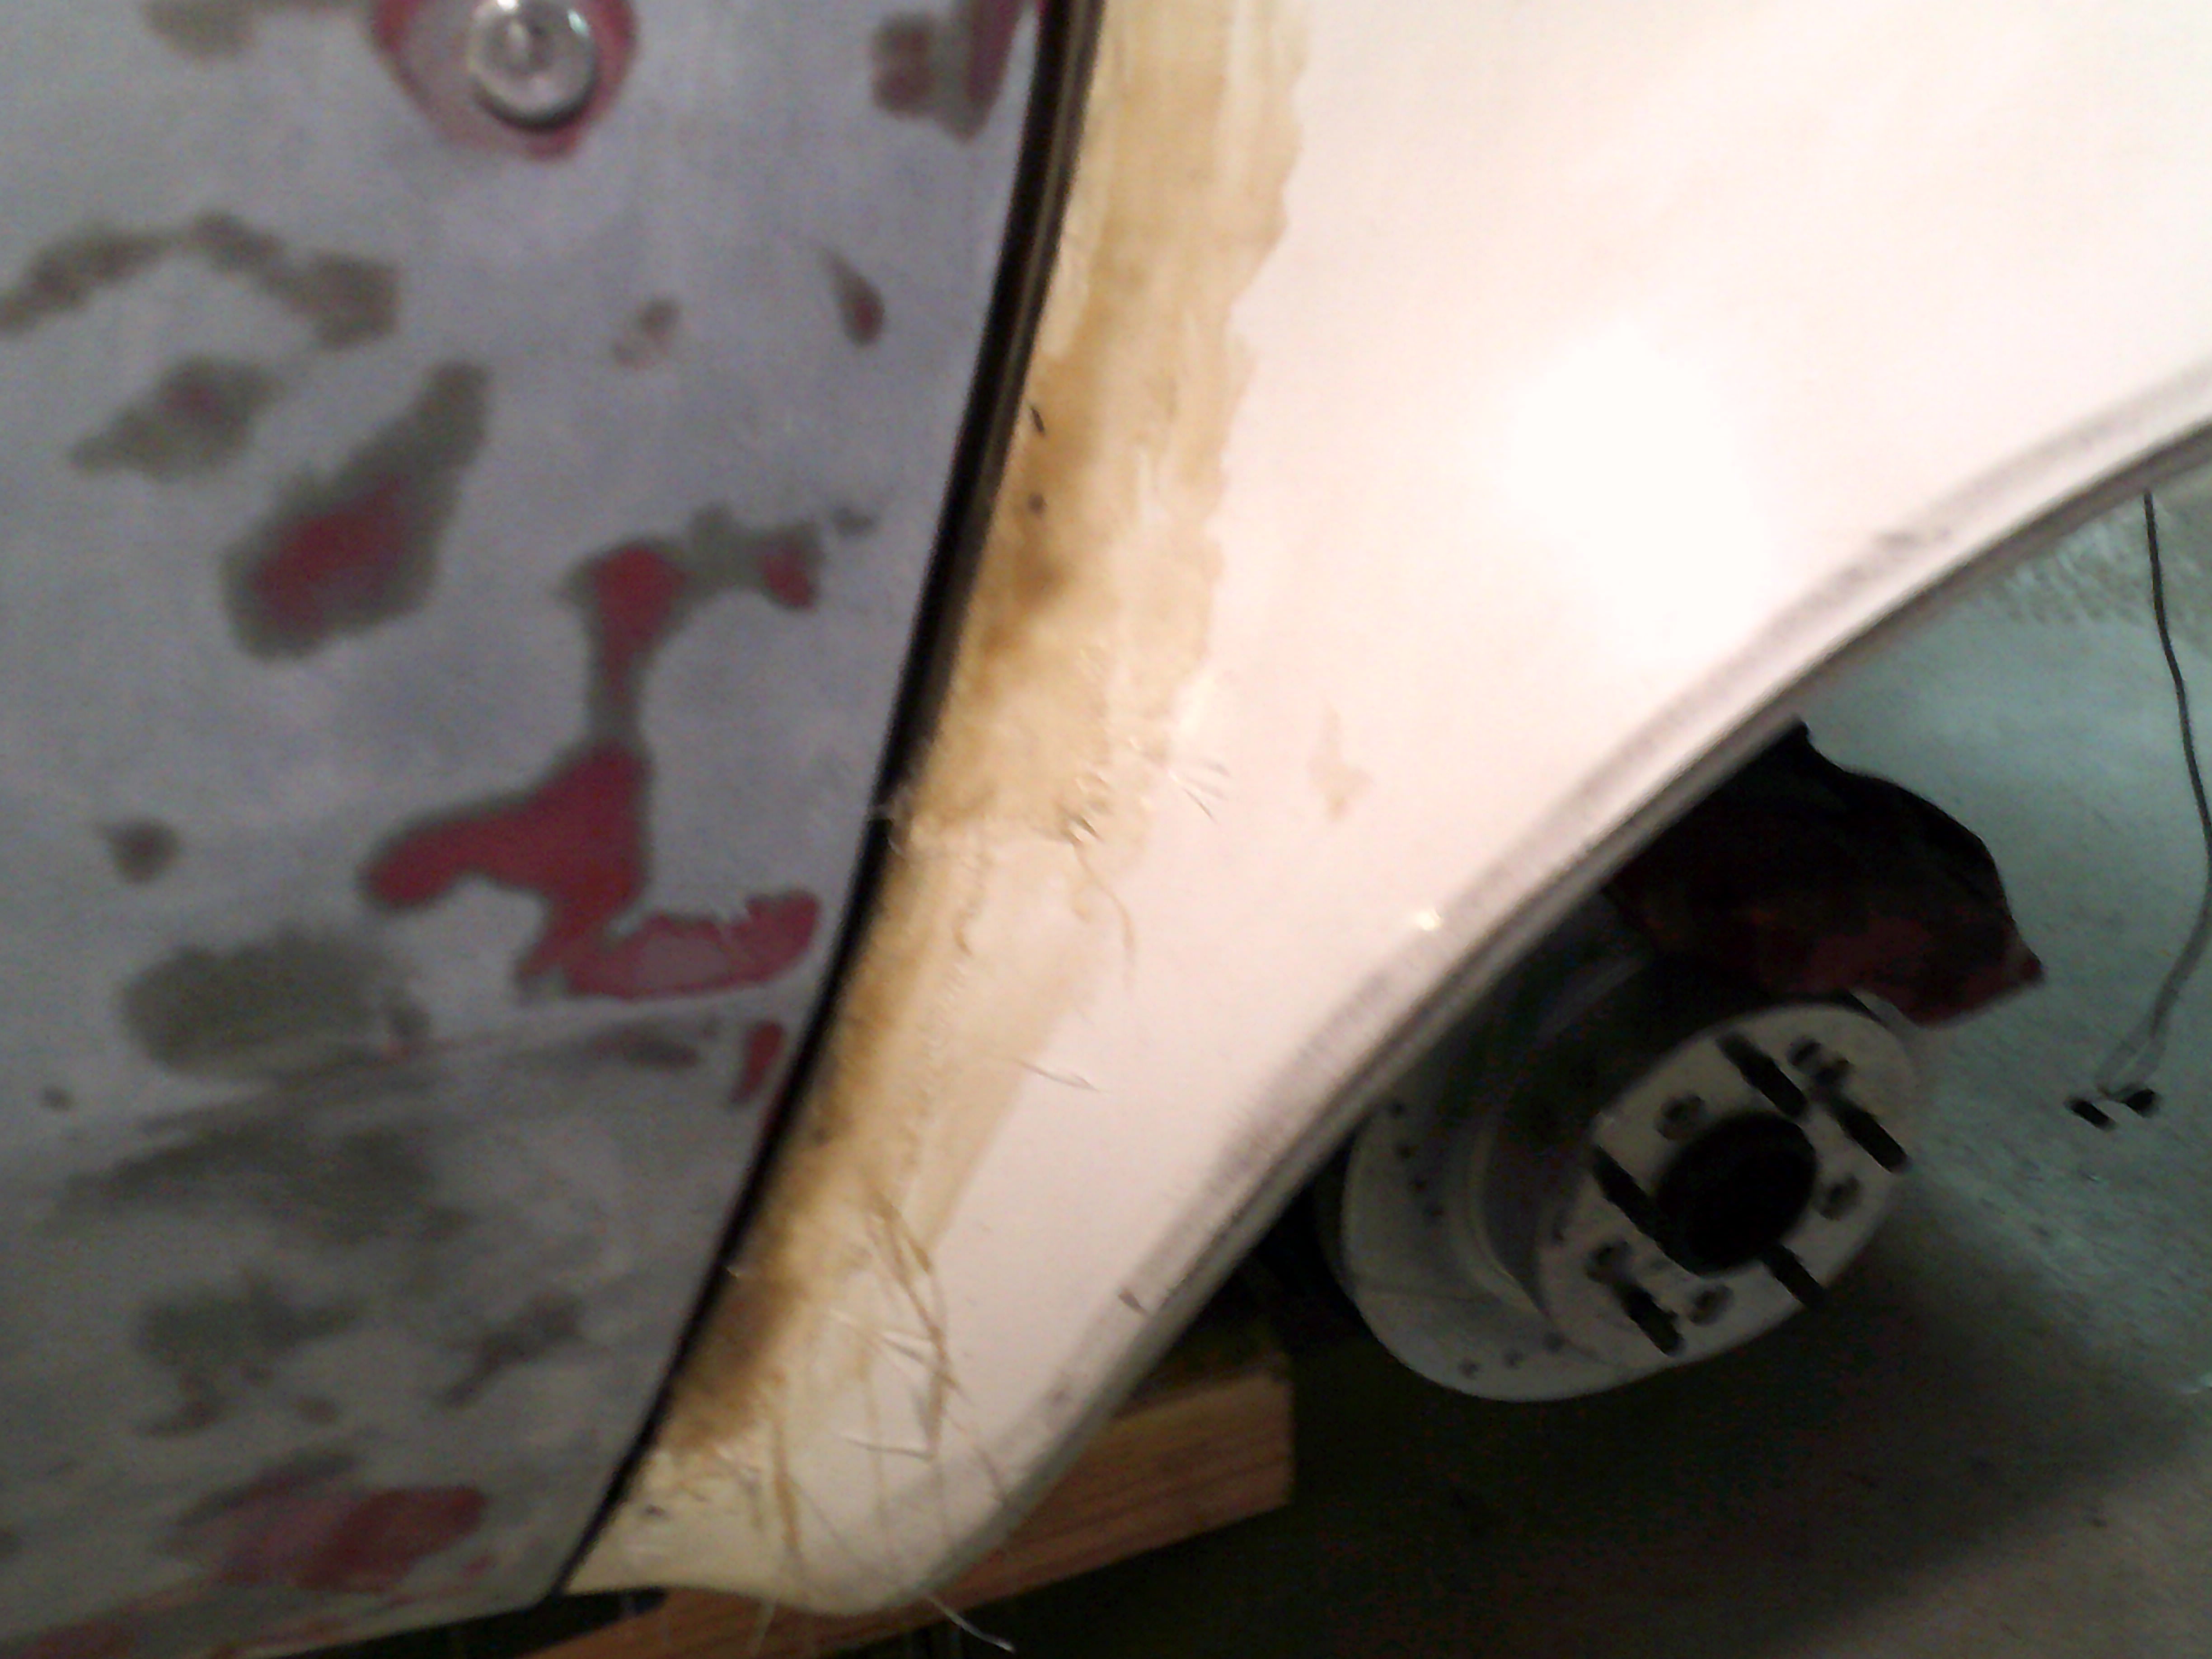
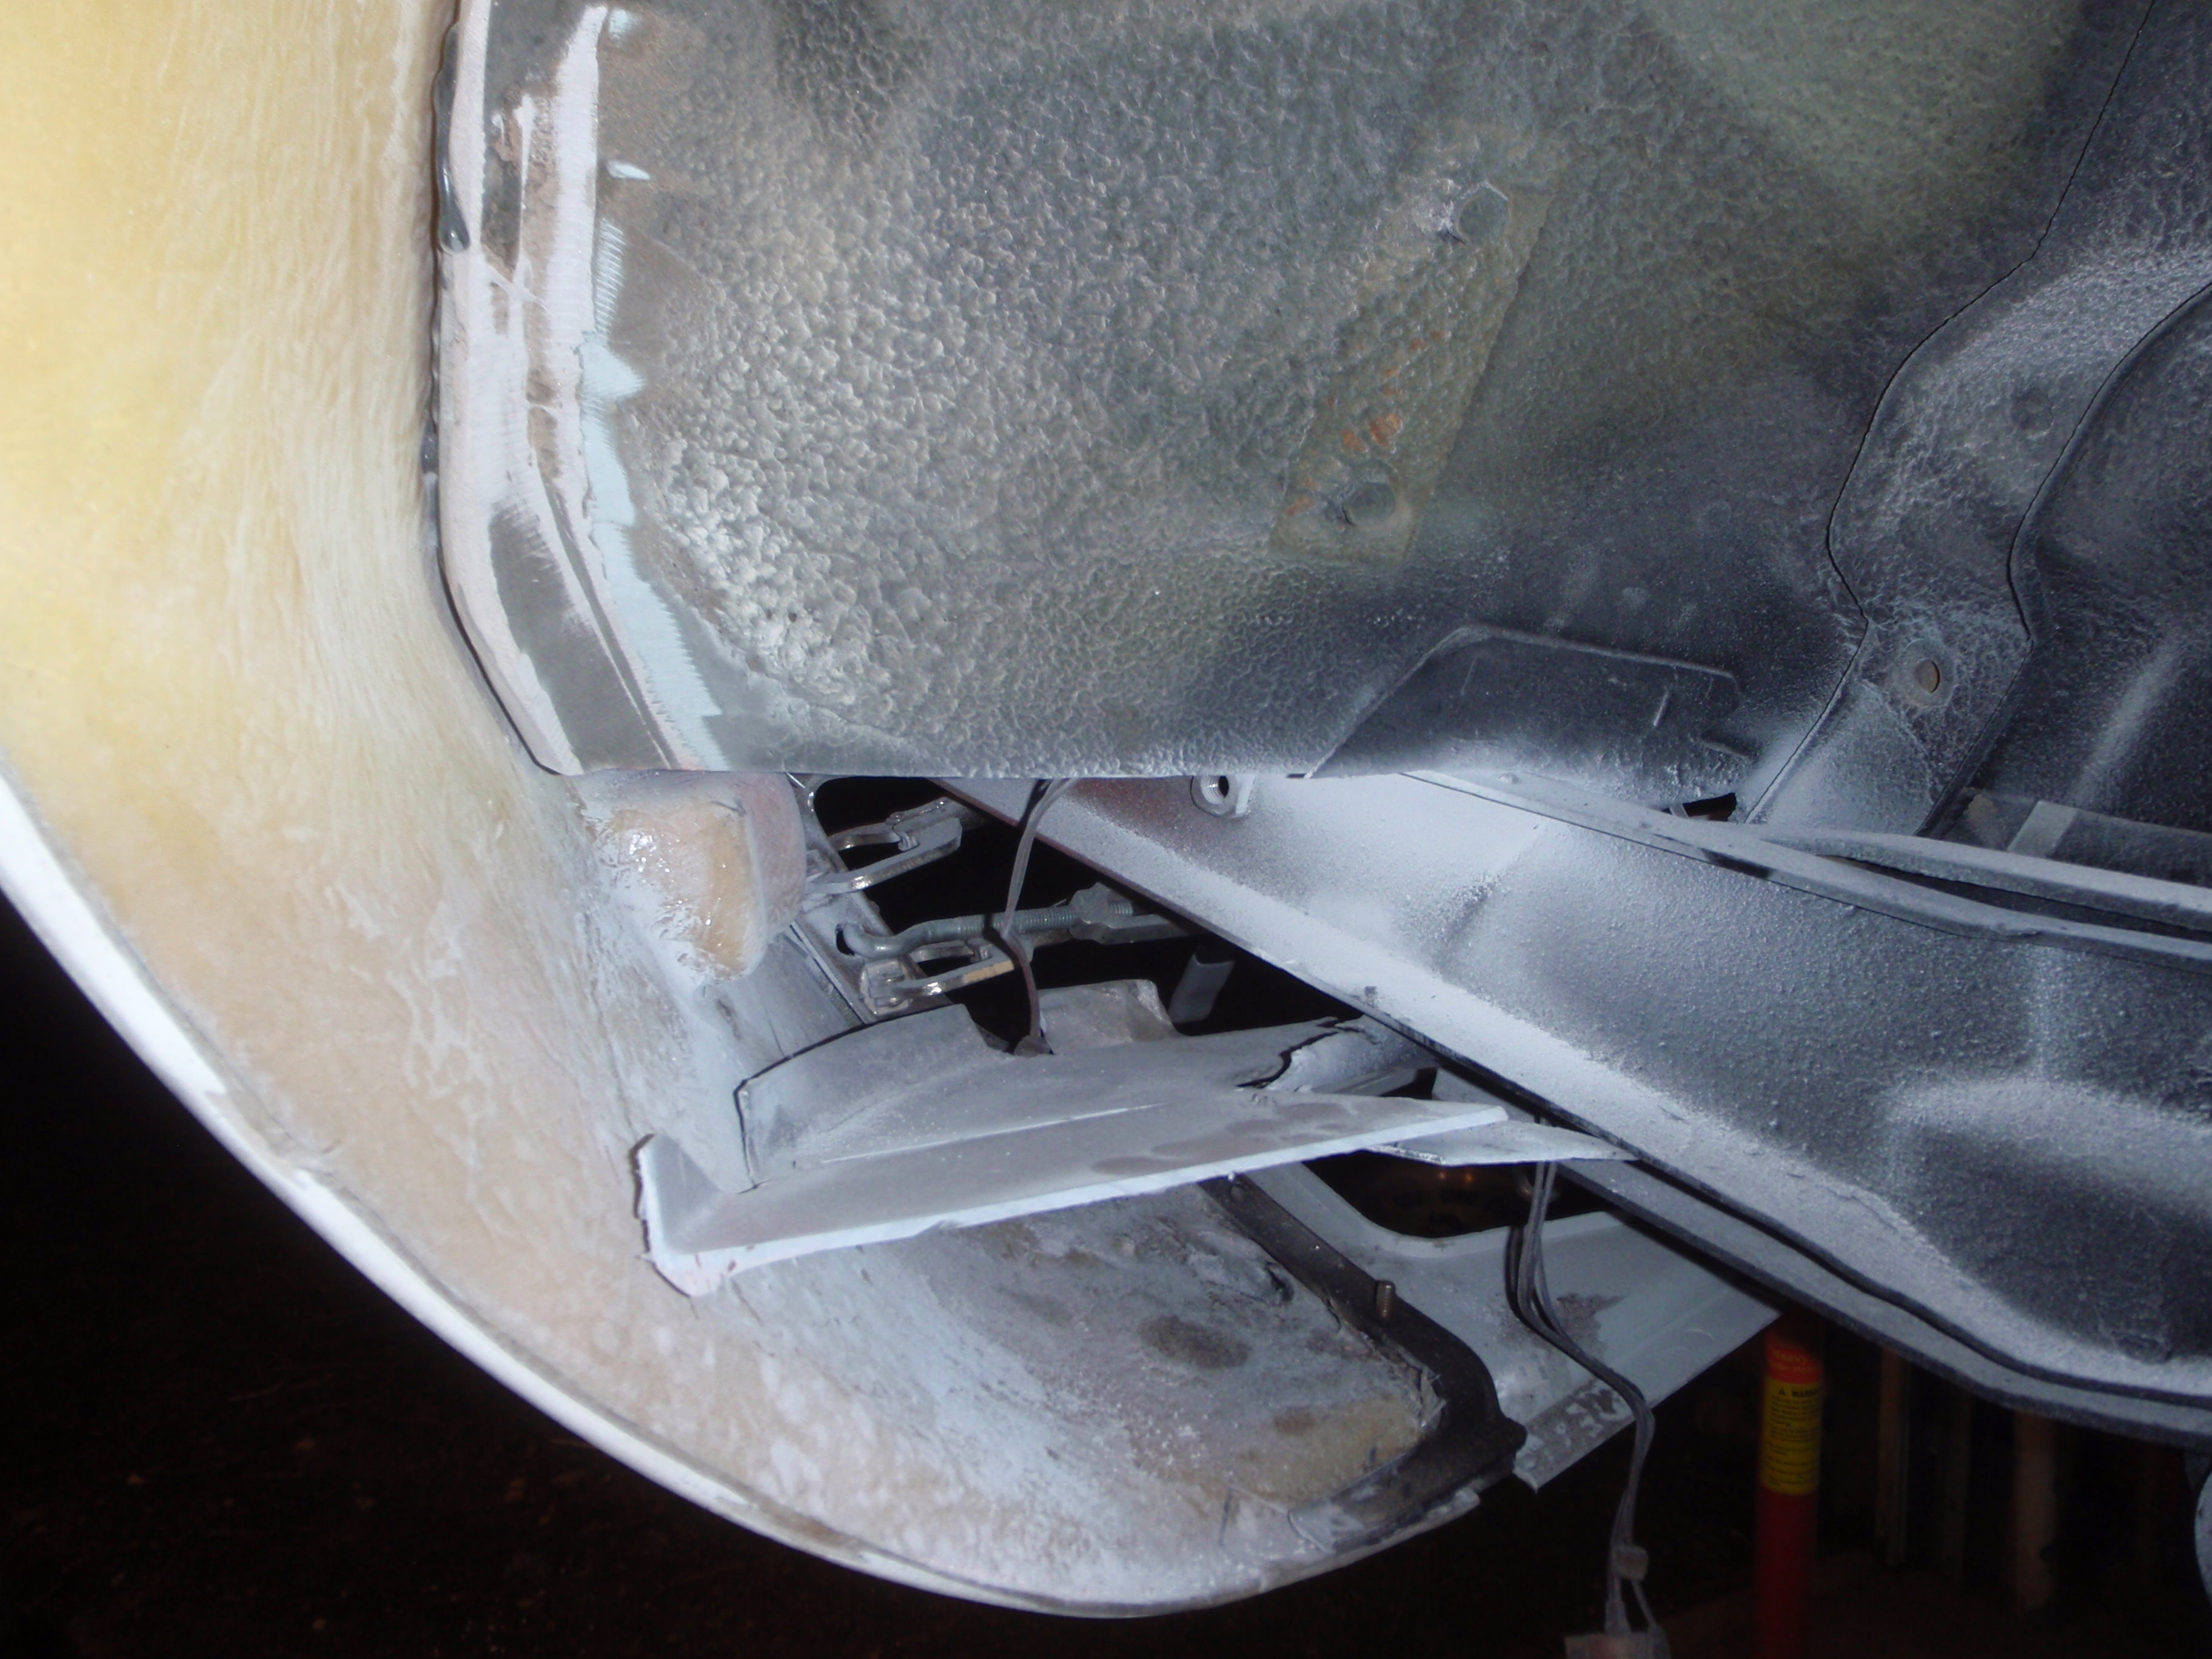
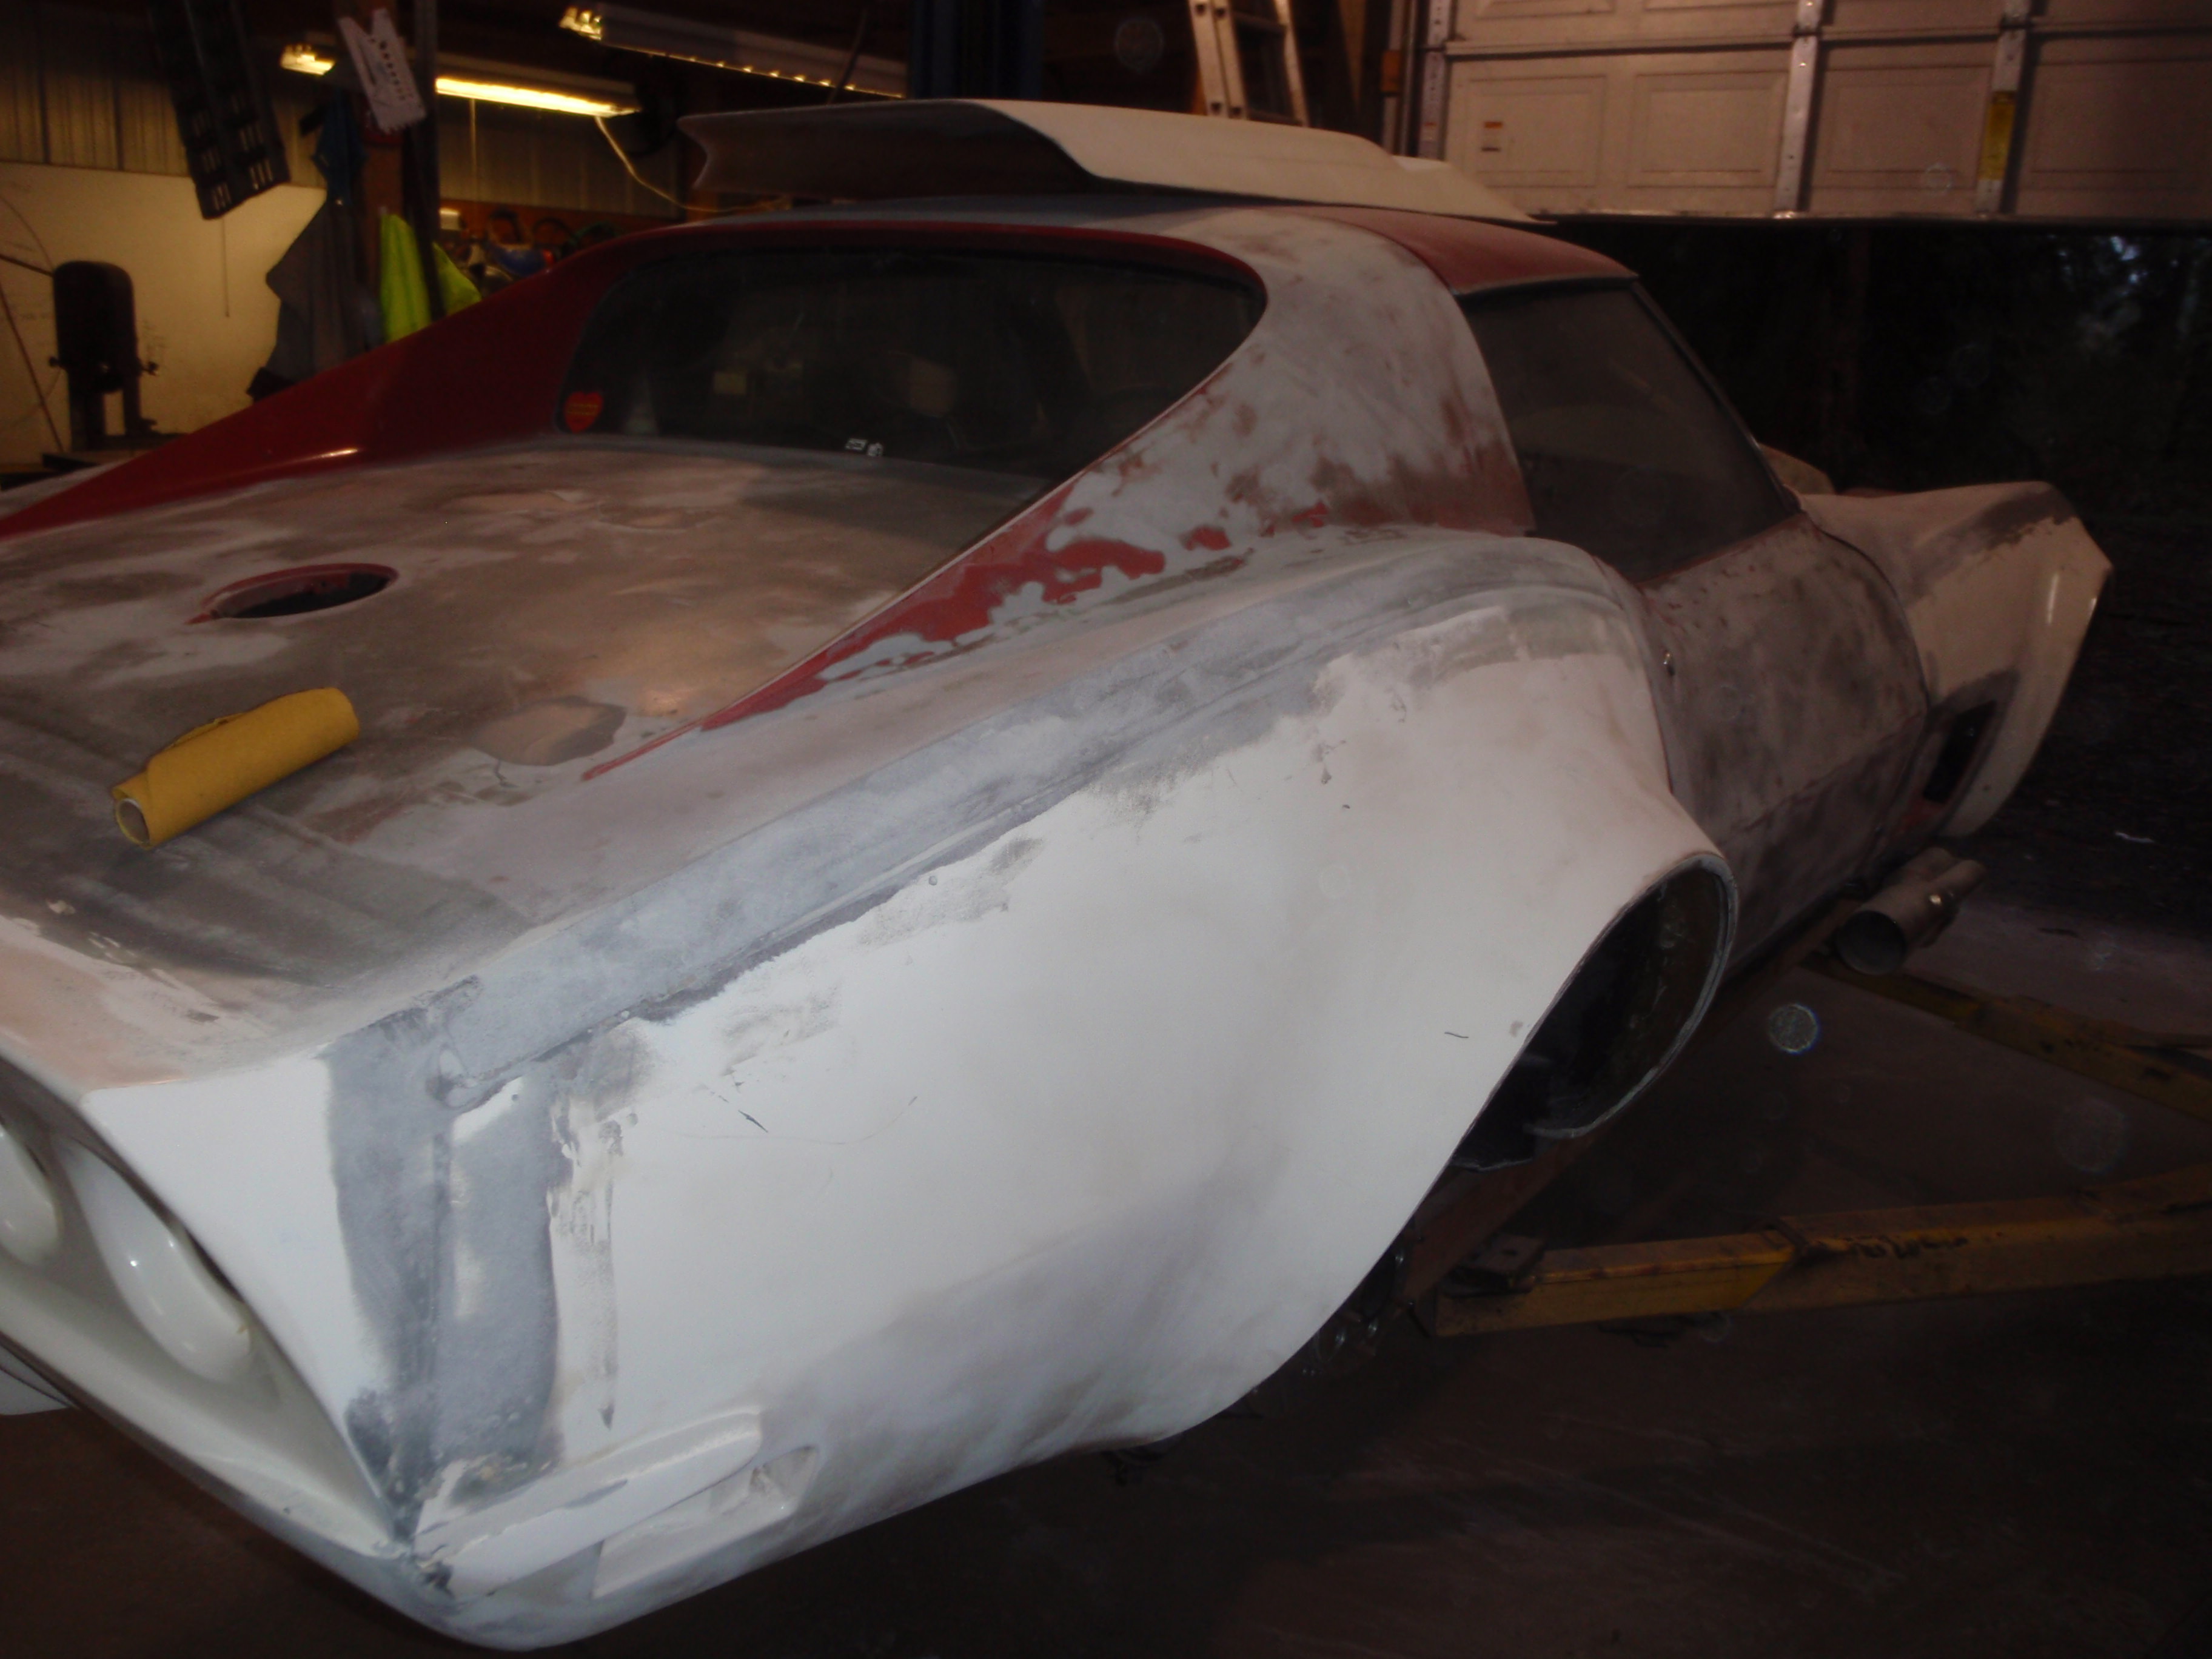
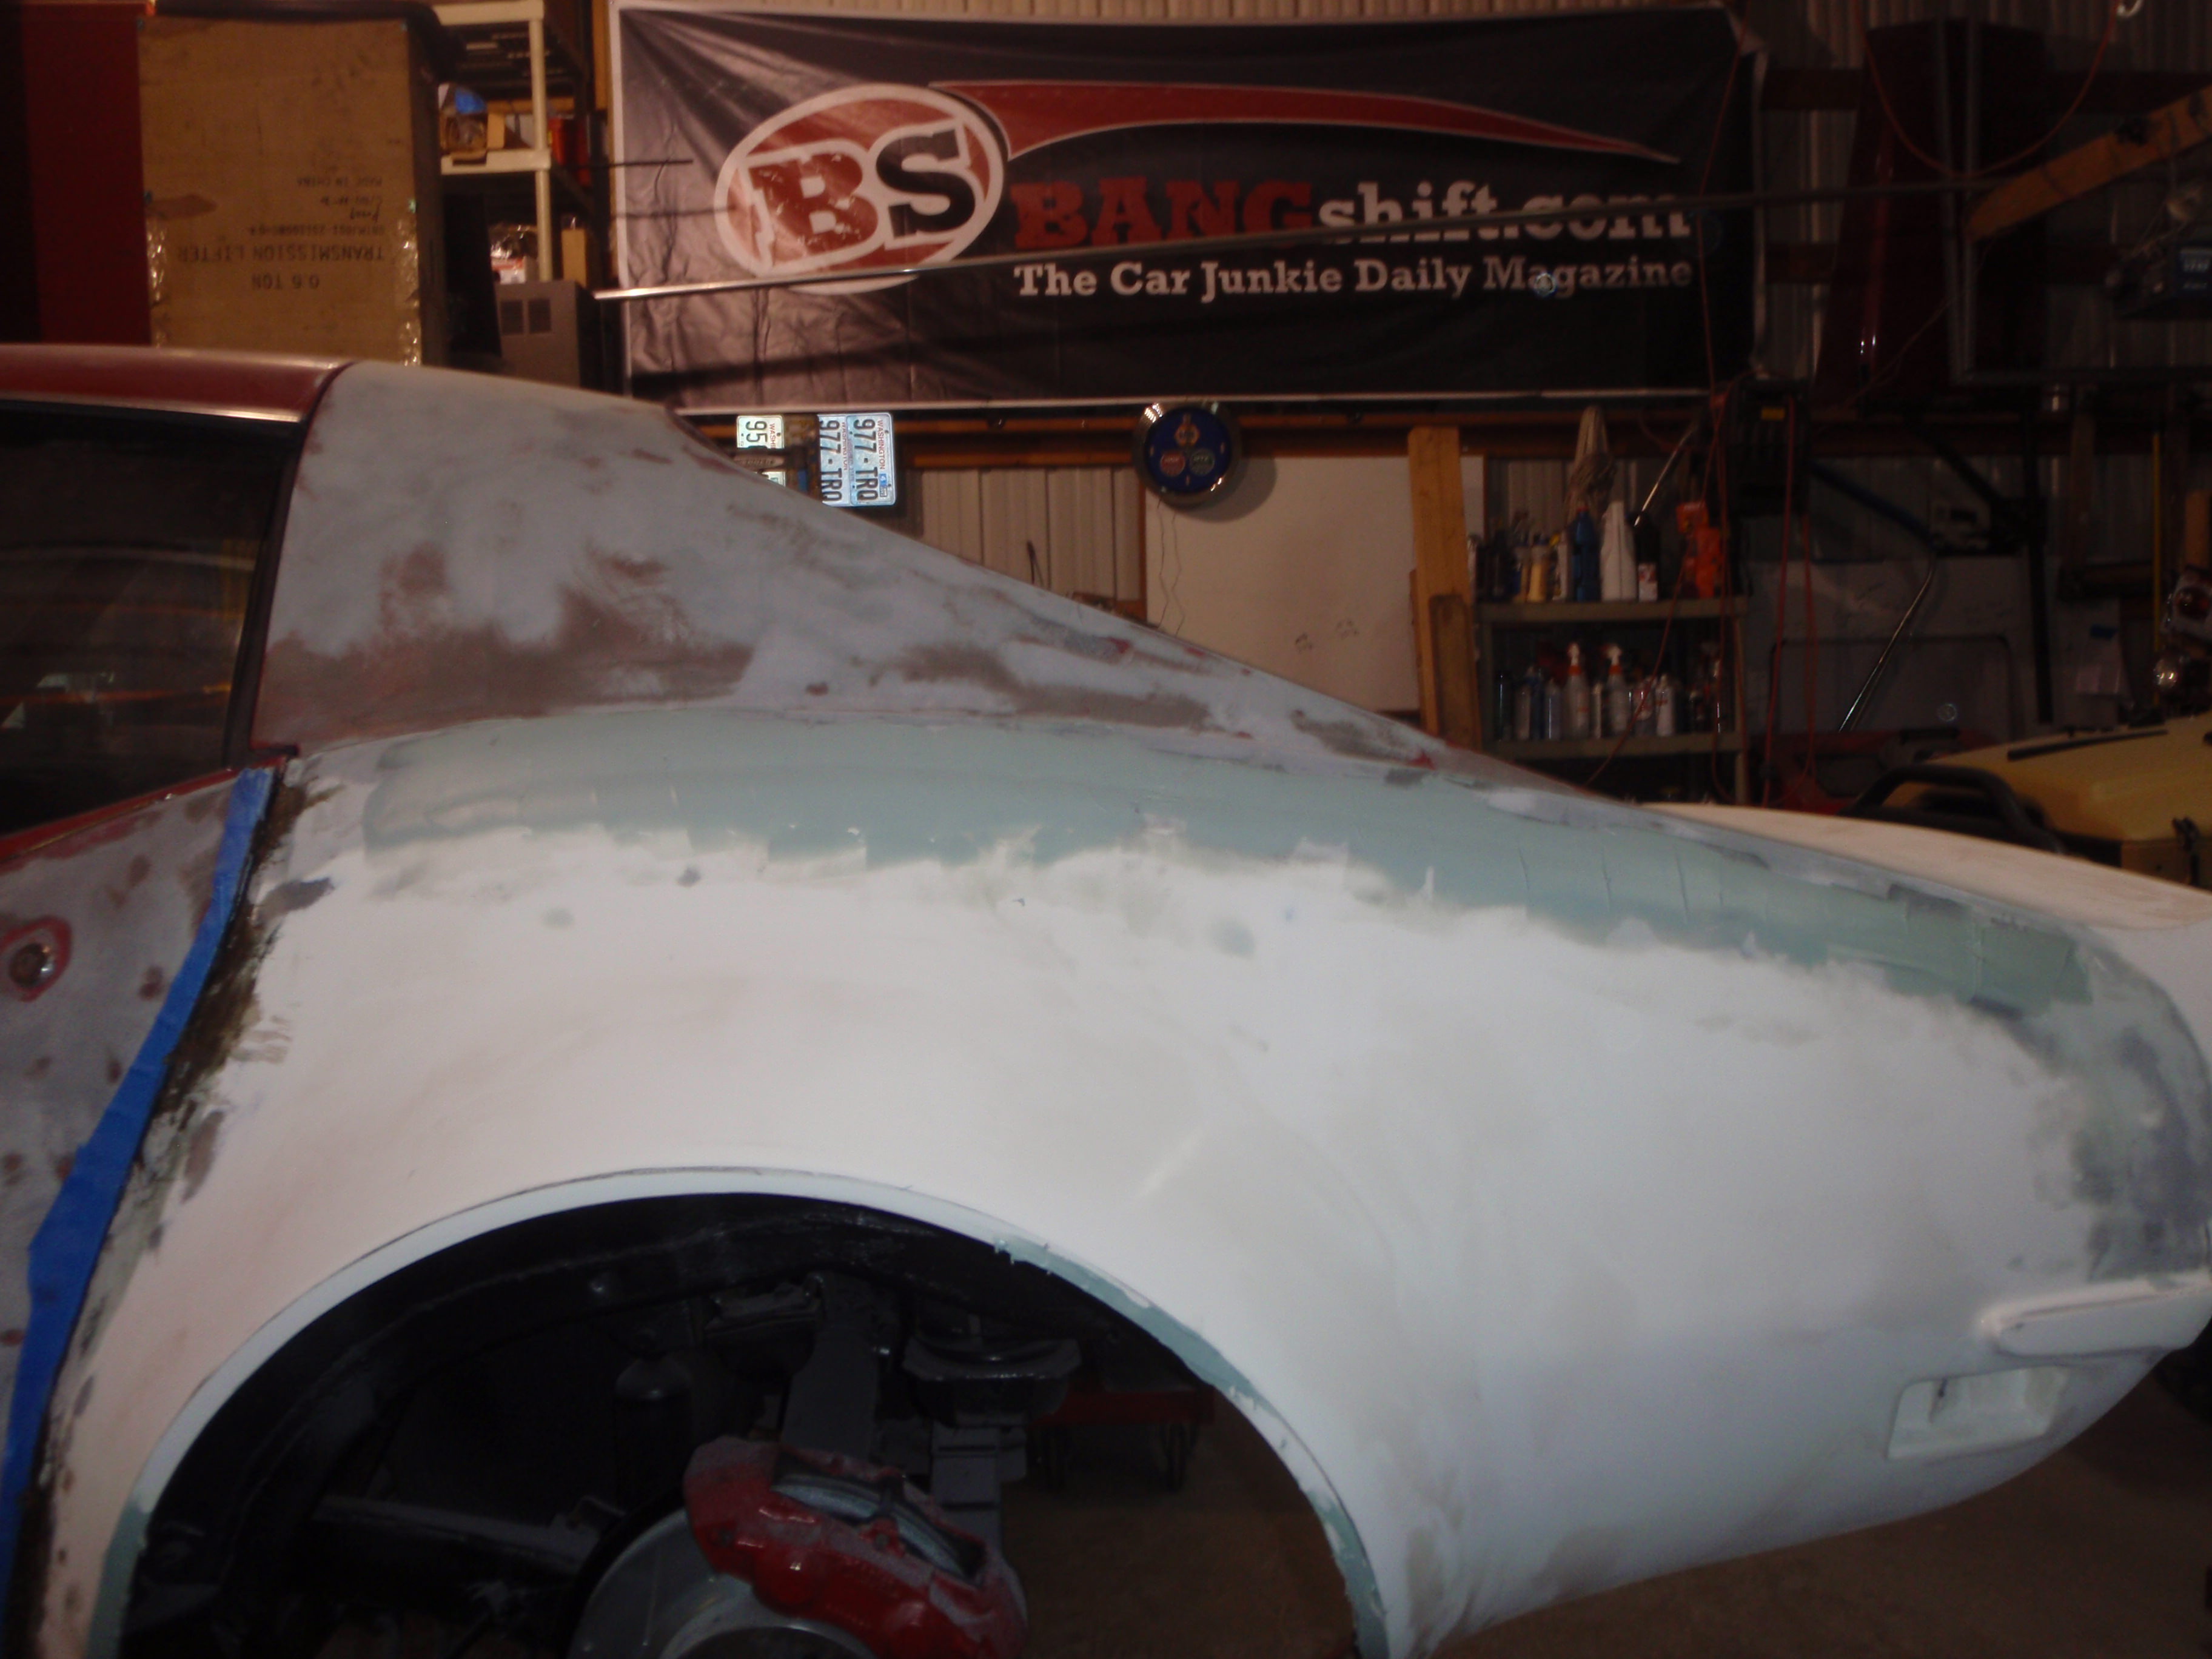
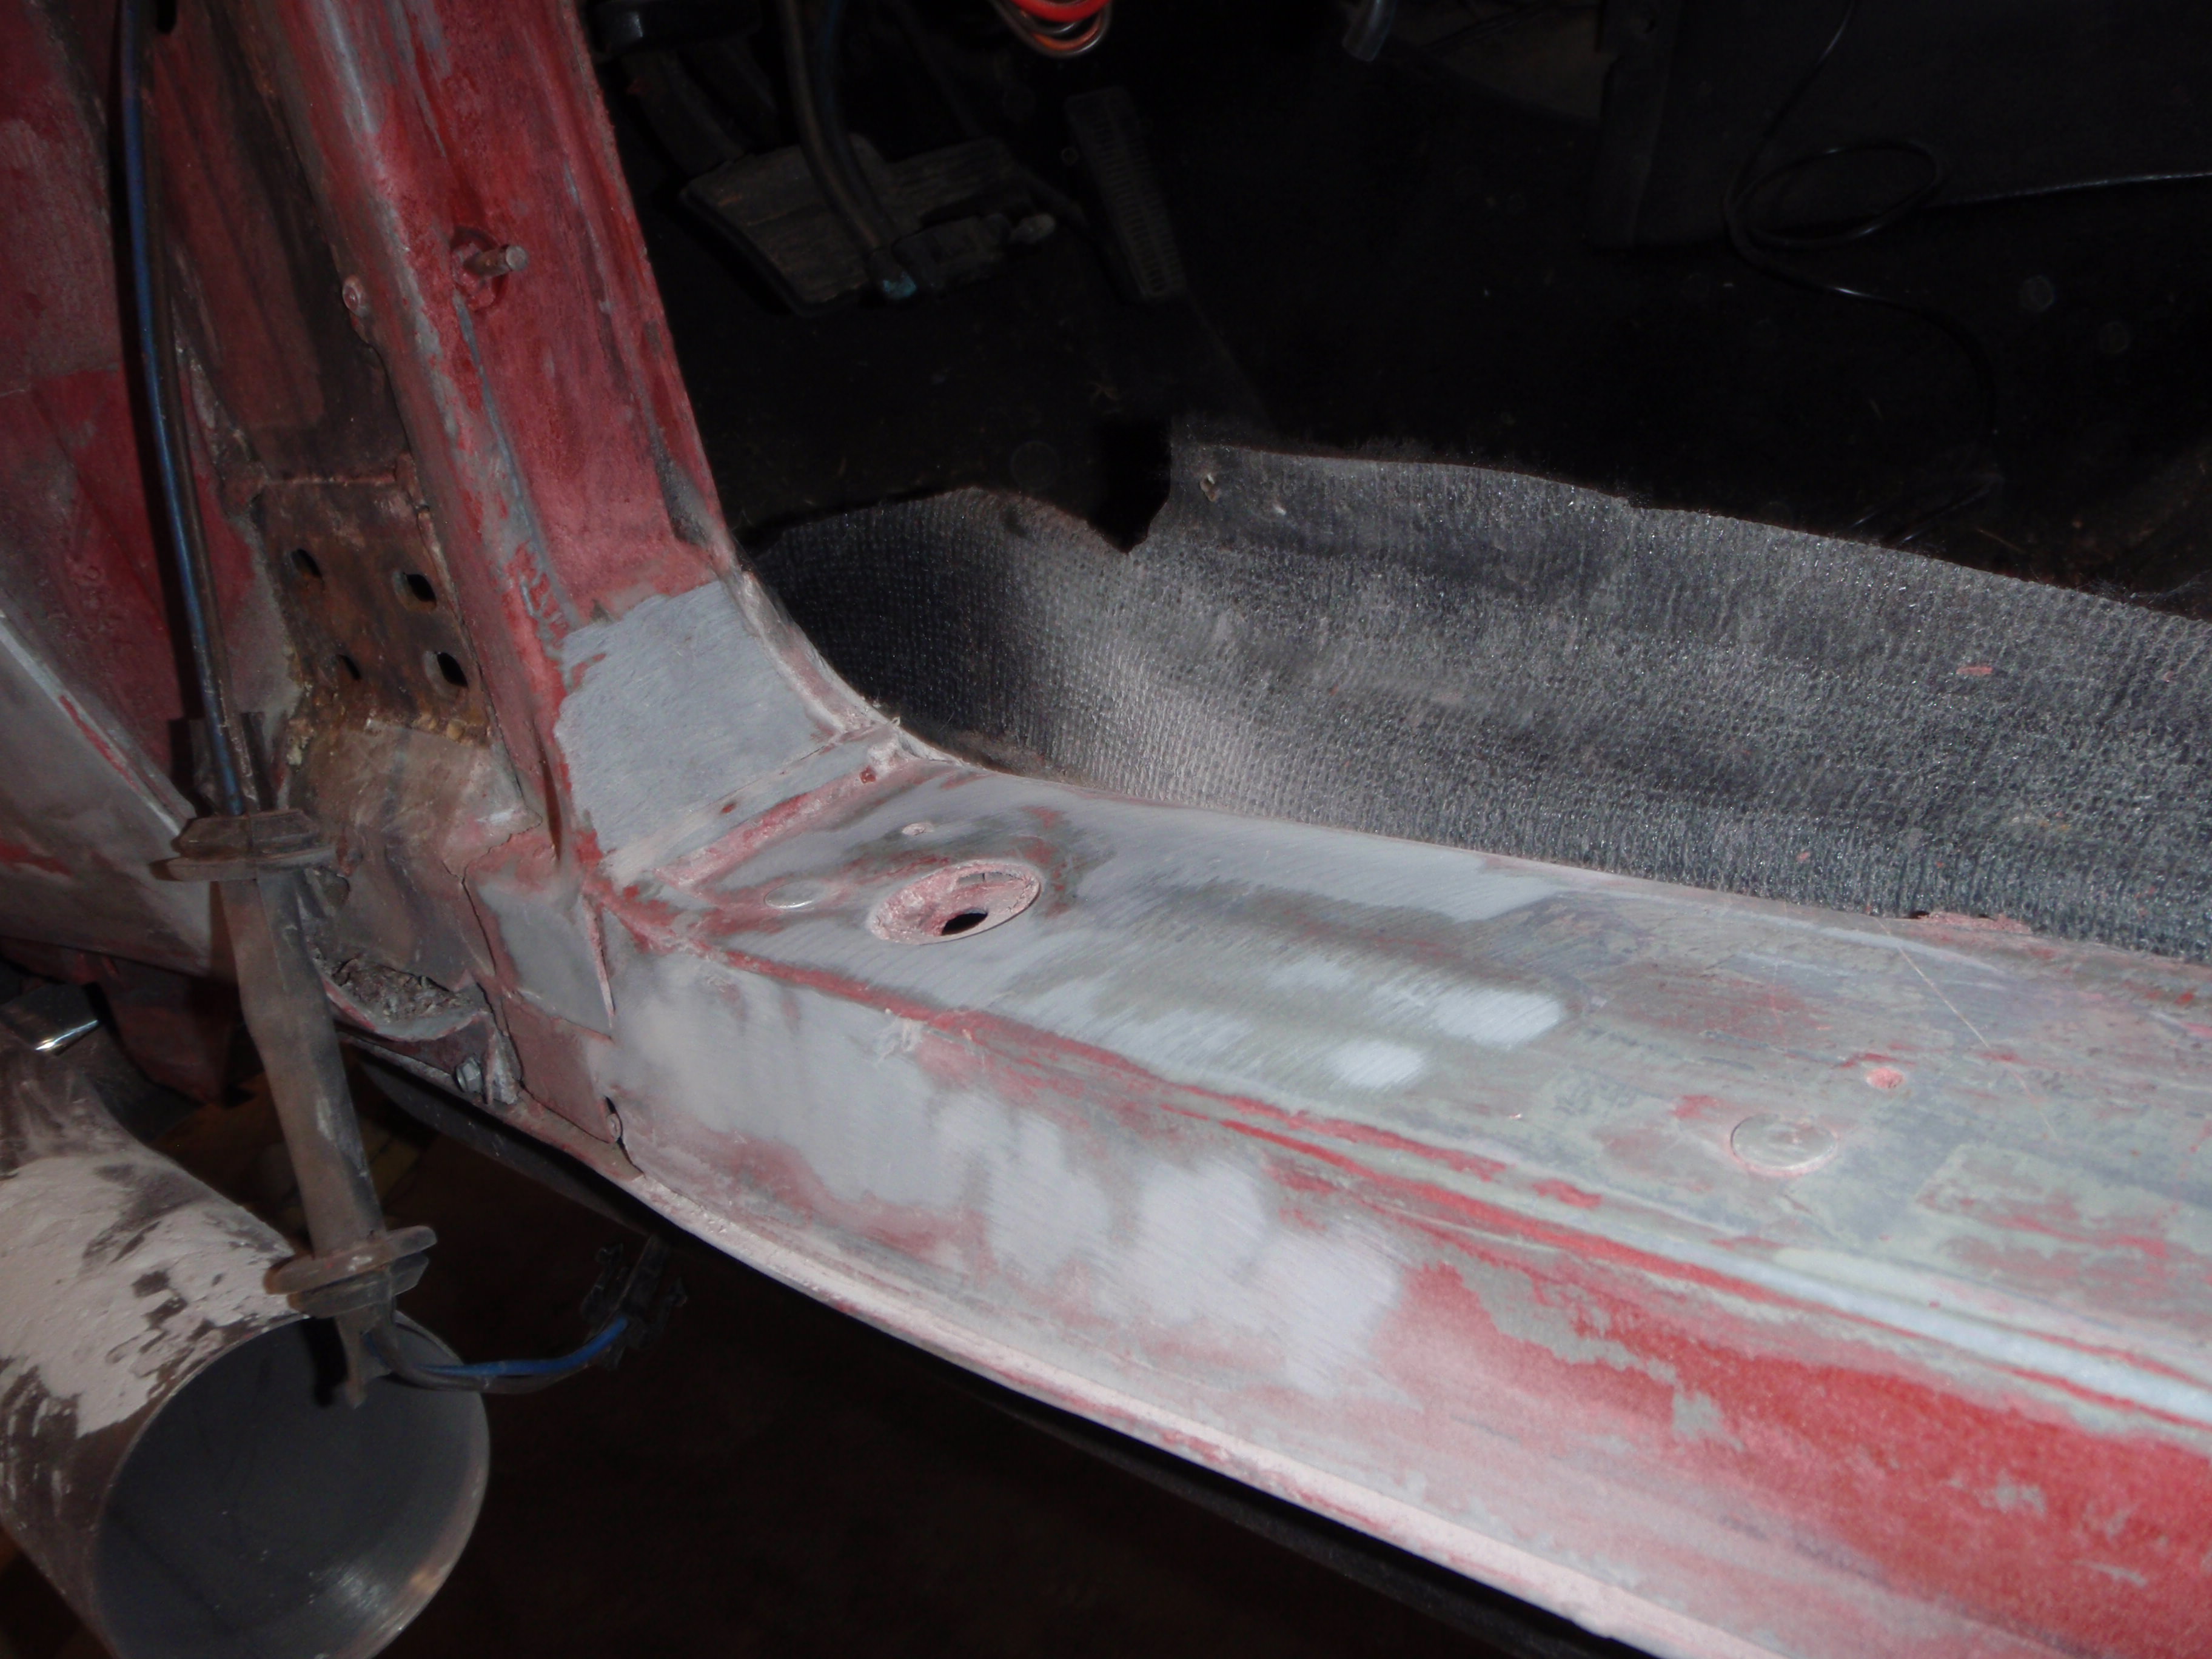
and the random "look what I get to fix because the panels were made too short"
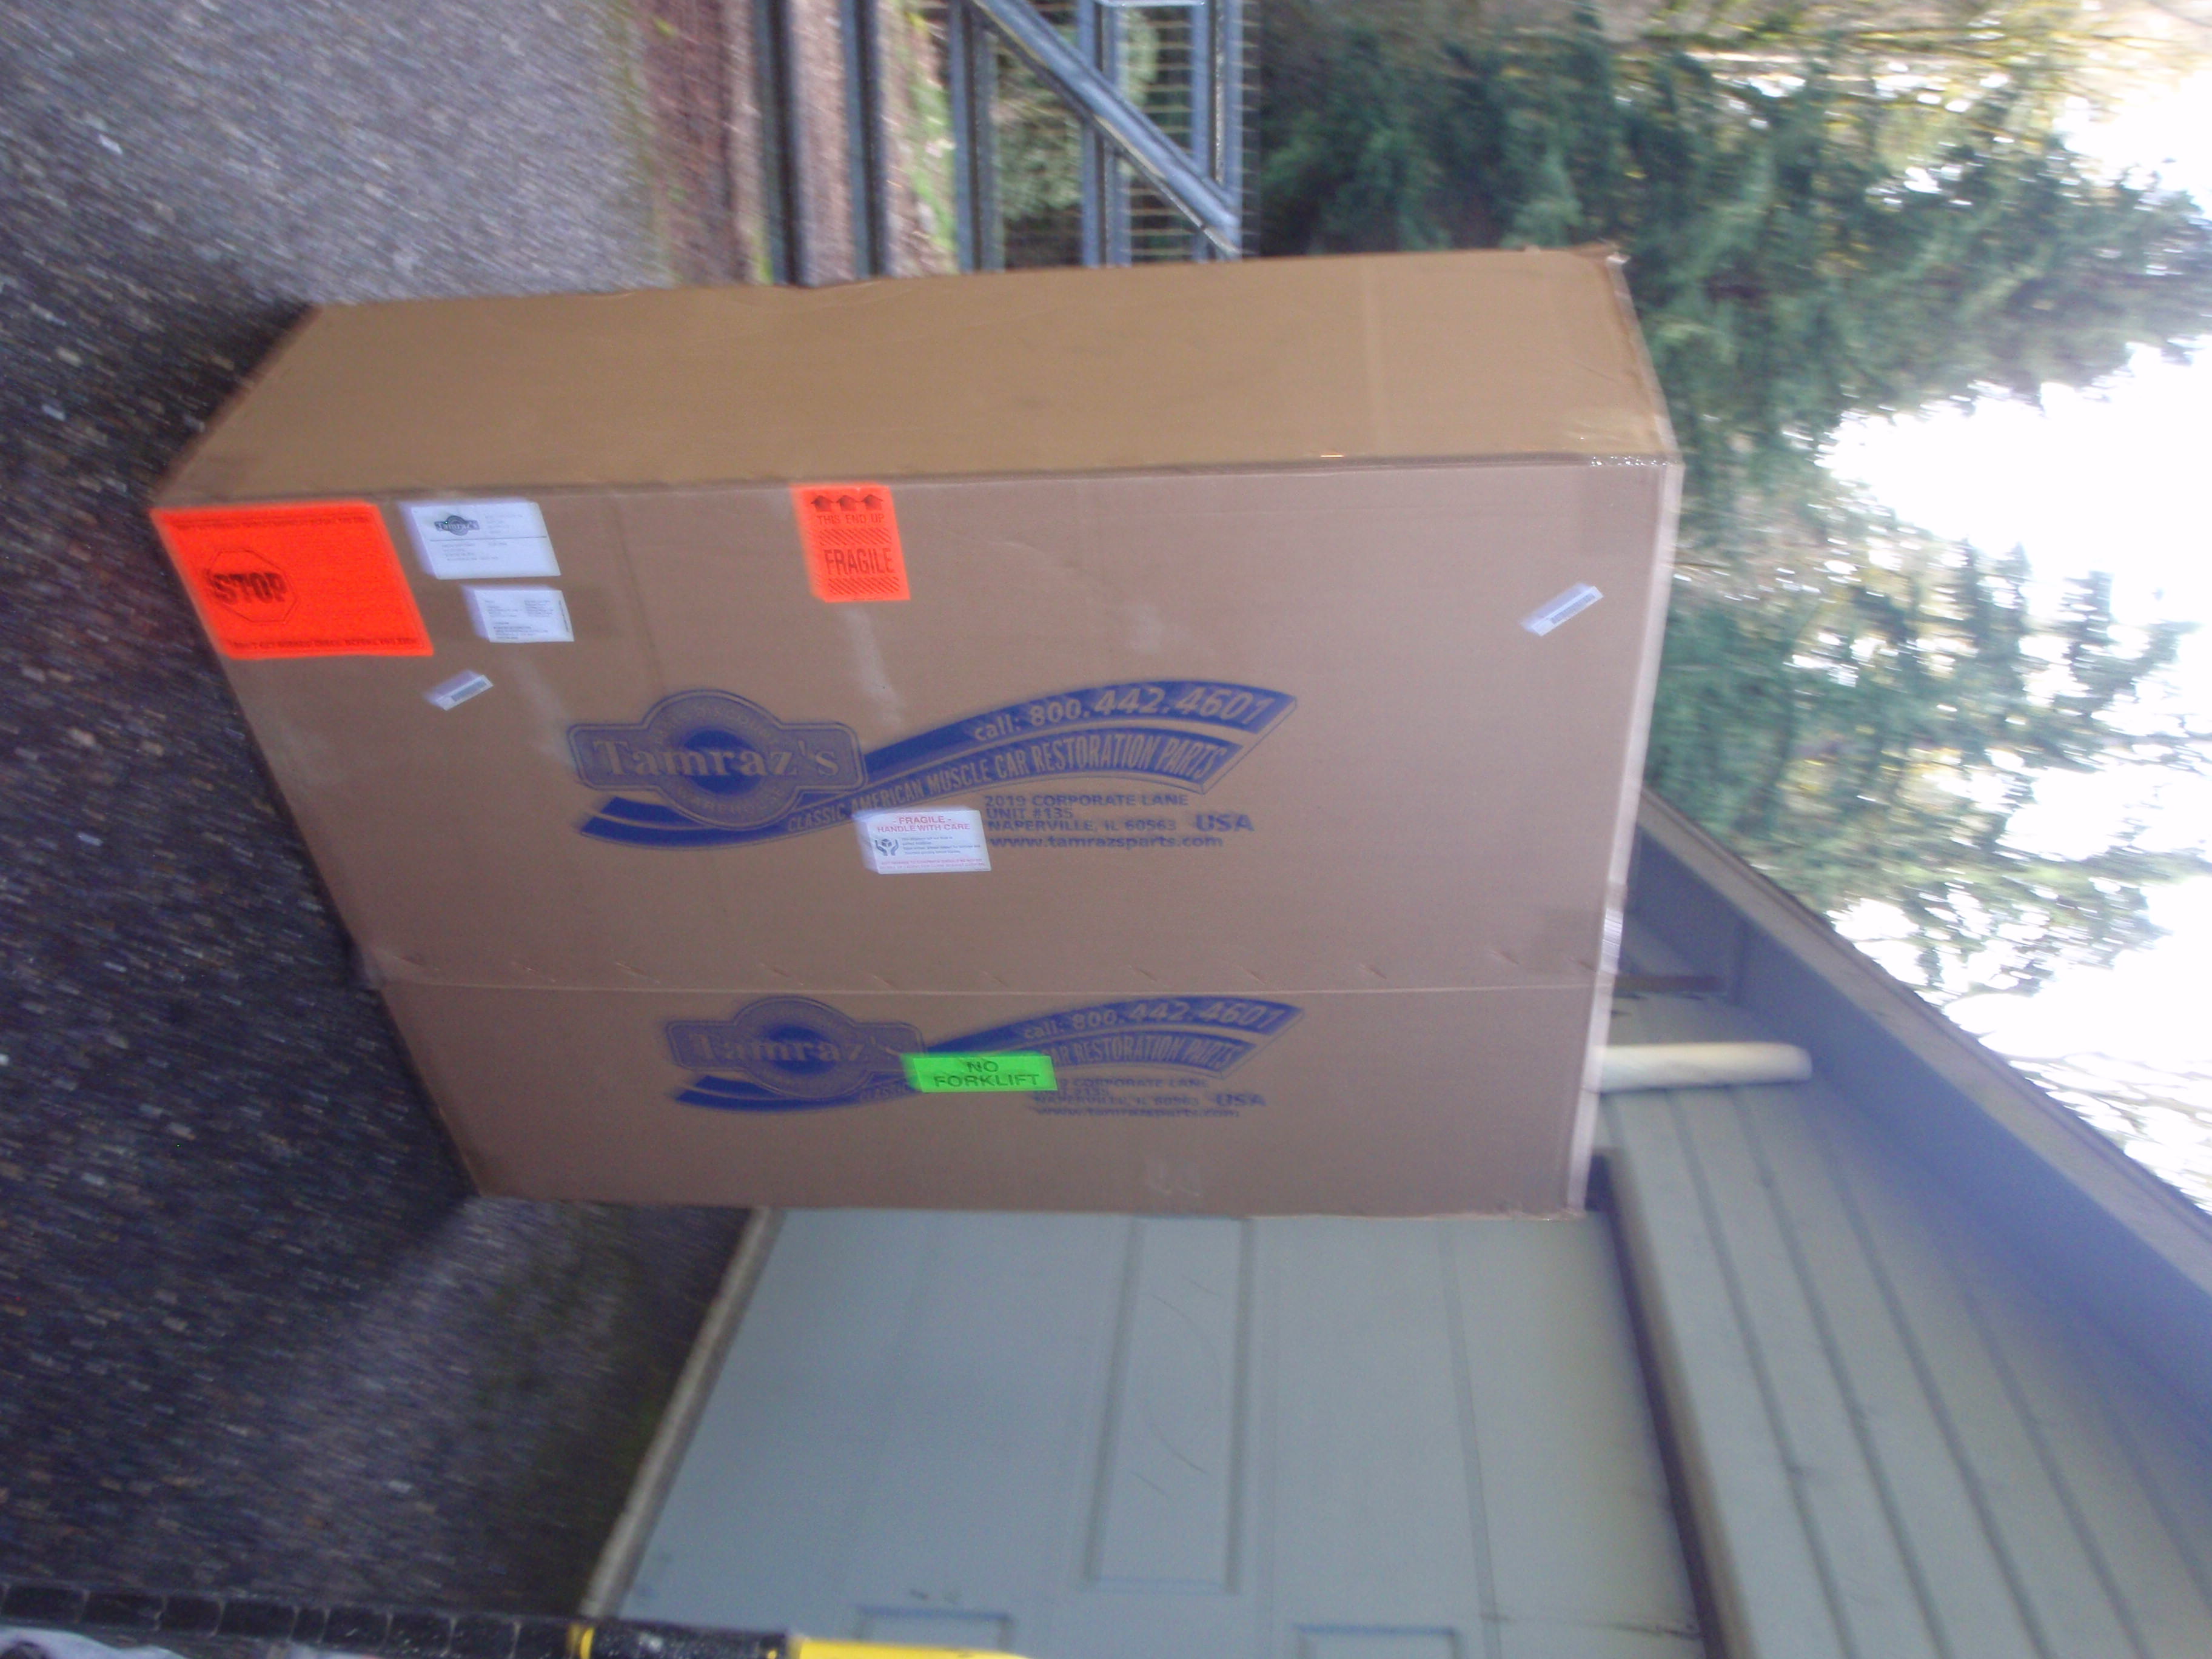
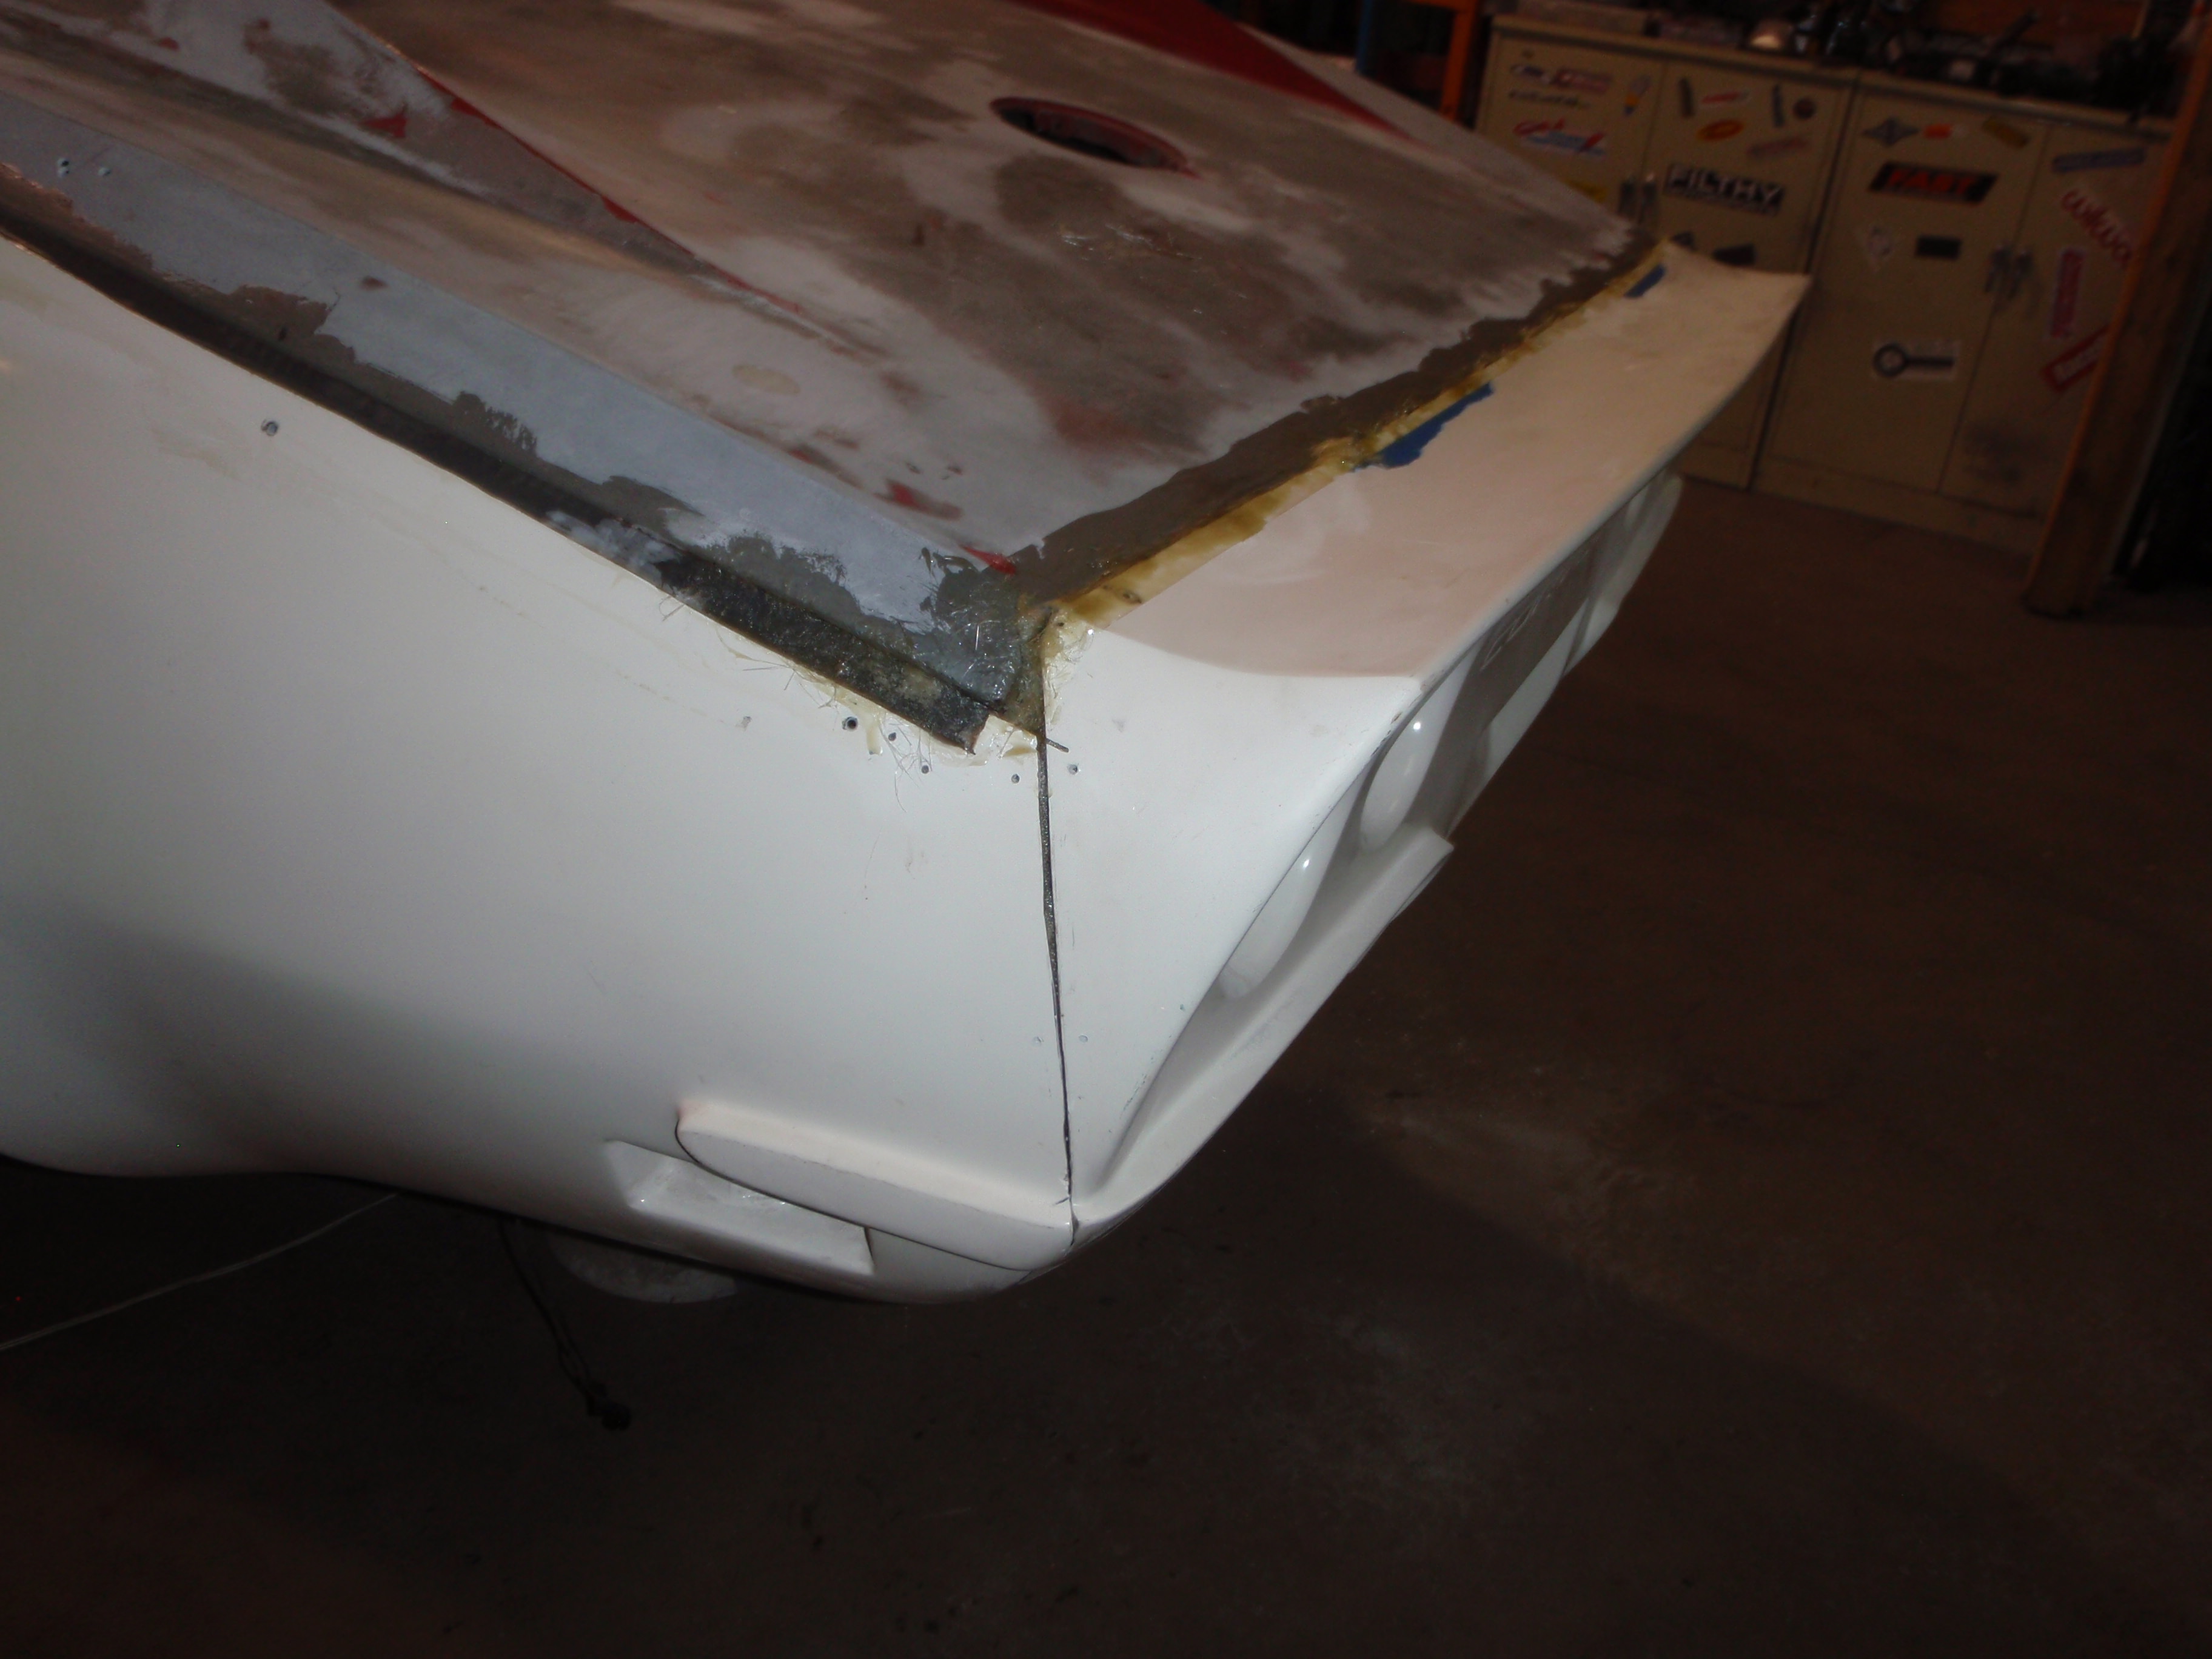
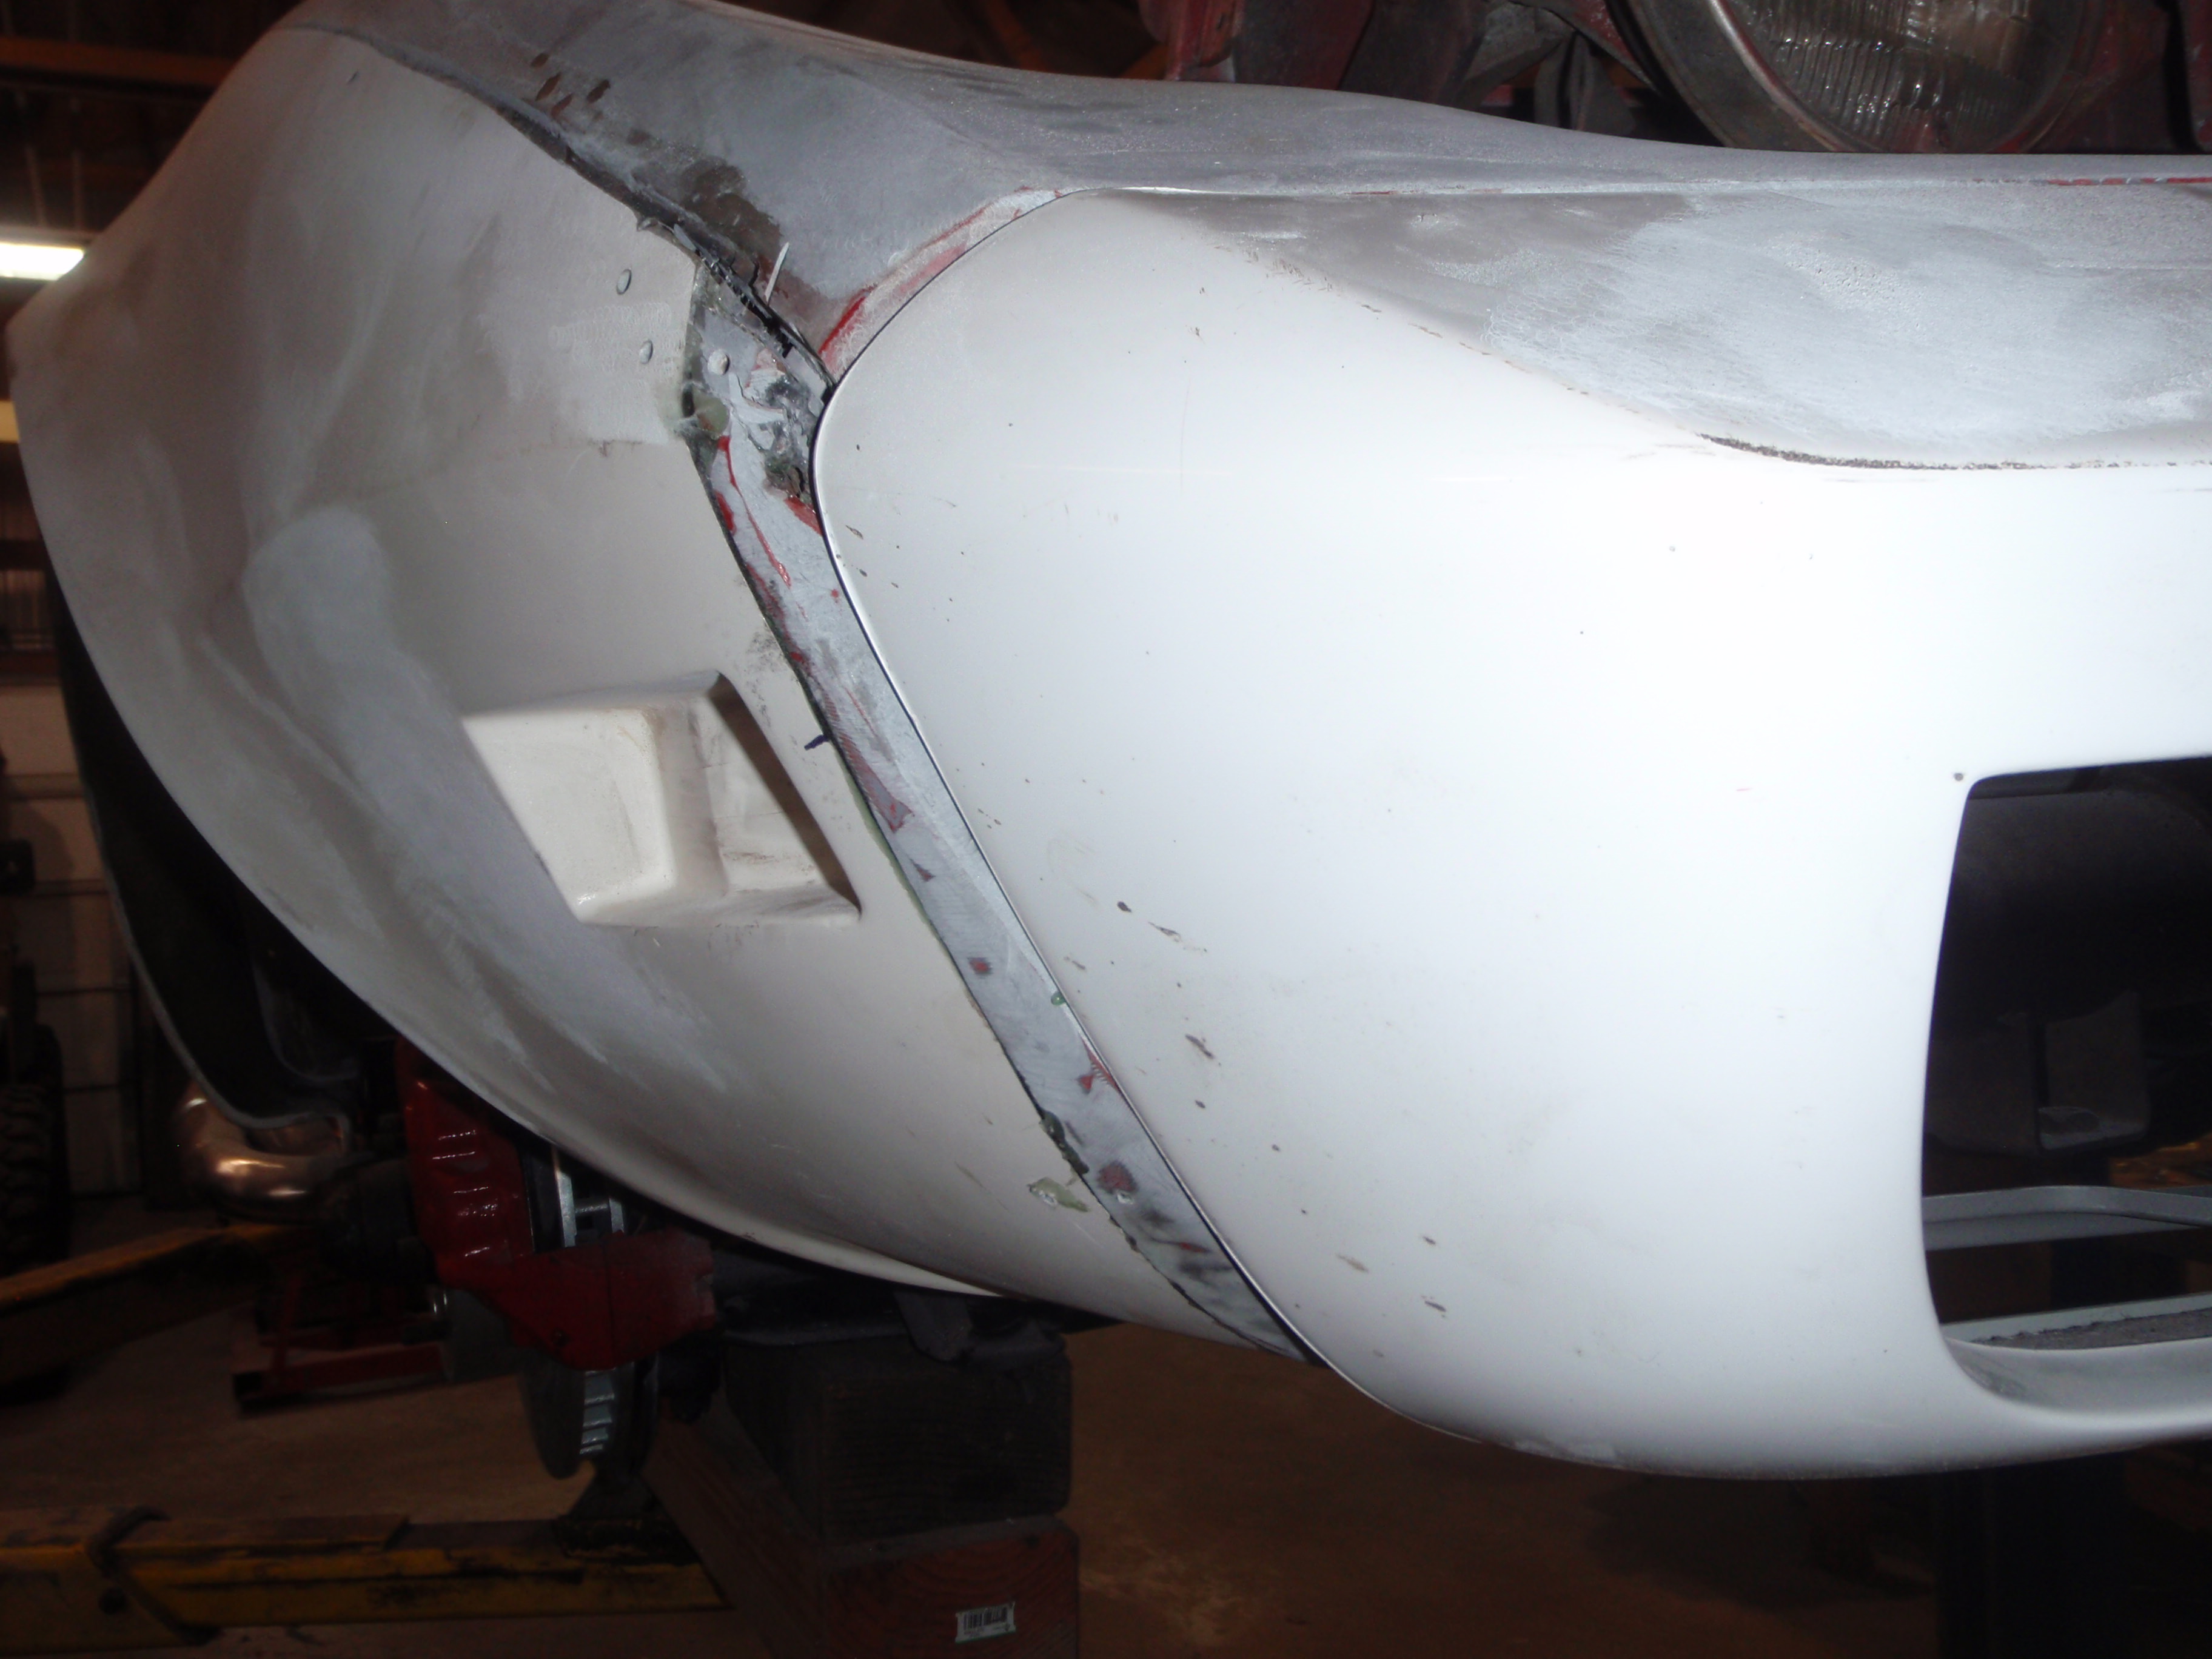
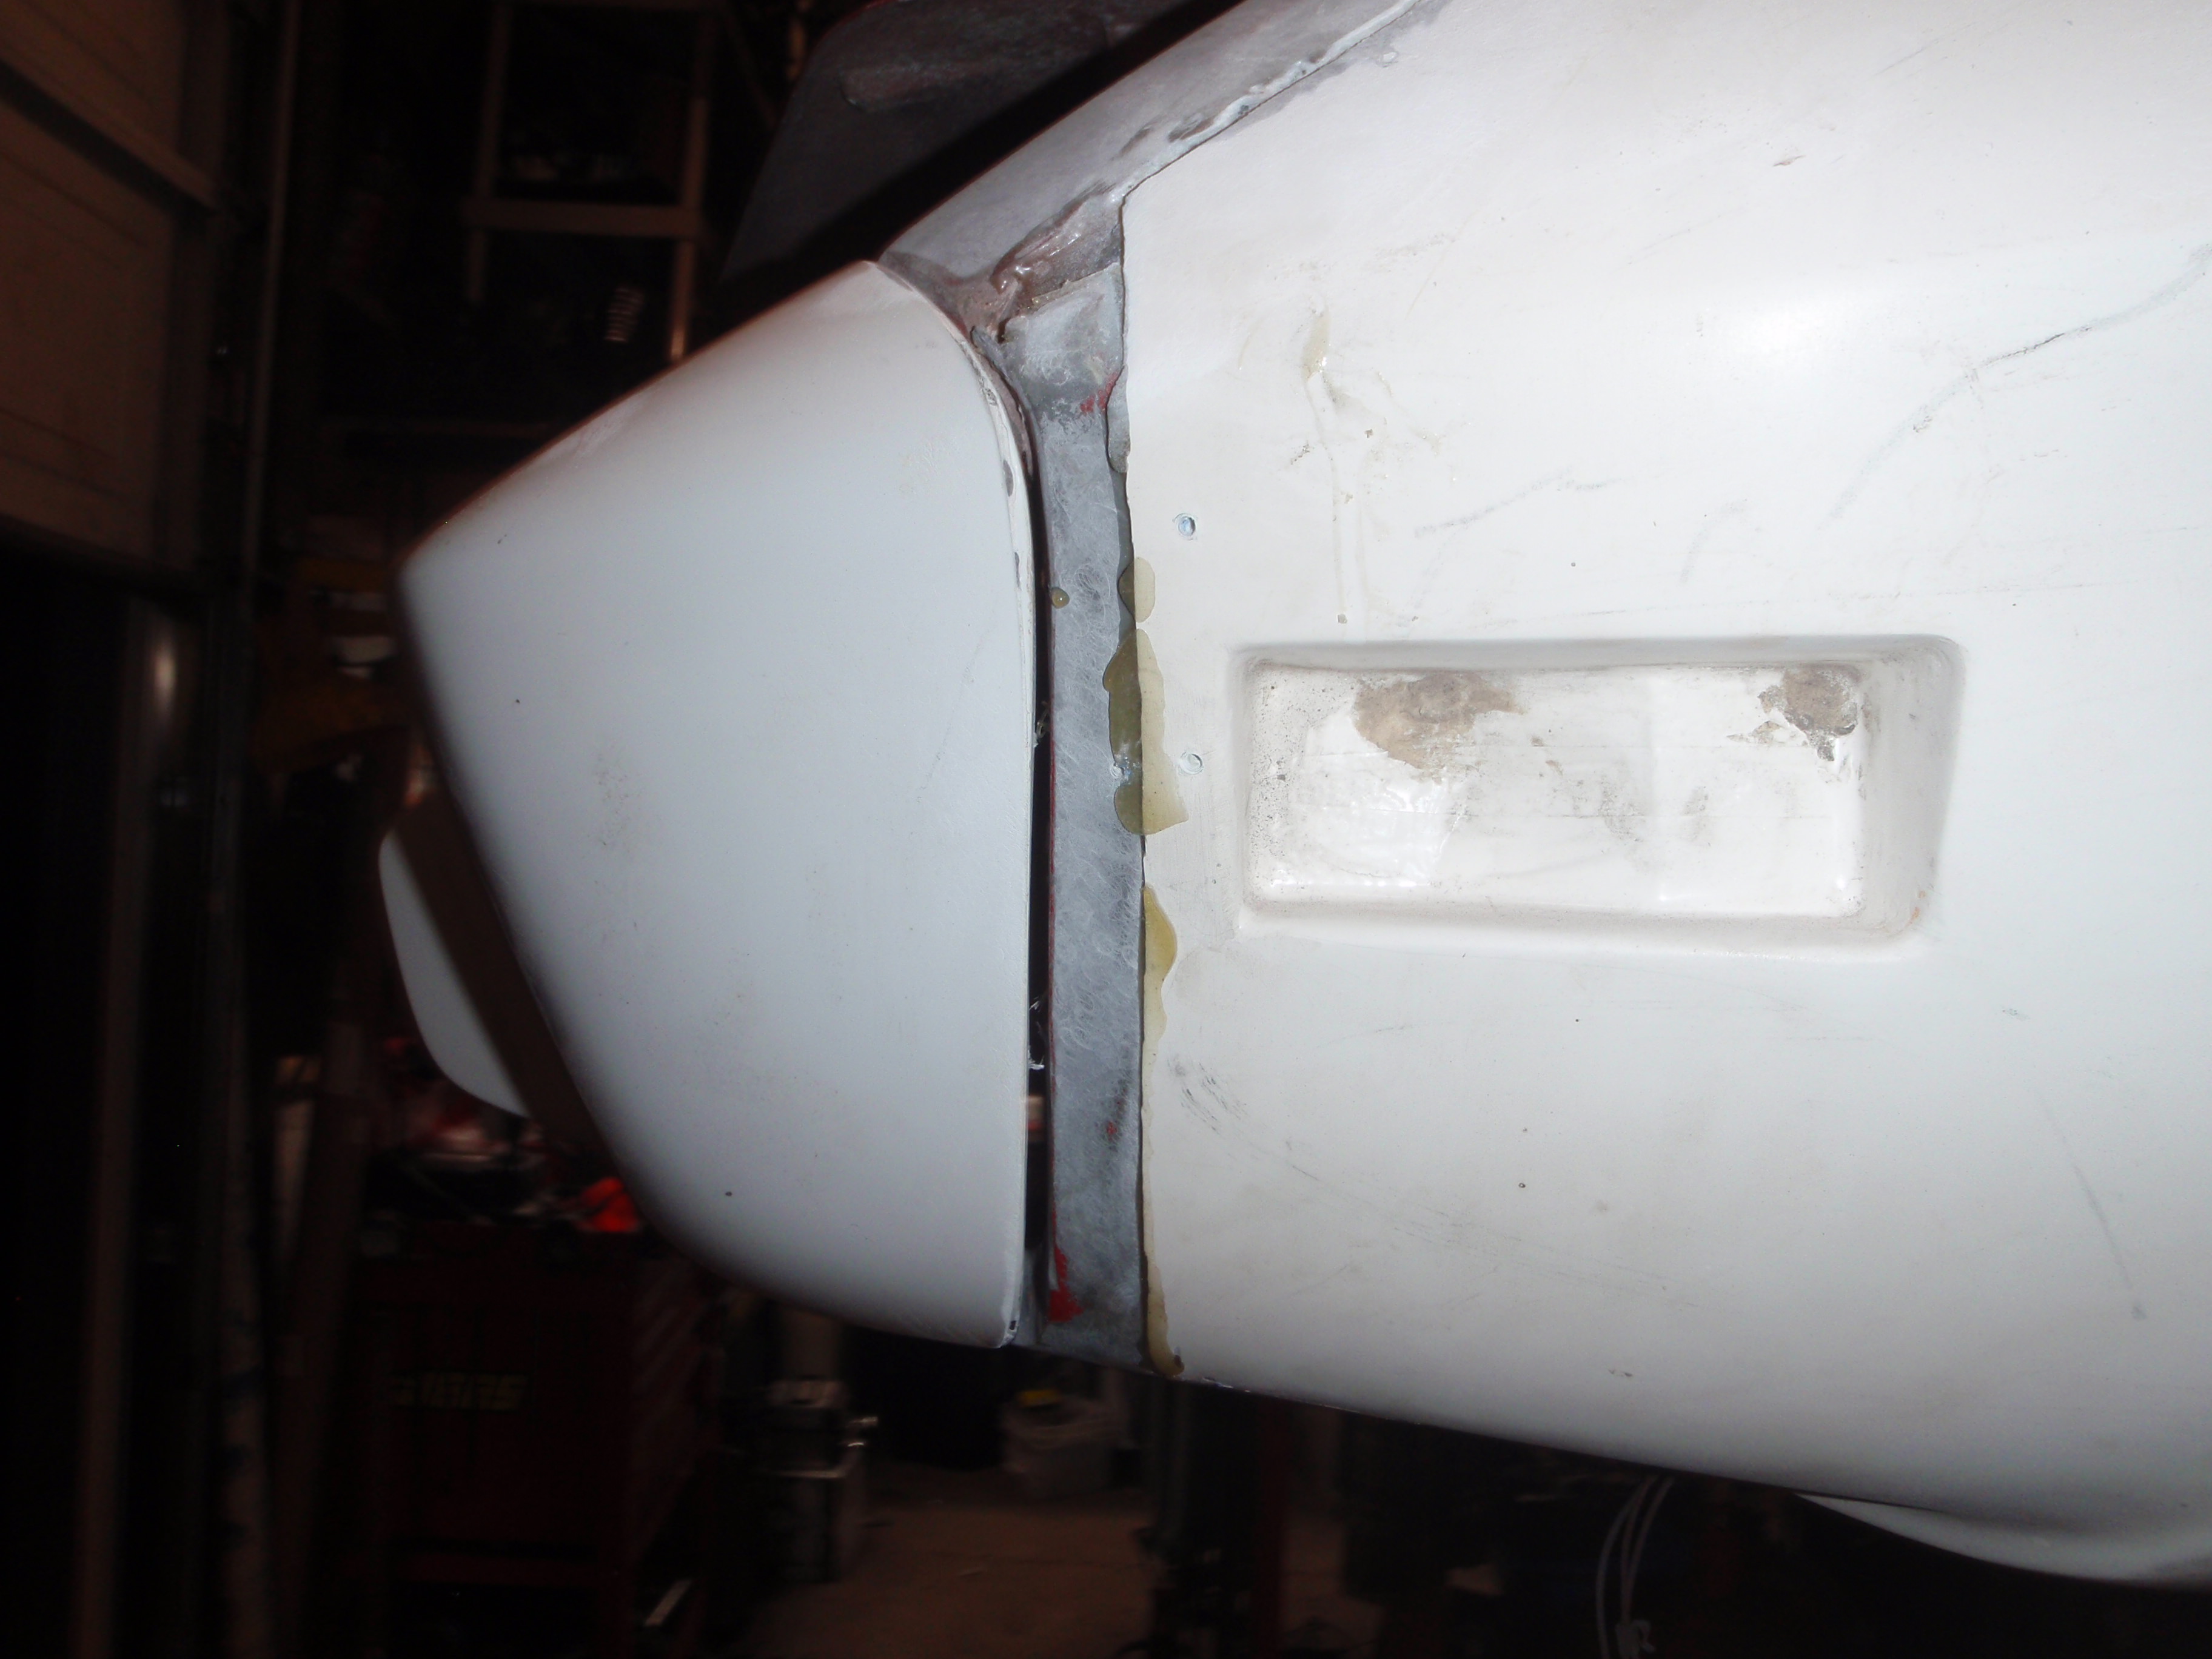
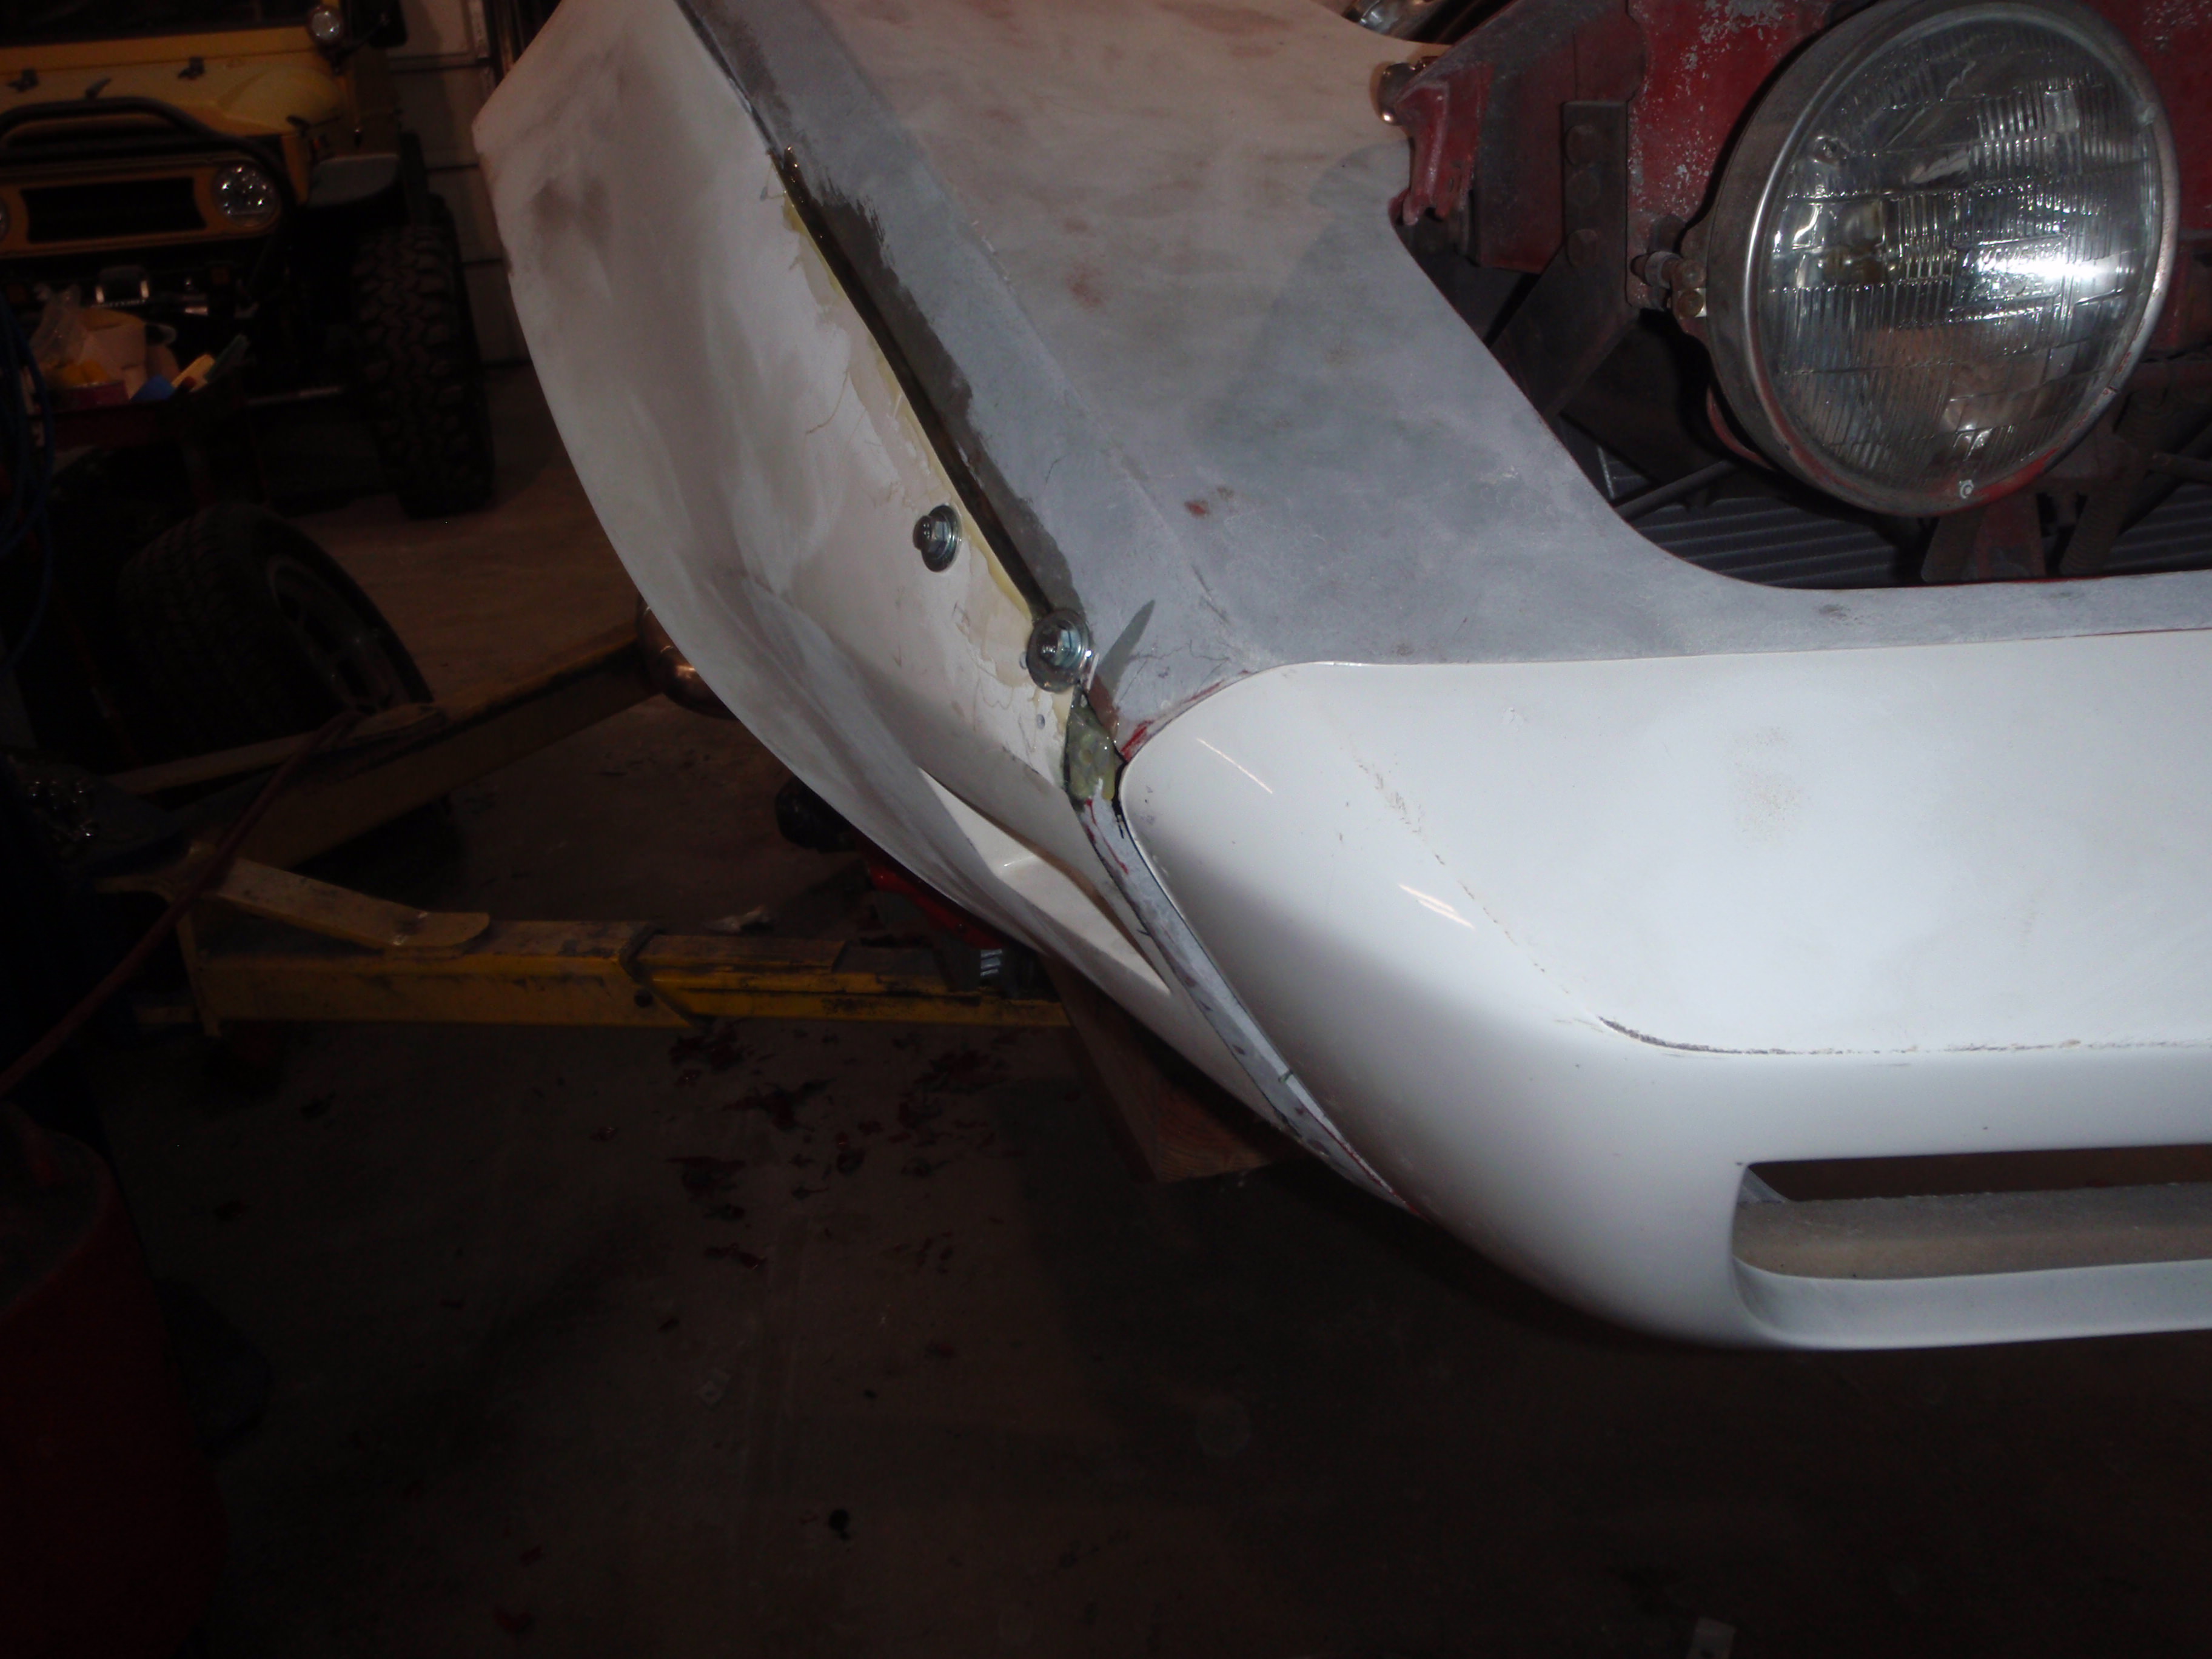
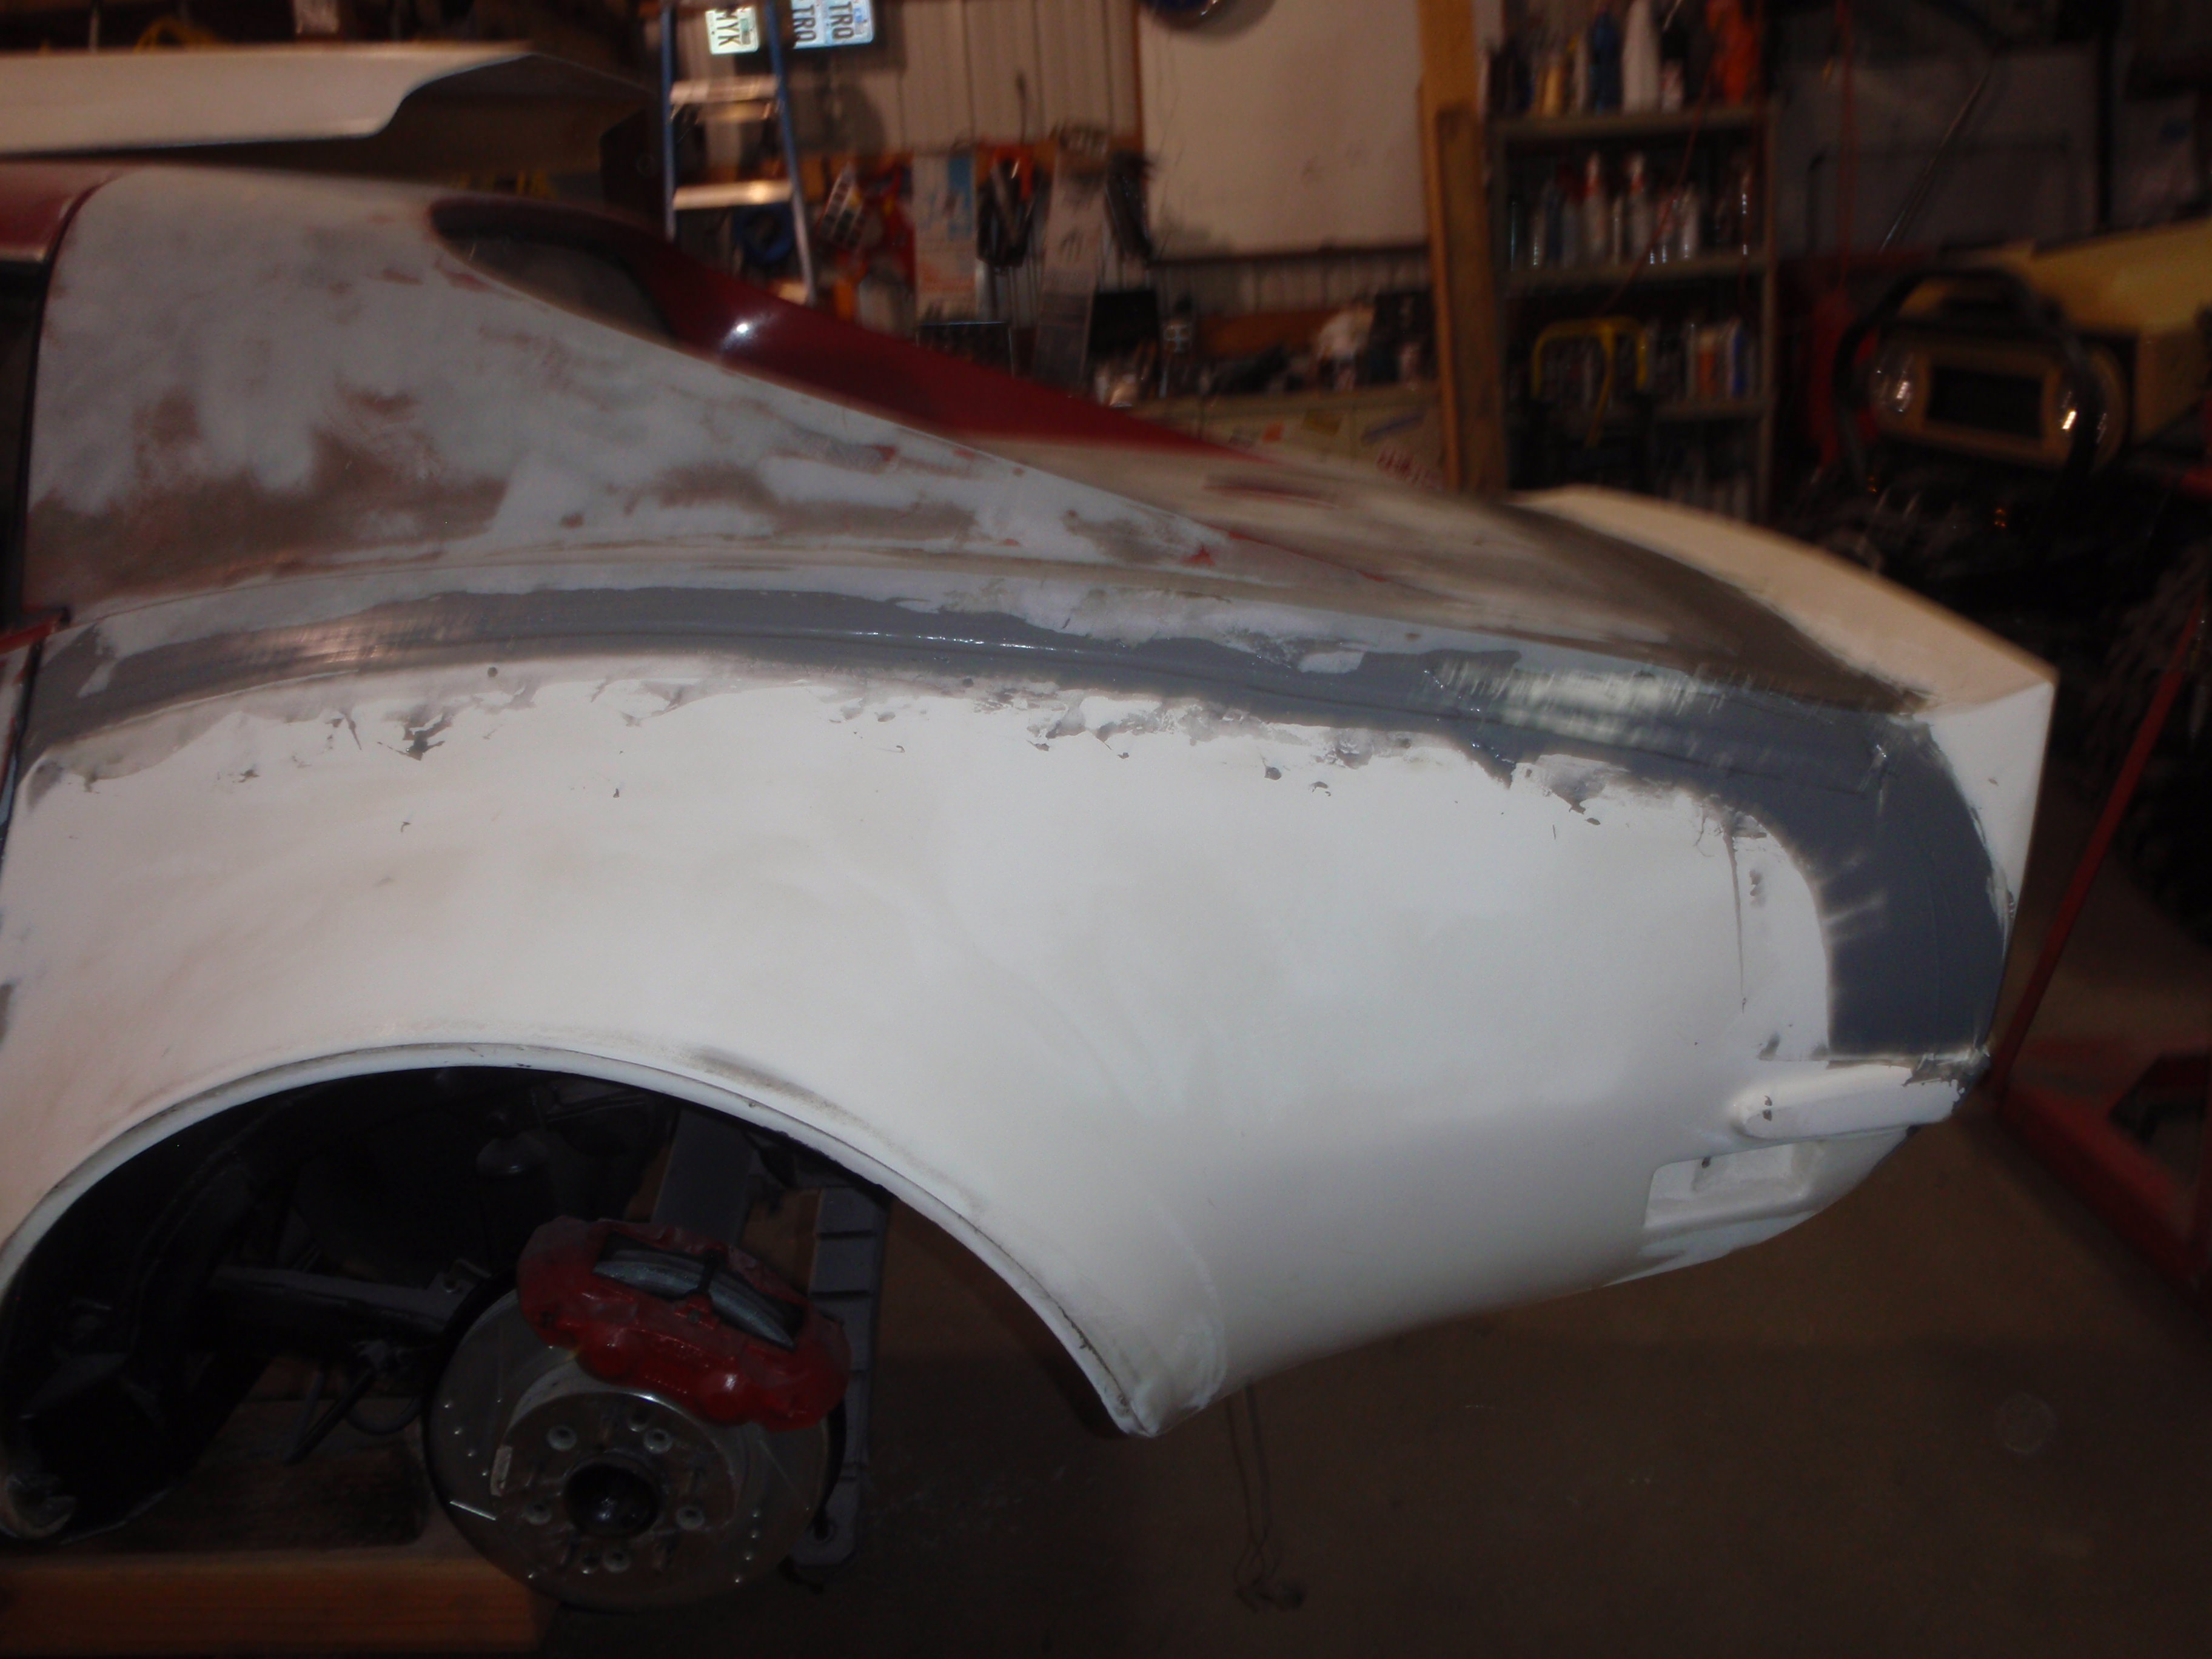
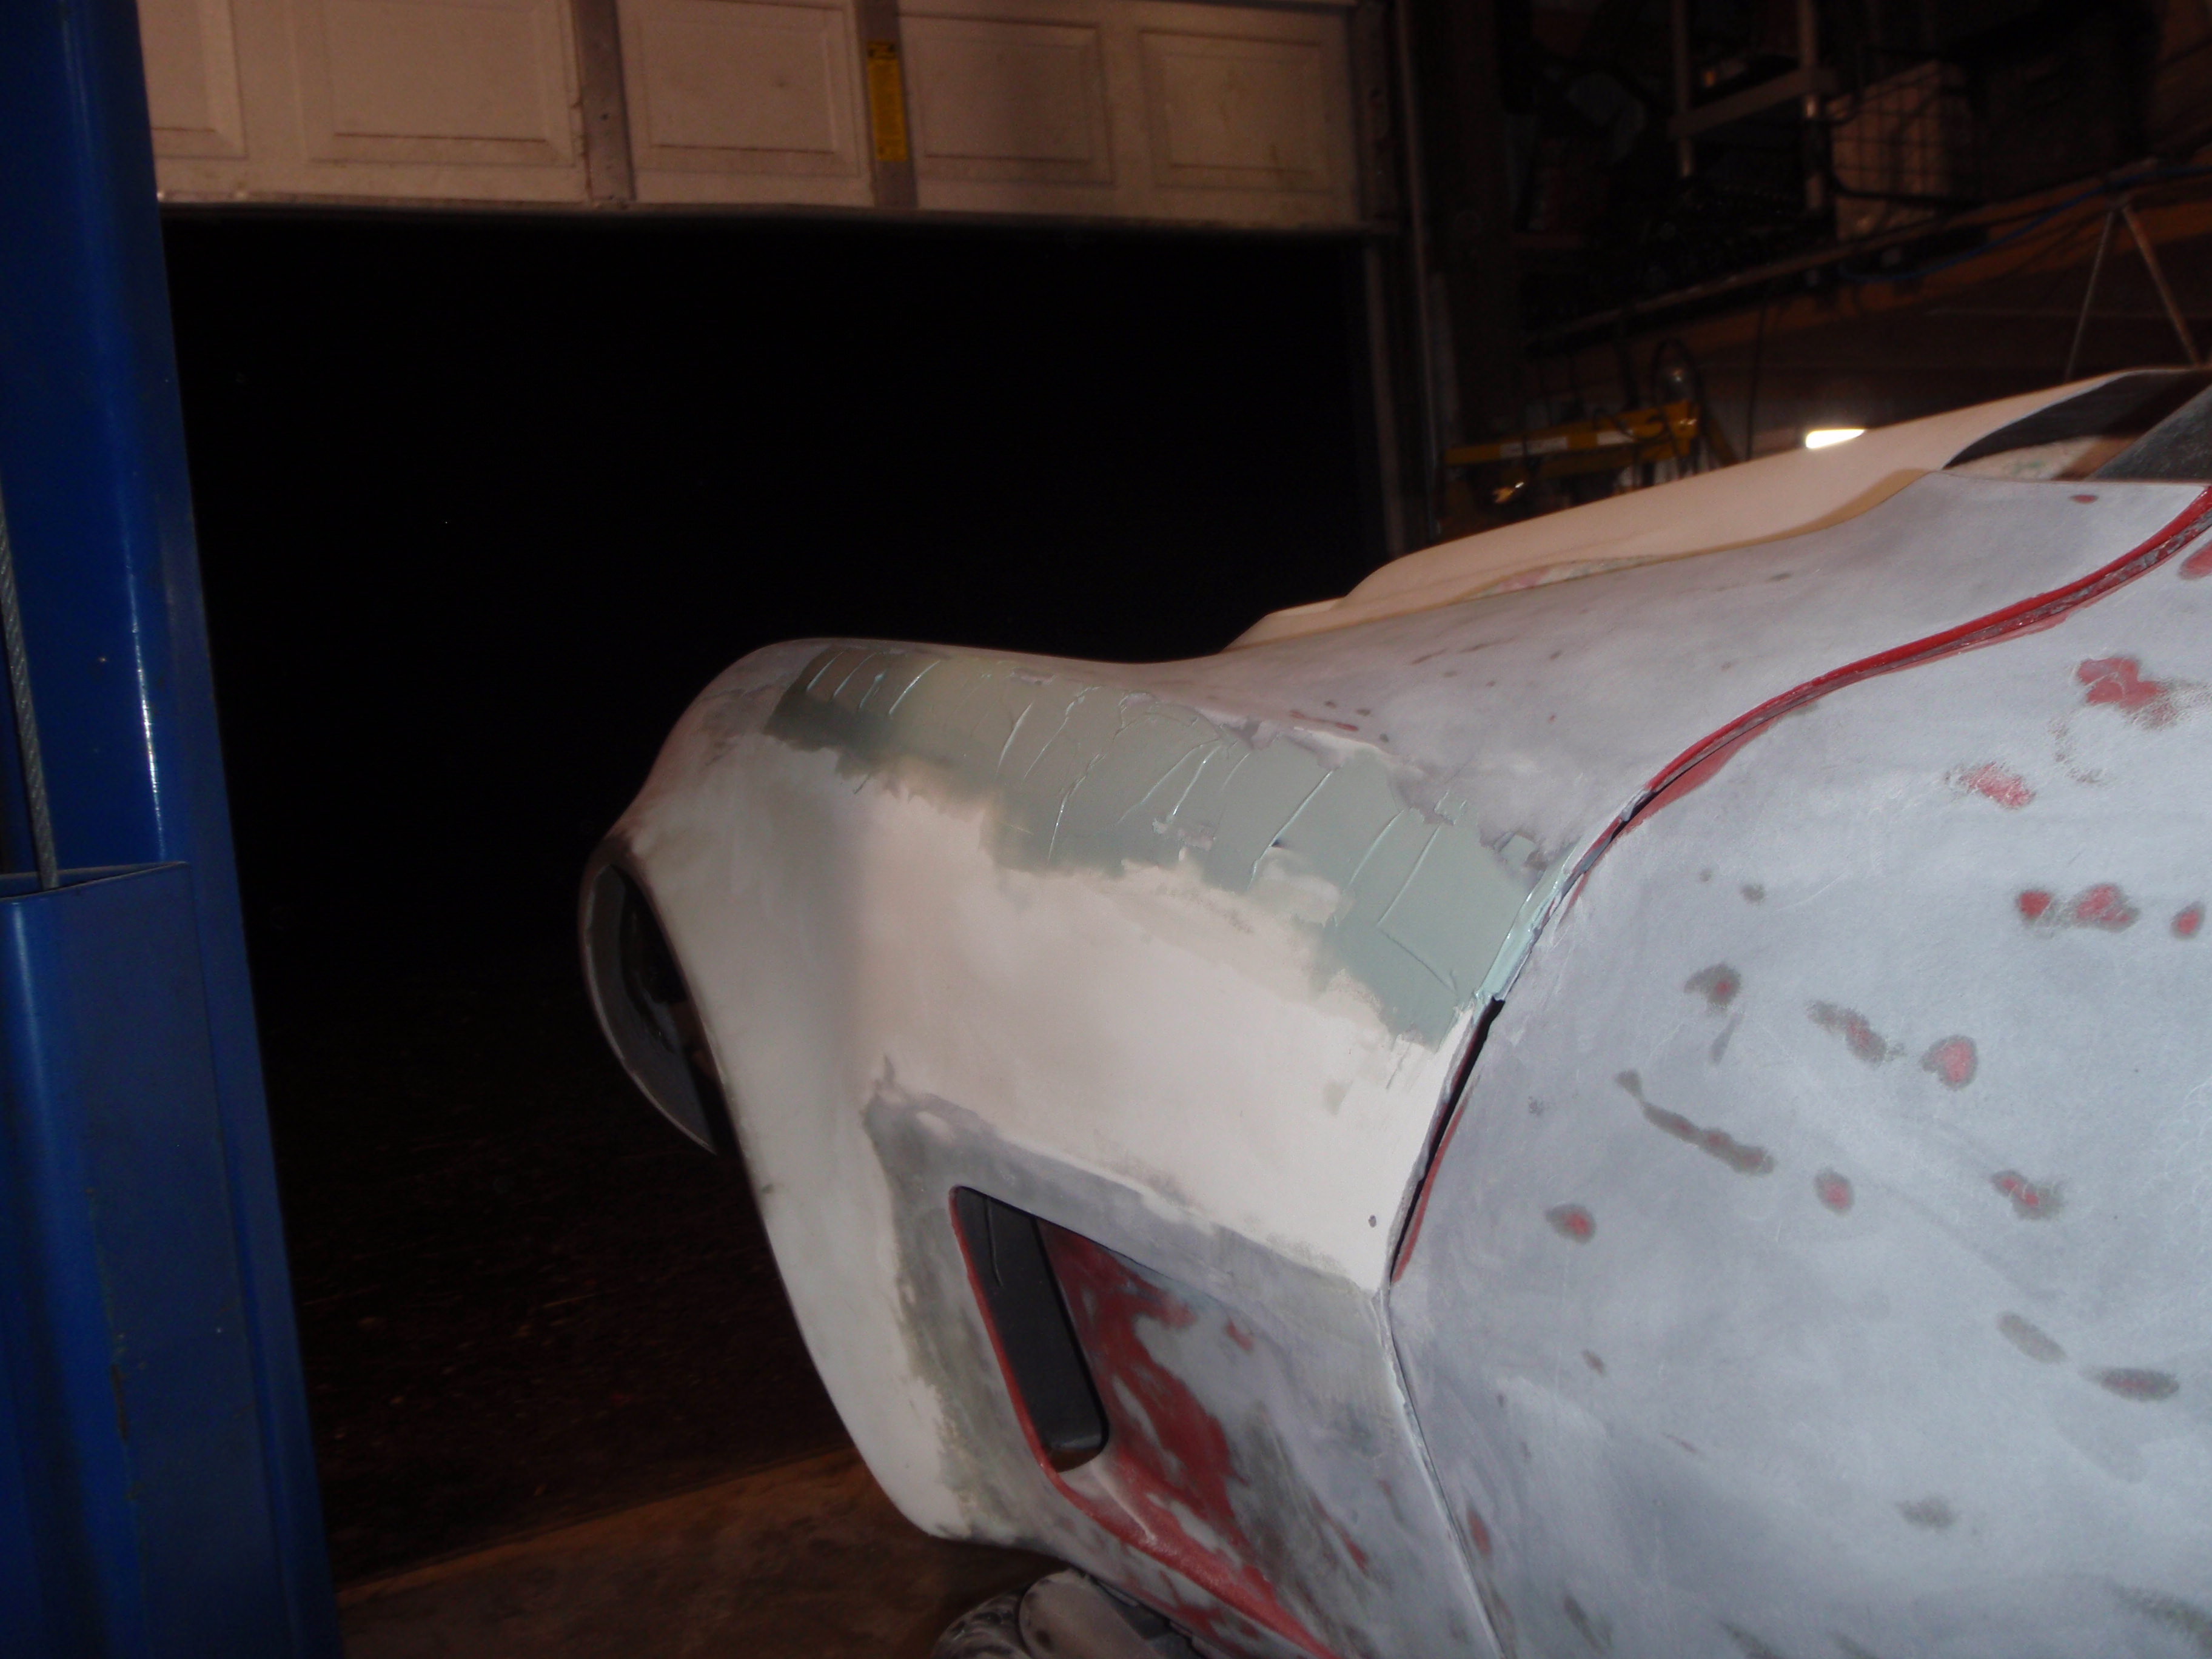
if you think that looks a little rough, you best get new glasses.... it's a lot rough... but hey, the manufacturer said quality has improved since they made mine.... good to know, good to know
oh these are going to be a pain to fix.... build up, let set up, repeat.... should only take 8x

I got 2x in tonight
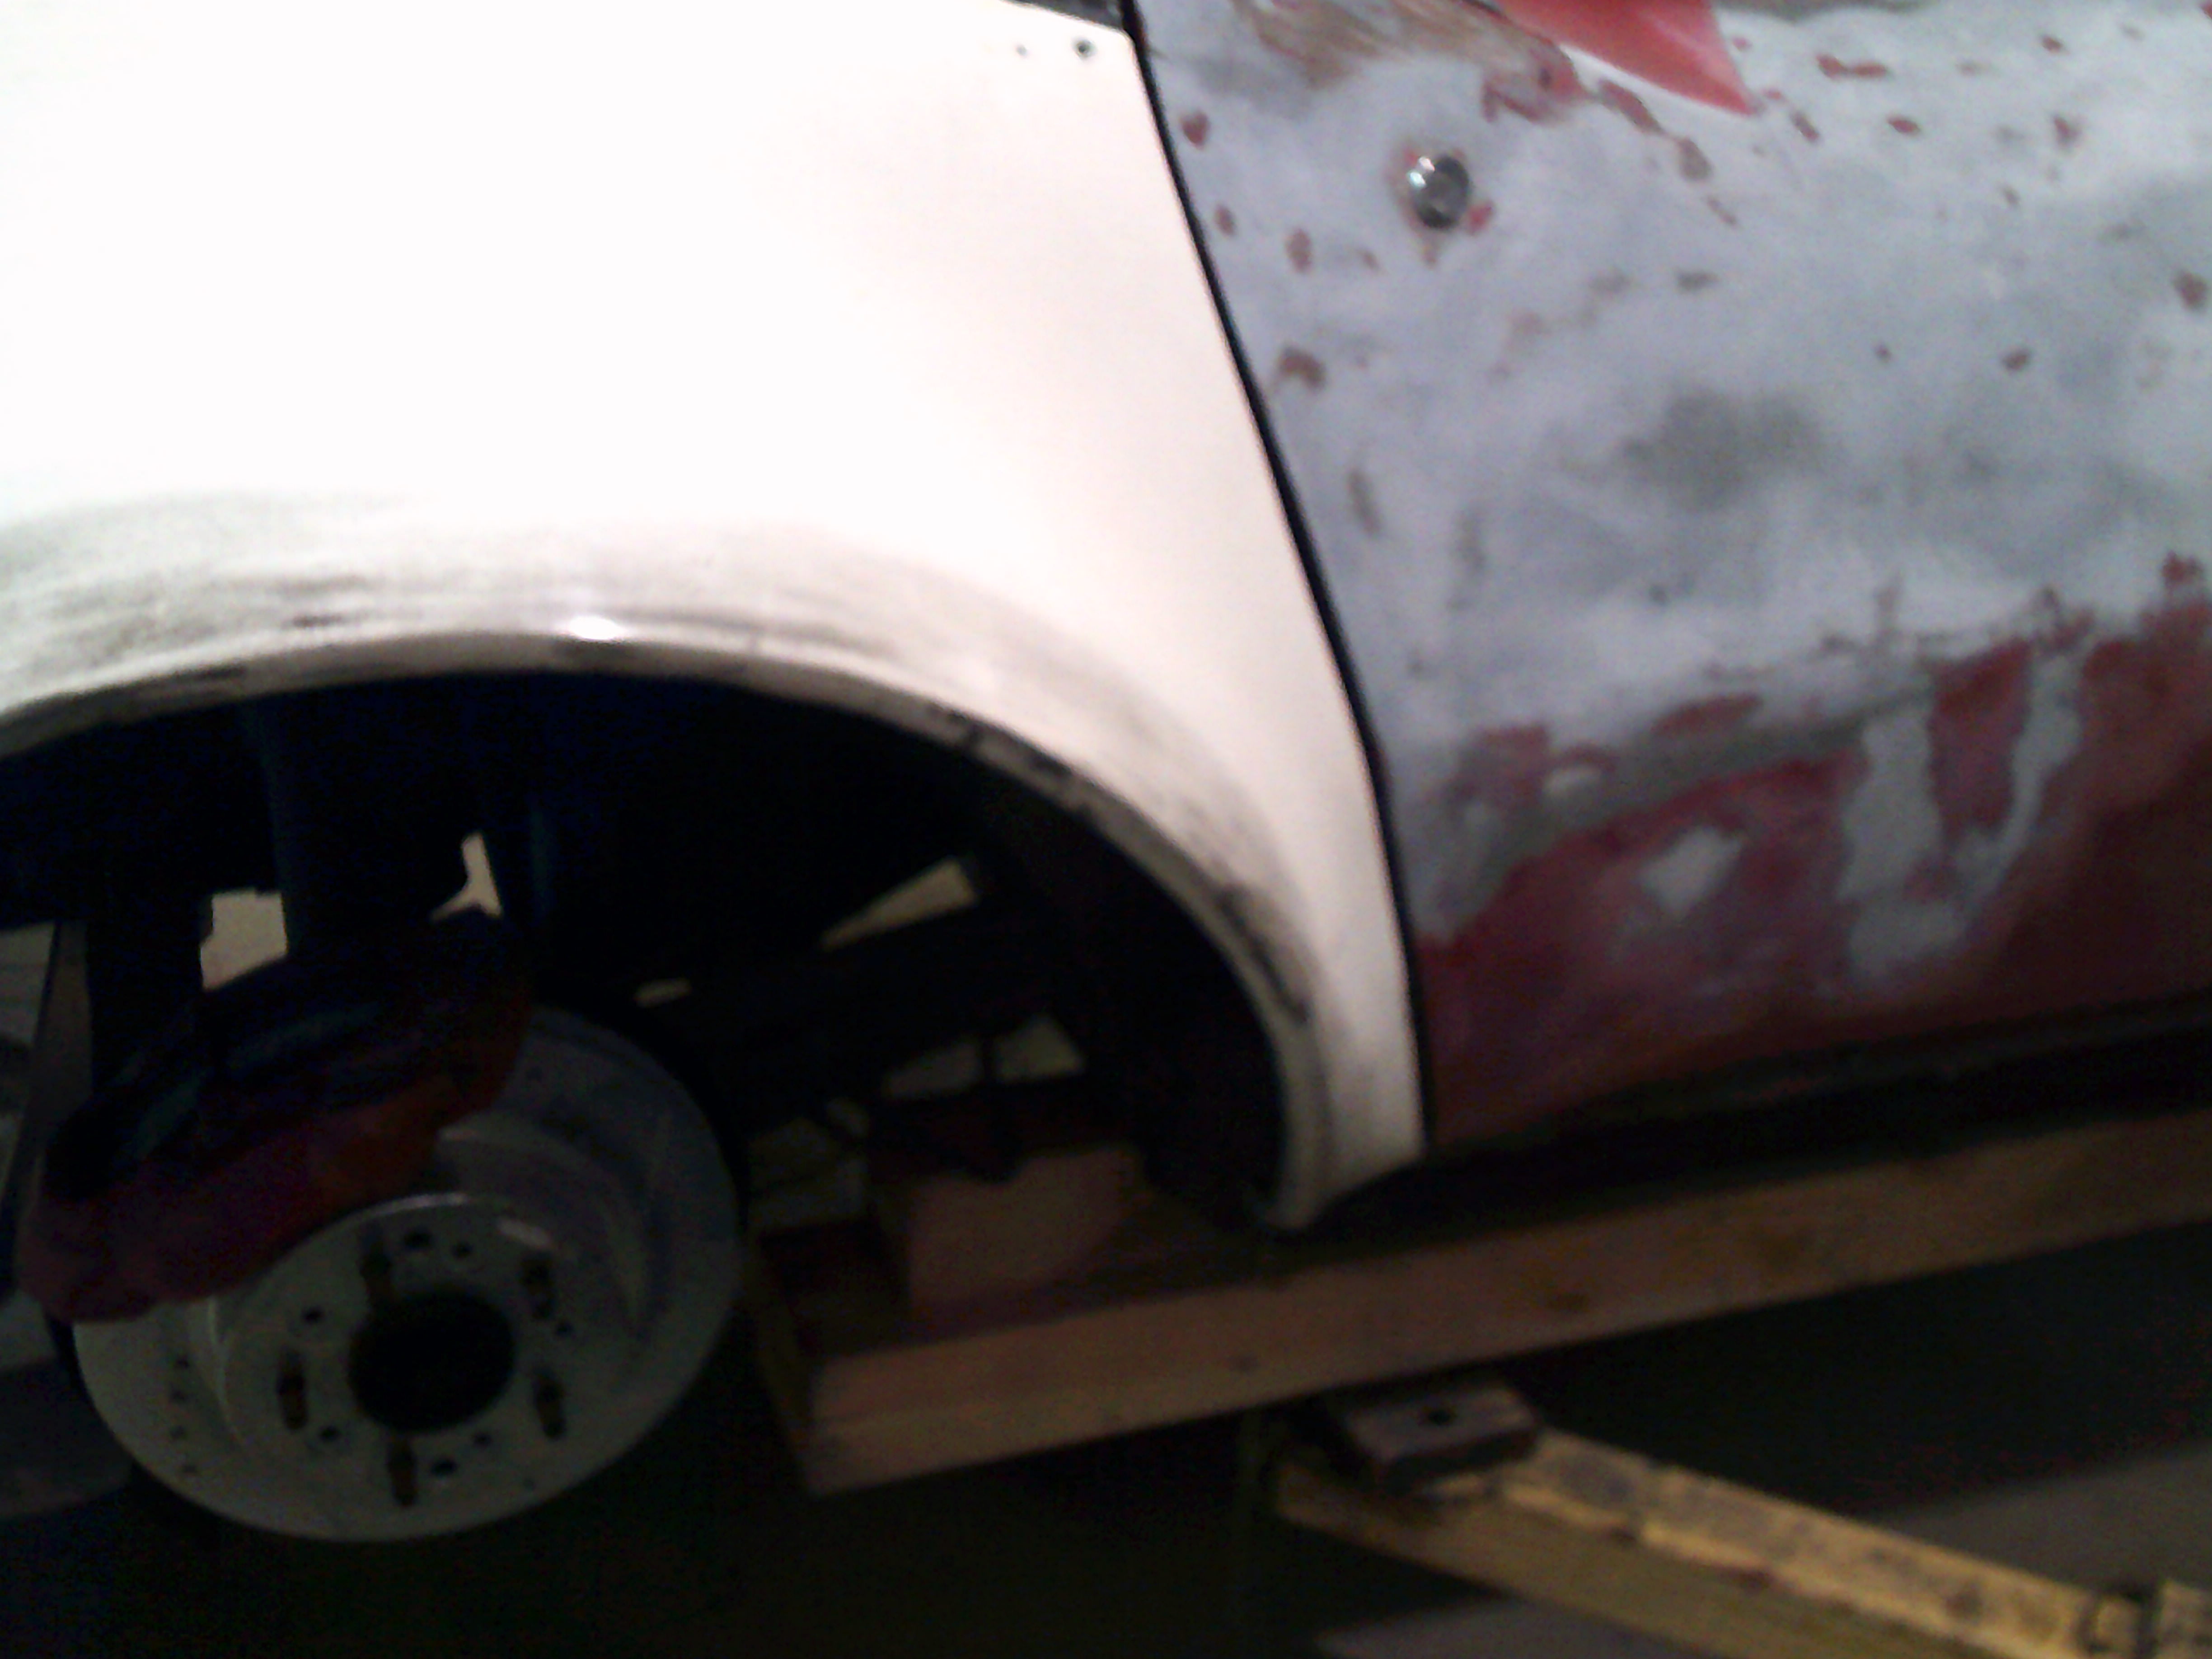
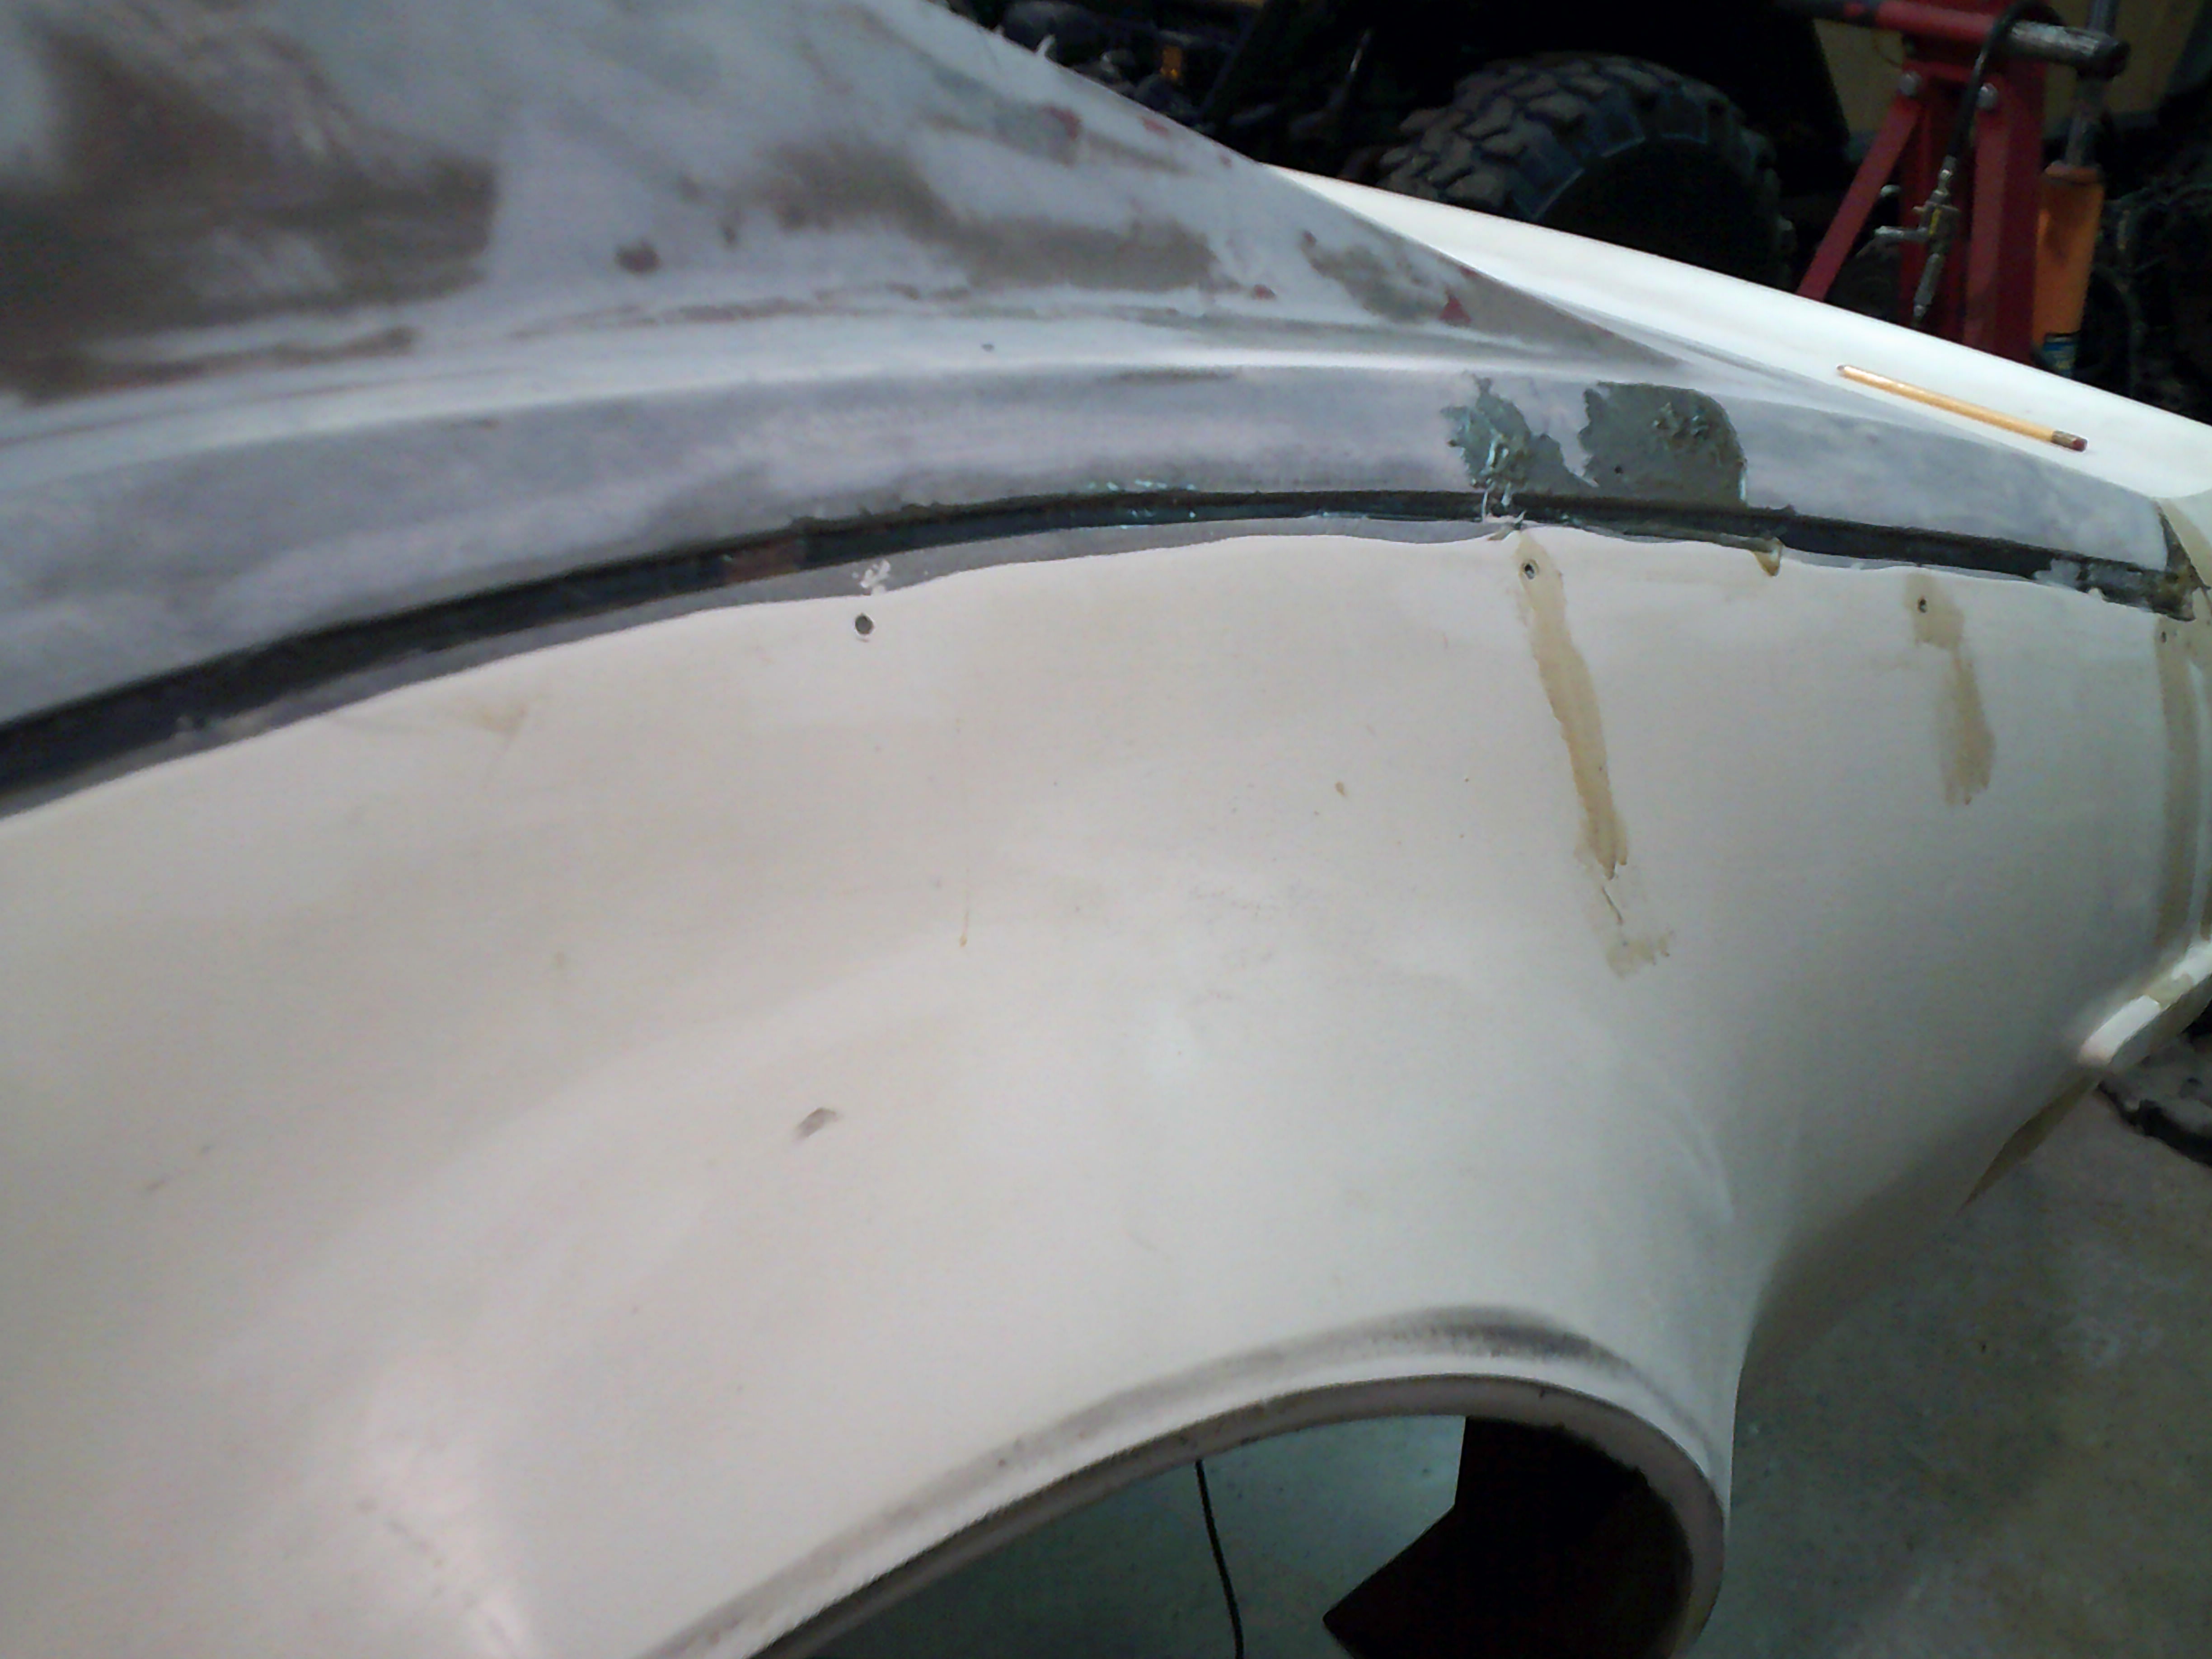
this side makes up for the fail of the wheel opening by at least being long enough and just needing maybe one build up
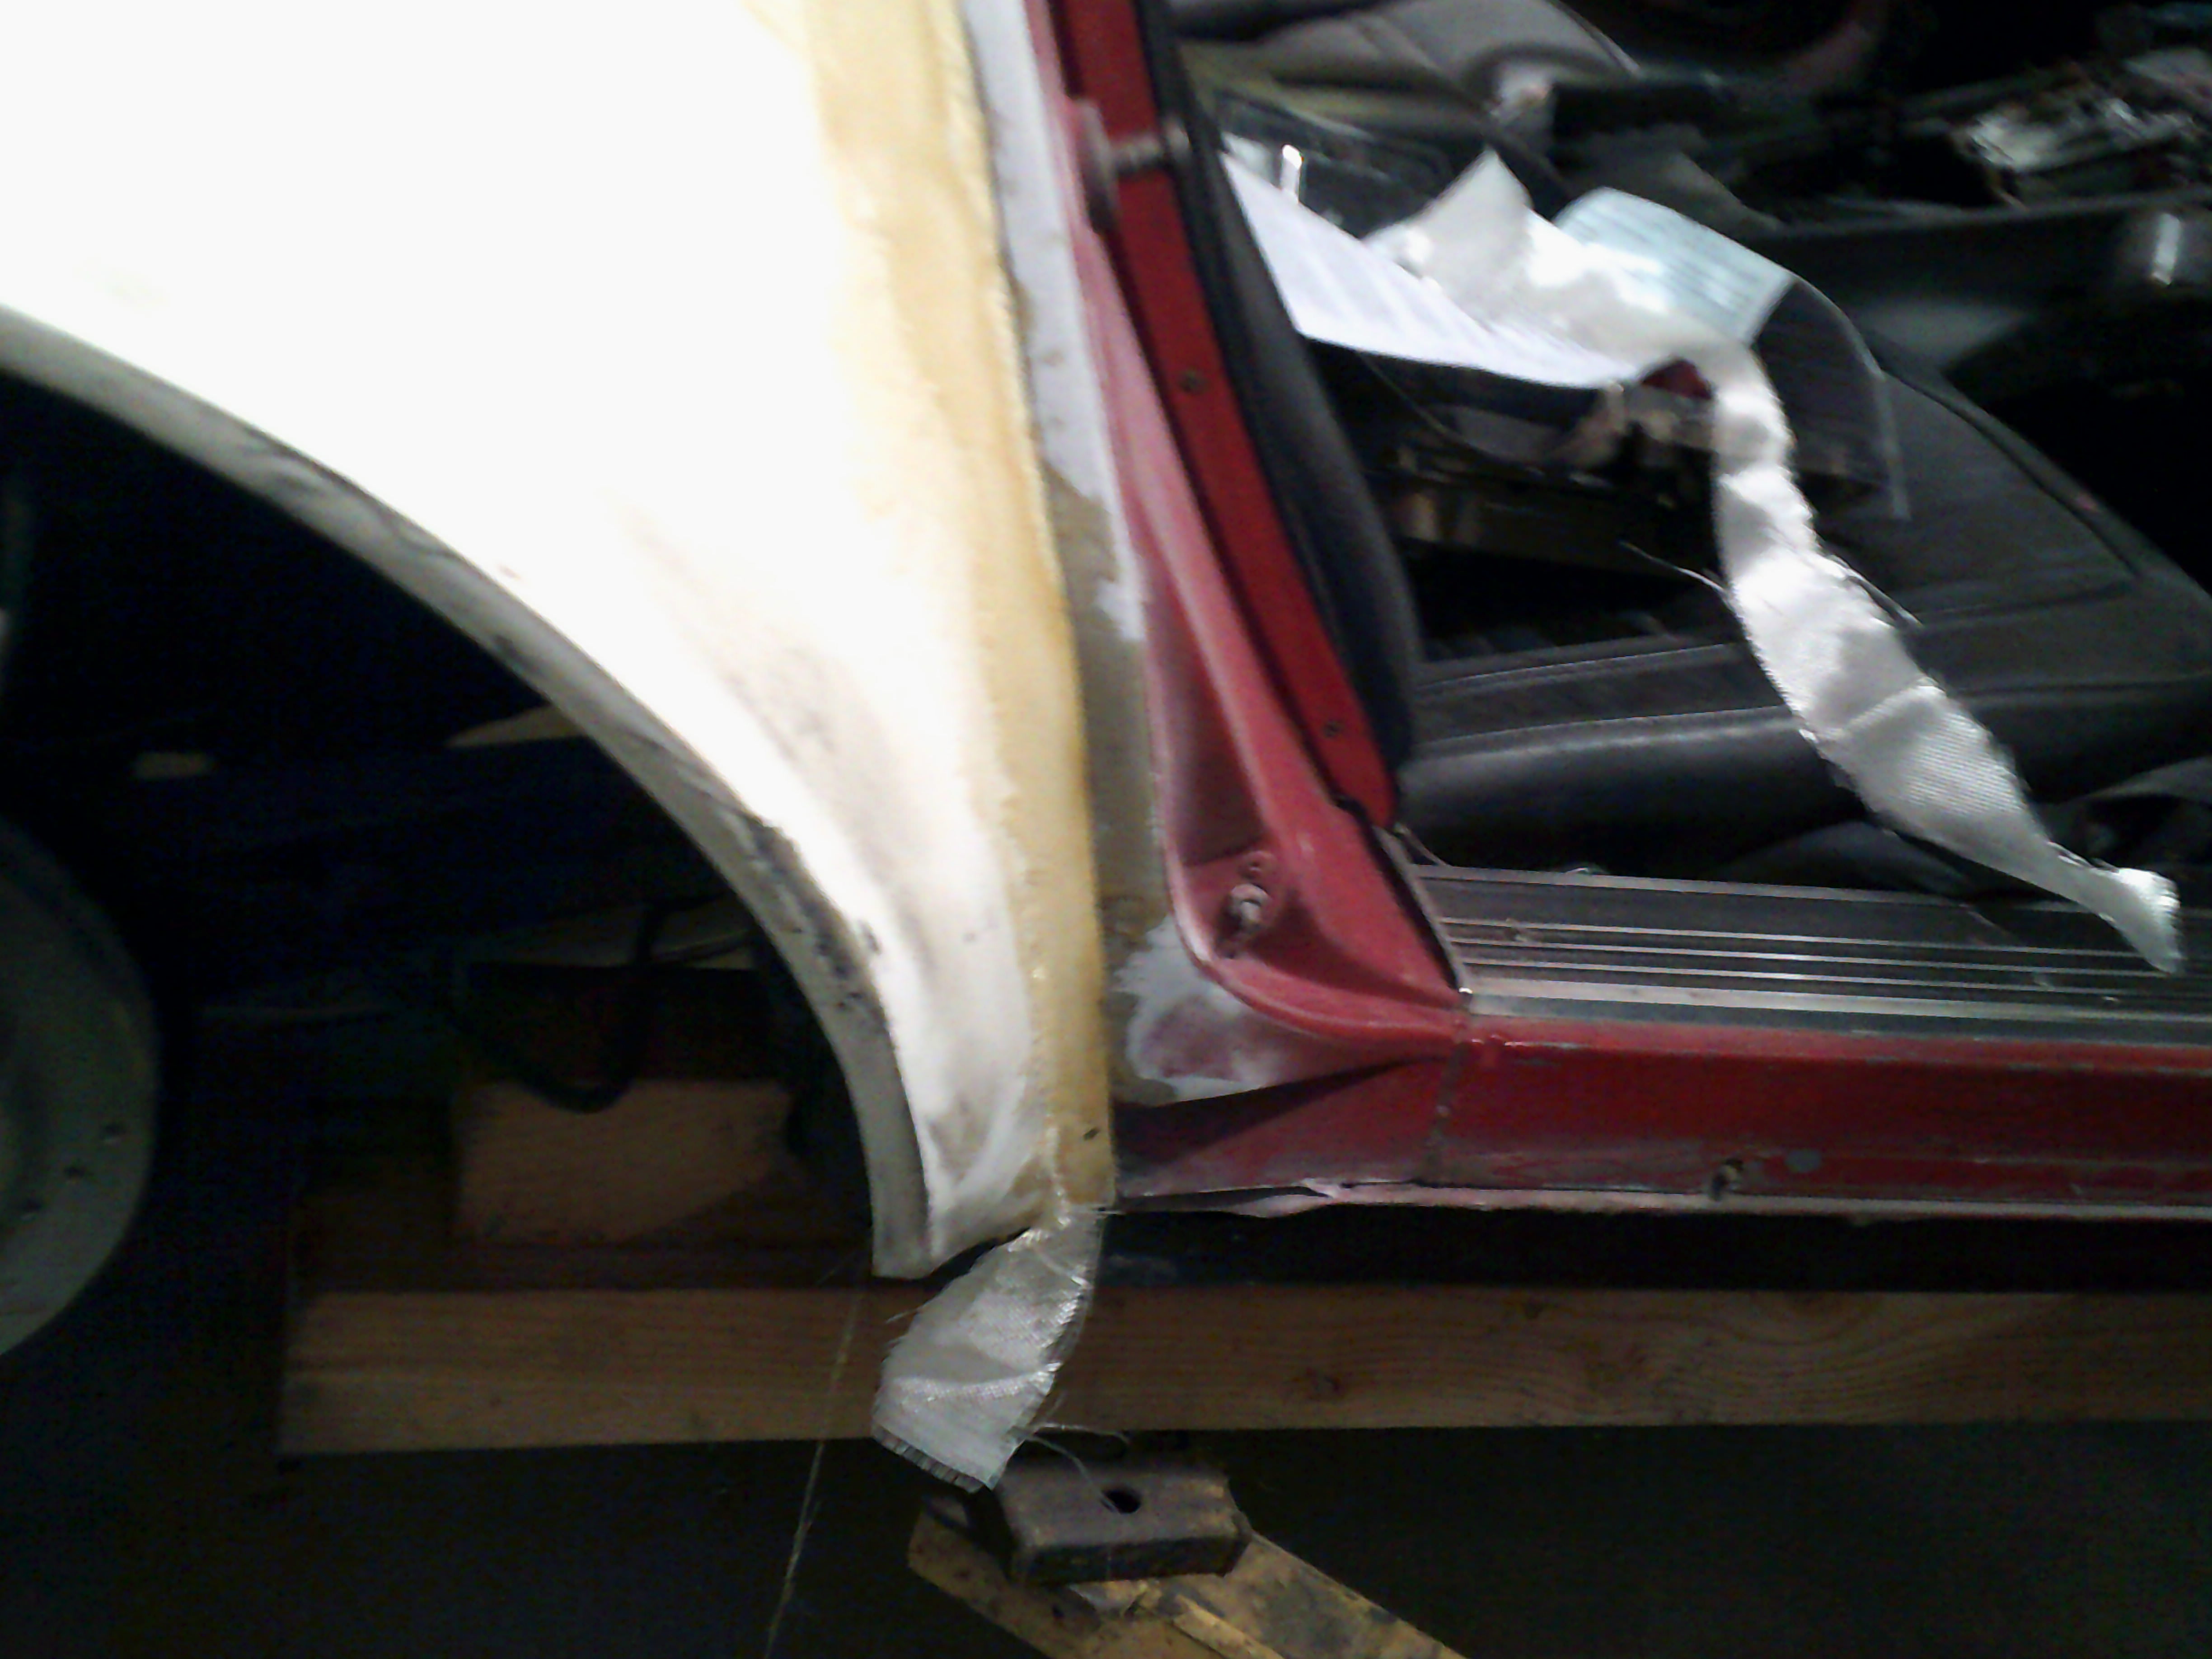
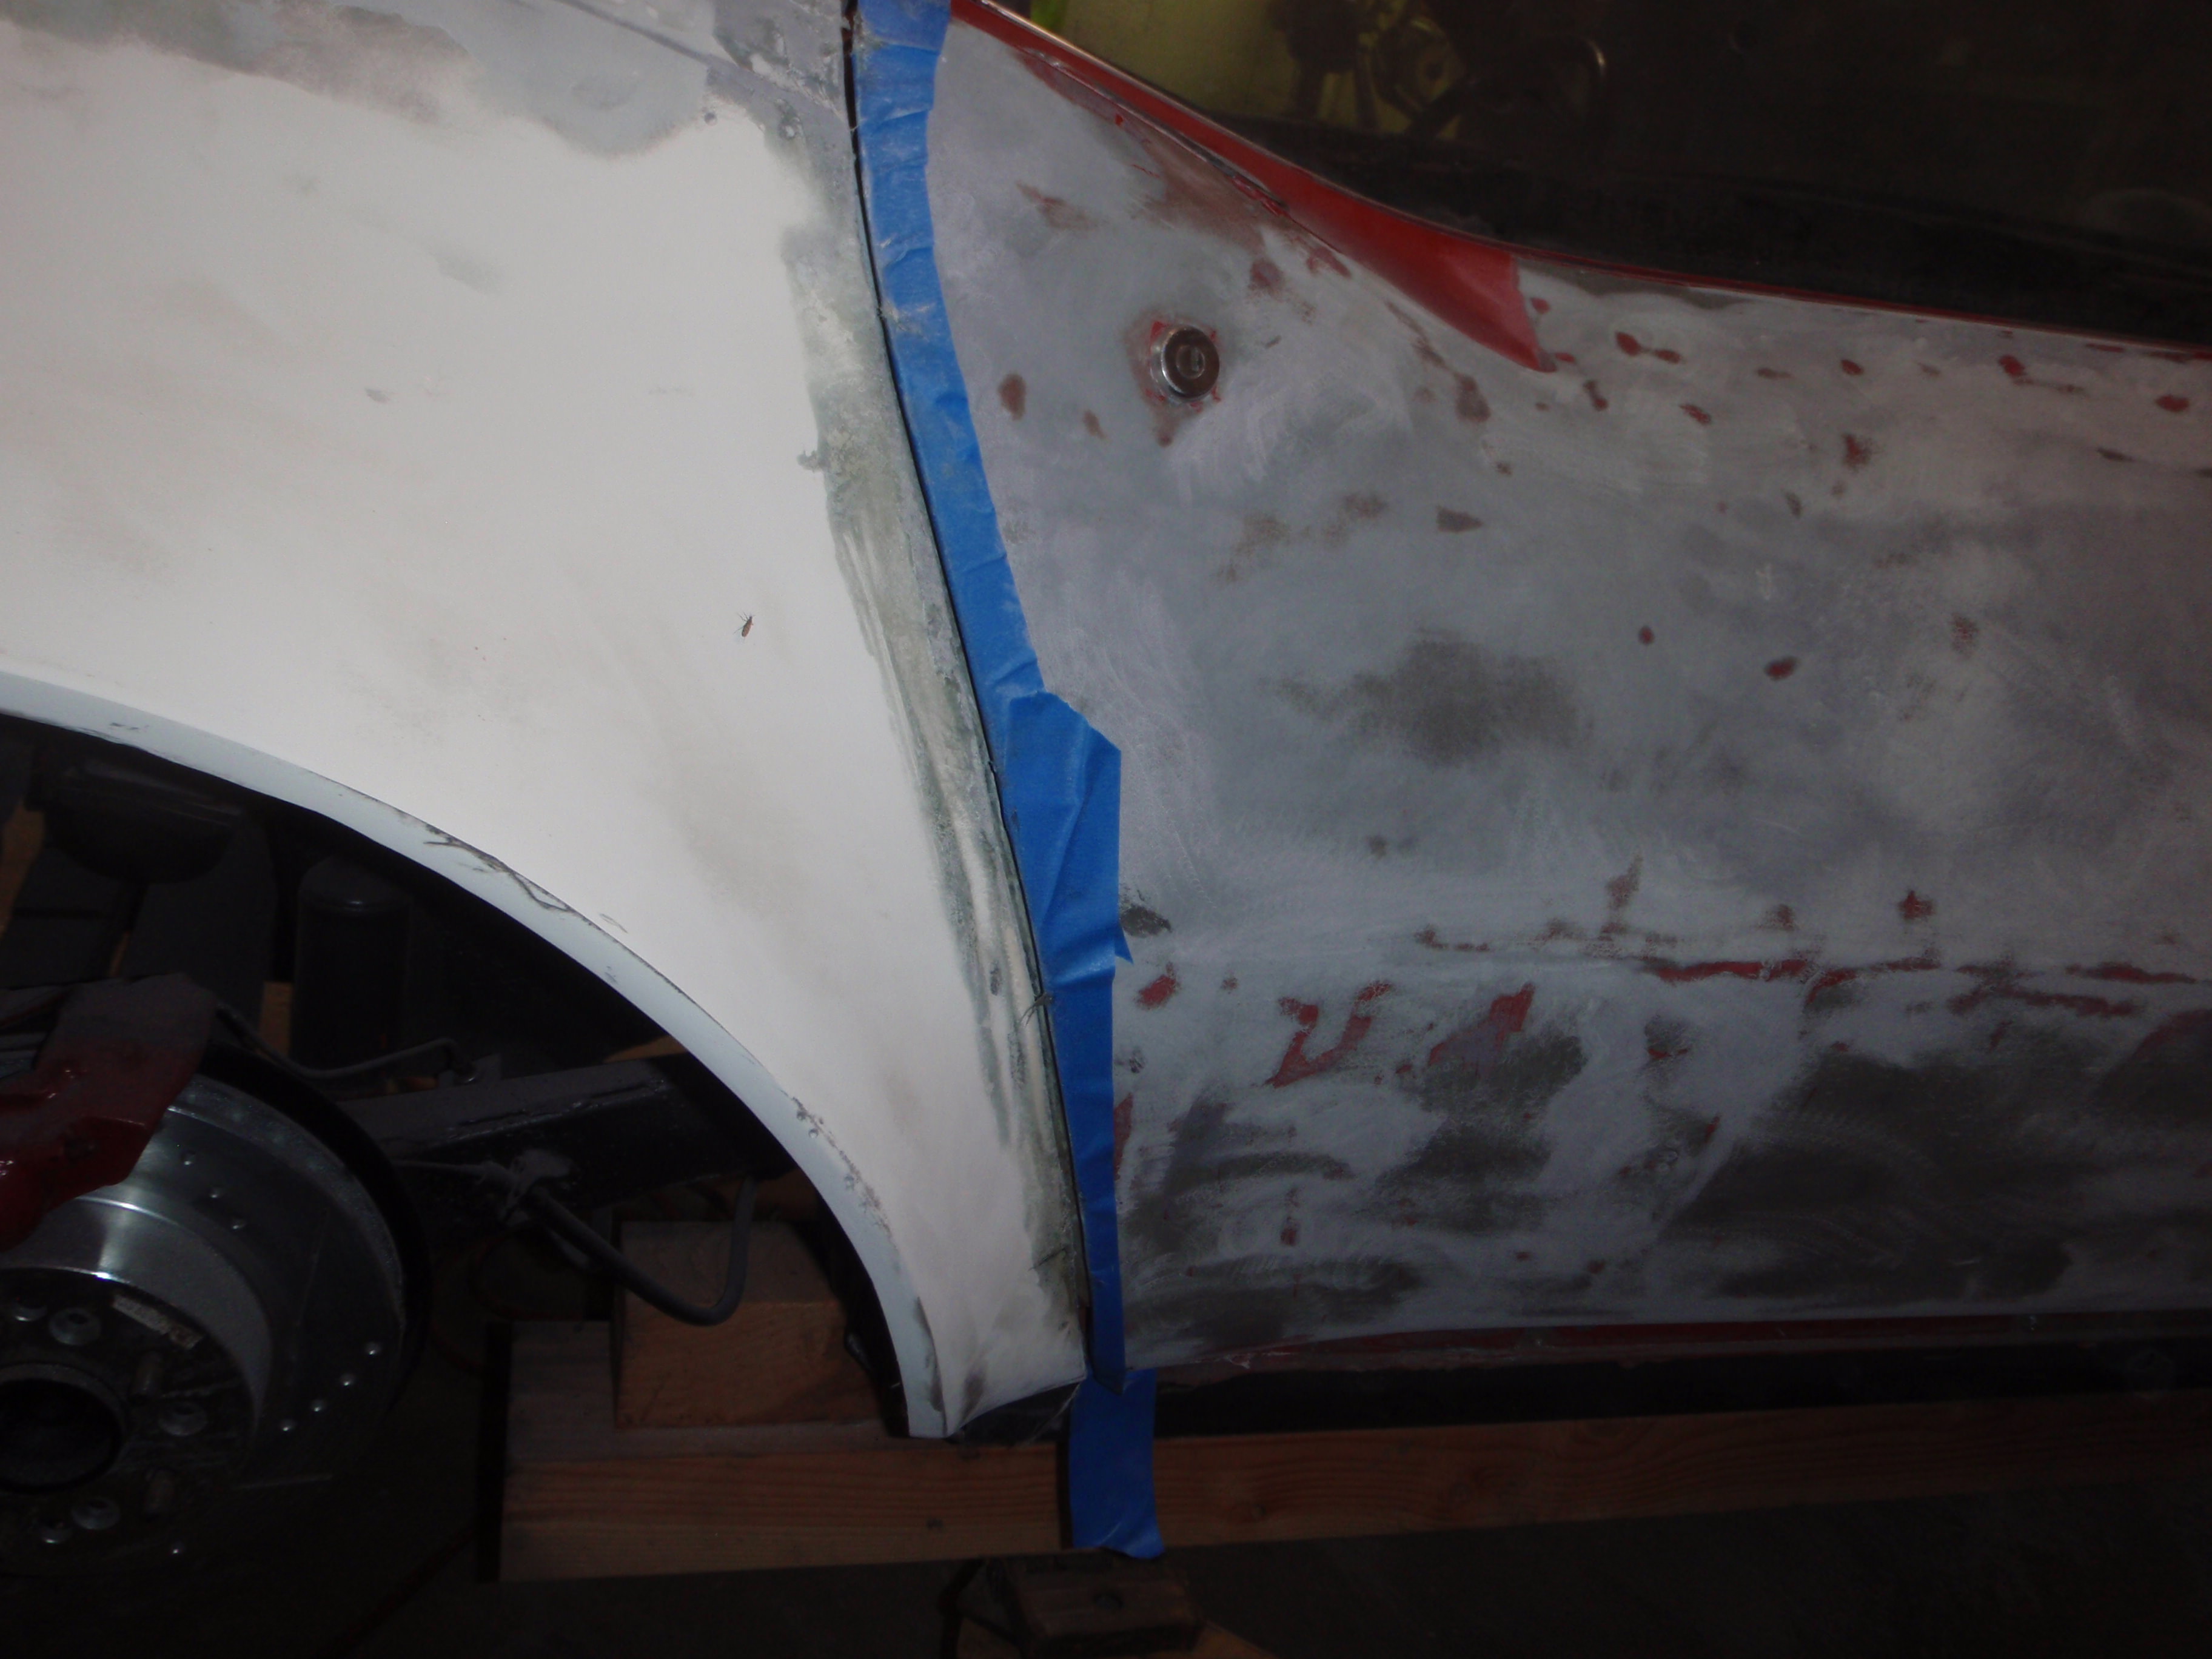
yes, that gap
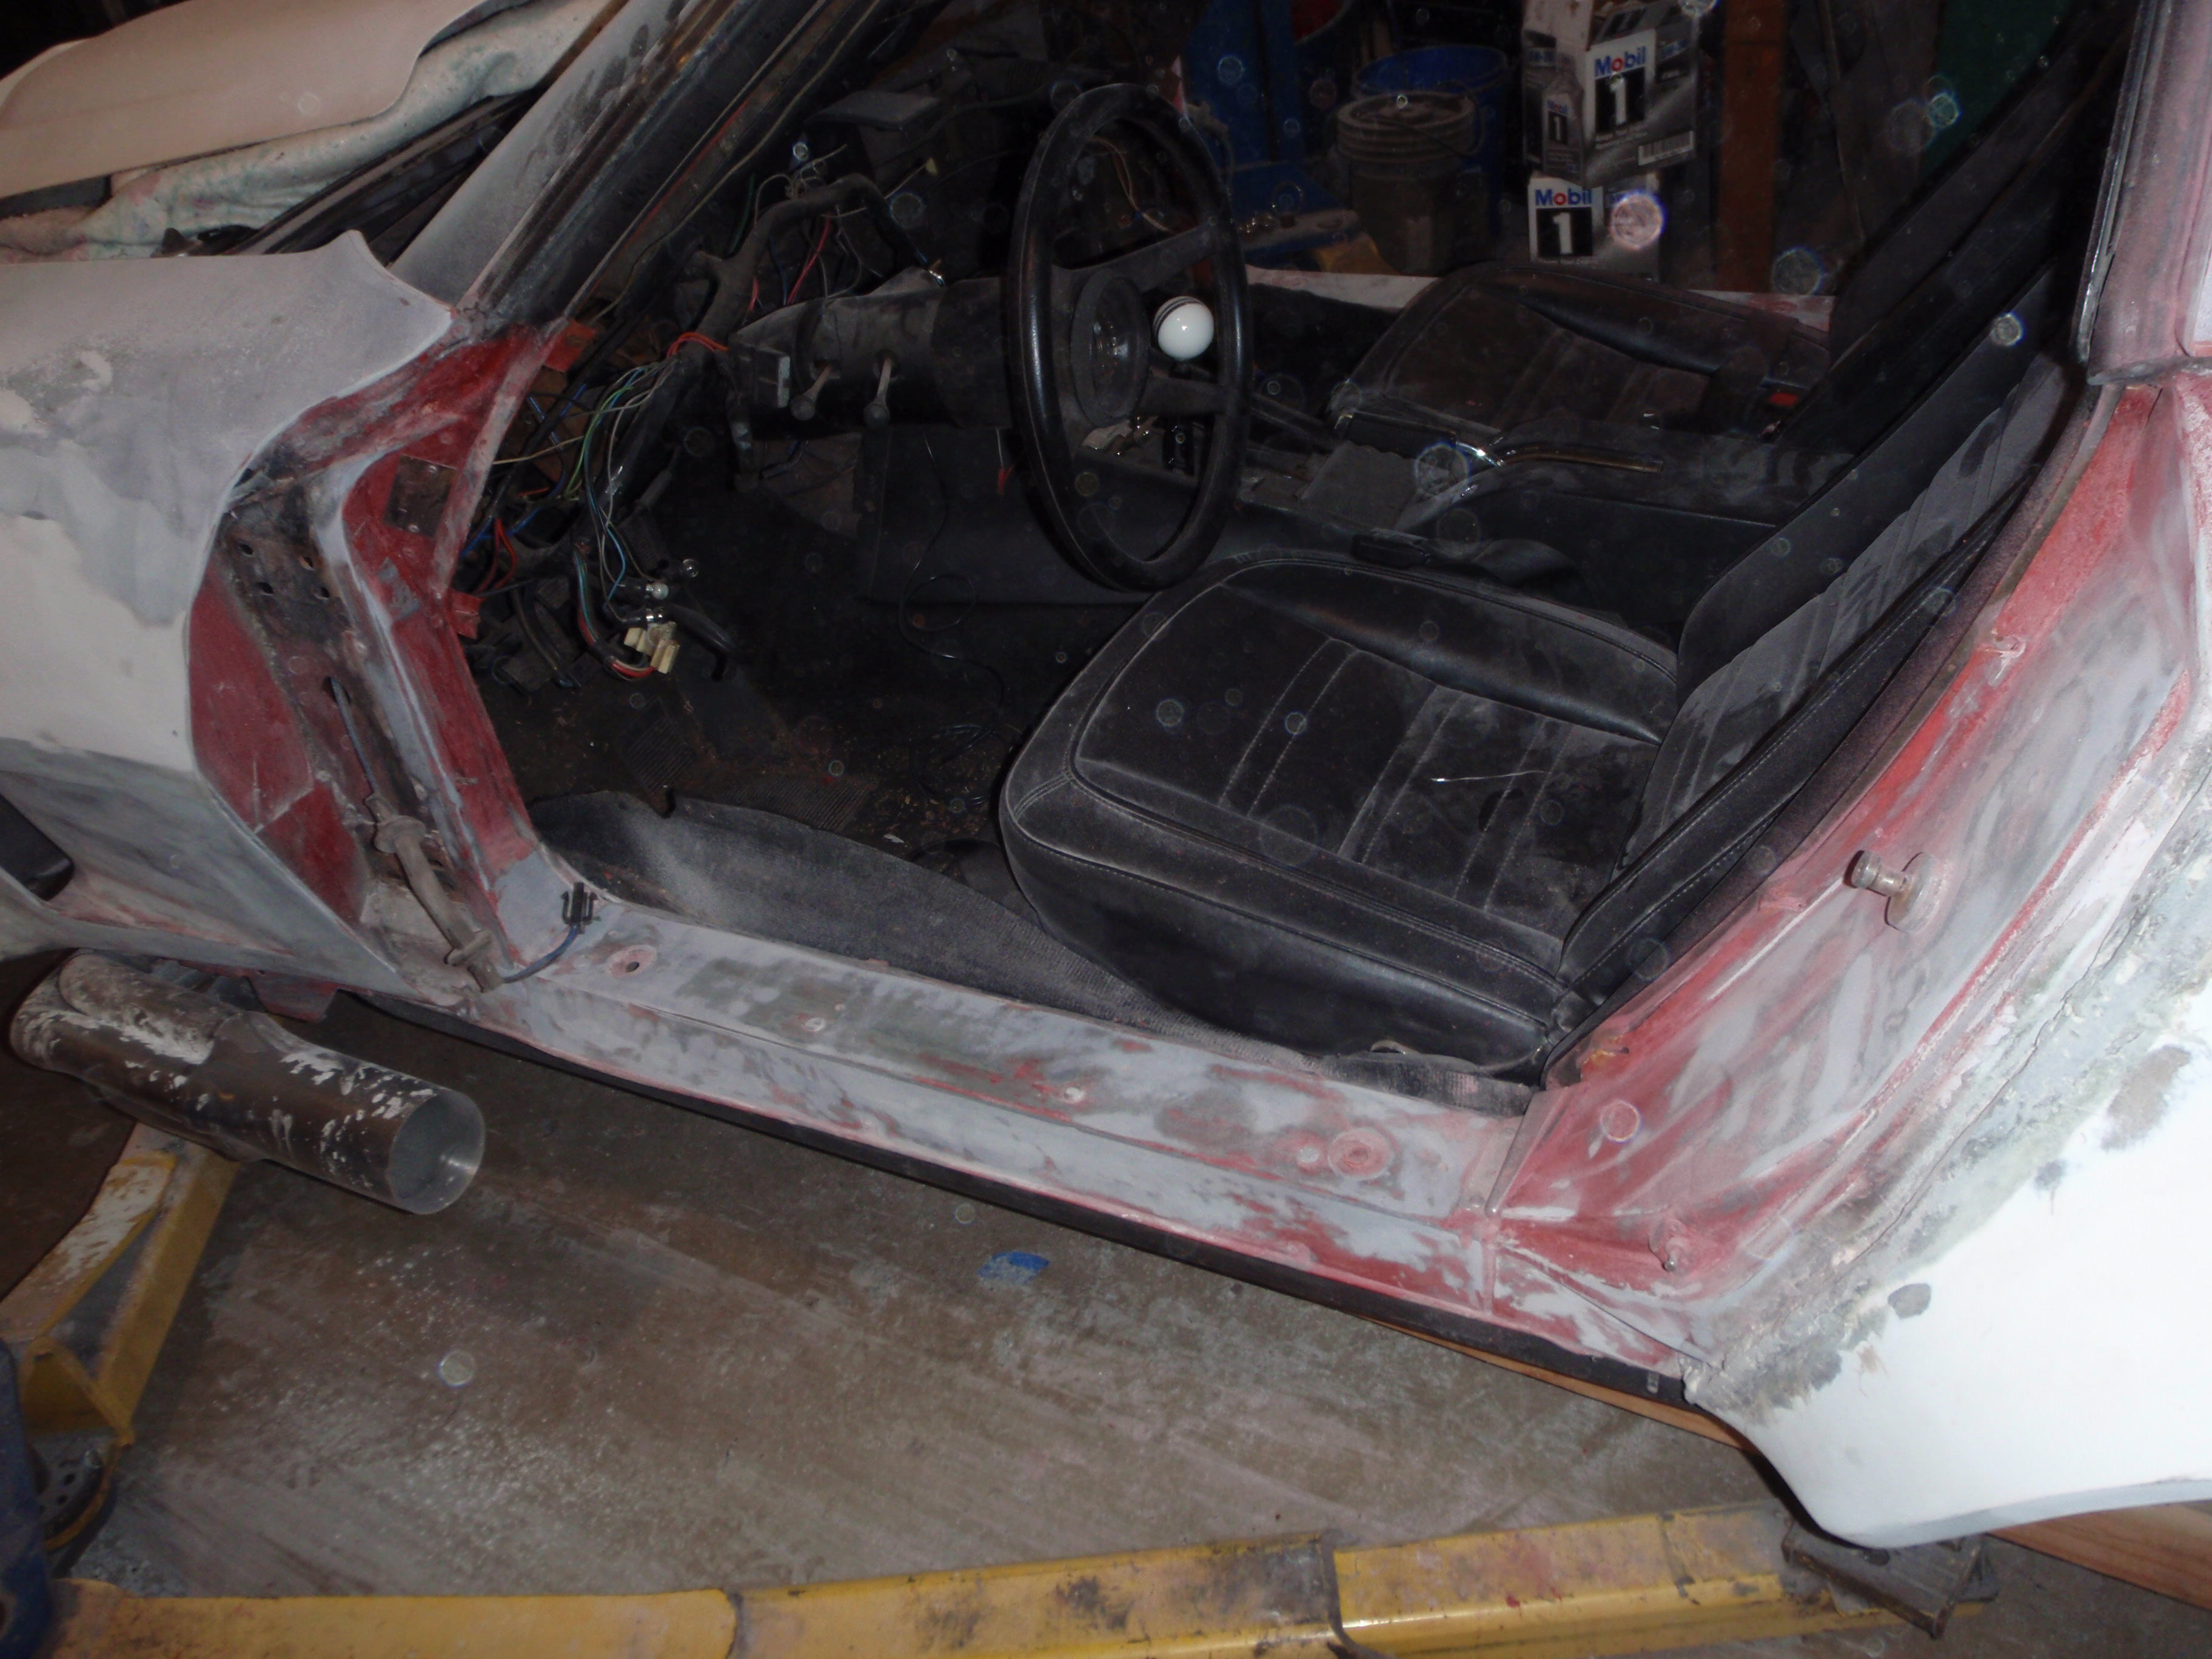
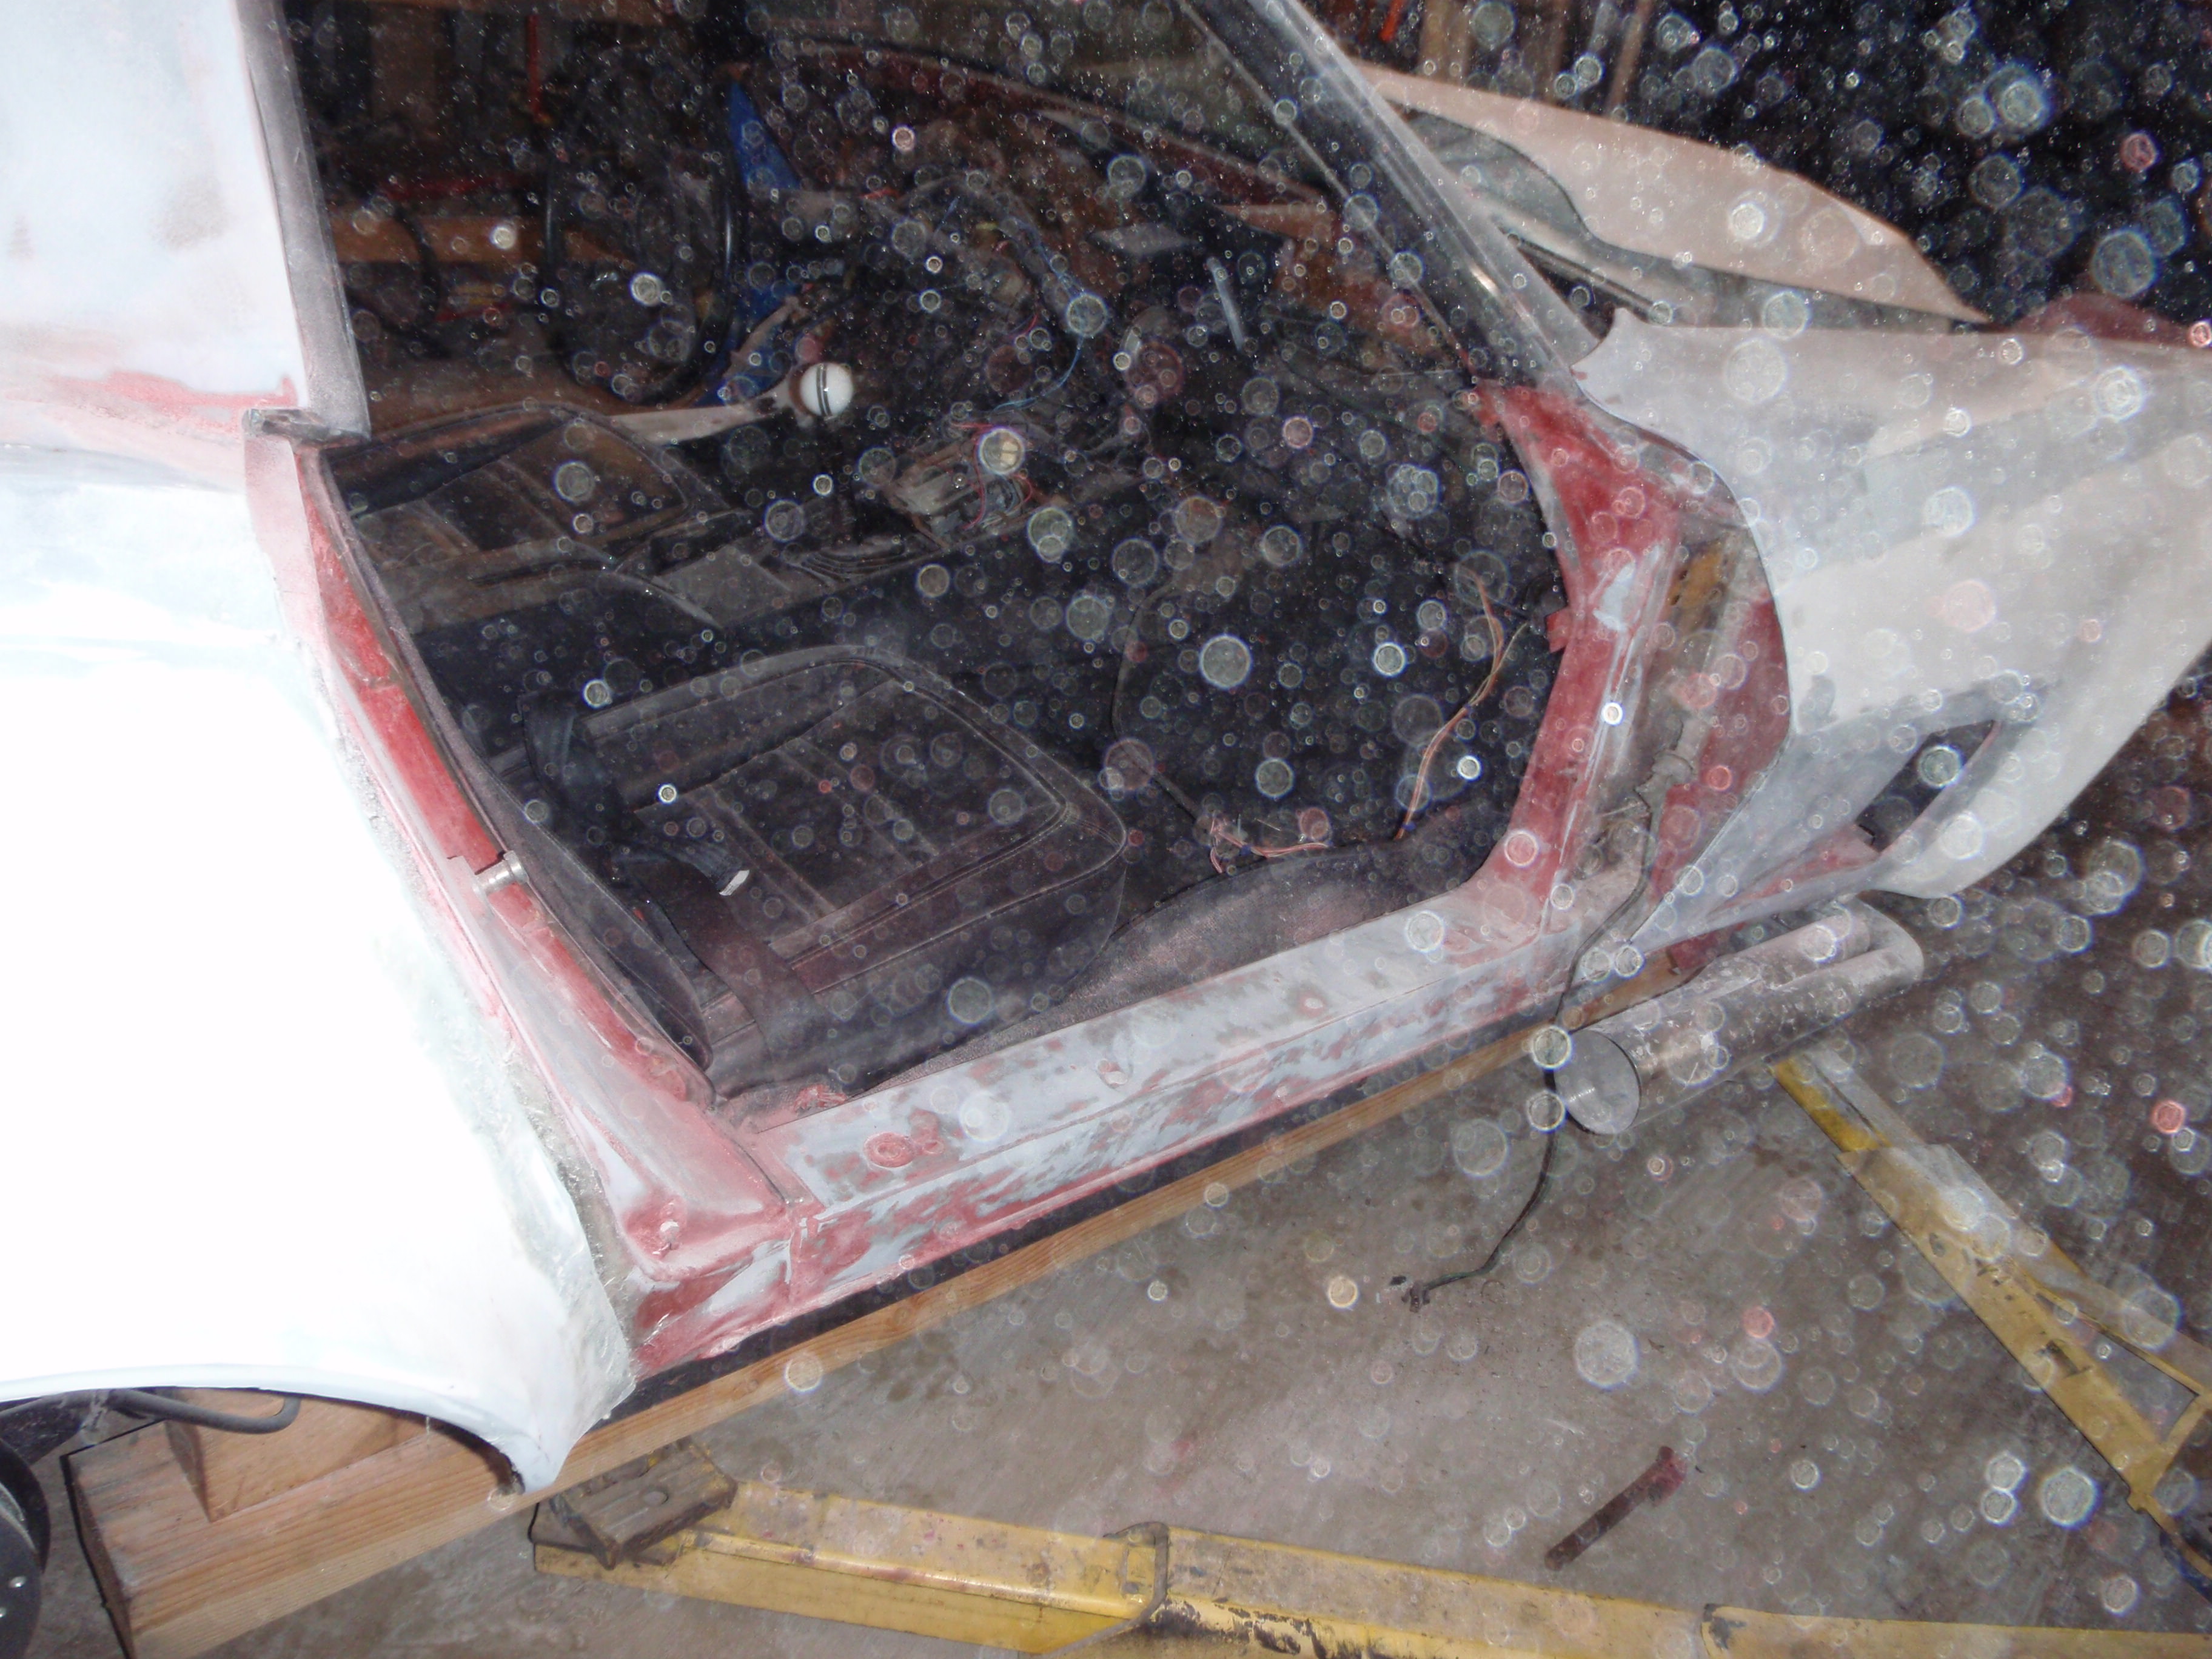
more pics
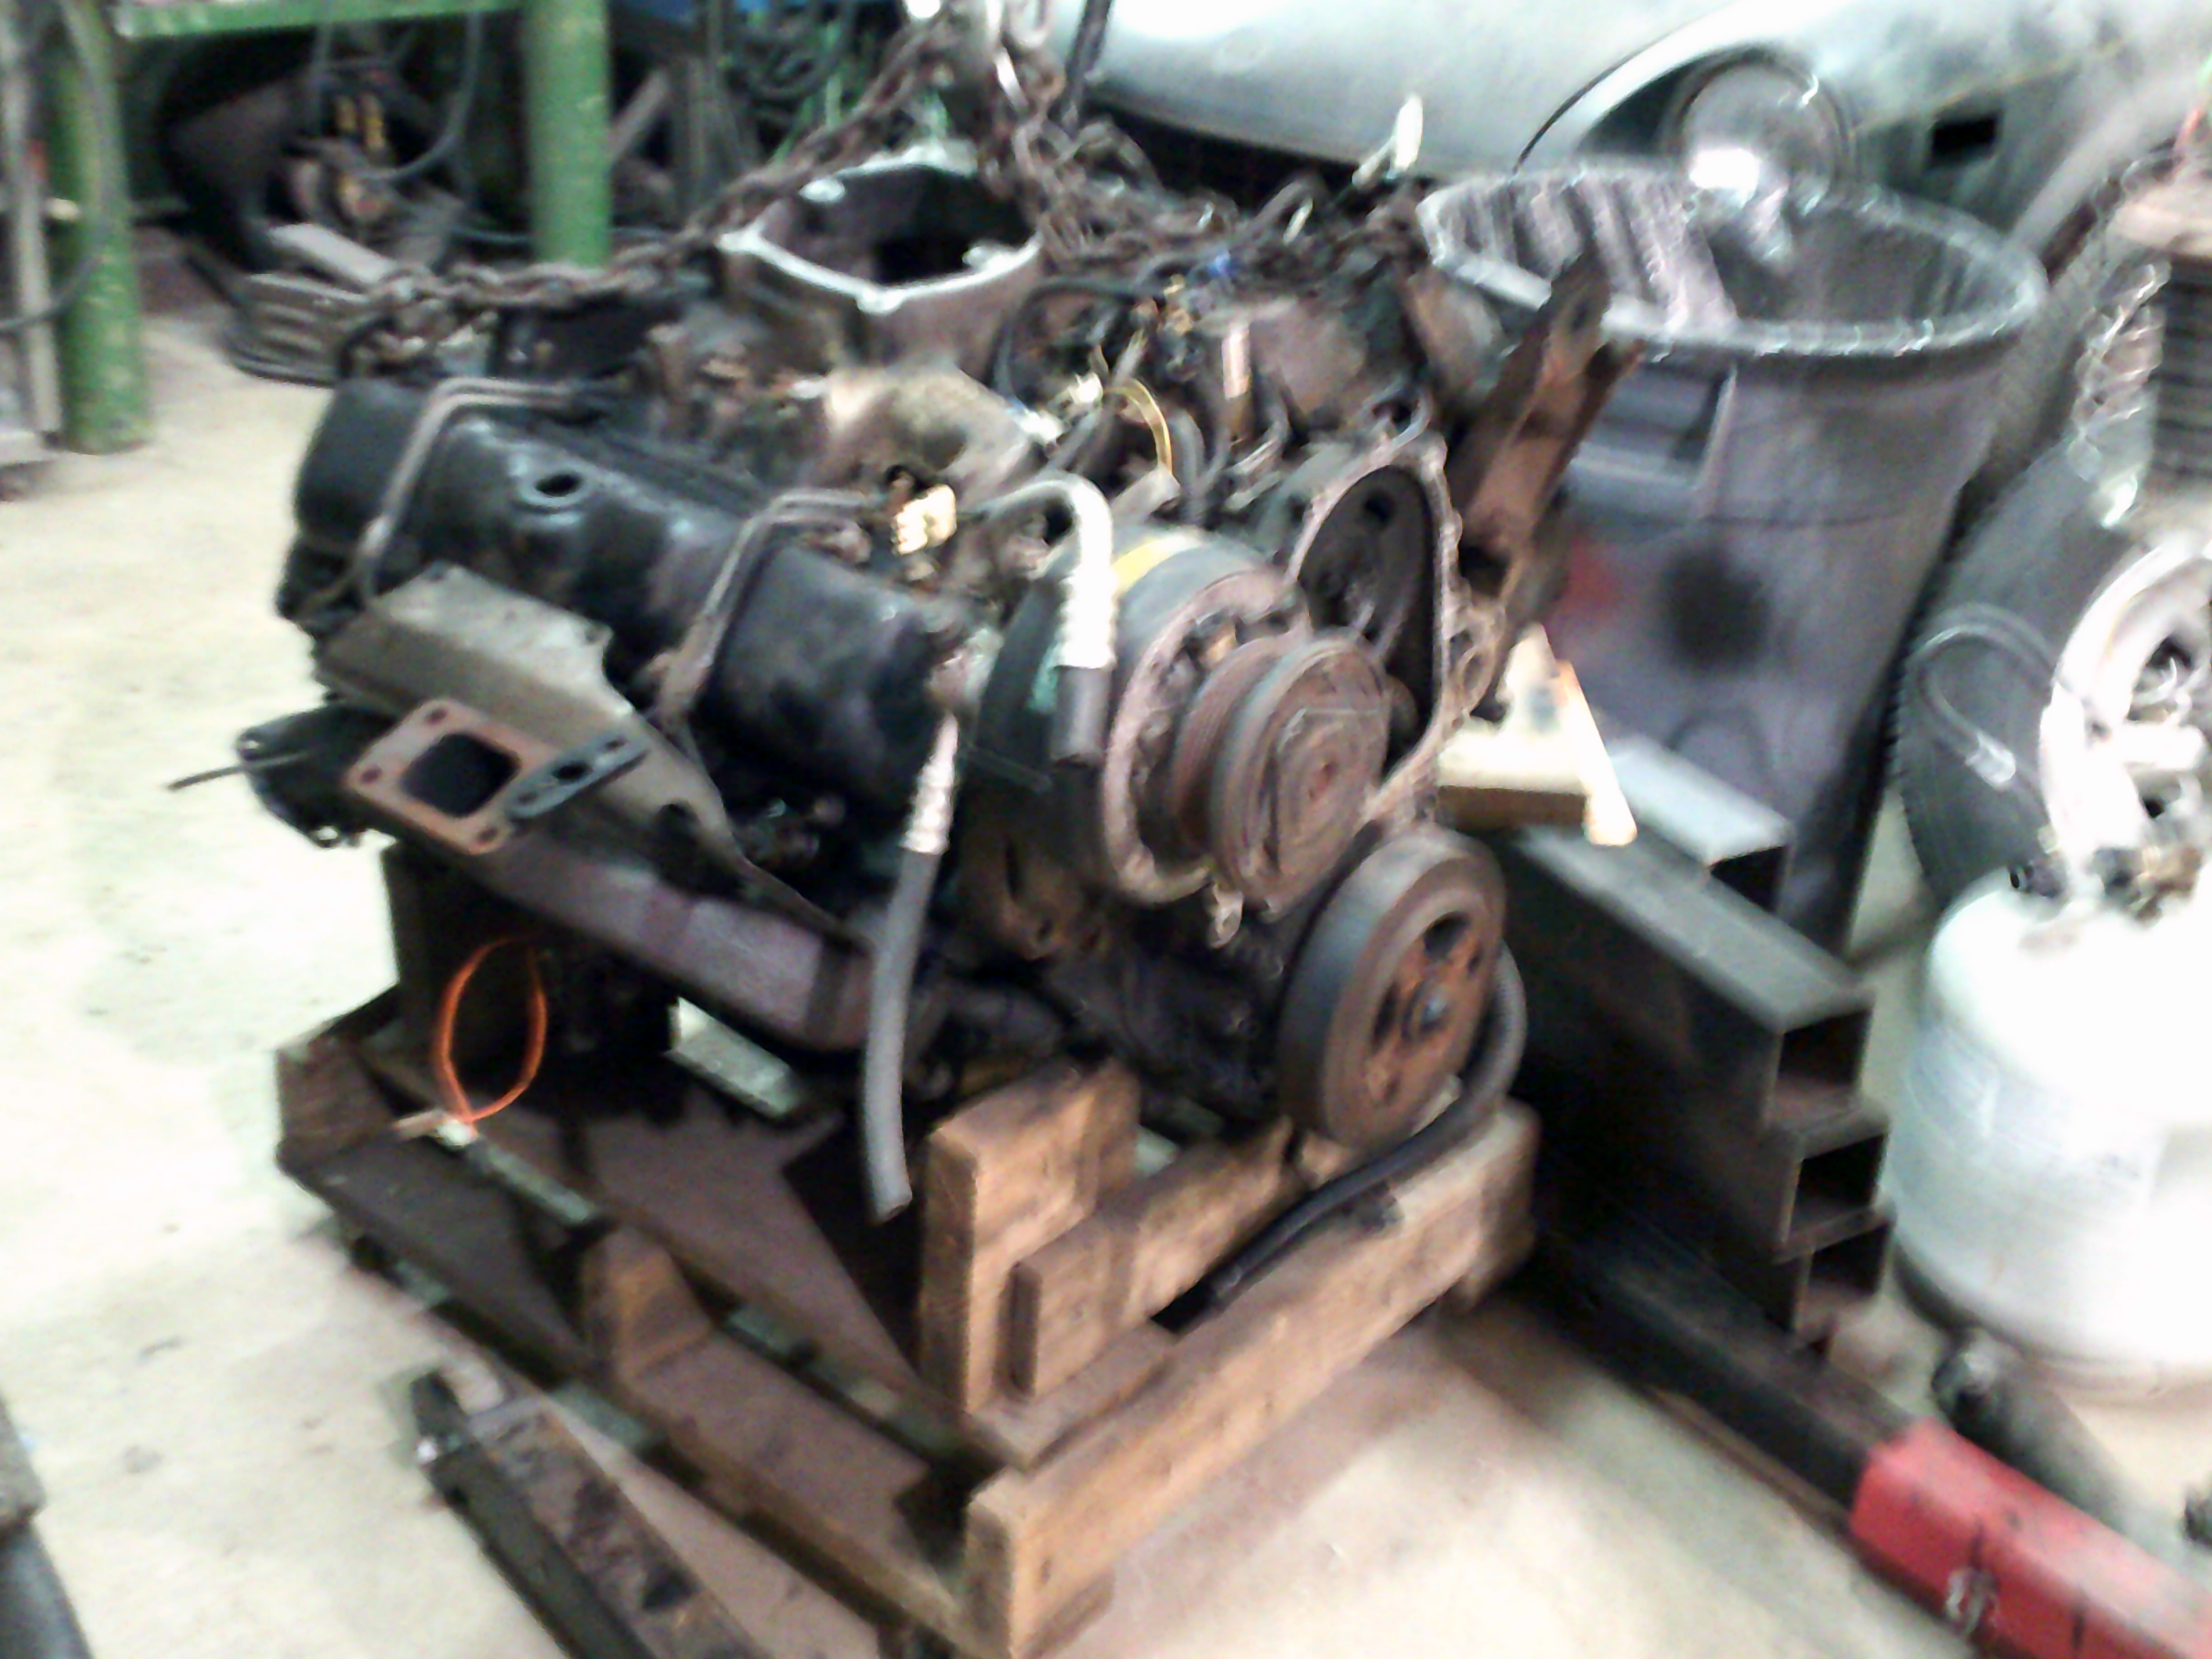
and the random diesel motor that's going into my 300 dollar suburban
tl;dr is body mods take a lot of work and just because they may take a bit more work - it's nothing that can't be fixed. Okay? no calling anyone out. please.
anyway, now that I've found the proper bleach onward with Corvette stuff
and the random "look what I get to fix because the panels were made too short"
if you think that looks a little rough, you best get new glasses.... it's a lot rough... but hey, the manufacturer said quality has improved since they made mine.... good to know, good to know
oh these are going to be a pain to fix.... build up, let set up, repeat.... should only take 8x
I got 2x in tonight
this side makes up for the fail of the wheel opening by at least being long enough and just needing maybe one build up
yes, that gap
more pics
and the random diesel motor that's going into my 300 dollar suburban
03-07-2018, 12:38 AM
#123
Melting Slicks
Yesterday
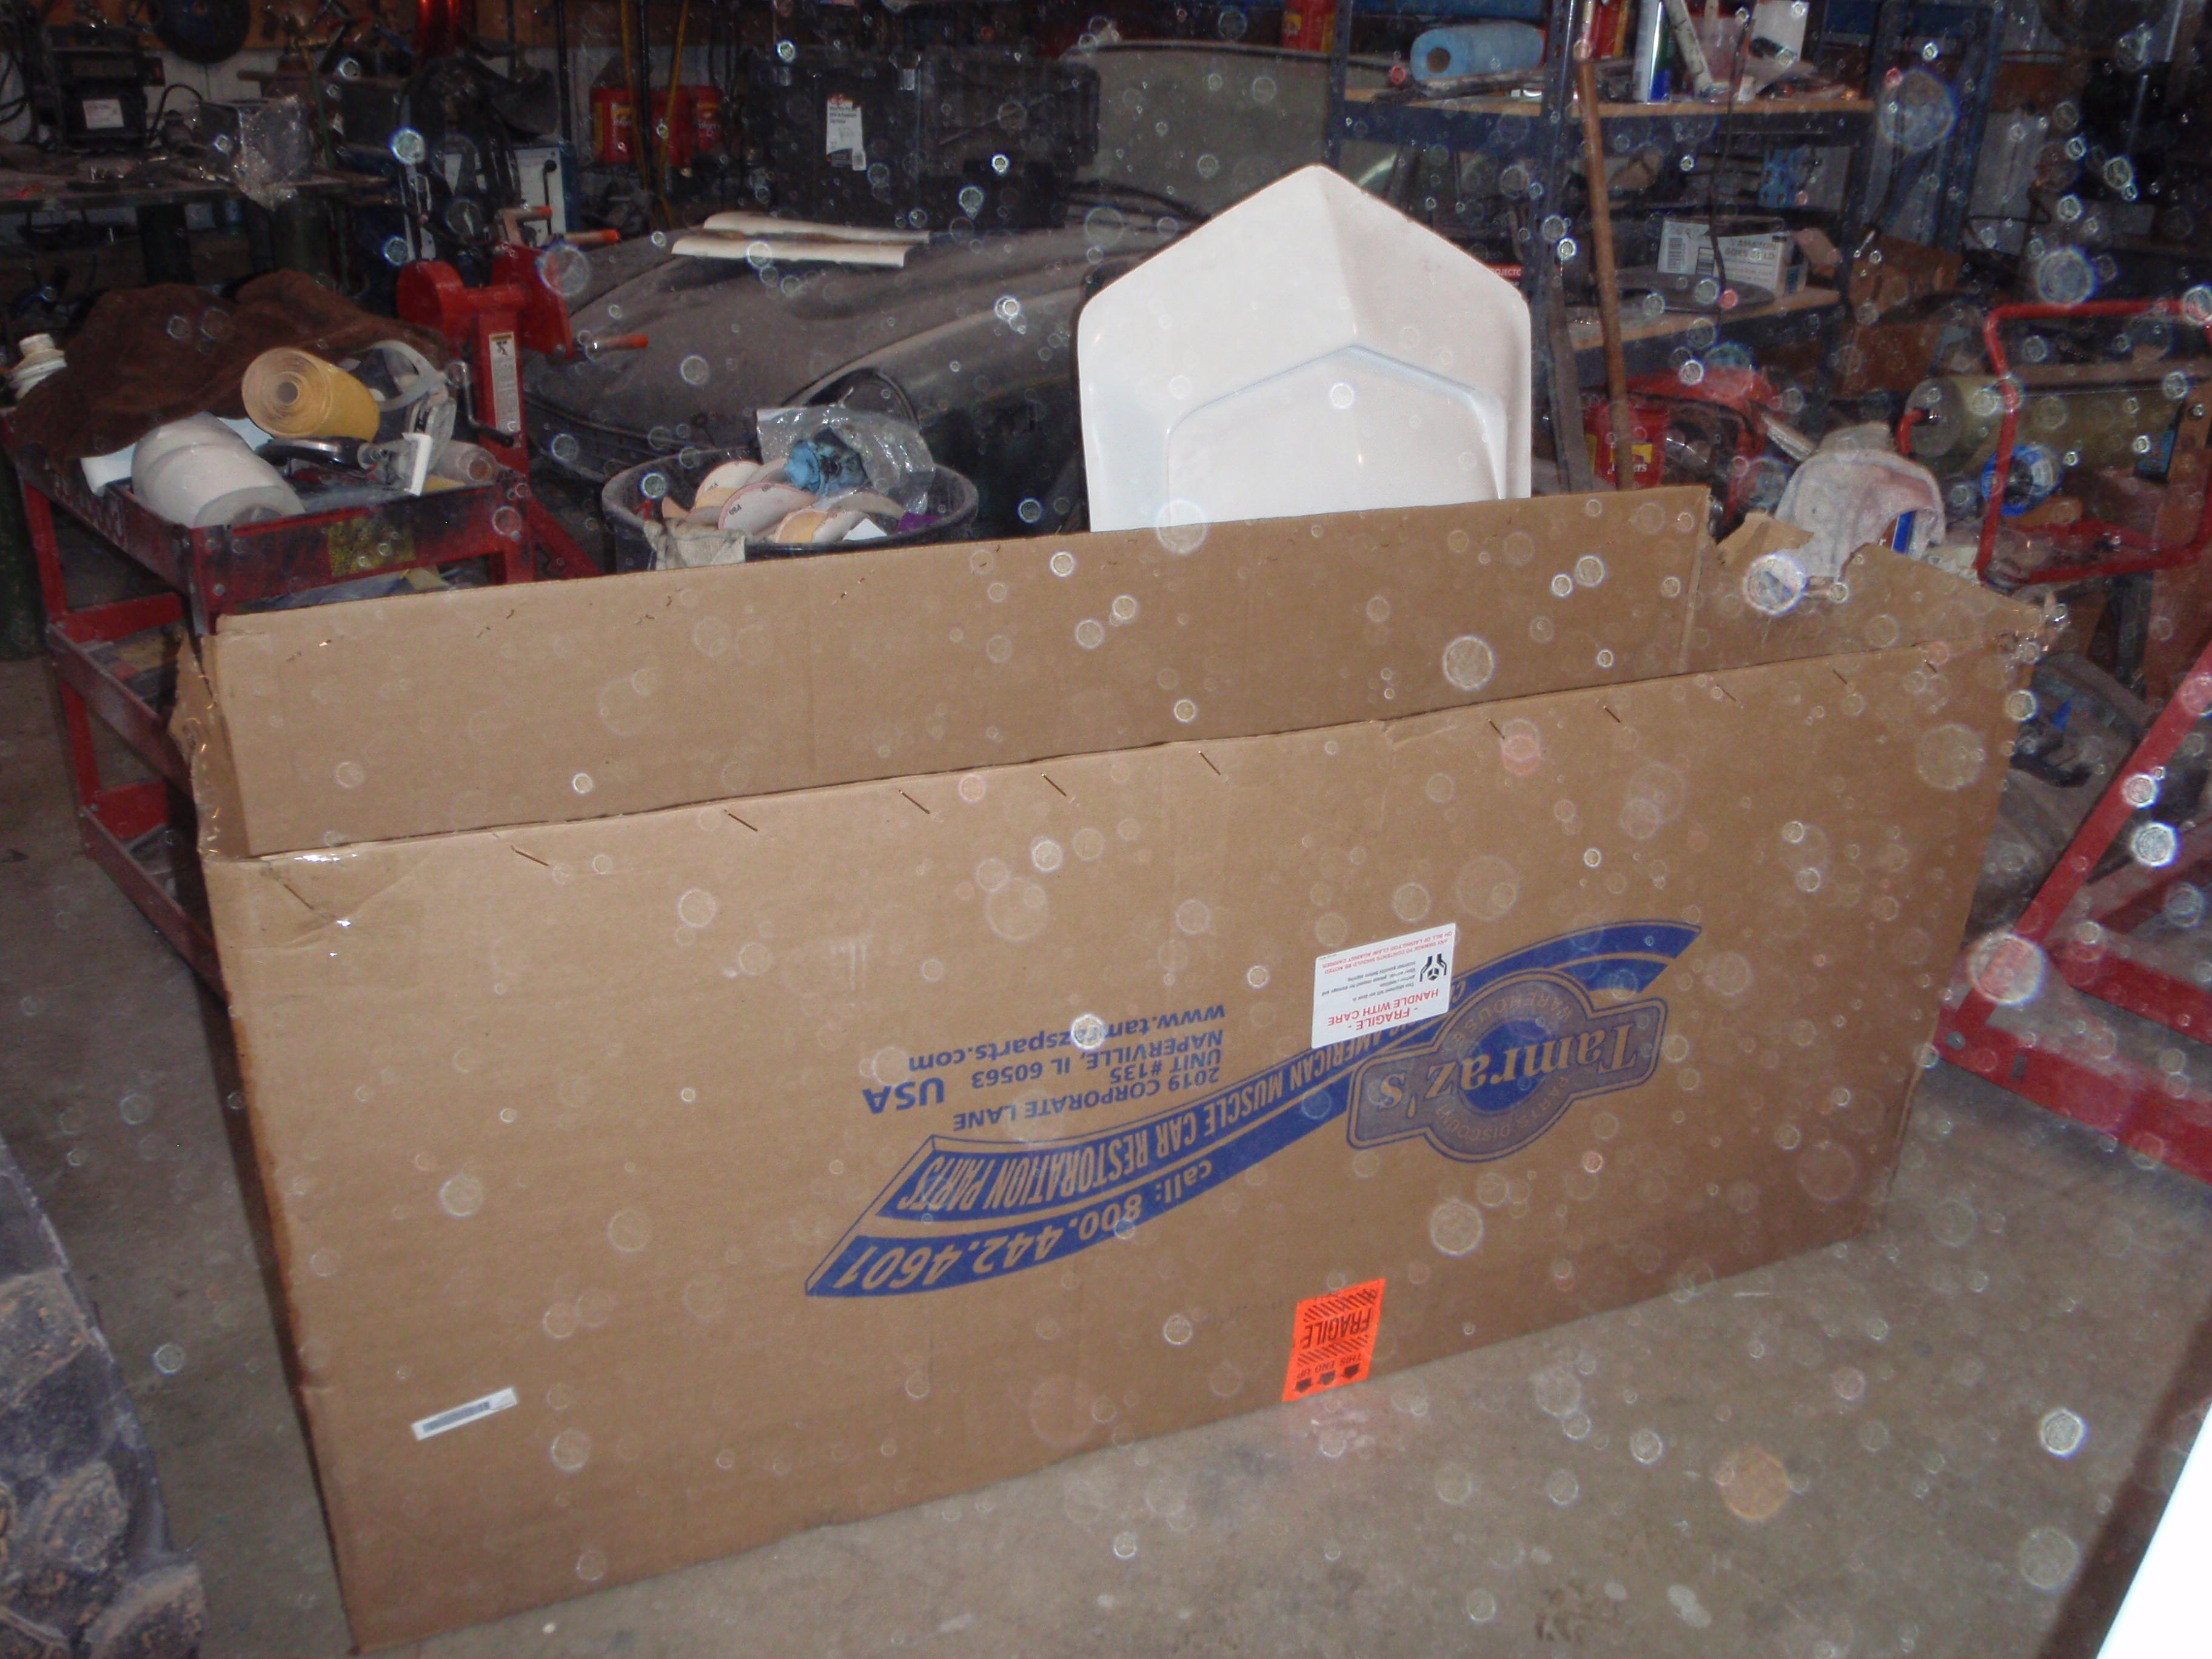
fiberglass
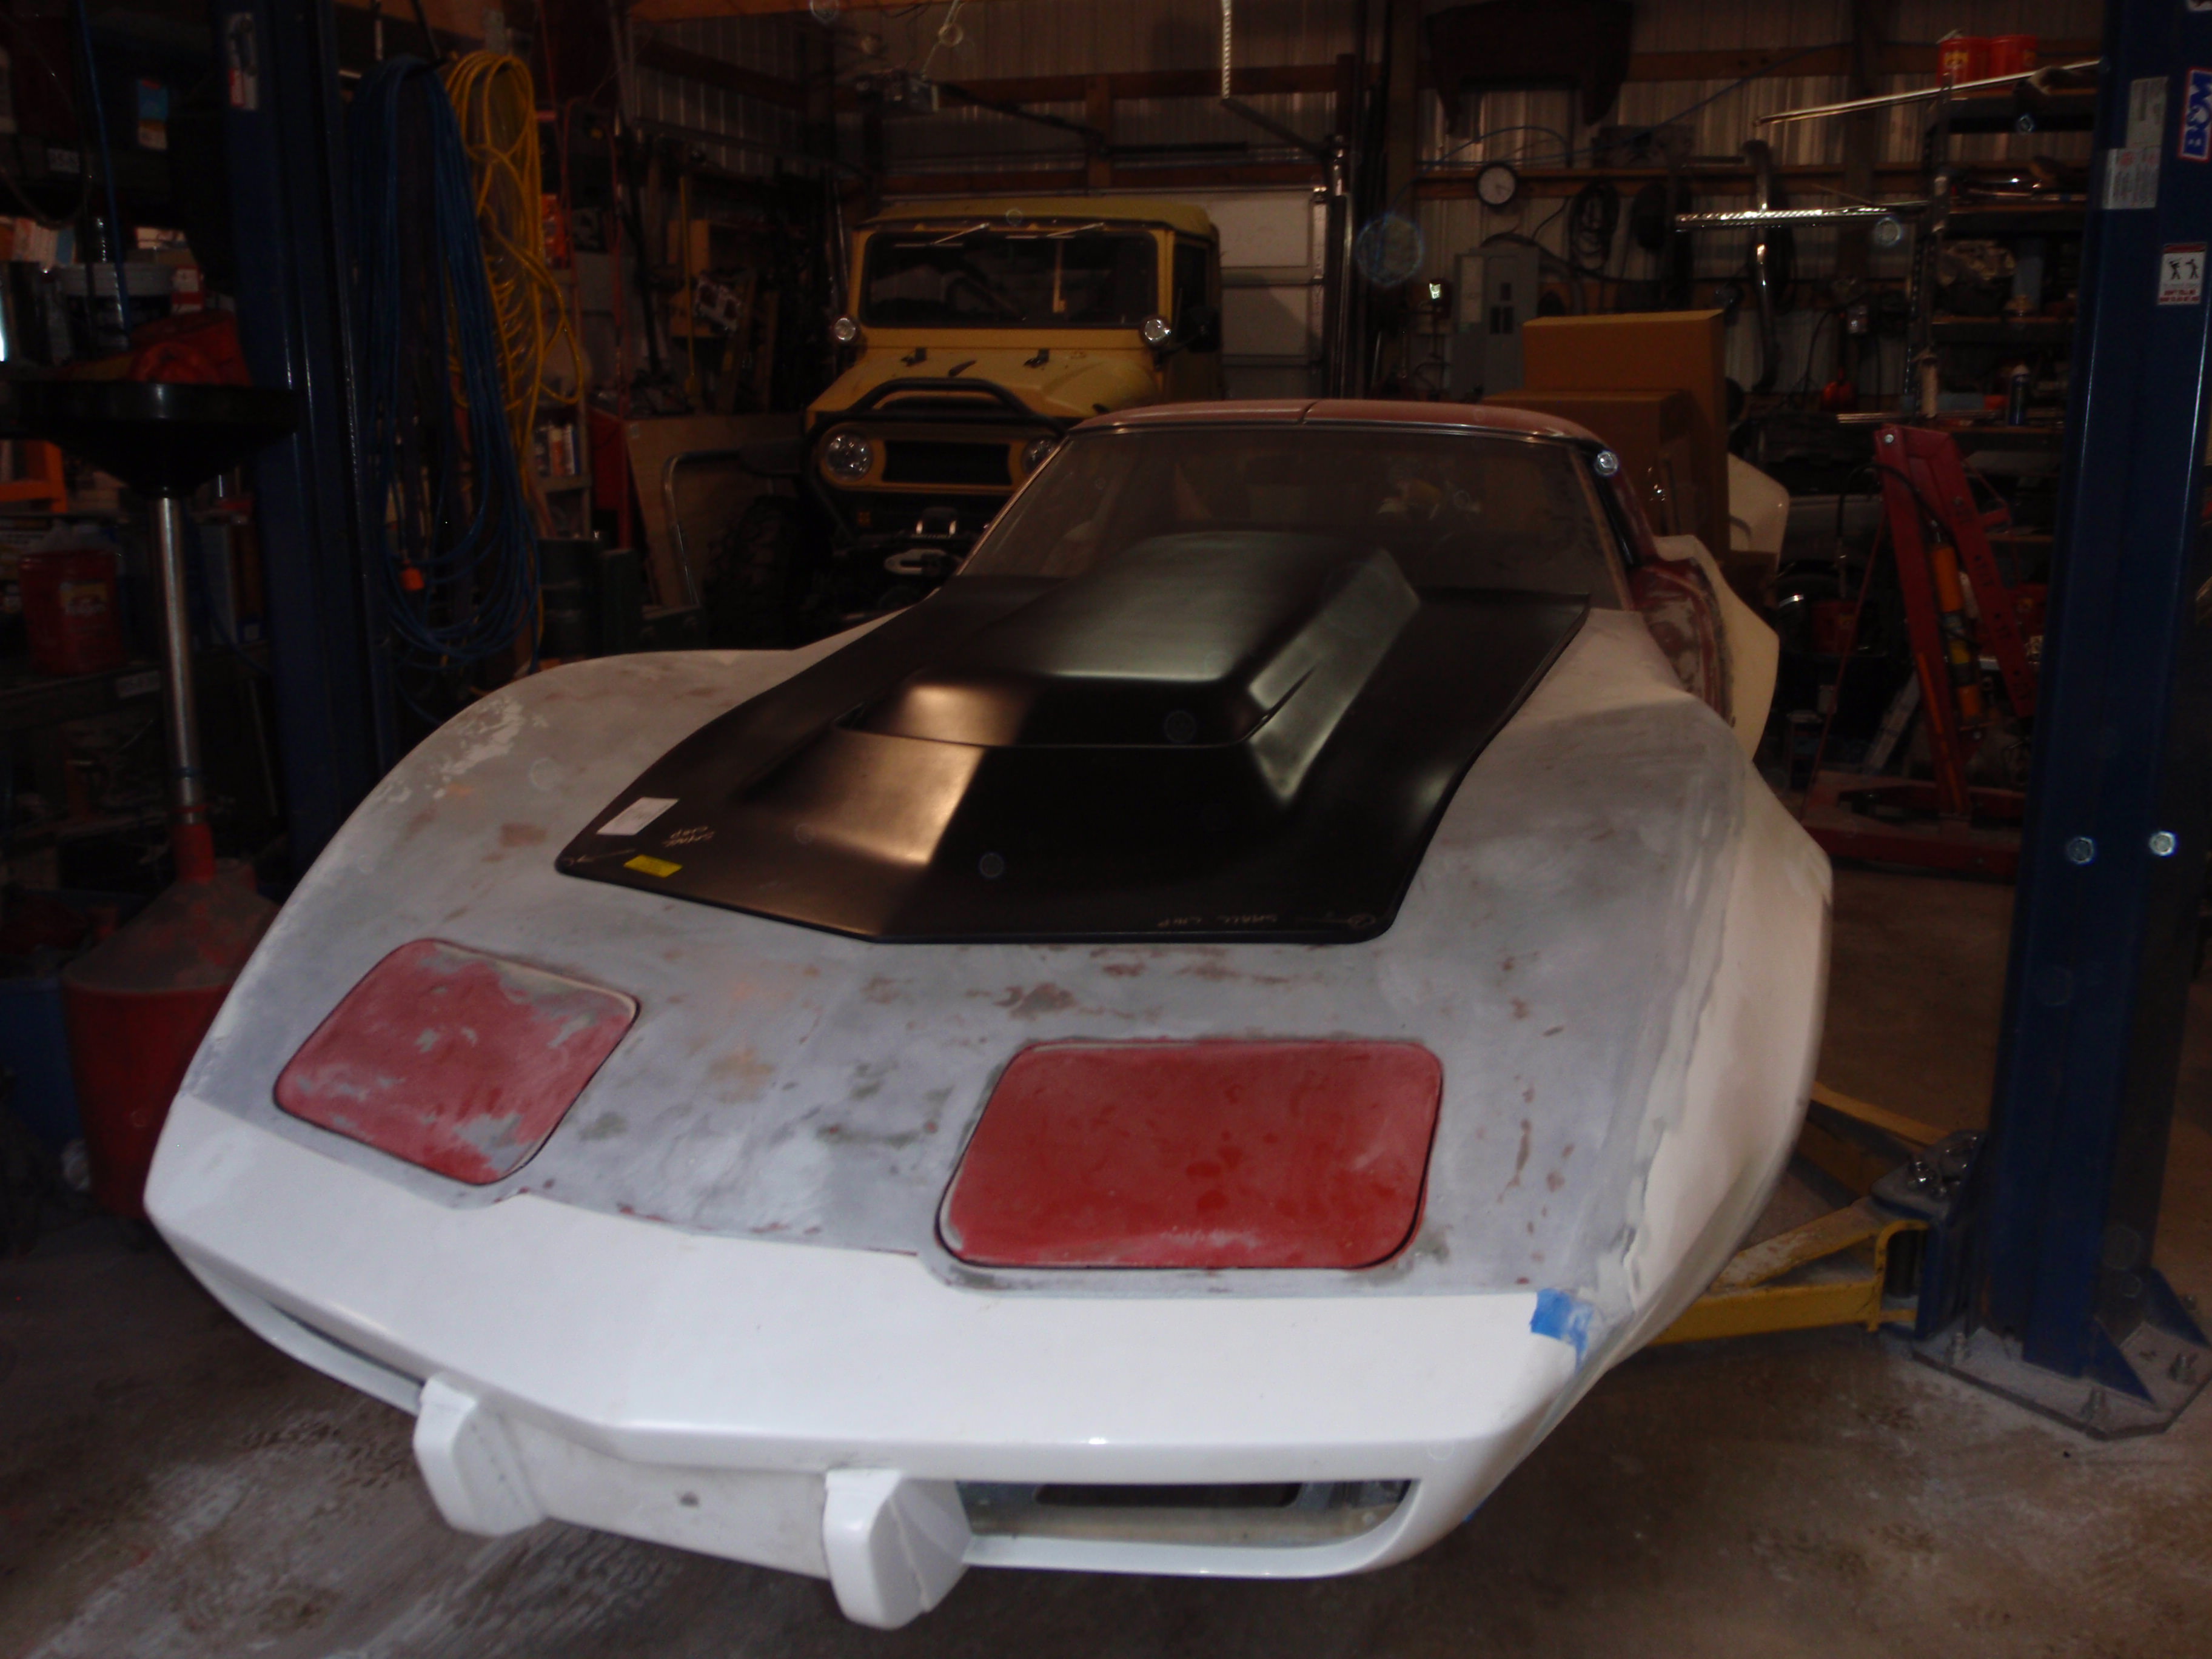
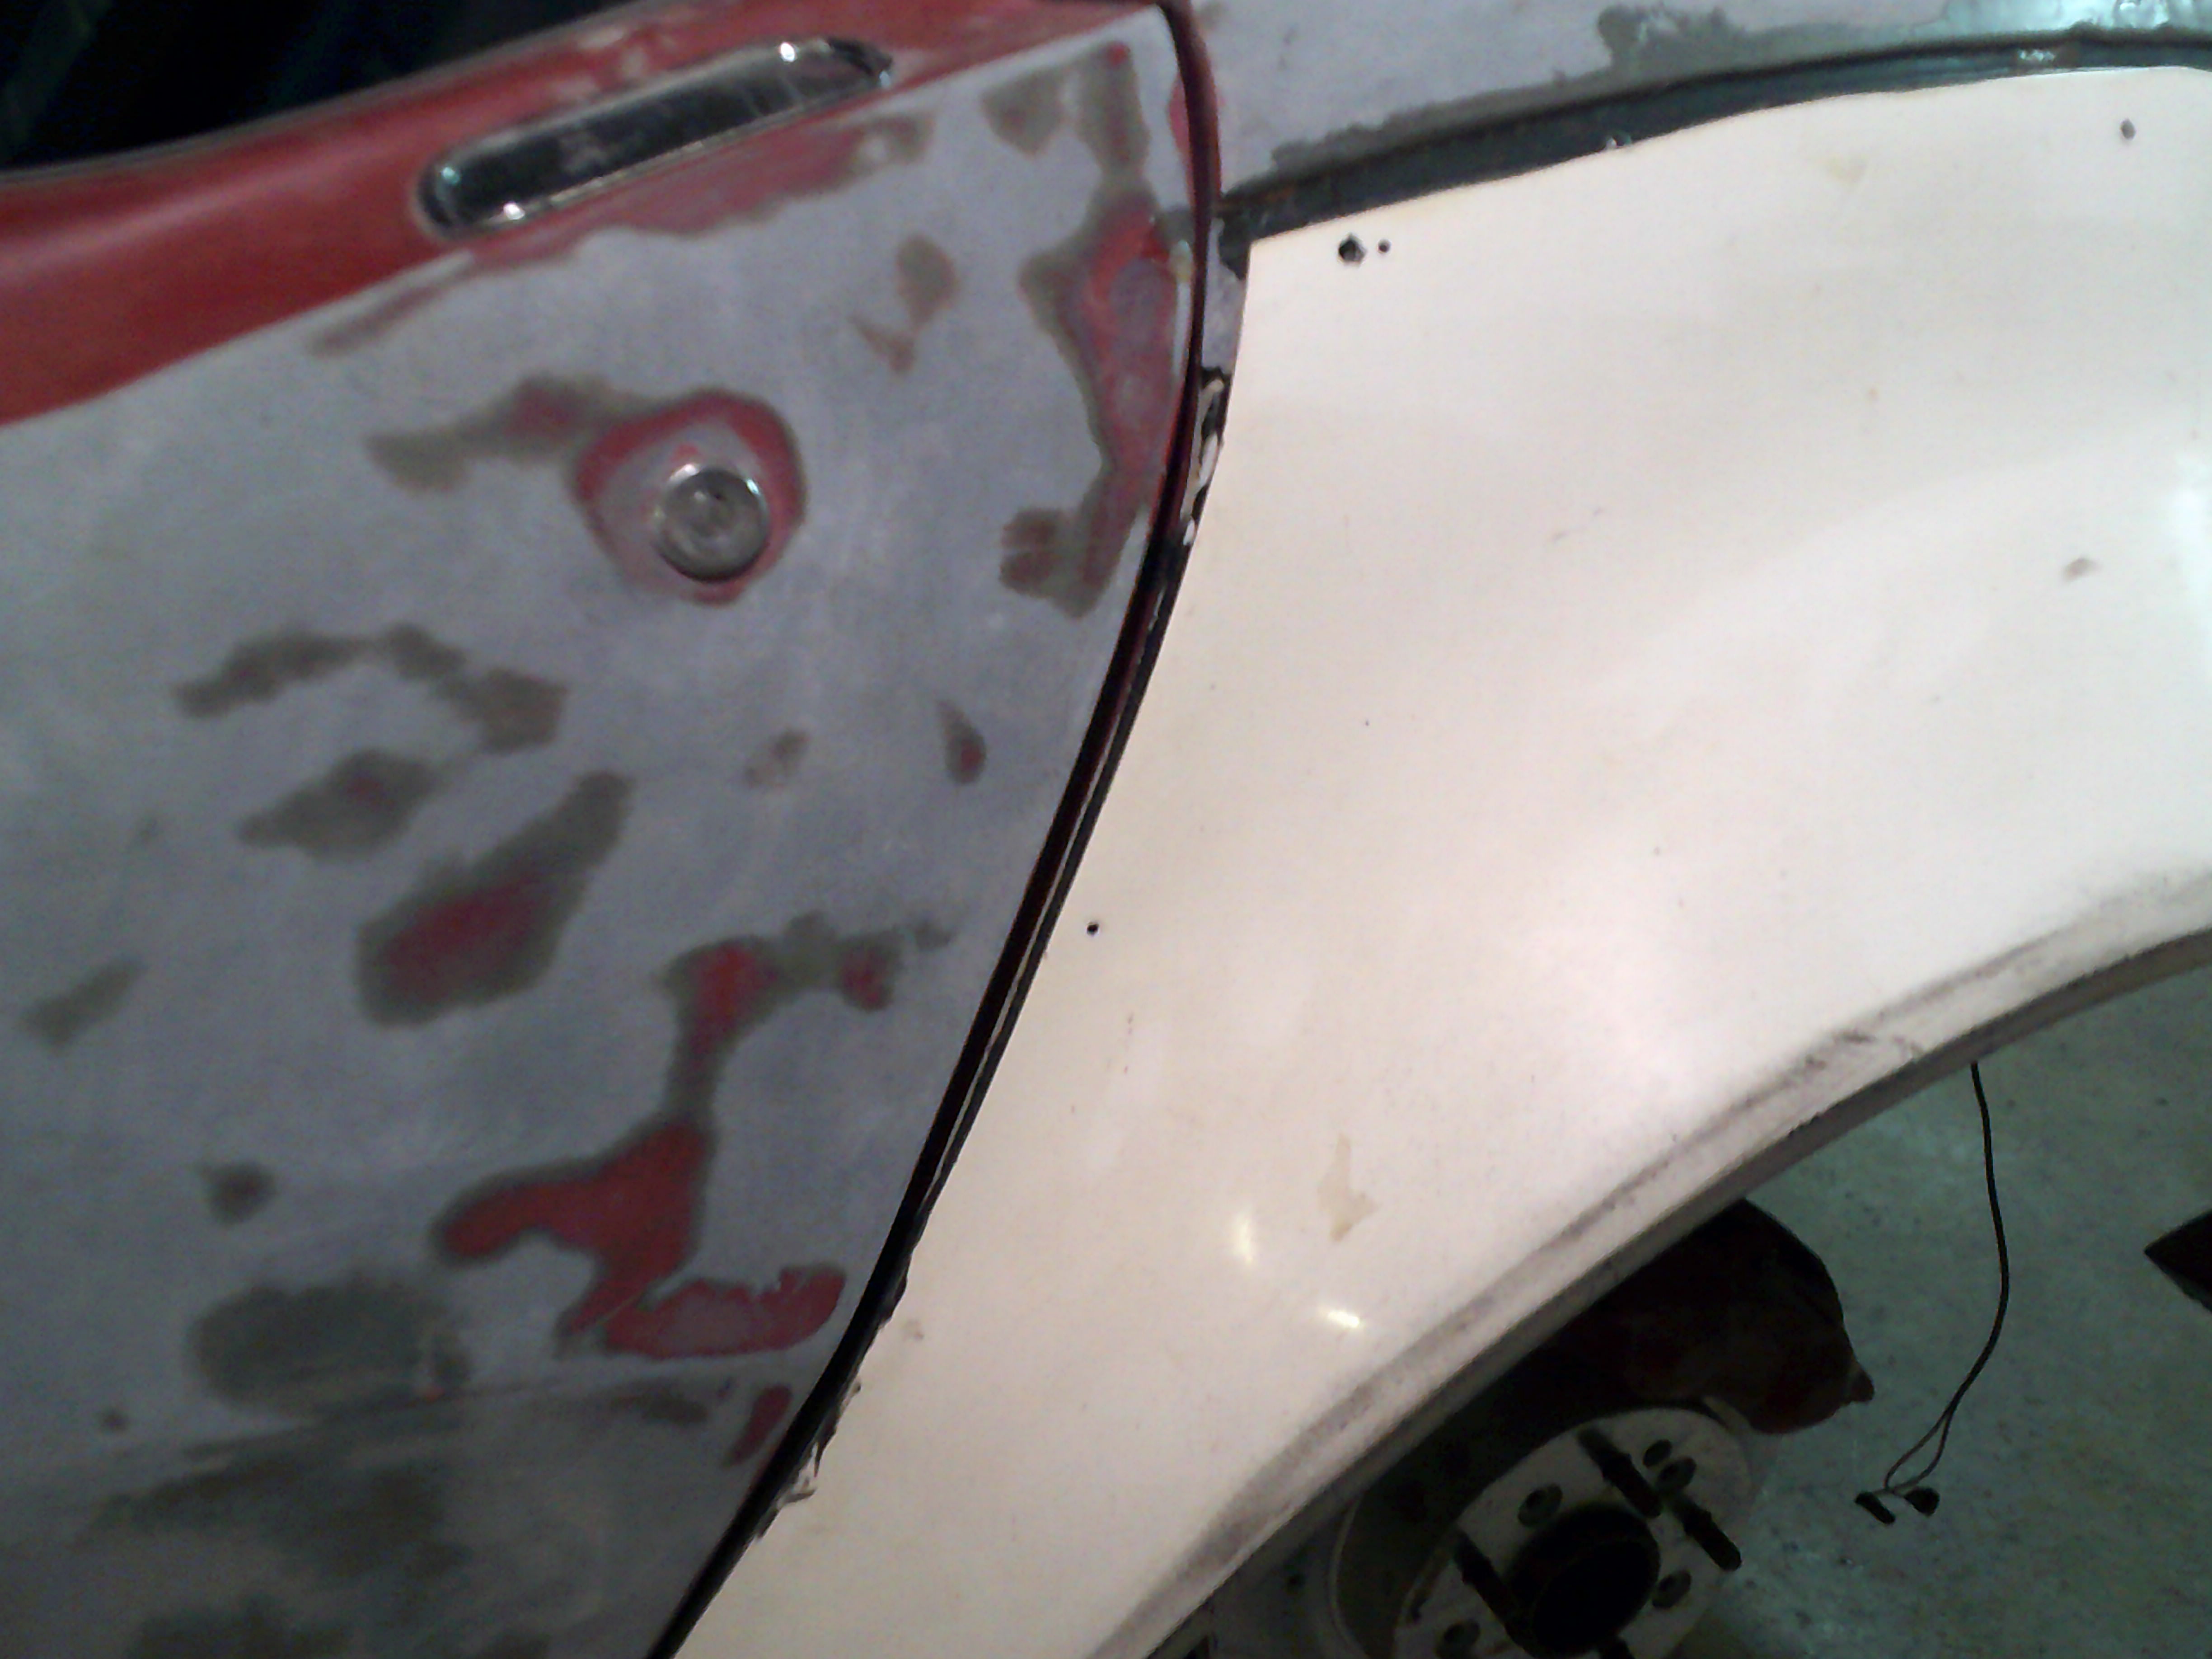
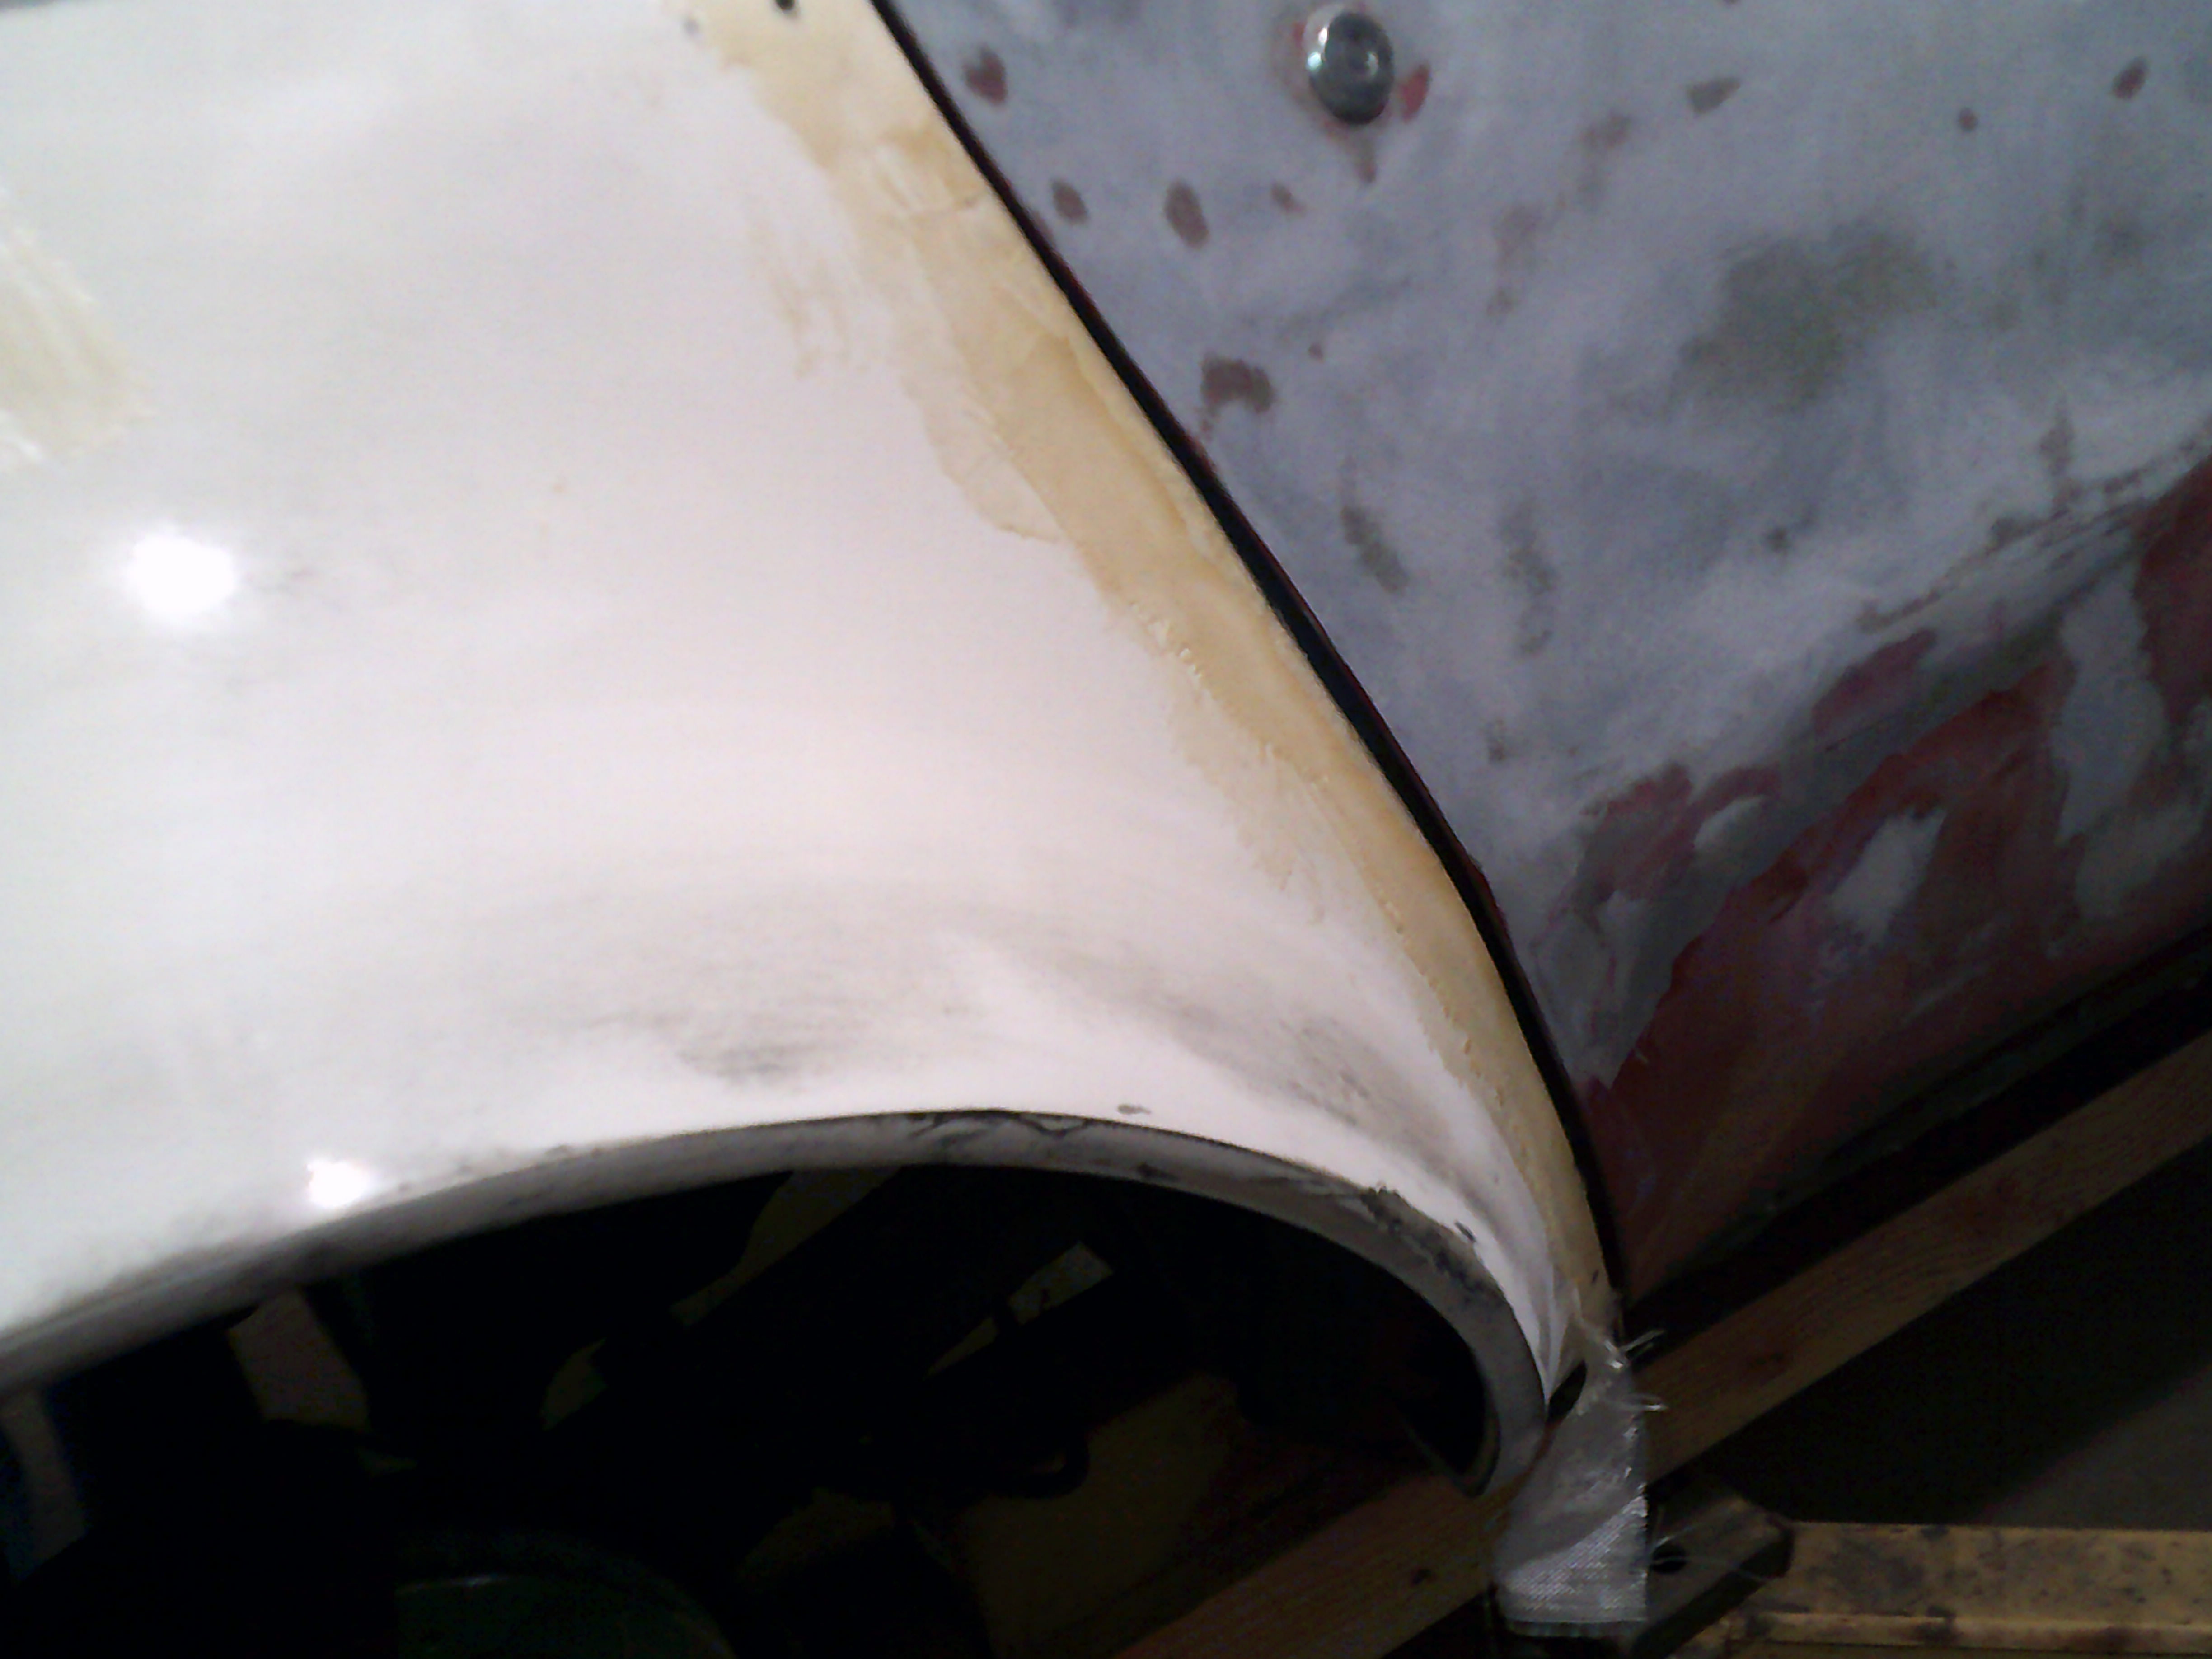
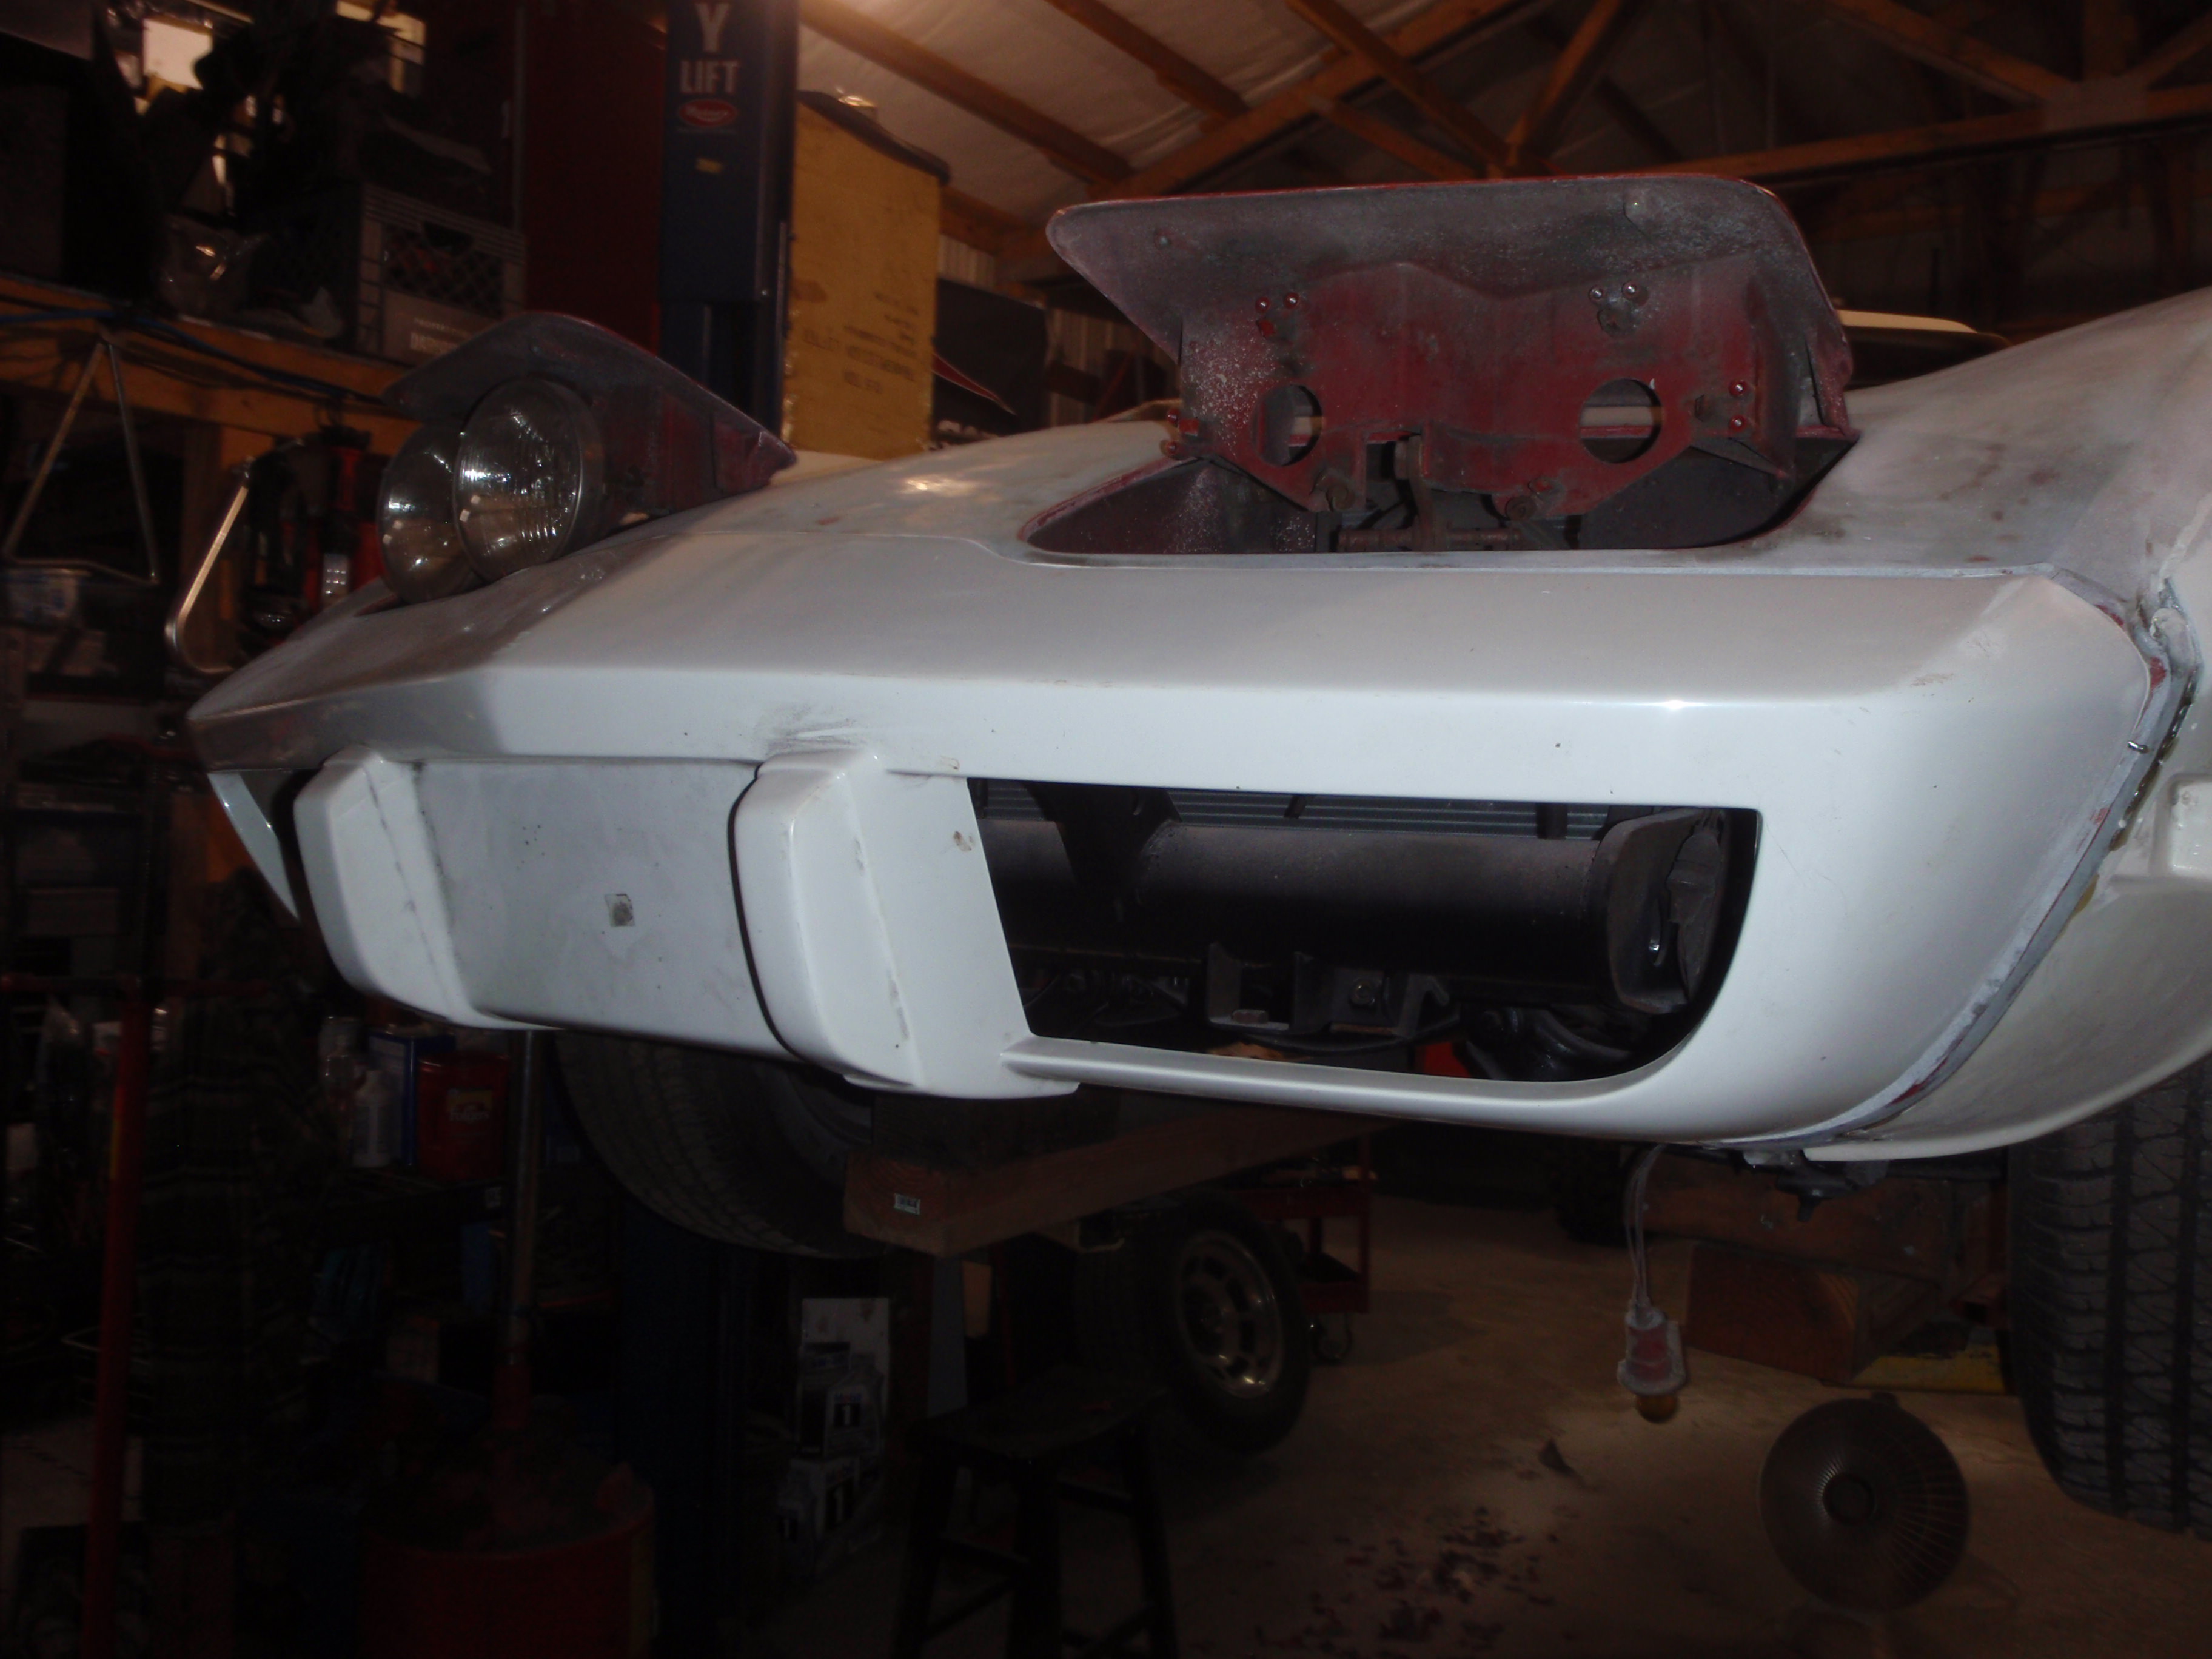
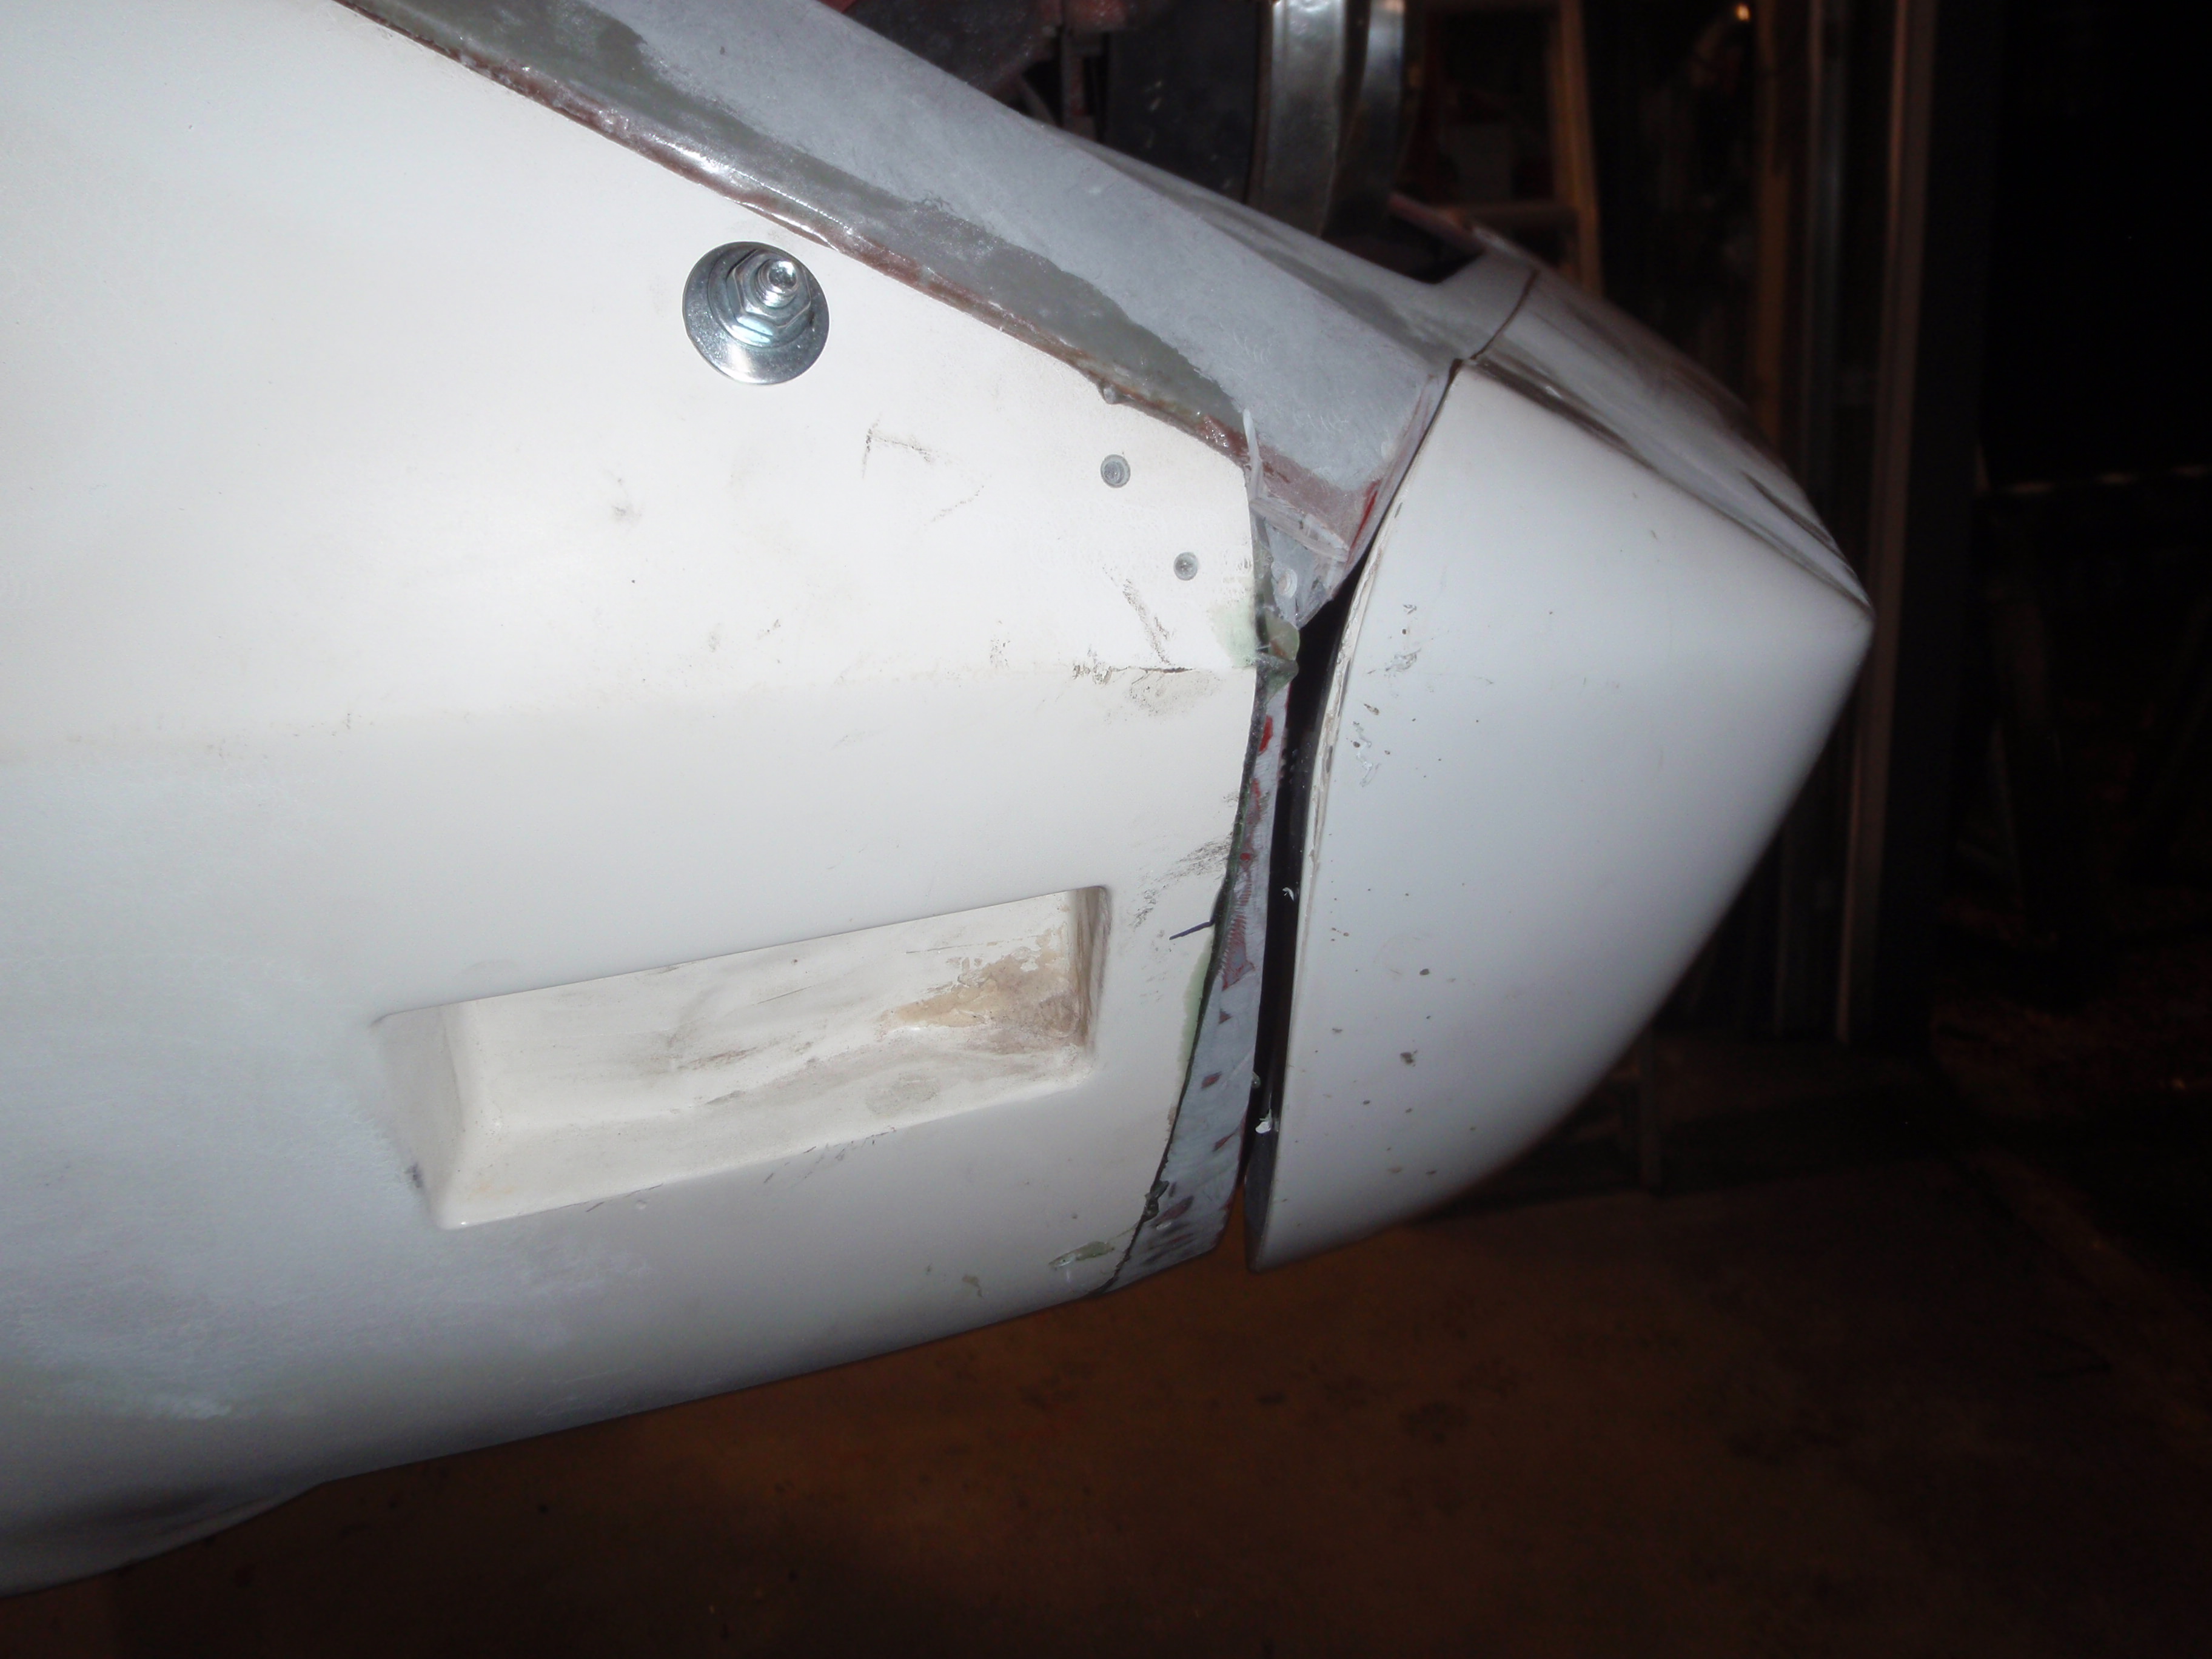
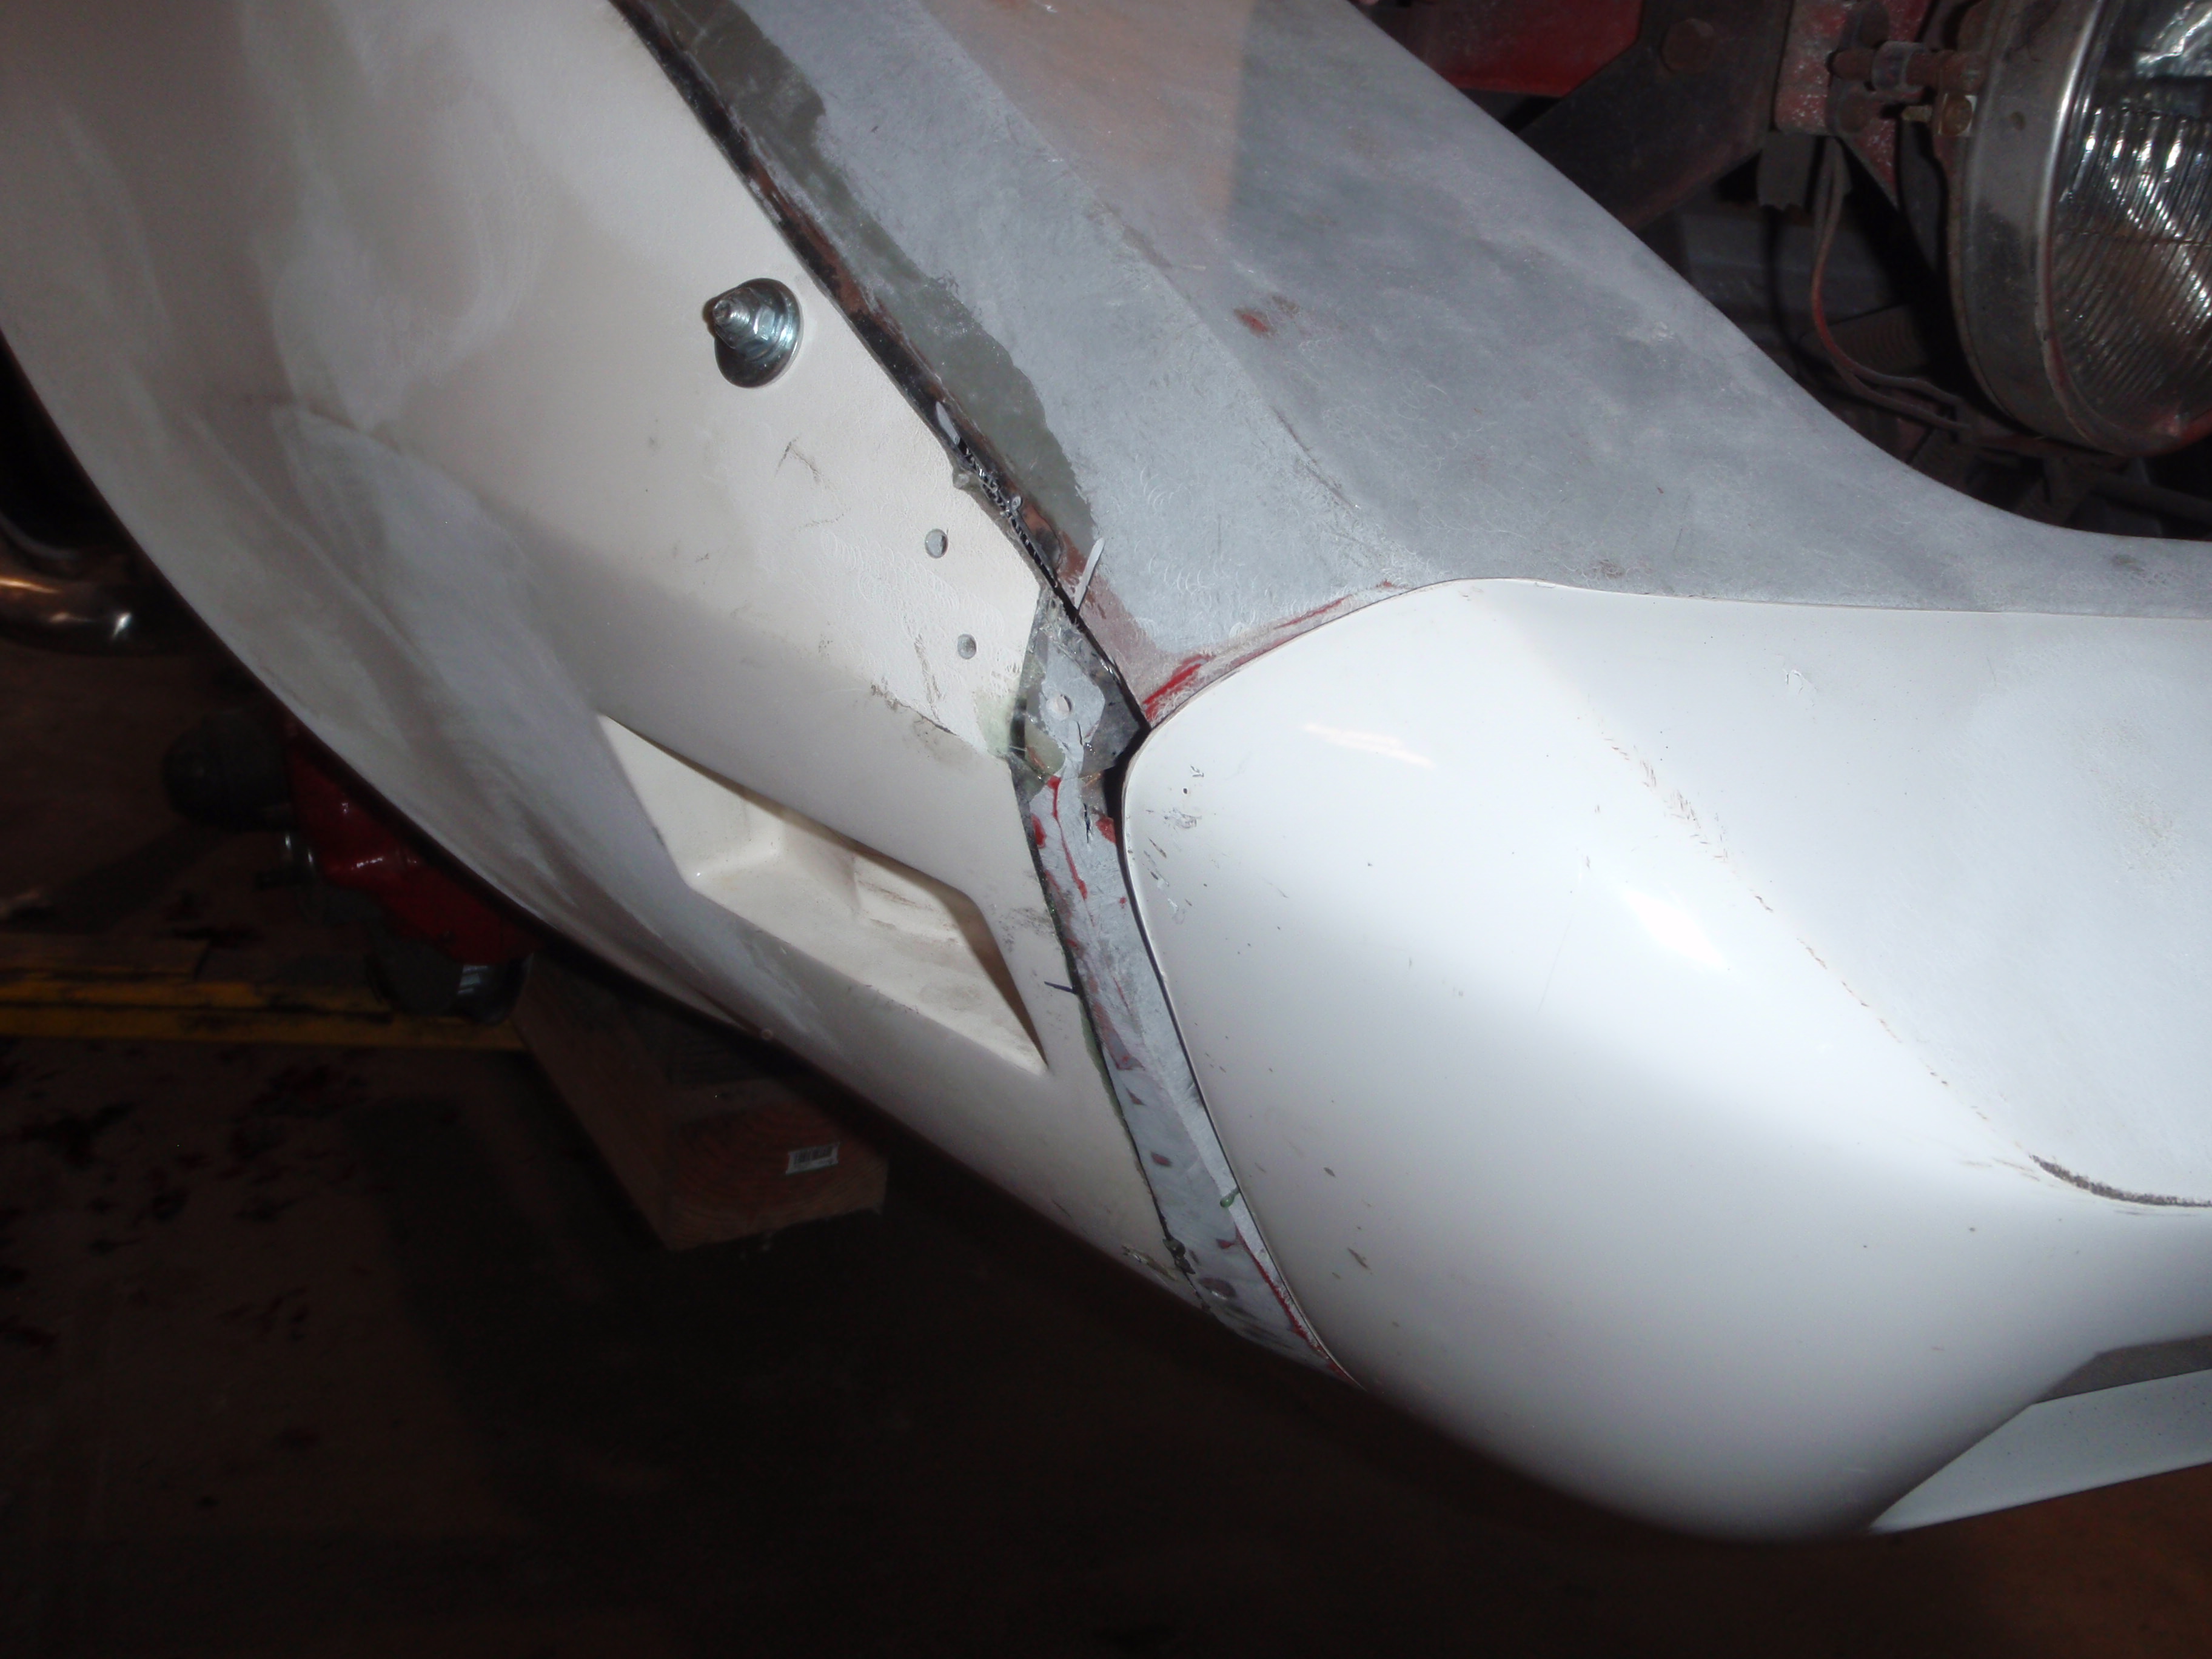
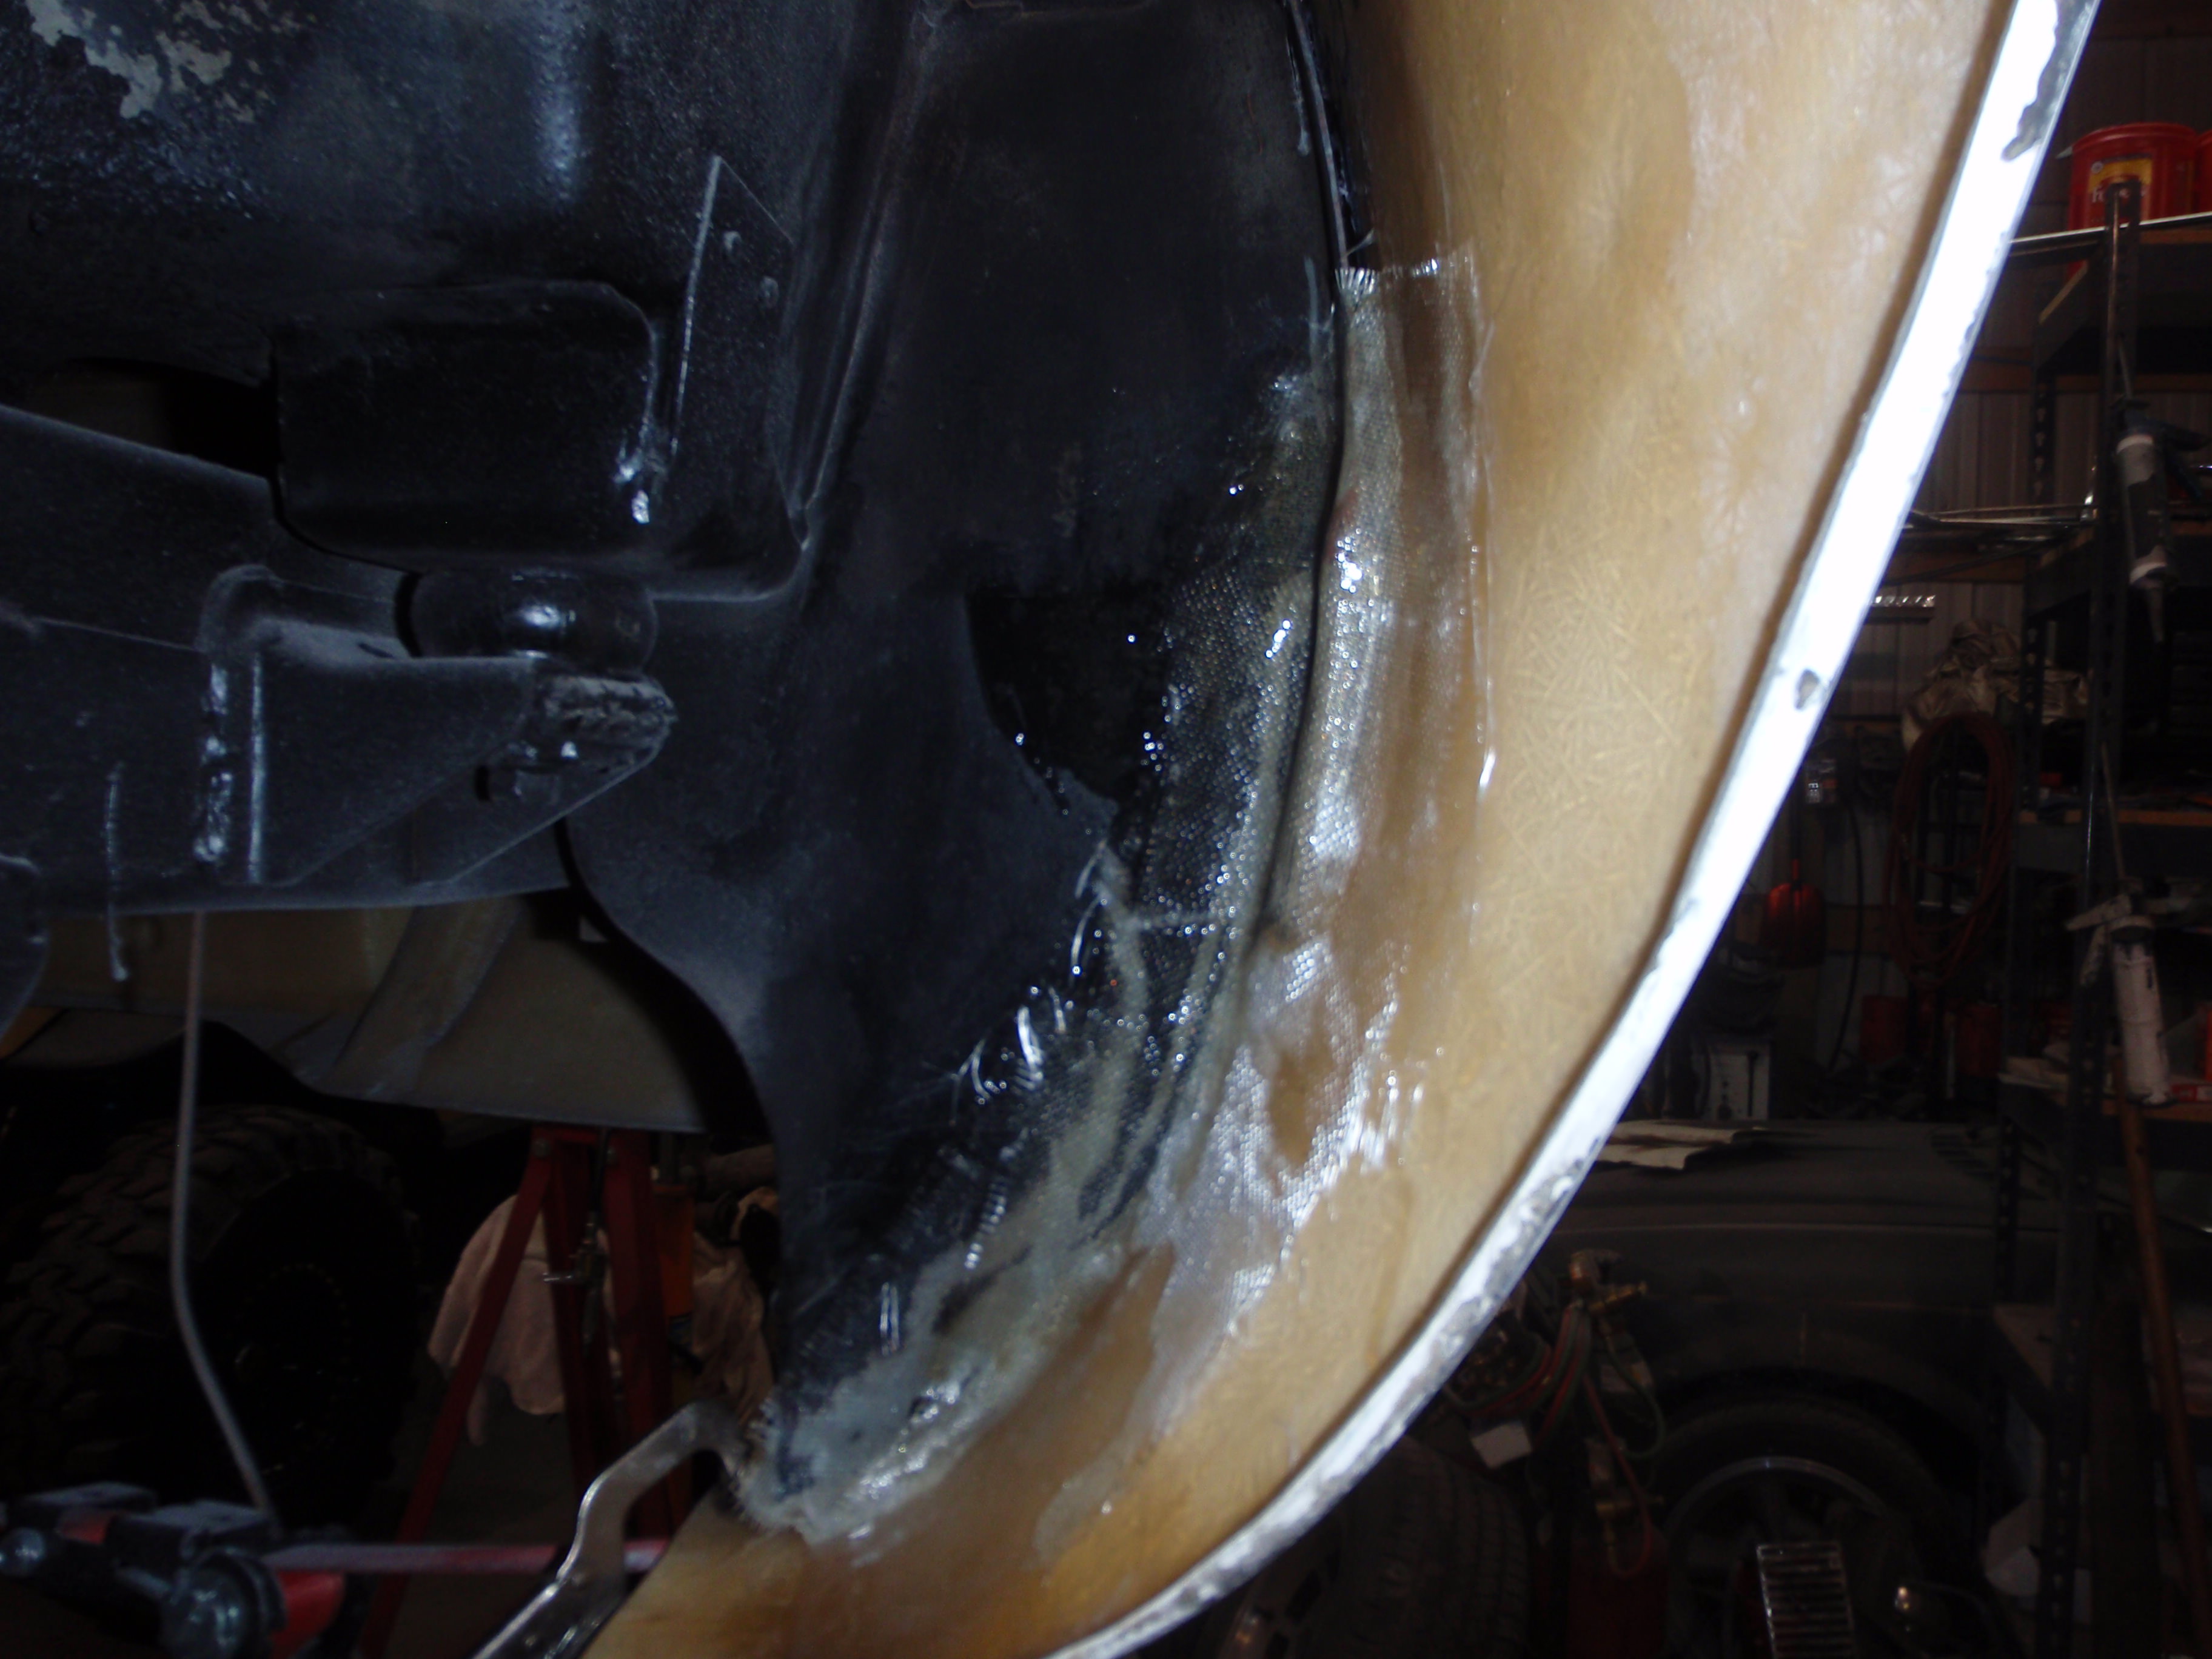
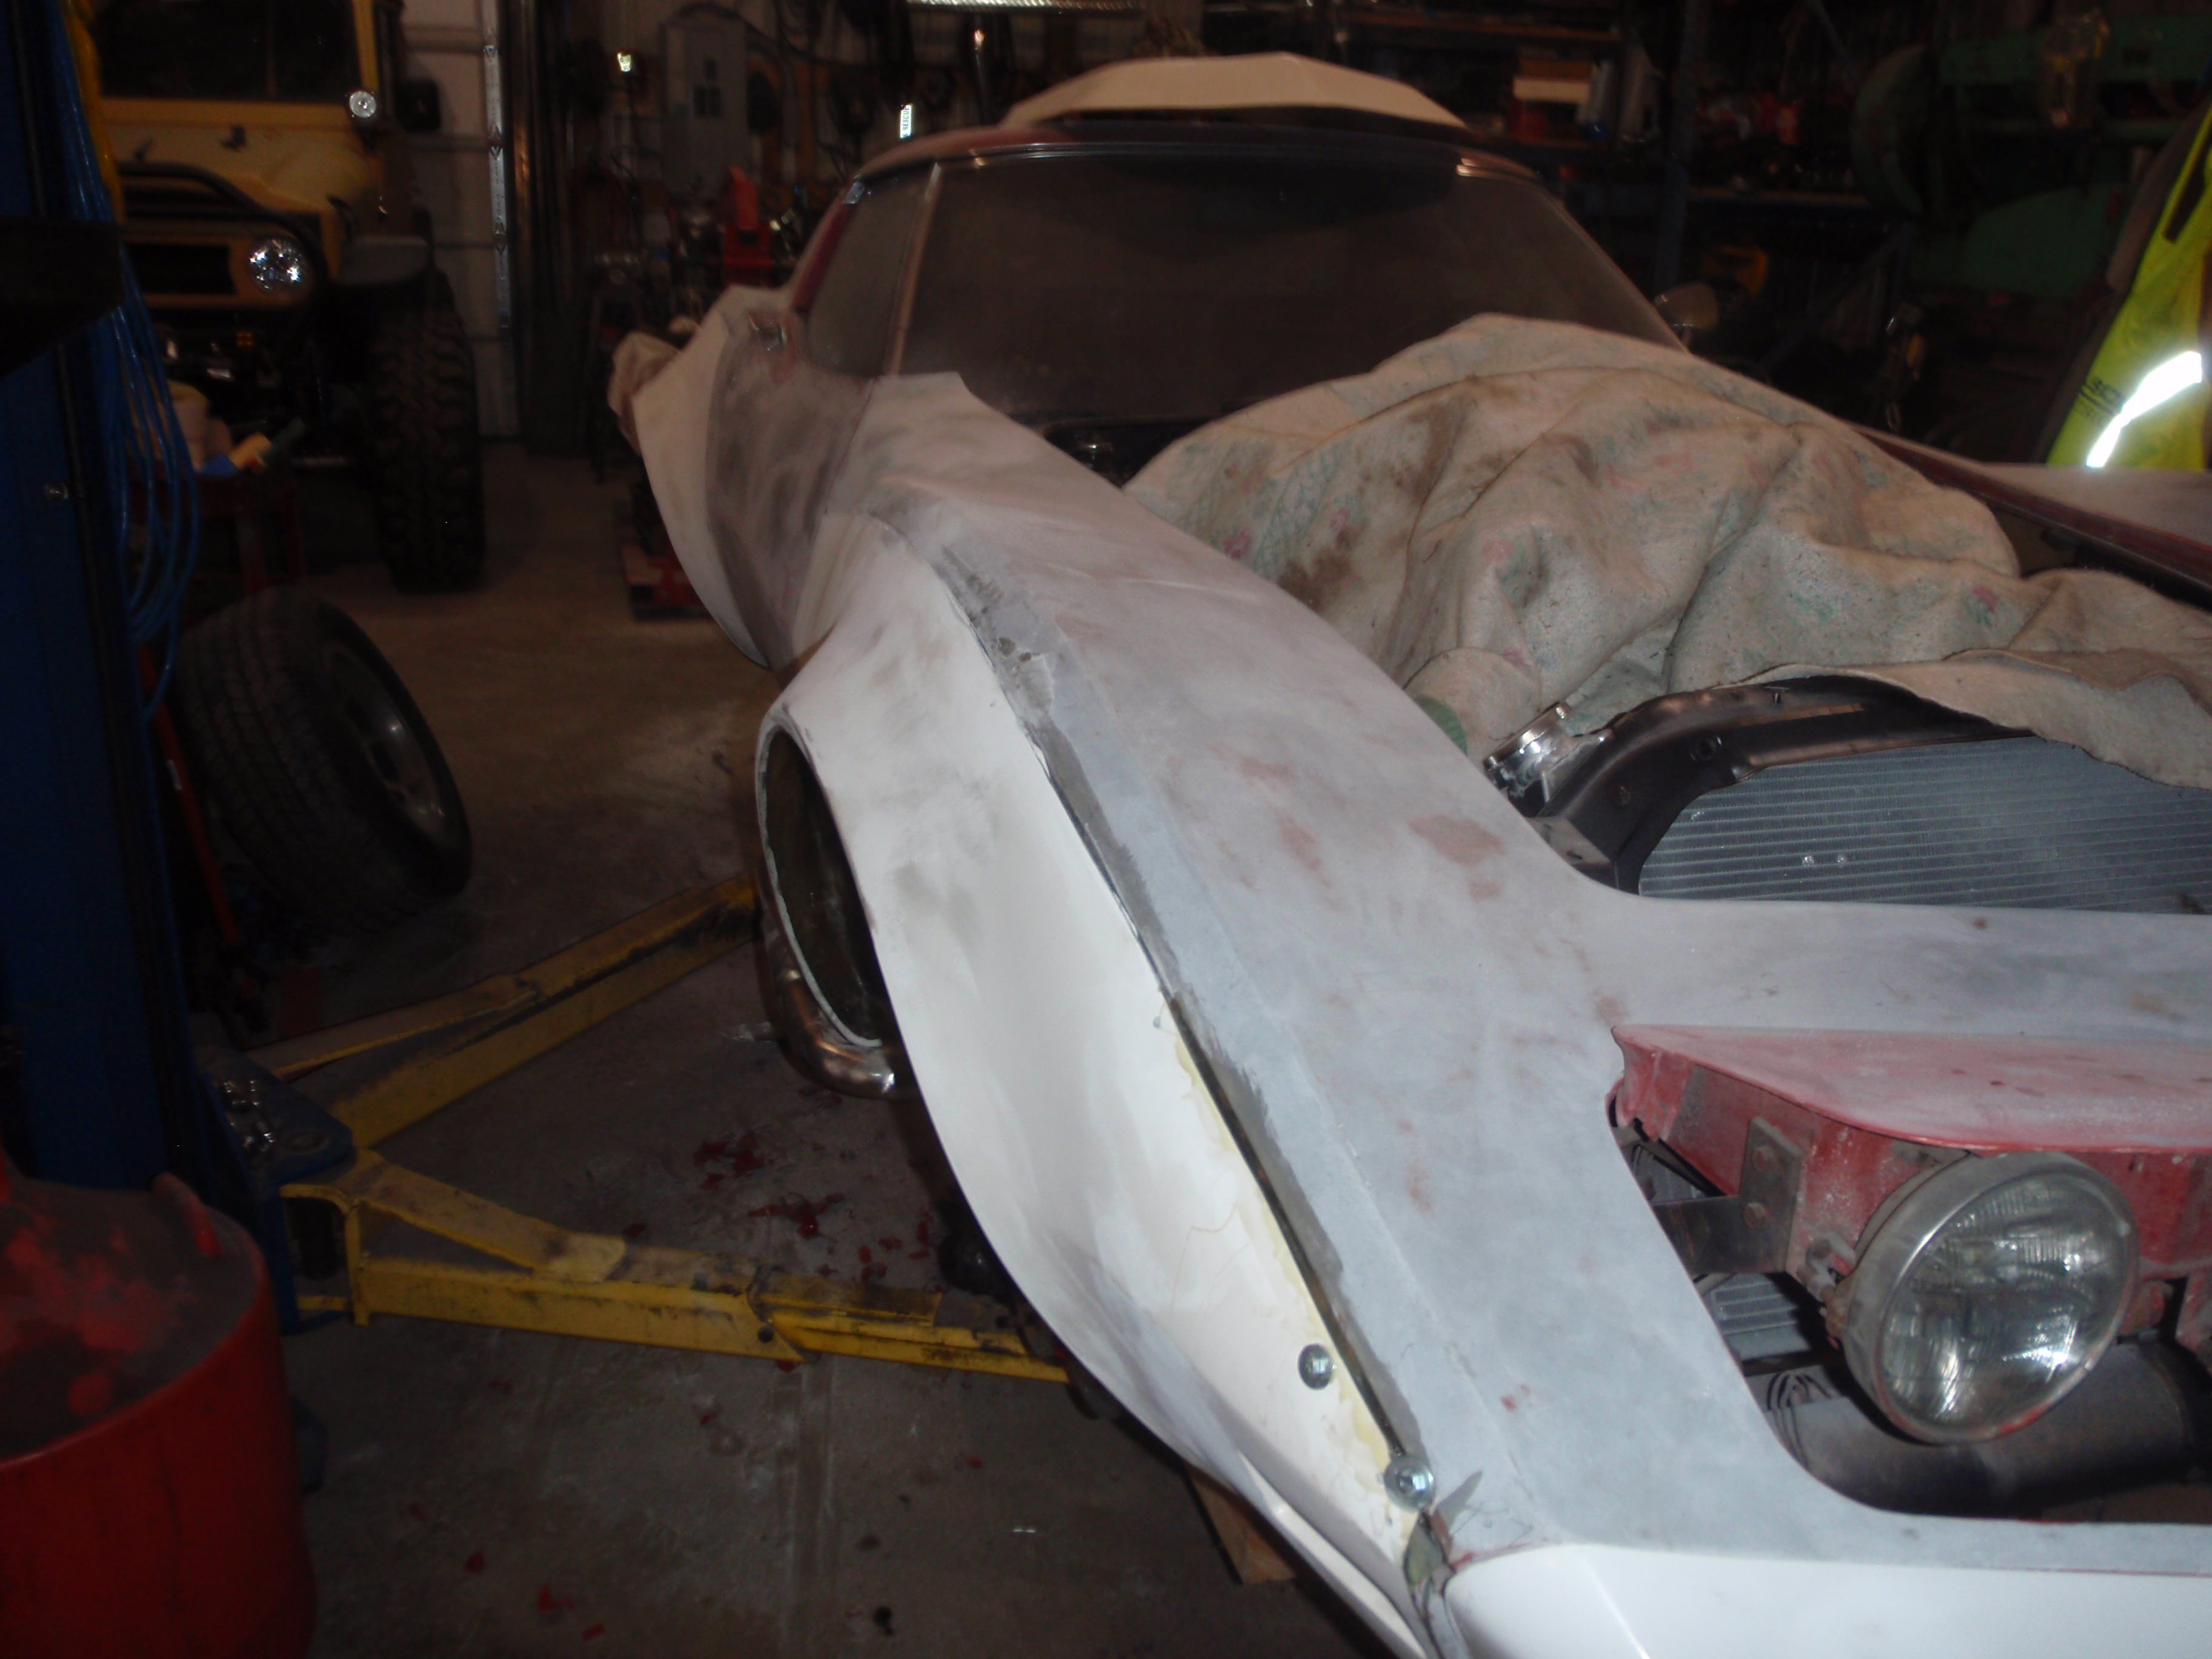
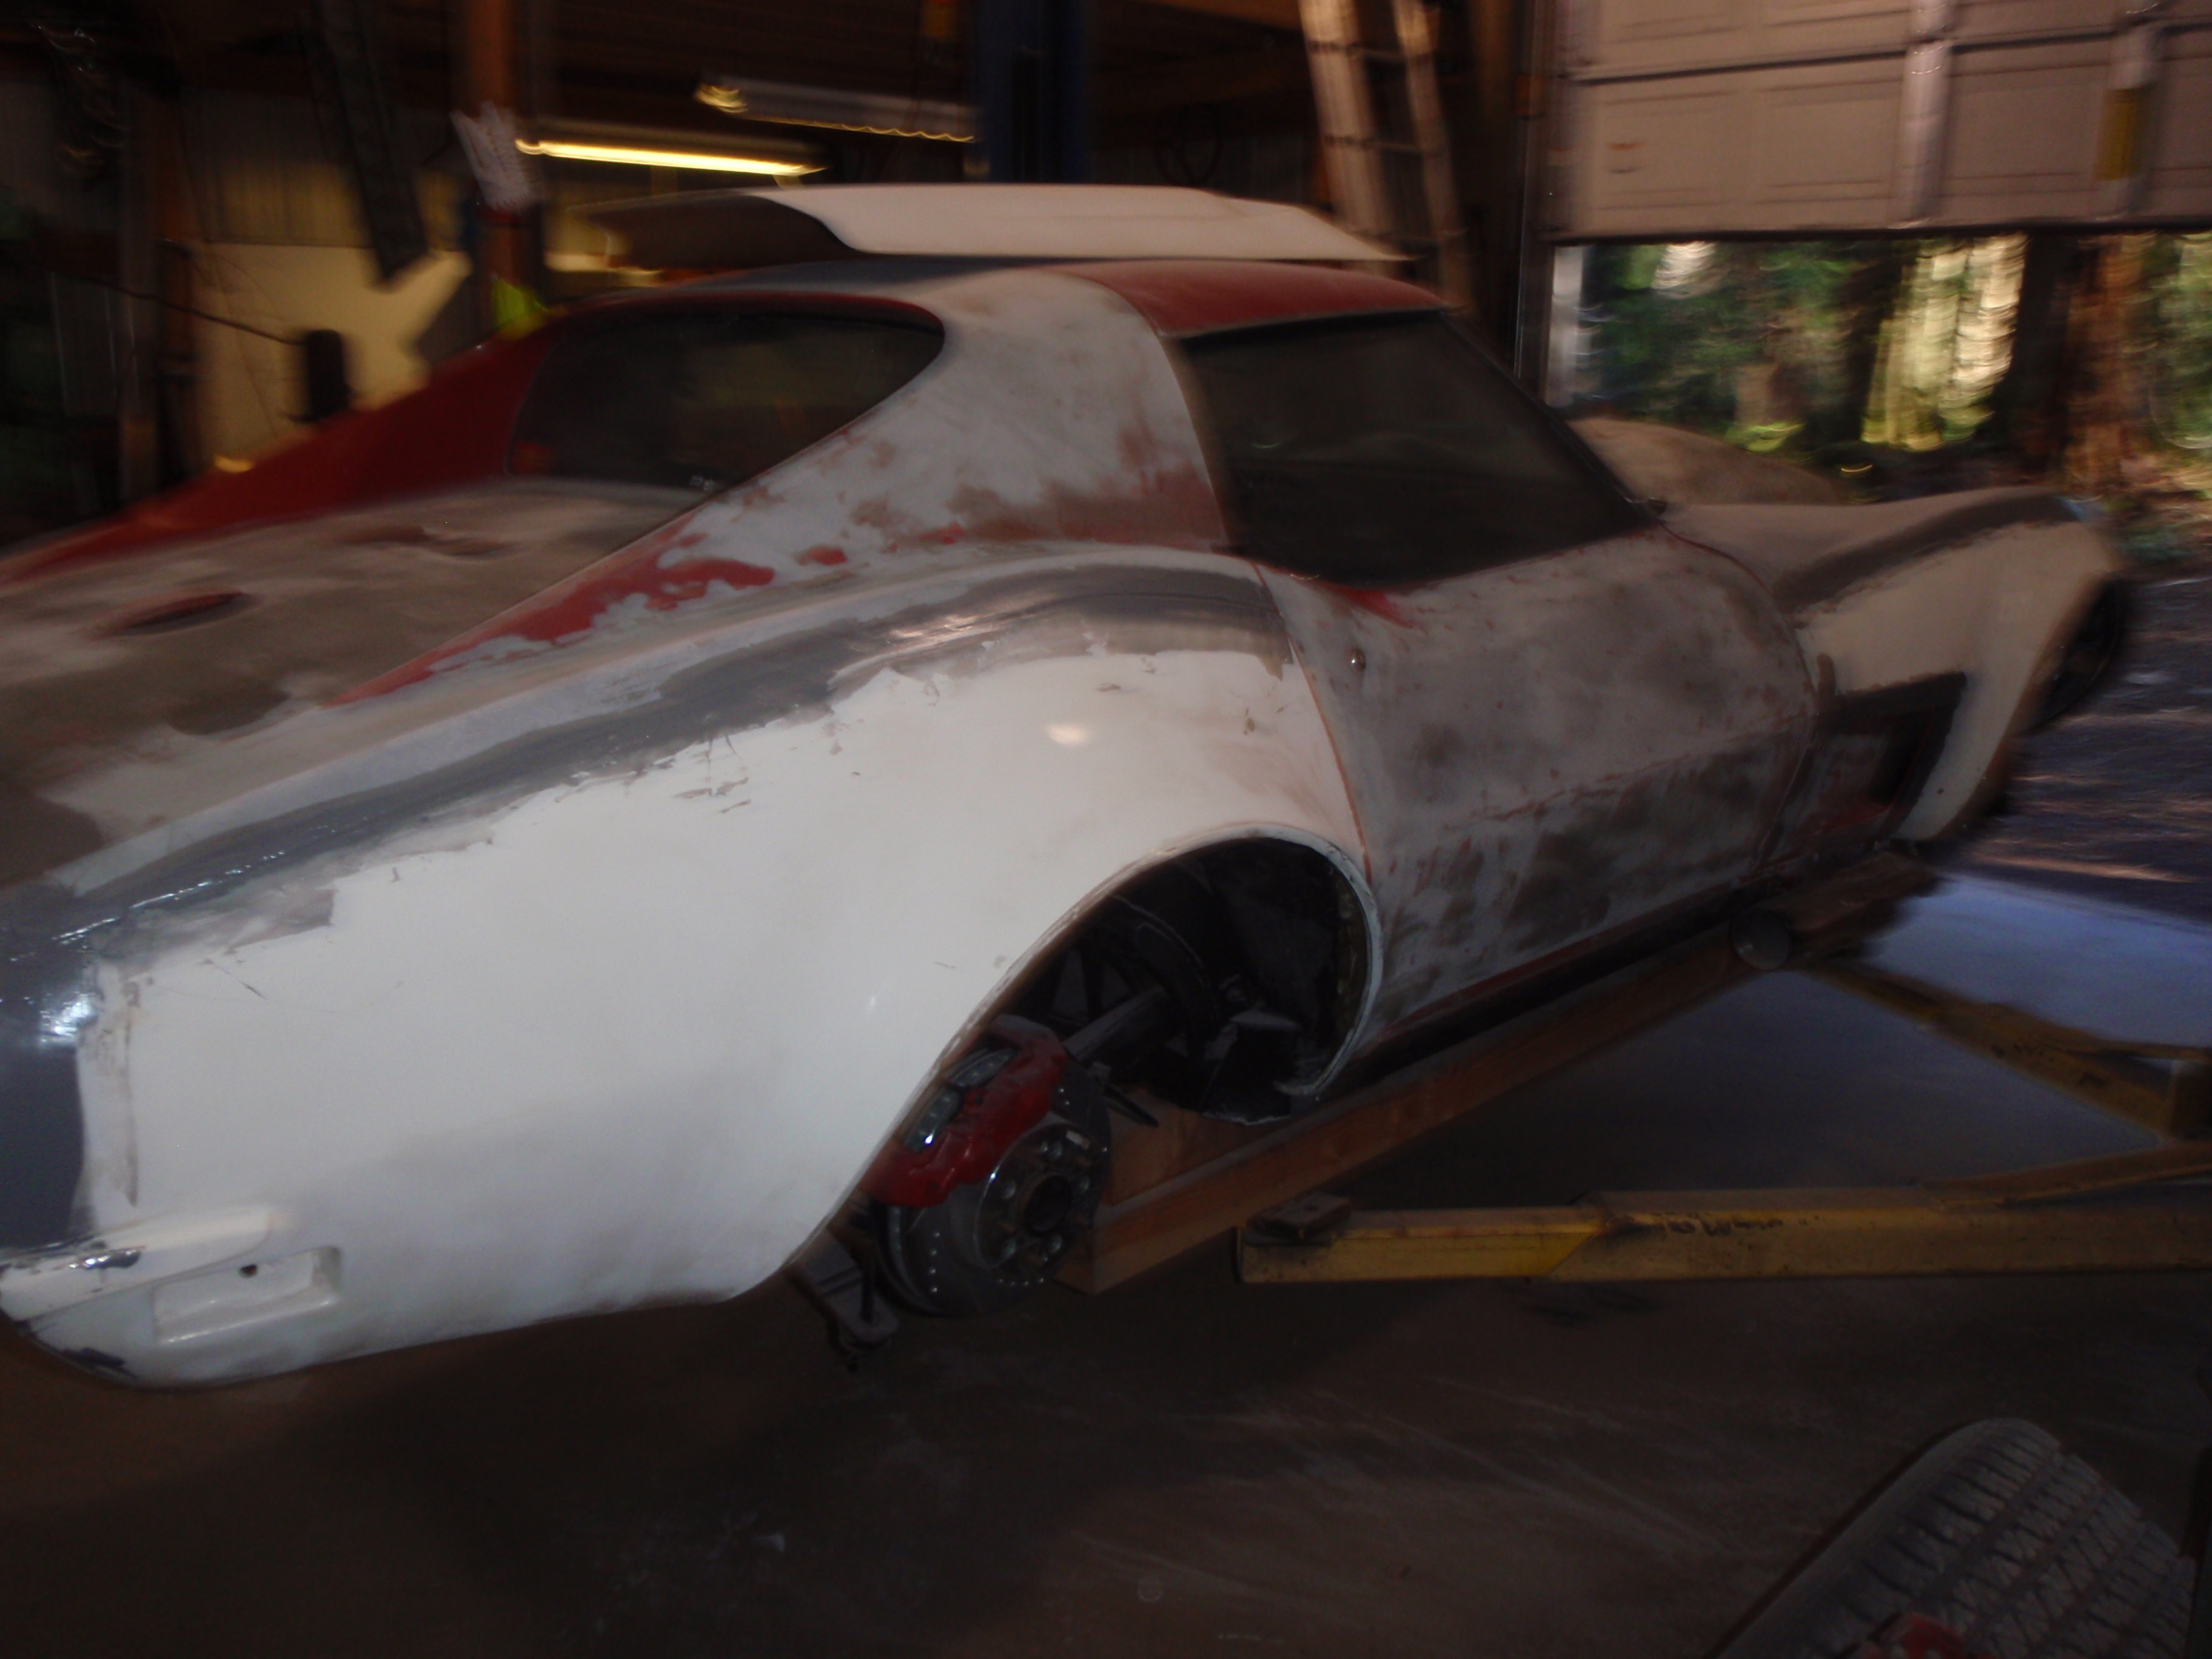
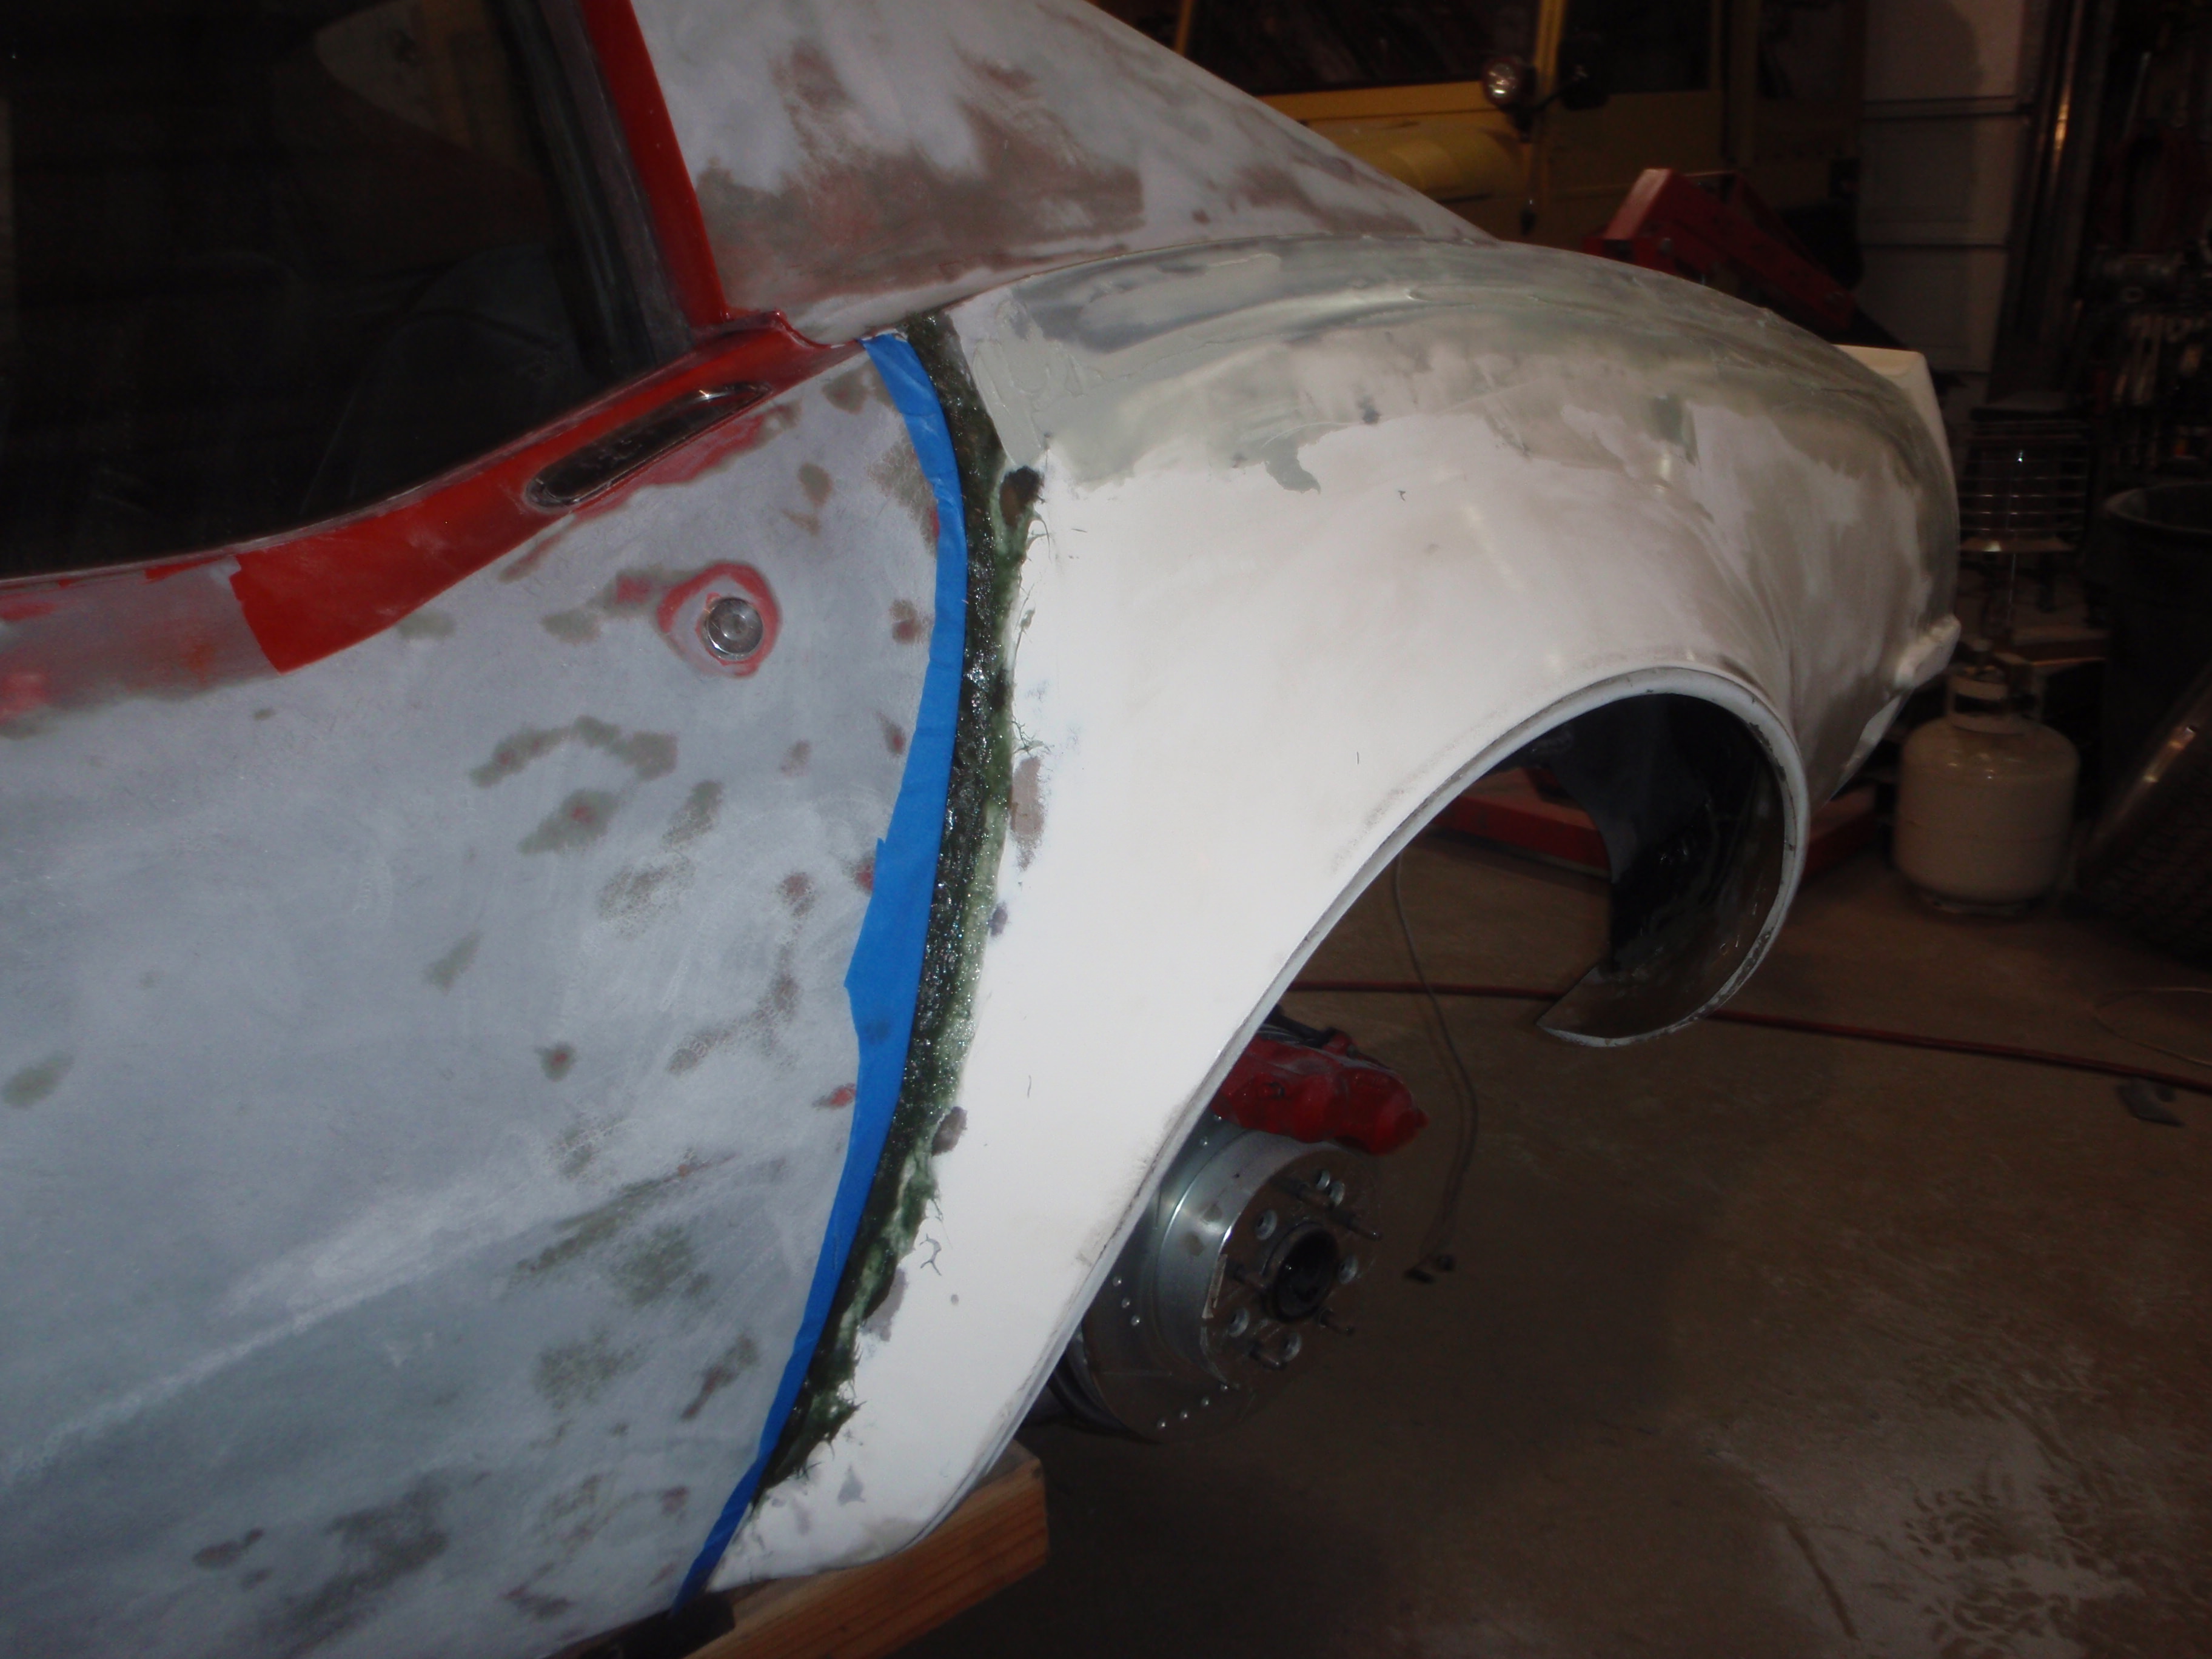
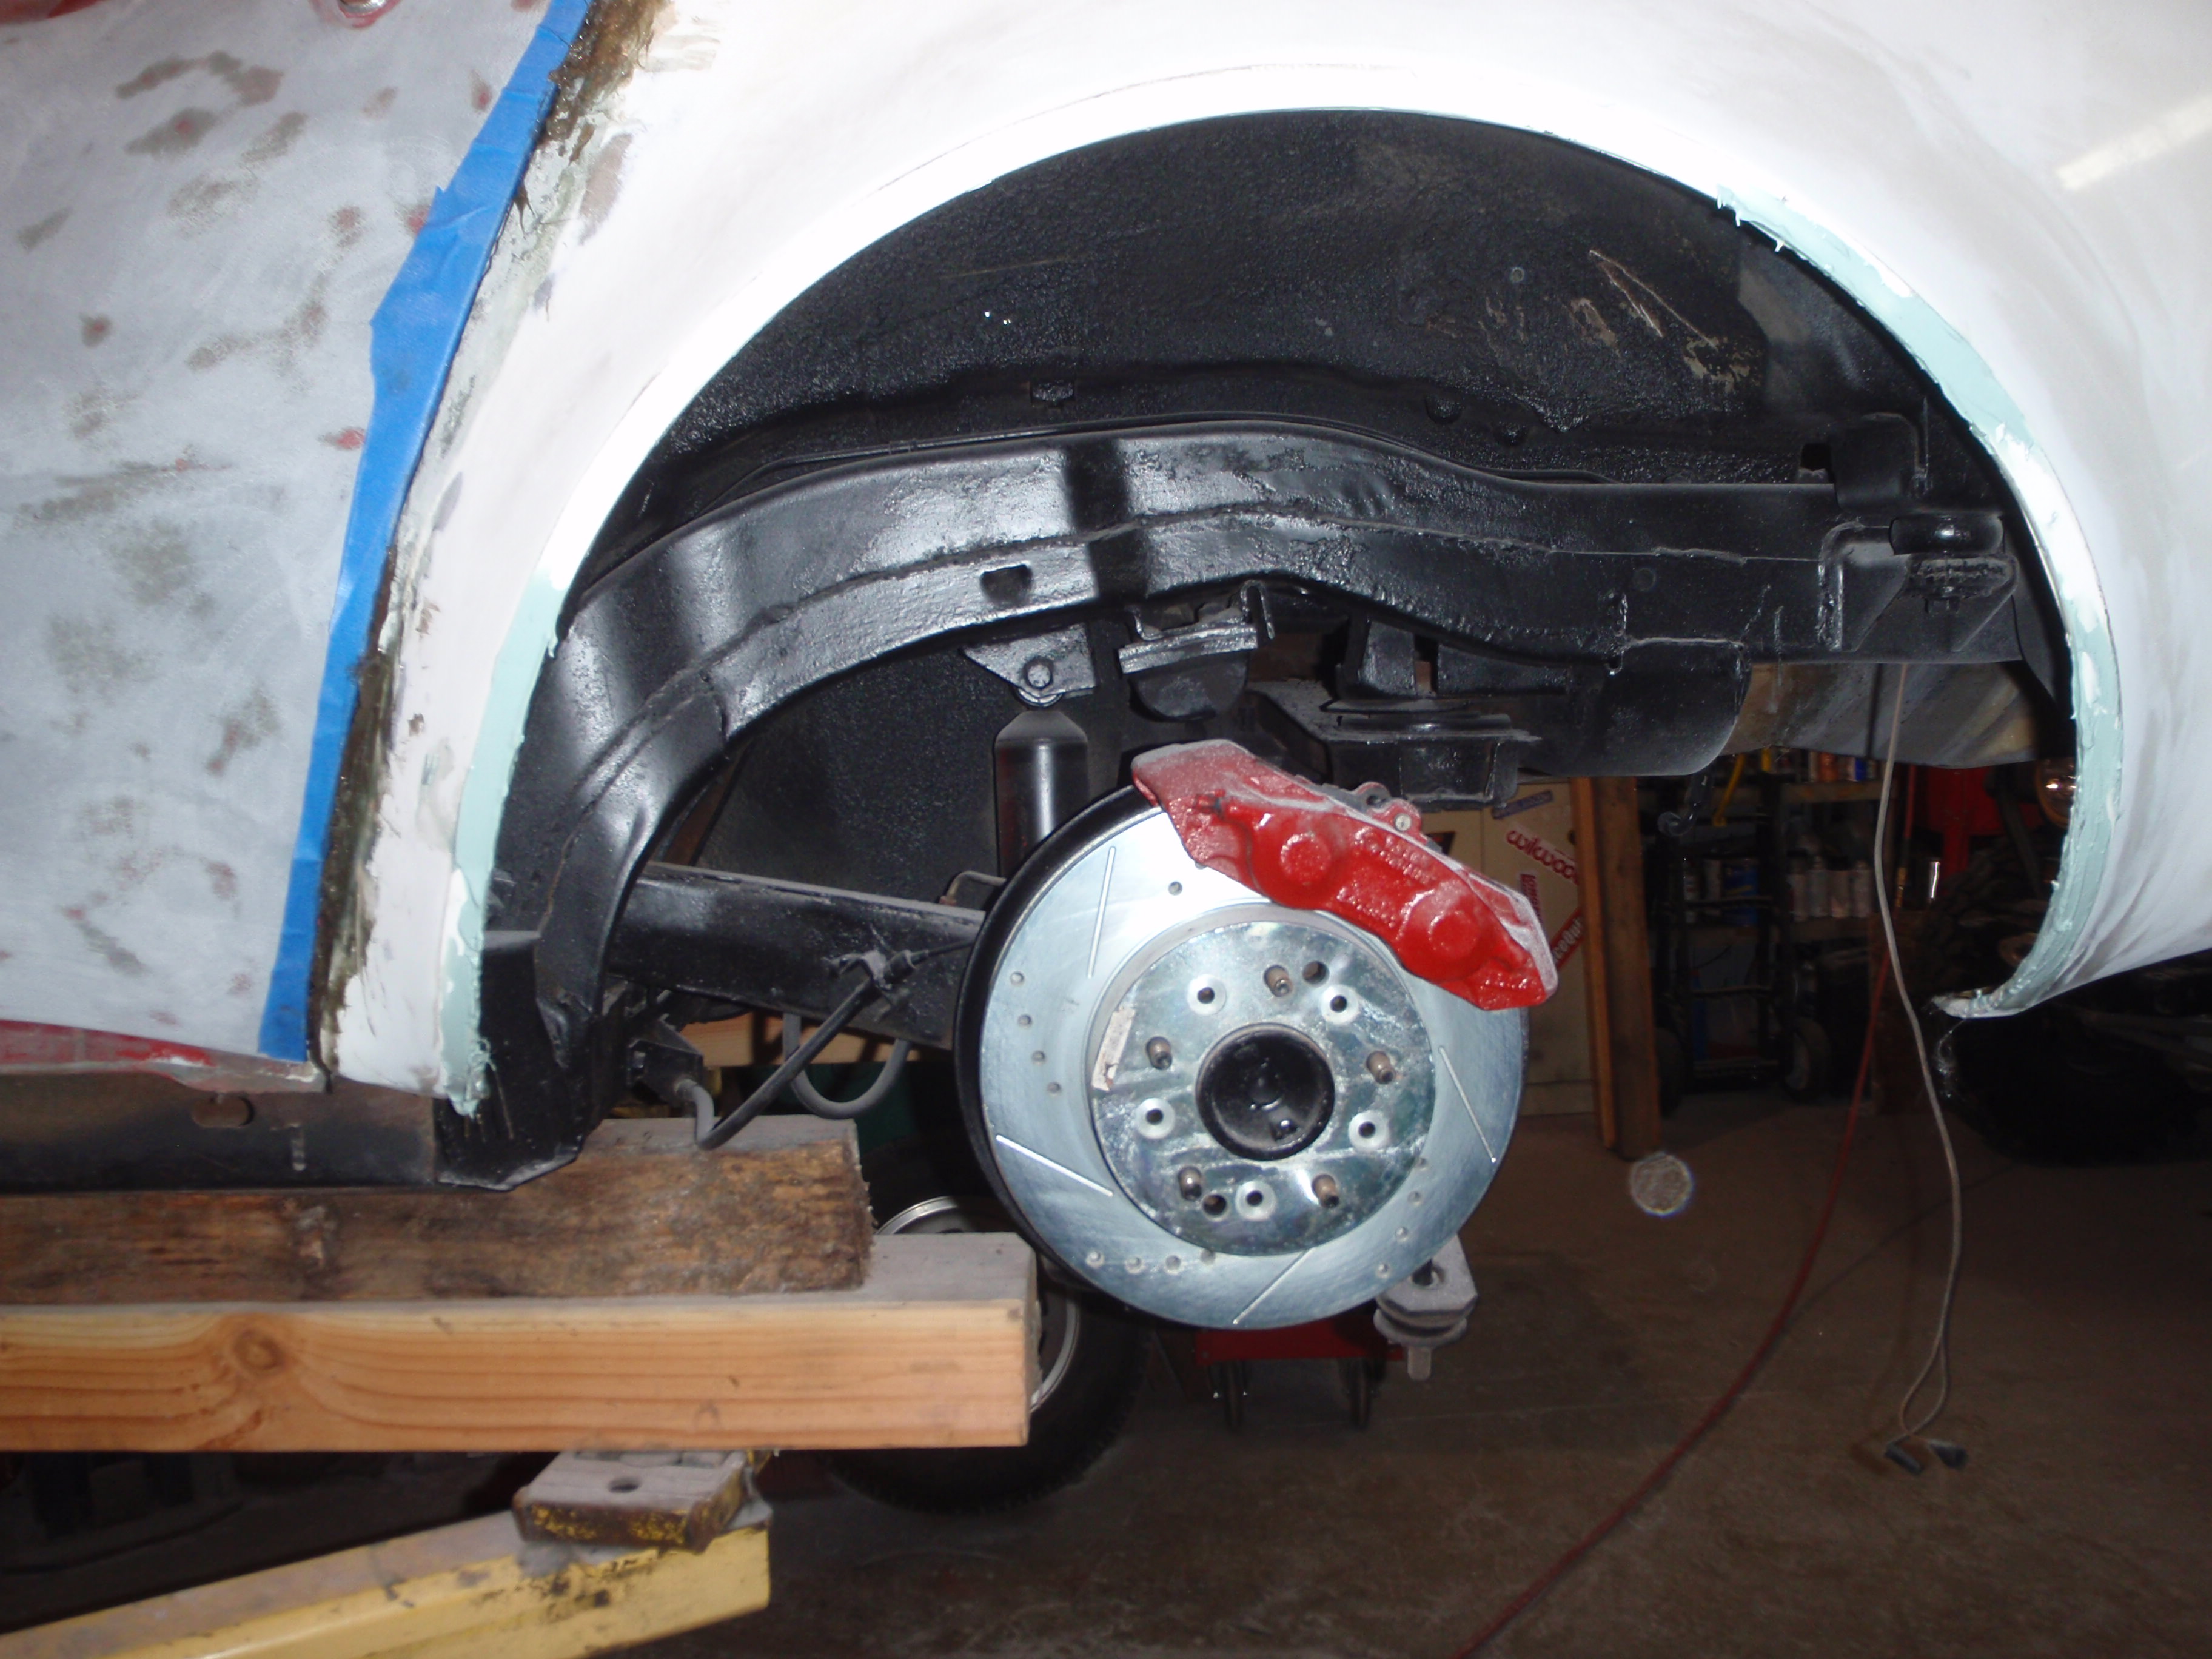
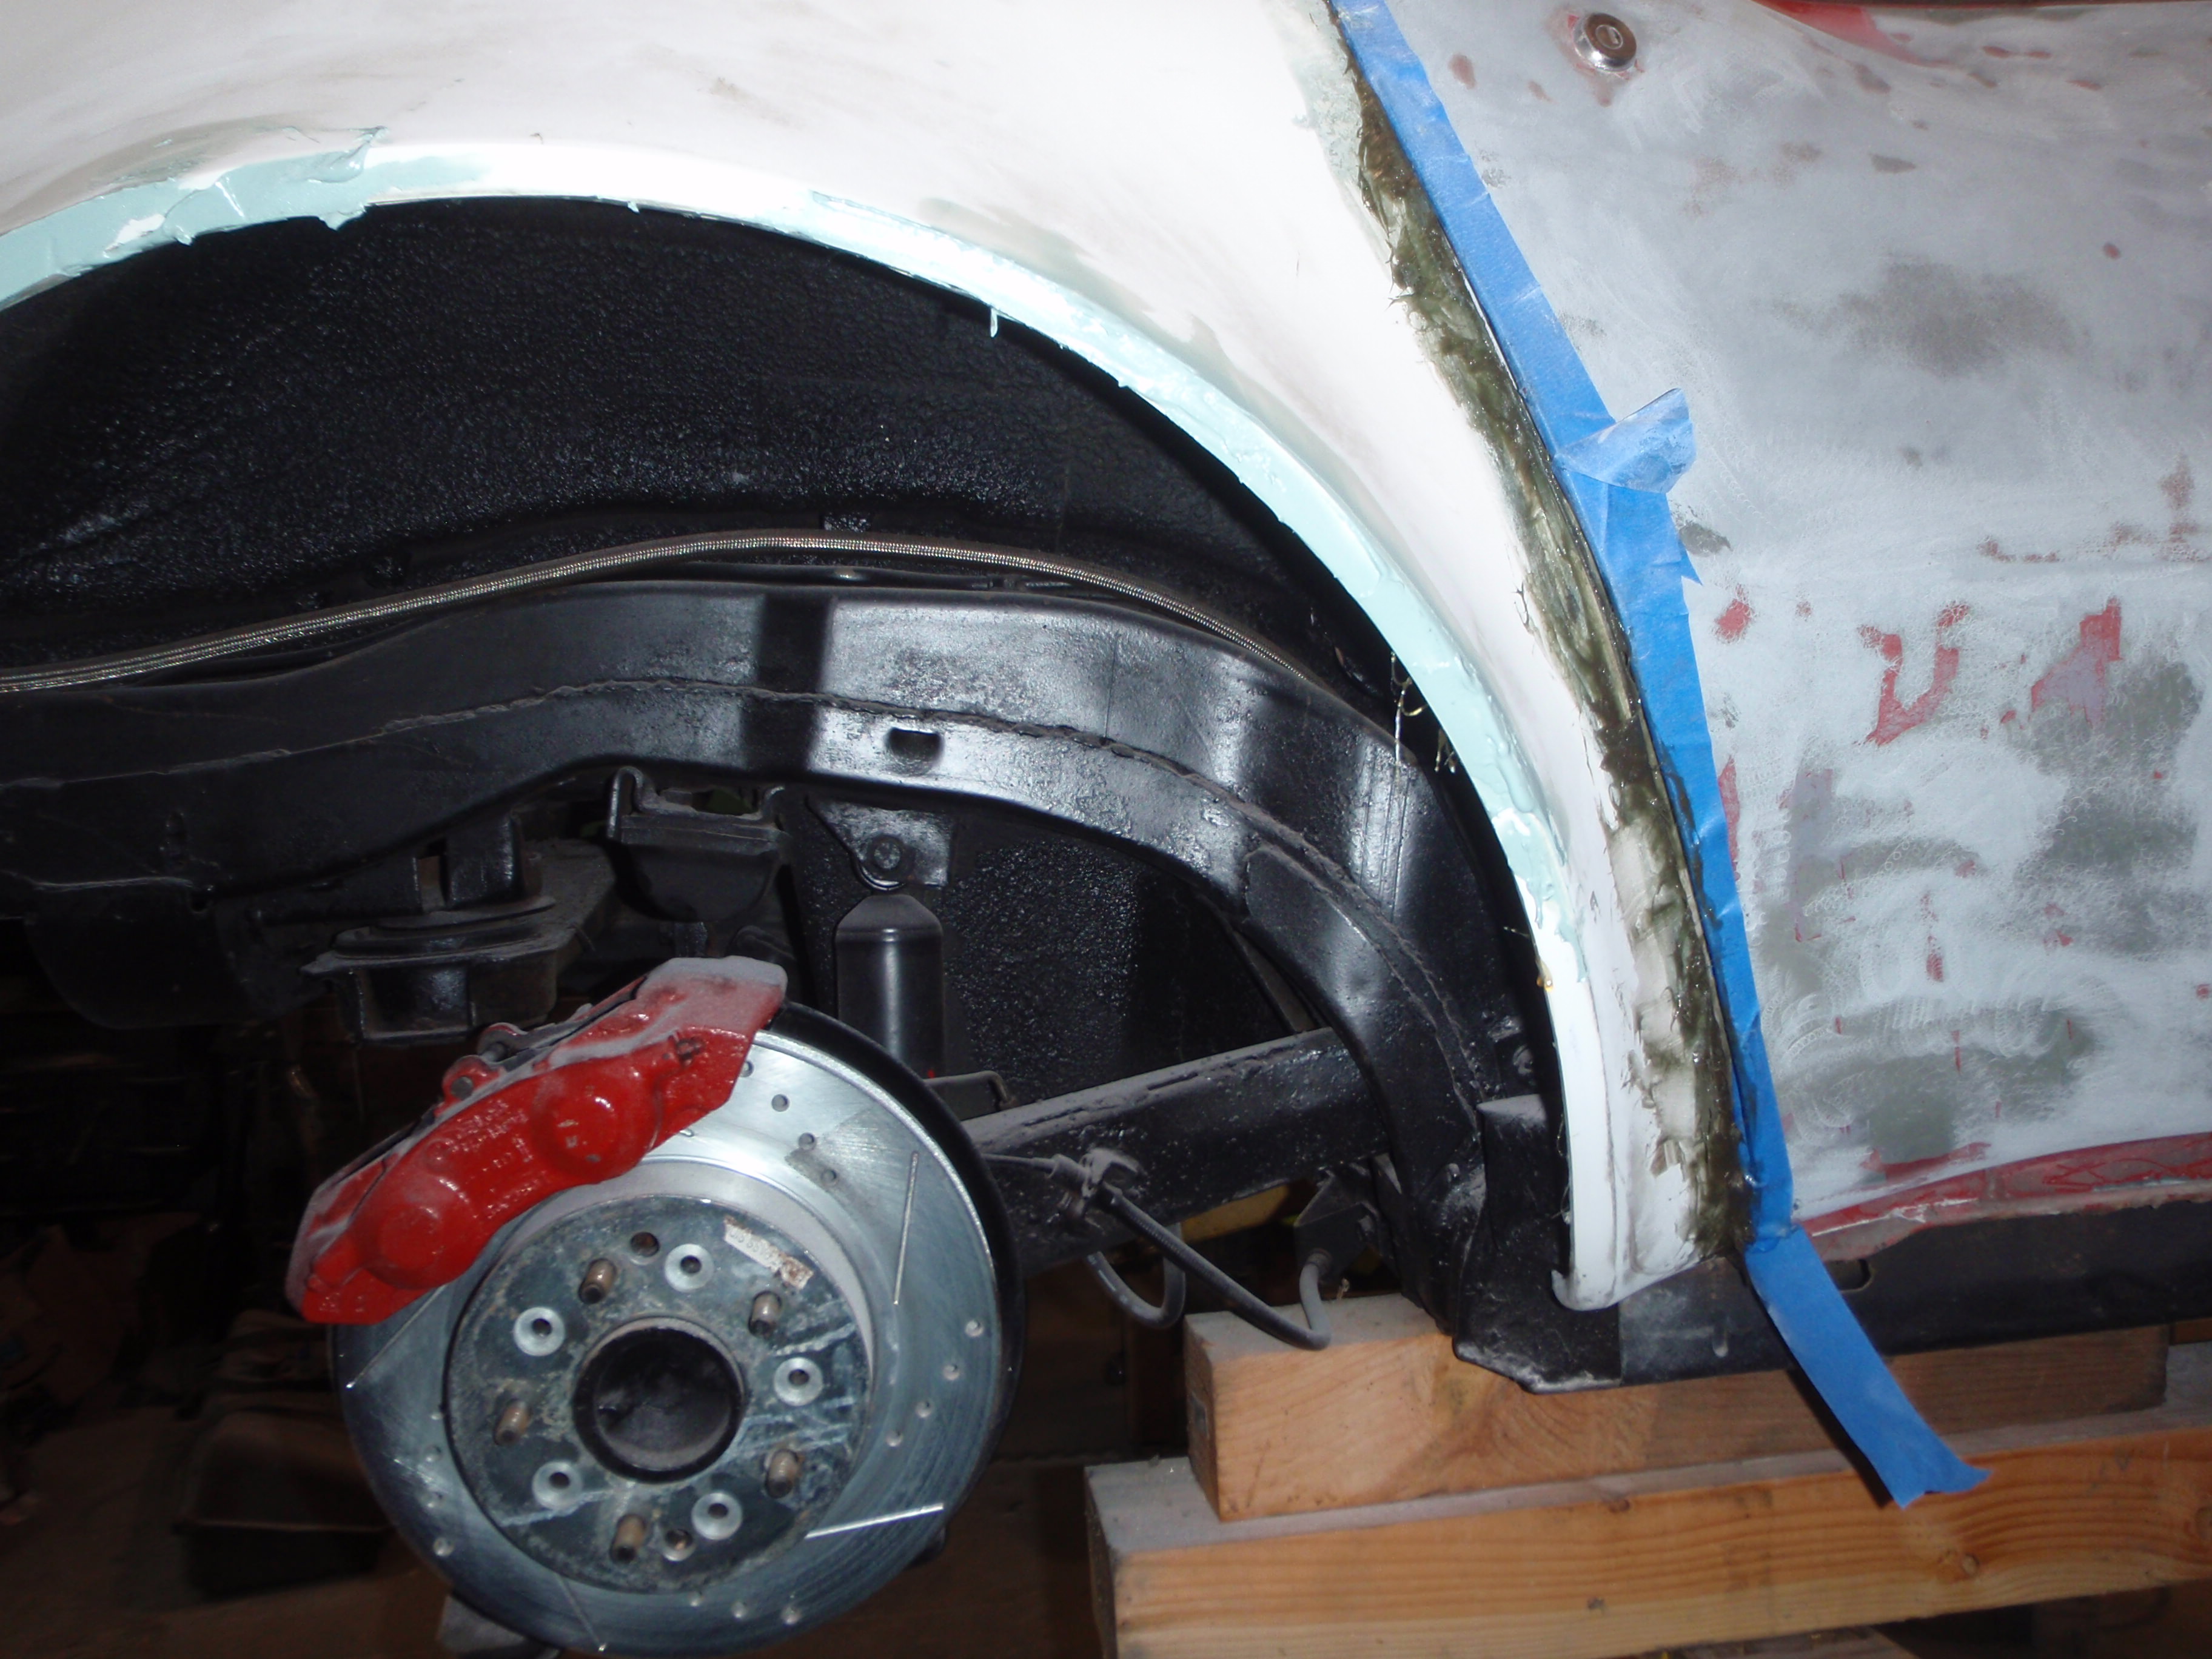
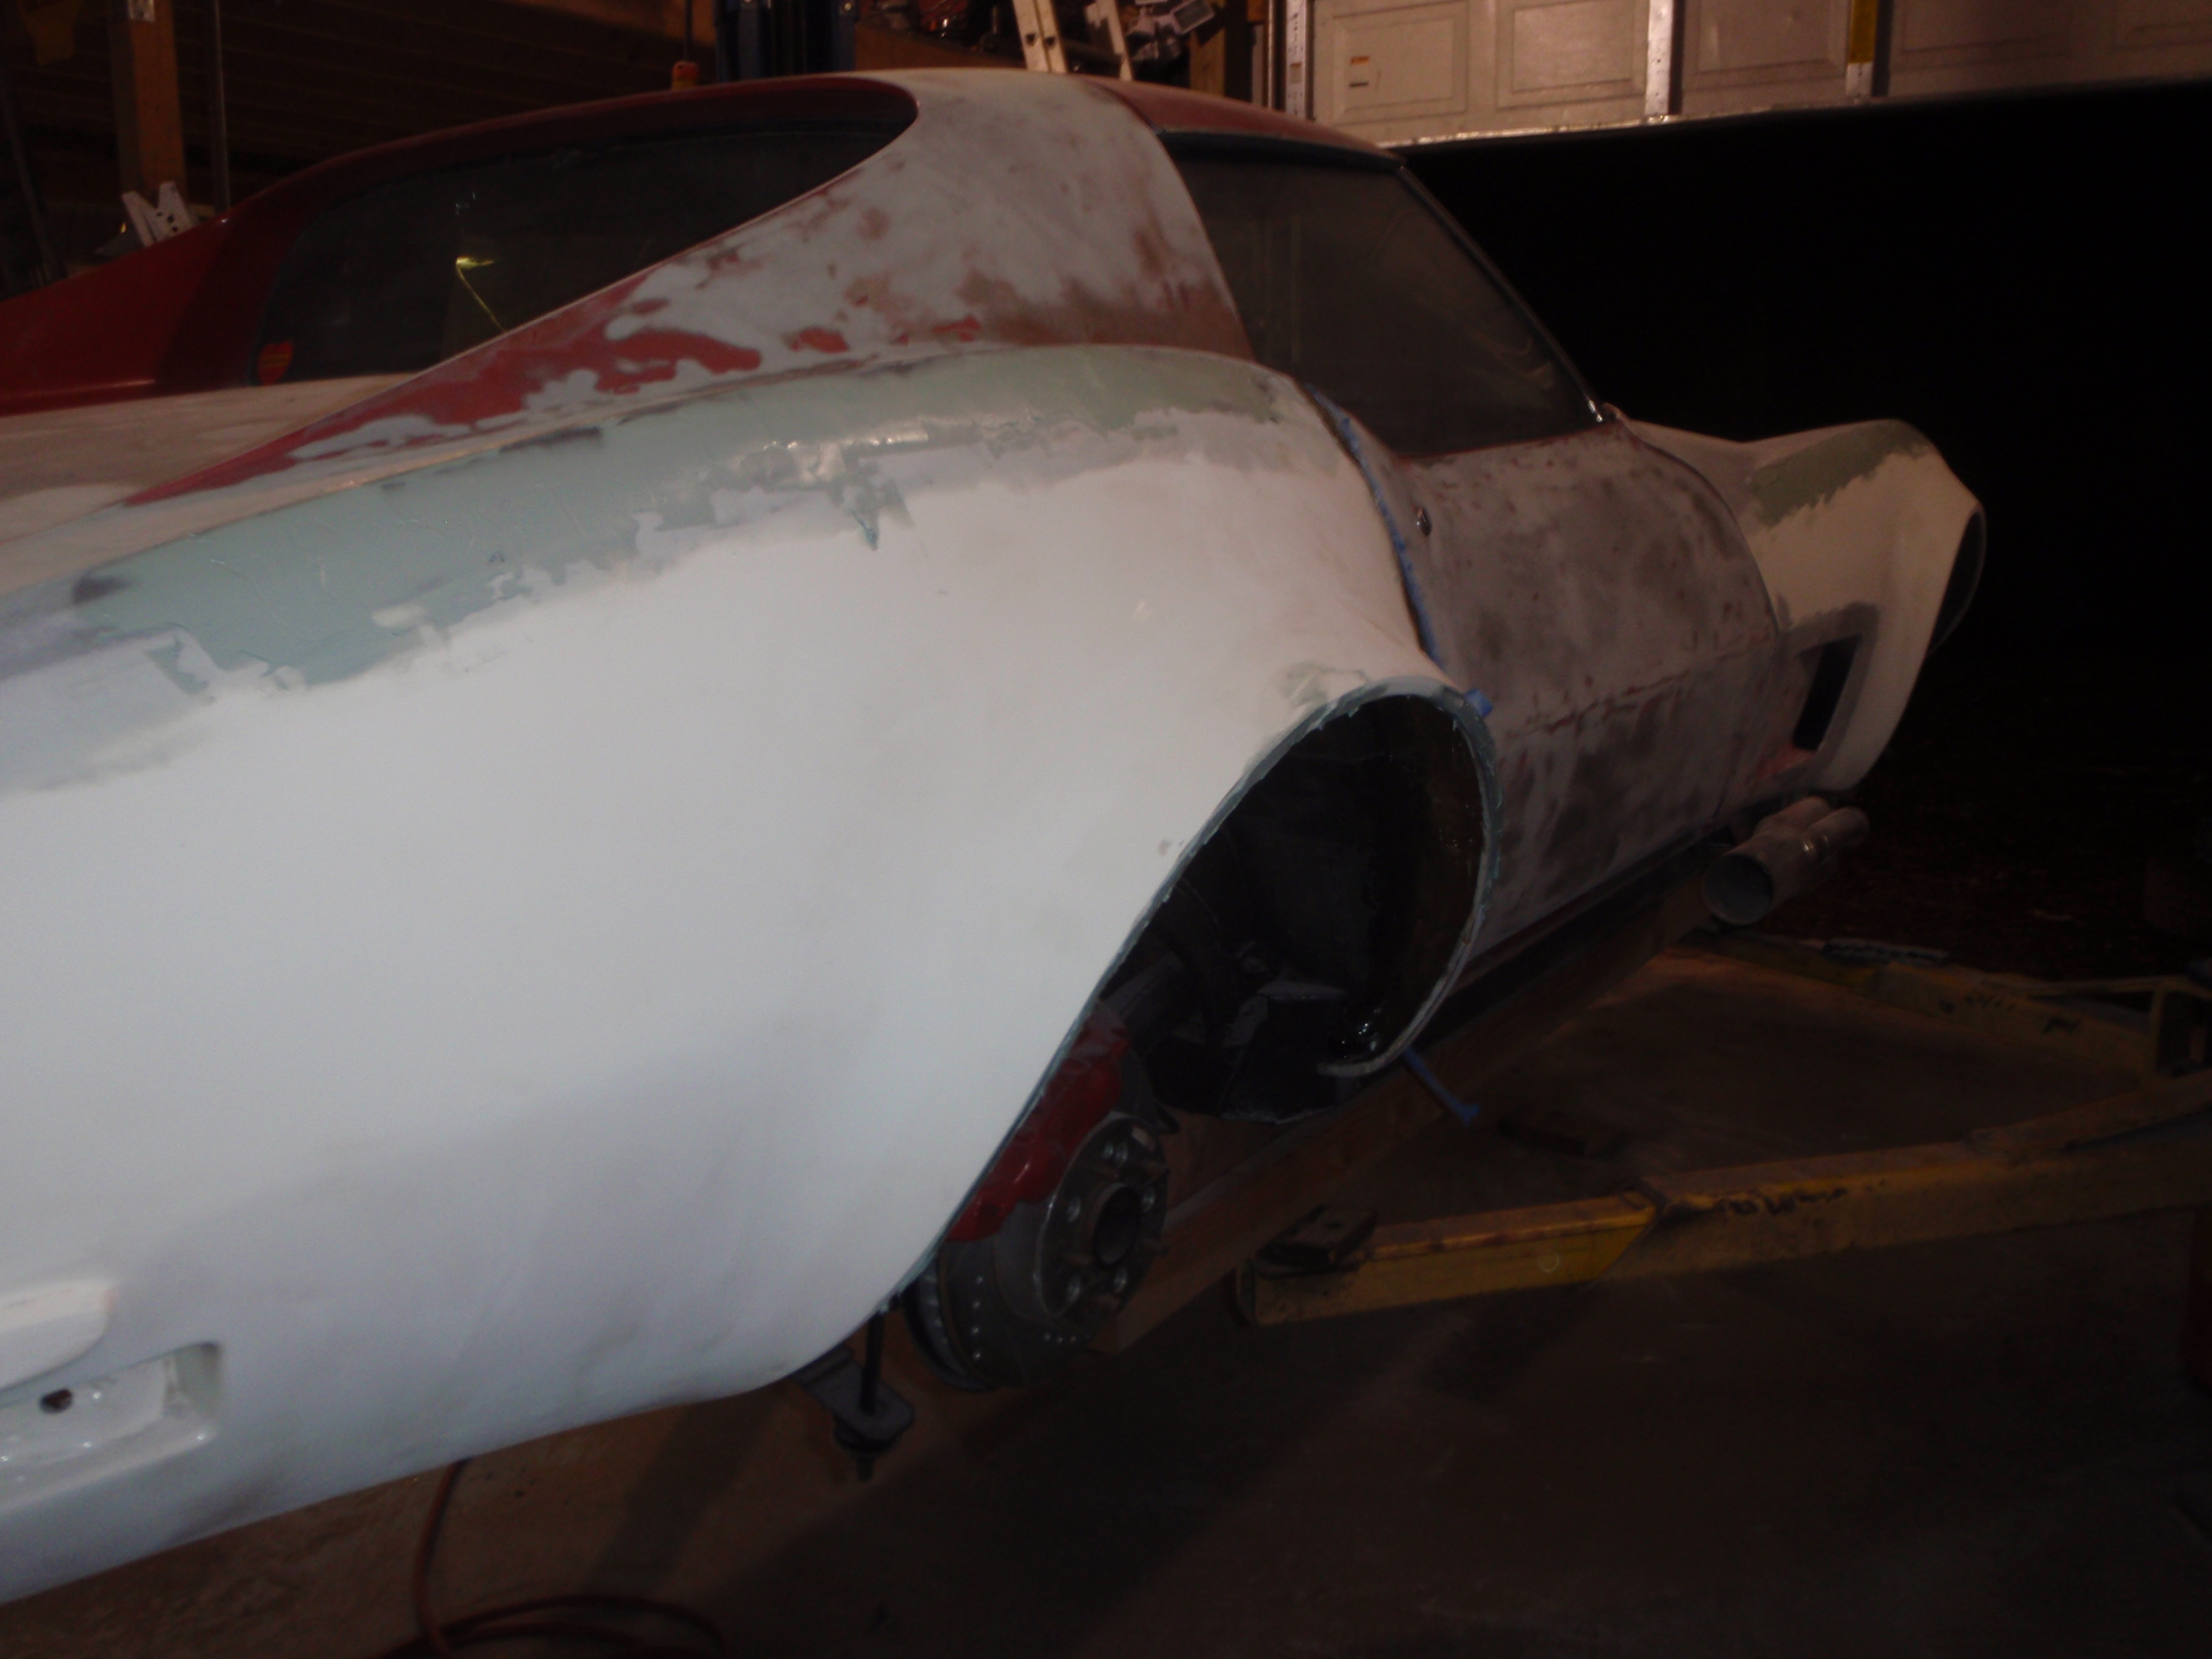
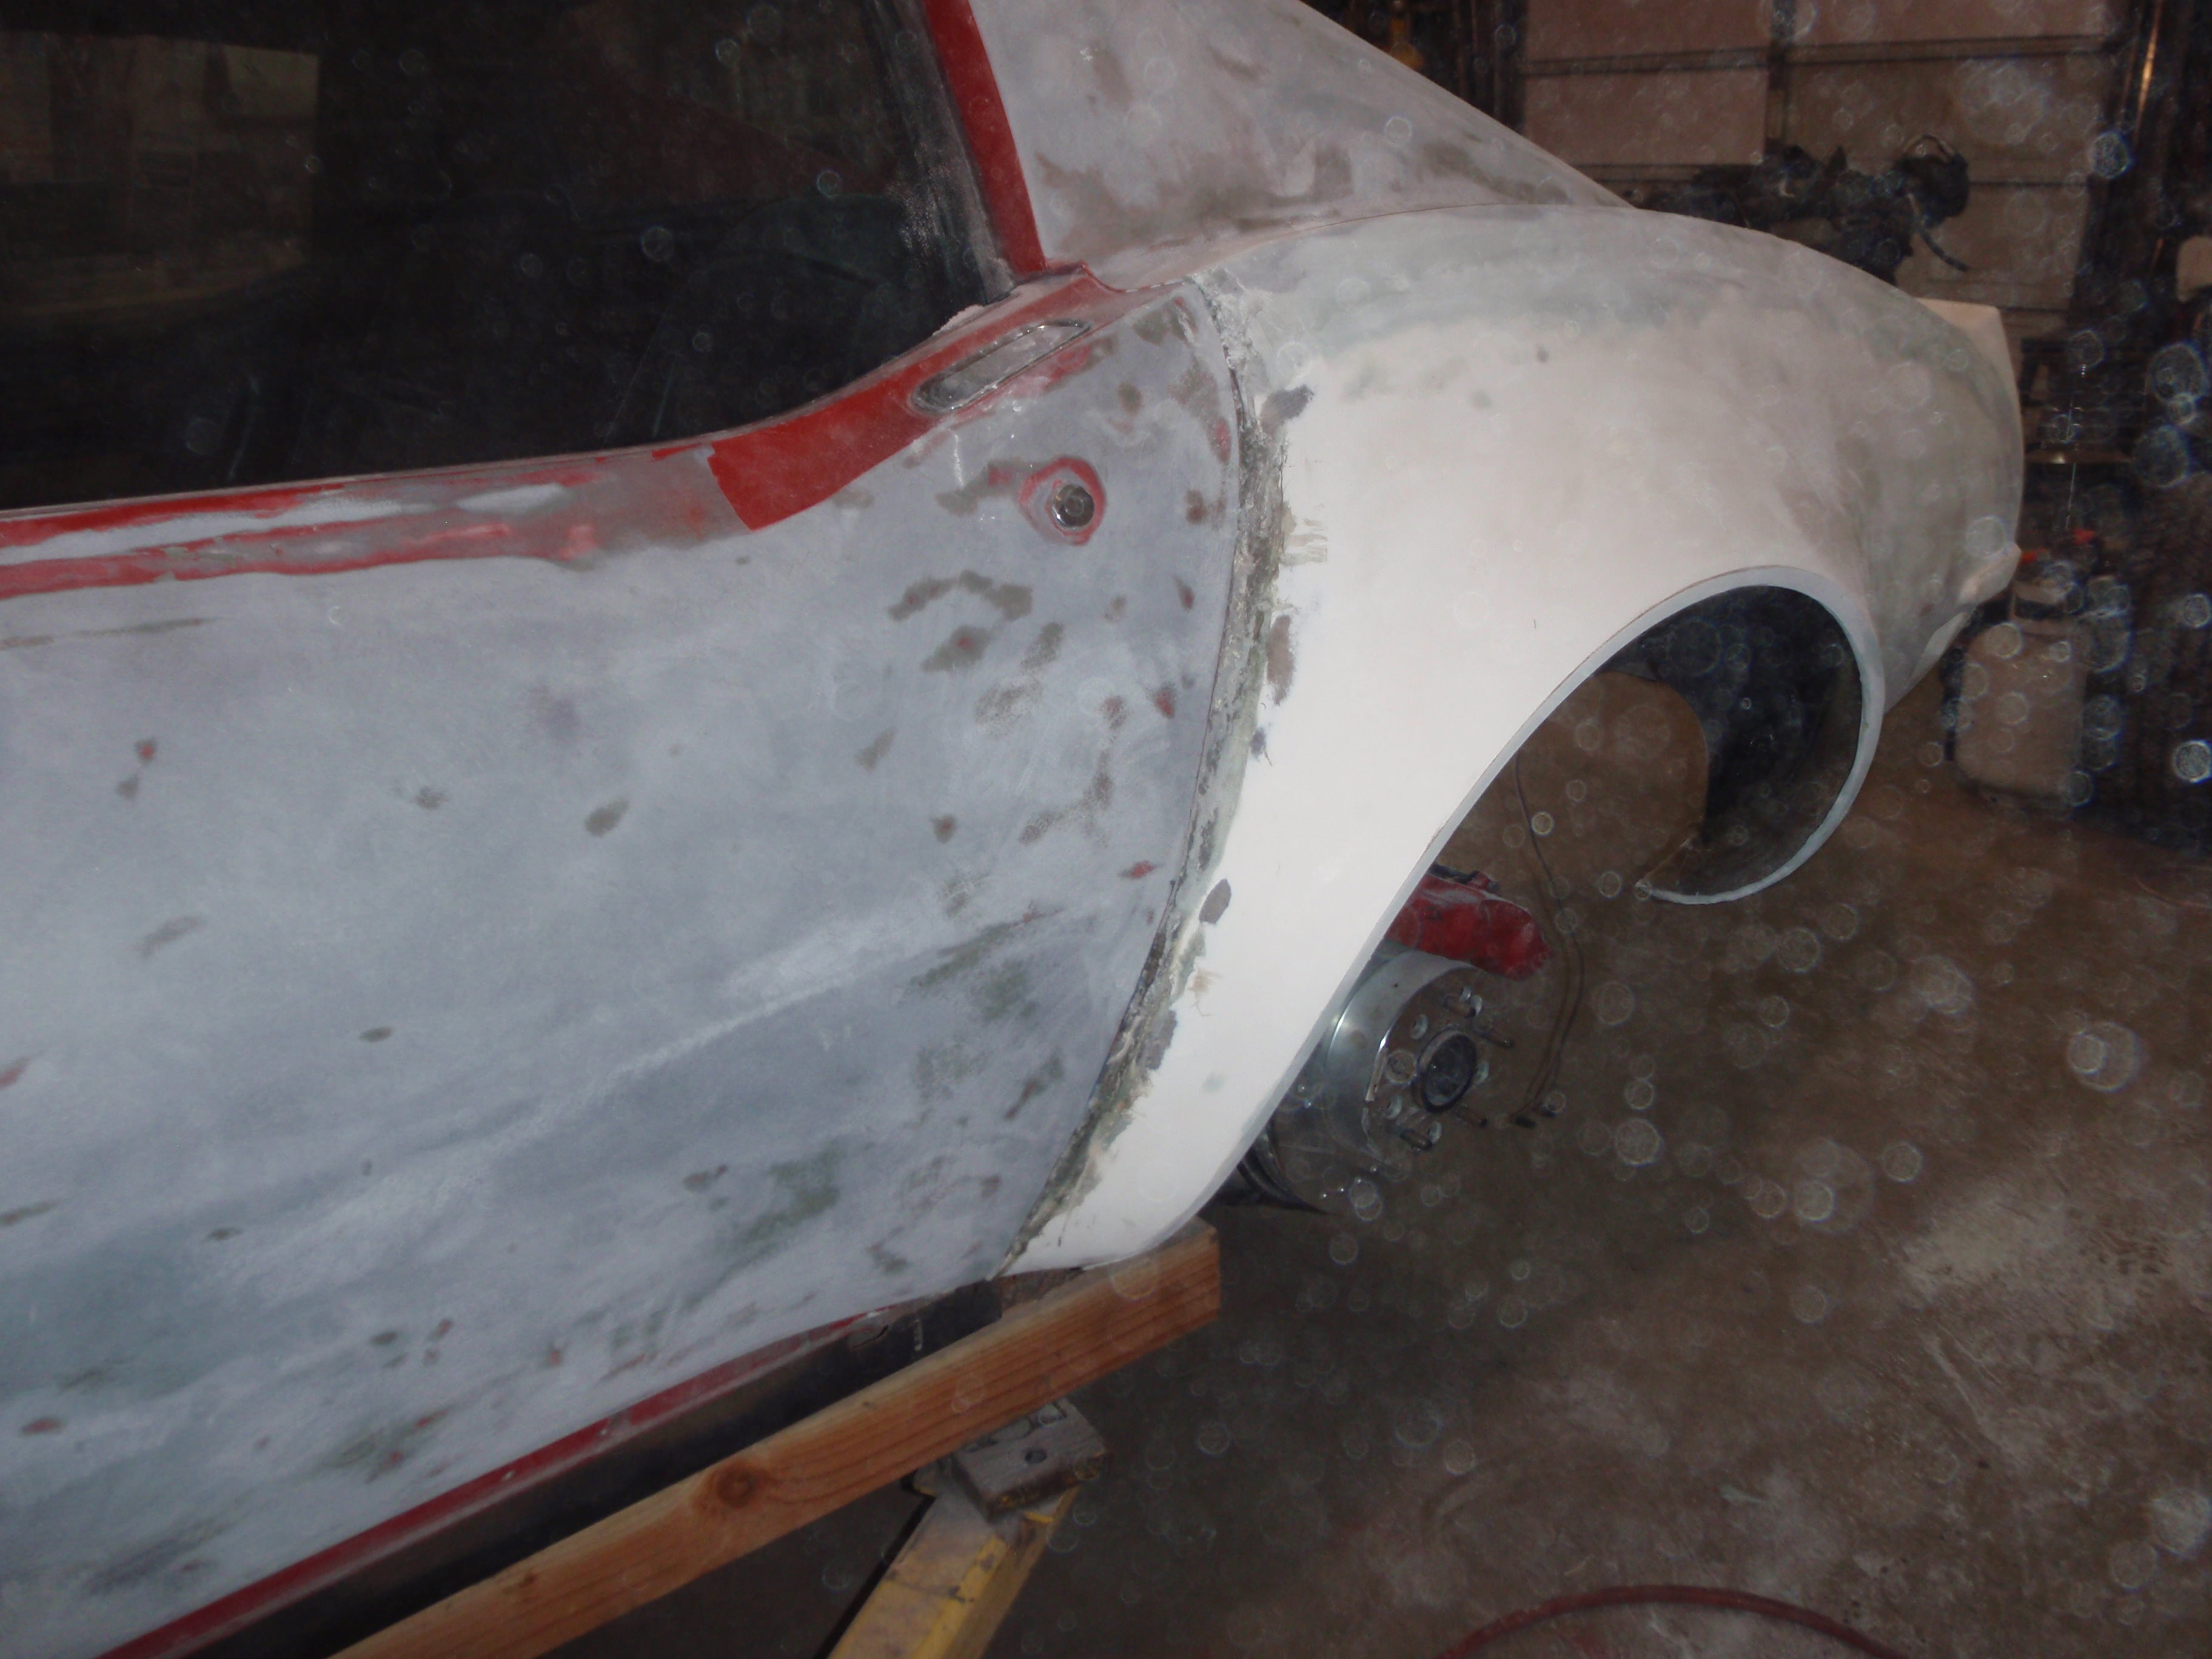
I'm sorry, I'm not letting it go - this particular spot is obscene, why CIC didn't make the panel too long is beyond my comprehension... to be honest, I think the fix will be imbed a dowl then fiberglass over the top of it.edited The biggest problem is the wheel well isn't in the same place on either side. On this side, it's too far forward. Again, this is 'normal' in my opinion for fiberglass work - but again, when you spend nearly 2000 for flares, you expect at least a certain level of quality. These failed.They said that it's 'better' now... caveat emptor.
and the wheel opening is lower on the panel - which this is my mistake, I presumed that it would be a mirror of each other and I used the old fender to rough in where the cuts needed to be... stupid me.
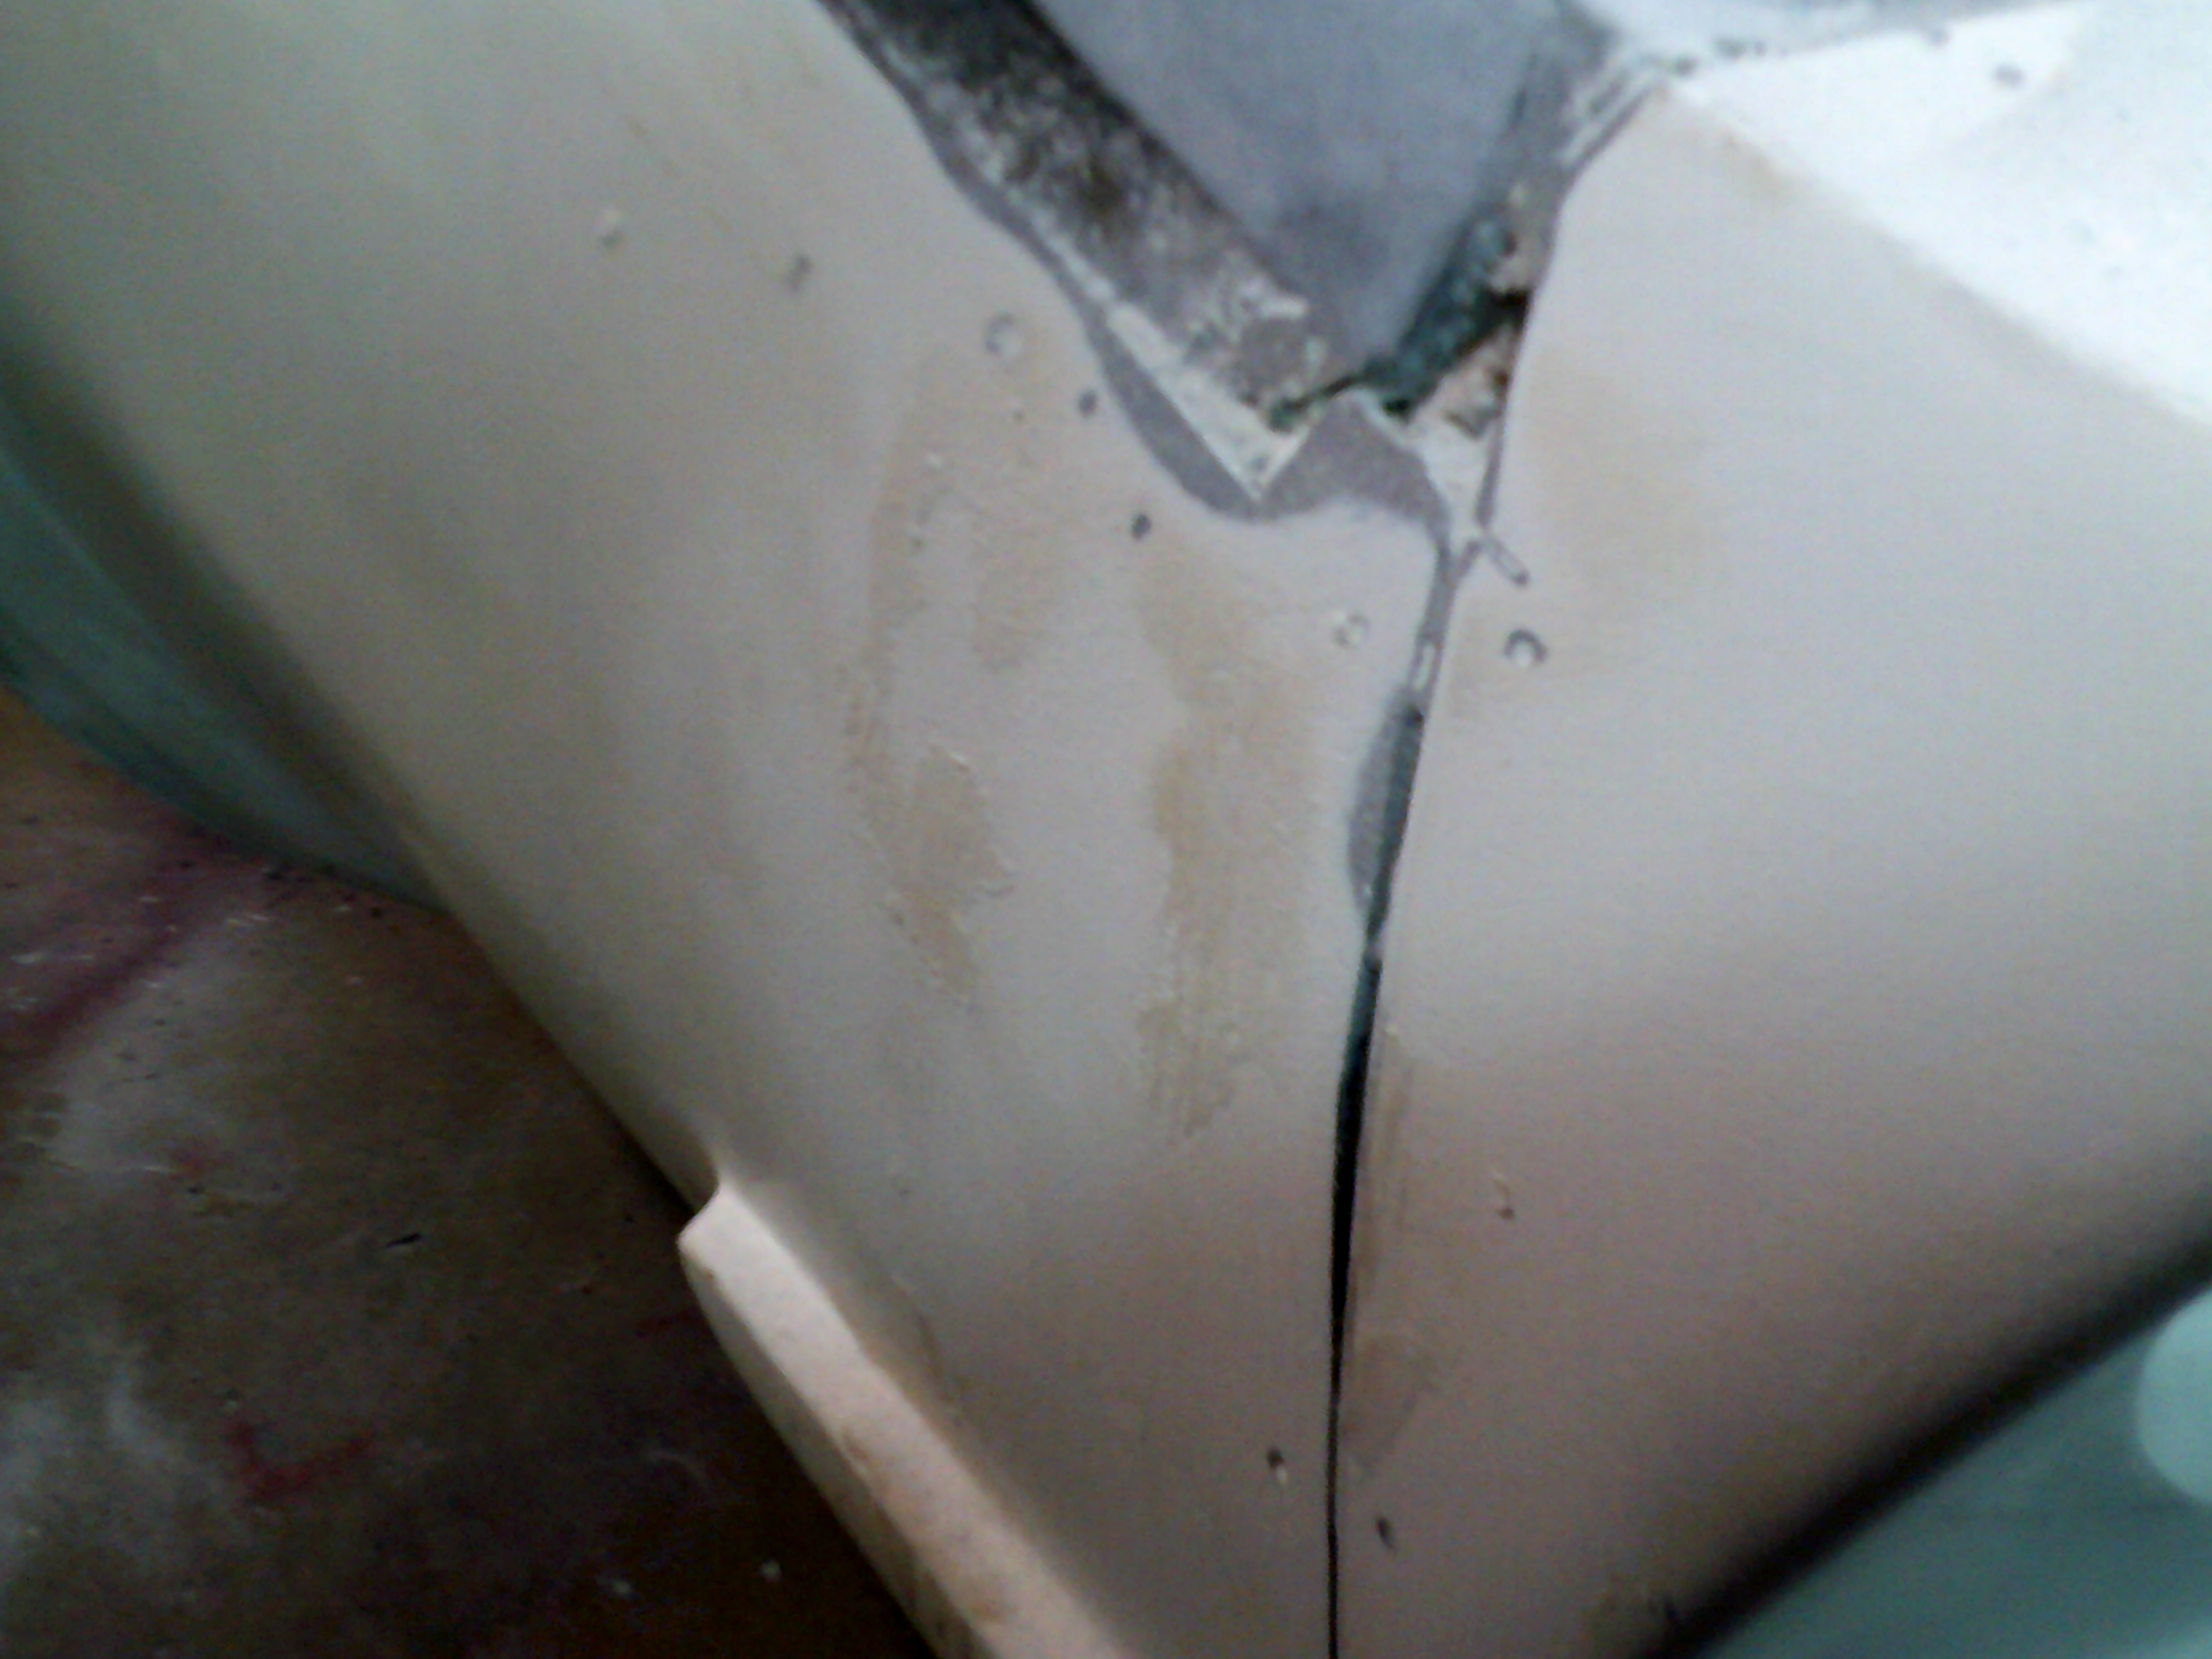
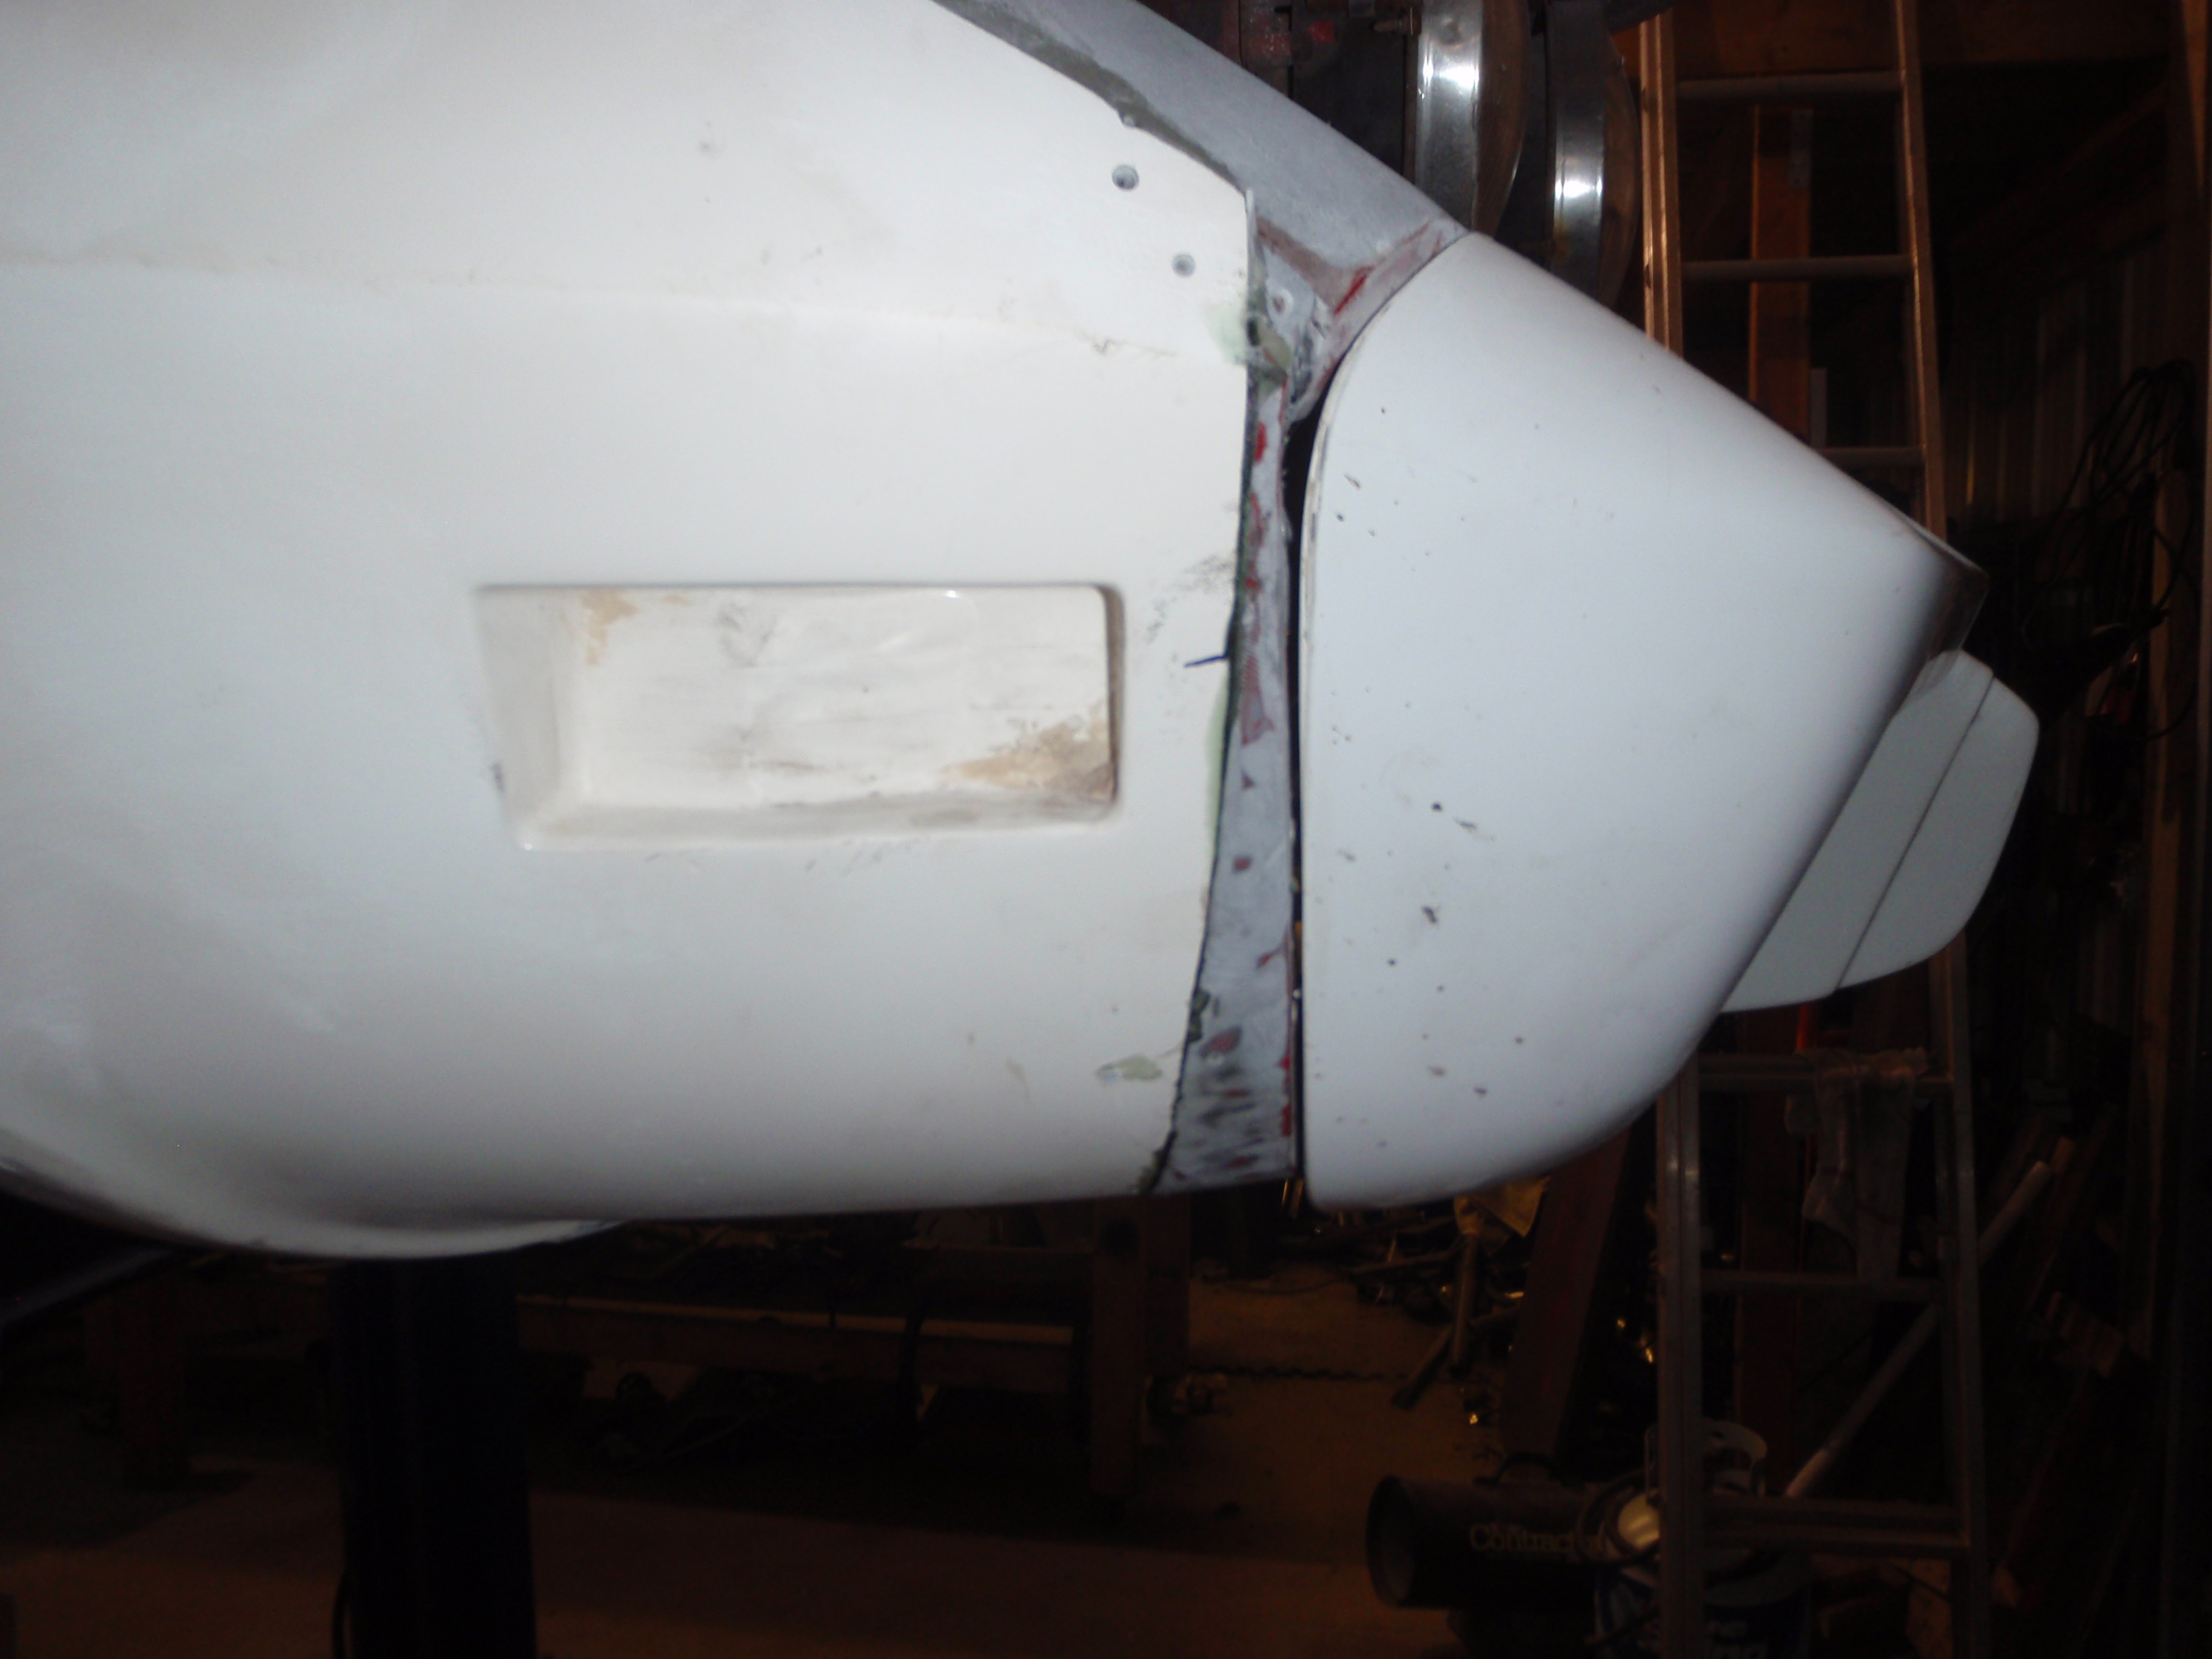
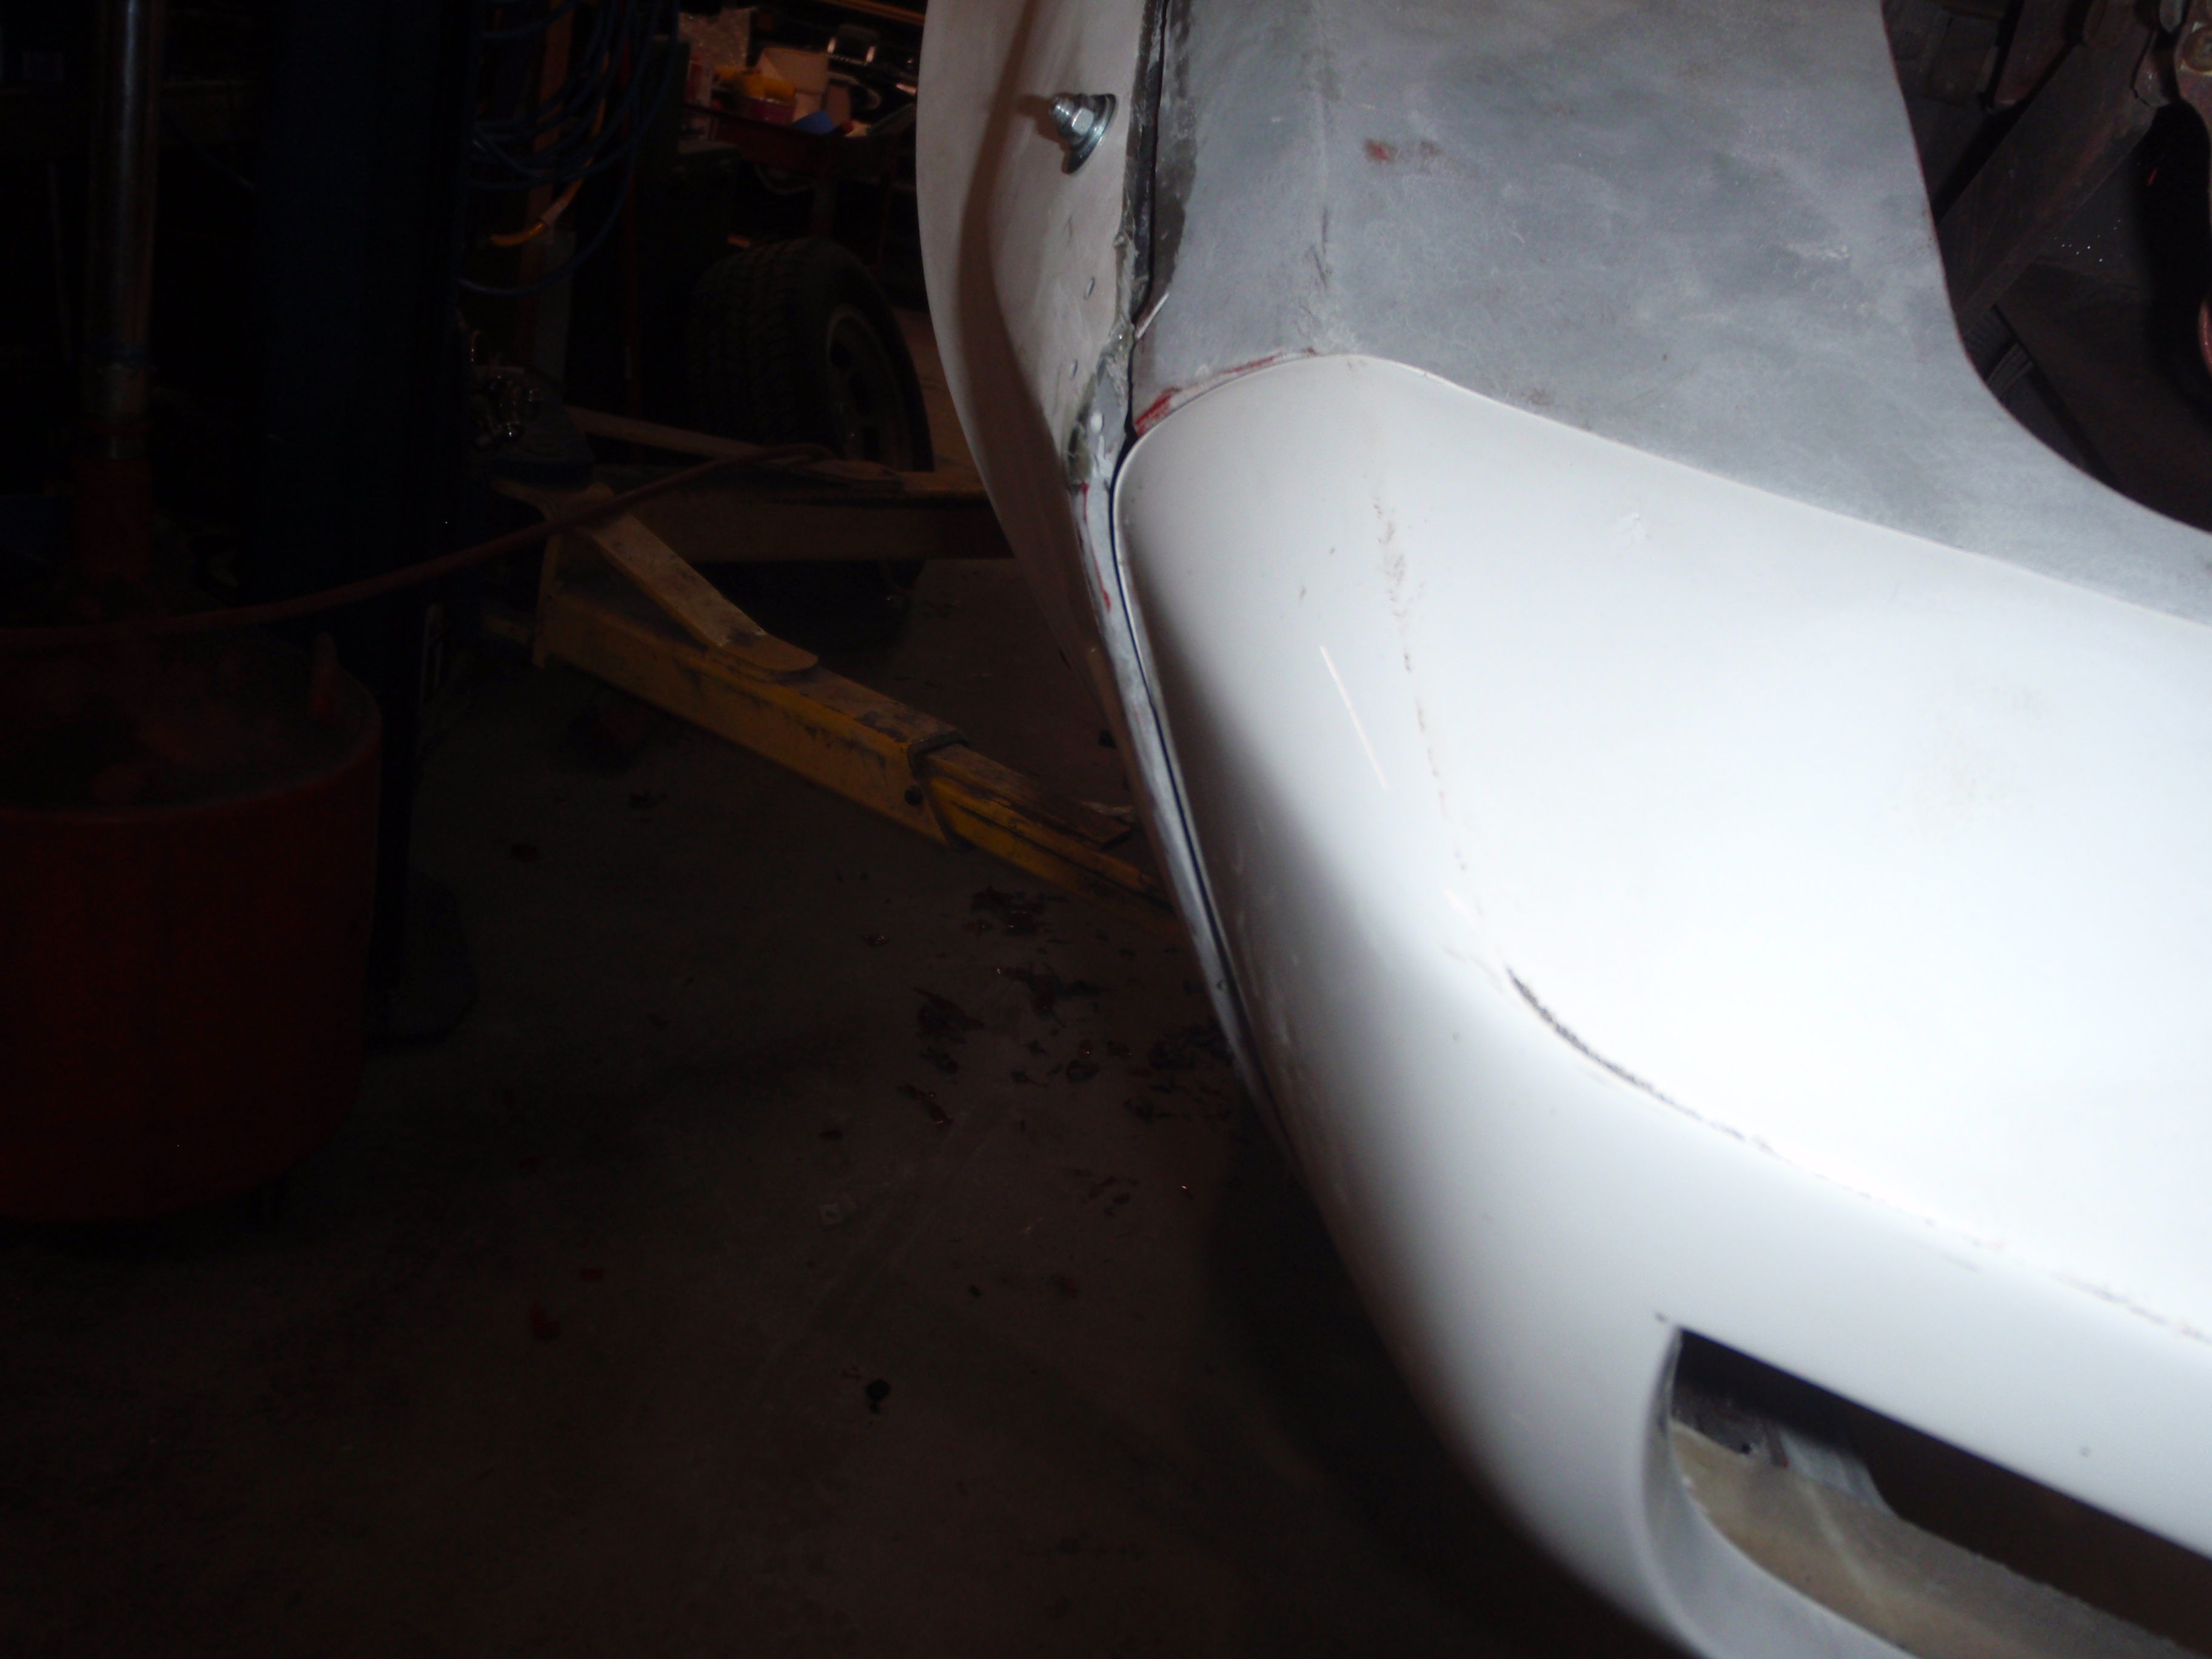
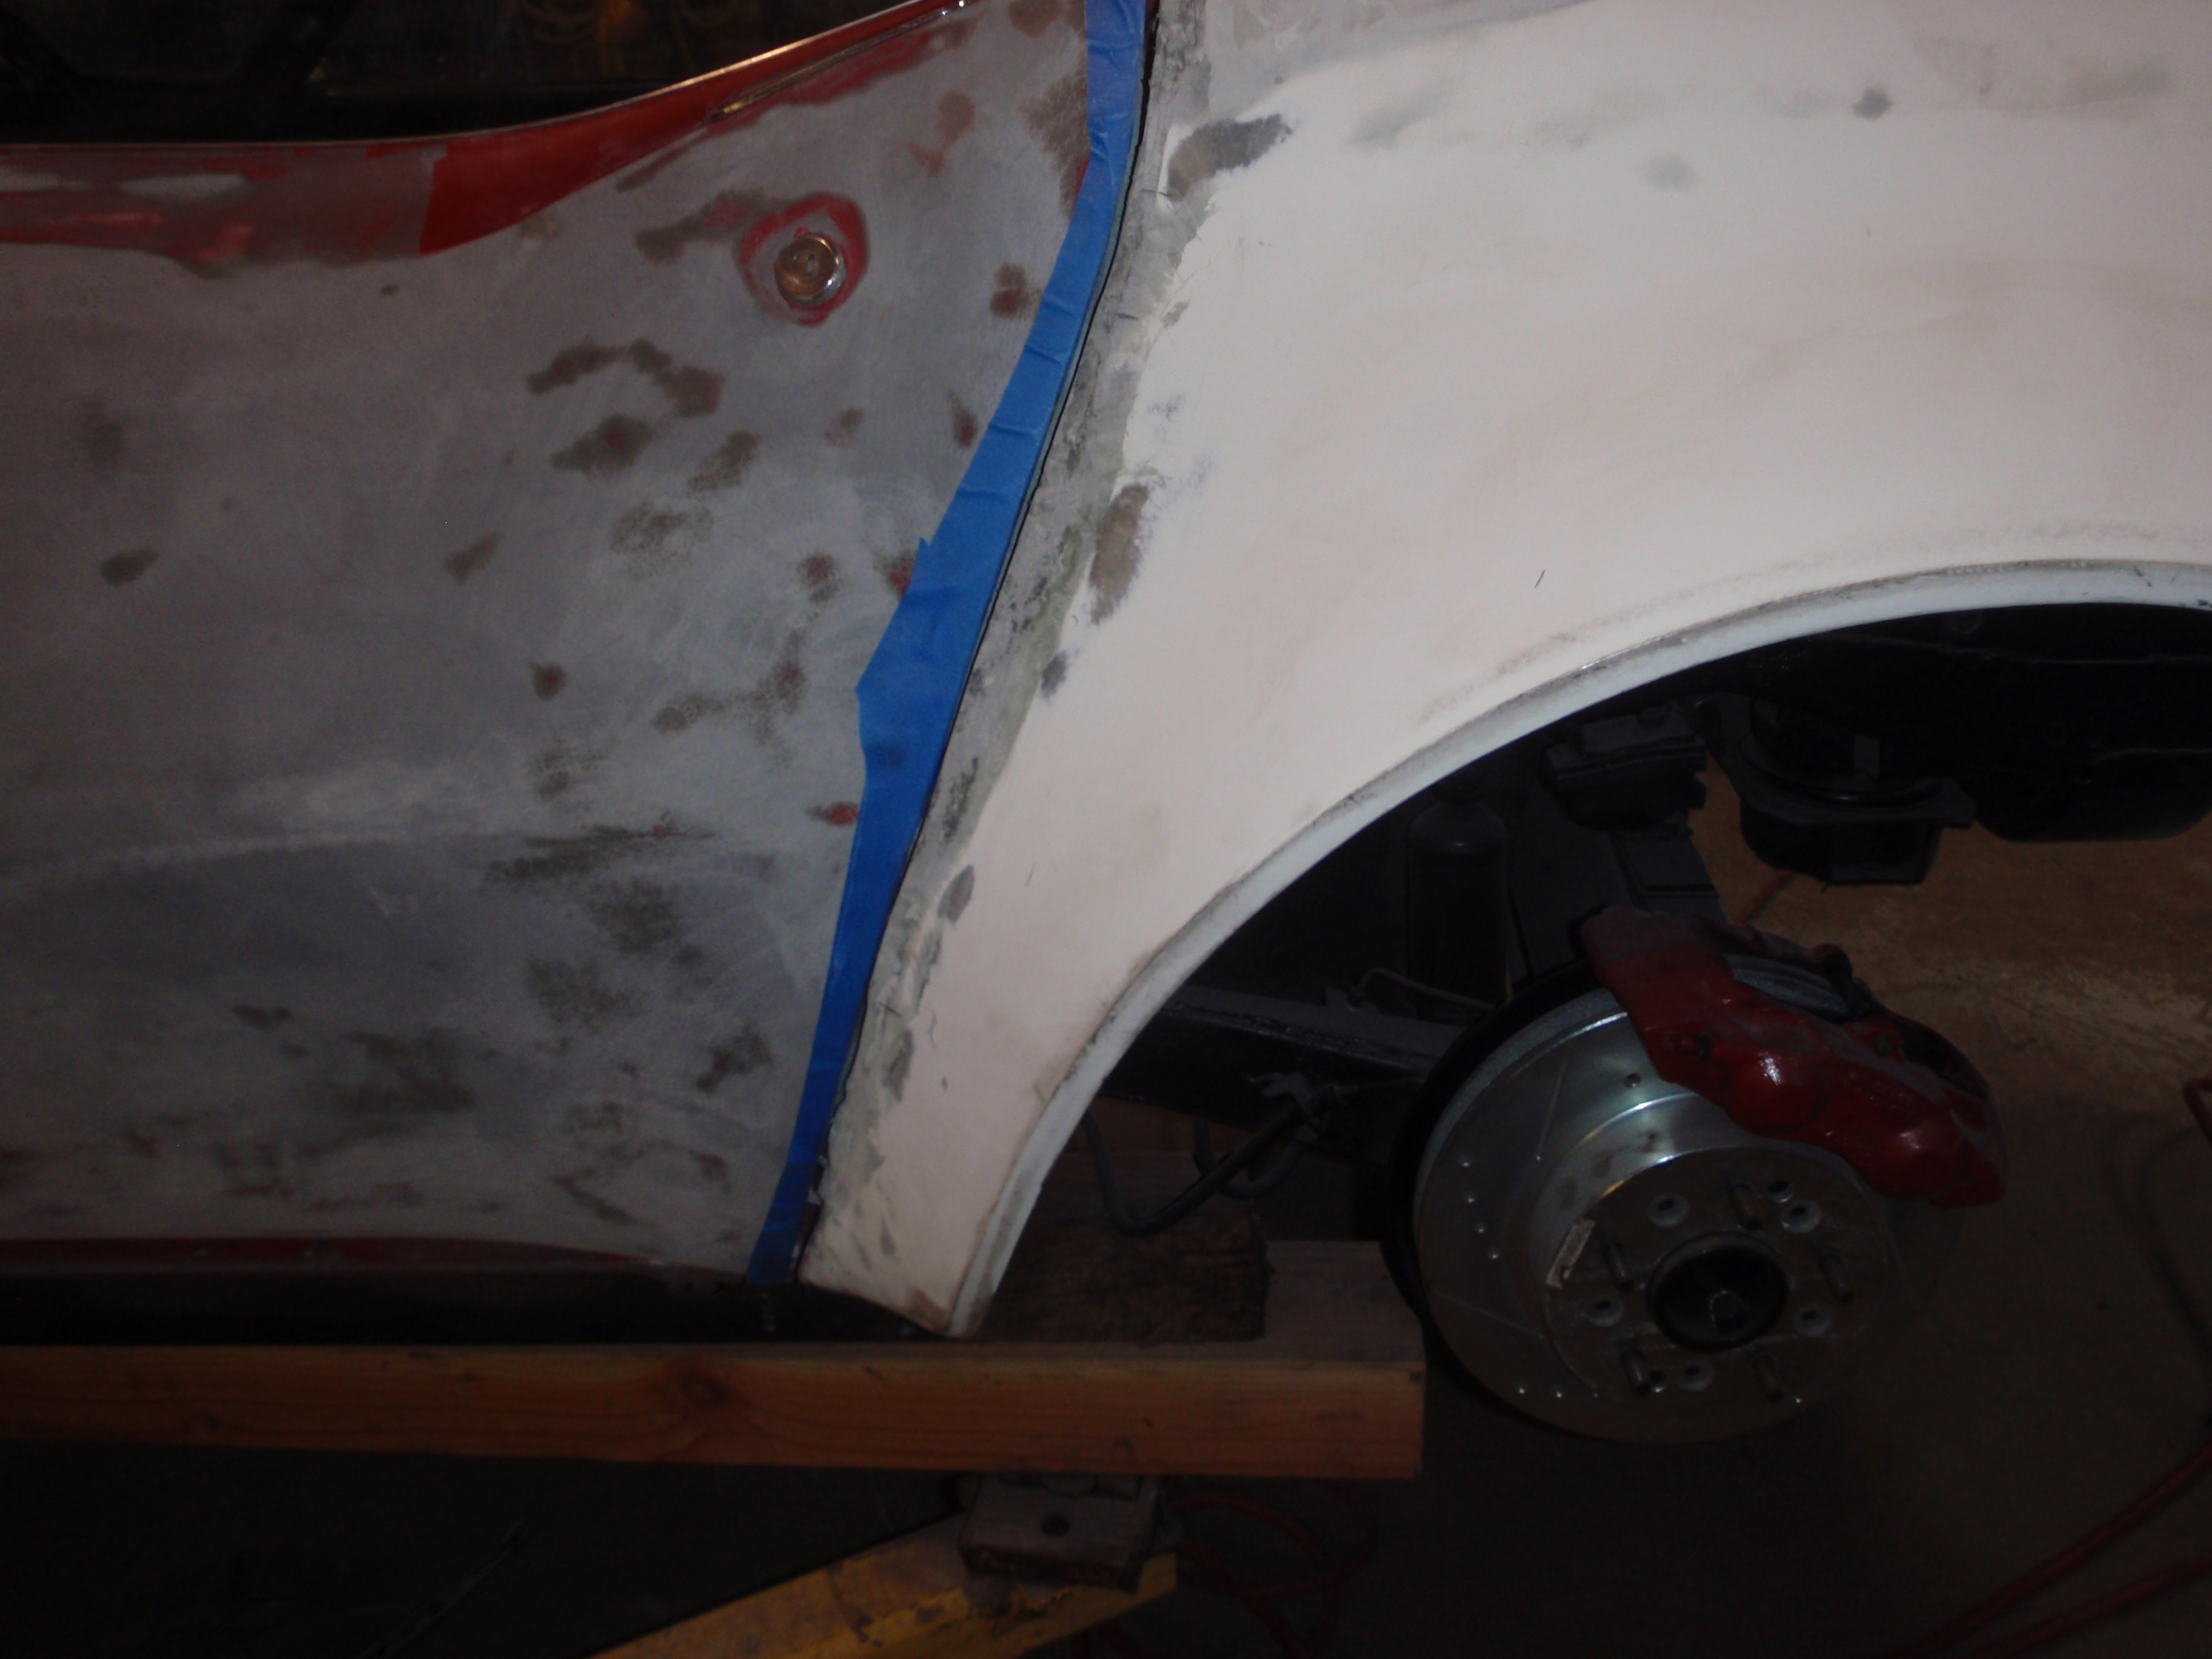
this is the the other side - note how nice the gap is? too bad the wheel arch is so screwed up (poor molding and an 'ship it' attitude - as seen by the gel coat they painted on the outside to cover up the screwed up edge)

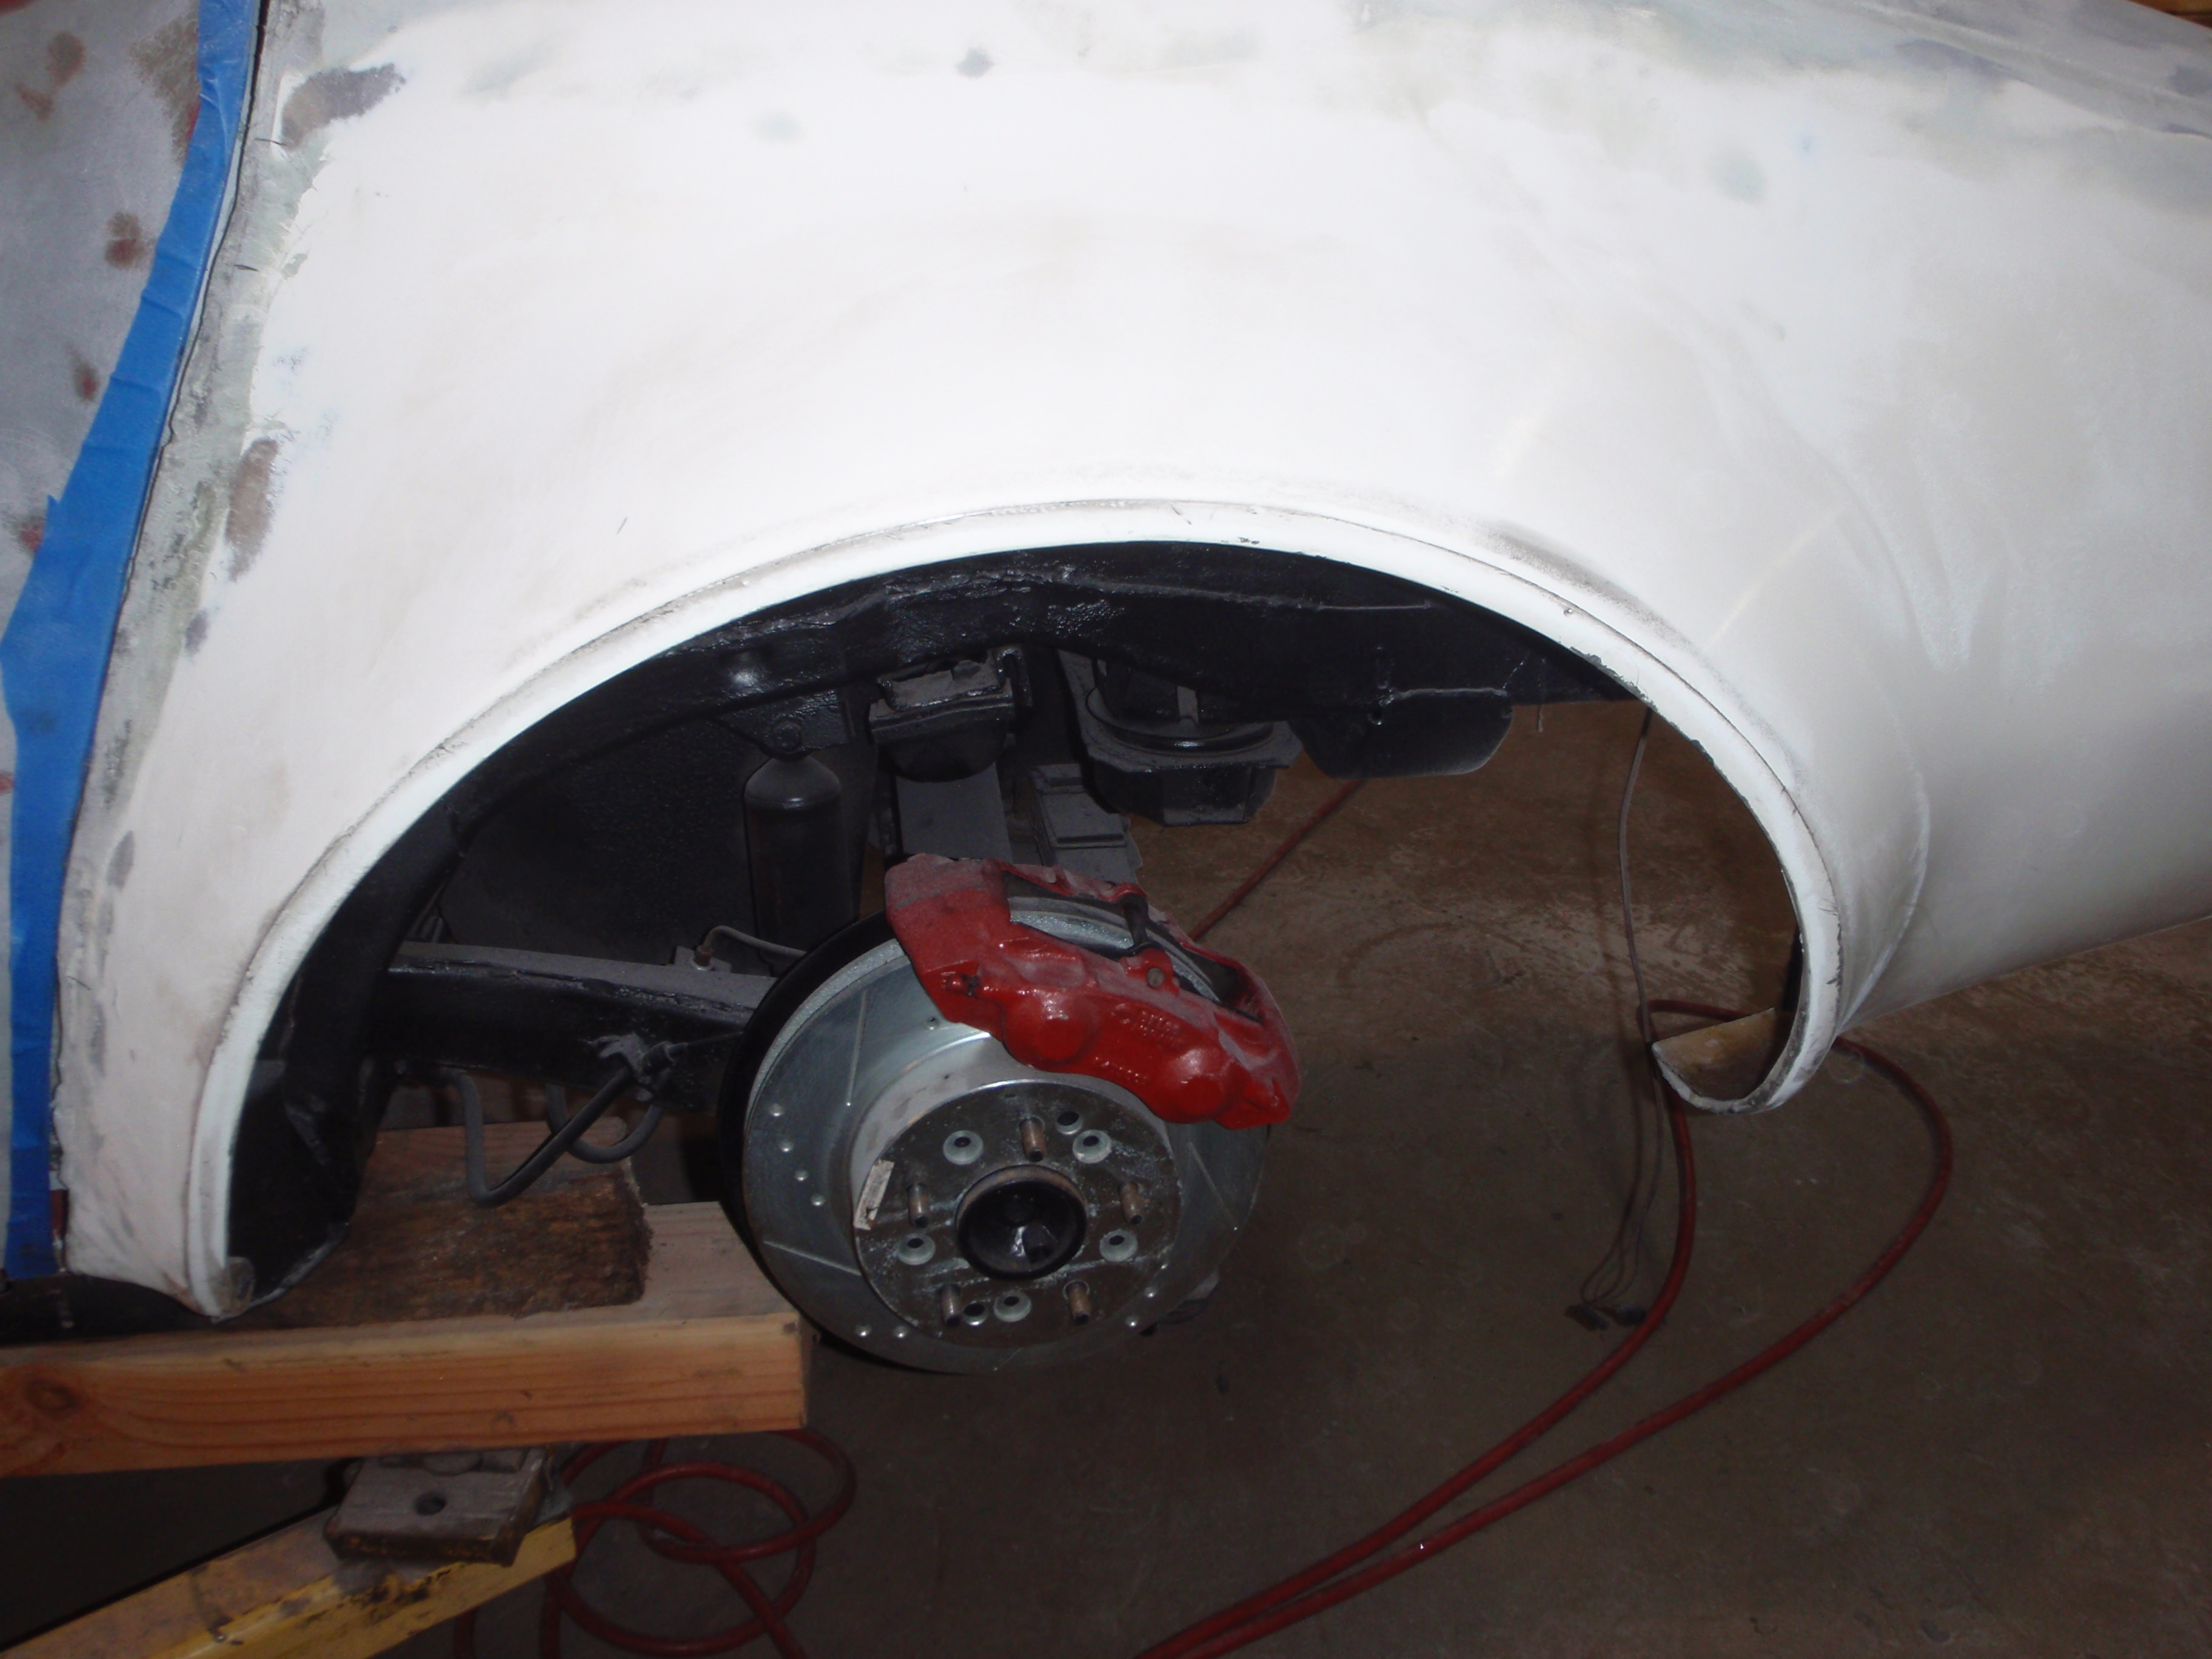
at least this gap is close - but were they so cheap they couldn't give me 1/2" to trim?
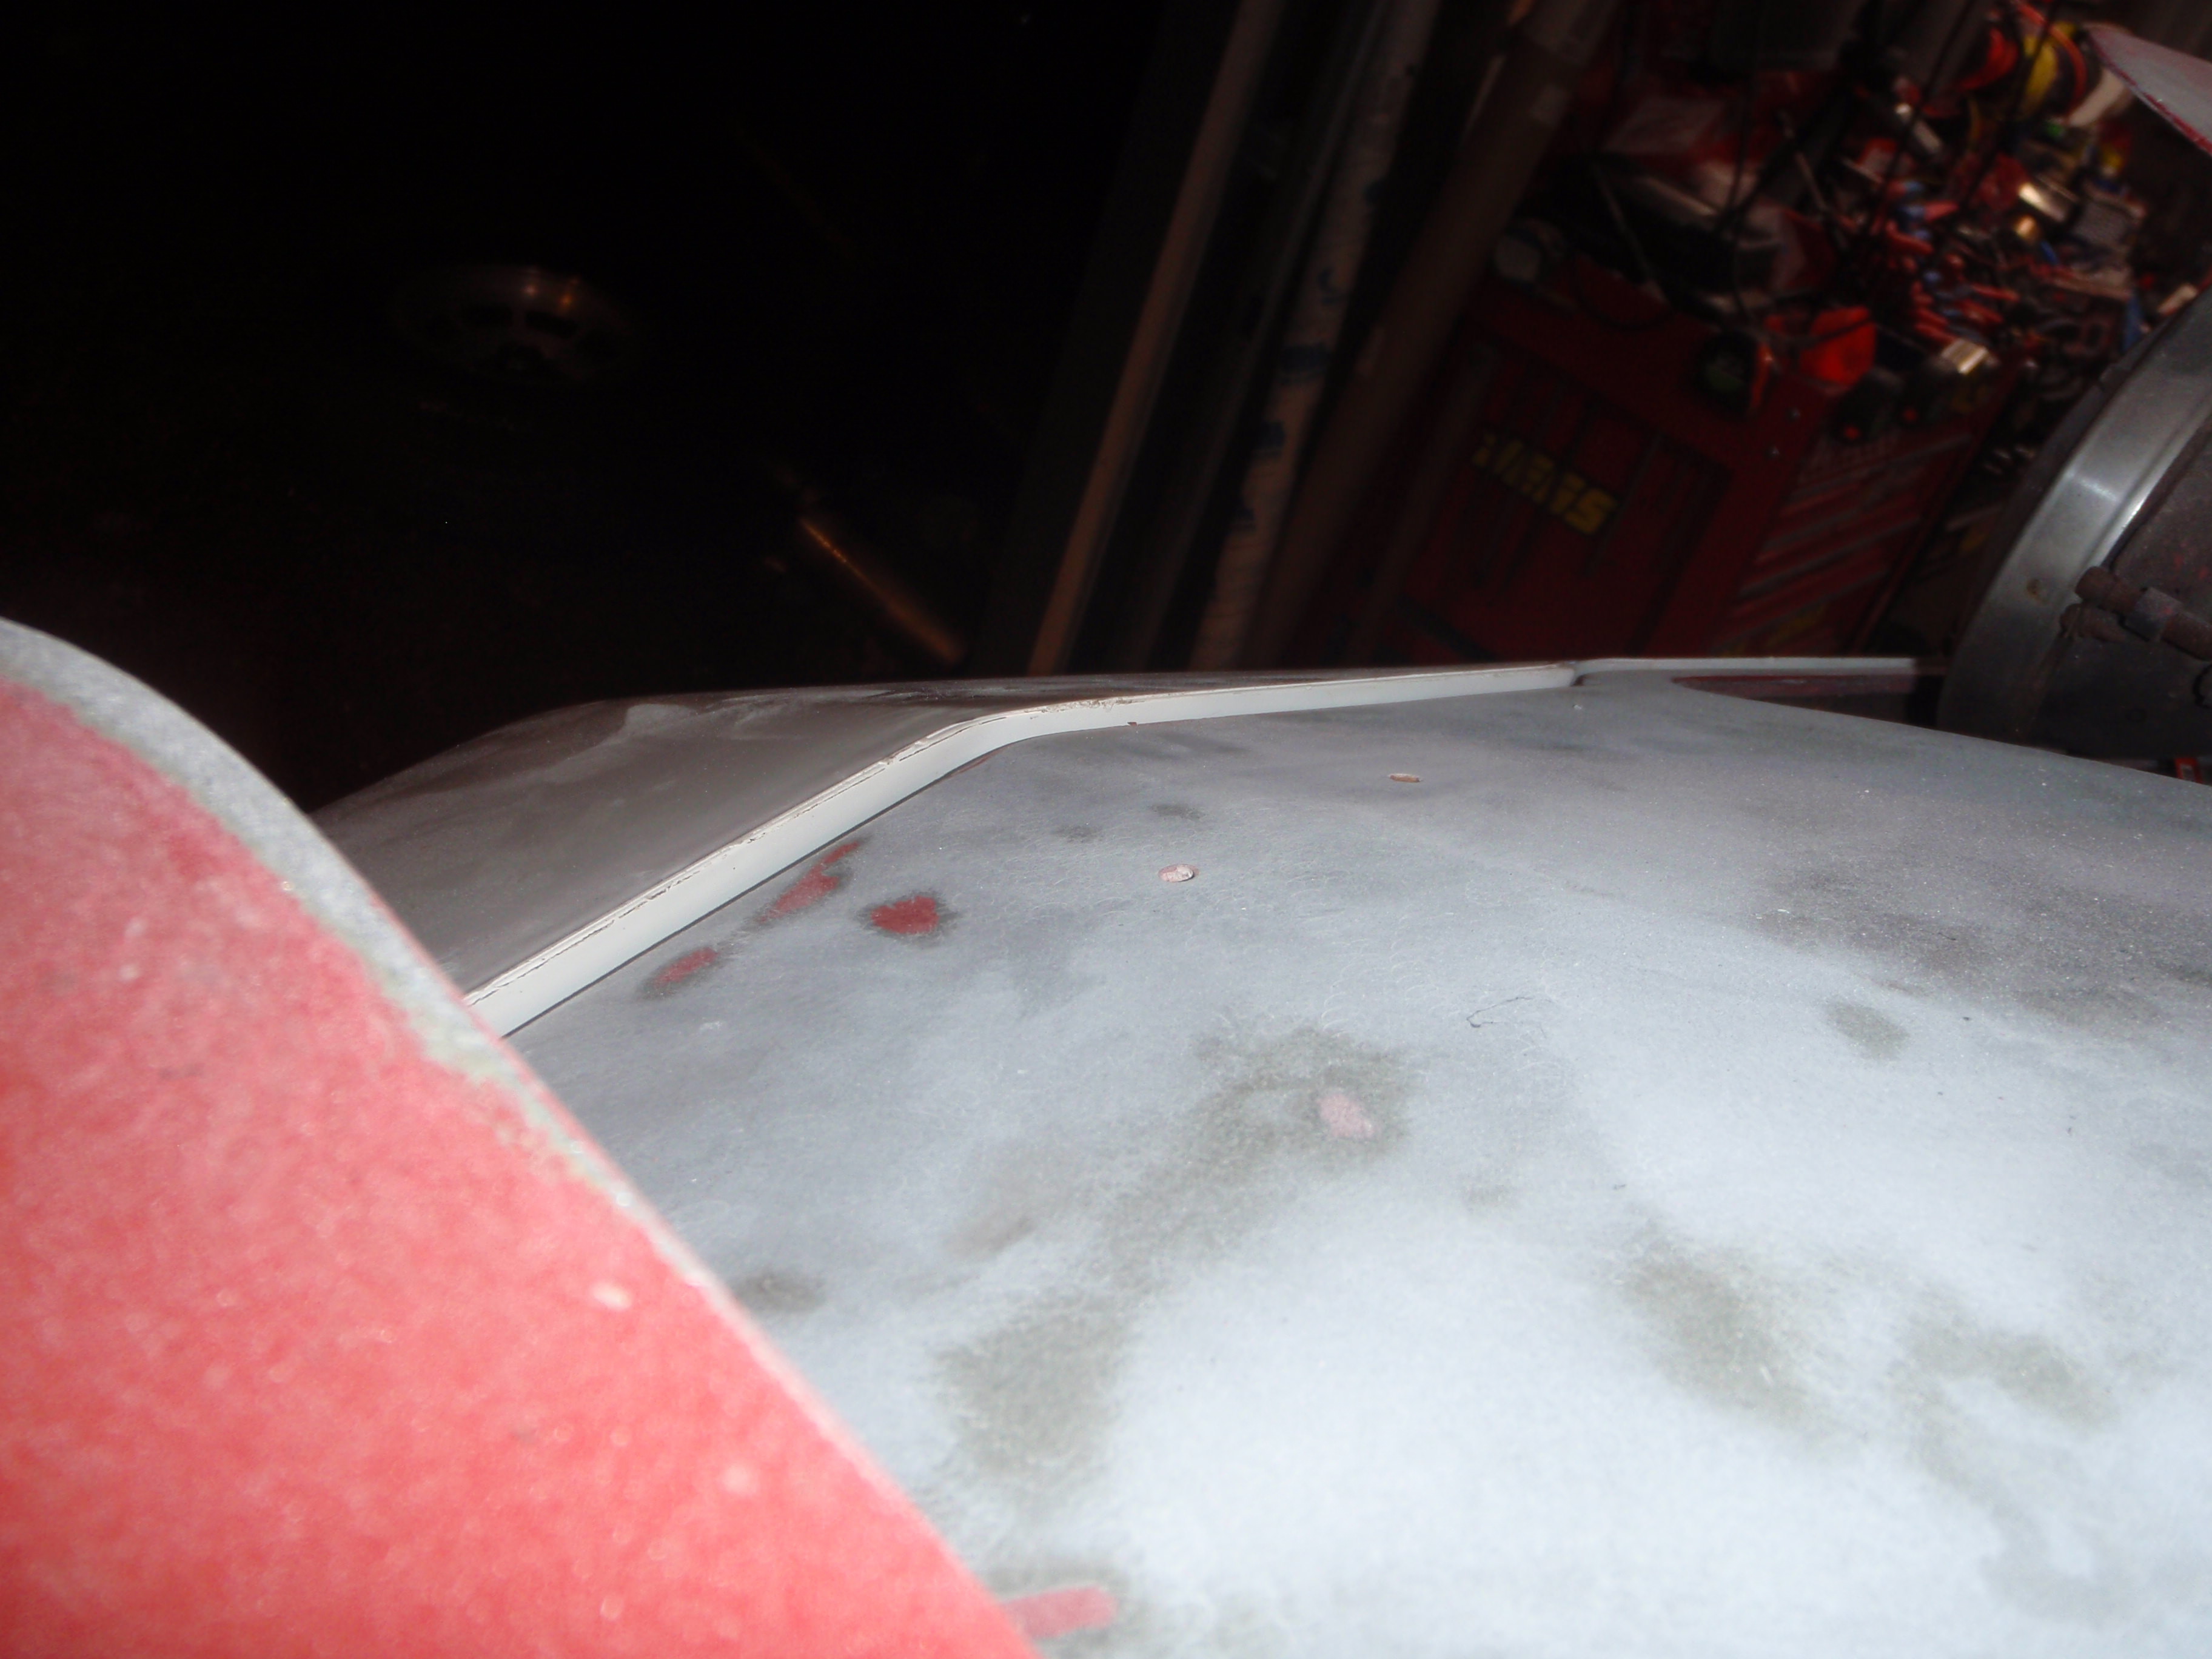
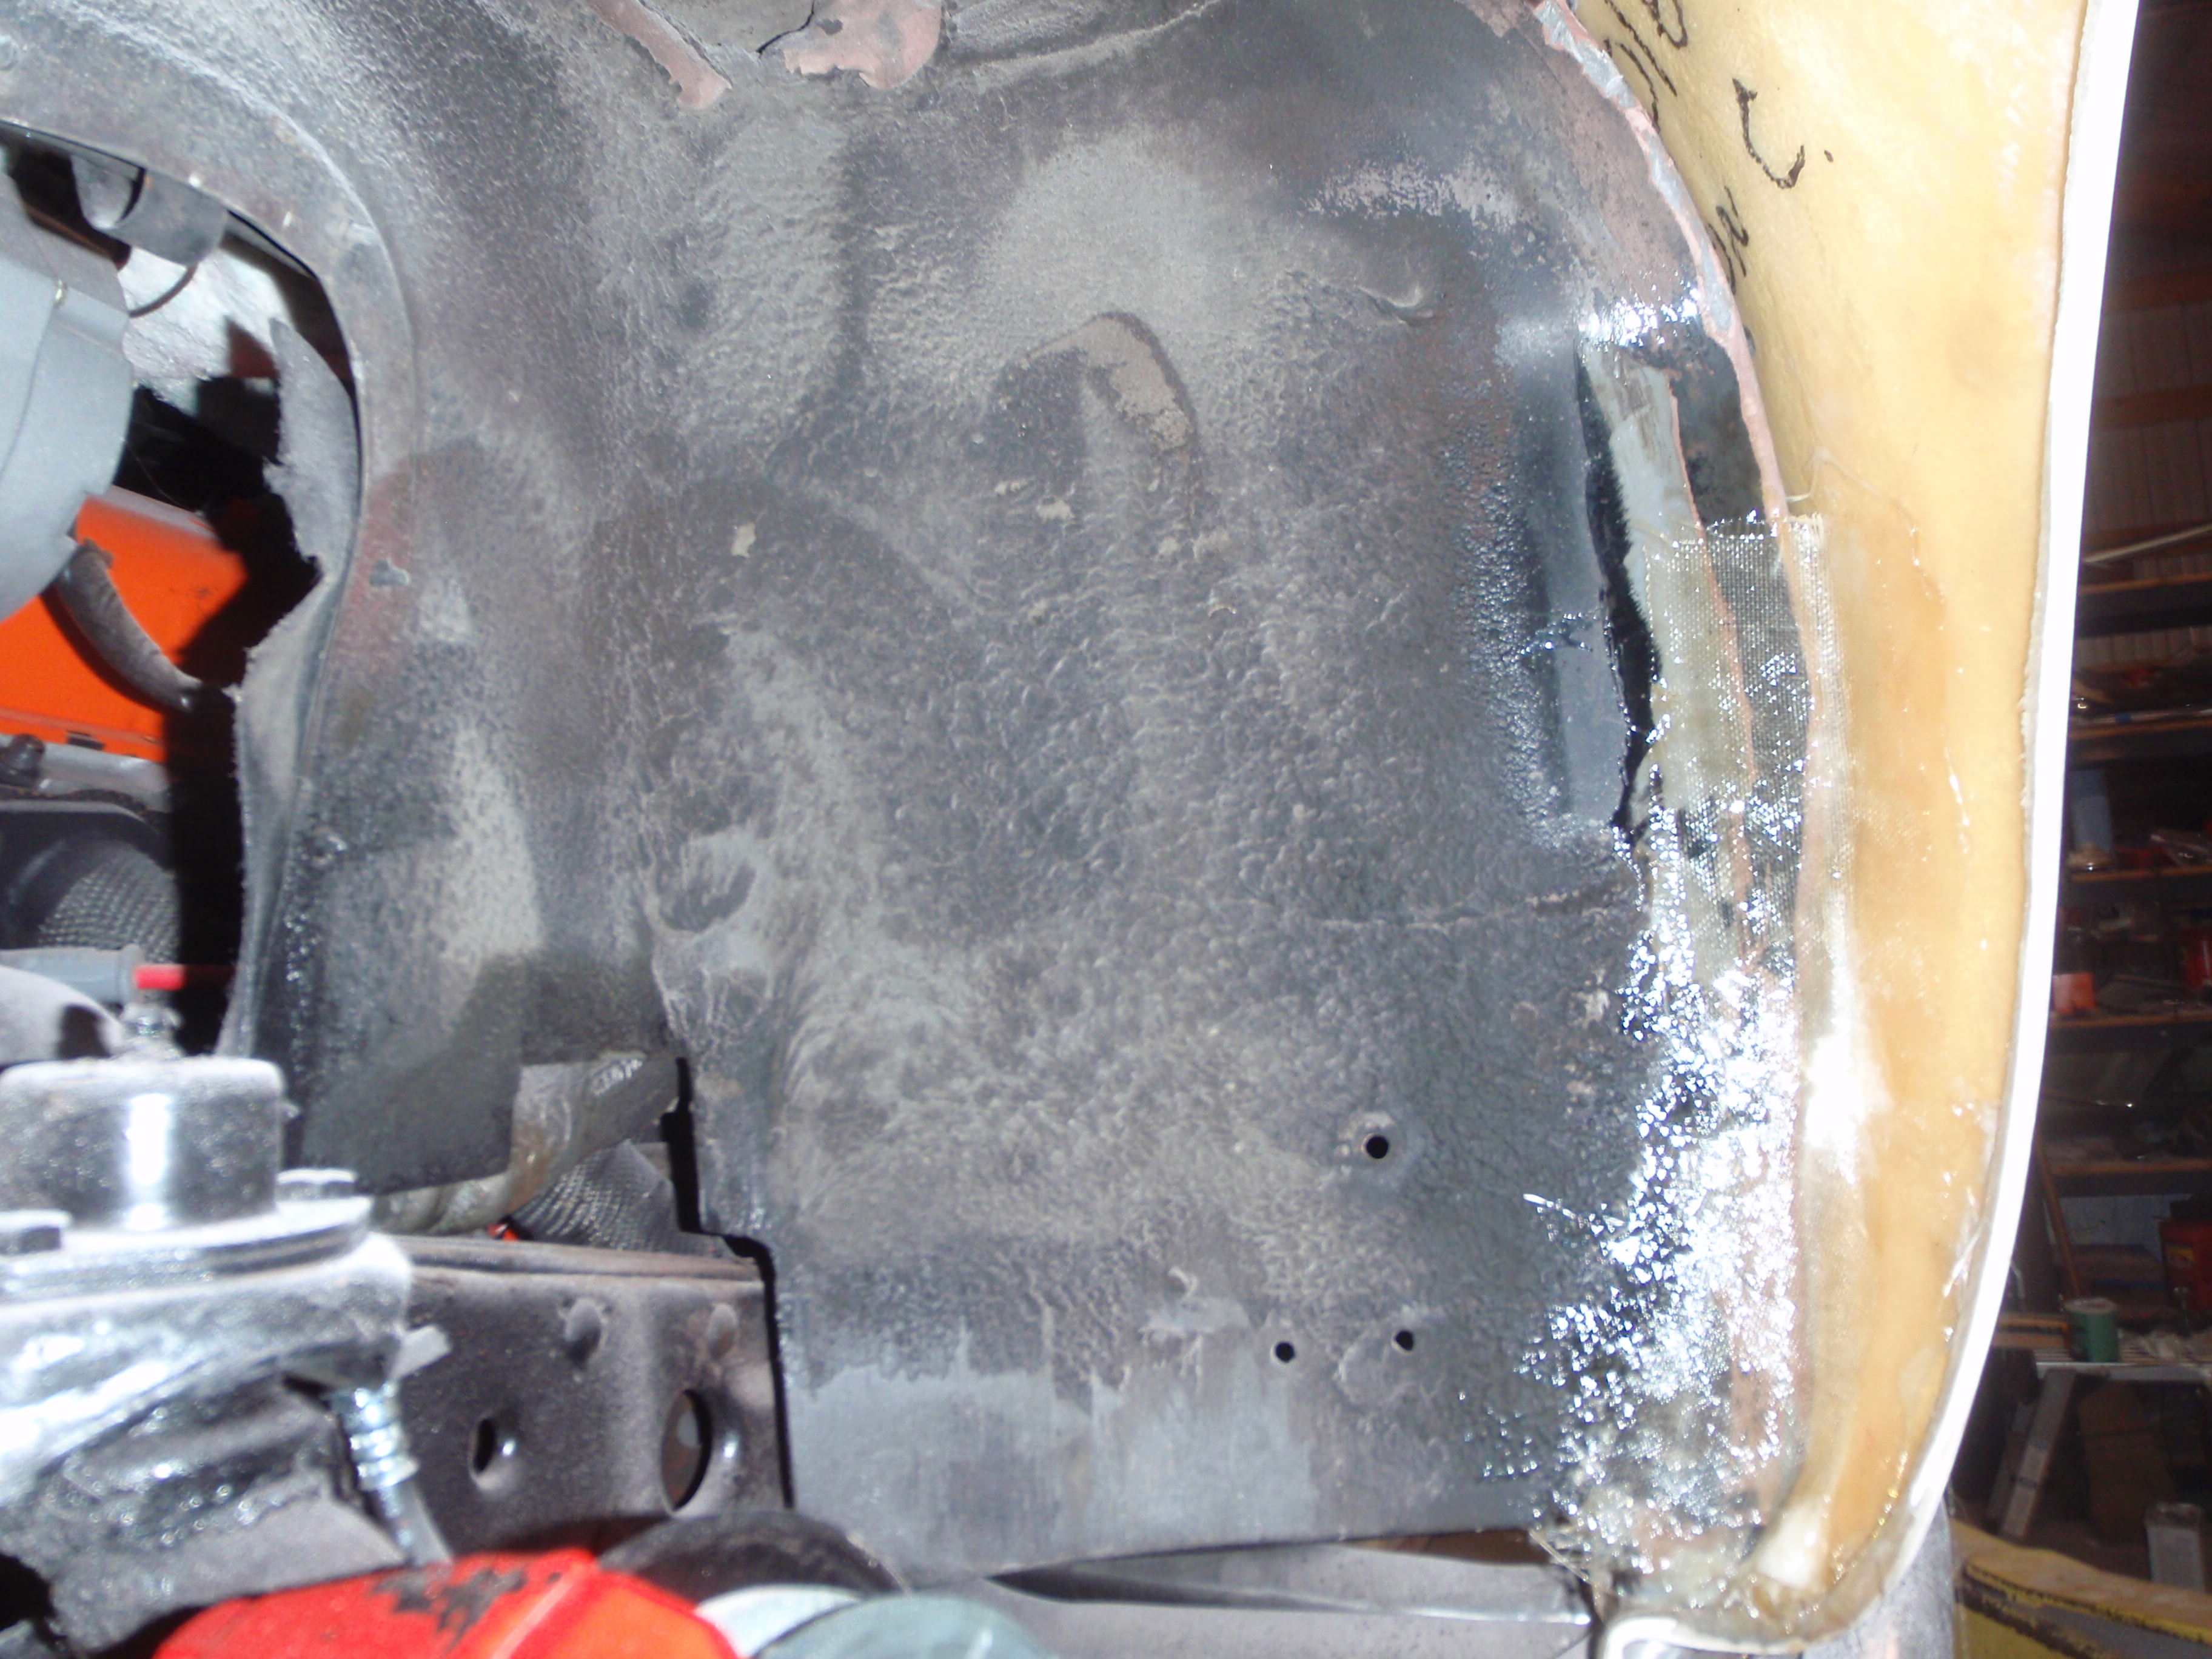
on to filling holes
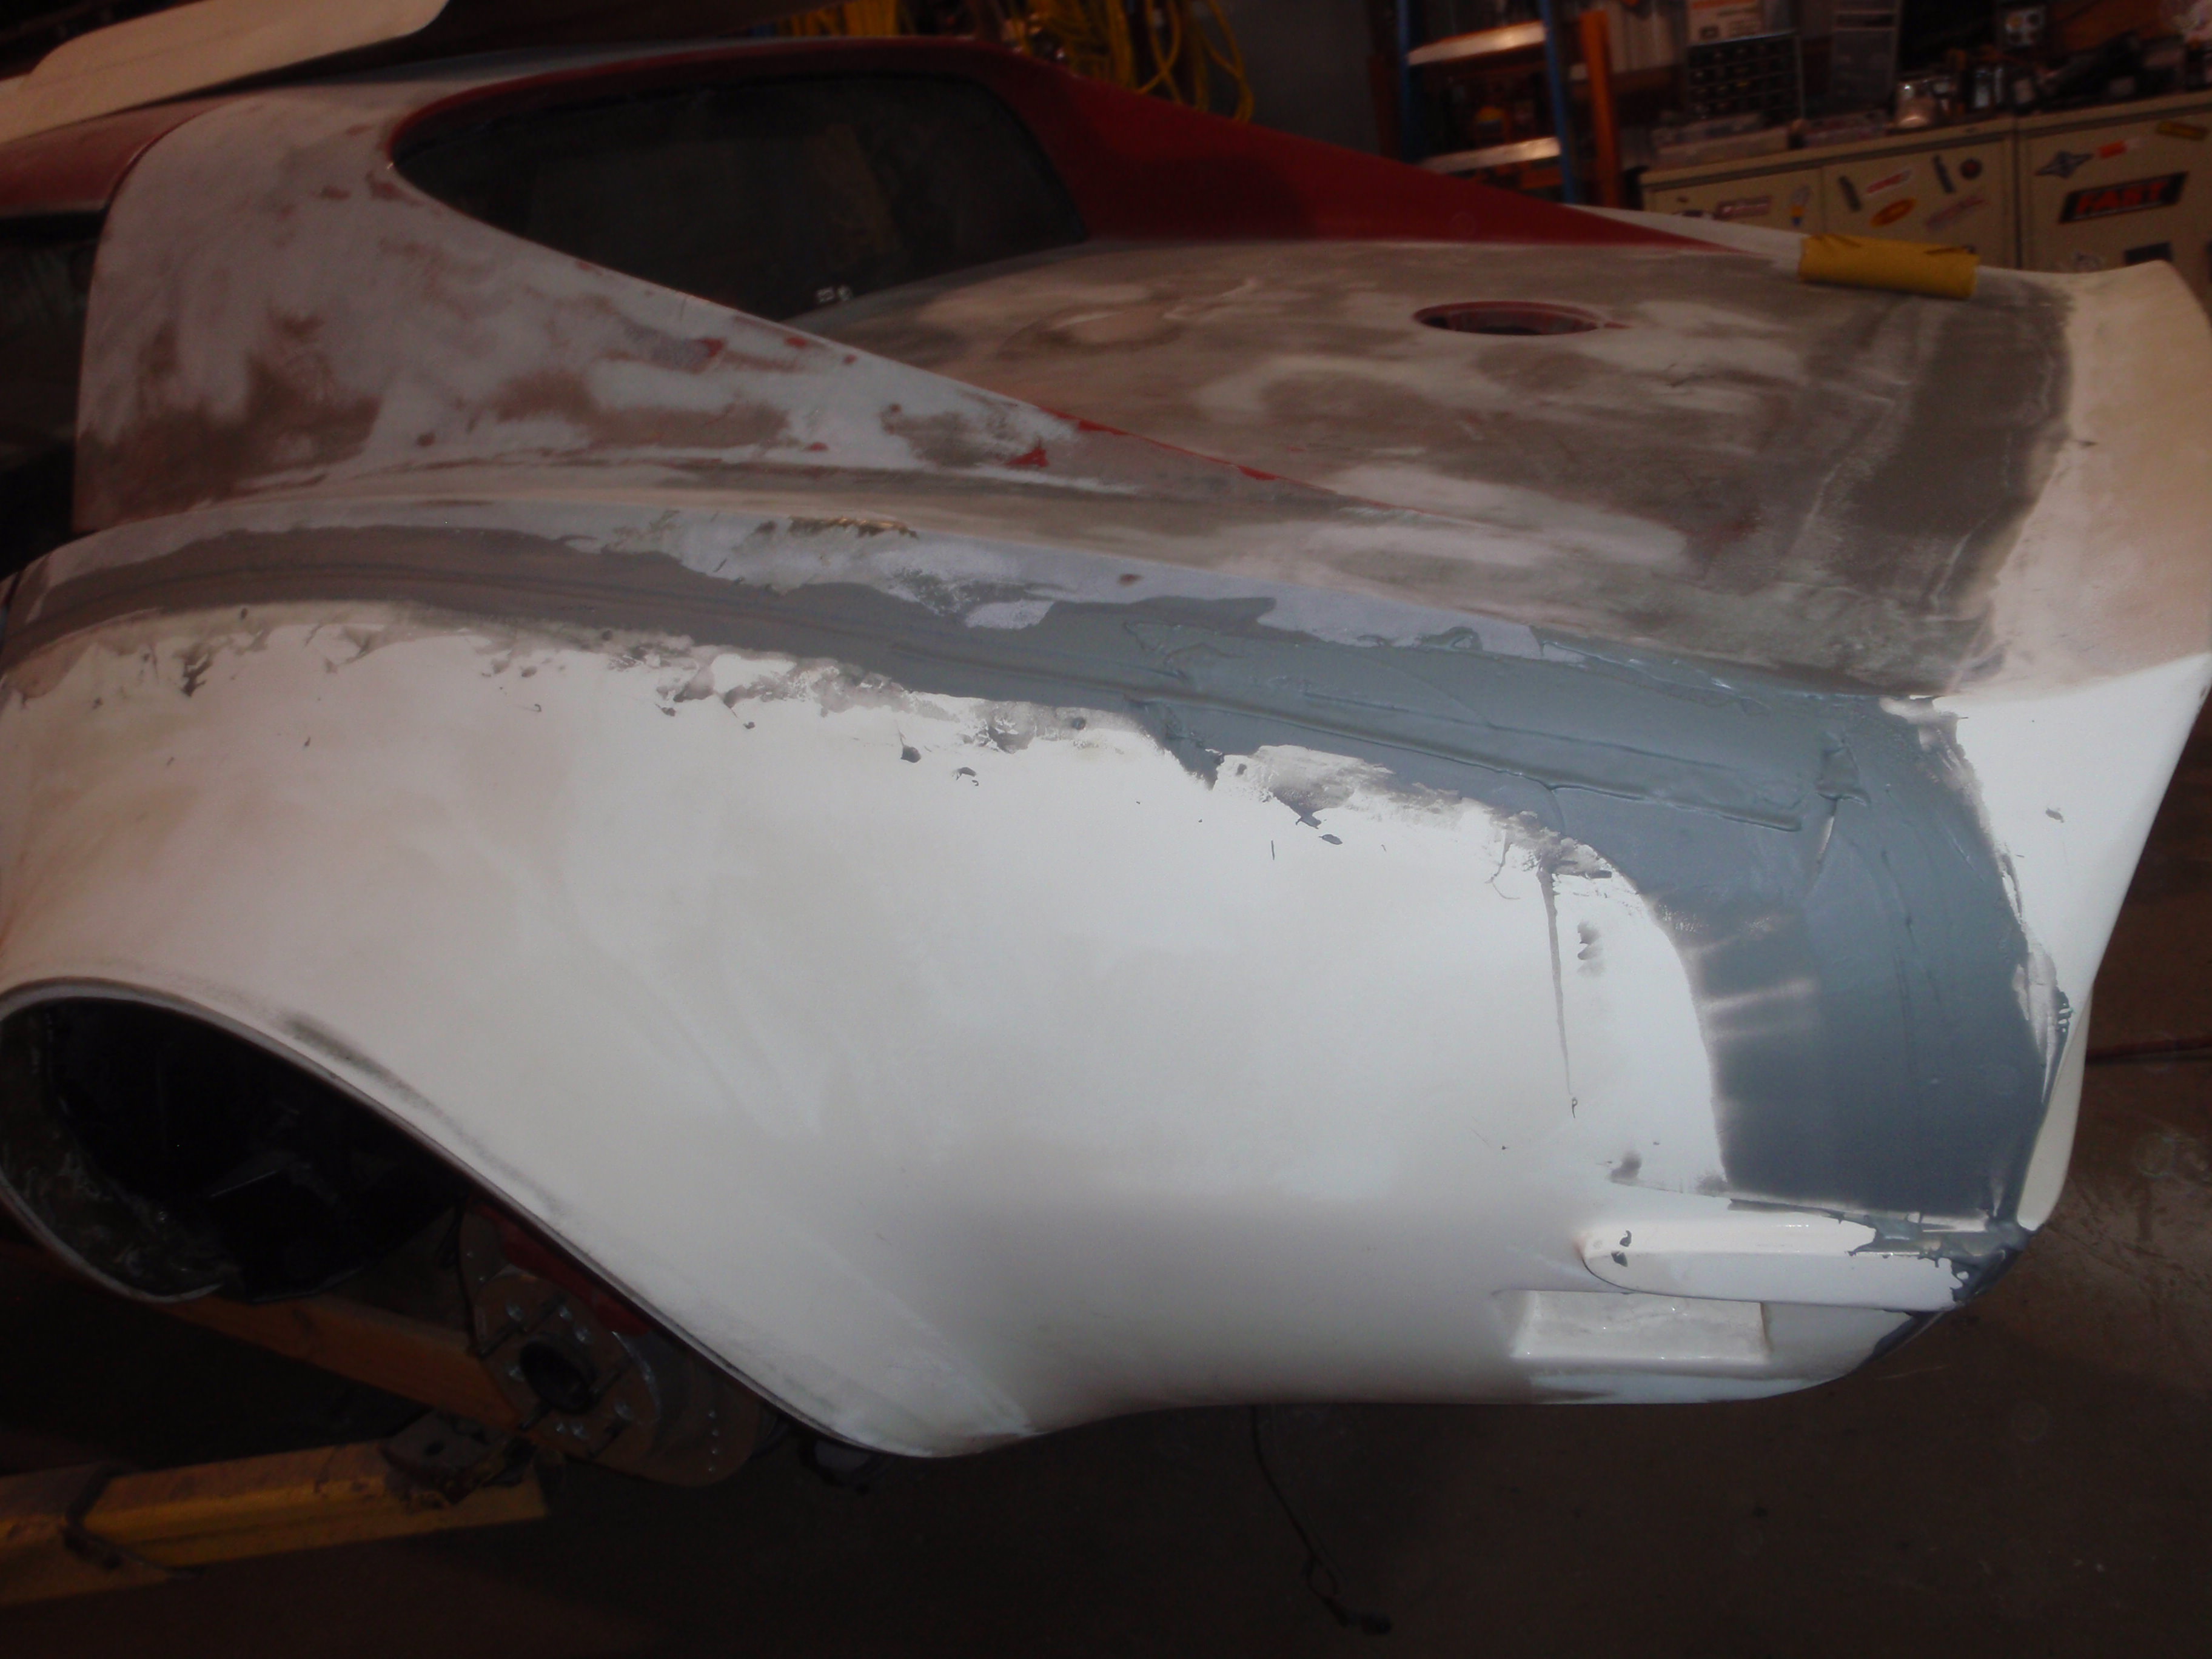
I really need to aside here for a moment, though.edited About 1/2 of my problems would have been solved had I paid more attention then presuming they did great work. I love the flares themselves and all of this can easily be fixed... easily'ish. I'm not looking forward to making the outermost edge perfect - to the point that I may have some metal edges lasered out then adhere them to these fenders.... we will see
first, fitting
trying to pull it together... it didn't go well
take 2.... do note that most of these pictures show that I had to reattach the side bits .... bad words may have been said
rather then throwing things, I went to the back for a bit.... clever, no?
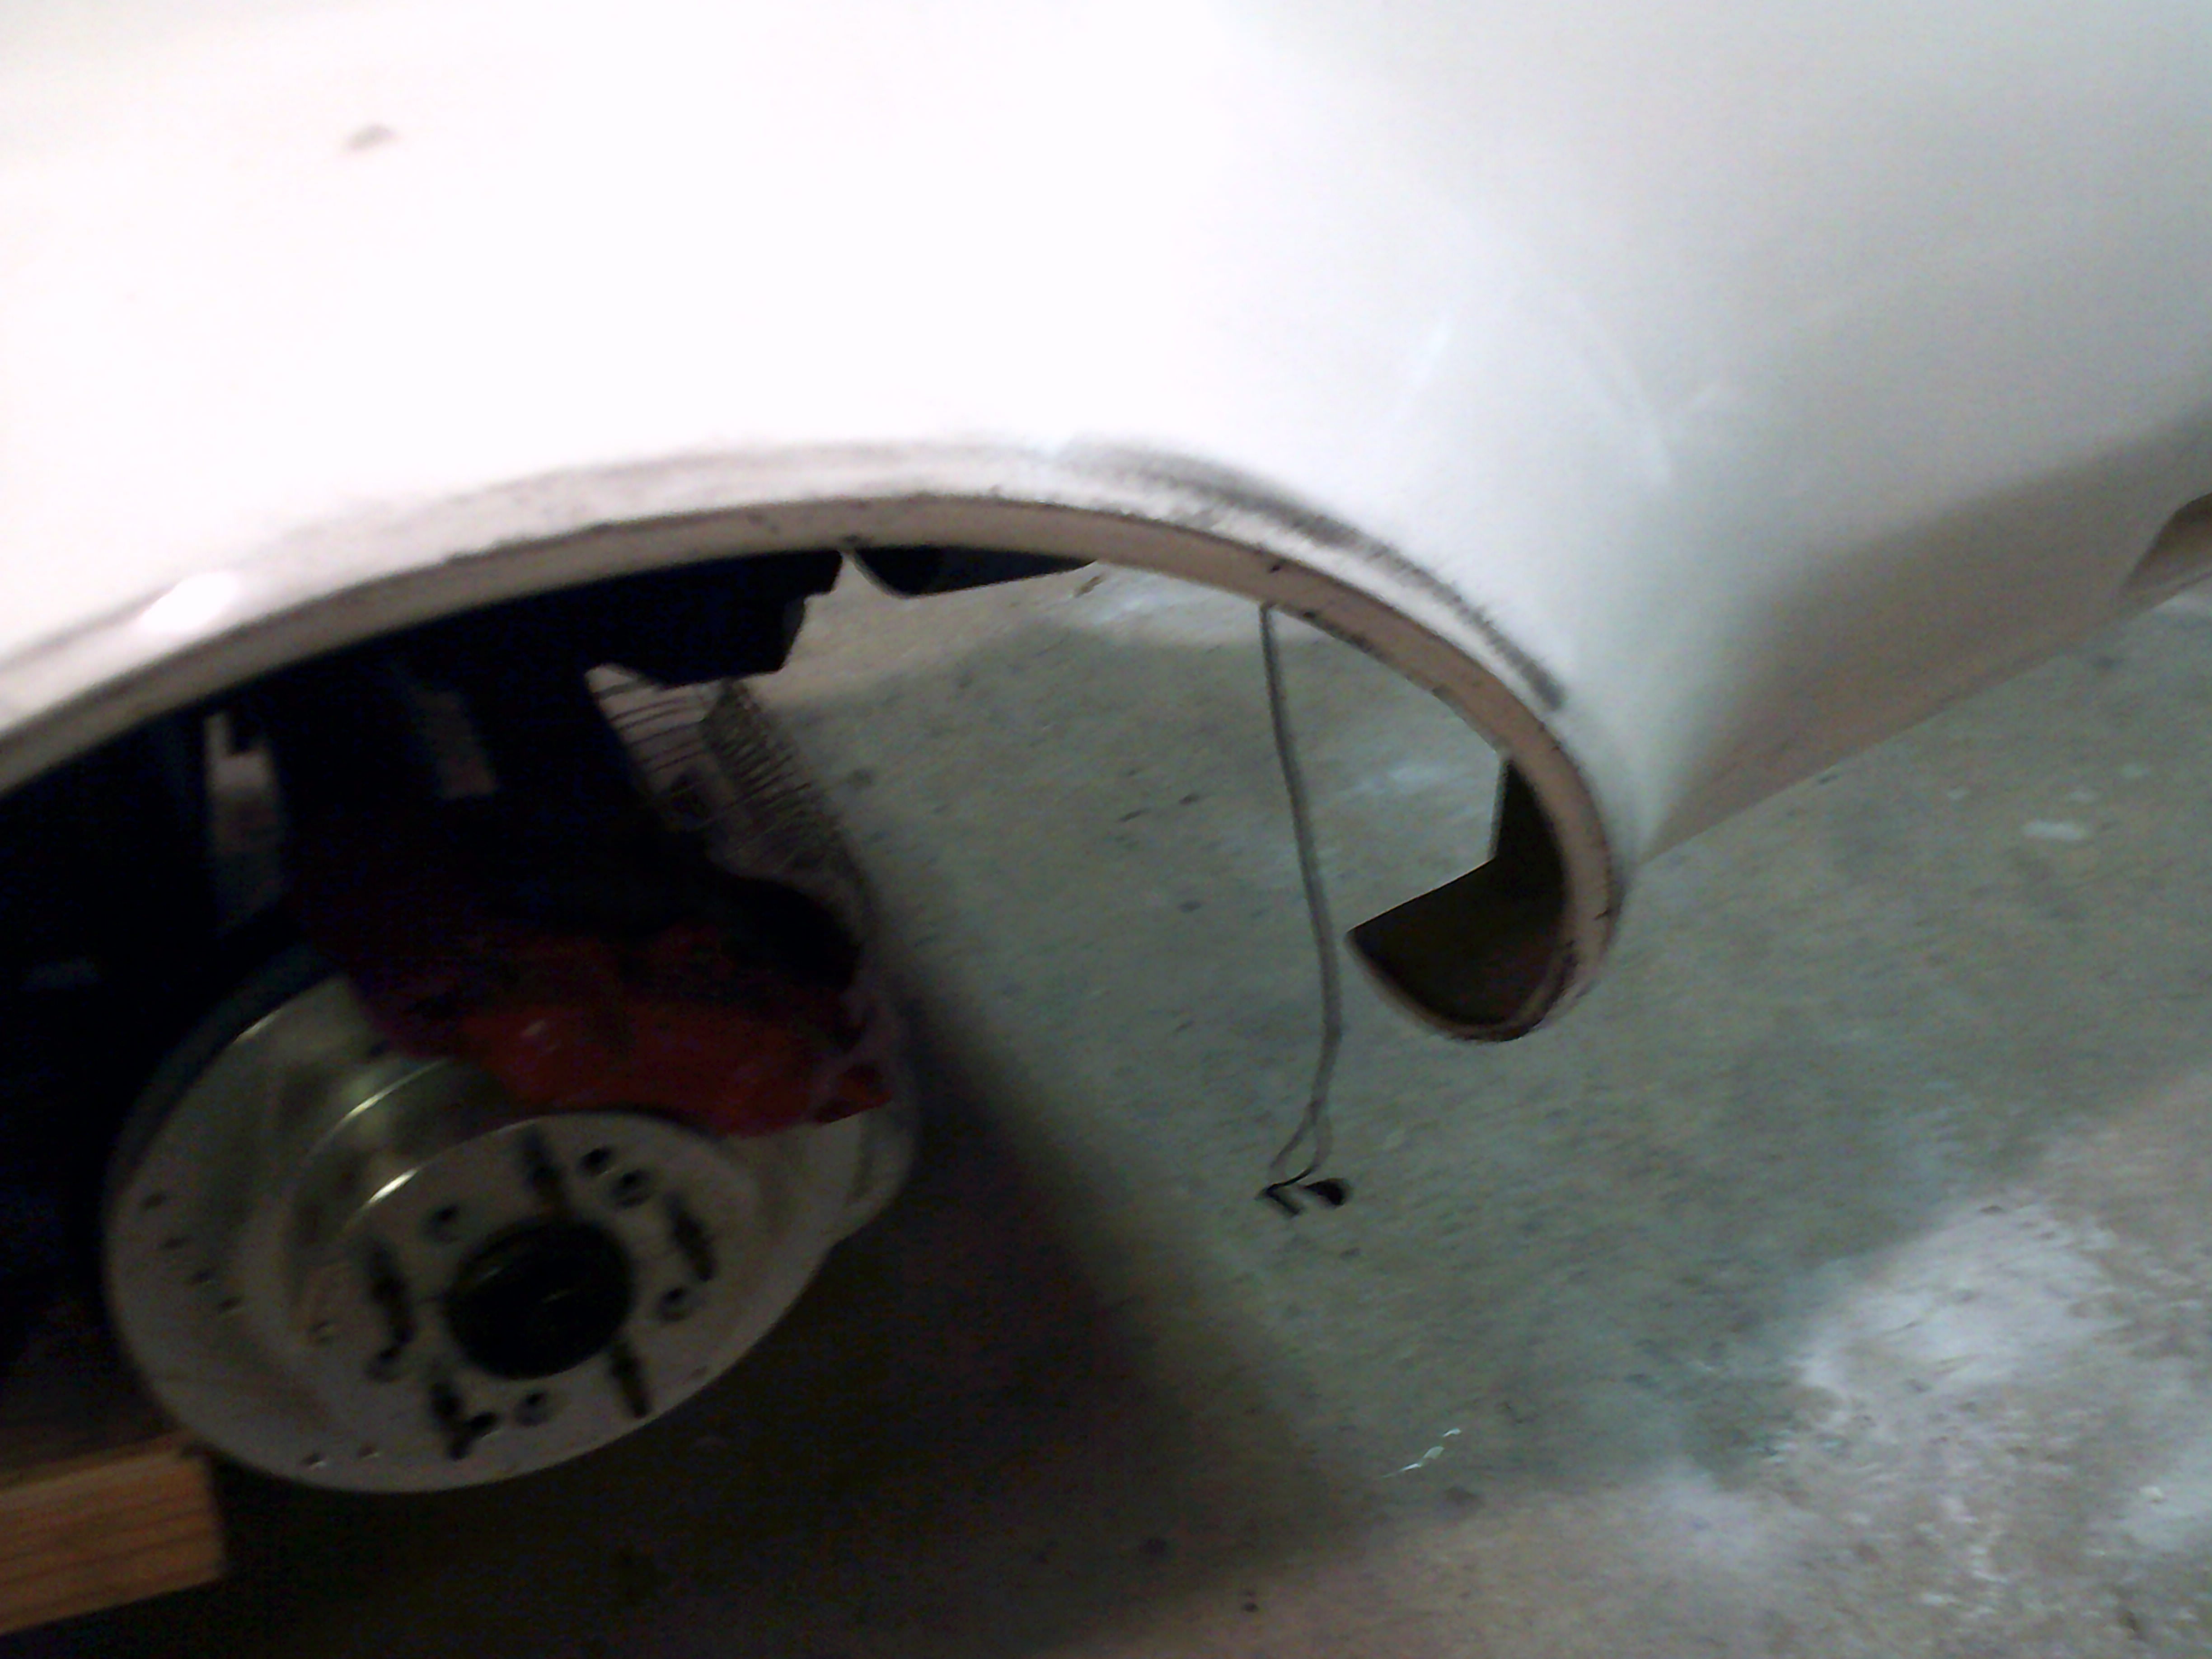
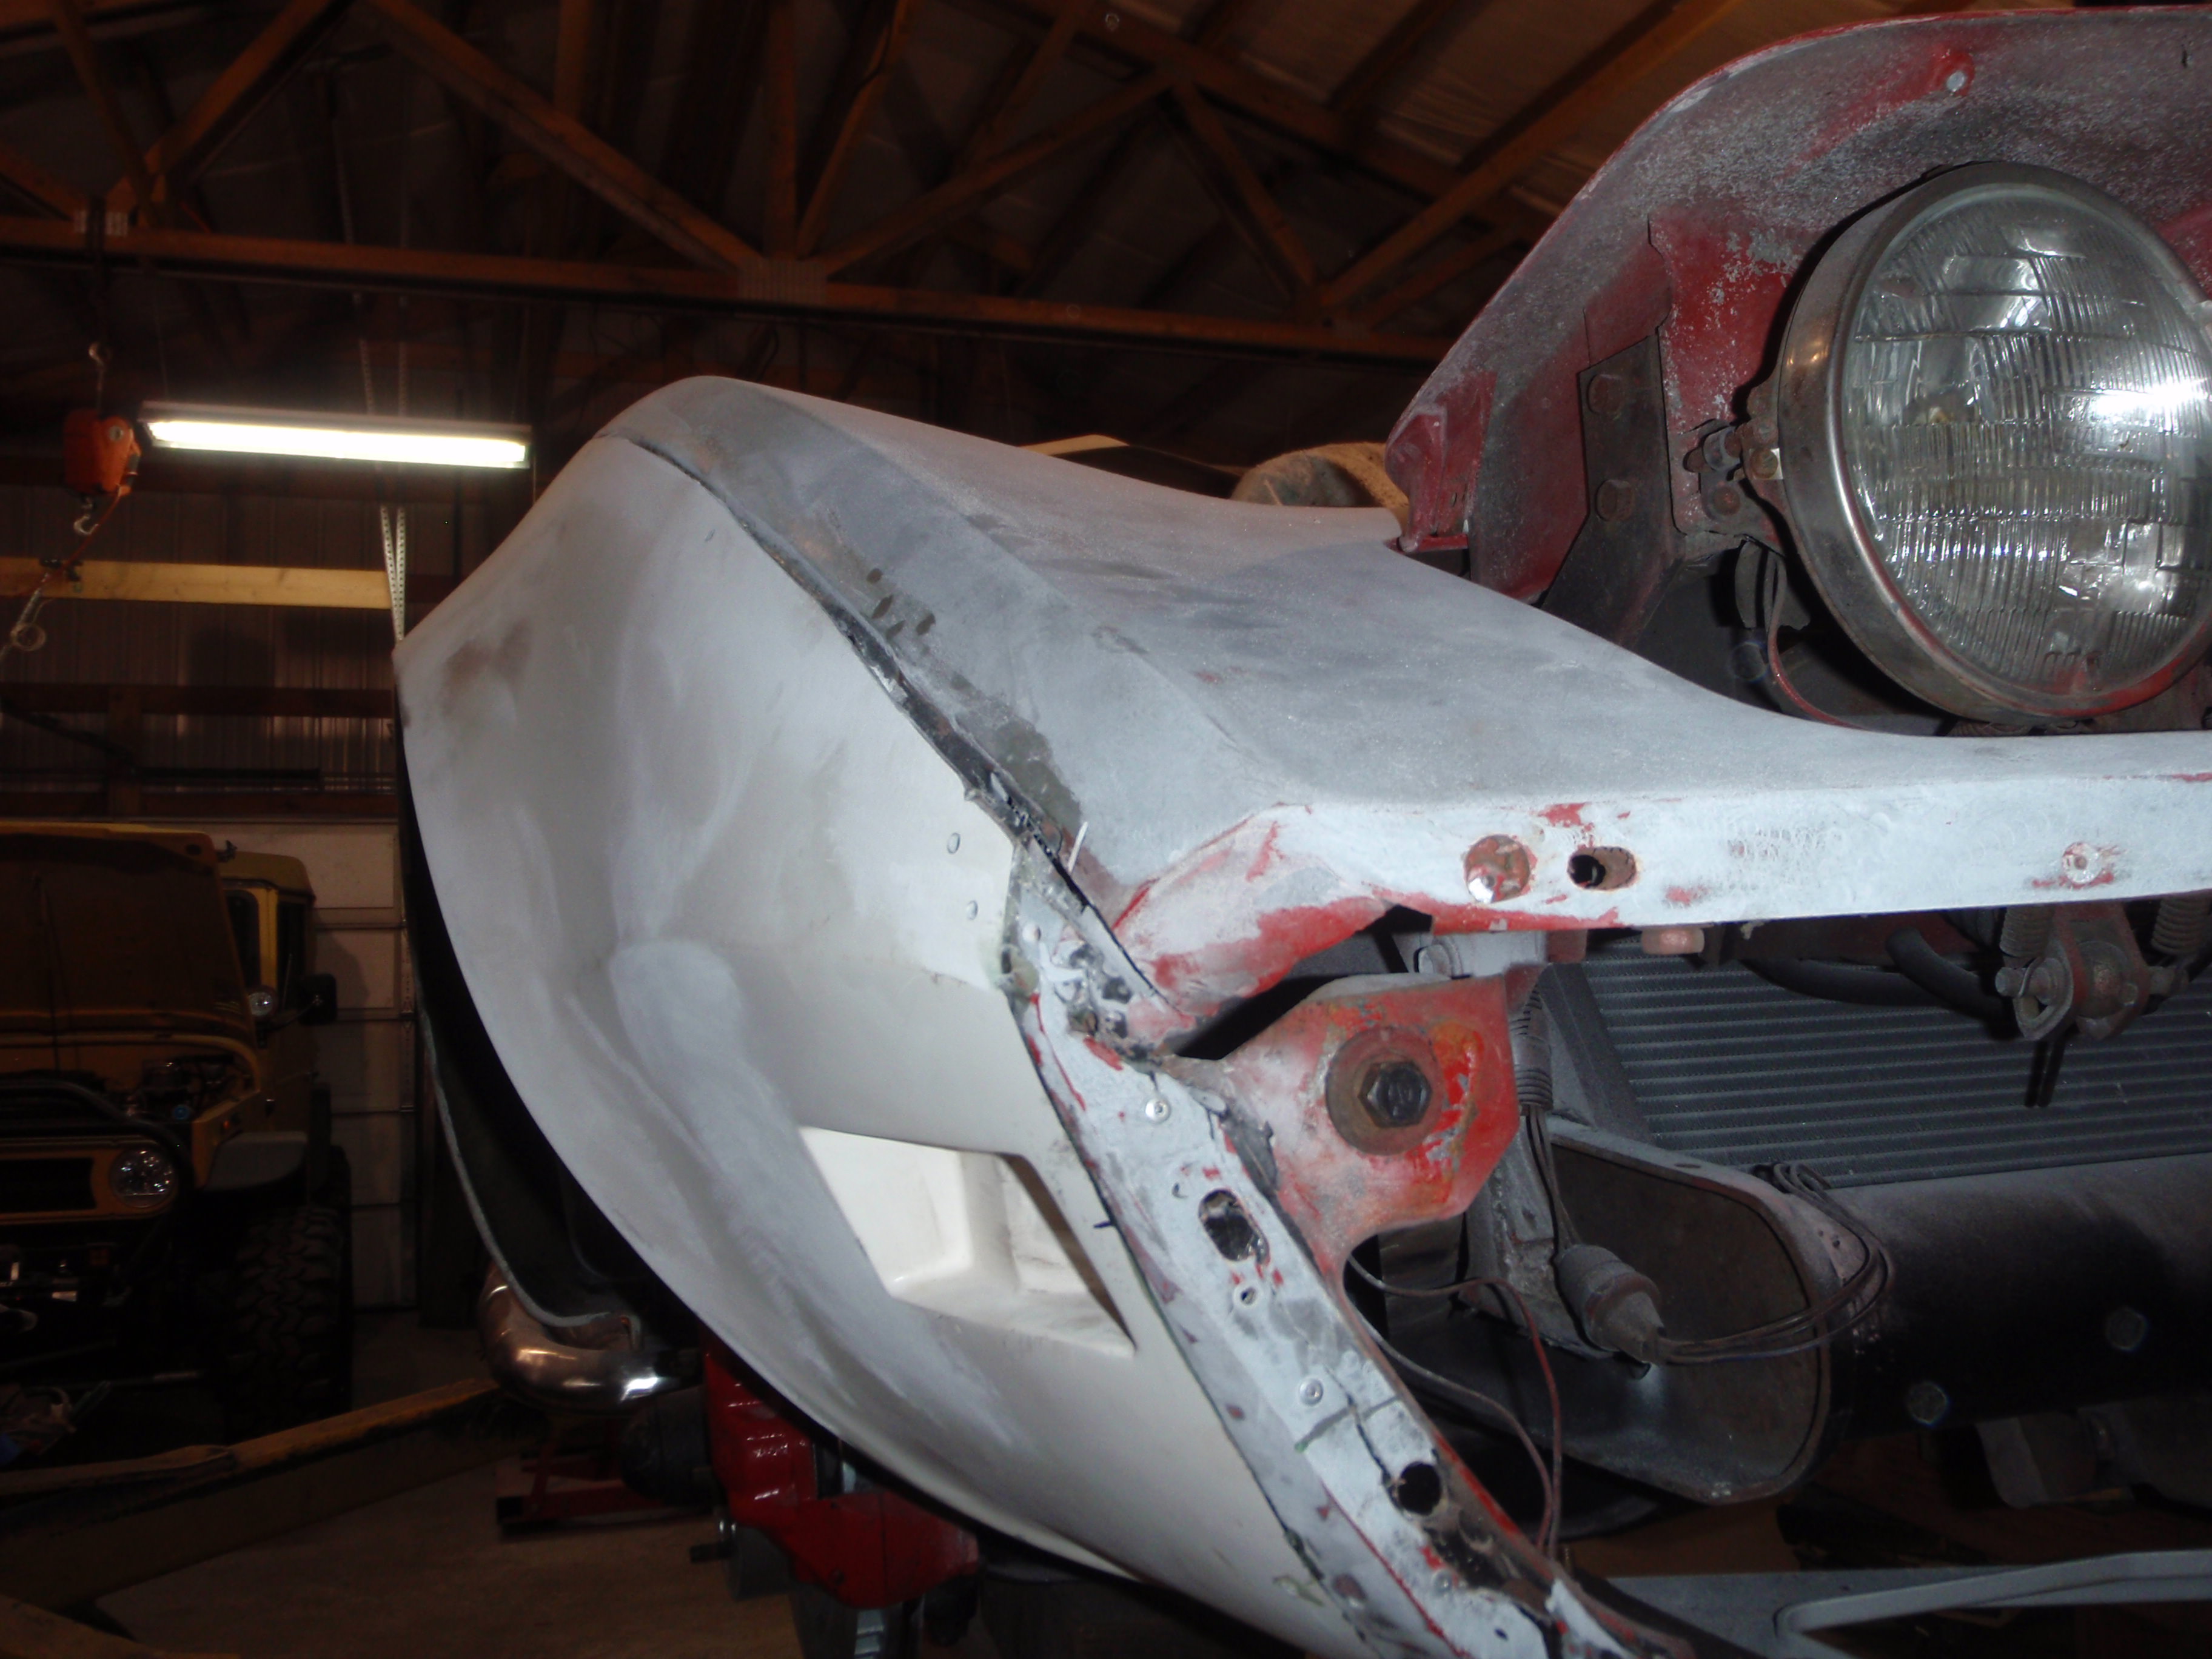
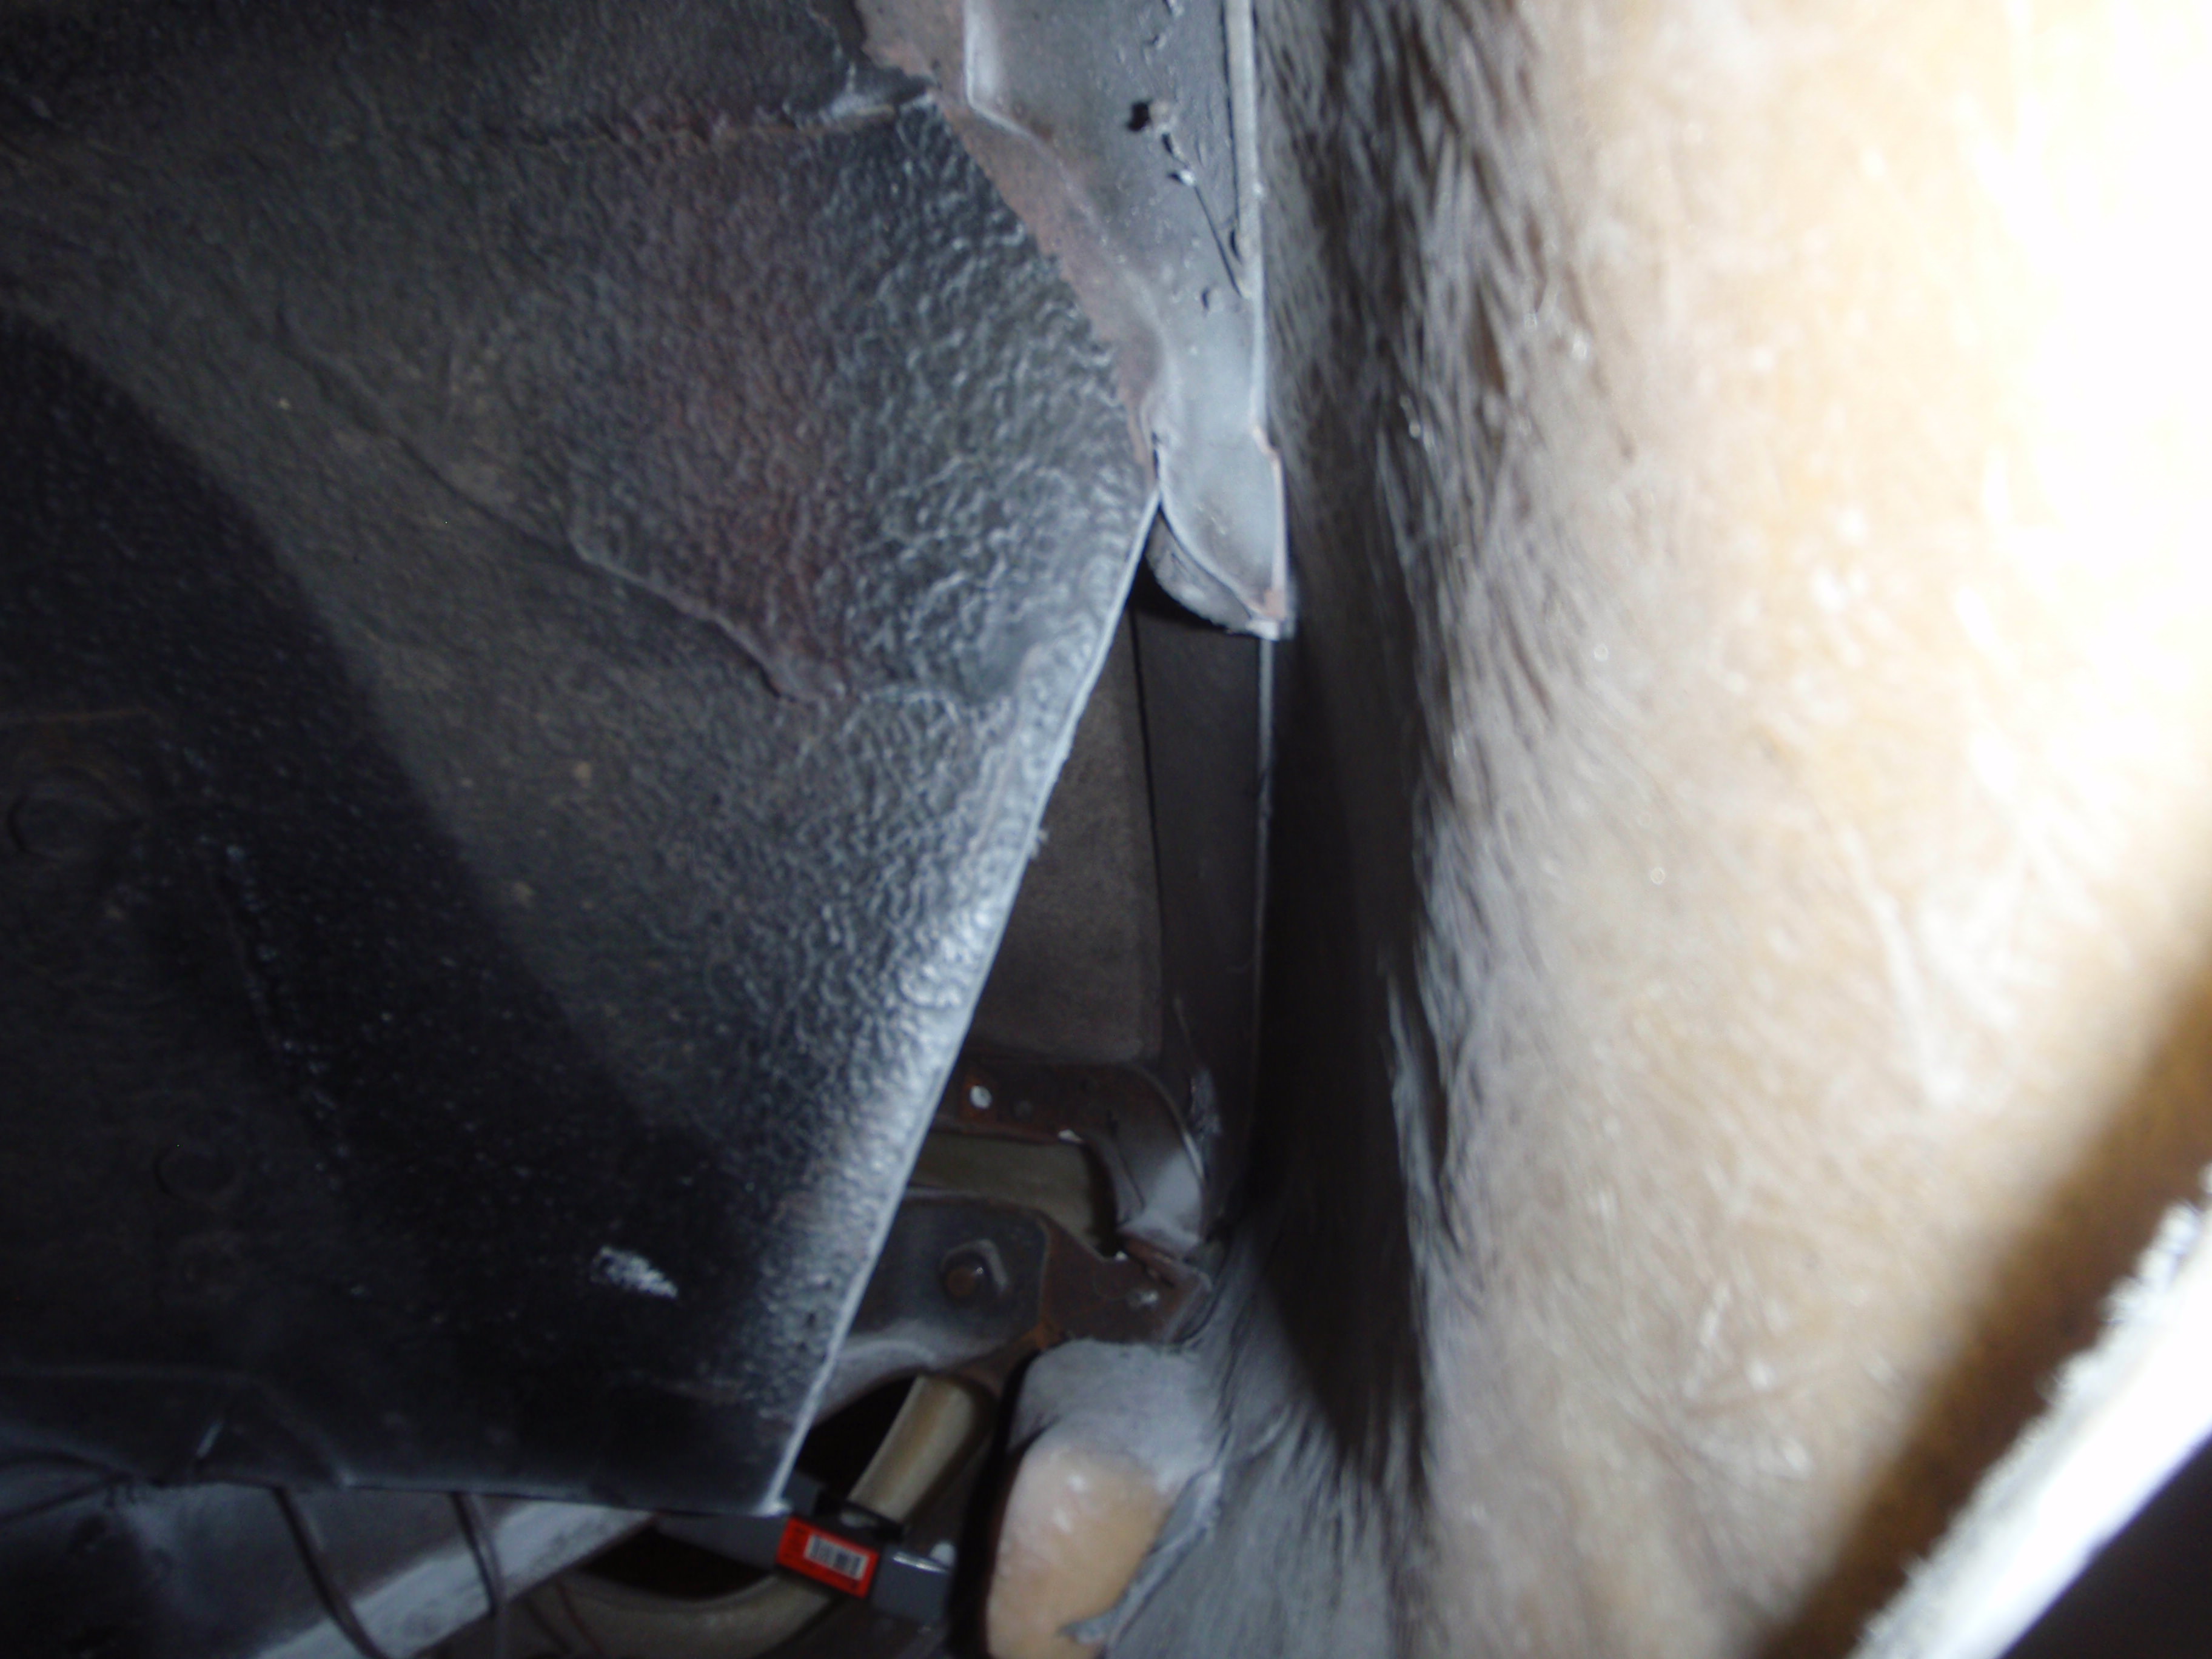
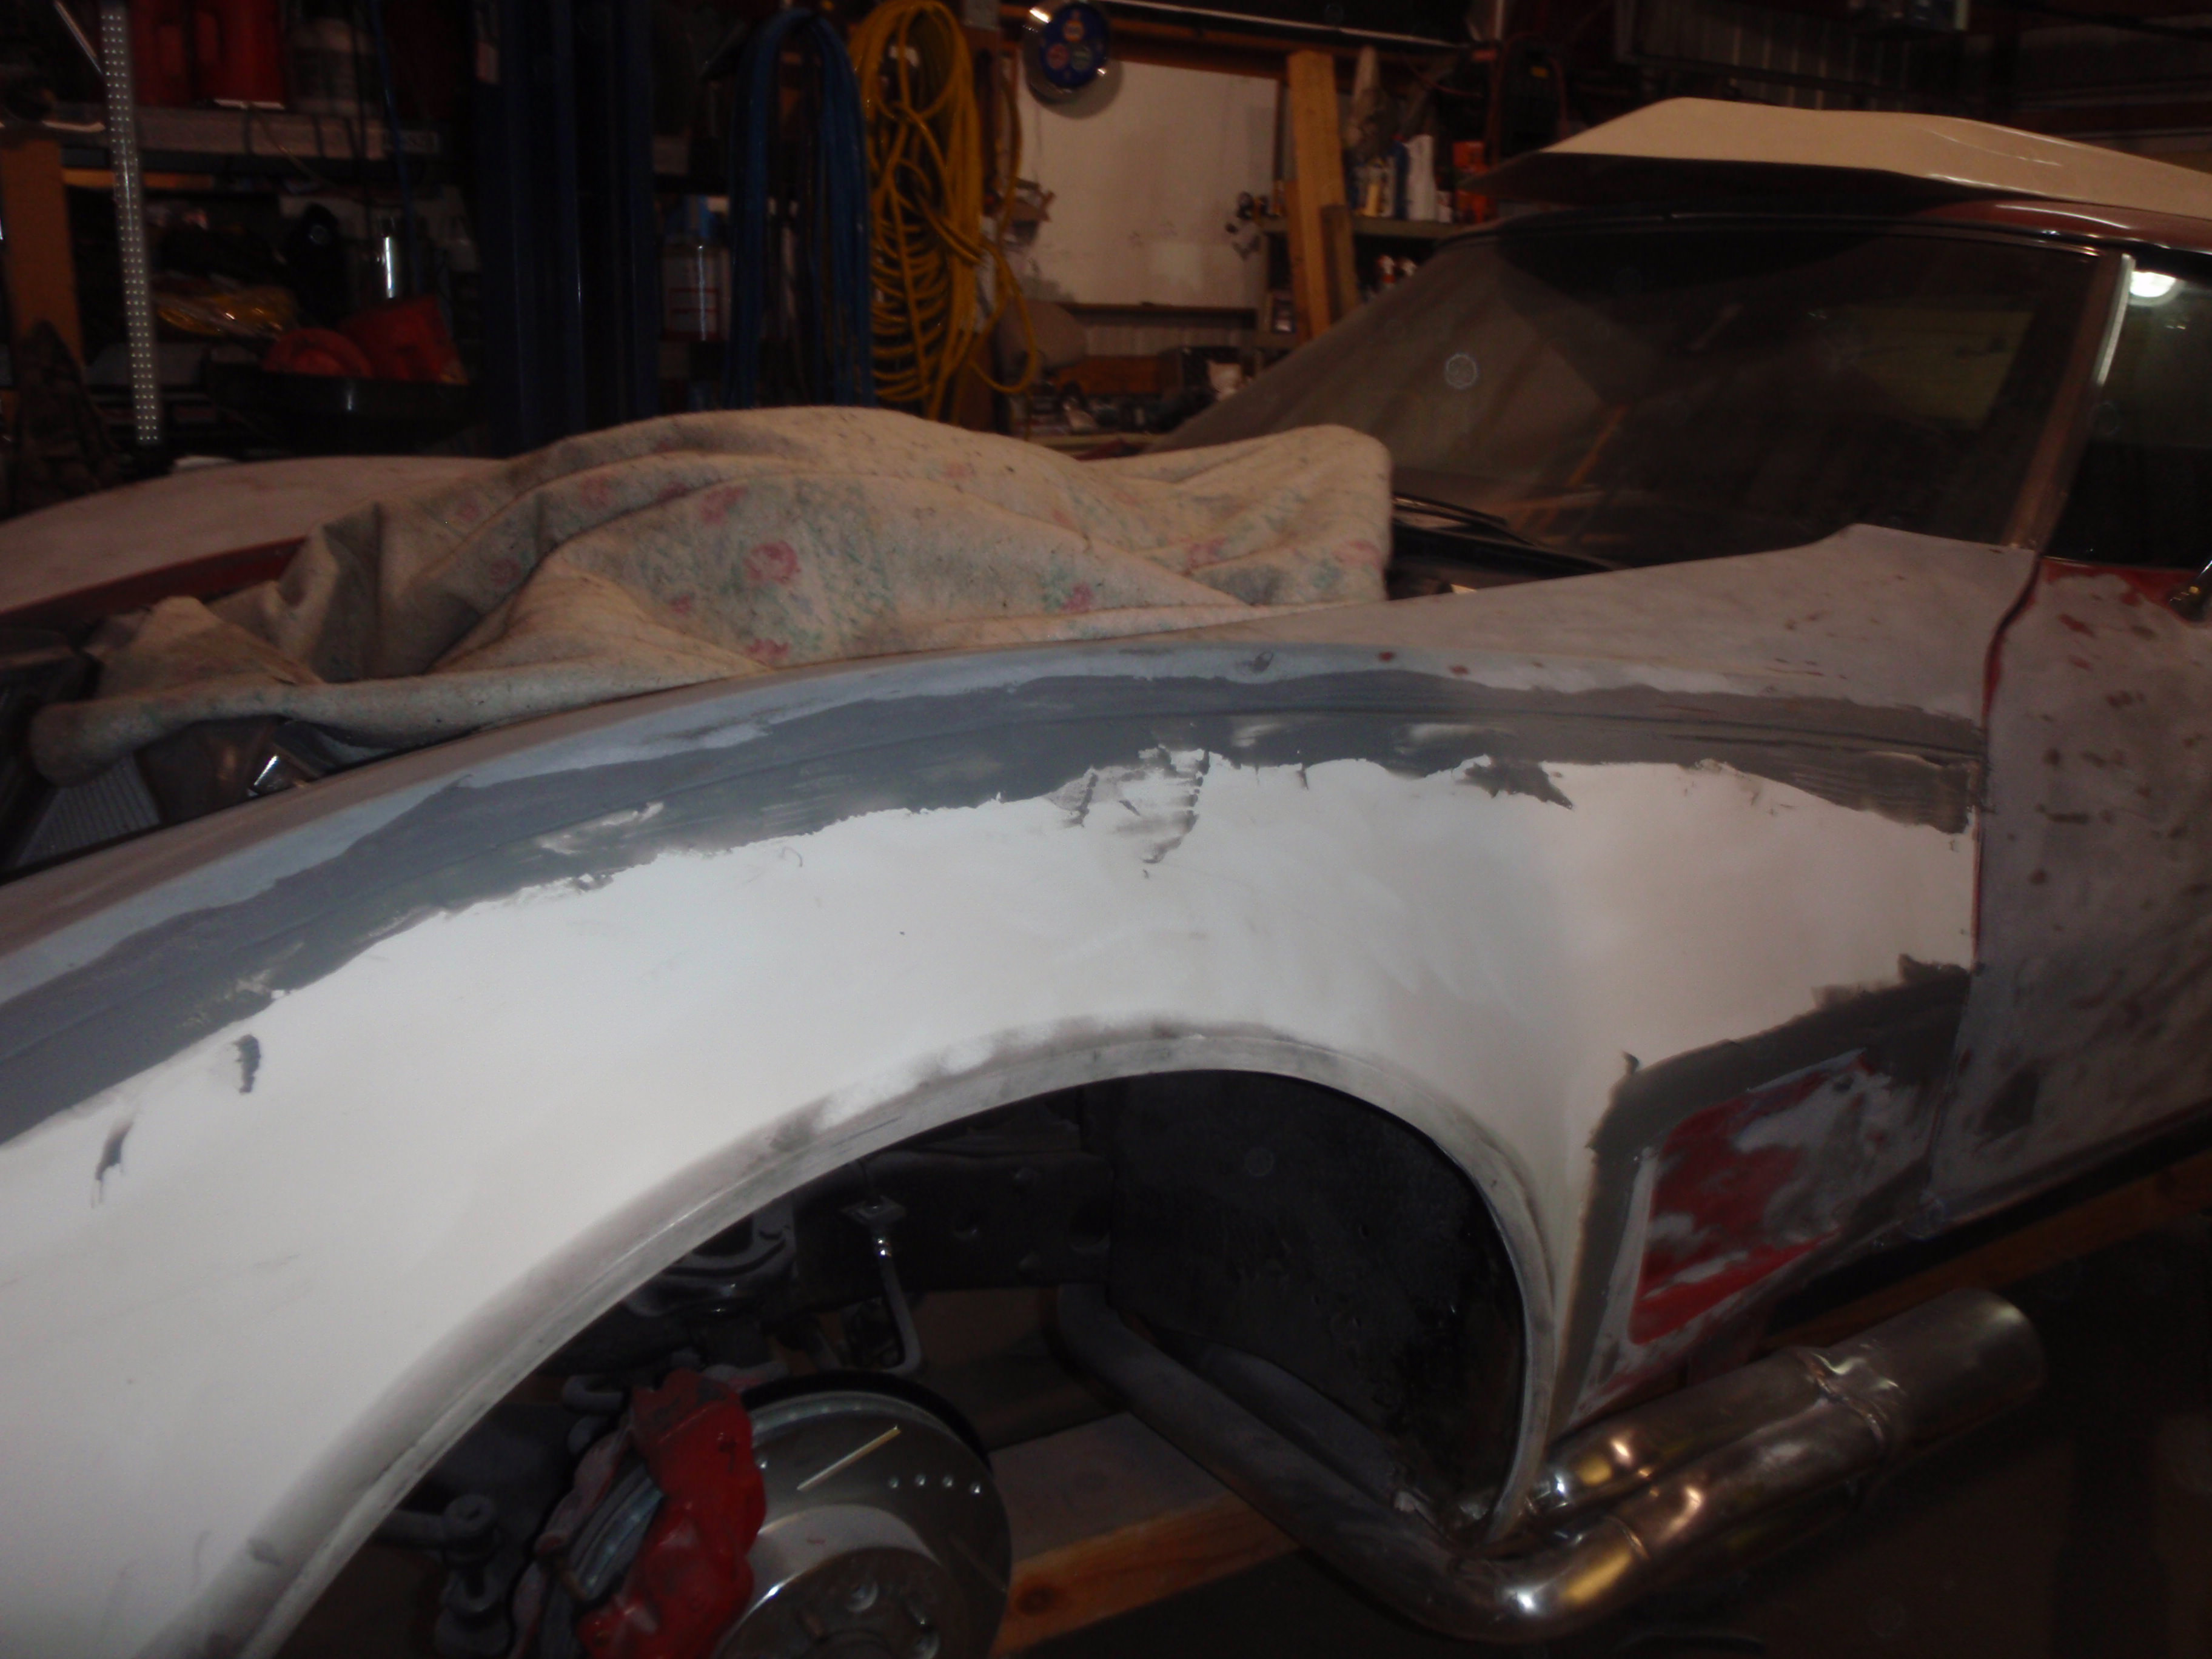
part of my problem (we're back at the front) was the inner mud guards were holding the bottom out
hard to see, but this is actually better
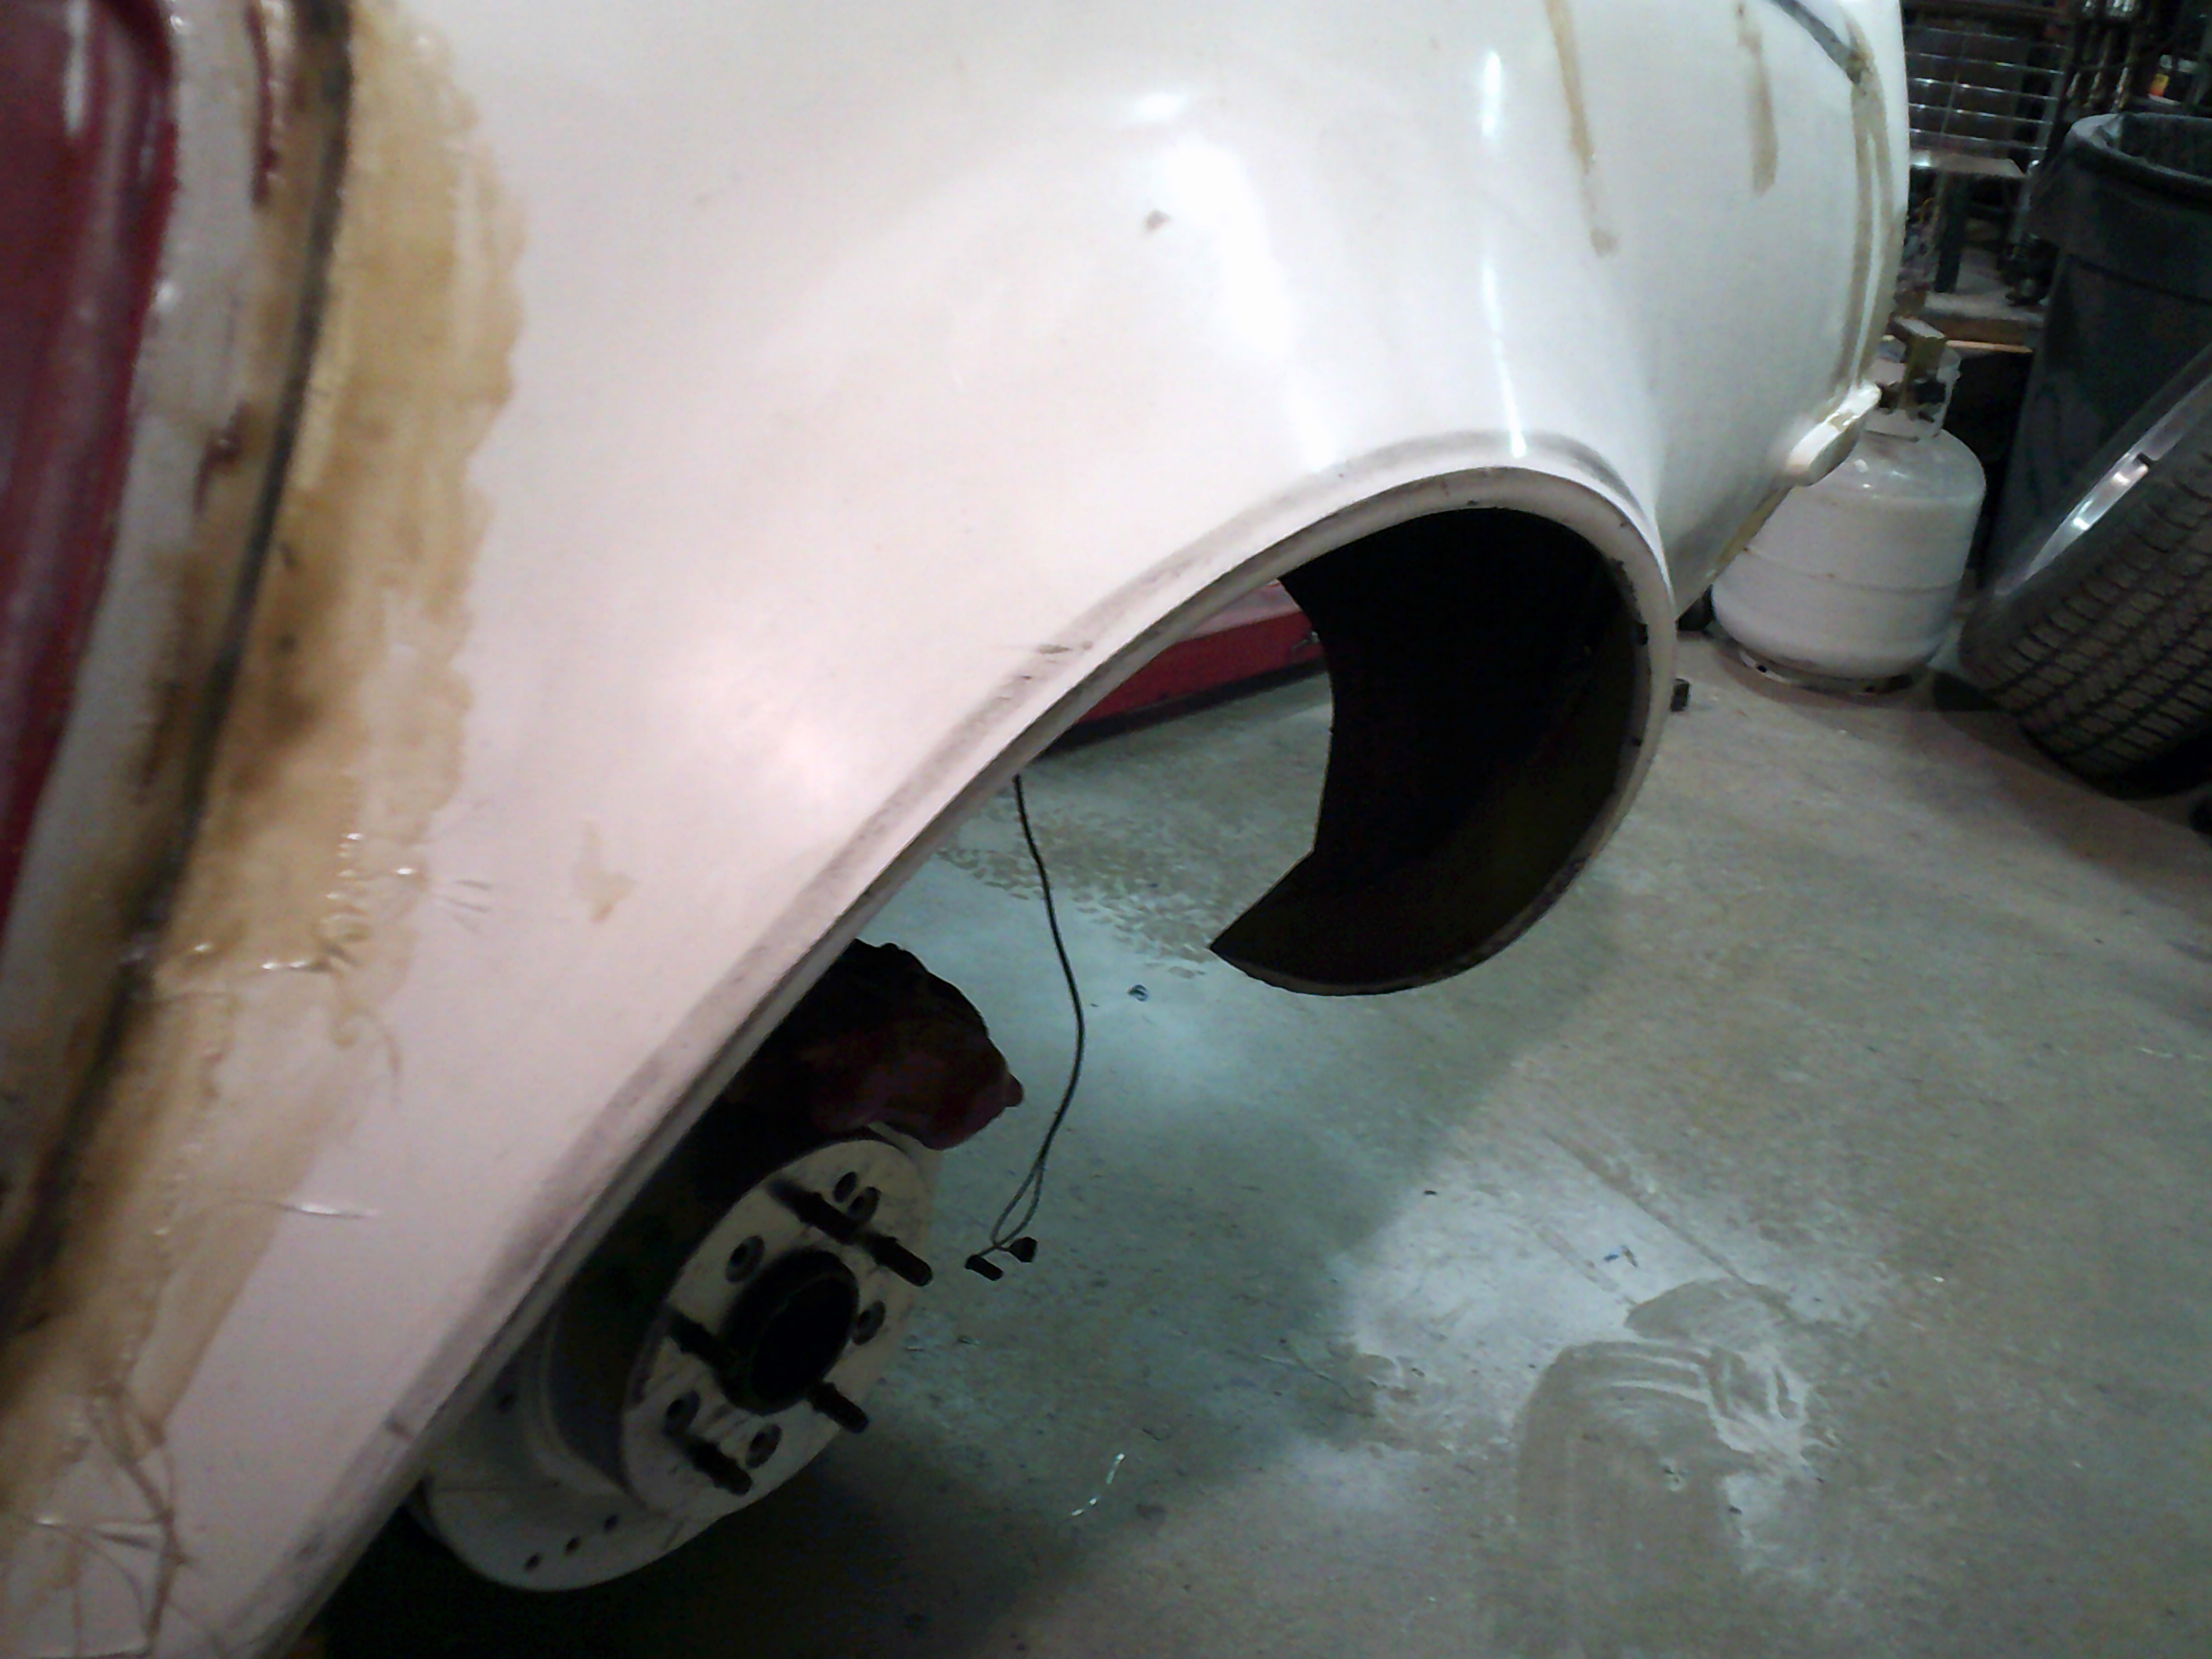
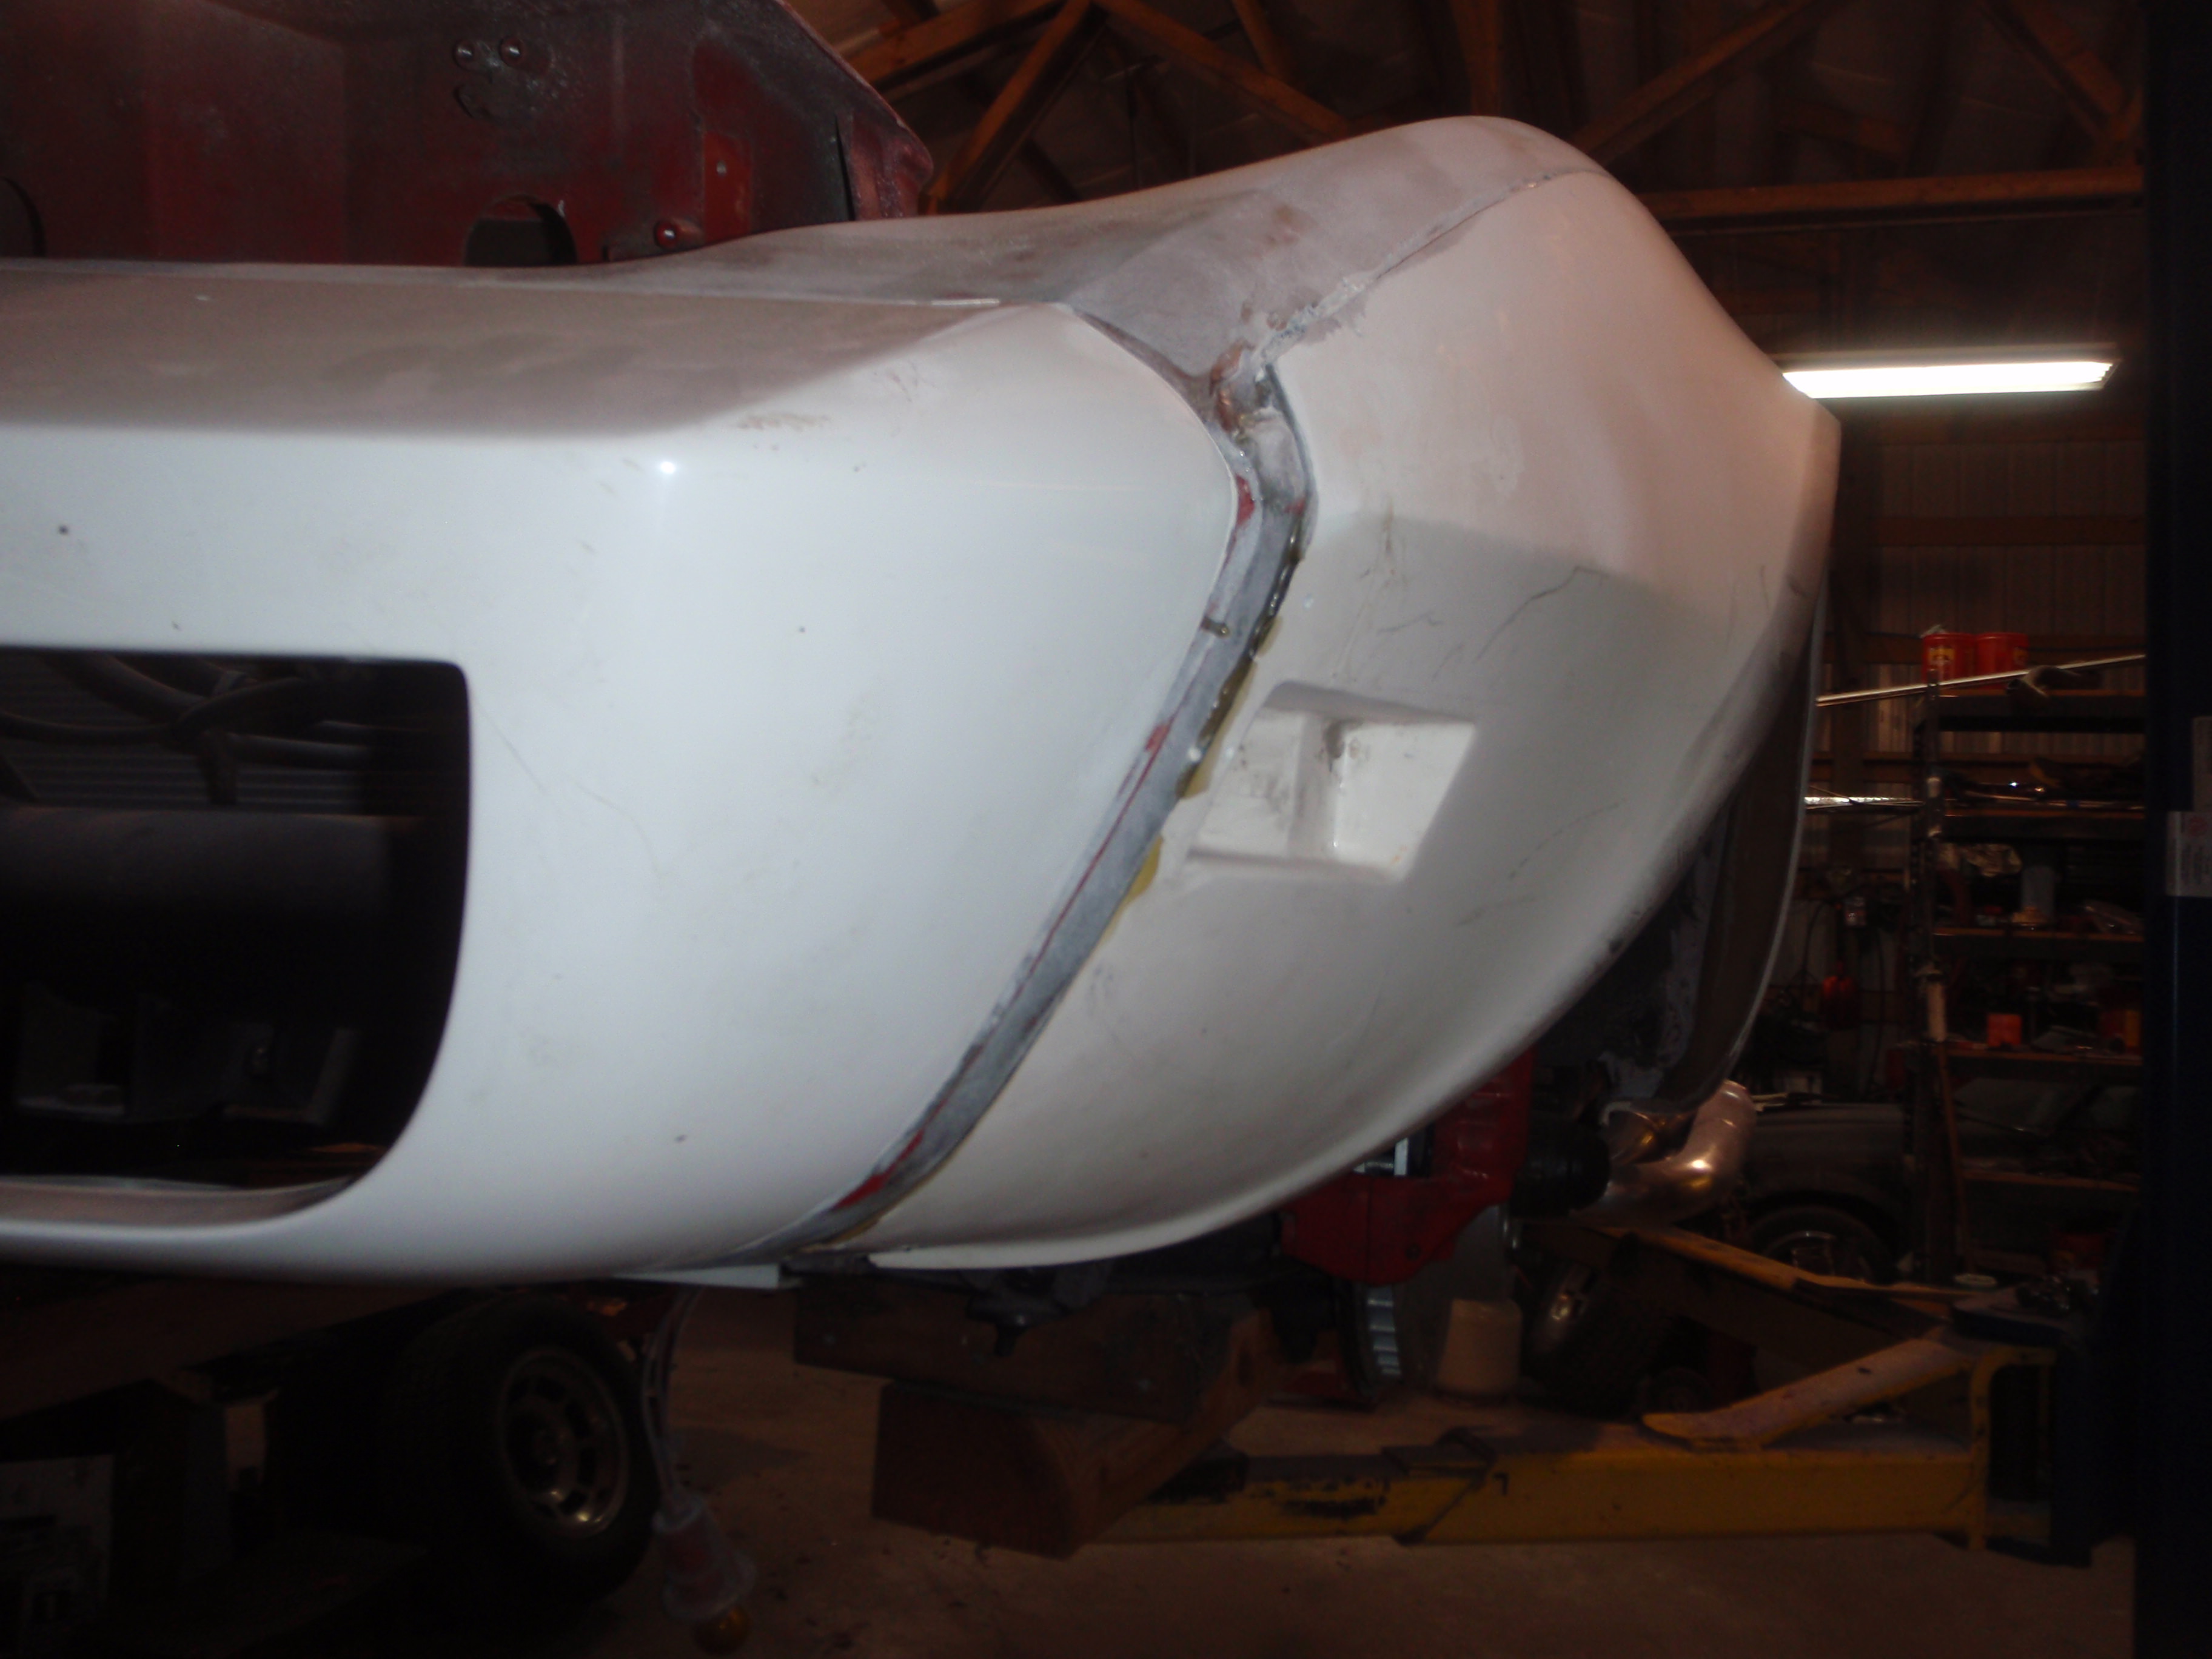
I'm down to this corner.... before nothing was right

fiberglass
I'm sorry, I'm not letting it go - this particular spot is obscene, why CIC didn't make the panel too long is beyond my comprehension... to be honest, I think the fix will be imbed a dowl then fiberglass over the top of it.edited The biggest problem is the wheel well isn't in the same place on either side. On this side, it's too far forward. Again, this is 'normal' in my opinion for fiberglass work - but again, when you spend nearly 2000 for flares, you expect at least a certain level of quality. These failed.They said that it's 'better' now... caveat emptor.
and the wheel opening is lower on the panel - which this is my mistake, I presumed that it would be a mirror of each other and I used the old fender to rough in where the cuts needed to be... stupid me.
this is the the other side - note how nice the gap is? too bad the wheel arch is so screwed up (poor molding and an 'ship it' attitude - as seen by the gel coat they painted on the outside to cover up the screwed up edge)
at least this gap is close - but were they so cheap they couldn't give me 1/2" to trim?
on to filling holes
I really need to aside here for a moment, though.edited About 1/2 of my problems would have been solved had I paid more attention then presuming they did great work. I love the flares themselves and all of this can easily be fixed... easily'ish. I'm not looking forward to making the outermost edge perfect - to the point that I may have some metal edges lasered out then adhere them to these fenders.... we will see
first, fitting
trying to pull it together... it didn't go well
take 2.... do note that most of these pictures show that I had to reattach the side bits .... bad words may have been said
rather then throwing things, I went to the back for a bit.... clever, no?
part of my problem (we're back at the front) was the inner mud guards were holding the bottom out
hard to see, but this is actually better
I'm down to this corner.... before nothing was right
The following users liked this post:
SuperBuickGuy (03-09-2018)
03-07-2018, 08:56 AM
#125
Nam Labrat


Member Since: Sep 2013
Location: New Orleans Loo-z-anna
Posts: 33,893
Received 4,173 Likes
on
2,735 Posts

Great pics and explanations. I really appreciate the way you are able to mix equal amounts of knowledge, sarcasm, and PAIN into the post!

The following users liked this post:
SuperBuickGuy (03-09-2018)
03-09-2018, 12:12 AM
#126
Melting Slicks
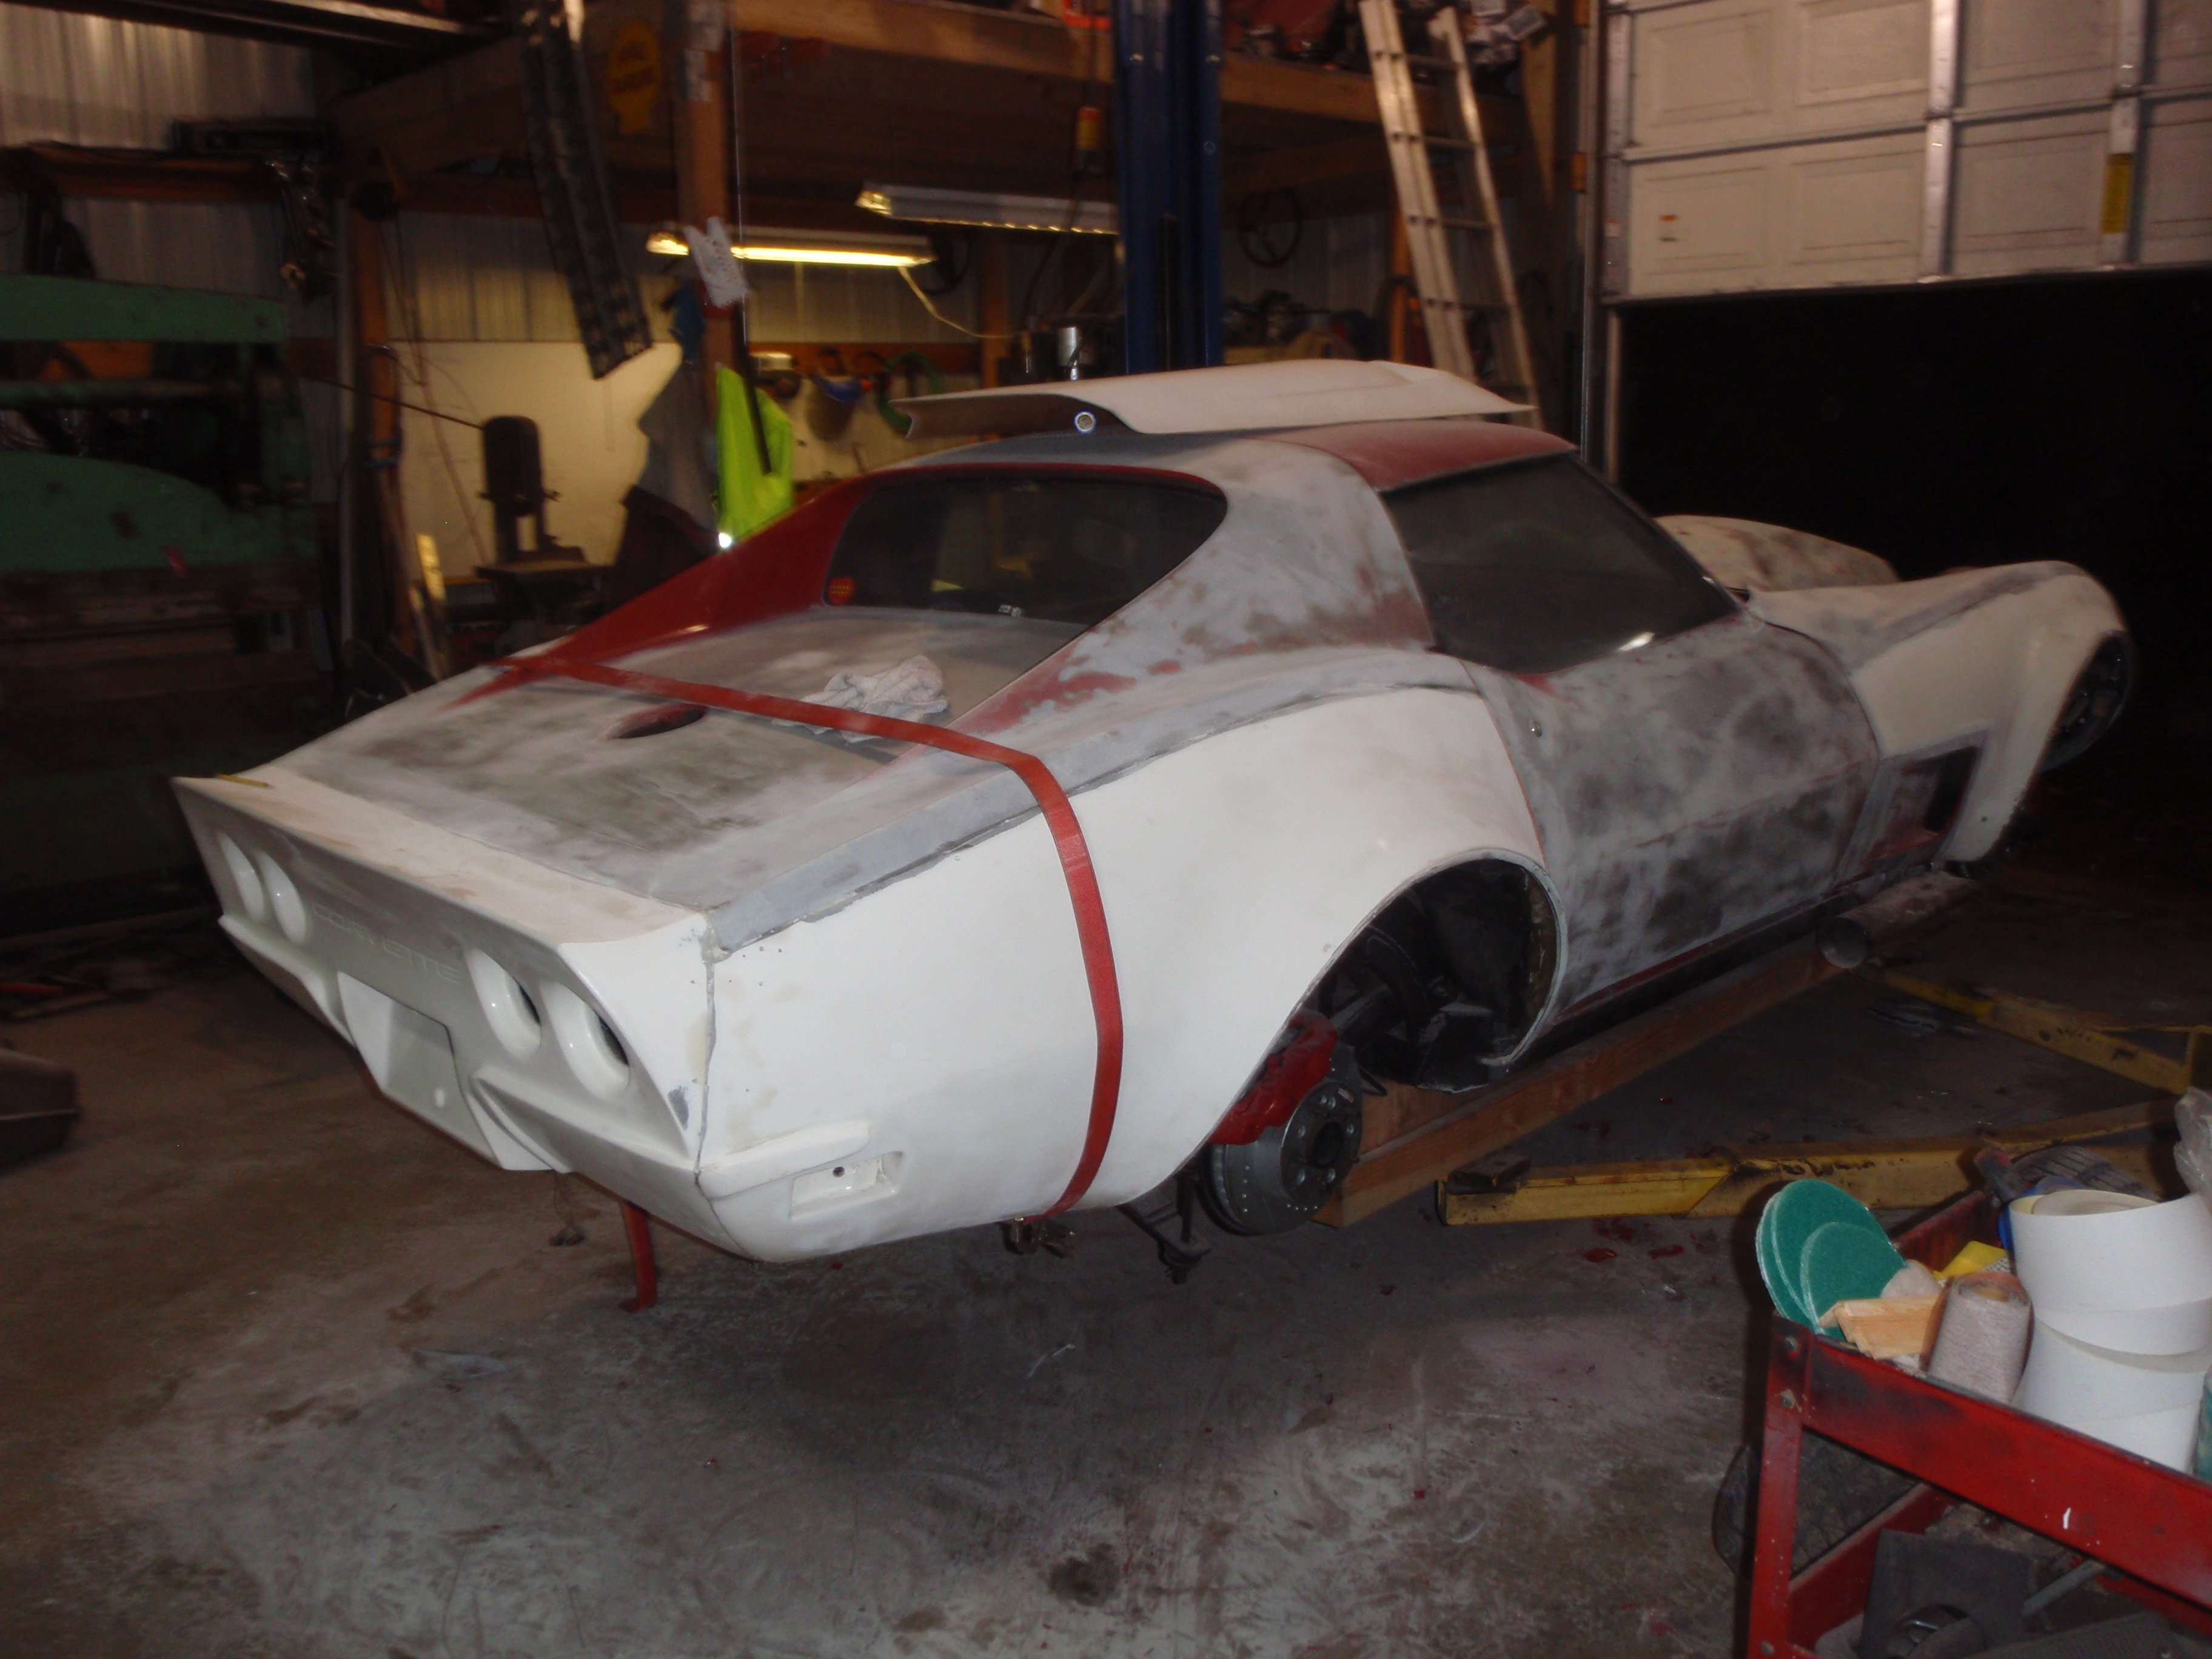
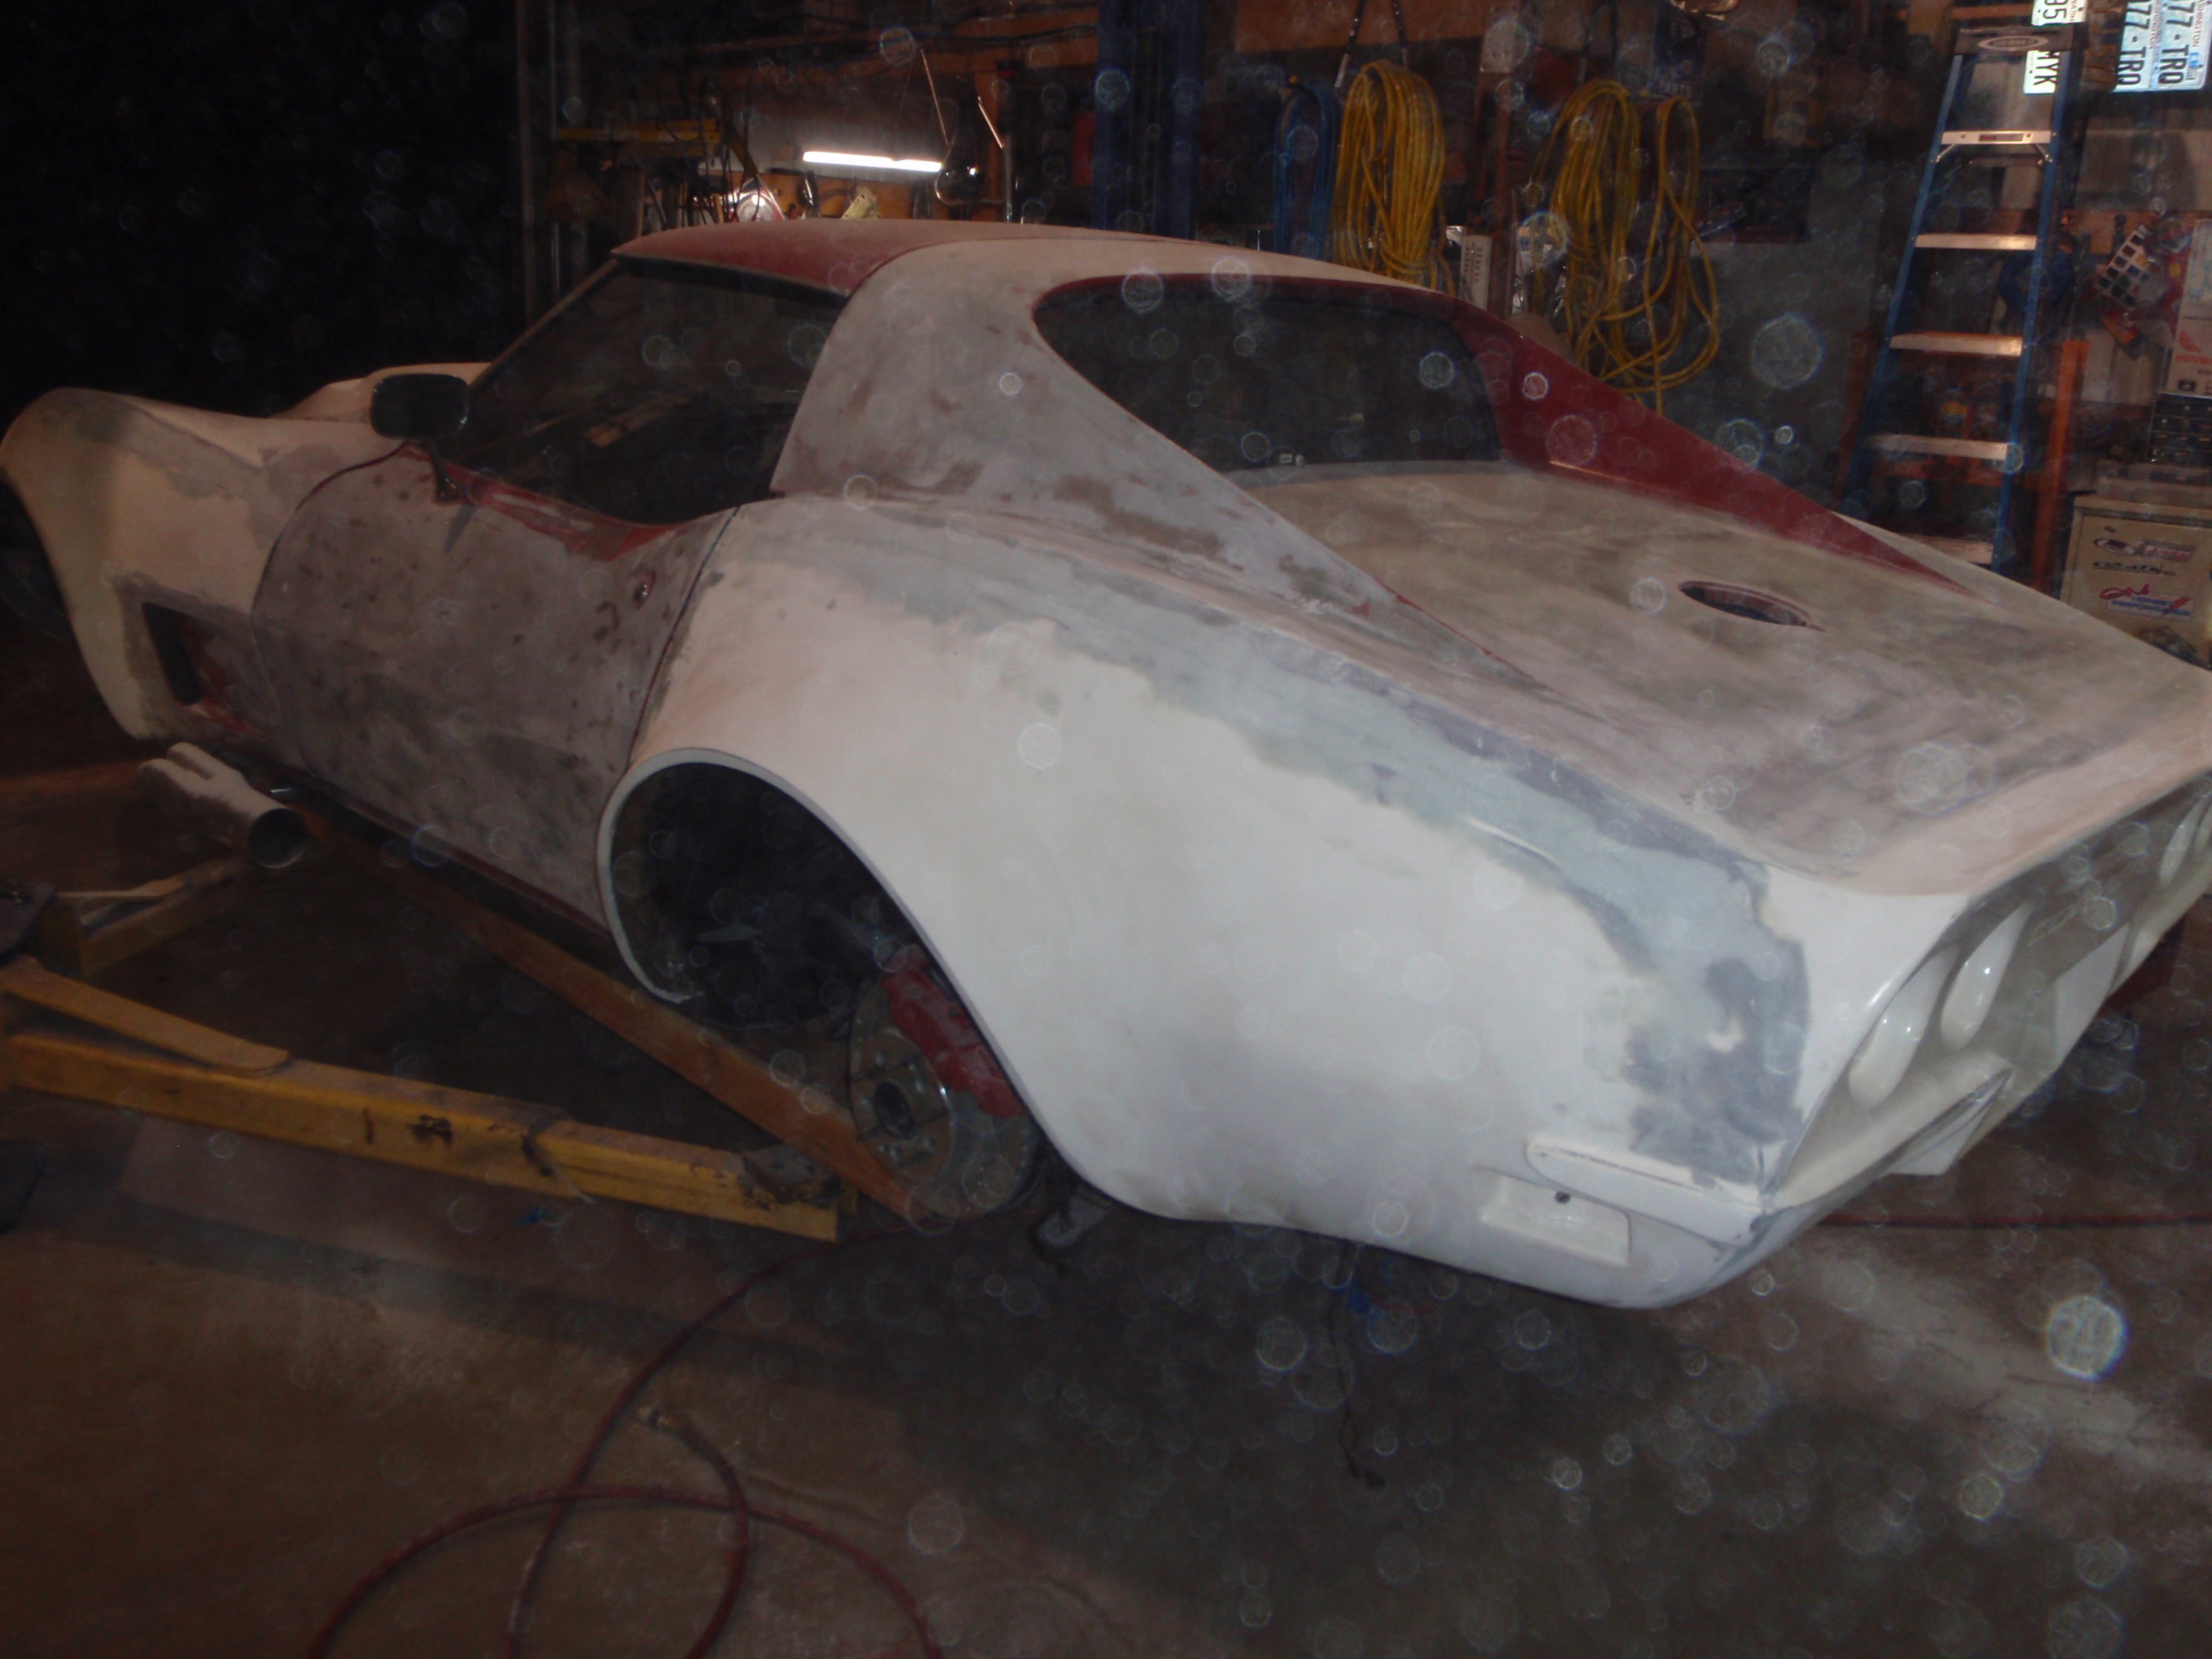
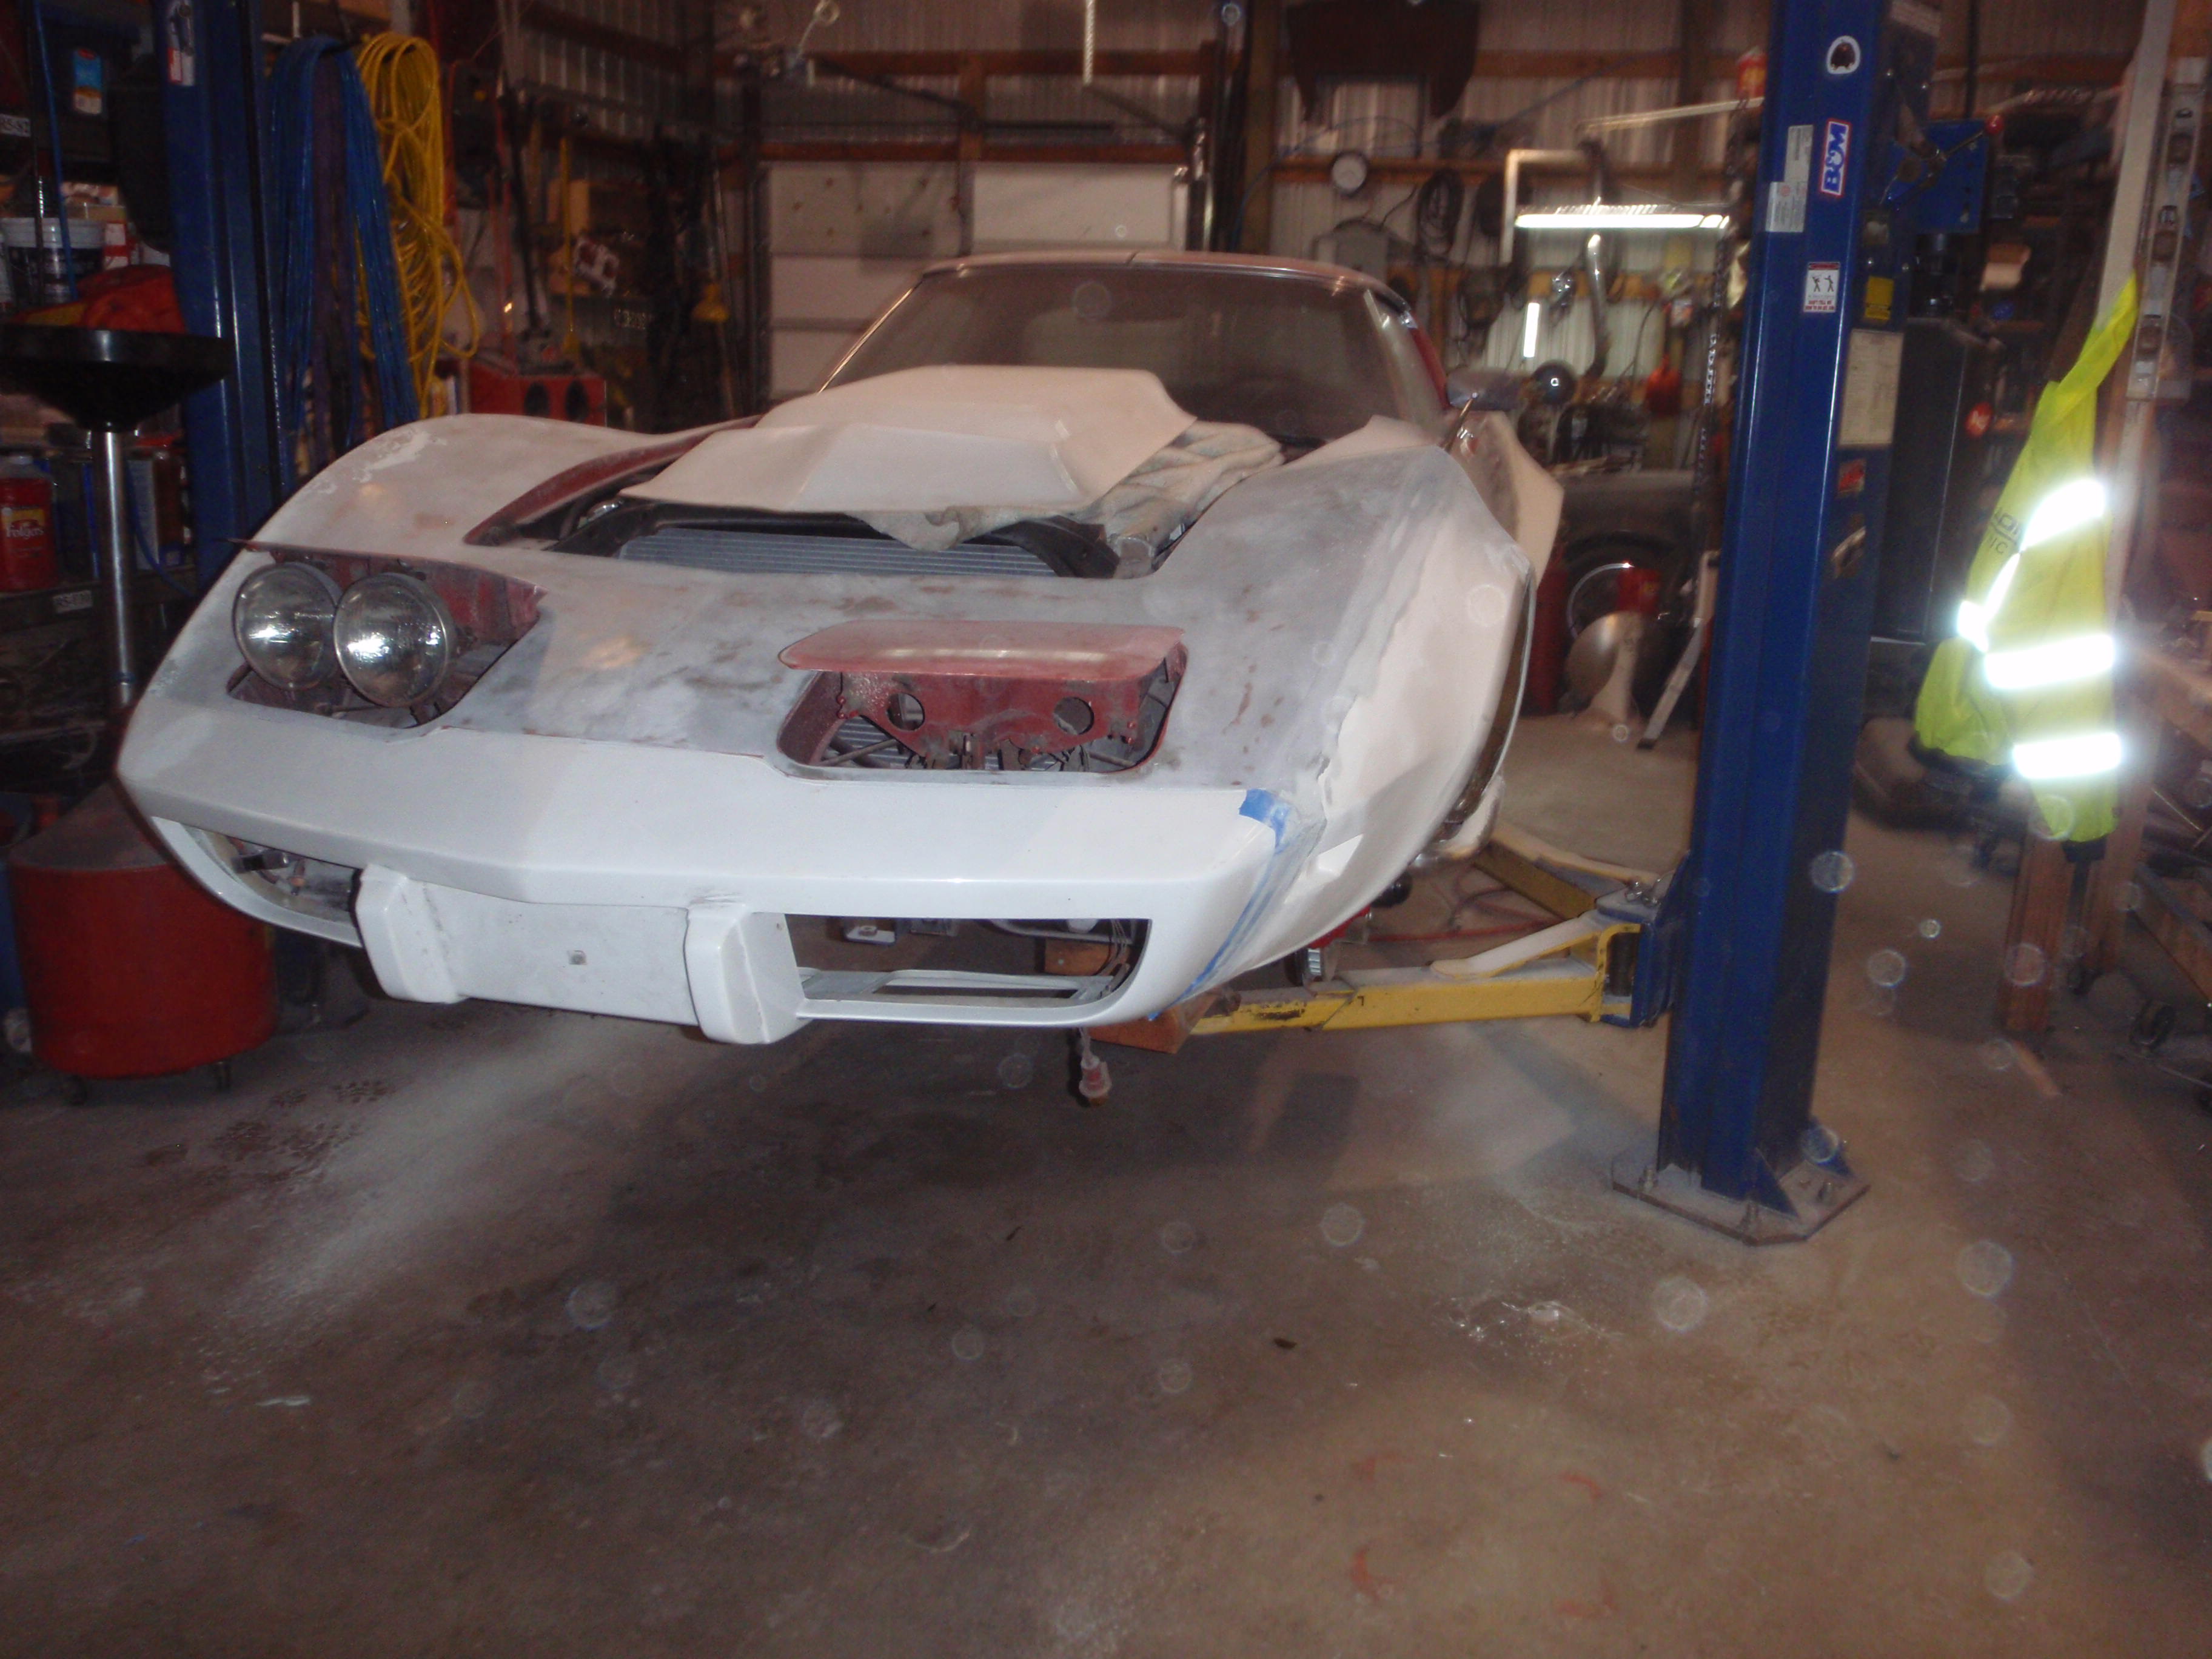
more work done that looks like nothing was done...
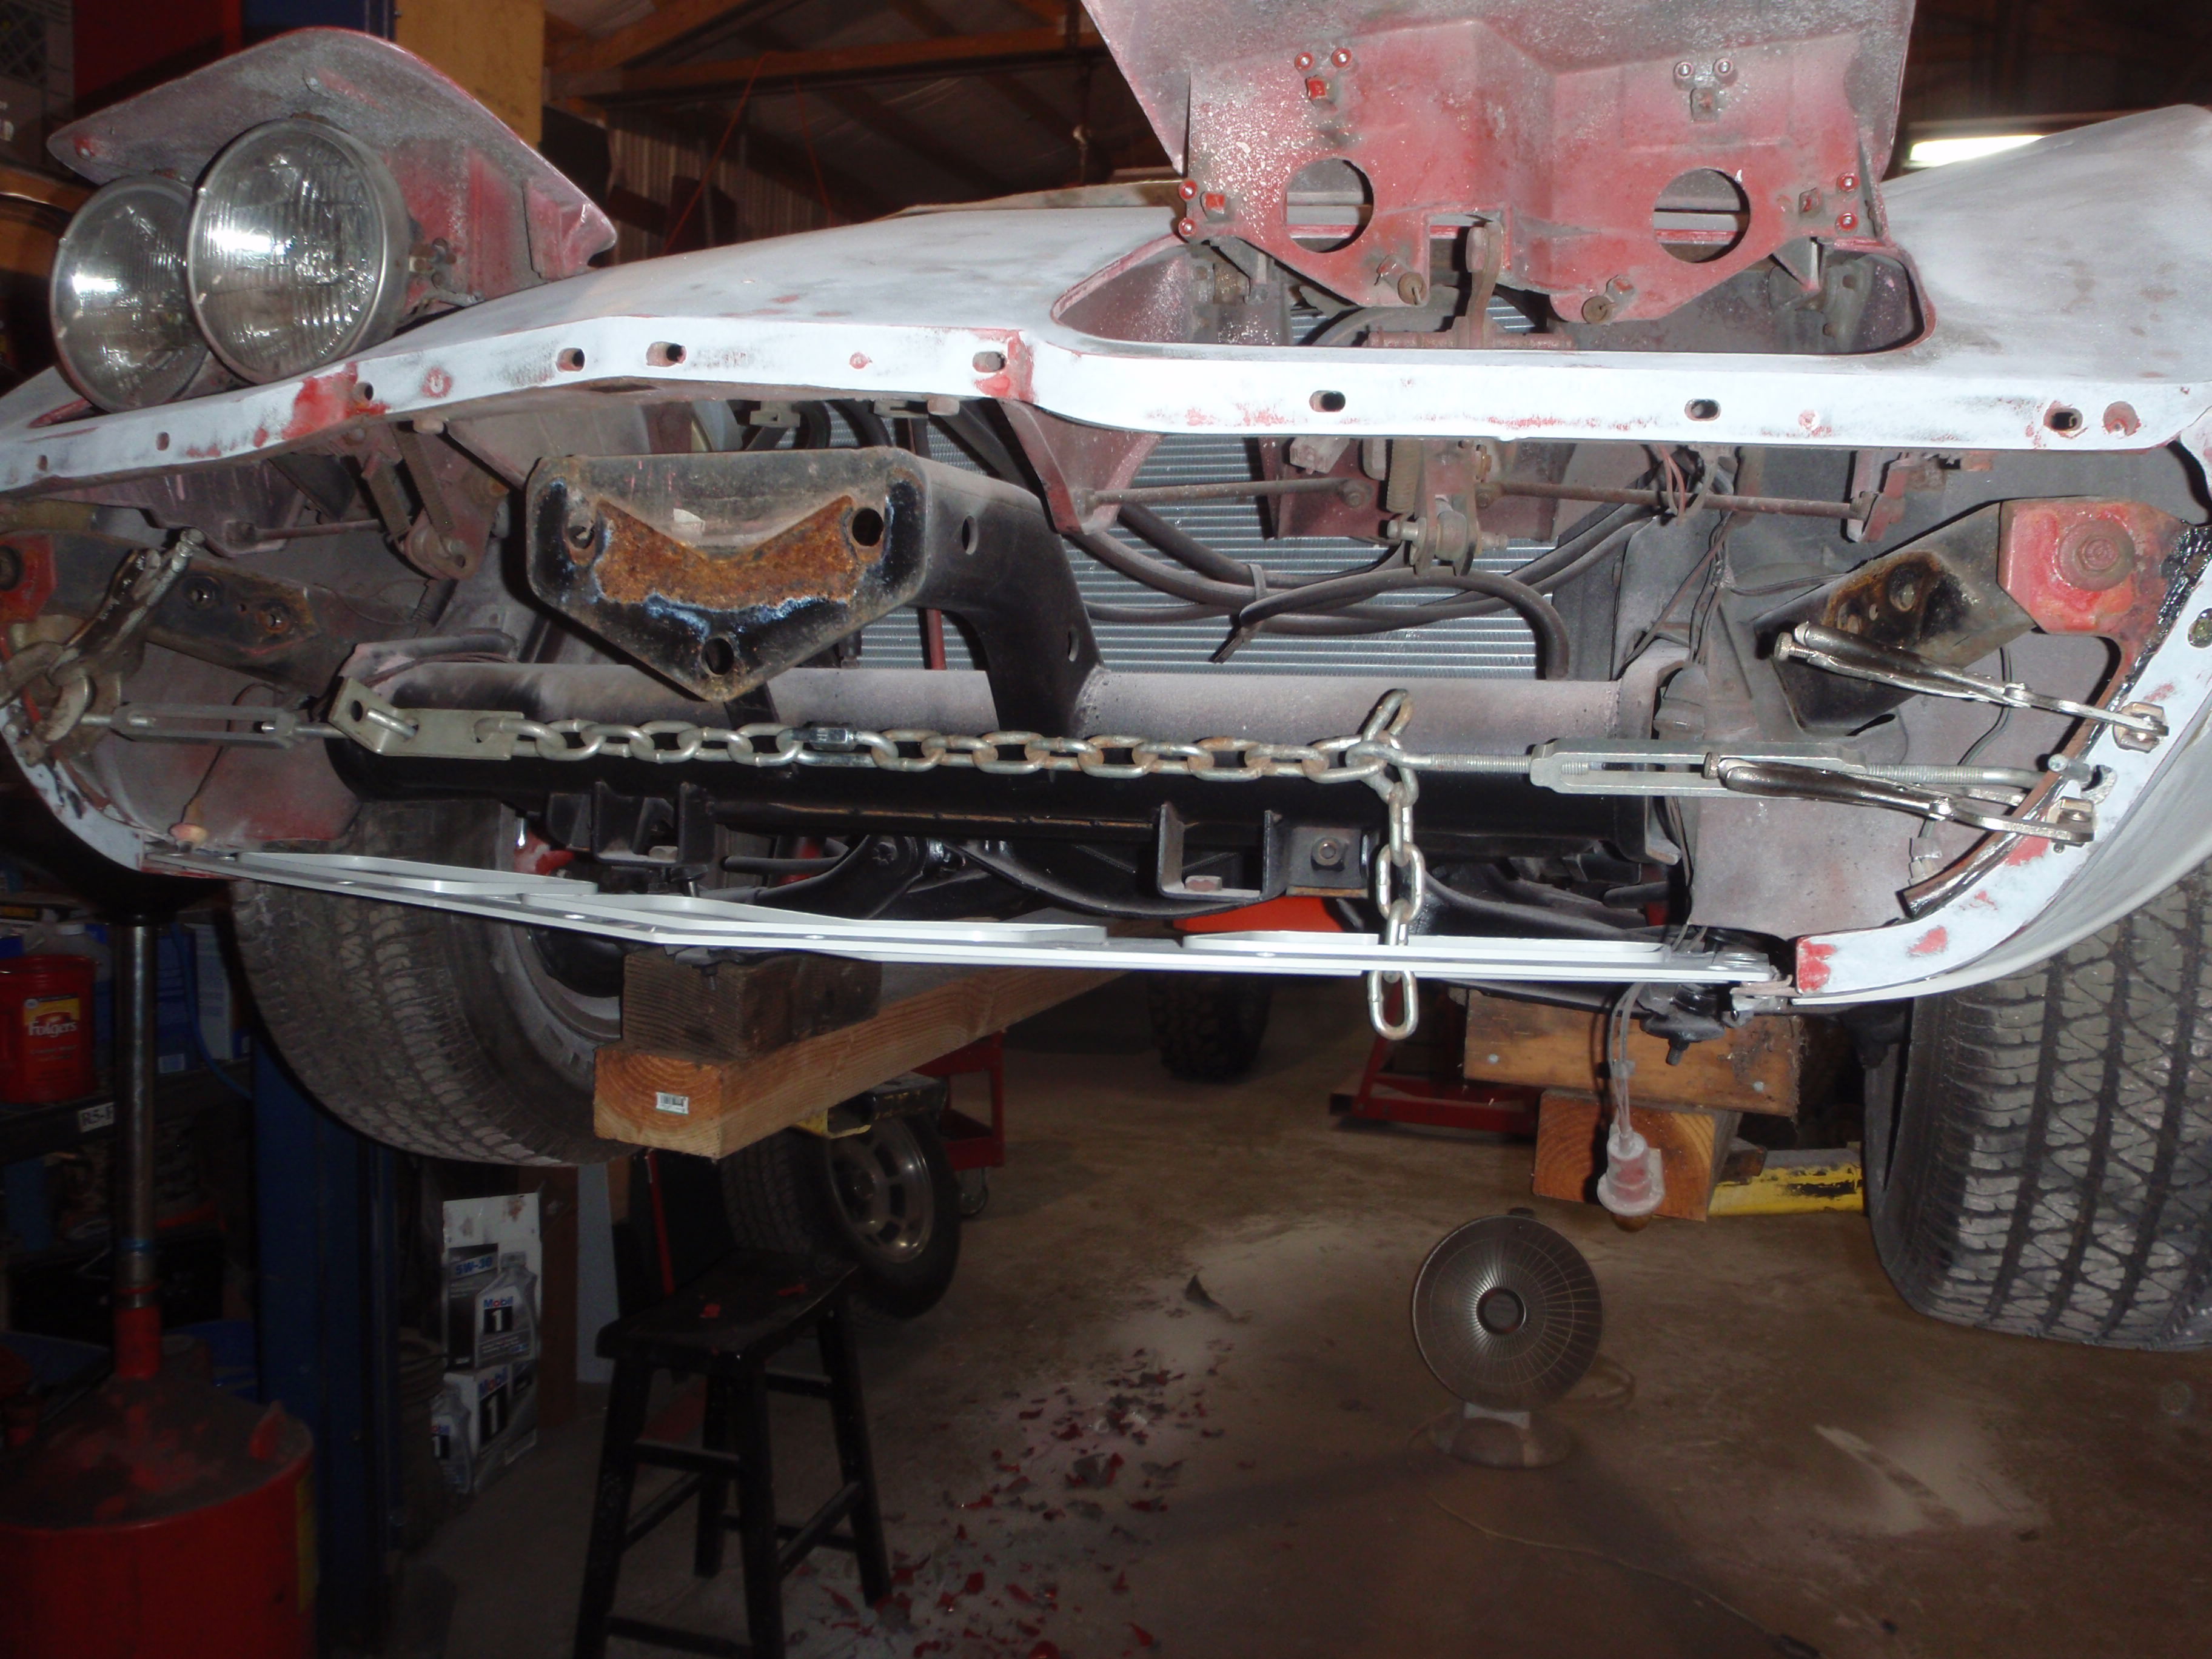
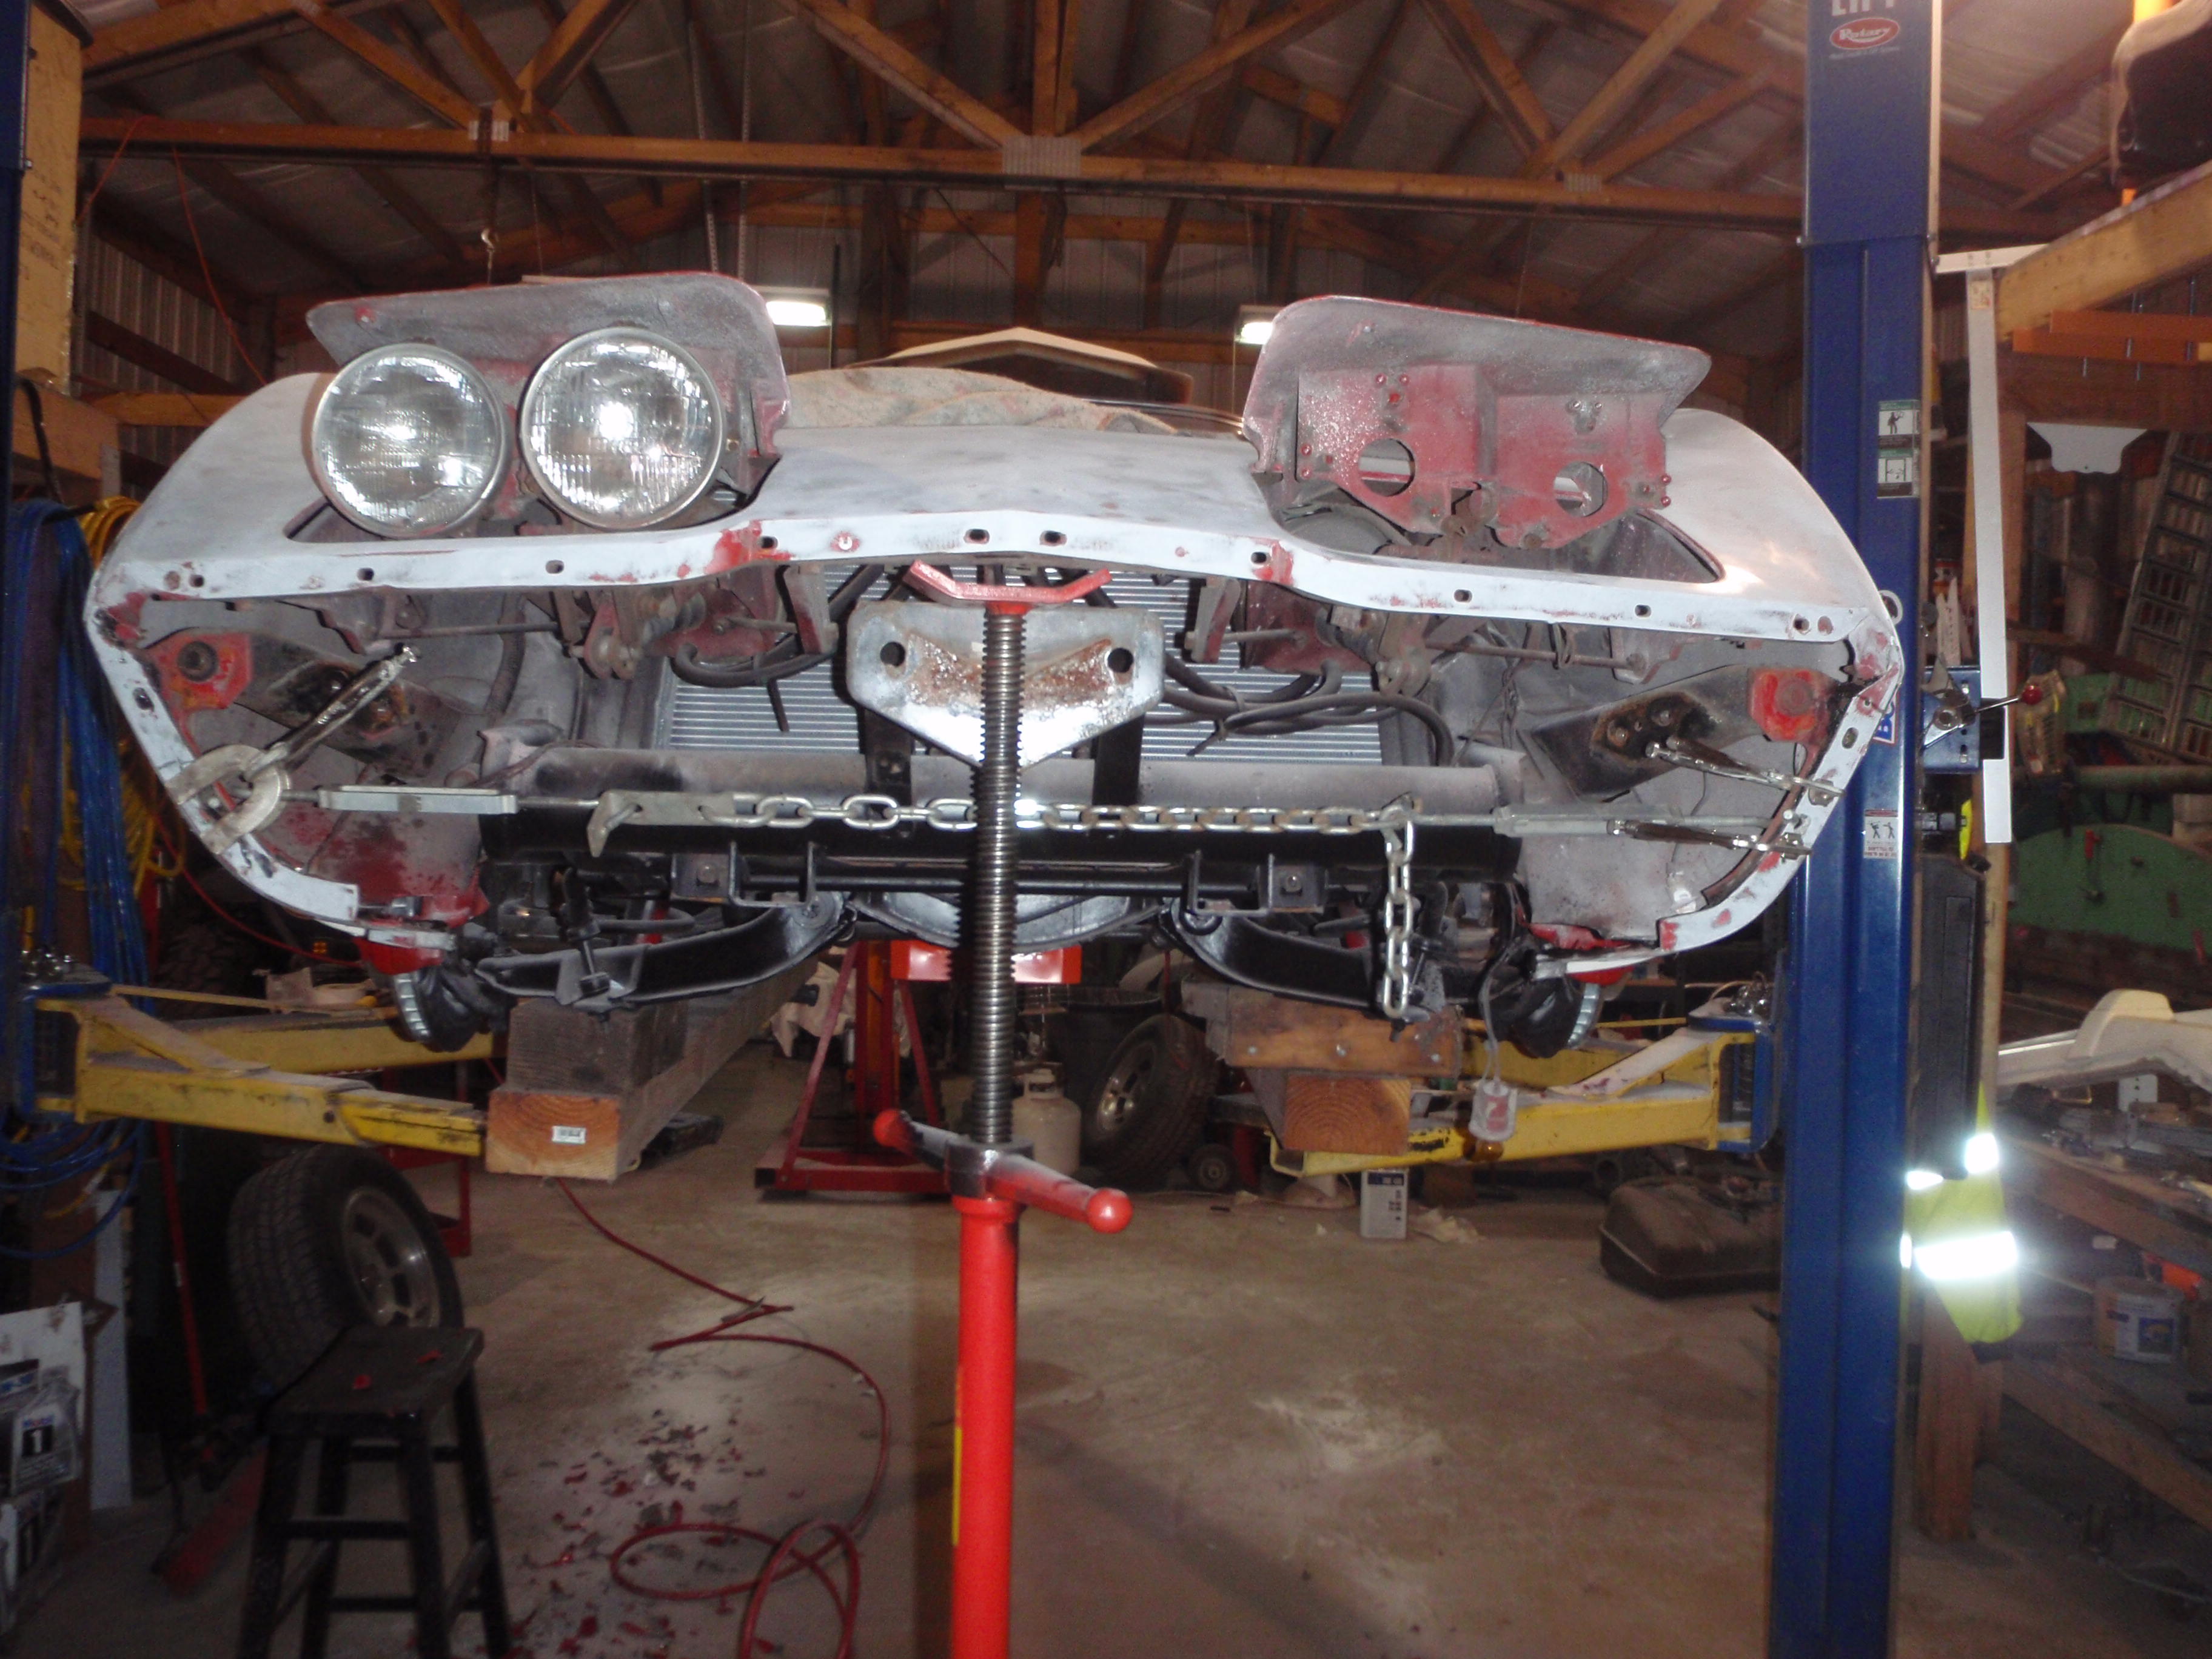
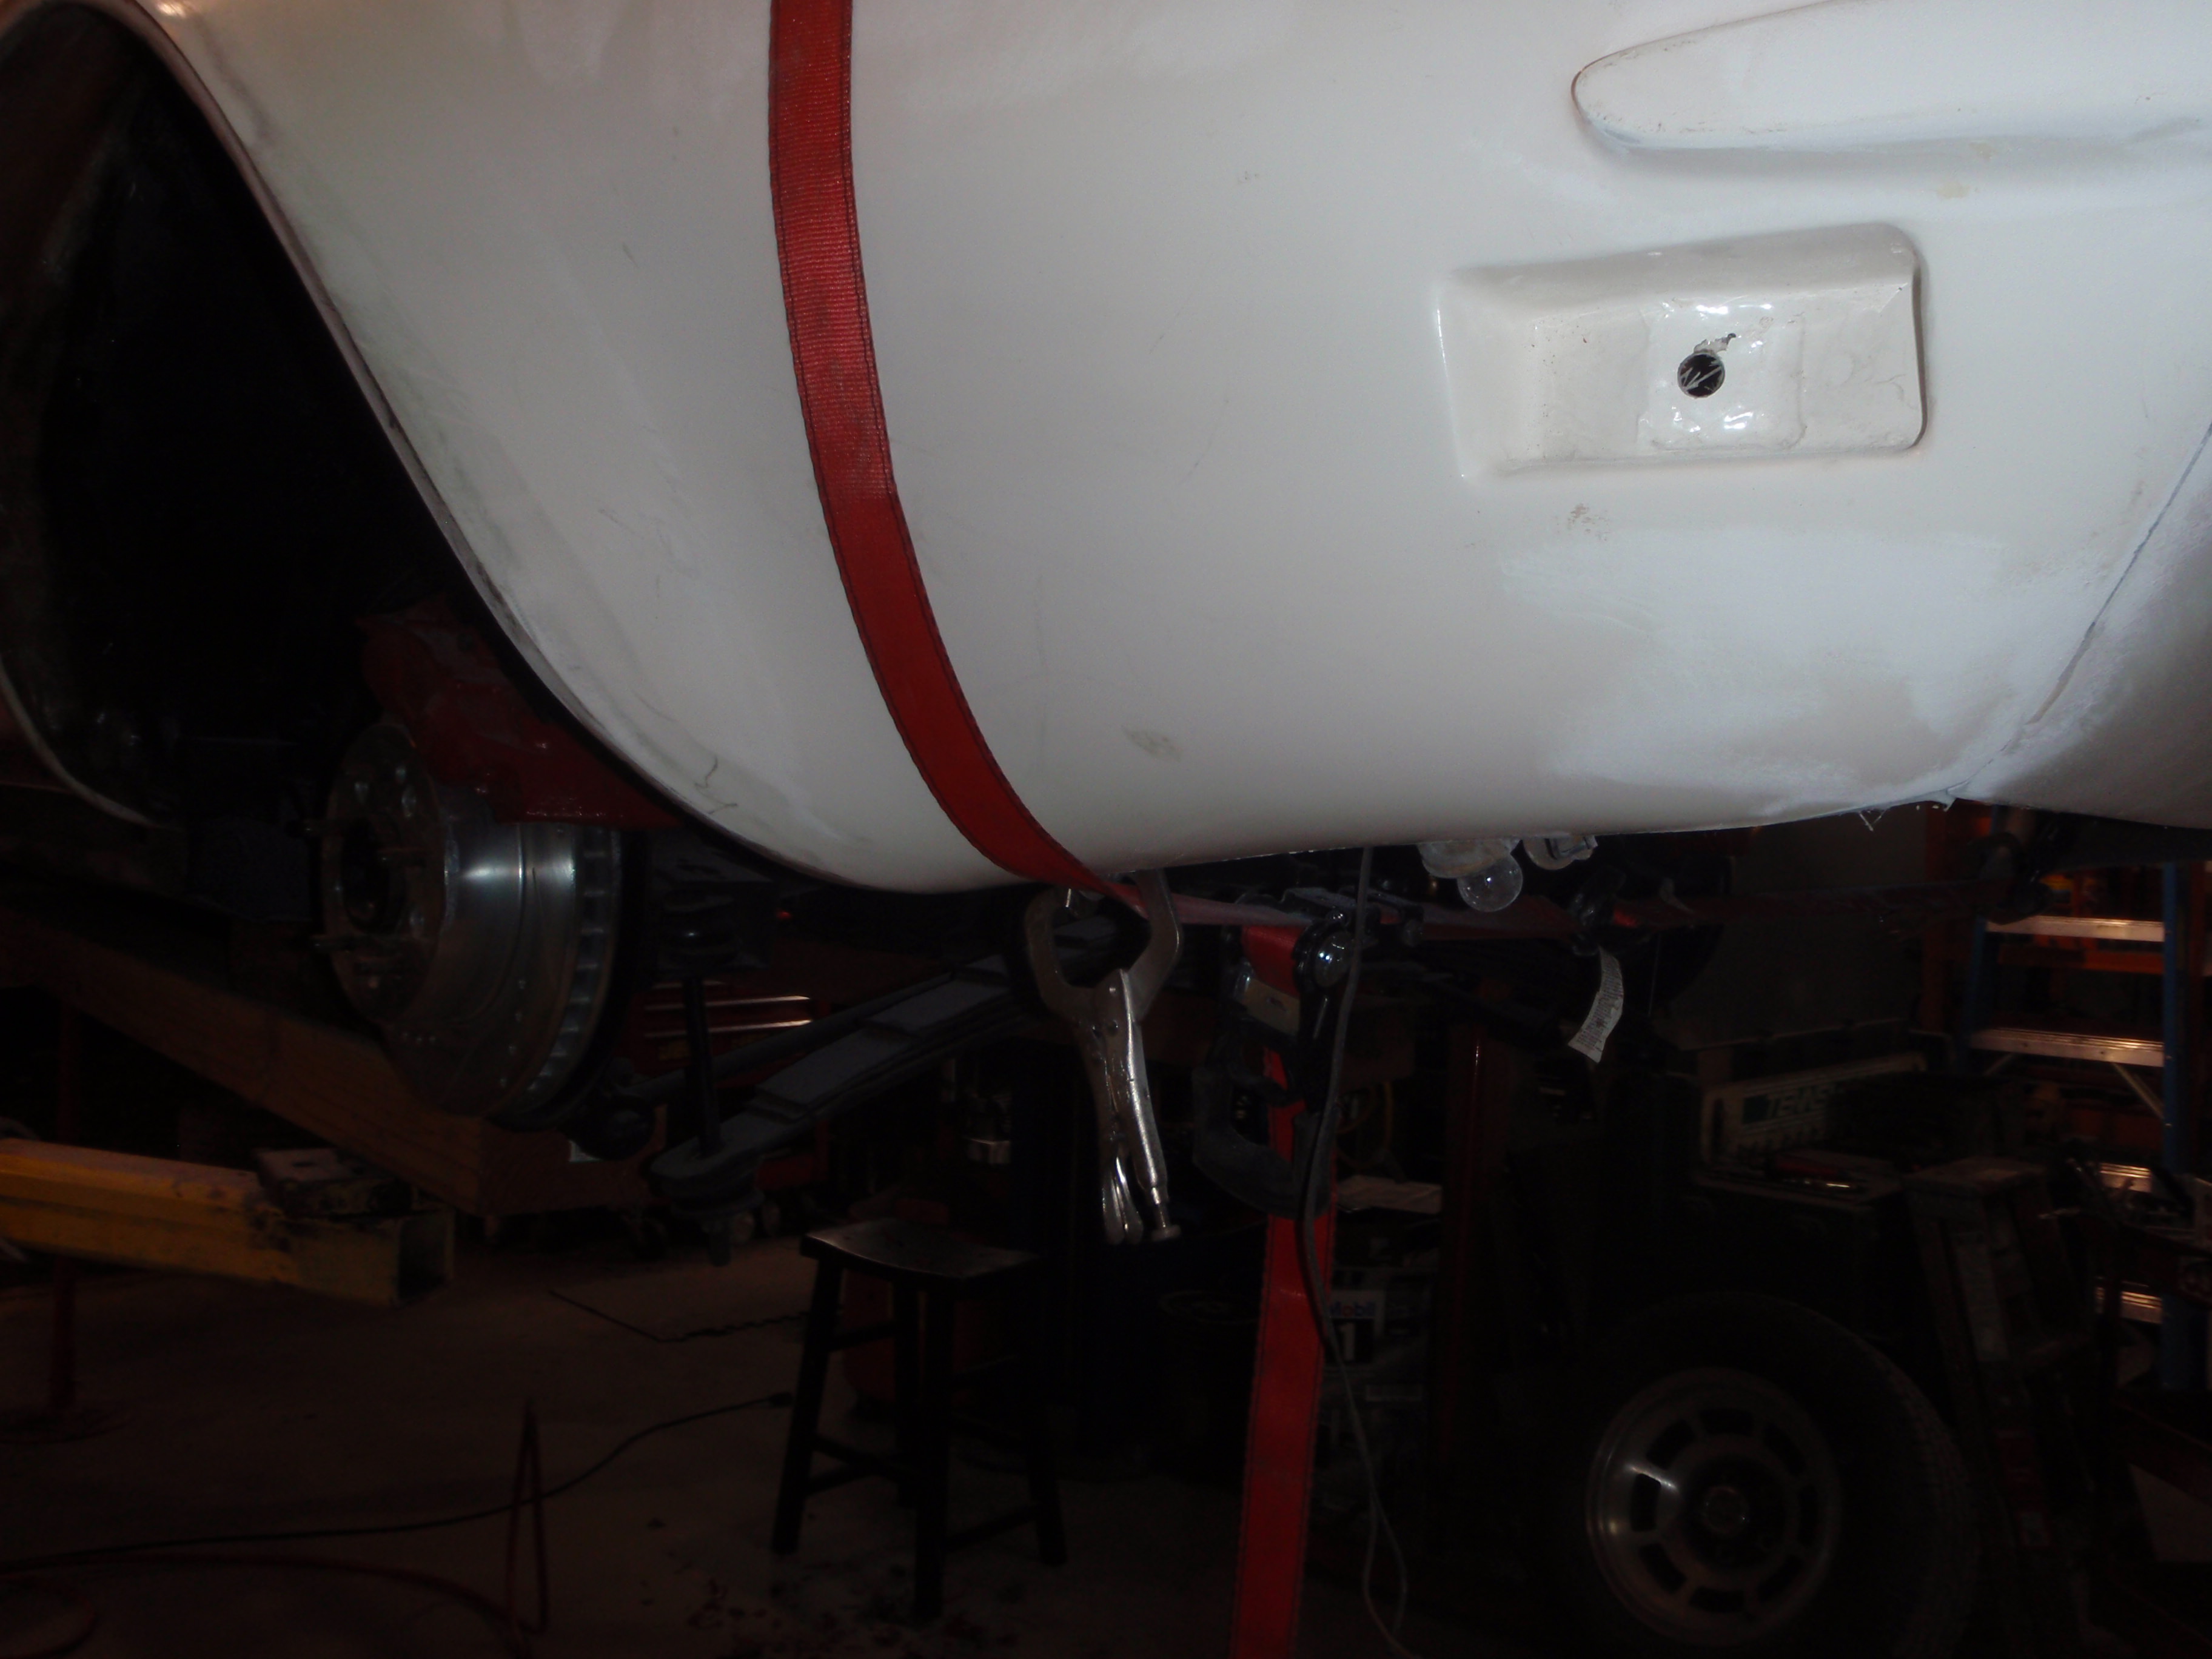
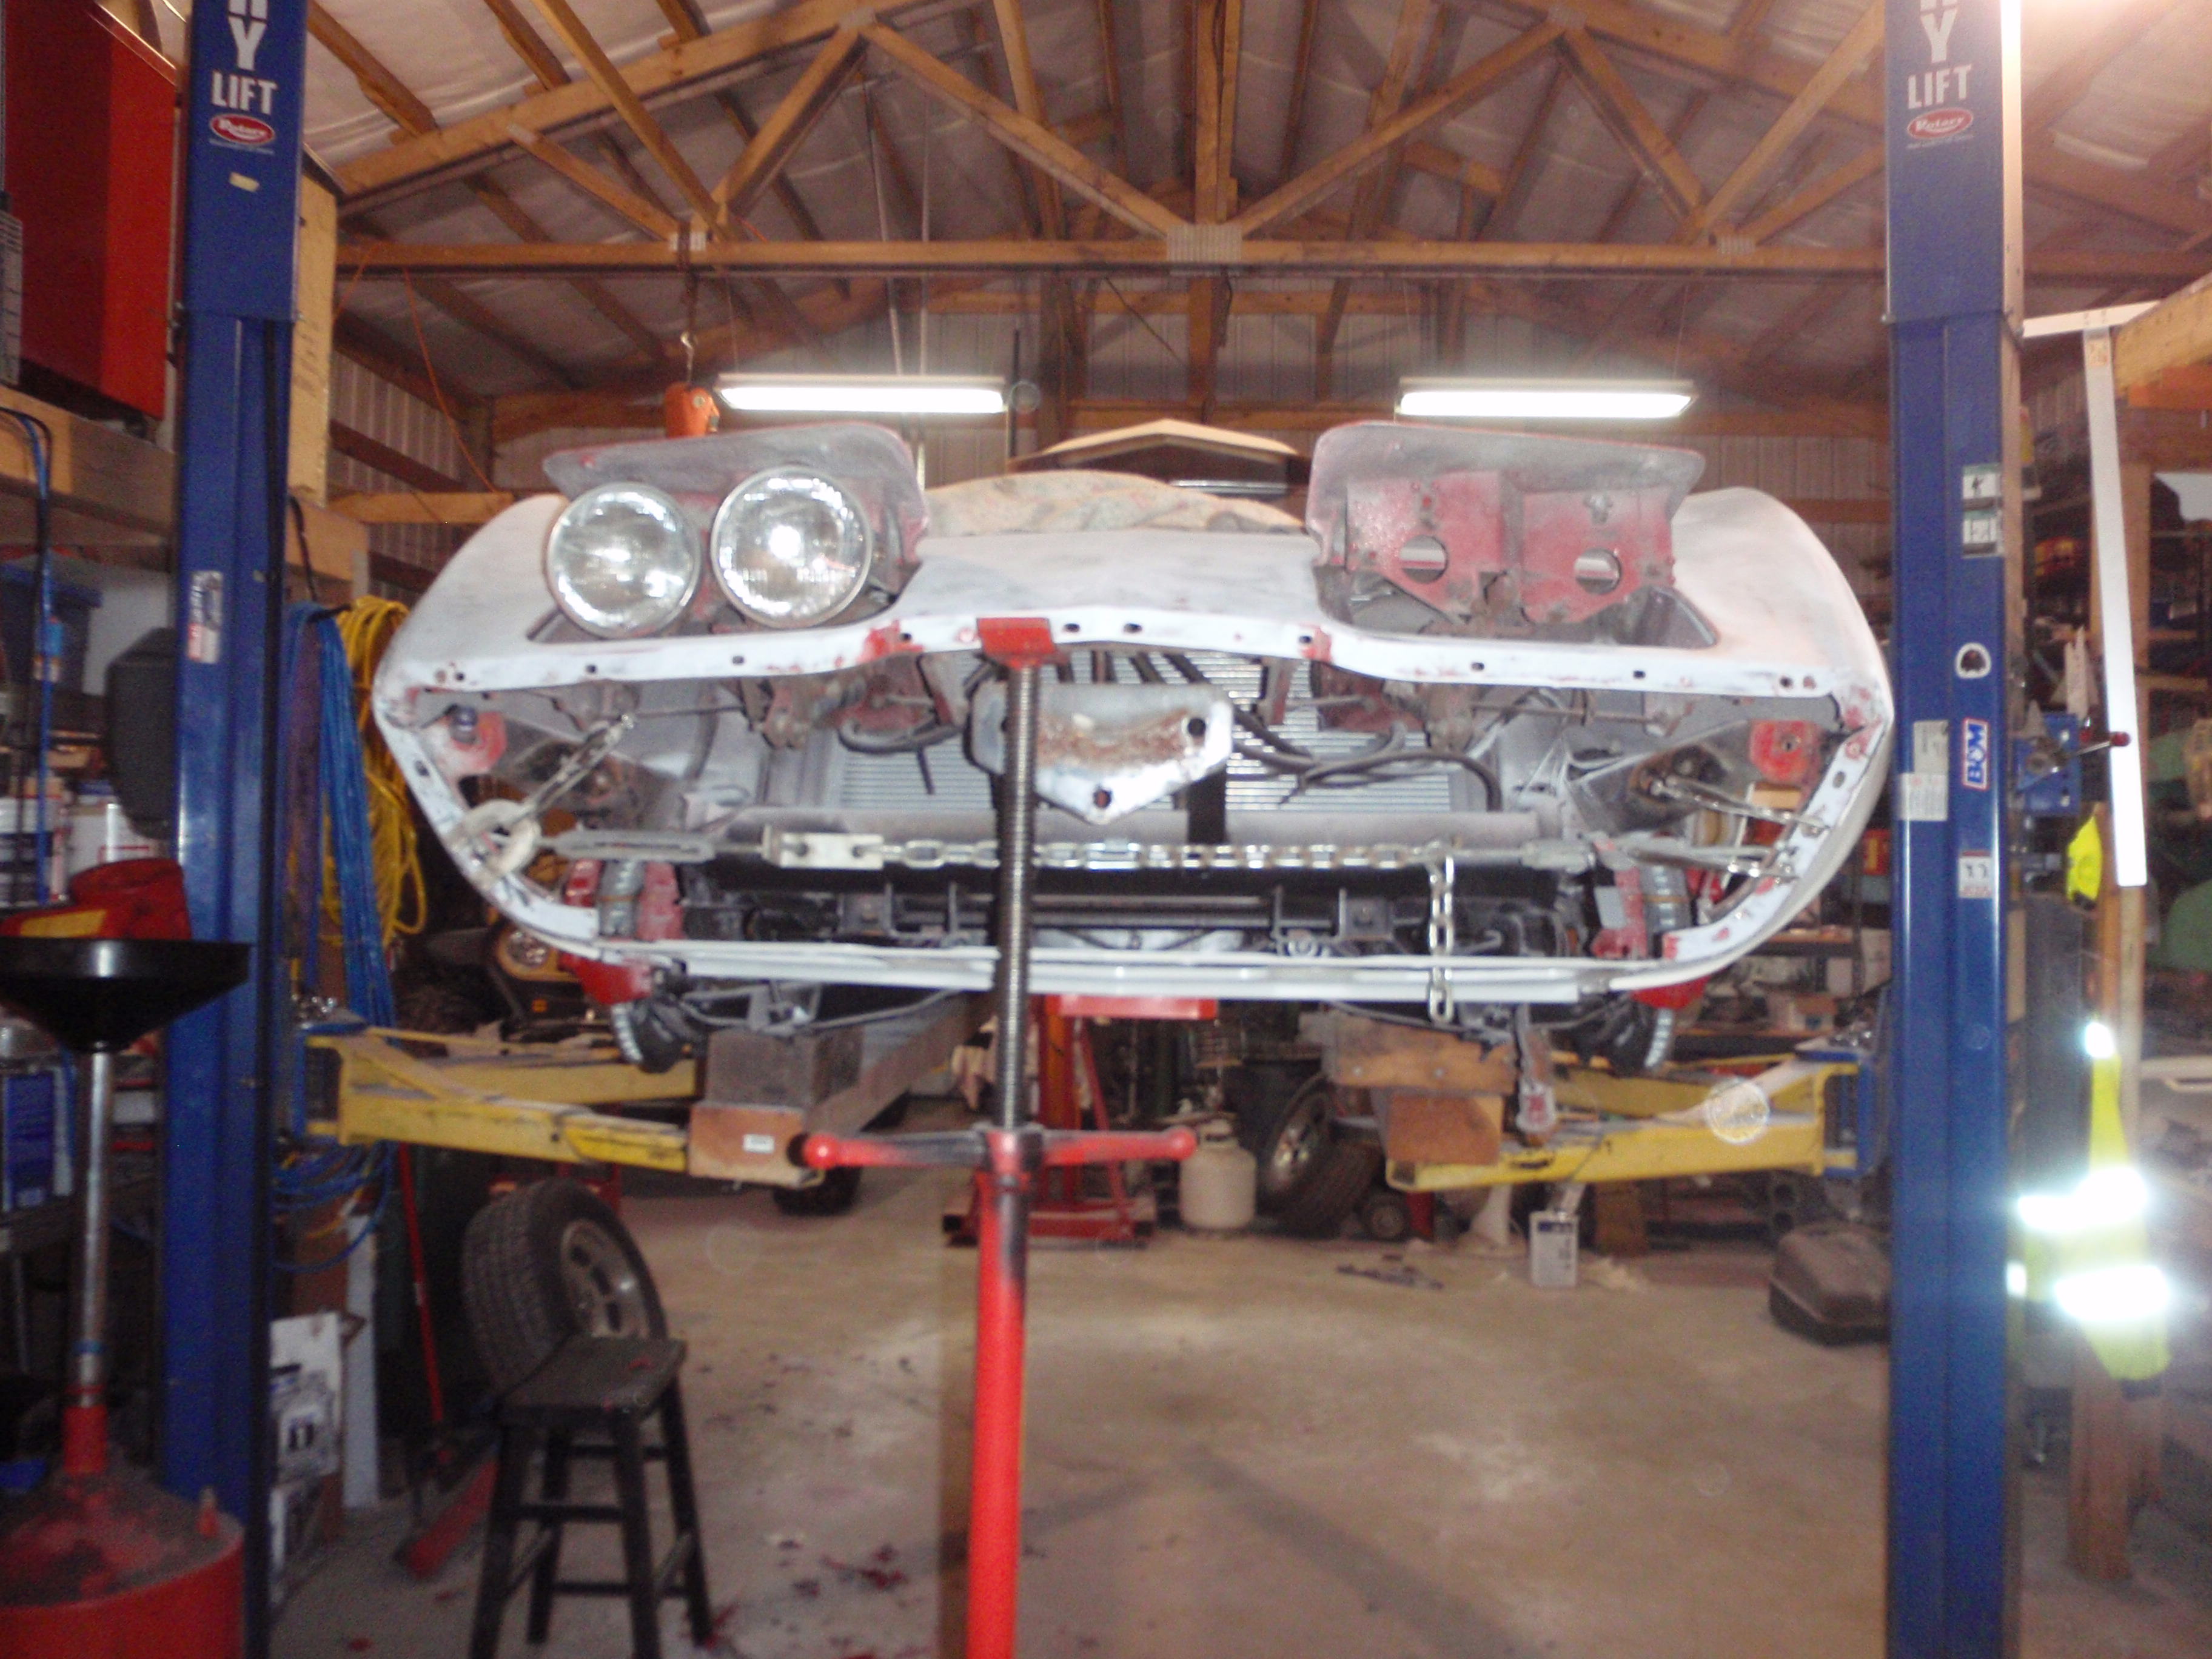
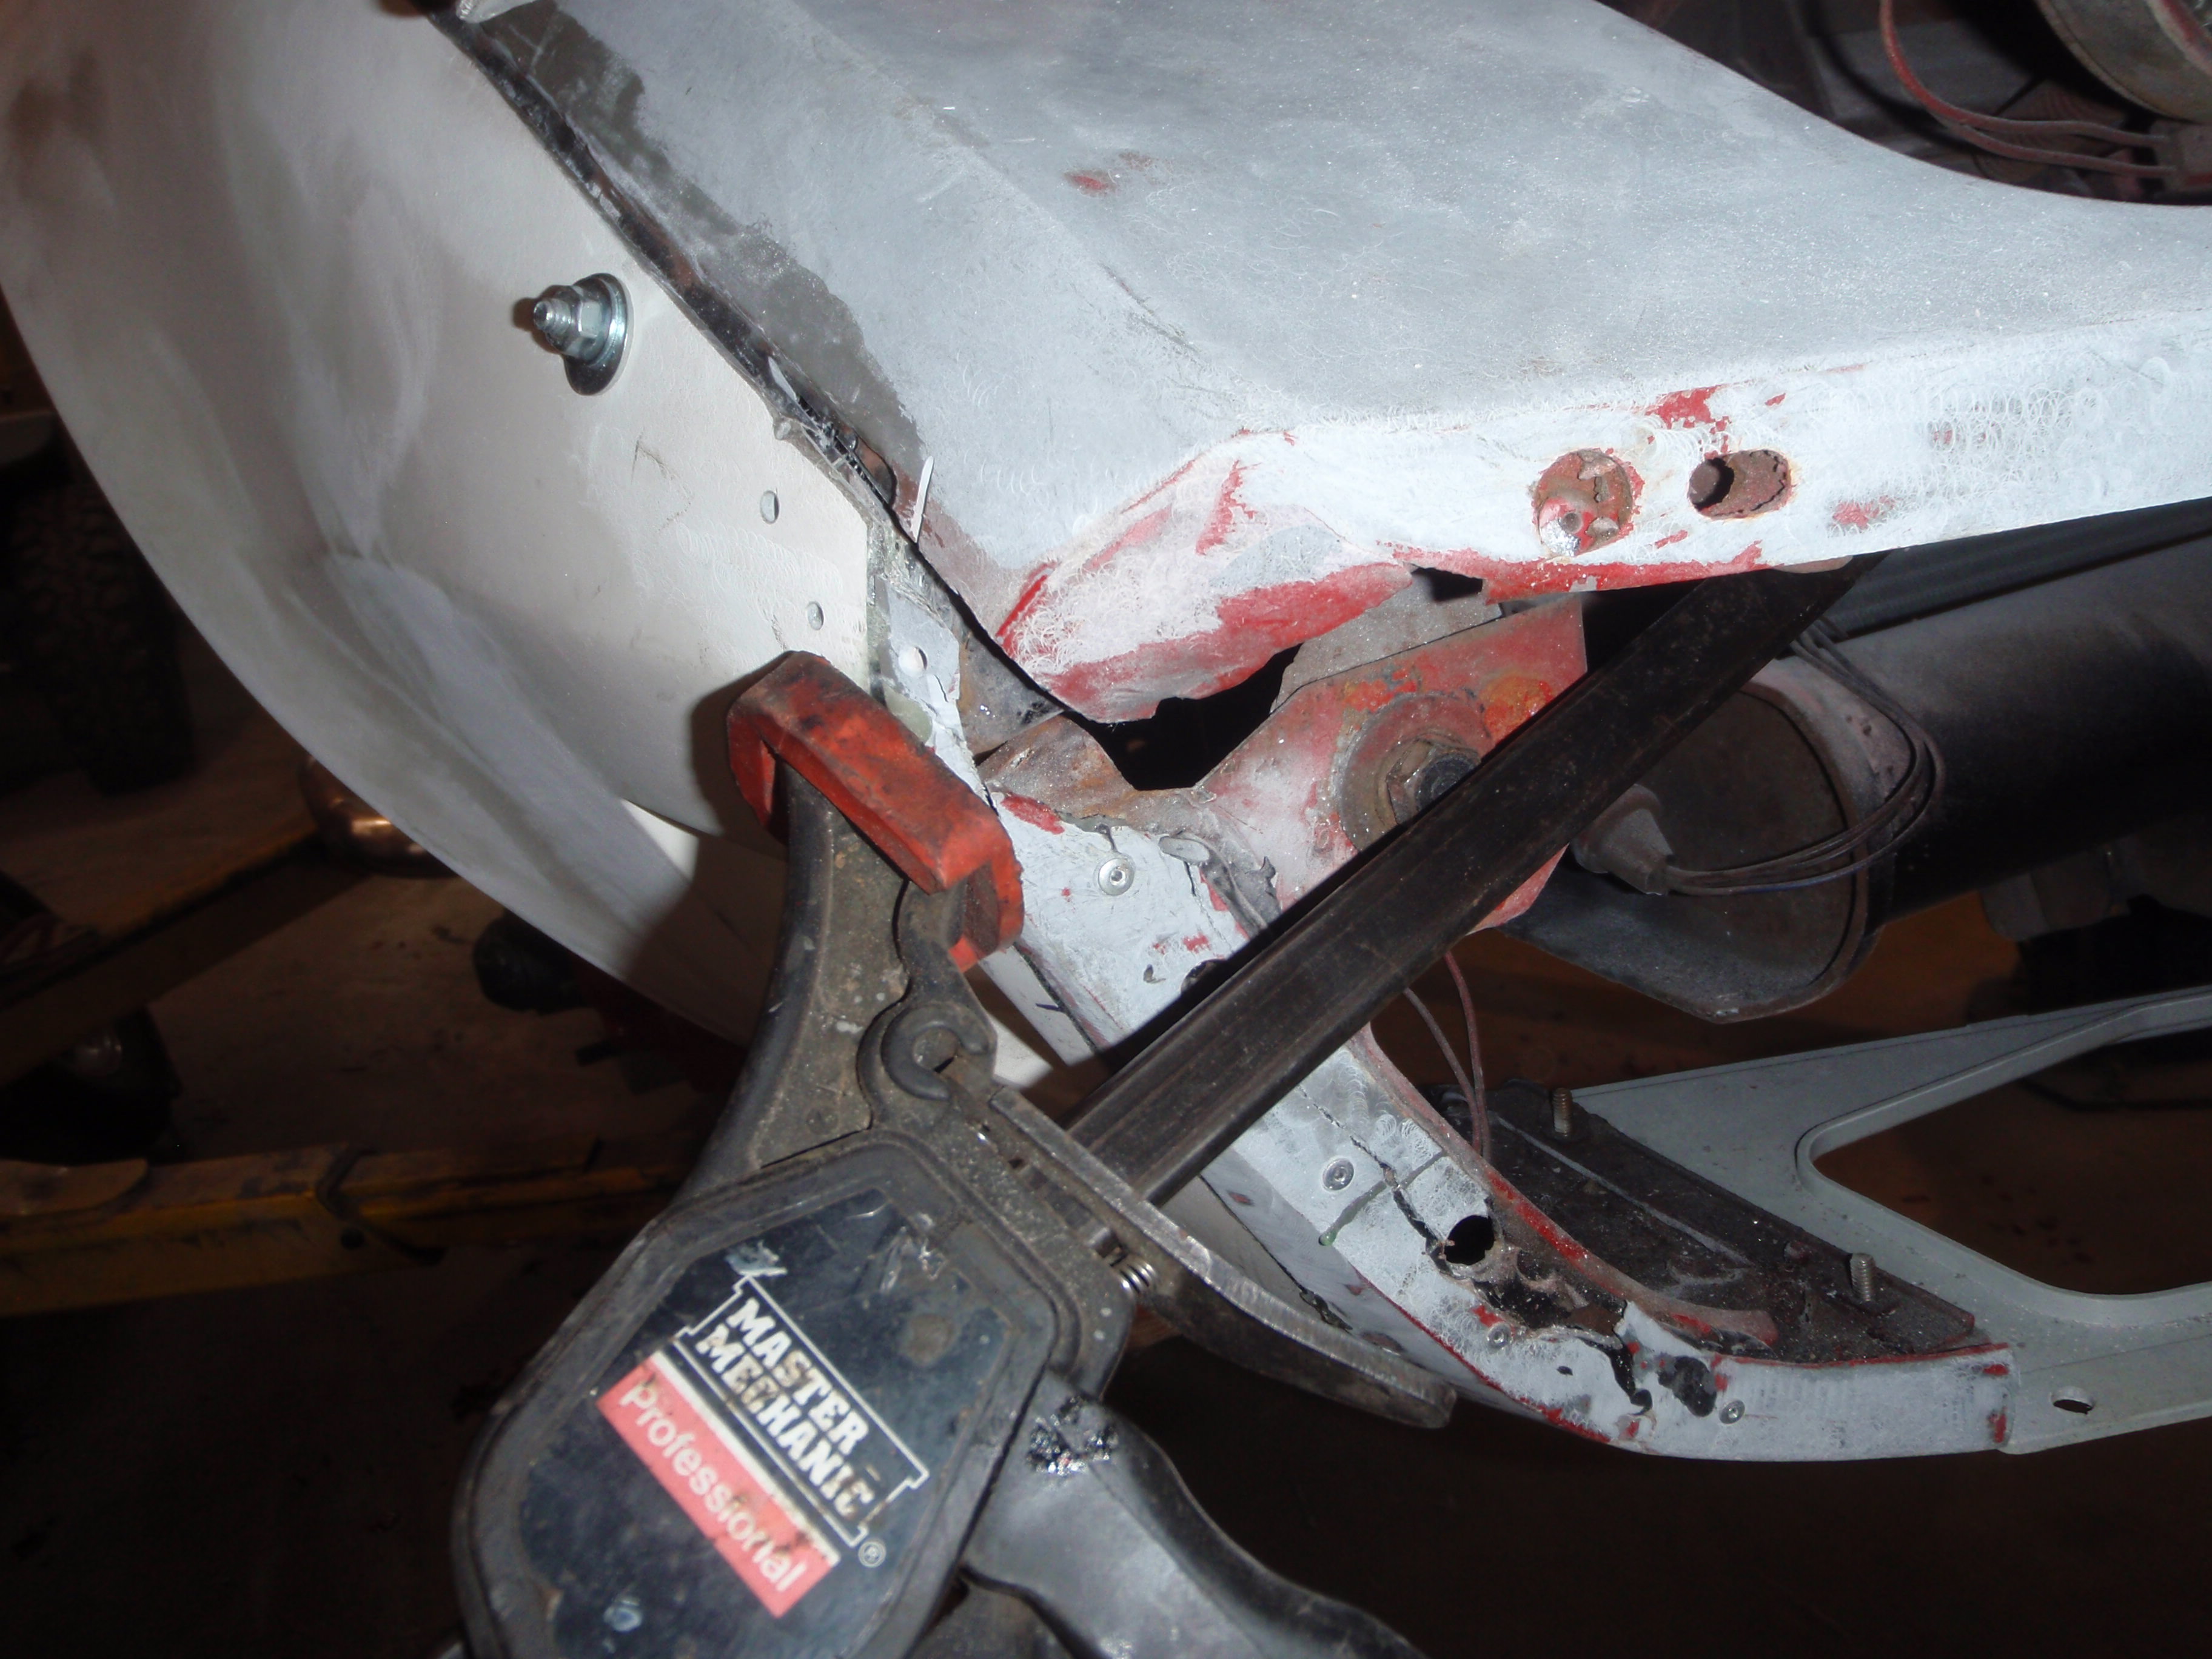
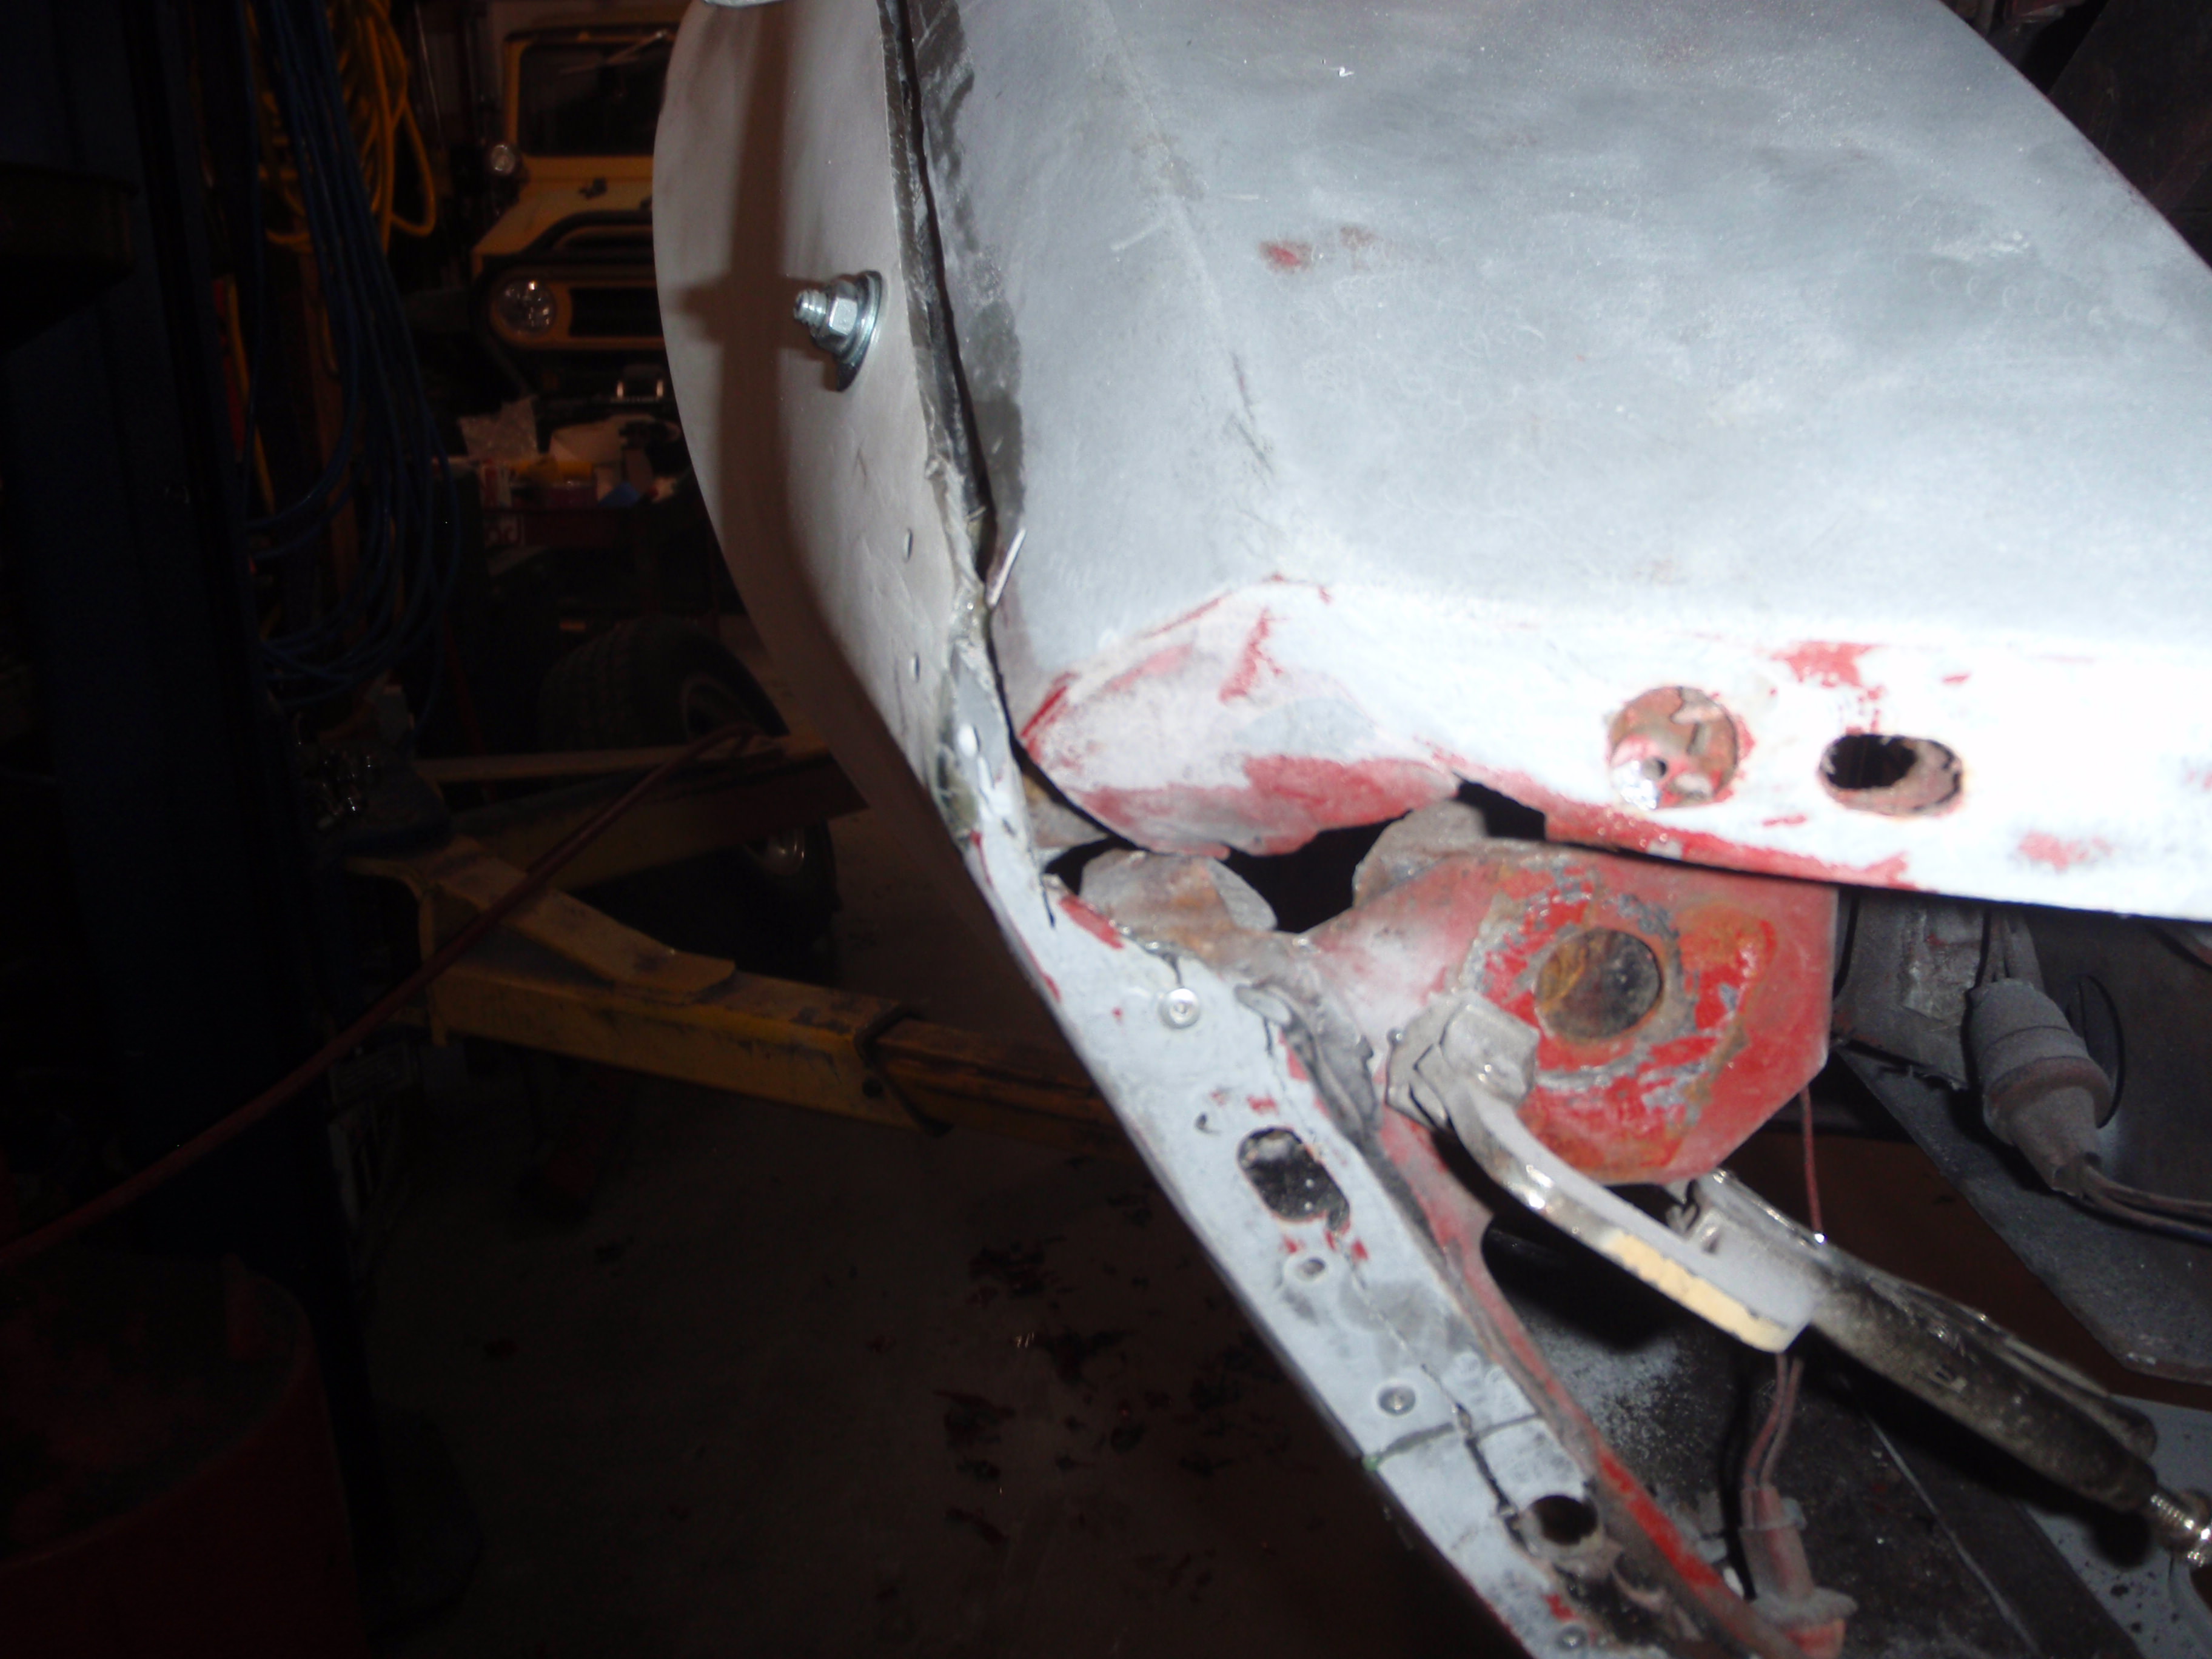
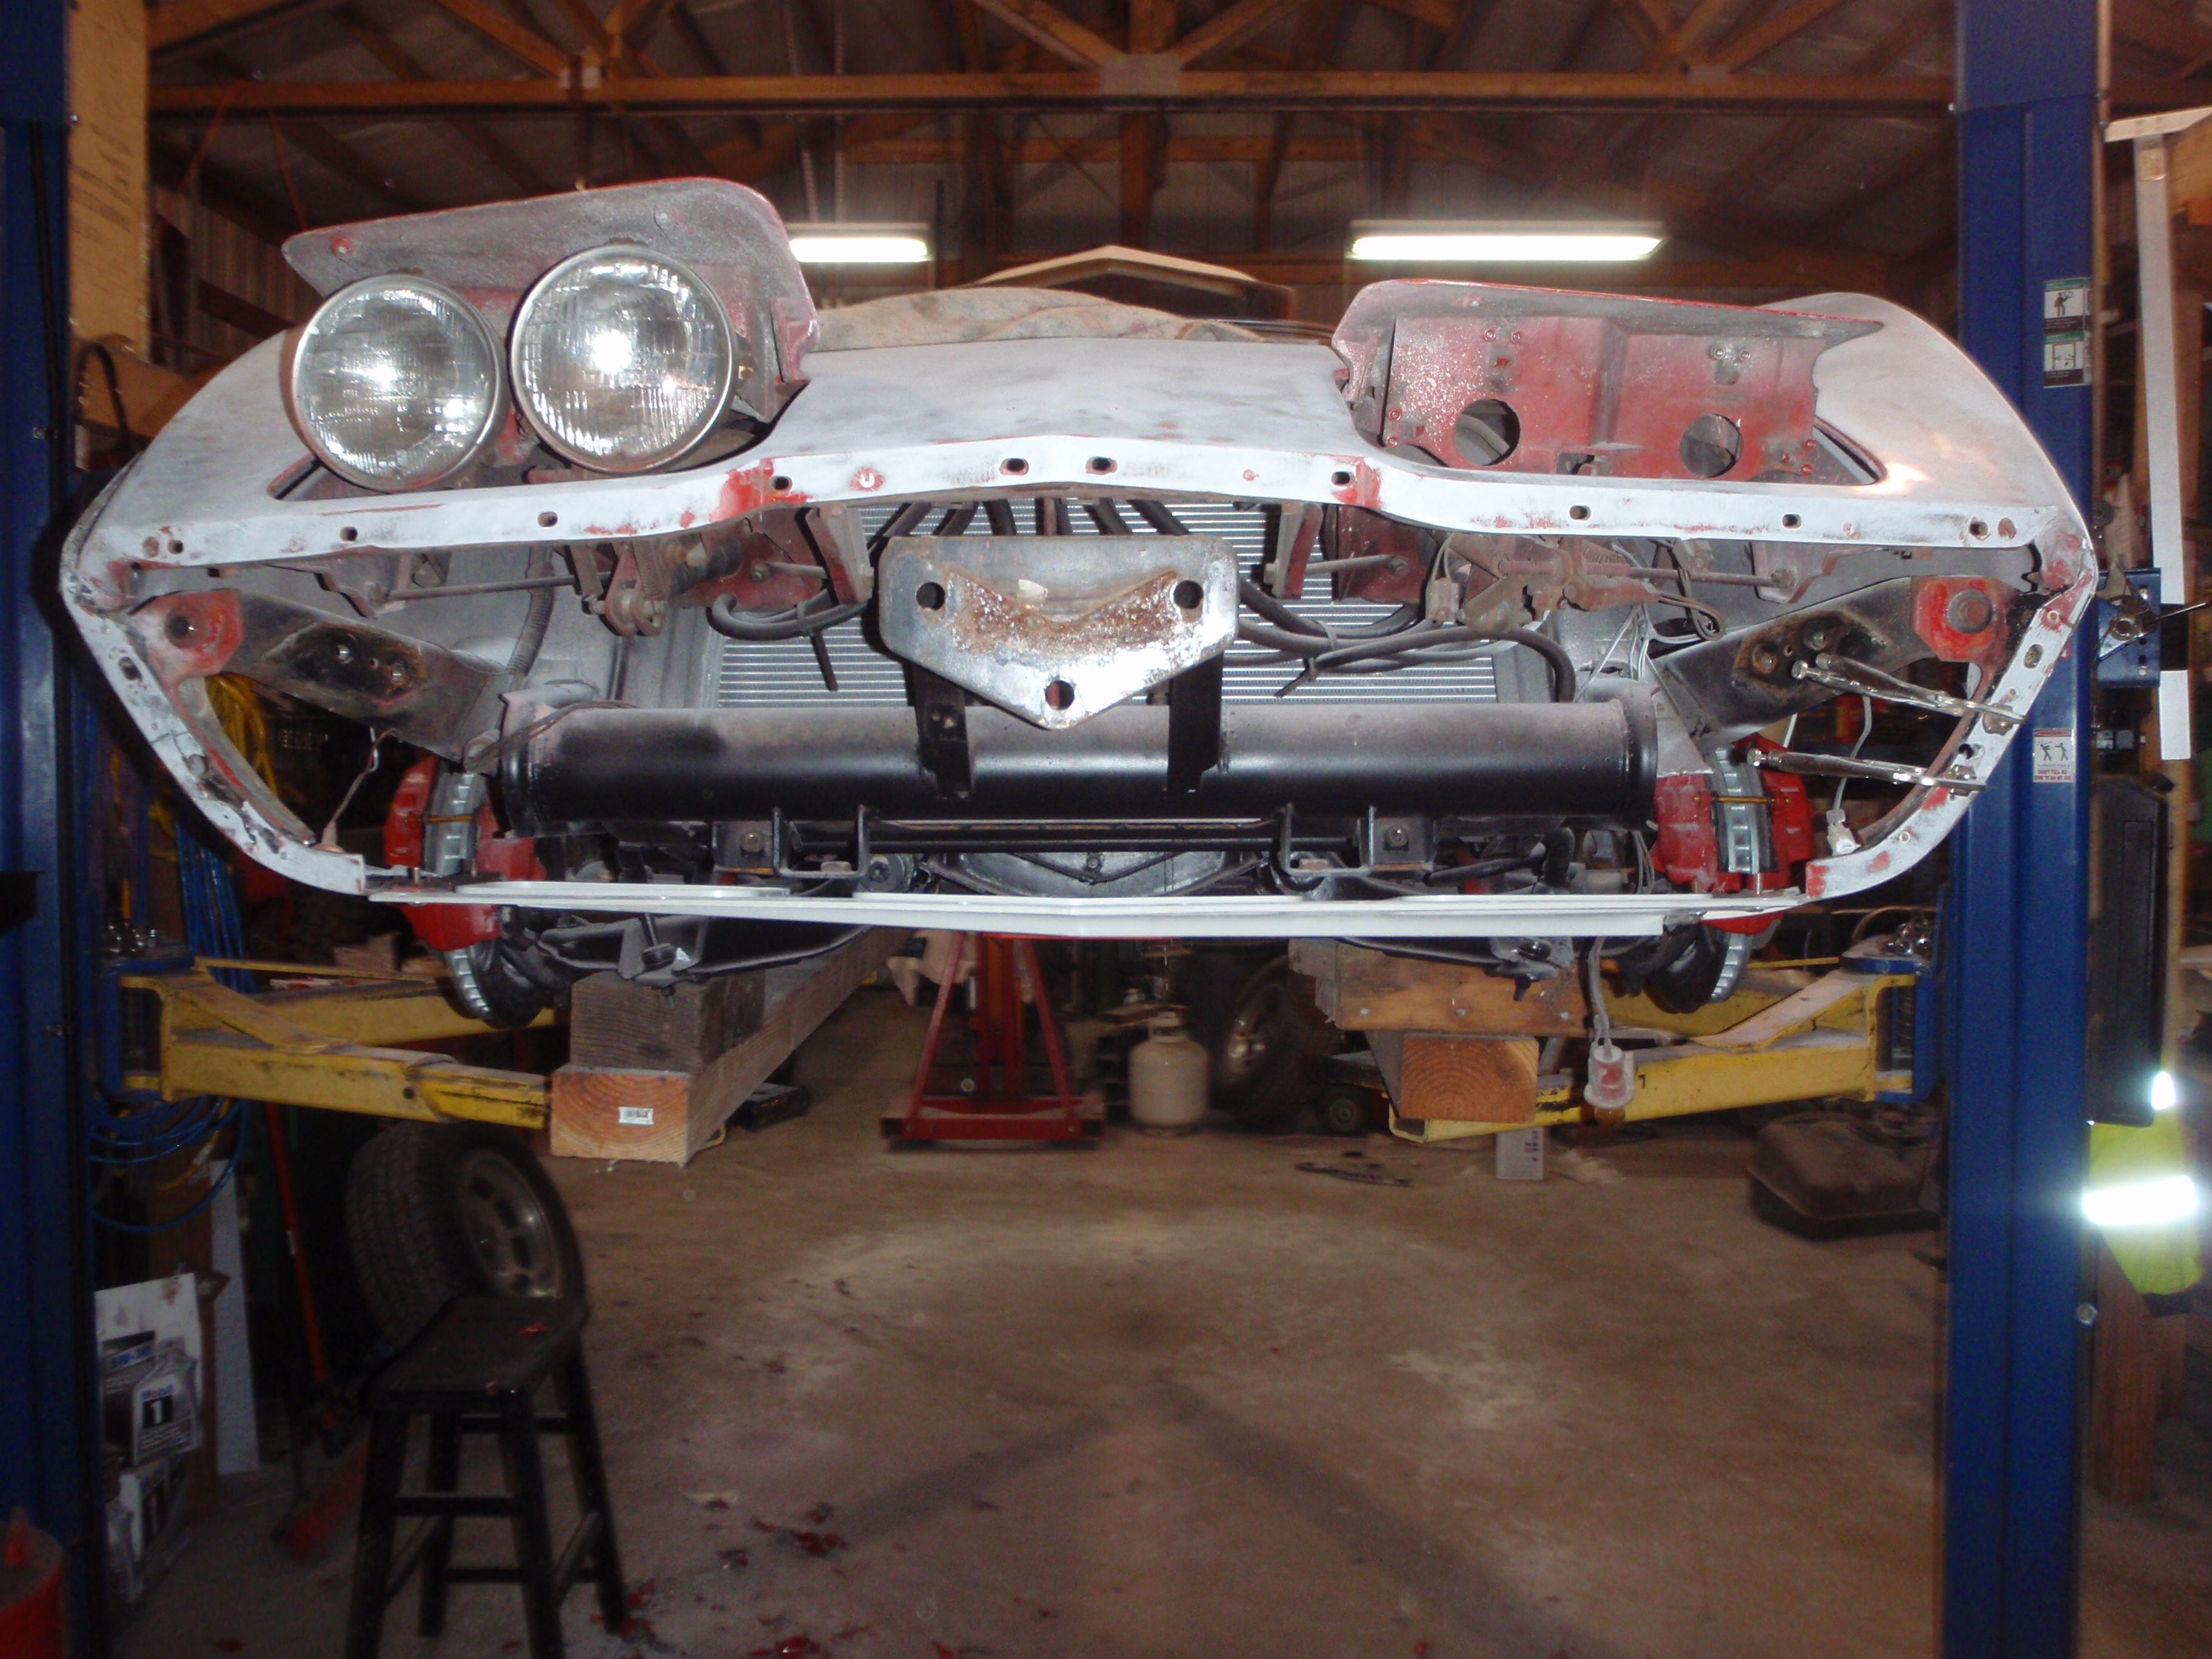
note the high-tech holding device
a picture of the way of holding a front together (it gets better, wood comes in later)

1/2 my time tonight was on this
I think it was hit at some point because there's extra bondo here and nothing is lining up correctly
this side looks great
finally I gave up and cut more of the inner structure out
and then stuff started to line up
ish

first step was knock all the bondo out
and then the nose center didn't line up
all it took was a block of wood holding the center up

and yes, that's lined up because it bolts to the nose and will flex up that little bit
and finally time to glue again
then onto the next step which is gluing the inner supports
I feel like I have to re-engineer this or later this will be a problem again
and finally, it looks just about the same as it did last week
at least next week that strap will be off
note the high-tech holding device
a picture of the way of holding a front together (it gets better, wood comes in later)
1/2 my time tonight was on this
I think it was hit at some point because there's extra bondo here and nothing is lining up correctly
this side looks great
finally I gave up and cut more of the inner structure out
and then stuff started to line up
ish
first step was knock all the bondo out
and then the nose center didn't line up
all it took was a block of wood holding the center up
and yes, that's lined up because it bolts to the nose and will flex up that little bit
and finally time to glue again
then onto the next step which is gluing the inner supports
I feel like I have to re-engineer this or later this will be a problem again
and finally, it looks just about the same as it did last week
at least next week that strap will be off
03-09-2018, 12:14 AM
#127
Melting Slicks

 03-09-2018, 11:32 AM
#128
Burning Brakes

Thread Starter

Now carry on and hurry up a little - the sooner I get a ride in this black beast the better.
 03-13-2018, 11:48 PM
#129
Melting Slicks
for the record, I'll never use vette panel adhesive/filler again. it works for adhering, but it gums up paper... there are better options out there.
Anyway, boring post, but it's going the right way
it also sags, a lot
it took 2 pads per panel to knock it down
I really hope this works - kitty hair
it cooled off again, so back to diesel planning
03-14-2018, 09:46 PM
#130
Melting Slicks
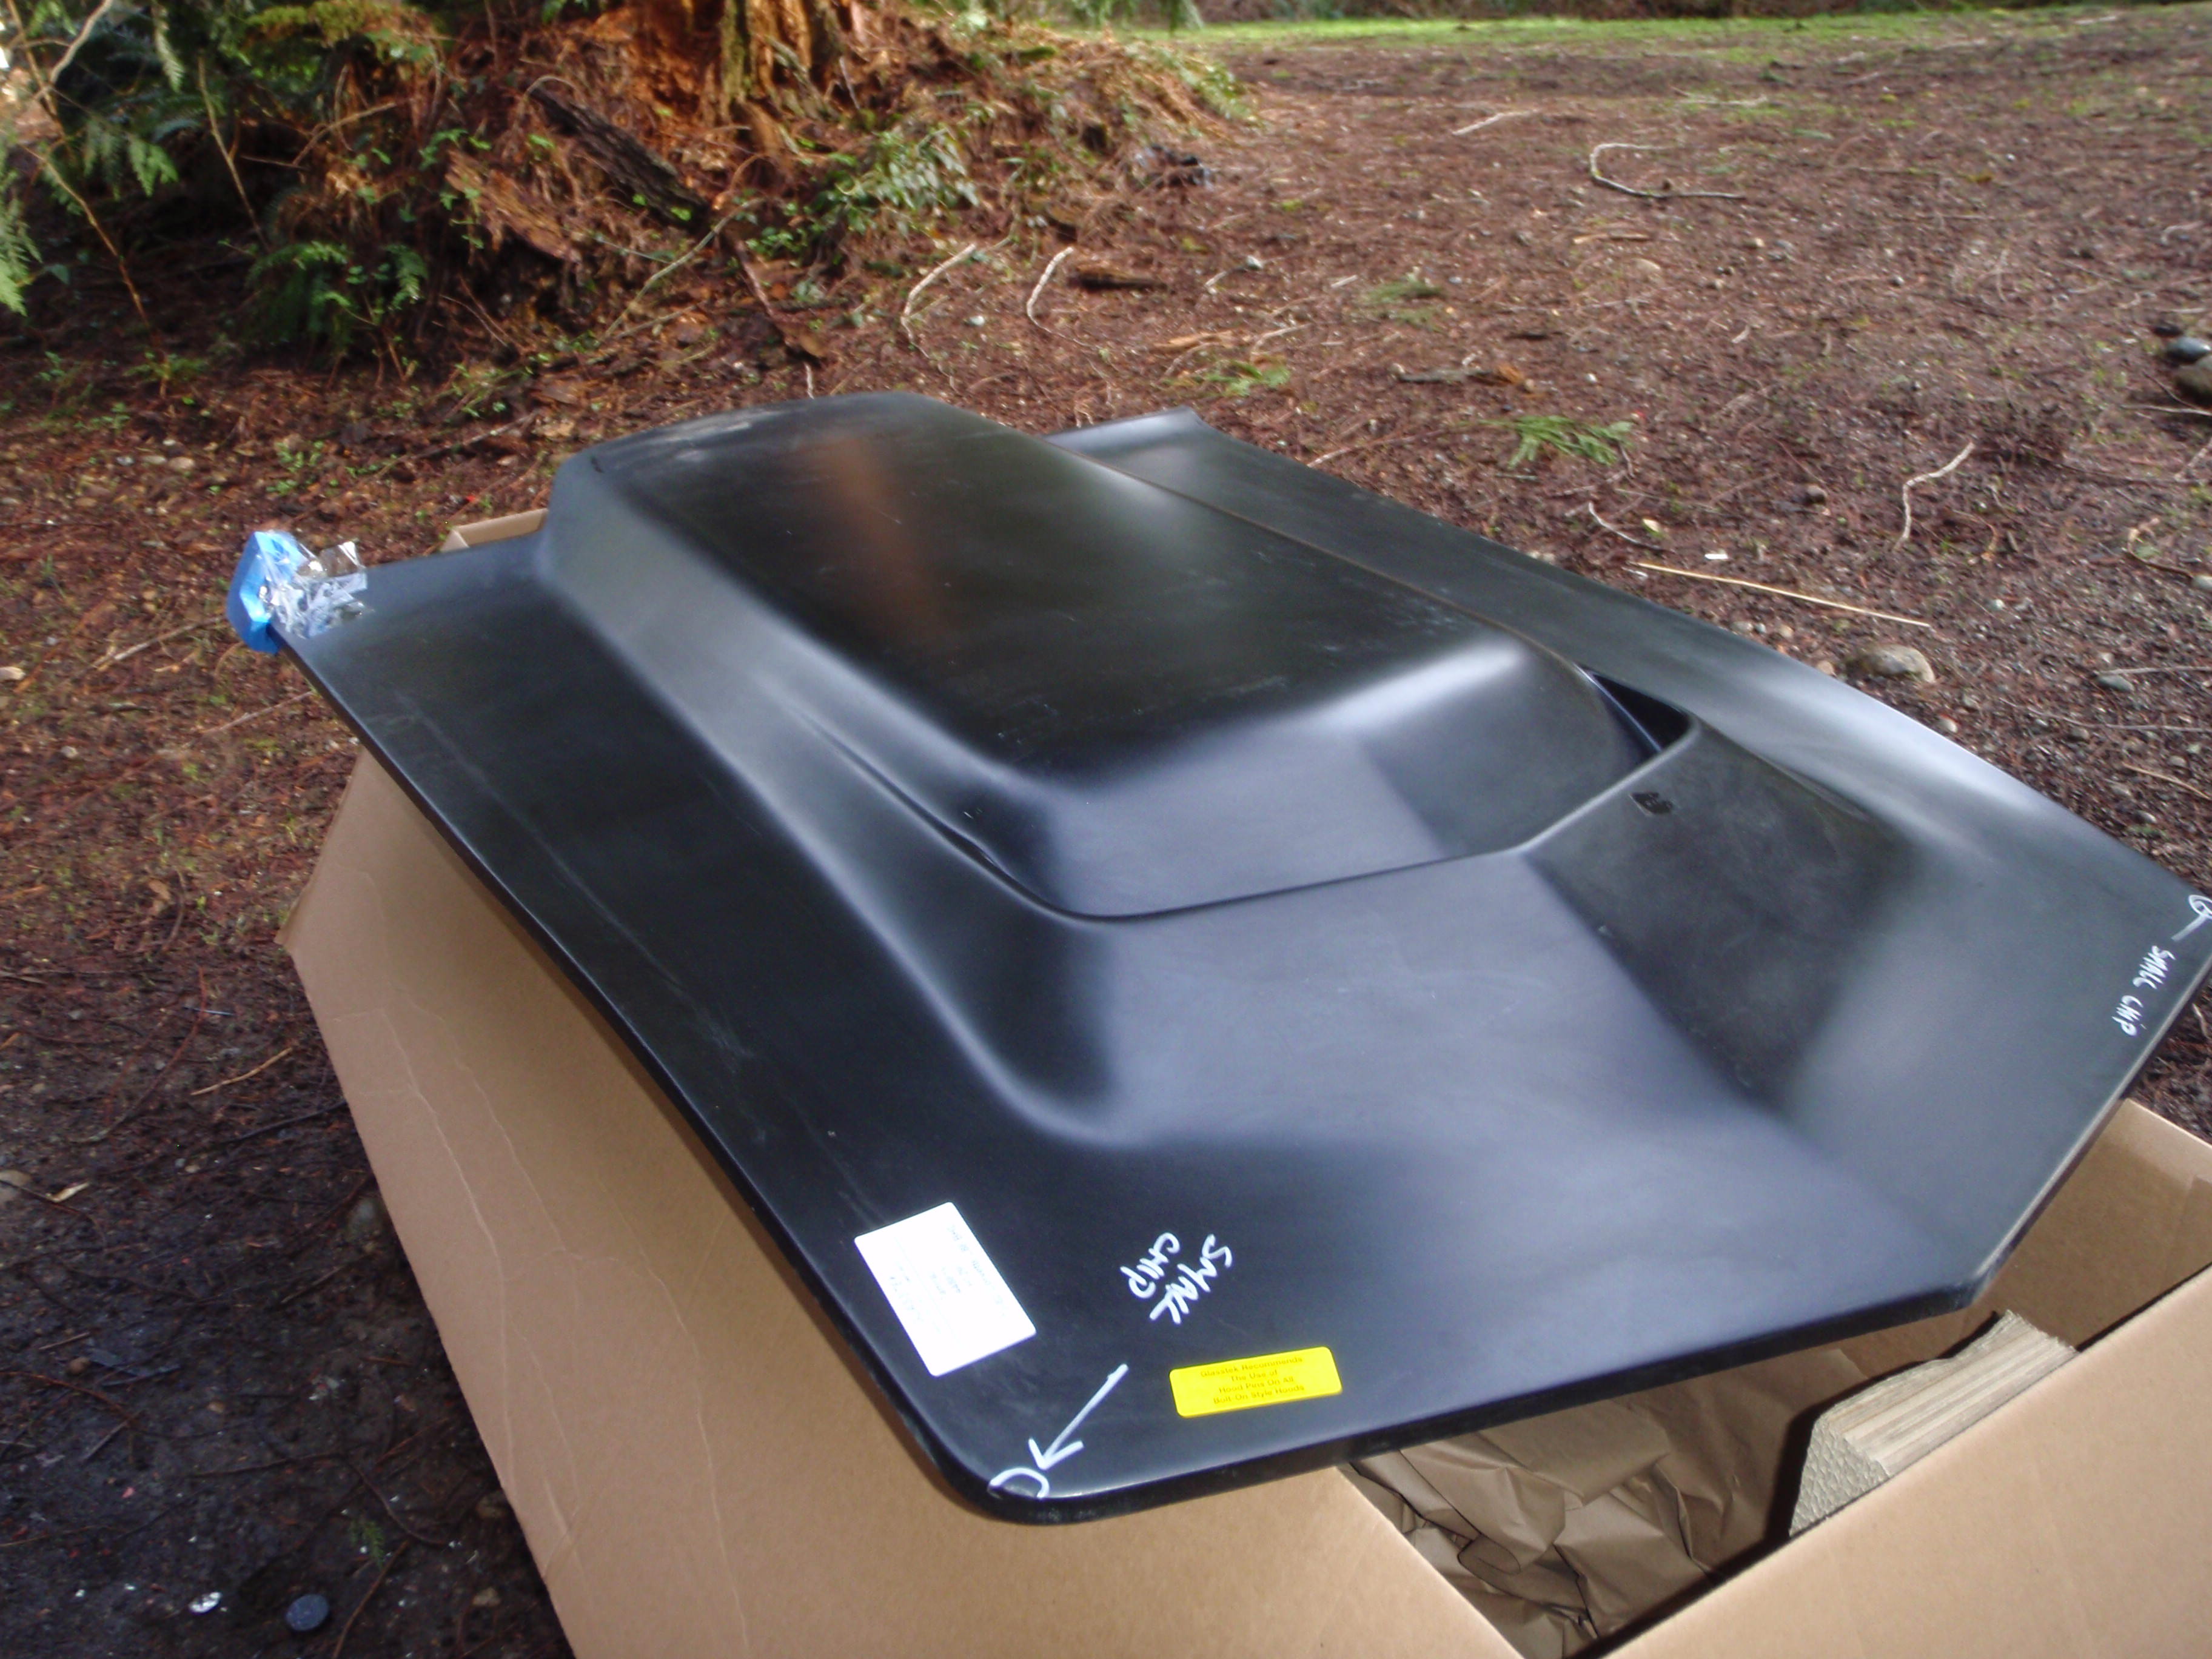
at some point you've just got to ask yourself if you have time to do this - or in this case, is it worth it. The hood I bought is flat, so I need to cut all the supports and put the part that rises at the fenders then refiberglass. The scoop needs to be lengthened. All of these things I've done.... but I simply don't feel like it... so this is happening

03-15-2018, 12:47 AM
#131
Melting Slicks
I think it's going to work, kitty hair
it's going to require some sculpting, but it should be strong enough .... crossing fingers
and other side

second layer
interestingly, I got closer the first time on the hardest side
this should be the final base coat, all the rest are going to be gold coat that get sanded to make this smooth
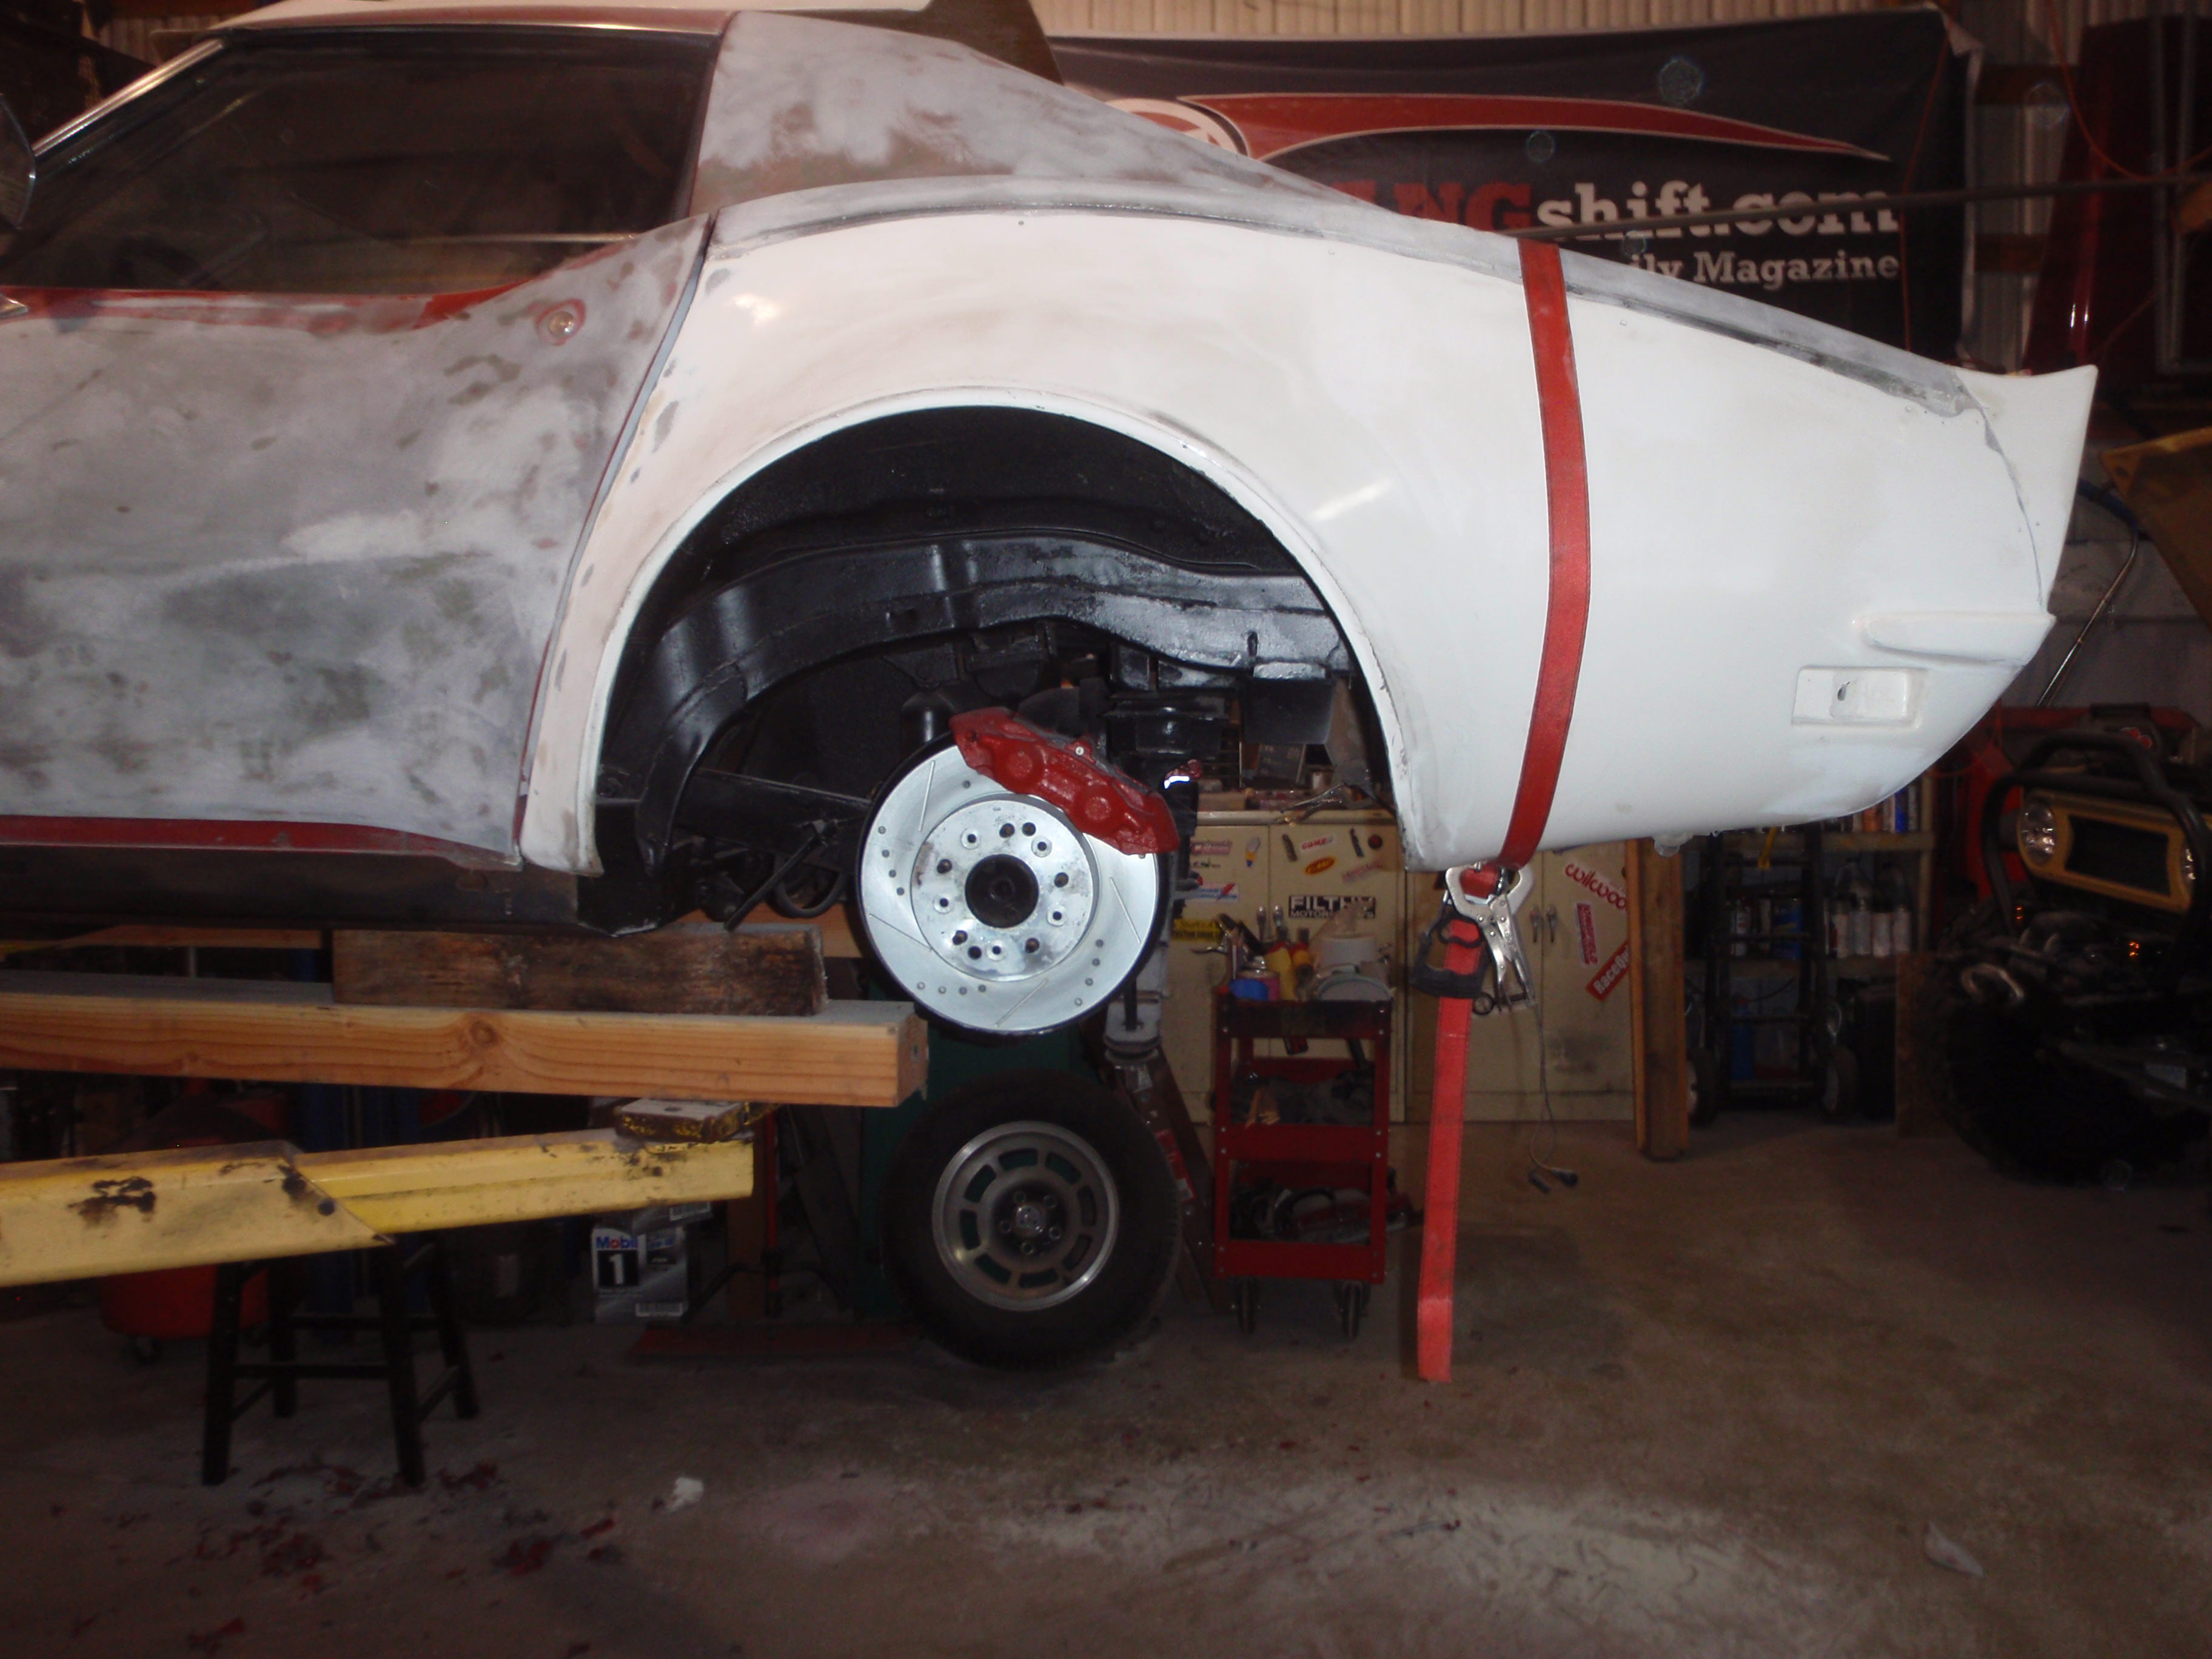
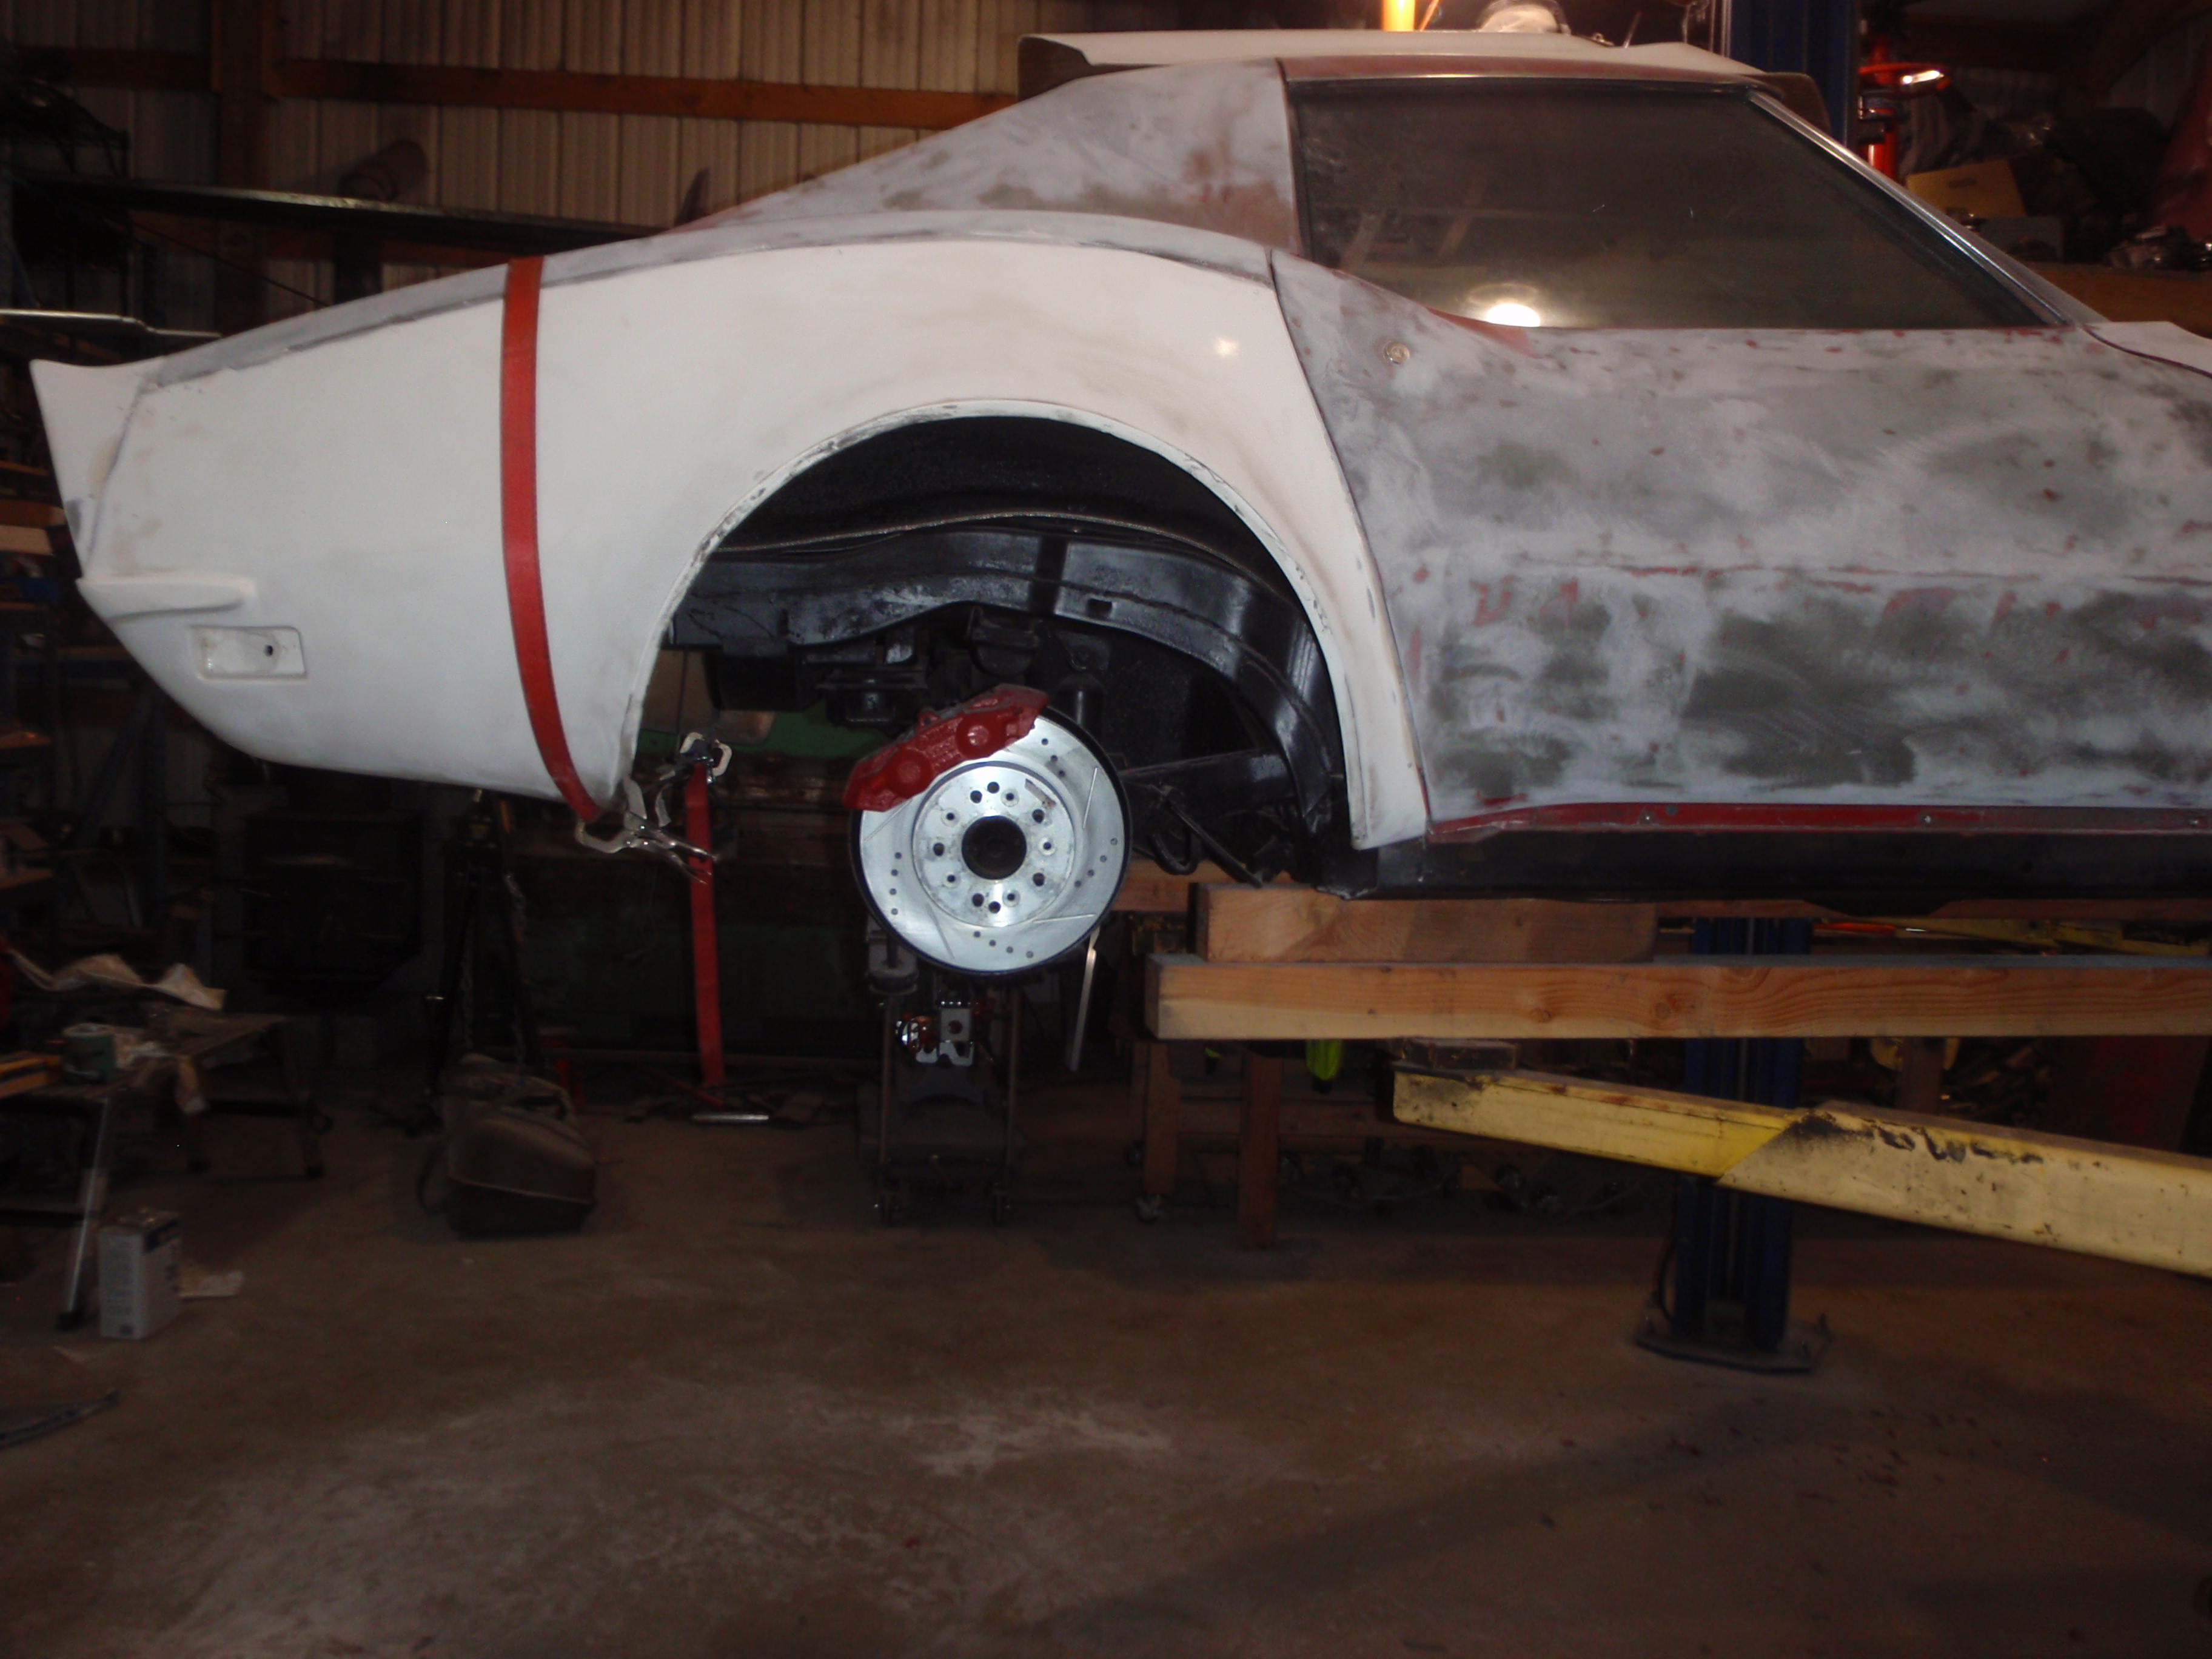
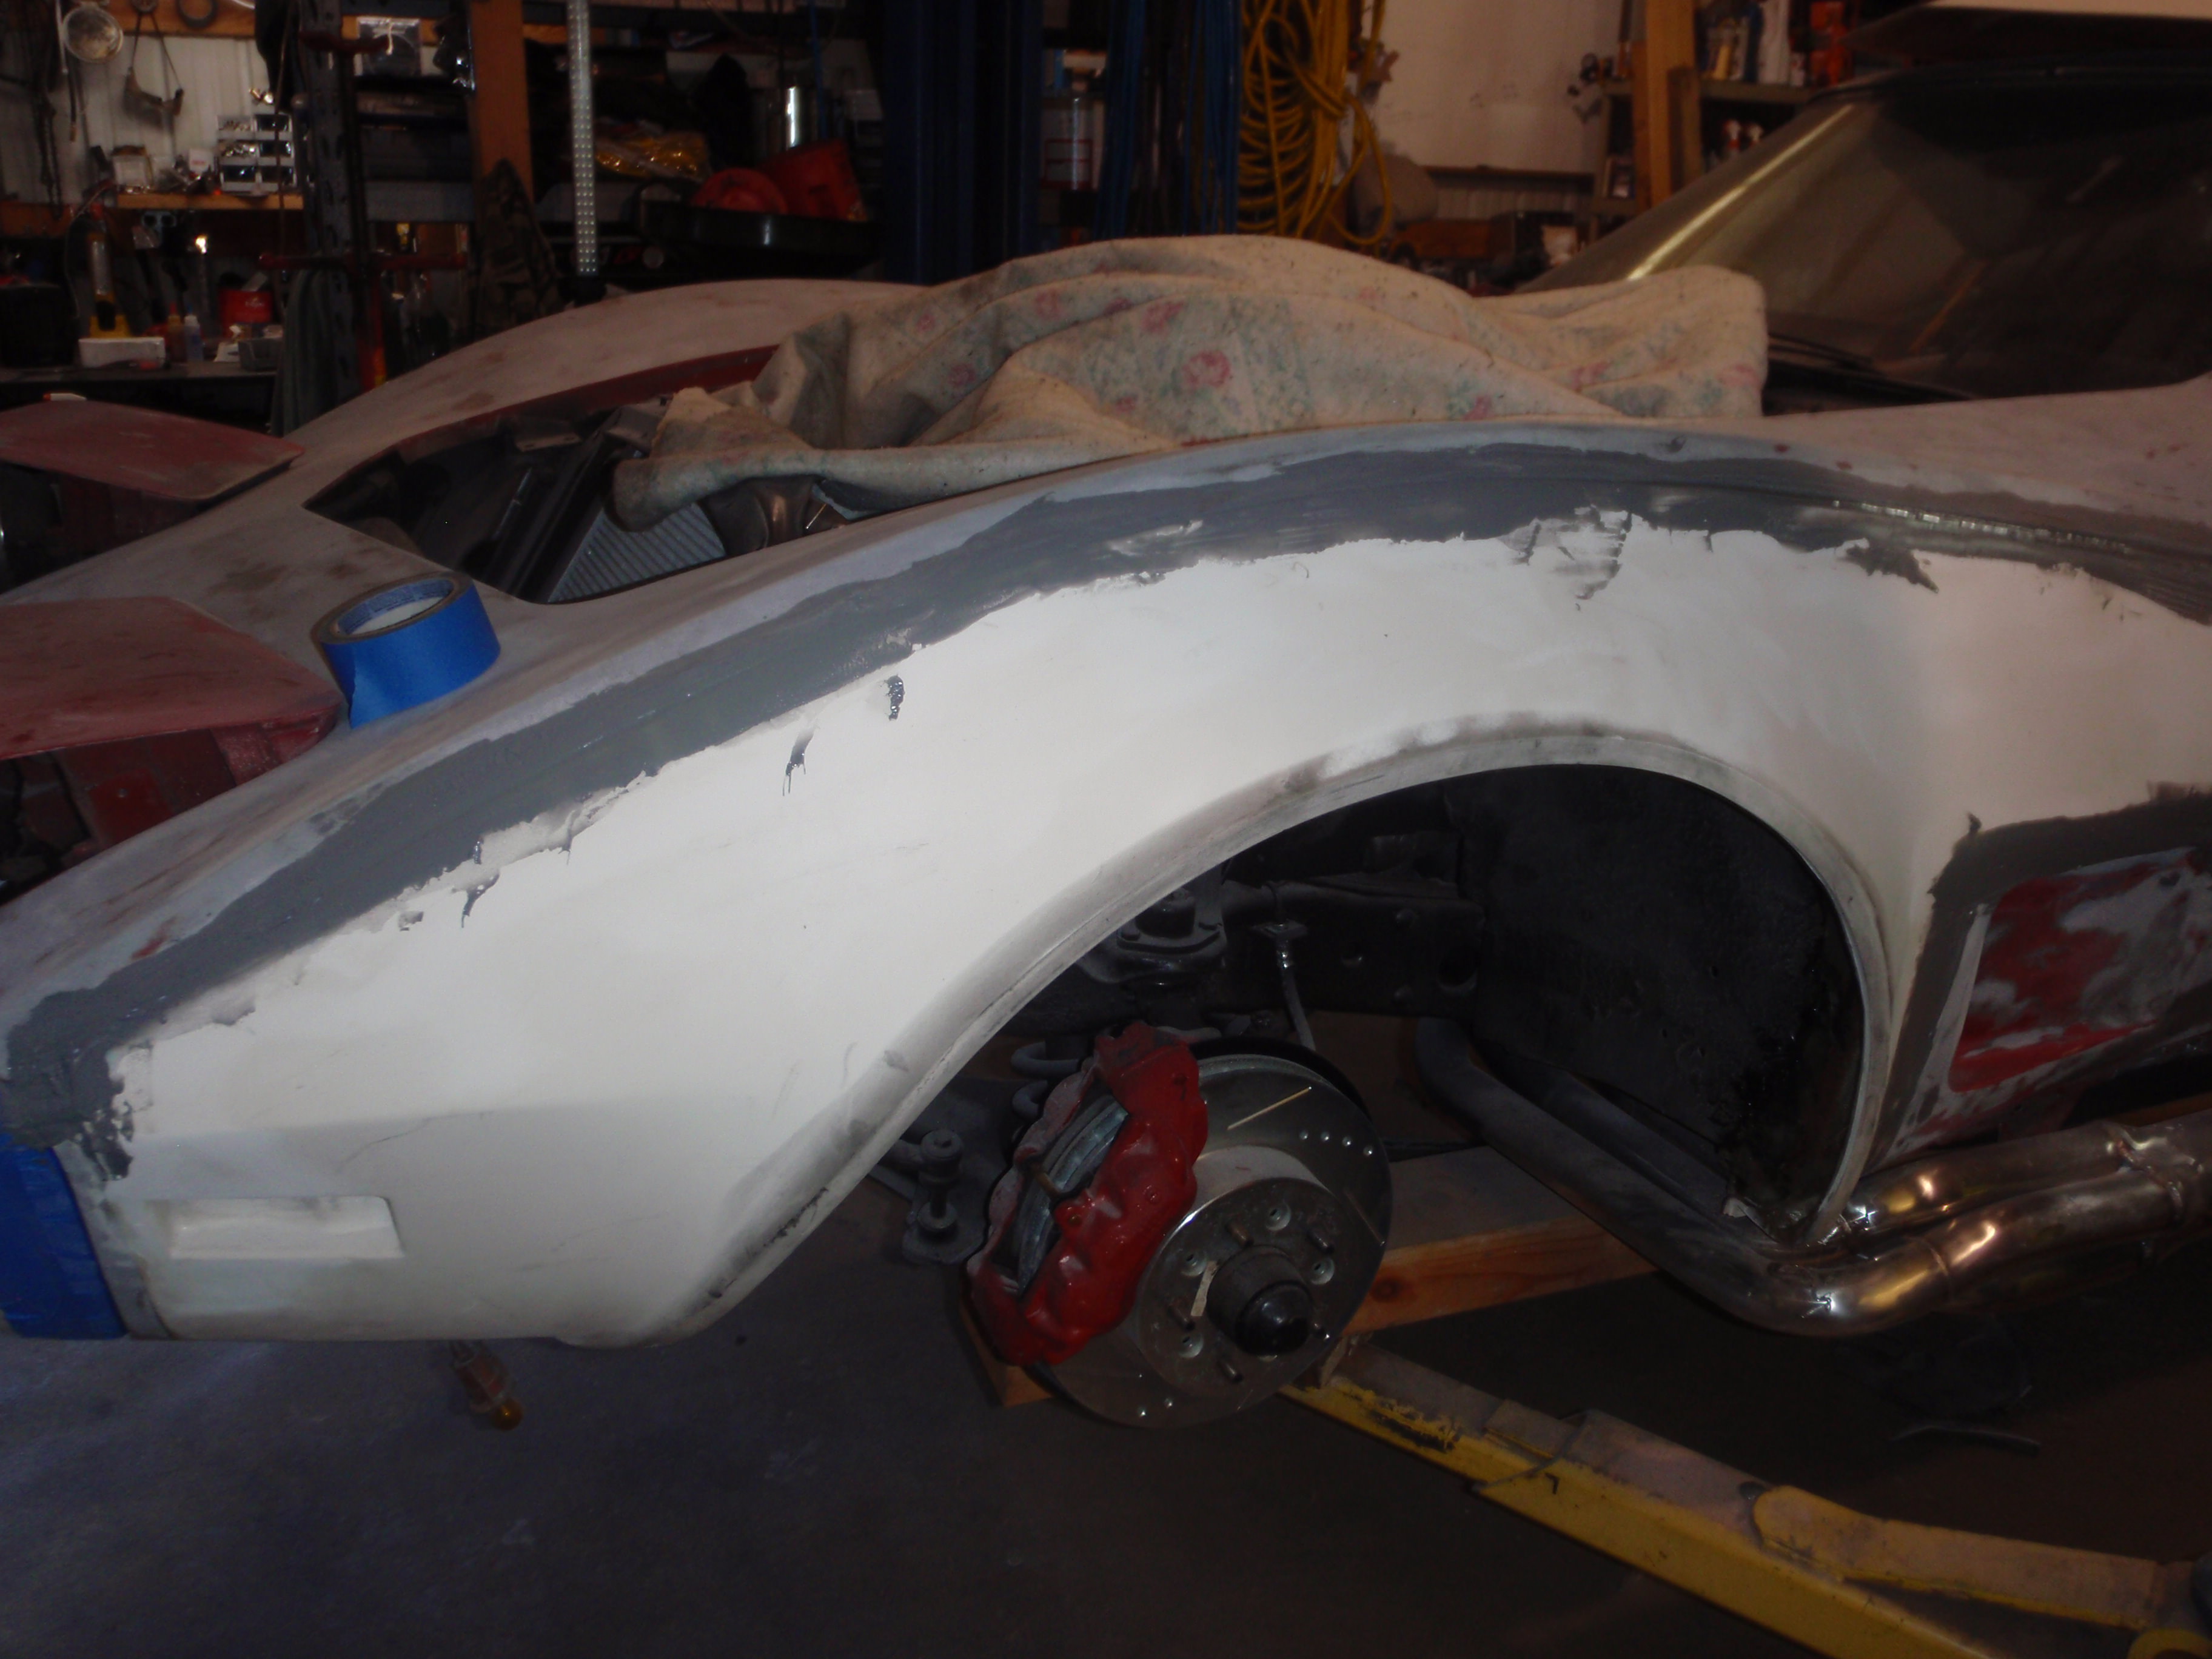
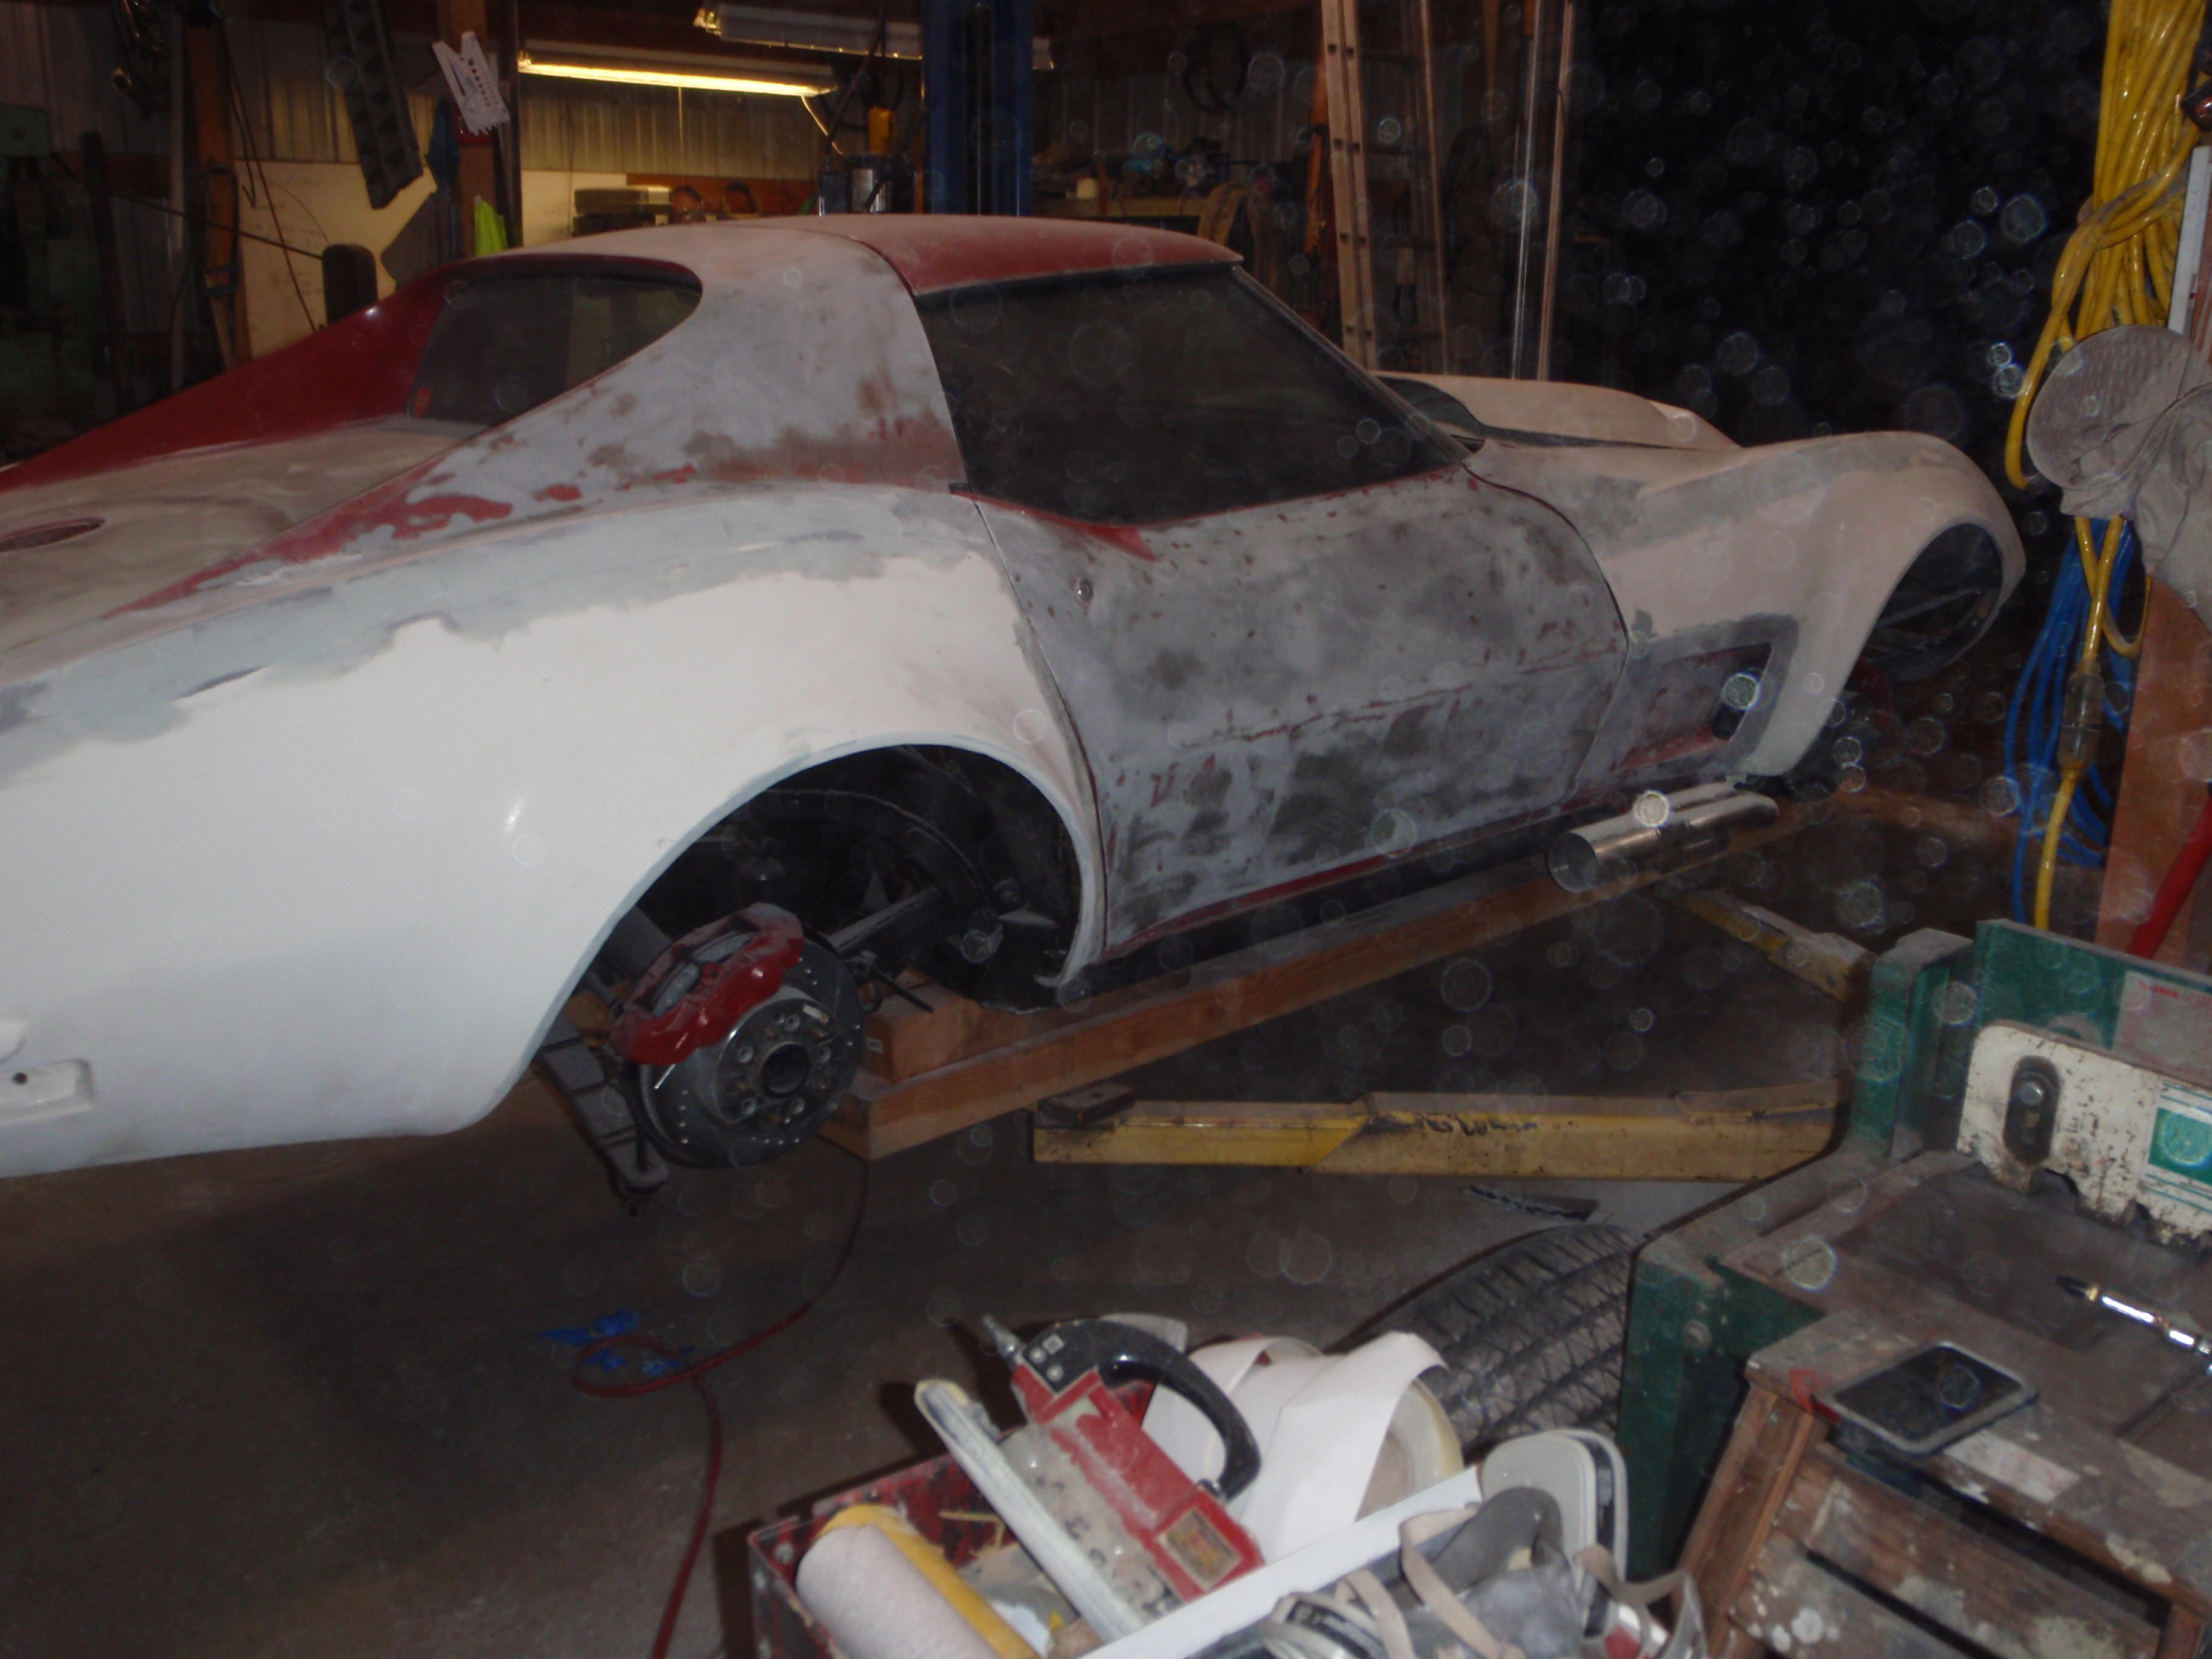
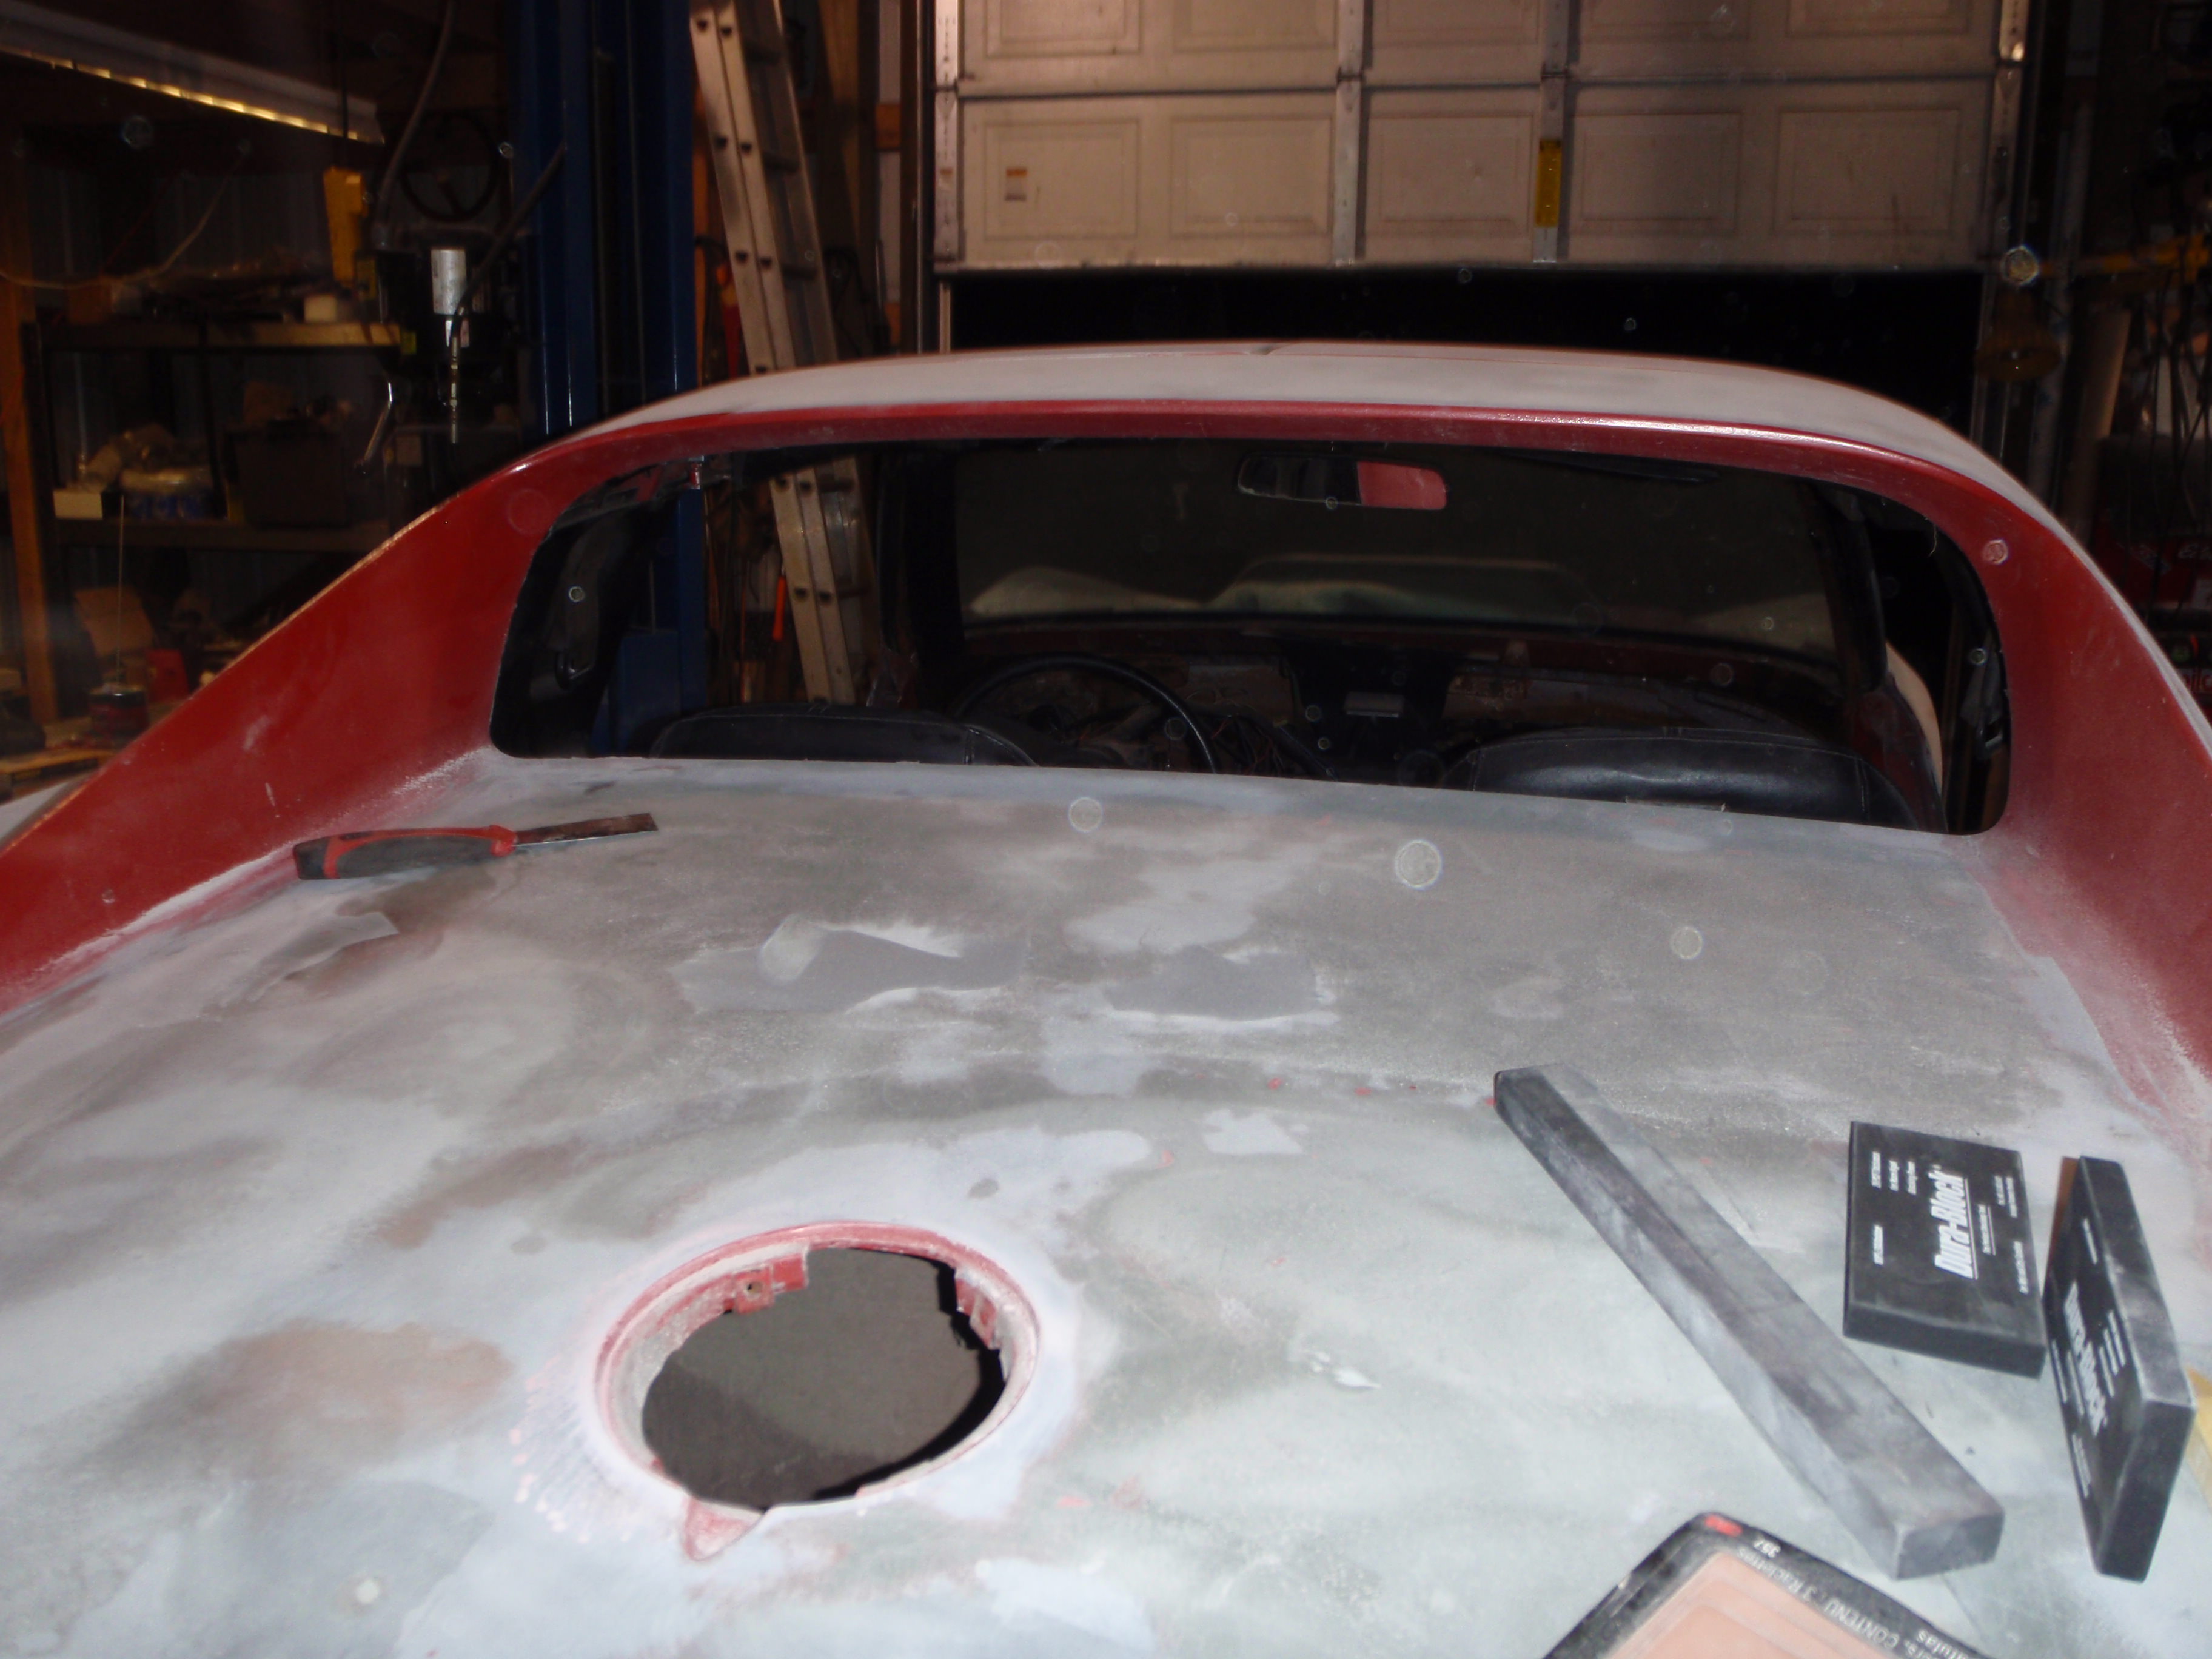
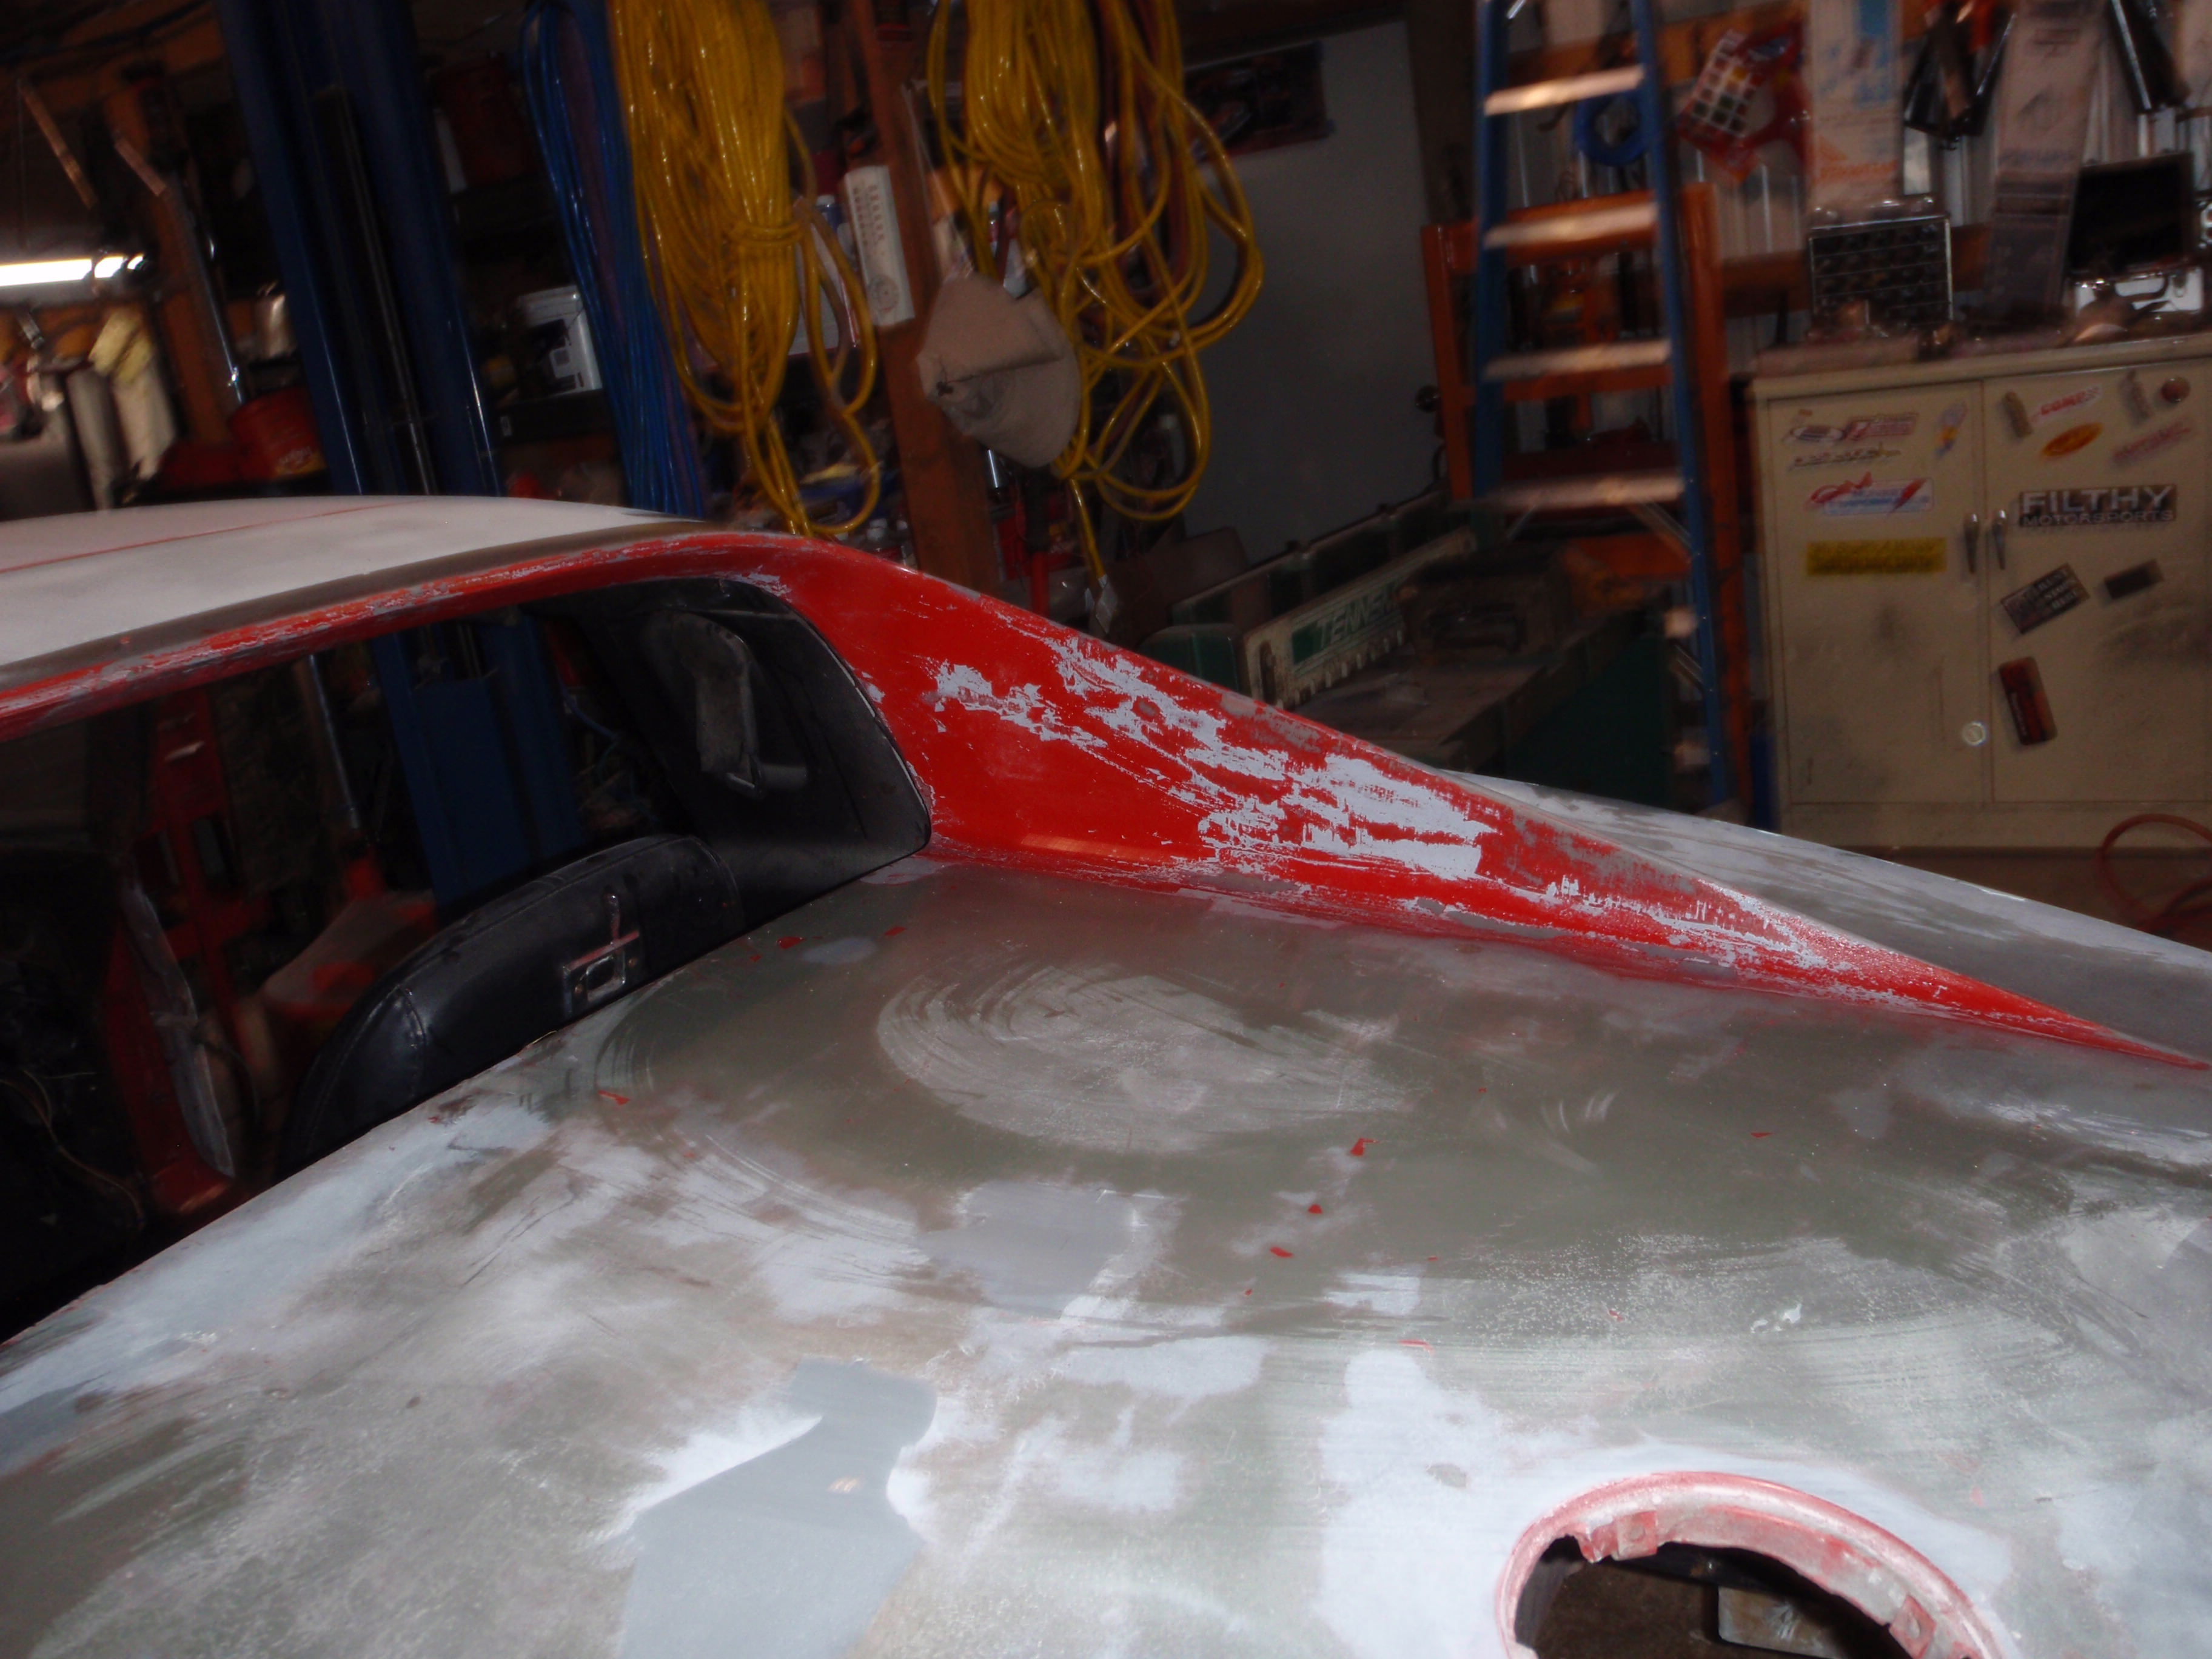
and I started fixing the wheel well, they're actually worse then I thought... the edge - isn't the same angle to the other side - what that means is unless I fix it, one side will have the tire seeming to stick out further then the other
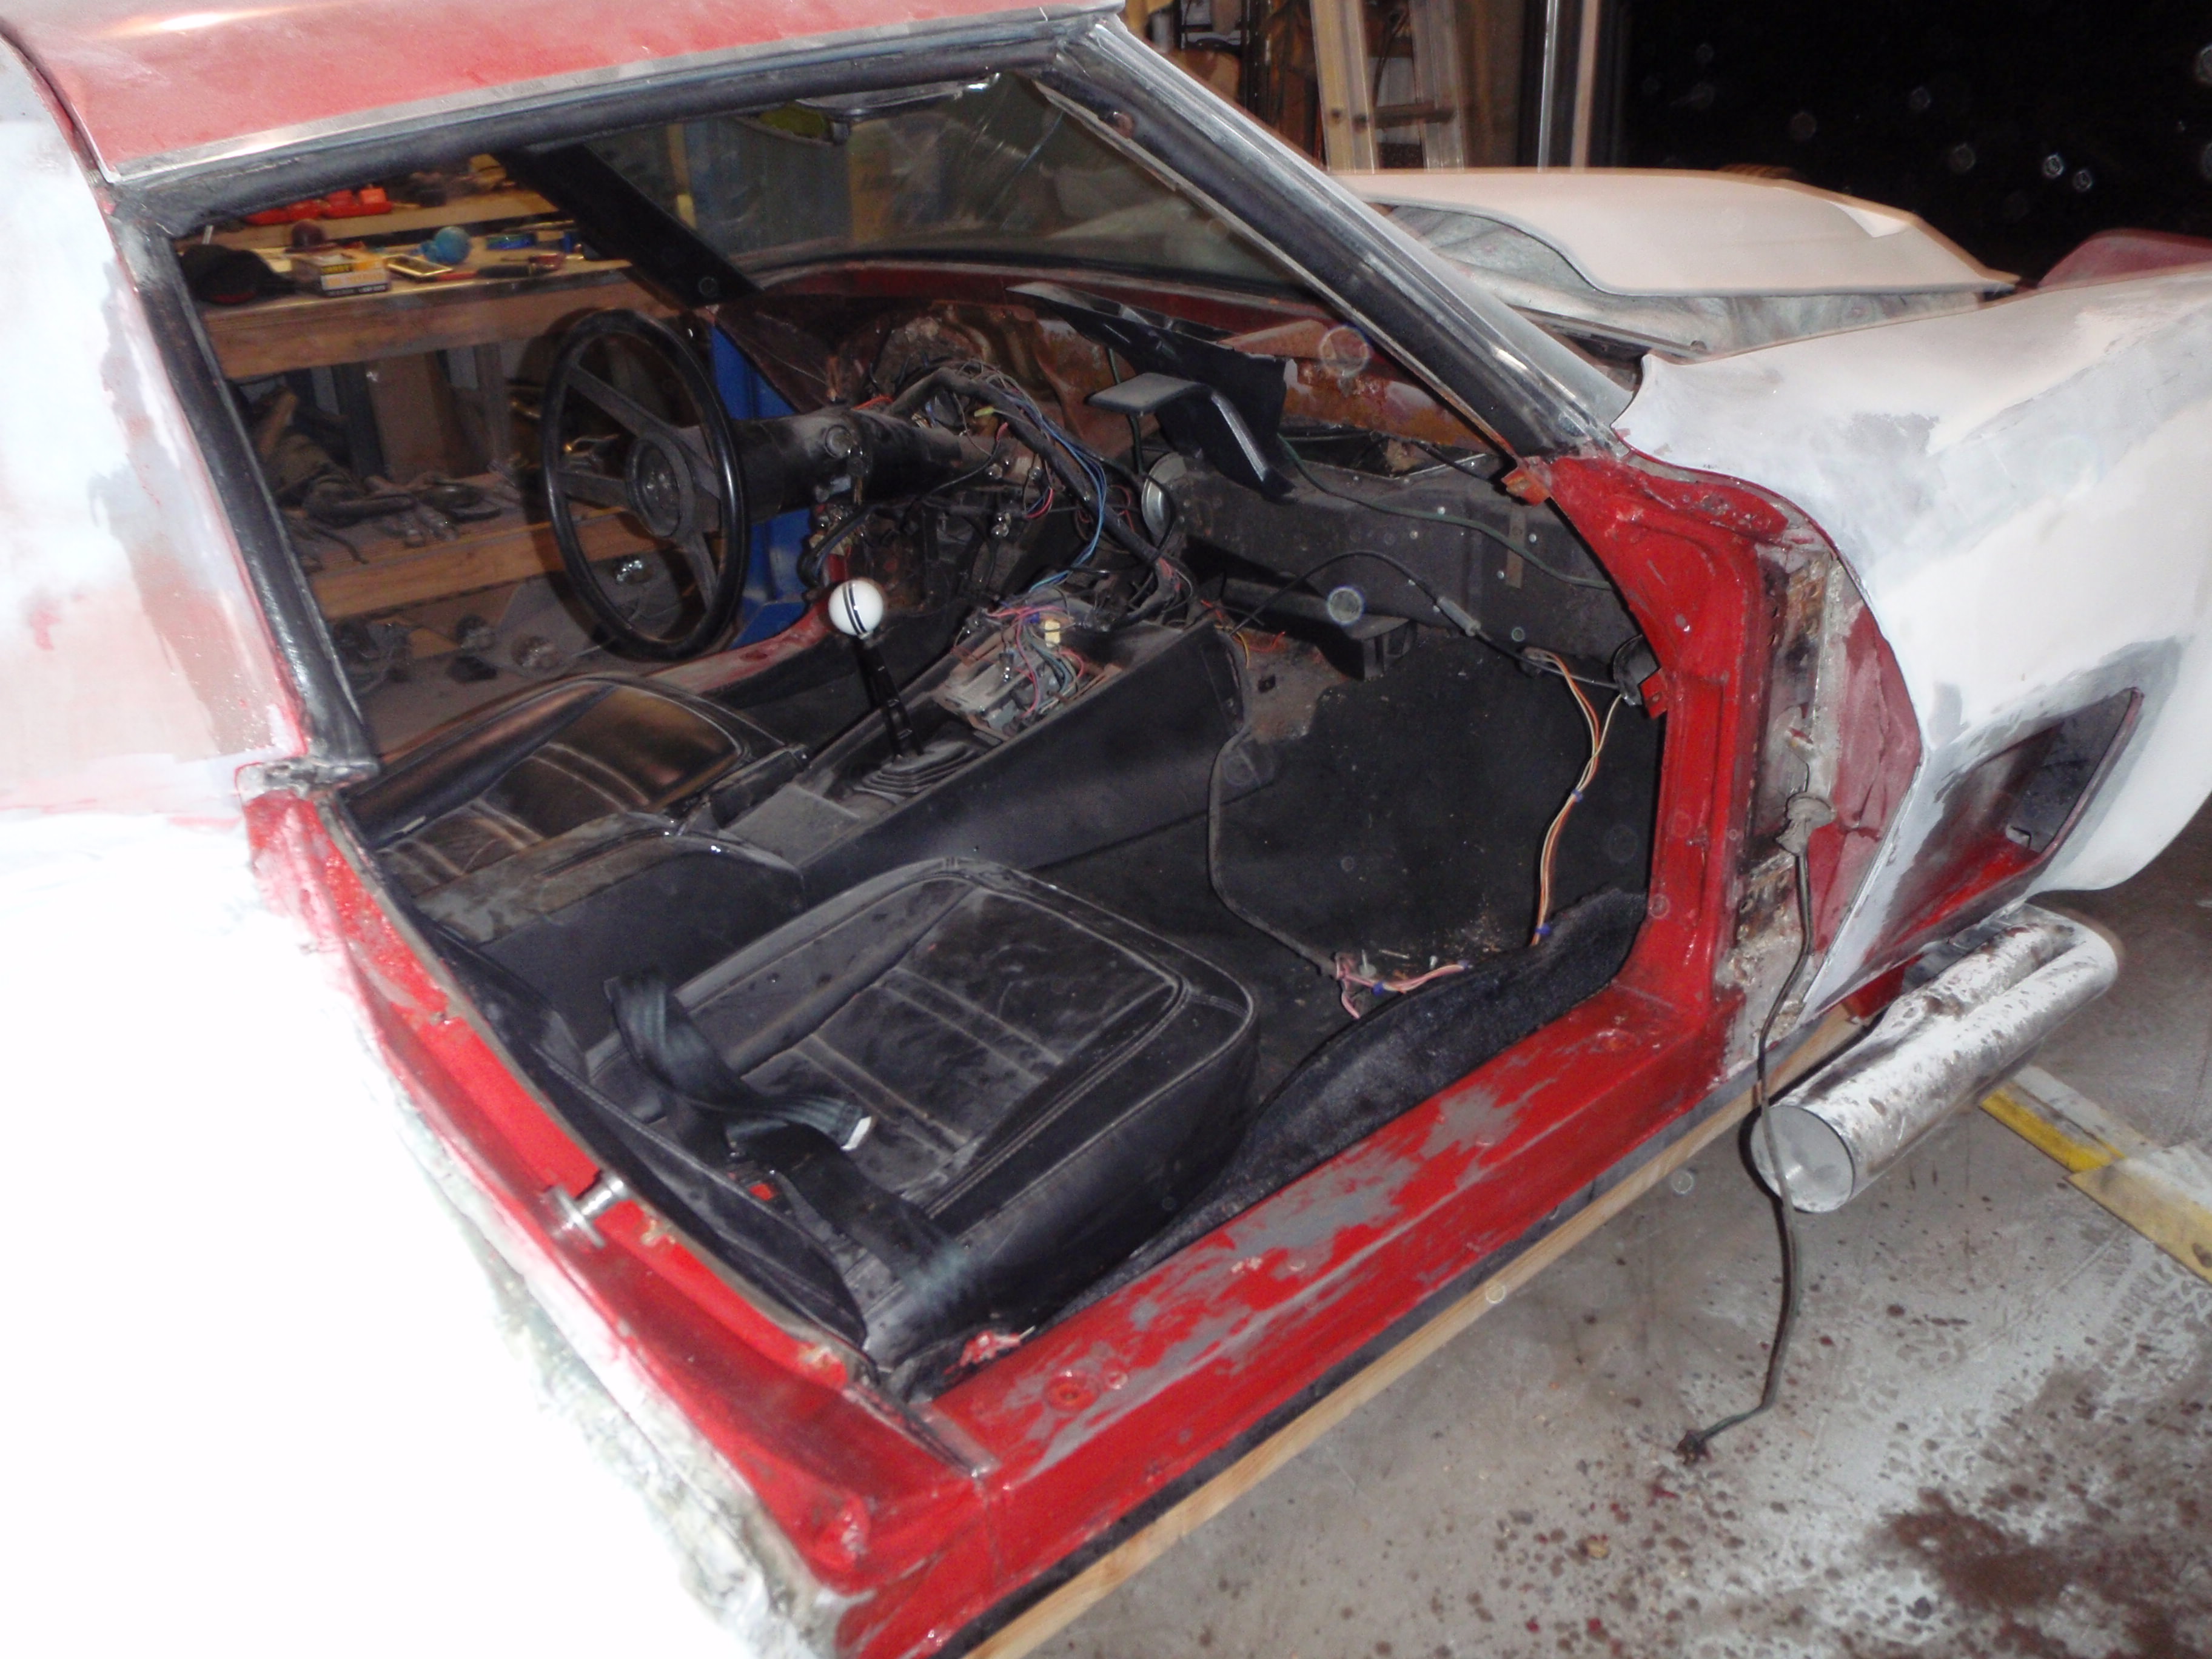
I should be clearer - the next step is take the doors off, finish removing paint on them and the paint that is still on the sails... but all of this fits into starting the leveling coats - first with gold filler then sandable primer, then primer, etc.. etc.
it's going to require some sculpting, but it should be strong enough .... crossing fingers
and other side
second layer
interestingly, I got closer the first time on the hardest side
this should be the final base coat, all the rest are going to be gold coat that get sanded to make this smooth
and I started fixing the wheel well, they're actually worse then I thought... the edge - isn't the same angle to the other side - what that means is unless I fix it, one side will have the tire seeming to stick out further then the other
I should be clearer - the next step is take the doors off, finish removing paint on them and the paint that is still on the sails... but all of this fits into starting the leveling coats - first with gold filler then sandable primer, then primer, etc.. etc.
03-16-2018, 12:32 AM
#132
Melting Slicks
a lot of repetition, but here we go
the whole point being it's going the right direction

anyway, I forgot to order 80 grit and didn't stop to get the final coat (evercoat 125) from the paint shop... truth be told I hate going there because they are way too expensive... but sometimes there is no choice. Let me for example, I needed 2000 grit pads to color sand, they sold me 2 for $50. look up what it really costs and you'll see why I avoid them. Too bad for them.
the whole point being it's going the right direction
anyway, I forgot to order 80 grit and didn't stop to get the final coat (evercoat 125) from the paint shop... truth be told I hate going there because they are way too expensive... but sometimes there is no choice. Let me for example, I needed 2000 grit pads to color sand, they sold me 2 for $50. look up what it really costs and you'll see why I avoid them. Too bad for them.
The following users liked this post:
Metalhead140 (03-22-2018)
03-16-2018, 08:10 AM
#133
Melting Slicks
Looking better all the time, makes me cringe however at all the work I have ahead.
My local supply shop doesn't even have Vaseline to ease the screwing...
Other than paint supplies I don't buy anything from them. They easily charge triple for most items. I can get roll of sandpaper for what they charge for a pack.
My local supply shop doesn't even have Vaseline to ease the screwing...
Other than paint supplies I don't buy anything from them. They easily charge triple for most items. I can get roll of sandpaper for what they charge for a pack.
03-16-2018, 09:03 AM
#134
Nam Labrat
Member Since: Sep 2013
Location: New Orleans Loo-z-anna
Posts: 33,893
Received 4,173 Likes
on
2,735 Posts
Your are moving along well. I wouldn't be able to see over that hood scoop.......LOL 
03-17-2018, 10:03 AM
#135
Melting Slicks
Looking better all the time, makes me cringe however at all the work I have ahead.
My local supply shop doesn't even have Vaseline to ease the screwing...
Other than paint supplies I don't buy anything from them. They easily charge triple for most items. I can get roll of sandpaper for what they charge for a pack.
My local supply shop doesn't even have Vaseline to ease the screwing...
Other than paint supplies I don't buy anything from them. They easily charge triple for most items. I can get roll of sandpaper for what they charge for a pack.
 so I asked - the guy said "oh, that's body shop pricing and I gave it to you." I said that if they did that for all their stuff, every time, I'd spend a whole lot more there.... I suspect this was a one-time deal but who knows.
03-19-2018, 12:39 AM
so I asked - the guy said "oh, that's body shop pricing and I gave it to you." I said that if they did that for all their stuff, every time, I'd spend a whole lot more there.... I suspect this was a one-time deal but who knows.
03-19-2018, 12:39 AM
#136
Melting Slicks
parts fell off
back glass
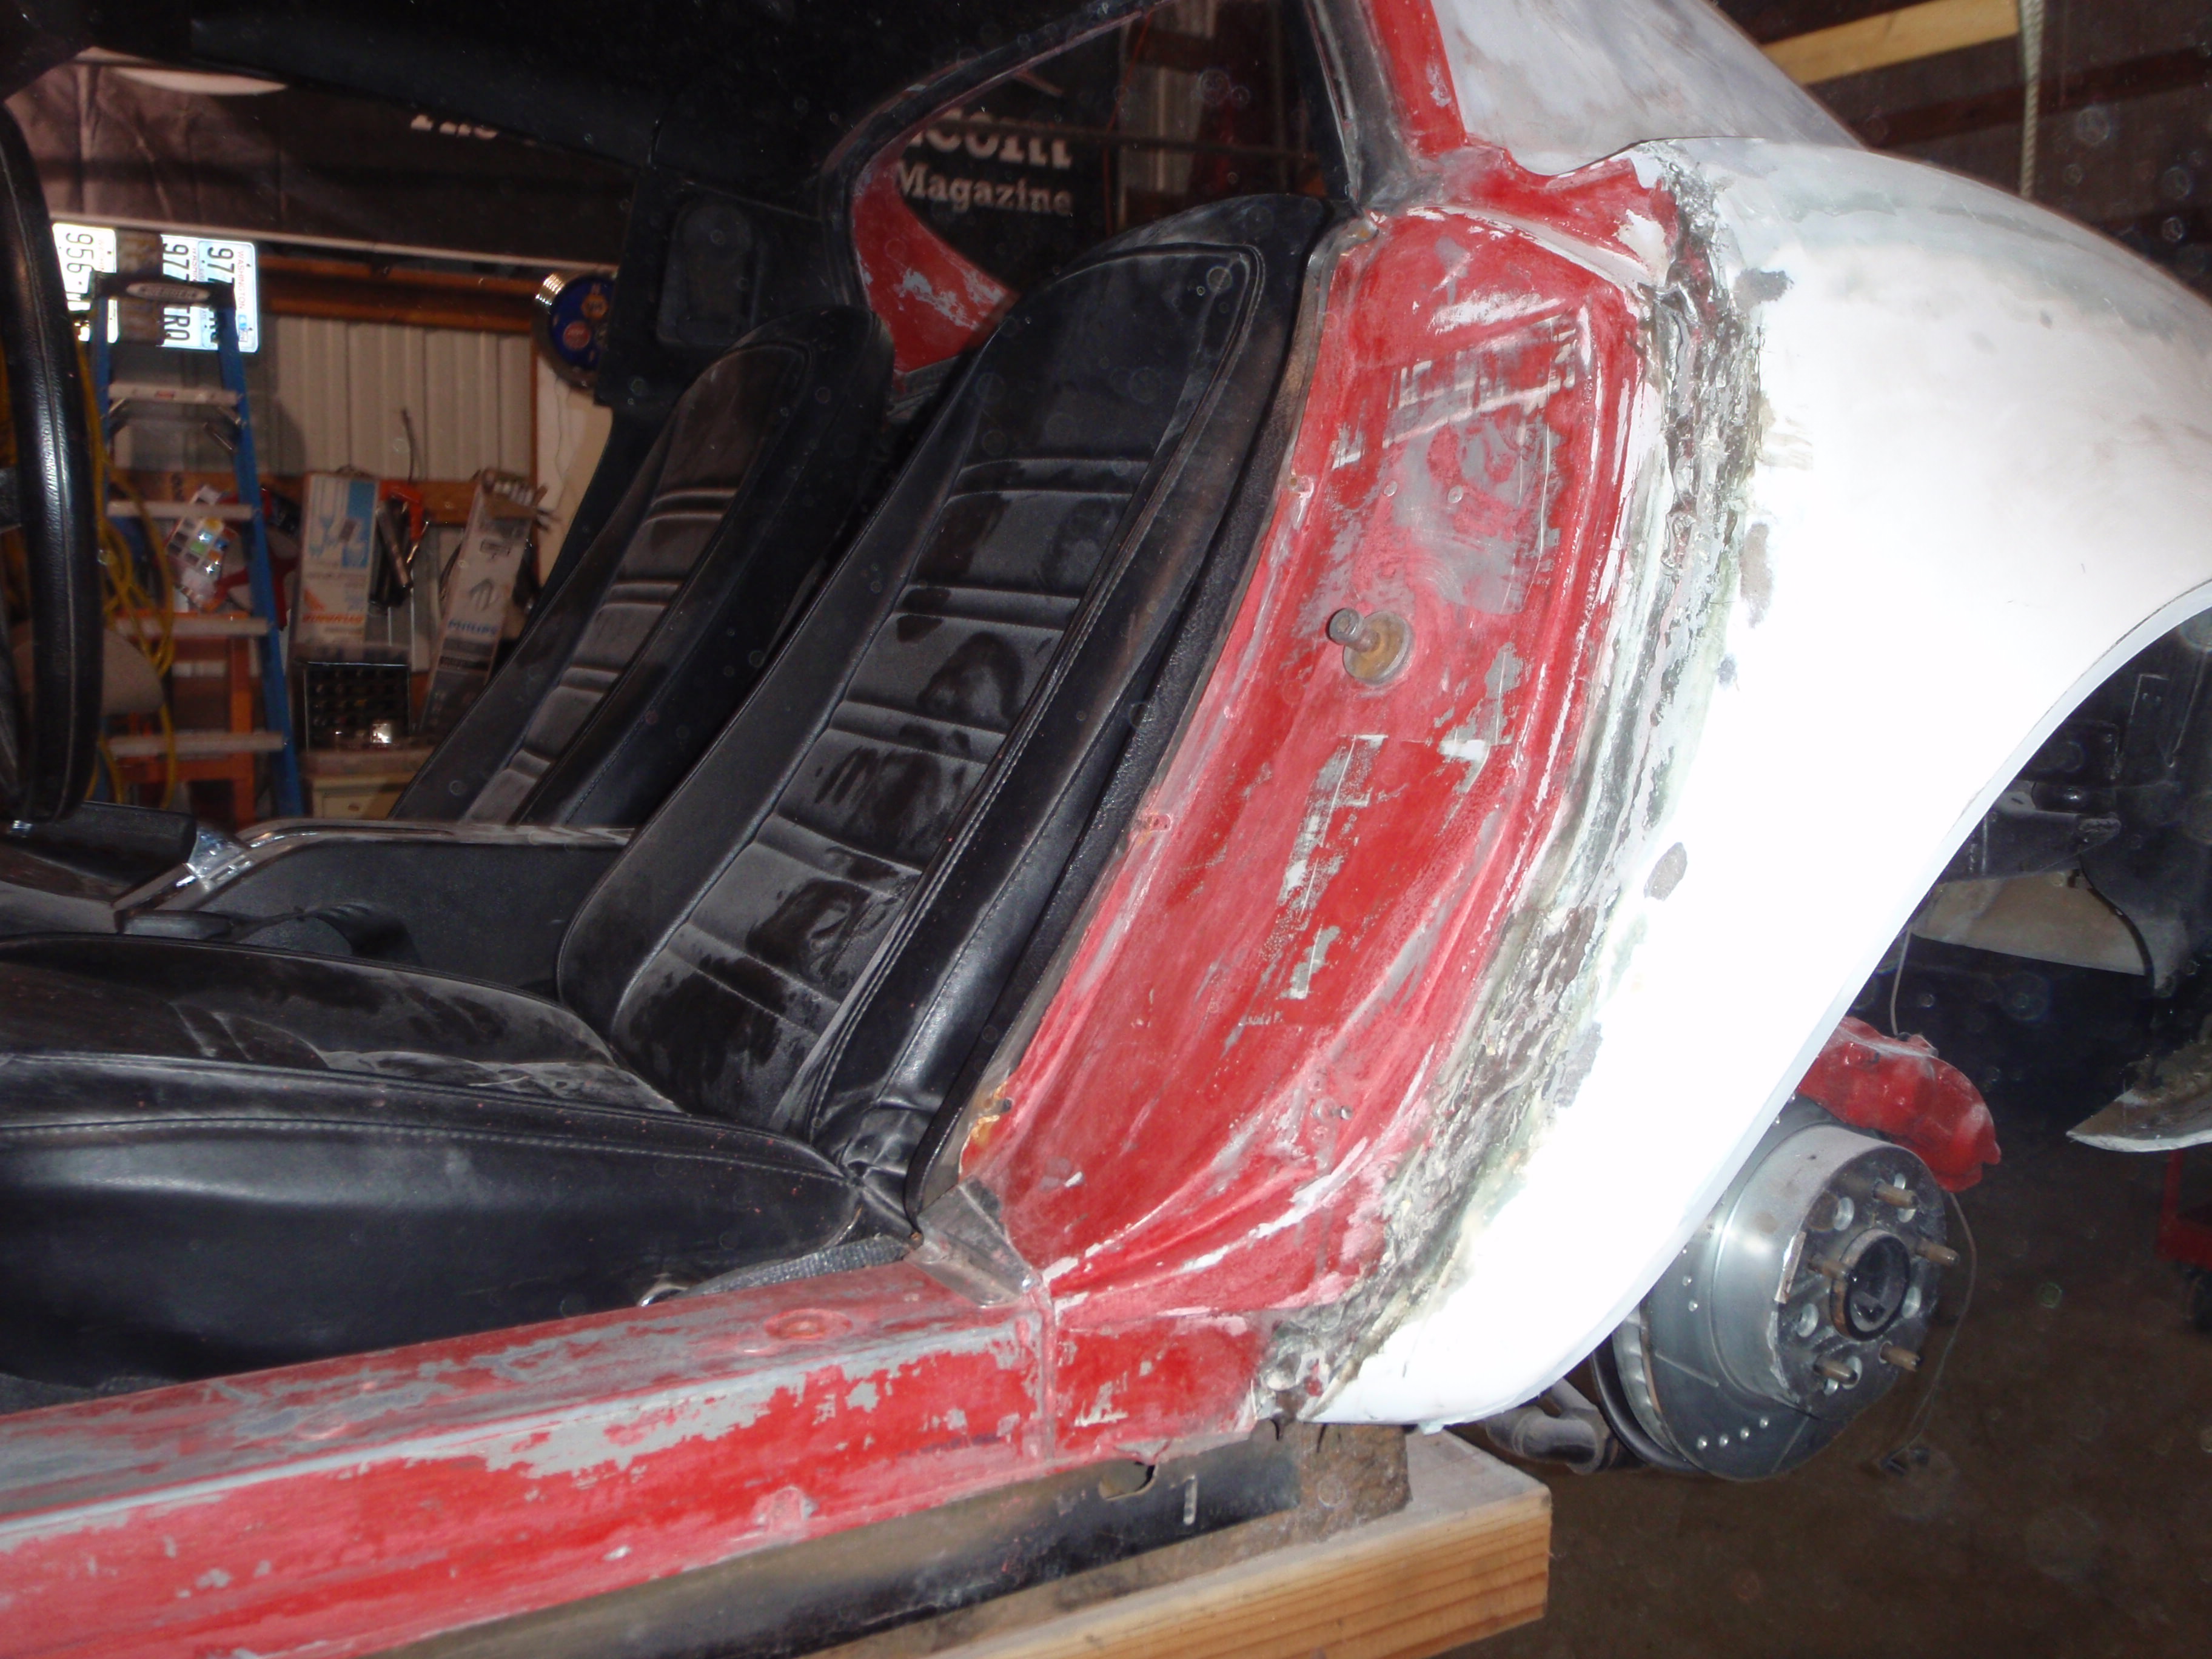
passenger door and driver's door
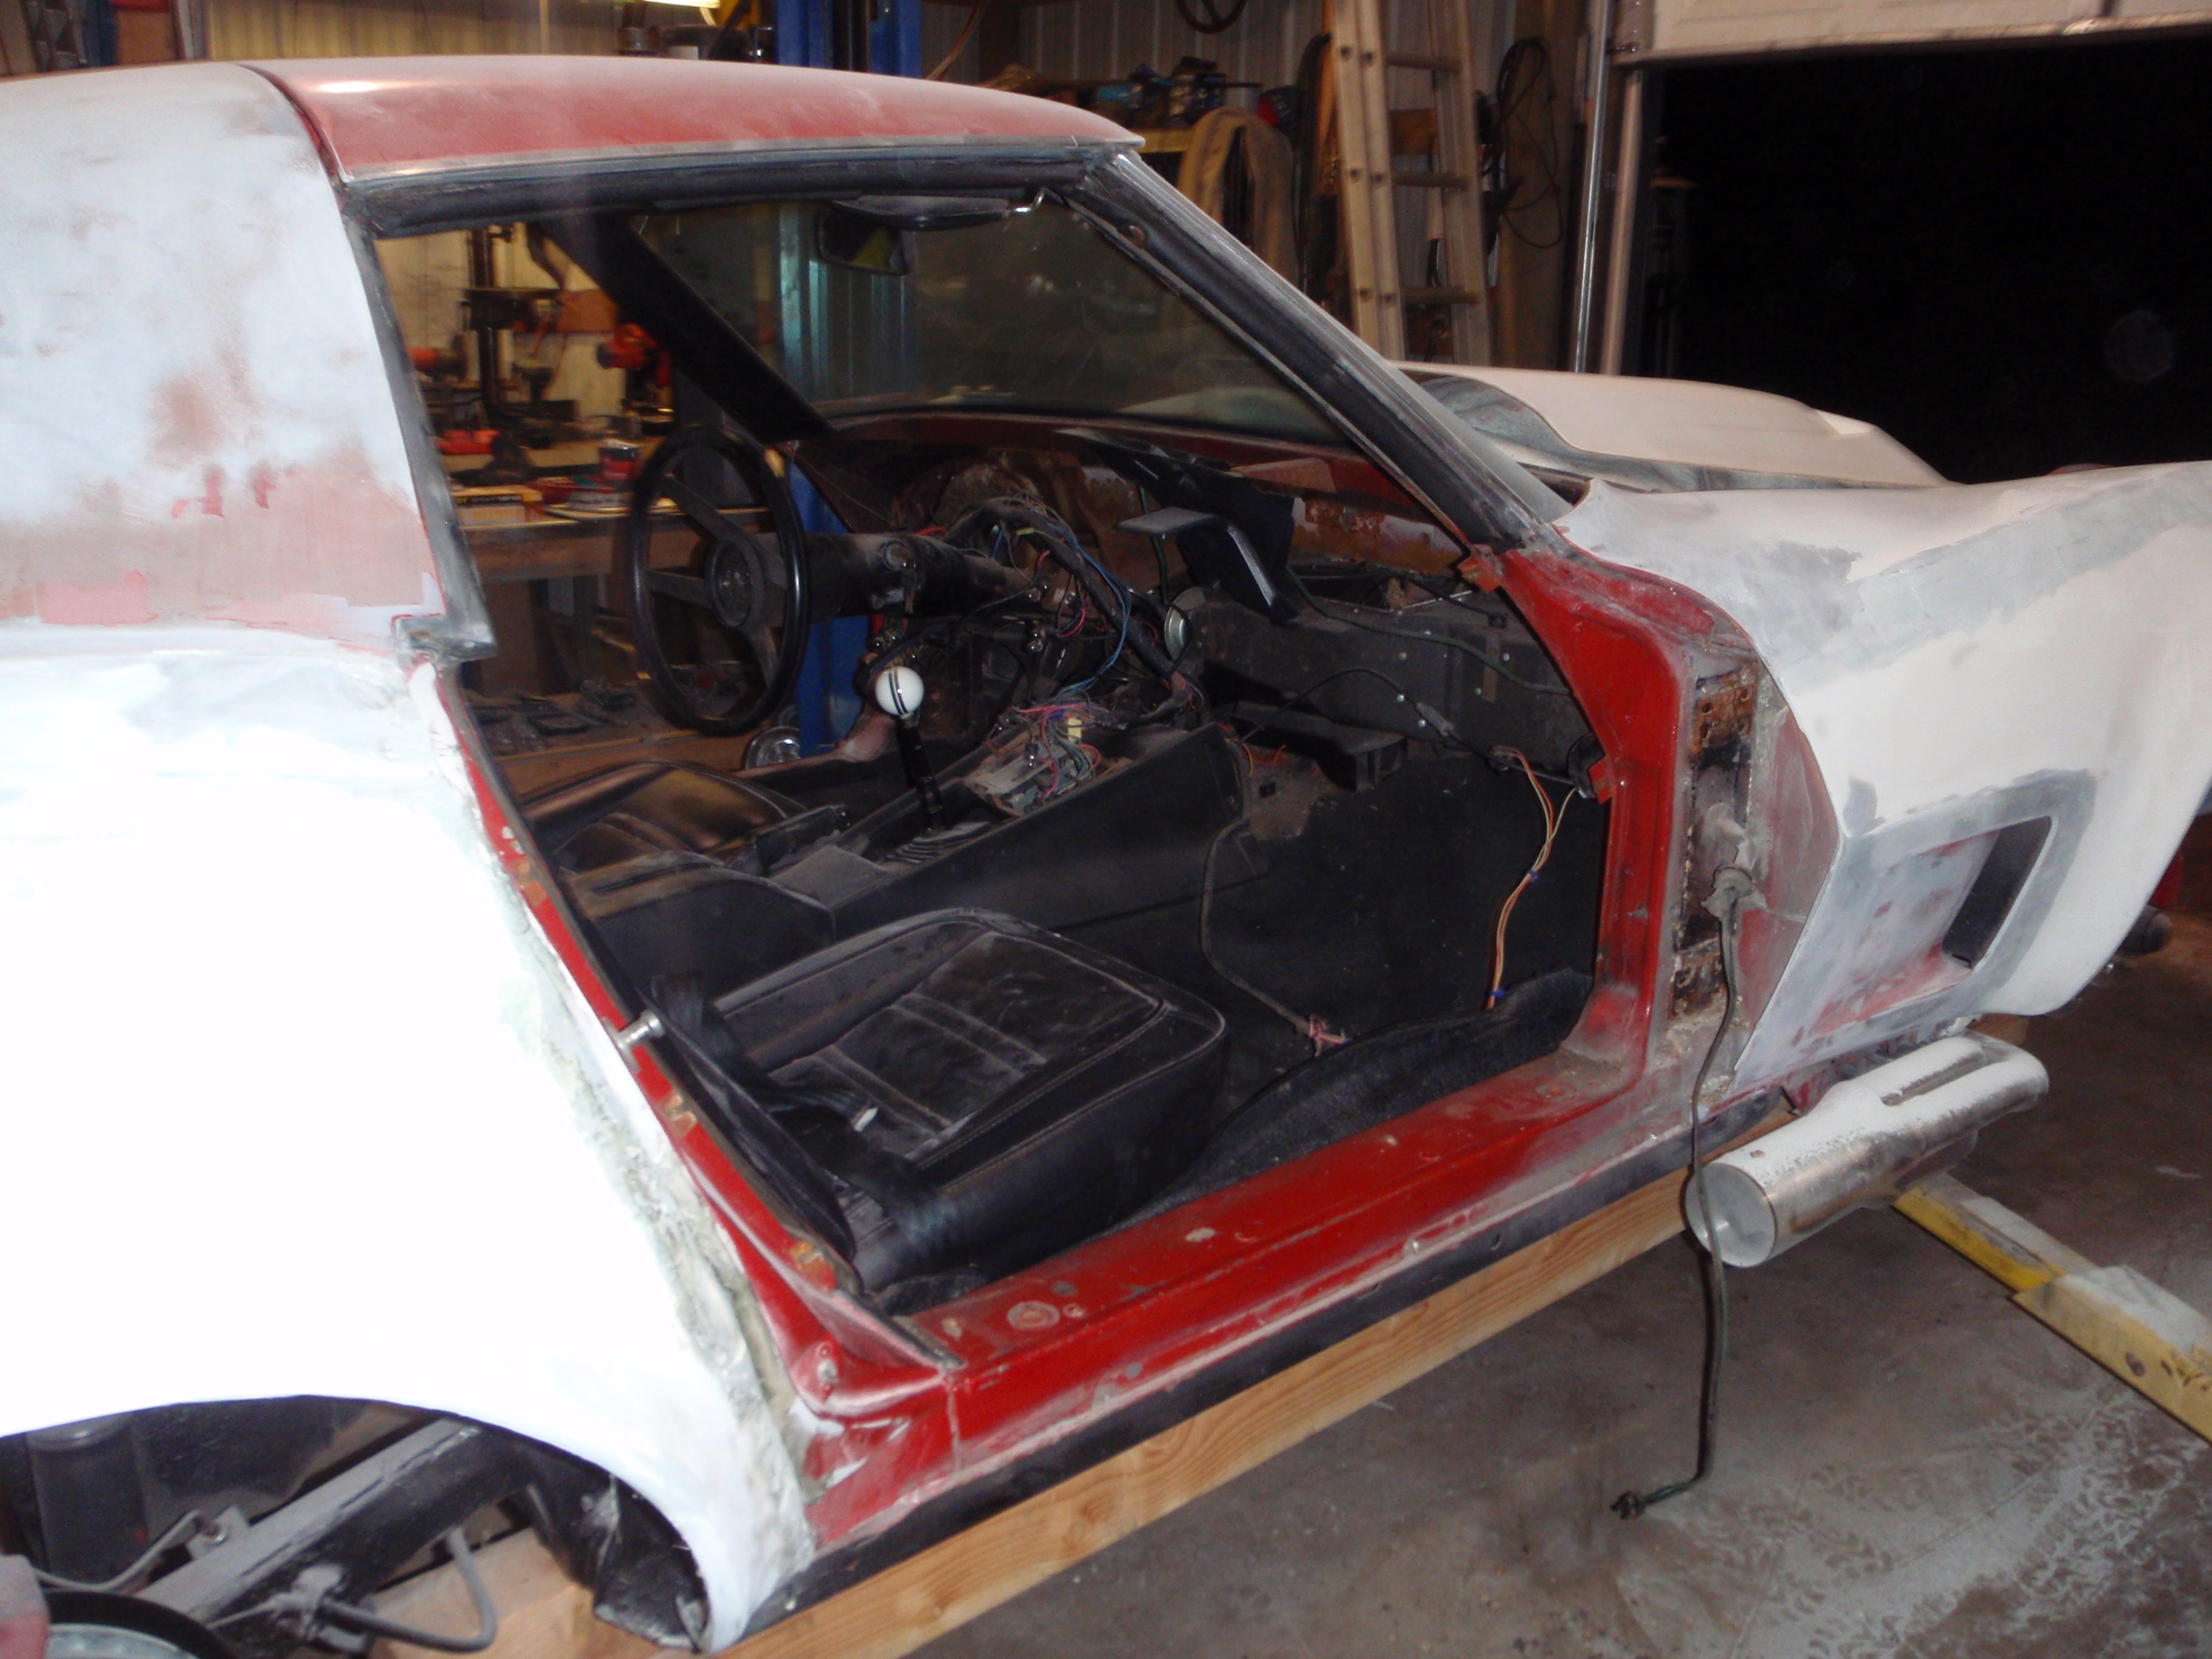
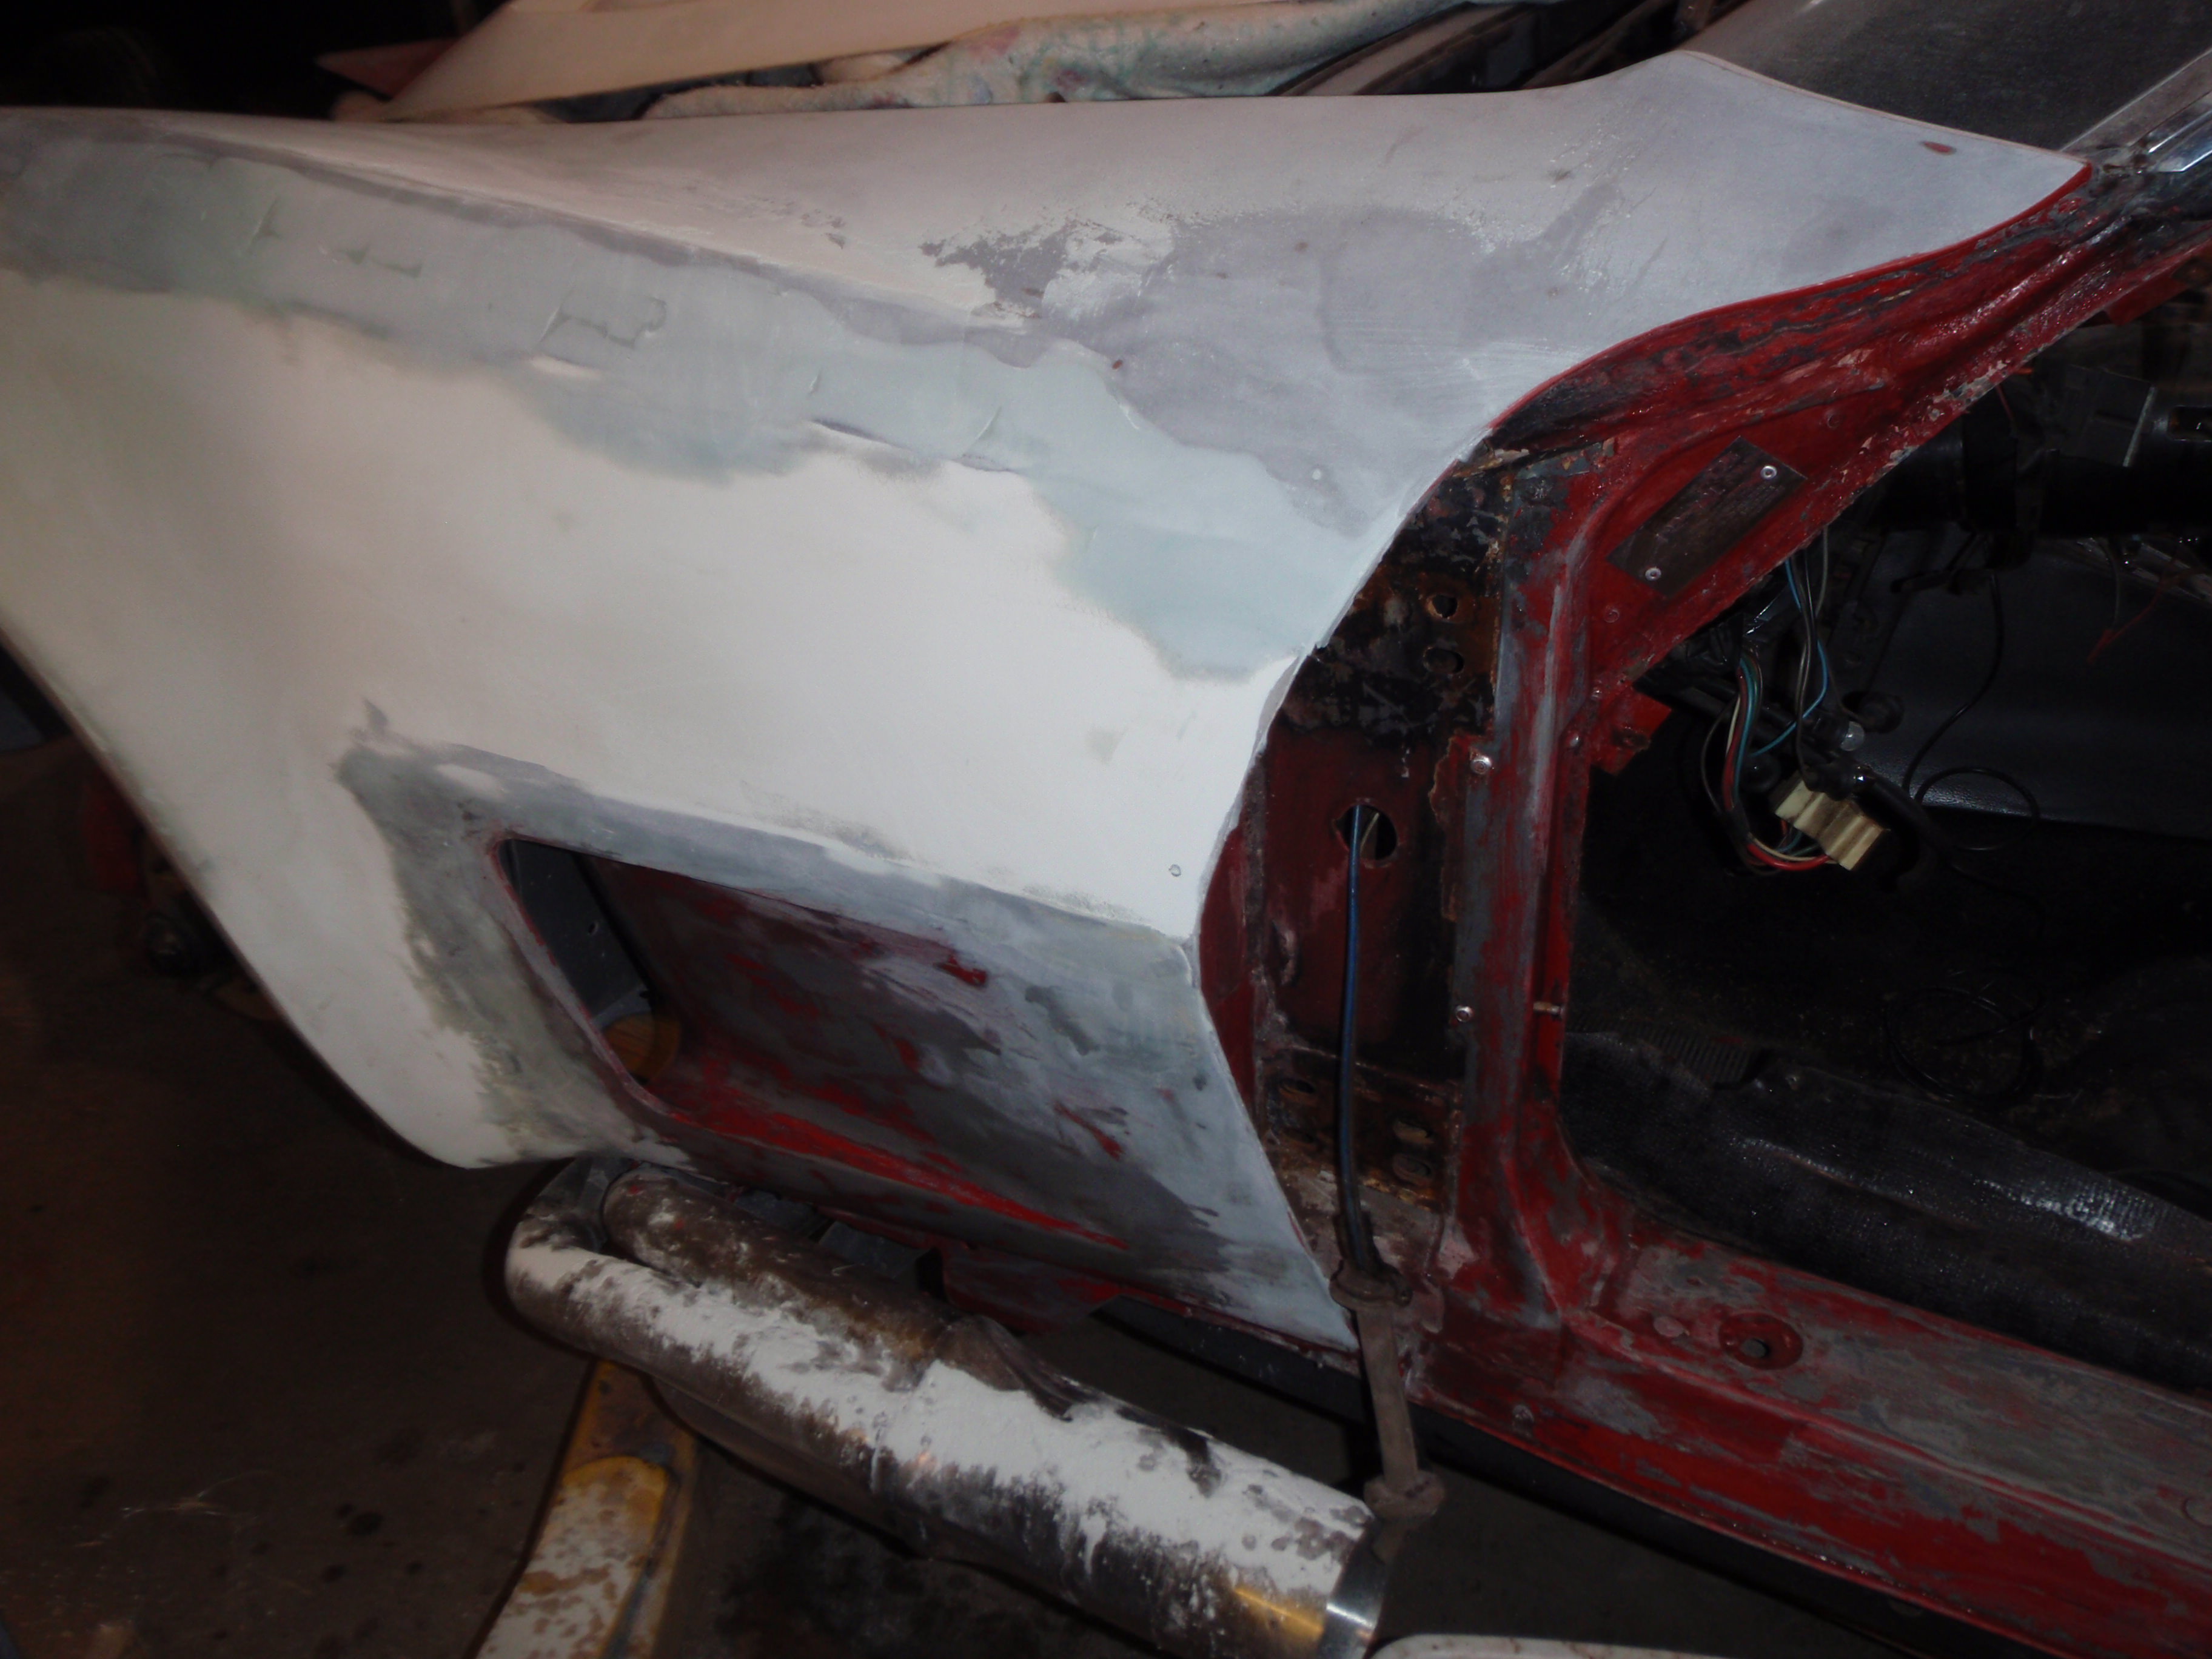
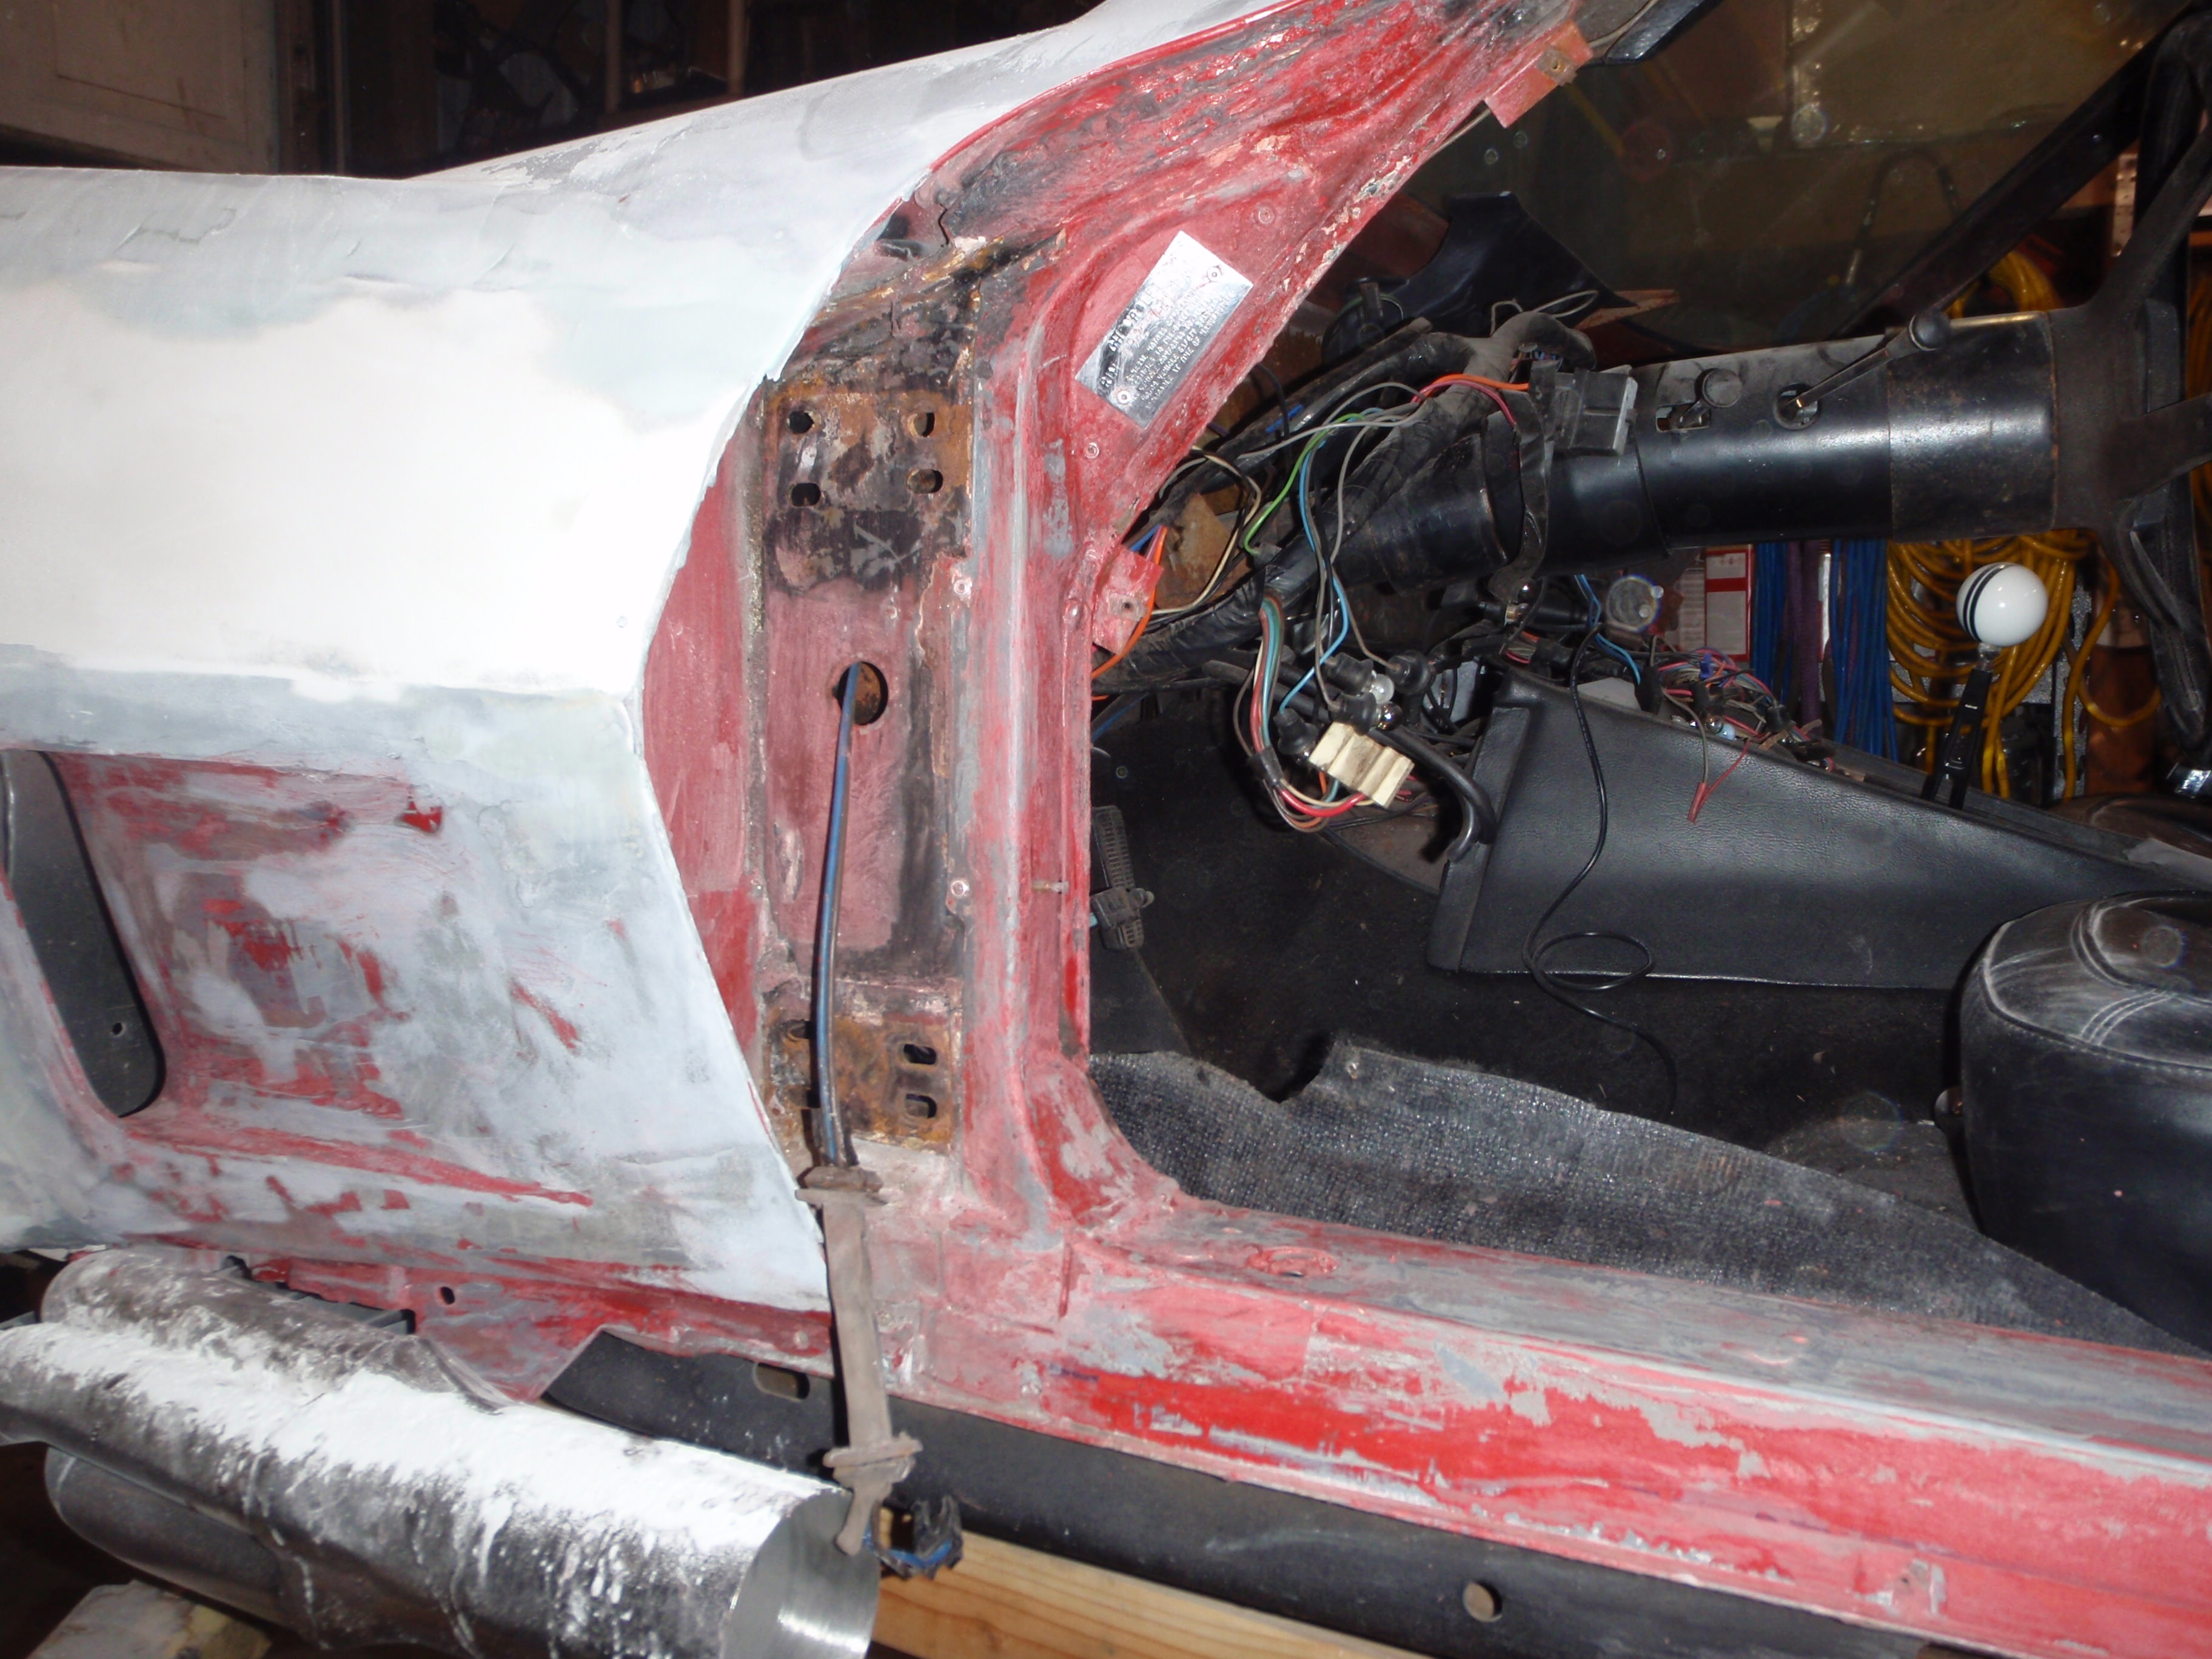
nothing remarkable except that someone used silicone to keep the shims in place
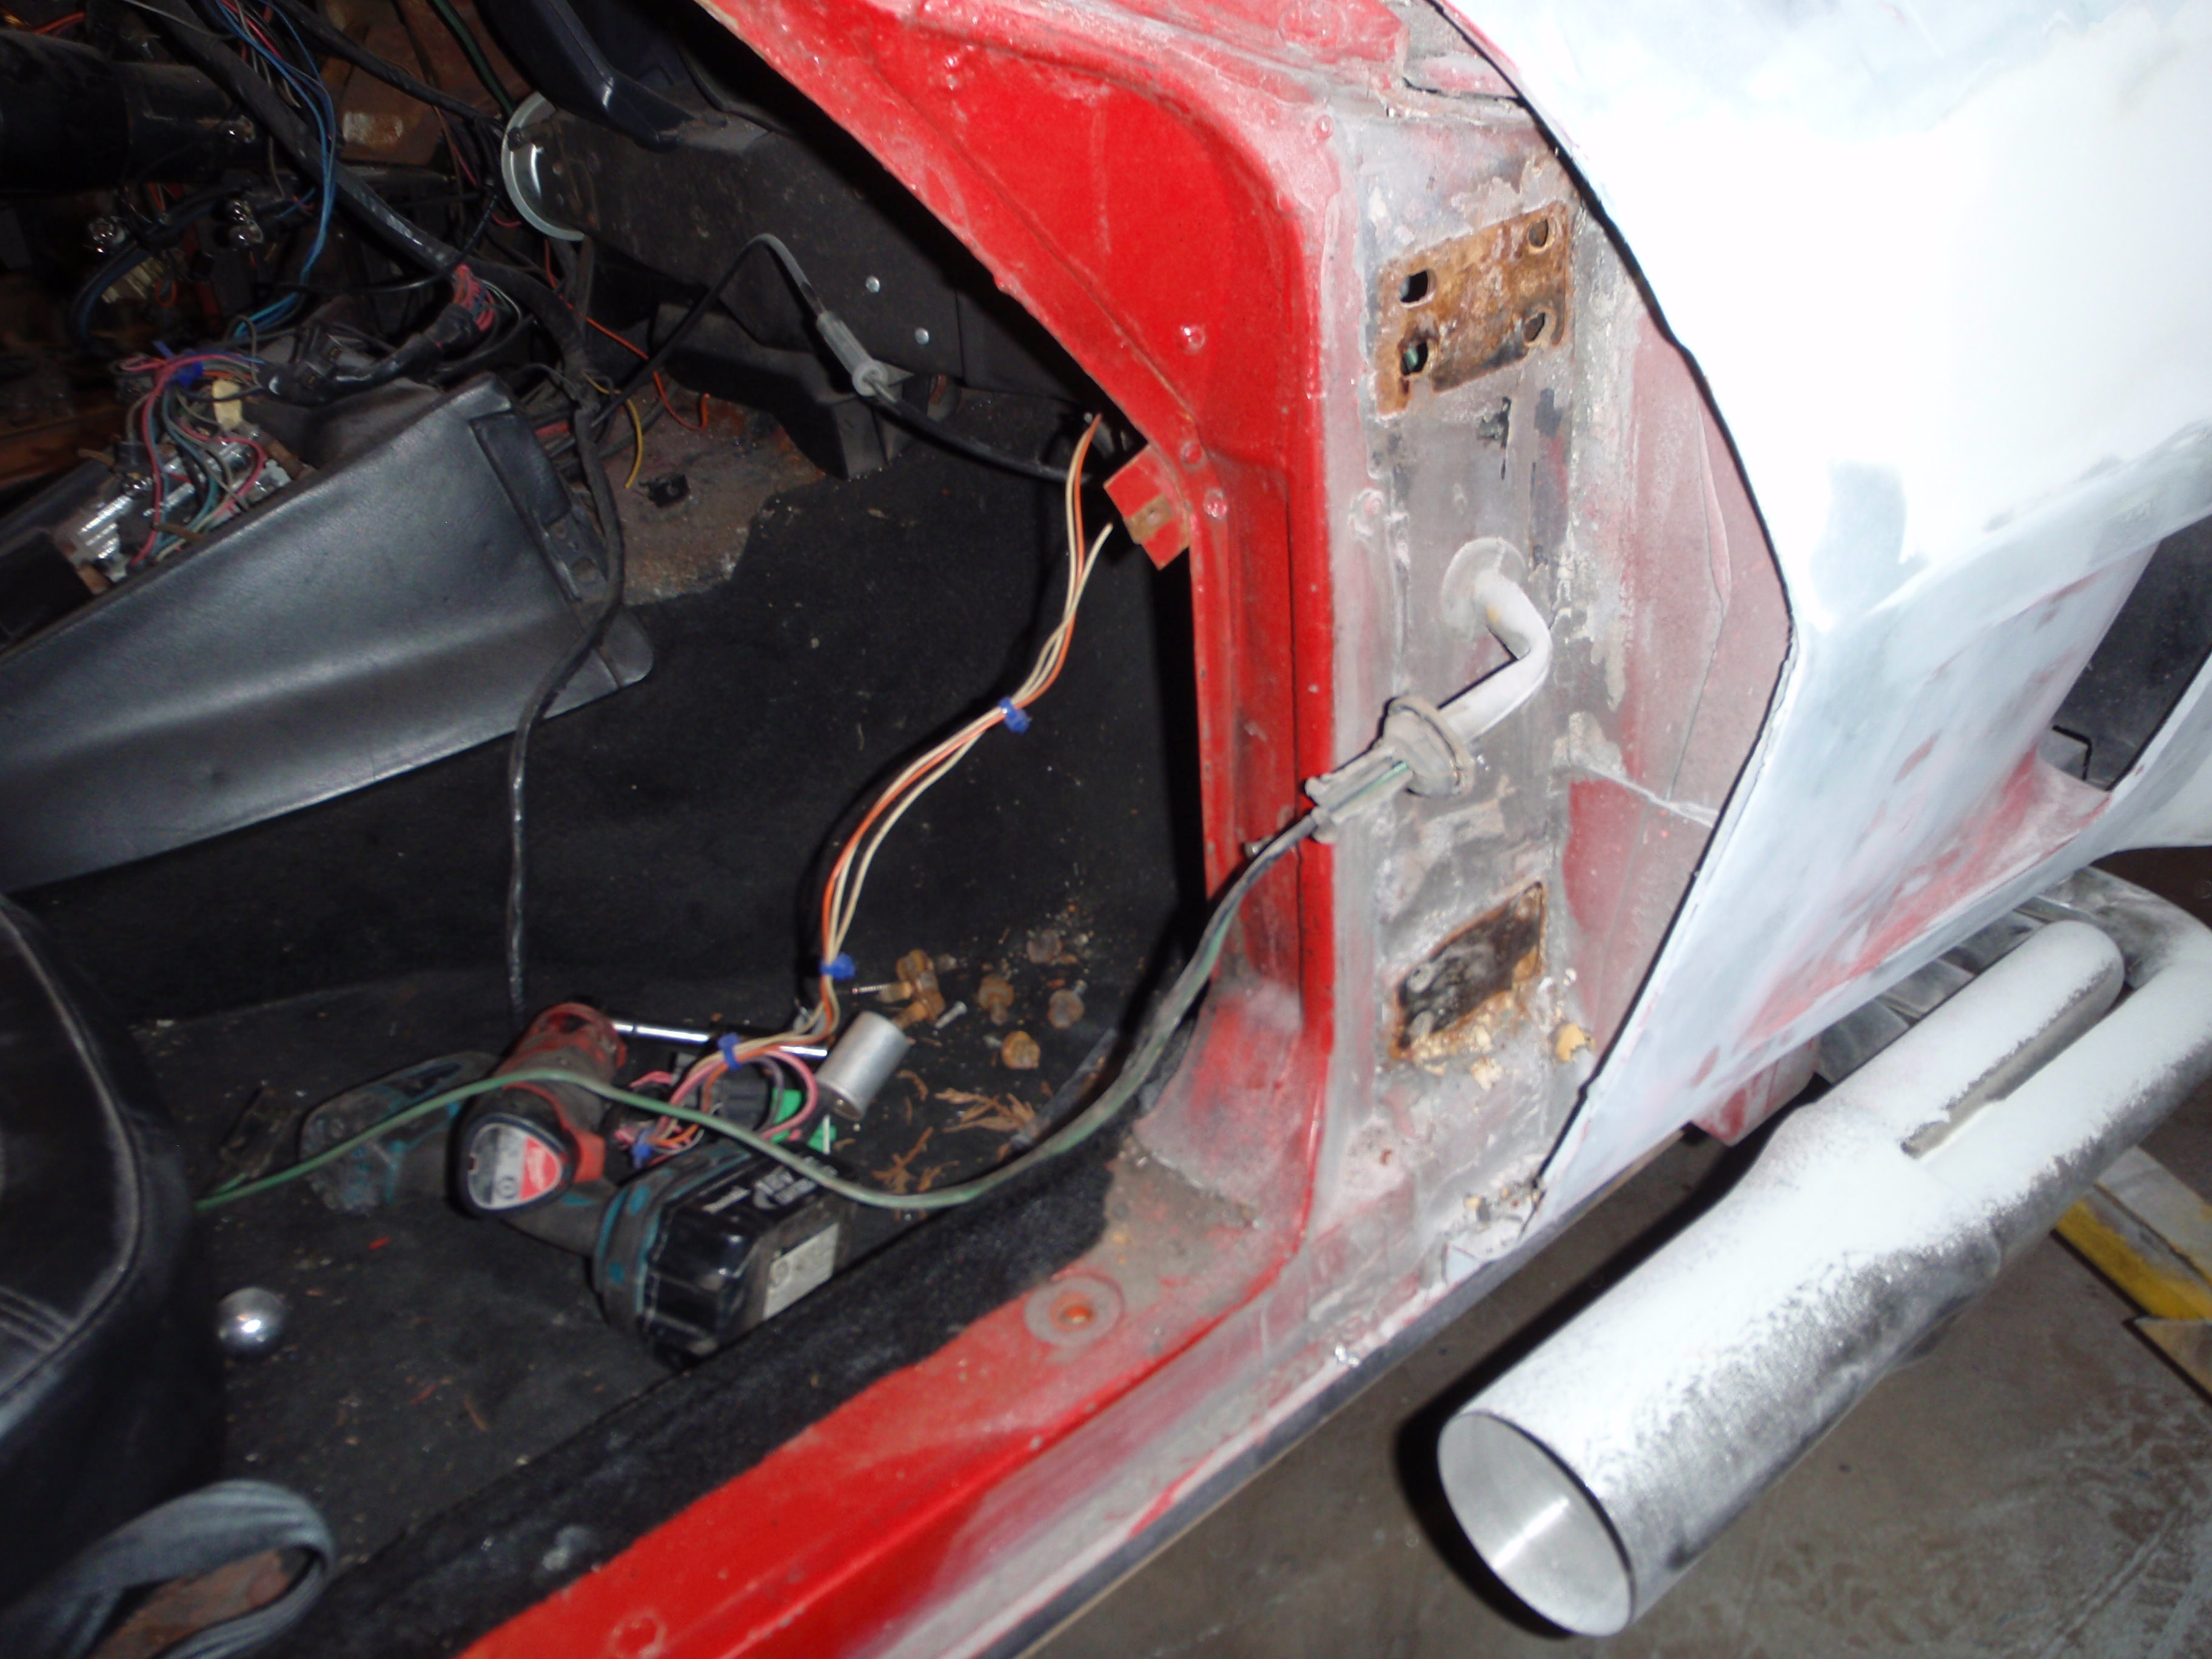
this corner looks like someone worked on it with a paint brush.... it concerns me slightly
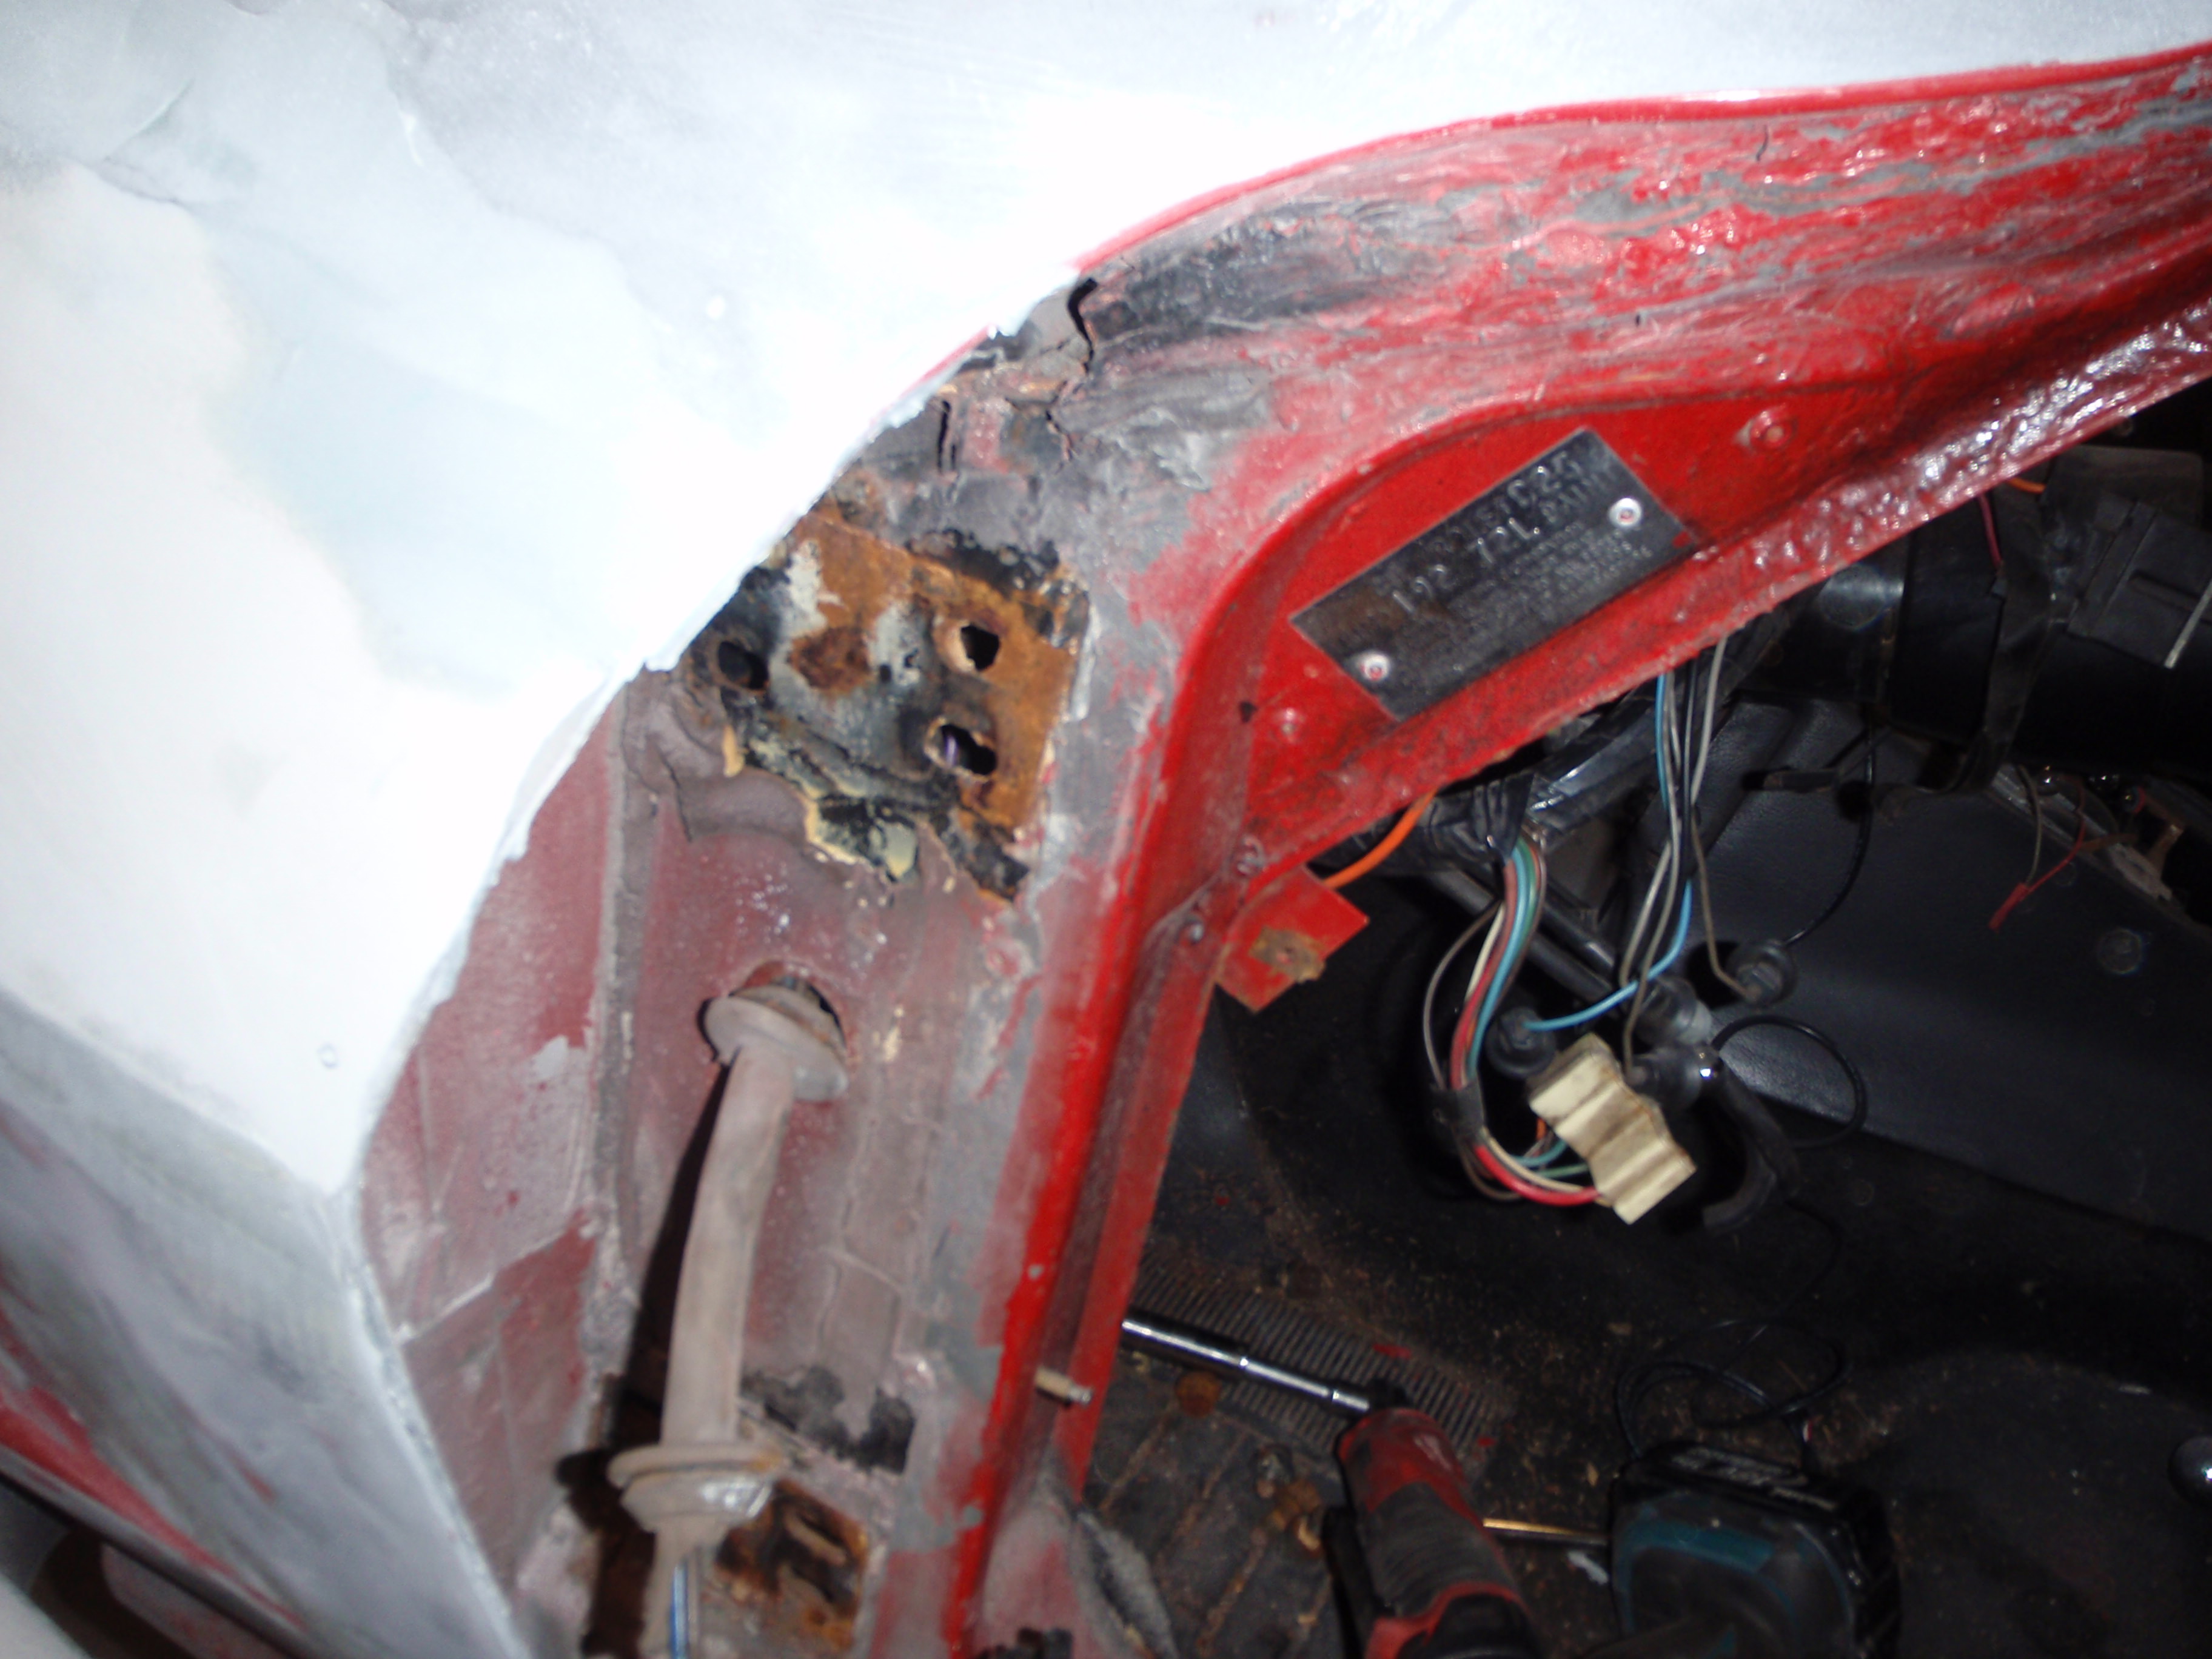
all of this to fix hinges and to finish stripping the paint. In the end, these will probably be crank up windows... both motors are toast, the switches don't work and frankly I'm capable of rolling up a window
back glass
passenger door and driver's door
nothing remarkable except that someone used silicone to keep the shims in place
this corner looks like someone worked on it with a paint brush.... it concerns me slightly
all of this to fix hinges and to finish stripping the paint. In the end, these will probably be crank up windows... both motors are toast, the switches don't work and frankly I'm capable of rolling up a window
03-21-2018, 12:29 AM
#137
Melting Slicks
So I bought some stripper
and I honestly think that this stuff couldn't get the cootie off a stripper let alone paint off a Corvette.... time to find Aircraft stripper....
I could joke, but it seems too easy.... get it, too easy?
and I honestly think that this stuff couldn't get the cootie off a stripper let alone paint off a Corvette.... time to find Aircraft stripper....
I could joke, but it seems too easy.... get it, too easy?
03-21-2018, 01:17 PM
#138
Melting Slicks


The following users liked this post:
SuperBuickGuy (03-22-2018)
03-23-2018, 12:37 AM
#139
Melting Slicks
I dunno about that, any more plastic work and I'm going to advertise as a low-cost-alternative at the local strip club.....
a bit more sanding
before
during - someday I will find out what those 'stripping' wheels are good for.... usually they simply create a lot of debris but no real stripping, this time... too much
80 grit
hmmm... it does raise the dust
a bit more sanding
before
during - someday I will find out what those 'stripping' wheels are good for.... usually they simply create a lot of debris but no real stripping, this time... too much
80 grit
hmmm... it does raise the dust