
Plastic Fantastic tew
 04-21-2018, 05:02 PM
#161
Nam Labrat


Member Since: Sep 2013
Location: New Orleans Loo-z-anna
Posts: 33,880
Received 4,153 Likes
on
2,726 Posts

I object to those wheels actually being surrounded in centered wheel wells........It doesn't look "natural" !........LoL 

The following users liked this post:
SuperBuickGuy (04-23-2018)
04-23-2018, 12:42 AM
#162
Melting Slicks

04-25-2018, 01:17 AM
#163
Melting Slicks
I'm not stopped, but I am taking some time to consider options. I have 3" from the hub face to the fender lip (on the rear of the car). I can gain 2" by using narrower Camaro arms. I can use Corvette rims (79 mm positive offset - that's just over 3" from the center)... or, of course, buy something aftermarket. The wheel has to be 19" to clear the calipers. So what to use? deeper offset is kind of cool but the latest trend in making cars handle is longer control arms.... so I dunno... I also need to order the front arms... what I don't want to do is order wheels then need to buy new wheels because I don't like the fit/use.
what that means for the project is I'm going to finish body work and decide which is better
what that means for the project is I'm going to finish body work and decide which is better
04-30-2018, 12:34 AM
#164
Melting Slicks
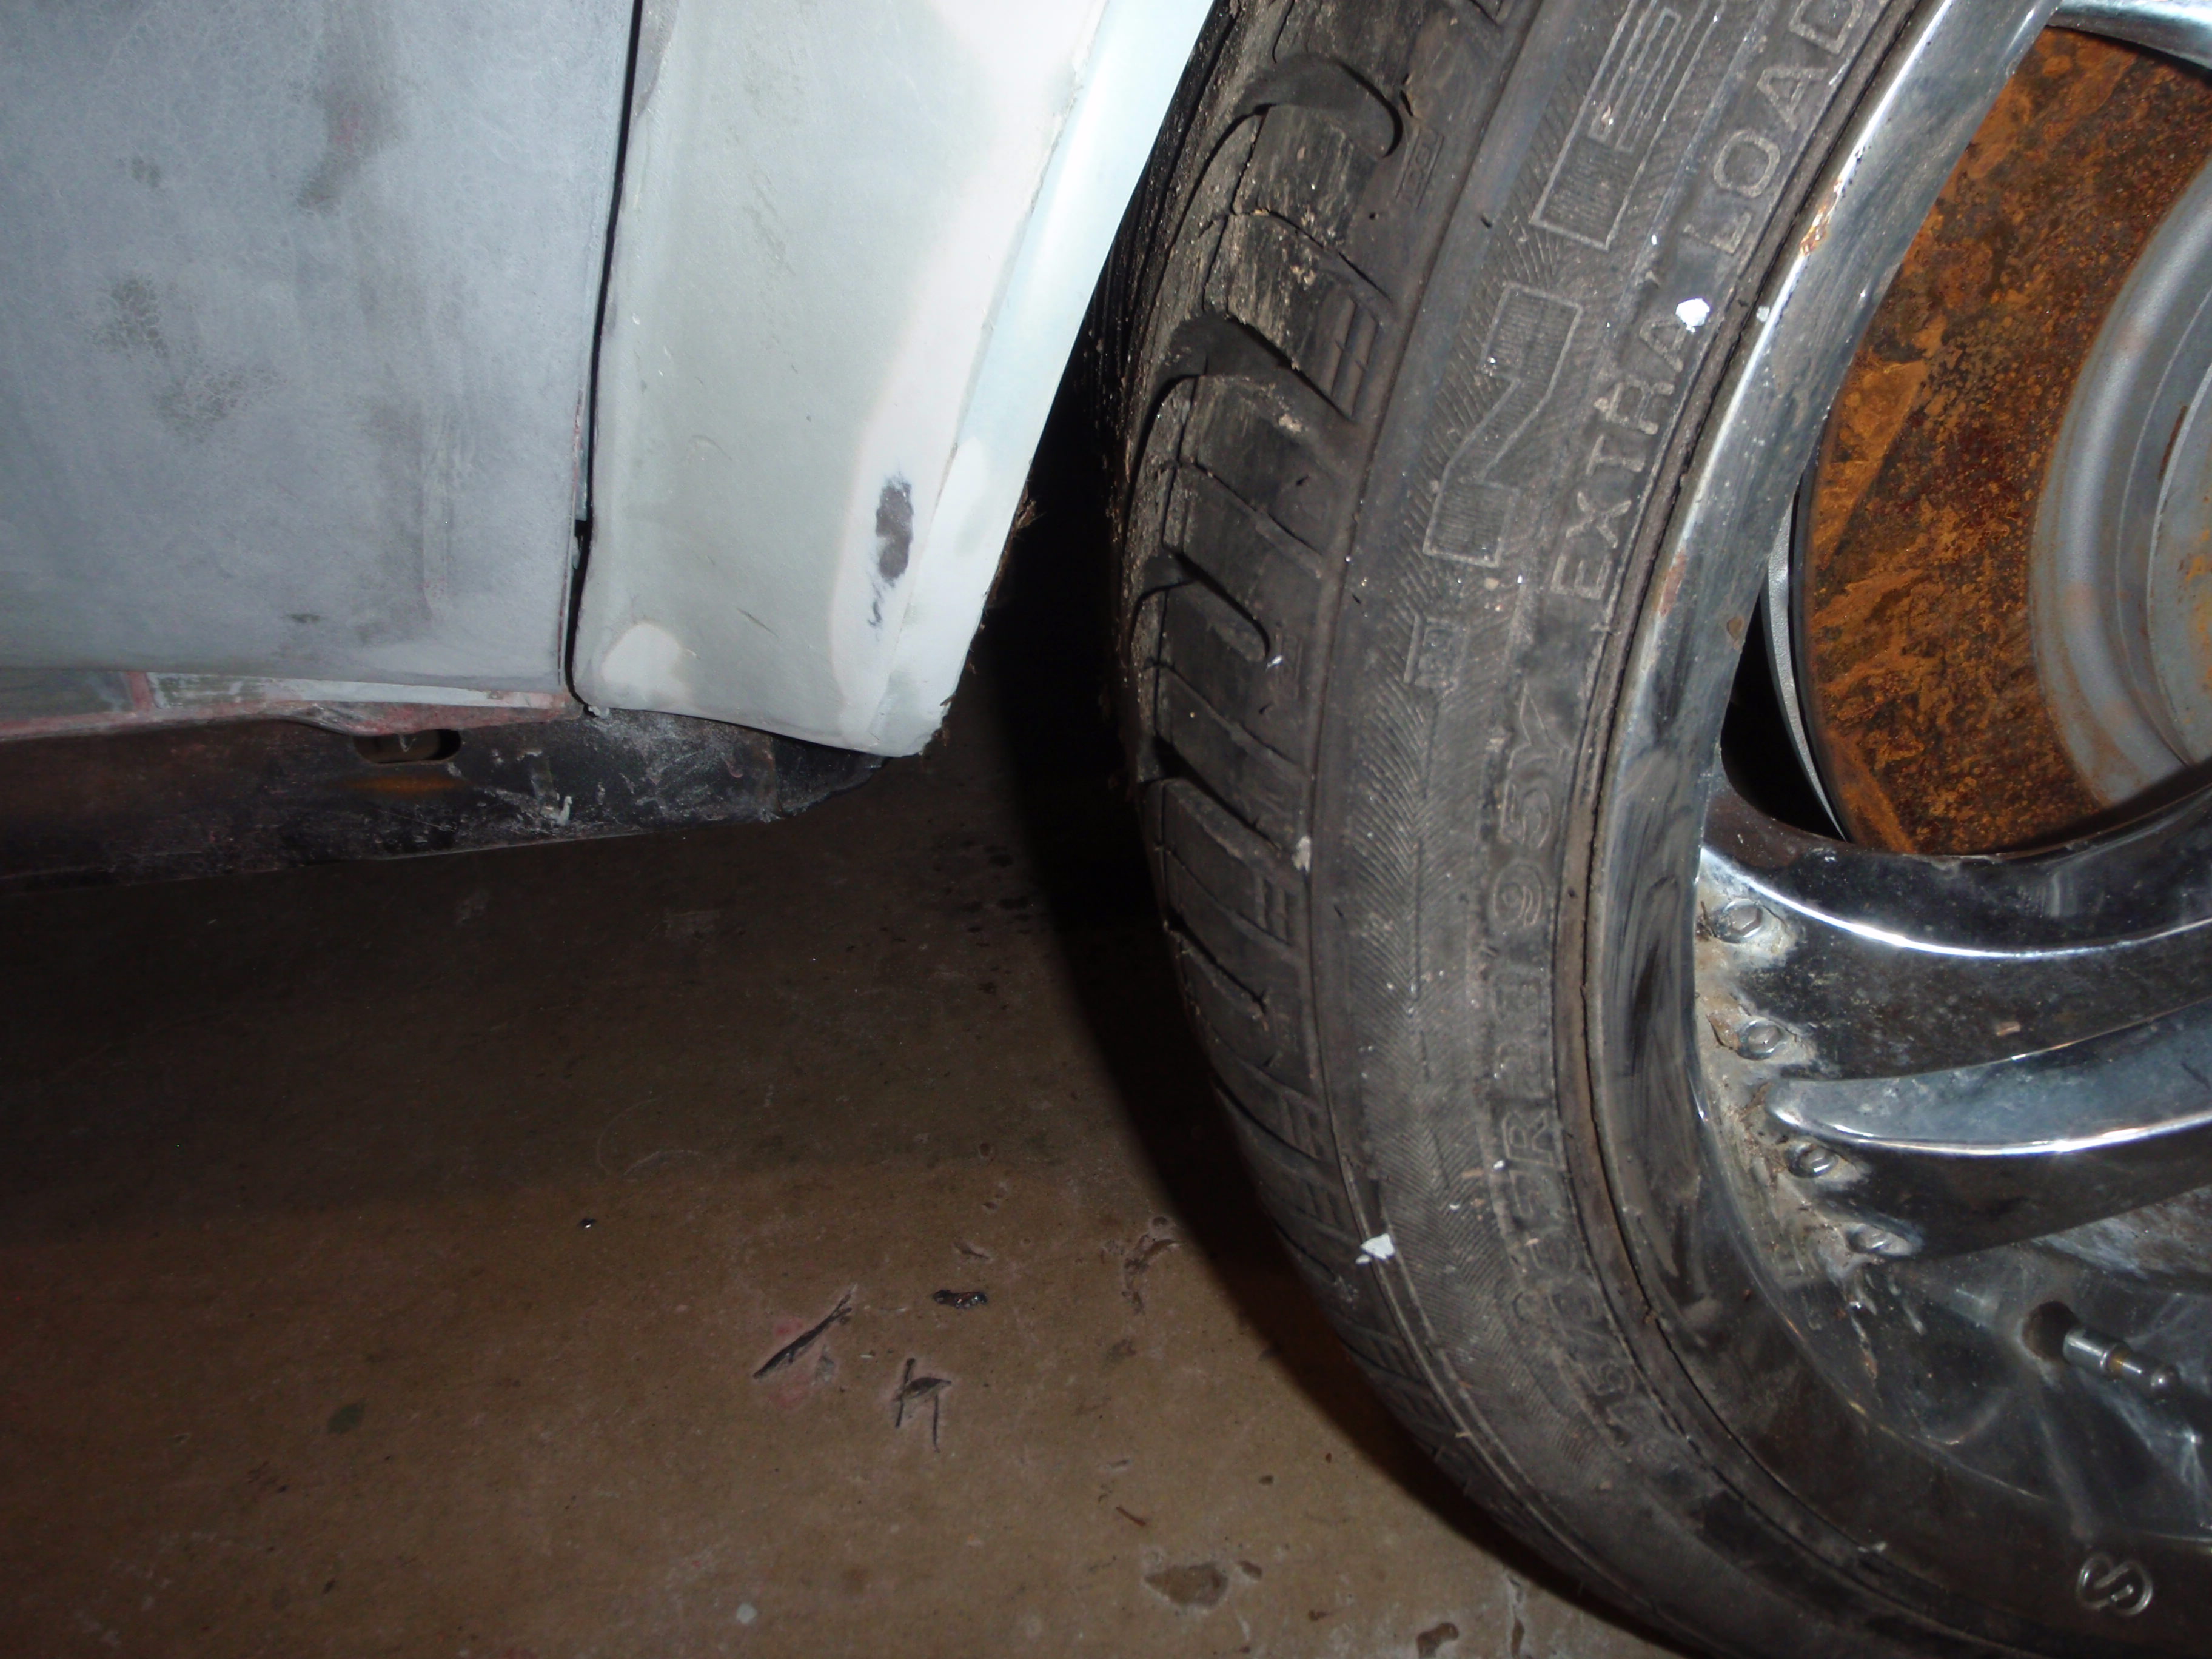
I'll bring this as a separate post because there's a question embedded in it
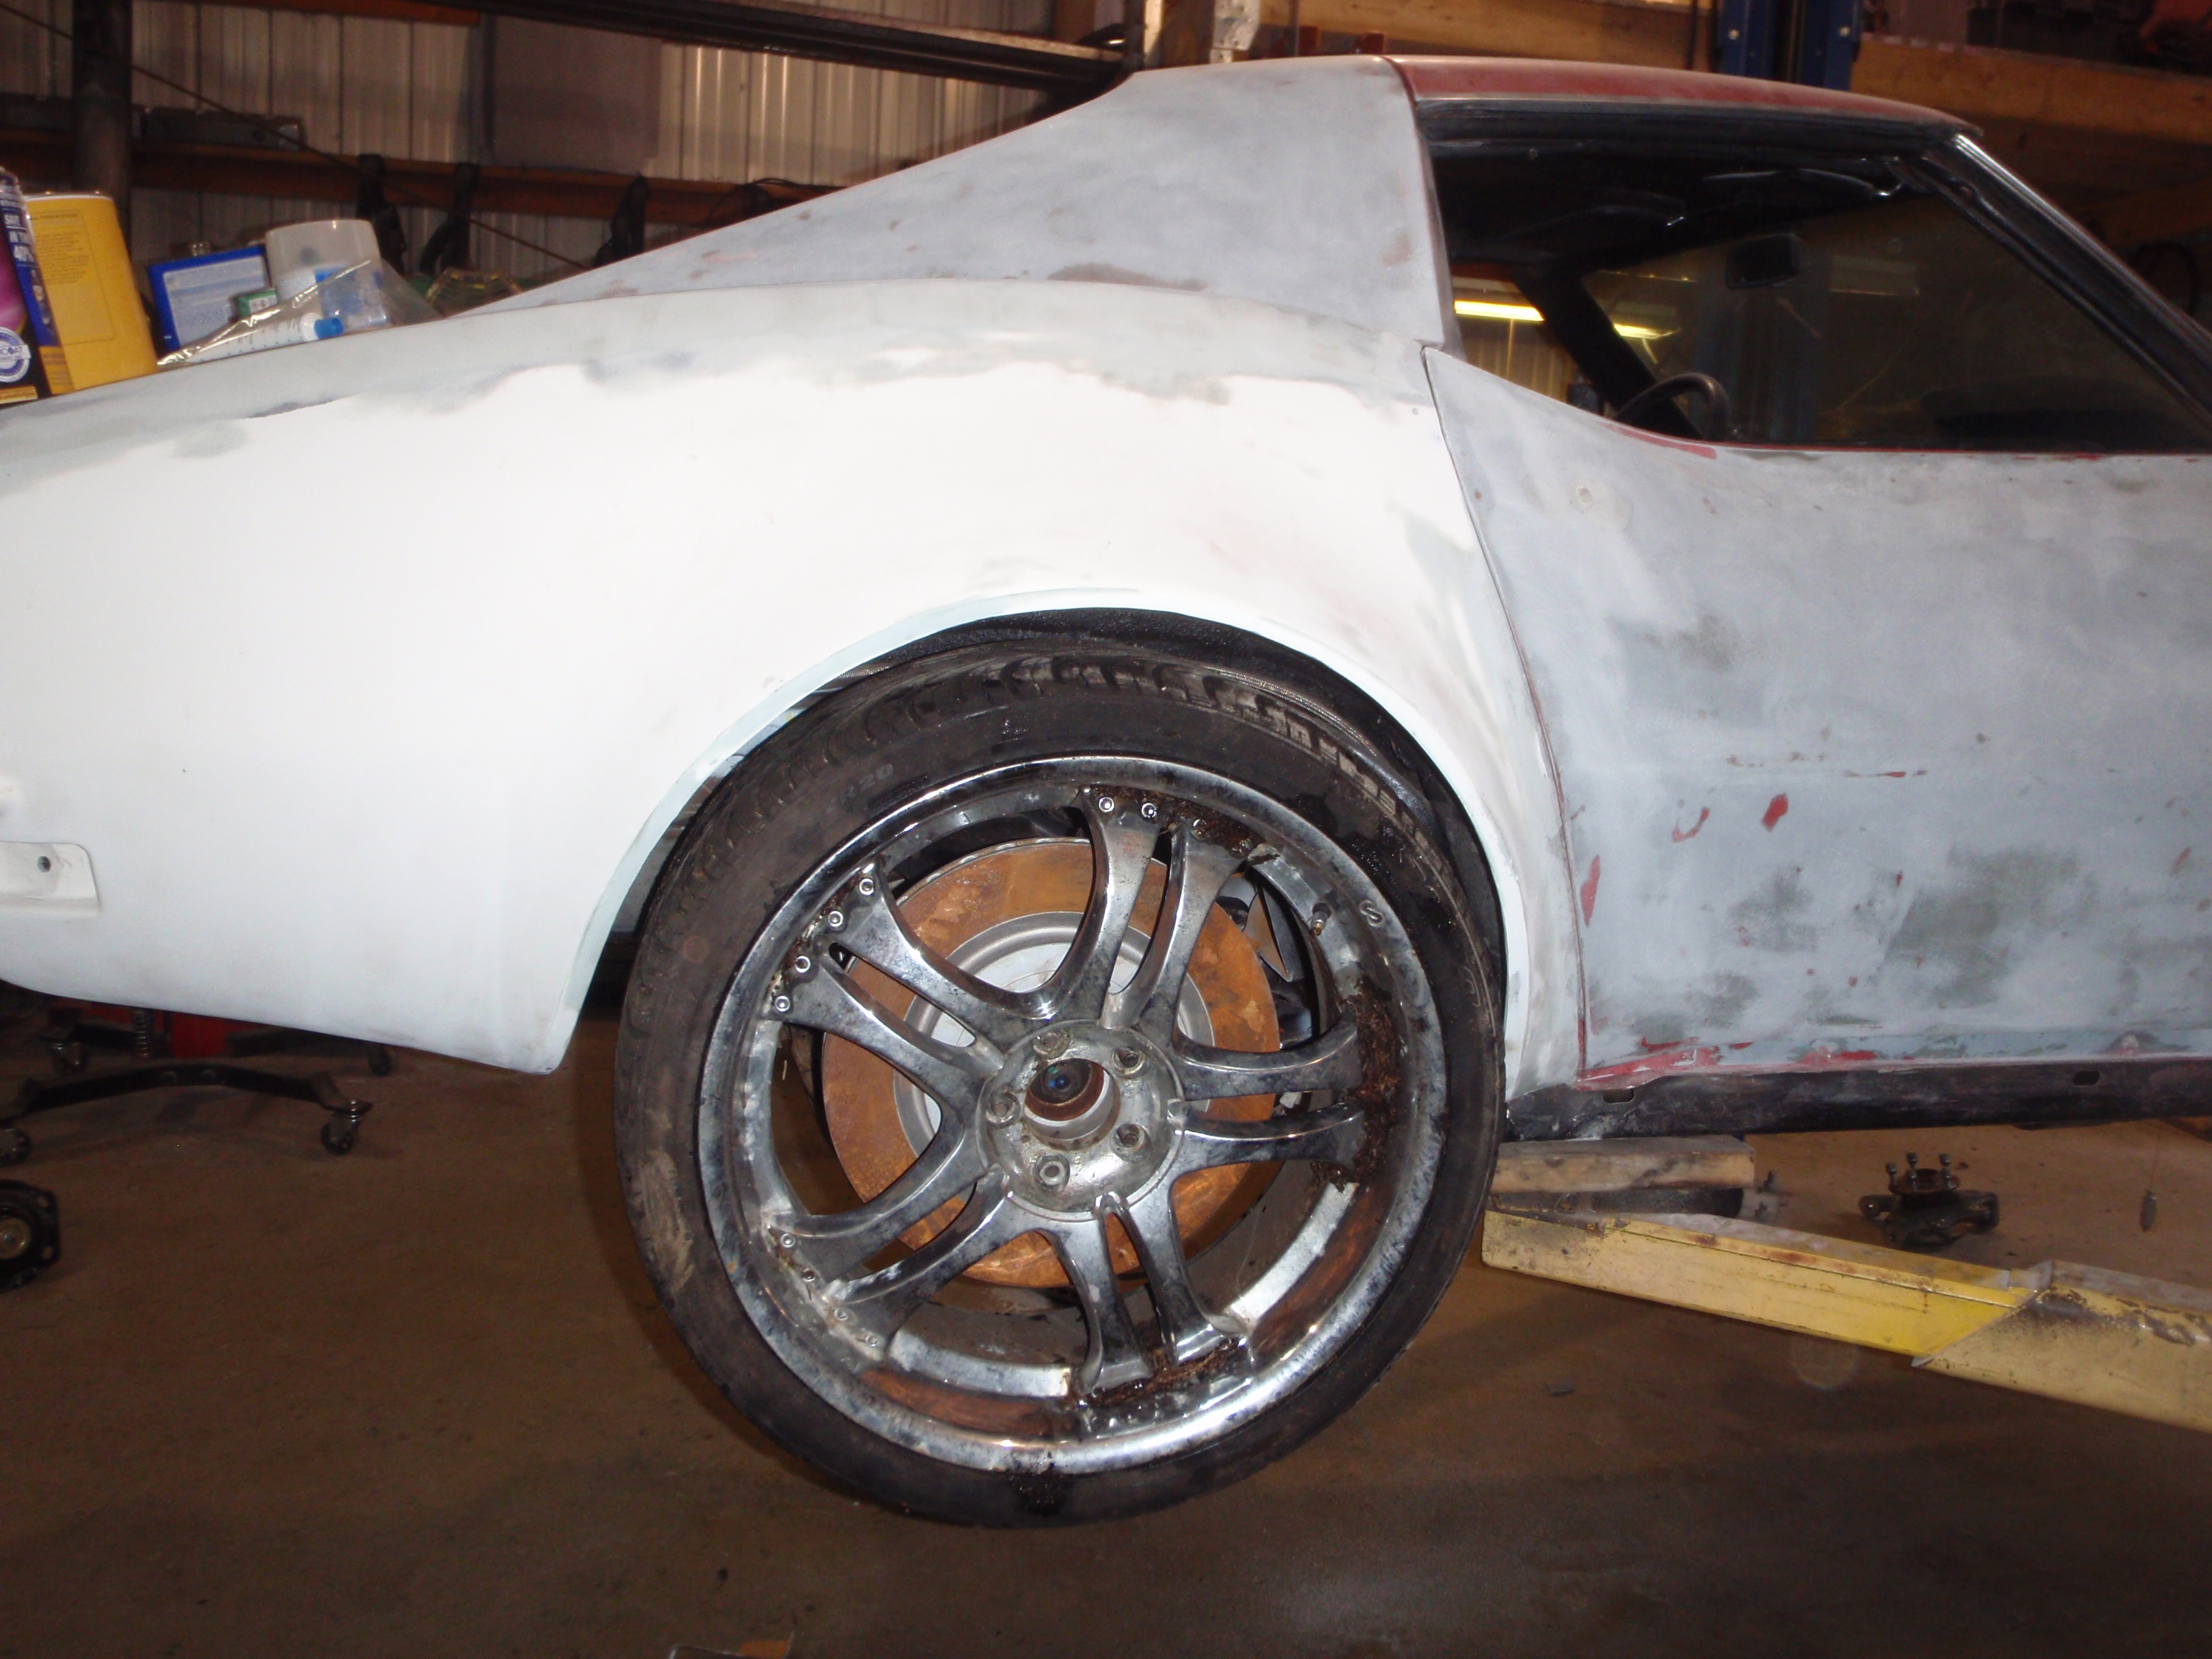
I'm not sure I know of a good way to fix this.... thinking about using the Dulcich method (cut, foam, mold) - I wonder if that car still is only half flared? suggestions on an easy way to get that curve.... tomorrow I verify the suspension isn't part of the issue (even if it is, it's still not round so can only be part of the problem)
I'm not sure I know of a good way to fix this.... thinking about using the Dulcich method (cut, foam, mold) - I wonder if that car still is only half flared? suggestions on an easy way to get that curve.... tomorrow I verify the suspension isn't part of the issue (even if it is, it's still not round so can only be part of the problem)
05-03-2018, 11:44 PM
#165
Melting Slicks
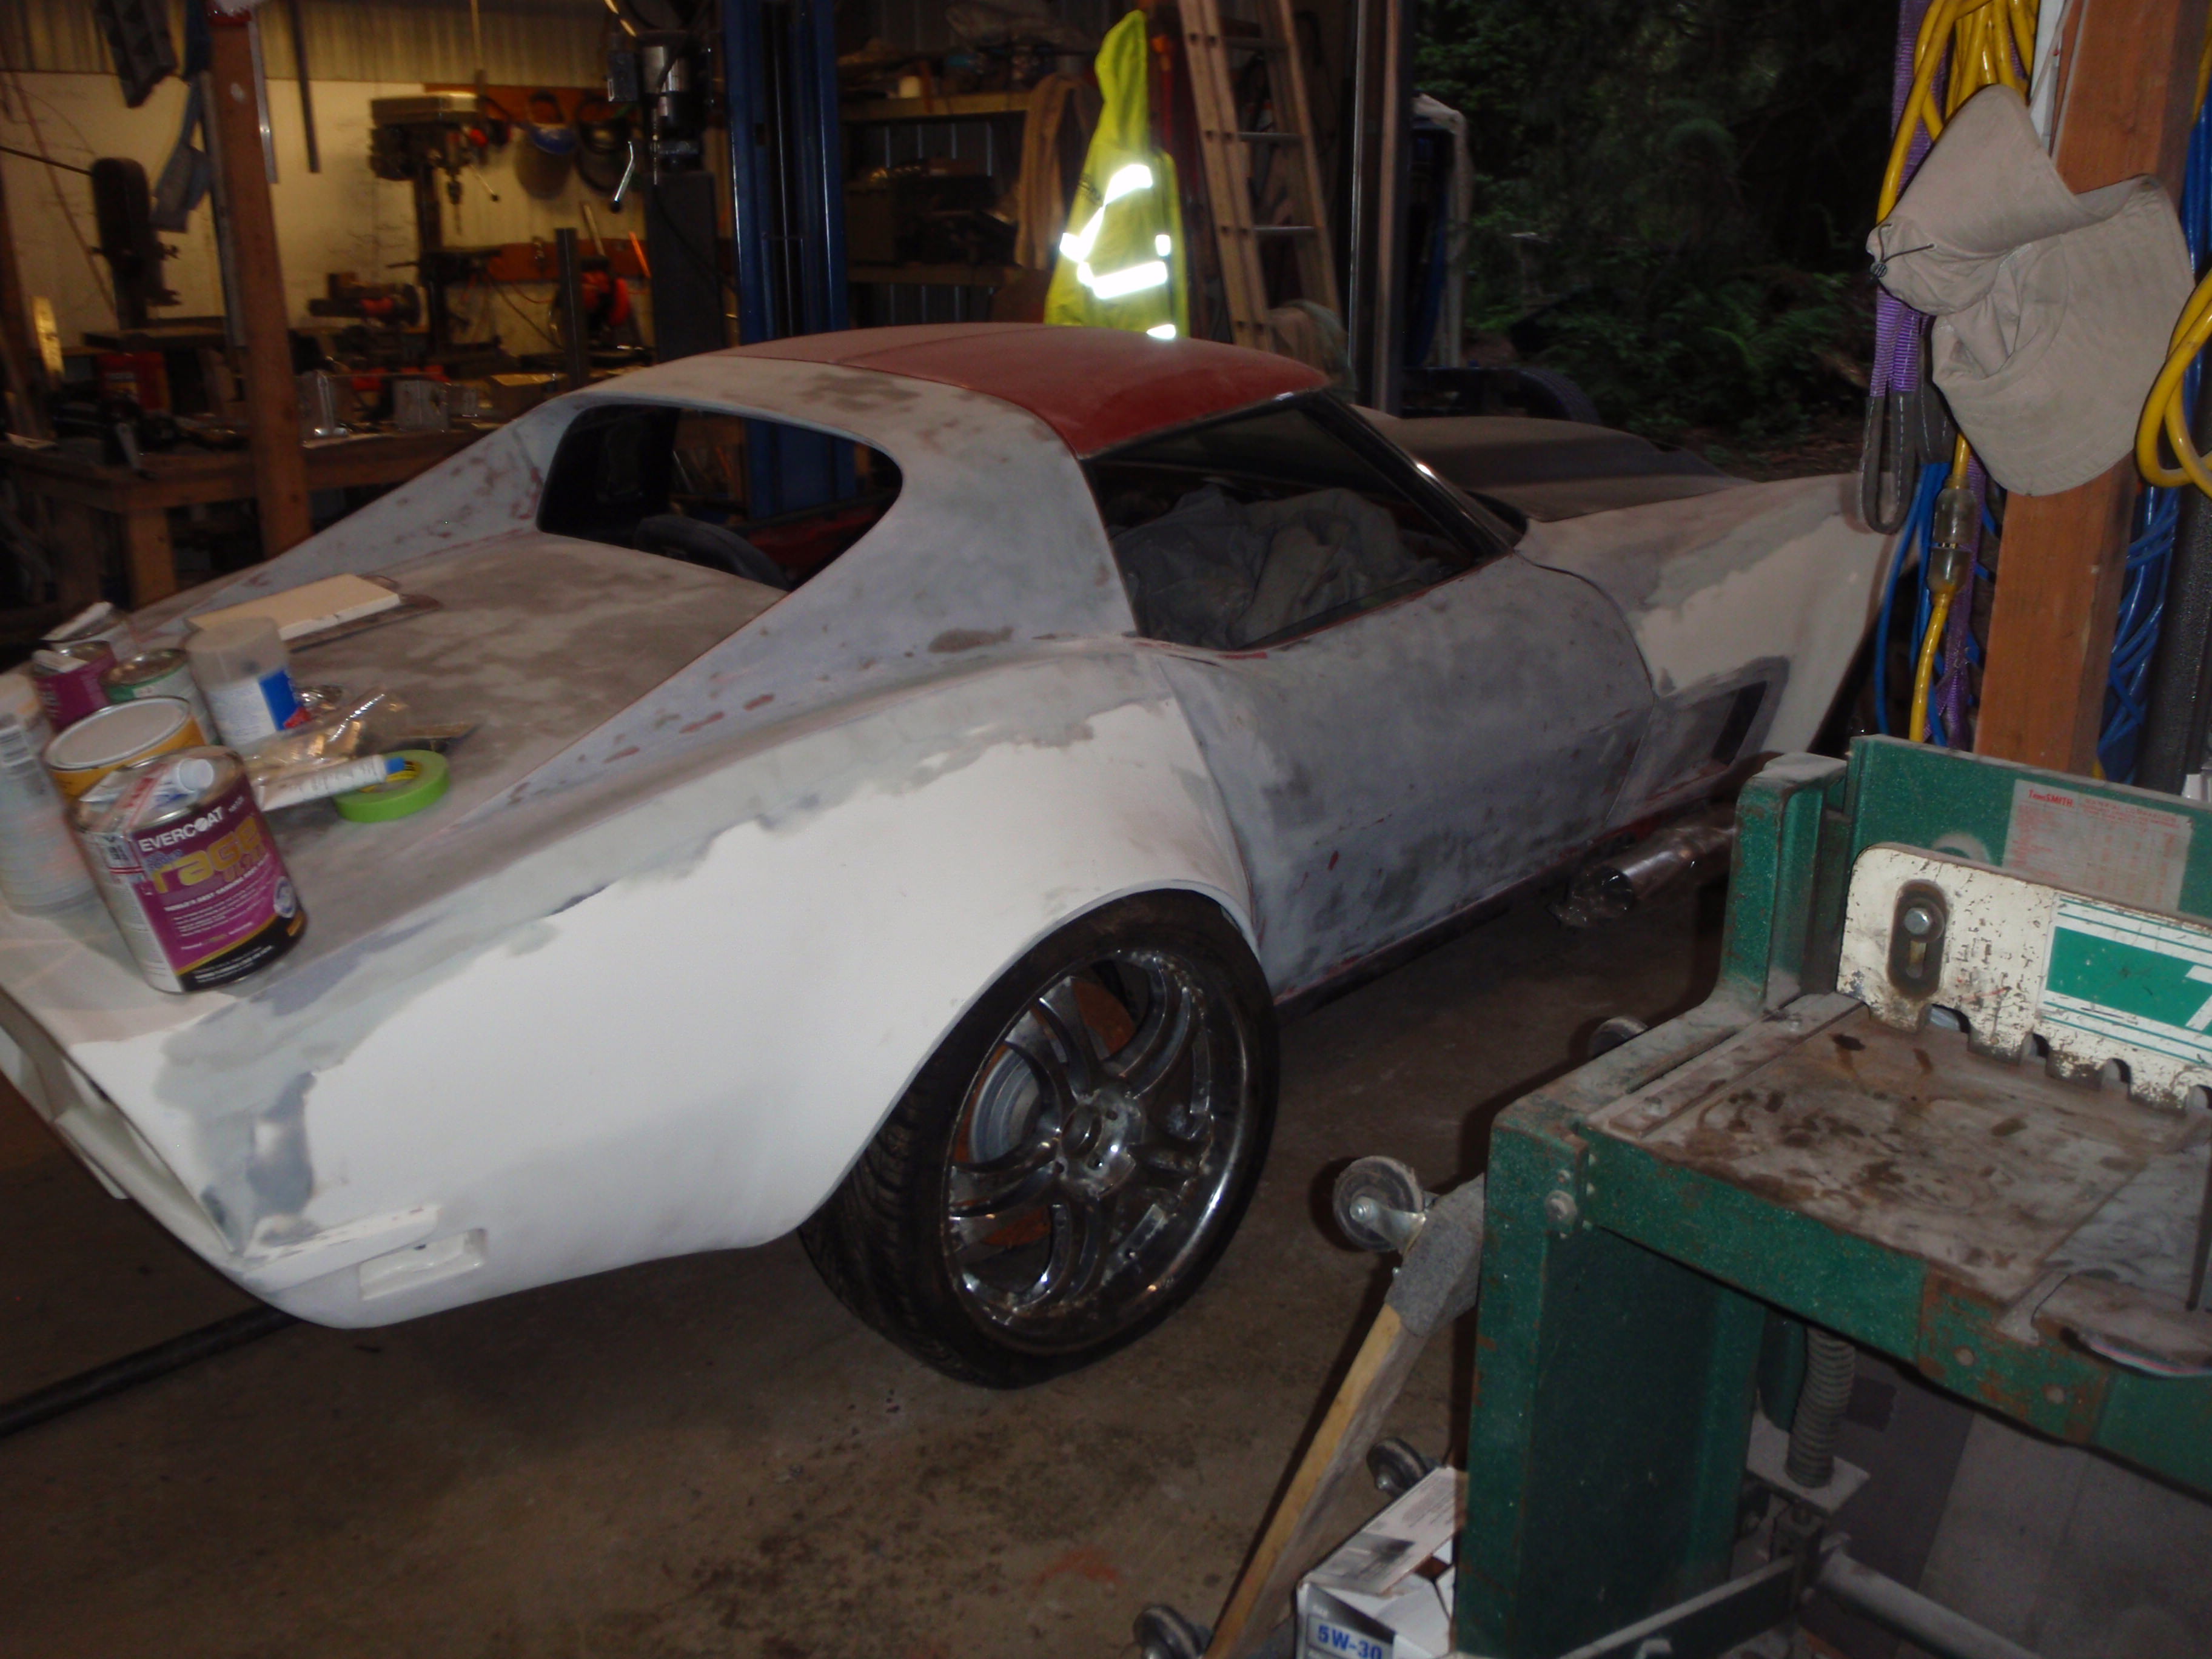
back to offending people who hate Corvettes
I've decided I don't care. The fix is to pie slice the passenger side about 1/3 up from the front edge... but frankly, I'm the only person who will ever notice

now I need to wait for the coil overs, and get moving on ordering the bits for the front suspension
I think it looks cool so low - it moves up about an inch but it's going to be low (as low as my other, and it was never a problem)
I've decided I don't care. The fix is to pie slice the passenger side about 1/3 up from the front edge... but frankly, I'm the only person who will ever notice
now I need to wait for the coil overs, and get moving on ordering the bits for the front suspension
I think it looks cool so low - it moves up about an inch but it's going to be low (as low as my other, and it was never a problem)
05-09-2018, 12:49 AM
#167
Melting Slicks
rear is 4th gen Camaro SS
A bit of progress
first, Buick is ready for his first ride
which requires hood pins
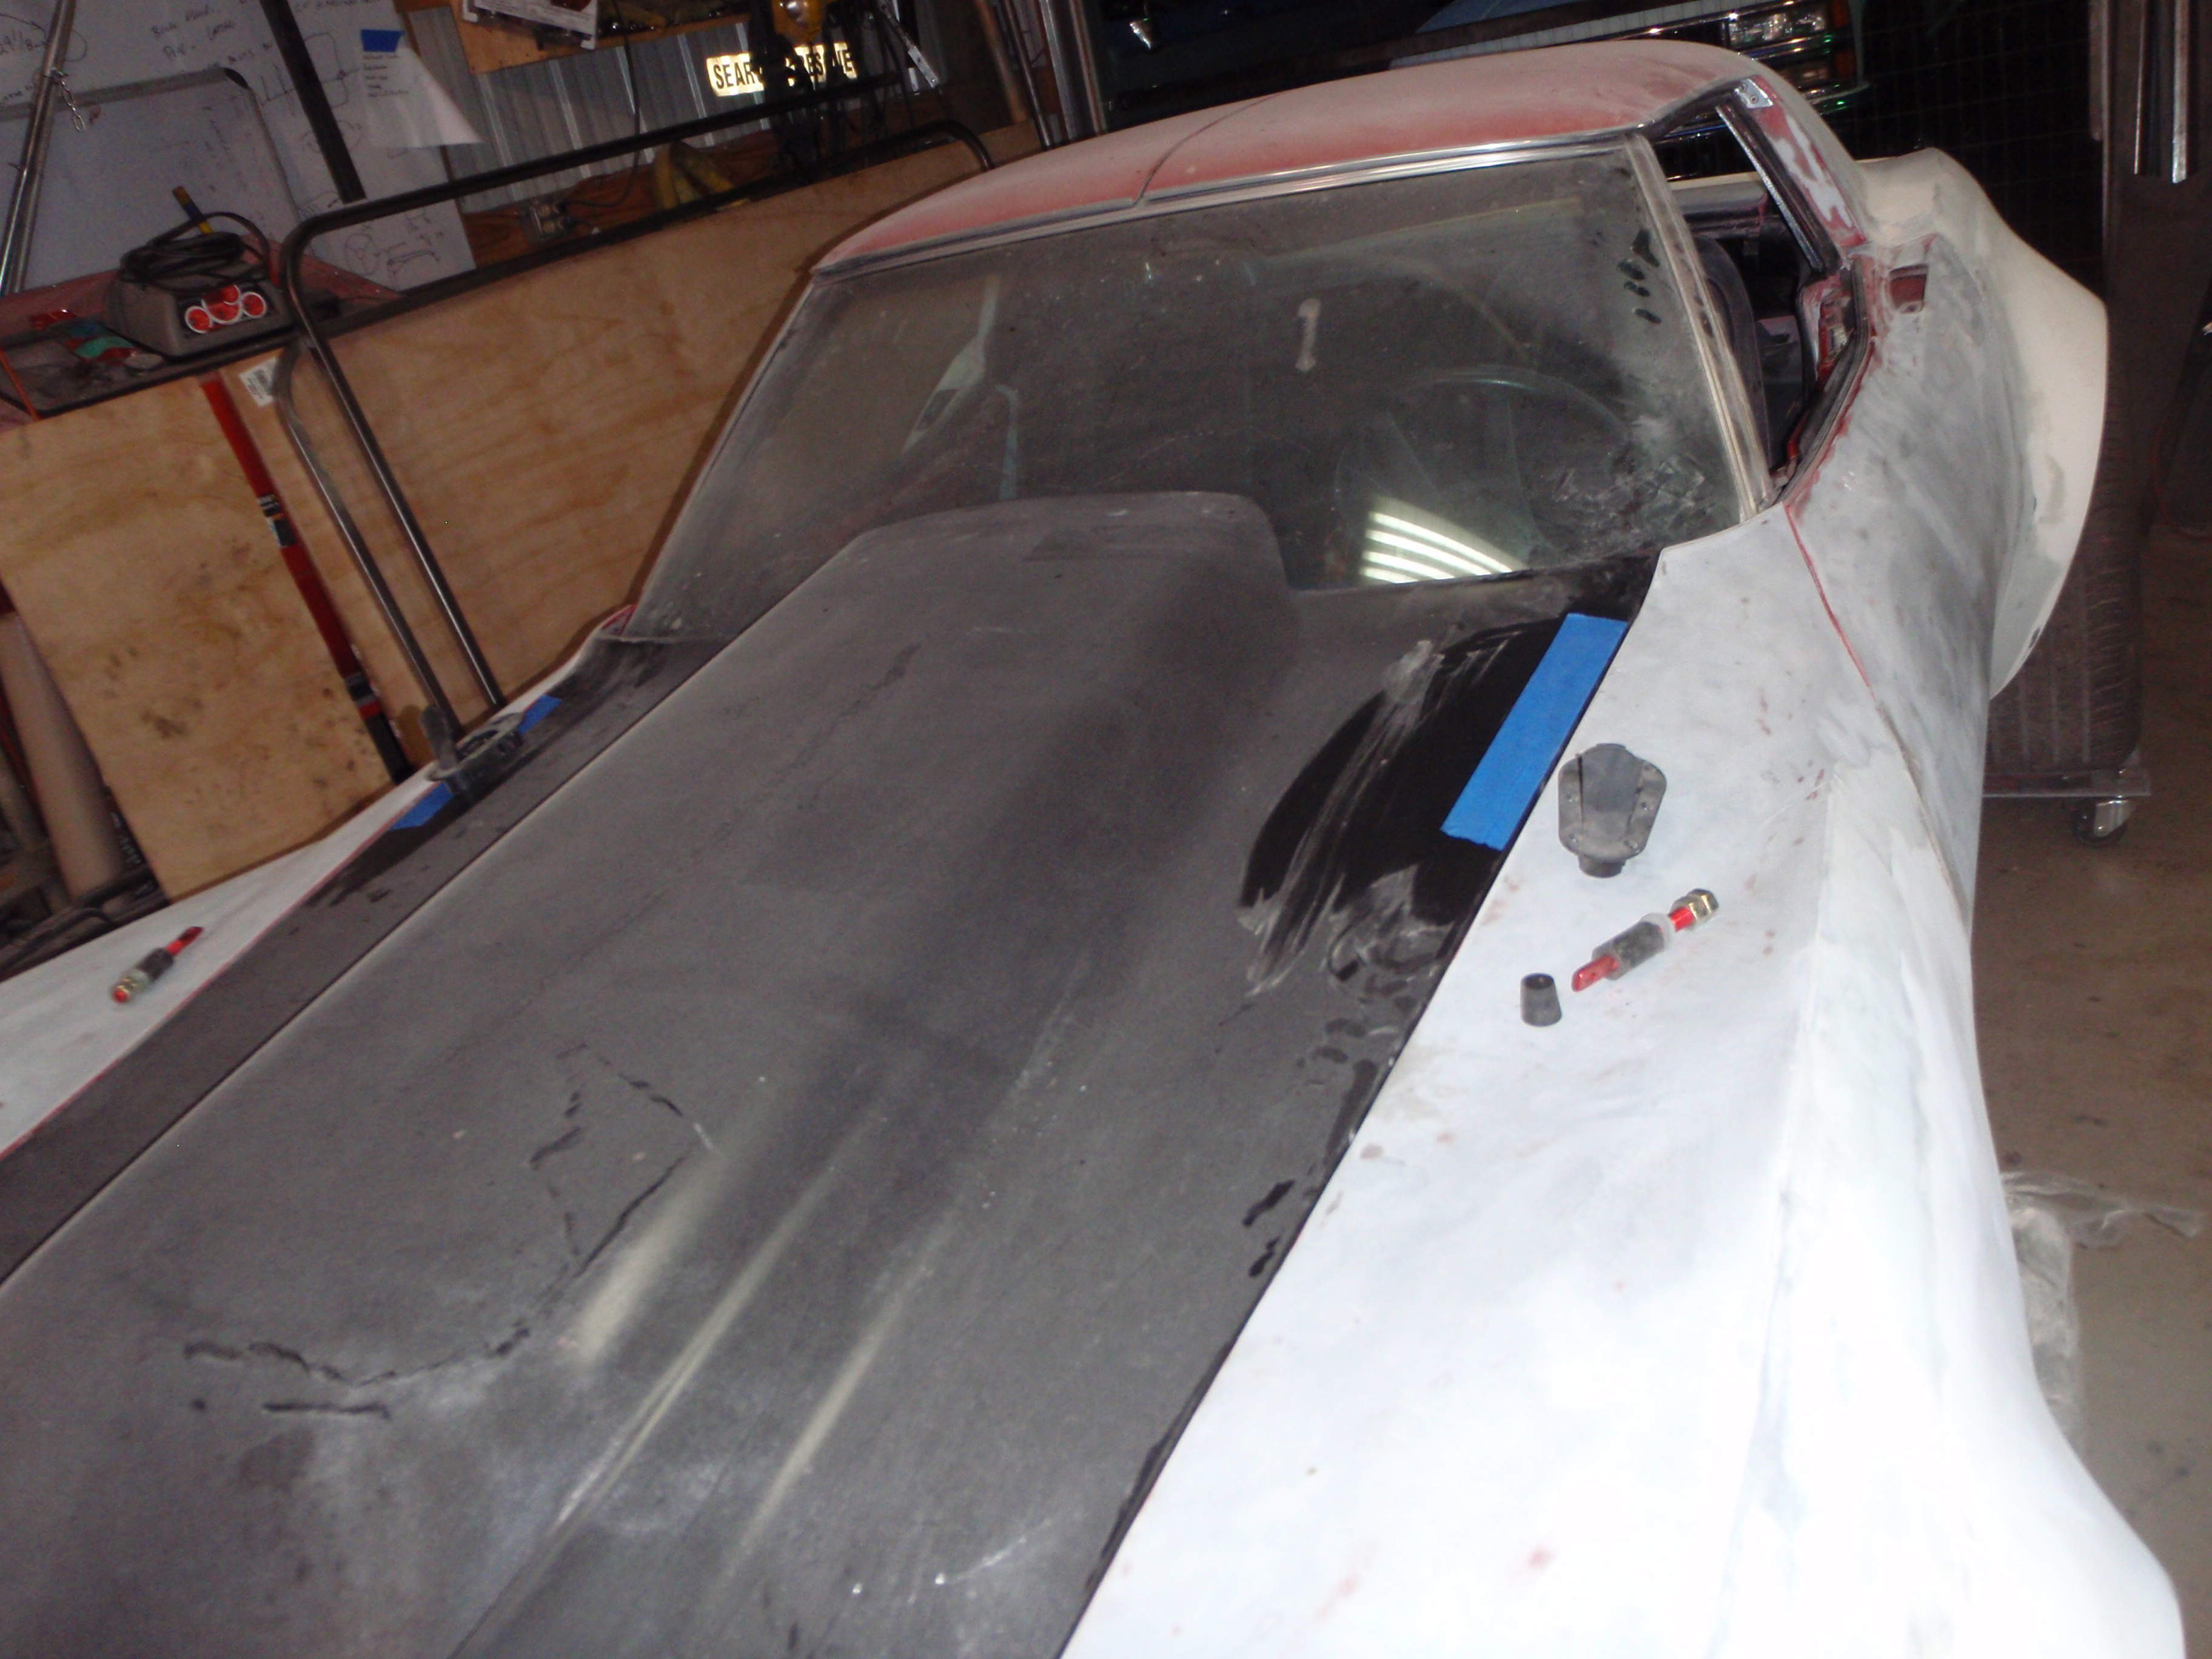
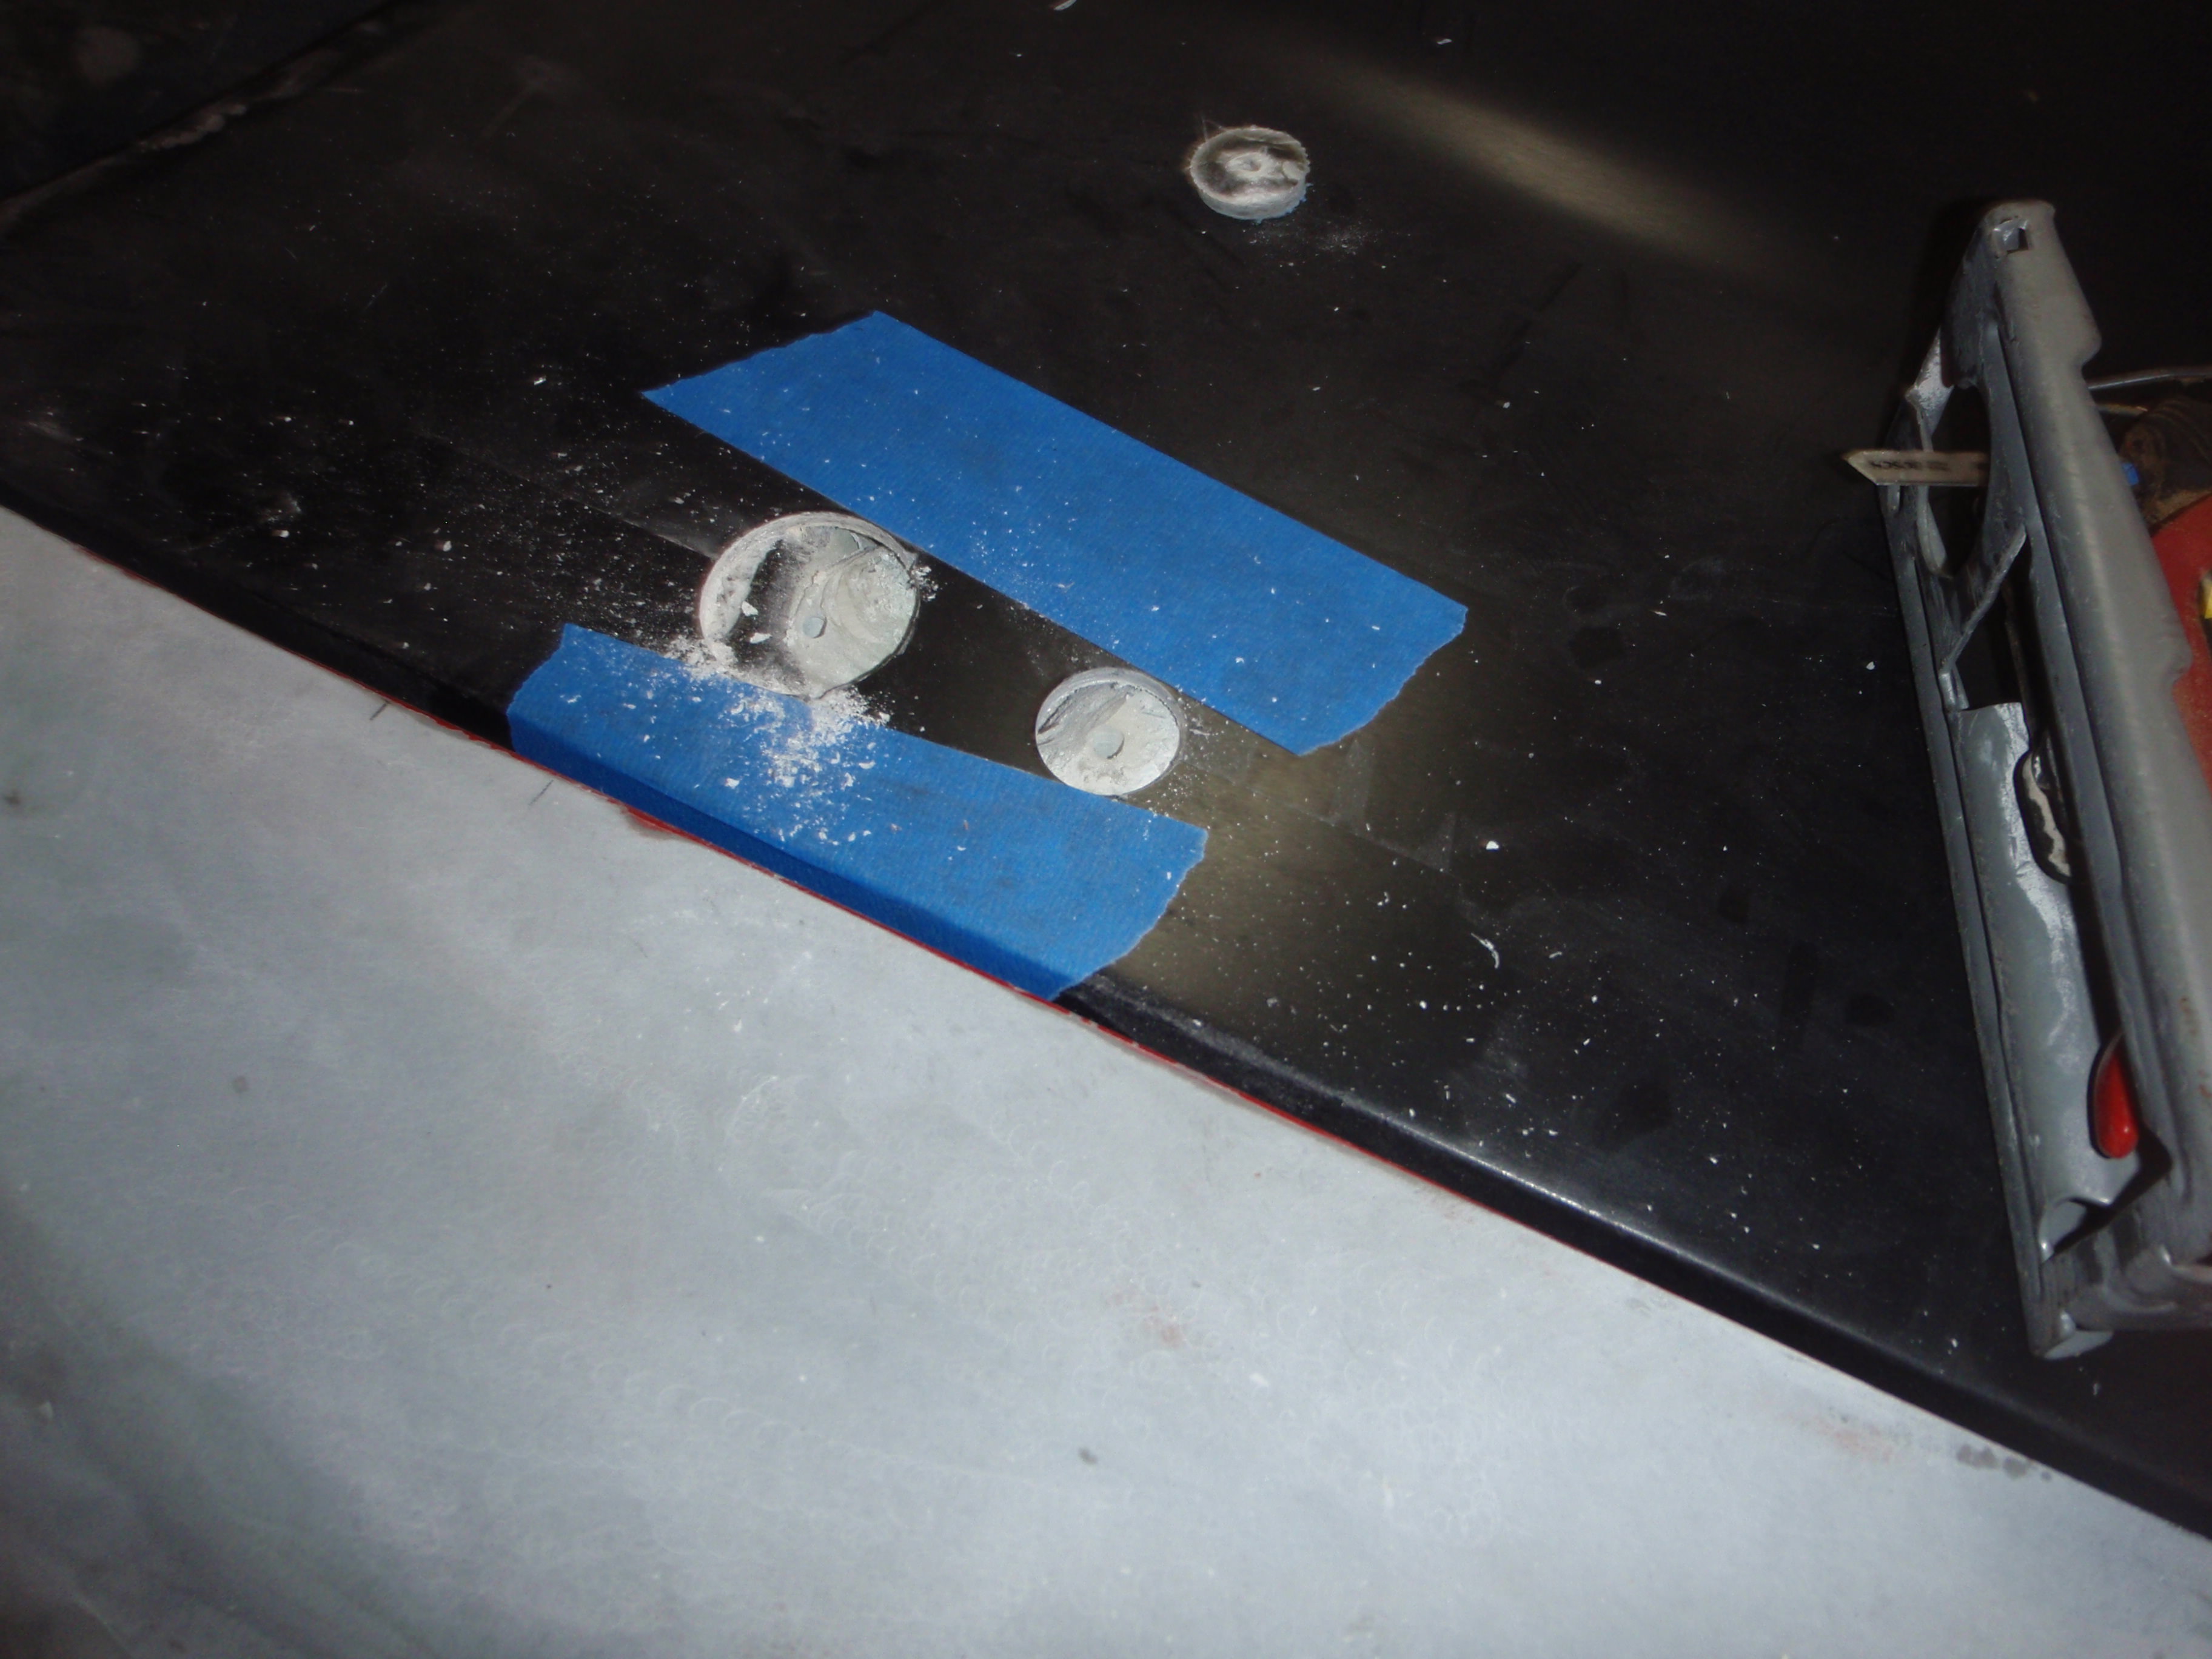
still have to file fit, but close
A bit of progress
first, Buick is ready for his first ride
which requires hood pins
still have to file fit, but close
05-14-2018, 12:39 AM
#168
Melting Slicks
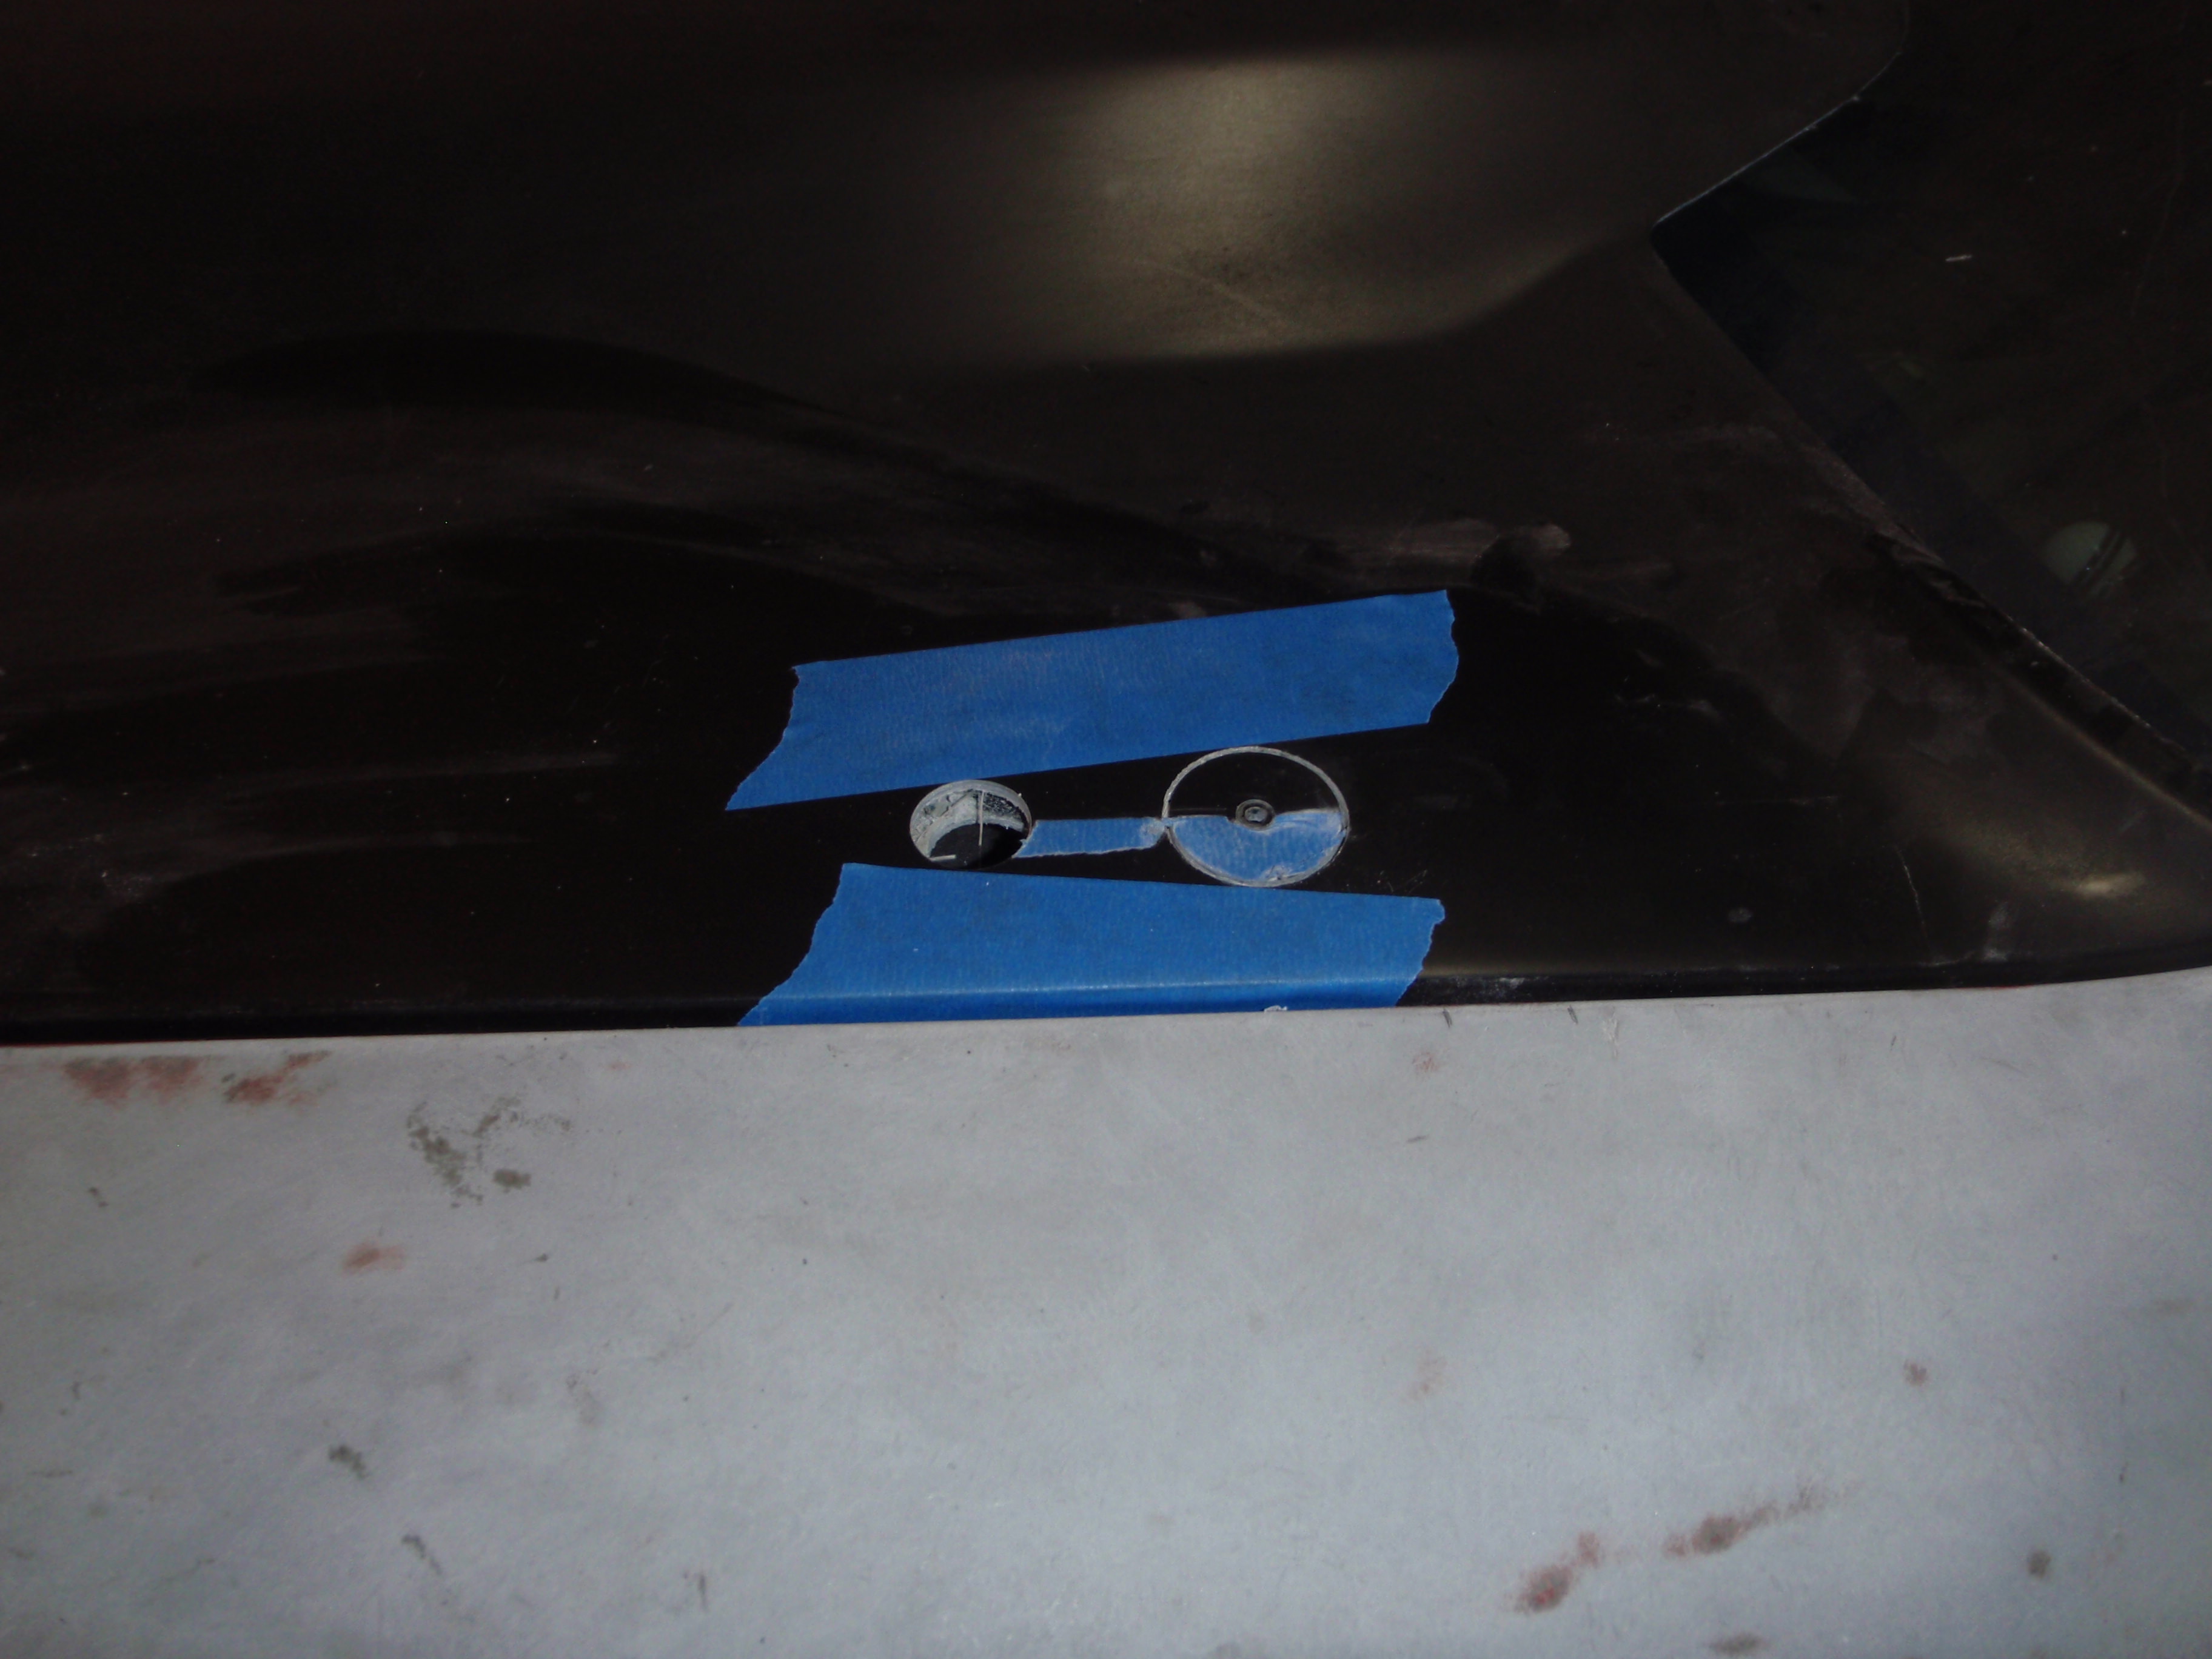
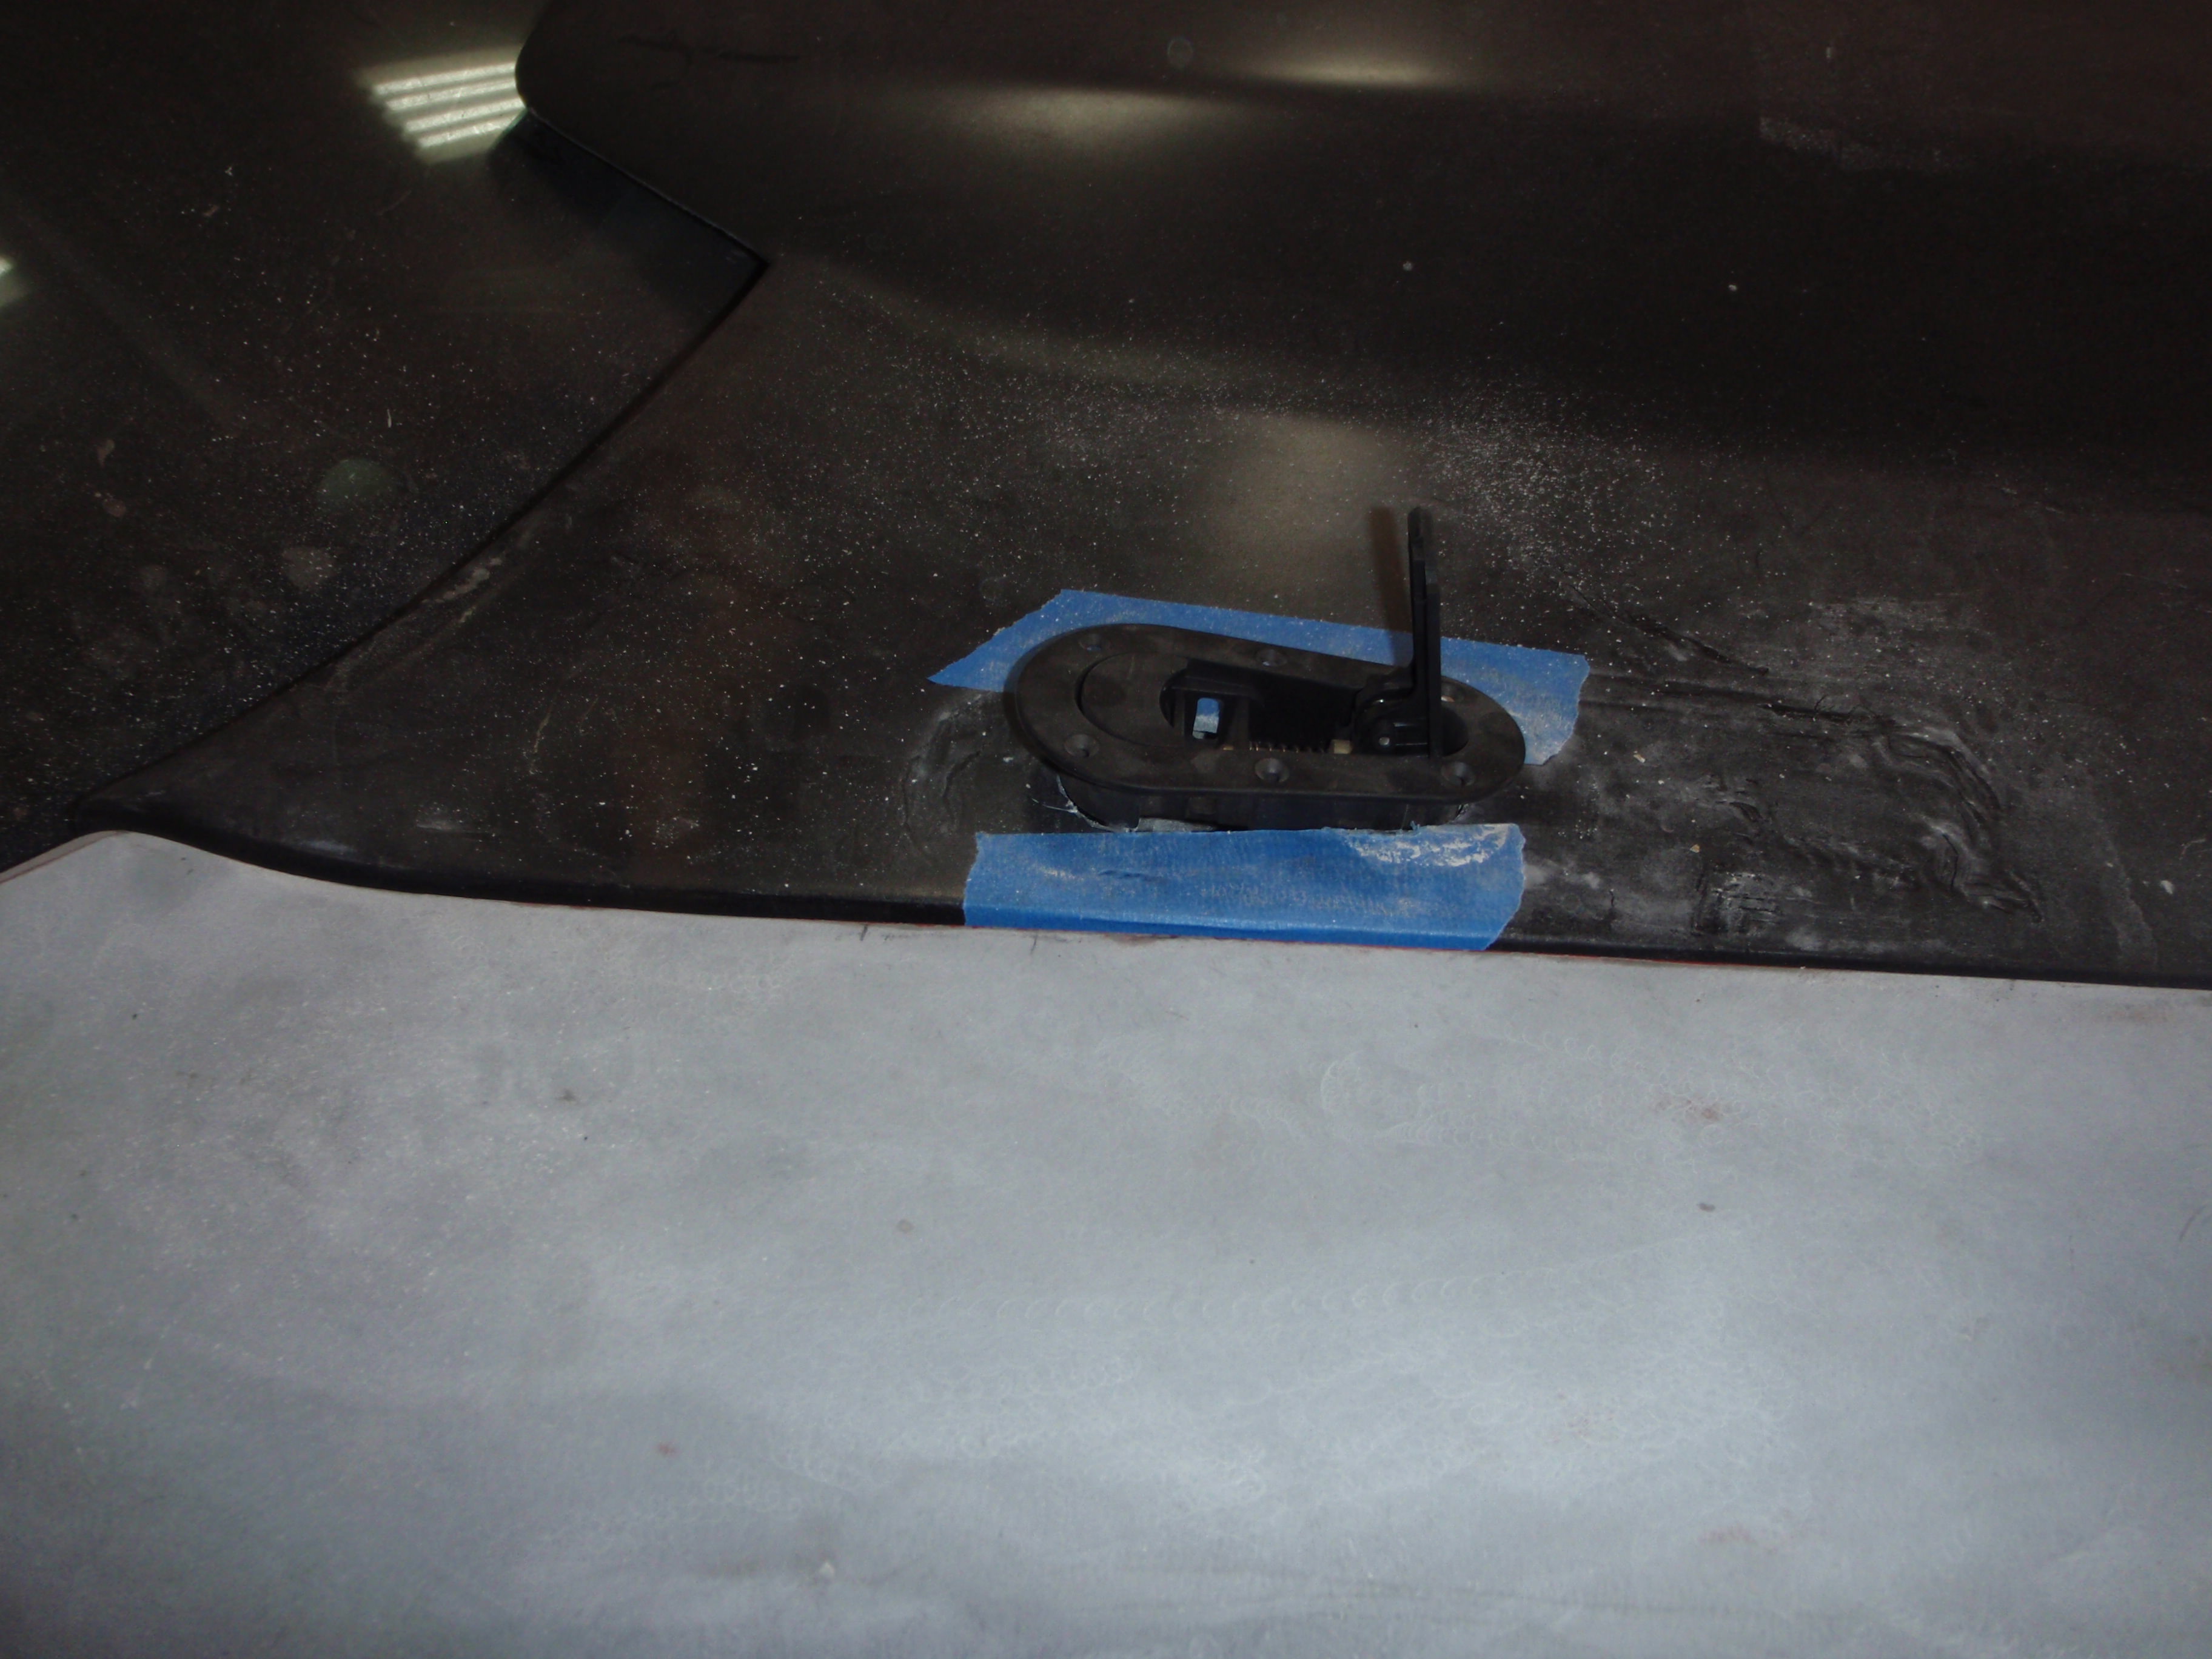
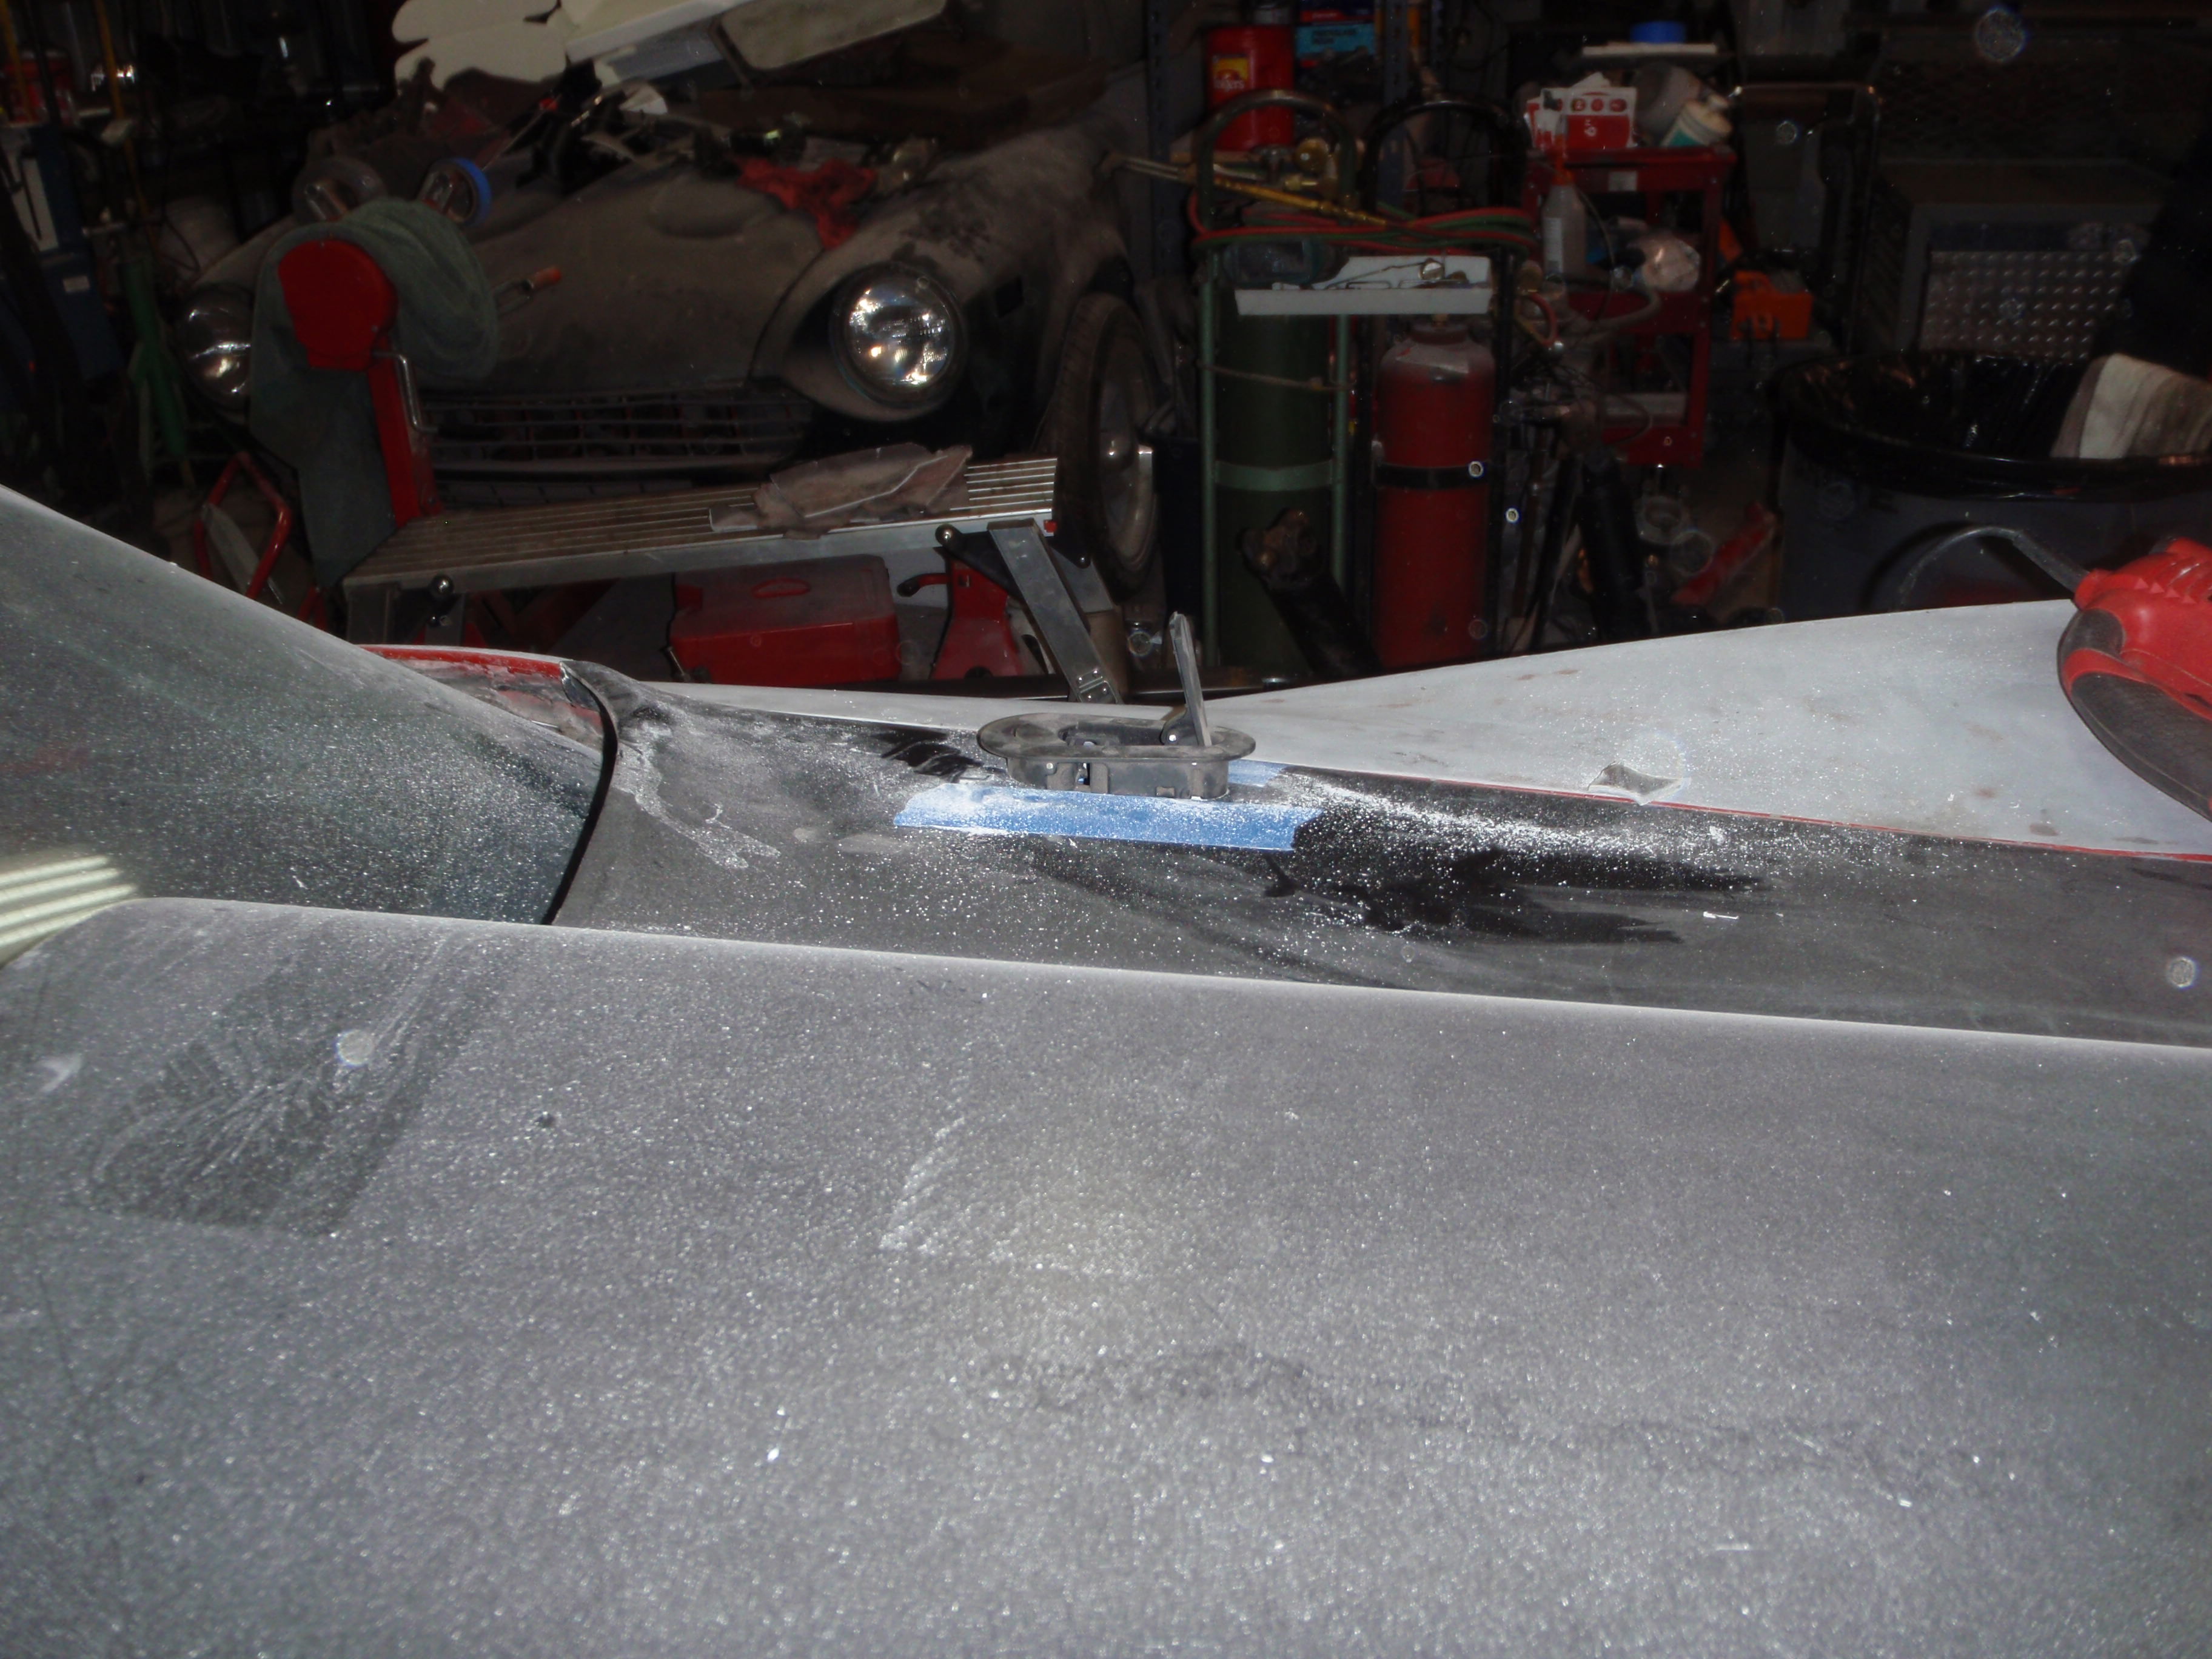
multi-tasking today... Corvette got latches
Attachment 48352647


shocks came last week, waiting on the springs. PF1 had 450 lb springs, these will be 550

this is going away - it's funny, I spent a great deal of time trying to find this gear set (3.36s), now I've no need for it
Attachment 48352653
this is what happens when you don't tighten the spring correctly
Attachment 48352647
shocks came last week, waiting on the springs. PF1 had 450 lb springs, these will be 550
this is going away - it's funny, I spent a great deal of time trying to find this gear set (3.36s), now I've no need for it
Attachment 48352653
this is what happens when you don't tighten the spring correctly
The following users liked this post:
doorgunner (05-14-2018)
07-05-2018, 12:00 AM
#169
Melting Slicks
I got distracted
sorry
I'm starting back on this, slowly... but the first is I need my lathe to be working
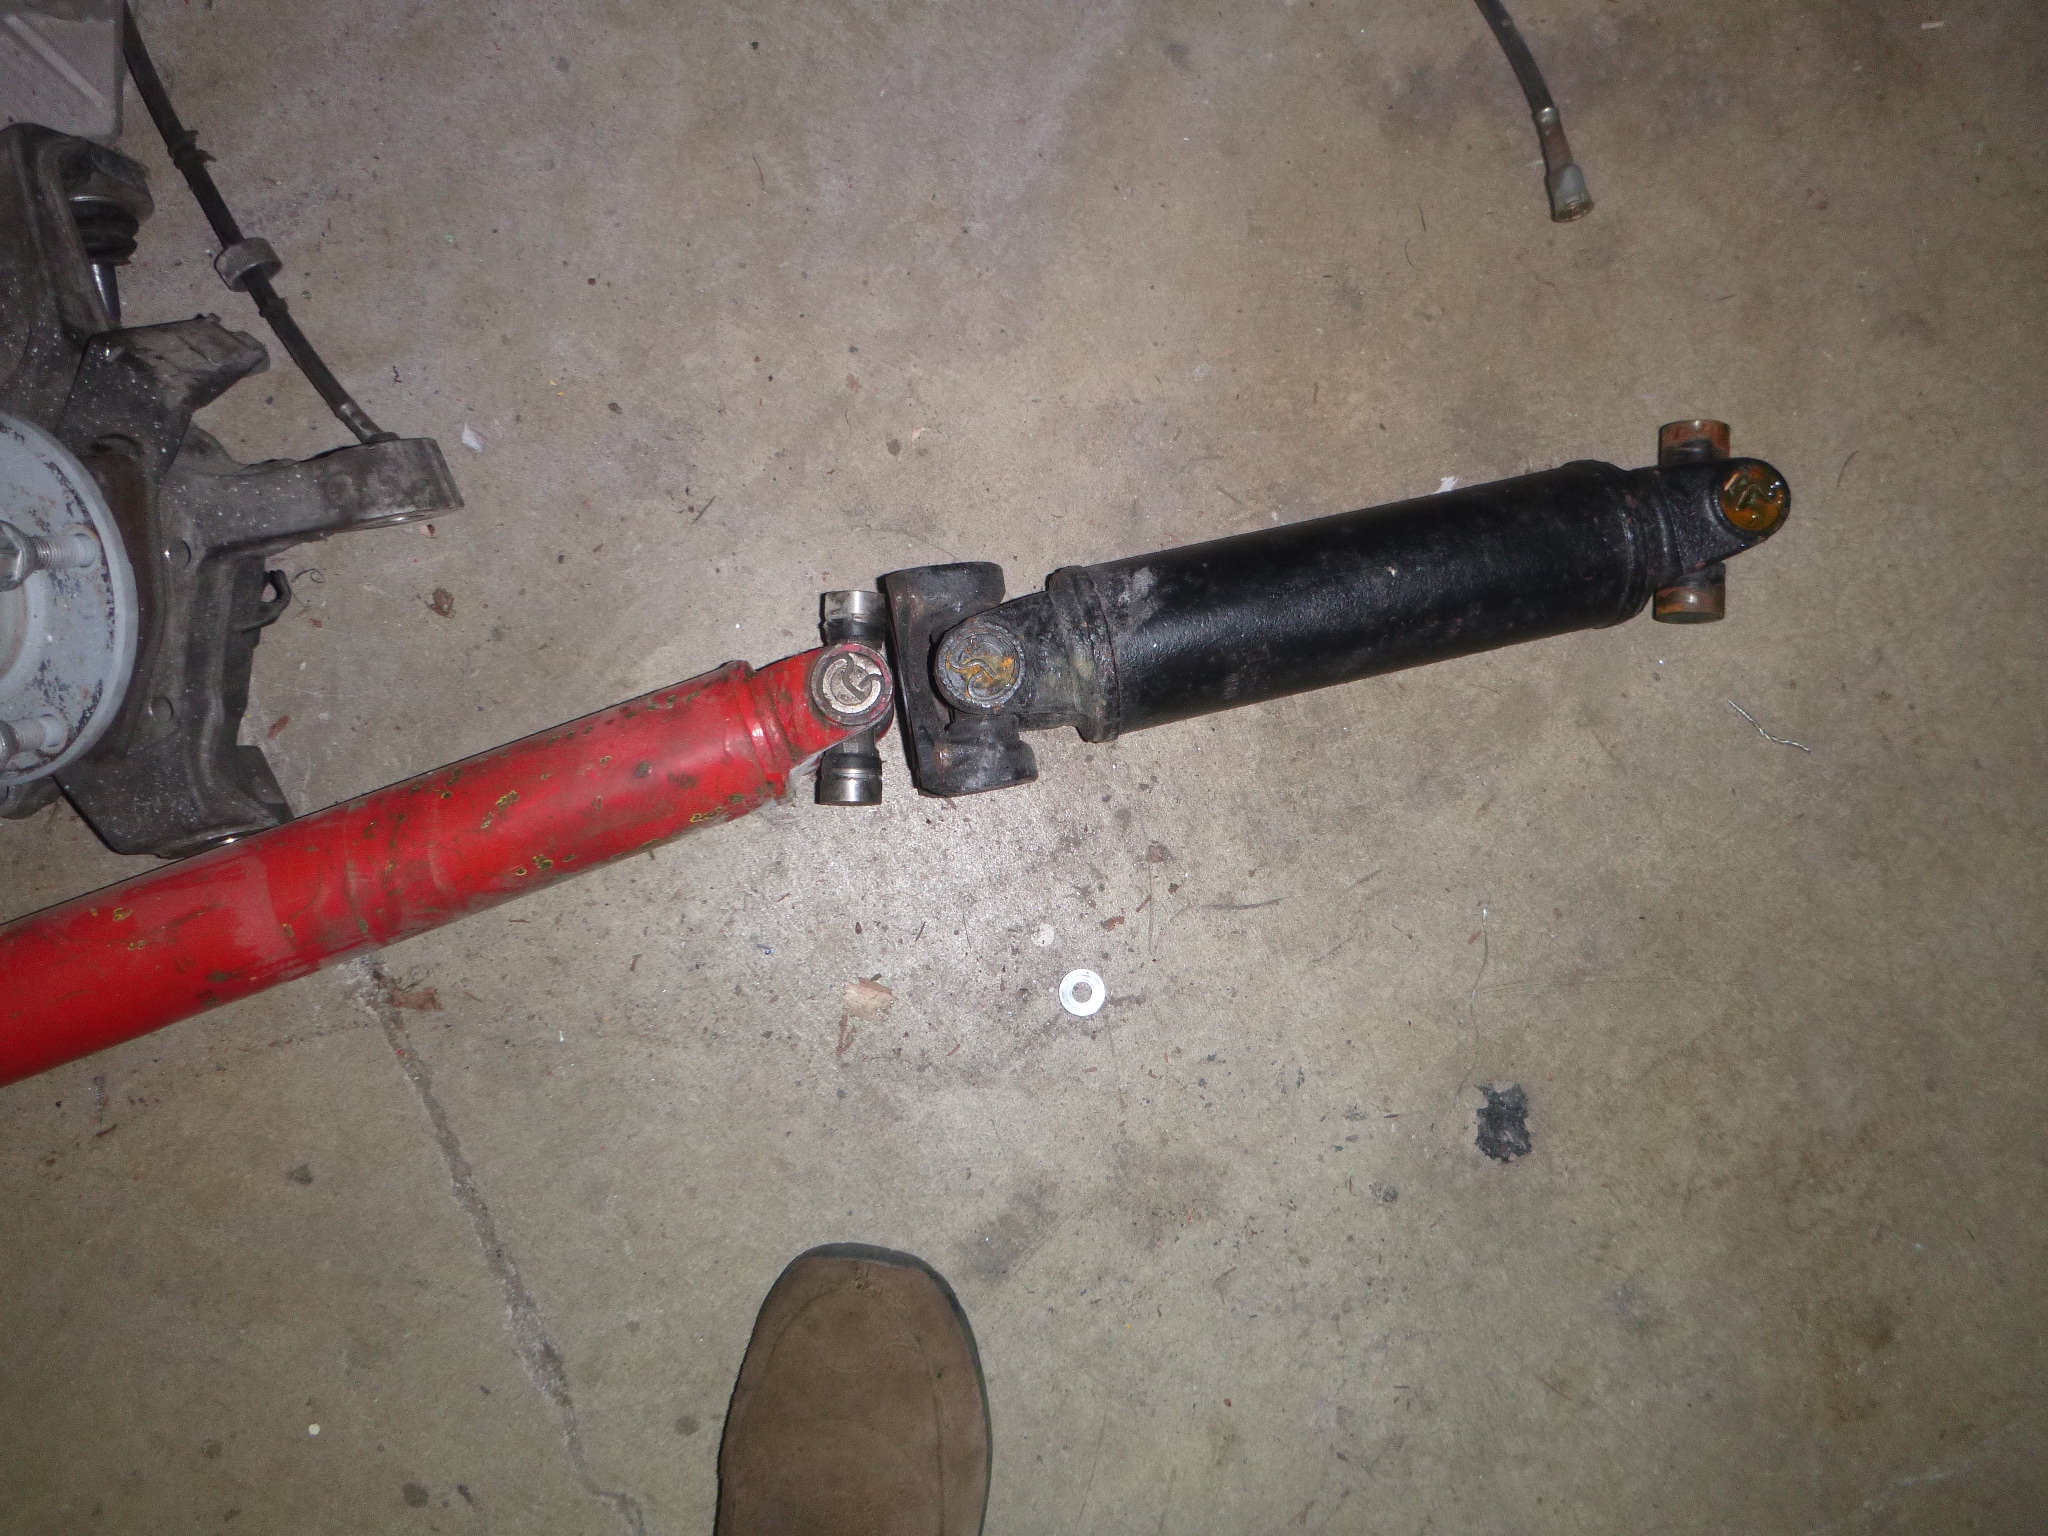
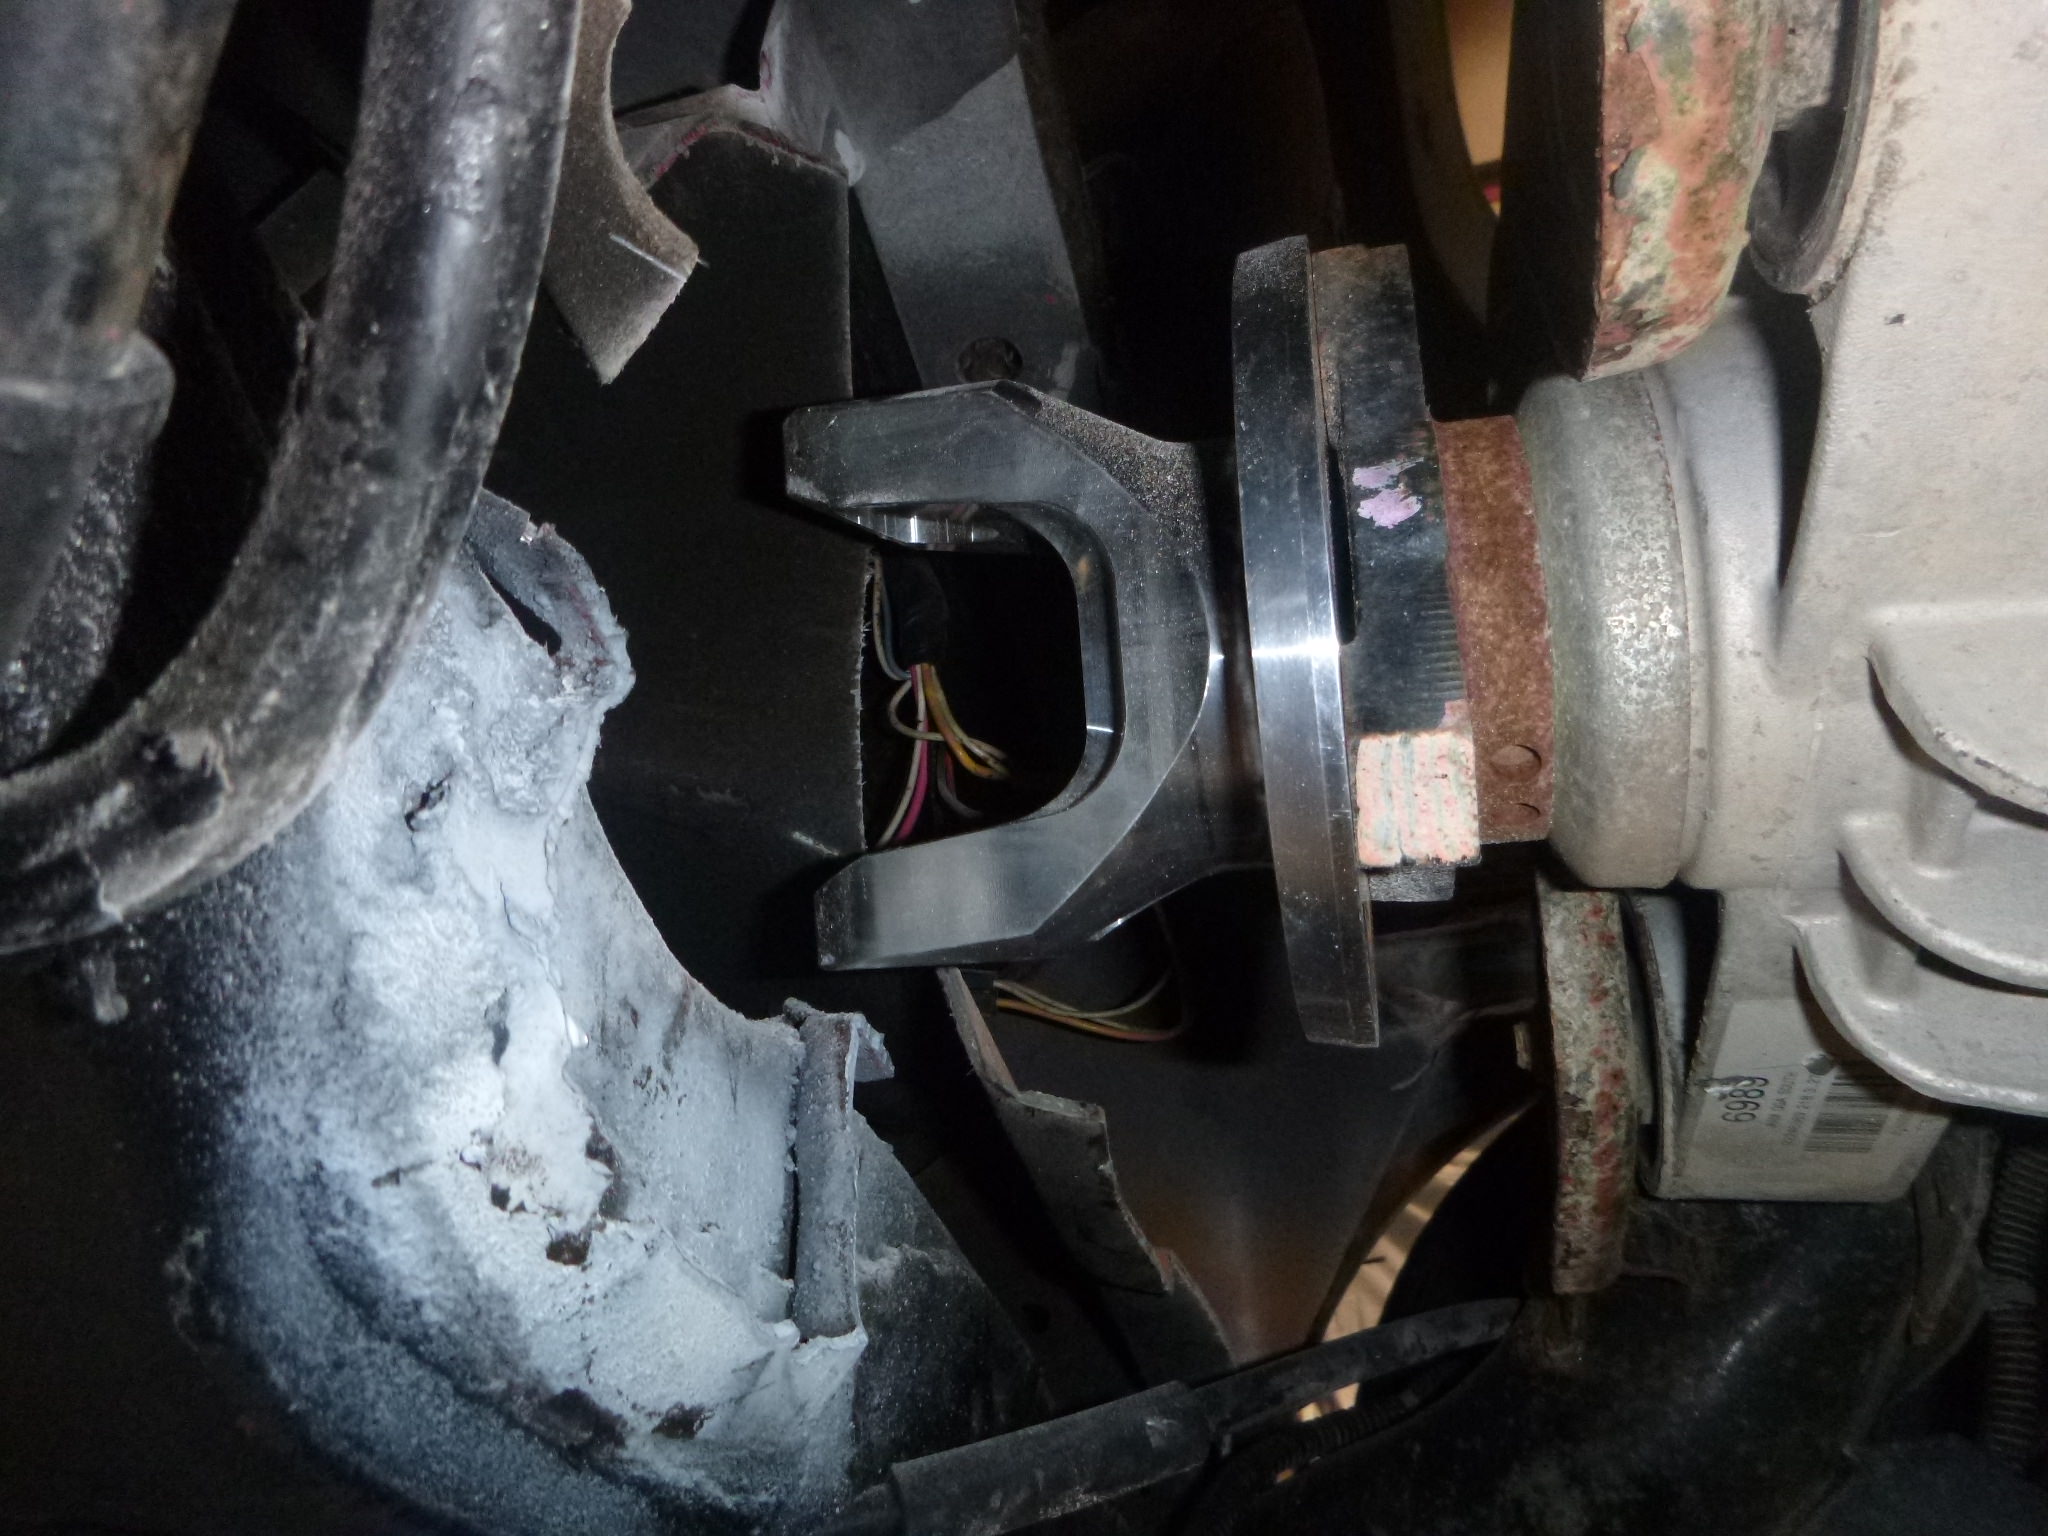
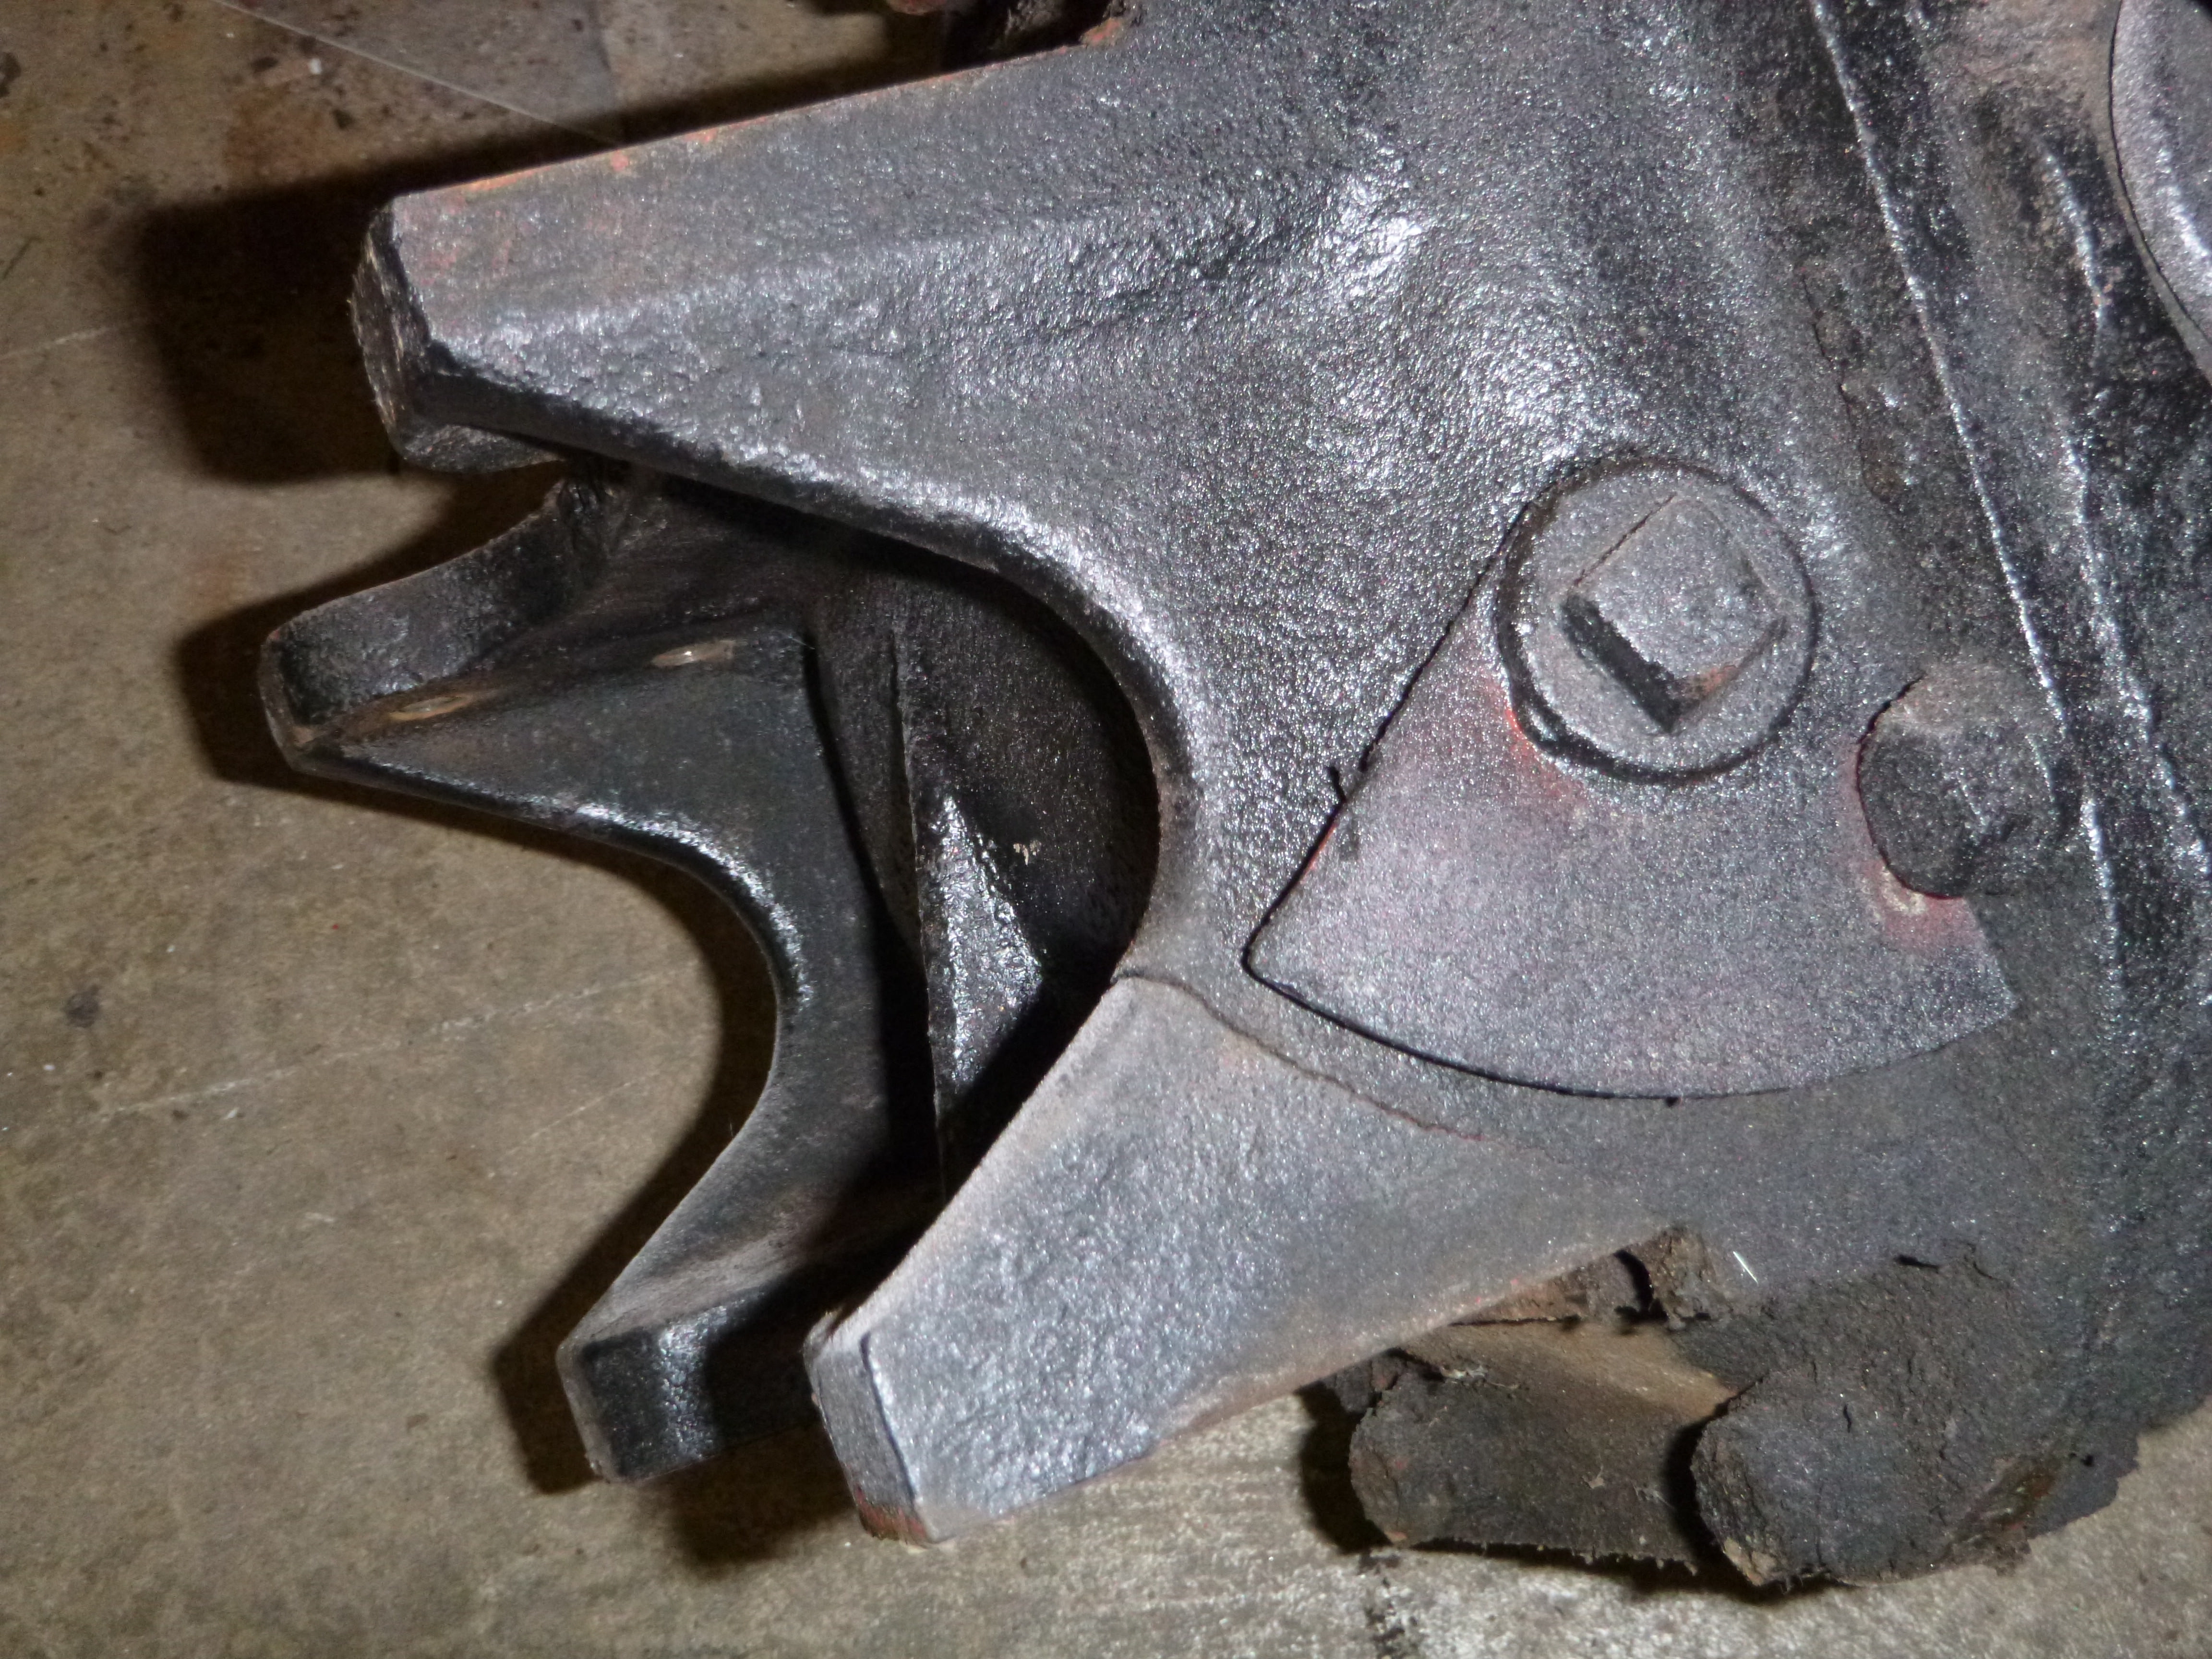
now the explanation.edited I have that really pretty adapter that only requires a shorter driveshaft and cutting the main cross to fit the 1350 u-joint.edited
the alternative is using an aluminum puck to adapt the Spicer bit you see on the black driveshaft to the 3 bolt differential.edited Problem is it's still a 1350 joint for the over-the-counter adapters (not to mention $200)... so I'm going to use a outer adapter from the other suspension to make an adapter.... which requires some lathe work (and maybe mill work - which would mean going to see a friend about doing both on his lathe and mill)
However, I also have a lathe that 'just' needs to be wired
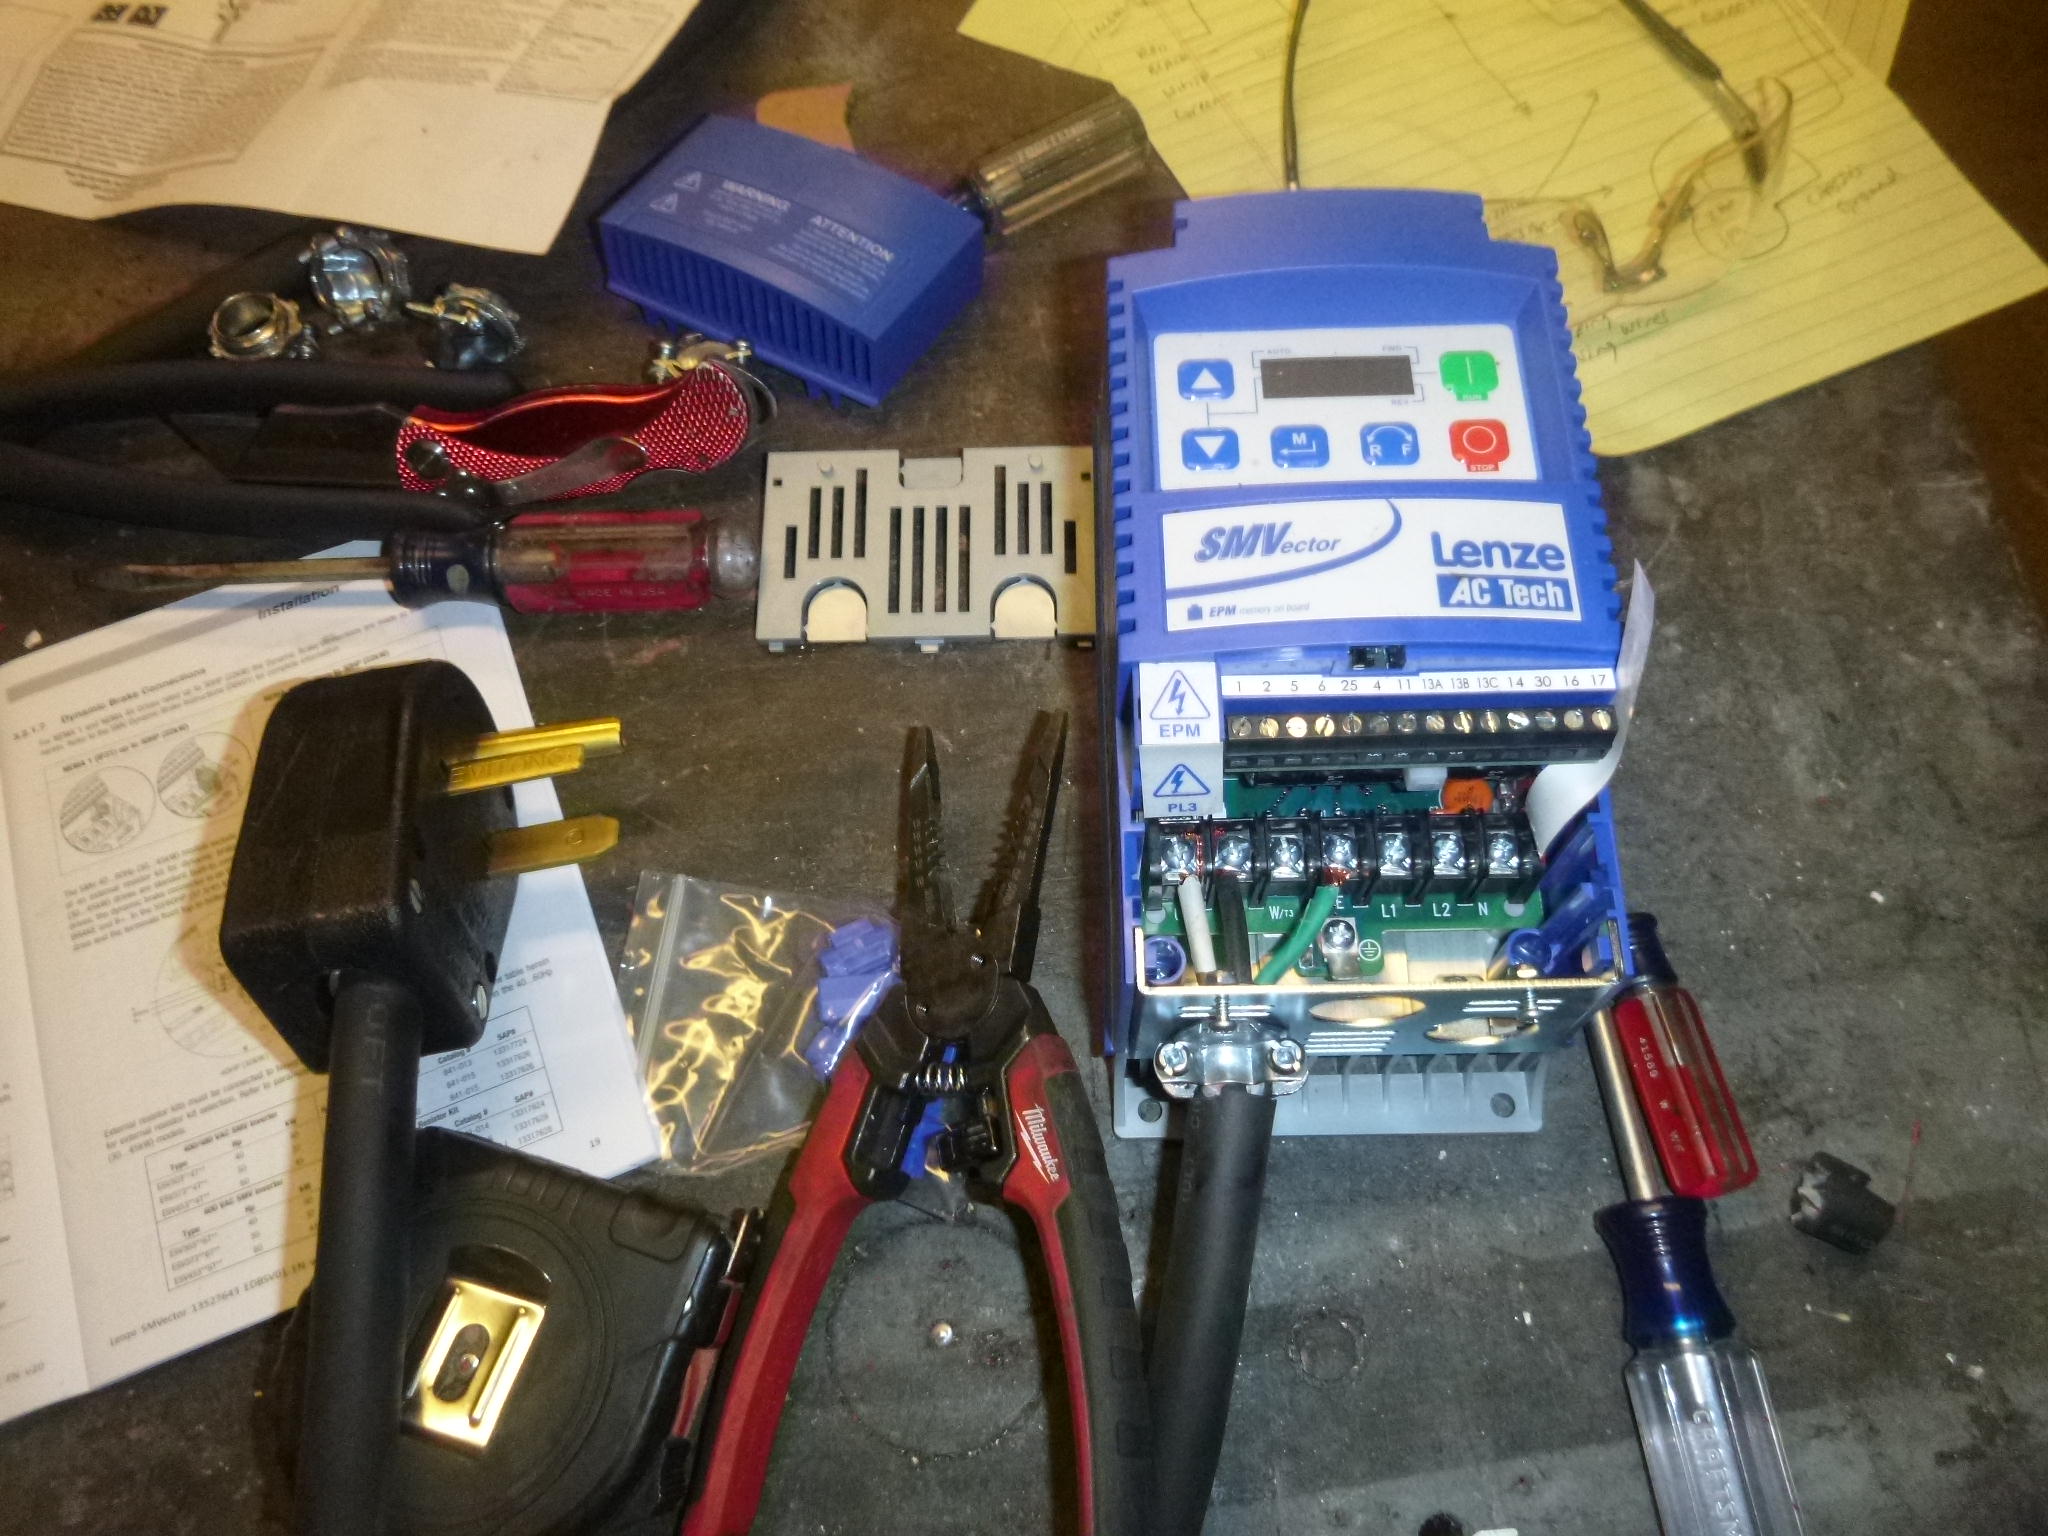

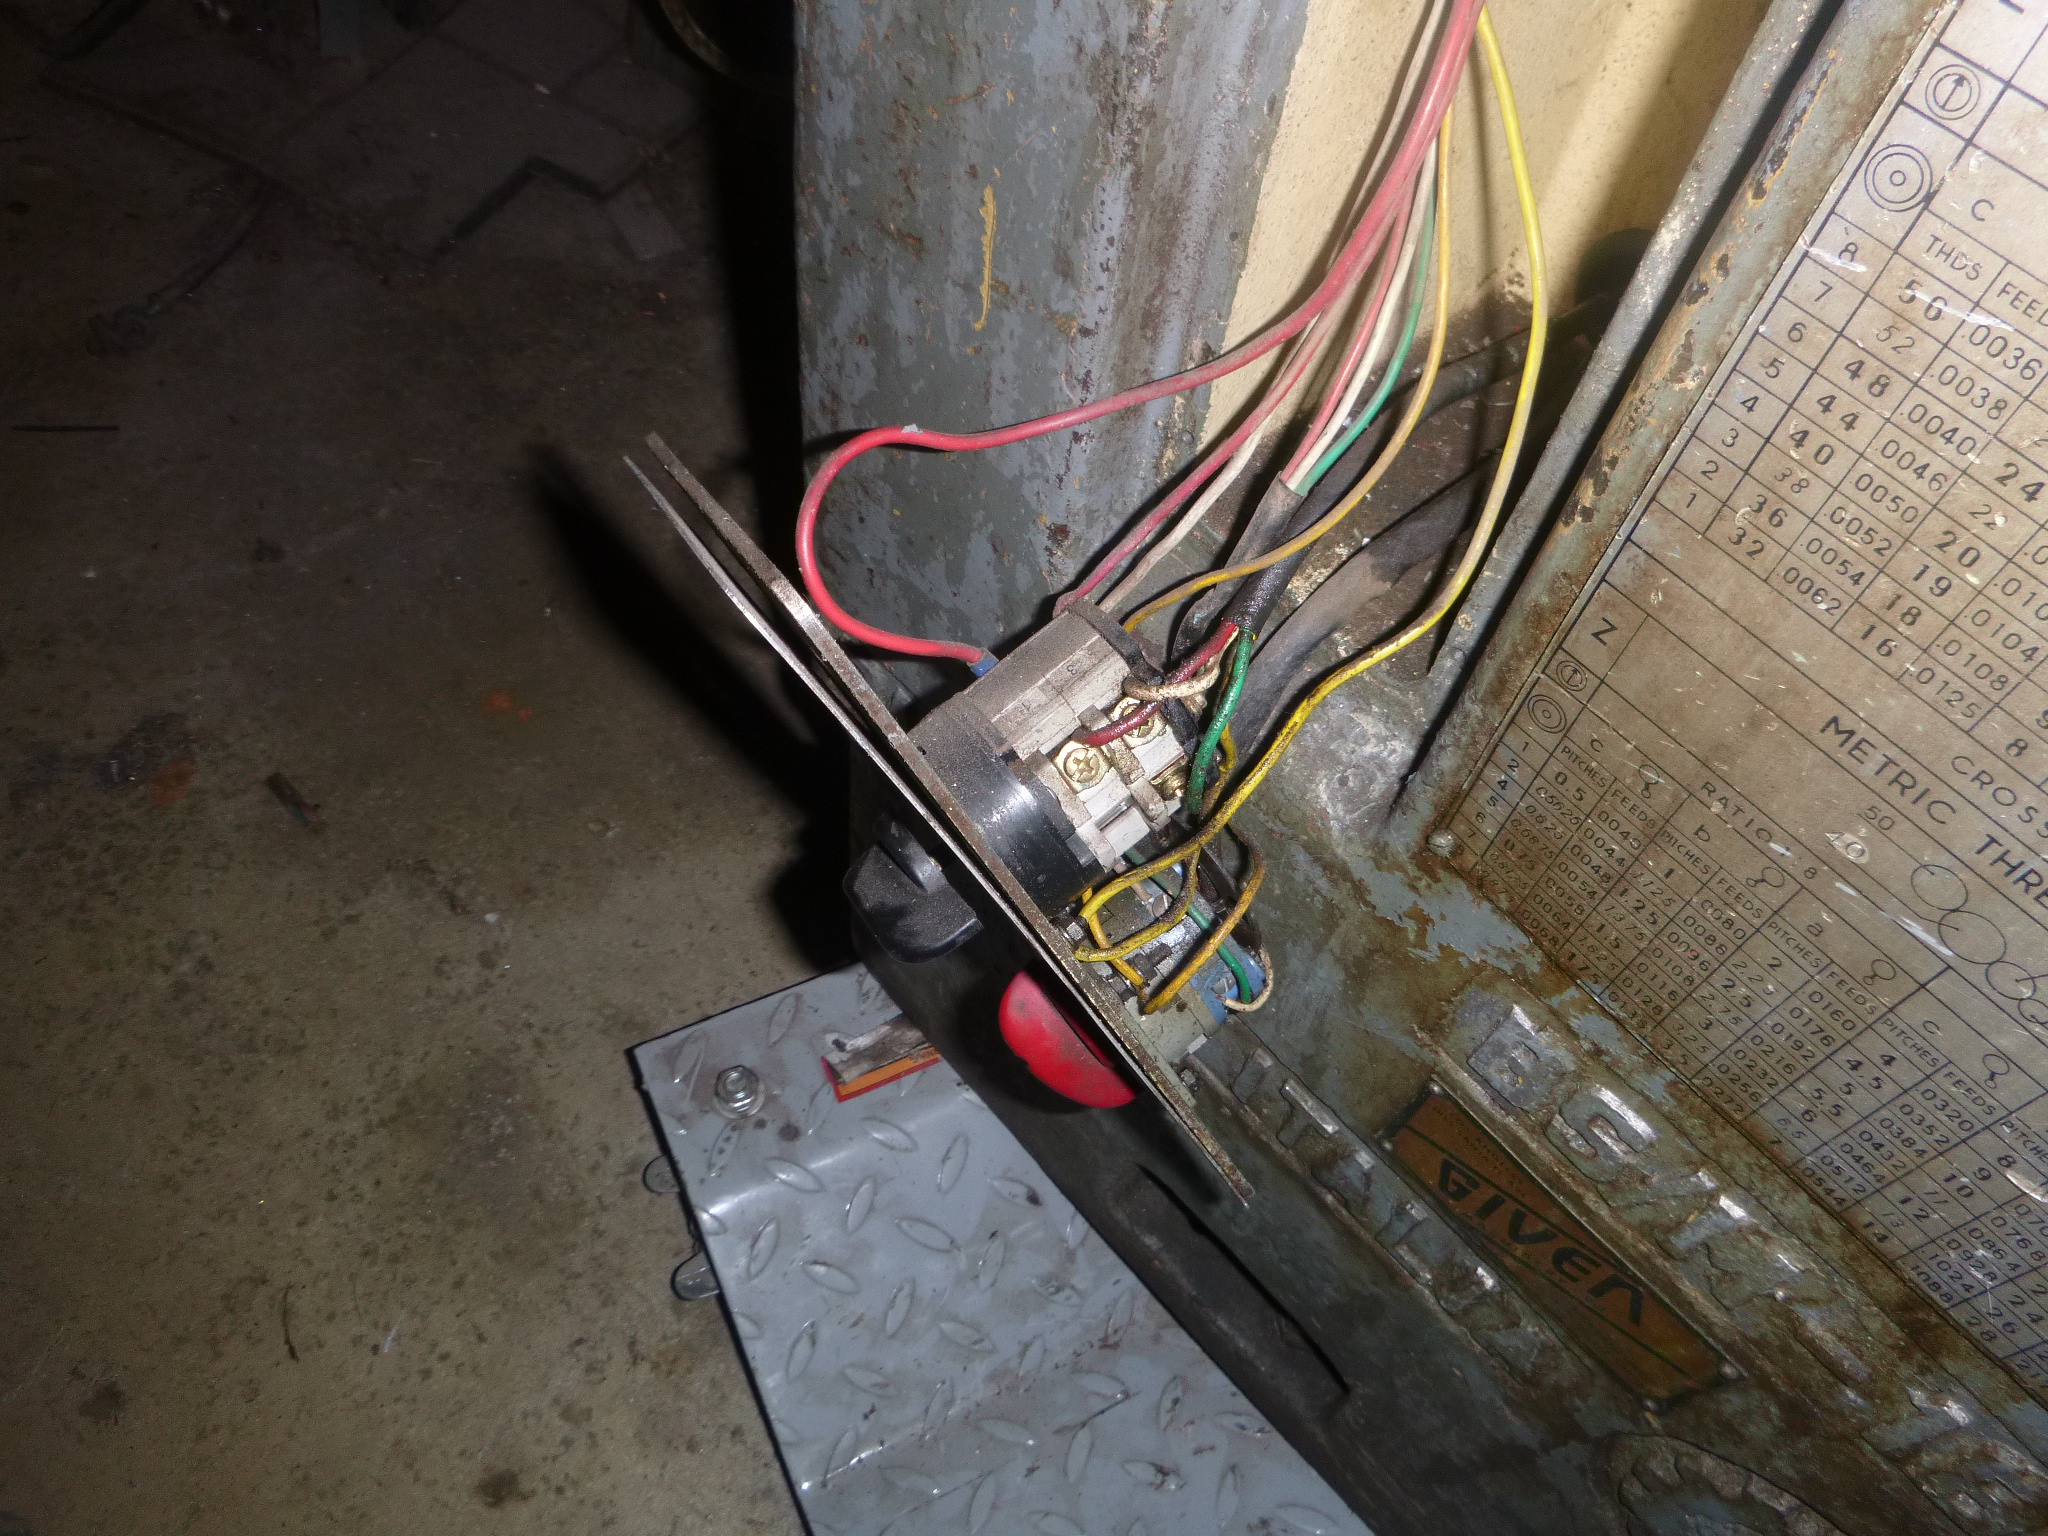
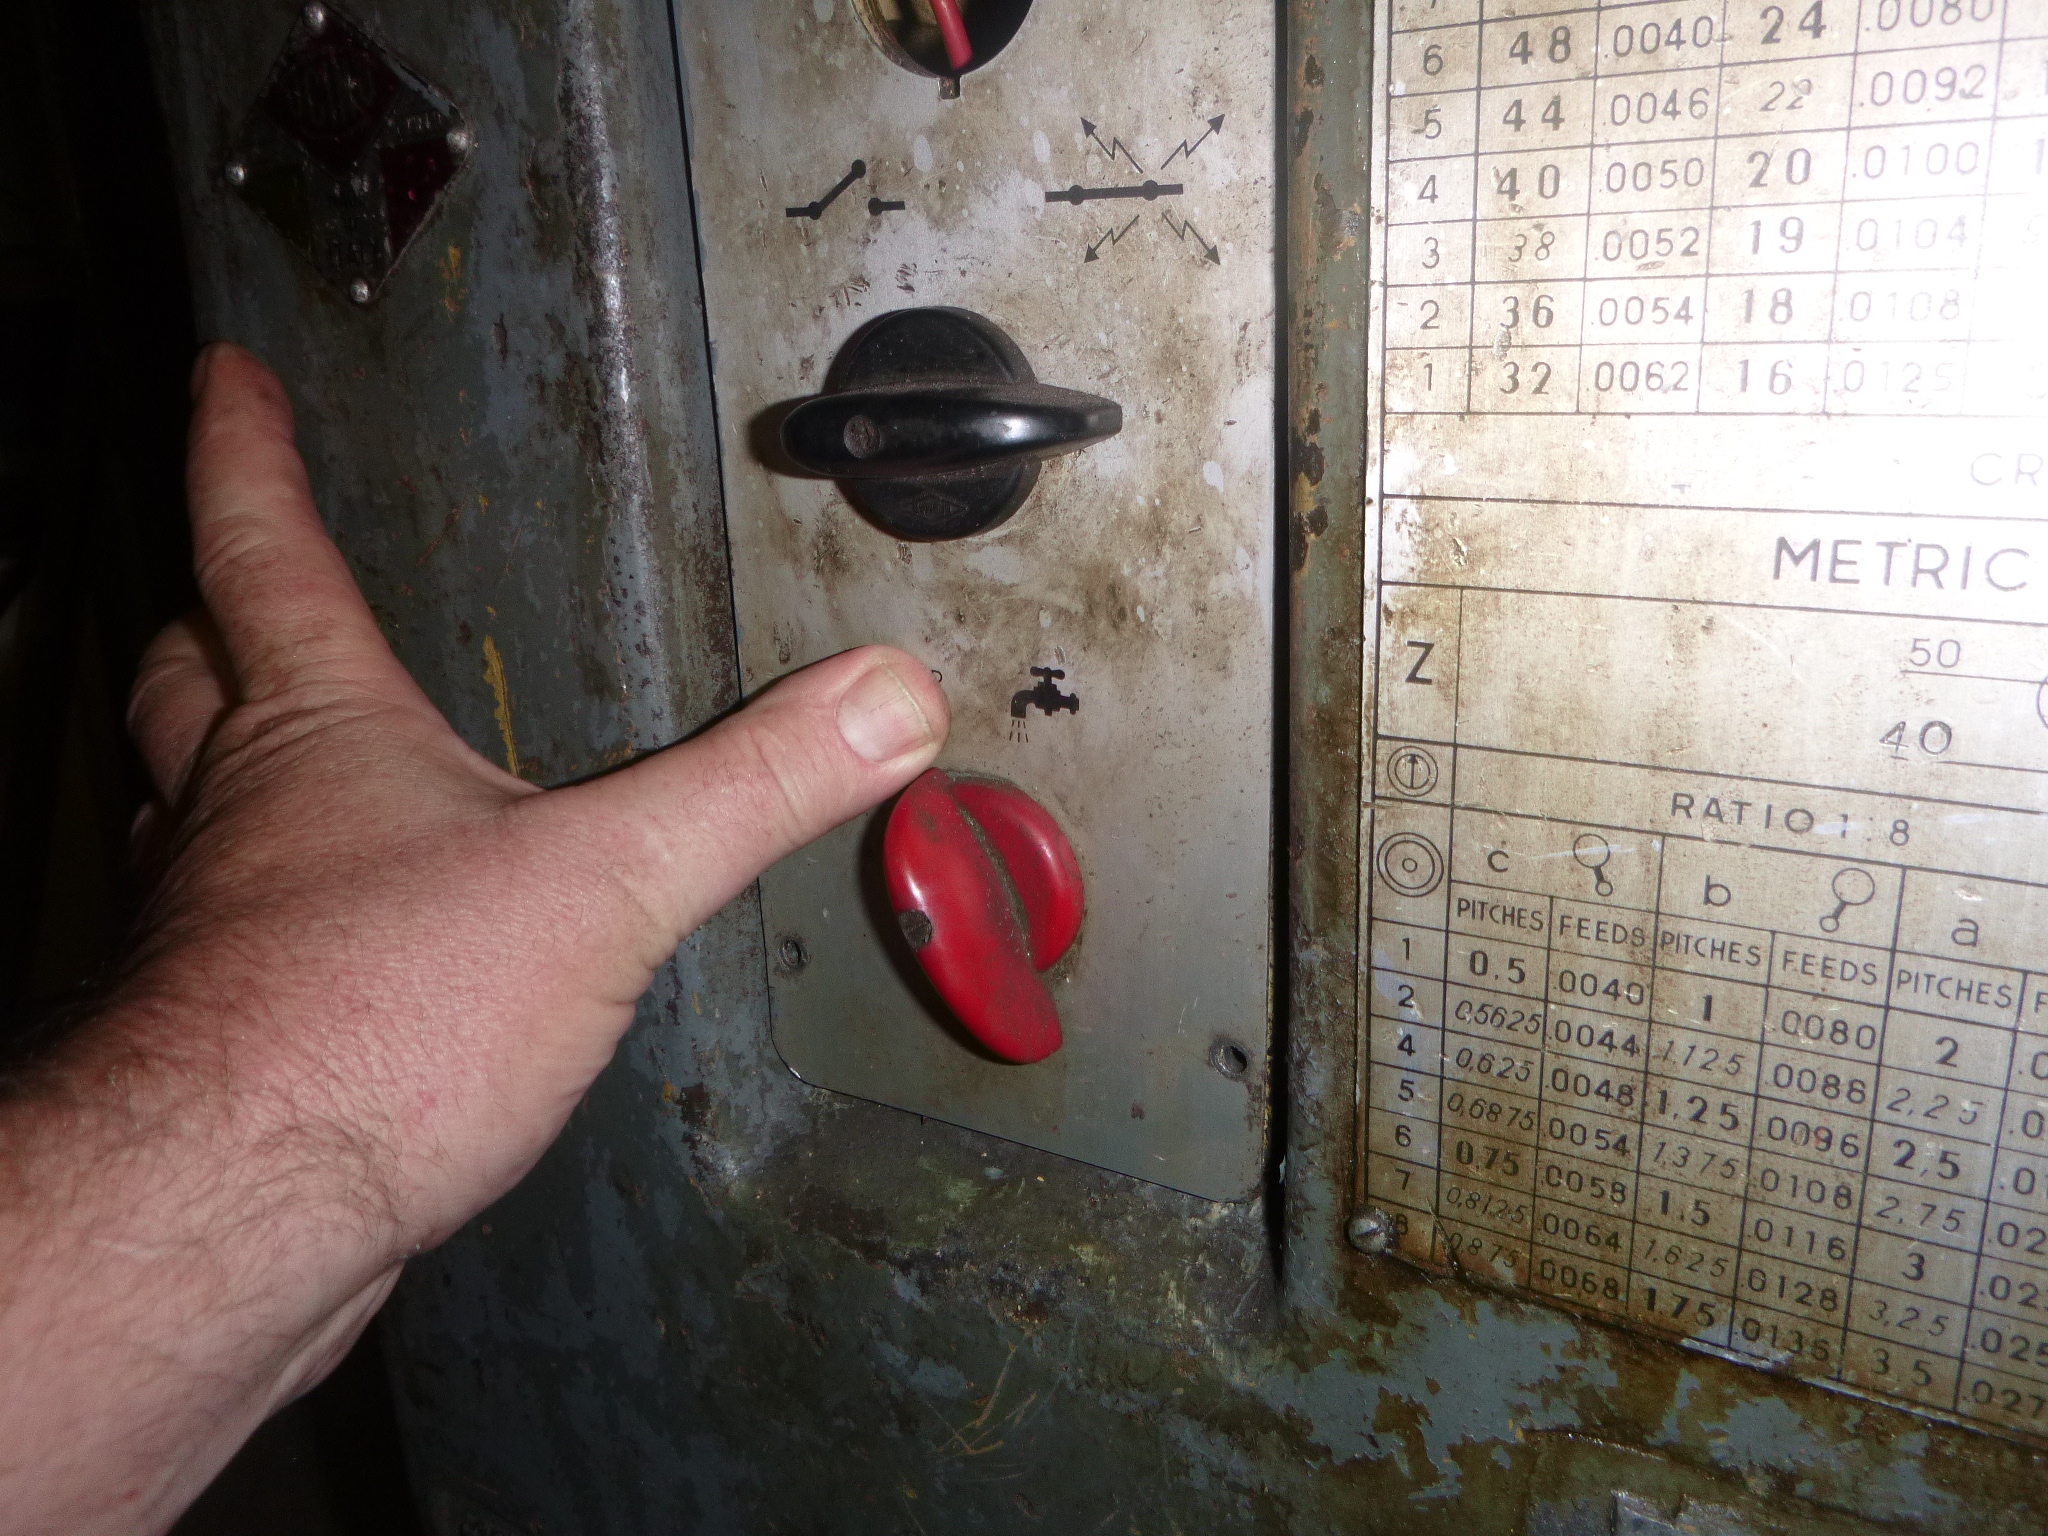
I think I'm going to rewire this completely and bring it into at least the later part of the 20th century
sorry
I'm starting back on this, slowly... but the first is I need my lathe to be working
now the explanation.edited I have that really pretty adapter that only requires a shorter driveshaft and cutting the main cross to fit the 1350 u-joint.edited
the alternative is using an aluminum puck to adapt the Spicer bit you see on the black driveshaft to the 3 bolt differential.edited Problem is it's still a 1350 joint for the over-the-counter adapters (not to mention $200)... so I'm going to use a outer adapter from the other suspension to make an adapter.... which requires some lathe work (and maybe mill work - which would mean going to see a friend about doing both on his lathe and mill)
However, I also have a lathe that 'just' needs to be wired
I think I'm going to rewire this completely and bring it into at least the later part of the 20th century
The following users liked this post:
Metalhead140 (07-25-2018)
07-24-2018, 12:13 AM
#170
Melting Slicks
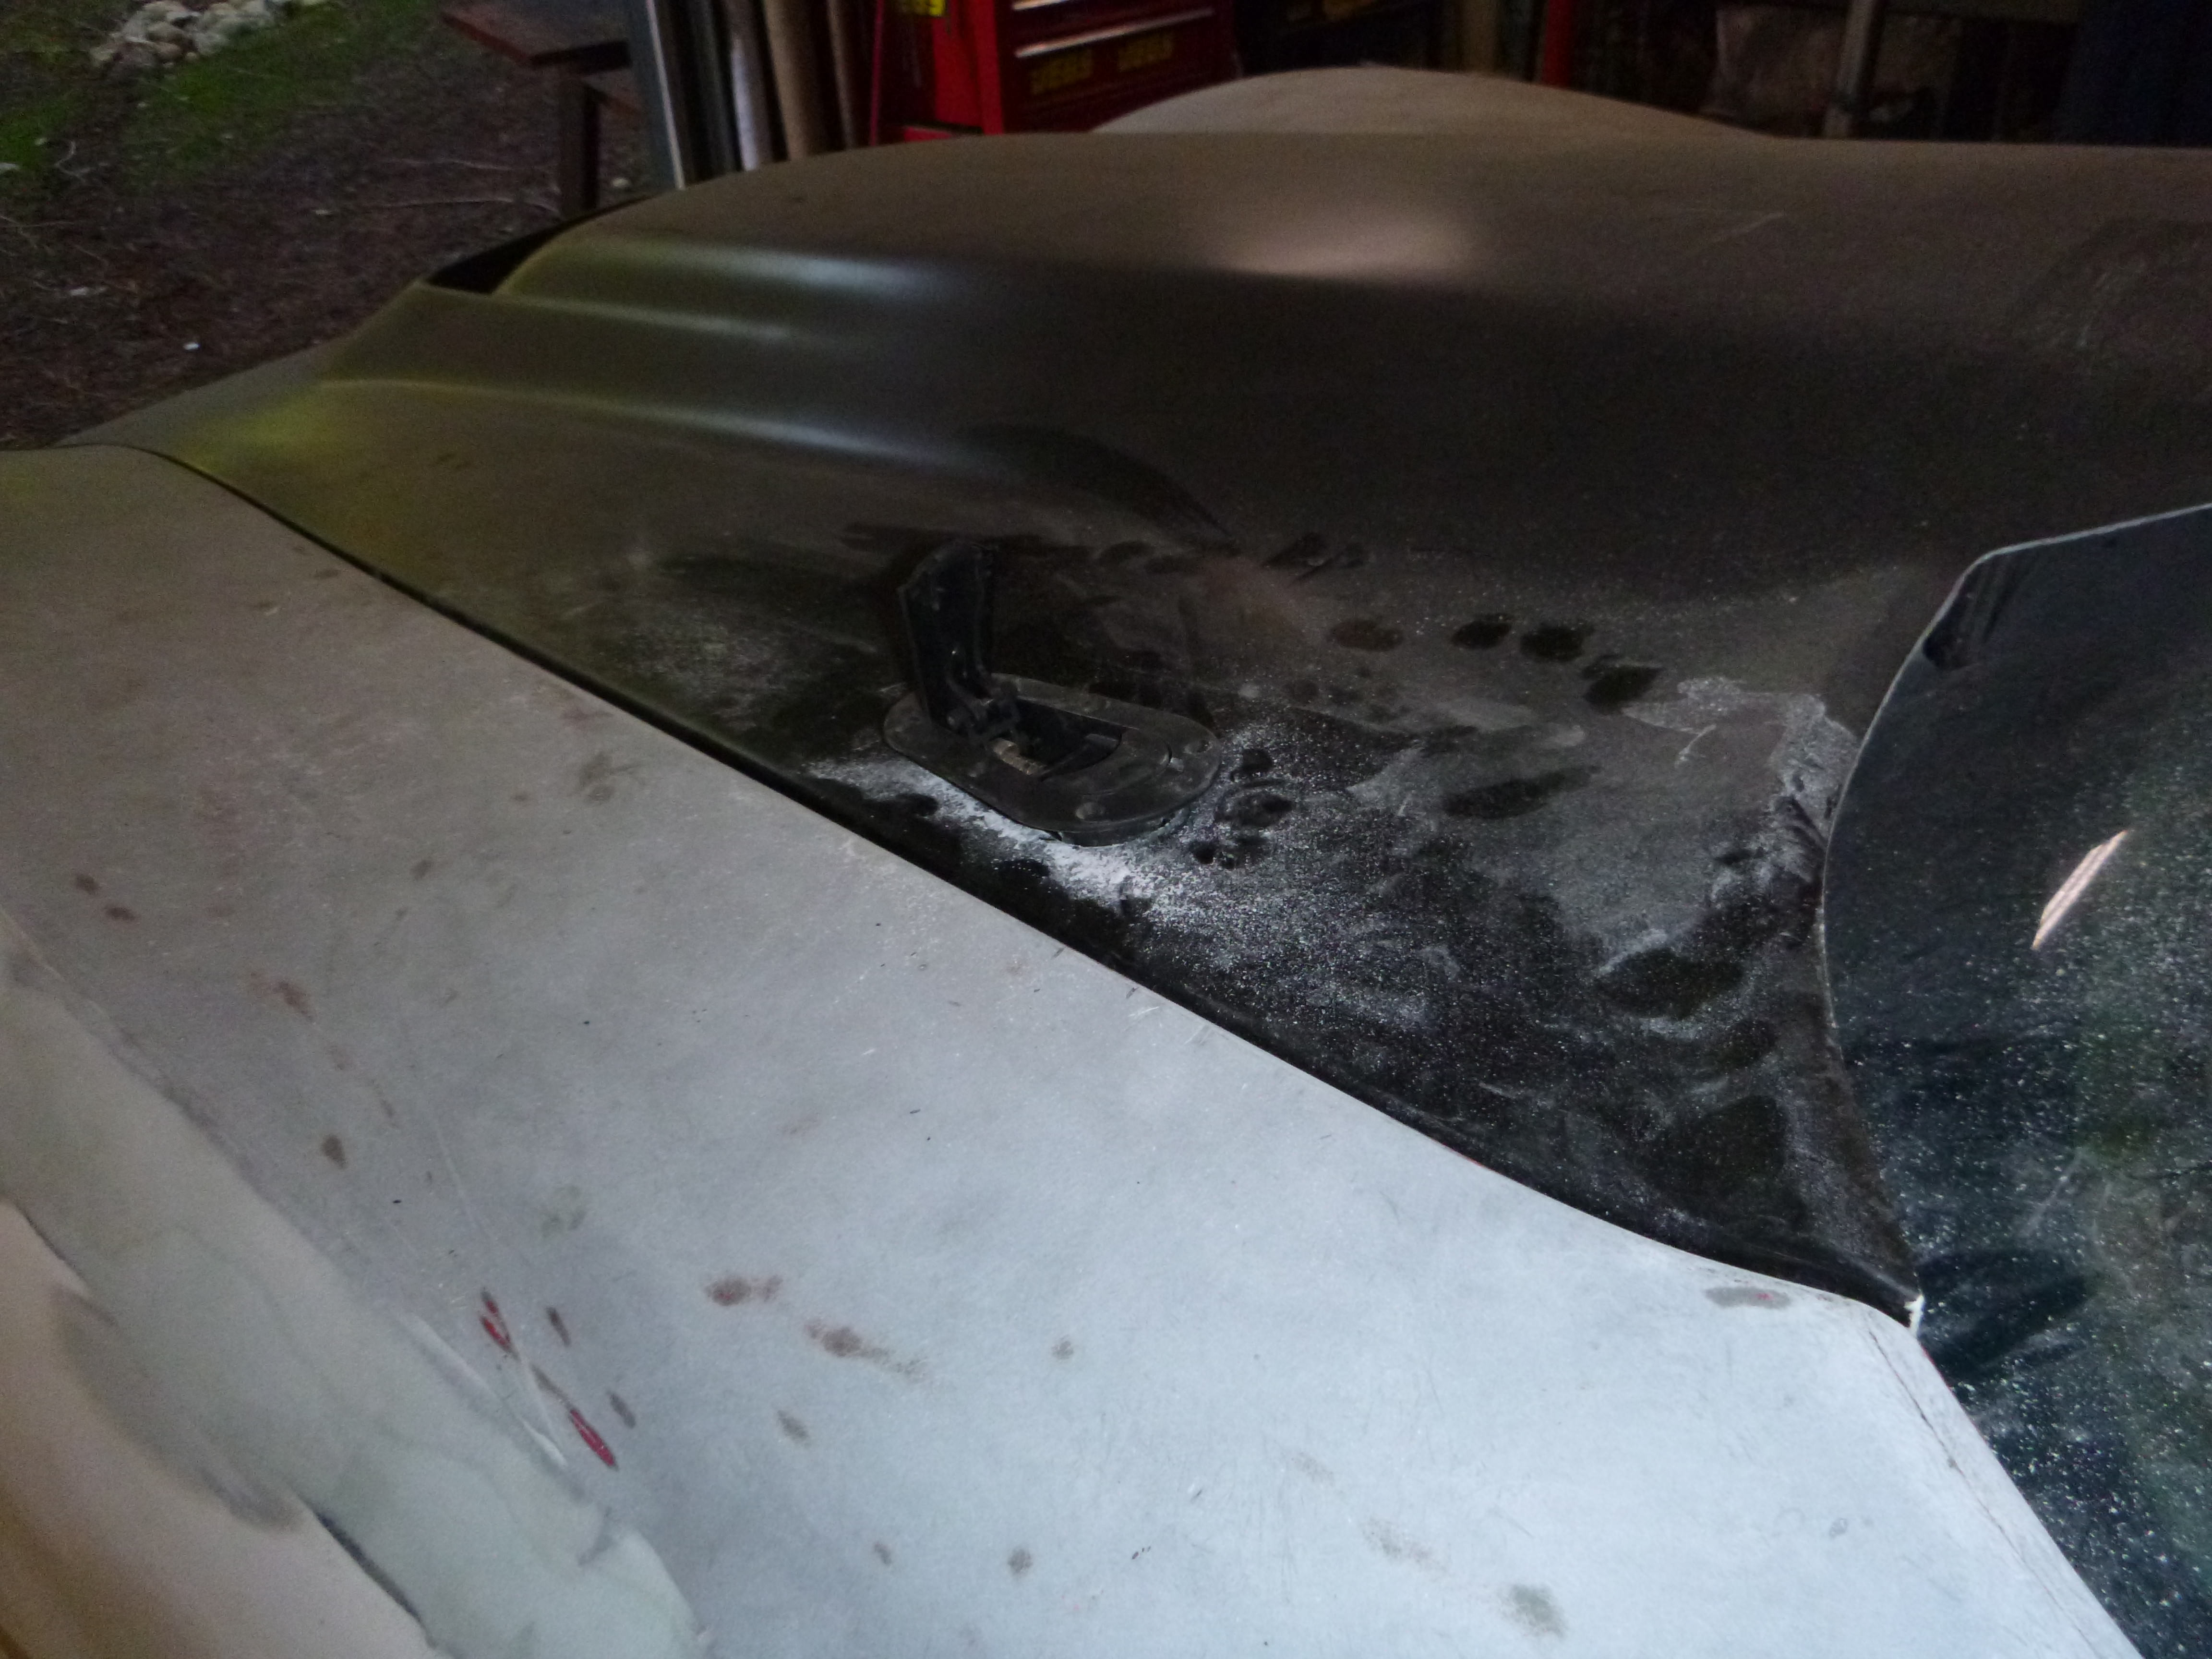
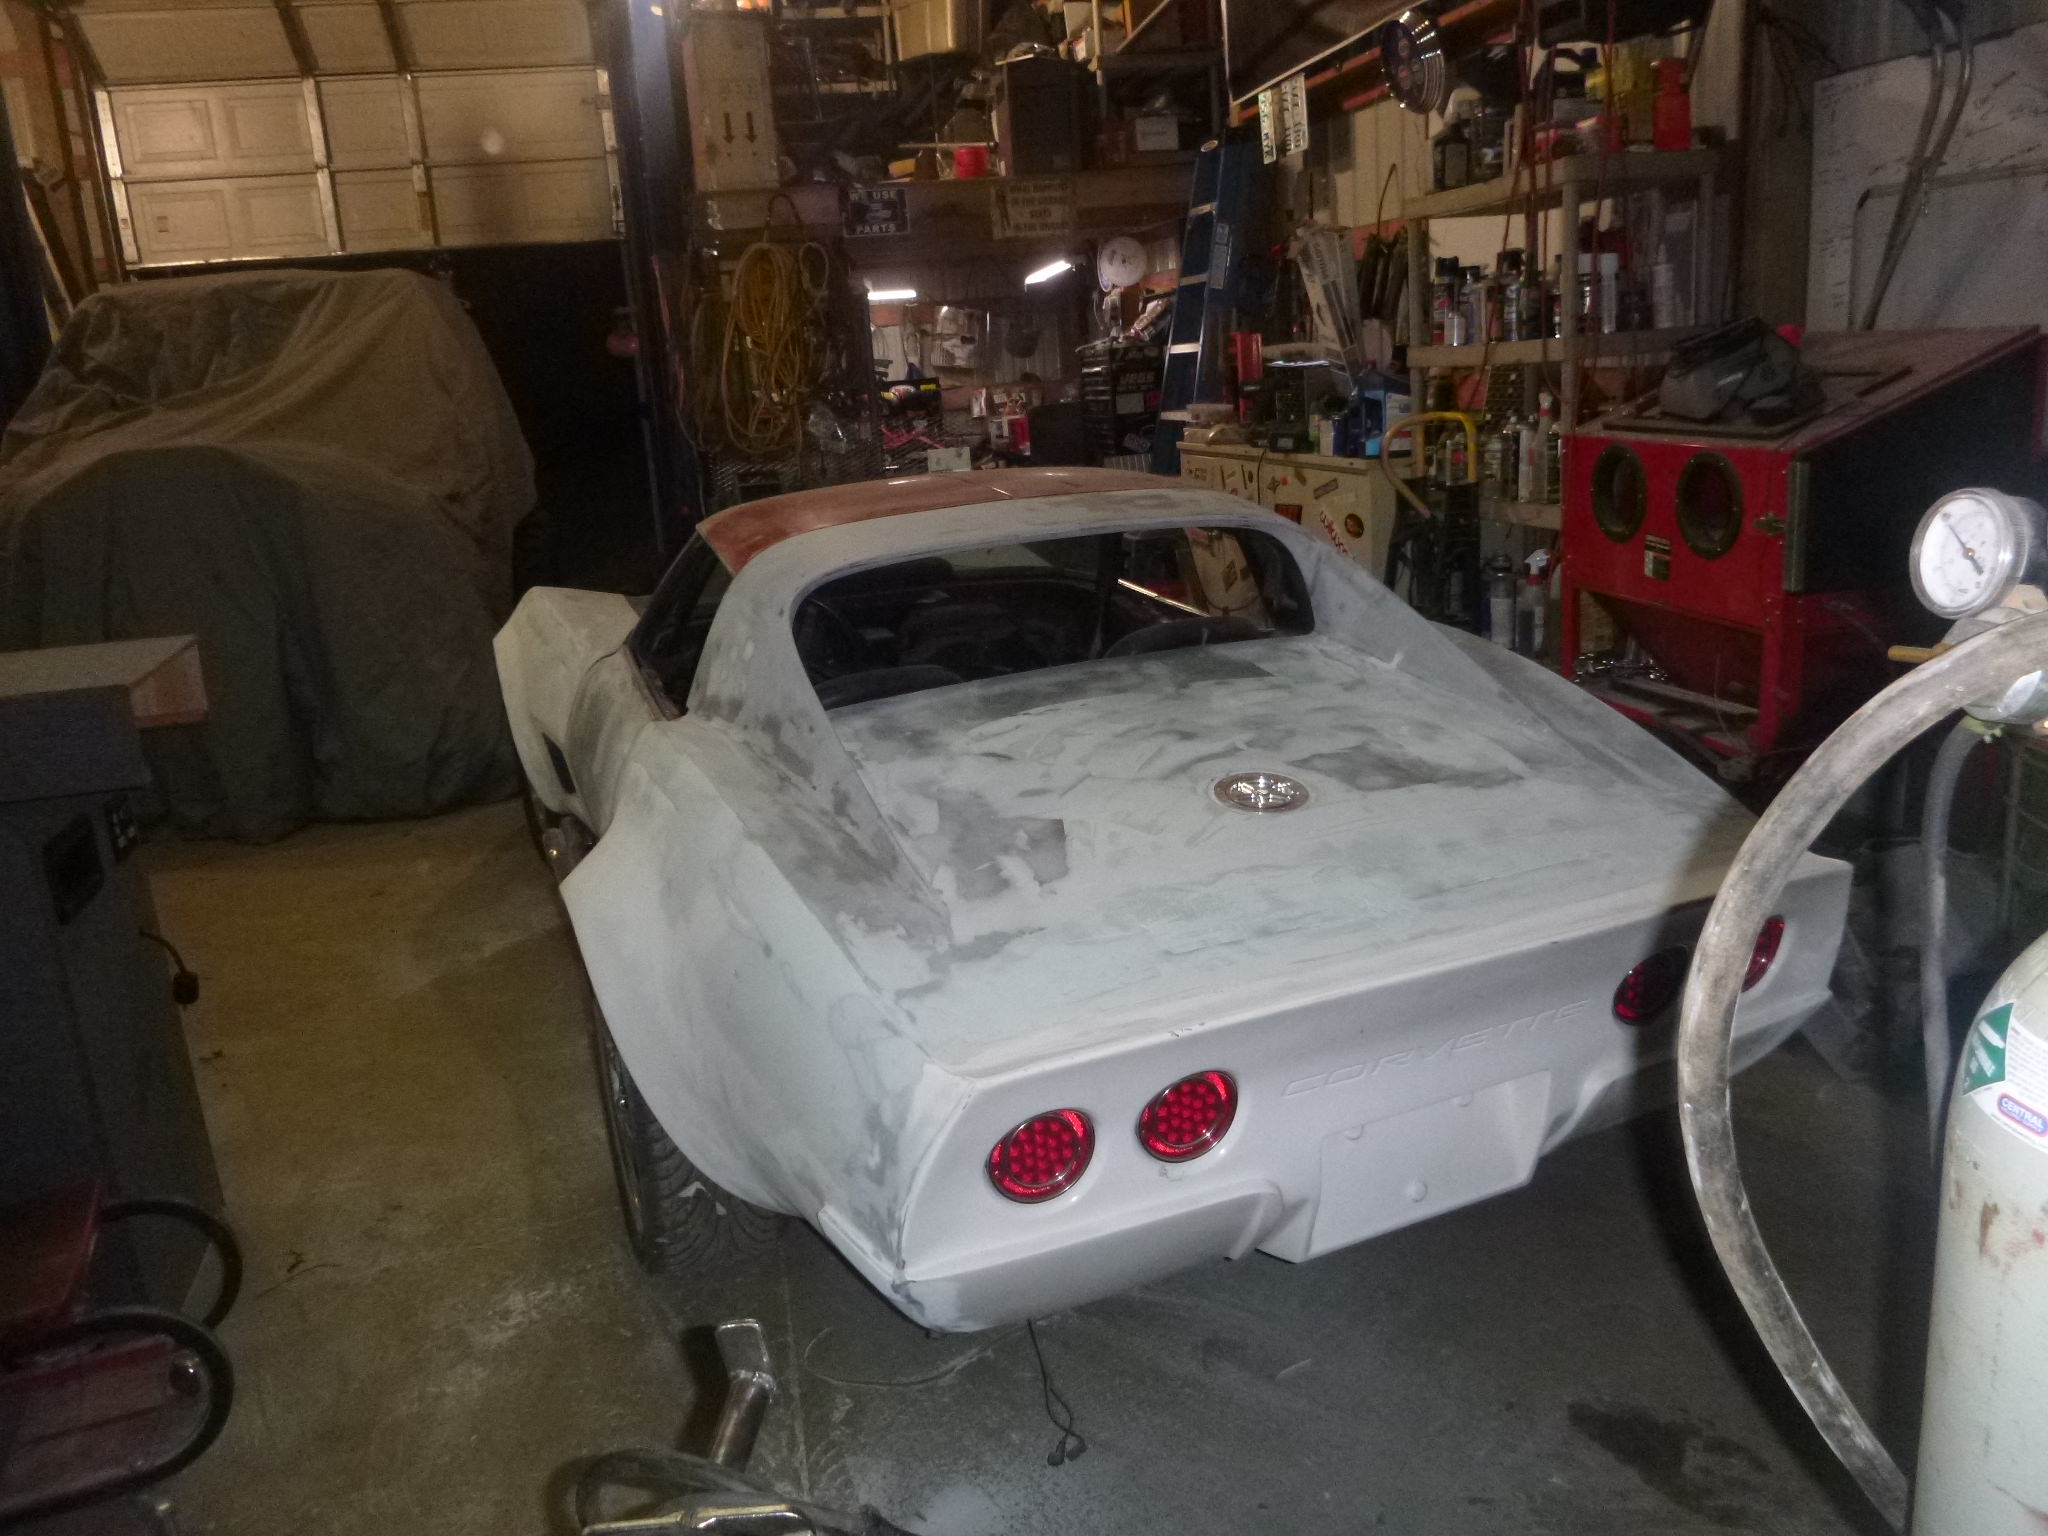
So I had some time to fill tonight,so I worked on the Corvette
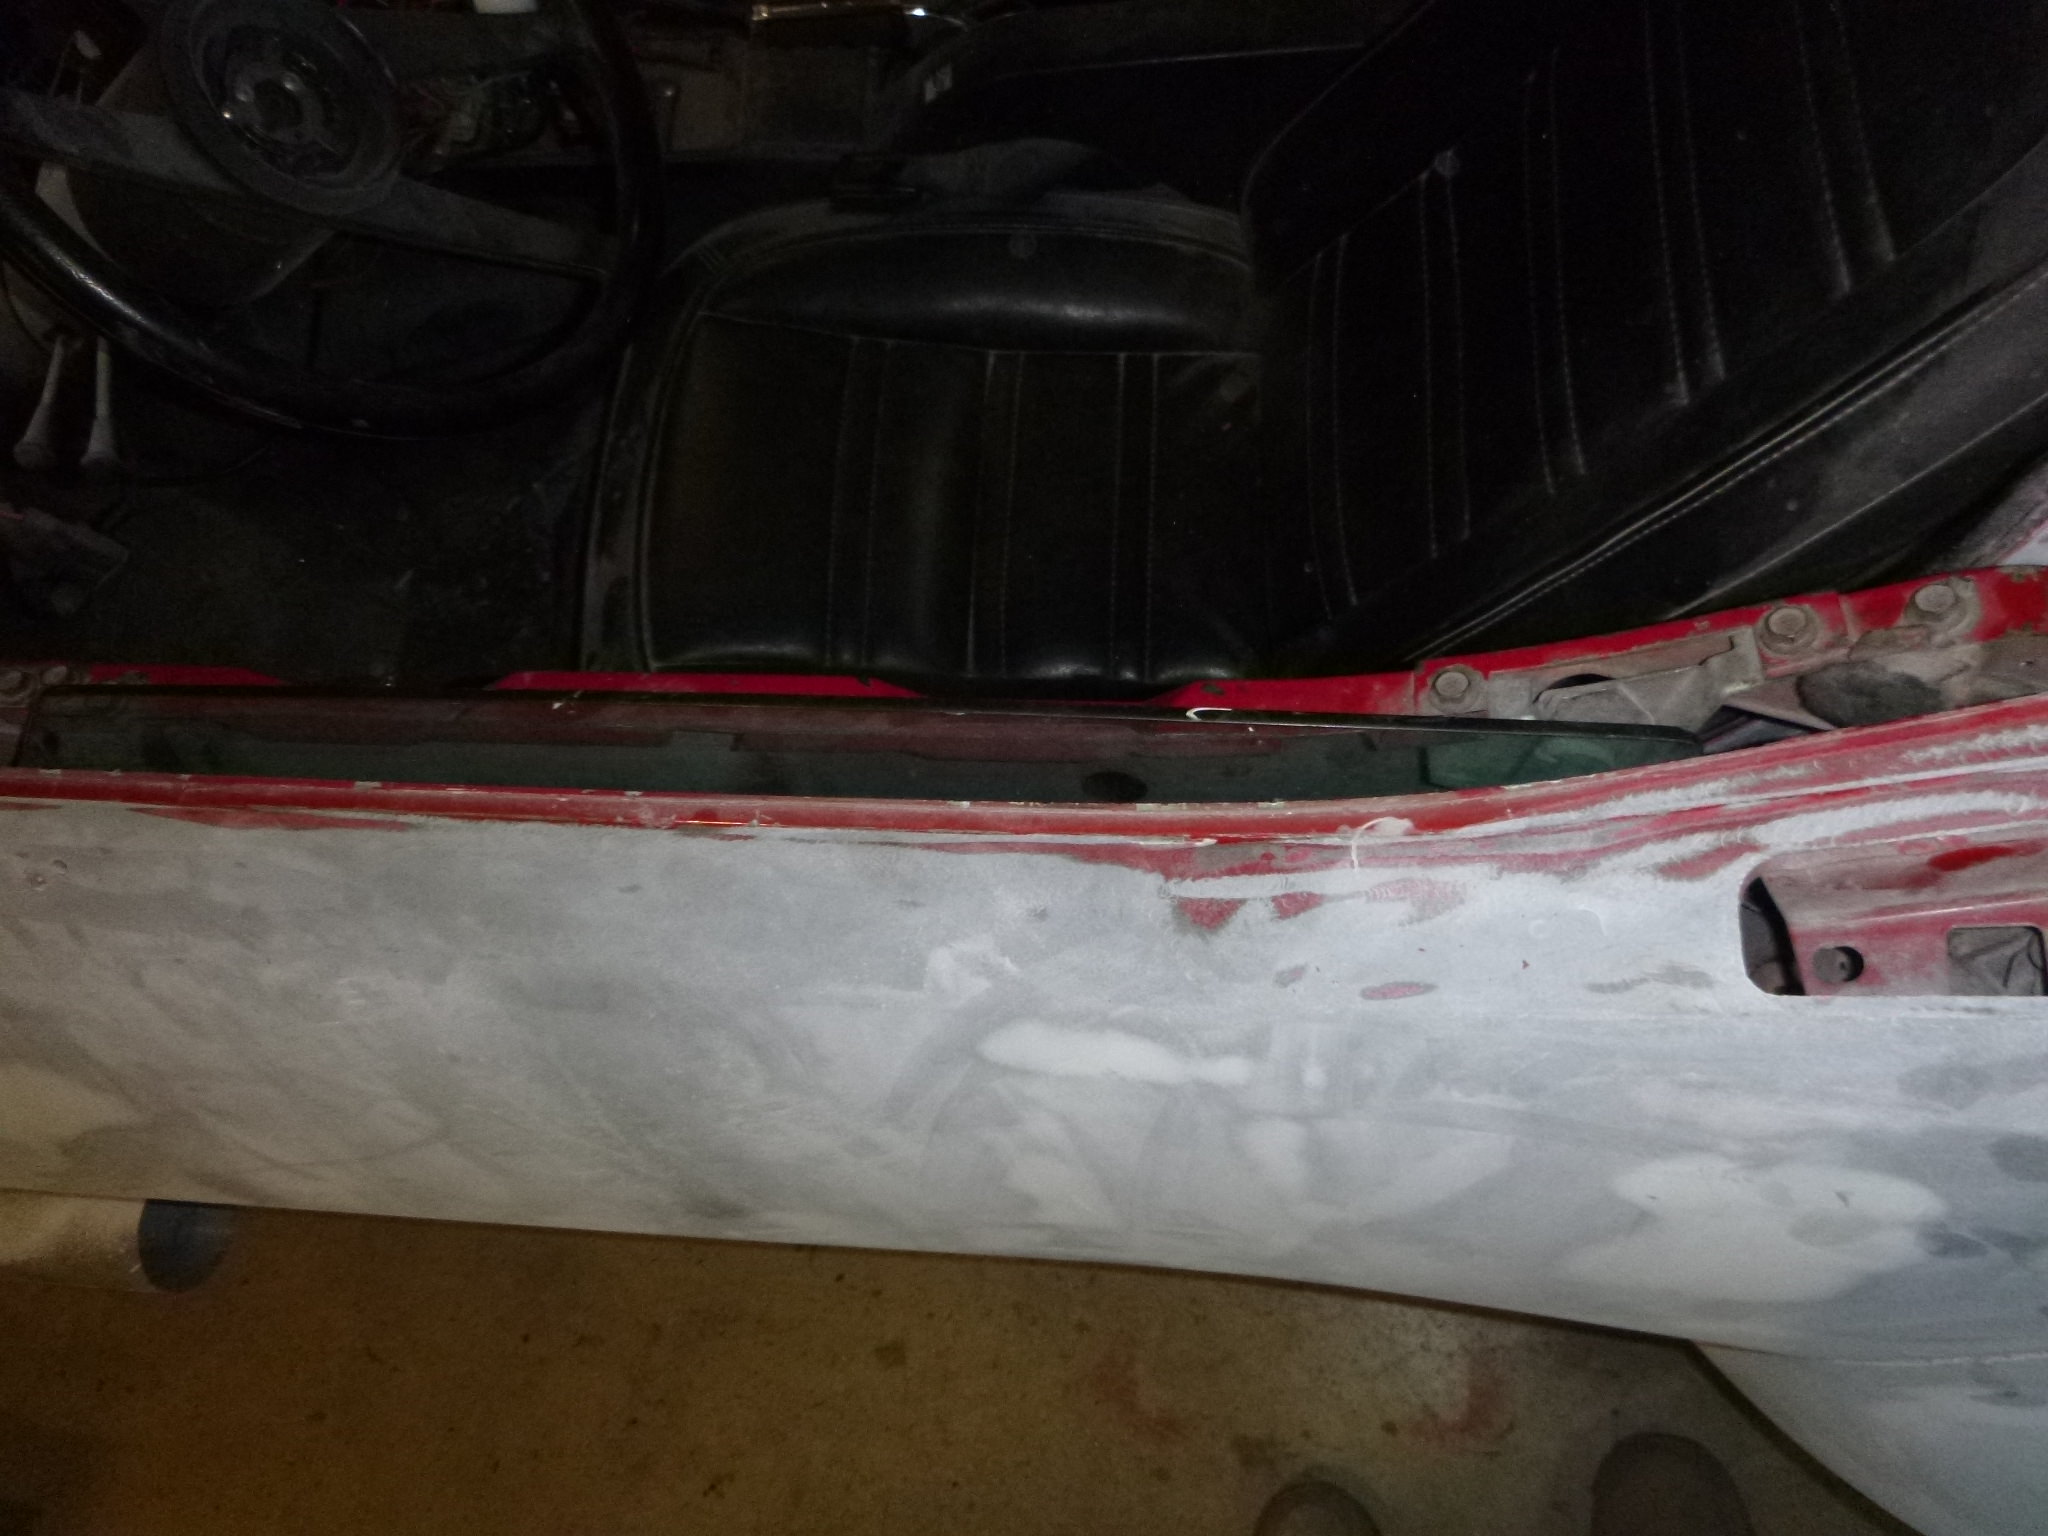
so I threw on some filler
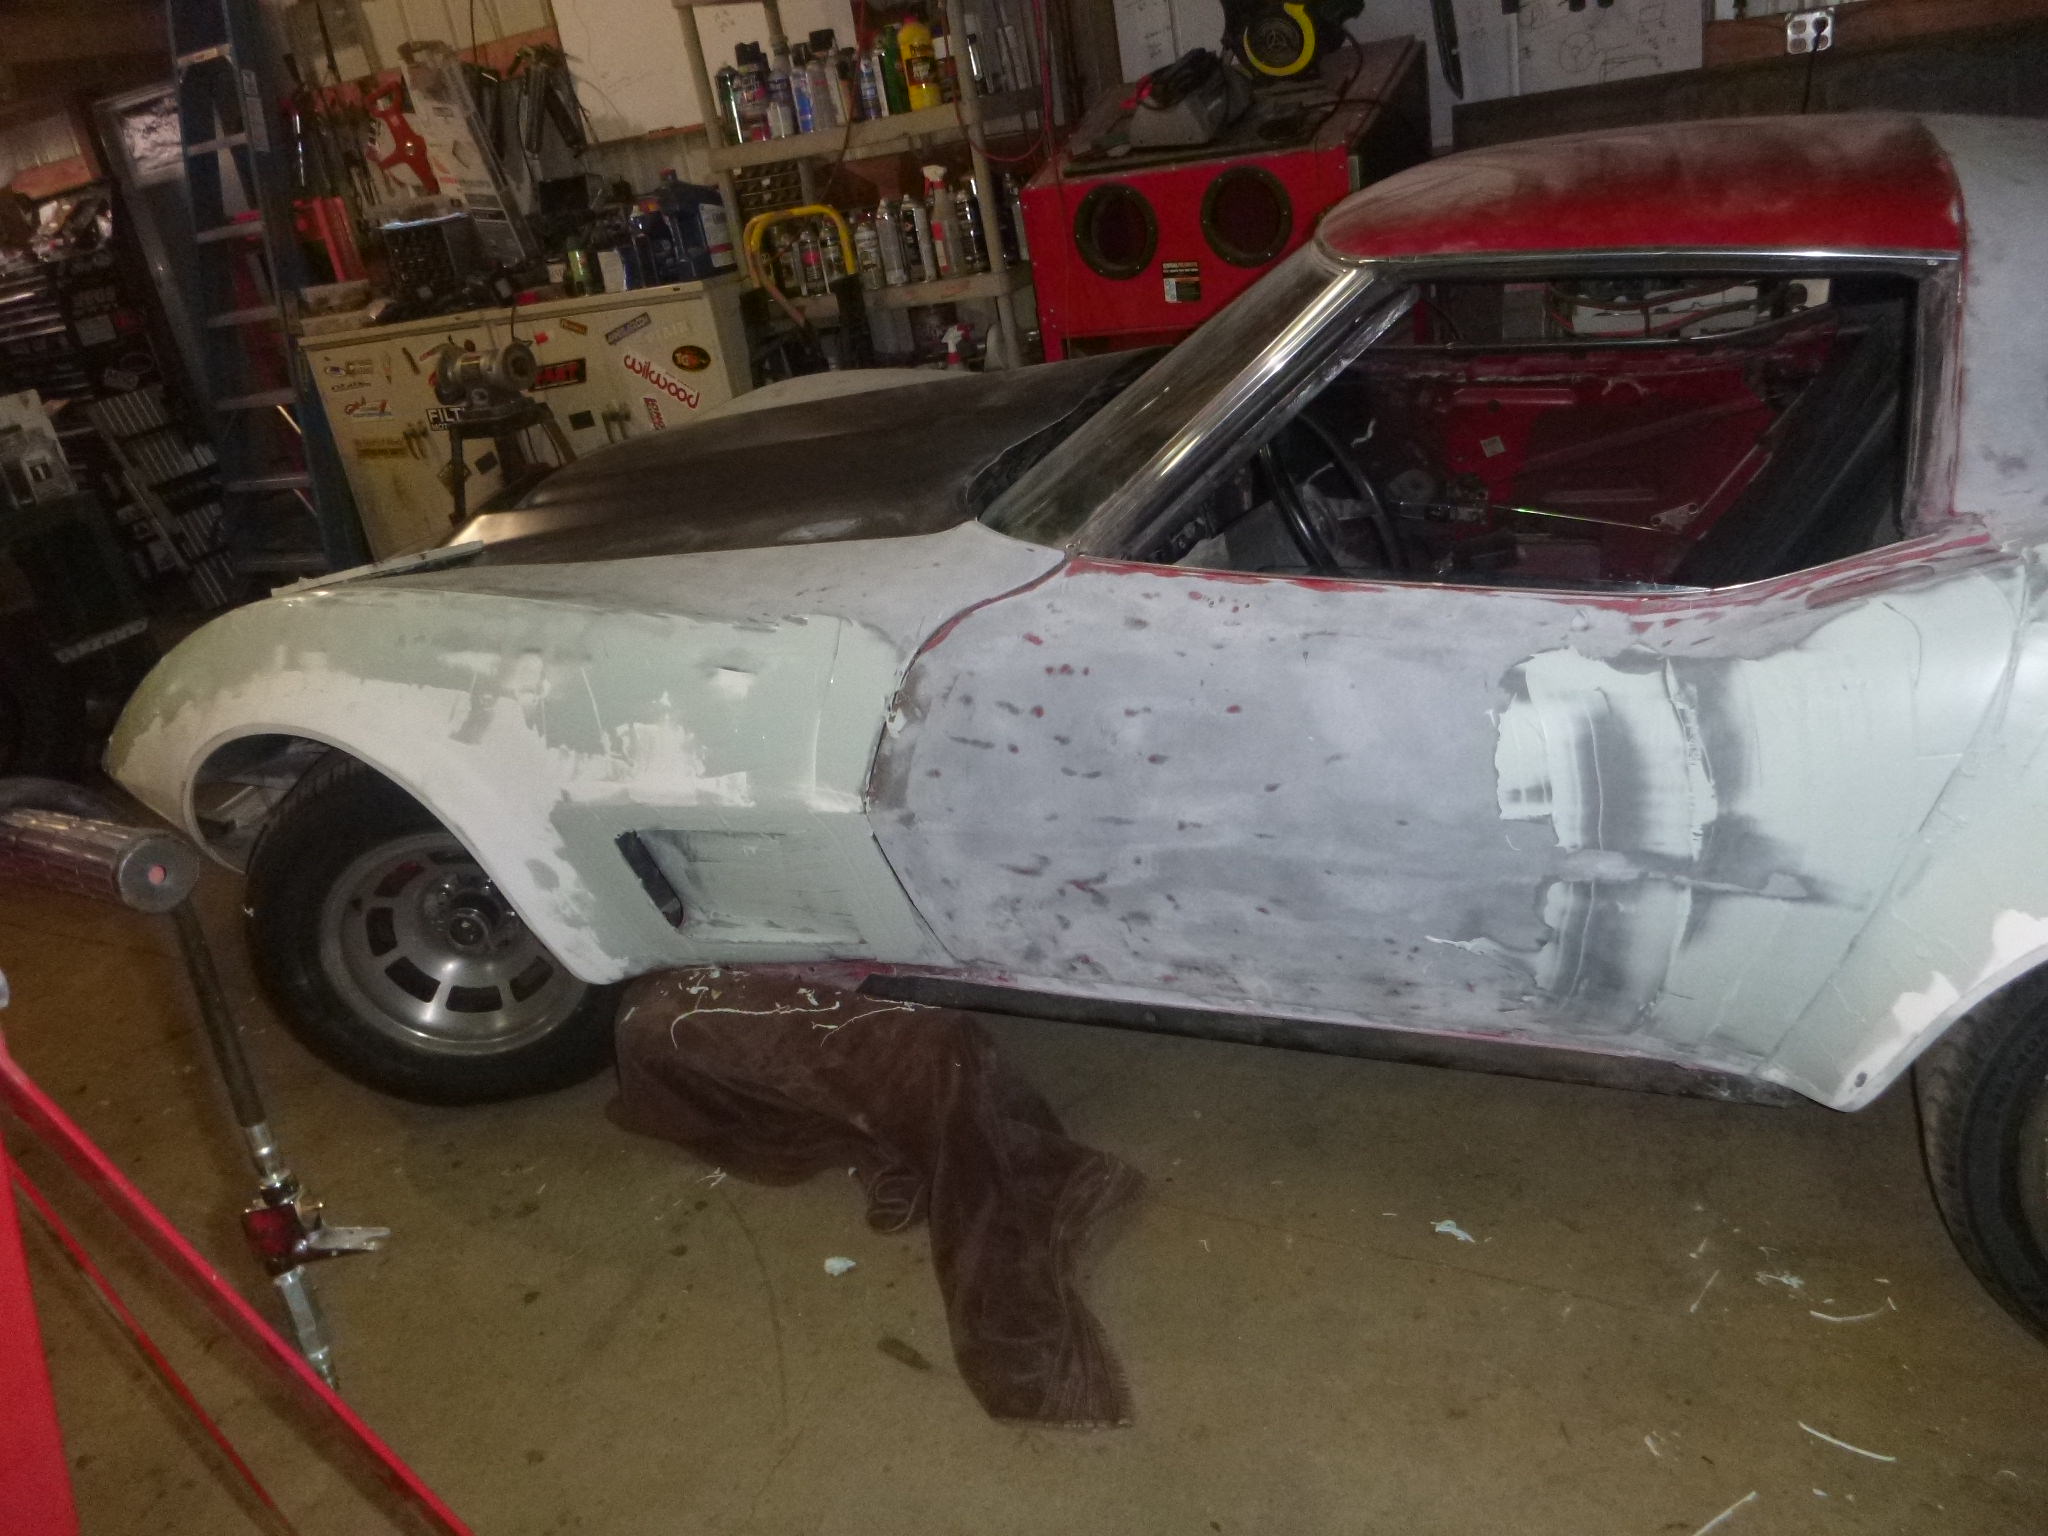
I don't know how there managed to be a low spot here, but alas a bit of fill and all is good
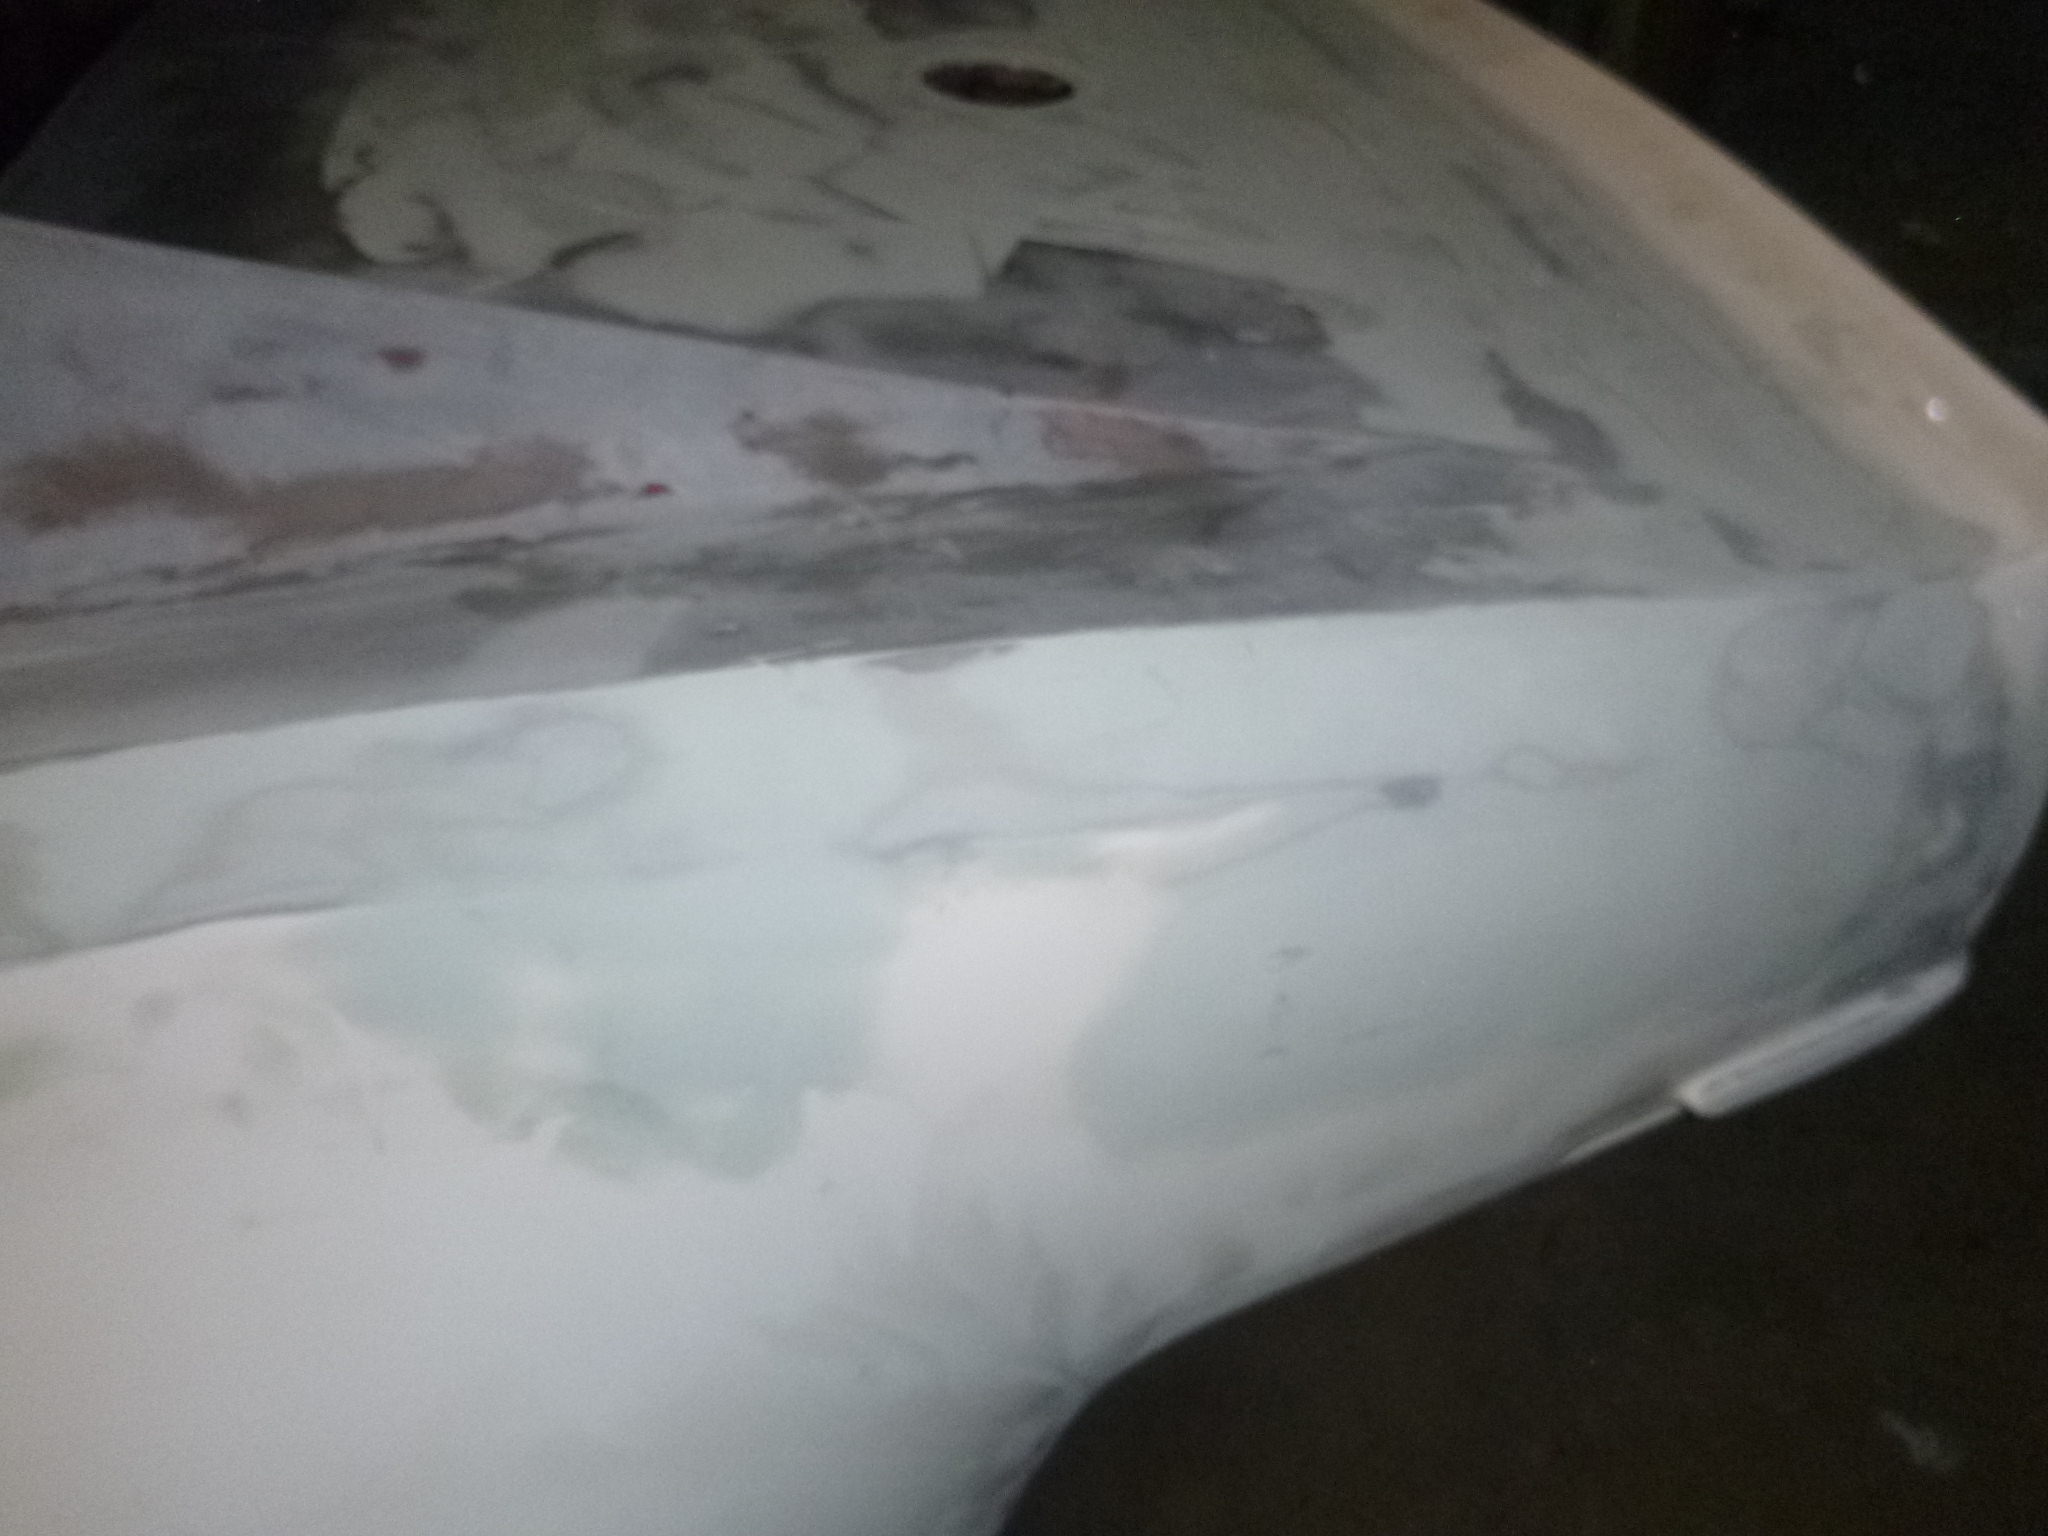
it's important to note that when you fill over the door seam; you should not get too distracted otherwise problems may occur
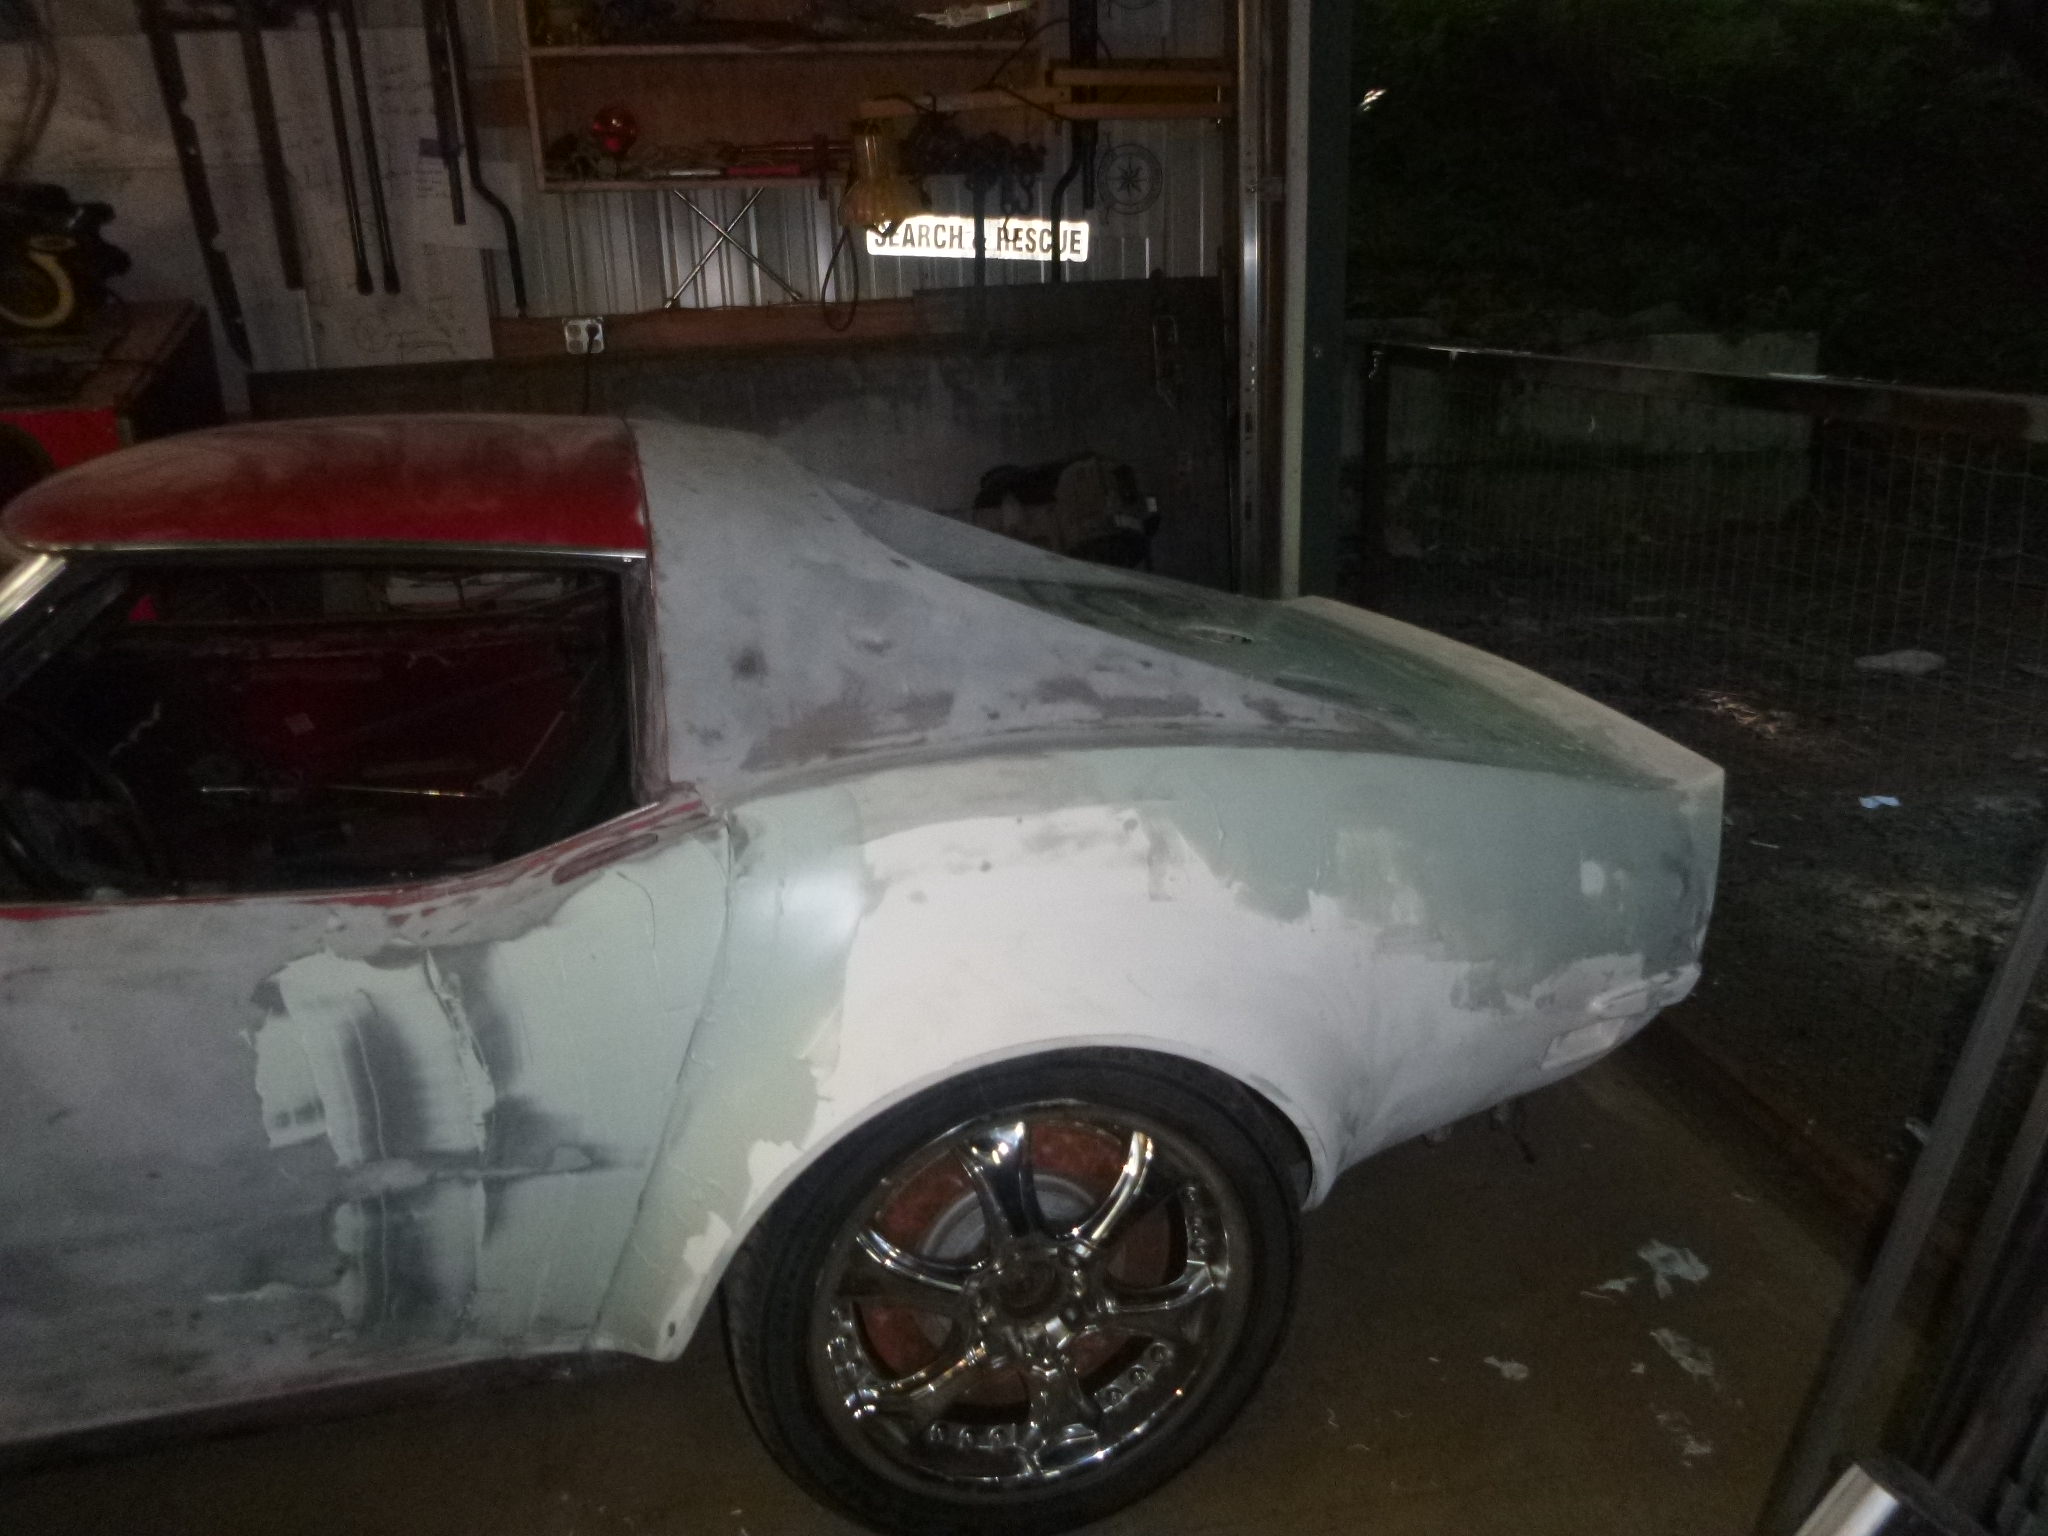
and yes, I did cut it open in time on this side.... the otherside I was a bit late.
so I threw on some filler
I don't know how there managed to be a low spot here, but alas a bit of fill and all is good
it's important to note that when you fill over the door seam; you should not get too distracted otherwise problems may occur
and yes, I did cut it open in time on this side.... the otherside I was a bit late.
07-25-2018, 12:43 AM
#171
Melting Slicks
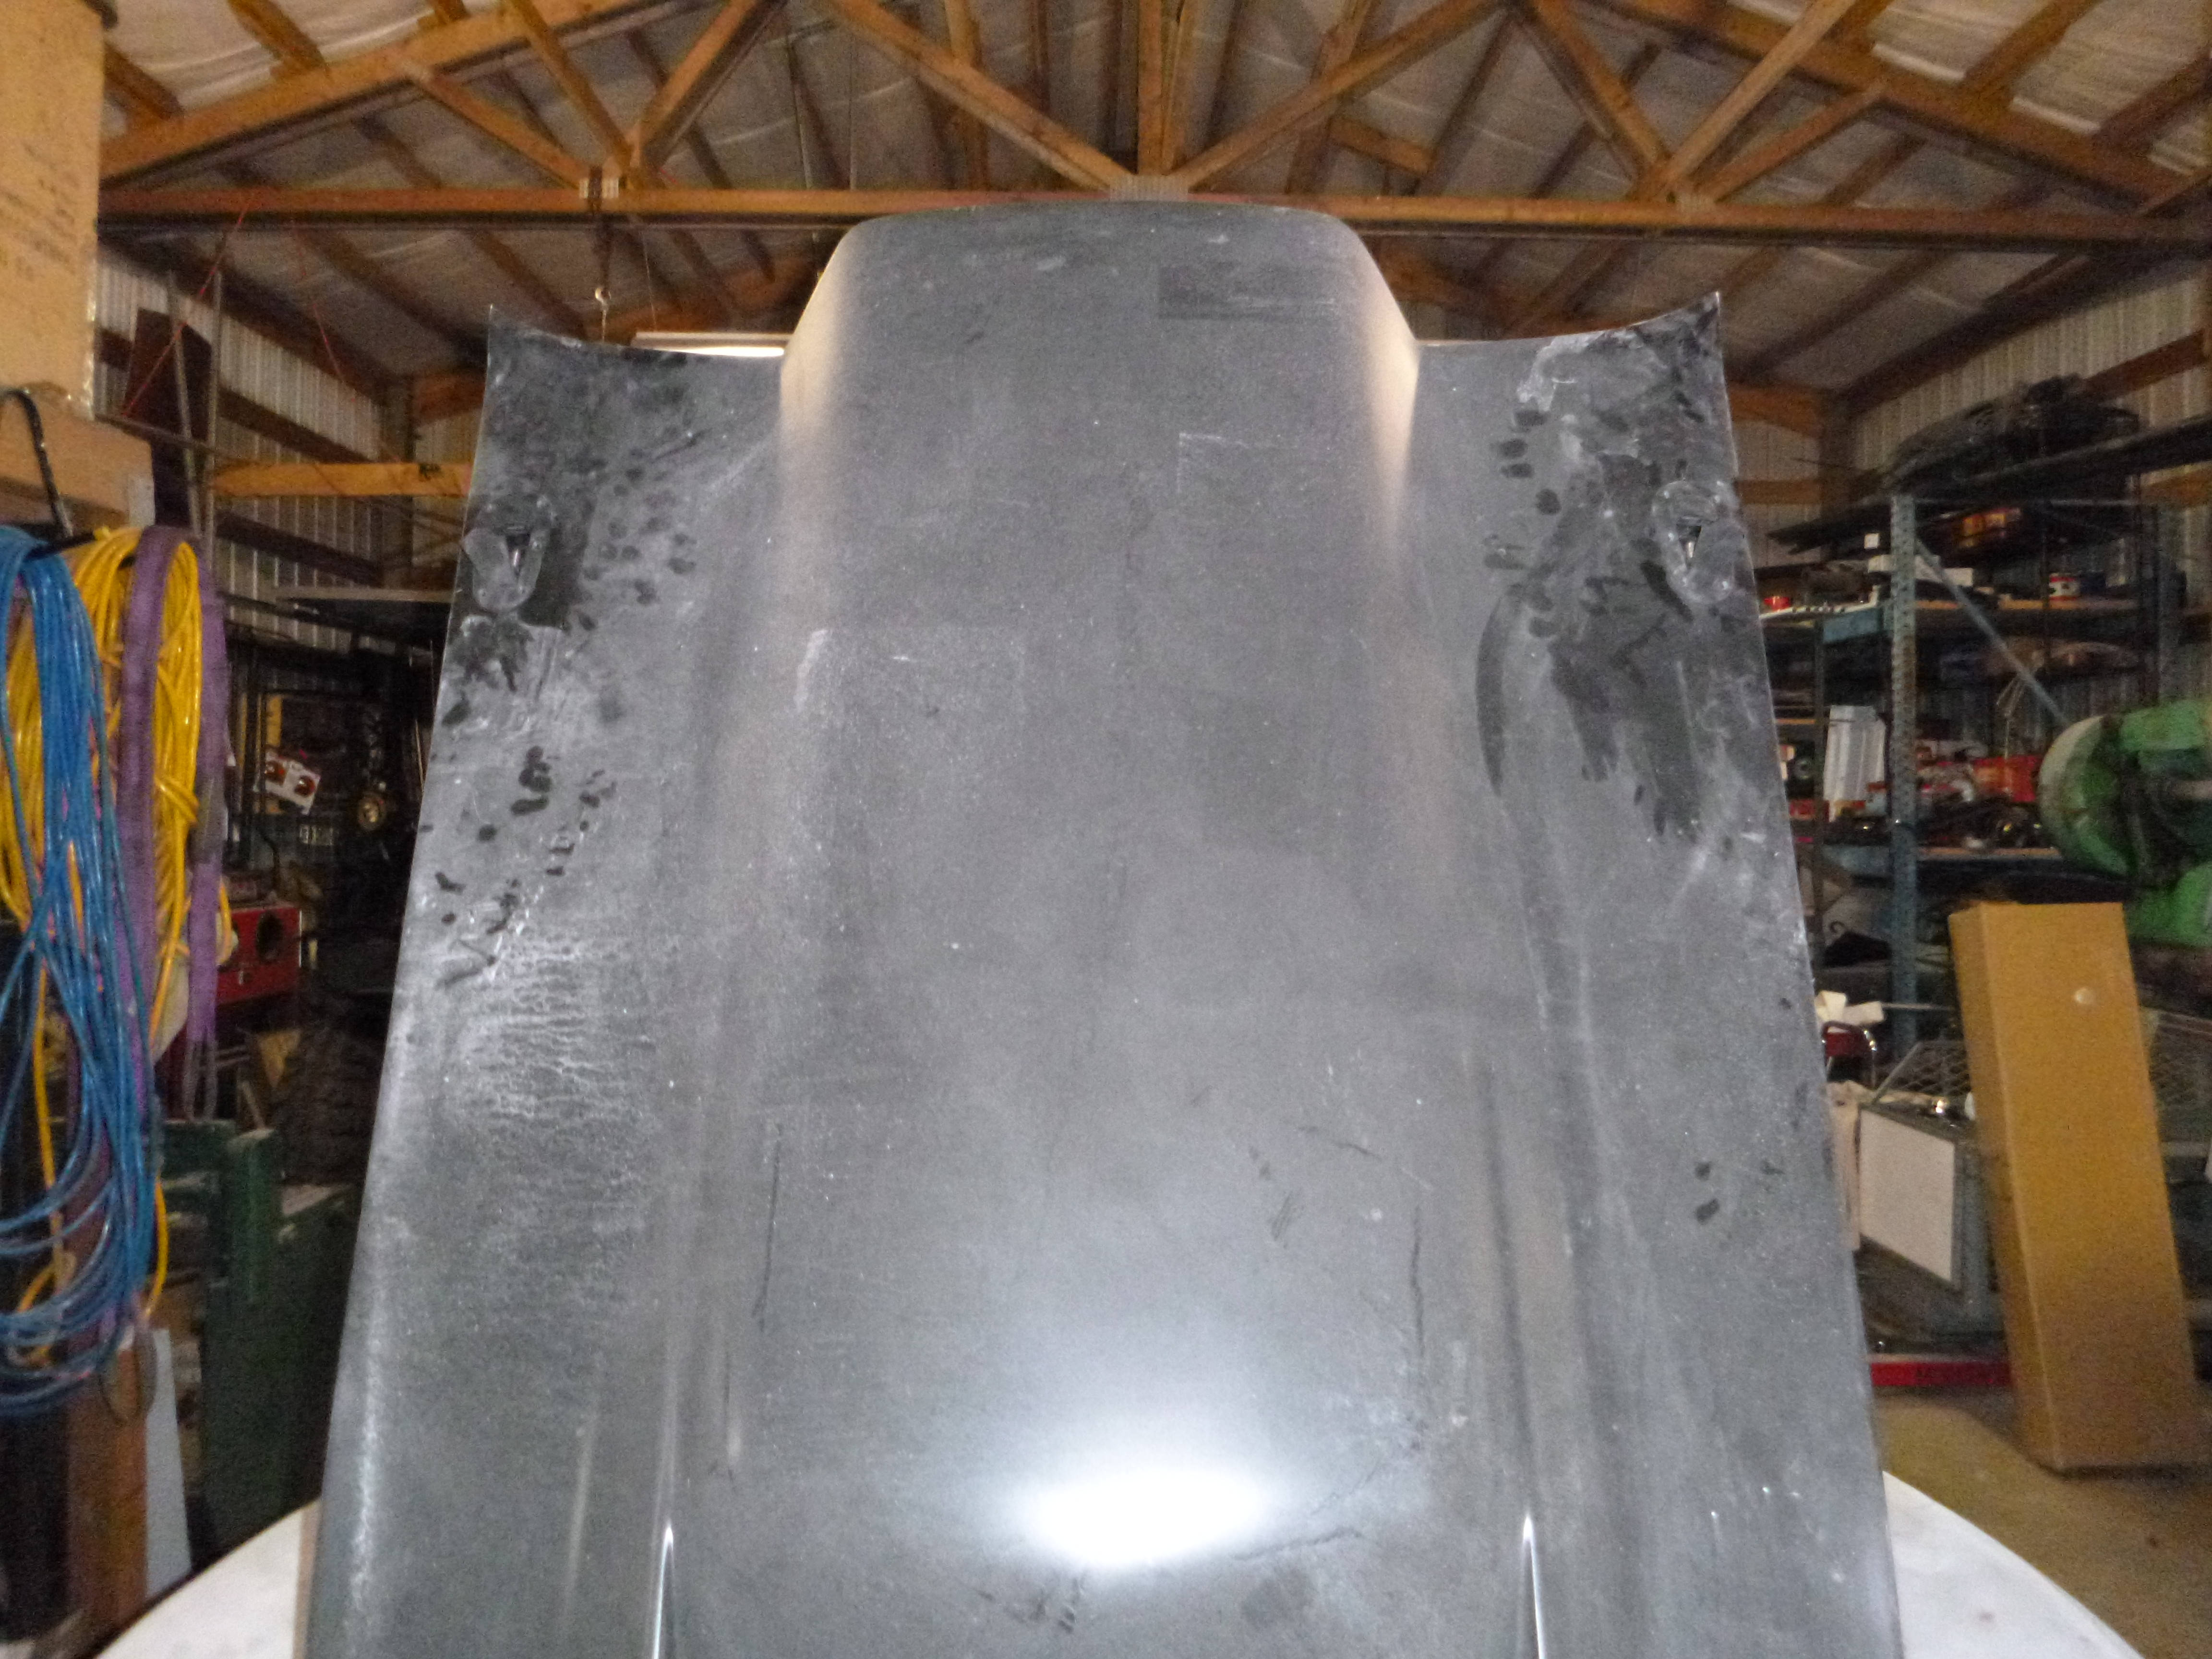
I'm so used to winter mixes that I wasted about half a sheet of filler.... whoops

but got a few more spots done... I can really start roughing it in this week then start with the high build coats and guide coats...

again, this is filler work but every minute I spend on it is one minute less to completion...
and for those wondering why I'm working on the back not the front.... to get the edge, I moved the door back then when the gap follows the door seam, I'll move the door forward and have perfect gaps front and rear.... at least that's the pleasant theory I'm selling myself
but got a few more spots done... I can really start roughing it in this week then start with the high build coats and guide coats...
again, this is filler work but every minute I spend on it is one minute less to completion...
and for those wondering why I'm working on the back not the front.... to get the edge, I moved the door back then when the gap follows the door seam, I'll move the door forward and have perfect gaps front and rear.... at least that's the pleasant theory I'm selling myself
08-01-2018, 12:16 AM
#172
Melting Slicks
sanded on it a bit more, I need to order some high-build primer
I also need to finalize the door edges and for that I may have to get clever.... tbc
I also need to finalize the door edges and for that I may have to get clever.... tbc
08-01-2018, 06:17 PM
#173
Nam Labrat
Member Since: Sep 2013
Location: New Orleans Loo-z-anna
Posts: 33,880
Received 4,153 Likes
on
2,726 Posts
You've come a long way the 1st half of 2018. 
The following users liked this post:
SuperBuickGuy (08-02-2018)
08-03-2018, 12:15 AM
#174
Melting Slicks
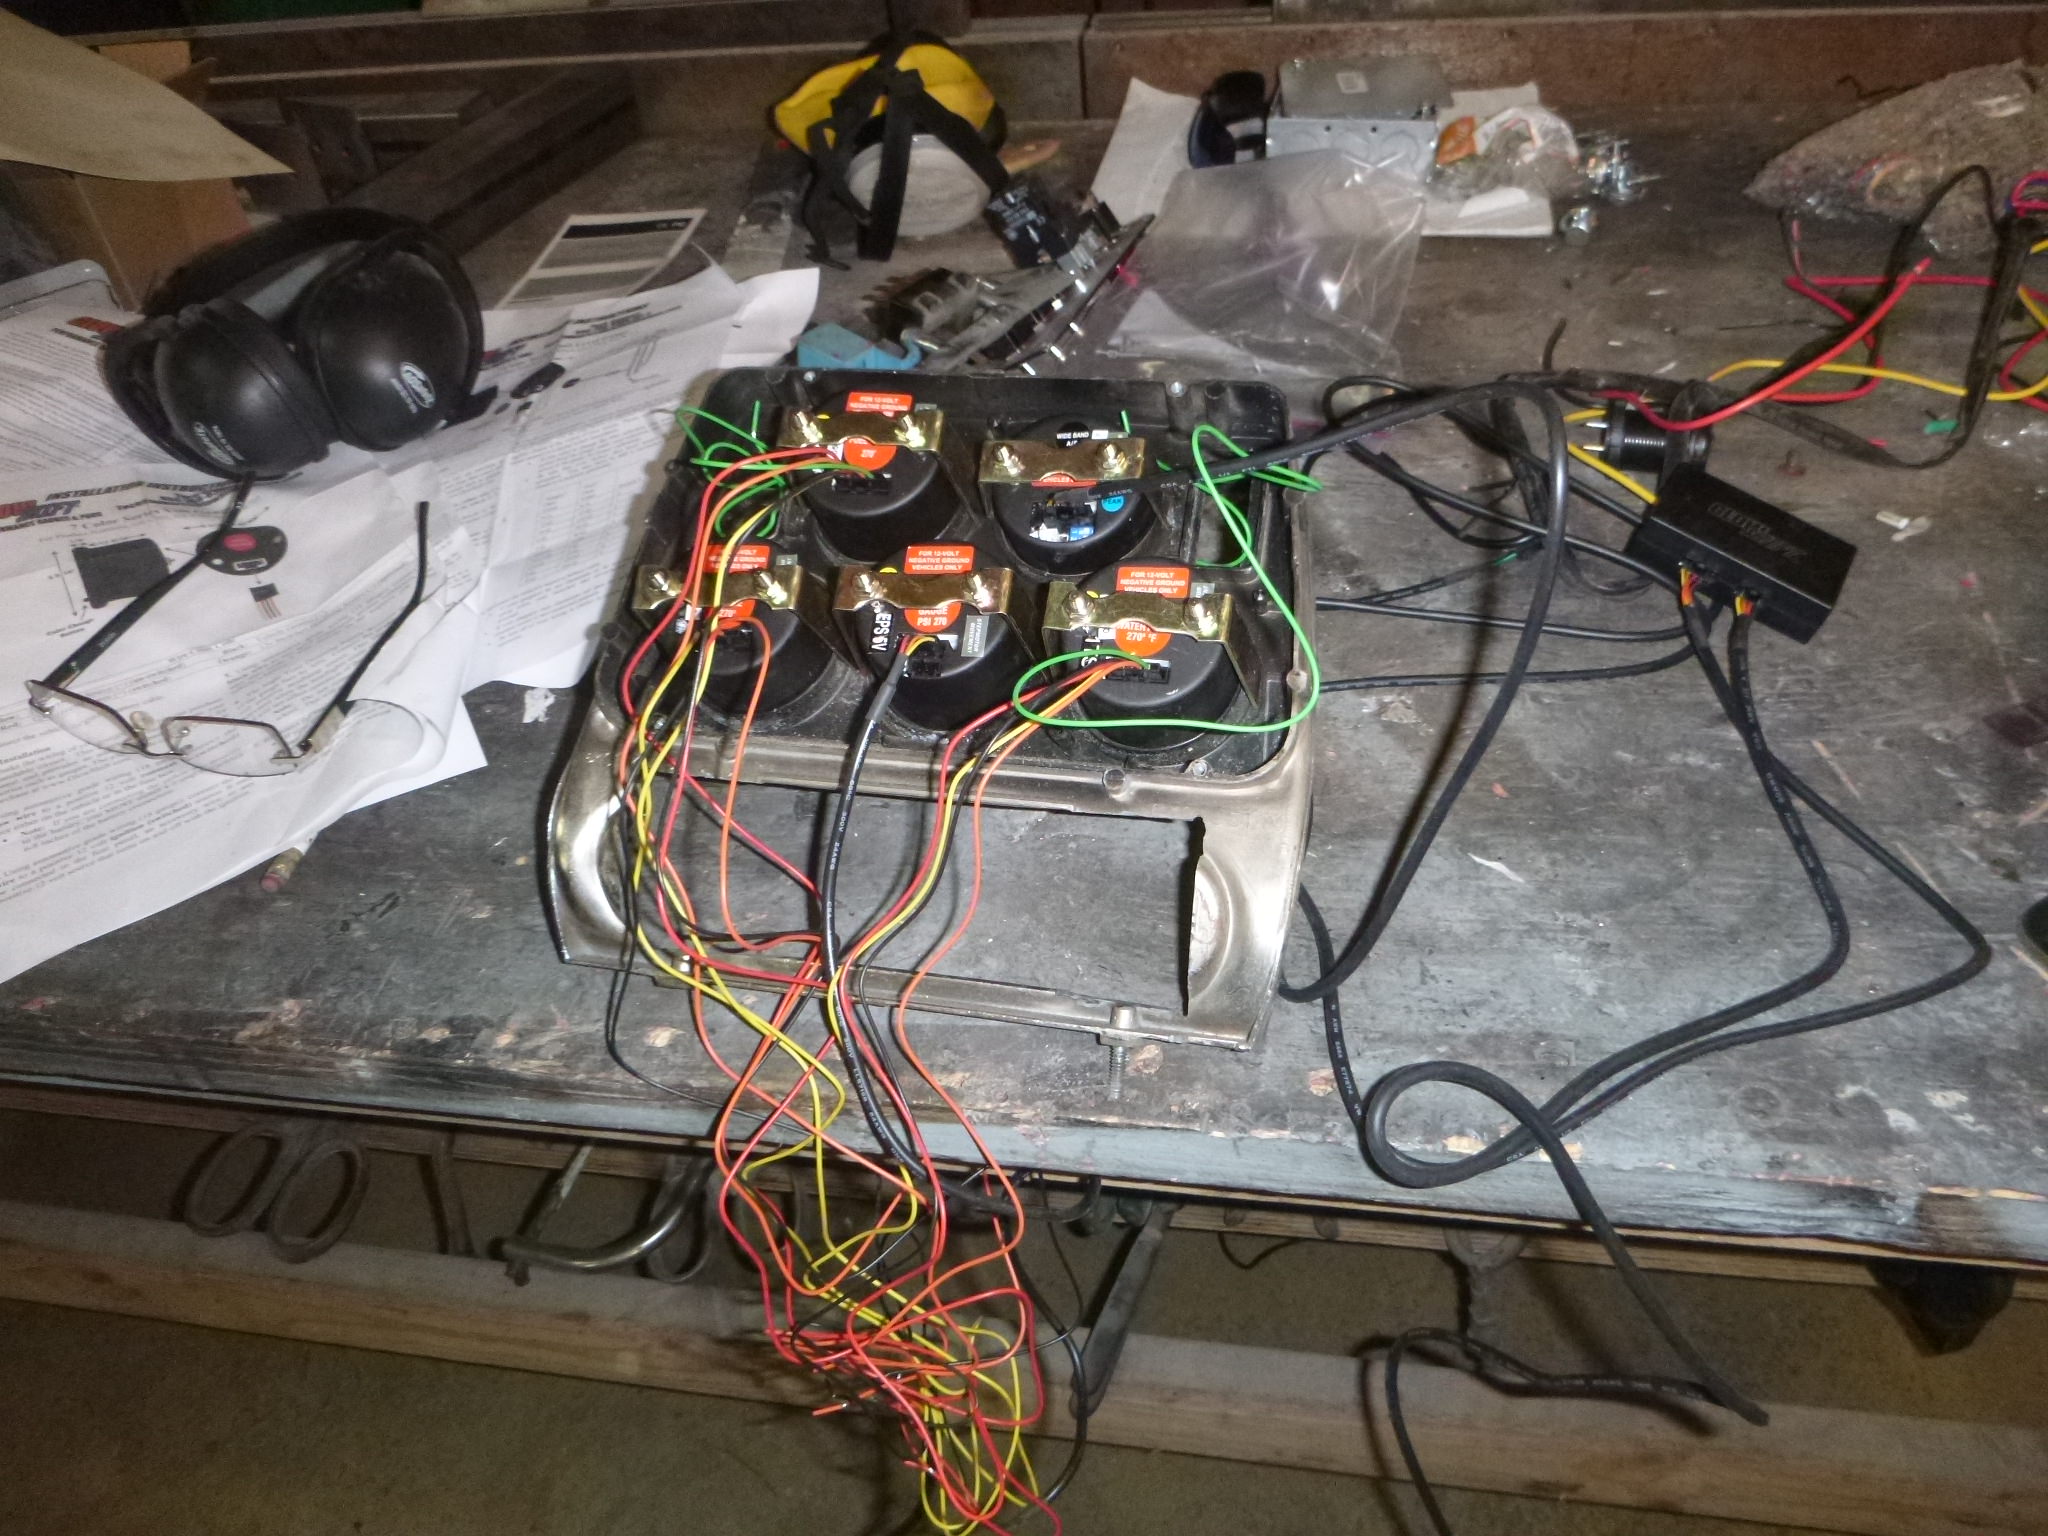
time to start the car - that means I need gauges
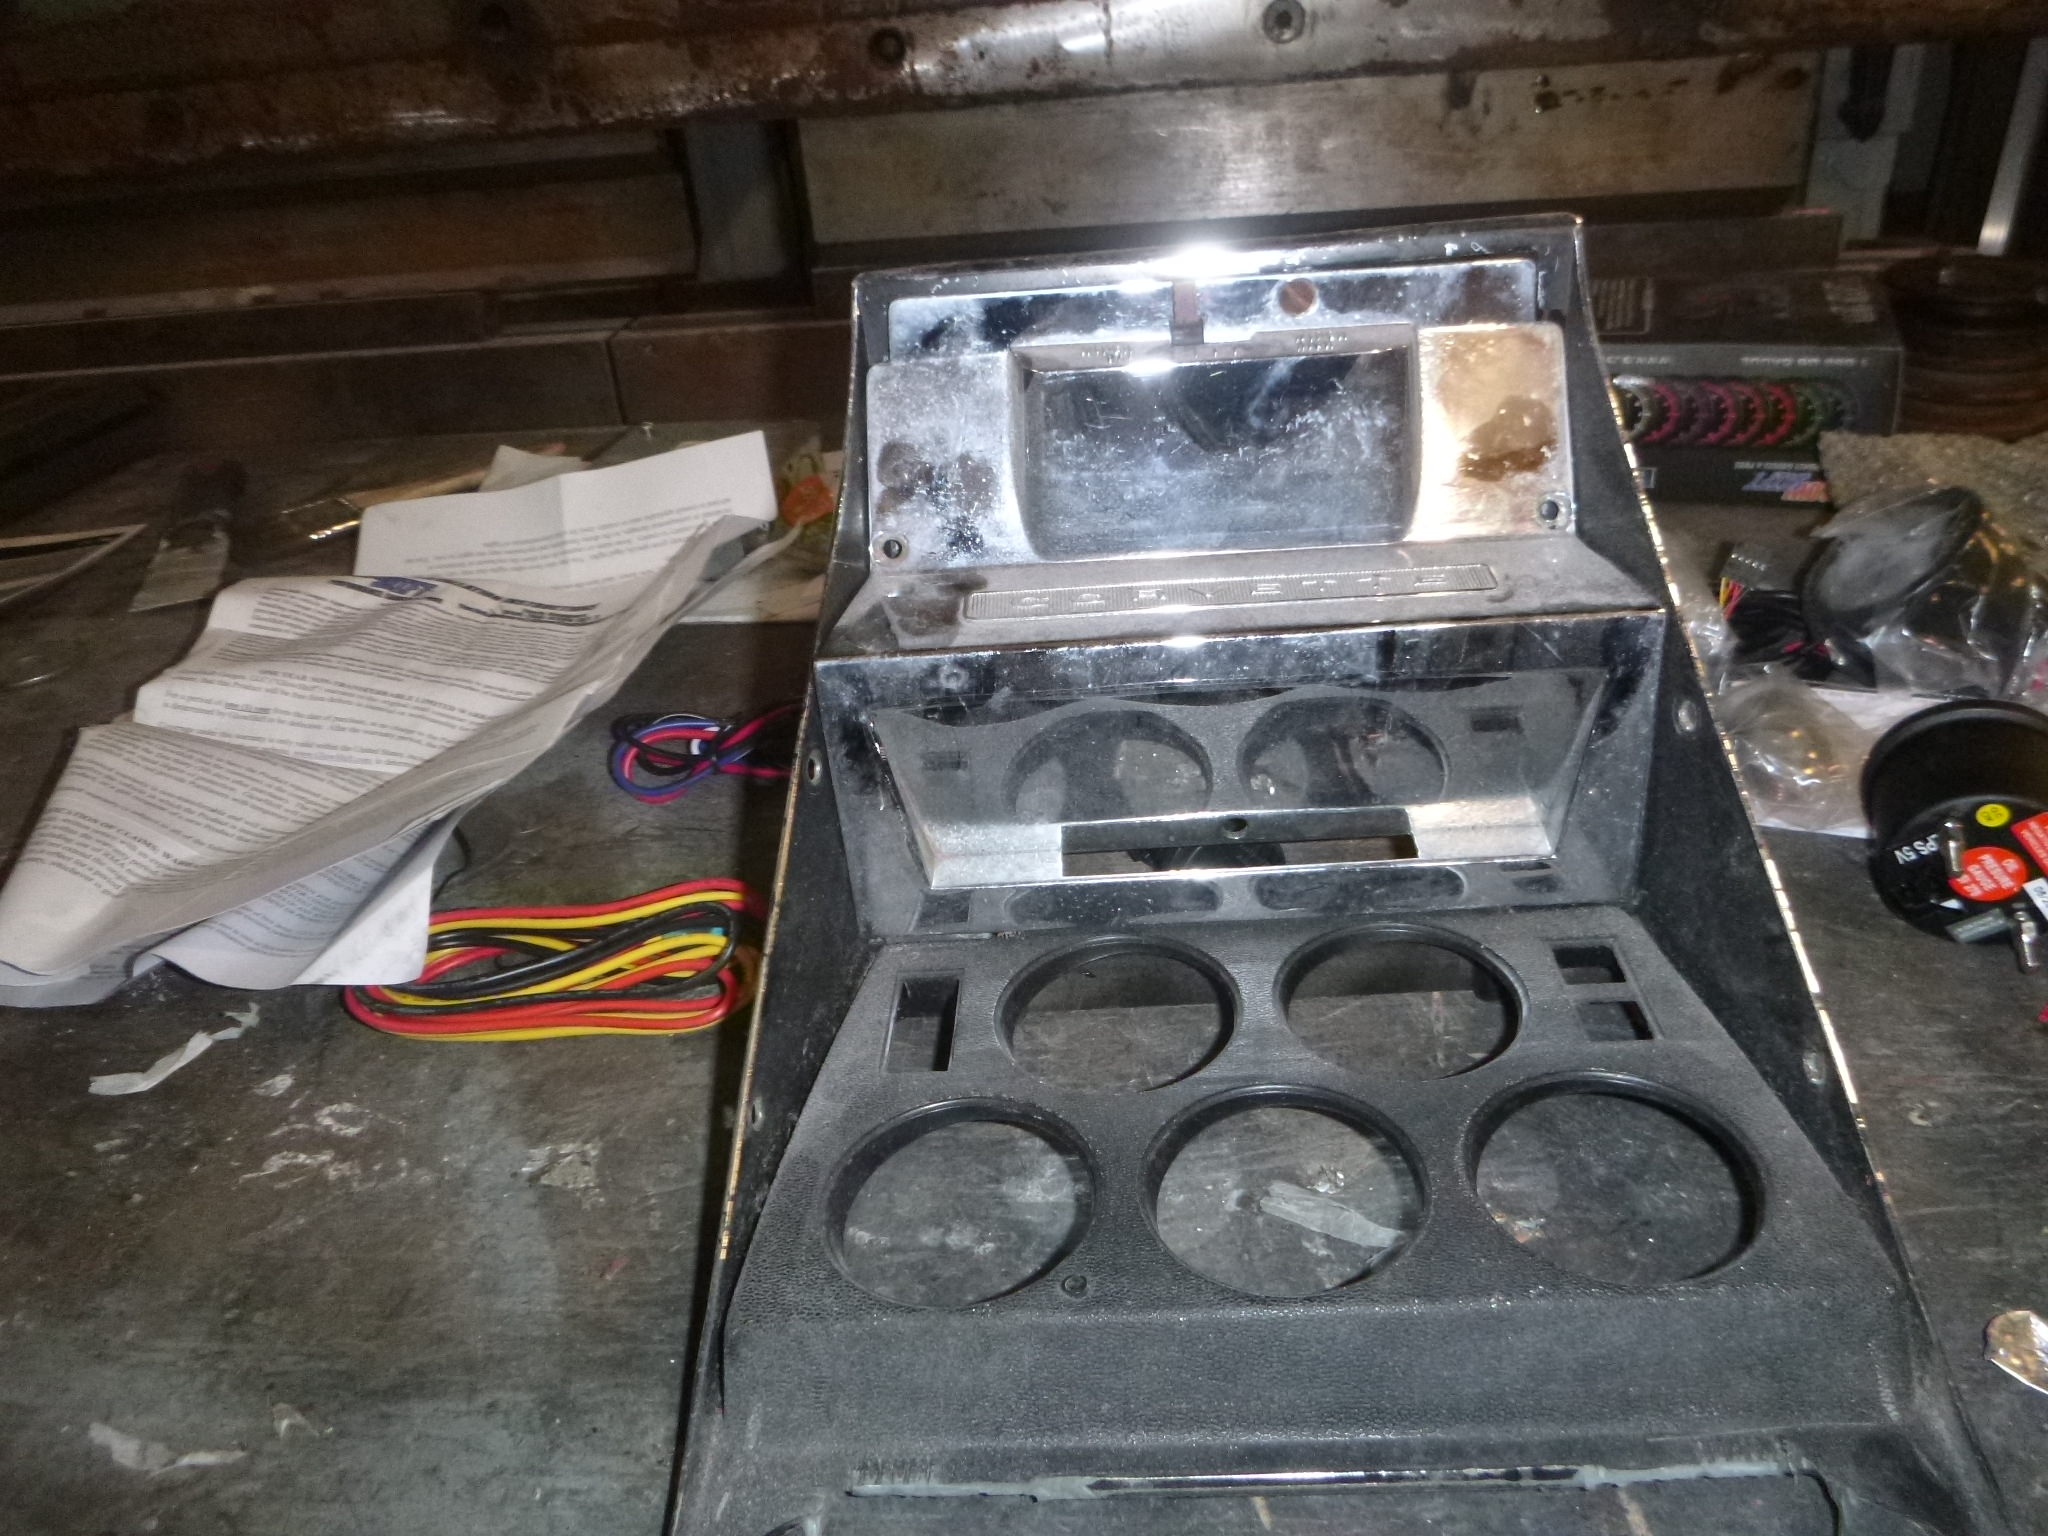

wiring instructions... ugh

and control for the various systems
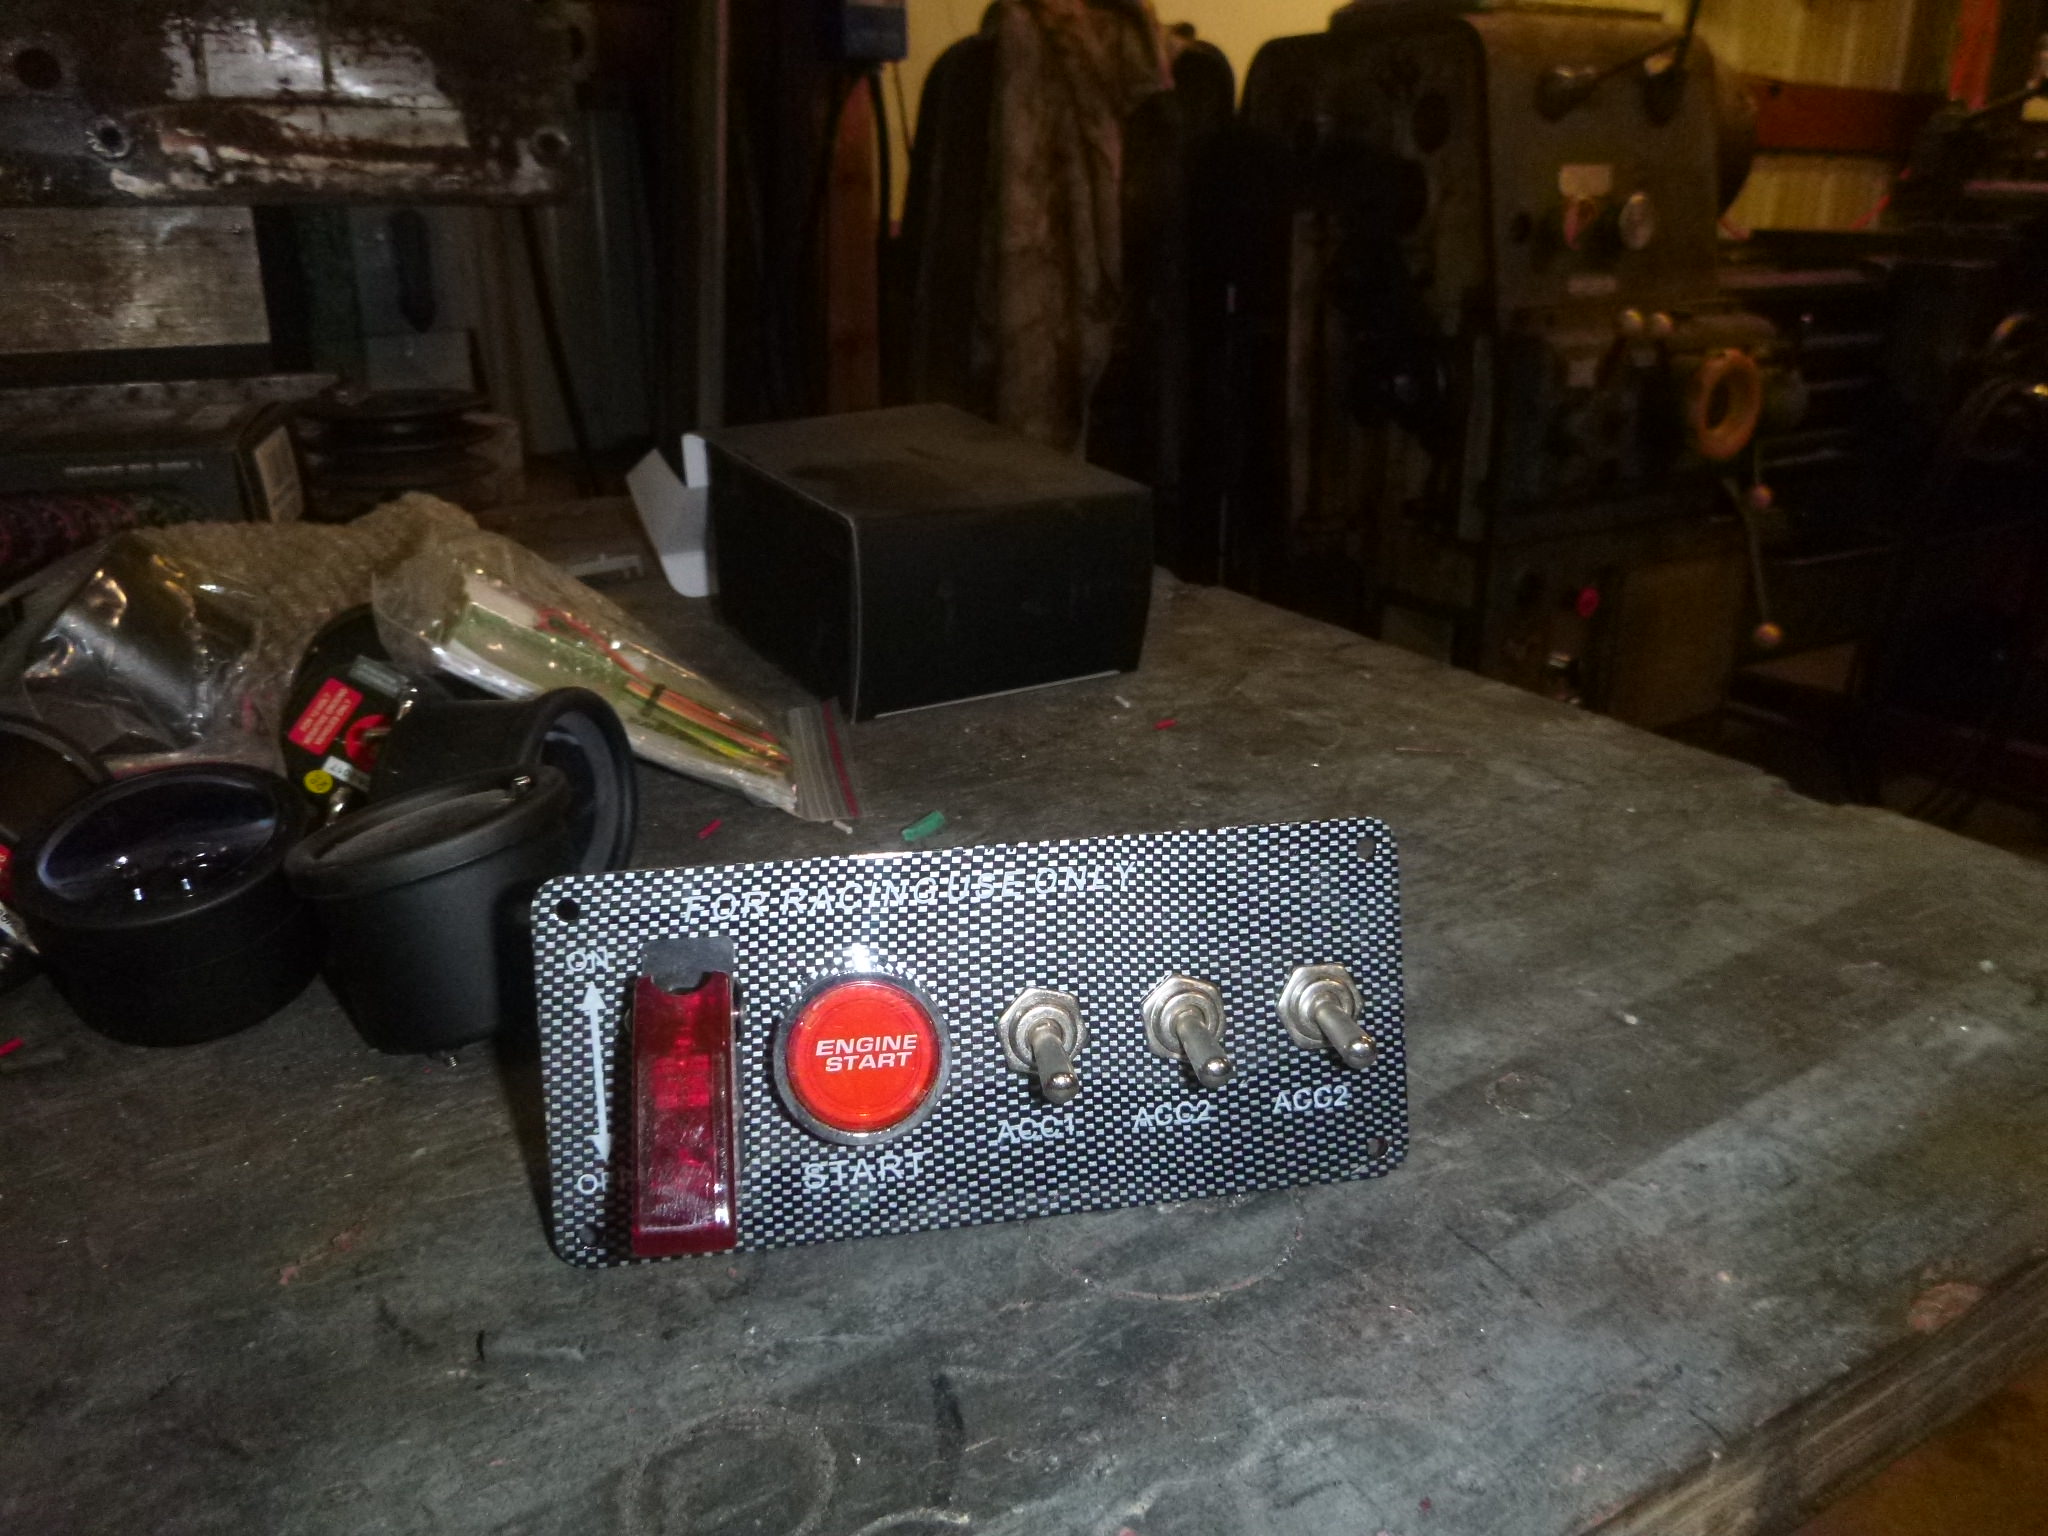
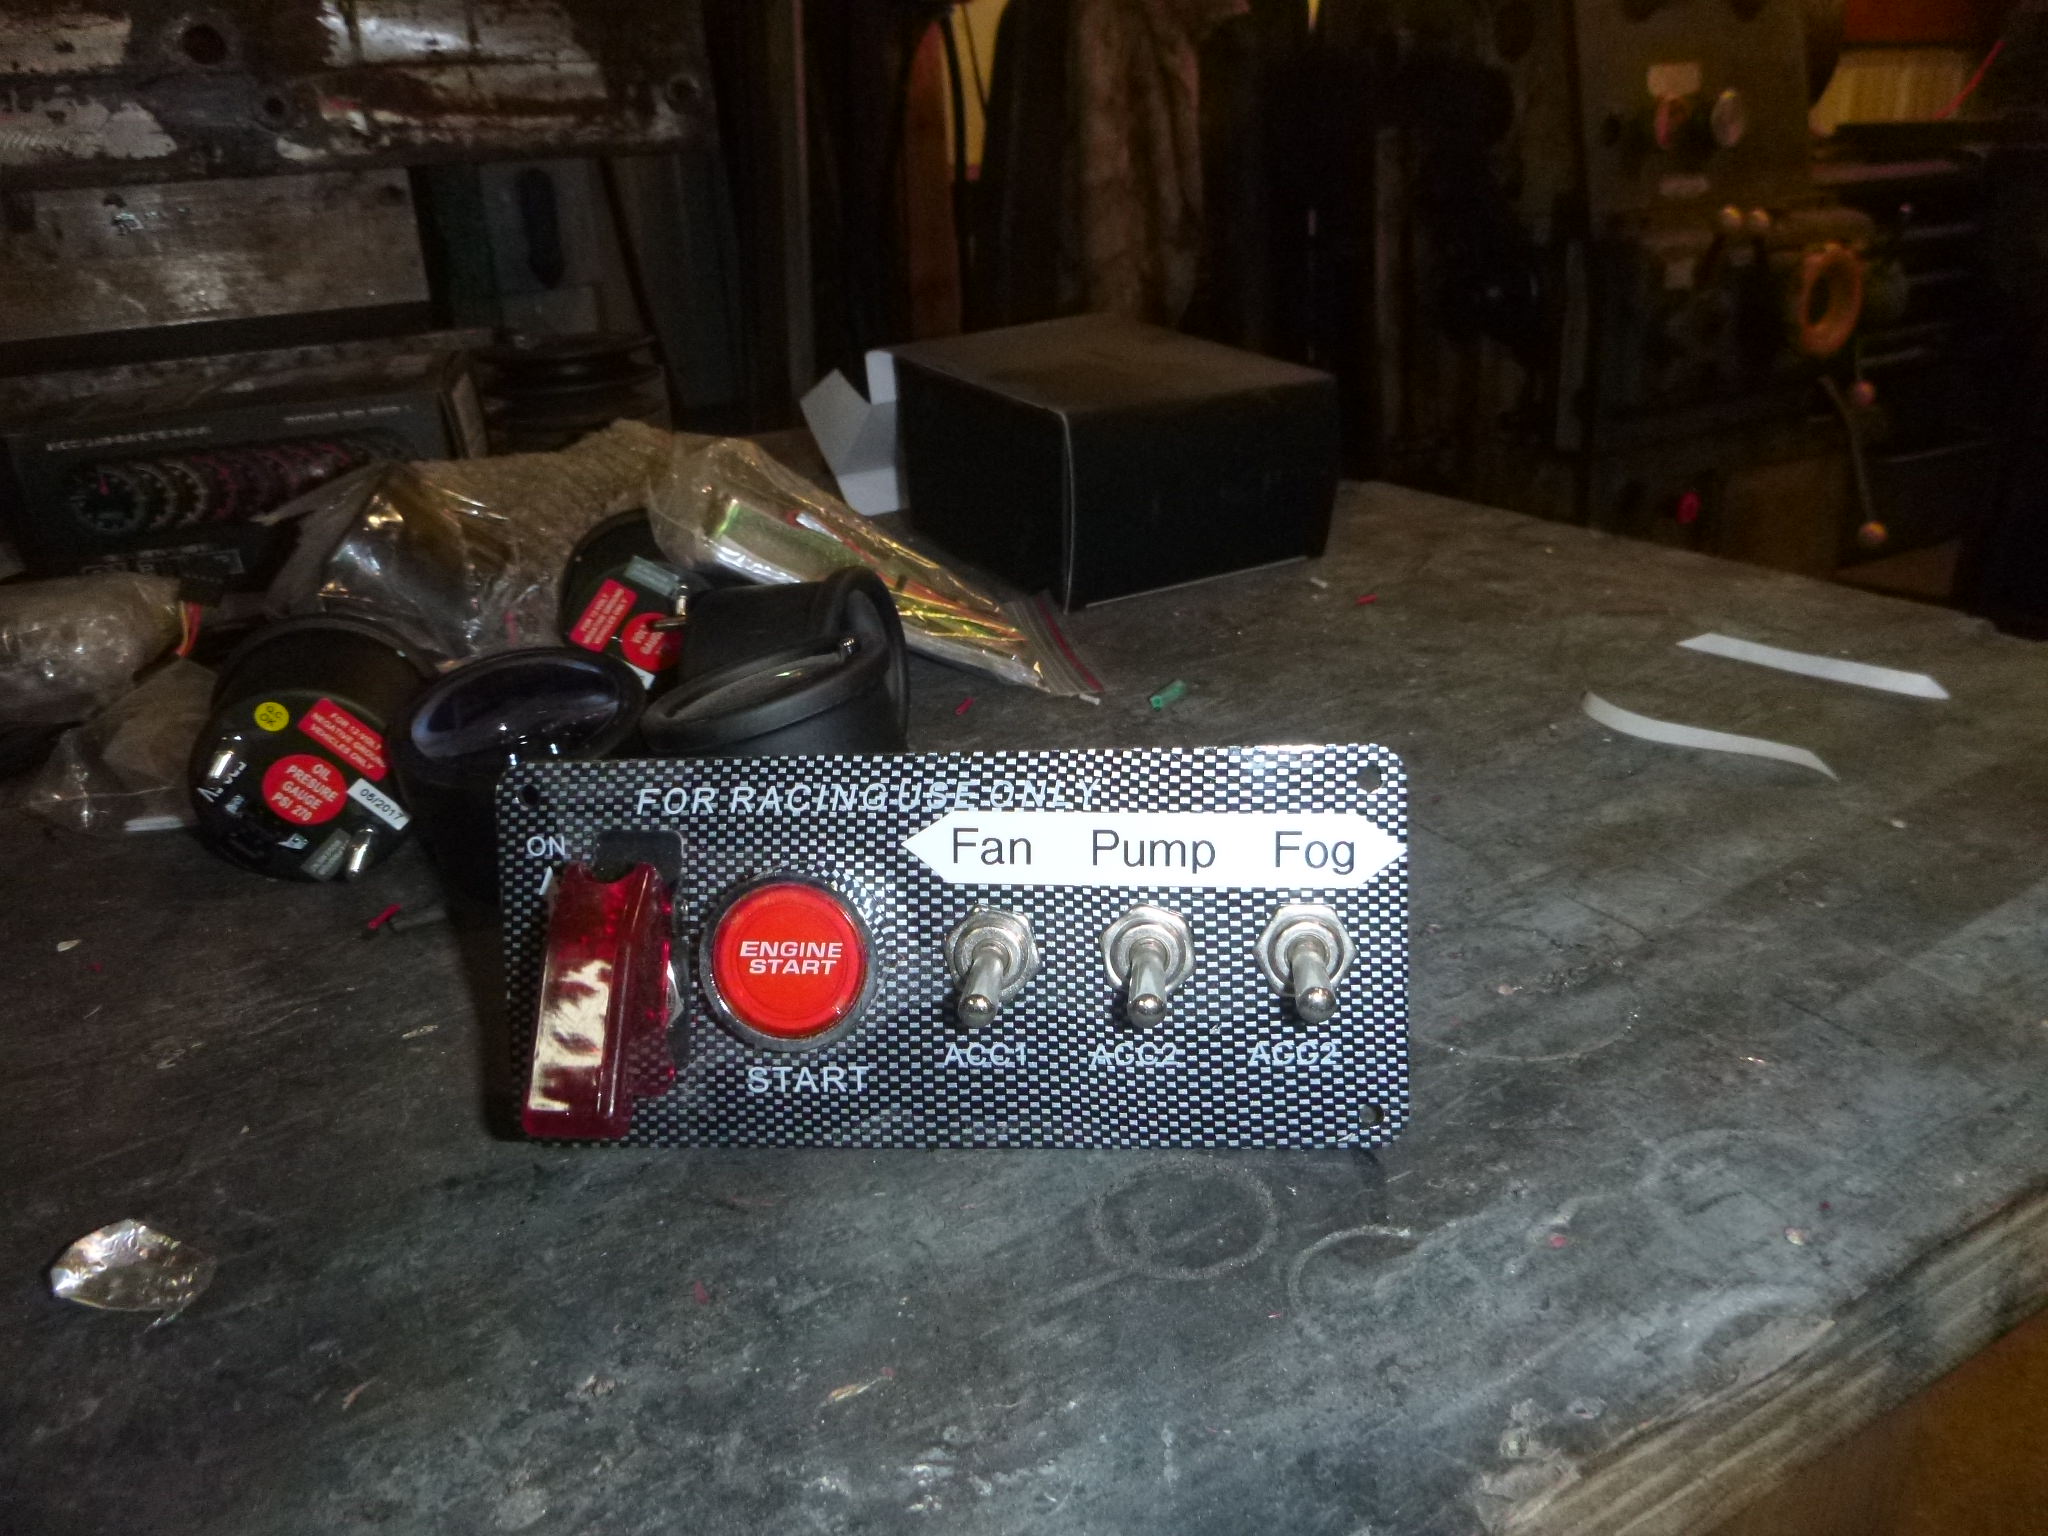
the first switch is to power the ignition, the column switch will turn on the non-engine functions.
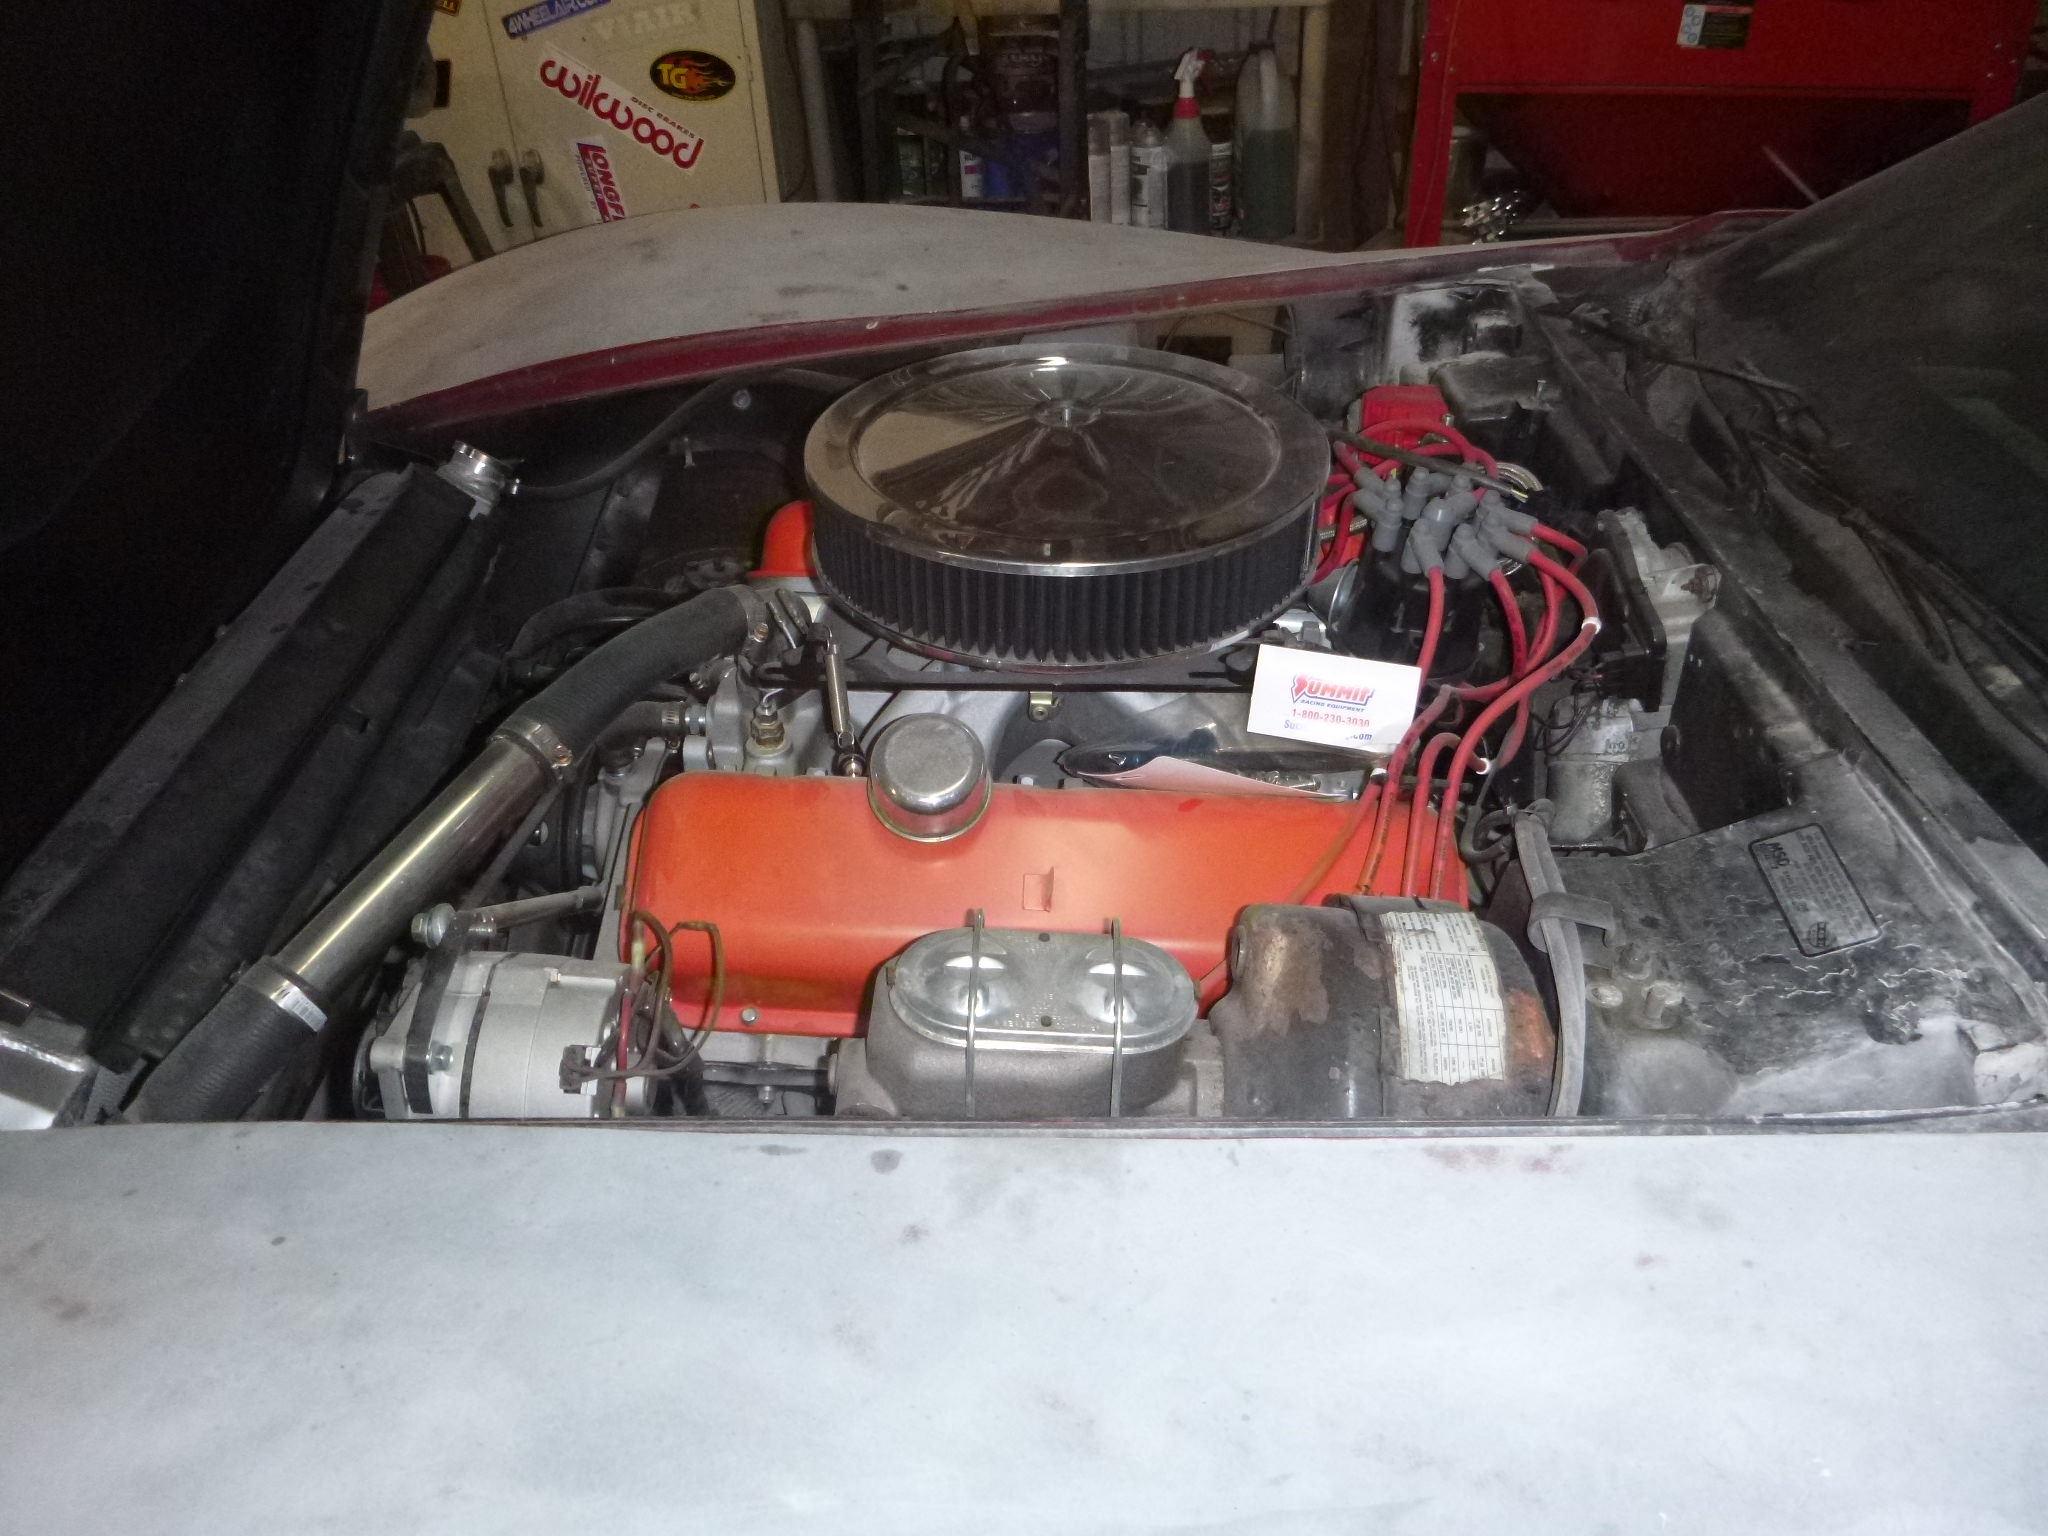
yep, still a BBC
wiring instructions... ugh
and control for the various systems
the first switch is to power the ignition, the column switch will turn on the non-engine functions.
yep, still a BBC
08-06-2018, 01:15 AM
#175
Melting Slicks
So I got some work done on the Corvette, however this fiberglass was jamming up my lift

it's a 818 kit car. it was assembled by an amateur and while it is dangerous, it also doesn't fit worth anything either.... however, this little thing is blindingly fast. It has a WRX motor in the back - making it a mid-engine car. The guy who built it bought a lot of good parts - and fortunately the builder, Factory Five (the kit builders) made it well enough that even the most amateur is safe....ish. Tighten bolts people... just sayin'
anyway, outside of a bit of help on that,
my most hated task... wiring
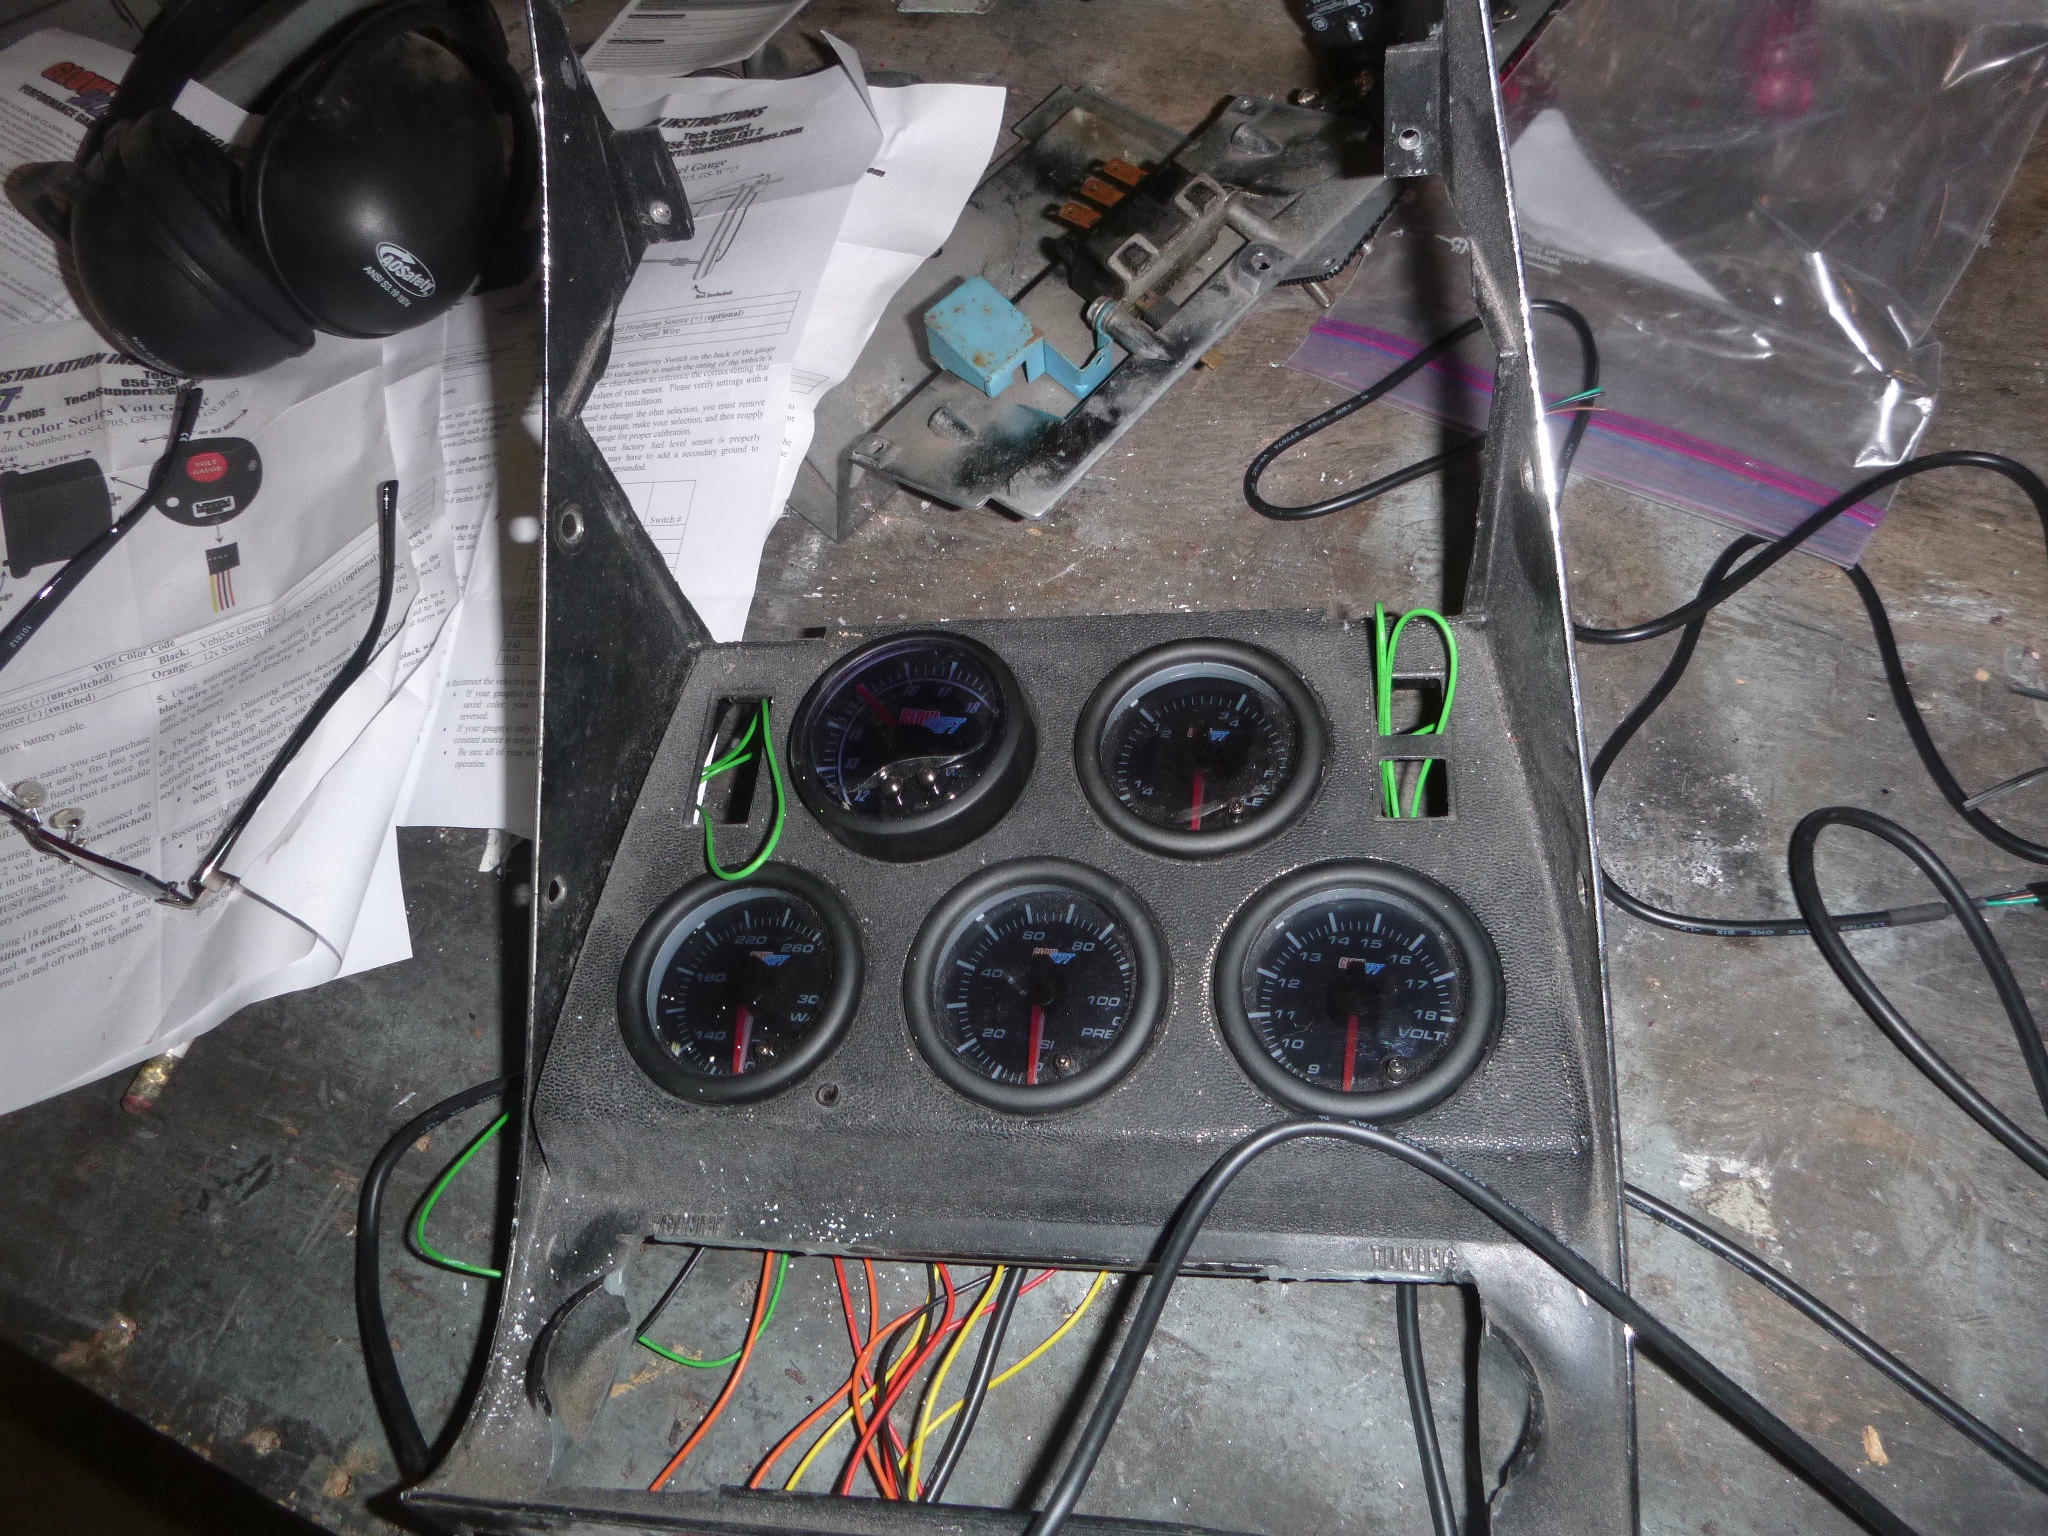
I need to have gauges to start it, since my lathe isn't done, I can't finish the rear install nor the front suspension.... so this is the task that is most ready to move forward

beside that, the sanding continues.
it's a 818 kit car. it was assembled by an amateur and while it is dangerous, it also doesn't fit worth anything either.... however, this little thing is blindingly fast. It has a WRX motor in the back - making it a mid-engine car. The guy who built it bought a lot of good parts - and fortunately the builder, Factory Five (the kit builders) made it well enough that even the most amateur is safe....ish. Tighten bolts people... just sayin'
anyway, outside of a bit of help on that,
my most hated task... wiring
I need to have gauges to start it, since my lathe isn't done, I can't finish the rear install nor the front suspension.... so this is the task that is most ready to move forward
beside that, the sanding continues.
The following 2 users liked this post by SuperBuickGuy:
CraigH (08-16-2018),
Metalhead140 (08-06-2018)


The following users liked this post:
SuperBuickGuy (08-14-2018)
08-14-2018, 12:35 PM
#179
Melting Slicks
You understand the cameraman also has to keep the fire extinguisher, blast pads, and cell phone with 911 keyed in handy as well. I also suggest being sure your health insurance company is appraised of the dangerous condition and is ready to cover anything that may happen. Also you may wish to up your life insurance policy for that day.
You just can't be too safe.
You just can't be too safe.
08-15-2018, 06:39 AM
#180
Race Director


Camera guy also doubles as tool and beer fetcher...

