When you click on links to various merchants on this site and make a purchase, this can result in this site earning a commission. Affiliate programs and affiliations include, but are not limited to, the eBay Partner Network.
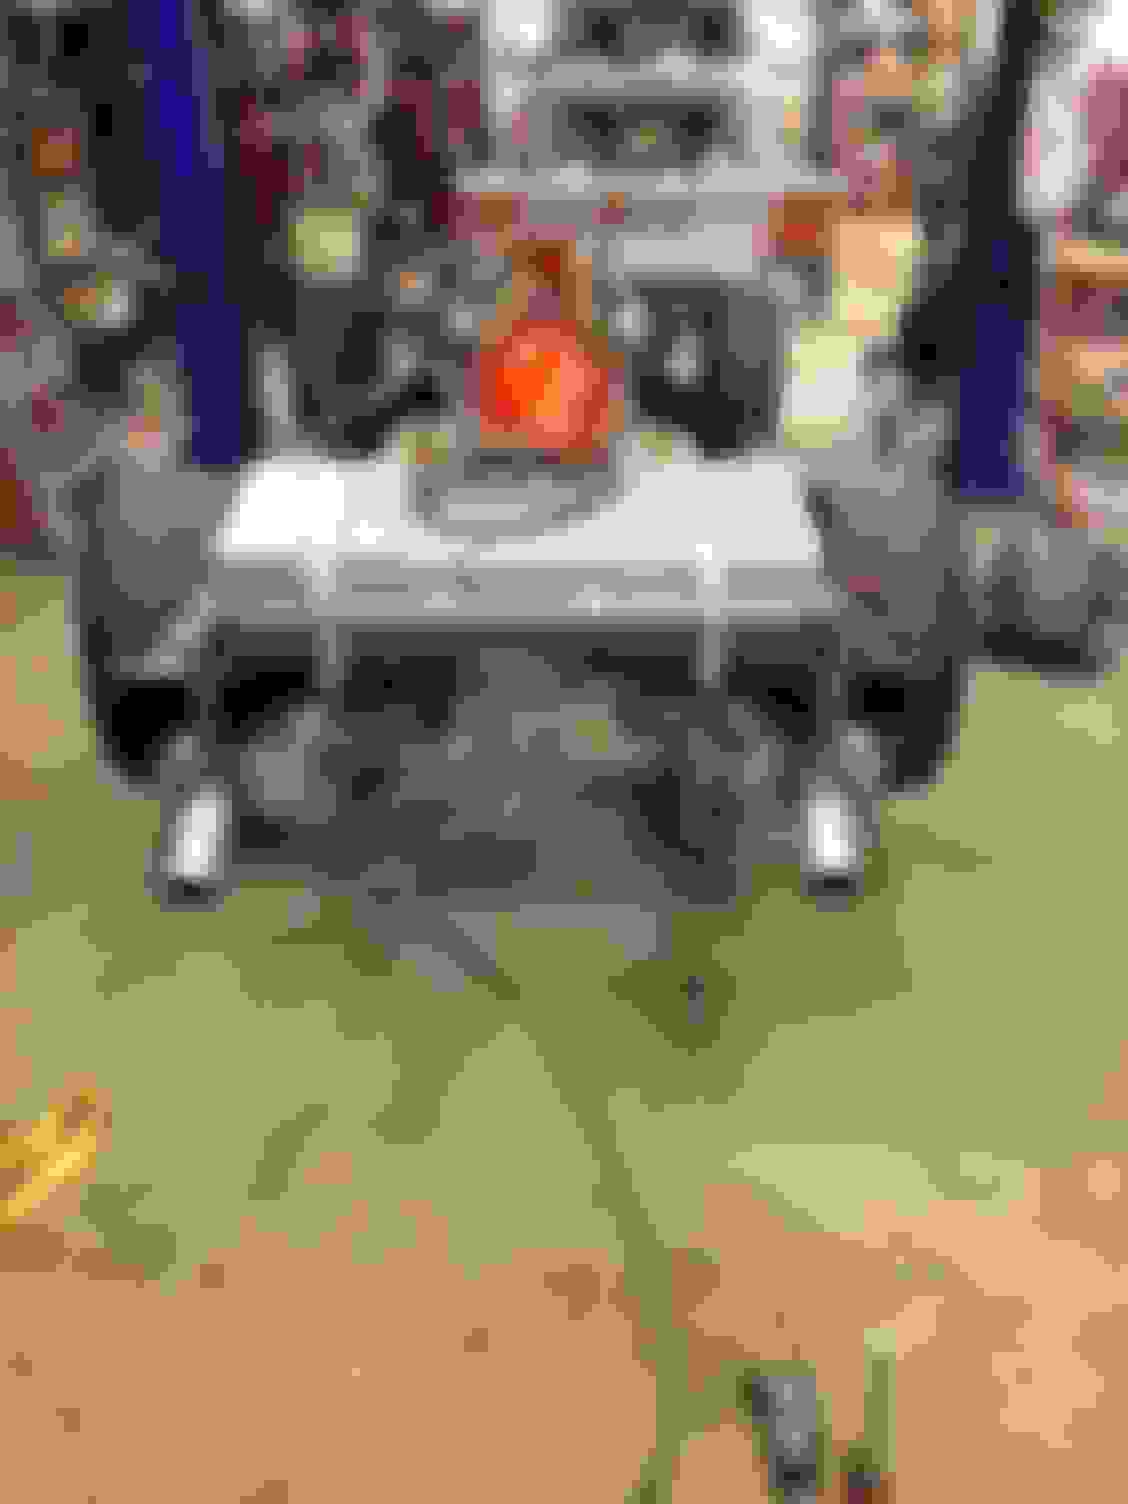
My chassis is back on wheels. Charlie, my helper, got in on one photo.
I started on the tranny today. I am changing all seals and gaskets just because. Also changing speedo drive gears. They were for 3.08 gears and now changed for 4.11 gears.
And I also have helper of the canine variety that just LOVES to come over and sit on me when I an stuck laying under car...along with numerous other 'qualities' that make me glad to have him at the shop. And one of those 'qualities' is how he just knows that when I am stressing out to the max...to come over and get me and make me pay attention to him....which always seems to work.
I painted my Art Carr 700R4 yesterday. It was supposed to be Chevy orange to match my engine, but came out pumpkin orange. It doesn't match my engine very well, but it is almost Halloween.
I'm ready to install the engine and tranny in the chassis now.
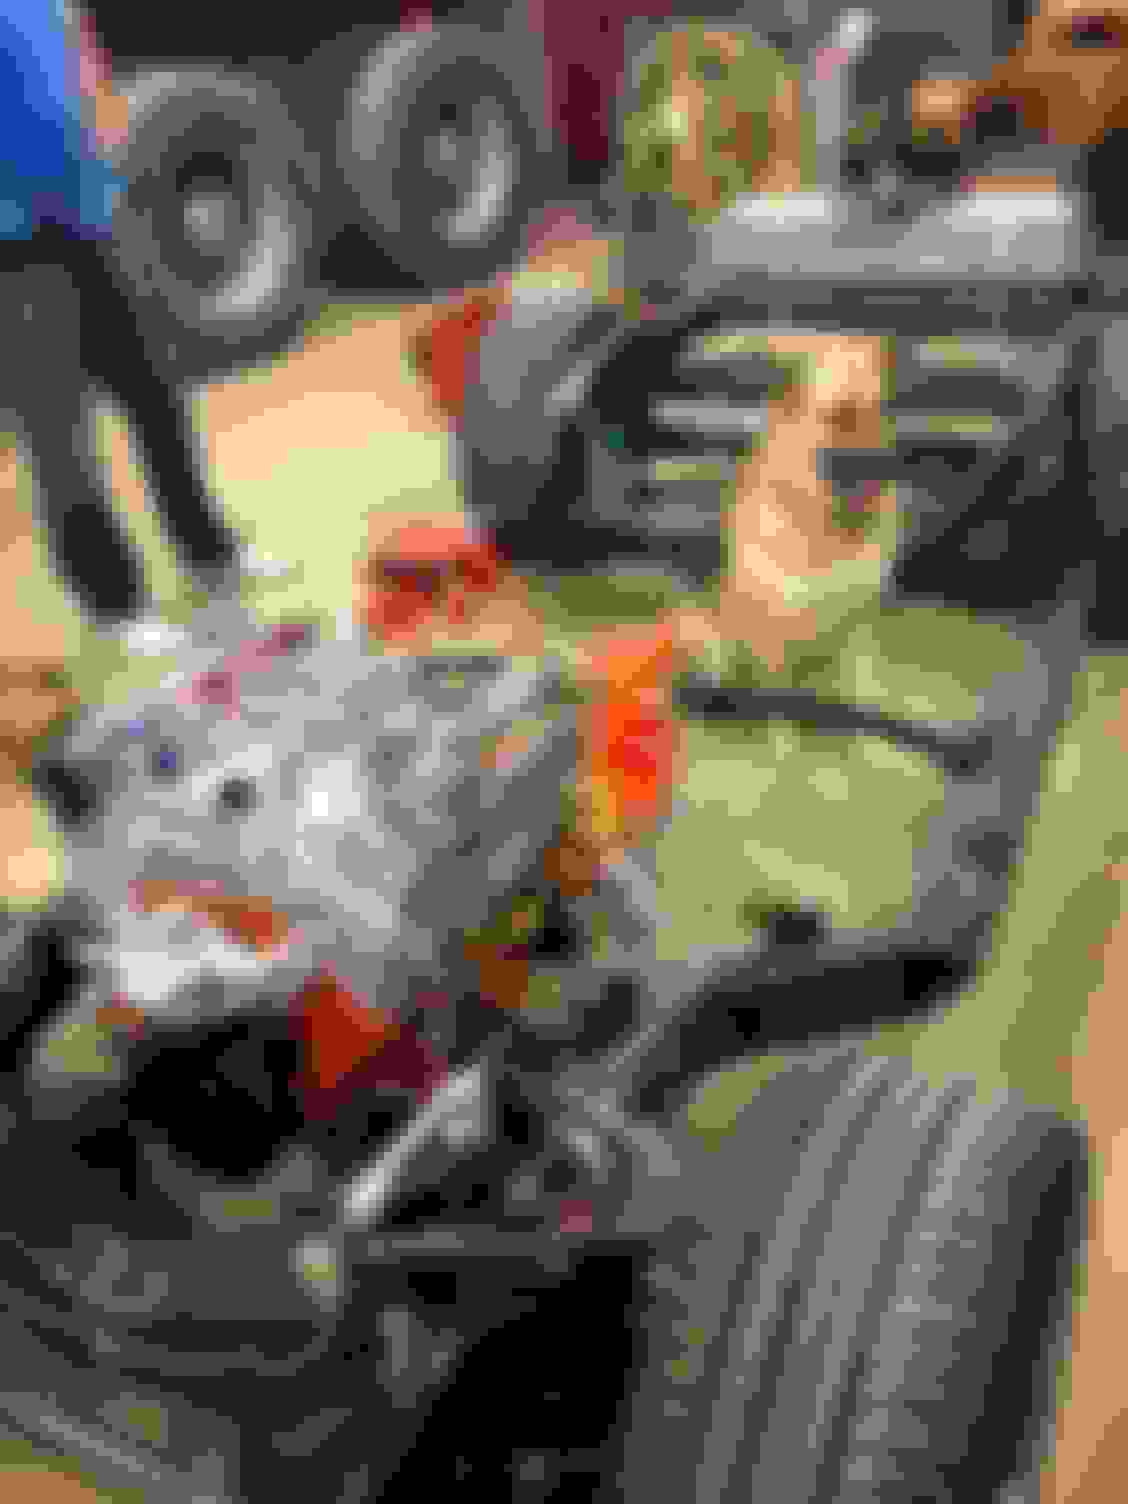
Motor and tranny are in the frame. I need to paint the exhaust and headers tomorrow and then install them.
The headers are Jet Hot sterling ceramic coated, but I had a coolant leak that cooked onto them when the engine and tranny was in my 80 Vette. I've tried everything to get the stains out of the ceramic, but to no evail. I am just going to paint them with aluminum colored ceramic high heat paint and paint my X-pipe exhaust the same. I did this before on a motorcycle that had the Sterling coating and it worked out great.
Charlie is ready to go for a ride already in this photo.
I had some help this weekend. Bill, kingkohlmn from the forum, helped me for a few hours Saturday. My daughter's boyfriend helped me today also. It was nice having some help. I've done almost everything by myself so far.
The brake line that runs down the left side of the frame rail and connects to the brass junction block for your rear crossover line and the left caliper area.
MAKE SURE that that flare fitting is the best you can get it. It is really hard to get to and tighten when the body is on the frame.
The brake line that runs down the left side of the frame rail and connects to the brass junction block for your rear crossover line and the left caliper area.
MAKE SURE that that flare fitting is the best you can get it. It is really hard to get to and tighten when the body is on the frame.
DUB
Yes it is hard to get with the body on. I had replaced the lines before I decided to do a frame off. That line was great fun!
I got the headers and exhaust all painted up with ceramic ultra high heat paint and installed in the chassis. The chassis is very close to being ready to mount the body back on.
I need to paint the engine bay , which is already sanded and clean, semi flat black. I'm going to use black truck bed liner to paint the underside of the body and rubberized undercoating in the fender wells, which they already have some of.
Mike
Well done Mike!
You've been making up for lost time at hyper speed!
Can't wait to you you and your co-pilot out flying around in it !
You've been making up for lost time at hyper speed!
Can't wait to you you and your co-pilot out flying around in it !
Ray
I can't wait to get it going either. After I get the body back on I need to vacate my friends shop and take it back home. My home garage is actually a garage door into my basement. I can't do the body work inside because the dust will be in my house, so that will have to wait until spring. I can do wiring and plumb my fuel system, a few things like that though.
1). Don't know which hood you are going with, but that carb and spacer look awfully high. Drop base air cleaner might be in your future
2). Not sure if you plan on starting and tuning the motor before dropping the body, but you might want to consider removing the distributor before the body drop. It ends up close to the firewall and somehow attracts impacts.
I have an L88 hood with air chamber and the L88 base, screen and cap. I pre fit it all before I ever took the car apart. It fits perfectly.
The distributor cap is just sitting on it. It will be off before dropping the body on.
I started on the body. I blew all the dirt and dust from every nook and cranny I could get to with an air hose. Then I wire brushed my rocker channels to get the loose surface rust off. I sprayed them with a rust converter/encapsulator. I haven't decided if they will get paint or truck bed liner yet.
I picked up some aluminum foil to wrap/mask all my wires and hoses before I start any painting.
I also sprayed down the completely stripped interior with cleaner with bleach to kill the scent and germs left from the mice invasion.
I finished pulling the steering column out. It will be repainted also.
So, multiple projects going at the same time. I hope to have the body on and ready to take home in a week or so. I started the body off on 9/9/17, so it will have taken just over 2 months.

 10-24-2017, 09:27 PM