When you click on links to various merchants on this site and make a purchase, this can result in this site earning a commission. Affiliate programs and affiliations include, but are not limited to, the eBay Partner Network.
Still making progress!
Literally taking one item at a time and hooking it up!
Most recently the starter and working the tranny issues.
Wiring, coolant lines (arriving soon), mount the controller, etc.
Bosch 30 amp relays for the dual fans have arrived as well as wiring plugs so they look nice!
Beautiful! I love how that worked out, you delivered your car to a buyer and pulled the motor. He definitely knew what he was getting as you drove the car there. Neat story.
Killer build! Lots of nice quality stuff there. I can't wait to see it done. That sucker should roll out!
Are you familiar with the valve guide problems on the LS7? If not, you need to look into it. The issue was never resolved and the crate engines are affected as well.
Looking great Scott,
That is the way to do things. Looks like your not playing games with your build. Hope to see the result in person when your done.
Pete
First,
Thank you all for the kind words! I just re-read the entire thread.
My back is good, my surgery is all healed nicely! Again, thanks for the kind words.
Today I sadly thought I could simply go buy AN fittings and braided line.
NOT!
Amazon to the rescue. I ordered all my fittings in anodized black. Oil lines are 12AN. Should be an experience making them.
However I am back to waiting for stuff.
This whole project is like a puzzle, logic problem, and where’s Waldo all in one!
What fun!
Pete, you are welcome anytime to come see!
Ajrothm, I am aware of the valve guide issues, thank you for the heads up!
Looks like you�re making great progress. If you havent already starting cutting the braided lines, have a look at YouTube. It isn�t hard but not as straight forward as cutting rubber hose either.
Yes! YouTube is my friend! I am not as experienced like many folks here with cars.
However, I am willing to give it a go!
I found a video where a guy used wire ties instead of tape and a cut off wheel to cut the hose. I am going to give that a try. Well, when the stuff arrives anyway!
My AN fittings are arriving! two left and the stainless hose has yet to arrive.
Hopefully before the weekend! The I can plumb!
My good friend and professional mechanic dropped by yesterday.
We took a few minutes and he helped confirm a few connections on the LS7 for me!
The PCV on the valve covers, the steam vent to radiator, vacuum access, etc.
How nice to have the speculative identifications I had converted to a confirmed ID of the ports!
I take days on the internet to positively identify things and he just walks up and points to that, and that and that! LOL! Guess that is why he is a mechanic for a living and I press buttons on a keyboard for a living!
What a day! Some good friends from Canada we have not seen for almost a year arrived early this morning with about 20 minute warning! Fortunately I was up and ready to go to the store, so I woke my bride who took a quick shower! Lol!
Great visit!
After lunch, I made my run, came home and the kids showed up! Doh! What a great visit!
So, a late start today.
Goal?
Plumb the oil system and then the pcv system.
So I started making lines and my bride labeled them so I could put them in correctly later should I get distracted again!
Making AN lines is a pita no matter what you do unless you are an expert. I am not.
Here are some tips I found out and what worked for me.
Tools I used:
1 electrical tape
2 wire ties
3 koul tools 12AN tool. Google it! I never once poked myself! Awesome!
4 Dremel cut of wheel. They have two, I bought the slightly larger one on sale at Home Depot.
5 two large crescent wrenches to fit the 12 AN fittings.
6 oil can. You know, squeeze the lever and get a few drips of oil .
What I did:
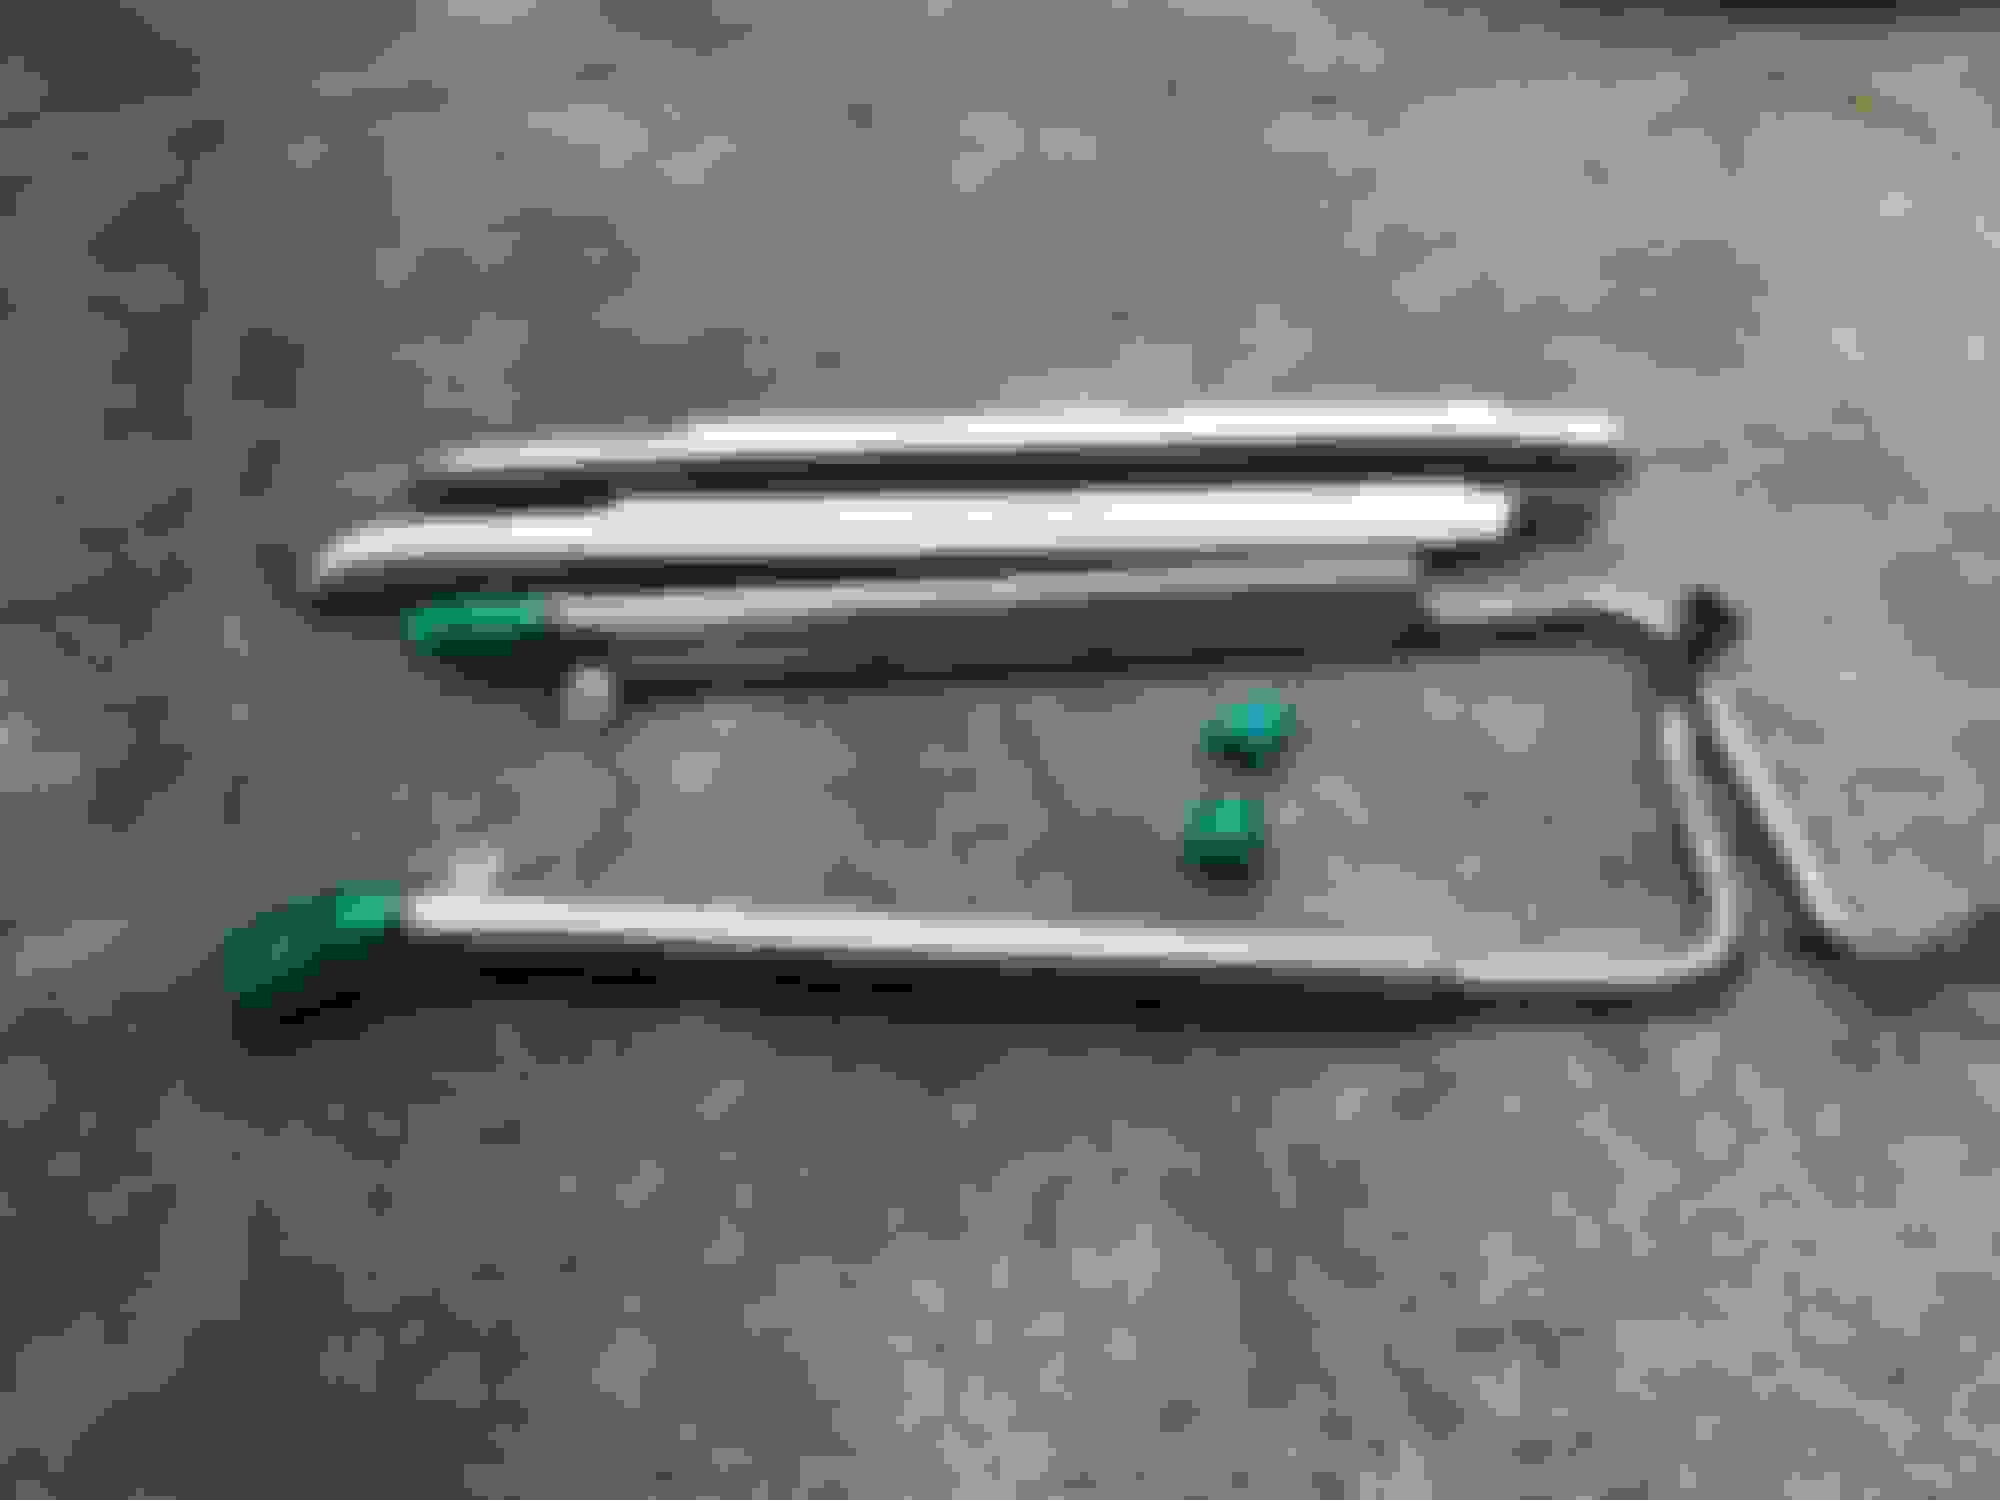
Cut the perfect end off that came pre cut for me from the distributor. You know, the 12AN braided line, cut the end off.
Why? I found the braid to be cut perfect but the end of the rubber hose was so stiff, I could not put the fitting on!
Cutting:
I wrapped the cut line on the steel braid with electrical tape. It was the only immediately available tape. Then, at the center of the tape i put a wire tie nice and tight. Just a regular cheep 10 inch or so tie. Nothing special. Then i put the line into a vise and cut the line with my dremelworking around the line as my wheel was not big enough for a single sweep.
I actually cut about a 3rd of the width of the tie off! No worries.
Next was assemble the fitting! Using the koul tool, I oiled the braid, put the fitting in the koul tool, and twisted the braided hose in! Wow! Easy! No blood drawn at all!. Next twist in the other half of the fitting. Nice! Admittedly I am no expert. I could easily clean up a few of my lines as I actually twisted the hose in to much! Doh! As long as ther are no leaks, I do not care! FYI I have no connections to “koul tool” other than I bought the tools! They are koul!
As noted earlier, no blood!
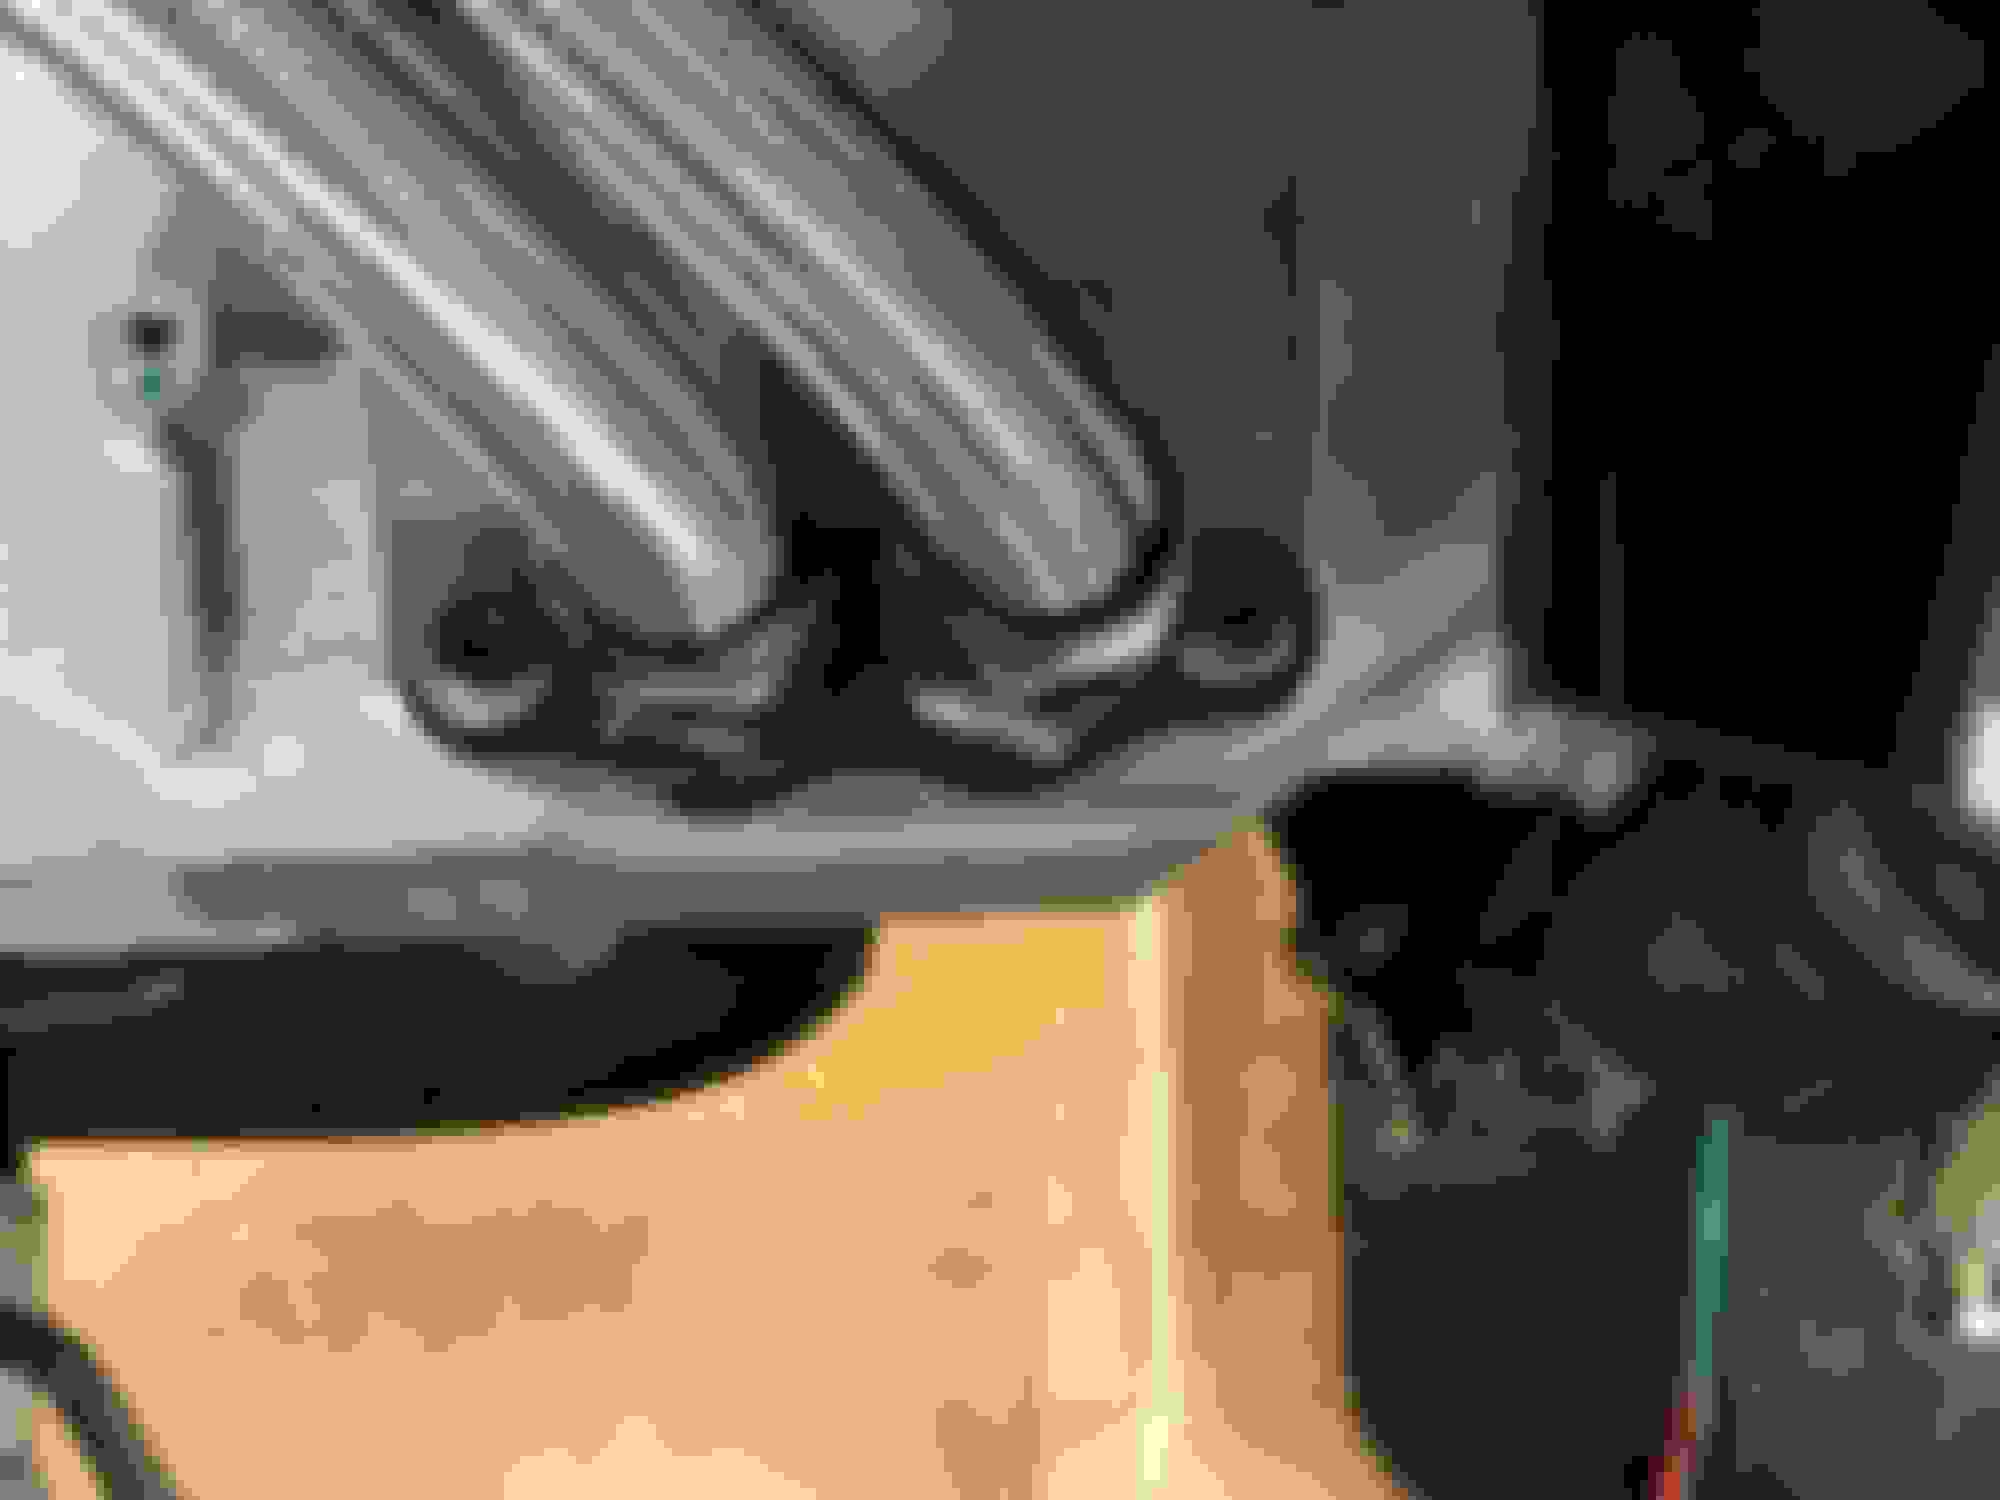
See a couple of lines labeled and ready for install!
Notice no fancy red or blue. Simple black where I can! Lines hooked up to the oil tank!
See minimal oil pan! My new lines hooked up and ready!
Since we had a good time with friends and the kids, I did not get the pcv system hooked up yet. Maybe tomorrow!
Saturday a bud came over and we adjusted the Steeroids such that there is zero binding!
We hooked up the vintage air hoses.
we partially installed the new wire harness for the motor including plugging in the injectors, alternator, and other easy access stuff.
Still waiting for my driveline which is not due until later this week.
Still waiting for the new stainless factory style BB exhaust.
Once I get the new exhaust in, I'll be offering my SB side exhaust mufflers for sale.
Anyone near me interested in seeing them in person is welcome to inspect. They have been modified for O2 bung and adjusted to fit the block hugger headers on the old motor.
I will eventually take photos and make a proper post in the for sale section. This is just a heads up
I'm starting to see the light at the end of the tunnel!
Scott
This last weekend saw me replace a bolt on the rear sway bar. The one was stripped and the bar was a bit lose. Sawsall made quick work of the removal and a magnet on a telescoping rod allowed me to position the new bolt successfully!
Sunday the driveline went in! Quite a miserable job because I could not remove the yoke from the driveline and thus had to move the rear end! Yikes! What a pita! MY bride was kind enough to lay on the creeper and give me a hand at one point where two hands just could not get the job done!
My ride is getting ever so close to being fired up!
Ah! Long 3 day weekend!
Spent most of my time with family but I did get some more wiring done on the vette! Specifically replaced alternator wires as they were old and the insulation was cracked.
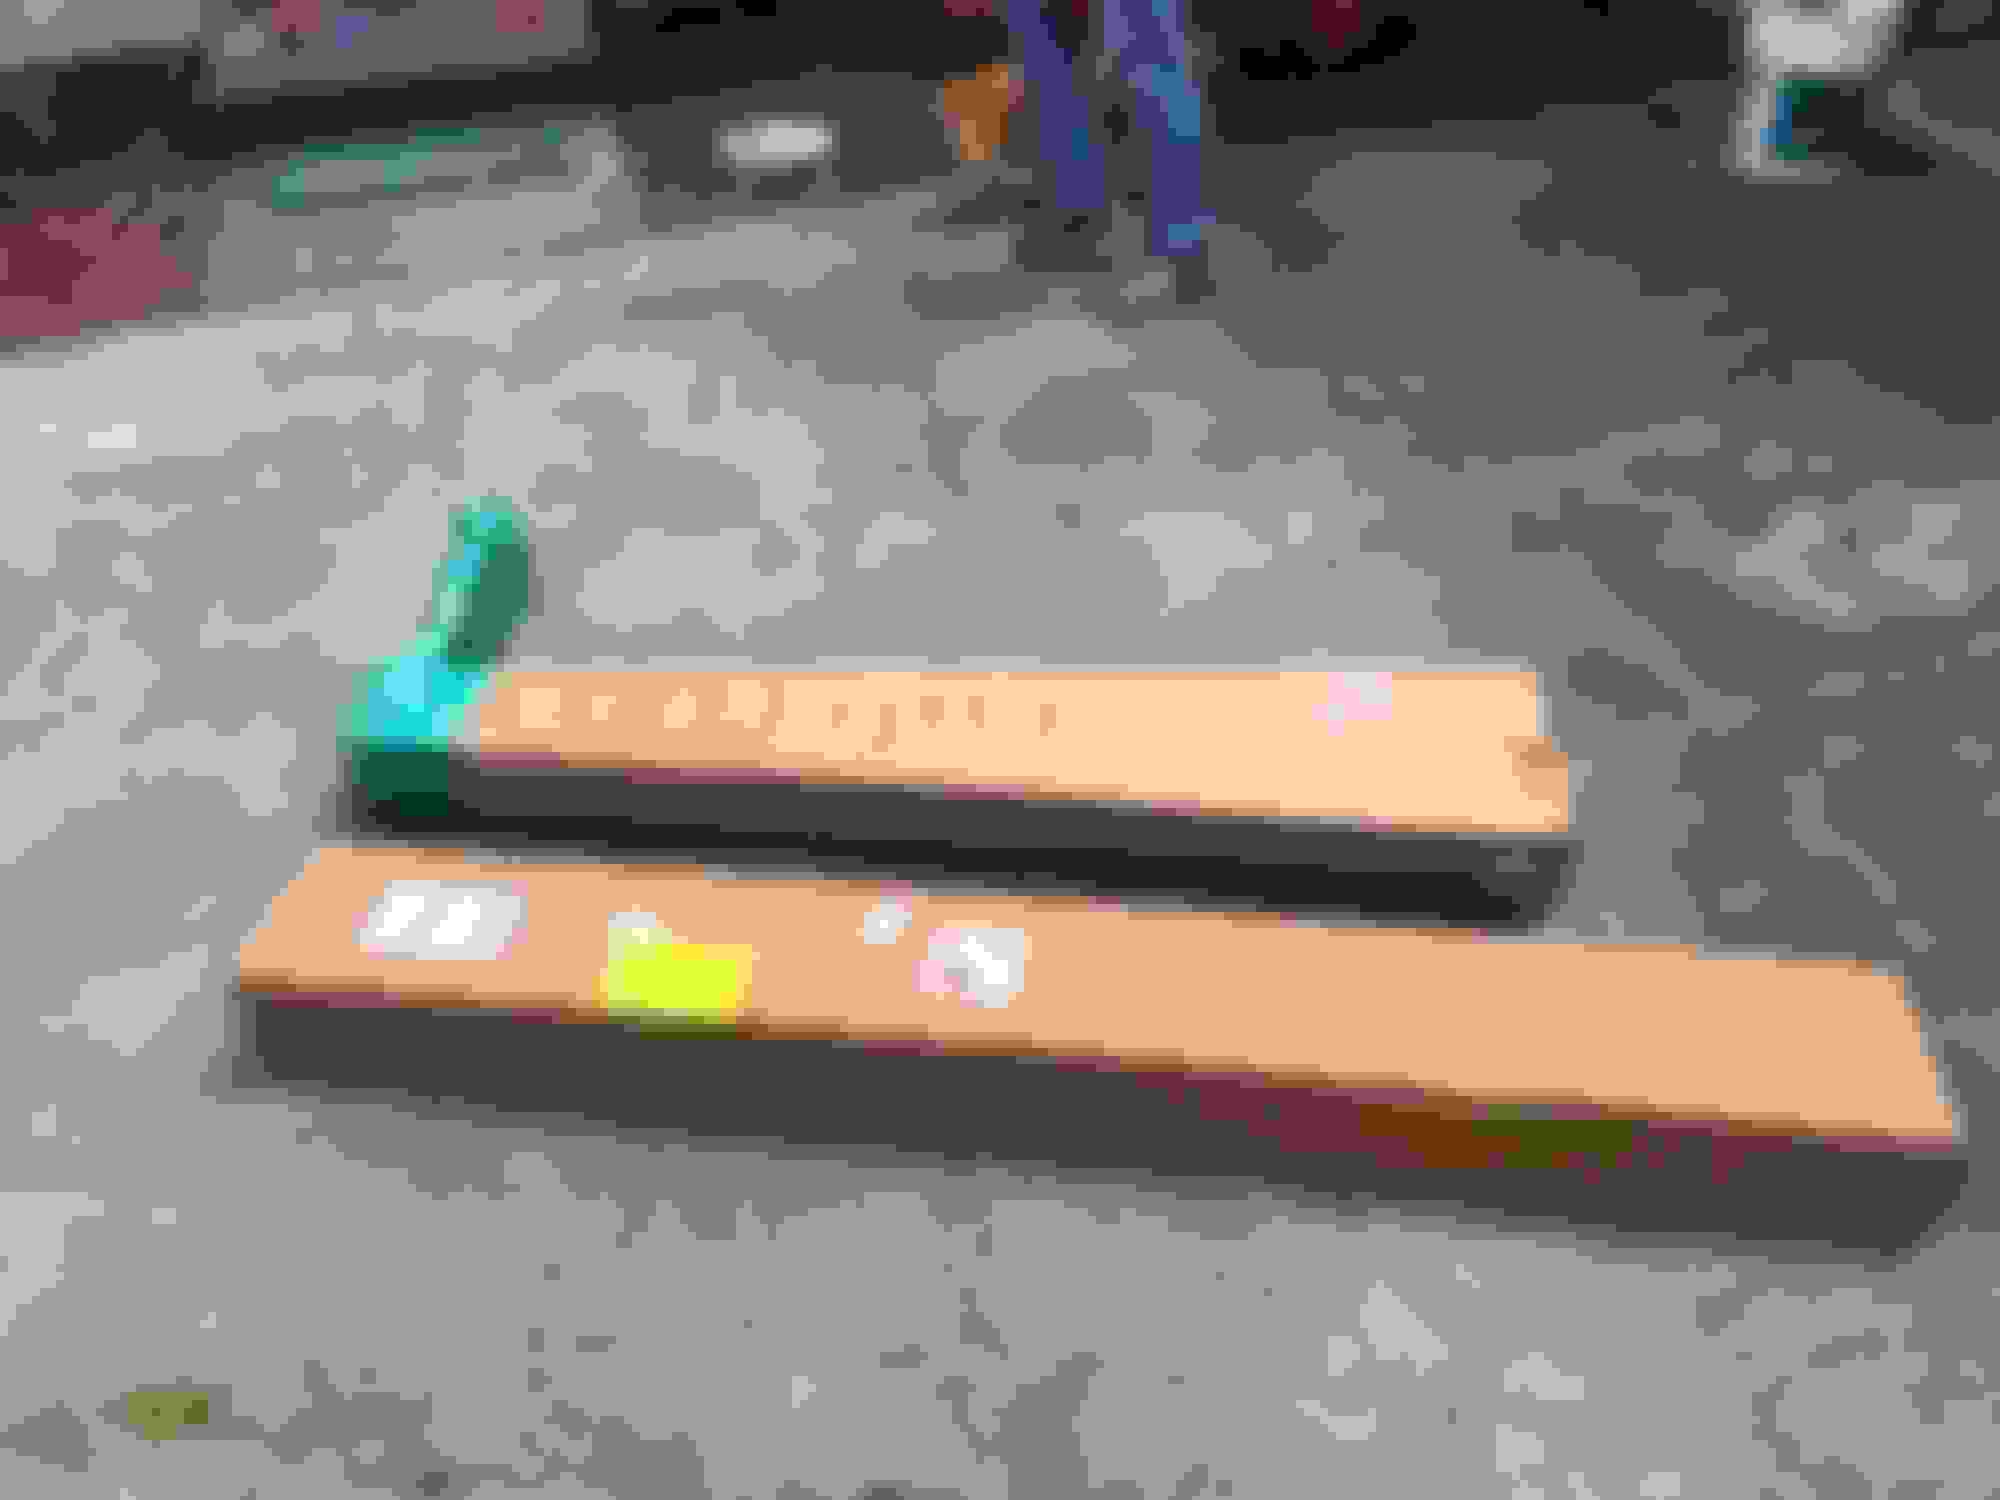
I did open my still boxed exhaust pipes! They look great!
We did however hit the water in our sailboat. We stumbled across the Lady Washington and Hawaiian Chiefton having mock battles on the water! The canons were fun to hear!
OH wow! It has been a long time since last post!
My project when on hold for a while while life got in the way.
I was not kidnapped by the pirates! LOL!
I got the 4" aluminum air intake cut and fit perfectly for the air cleaner.
Took it and had an aluminum bung welded in for the MAF.
The MAF is mounted between the alternator and the power steering reservoir! Not shown here though.
I mounted the new fuse block ( seen on the compressor ) on the firewall just above where the throttle cable comes out on the drivers side.
Thing to note for future swaps. The GM wiring harness provided has the fuse block also. This block did not come with any type of mounting bracket.
GOOGLE provided part number 15723696 for a mounting bracket. Unfortunately that part is discontinued.
Local Chevy parts guy mapped the number back to 1996 -2005 Astro van and the GM equivalent Safari. Lucky me! The local Pick and Pull had two!
I snagged one and with trimming the tab off the back it fits nicely!
I'm back to my project and hope to post more soon!
Another small milestone last night!
With the wiring harness that GM provided there are 3 HUGE plugs for the computer that runs the engine. Two of the three can be seen in the picture above on the manifold to the passenger side.! Getting these three individually through the firewall is a major challenge if you do not want to cut up your car. GM was kind enough to bundle the three plugs together in a wire loom with only a few inches of wire pigtail each! YIKES!
Well fortunately I replaced my heater box with vintage air. That in itself left almost enough room. I still had to pull the passenger side dash apart, remove the hoses, and partially remove the new heater box. What a chore! Finally with much time, patients, and arm bending I was able to snake the three plugs into the passenger side of my car!
Today my right wrist and arm are sore likely from the twisting and turning I had to do!
I hated dong that job but now it is done and I feel good about it!

 02-02-2018, 11:31 AM