When you click on links to various merchants on this site and make a purchase, this can result in this site earning a commission. Affiliate programs and affiliations include, but are not limited to, the eBay Partner Network.
When we abate abandoned inoperable vehicles from properties here in California, we wench them using long tow truck cables and drag them away from where they set. We have encountered numerous rattle snake dens. When you disturb those critters the $#!+ hits the fan and you better be quick.
Yawl talking about bugs/etc.....the neighbor next door has a NEW Ford pickup, and he has been attacked TWICE by rats or maybe squirrels, eating the wiring to his spark coils.....he has 8 of them first go round it was 350 bux at the stealership.....next time he drove it to my driveway, and I flixed it....what a damn mess.....cut off right at the plug in/harness connector, had to extend the wires a hair, and solder them all in place and seal with some RTV......
6 more to go......:wil ly:
I had a lab puppy. It chewed on everything
We woke up one morning and she was running around the back yard with my wife's newly planted rose bush in its mouth, thorns and all, just as happy as she could be.
Back then I was working on an old VW bug. I had left the engine cover up and when we got back from church one Sunday the dog had ripped out every wire on the engine and in the engine bay and chewed them to bits.
With the engine and trans out, I was able to clearly see places I could not before. Lots of dirt and oil and surface rust. While I do have cars that I never look under the car, this is a different beast. I want clean. And rust free. The more I looked at the car, I was convinced a prior owner lived on a dirt road. Or drove it across a pond often. I was also able to inspect the rust prone areas with a hammer and punch and everything was solid as a rock. But knowing myself, I realized that for this special car, just powerwashing / steam cleaning the underside wasn't going to cut it. As I mentioned before, I tried to clean up the frame with the body on, using everything from sand paper to wire wheels to other tools, but there were places I couldn't easily get to.
Thus seeds are being planted for the body to come off.
Last edited by gleninsandiego; 01-27-2018 at 02:23 PM.
a real ''steam'' cleaner works wonders,pressure washers just don't have the muscle they do,''hot'' water gets just about everything off,and a good spray of ''simple green'' [let it sook in for a day or too]helps too
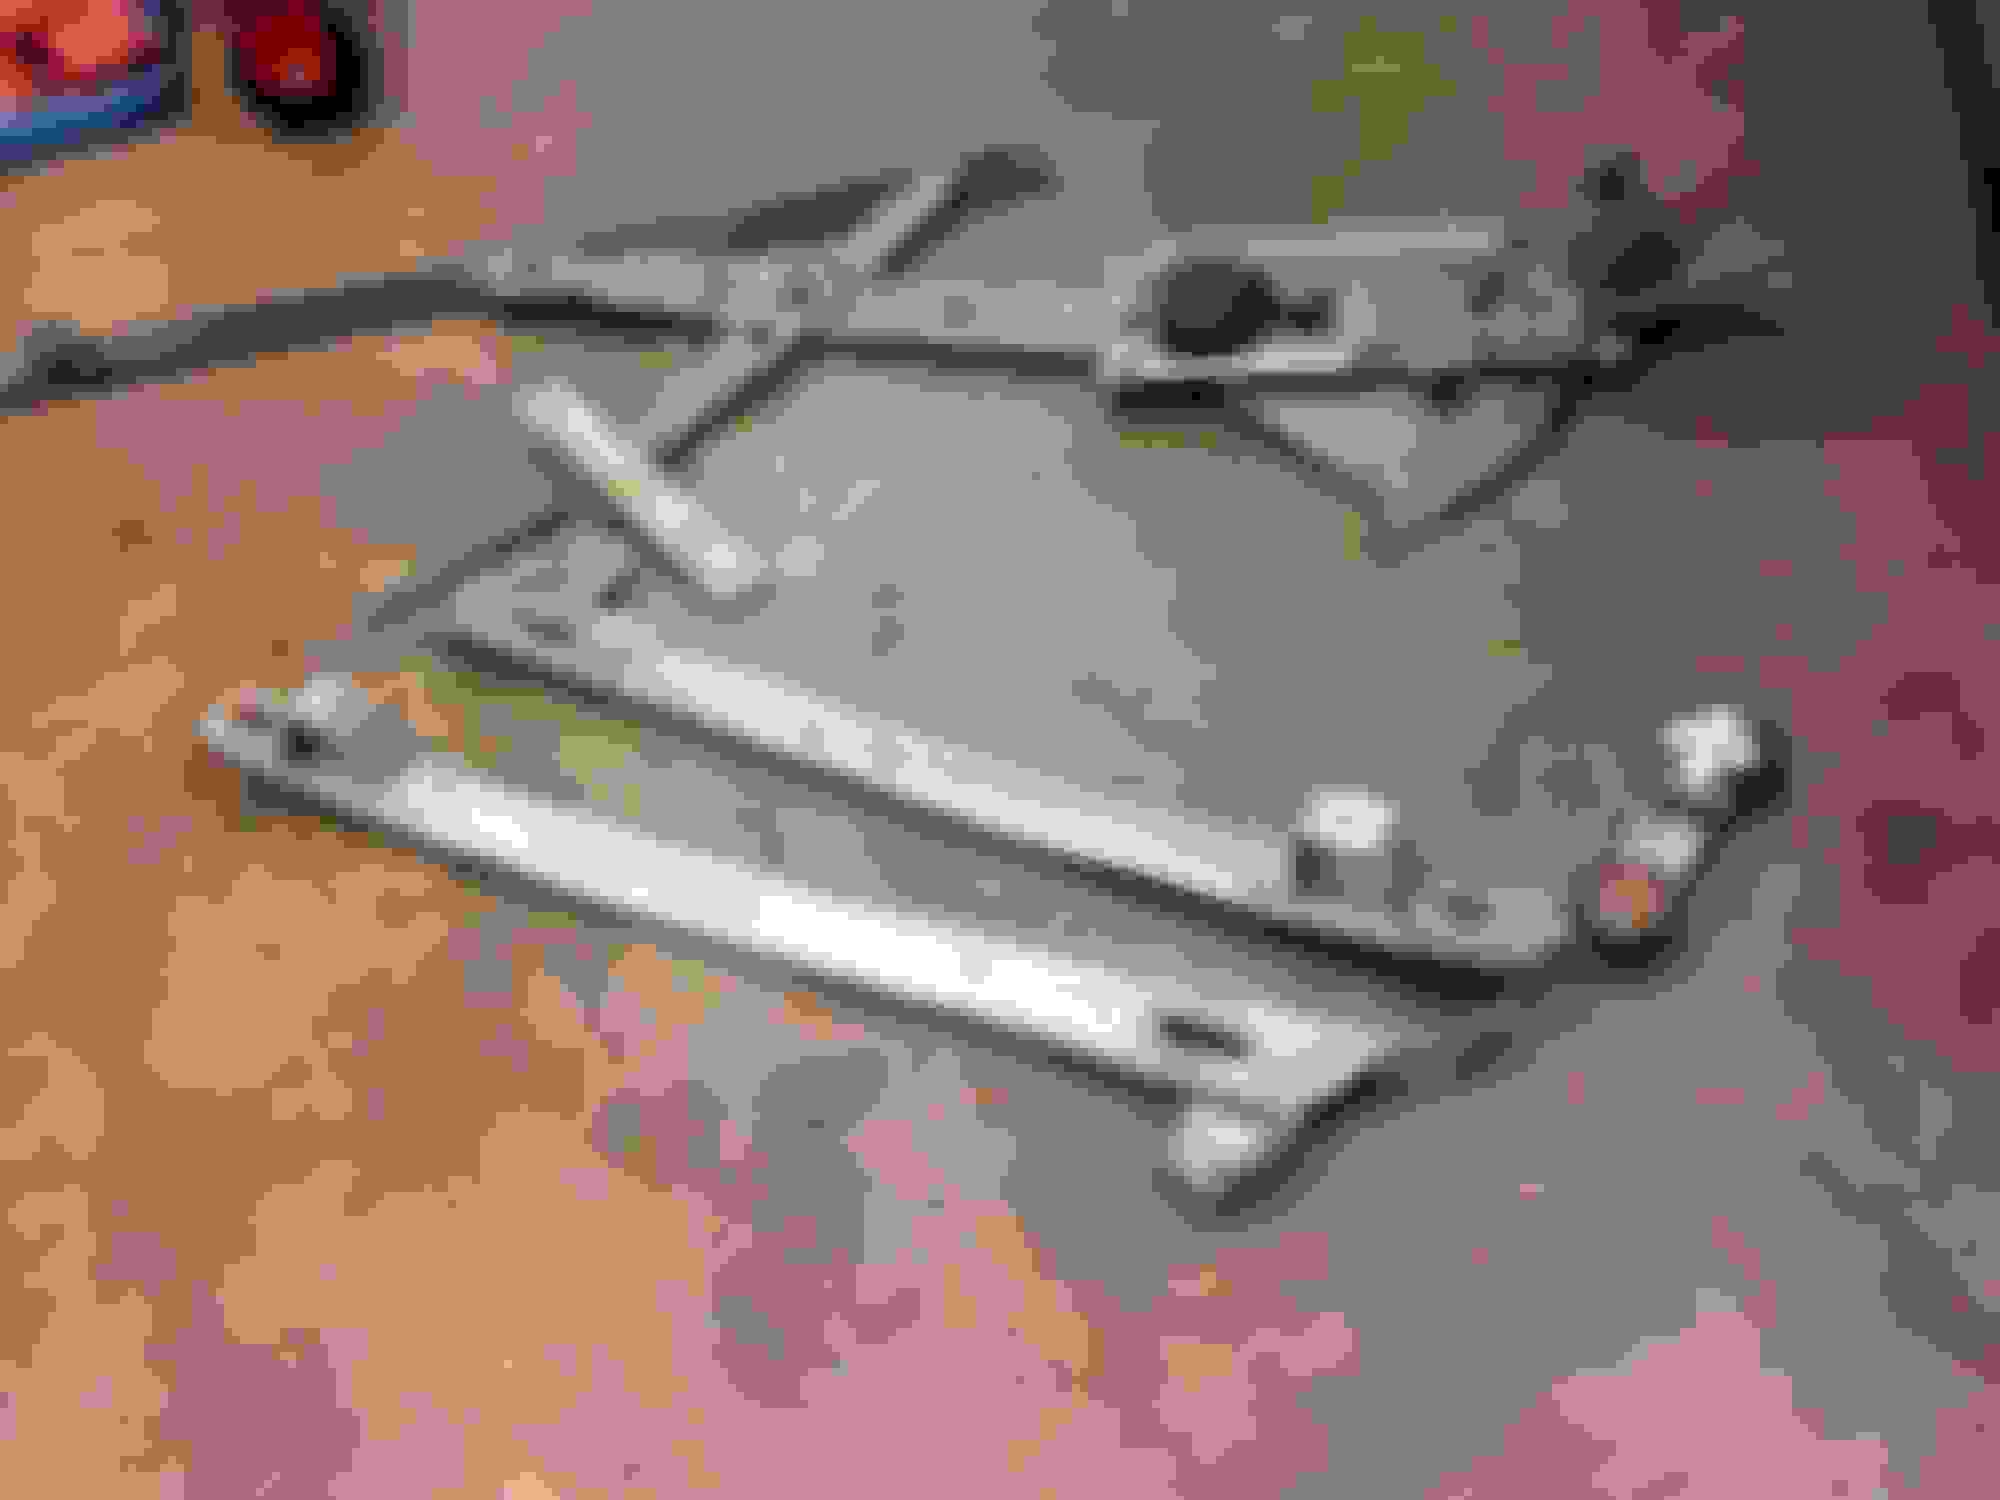
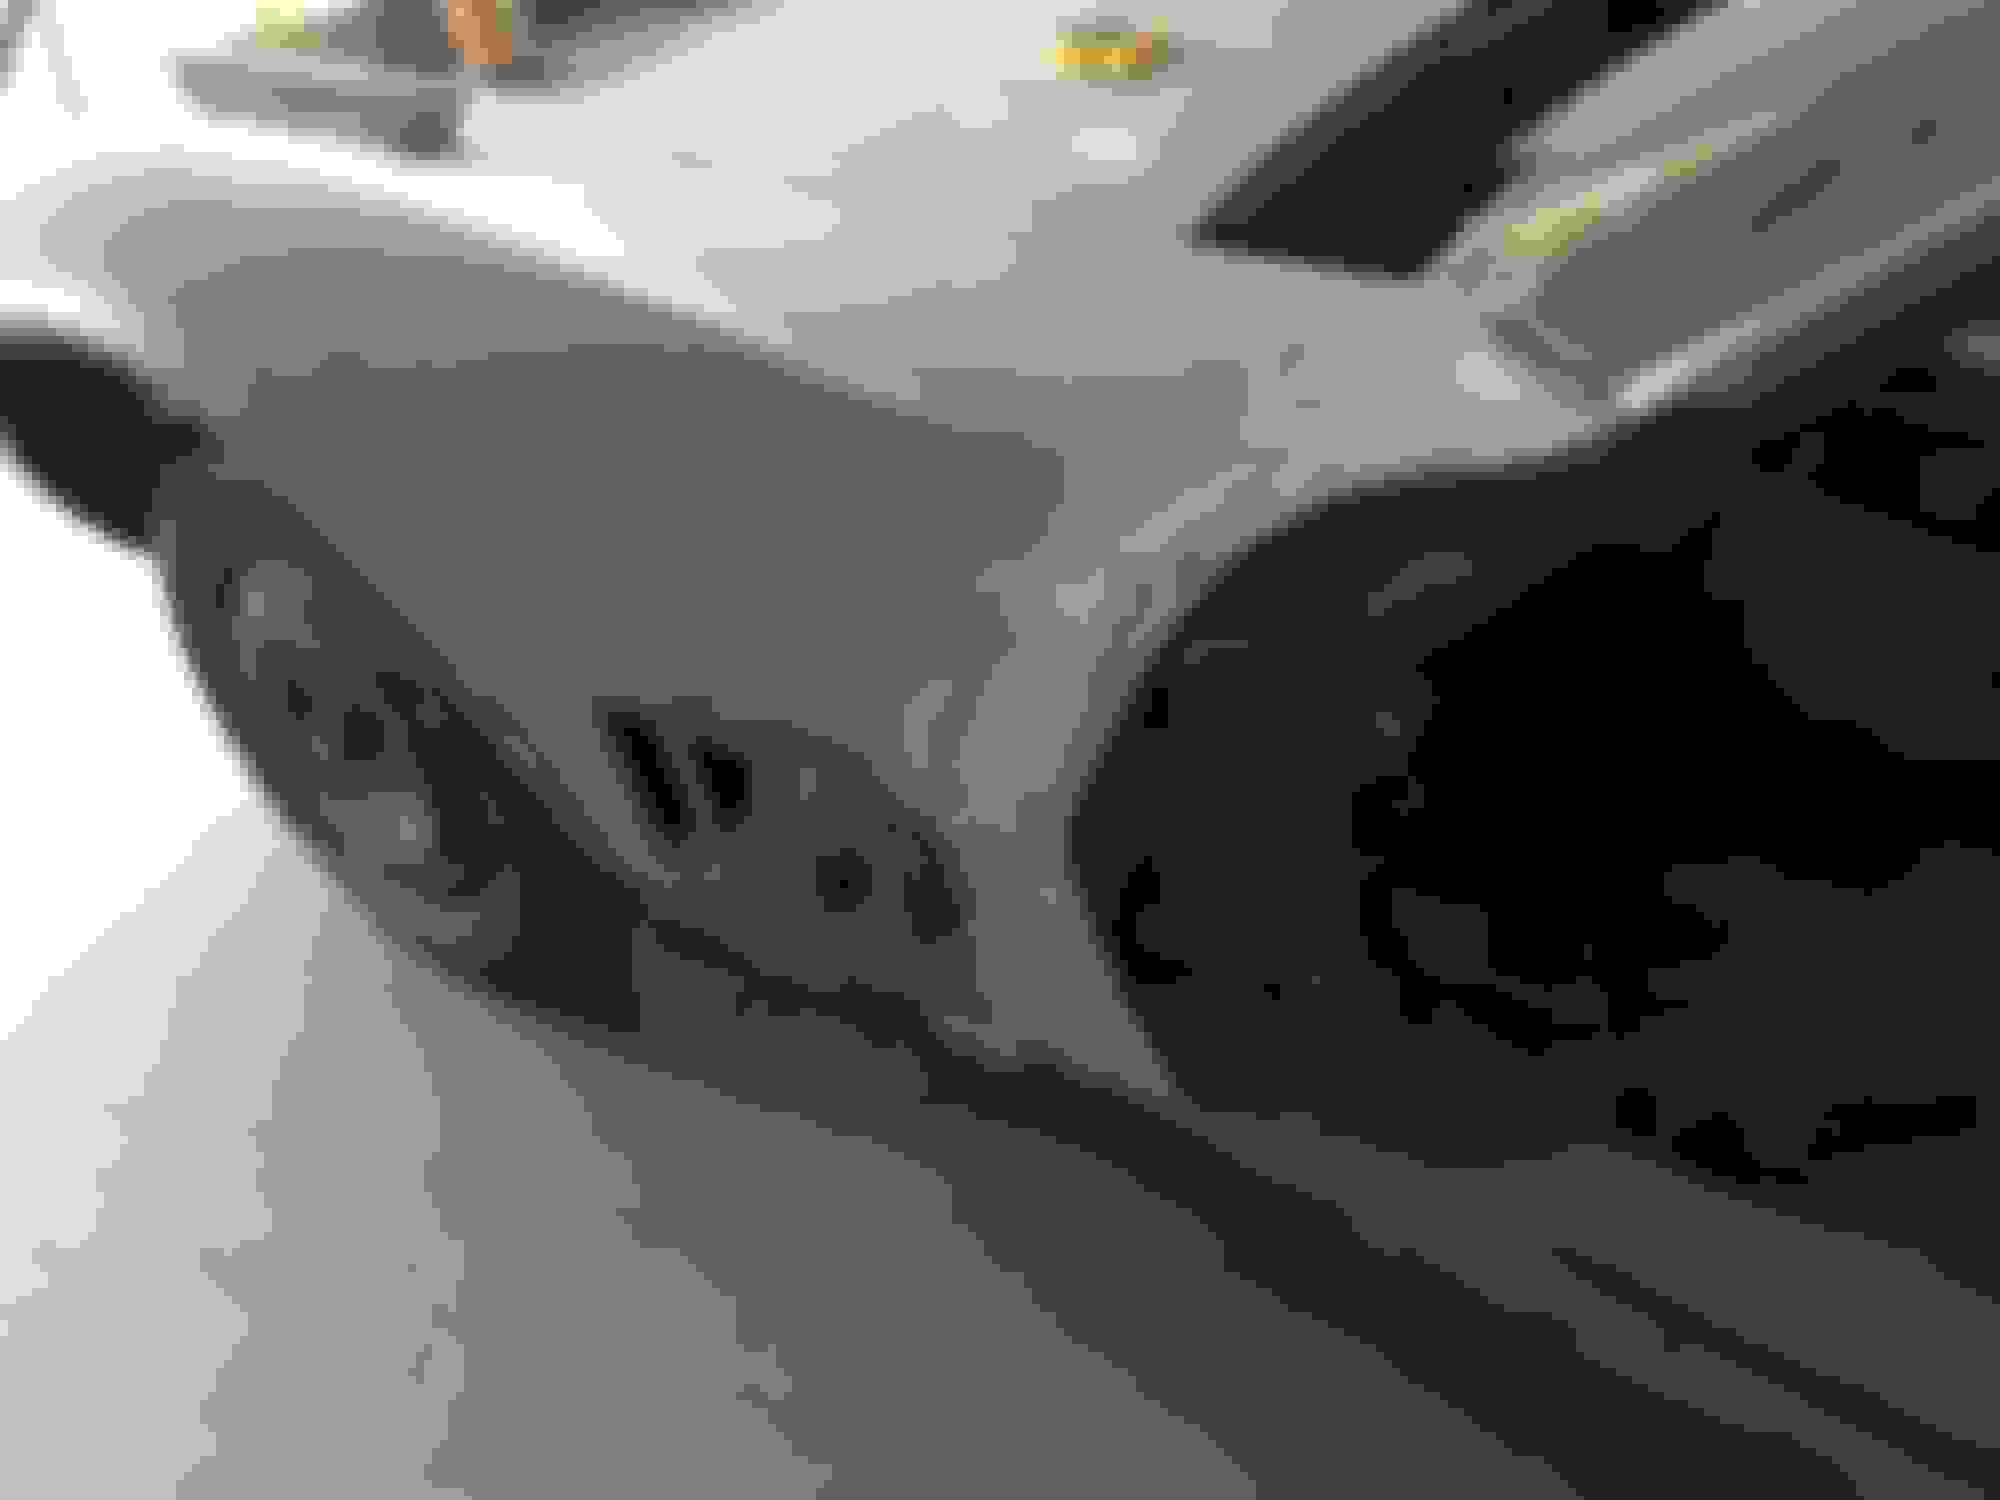
Doors being gutted. Like the headlight assemblies, the guts of the doors will need to be cleaned and refreshed. The great news is there is no interior rust on the bottom of the door frame. I have had other C3s where the drain holes get plugged and there is a crazy amount of rust on the inside that wasn't visible as much on the outside.
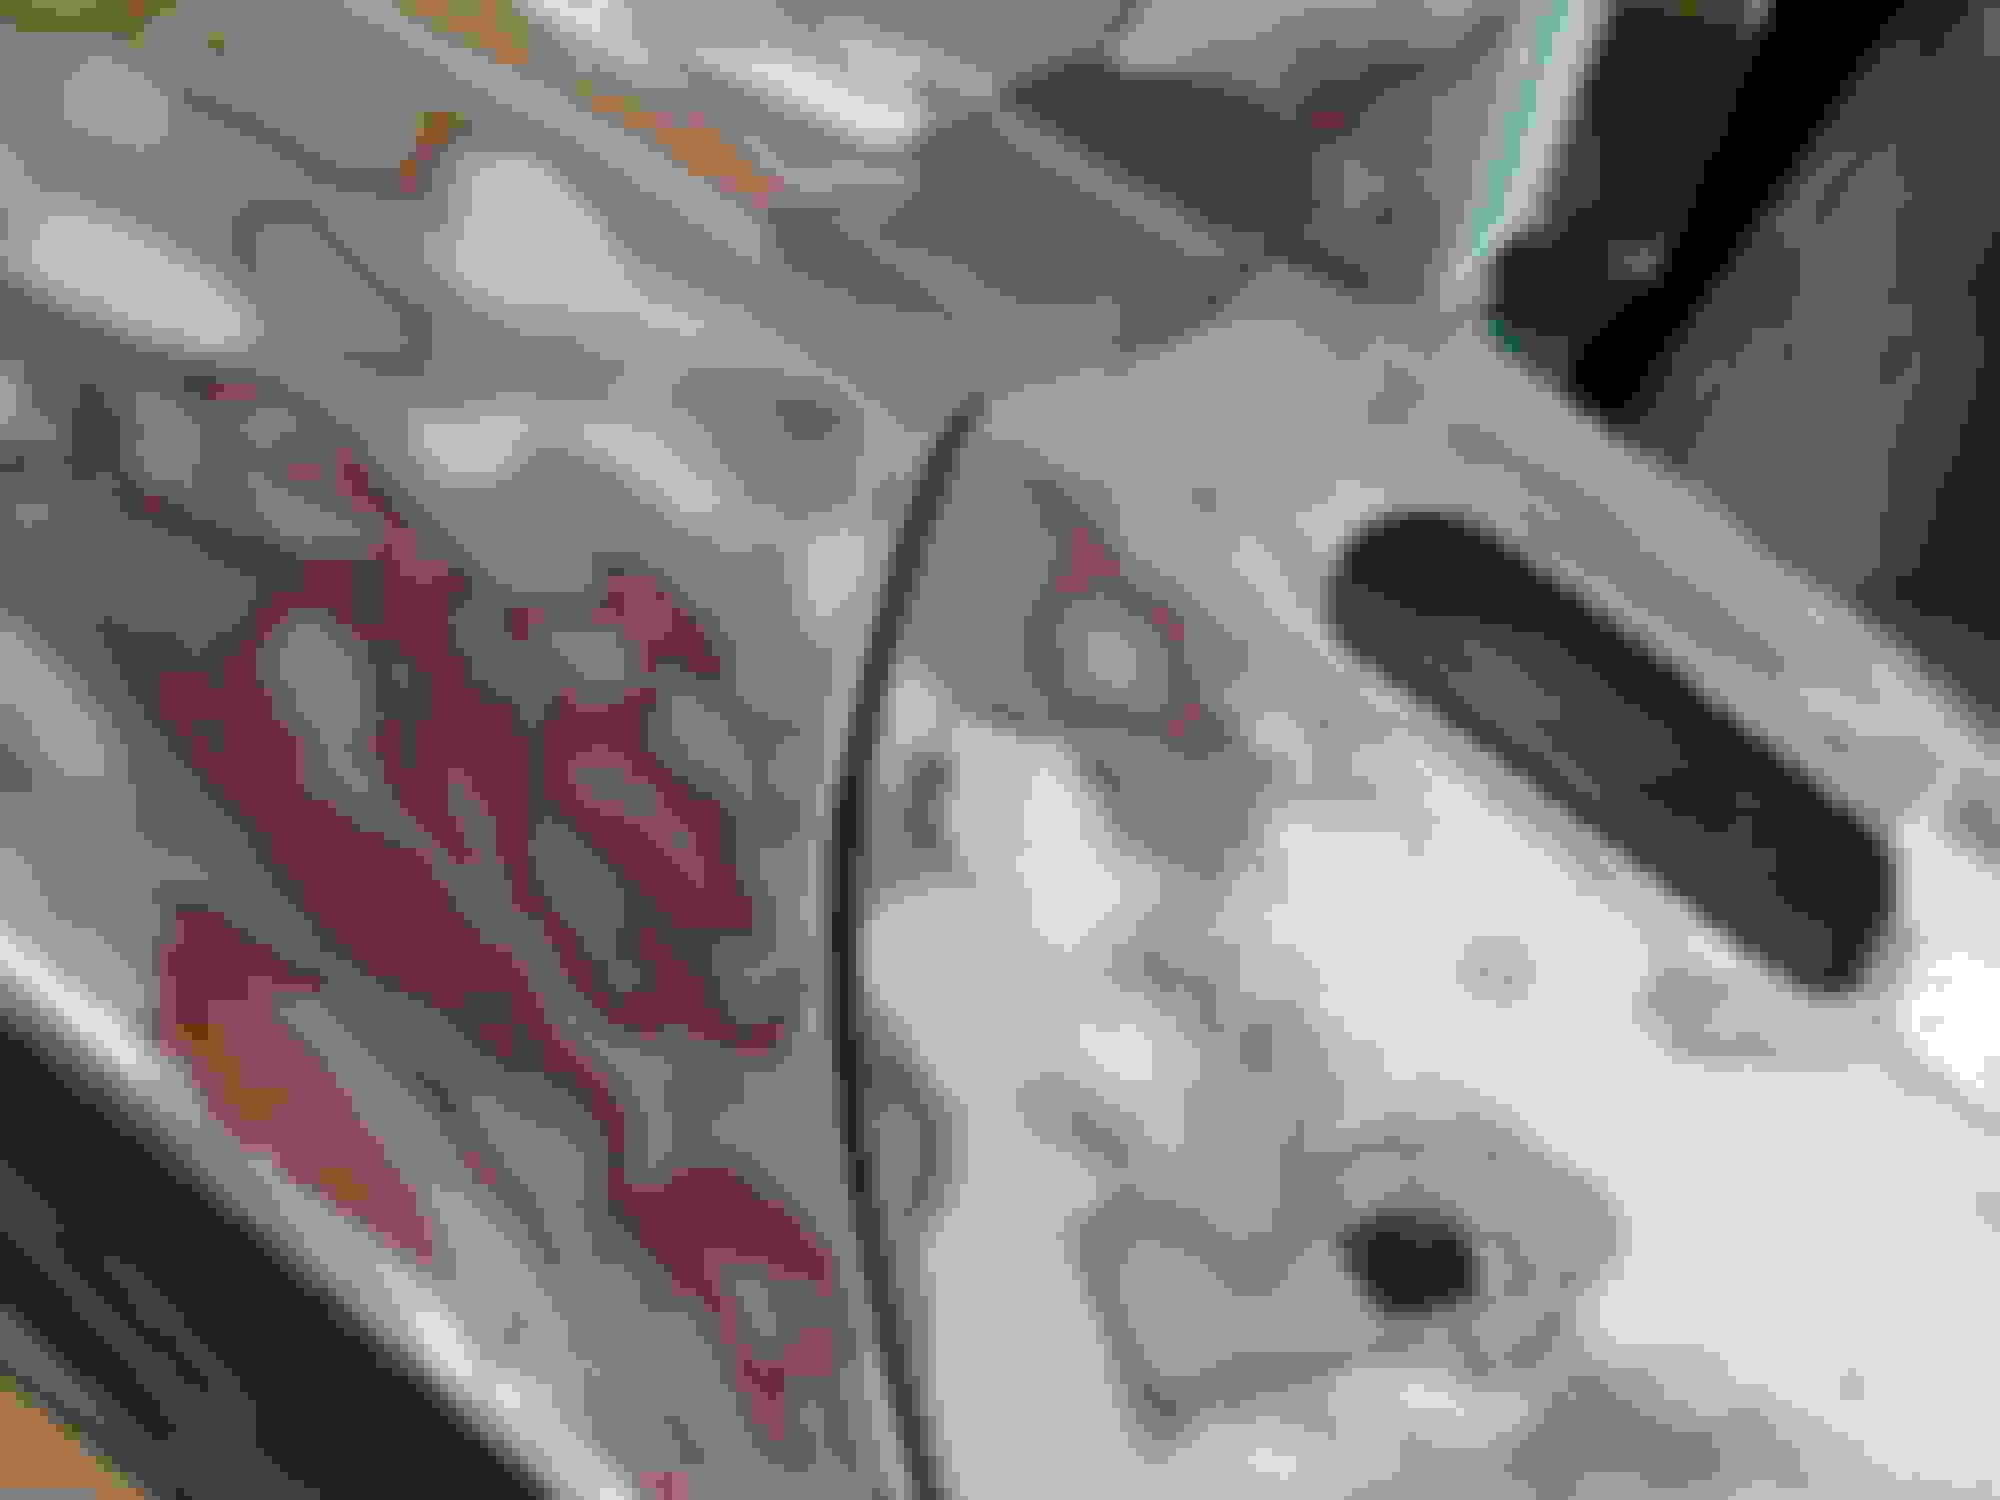
Because of the previously mentioned birdcage rust on the 69 I momentarily owned before this one, I was wanting to take a hard look at the mounting bolt areas on this one. While there was some surface rust, everything was solid. Here are a few examples. I was also pleased to see the inside of the cage under the windshield corners was solid as well
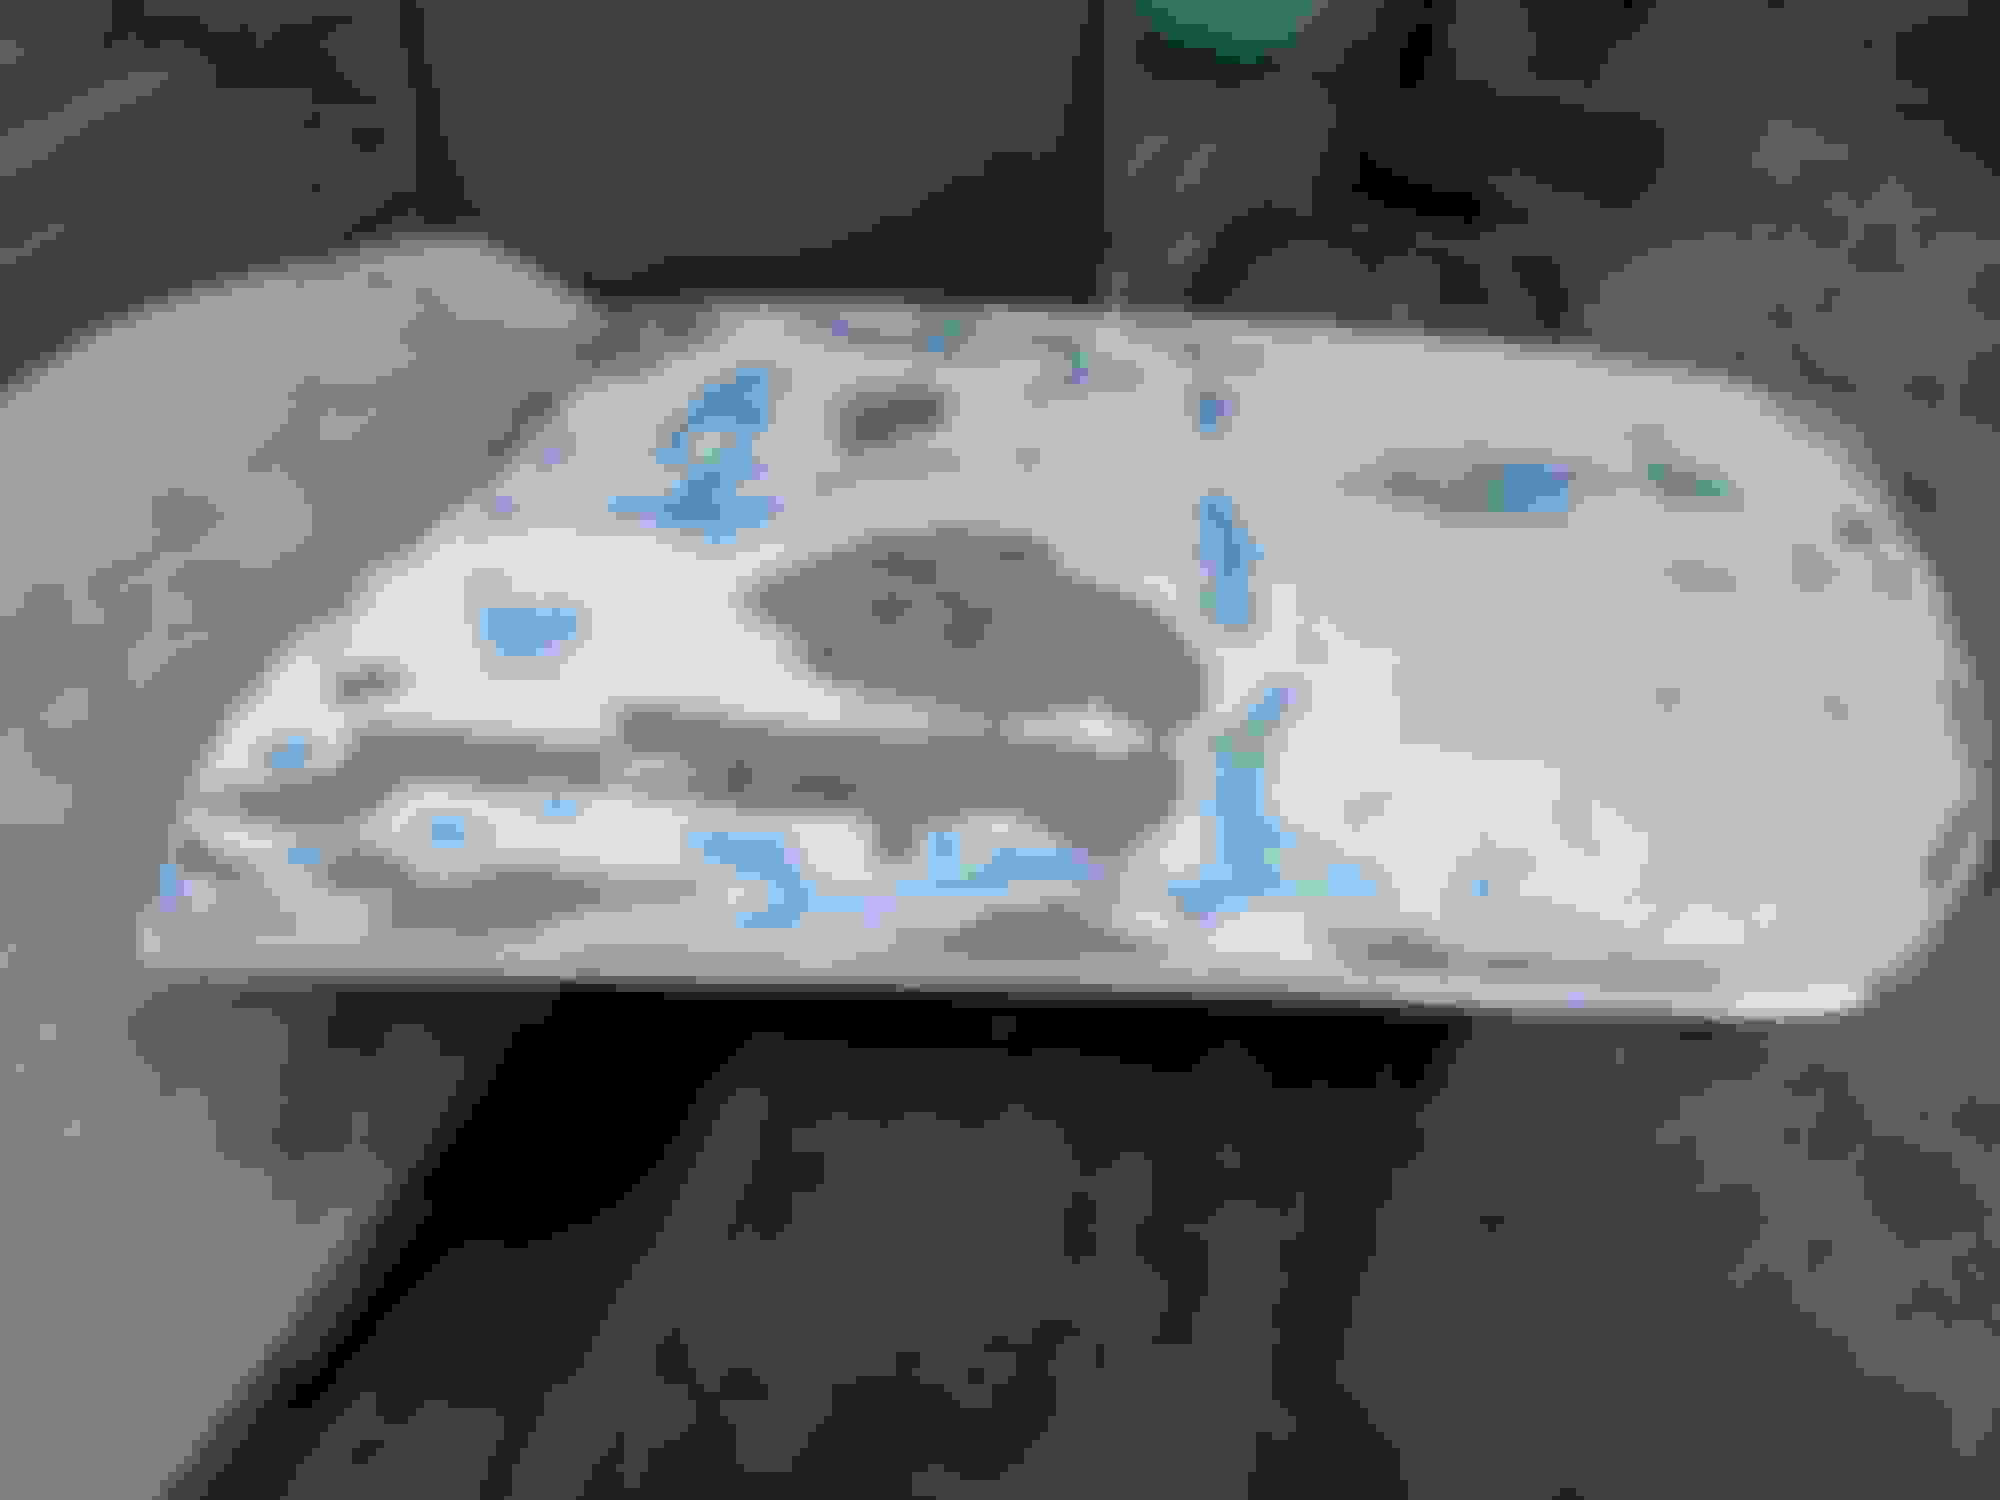
While the car has not been in a major accident, further inspection of the body revealed that the front lower valence had been tapped and poorly repaired, as well as the front bumper. The fiberglass nose was pretty much untouched but the front bumper support is bent. The front bumper did not come with the car.
Hi Glenn,
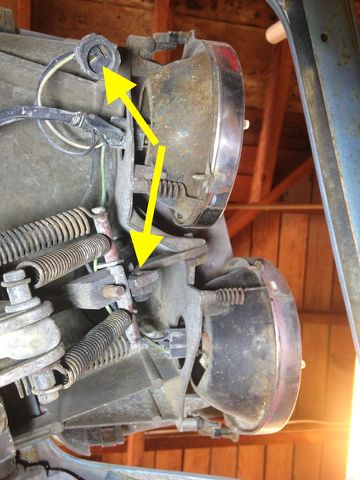
Try to be careful with the plastic 'ties' on the vacuum lines for the headlights.
Although there are reproductions they're not as nice as the originals. The reproductions are quite stiff and sometimes don't want to stay closed.
This is an interesting photo!
There were 3 foam rubber 'pads' stuck (psa) to the underside of the sill. Their purpose was to help stop the window tray from creaking/rattling.
Your photo shows a 'typical' location for the center pad.
Nice... for a restorer.
Regards,
Alan
The plastic switch for the headlight warning lamp on the dash has been broken off it's shank... thus the remains of shank, the nut that holds the switch in place, and an unused electrical connector.
HOWEVER, as nice as some of these sections looked to me, there were other areas that I simply could not get to. I kept seeing body off threads here on the forum that would make getting to those areas easy. Which brings us to a previous post which I repeat here:
There were 8 bolts holding the body on. I kept telling my wife, I am 8 bolts away from disaster. Don't let me take the body off. If I do, I know where that will take me. Being OCD when it comes to cars, I will end up making the car too nice. And take too long.
So one dark night, in a fit of madness I tested one of the 8 body bolts to see if it was frozen as they so often are. Shockingly it broke loose. I kept going. Before I knew it, I had all 8 bolts turning free.
Even so, I still resisted pulling the body.
But then I thought, maybe I will just quickly raise the body, get to the areas I couldn't get to with the body on, and then quickly put the body back down. That way I wouldn't get sucked into doing everything....
At this point I made critical mistake. I started looking at body dolly plans. I really didn't want to take all the time in building a dolly, but my wife was headed out of town for the weekend to visit her parents, so I printed out Alan's dolly plans and headed to Home Depot, "just to take a look around" Here is what I came back with.
And by the end of the weekend I had this
Last edited by gleninsandiego; 01-27-2018 at 02:52 PM.
At this point the car itself has made it's way to my friend Richard's body shop. He has done a number of my cars over the years and does extremely high quality work. I kept telling him this one is to be a driver, not a restoration or a show car. But driver quality to Richard isn't what driver quality is to most people. Richard is the one on the left on the bottom picture.
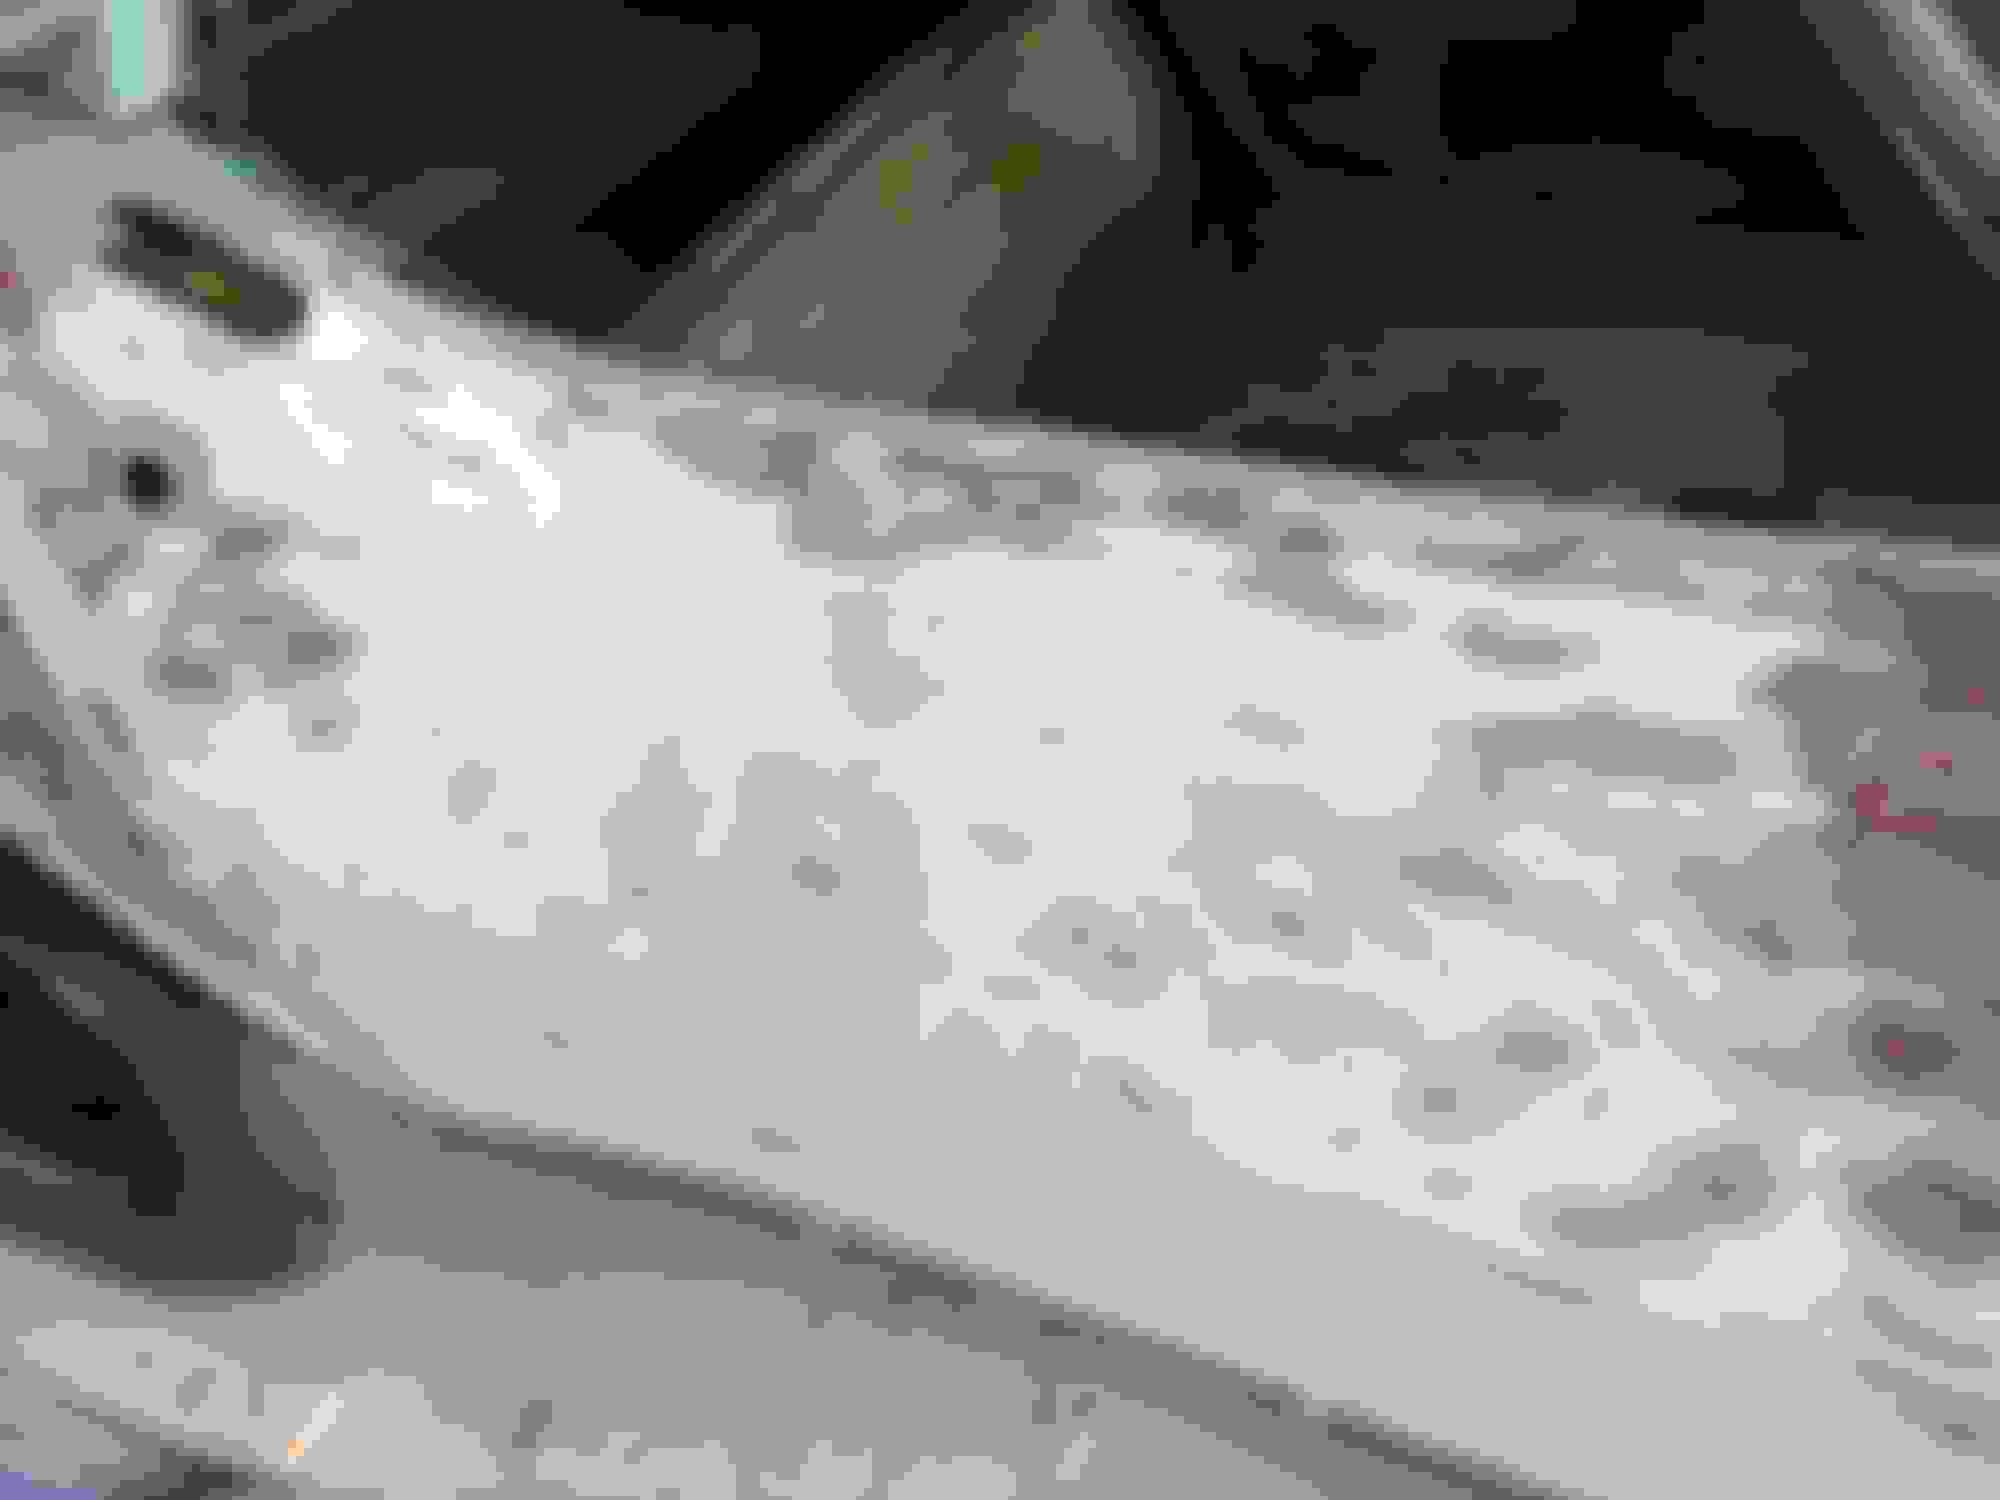
As you know, there is nothing worse than dealing with a cheap paint job on a car, and the blue you see is just that.
It is all going to have to come off. The white underneath it is primer. The silver underneath that is the original body color.
At this point I have not decided what color it is going to end up.
Last edited by gleninsandiego; 01-27-2018 at 05:32 PM.
This is always an exciting time for me when it comes to car restoration...what I call "the discovery phase", where you strip off old paint and see what you really have underneath. While on a Corvette you can see a lot by looking at the fiberglass condition under the body, you just never know what is lurking underneath the paint.
So far, no surprises
Next, Richard dials in the door gaps.
Next off comes the doors for more paint removal
The same with the T-tops and hood
Now comes the epoxy to seal everything up.
I always have a good feeling when this stuff goes on.
It is like we have turned the corner as far as stuff coming off these parts
Now comes the moment of truth, the point of no turning back.
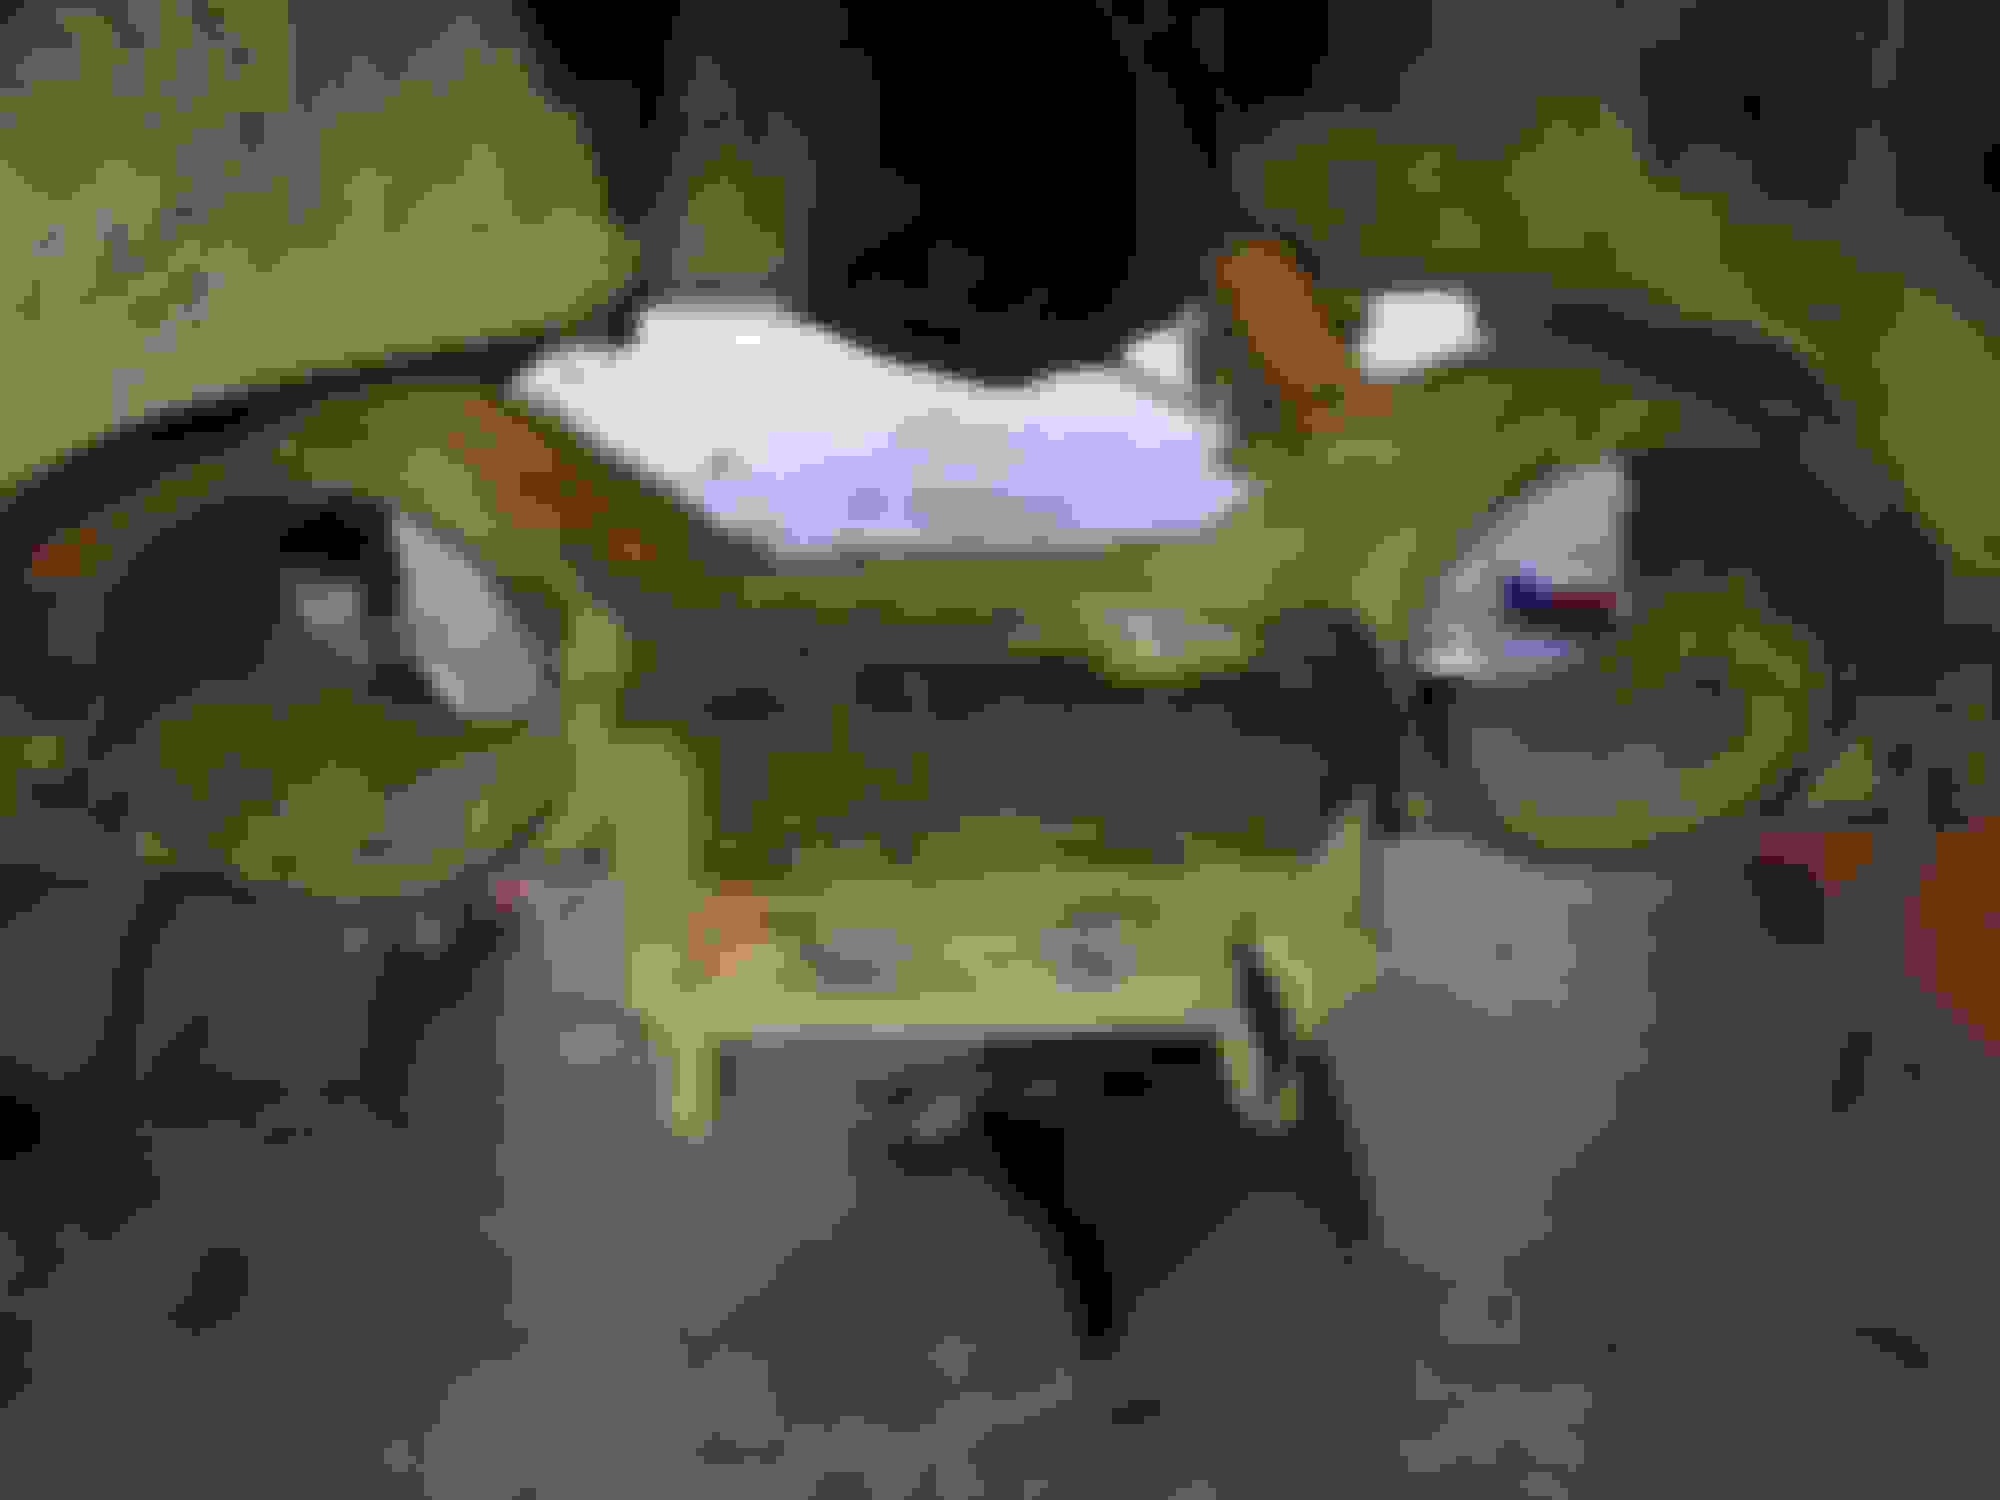
The eight body bolts are removed, along with some other parts connecting the body and the frame. A sling is attached and using a engine hoist off the body comes. It was just me and Richard doing this so I could only take one action shot. Here it is

 01-26-2018, 02:37 PM