When you click on links to various merchants on this site and make a purchase, this can result in this site earning a commission. Affiliate programs and affiliations include, but are not limited to, the eBay Partner Network.
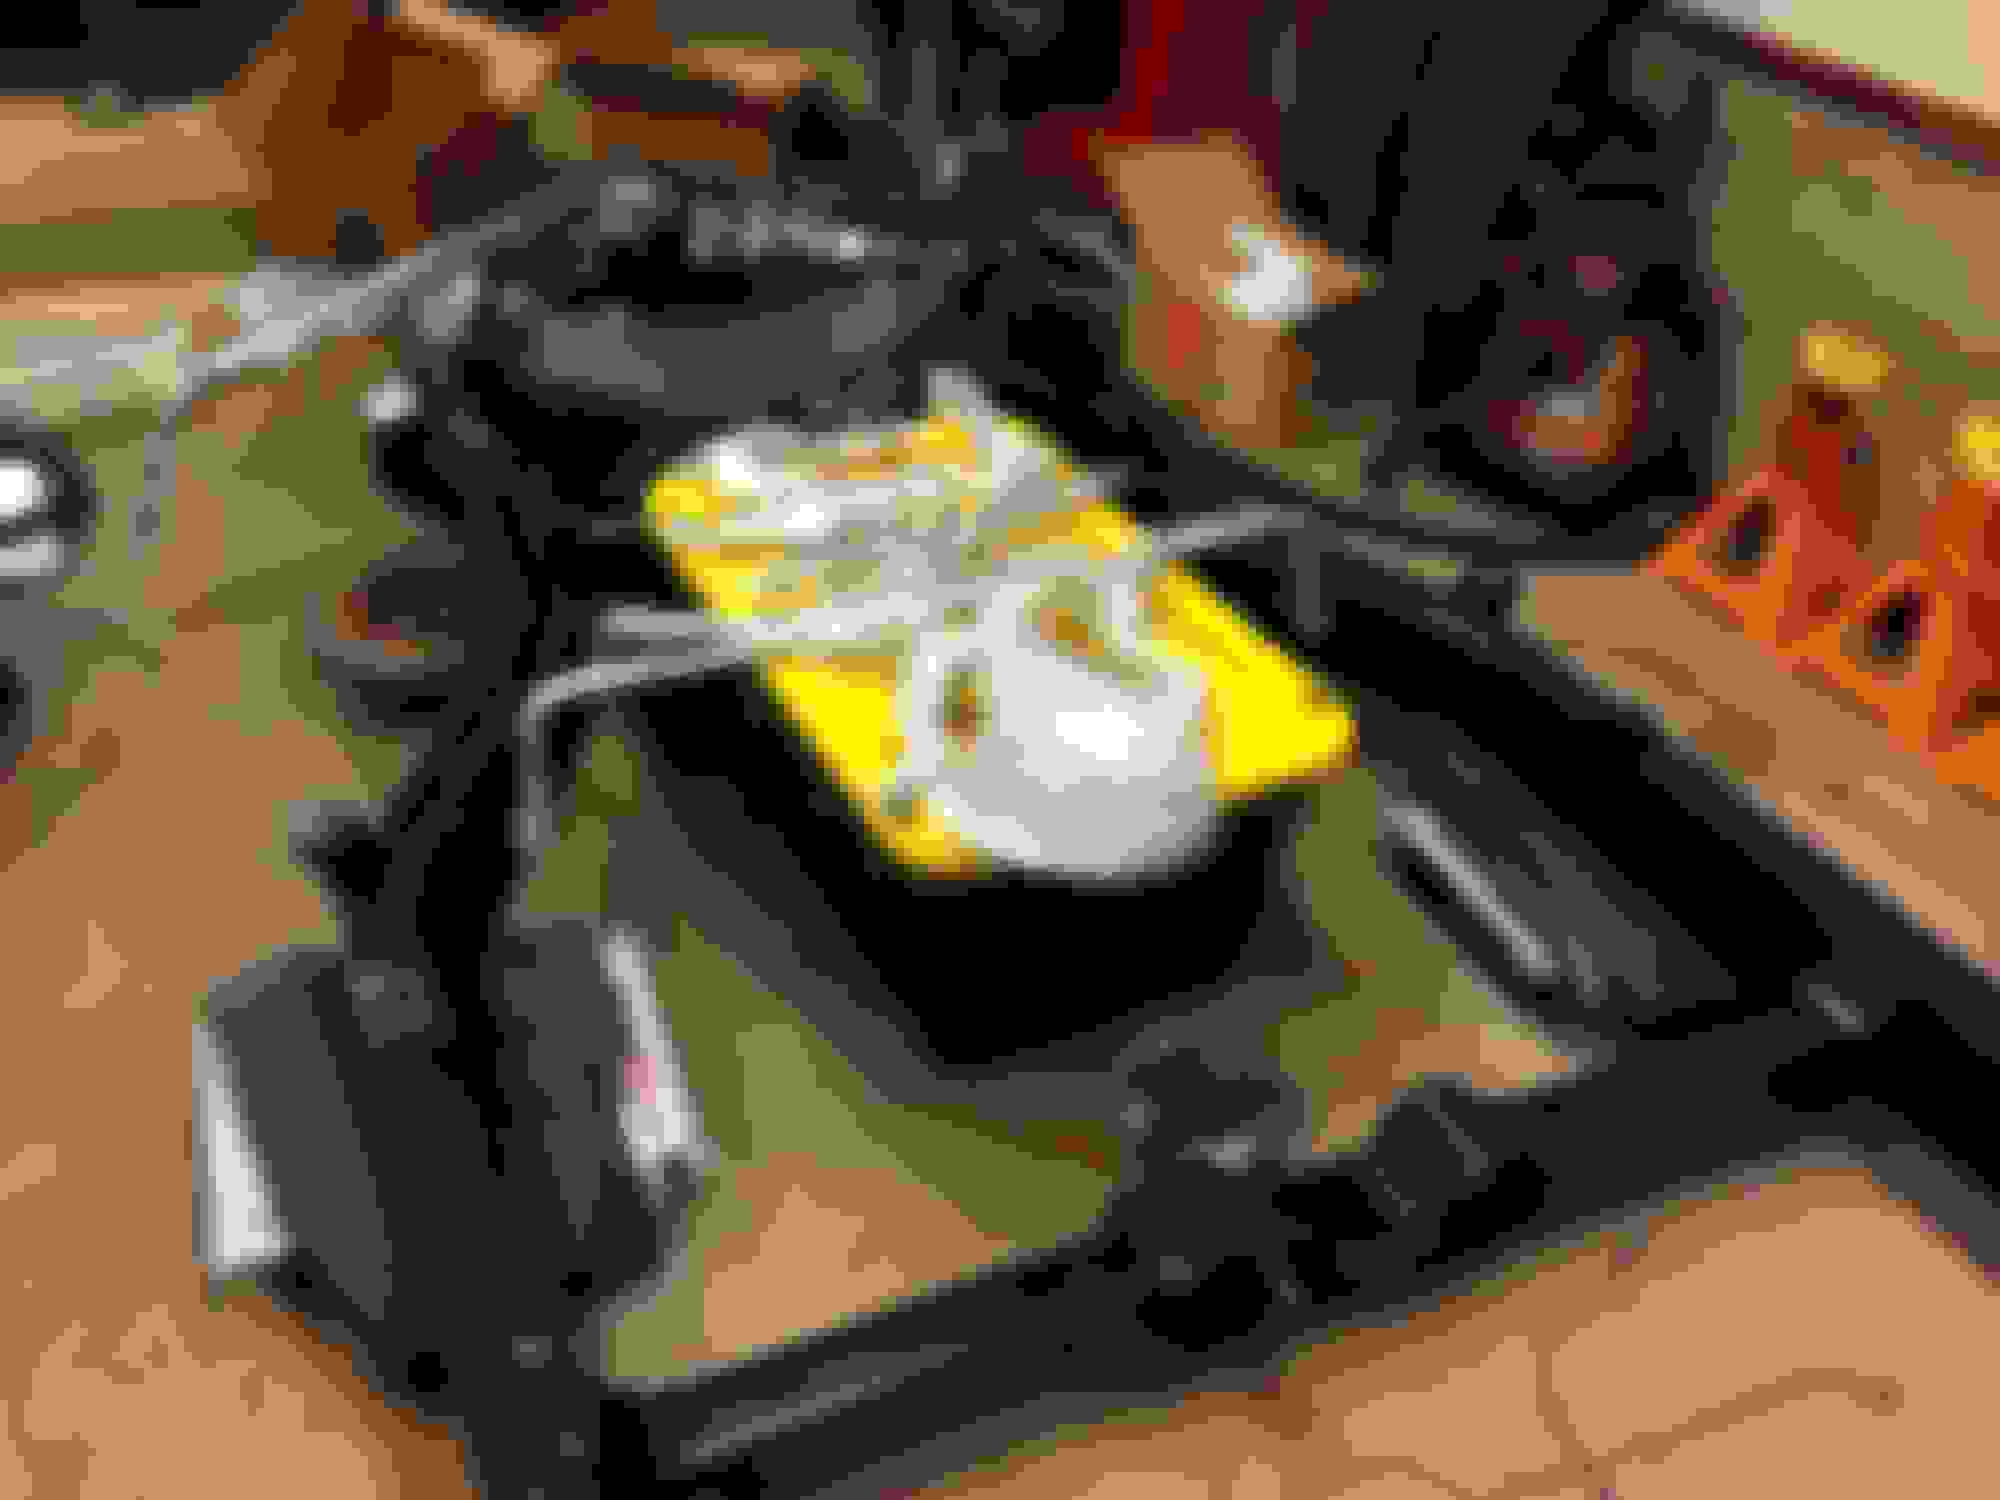
Since I am not doing a restoration, I decided to get some contrast to the suspension by going with a silver.
I really really really like how it came out.
Last edited by gleninsandiego; 01-29-2018 at 01:09 PM.
Since I am not doing a restoration, I decided to get some contrast to the suspension by going with a silver.
I really really really like how it came out.
But that isn't all
What did you do to the silver parts? Paint? Plate?
Hi Glenn,
Well! My goodness!!!
Some very pretty looking work.
I'm thinking more than a couple of minutes spent on prepping those parts and frame!?!?
Regards,
Alan
Hi Glenn,
Well! My goodness!!!
Some very pretty looking work.
I'm thinking more than a couple of minutes spent on prepping those parts and frame!?!?
Regards,
Alan
Indeed.
I got the worst of the dirt off, but everything was sandblasted. The guys did a great job on that because sandblasting can damage and distort parts if you don't know what you are doing.
The good news is all the rust was on the surface, so all the parts were good.
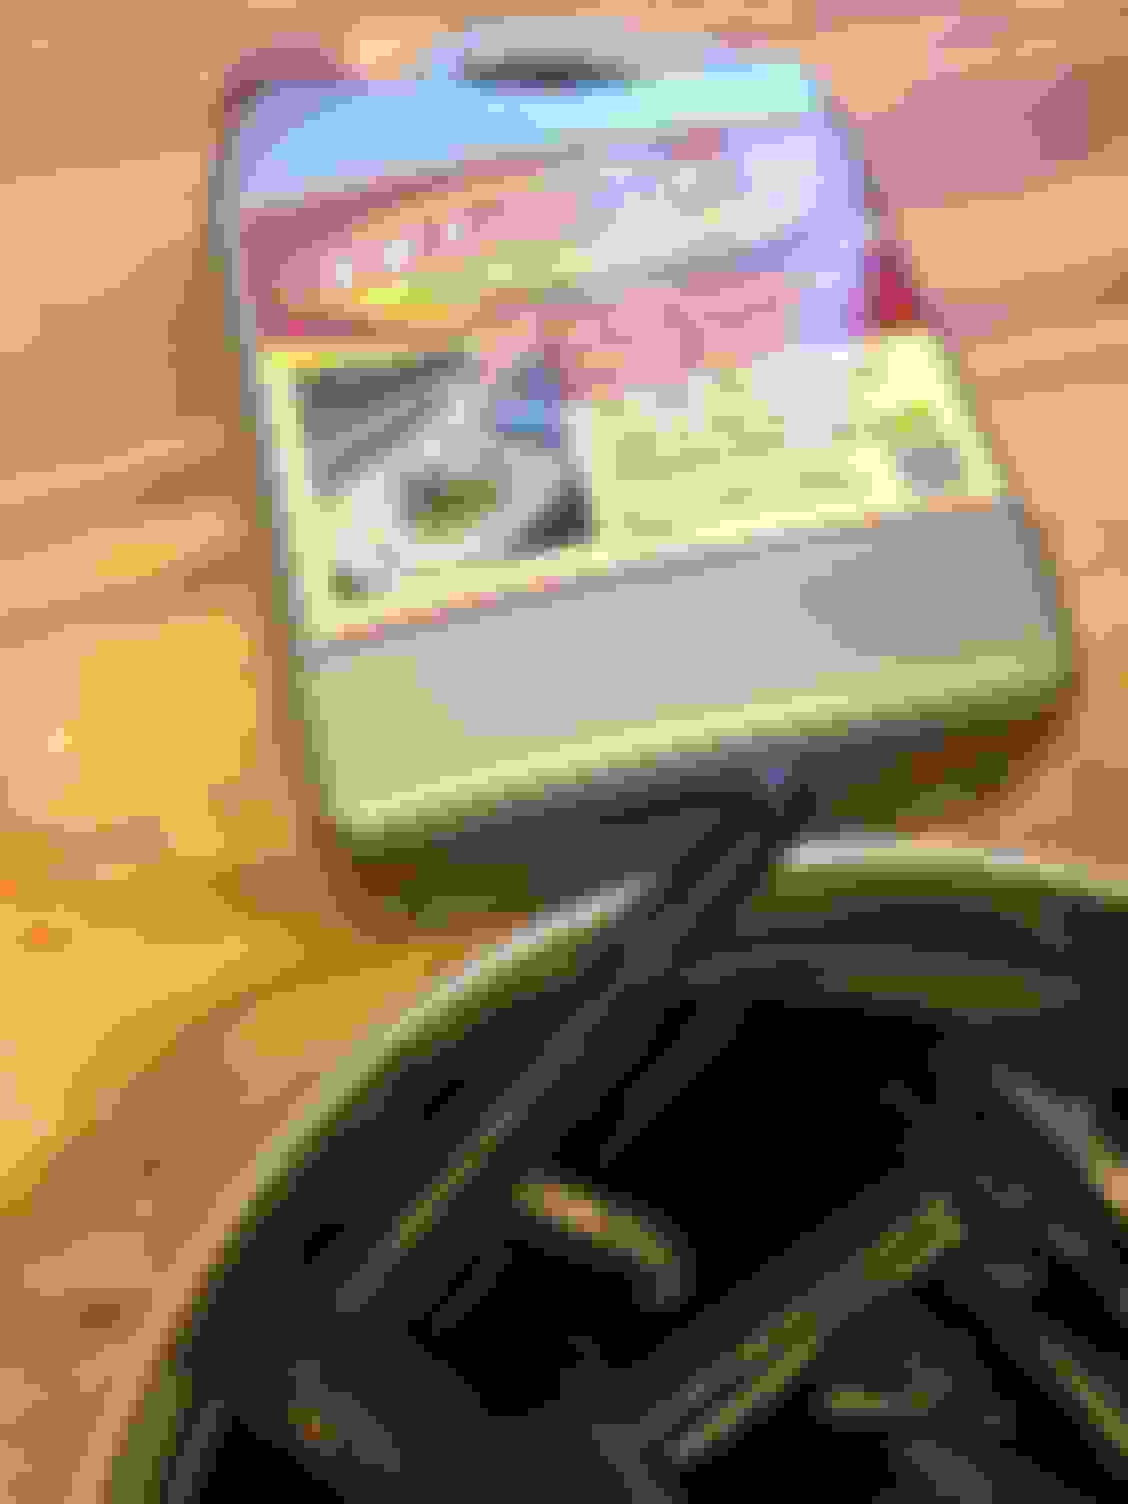
Speaking of prep, two items have become invaluable going forward. Evaporust and a bench grinder converted to two wire wheels.
I would get the worst of the rust off with the coarse wire wheel, then I would soak it in Evaporust, then I would hit it with the fine wire wheel, and finally I would paint. My work bench was a constant scene of cups and pans of parts soaking.
Looks like you and I are the same path. I am just getting started on a 71 LS5 resto myself. Love the powder coating. I will be following your progress. Good Luck.

 01-29-2018, 02:16 AM