When you click on links to various merchants on this site and make a purchase, this can result in this site earning a commission. Affiliate programs and affiliations include, but are not limited to, the eBay Partner Network.
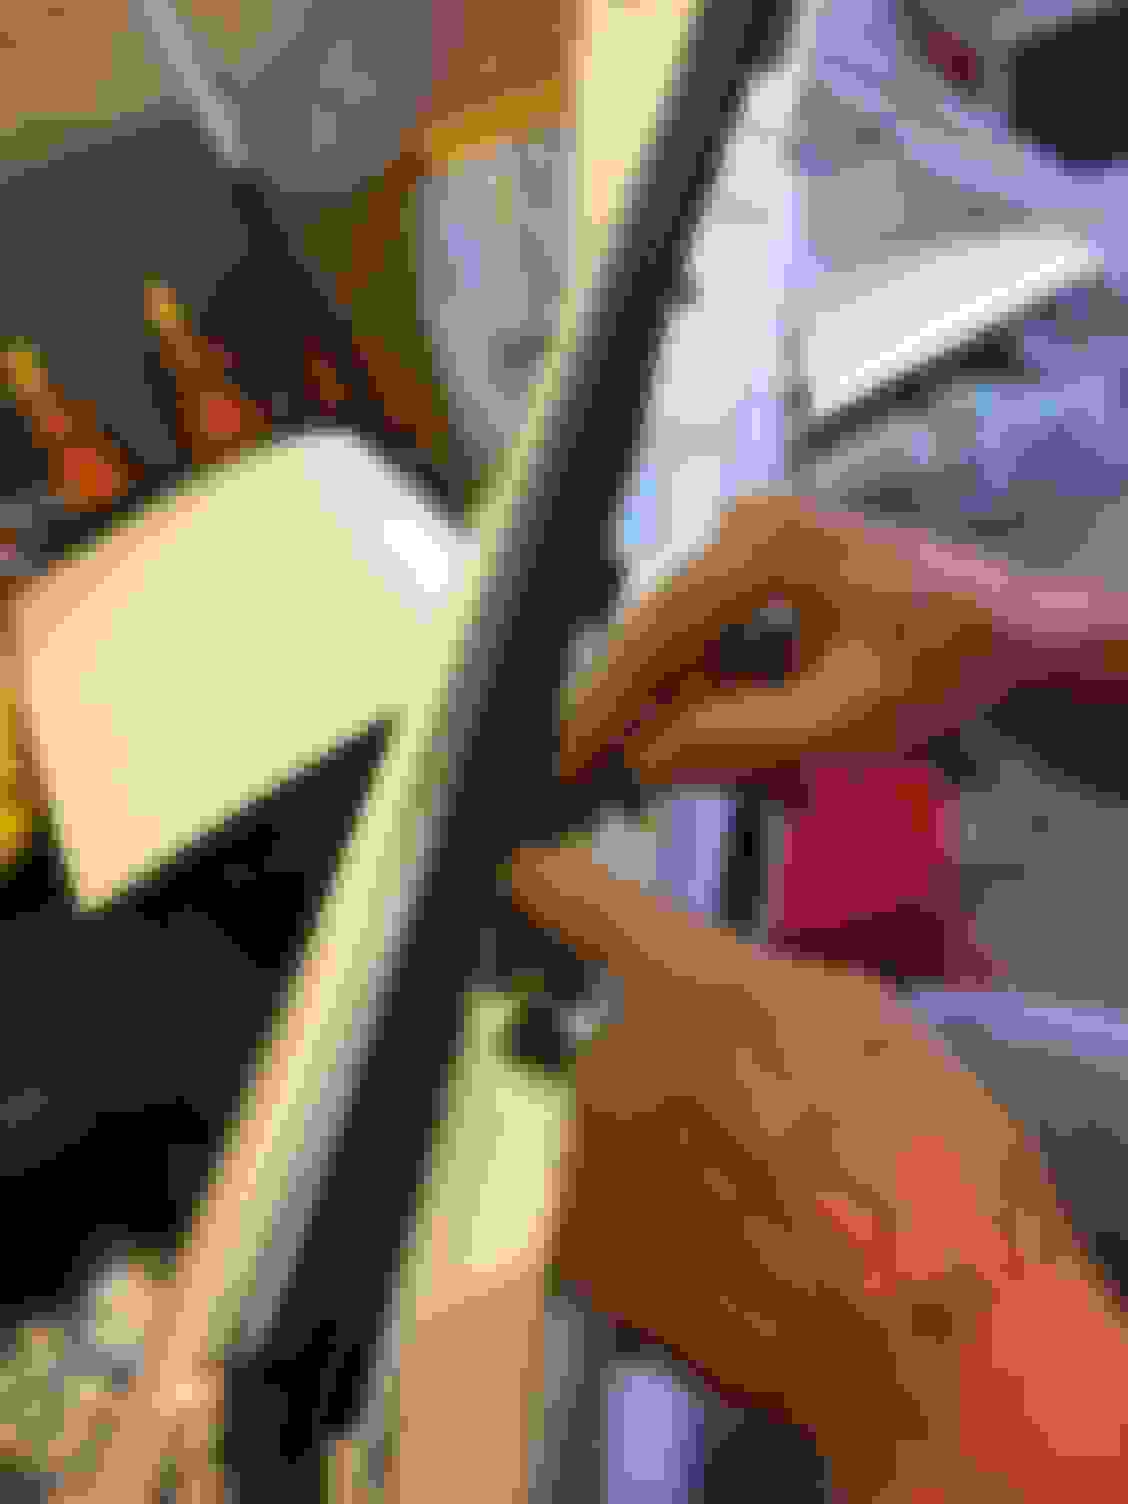
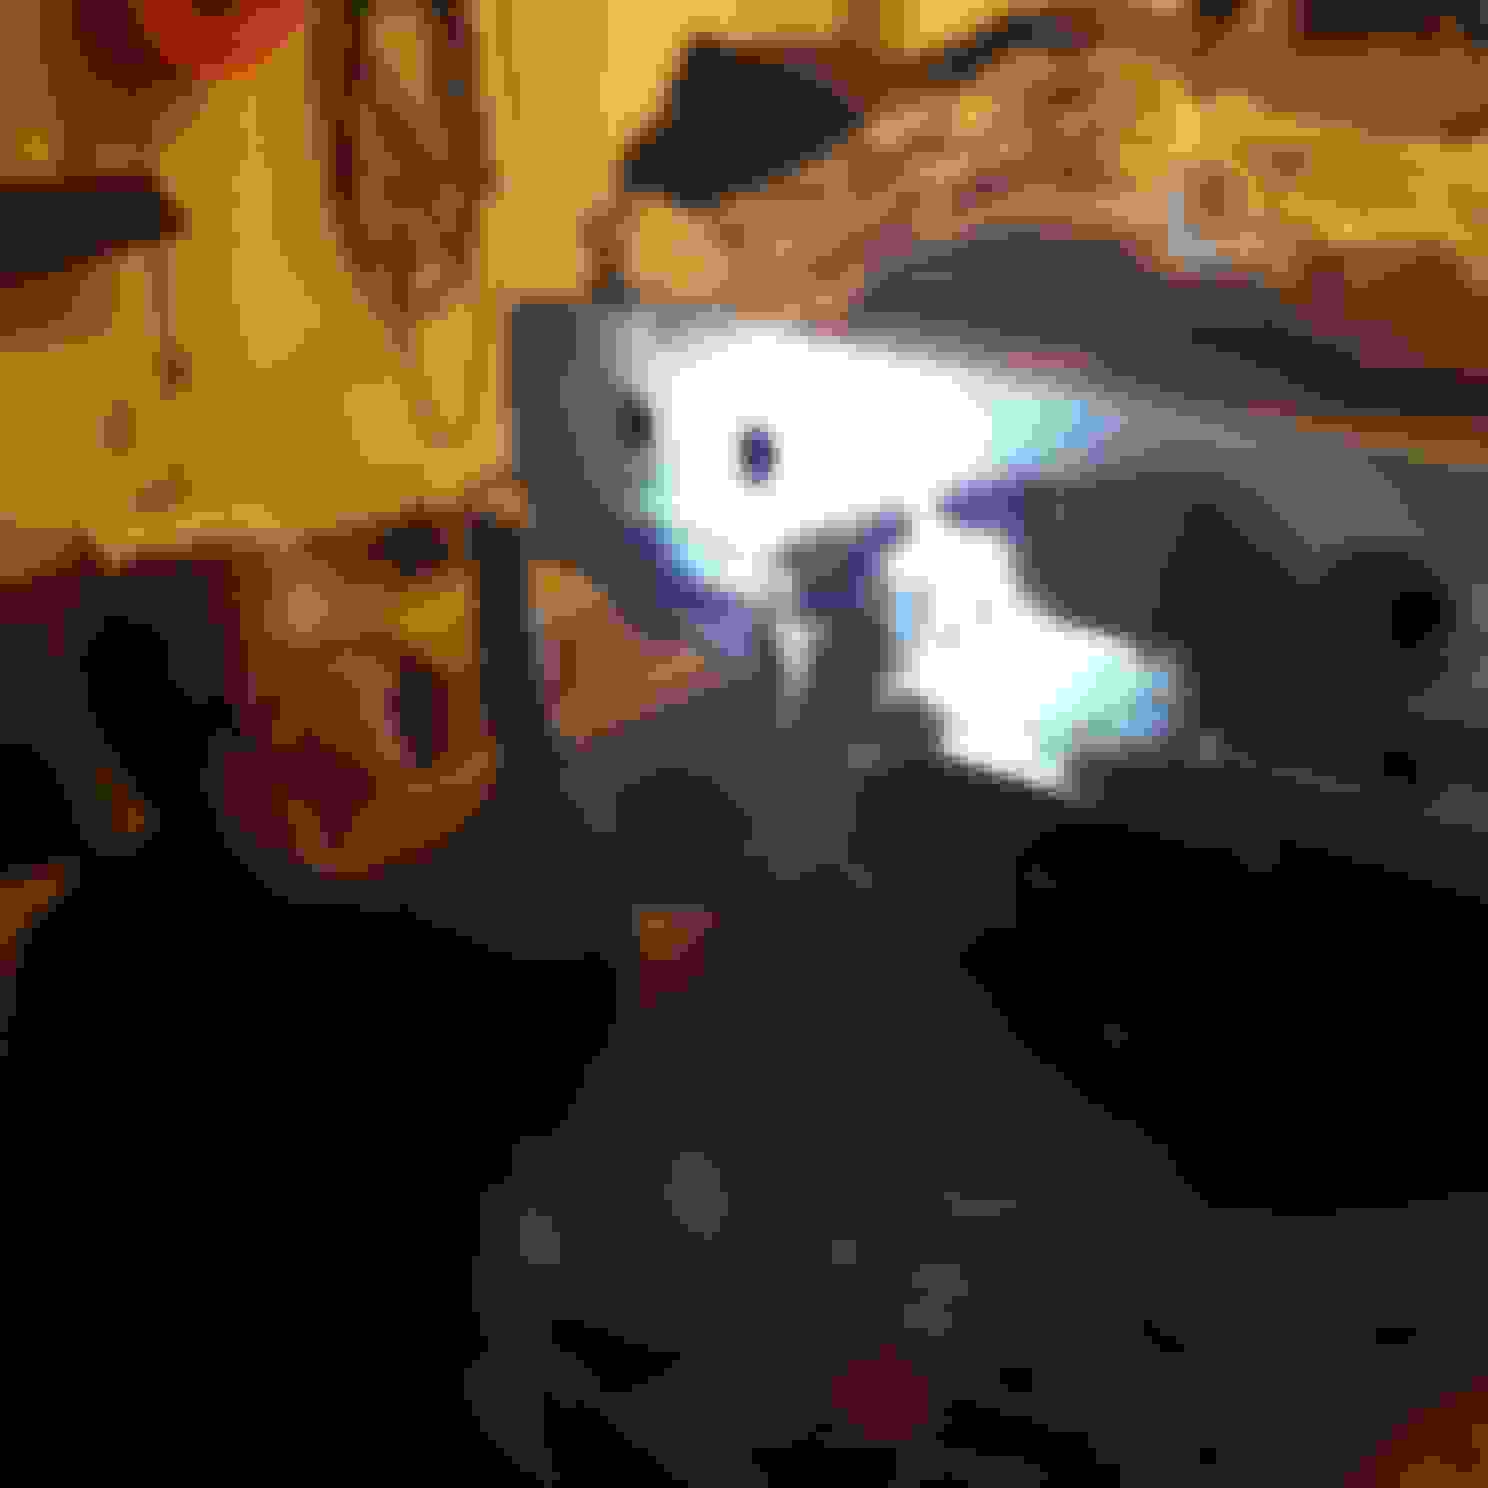
I spent a lot of time reading how to do this and for the life of me could not figure out how to get the front white roller through the opening in the top of the door. Finally I just gave up and bent the metal flap up to make enough room.
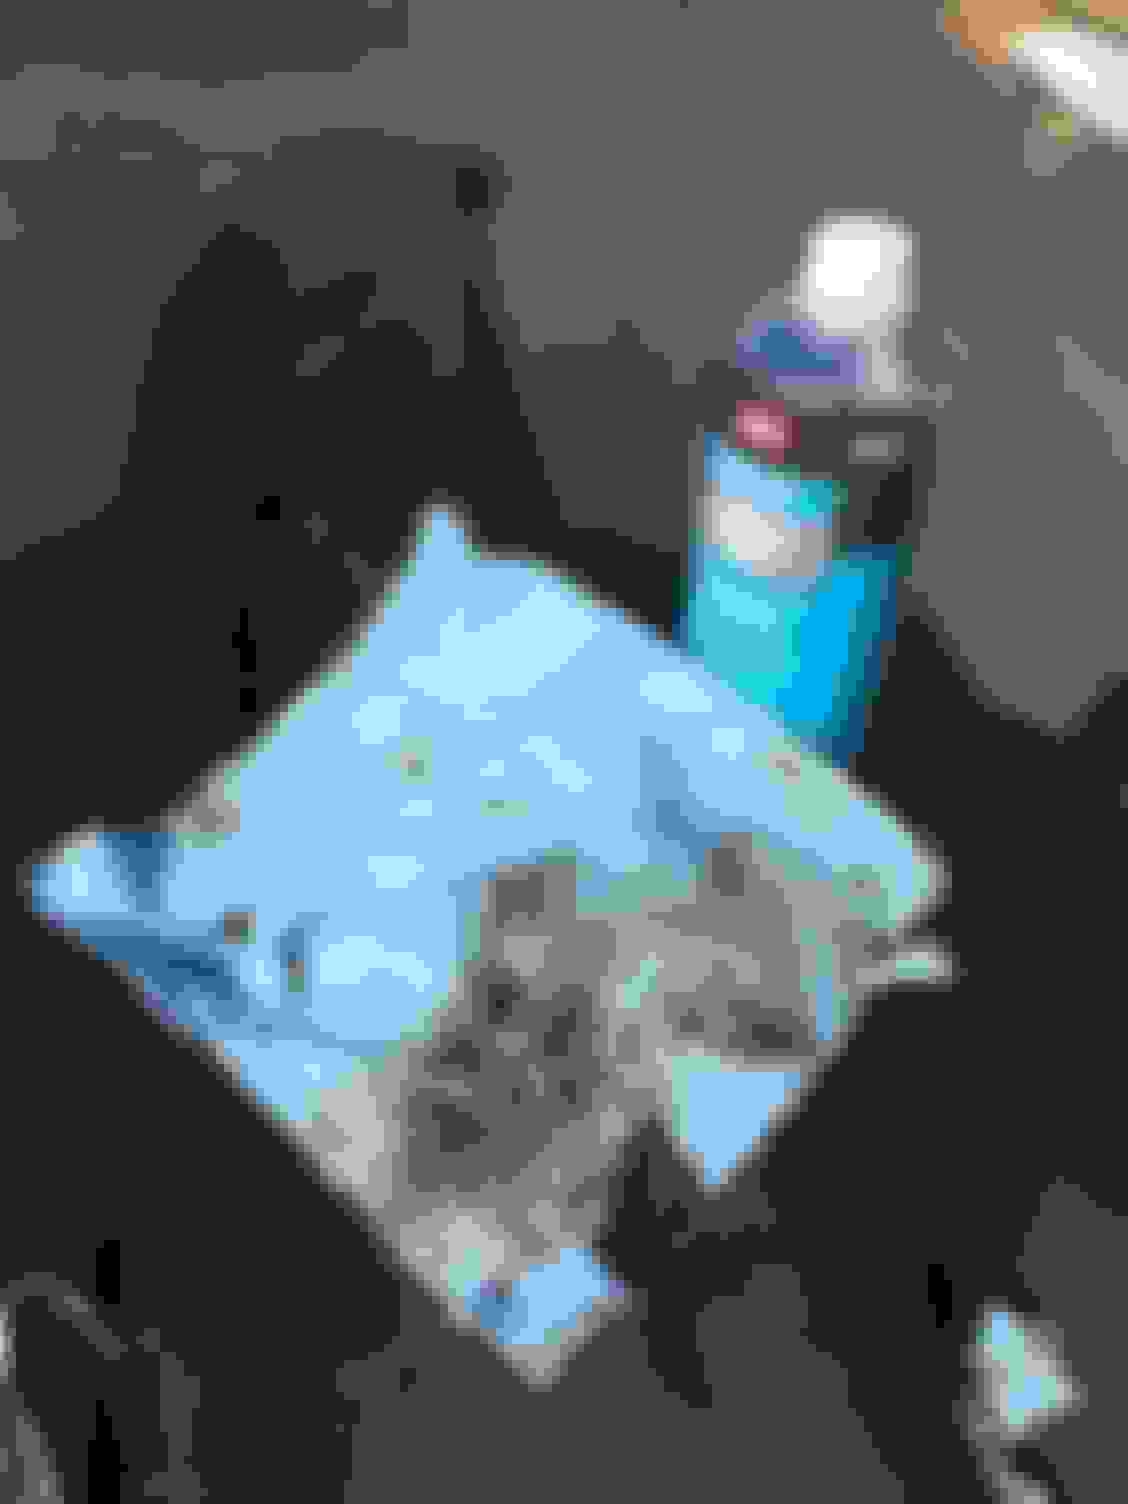
But first came the miserable experience of trying to install the outer door rubber wiper. The bottom line is it did not fit. The inserts that snap into the door openings did not match. I literally spent hours trying to make them fit, but it just was not to be. I had to get a different set, and what a huge difference that made. The new set was magnificent in comparison. Still not easy though
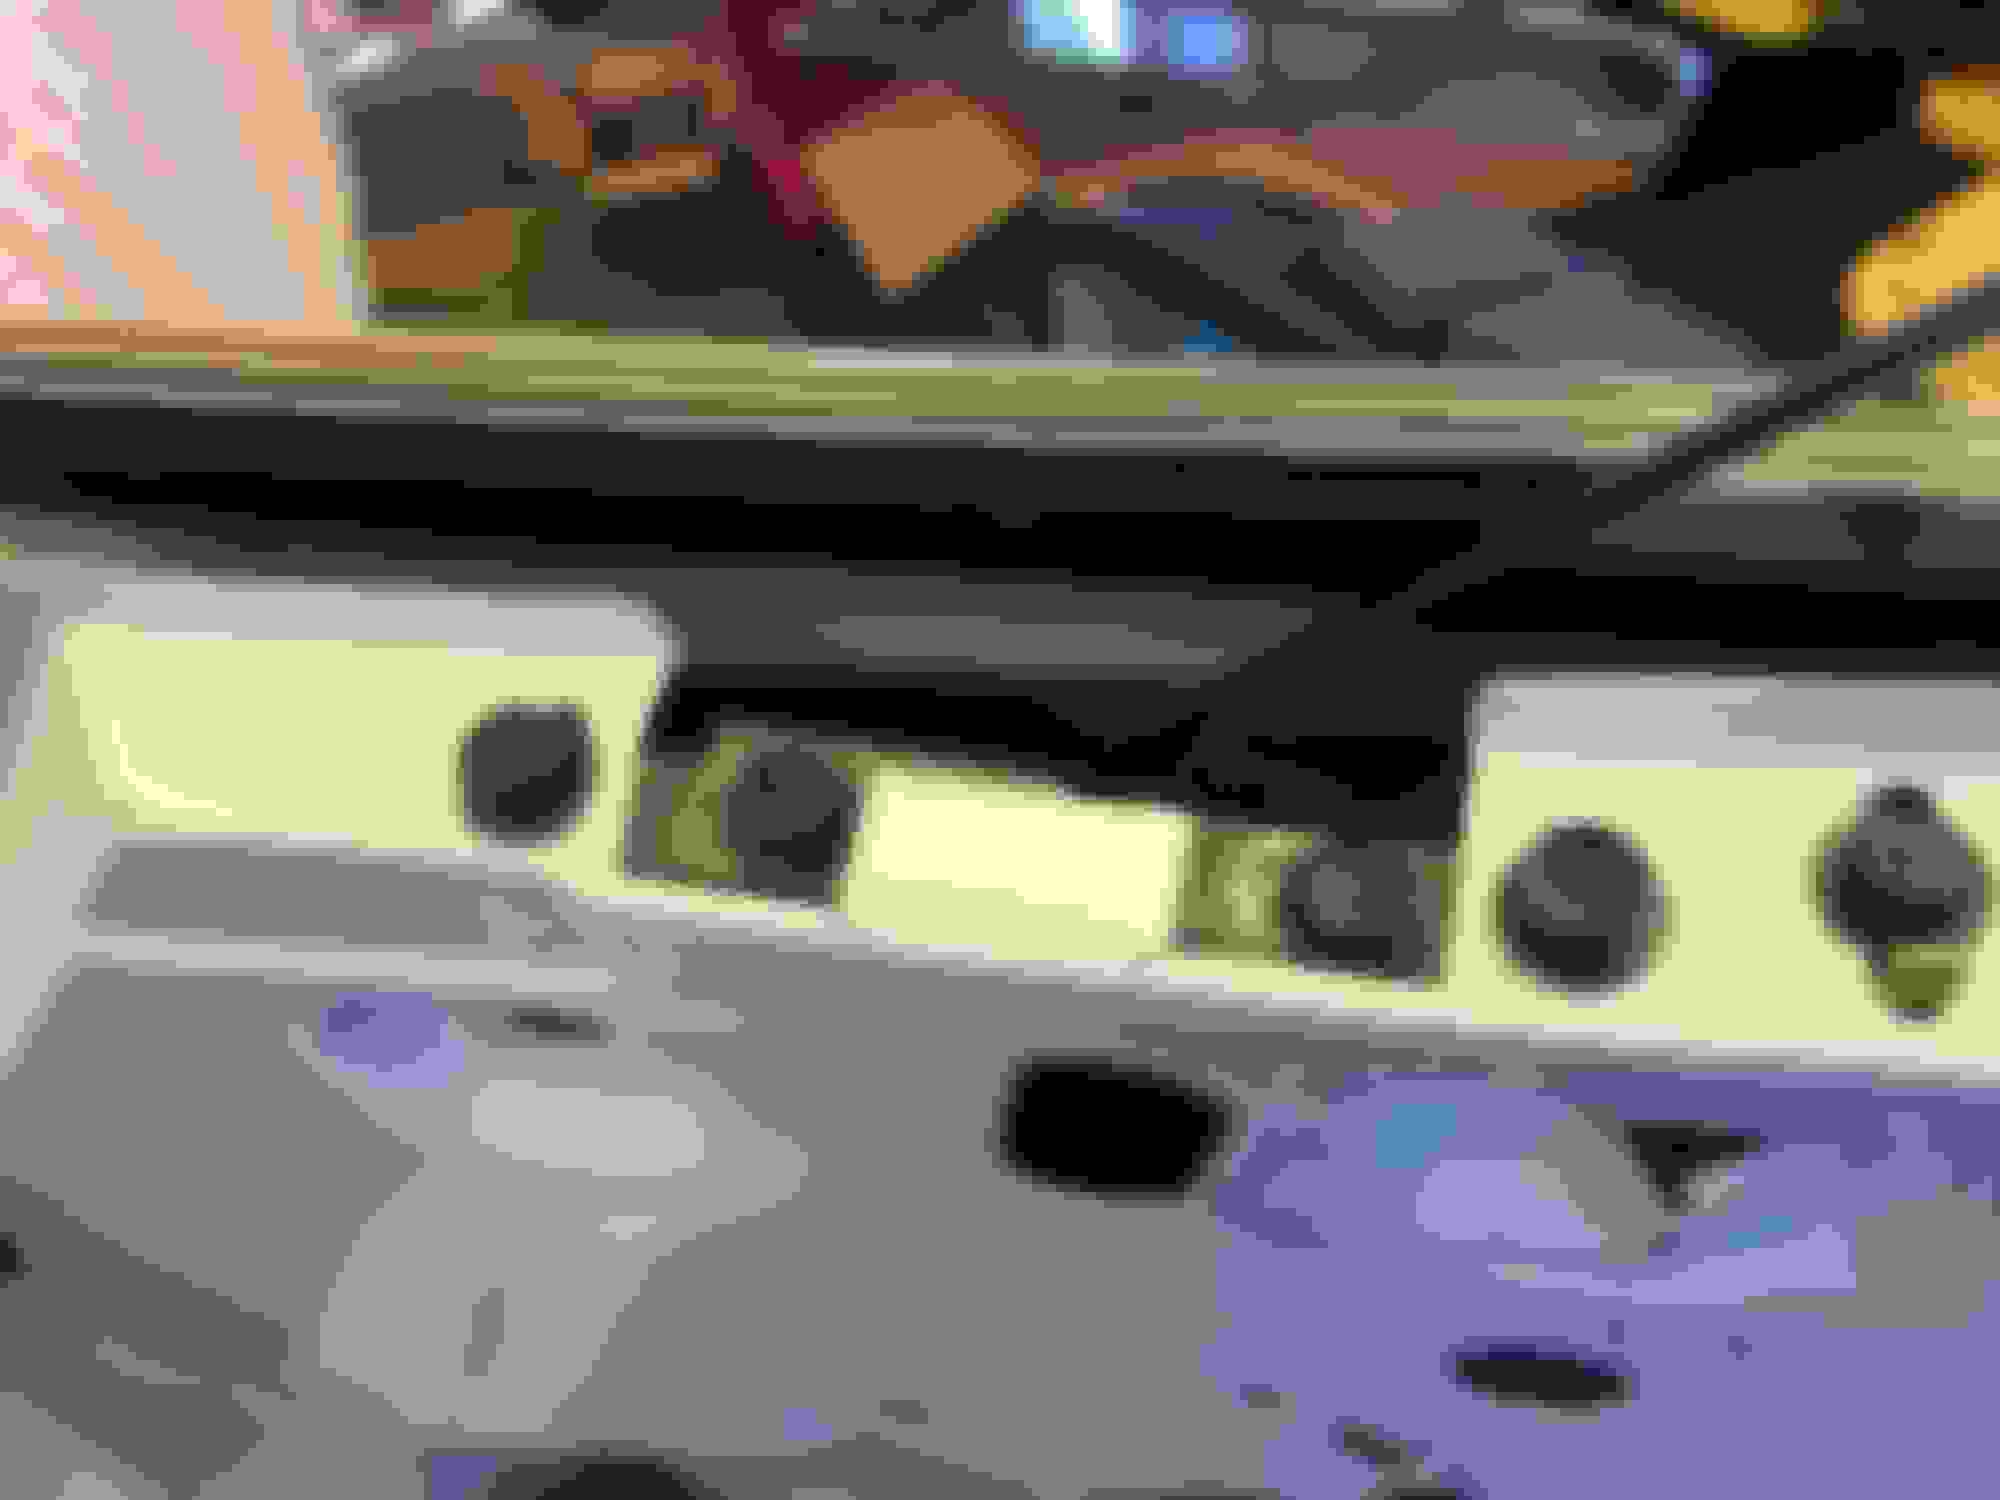
With the outer wipers on then came the glass itself.
A miserable experience before I bent the tab.
Complete with cuts and bleeding
After, not as bad.
As of today the glass is in but not adjusted
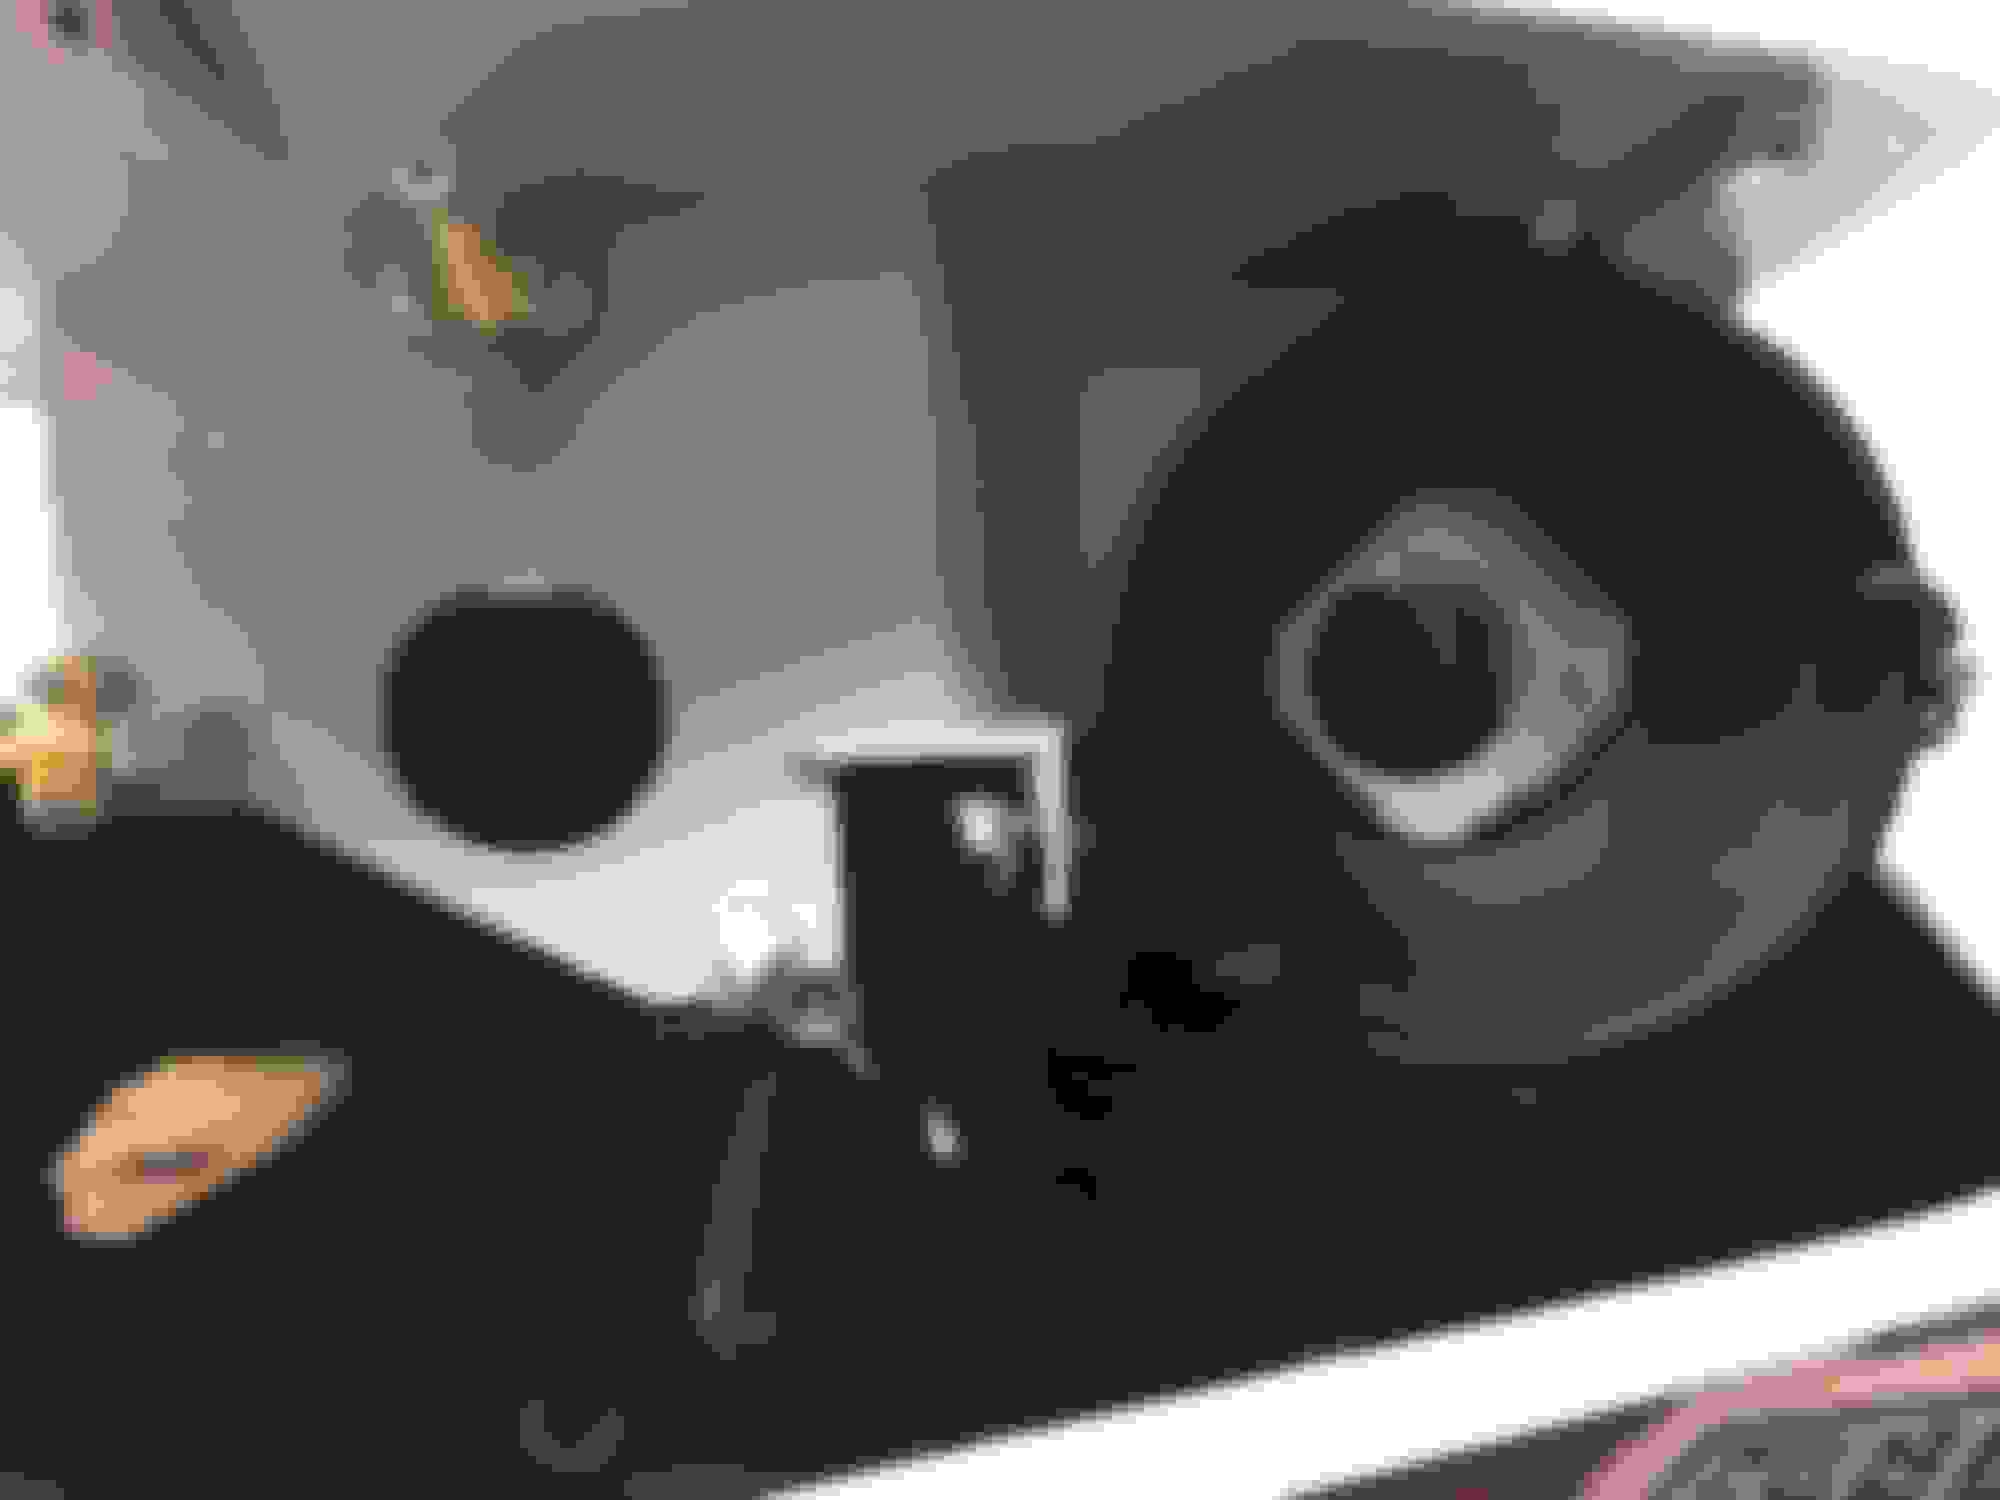
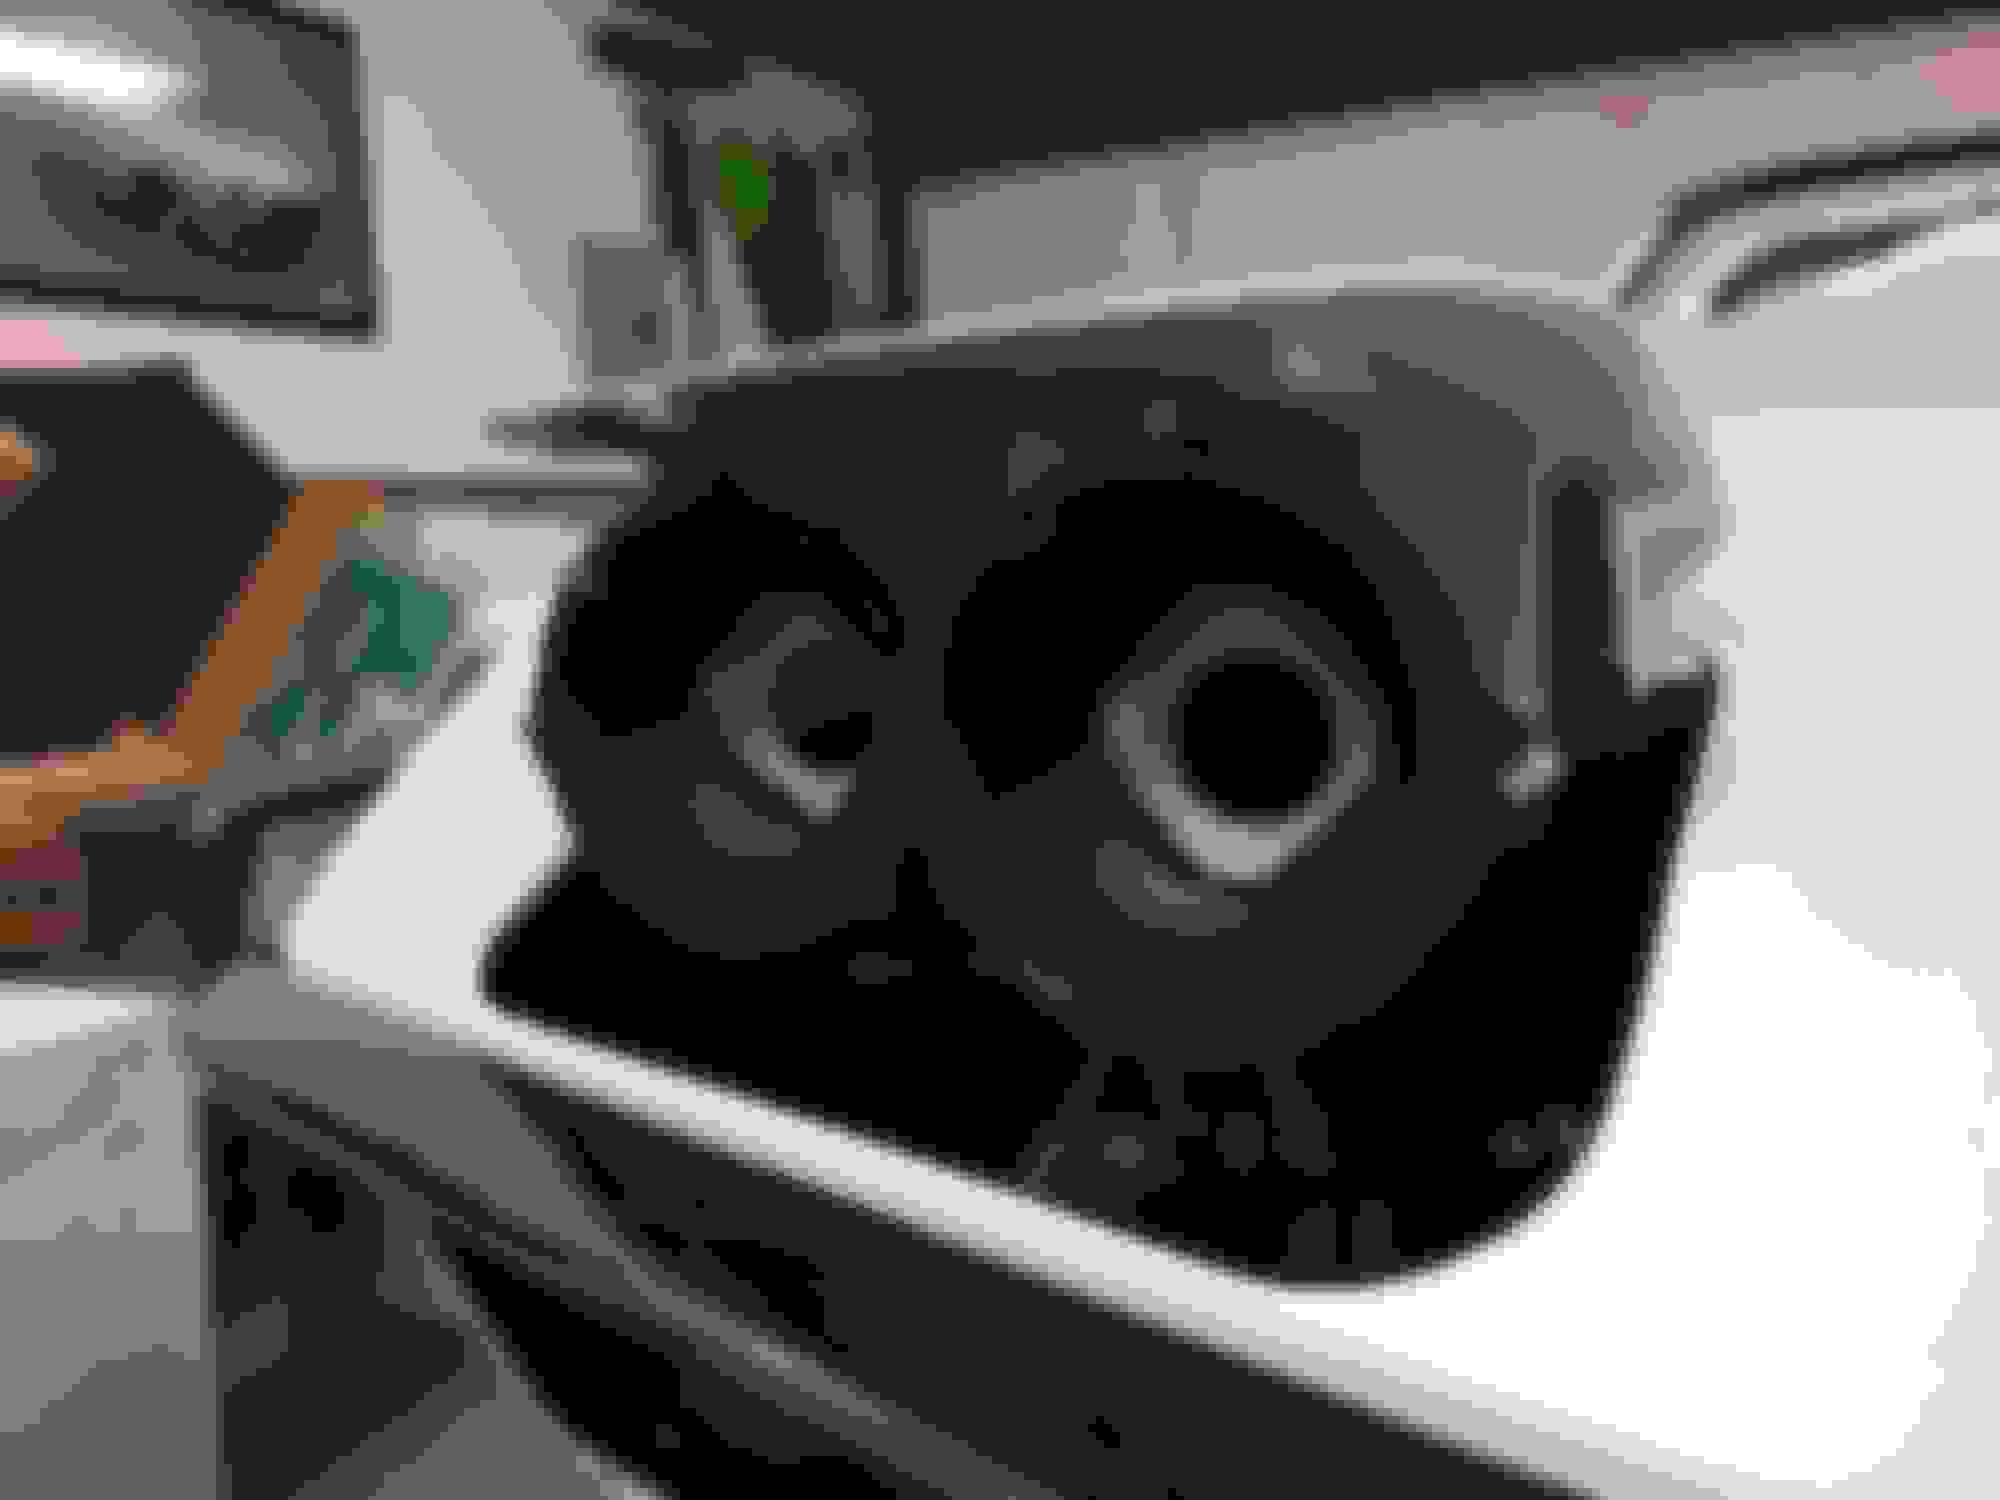
Here are some pics
It has been a year since I pulled the windows so I was like putting a puzzle back together
I took a ton of pictures so I had my laptop at hand staring at how things went together
You can see the bent tab below
Tab bent back
Only the paint cracked, not the metal
A big sigh of relief just to get the glass in the door unscratched
Last edited by gleninsandiego; 06-12-2018 at 02:16 AM.
It is great to see so much progress and THANK YOU for so many detailed pictures of your process. I will be referring back to your thread a lot as I get closer to the point where I am actually putting things together instead of taking them apart.
Thanks for all the encouraging words.
I do need to mention that the driver's inside door handle mechanism is new
All the other parts cleaned up nicely but the original one had broken
I don't want anyone to think I cleaned that part up that well LOL
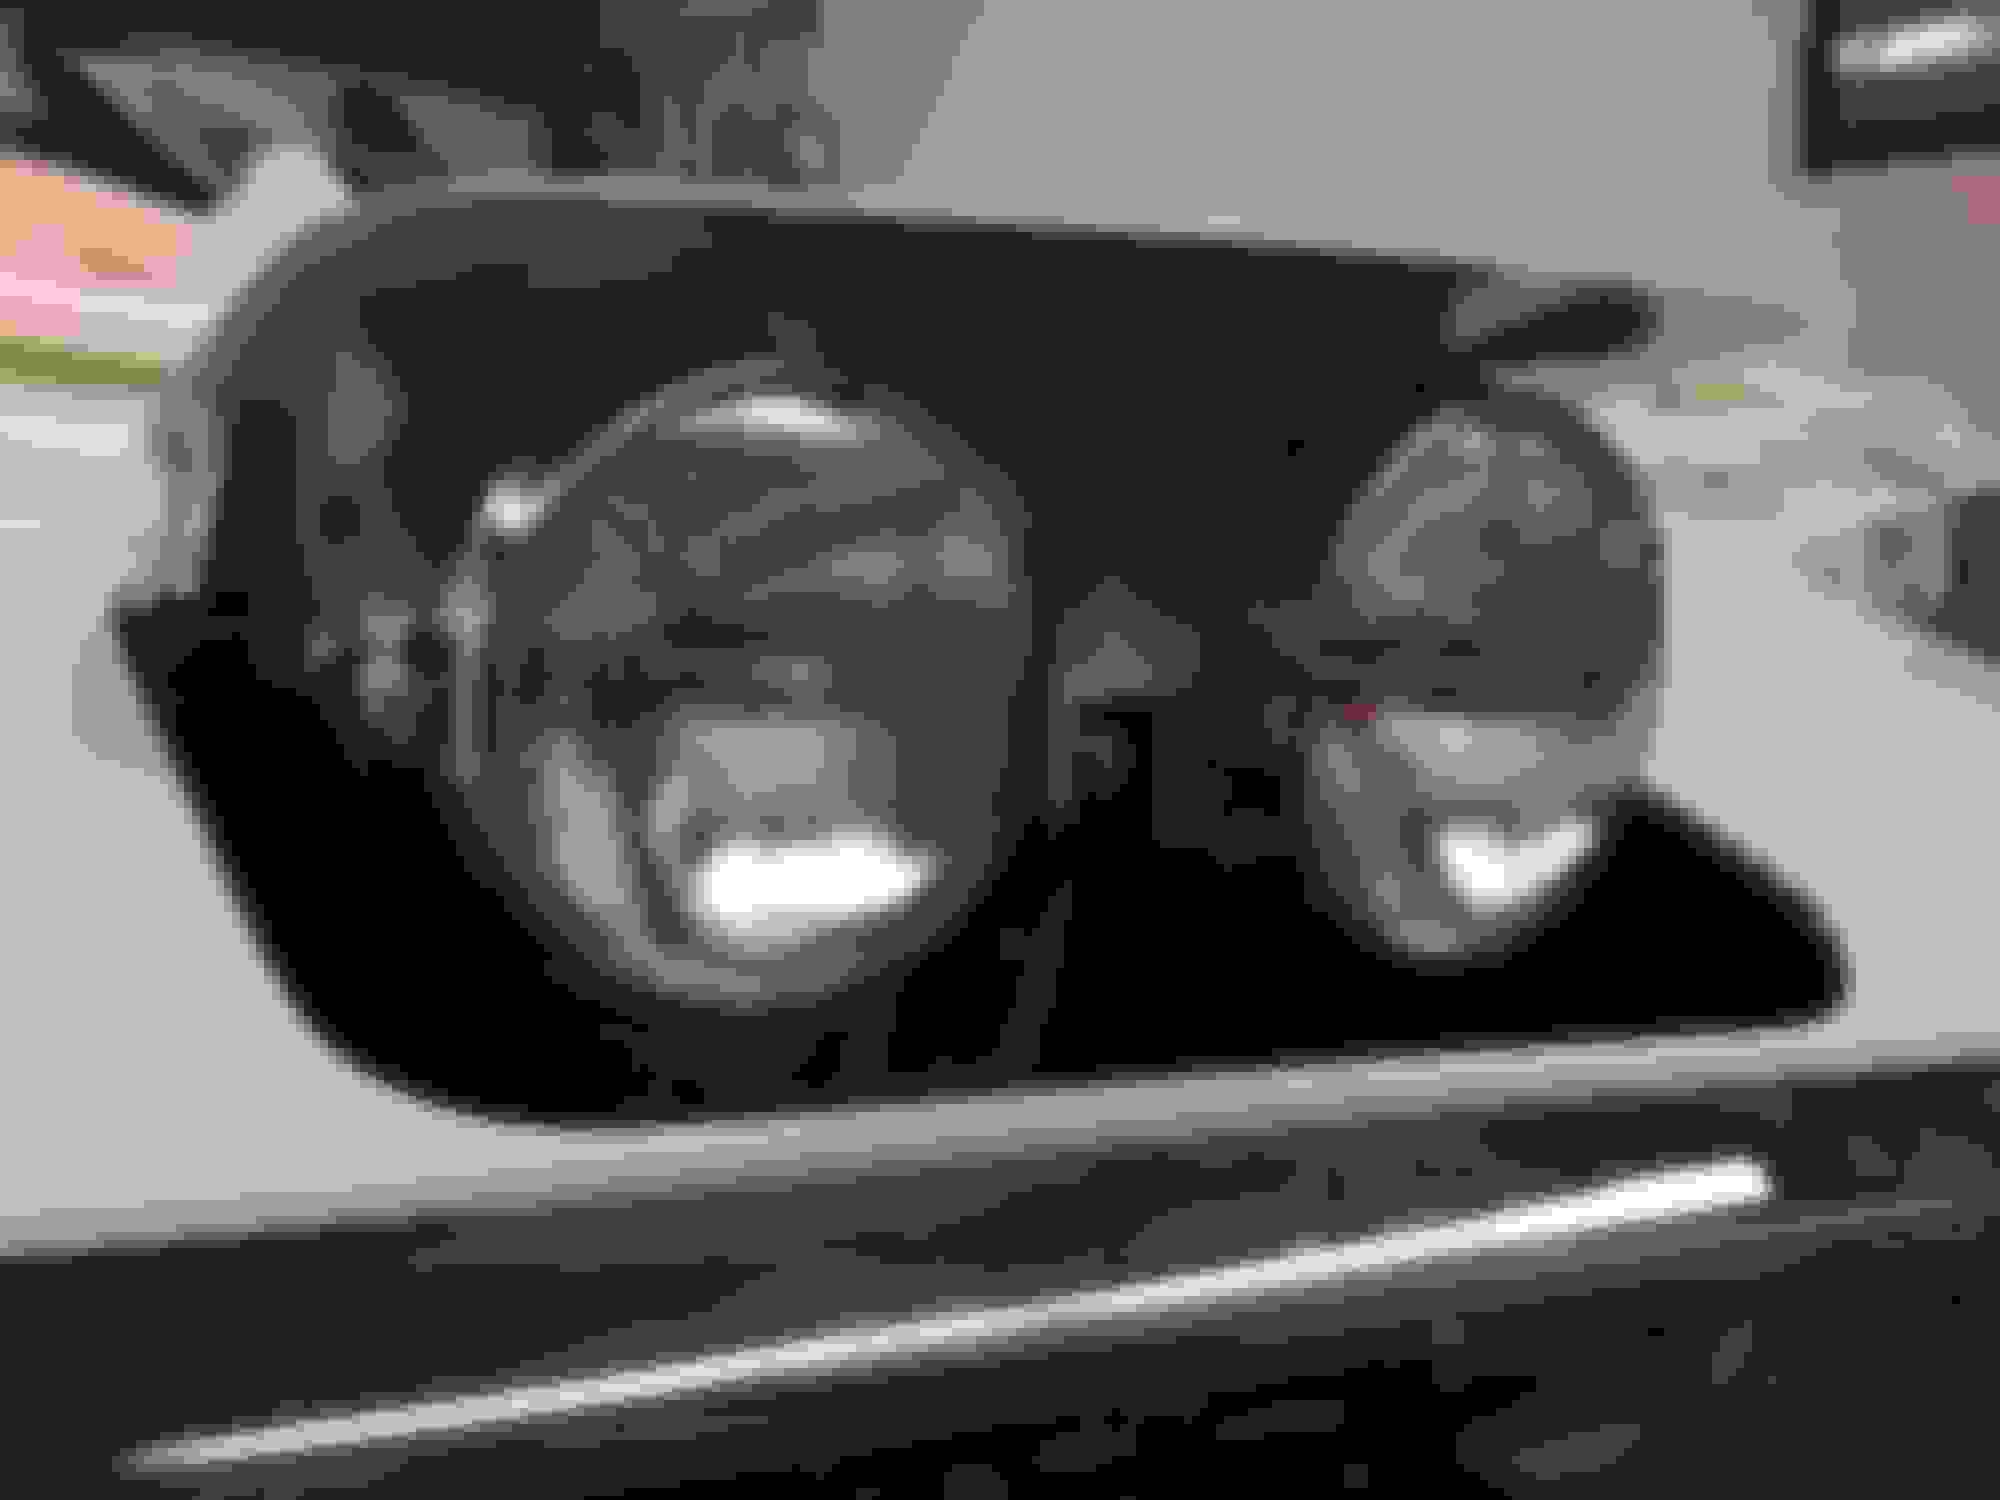
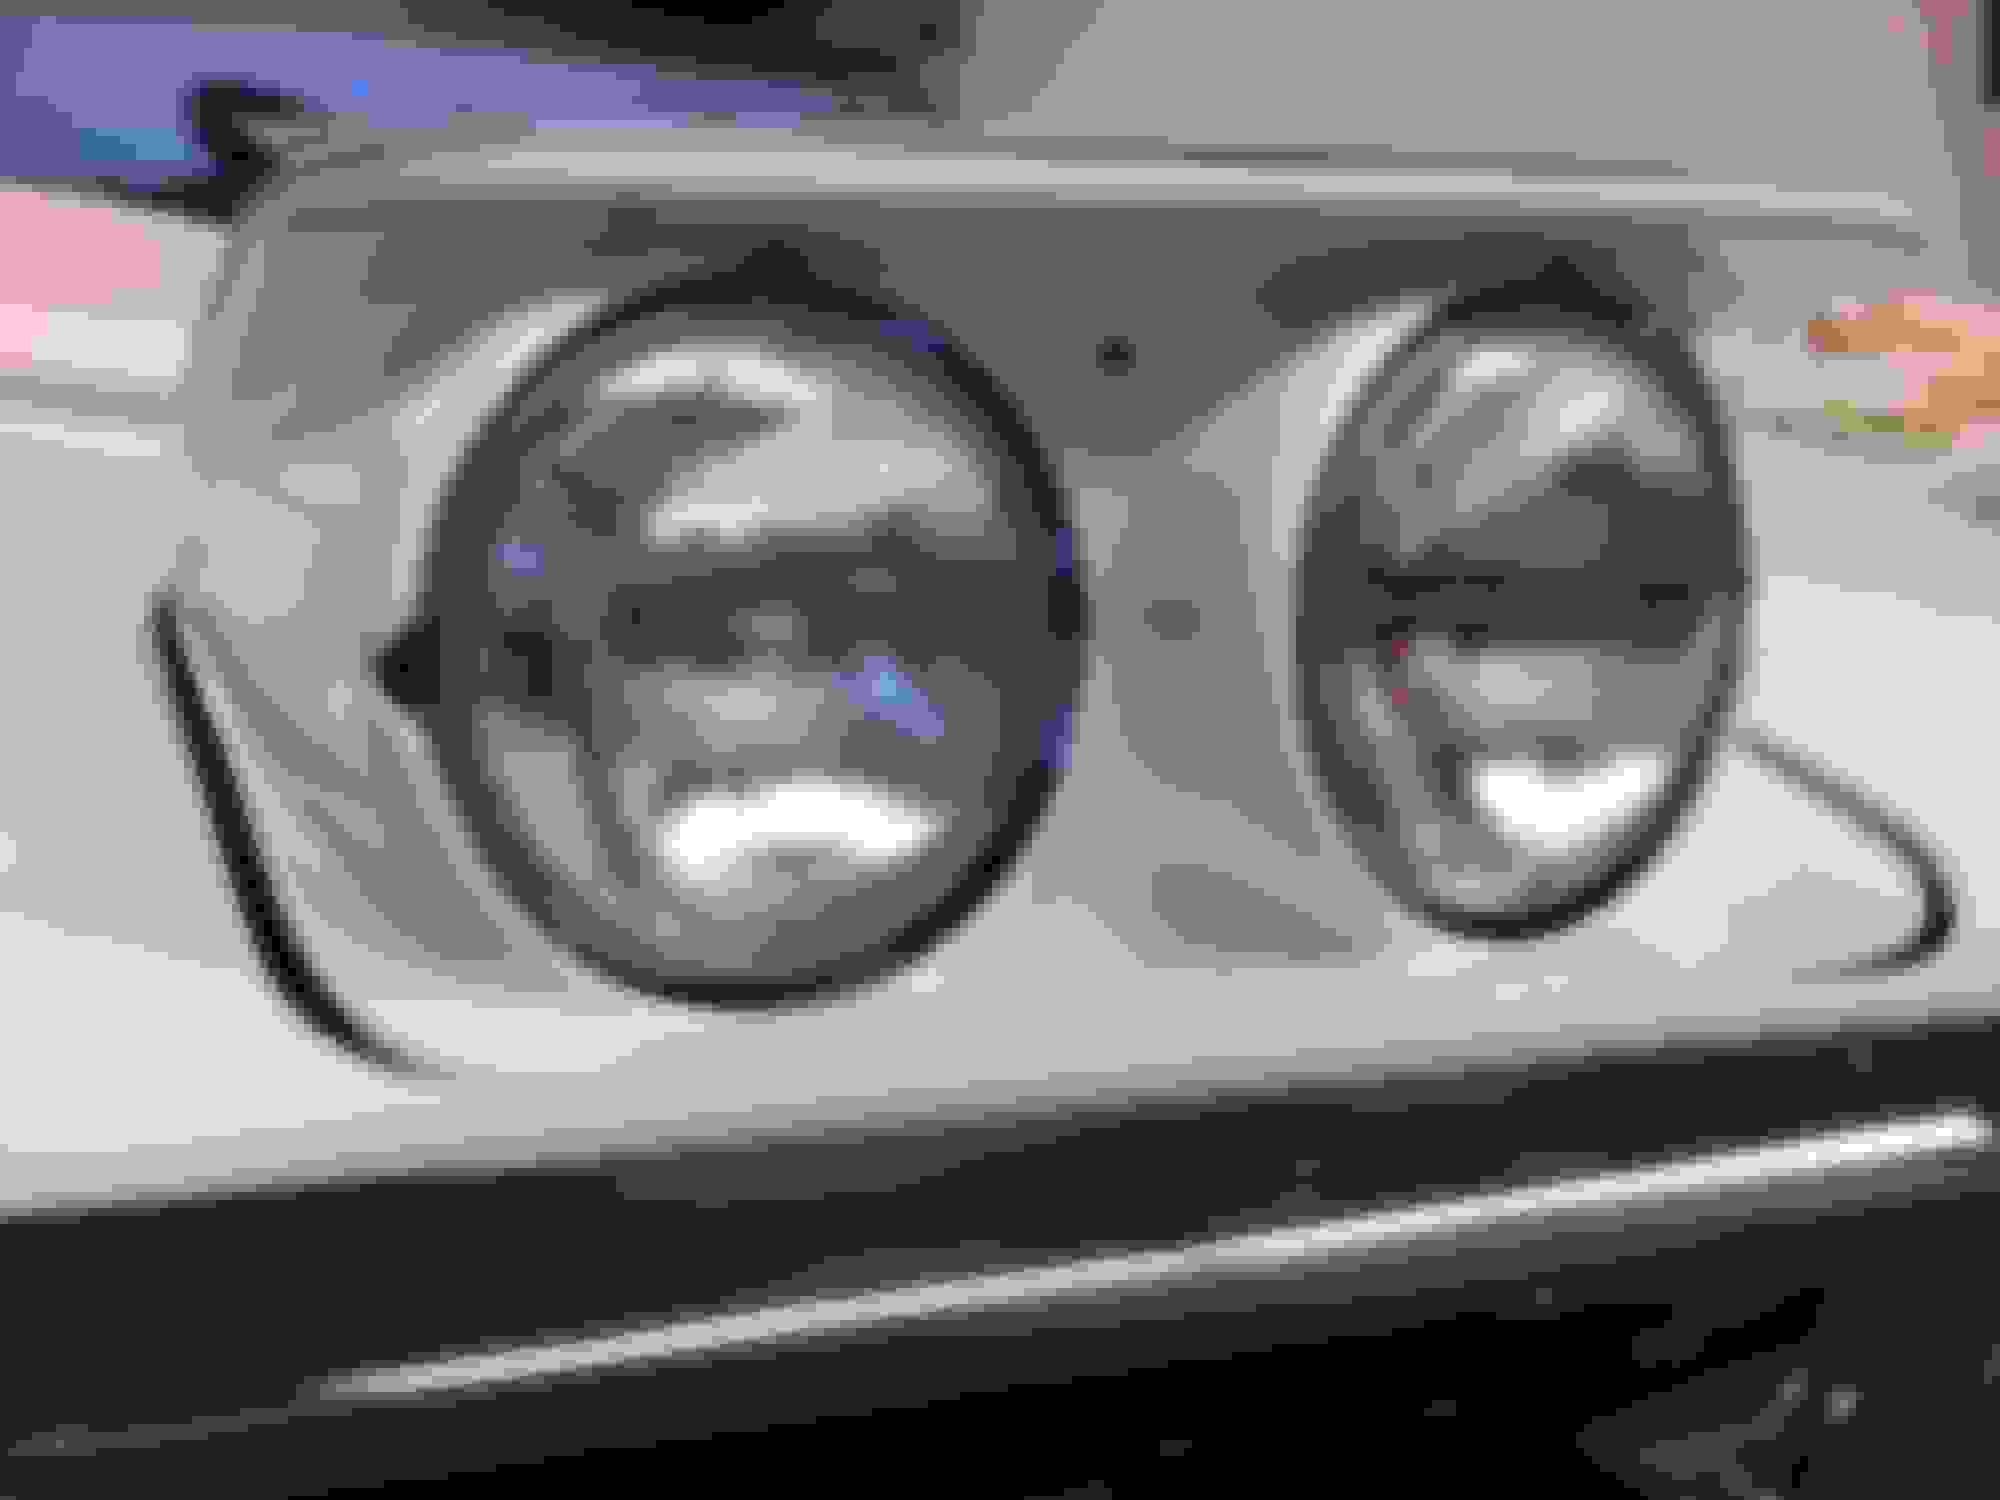
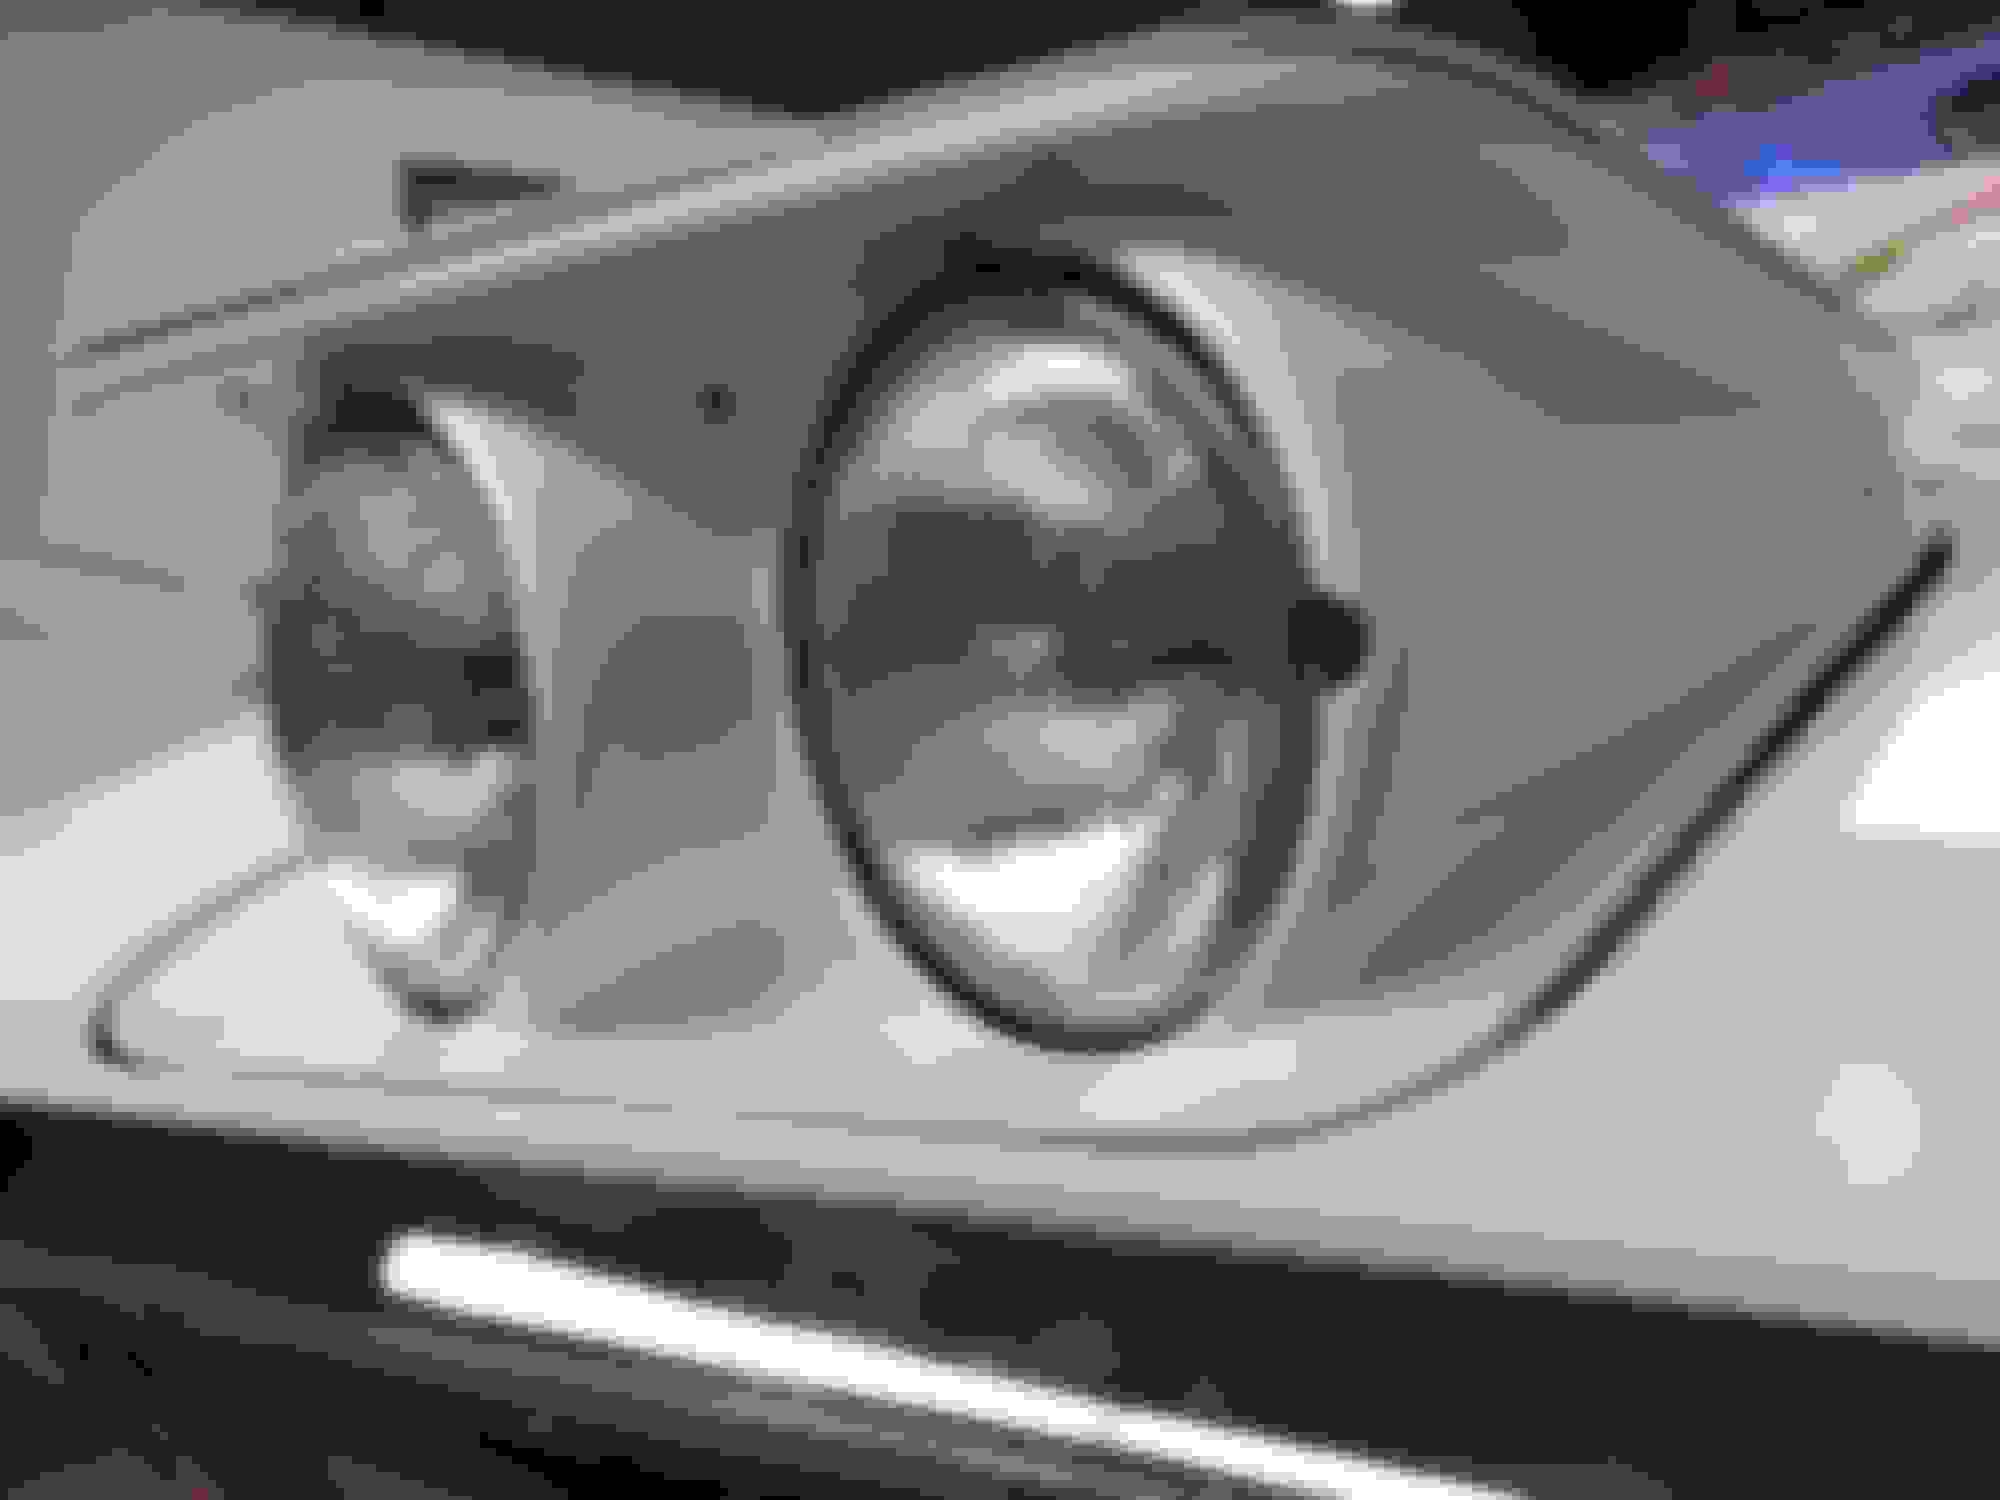
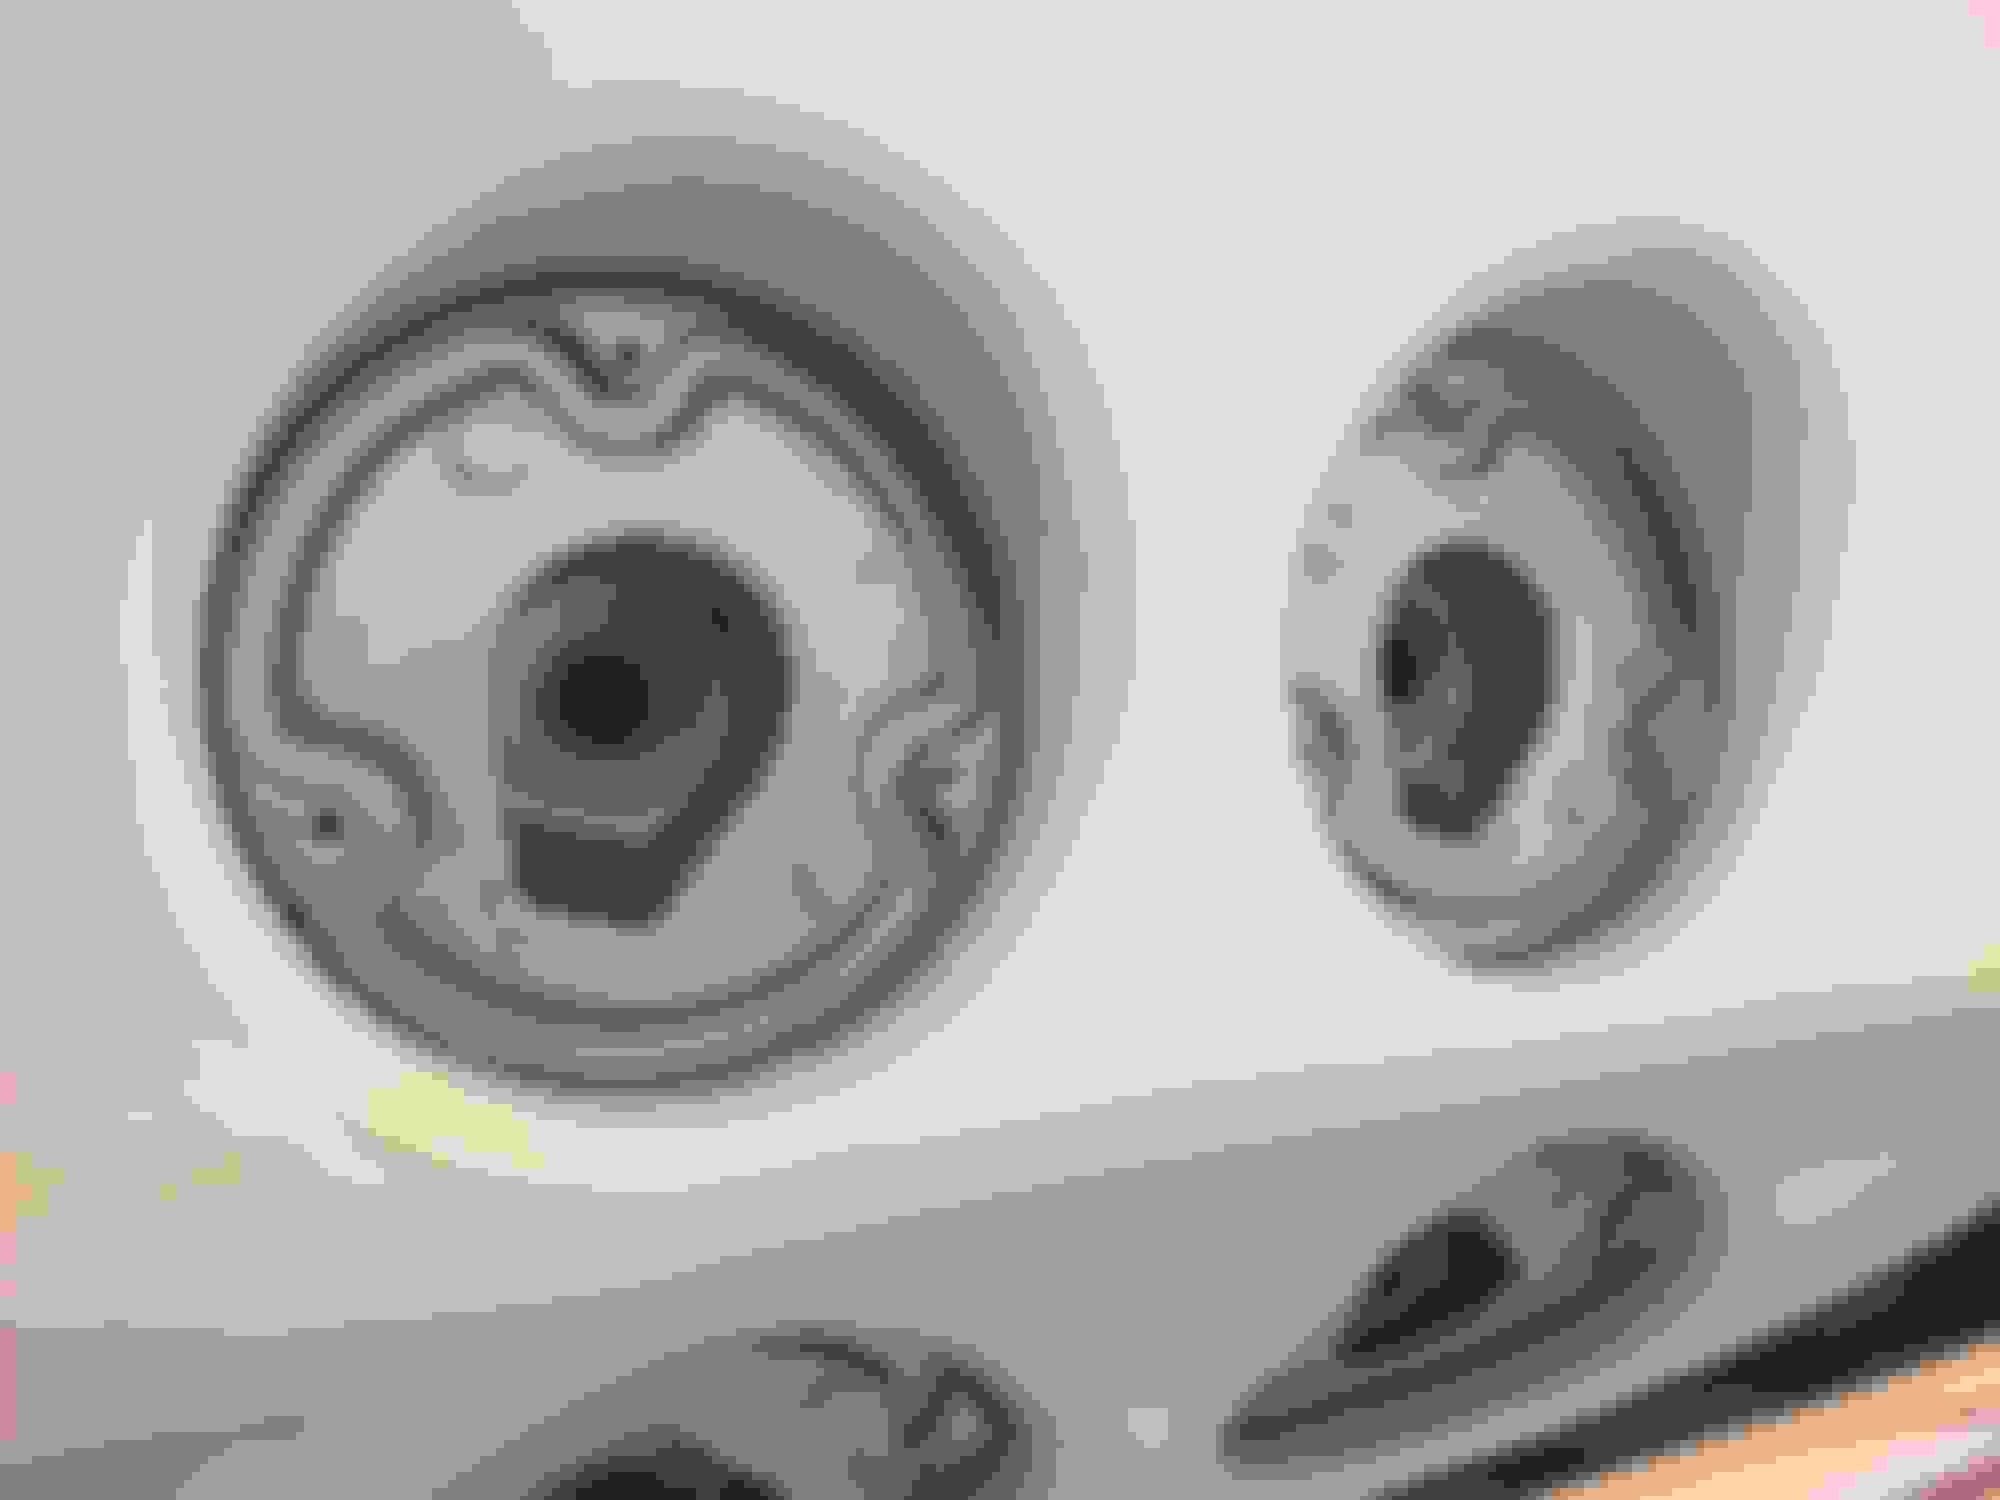
Some parts came in so I was able to install the headlights. For now I am installing sealed beam lights but am going to revisit them later in case I want to go with a higher intensity bulb and thus wiring.
Here are some pics
I love the look
The extra holes in the headlight bezel are for the water jet nozzles.
I still have not decided what I am going to do there
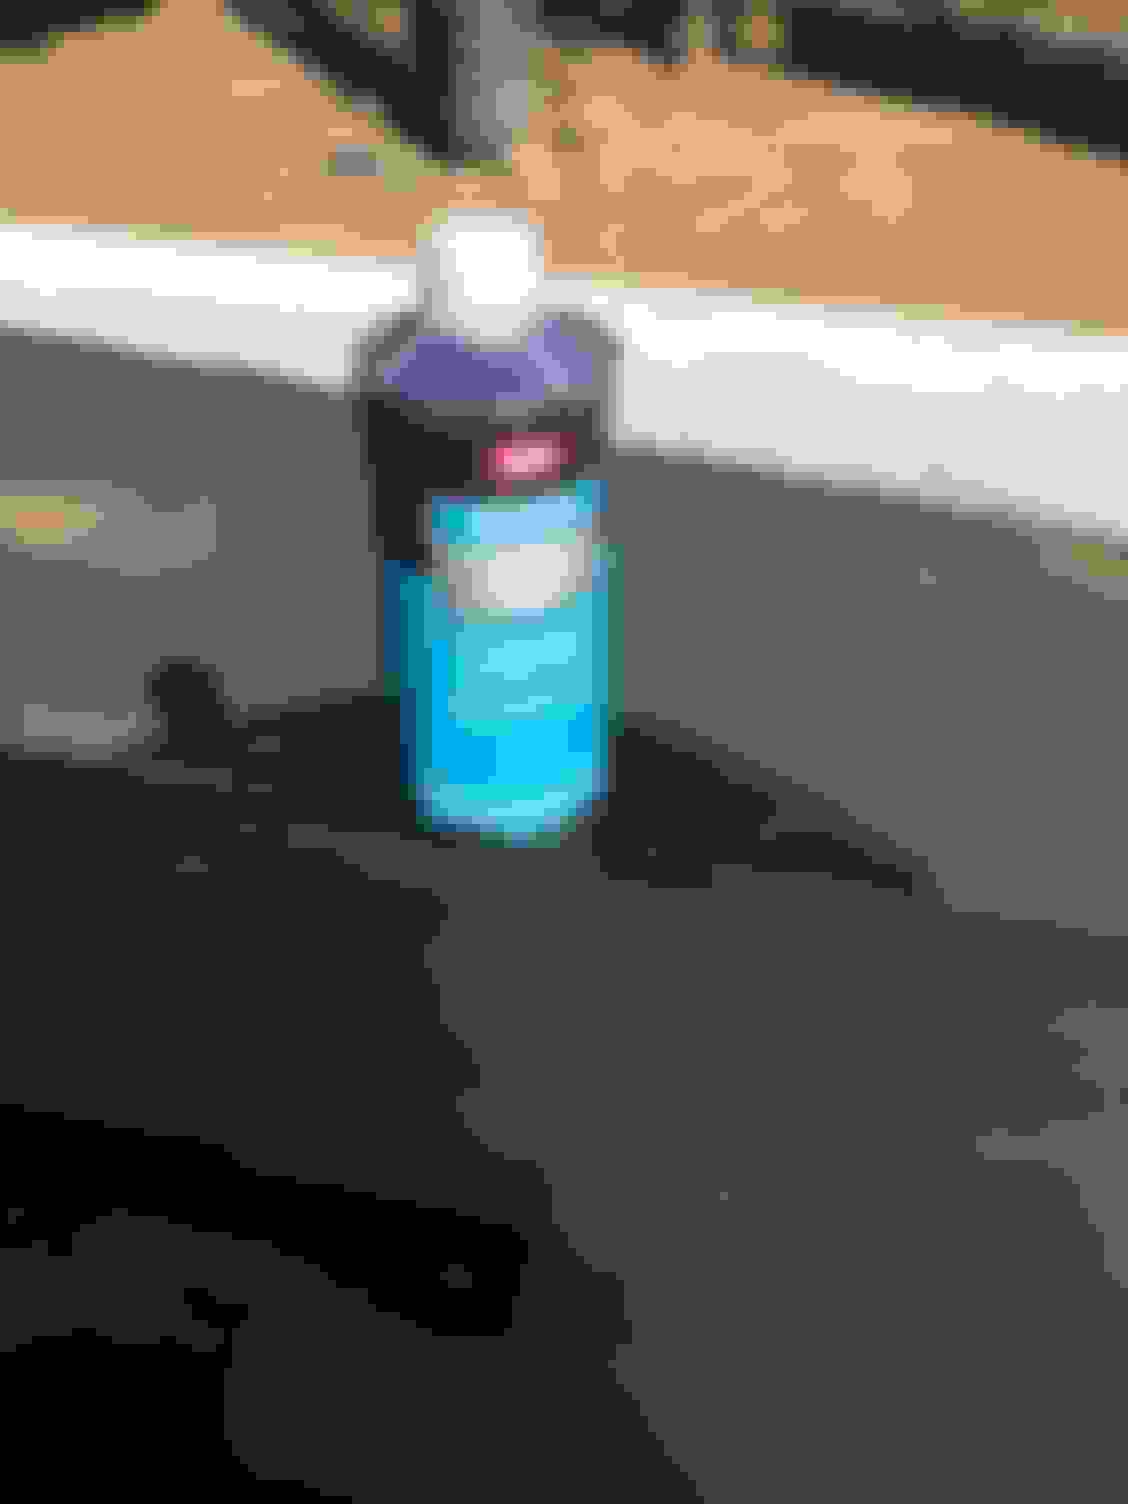
I finally got the right SEM lotions and potions to have another try at saving my old dash pad. The cleaner did an amazing job. You can see what came up from a dash I thought was ready to paint. (Thanks Painfullyslow for that tip.
I then used the adhesion promoter (I forgot to take the pic) and then finally the top coat.
We will see how it looks after it dries.
I am hopeful it will come out ok
Very nice, I like the headlights bulbs. Were they hard to find? How do the lights look down. I'm sure fine. Great pictures for one to save on how stuff should look. OOps , more pictures. The dash panel looks gret. I will use that on both the 69 and 71 projects. Great stuff!!!
Very nice, I like the headlights bulbs. Were they hard to find? How do the lights look down. I'm sure fine. Great pictures for one to save on how stuff should look. OOps , more pictures. The dash panel looks gret. I will use that on both the 69 and 71 projects. Great stuff!!!
RVZIO
Thanks
The headlight down pics are on post #354
The bulbs are available from Corvette Central or any other car parts place
Time to put on some jewelry - the shiny bits like letters and emblems.
The problem is I kept having to go out and get screws and bolts of different sizes as many of the originals were too far gone or missing
That said, progress was made
Starting with the rear letters
I was running out of light but needed the space at the back of the car with the garage door up
The holes needed to be drilled out so the bars on the rear of the letters would fit. I was a bit nervous doing this
Garage door shut and lights on
Saturday has arrived
Next comes the fuel tank lid. Bezel on first
Then the cover
The rear tail light housings were a mess
Some of the threaded studs on the back were so rusted they broke when I was removing them. I had them all sandblasted and powdercoated. The first gasket goes on the back
Then the housings are installed on the car
The lens gasket goes on next
and finally the lenses themselves
I decided to get new side markers
The rear red ones were available, but the front yellow ones didn't come with the metal surrounds and the threaded studs. I saved the metal surrounds from my old ones and used screws to attach the back bracket, which I also had blasted and powdercoated. These used the foam gaskets too
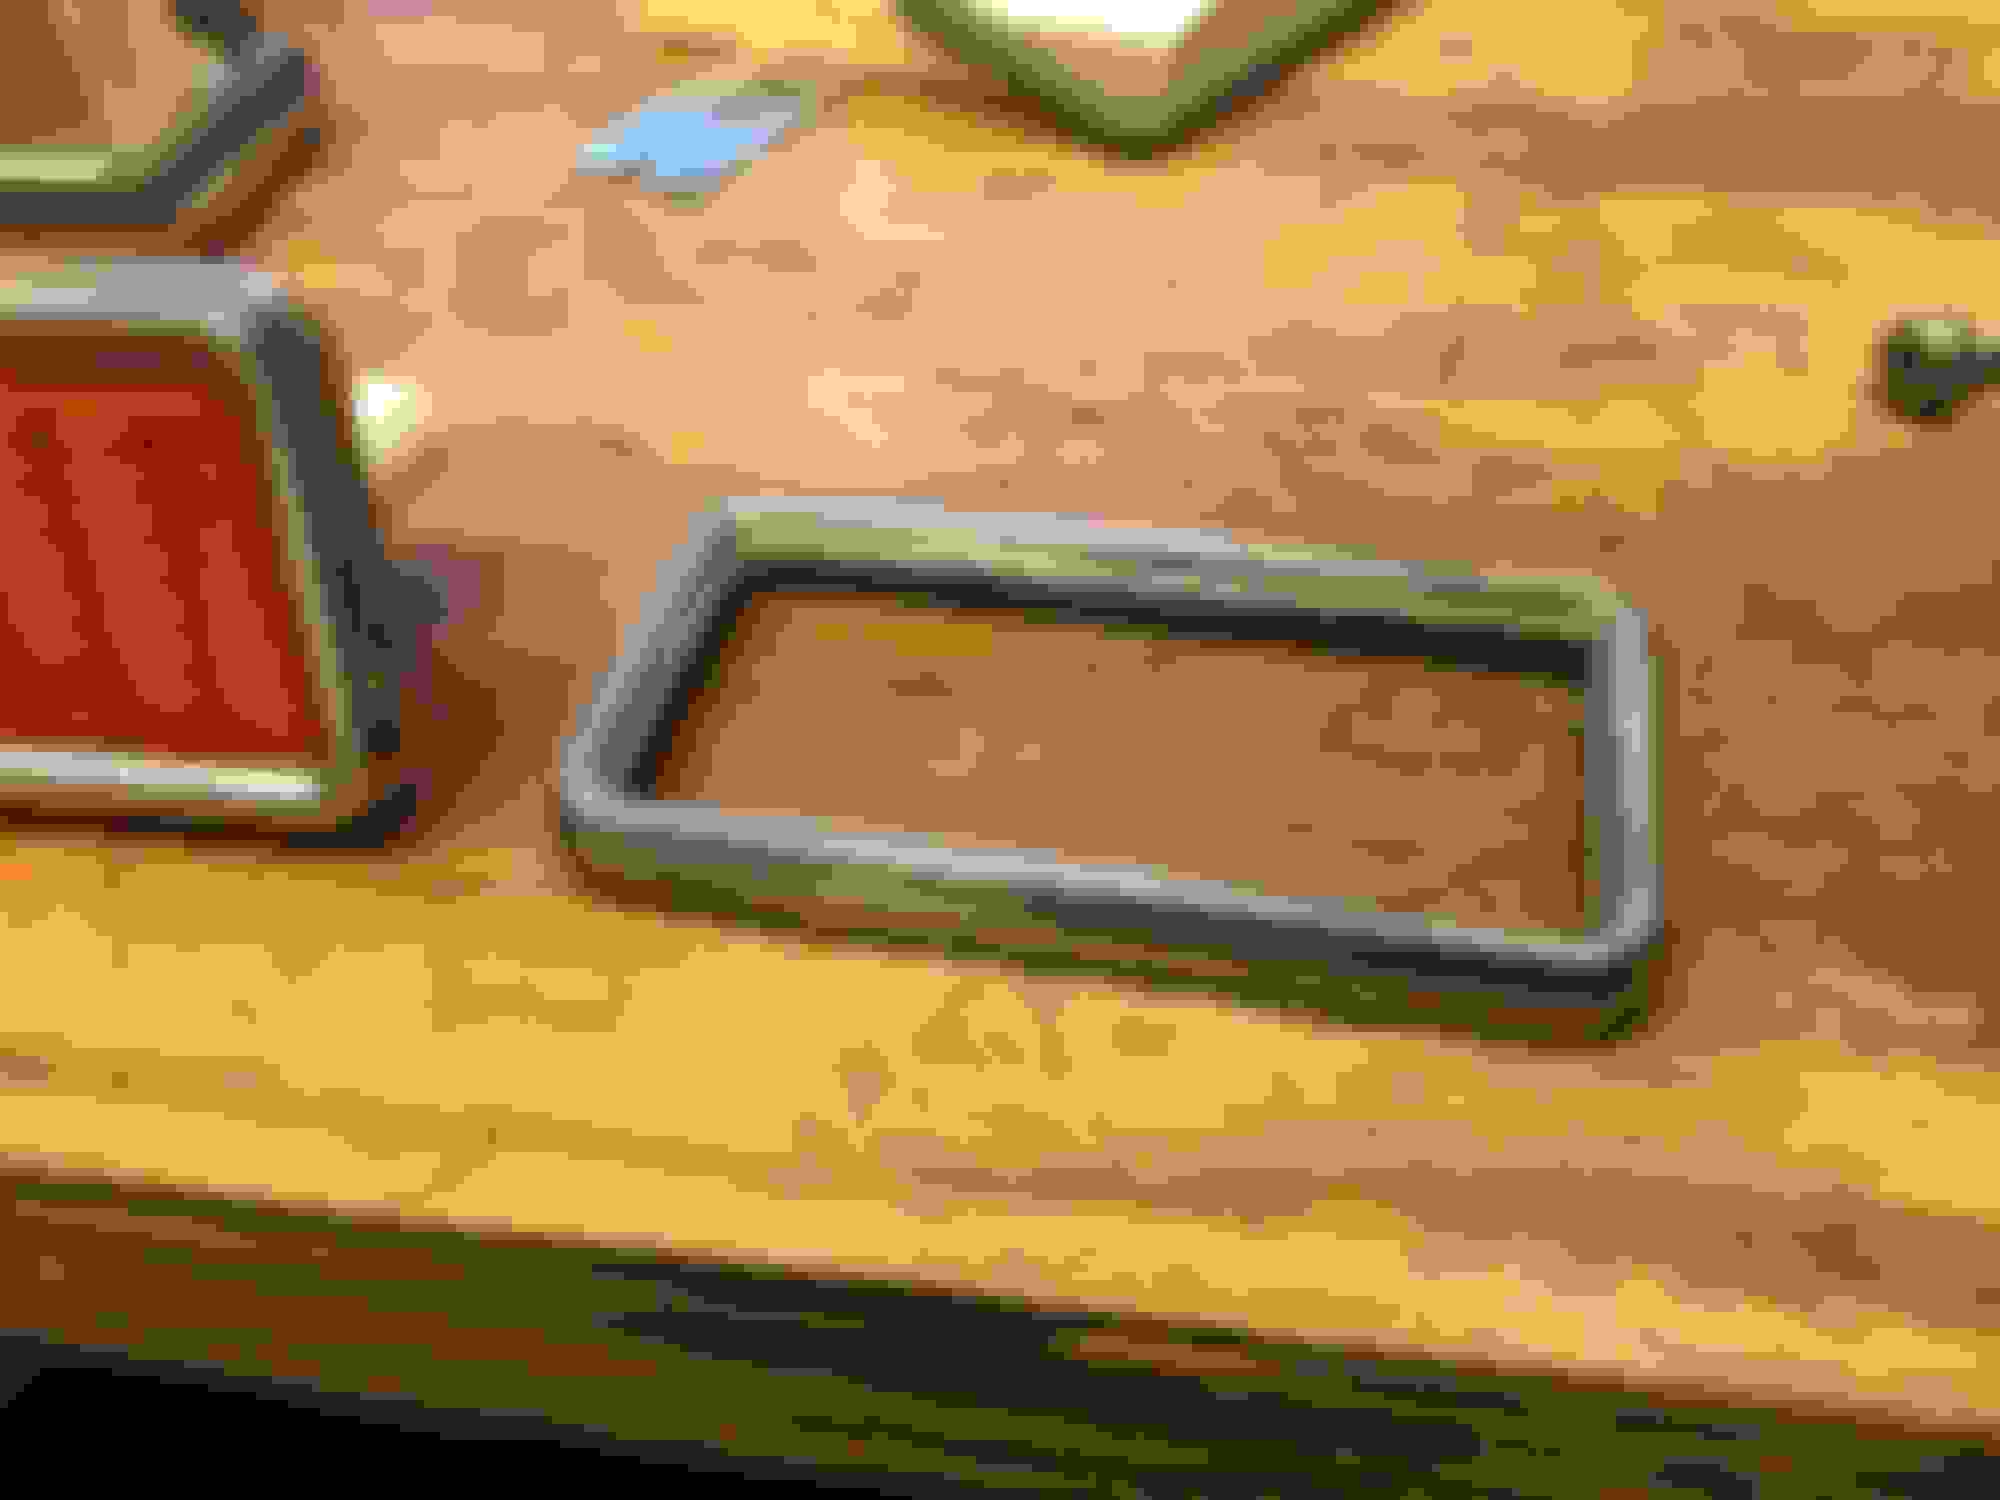
The license plate bezel goes on, along with the light above it and the screws and rubber bumper for the license plate
While it all needs to be wired up it looks pretty good just sitting there
Running out of day I put on one of the side corvette emblems
You have to put on the nut on one of the posts via the fresh air duct on the inside. Not very easy.
Looking forward to more shiny bits going on tomorrow
Last edited by gleninsandiego; 06-16-2018 at 11:38 PM.
More jewelry going on today, not without its challenges
The screws holding on the outside door mirror on wouldn't go into
the threaded area in the door, so those needed to be tapped.
The emblems went on front and back
as with the side gills
Gearing up to put the steering column back together tomorrow.
WOW! She is really coming together nicely. Looks absolutely beautiful! I do not normally go in for white cars but you are definitely changing my mind. Great work and thanks as always for the detailed pics.
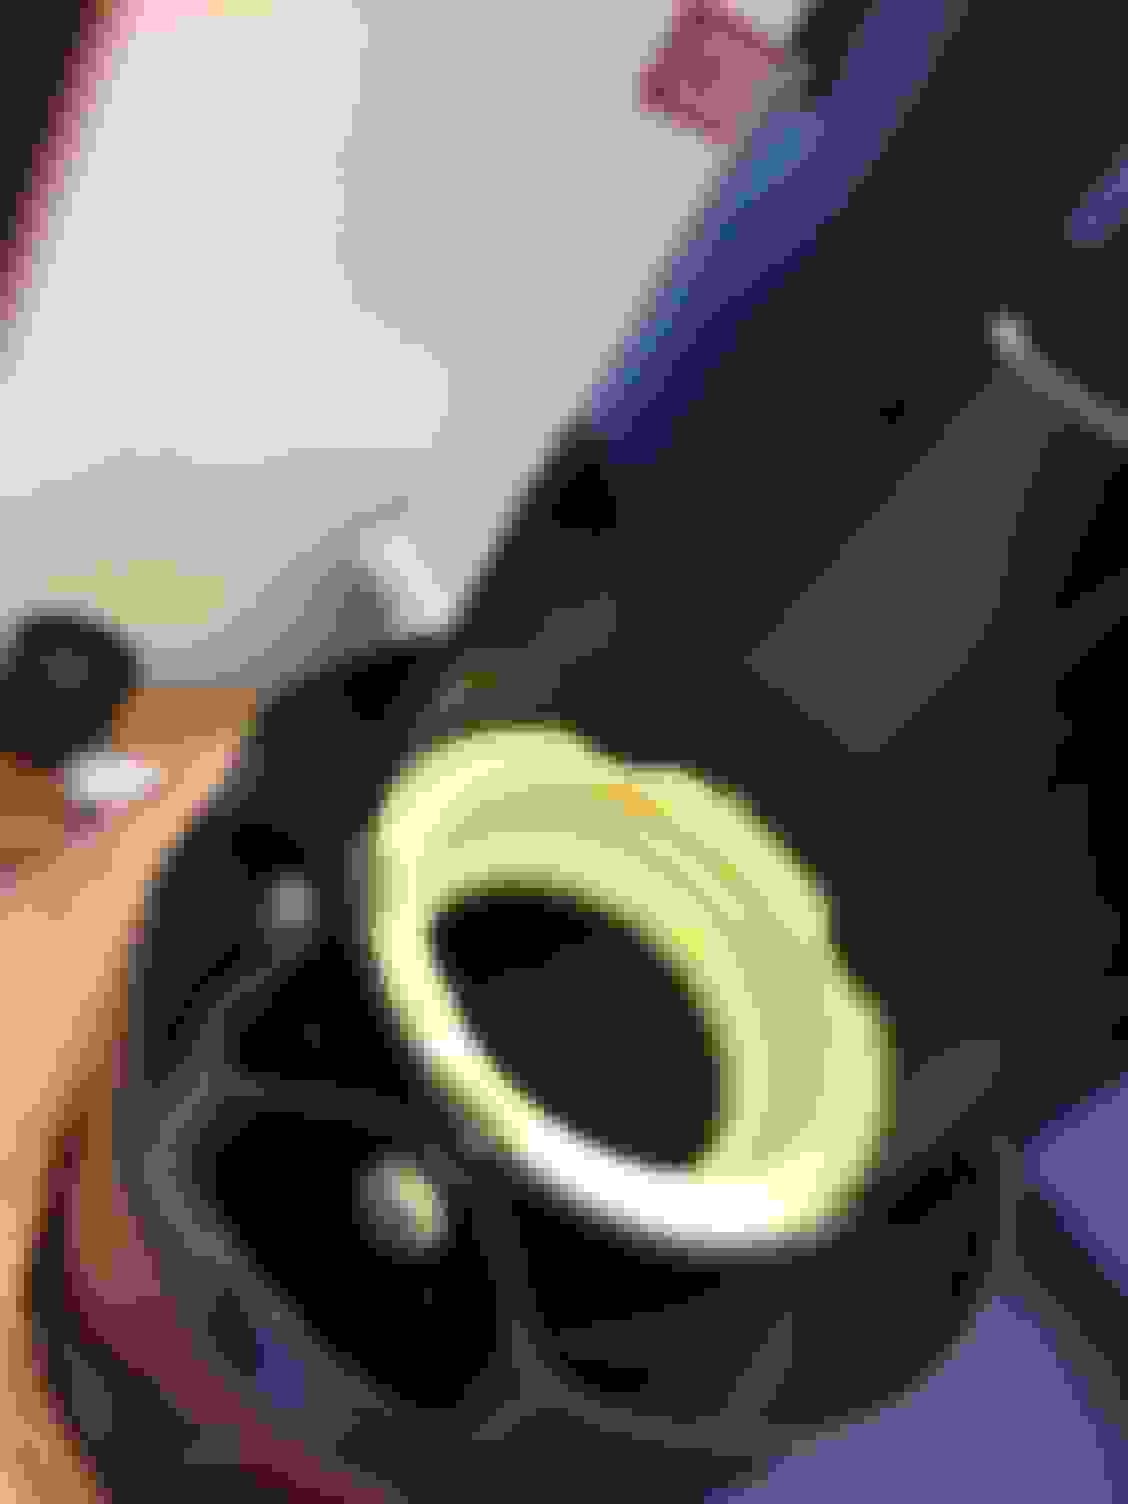
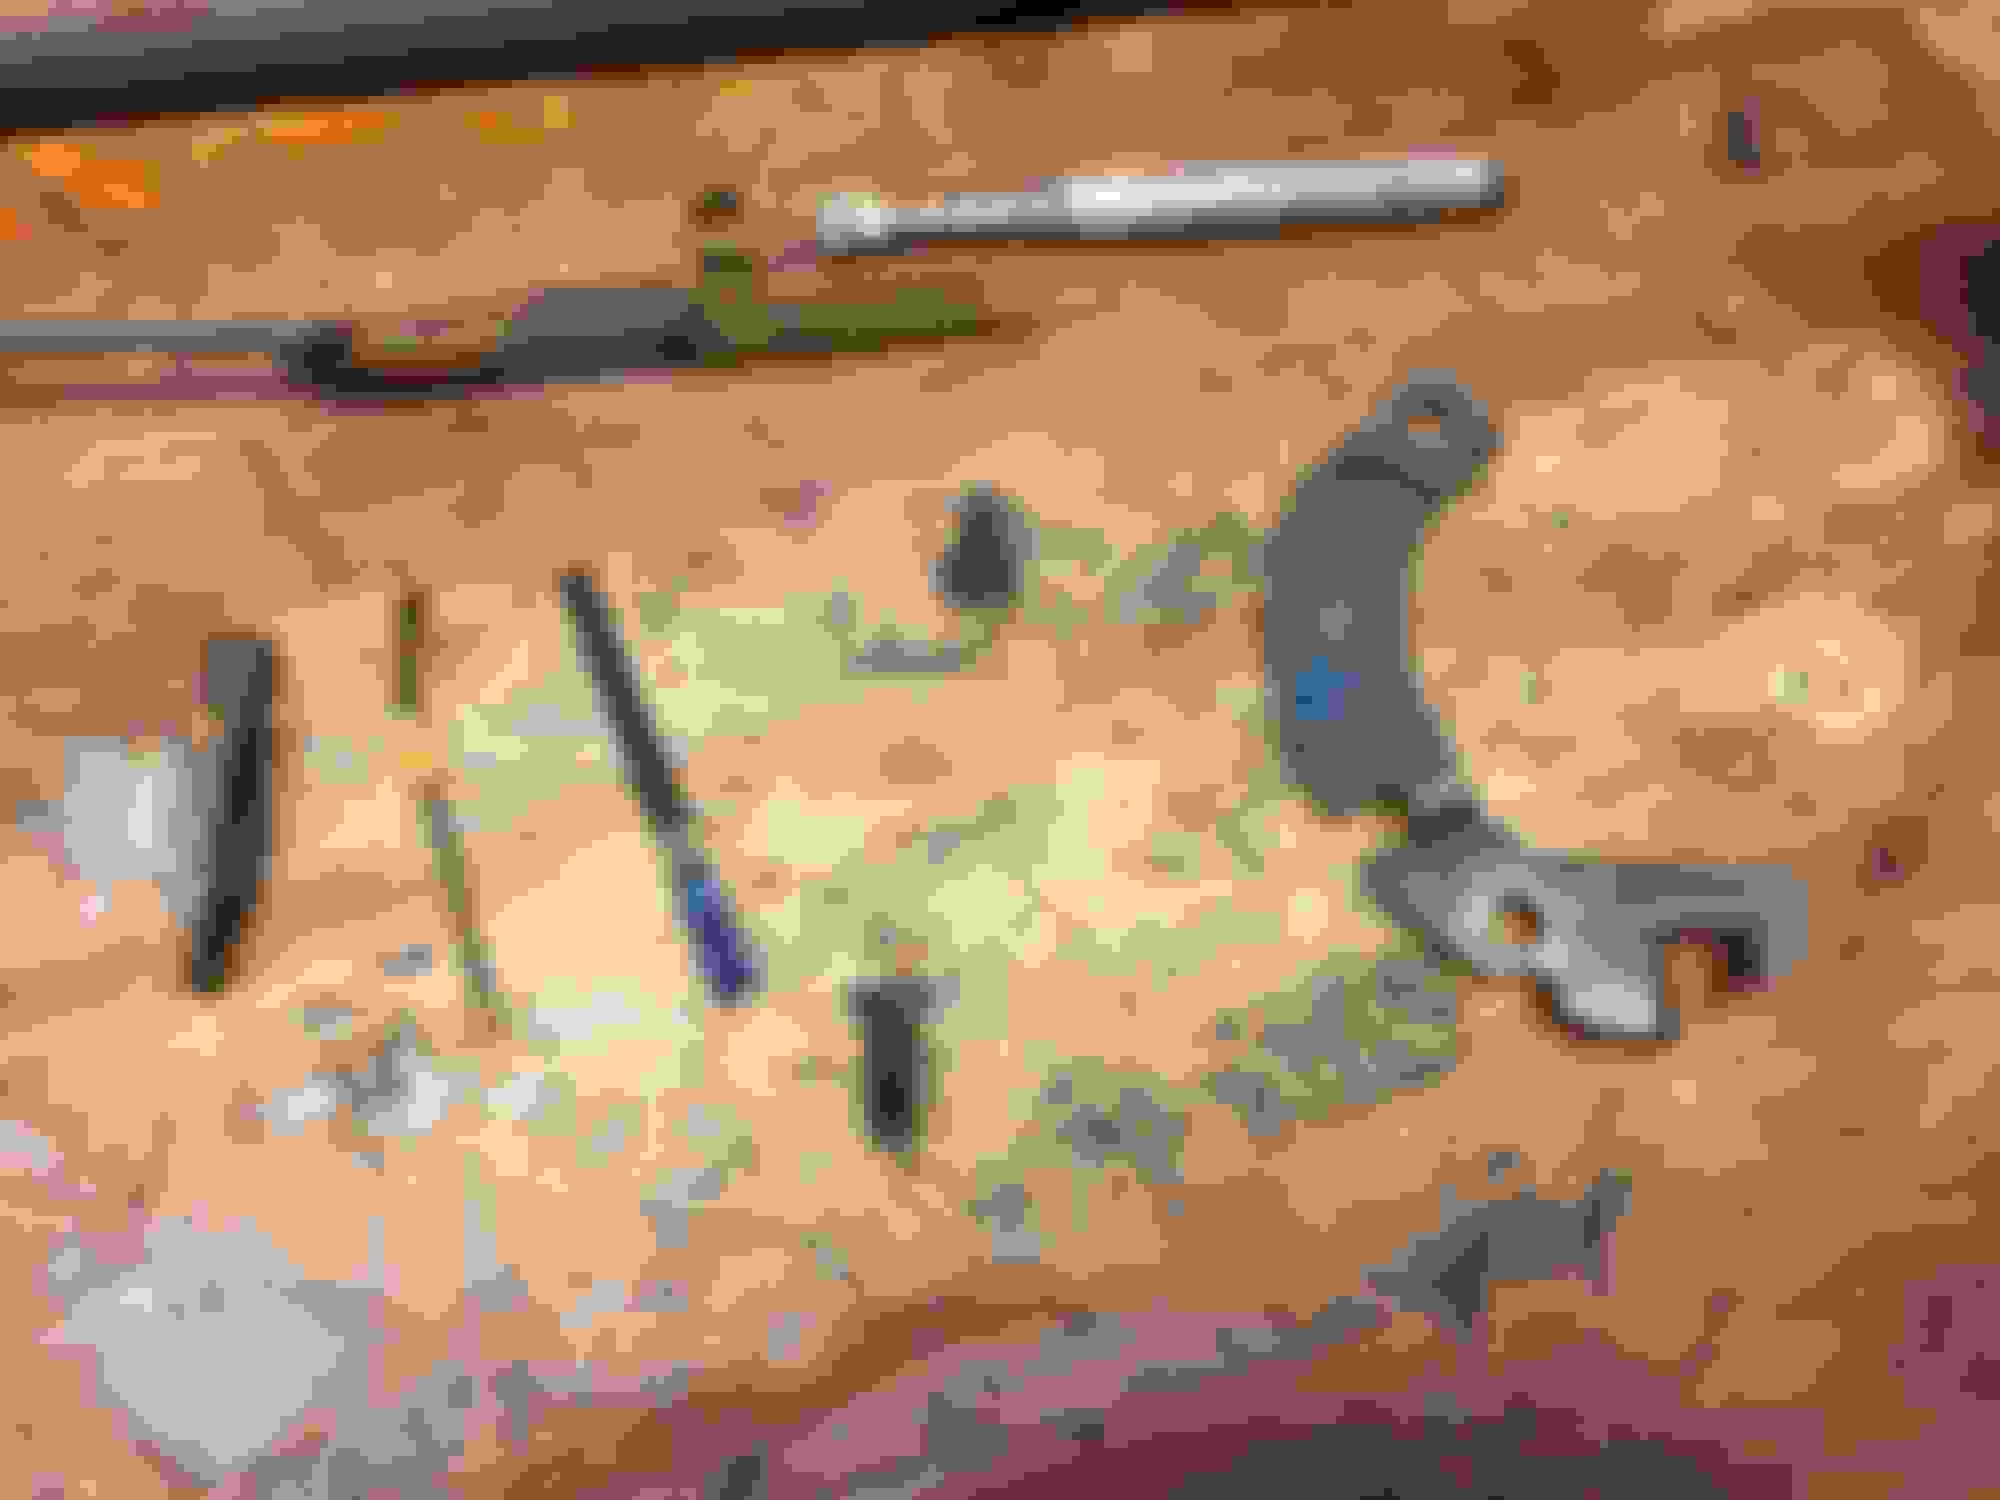
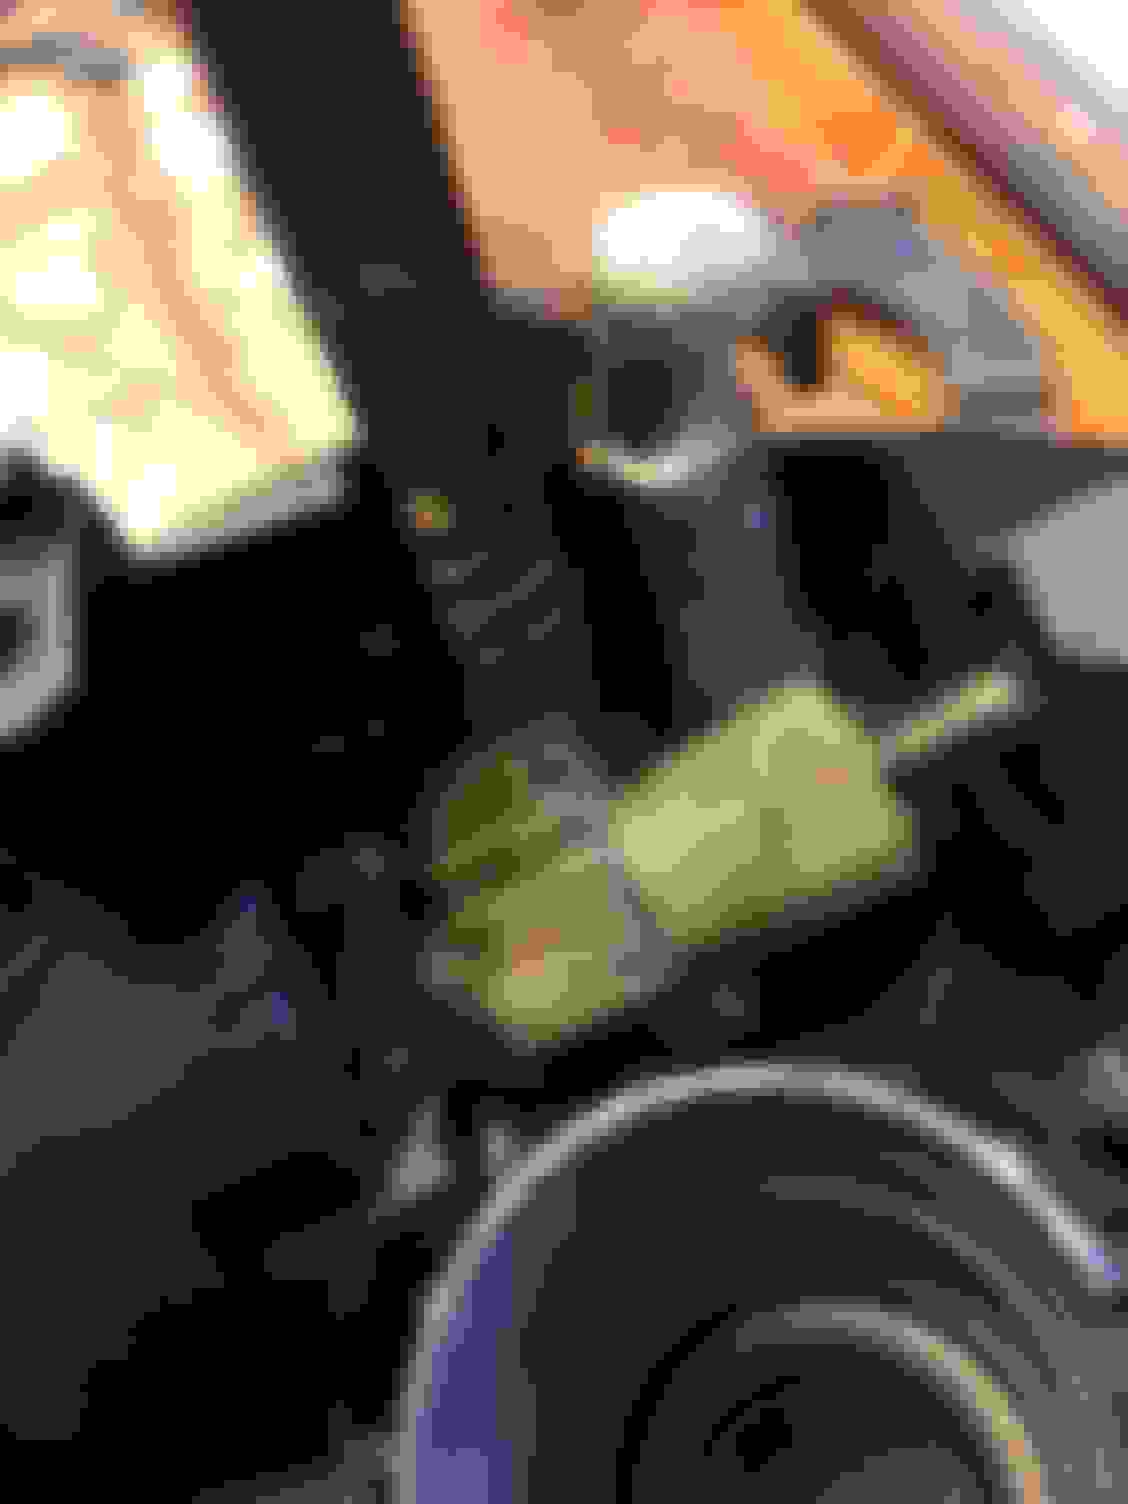
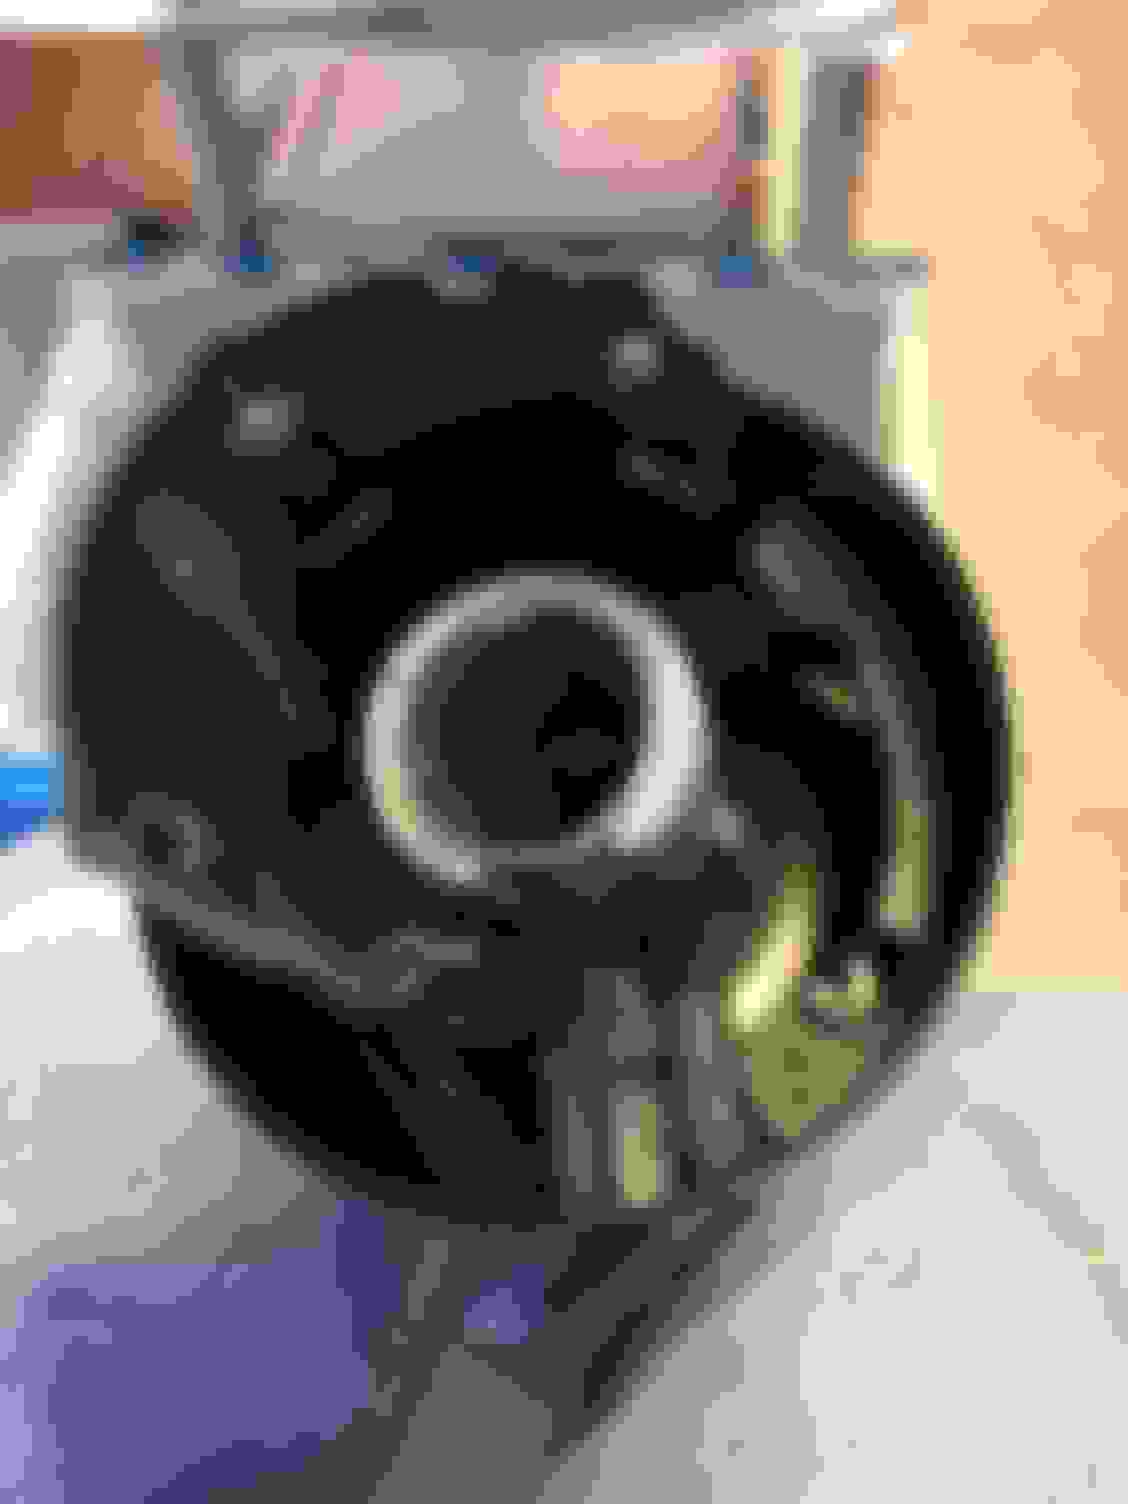
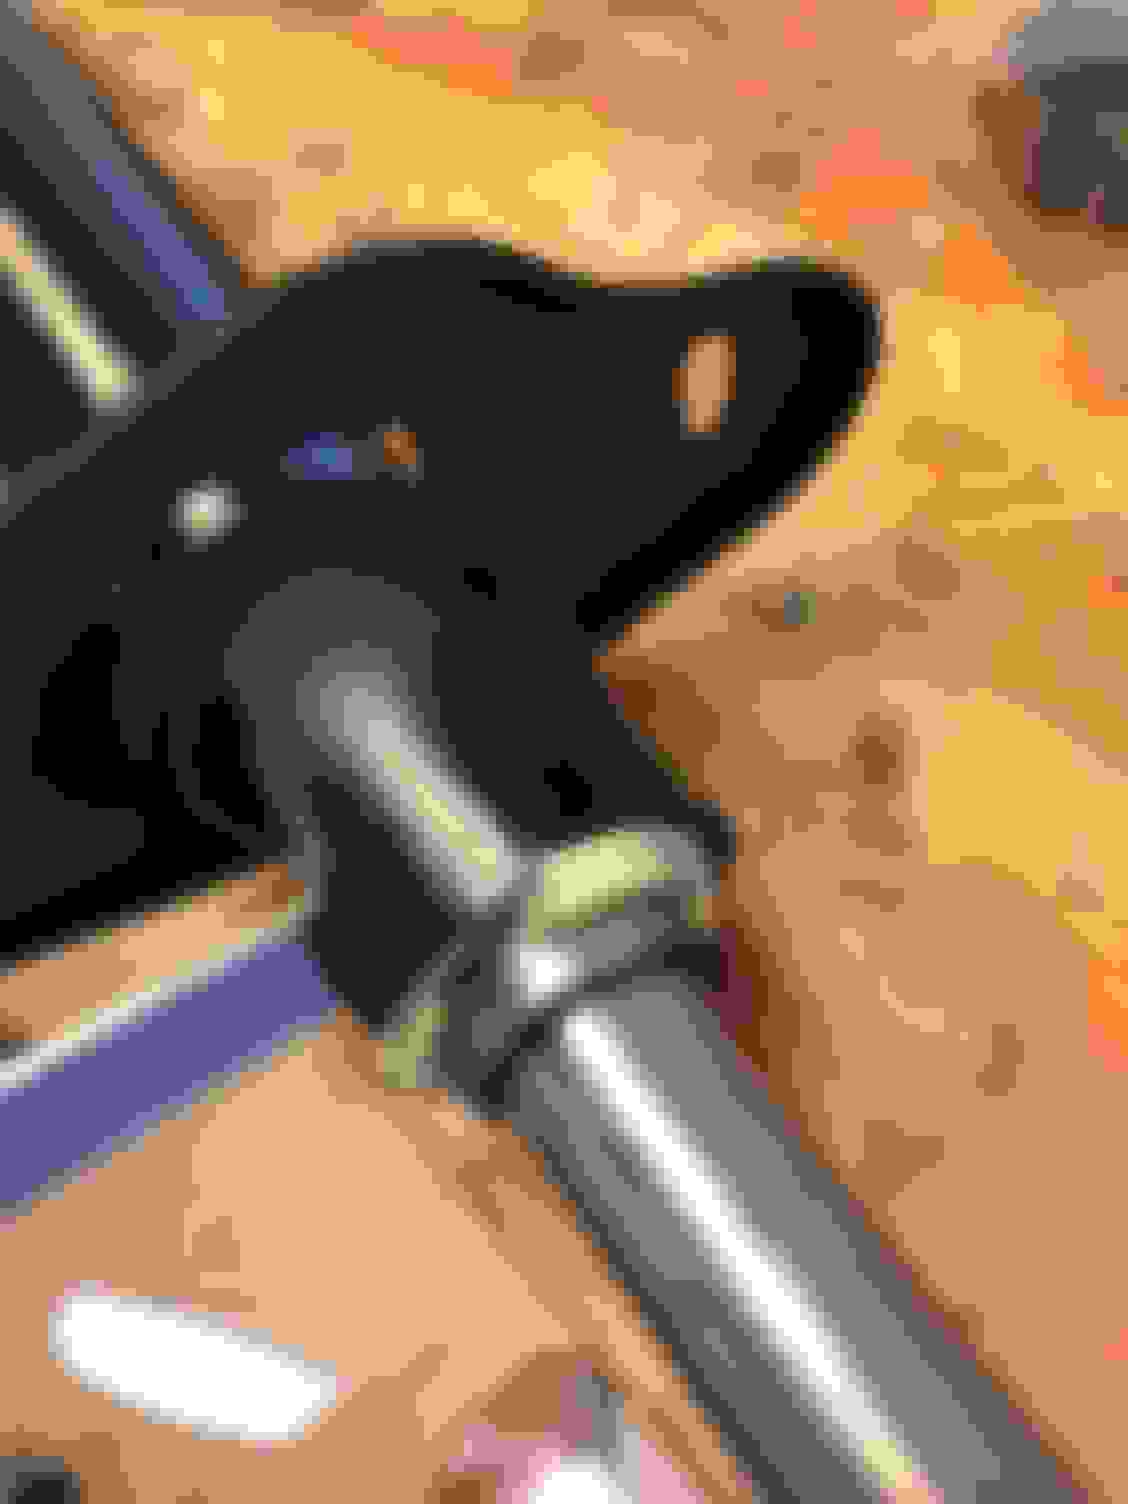
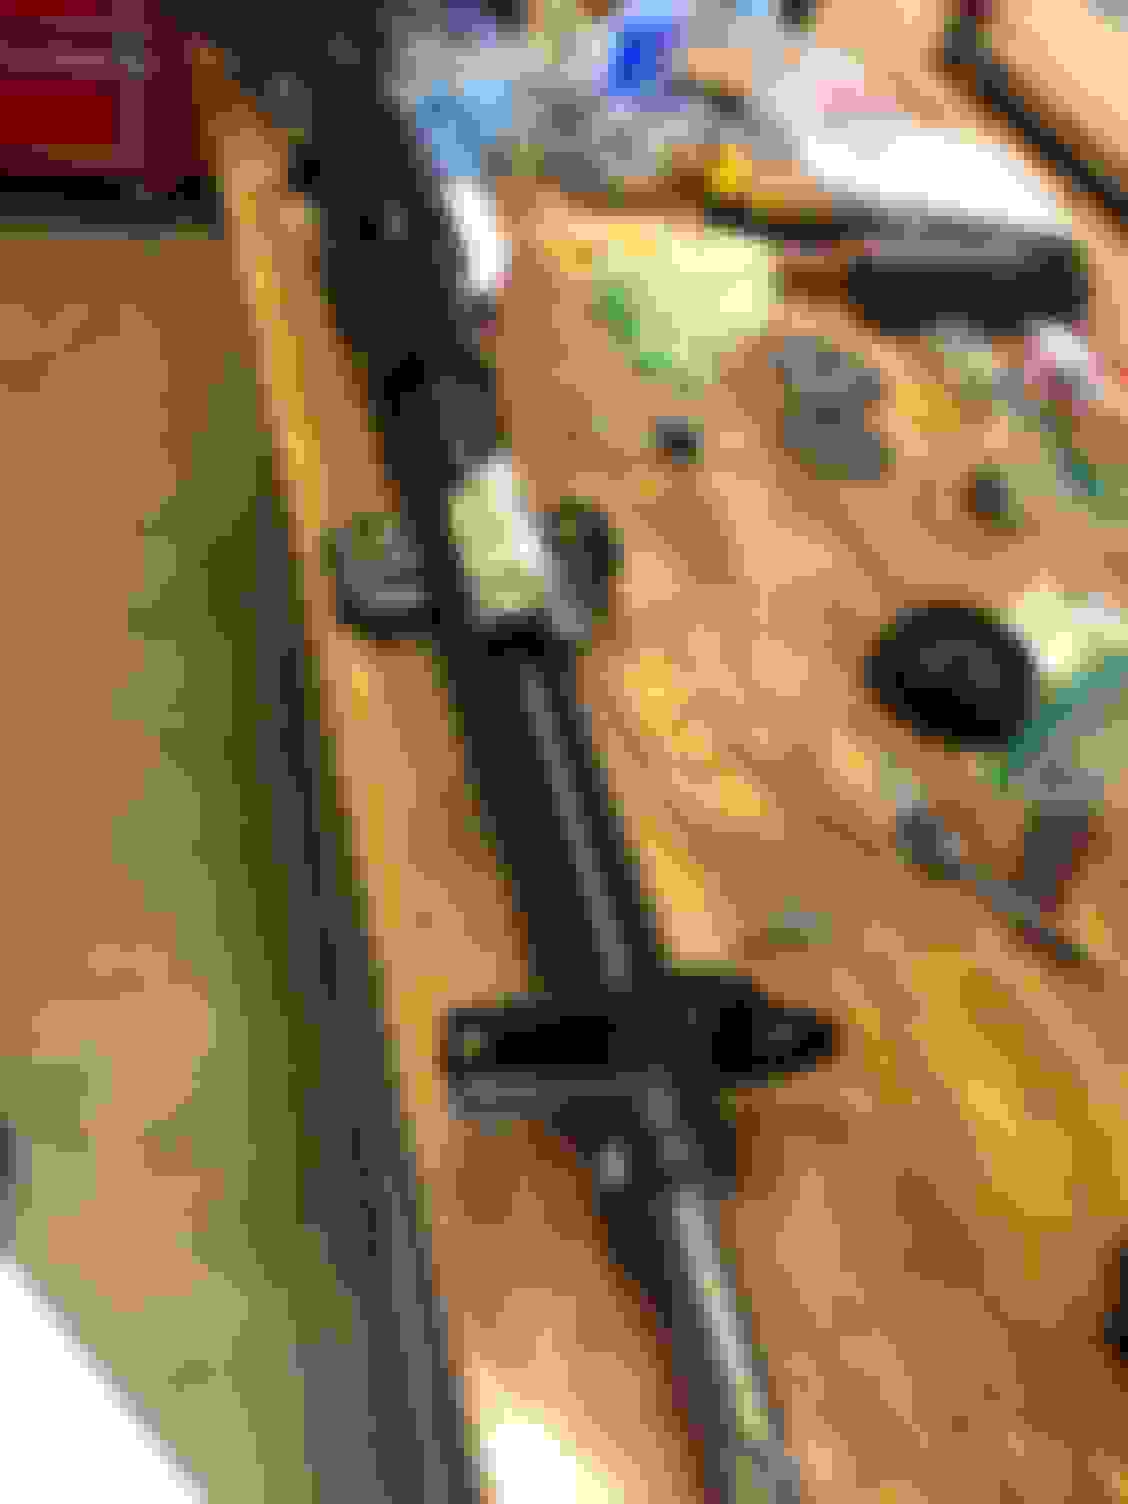
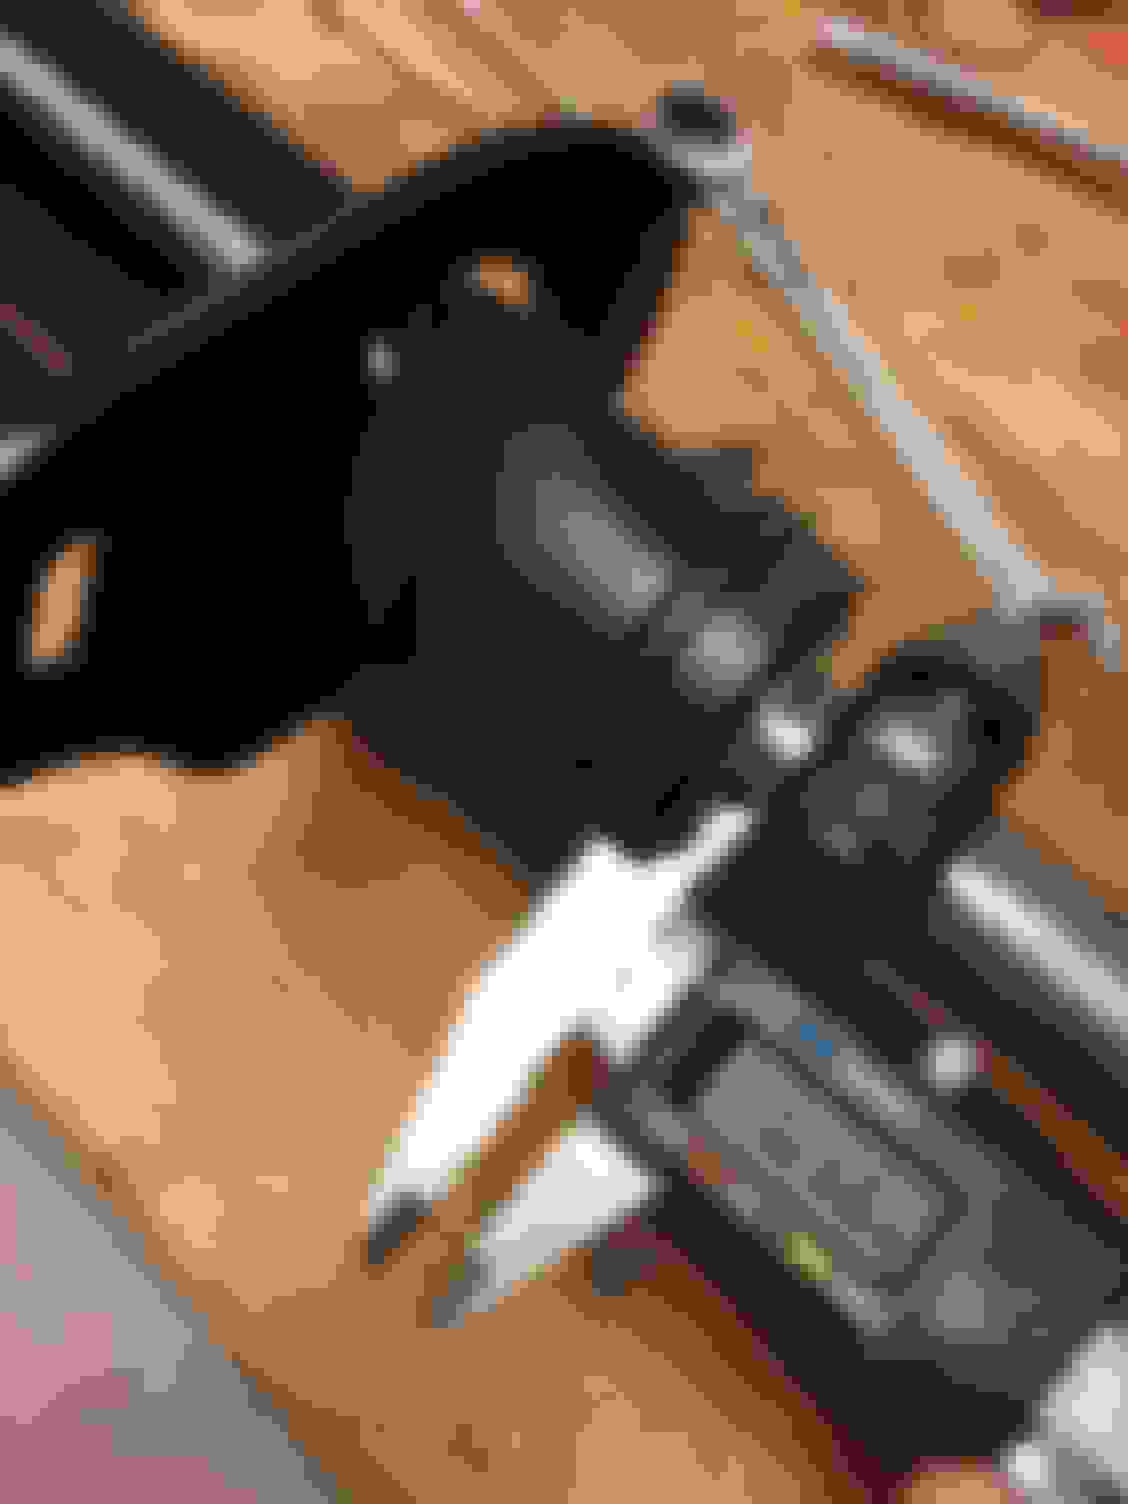
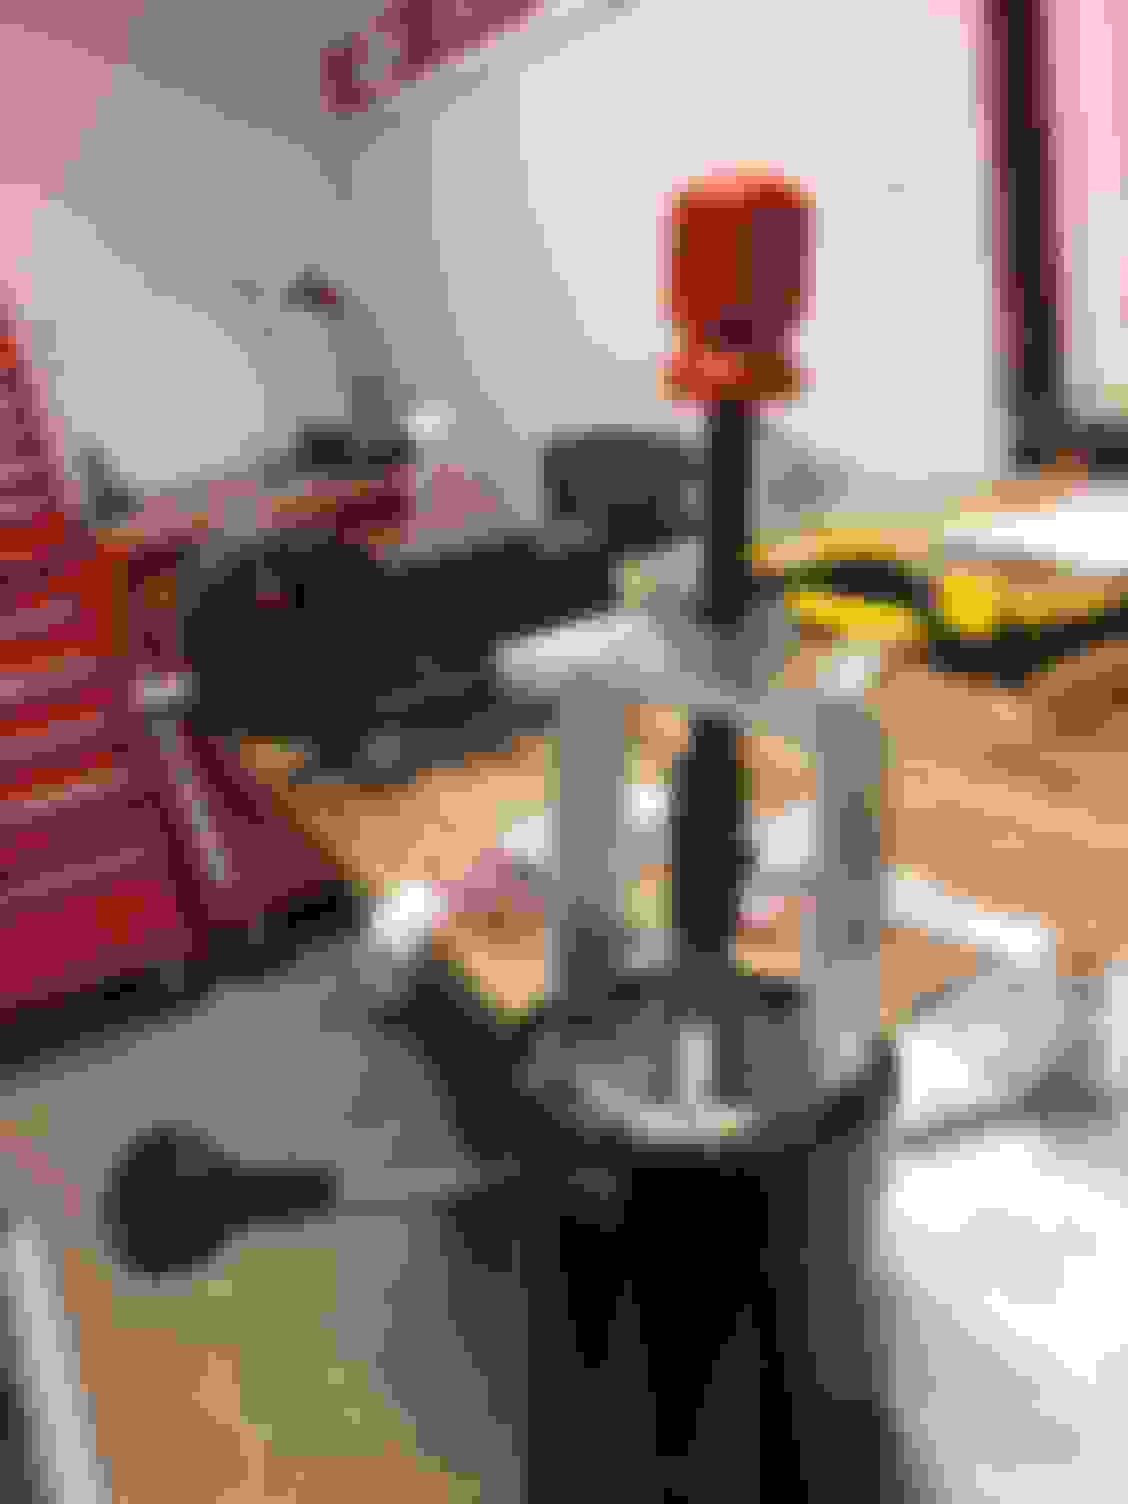
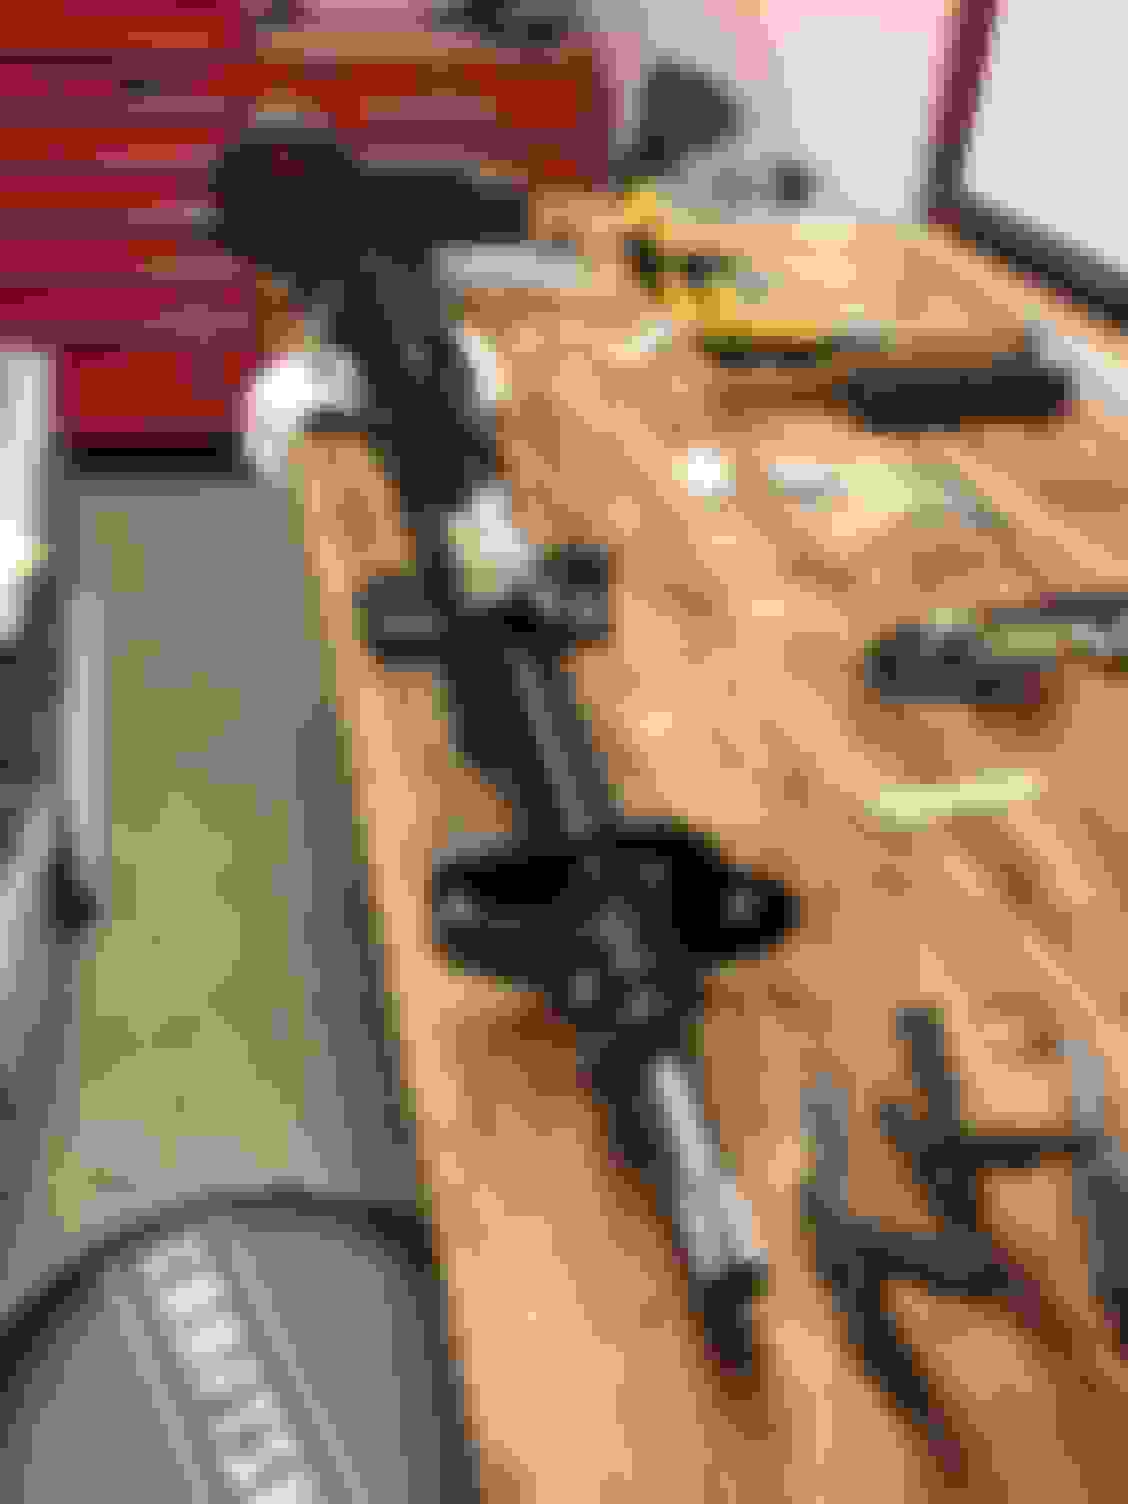
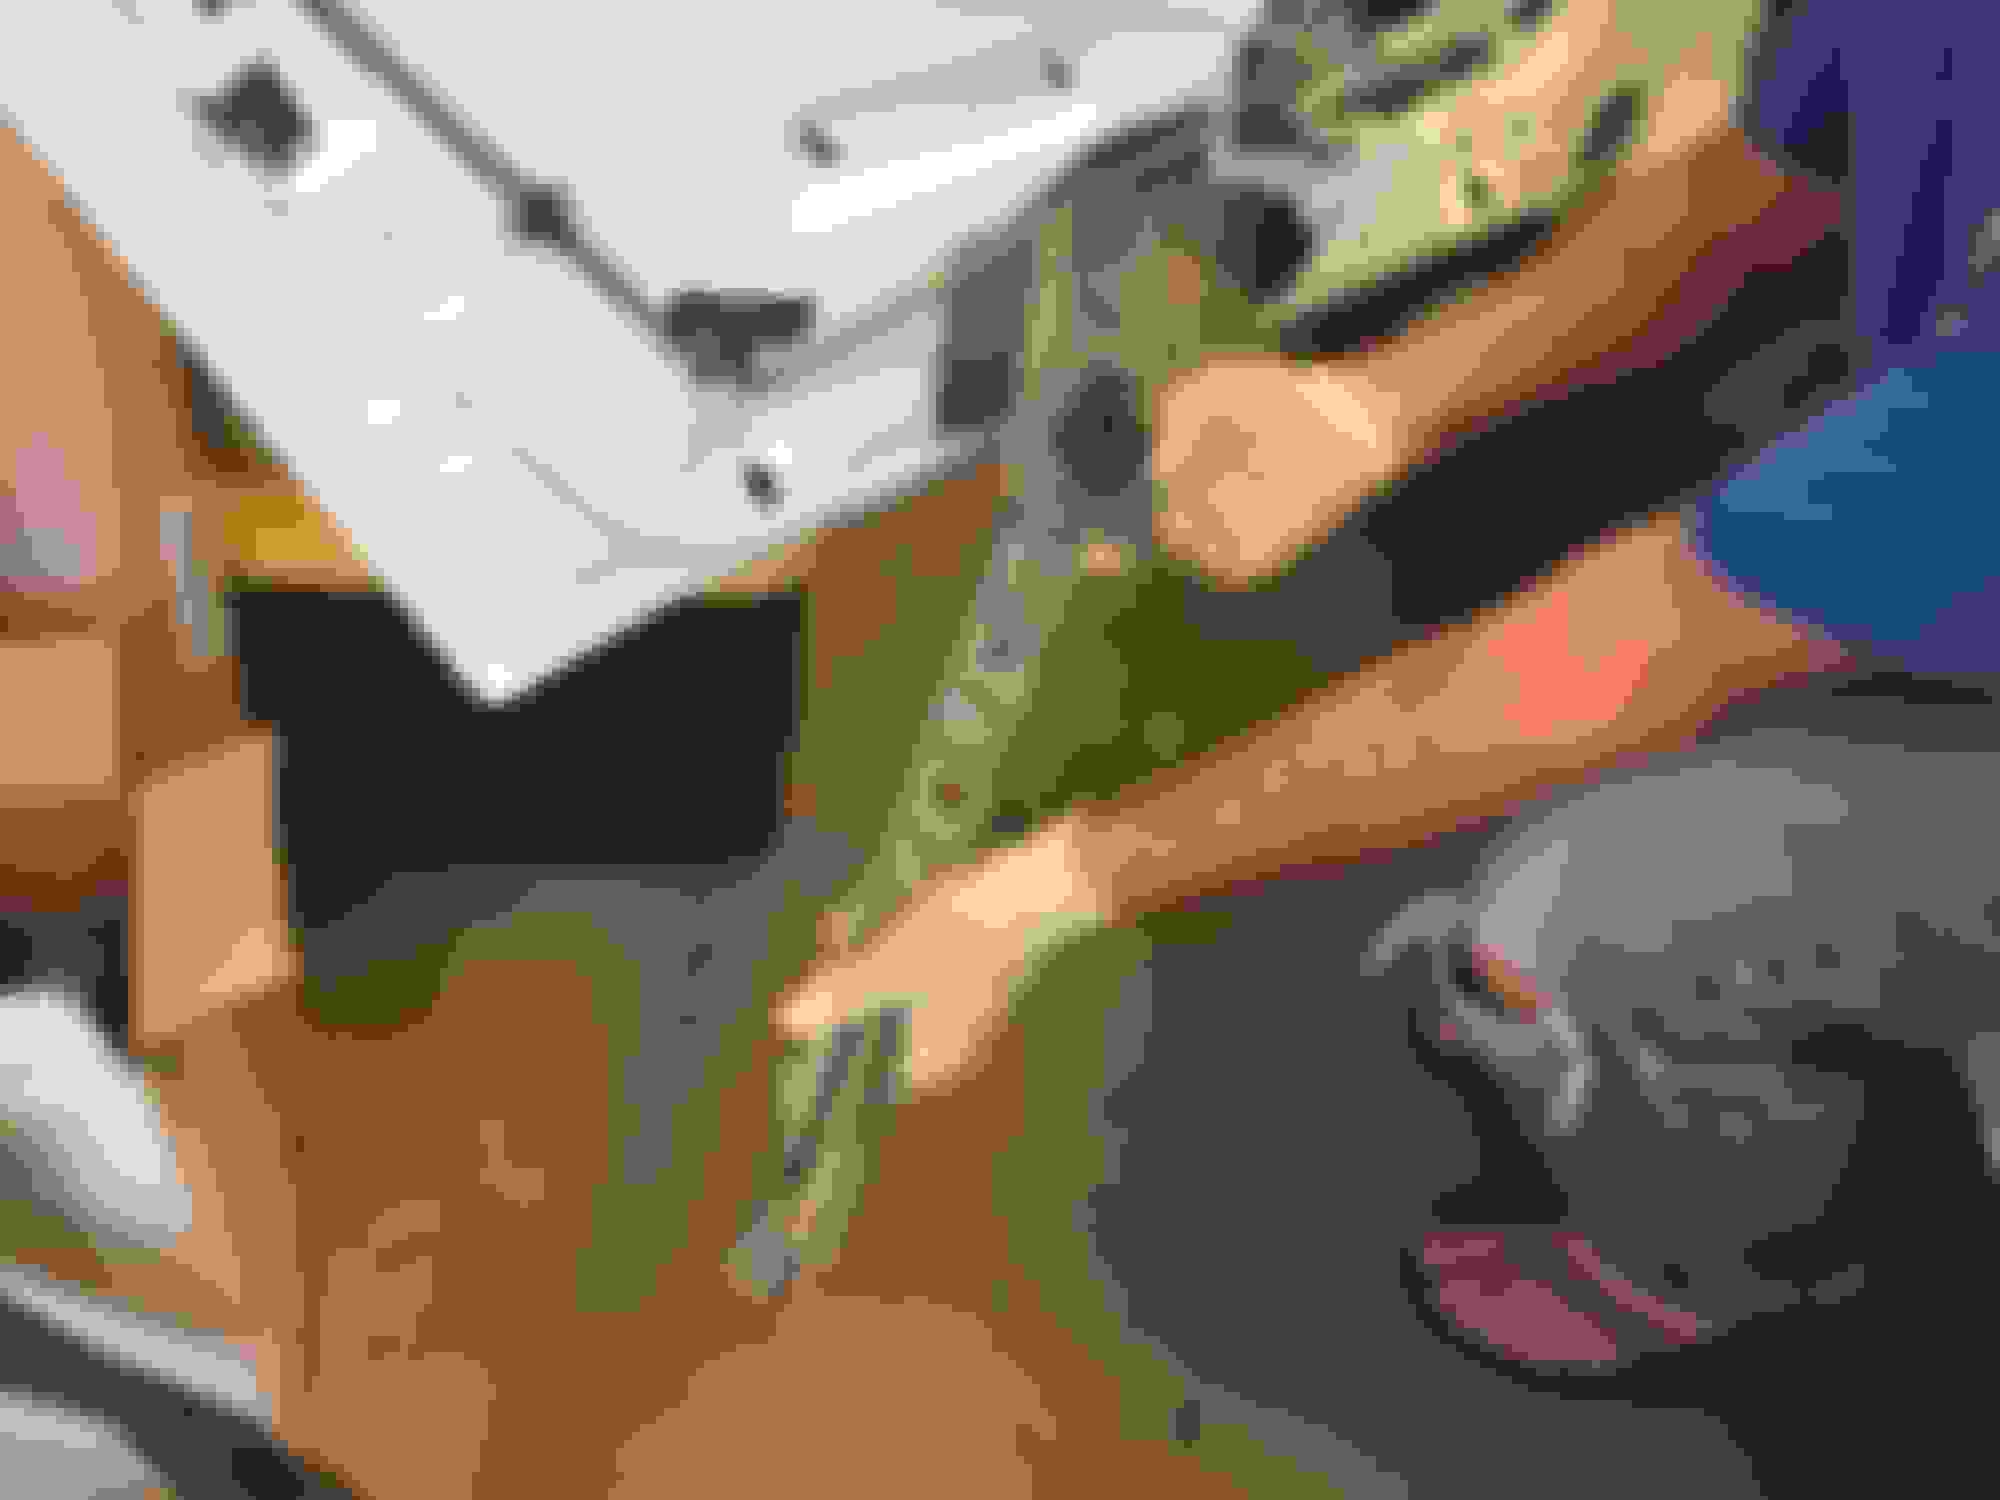
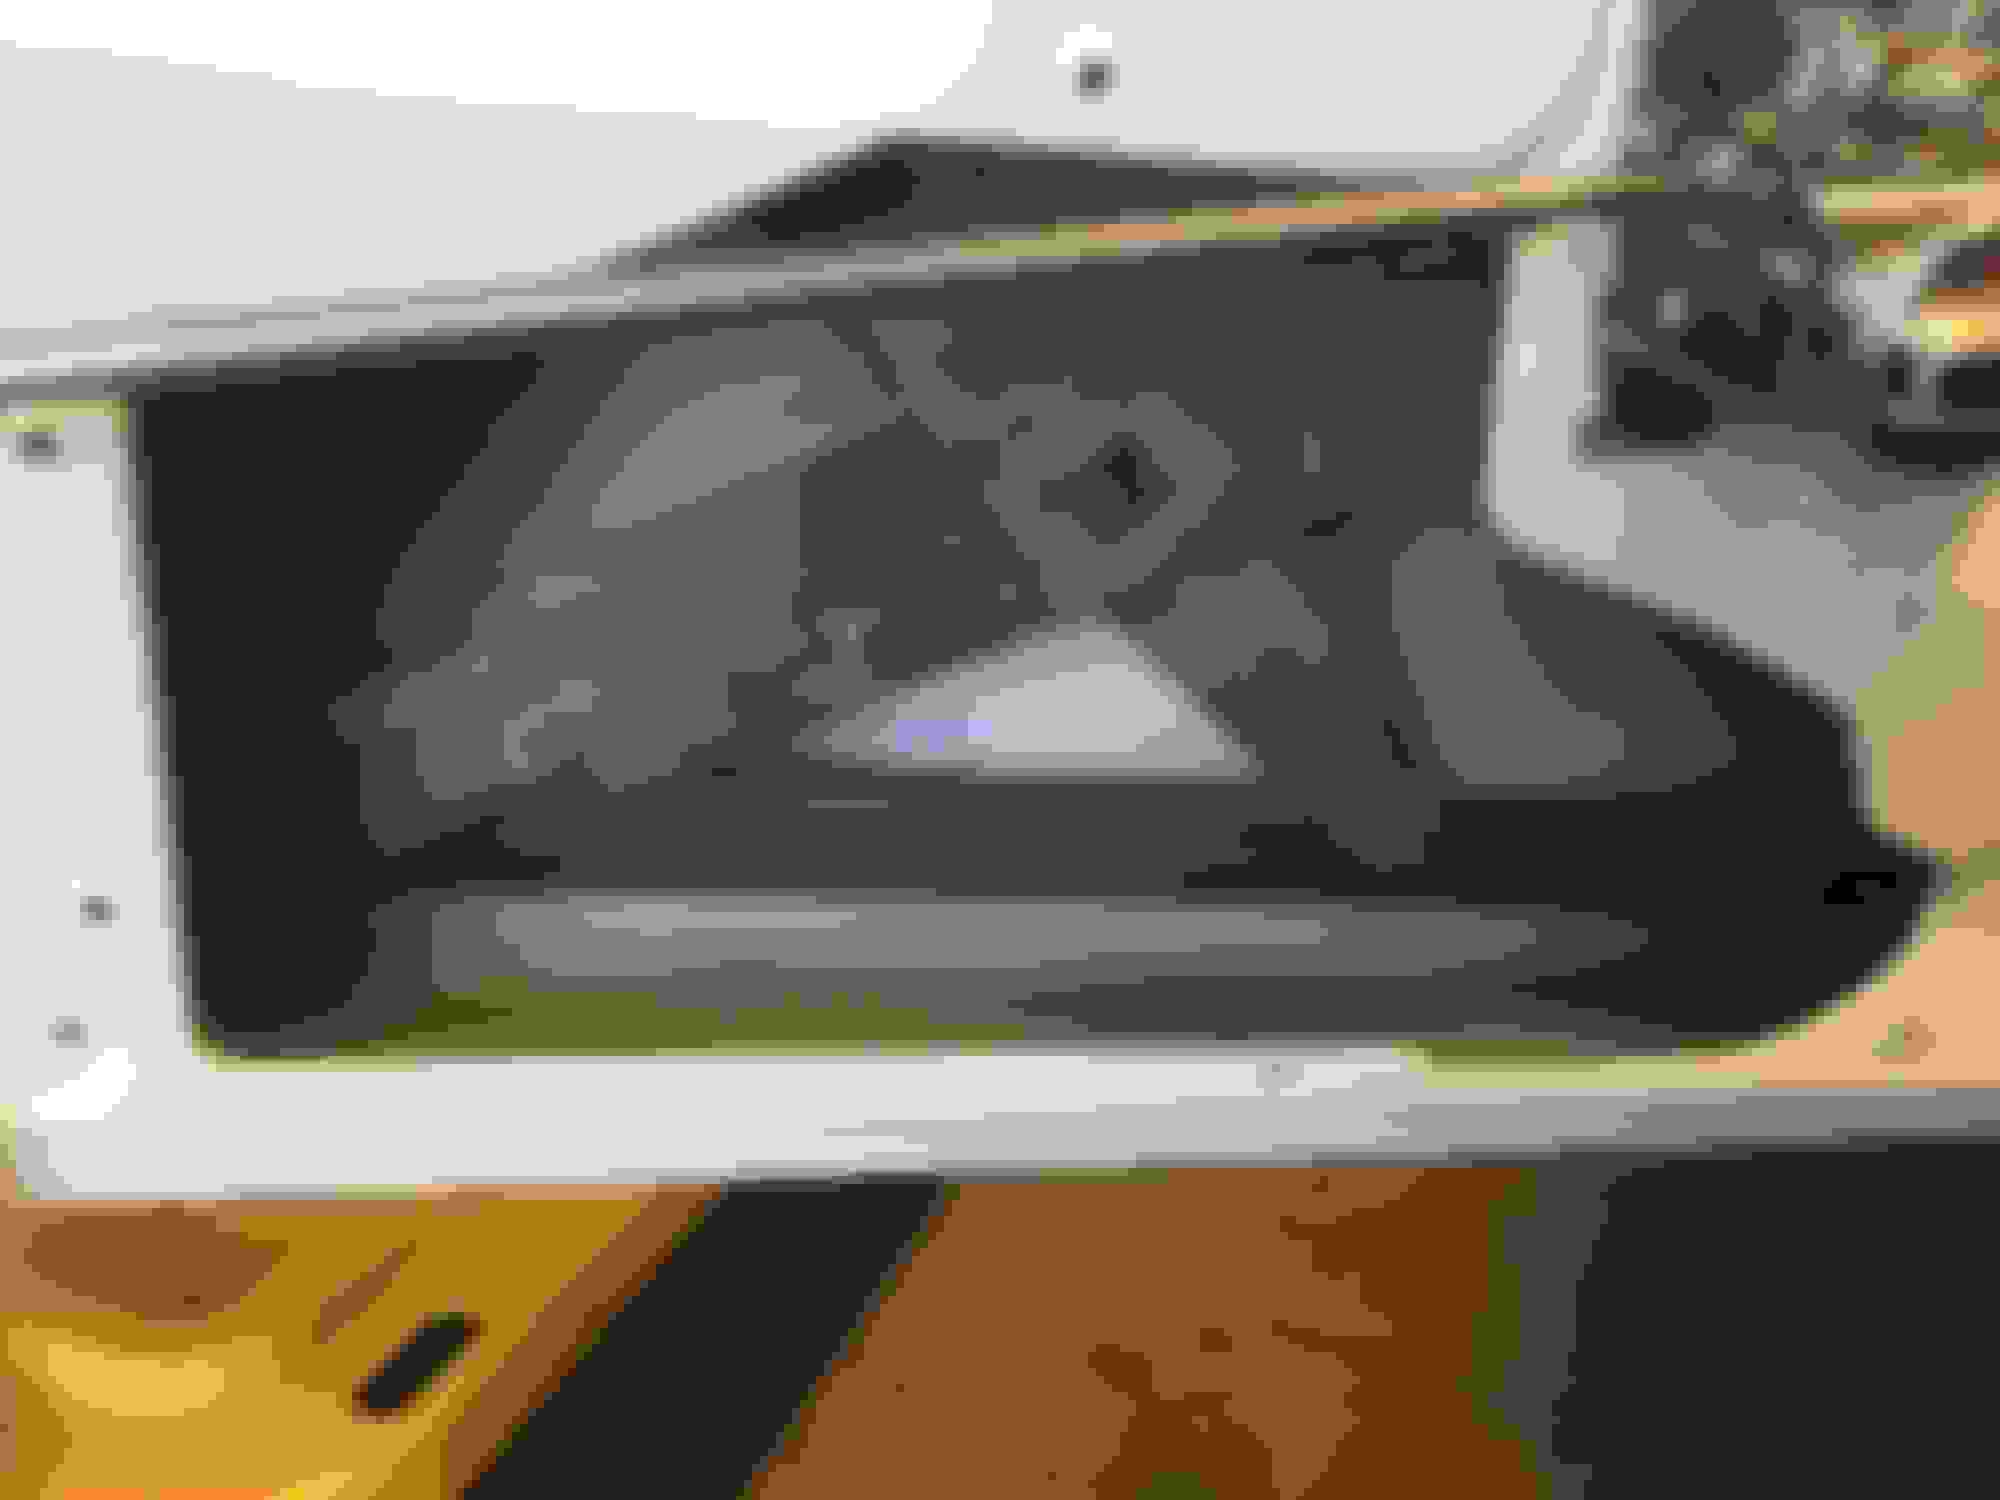
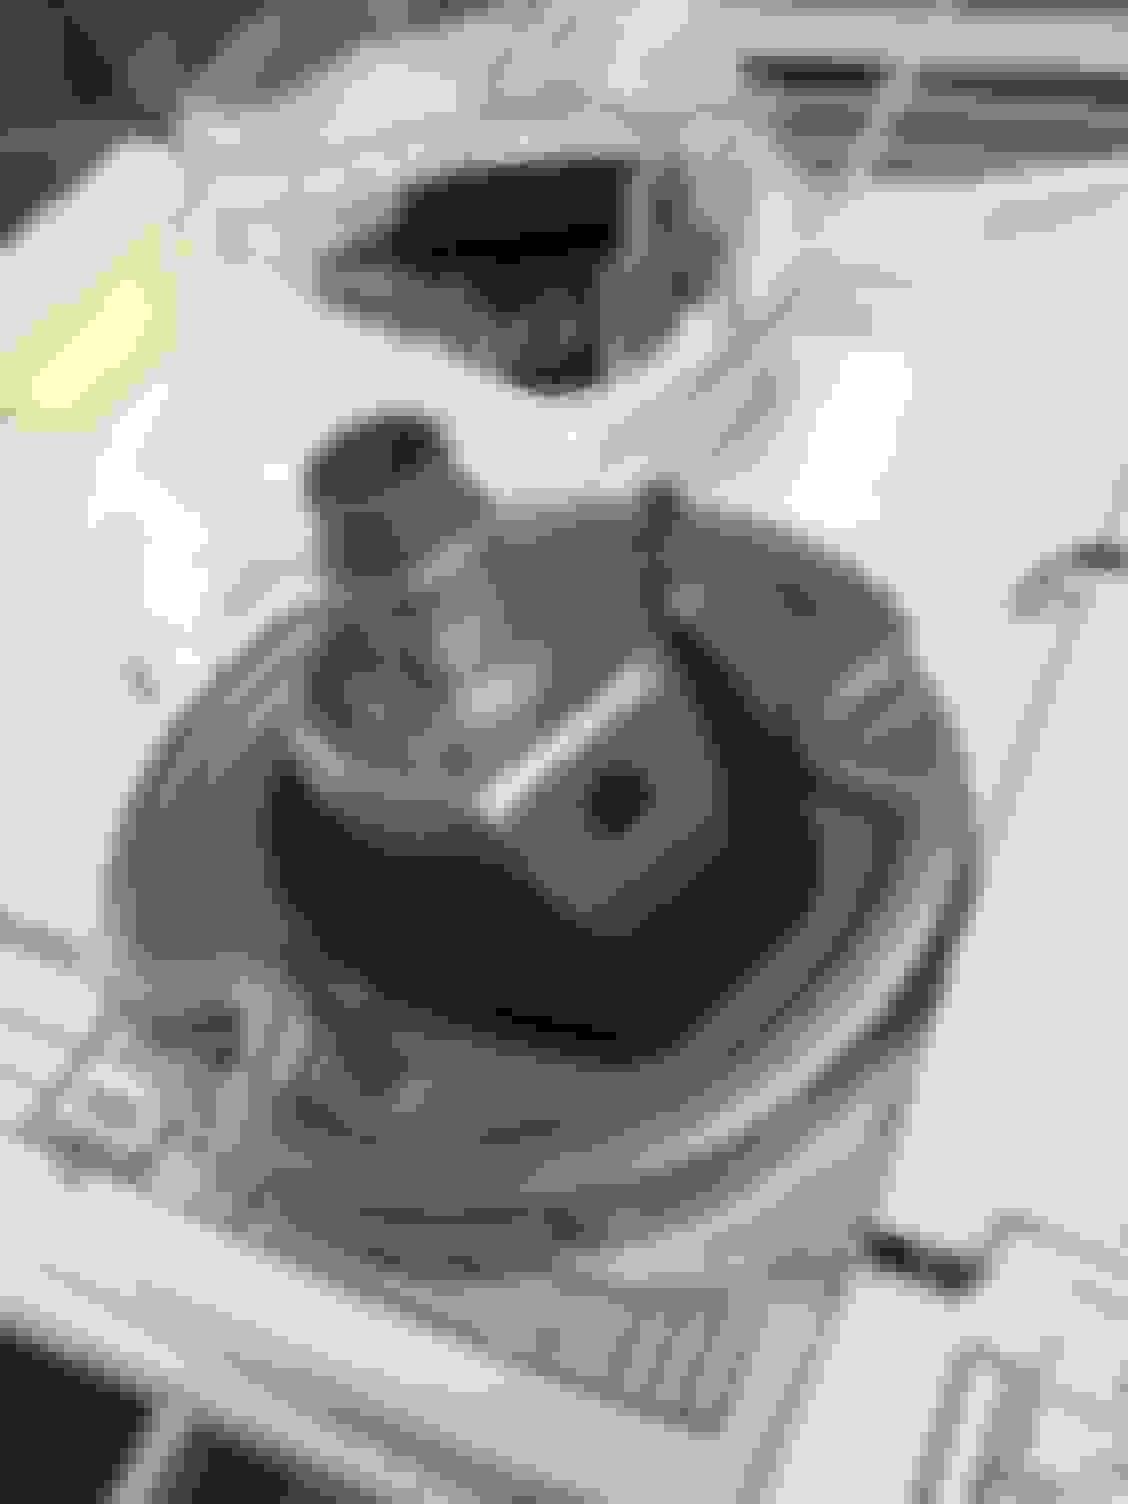
Monday was Steering Column Reassembly Day.
I wasn't looking forward to it because I knew it was going to have its challenging moments, and in that way it didn't dissappoint
Right off the bat I broke my new ignition tumbler.
So it was off to the locksmith who mumbled something about not installing it with the key in.
I had to buy a new tumbler and have it rekeyed to match the one I broke
The next challenge was the electrical connection of the turning switch assembly was ever so slightly different than the original, so I had to pull all the wires out of the old connector, which turned into a nightmare with more bleeding
I kept going back to look at U tube videos on how to put it back together but couldn't find exactly what I was looking for. I did stumble across on profanity laced one that was shot after the guy lost it and beat up his steering column with a hammer. It was hilarious...but not for him.
While there were some stuff on the tilt and telescoping assembly, not so much for the standard column. So here are way too many pictures in case anyone out there forgot how they pulled it apart like I did:
All that is left is the horn contacts and putting on the steering wheel


 06-12-2018, 01:23 AM


 Excellent work with great results.