When you click on links to various merchants on this site and make a purchase, this can result in this site earning a commission. Affiliate programs and affiliations include, but are not limited to, the eBay Partner Network.
I did mine last summer to include new foam. Best trick I learned was to let the covers sit in the sun for 30 minutes before installing them to make them more pliable.
I did mine last summer to include new foam. Best trick I learned was to let the covers sit in the sun for 30 minutes before installing them to make them more pliable.
Chad
Those look fantastic. New covers and new foam, correct?
I just completed replacing my original 71 seat covers and foam.....wasn't terribly difficult but it was very time consuming for me. I have about 30 hours in mine, including refinishing all the metal seat frame and track parts. Very rewarding experience for me though. I would suggest just watch all the videos, and measure twice and cut once! I broke several of the new upholstery smaller clips, I found my originals were much stronger and reused them on the smallest size clips. New foam is a must IMHO! Getting the metal trim in the seat back even with the lower seam in the upper seat cover was the hardest part for me. Baby powder helped very much sliding the covers over the new foam.
Before......original 1971 vinyl seats with very broken down foam. These held up very well for 47 years though!
1971 full leather seat covers with new foam. This was right after completing the first one....a few hours in the sun and a little massaging all wrinkles are nearly gone. I was amazed at the comfort difference.
It's been a while! As some of you know, I decided to try to use the sun to heat up the seat cover in order to stretch it over the new foam. But because I was waiting for the weather to turn and the sunny days to return, I focused on dropping my gas tank to get to the tank sticker (see https://www.corvetteforum.com/forums...discovery.html).
Today however was just a beautiful, sunny day by me, and the timing was right, so I decided to see if I could finish the bottom portion of the seat cushion. Here's what I learned: everyone who suggested that I let the covers heat up in the sun were right on the money. That worked well for me. (That, and having my child stand on seat frame as I fastened the clips!)
Now, here's the really interesting thing. The whole reason I started this in the first place, was there was a fine powdery material sifting up through the seats, both the bottom and seat back. The seller, everyone who saw the seats, and my own eyes told me that the cushions must be deteriorating and needed replacing. It was so bad that it was all over the interior of the car, and would wind up on your clothes after sitting in the car. I knew getting that taken care of was a priority, so that was the very first thing I started working on. I started with the passenger side seat, because I didn't want to be without a driver's seat if it took a while. And for whatever reason, as you know, I started with the seat bottom.
Getting the passenger seat out on the wintry day that I chose was a piece of cake.
Anyone that read this thread from the beginning knows I got as far as I could without stretching the seat covers into position (see pics on p.1). The weird thing was, once I removed the original seat cover, I didn't find what I expected to find. The original seat cushion wasn't deteriorating at all. Yes, it sat much lower than the replacement, but it wasn't crumbling or powdery at all. What??
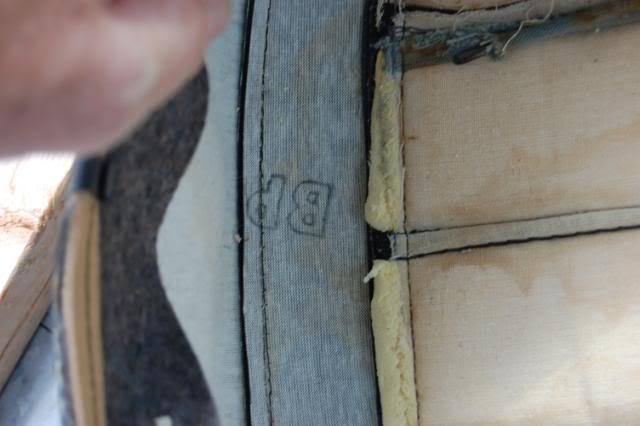
And, as I manipulated the cover trying to install it on the new foam, guess what I saw? The same powdery substance filtering up through the comfort weave panels in the cover. That's when I realized that it was never the cushions that were the problem, it was whatever was in those panels. They must have had their own piece of padding in each separate panel, correct? A permanent part of the seat cover that can't be replaced?
Well, getting back to today's success, using the heat of the sun method, I got the seat cover finally installed on the new cushion.
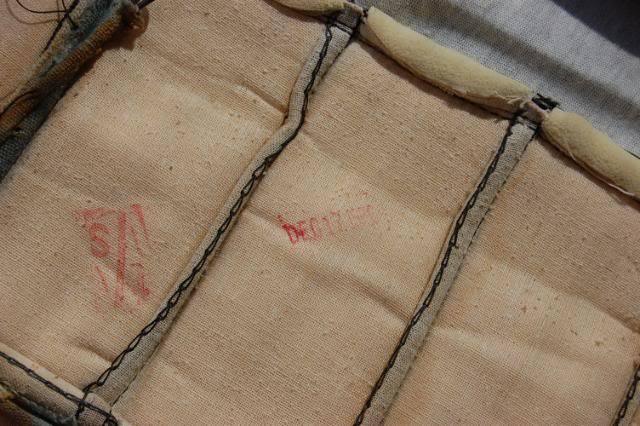
Afterwards however, I spent a good hour "tapping" on the panels to get the powder out. (Every time you tap the seat bottom or back, the powder comes through the cover.) Here's exactly where the powder was coming through (worse on the far left and far right ends):
I used my hand for the first 30 minutes, then switched to rubber mallet, which I used to gently tap the panels, causing the powder to sift through. I started by vacuuming the powder, but then switched to compressed air to blow it off the seats, which seemed to work better.
I don't think I got it all out, but I think I got most of it out. Hopefully what's left in there won't come out from regular use of the seats, although I'll know if I got enough out once it's back in the car and I've sat in it.
Looks Good and glad it worked out, funny that this thread just resurfaced,
I ended up finishing my tops this week after giving it up on them for a bit,
A Heat gun and really compressing the foam did the trick but it was still a battle, lol
Looks Good and glad it worked out, funny that this thread just resurfaced,
I ended up finishing my tops this week after giving it up on them for a bit,
A Heat gun and really compressing the foam did the trick but it was still a battle, lol
I don�t have the same powder issue
Funny! I'm actually considering not even doing the backs now that I've seen that the cushions aren't breaking down. I now know that I can use my endless tapping method to hopefully get it all the powder out...
Yes, there's a thread on here about it. That is the reason I replaced my seat foams. I thought they were disintegrating. It turns out it's actually the slim foam in the seat cover that is doing that. On the other thread they talk about making a small slit and vacuuming it out.
I'm redoing mine again because the seat foams were too stiff and I plan to do that this time.
Hi ZRXG,
The purpose of the sheets of scrim foam that were sewn into each cover was to give the individual pleats in the cover their 'plumpness', that's now gone.
So the pleats/covers now have a 'deflated' look.
Regards,
Alan
Yes, there's a thread on here about it. That is the reason I replaced my seat foams. I thought they were disintegrating. It turns out it's actually the slim foam in the seat cover that is doing that. On the other thread they talk about making a small slit and vacuuming it out.
I'm redoing mine again because the seat foams were too stiff and I plan to do that this time.
I just re-read your post and saw that you are redoing your seats. Do you mean you are taking the new foam out and replacing it with a different brand? Or the original foam?
Hi ZRXG,
The purpose of the sheets of scrim foam that were sewn into each cover was to give the individual pleats in the cover their 'plumpness', that's now gone.
So the pleats/covers now have a 'deflated' look.
Regards,
Alan
I replaced my foam in my 73 and I'm sorry that I did. Sets to high for me because I'm 6'4''and legs in wrong position. My hips hurt after a long drive.Should of used old bottom foam.
I replaced my foam in my 73 and I'm sorry that I did. Sets to high for me because I'm 6'4''and legs in wrong position. My hips hurt after a long drive.Should of used old bottom foam.
Thanks for the info. Is there a different angle to the new foam that affects the way your legs rest? Or, do you not have the tilt/tele wheel option that would have allowed you to adjust your leg position?

 03-18-2018, 06:09 PM