When you click on links to various merchants on this site and make a purchase, this can result in this site earning a commission. Affiliate programs and affiliations include, but are not limited to, the eBay Partner Network.
If you aren't removing the exhaust manifolds give this product a try. It looks great and has held up real nice.
Like everything else, its all in the prep, prep, prep.
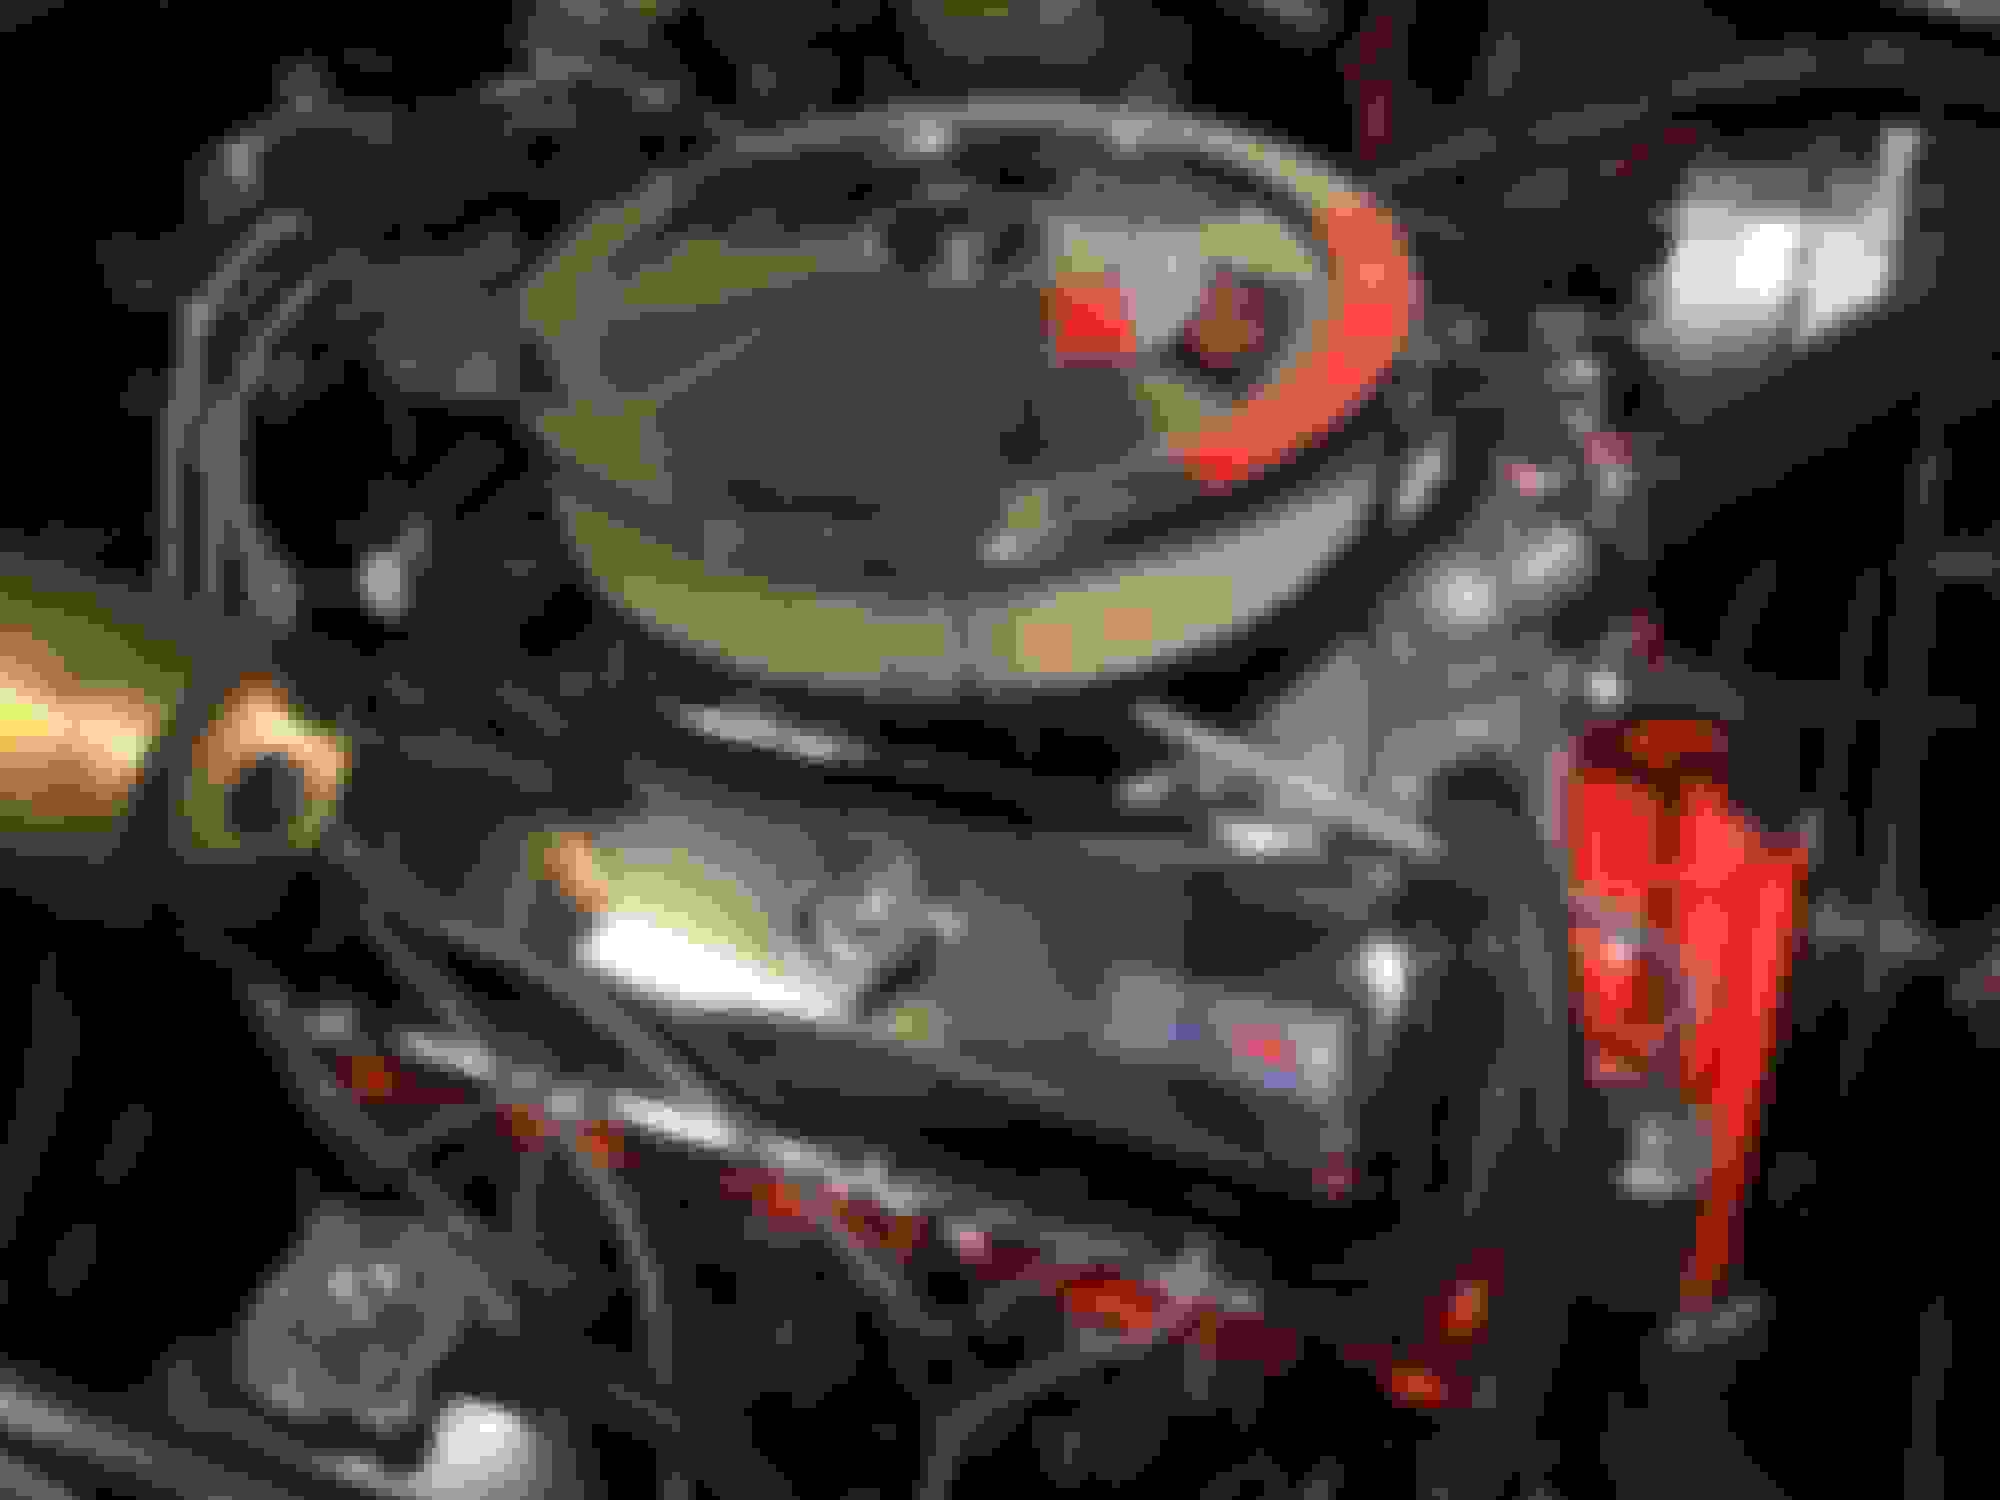
I agree. The exhaust manifolds are important to the overall look of the engine compartment. If you can remove them, get them bead or shot blasted and have them bagged and sealed (garbage bag and duct tape) immediately; otherwise they will start to rust that same day! Remove from bag, wipe down with acetone or lacquer thinner (my favorite); then shoot two decent coats of Seymour Cast Blast (cast iron color) ceramic paint...the super high temp stuff for exhaust manifolds (they also sell a 500*F Cast Blast paint).
Let dry overnight, then carefully install them on the engine. The paint will not be cured until the heat of exhaust gases gets to it. Over the next 4-6 hours of engine operation, the stuff will smoke and STINK!!; just be ready for it and drive with windows down to keep from breathing the fumes. Is all that worth it? Absolutely!!! It will look like freshly cast iron for many years to come with NO RUST forming. The paint cures to a ceramic finish that does not look like the manifolds have been painted. Mine is going on 10 years, now; and they look the same as the day they were done. Pretty nice for the price of shot-blasting and a can of Seymour spray paint!!!
If you can't remove the manifolds to do all that, go with the Eastwood or POR stuff made for that range of temperature.
I will be running headers soon (still waiting for my exhaust pipes to arrive). So I won't be using the manifolds after the instal.
Do I have to use that Por15 high temp paint as a primer, and then put some coats of Por15 chevy orange enamel paint on the engine?
Did you use a primer from POR15, or some other brand, or just the Chevy orange POR15 paint?
just the paint itself.. i did not degrease or power wash, I suppose it will not last as long as those who degrease and scrape down to the bare metal and prime.. yes effort gives you more years of service.
Self etching primer is what I used. It makes up for some of the junk, rust you may have not gotten to. I don�t remember if it was heat resistant. It may have. Much cheaper than the POR products and available at your HD or autozone. I then used a Chevy engine orange heat resistant from autozone.
Now just for clarification. I�m saying that it probably isn�t as good but can�t justify the cost and shipping expense. That�s just me!!!
Remember prep is probably more important than the products you use. Ike.
Last edited by general ike; 11-21-2019 at 10:26 PM.
I used the stuff from Eastwood...you can brush it on...I bought the spray bottles from Home depot..thinned it a little and sprayed it on...looks great..
I had a electric stove that was in unsued basement suite . When my olds 403 was apart for rebuild I had exhaust manifolds sand blasted , applied POR 15 exhaust paint let it dry then put manifolds in 400 F oven for 2 hrs . That 'cured ' the paint just fine . Just do not use your kitchen oven for this !
If you are going to restore an engine with it in the car a good tip is to use aluminum foil to mask all the areas you don't want painted. Then use POR cast iron paint to paint your manifolds after the engine is painted. Here is a quick pic of an engine compartment that I did that way. Good luck!
These engines look so good, especially for being done in the car. I'm planning on doing the same, but I honestly don't know where to start. Mine is in rough shape.
Fastimes, not bad at all. first thing to do is strip off everything you are comfortable doing. It's much easier to get a better job if some of the larger parts are off. Me, I would then preserve any labels that are original and correct no matter what their shape is. Be careful because the next step could damage them.
Cover up the carb with aluminum foil and plastic and the distributor with plastic. Spray down the engine with engine degreaser and let it sit. I then VERY CAREFULLY clean the engine and the bay with a power washer. Be very careful around the firewall but power up against the block. I then do the same with purple cleaner and again with Dawn.Try to get into all the tight spots, if your car is like mine you have 45 years of dirt and grease build up. Lift the car off the ground and hit the undercarriage an engine from underneath. I put a heavy tarp then closed to hood to prevent splatter when spraying from underneath. Us a metal brush of various sizes to loosen any flaking paints. I then use a leaf blower to dry everything.
Now the hard part. Look through the forum for photos of what a correct engine bay should look like and decide what you want to restore and what you want to leave as is. Remember some people will say you should have left it as is but its a personnel choice. Start taping over everything using as much as you can, tape, paper and foil work the best.
I then use a etching primer to prime everything and use spray can paints to paint everything up. If I can't get to any spots I spray some paint into a cup and use small acid brushes to get into the tight spots. If possible I run the engine to heat it up before and after to make the paint stick then dry nicer. Use heat resistant paint made for the engine bay heat.
Good luck take your time and pay attention to the details. Nothing worse in my mind then splatter. Better just leaving it alone!!!!!! Take alot of before and after photos. Ike .
Last edited by general ike; 02-10-2019 at 09:45 PM.
Thanks Ike! I appreciate the advice. I will definitely follow your steps. Your's looks great. I would be extremely happy if I could achieve similar results.
Actually, the FIRST thing is to get rid of that flex-fan before it explodes and cuts the front of your hood off. I'm not kidding...those things are risky.
Anyway, your engine compartment is in much better shape than many I've seen. And the REAL place to start is to sit down with pencil and paper and make a plan on exactly what you want to do to that compartment....any WHY. HOW you intend to use that refurbished engine compartment will guide you in what you decide to do. If you want an NCRS winner, it will take a LOT more than just making it look really nice.
One last little tidbit of info: If you want it to really look good, you HAVE TO GET INTIMATE WITH THE DETAILS! Cleaning all the junk and old paint off all of the individual wires and off the harnesses, for example. You will need to buy 20+ spray cans of different colored paints (blacks, metallics, engine color, etc. etc.) rather than to just shoot the stuff that "messy" with satin black. It's a lot of work, but if you want it to look good, it's a labor of love.
Thanks 7T1vette!
It'll take me some time to get this project started. Not looking for NCRS level, just want to make it presentable.
Not to sidetrack this thread, but I never paid any mind to the fan until you mentioned it. It looks like it's been there quite a while. Why are these fans so dangerous?
The car runs nice and cool, would that change if I returned it to stock? (maybe this should be it's own thread)
Update: This really had me thinking, so I looked into it a little. It seems that my fan is the original 5-blade fan. Perhaps it appears to be a flex fan due to the rust on the blades
The concept of the flex-fan is fine: As it increases in speed (rpm), the blades have more wind resistance and flatten out so they absorb less energy than a fixed-blade fan. The problem is that they were never engineered for long term reliability; sometimes the blades crack at the rivets and come apart at high rpms. Makes a lot of shrapnel which does damage to the engine compartment and hood (as a minimum).
The thermostatic fans which came on these cars have an even better strategy: Free-wheel until the engine compartment temperature gets hot enough to make the fan clutch engage. And, when the compartment cools down enough, the clutch releases and it again free-wheels. This minimizes fan energy losses. Electric fans are a much better choice than a flex-fan.

 10-02-2018, 06:54 PM