When you click on links to various merchants on this site and make a purchase, this can result in this site earning a commission. Affiliate programs and affiliations include, but are not limited to, the eBay Partner Network.
Painted the front wheel wells also will do back next week and frame and cross members in gas tank area.
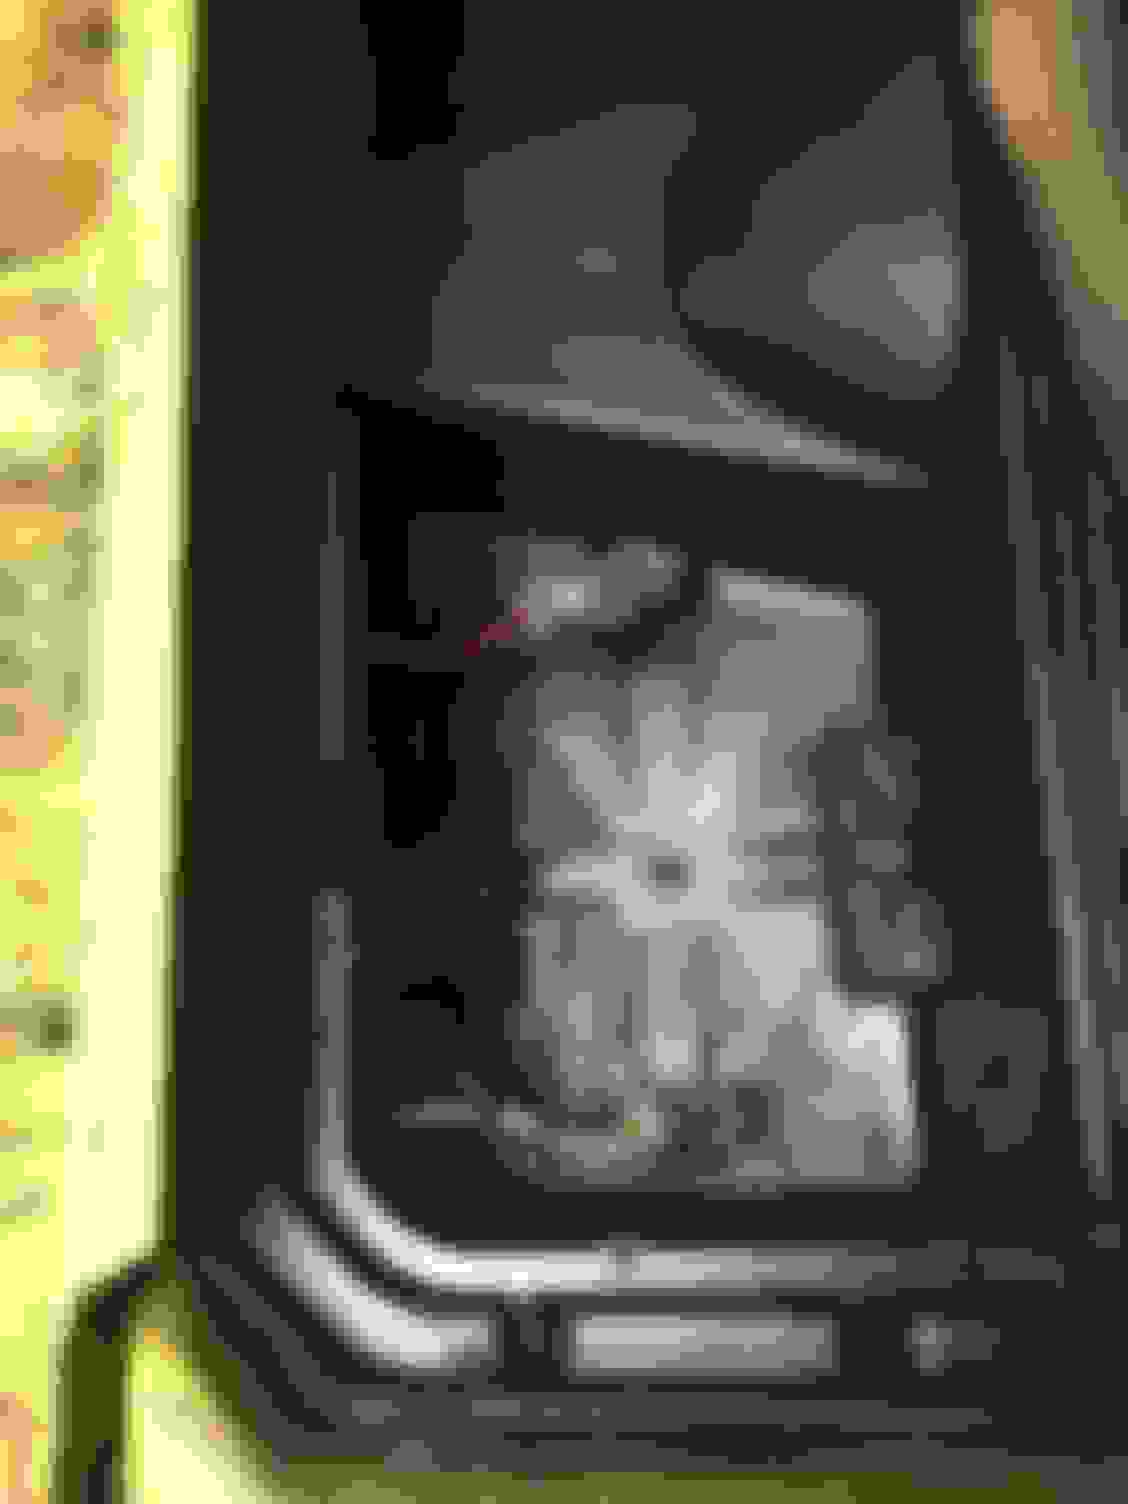
sprayed cleaner on all brushed and pressure washed 2 times then wiped down with denatured alcohol
A little south of Lexington, eh? I was born and raised in Perryville. Ernie was an awesome resource when I put my 1970 LS5 back together. I am currently stuck in the North Dallas area right now (thanks to work). If you need stuff, it is well worth a ride up to Louisville and over the river to Ernie's place. Work still takes me up that way from time to time. Unfortunately, I have to make space in checked luggage as opposed to company vehicle now to haul stuff back.
Ernie did have AIMs on CD for most of the C3s and hooked me up with one when I was reassembling my 70. As I bought that car in pieces it was a huge help.
It looks like you are well on your way to getting things in order for the summer.
2020 Corvette of the Year Finalist (performance mods)
2019 C3 of Year Winner (performance mods)
2016 C3 of Year Finalist
Originally Posted by Al.
Painted the front wheel wells also will do back next week and frame and cross members in gas tank area.
sprayed cleaner on all brushed and pressure washed 2 times then wiped down with denatured alcohol
Using spray cans.
It came out great! I need to do mine this winter.....long list
I priced some of the new replacement engine compartment hardware.
Hood wiper steering column.
$350.
Mine had old chipped black paint and lots of surface rust.
paint stripper and rust killer and elbow grease.
Gray primer and �Stainless Steel� paint.
want to avoid being nickel and dimed to death
Vintage Air installed minus the compressor (engine out) and duct work (dash wiring harness first )
Was about a 20 hour install and wire job for me but that with it already stripped.
But it went in pretty easy and problem free.
Geez the factory ac had 9 vacumn lines and 2 cables going to the controller.
Good ridance to them !!!!
Everything looks really nice. I like to see the contrasting colors in the engine compartment instead of all black. Cleaned up parts look great. Very Nice!
I was in fear of installing the vintage air before I started.
But it went surprisingly smooth.
But I admit I spent a lot of time looking at it and analyzing it while siping adult beverages before each step.
Wow what a difference putting the center console on and off now !!
So easy only 3 wires to it. One to temp control and will be 2 for fiber optics. Before was such a bitch removing with all the vacumn and cable lines.
The main breaker for the AC was in the wrong place on the wiring harnesses. Would have forced me to mount it under the center dash or console. So I cut it and moved it into the battery box. I don�t think it�s safe to have the breaker that far from the power source.
You might want to try saving that dash pad by re-glassing the back. From what I've read on this forum the replacement dash pads have fitment issues. Or at read up/search about dash fitment issues on this forum.
You might want to try saving that dash pad by re-glassing the back. From what I've read on this forum the replacement dash pads have fitment issues. Or at read up/search about dash fitment issues on this forum.
Originally Posted by Doug1
Ok I did it.
And I was set on buying a new pad so huge thank you if it works !!!!!
2 and 3 layers in some areas. May need one more layer
Had hardware missing so made a piece that will work and glassed it in and 2 partial screw threads were broken off.
Will see how it cleans up and fits but new one is close to $400.
The missing hardware peice is where the steering column trim fastens to, and the bracket for light and the tripmeter reset


 12-15-2018, 07:29 PM