When you click on links to various merchants on this site and make a purchase, this can result in this site earning a commission. Affiliate programs and affiliations include, but are not limited to, the eBay Partner Network.
The GW control arms are excellent, quality parts.
I really like the rotating lower spring rubber pad that enables you to shorten the spring and still have the spring hit the end ramp. I had already cut 1/2 of a coil off the new 550 springs when I installed them the first time in this suspension project.
Last edited by 74_stingray; 04-11-2020 at 09:19 AM.
“Eddy, I'm so sorry to hear about the issues with the POL arms. Unlike you I'm so upset right now We have both spent (and wasted) so much time and energy on these POS arms! After reading your post, I measured the distance between the shaft center lines and ball joint grease fittings on both upper and lower POL and OEM arms. This is what I found:
OEM upper: 9.875 POL upper: 10.50 OEM lower: 15.3125 POL lower: 15.125
So the POL uppers are roughly .625 longer than the OEM uppers along with the slightly shorter POL lowers (.1875) yields a .8125 difference, top to bottom. I assume with your positive comment on POL that you were able to return the arms for a refund?
Mark”
I was certain there was an issue with the upper, lower or both arms causing an issue of approximately 1”. Eddy
There is still a big thanks that should go out to those of you who have tried these POL arms.
Through your efforts many on the forum have learned valuable information.
Thanks for all your work!
I for one wish they would have worked out for you.
This bag contains all the shims that were installed by the alignment shop to TRY and bring the POL arms into specifications.
Must have run out of 1/8” shims, lol, definitely ran out of bolt to install more shims. I wish I had taken a photo of the shim stacks.
Eddy, I'm so sorry to hear about the issues with the POL arms. Unlike you I'm so upset right now We have both spent (and wasted) so much time and energy on these POS arms! After reading your post, I measured the distance between the shaft center lines and ball joint grease fittings on both upper and lower POL and OEM arms. This is what I found:
OEM upper: 9.875
POL upper: 10.50
OEM lower: 15.3125
POL lower: 15.125
So the POL uppers are roughly .625 longer than the OEM uppers along with the slightly shorter POL lowers (.1875) yields a .8125 difference, top to bottom. I assume with your positive comment on POL that you were able to return the arms for a refund?
Mark
Originally Posted by Techoca
Mark, I am waiting to hear back from them again, I received an email today, the dialogue has been cordial. I do not expect to have problems.
Eddy
Excerpt from “ tubular a arm “ thread:
Mark, I have heard back from POL, the refund process in currently in the works. The folks at POL have been great(other than the arms don’t fit). I certainly regret the time lost but it’s not eternal, just inconvenient.
In reference to the measurement of the Global West upper control arm, I am measuring 9.5 inches from the centerline of the shaft to the center of grease zerk on ball joint. Eddy
Last edited by 74_stingray; 03-05-2019 at 06:15 PM.
I have finished the install of the Global West front suspension components, the upper arms were delivered Tuesday and promptly installed on the car. The car is on it's wheels again, waiting for a non rainy day to return to the alignment shop. The Global West arms needed 5/16" of shims to get the camber to .25 degrees positive, I will let the alignment shop fine tune it, I want to achieve .25 to .50 degrees negative camber and 5-7 degrees positive caster.
Earlier in the project I had installed new upper control arm bolts. The bolt serrations did not seat into the respective holes as the holes were slightly oversized. I discovered through some research that control arm bolts for 1968-74 Nova; 67-69 Camaro; 64-72 Chevelle had serrations slightly oversized to the Corvette bolts. I purchased Mac's 181117 bolt kit, the listed bolts are 1/8" longer overall, .125" knurl length and .469" knurl diameter - The C3 Corvette bolts I purchased had .457" knurl diameter. The .012" difference in serration diameter fit into my oversized holes no problem and were seated in to the hole with a couple of hammer blows via a long punch. The bolts held and did not spin upon installing the control arms and subsequent tightening and loosening to install shims.
I plan on dealing with the trashed rag joint and installing a rear seal on the Muncie M21 this weekend. These tasks should take this project to completion. As you guys say frequently, it's never one thing.
Eddy
My Muncie M21 rear seal and extension housing bushing project for the day went south due to the nationally available kits supplying the wrong bushing, outside diameter too small, so I decided to fill the day with smaller jobs while I wait for parts to come in Tuesday. Just FYI, the Timken and National(5208)seals have the wrong bushing for my M21, through a lot of research I believe I found the proper bushing, will know when it arrives if the outside diameter of the bushing is correct.
I had ordered a new negative battery cable because I had seen evidence Bubba had been in there. This is what I found when I removed the old cable. That’s a piece of copper tubing with two cables inserted, smashed flat and soldered, corroded very badly. I paid $24.62 for a nice new properly sized cable, it defies logic to me, that’s not a roadside get you home repair, that’s intentional.
In reference to the seal and bushing kits for 32 spline Muncie, part number 5208, the outside diameter of the supplied bushing is 1.99”. The diameter needed to fit my M21 extension housing is 2.010. The 1.99” bushing just slides in and out, no press fit, no good. I determined GM part number 15665313 to have the proper dimensions including OD 2.10. We’ll see when it arrives...I’m sure someone else has been down this path.
Eddy
Yeah.....the Global West control arms may be a tad bit pricey....but what you get for the money cannot be compared to a factory set-up...even with poly bushings. I have yet had anyone buy these on cars I work on but I have installed many sets of the Global West control arm bushing kits.
Hopefully your tailshaft bushing comes in as the size you need....because as like you said..."slides in and out...no press fit...no good" I have to agree.
You would be shocked in what I come across when some idiot does a bogus repair like they did on the negative battery cable. I often times have to scratch my head and wonder what drug they were on when they did what they did. Obviously the person who repaired the cable needed to spend their money on something much more important.
Keep up the good work and it seems like you are about ready to have some fun in it.
These tasks should take this project to completion. As you guys say frequently, it's never one thing.
Eddy
Now that's funny- "completion!!!"
Originally Posted by Techoca
I had ordered a new negative battery cable because I had seen evidence Bubba had been in there. This is what I found when I removed the old cable. That’s a piece of copper tubing with two cables inserted, smashed flat and soldered, corroded very badly. I paid $24.62 for a nice new properly sized cable, it defies logic to me, that’s not a roadside get you home repair, that’s intentional.
To me- looks like the guy might have worked for the power company...after all it is just a ground!!!
Or for a few bucks - you could have just stopped by Home Depot and got some better connectors!!!
To me- looks like the guy might have worked for the power company...after all it is just a ground!!!
Or for a few bucks - you could have just stopped by Home Depot and got some better connectors!!!
Richard, I get what your saying about the ground and I know it’s not a big deal to splice a wire. I definitely would have preferred for it to to be neater work. I wouldn’t have any problem with the nice connectors pictured above. I did feel that I needed to know what was hidden under the tape, especially given some of the Bubba work I’ve found while working on the car.
Eddy
Sorry I forgot to add the 'sarcasm' emoji!!!!
When EVER you see electrical tape- be afraid,,,be very afraid!!!
I was mixing a batch of drywall mud by hand yesterday and jokingly asked my wife if I could use her Kitchen Aid standing mixer to save some time.
I got "THE LOOK".
Using the oven to bake parts would be an act of suicide.
I was mixing a batch of drywall mud by hand yesterday and jokingly asked my wife if I could use her Kitchen Aid standing mixer to save some time.
I got "THE LOOK".
Using the oven to bake parts would be an act of suicide.
I have made a couple of shop built tools to facilitate some of my latest tasks, neither of them are elaborate, but were effective. Number 1 is a 3/4” chisel ground approximately 5/8” width and the tip ground to fit the headlight switch nut, I used it to replaced the headlight switch bezel. Number 2 is a reciprocating saw blade that’s been ground to a height of approximately 3/16” that was used to cut through the Muncie extension housing bushing, I totally stole the recip saw blade idea from an old post on this forum! I didn’t want to buy the bushing puller and it’s no problem to saw through the bushing, there’s a groove on the bottom of the extension housing so no worries on damaging the housing, just need to be thorough on cleaning the shavings. The saw blade was used by hand. Basically a fat tip screwdriver
I’m in the middle of two jobs: Muncie M21 rear seal/bushing and rag joint replacement.
The rag joint replacement is intertwined with replacing the headlight switch bezel, the tachometer and speedometer bulbs, all of which require the steering column to be removed. Here comes Bubba...one of the two steering column nuts(under lower dash pad) was stripped and had a nut on top to tighten. What a pain to get a 9/16” wrench on top of that nut - helicoiled the weld nut, repaired. Next I found there to be only one of five clips needed to capture the dash pad screws, no idea how the dash was staying put?? I suppose it was wedged between the column and the upper dash pad. Fortunately I had new replacement clips on hand.
Last edited by 74_stingray; 03-12-2019 at 05:47 AM.

 03-02-2019, 07:17 PM


 We have both spent (and wasted) so much time and energy on these POS arms! After reading your post, I measured the distance between the shaft center lines and ball joint grease fittings on both upper and lower POL and OEM arms. This is what I found:


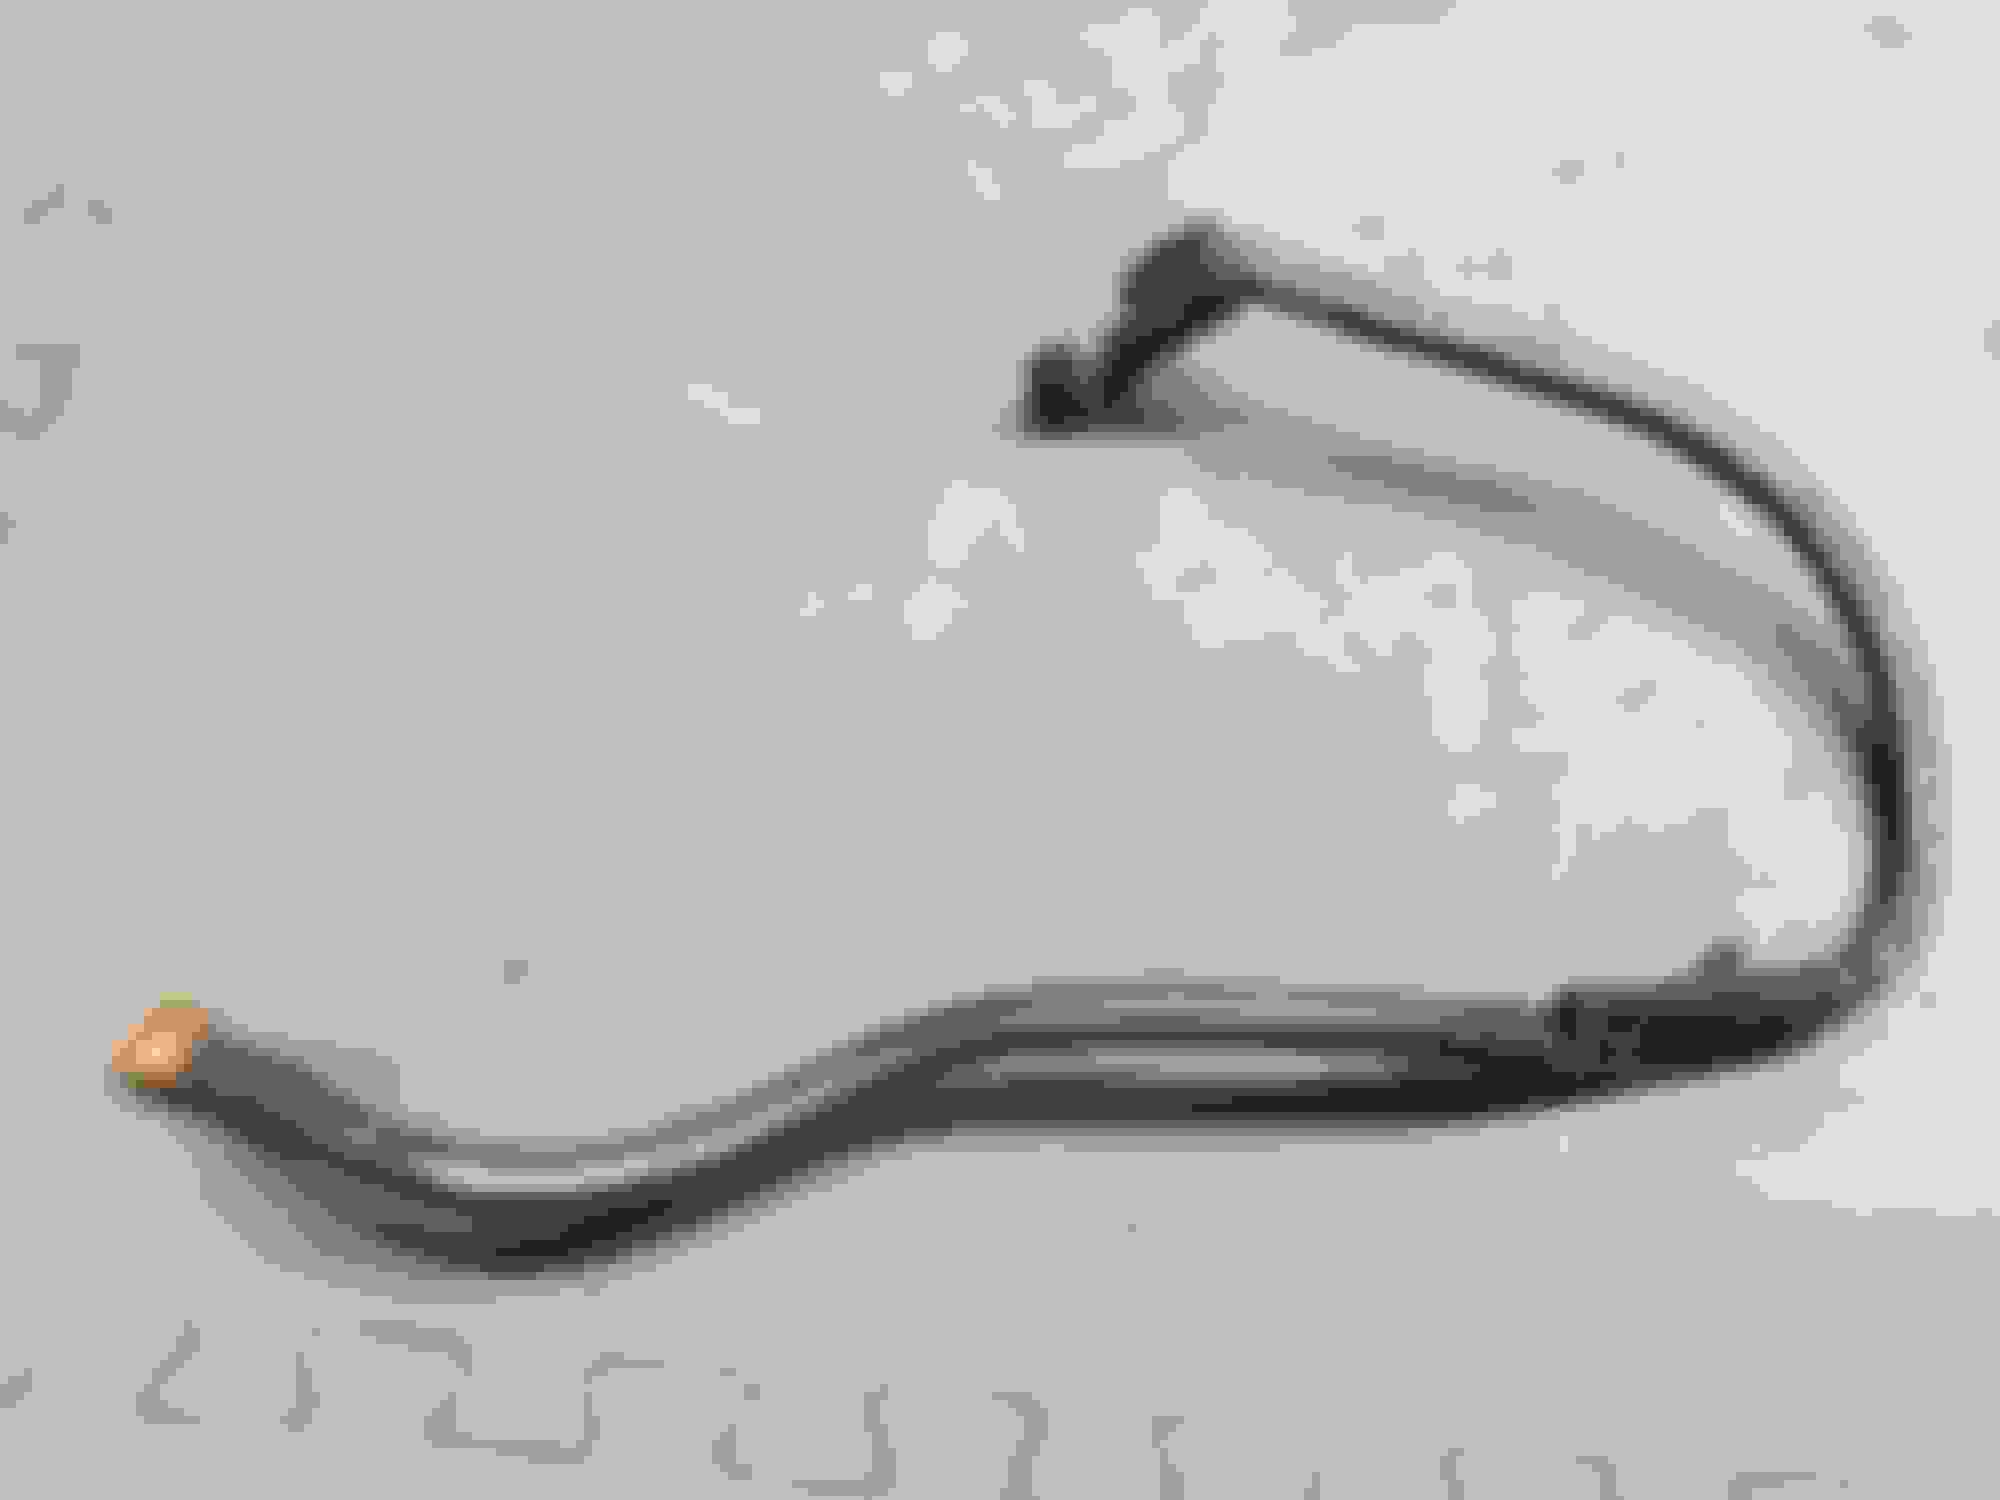
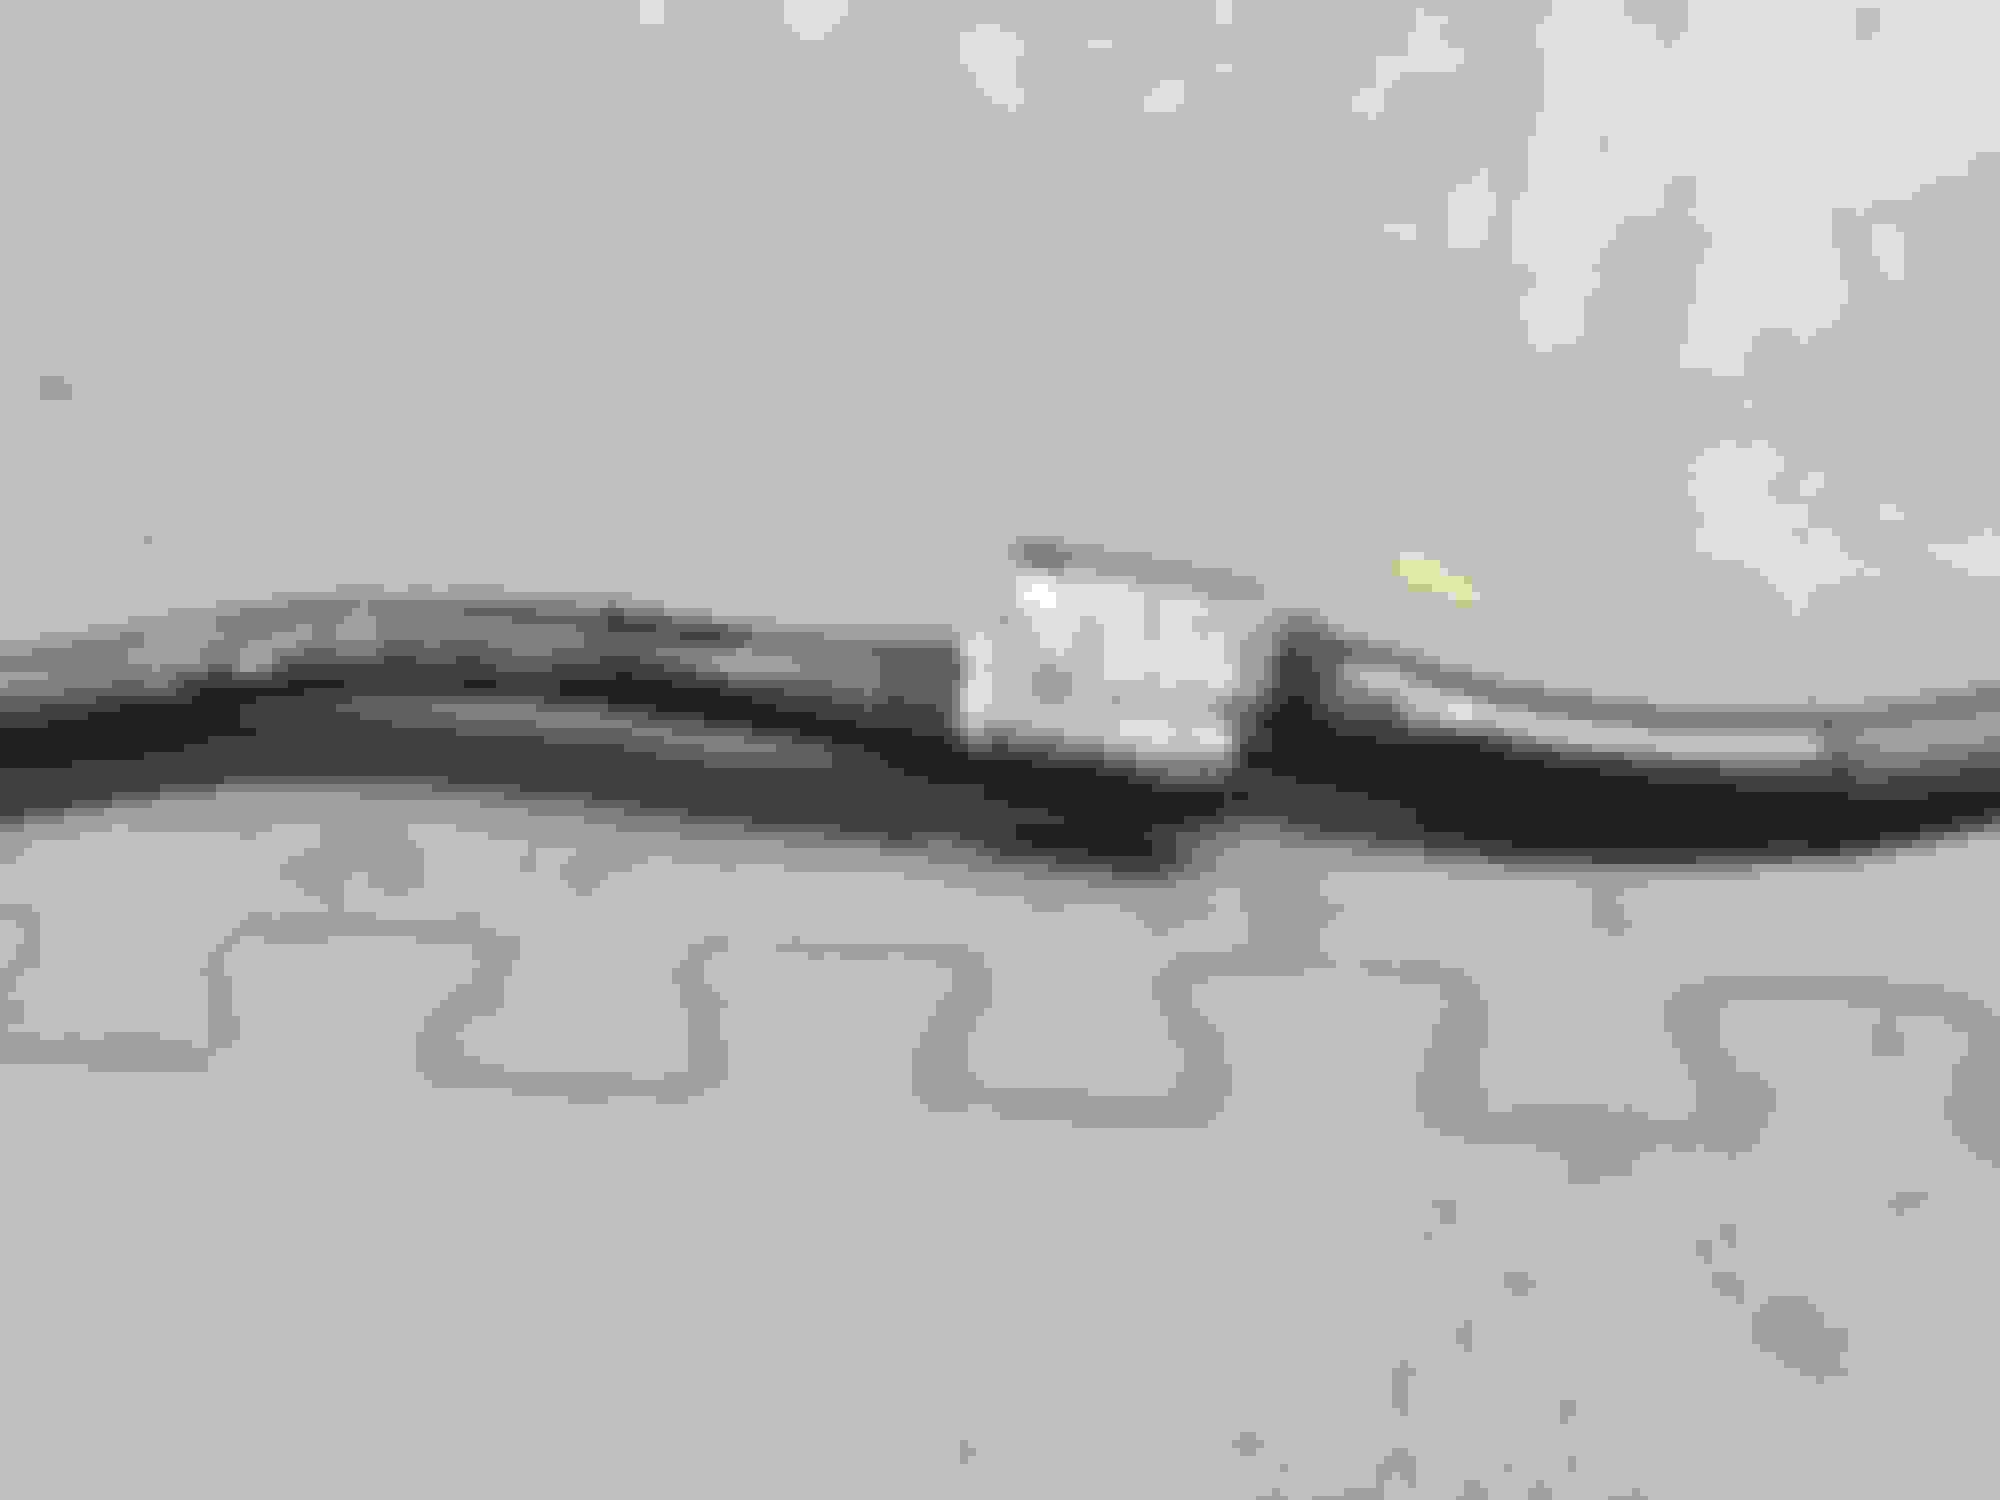


 It was hidden in the battery box