When you click on links to various merchants on this site and make a purchase, this can result in this site earning a commission. Affiliate programs and affiliations include, but are not limited to, the eBay Partner Network.
Plastidipped a '76 C3 this weekend, check this out!
Greetings from the PNW.
I spend MOST of my time on this forum between the C5 pages, and the PNW page, as those two things pertain to me, but I dipped a customer's C3 this weekend, and thought I would share it with this leg of the forum I paint cars in Plastidip (we'll call it PDS from here on out) as a side hustle, and I have been doing it going on 8 years now, so I like to occasionally show off some good examples of properly applied dip jobs with the appropriate crowd, as I see lots, and LOTS of people try it, fail, and then blast Plastidip online for all the wrong reasons. I started doing this for fun, just because I had never painted a car before and wanted to try it out, that and I like doing everything myself it is definitely a skill that requires honing, but it is so much fun, and so satisfying when you get good at it.
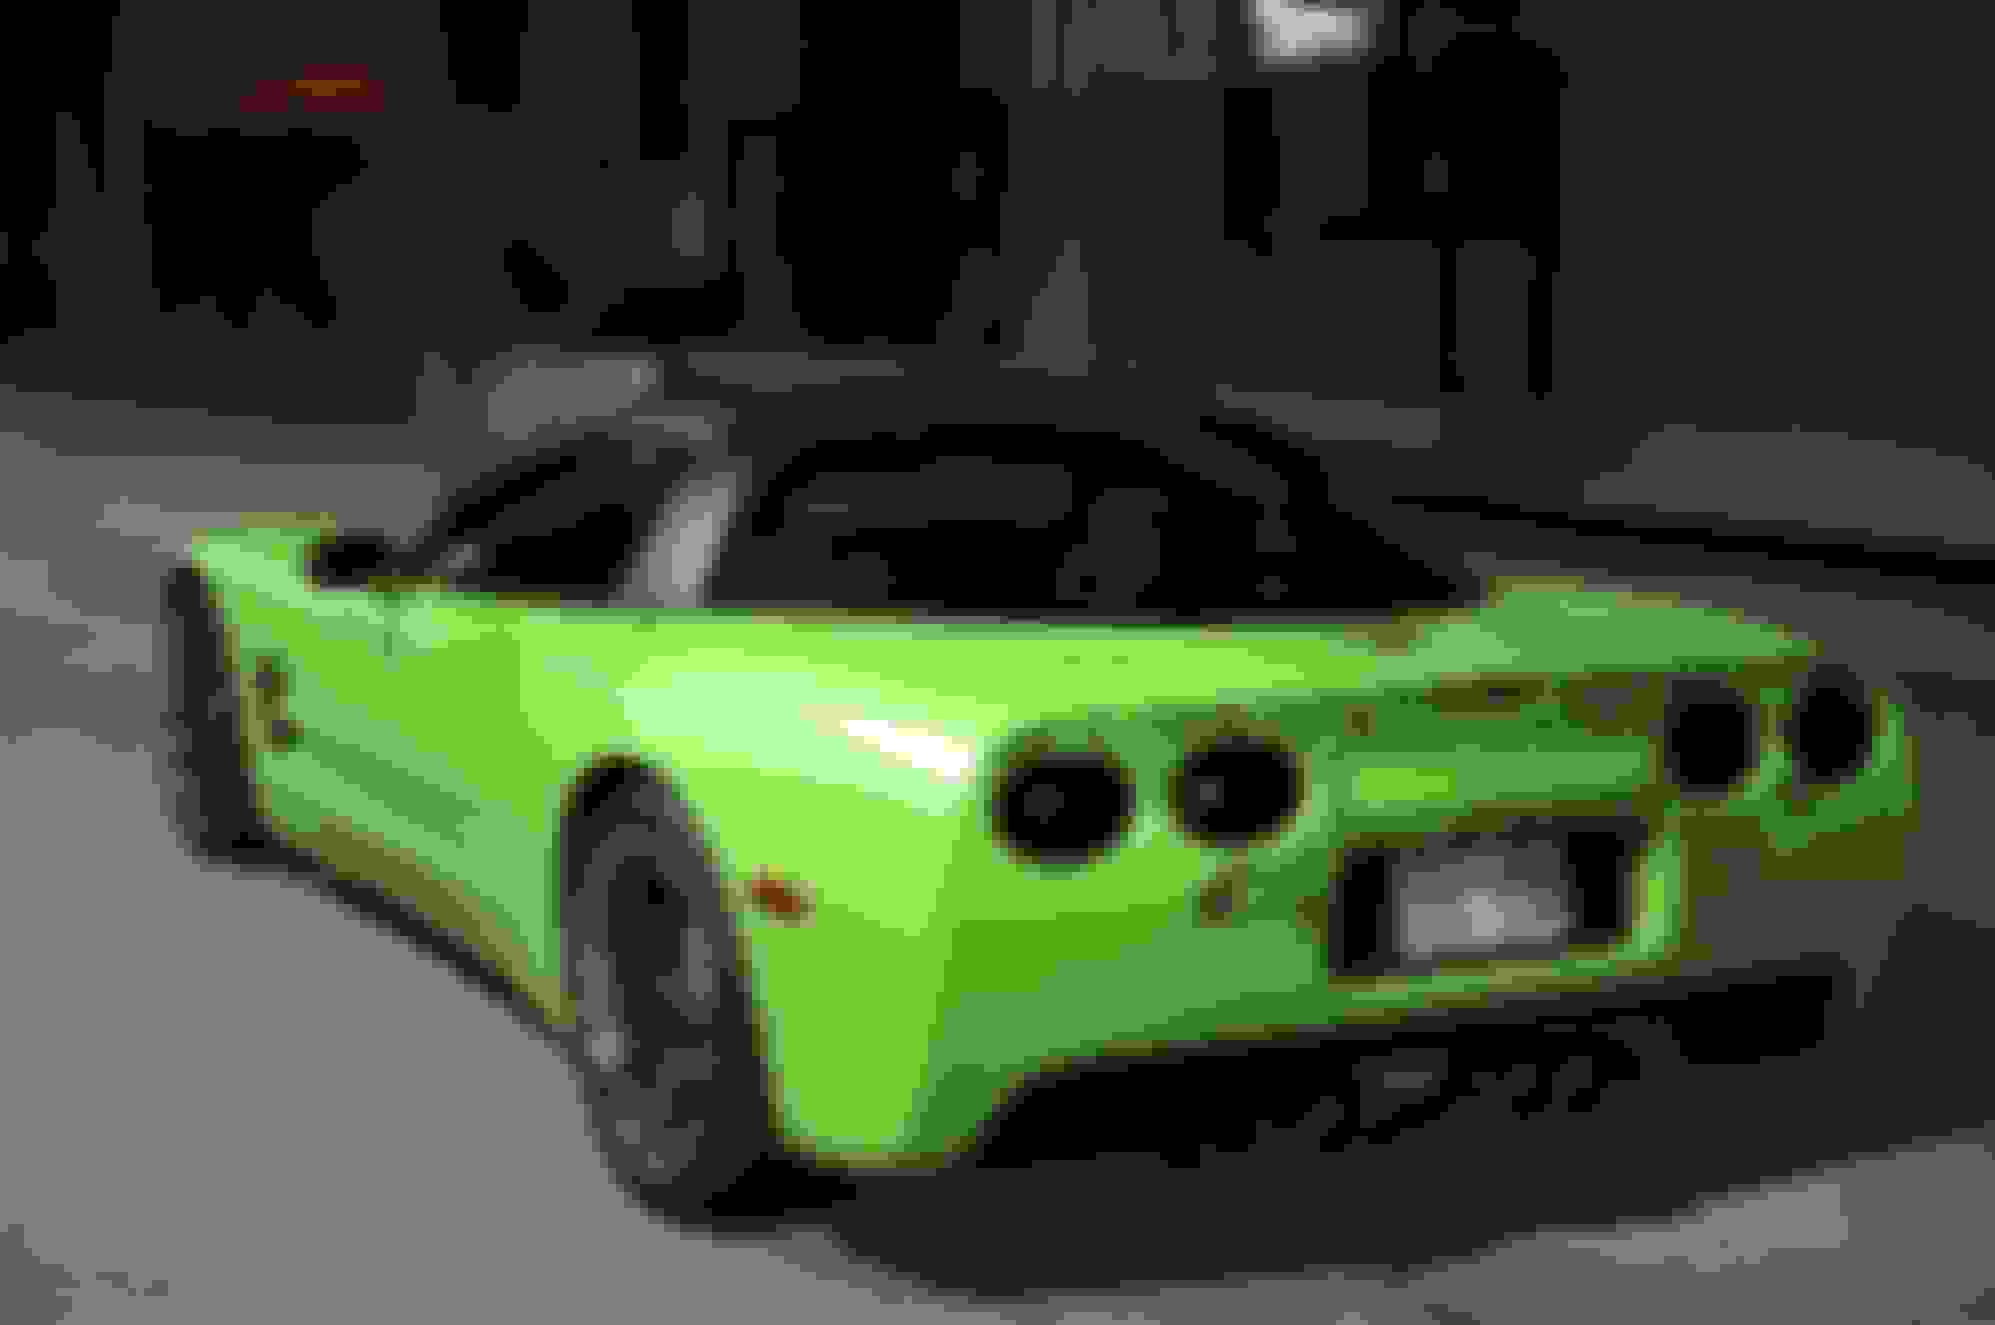
Anyways, enough with that. This car came to me as a 10 footer AT BEST. It had over a dozen DIFFERENT TYPES of surface defects paint thinner had been splattered on it in many places, it wash chipping up here and there, fiberglass panels had been spliced together and never body filled properly, etc, etc. Surprisingly, it only took about 5 hours to prep though (most cars take me 10 hours on a job like this) so that was nice. The only tough part was scrubbing all the nooks and crannies with a solvent soaked toothbrush, to break up all the caked on, ancient wax, hiding in all the most nefarious places O_o 5 hours prep, 5 hours shooting, an viola! Totally changed the attitude of the car The total for materials was only $306.oo as well!
I also do automotive photography on the side as well, so since it is a Vette, I just HAD to break out my DSLR for a few quick pickup shots on the driveway.
Enjoy, fellow enthusiasts! If anyone has any questions about PDS, feel free to ask. I've been doing this for a long time, and done quite a few Vette's as well. I am always willing to give guidance to people who want to try their hand at this fun, cheap, and non-destructive paint alternative. If you want to see some more of the crazy stuff I do with cars, check me out on Instagram @thegoodlife_pnw
Thanks all I completely removed the side view mirror, all four taillights, the front grilles, and that was about it. The rest of it I just sprayed right over, like the chrome trim, emblems, side marker lights, and then just peeled them afterwards. If there is enough of a gap between the body and say an emblem, you can just spray right over your emblem, and peel it off, since the body gap effectively cuts the dip, leaving a perfectly masked item.
I like to say the prep work is what takes the skill, spraying only requires technique. My wife's 2014 TT was 10 hours of prep, and 4 hours shooting, but it has many rubber seals that rest directly on the paint, and are a major pain to mask properly The C3's back window was the only tricky part, as that entire area required me to peel it when it was wet. On top of that, the PDS dries in 15 minutes, so it was spray, drop the gun while it was on and running, and peel the window, then move on to finish the rest.
I have a customer that still has the dip job I shot on her car going on 7 years now. It will last just as long, or longer than the best quality vinyl, of it is installed correctly. Most people stop once they have complete coverage, and it looks good, but it's the thickness that gives it longevity. This car was completely covered in less than 1 gallon, but I sprayed 4 gallons for resiliency, ease of maintenance, and peeling, were he ever to go down that road.
I'll post some pictures of some jobs I've done, so you all can see what a pro level installer can do
The TT is my wife's car, my C5 has been a multitude of colors, and it's hard to tell, but the 4 door Audi is Teal with 100 grams of white pearl in it, which POPS in sunlight! All my own cars But I have done Ferrari's, 50's vehicles, all kinds of stuff.
Aaaand some shots before and while it was getting prepped...
On the bottom pic - why did you paint those particular areas black? Do you start with a base coat of a particular color, then do the color coats?
What sprayer do you use?
2020 Corvette of the Year Finalist (appearance mods)
C3 of Year Winner (appearance mods) 2019
that looks really good! I have used it a few times and had decent results, but it was just a small part of the car. One time I put on some GS fender hash marks to see if I liked them. Drove around all summer with it and then pulled it off and painted it in. But that was just a small part fo the car compared to doing the whole thing like that...
I have a couple of questions for you if you don't mind.
If somebody does that and they get a rock or a shopping cart or whatever and it rips through the 'dip can you spray more and repair it or do you have to remove that section and respray the whole thing?
How do you get that much product on there? If I let mine dry very long it tears when I remove the tape. Are you just adding wet layers to keep ahead of that?
Thanks, and again.. nice job!
I sprayed the black with aerosol cans in those sections because 1.) The frenched in taillight areas require some build up all around in the holes, otherwise it is difficult using a gun designed to shoot whole panels to get in there and get even coverage without runs. 2.) The cracks and body panel seams are shot ahead of time so I can see if there was any residual wax in them that would keep the dip from adhering to the surface. Might as well waste a $6 aerosol can making sure of that, than finding out 2 gallons in and having to make emergency repairs, which is hard with PDS.
Some colors require a base cost, but lots dont. If I am mixing Pearl's into a gallon, then yeah, a base coat is required, as the pearls will occasionally stay adhered to the paint after dipping. It'll be like your car took a trip to a strip club afterwards however, the premixed stuff like Anthracite, are often used AS base coats for other colors, and are stable in that aspect.
I just use the cheapy, black basic turbine sold by Dipyourcar.com.
You never, never, never let some areas dry before peeling your tape with PDS. If you're say masking off a pattern on the car with tape, you need to peel that when wet. Areas like this are on ALL cars. Like the rear window of the C3 in my pictures, you can see that I have a base of blue tape, but funny looking yellow around the outside. That thin yellow tape is special body tape, it is flexible and easier to apply, leaves a lazer straight edge. I also leave extra long loops at the end of each piece so that it is easy to grab when wet, and I only have to remove a few skinny strips that were right on the edge of the painted area, instead of a whole window, and then worry about touching a wet car with the used tape.
PDS can be repaired using Naphtha to soften the material and carefully pat down the material back to the surface. You can also just peel one panel and reshoot it as well. Depending on the damage you might want to do that regardless.
Very cool, never seen an entire anything done with that product. Does look like a fun thing to try. I'm all in. Need to learn more like gun tip size, psi, mixing, and best places to purchase.
Cars look great and very creative.
Now that's out of the box thinking!
Can I ask what products are used to clean the surface once it has been dipped? Can products like F-11 work on this surface or is there something specific that would work better? These examples look very nice and I am impressed with the final product. Great job and thank you for sharing this with us, very encouraging.
Best regards,
David Howard
AllVettes4Me
I'm glad people here are interested! I nearly got ran out of the C5 community when I did mine in that lime green, Haha! Someone even told me my car made them physically ill O_o
This guy was a buddy of mine, and the car went together right quick. It normally takes me around 16 hours to prep and shoot a car, over 3 days. I had this one done, completed, and ready for delivery after 10 hours, and 2 days, so I passed the savings on to the customer. Also, since he wanted an off the shelf color, that didn't require a base coat, and didn't require any equipment maintenance in the middle of the job, I was able to do the job for $650.oo. materials were $305.oo shipped, so that was about $34-35 an hour for the labor, which I feel is more than fair. Most shops in my area that are running a proper business with a store front, are gonna charge something more like $1000.oo to $1500.oo for something like this.
I get almost all of my products through dipyourcar.com. Not only are their prices good, but you get 10 cent on the dollar, for every dollar spent, to use later. So I order my paint, in this case it was the $305. When the order is complete, I get a code in my email to redeem on their website and boom, $30 off on my next order. So within a minute, I already have my after care maintenance stuff for it on the way at the same time, in another package, and then I give that to the customer as a thank you. Or, I save them up, and get a couple free dips a year out of it for my own vehicles
I am not sure if you could ceramic coat this stuff, but I wouldn't try it. I know for a FACT that this stuff won't stick to ceramic coatings though. You DO have to be a might bit more careful with what products you use. There are only 2 surface treatments I like. One is a dipyourcar.com product called Dip-Coat, it comes in a black bottle. And the other is what I have pictured. The Turtle wax product is cheaper than the DYC stuff, but does not last as long. These products will significantly cut down on the rubbery surface texture of PDS, as well as make it more mar, and scratch resistant, as well as give your dip a more lustrous satin sheen.
All you should need to remove a dip, is a good quality dry microfiber towel, and a little elbow grease. Ya gotta work up a leading or trailing edge of a panel until you can grab a hold of it, and peel it off. If there is enough material, you should be able to peel whole panels on a car in one piece.
Last edited by ErikwithAK01; 07-09-2019 at 06:47 AM.
It is effected in the same way as HVLP by humidity and cold temps. It likes 65 degrees and humidity bellow 50%. The tape I use is a 3m product yes. Typically in prime conditions one only has to wait about 15 minutes between coats.

 07-08-2019, 04:15 AM

 I paint cars in Plastidip (we'll call it PDS from here on out) as a side hustle, and I have been doing it going on 8 years now, so I like to occasionally show off some good examples of properly applied dip jobs with the appropriate crowd, as I see lots, and LOTS of people try it, fail, and then blast Plastidip online for all the wrong reasons. I started doing this for fun, just because I had never painted a car before and wanted to try it out, that and I like doing everything myself
  it is definitely a skill that requires honing, but it is so much fun, and so satisfying when you get good at it.
  paint thinner had been splattered on it in many places, it wash chipping up here and there, fiberglass panels had been spliced together and never body filled properly, etc, etc. Surprisingly, it only took about 5 hours to prep though (most cars take me 10 hours on a job like this) so that was nice. The only tough part was scrubbing all the nooks and crannies with a solvent soaked toothbrush, to break up all the caked on, ancient wax, hiding in all the most nefarious places O_o 5 hours prep, 5 hours shooting, an viola! Totally changed the attitude of the car