
HL Relay and Wiper Door Safety Valve testing with New O-ring style Piston
 08-06-2011, 05:50 PM
#1
Race Director

Thread Starter
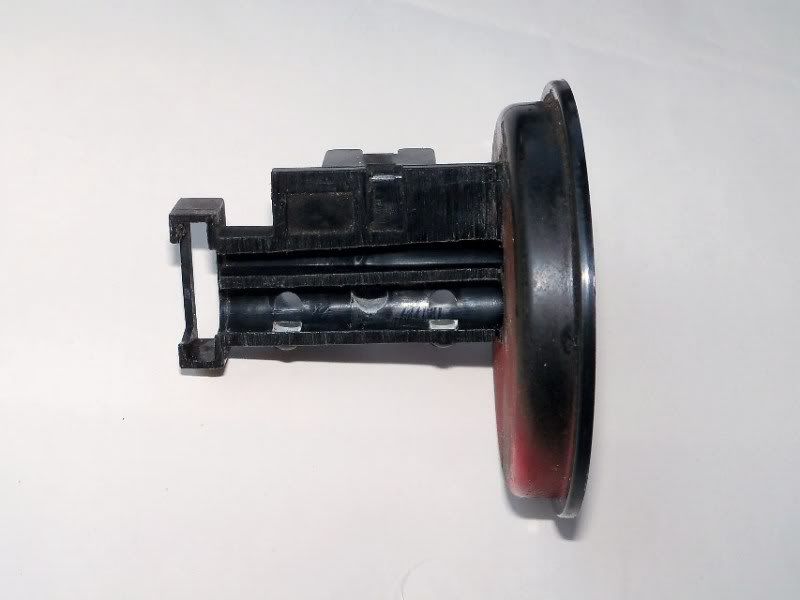
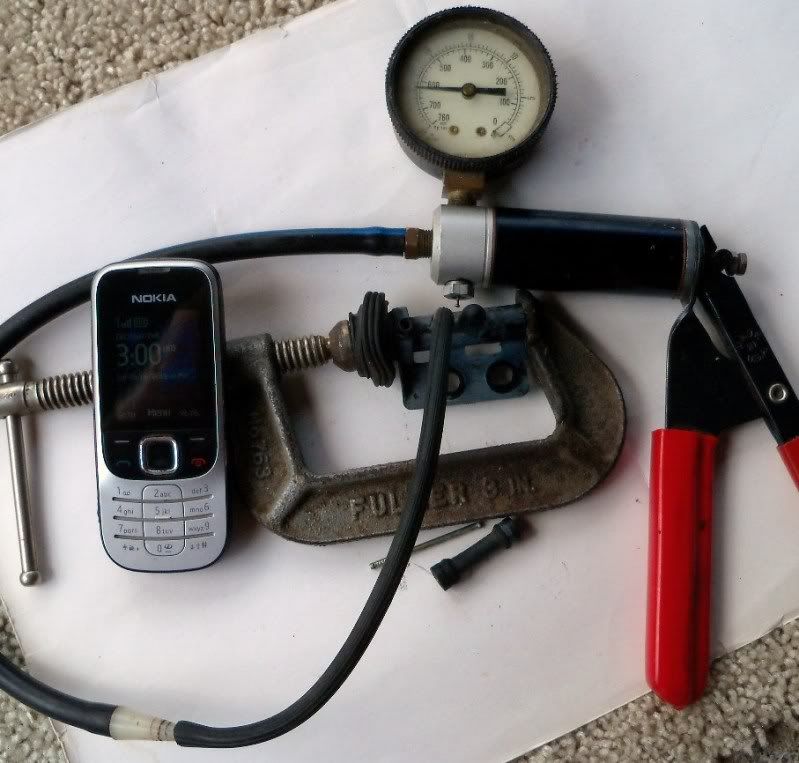
Just thought I'd share a little of our progress on making a new design piston for headlight relays , wiper safety switches and heater water valve switches. Here are a few pics of both valves cut away,there is much more to these valves than what you might think. Note the inside of the 2 outer ports on the HL relay. Center port is round ,outside ones actually have a little bridge in the middle to keep the piston from getting hung up. The piston passes the 2 outer ports but doesn't pass the center port. I'm in the process of testing the vacuum on both units right now using different o-rings. The first relay test was for 4 hours with 25" vacuum,after 4 hours the gauge read 24".  The second relay test was for 2 hours at 15",there was virtually no loss.

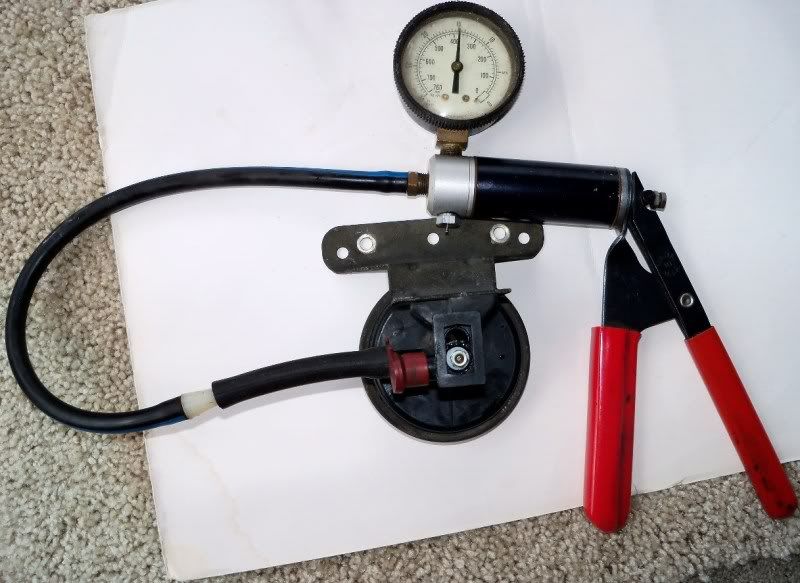
The safety valve lost about 1" in 2 hours starting at 25". I'm going to test now at 15". Stay tuned.
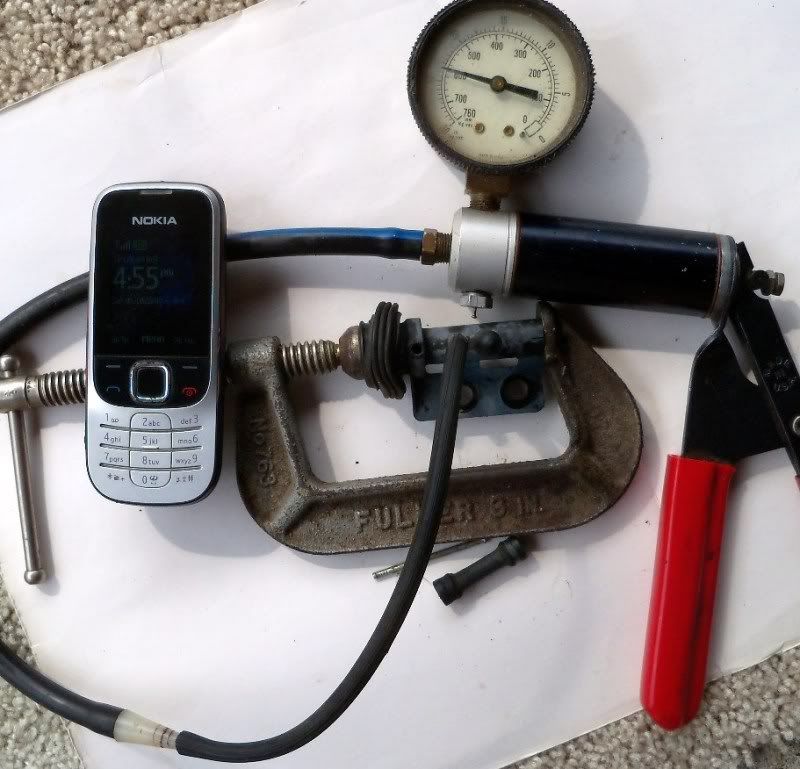
OK ,now this is good news , 4 hours and the needle is still slightly higher than 15". I think I'll leave it all night.
Edit- 4:57 pm to 8:18 am , 15 plus hours , this should help with some of the anticipation of an NCRS PV test.

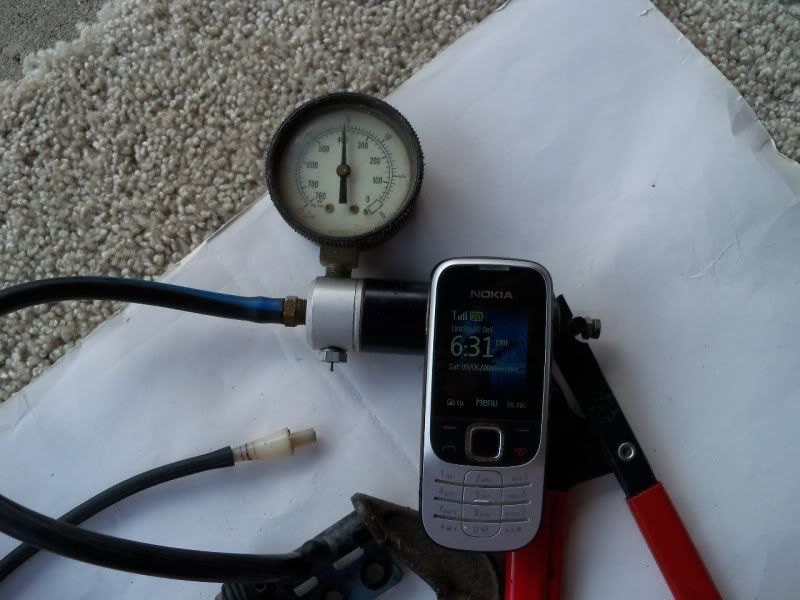
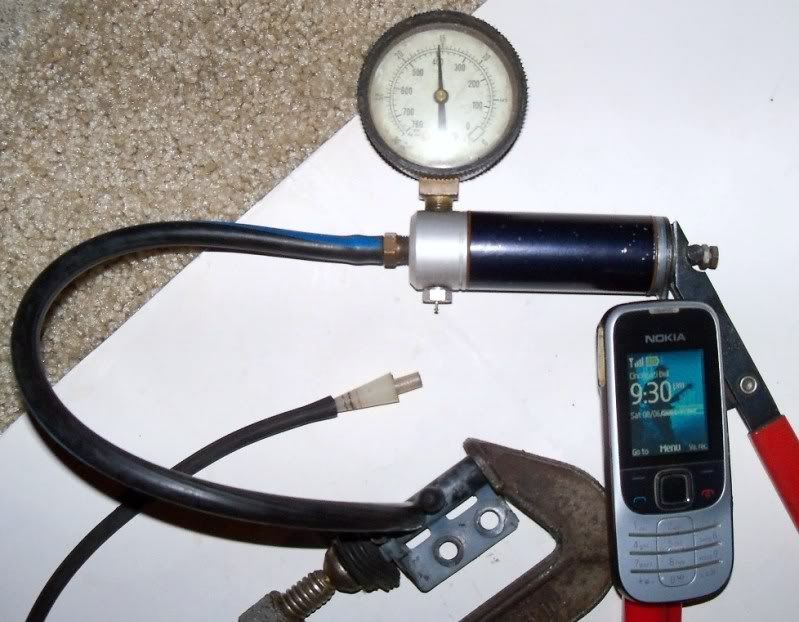

15 hours-Wow ! ! !
The second relay test was for 2 hours at 15",there was virtually no loss. The safety valve lost about 1" in 2 hours starting at 25". I'm going to test now at 15". Stay tuned.
OK ,now this is good news , 4 hours and the needle is still slightly higher than 15".
I think I'll leave it all night. Edit- 4:57 pm to 8:18 am , 15 plus hours , this should help with some of the anticipation of an NCRS PV test.
15 hours-Wow ! ! !
Last edited by ...Roger...; 08-07-2011 at 08:42 AM.

 08-06-2011, 06:24 PM
#3
Race Director
Thread Starter
Thanks , started out just to fill our own needs for correctly working valves but I guess a kit might be possible. Need to work on the vacuum,then test to be sure when the piston cycles it doesn't wear out. In a kit we would have to work out attachment in both valves,I've been experimenting with that. I'll post up some pics of my nail idea for the safety valve a little later after dinner.
08-06-2011, 07:46 PM
#4
Burning Brakes

Roger; Nice work! Have you tried to cycle the relay piston yet and recheck for vacuum? That's the problem I ran into with o-rings. It seems over so many cycles the o-rings we used would hang up and lose their seal. Our work has now progressed to a quad ring design to possibly eliminate shredding o-rings after repeated cycles. Might not have the issue with the wiper safety valve however. Good write up!
08-06-2011, 08:15 PM
#5
Burning Brakes
Member Since: May 2008
Location: Stratford Ontario
Posts: 860
Likes: 0
Received 0 Likes
on
0 Posts
good work, I would be interested in a set of pistons to rebuild my factory original ones, I have replacement relays in now but not sure how long they will last.
08-06-2011, 10:29 PM
#6
Race Director
Thread Starter
Roger; Nice work! Have you tried to cycle the relay piston yet and recheck for vacuum? That's the problem I ran into with o-rings. It seems over so many cycles the o-rings we used would hang up and lose their seal. Our work has now progressed to a quad ring design to possibly eliminate shredding o-rings after repeated cycles. Might not have the issue with the wiper safety valve however. Good write up!
The safety valve is what I expect to have problems with. Not sure if you have sectioned one of these but the upper vent port is in a position to slice the o-ring,the other 2 ports the o-rings don't have to pass over.
I'm going to try the quad rings , I feel the vac diaphragm won't have any problems at all pulling the valve but I don't think the spring will have enough to push it back.
I'm pretty comfortable where we are now.
08-06-2011, 10:40 PM
#7
Race Director
Thread Starter

I just posted some more pics above of a 4 hour test on the safety valve,its doing real well.
08-06-2011, 10:45 PM
#8
Former Vendor
Member Since: Aug 2006
Location: Jeffersonville Indiana 812-288-7103
Posts: 76,656
Received 1,813 Likes
on
1,458 Posts
St. Jude Donor '08-'09-'10-'11-'12-'13-'14-'15

Nice work Roger.
08-06-2011, 11:26 PM
#10
Race Director
Thread Starter
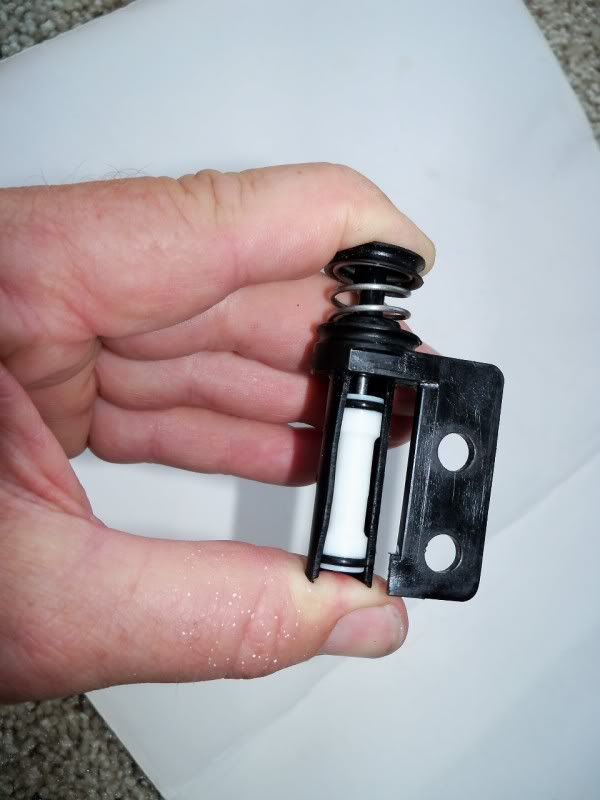
Here is a pic of the relay disassembled just so we can see inside BUT this is not how I install one of these pistons. The piston comes out the bottom and goes back in the bottom all in less than 5 min.
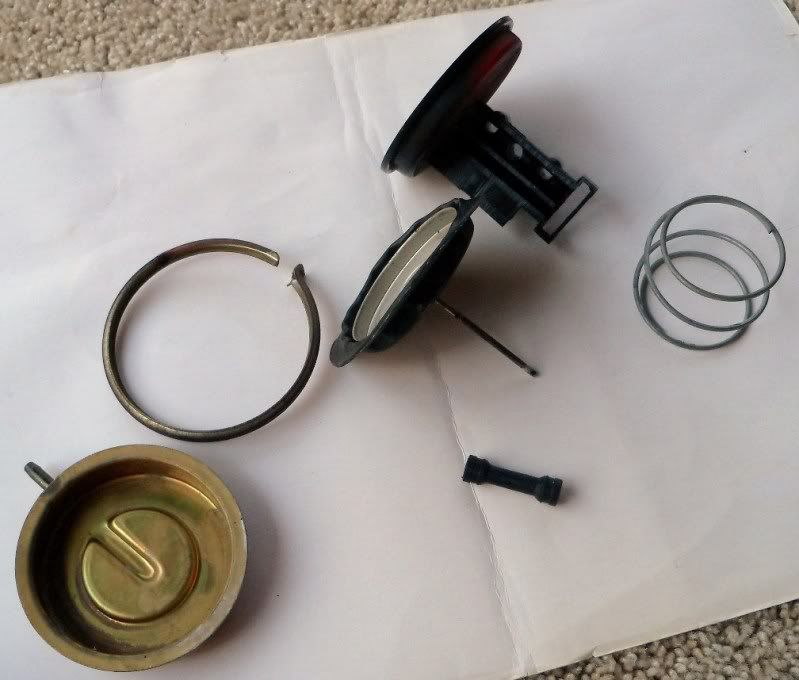
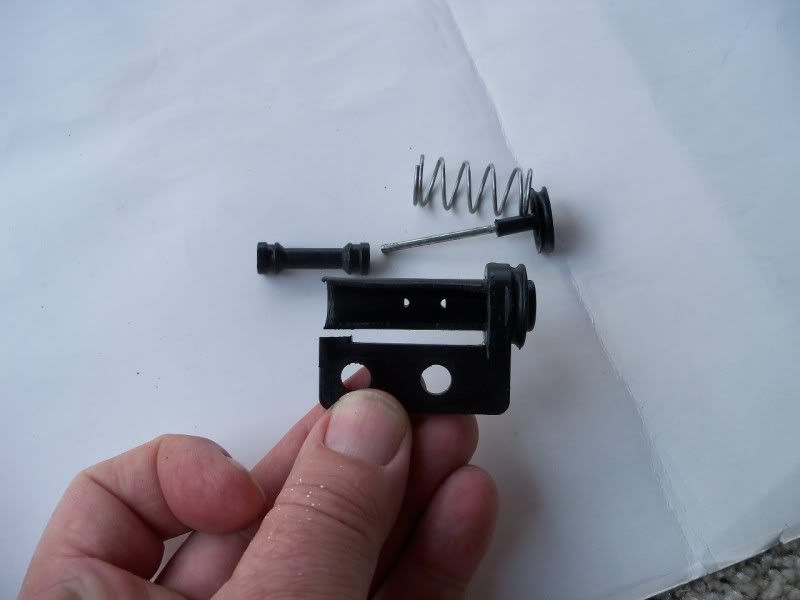
Below is the safety valve and all its parts,at the bottom is the new valve and threaded nail.
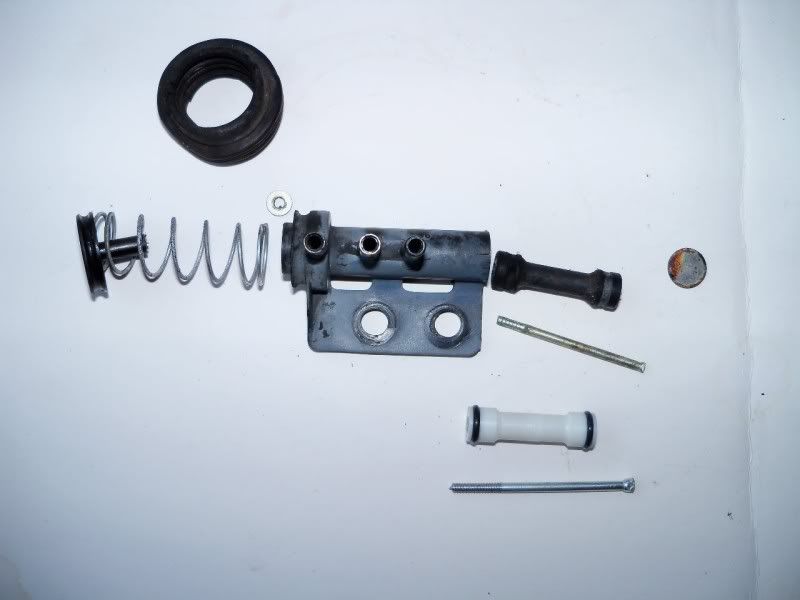
I have other pictures or can take more pictures if anyone wants to see something specific.I definitely learned a few new things by dissecting these valves.
Below is the safety valve and all its parts,at the bottom is the new valve and threaded nail.
I have other pictures or can take more pictures if anyone wants to see something specific.I definitely learned a few new things by dissecting these valves.
08-07-2011, 07:12 AM
#11
Team Owner

Member Since: Sep 2006
Location: Westminster Maryland
Posts: 30,173
Likes: 0
Received 2,878 Likes
on
2,515 Posts
Hi Roger,
Boy!!!!
It sure would be nice to have a means to have reliable relays and valves!
You're doing a REAL service!
Regards,
Alan
Boy!!!!
It sure would be nice to have a means to have reliable relays and valves!
You're doing a REAL service!
Regards,
Alan
08-07-2011, 08:47 AM
#12
Race Director
Thread Starter
I just posted another pic at the top after 15 hours the gauge is only down about 1/2" of vacuum.
08-07-2011, 09:15 AM
#13
Team Owner
Member Since: Sep 2006
Location: Westminster Maryland
Posts: 30,173
Likes: 0
Received 2,878 Likes
on
2,515 Posts
Hi Roger,
The reproduction parts are far too expensive to be of such poor quality.
So what you're working on is great!
Last weekend one of the headlight warning switches on my 71 stopped working.
I figured I didn't have anything to lose, so I cut it apart. It's 2 halves poorly glued together. It popped apart as soon as I put a blade in the joint.
In side are 2 prongs, 1 contact, and 2 tiny springs. I cleaned it up and put it back together... and it works again.
I haven't found a completely successful glue to use.... what might you suggest? It's made from that typical black plastic material.
Regards,
Alan
08-07-2011, 09:37 AM
#15
Racer

Member Since: Feb 2007
Location: Buena Vista Colorado
Posts: 271
Likes: 0
Received 25 Likes
on
3 Posts

Hi Roger,
Great work! I think you're really on to something here.
A couple things to consider if you proceed toward a marketable rebuild kit:
The center section diameter of your new "dog bone" is quite a bit larger than the original. This might slow the air flow and the headlight extend/retract time somewhat, but may not be significant for most applications.
Re-crimping the ring for the metal "top hat" after it's been cut or otherwise opened up left me unsure whether it would remain secure. No problems so far with mine, but a low-cost replacement that could be installed & removed like a hose clamp or a snap ring would, IMO, be a real plus.
Good luck,
Jerry
08-07-2011, 09:52 AM
#16
Race Director
Thread Starter
Hi Roger,
Great work! I think you're really on to something here.
A couple things to consider if you proceed toward a marketable rebuild kit:
The center section diameter of your new "dog bone" is quite a bit larger than the original. This might slow the air flow and the headlight extend/retract time somewhat, but may not be significant for most applications.
Re-crimping the ring for the metal "top hat" after it's been cut or otherwise opened up left me unsure whether it would remain secure. No problems so far with mine, but a low-cost replacement that could be installed & removed like a hose clamp or a snap ring would, IMO, be a real plus.
Good luck,
Jerry
Great work! I think you're really on to something here.
A couple things to consider if you proceed toward a marketable rebuild kit:
The center section diameter of your new "dog bone" is quite a bit larger than the original. This might slow the air flow and the headlight extend/retract time somewhat, but may not be significant for most applications.
Re-crimping the ring for the metal "top hat" after it's been cut or otherwise opened up left me unsure whether it would remain secure. No problems so far with mine, but a low-cost replacement that could be installed & removed like a hose clamp or a snap ring would, IMO, be a real plus.
Good luck,
Jerry
At this point there is no noticeable difference in the speed of the bucket but were not done flogging this little piston yet.

Were going to use and abuse it to see if it holds up and functions as good as or better than factory.
The Top Hat will not be coming off to install this piston,the Top Hat will be left alone,the old piston will be removed from the bottom and the new will be installed from the bottom.
(The rings around the Top Hat , I believe are available,it does take a press to install them though. If you look close at an original you can see just under the small nipple how the ring is installed.)
 08-07-2011, 01:26 PM
#19
Race Director
Thread Starter
Update- both the relay and safety valve have been cycled 500 plus times,both valves seem to be holding vacuum just fine. I'm going to leave vacuum on both valves for a little while and then I'll disassemble and check the O-rings for wear.
One real plus IMO is that after the new pistons have been installed,the valves will be serviceable with o-rings from the local hardware store (if needed). At this point I would worry more about engine SOOT contaminating the vacuum system due to a bad 3 port check valve and complicated by a bad White plastic Filter.
This is as good a time as any to bring attention to another incorrect statement at the 101 site.
quote from 101
FUNCTION: "The filter prevents contaminating particles from entering the engine".
This is wrong , its just the opposite,the filter protects the vacuum system from engine soot. When the engine is turned off vacuum is held in the system by the check valve,but the check valve almost always allows some leakage over time,that enormous reserve of vacuum stored in the reserve tank and the actuators slowly pulls the fumes and soot from the engine into the vacuum system.
08-07-2011, 02:22 PM
#20
Boo Hiss.
Your comments about yet another error on the 101 site are spot on.