
vacuum to electric *NEW WAY*


 09-09-2012, 09:28 PM
#42
Burning Brakes


That's a very good question and I have been going to bring that very thing up all week, but it has been a real bugger for me lately. I also will get some pics up of my install showing clearance. Between the hood operating and the air conditioner condenser it is tricky to get clearance all around but very do able in the end. You just have to try different positions till you find the best one. There are three different areas to watch for clearance. The arm in the closed position comes close to the condenser as does the red **** on the end of the actuator. The hood comes closest to the area that Tom ground the third mounting hole off on the Aluminum end. Of the close areas I have at least 3/8" clearance on the condenser and 1" clearance on the hood. But it took some doing to get there. I believe my motors are mounted lower and at a different angle then Tom B1 but its hard to say for sure. I worked from below with the hood closed to protect the hood from being scratched when assembling and dissassembling (lots of trial fitting). I had my air dam off and there was tons of room this way. I can tell you I am extremely pleased with how this mod turned out. Dave
Last edited by tixeon; 09-09-2012 at 09:31 PM.
09-12-2012, 09:06 PM
#43
Burning Brakes
Thread Starter
On mine they come real close to the rad but I dont have ac. Didnt think of that.
I will work on another style bracket to get the motor farther away.
I will like to see pics of anyone who has also done this, maybe there bracket are better.
10-08-2012, 08:28 PM
#44
The ORIGINAL and bestest

Member Since: Oct 2000
Location: Toronto Ontario
Posts: 10,009
Received 234 Likes
on
143 Posts
Toronto Events Coordinator

Good question. I dont have my hood mounted, I better try it.
On mine they come real close to the rad but I dont have ac. Didnt think of that.
I will work on another style bracket to get the motor farther away.
I will like to see pics of anyone who has also done this, maybe there bracket are better.
On mine they come real close to the rad but I dont have ac. Didnt think of that.
I will work on another style bracket to get the motor farther away.
I will like to see pics of anyone who has also done this, maybe there bracket are better.
 10-10-2012, 01:50 PM
#45
Advanced


hi Tom any advance on the wiper electric conversion? would any 12v motor do it? like for example an electric drill battery driven with flat batteries could be used? thanks... 

 11-09-2012, 11:28 AM
#47
Advanced
Member Since: Aug 2006
Location: Cedar Park Texas
Posts: 92
Likes: 0
Received 0 Likes
on
0 Posts
subscribed...
I have a 69 as well...but with AC so I will wait to see how it works when all put back together. I don't know much about electronics, but this looks like it could be easy enough
Thanks again for sharing this info with us all!!!
Ryan
I have a 69 as well...but with AC so I will wait to see how it works when all put back together. I don't know much about electronics, but this looks like it could be easy enough
Thanks again for sharing this info with us all!!!
Ryan
11-09-2012, 10:38 PM
#48
Burning Brakes
Thread Starter
THANKS FOR THE INTEREST.
As with most mods it does cut up the original, so if that bothers you please dont do it. I did restore a few cars to original and I know how important it is to keep things original if you go that way.
The motor I used is from a moto truck mirror and is hard to find , I even looked in surplus, i did find some that I think would have the power to lift and close, but did not buy anything yet.
The electric drill motor is a great idea, I like that, I will have to check availability in surpluse then test a few. sometimes you over look the simple things.
I did test a few 12 volt motors in a effert to find one that has the power and is available in package deals, one small motor was so powerfull that it bent the main rod went it hit the stop, so thats out.
I will keep looking and WILL test a few drill motors.
If I do come up with plans or a kit I will have to keep it simple enough so all can do it and not to cut up an original to much. I also am working on a motor that will aliminate the gear, direct drive if you will.
Thanks;
Tom
Last edited by TOM B1; 11-09-2012 at 10:43 PM.
12-30-2012, 01:40 PM
#50
Burning Brakes
Thread Starter
On my 69 the probe motors do NOT hit the hood and have plenty of clearance. I dont have AC but there is about 2 inches in between the rad and motors, now I do have a becool rad module if that makes a difference.
12-31-2012, 01:16 AM
#52
Instructor

thanks tom B1. I plan on adding air later, I belive the radiator for the air is only about 1 inch thick,so I think I will be OK. I looked at your wiring diagram and am a bit confused. the motors require pwr for each motion open and closed. the 1989 light switch puts out 12v on one post to open the lights OK great..But then when the light switch is pushed in for off does the other post put out 12v when the lights are turned off? Thanks again for the great solution
12-31-2012, 11:42 PM
#53
Burning Brakes
Thread Starter
thanks tom B1. I plan on adding air later, I belive the radiator for the air is only about 1 inch thick,so I think I will be OK. I looked at your wiring diagram and am a bit confused. the motors require pwr for each motion open and closed. the 1989 light switch puts out 12v on one post to open the lights OK great..But then when the light switch is pushed in for off does the other post put out 12v when the lights are turned off? Thanks again for the great solution
Thanks;
Tom
01-02-2013, 12:29 AM
#54

Did you use the Probe arms to drove the assembly up and down? If not, what length arm did you use between the pivot on the offset arm and the clevis pin? If so, how did you shim the larger opening on the arm and the clevis pin? Since the offset arms on the clutch are splined, did you try rotating the motors downward and towards the front so that the manual raise ***** are parallel with the radiator?
01-06-2013, 01:33 AM
#55
I was able to find Probe motors at my local boneyard, 93 - 97 are the same motors. I began the process of mounting them by first mocking up a rectangular bracket. From here I made more permanent brackets. I wanted the manual raisers to be easily accessible from below without cutting my hand on the condenser fins. After working with them for a while this is what I came up with.
http://s1354.beta.photobucket.com/us...11061641971638
I have about 3/4 of an inch between the bottom of the motors and the condenser. I didn't want to tilt the top of the motor any higher up which is why they are not completely parallel with the condenser. I used 1/8" steel plate which is quite rigid with the three point connection. The bottom holes are elongated to have play to move them as far to the center as posible. I also cut the back of the bracket to allow the plastic cover for the clutch to fit better using 1/2" spacers. I will have a more complete write-up including dimensions once I finish the arms. Hope this helps
The following users liked this post:
Dave the Wave (10-20-2016)
 01-09-2013, 09:59 PM
#58
Burning Brakes
Thread Starter
UPDATE
Found some new style gears for my wiper to electric setup.
Take a look, the main gear is a adjustable pressure gear with a spring.
This will slip if something binds or you can go all out and lock it so there is no slip.
What do you guys think....Opinions wellcome!
http://s583.beta.photobucket.com/user/tombush/library/
01-10-2013, 07:11 PM
#59
Advanced
UPDATE
Found some new style gears for my wiper to electric setup.
Take a look, the main gear is a adjustable pressure gear with a spring.
This will slip if something binds or you can go all out and lock it so there is no slip.
What do you guys think....Opinions wellcome!
http://s583.beta.photobucket.com/user/tombush/library/
Found some new style gears for my wiper to electric setup.
Take a look, the main gear is a adjustable pressure gear with a spring.
This will slip if something binds or you can go all out and lock it so there is no slip.
What do you guys think....Opinions wellcome!
http://s583.beta.photobucket.com/user/tombush/library/
Thanks and keep up the good job ;-)
01-20-2013, 11:36 PM
#60
Le Mans Master

Member Since: May 2003
Location: Fernandina Beach FL
Posts: 8,472
Received 3,216 Likes
on
1,729 Posts
2023 Restomod of the Year finalist
2020 C3 of the Year Winner - Modified
Tom-
Great idea...I wanted to do the conversion to my car as well...and finally got around to it....
I did a few things a little different- I didn't like cutting up the headlight bracket-I wanted the motor tucked in a little more and to simplified the wiring...
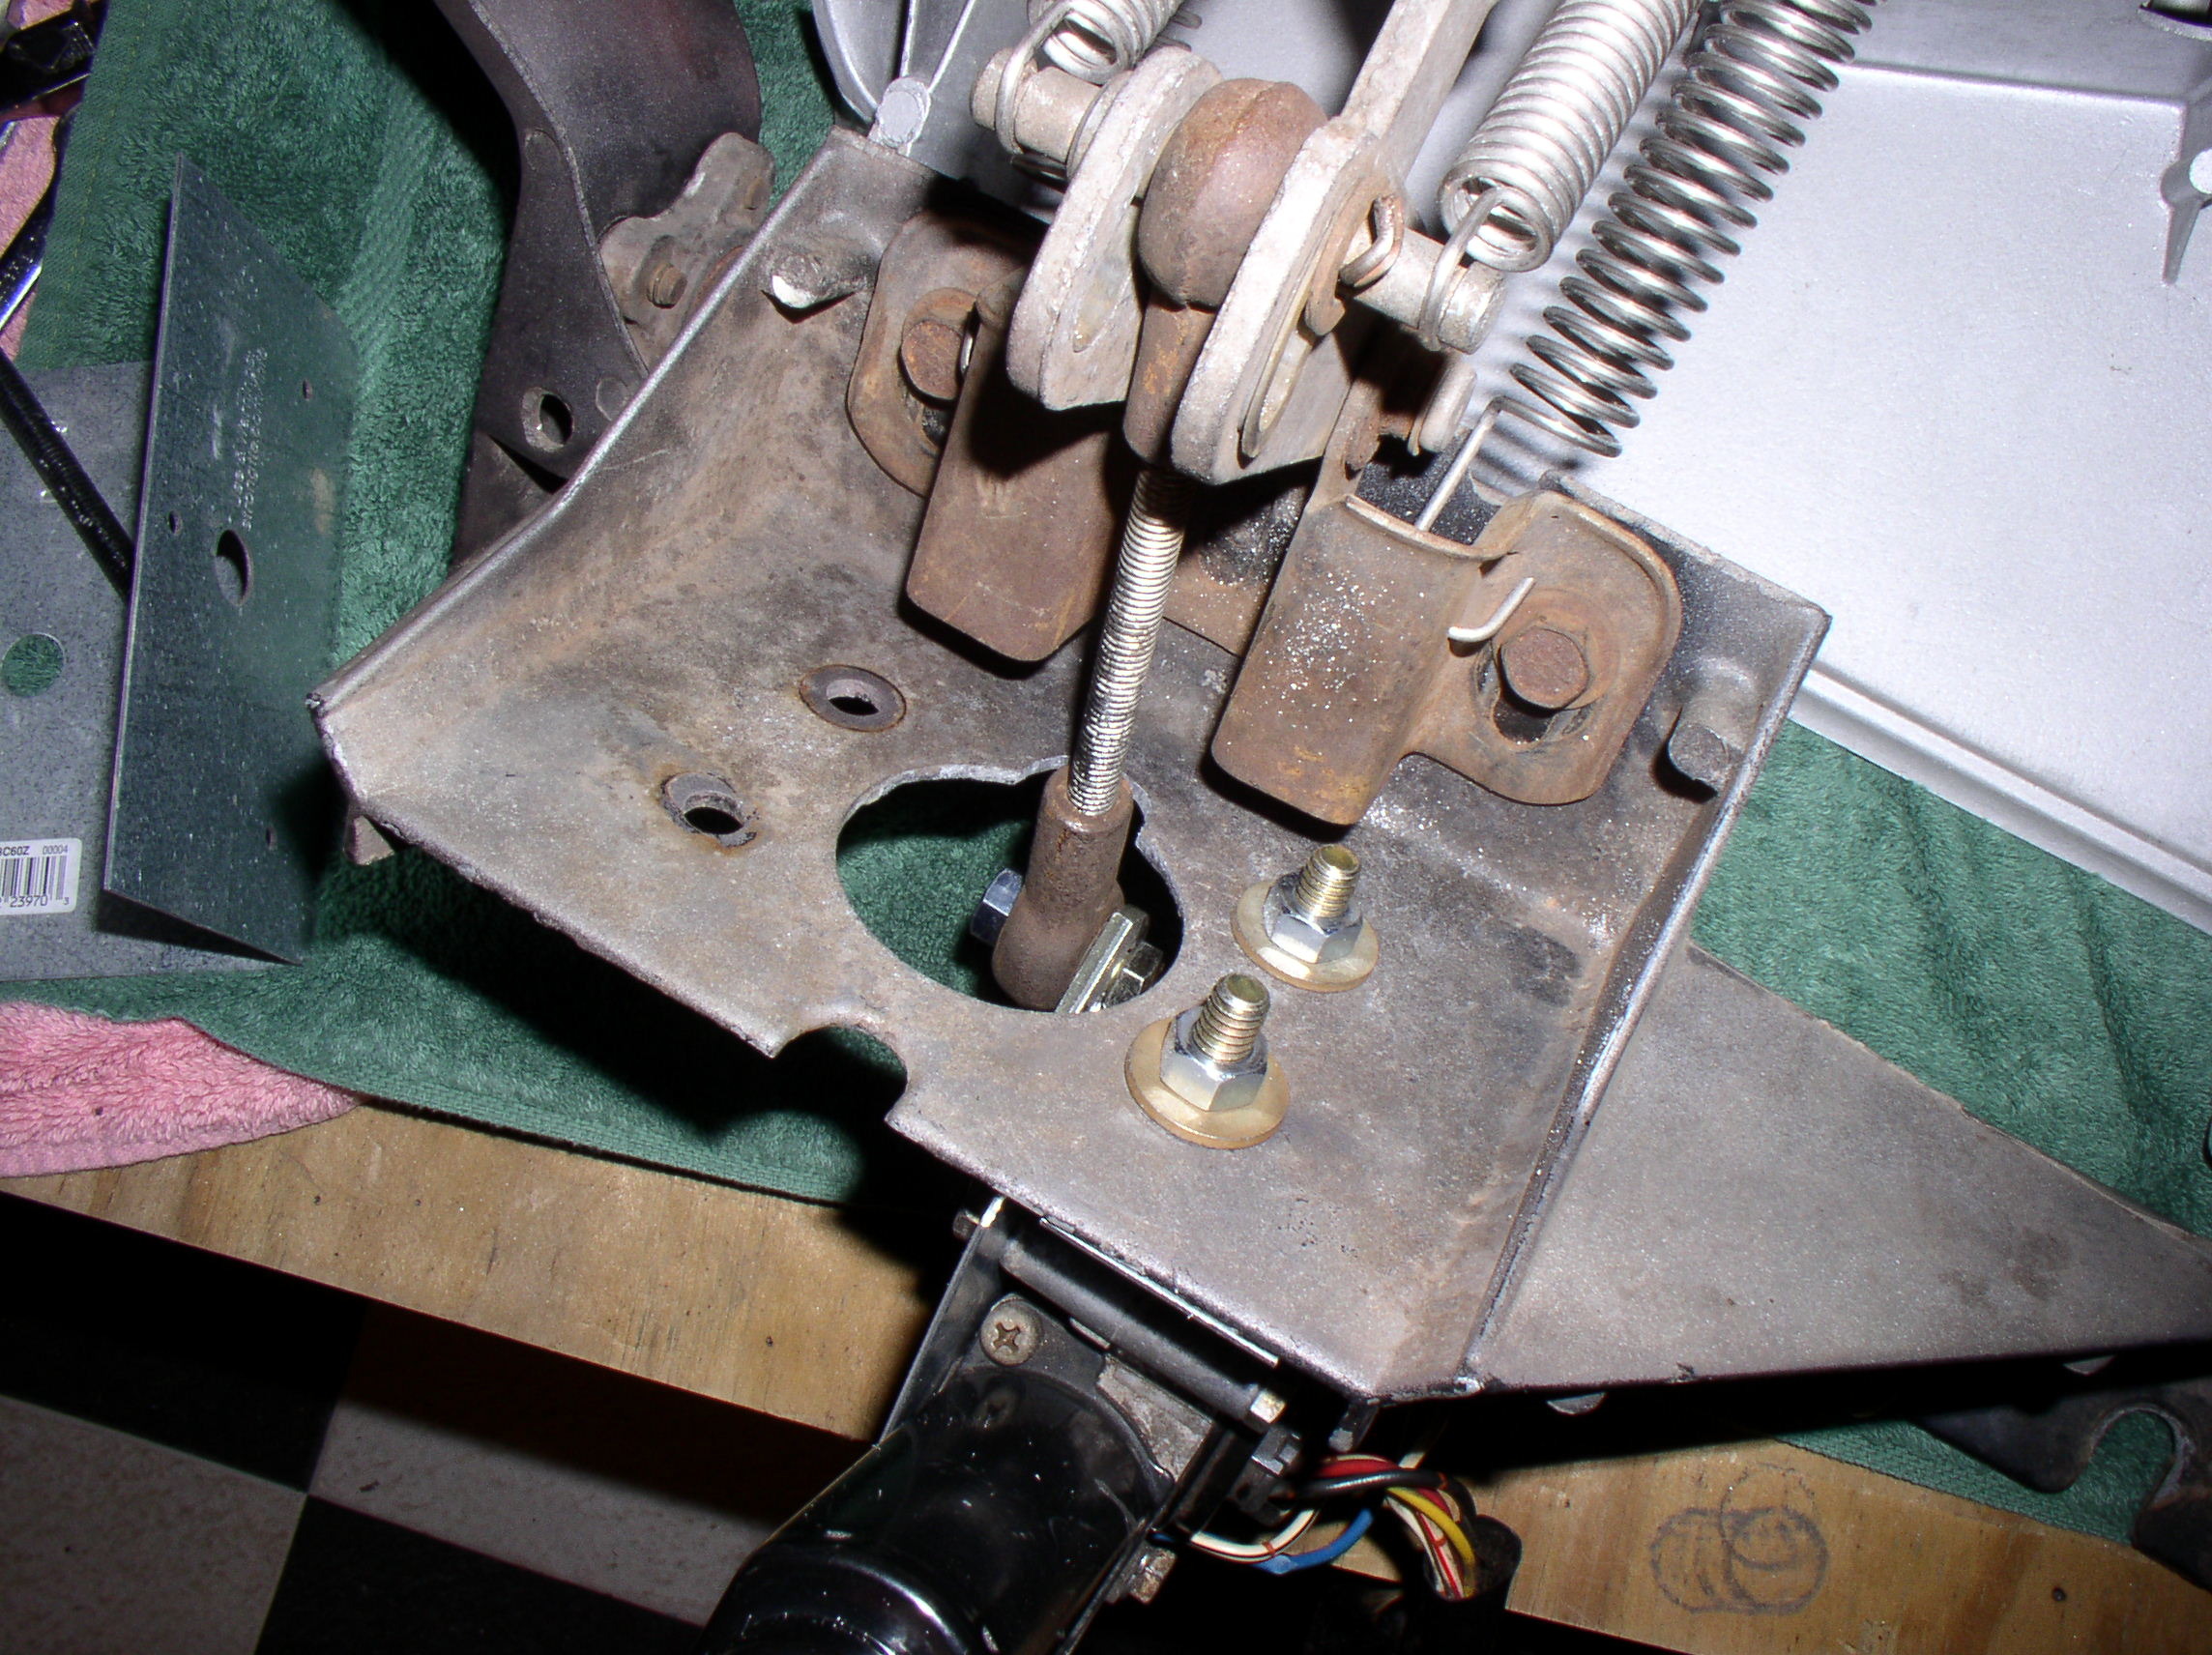
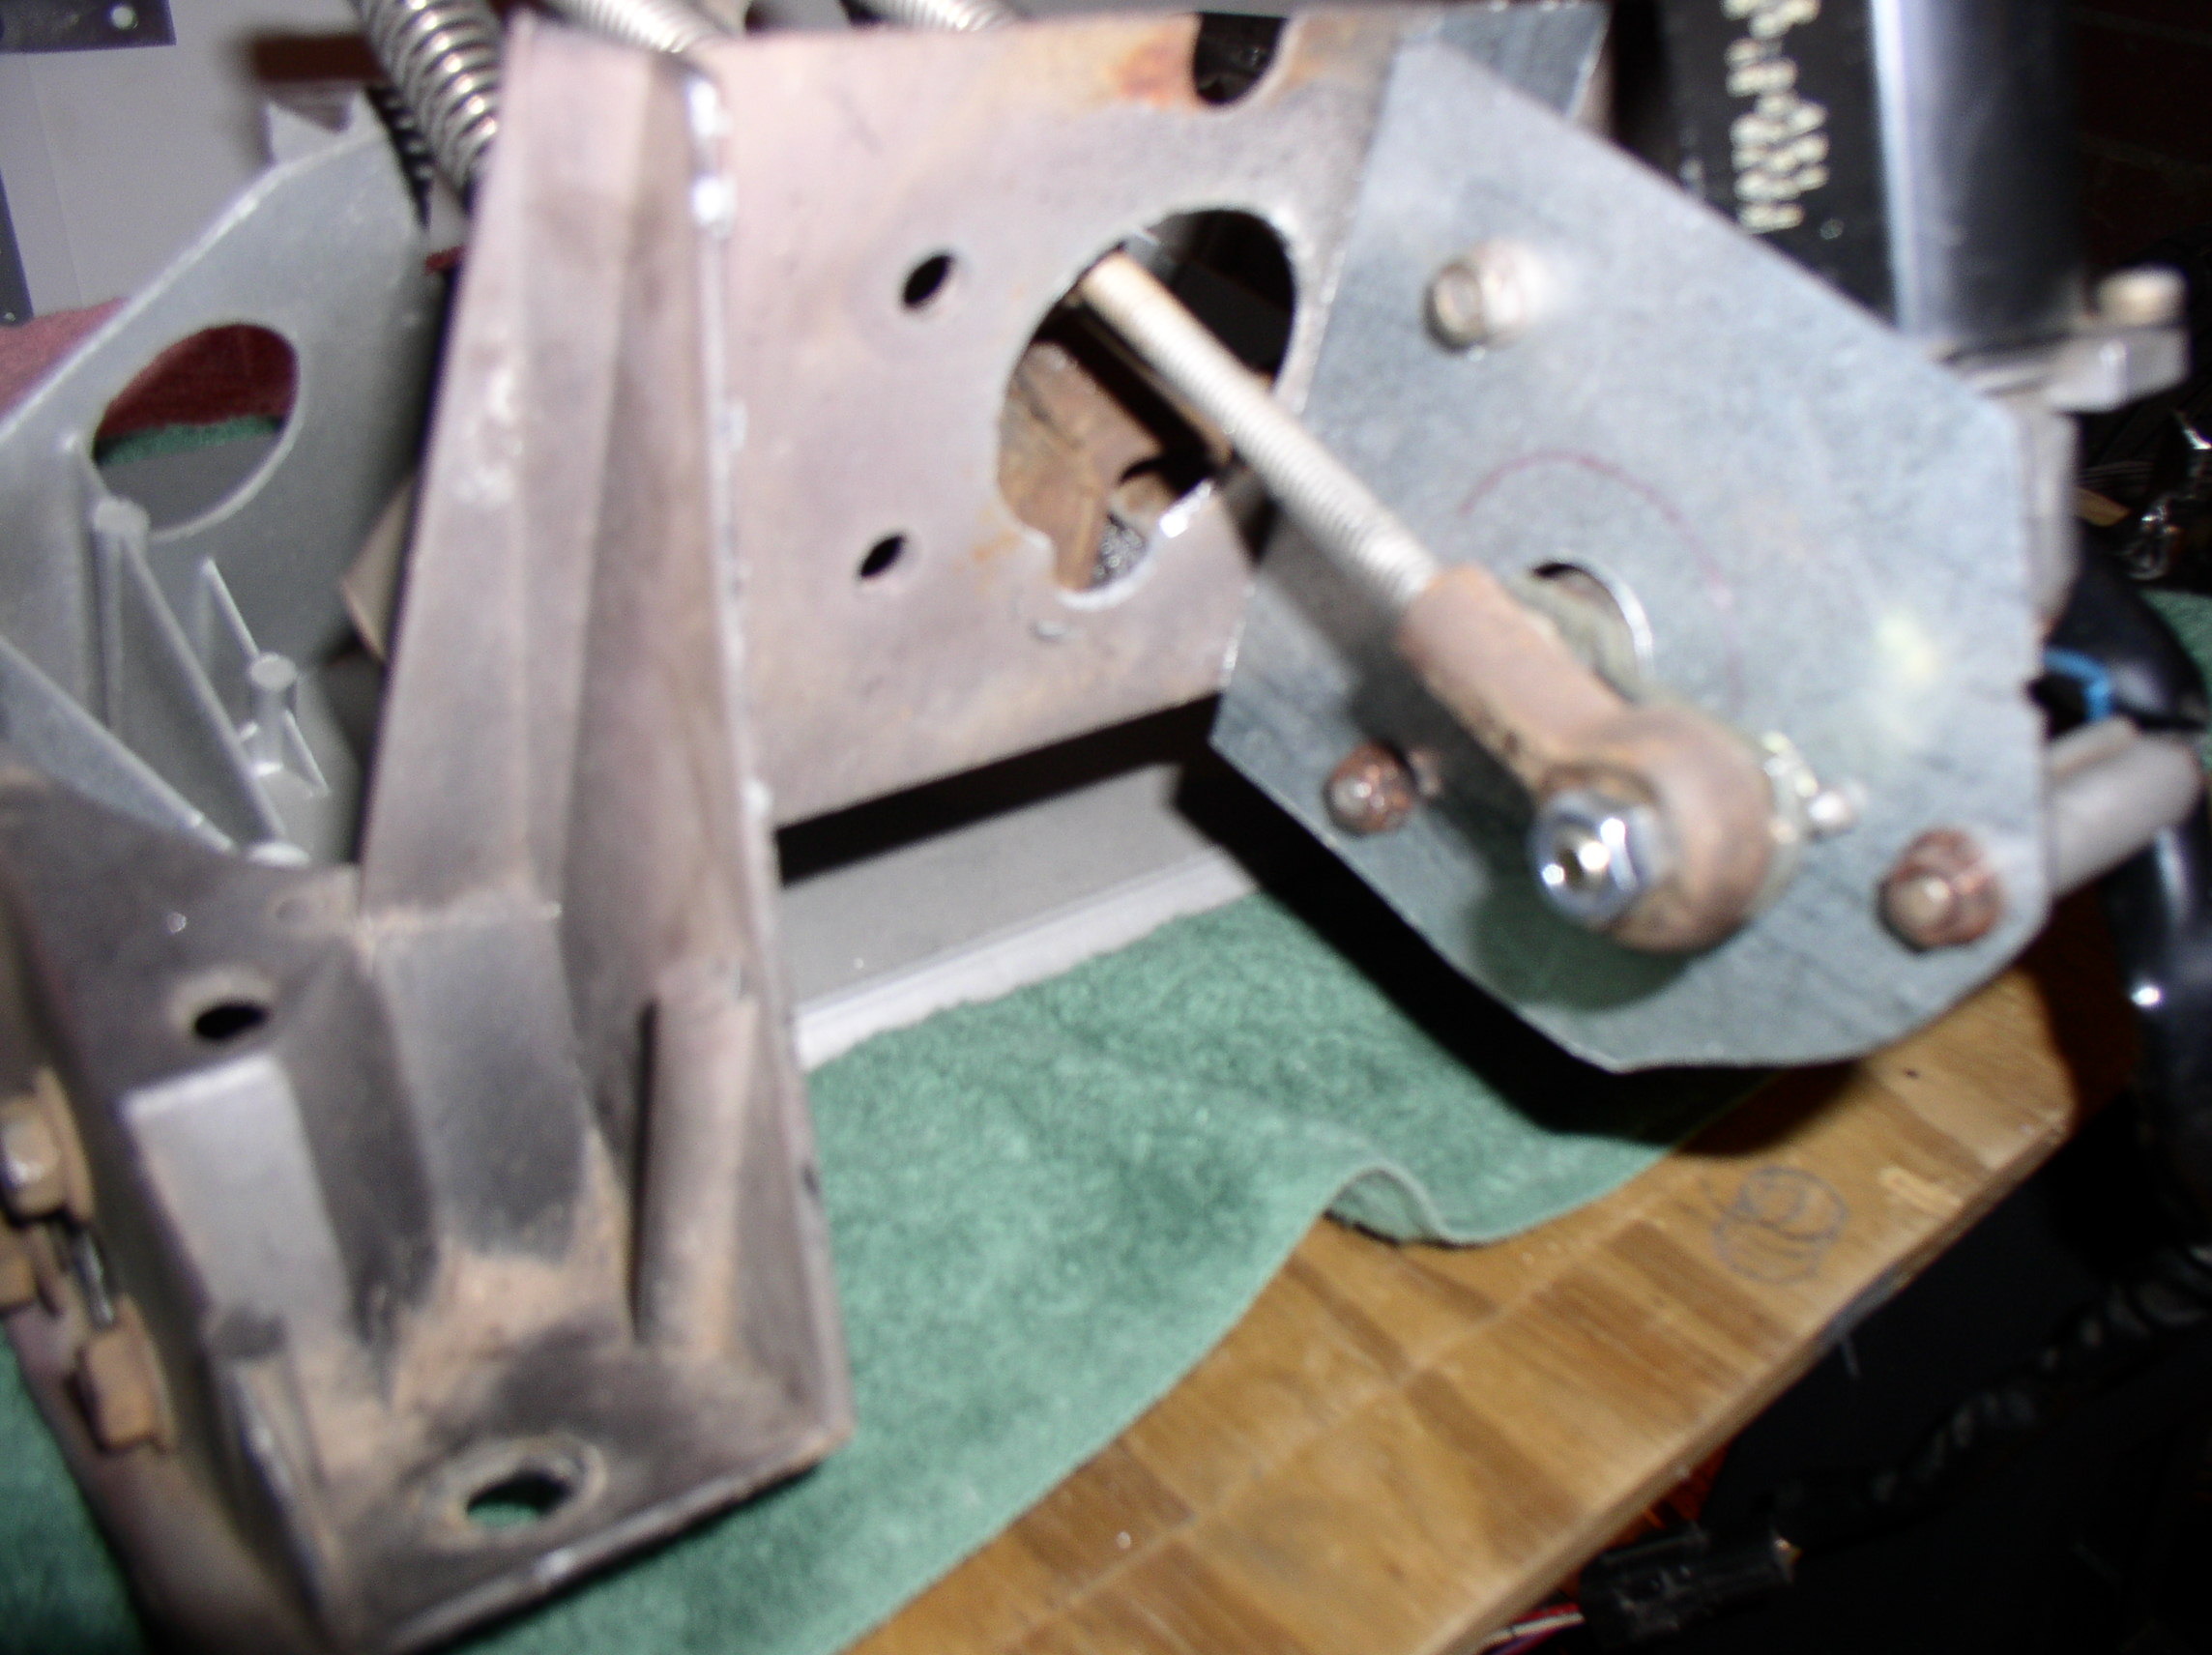
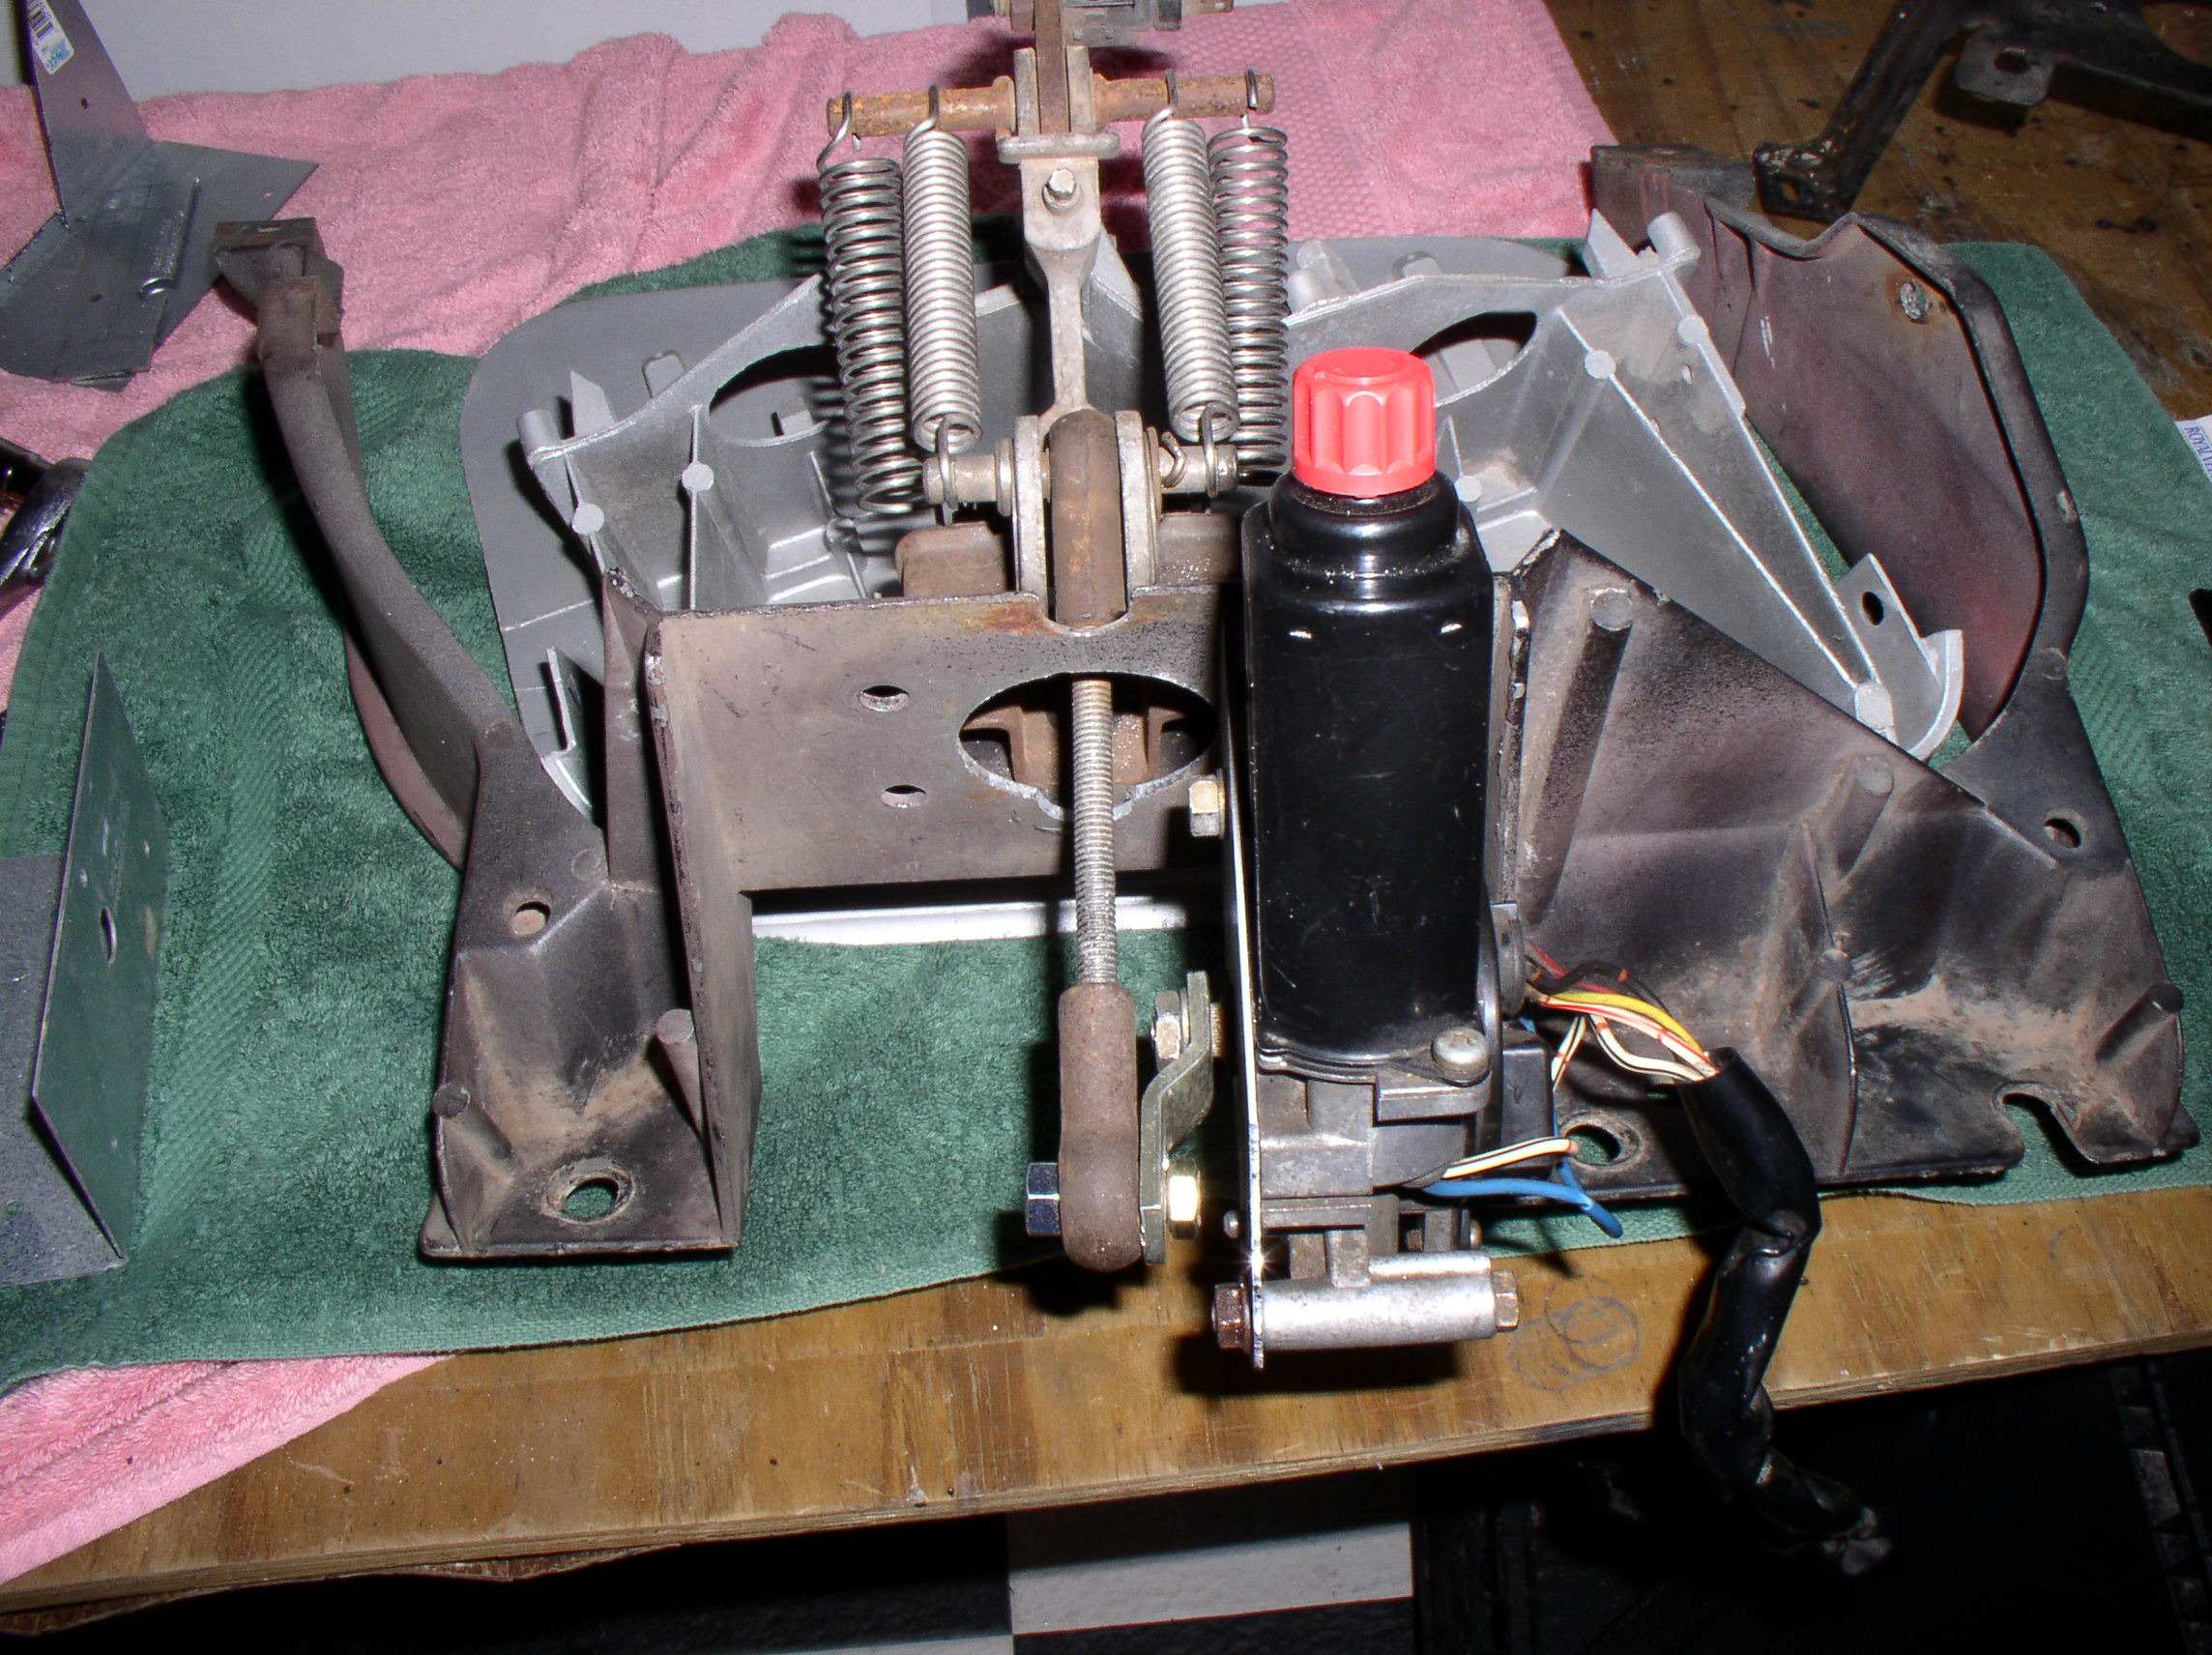
Here's what I did-
I used threaded rod 5/16 18 and used the stock ends from the actuator- drilled out the offset arm on the Probe motor and attached a bolt.
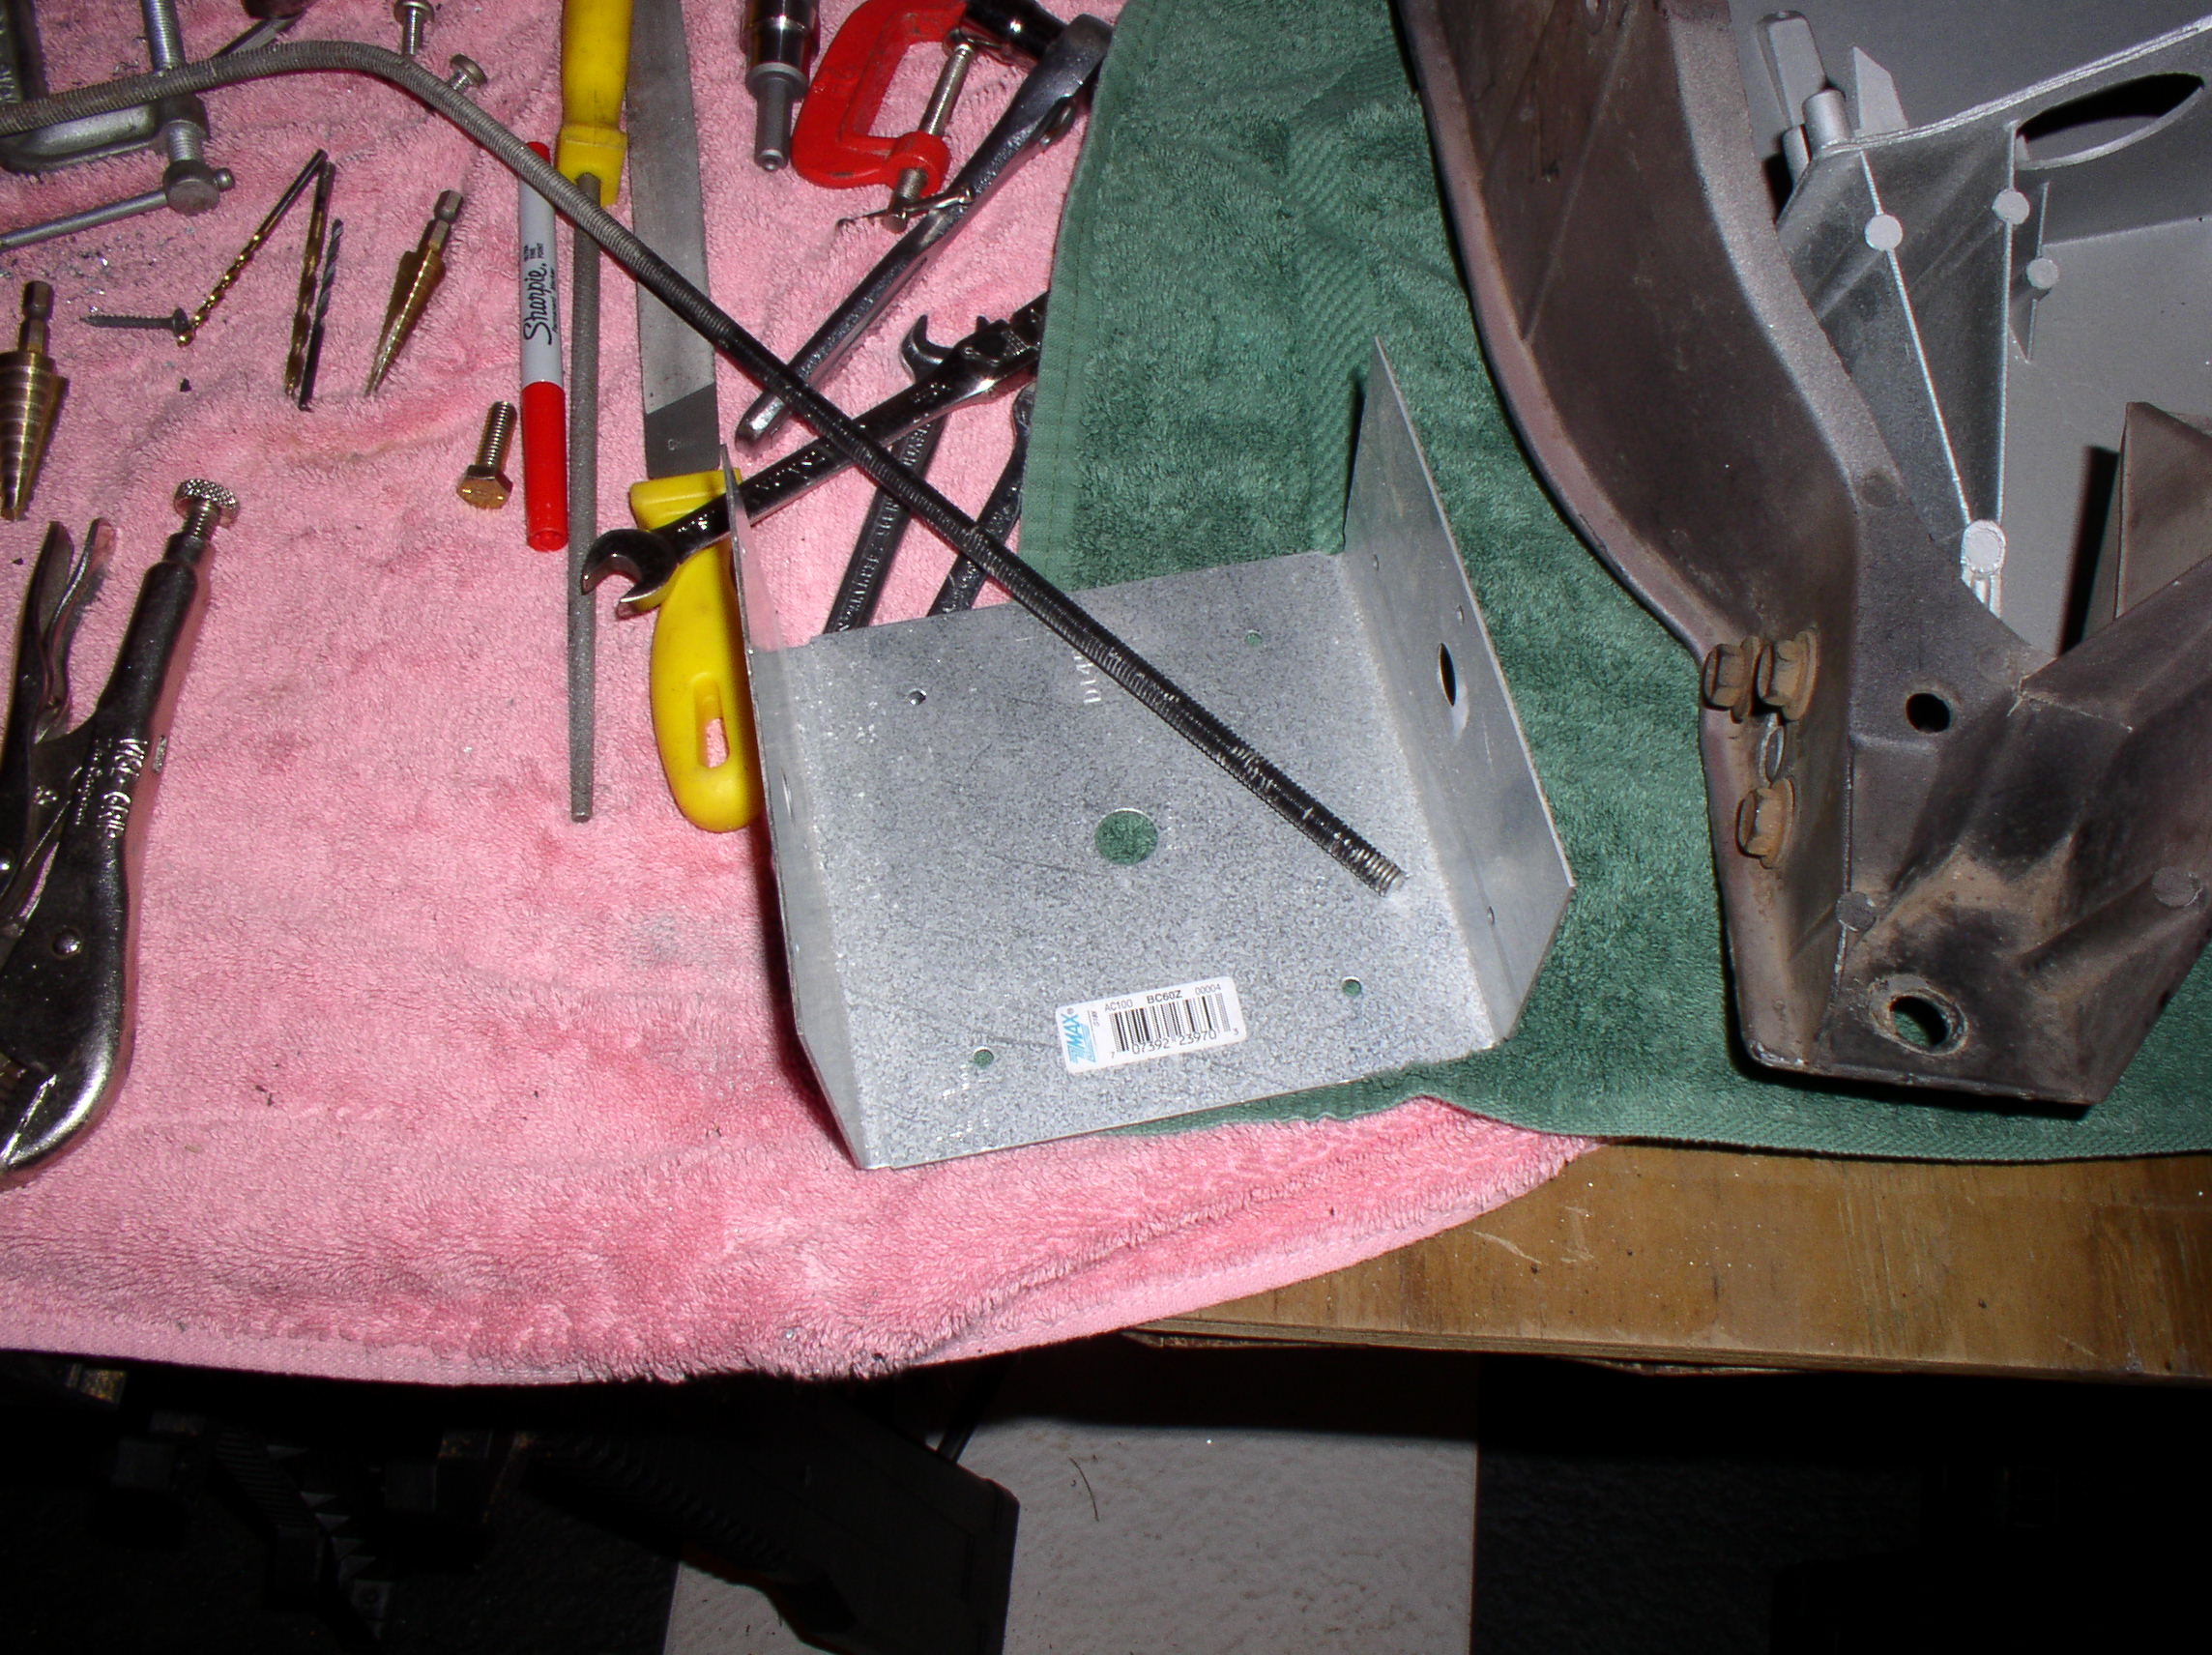
I made the bracket- from what I had laying around- a post cap- used in deck building by Simpson BC60Z at Lowes /Home Depot- and it worked out really well.
Since you can 'clock' the motor to any position when you remove the arm- I adjusted the bracket where as I would be able to just remove a little material from the top of the headlight bracket rather than the bottom. A small notch and that's all the mod was needed. I was able to get the motor in a little bit closer to avoid any clearance problems since I am adding AC.
Don't look to closely at the bracket- I'm gonna clean the edges up....
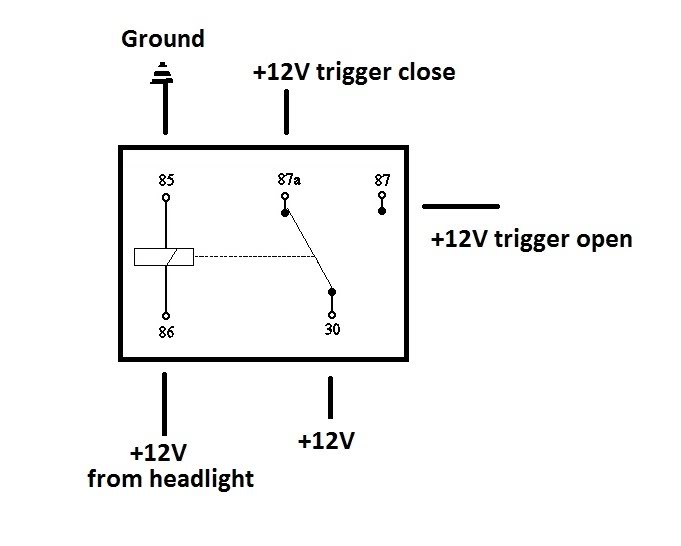
The wiring- a simple Bosch relay will work- no need to change the headlight switch- where as the 12v for the headlights will control the motor. See below-
I'll take it back apart and get the dimensions- I basically used the Probe bracket as a template-just a jigsaw and a drill.
Richard

Great idea...I wanted to do the conversion to my car as well...and finally got around to it....
I did a few things a little different- I didn't like cutting up the headlight bracket-I wanted the motor tucked in a little more and to simplified the wiring...
Here's what I did-
I used threaded rod 5/16 18 and used the stock ends from the actuator- drilled out the offset arm on the Probe motor and attached a bolt.
I made the bracket- from what I had laying around- a post cap- used in deck building by Simpson BC60Z at Lowes /Home Depot- and it worked out really well.
Since you can 'clock' the motor to any position when you remove the arm- I adjusted the bracket where as I would be able to just remove a little material from the top of the headlight bracket rather than the bottom. A small notch and that's all the mod was needed. I was able to get the motor in a little bit closer to avoid any clearance problems since I am adding AC.
Don't look to closely at the bracket- I'm gonna clean the edges up....
The wiring- a simple Bosch relay will work- no need to change the headlight switch- where as the 12v for the headlights will control the motor. See below-
I'll take it back apart and get the dimensions- I basically used the Probe bracket as a template-just a jigsaw and a drill.
Richard

