
Fellow frame-off Victims - Time to reunite body-frame - Potential Pitfalls?


 03-06-2013, 08:04 AM
#22
Pro

Thread Starter


 03-06-2013, 12:20 PM
#23
Drifting

Rogman, I was kind of hoping you'd be lurking around out there somewhere! Thanks for the compliments. We miss your updates and relentless progress on the vert as much as you probably miss working on it.
Anyway, I really apprecaite the info, and now that you mention it I remember reading and bookmarking both yours and Stingers posts about leveling. I will have to go back and re-read. It has been bothering me not to level it up with the car on wheels / ground. All along I've thought that it will undobutely sit very differently on jackstands vs on the wheels due to the flexible nature of our Vette frames. Guess I have some homework to do but I sure do enjoy it. I don't have the original shim counts because they ended up scattered all over during the body lift. oops... I'll get the trans lines sorted out and installed prior to moving ahead, kinda figured that would be a real pain later too.
I'll be employing manual labor to get this done, and if they break anything the rule is the same as the night of the body lift..... They have to buy all the beer.
I'll post up pics of my process and the before-during-aftermath.
How's DC? When do you get to come back and start sanding again?
DC is in the middle of a snow storm right now, but otherwise "okay" (you guys got hit pretty hard the previous couple of days, right)... Miss the family back in Vegas a lot... Unfortunately, won't get back to work on my Vette until the end of April... Will enjoy following your progress as you are doing great work!!!
Rogman
03-06-2013, 12:49 PM
#24
Drifting
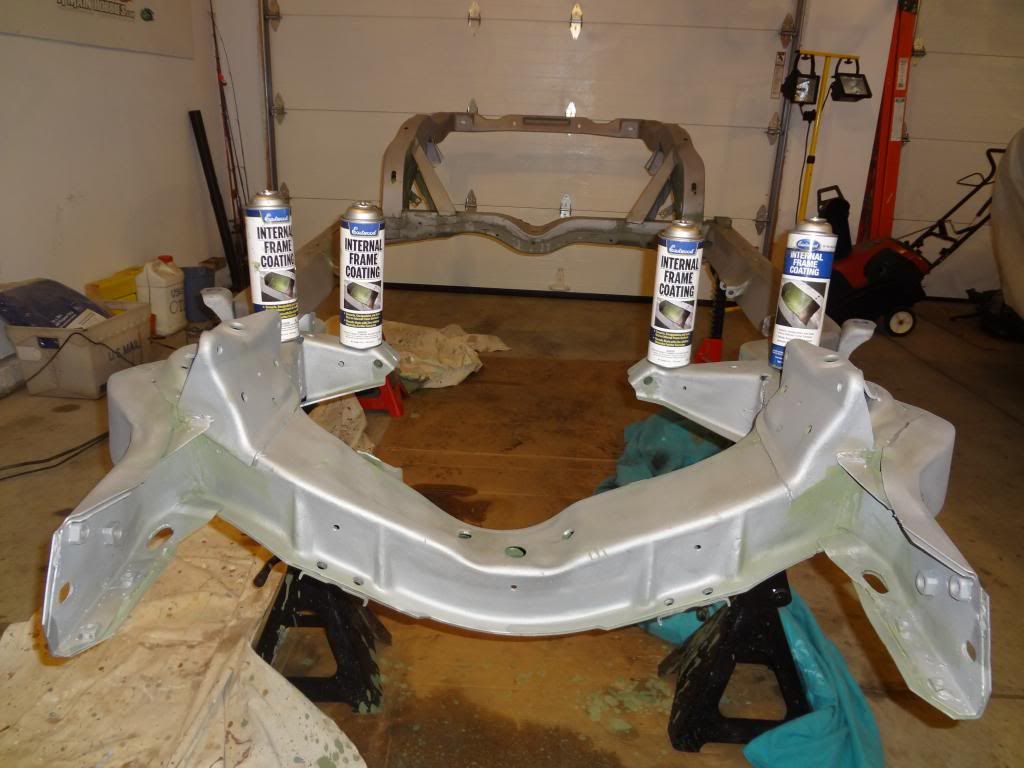
Hey Mike, I coated mine as well with Eastwood Internal Frame Coating spray. It worked like a charm to get into hard to reach places and I even used it to coat every inch of the inside of the Birdcage. Hopefully that will forever deter rust there. After all this work I'll probably never let the dang thing get wet anyway, so maybe it was all pointless.
 What did you paint your birdcage with? I did mine with POR15 and gloss black topcoat. Also, I had to weld new 3 piece rocker channel inserts on both sides of the birdcage. Did you leave your frame stock or did you do any extra welding/ strengthening to it?
03-06-2013, 02:53 PM
What did you paint your birdcage with? I did mine with POR15 and gloss black topcoat. Also, I had to weld new 3 piece rocker channel inserts on both sides of the birdcage. Did you leave your frame stock or did you do any extra welding/ strengthening to it?
03-06-2013, 02:53 PM
#25
Pro
Thread Starter
Greg--
DC is in the middle of a snow storm right now, but otherwise "okay" (you guys got hit pretty hard the previous couple of days, right)... Miss the family back in Vegas a lot... Unfortunately, won't get back to work on my Vette until the end of April... Will enjoy following your progress as you are doing great work!!!
Rogman
 03-06-2013, 03:48 PM
#26
Melting Slicks


I dropped mine a couple of months ago. If the body and frame (engine) and such is not to far from the original, you should just need to put two round iron bars in the holes in the rocker panels ( 1 on each side) and thru the frame to line everything up. (hope you still have you shim count and have them in place). The bars are key to a good save body drop.
Make sure the battery cables don't get wedged in between the body and frame and such. Have a couple of people to look around the car that nothing hangs up and drop it in place.
Good luck
Make sure the battery cables don't get wedged in between the body and frame and such. Have a couple of people to look around the car that nothing hangs up and drop it in place.
Good luck
03-07-2013, 12:56 PM
#28
Drifting
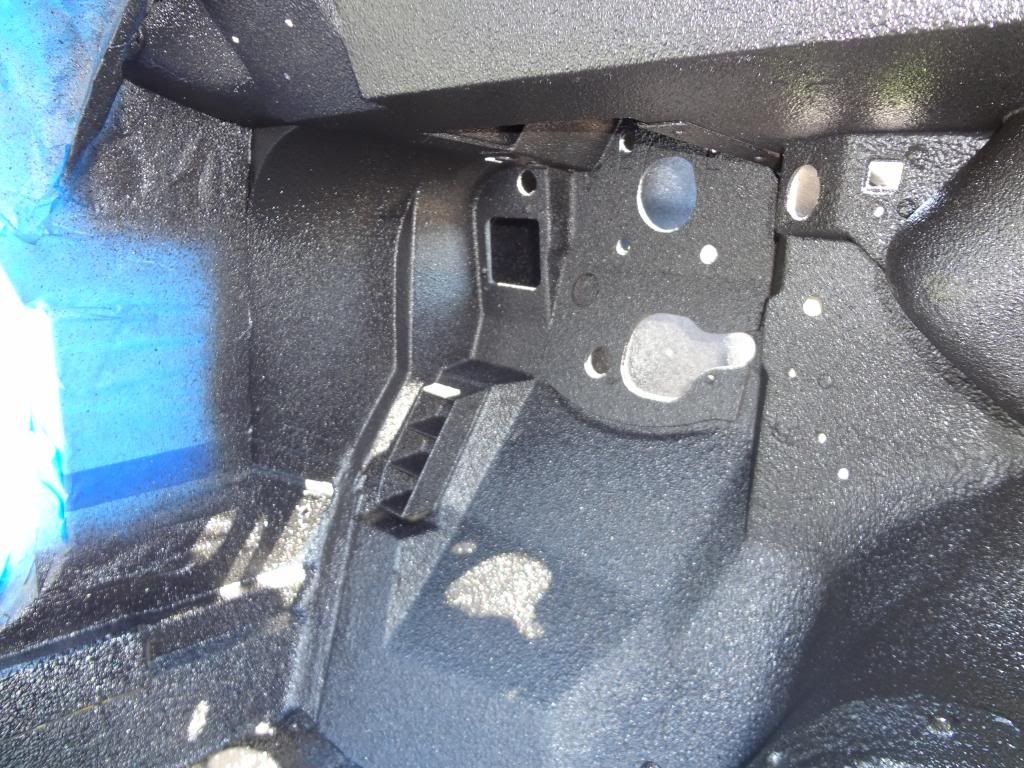
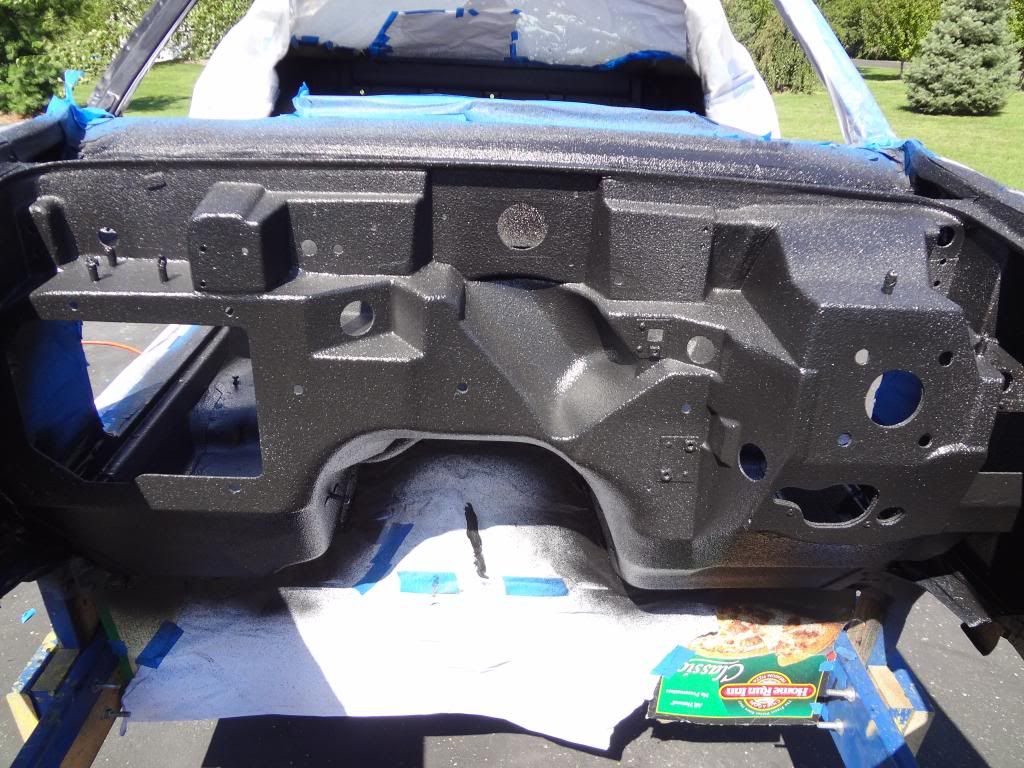
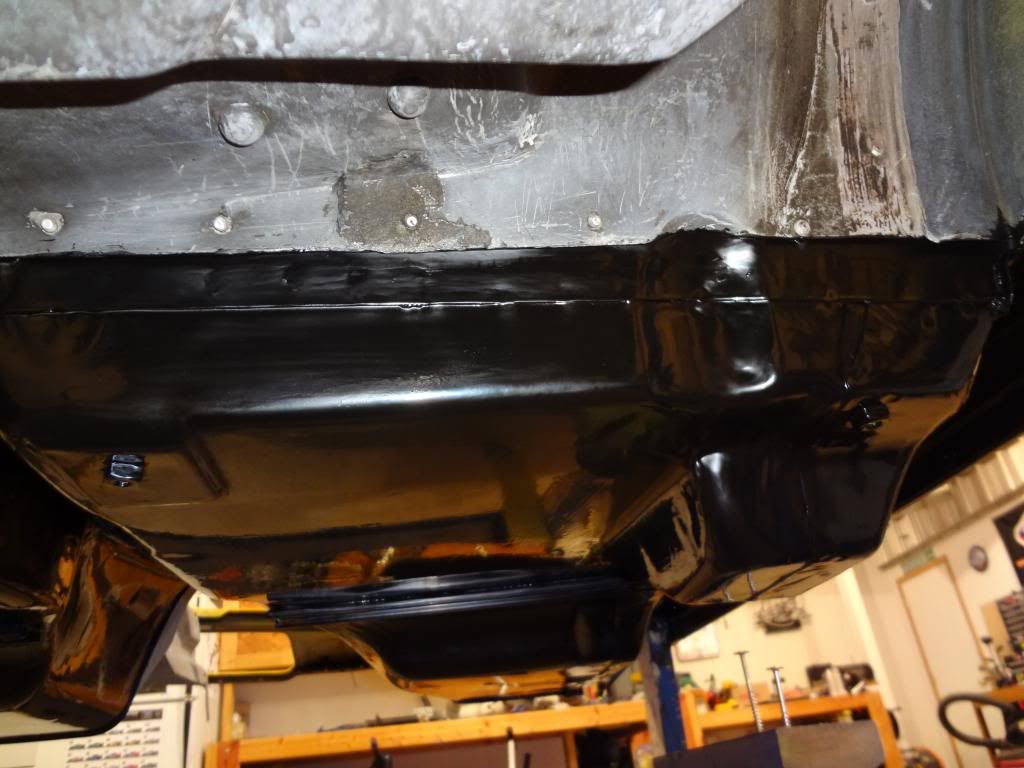
After I sprayed the internal frame coating I painted all the metal with POR15. I did the entire floor pan with it as well, inside and out but I did not topcoat any of it as i'm really not concerned about it graying up on me from UV given that almost none if it will ever be exposed to sunlight. The rest of the car got a liberal spray coating of an epoxy bedliner that Rogman turned me on to. It really looks nice and it's tough as nails. I didn't do any additional reinforcing of the frame as this is just going to be a street car and I didn't think it was really necessary for that. I did buy a spreader bar and will be running that to stiffen things up in the front a bit. Here are couple of pics of the U-Pol Raptor bedliner and the floor pan painted with POR15. It was a lot of work but I was very happy with the results.
Looking good! Keep up the nice work
03-07-2013, 01:03 PM
#29
Instructor


Member Since: Jan 2012
Location: some hole in the ground town- camp verde:) arizona
Posts: 201
Likes: 0
Received 0 Likes
on
0 Posts
i've pulled the bodies of a 75 and 76 and removed the front bumper assemblies first on each one. the two outer bars go through some gaps in the inner fenders and they had to be removed before i could lift the body off or put it back on. don't know what year yours is and if this will be an issue for you, but thought i'd throw it out there anyways.
03-10-2013, 02:37 PM
#30
Pro
Thread Starter
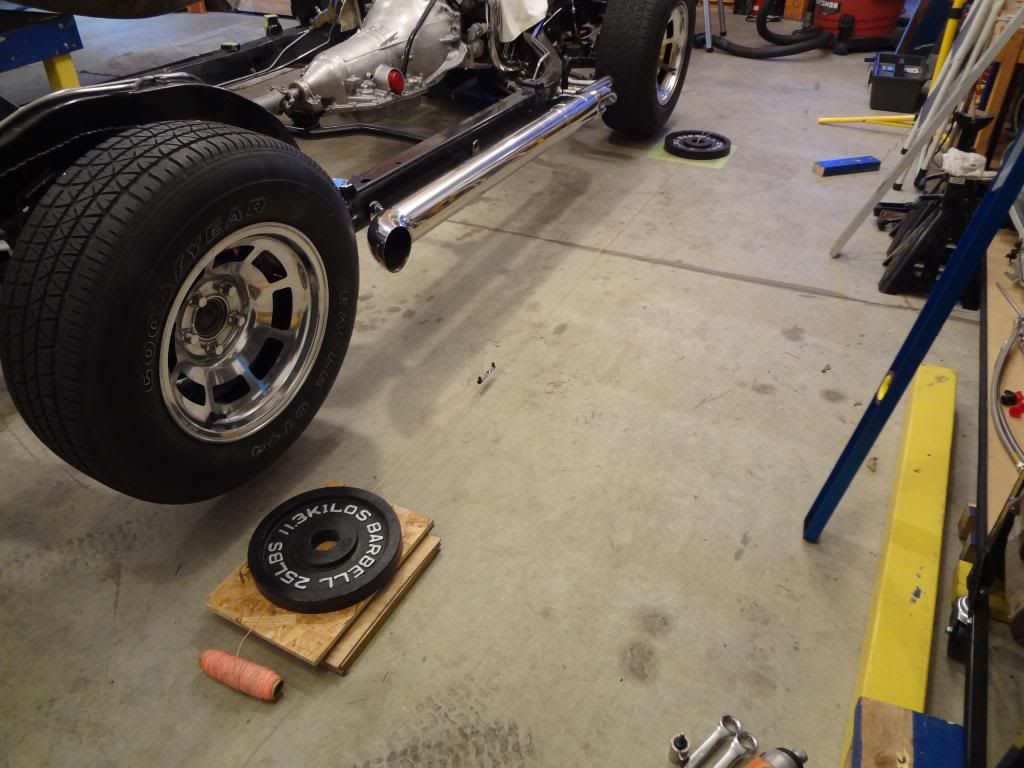
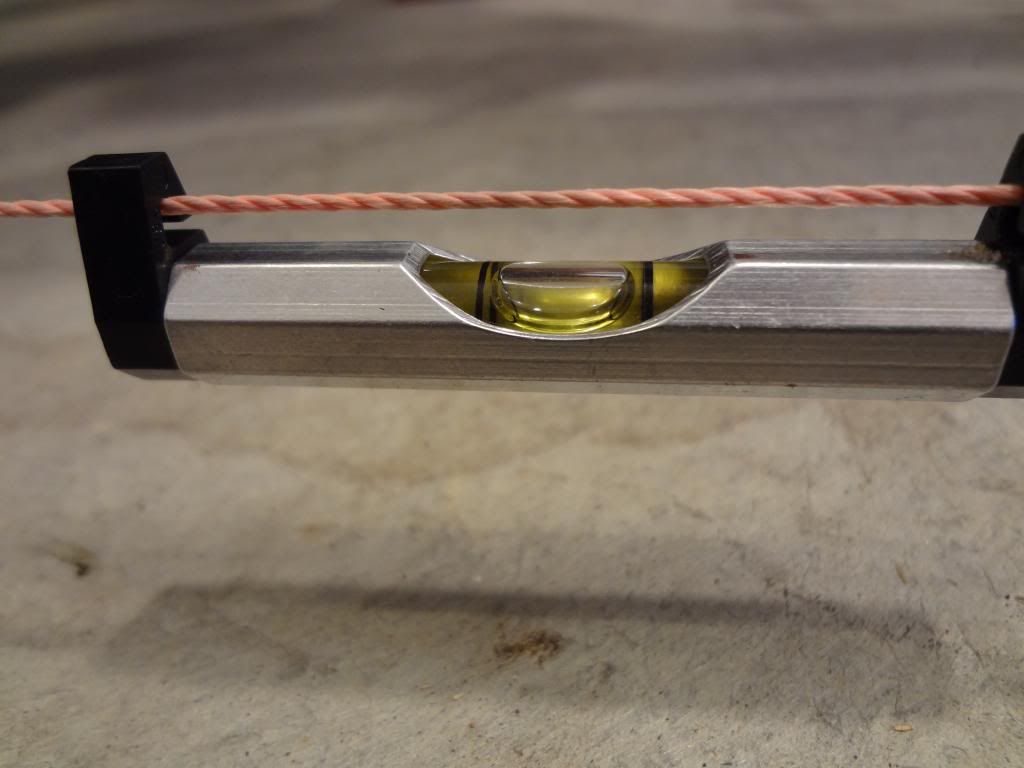
OK, spent the last 4 hours in the garage working on getting the Vette leveled out and ready for the body drop. I got the 'bases' leveled side to side, front-to-back and checked corner to corner as well. I don't have a 10' level so to do that I used a string level designed for doing long runs for foundations, etc and it worked great. See the pic below. So with that part done I moved the chassis onto the bases and jounced the suspension to get it settled.
The problem I'm running into is that I have new 600lb springs up front and a new 360lb composite rear spring in back. I've read on this forum that those that have installed the stiffer front springs usually have to cut a coil to get them to sit as low as the stock spring. I've cranked the rear spring bolts down a bit (raises the car) to get closer to level front to back, but the front is still fairly high when leveling between the #2 and #3 mounts. To get my side-to-side level I have to add one shim to the #2 LH and 2 to the #3 RH.
I don't want to artificially raise the rear any further to get this level because that is not realistic with the way the car will sit when I fine tune the ride height. I really want to tuck the wheels in and keep a low stance on this car when it's all said and done.
So, do I just assume I will be lowering the front with a spring cut which will in effect bring the frame closer to level front to back? I'm not going to cut the spring before I see where it sits with car completed as I would surely not get it right the first time.
Appreciate any and all suggestions!
Last edited by gbarmore; 03-10-2013 at 02:47 PM. Reason: Added Pictures
03-10-2013, 02:47 PM
#31
Melting Slicks
I wouldn't cut the springs until the car is all together with a couple hundred miles on it. Mine seemed to sit too high at first (stock springs), but after driving, it settled down to a nice stance imo.
The car looks well done!
The car looks well done!
03-10-2013, 04:06 PM
#32

You cannot even begin to evaluate the ride height until the car is at normal curb weight and the suspension has settled. If you are using rubber suspension bushings, you have to leave the suspension bushings about one turn loose and then move the car 20 feet or so. Five feet back and forth four times would do it. Or slowly drive it around the block once. Then tighten the bushings by reaching under the car. A PITA, but necessary if you want to get a full service life out of the bushings.
03-10-2013, 04:22 PM
#33
Pro
Thread Starter
You cannot even begin to evaluate the ride height until the car is at normal curb weight and the suspension has settled. If you are using rubber suspension bushings, you have to leave the suspension bushings about one turn loose and then move the car 20 feet or so. Five feet back and forth four times would do it. Or slowly drive it around the block once. Then tighten the bushings by reaching under the car. A PITA, but necessary if you want to get a full service life out of the bushings.
 03-10-2013, 05:12 PM
#34
Melting Slicks
Disclaimer, I only did it once, and I've been wrong before. Good luck and post pics!
03-10-2013, 09:10 PM
#35
Pro
Thread Starter
 I'm feeling better about this process after spending some more time in the garage 'staring' at this problem. Pretty much ready to do the drop, just need to install the heater box, wrap the frame and finalize the fit of the trans lines. Woo Hoo!!