
1969 Door Ajar Switch--on a budget
 12-24-2013, 12:41 PM
#1
Burning Brakes


Thread Starter

Fixing the door ajar switch is a subset of a larger project where I completely removed the dash on my 69 350/350, 4 speed w/o AC and replaced the tach and speedo lenses, replaced all the dash bulbs, repaired all the courtesy lamps and wiring, installed new vent cables and new face plate for the heater control.
I am a sucker for having all the dash and console lights in working order while being on a budget. The vendors wanted $15 per switch plus shipping. These switches were $1.50 each. I did have to buy a butt connector and ring connector and really think about the forces on the switch and getting it all back in the small hole in the door jamb. In five steps here's how I went about--maybe it will help someone else considering the project.
Step 1--Remove rear tire and access cover on inner wheel well--there are four, 5/16" screws that secure the plate.
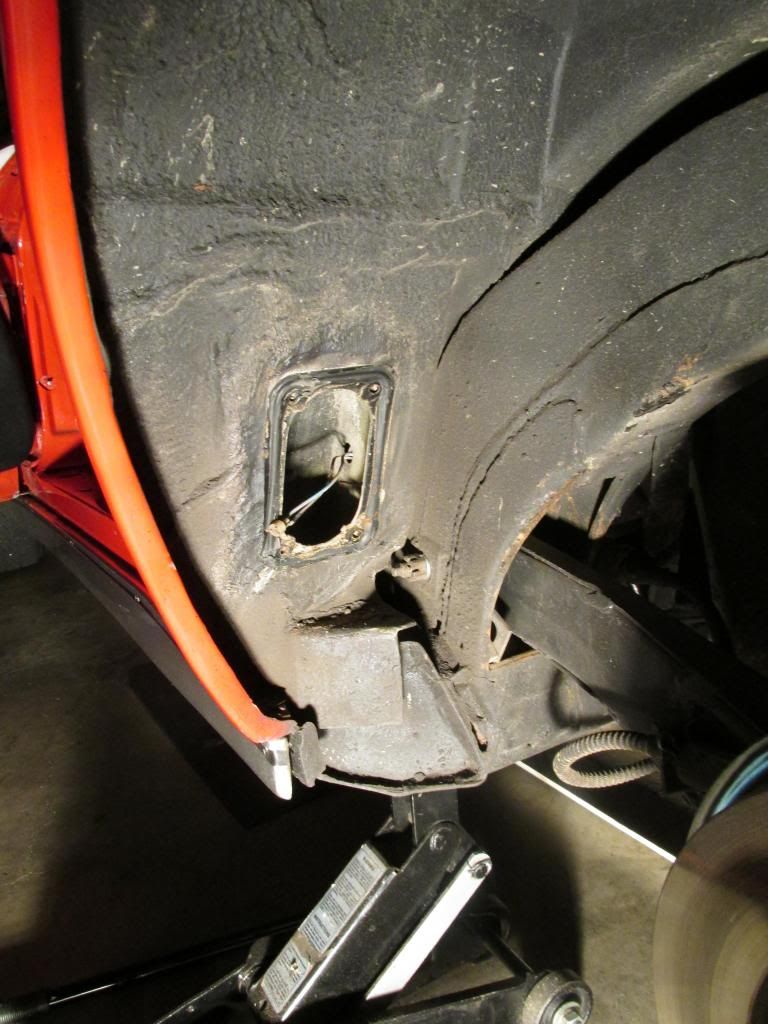
Step 2--See what it there, mine was missing the plunger portion, but had the wires, contacts, and connector.

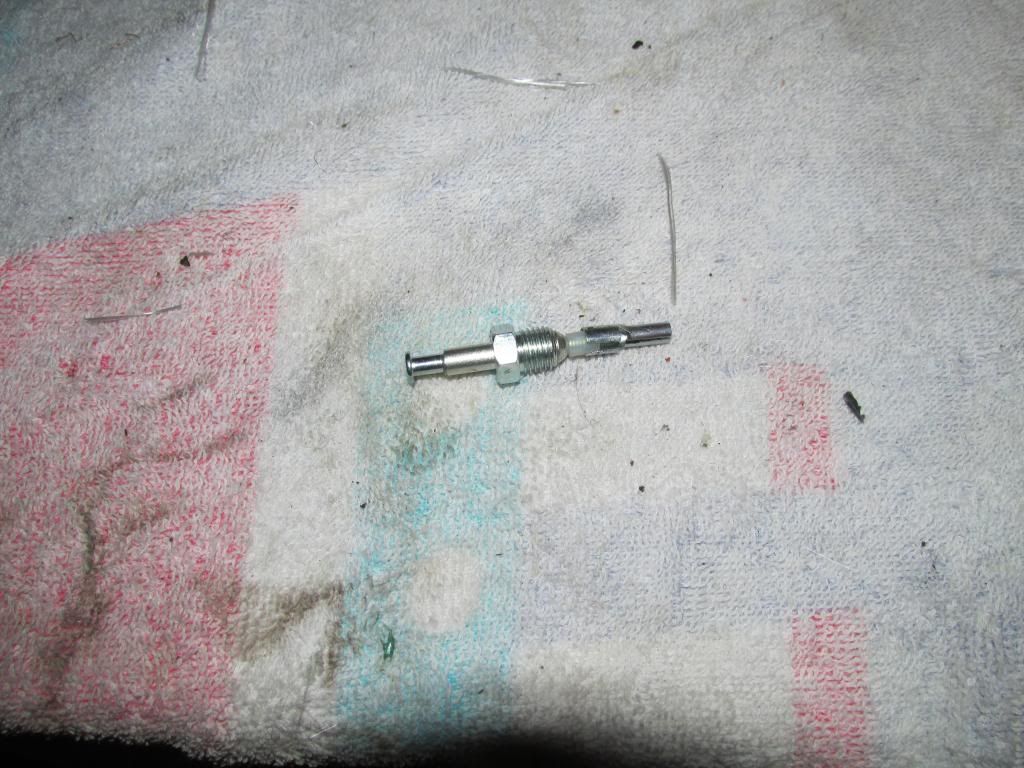
Step 3--This is the switch used and I pried the metal sleeve off the plunger by using a small screwdriver.
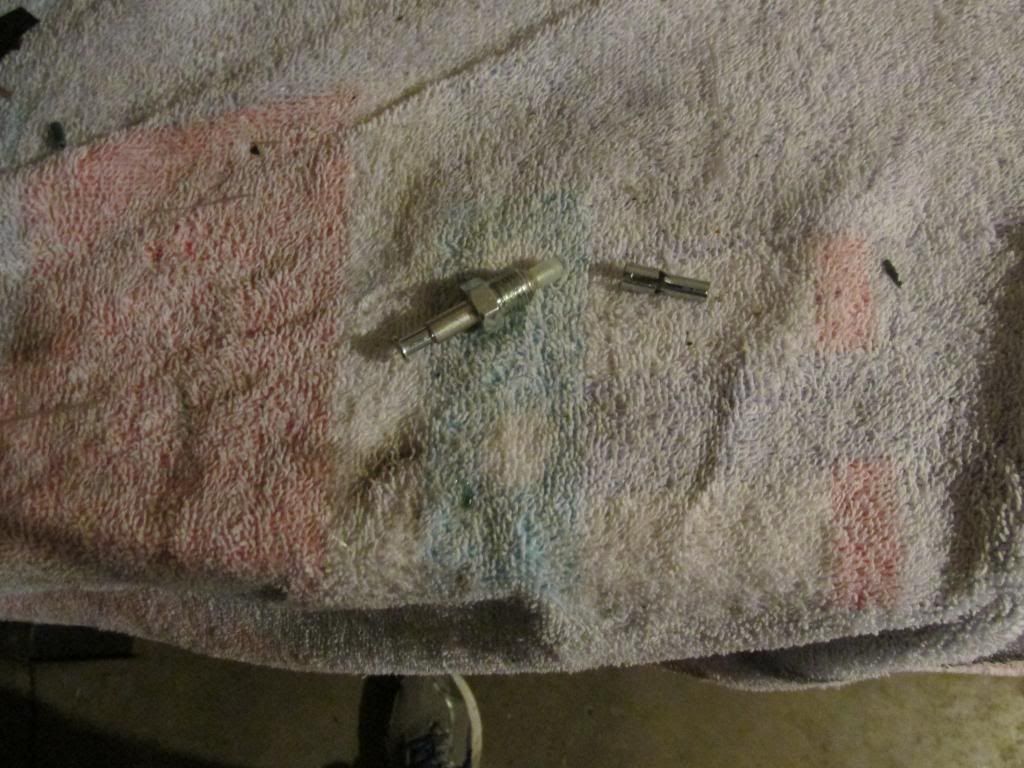
Step 4-- Attach butt connector and ring connector--size is critical, as I learned, and you'll want the 22 gauge connectors. I still had to trim and file the ring connector to fit back though the opening. I also bent the ring connector at 90 degree angle to attach to the plunger. The outward force of the wire will keep the ring connector snug against the plunger when the door is shut. When the door opens, the butt connector on the metal sleeve pushes up against the ring connector to complete the circuit. Again, I had to trim and file the ring connector to fit through the opening.
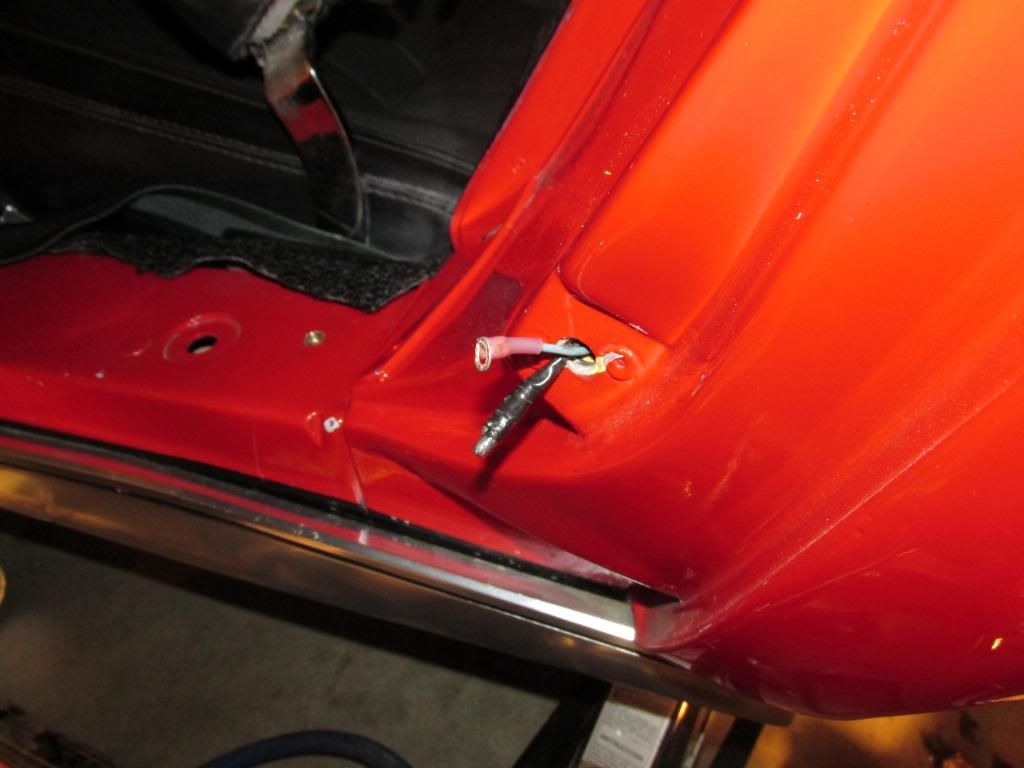
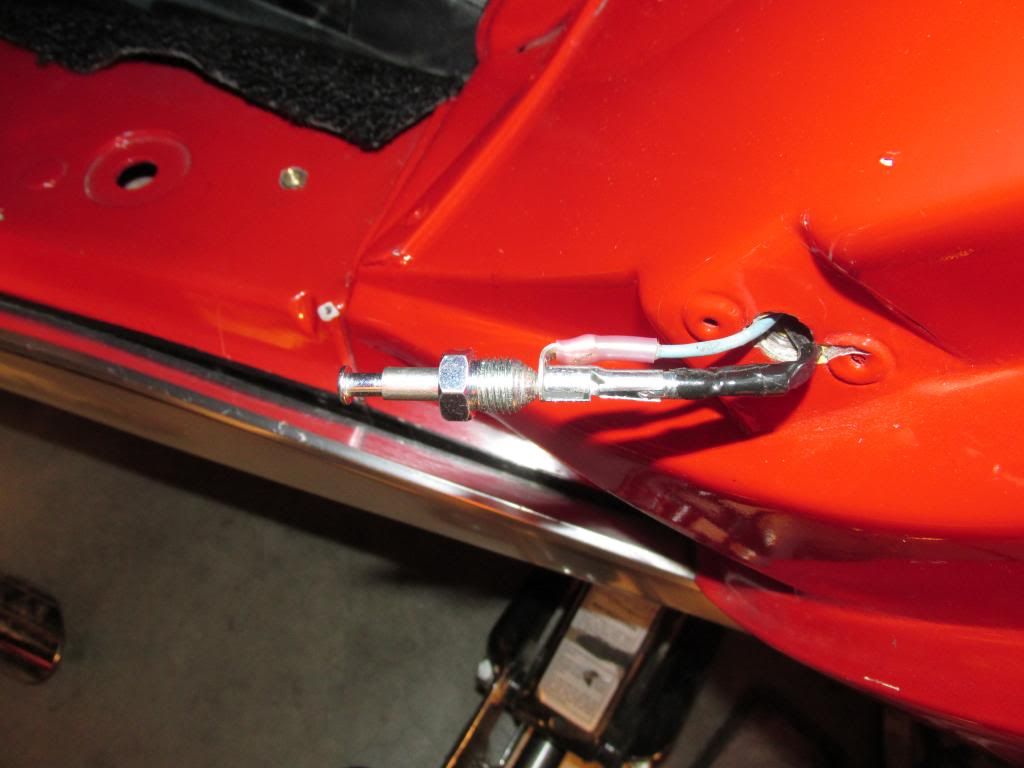
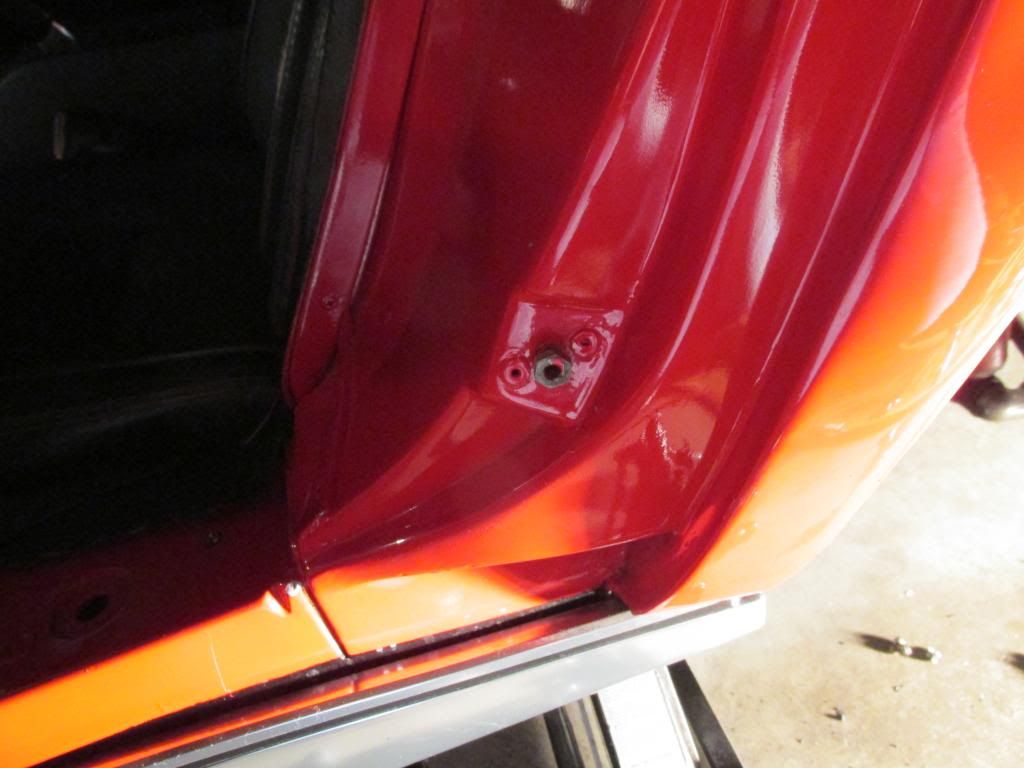
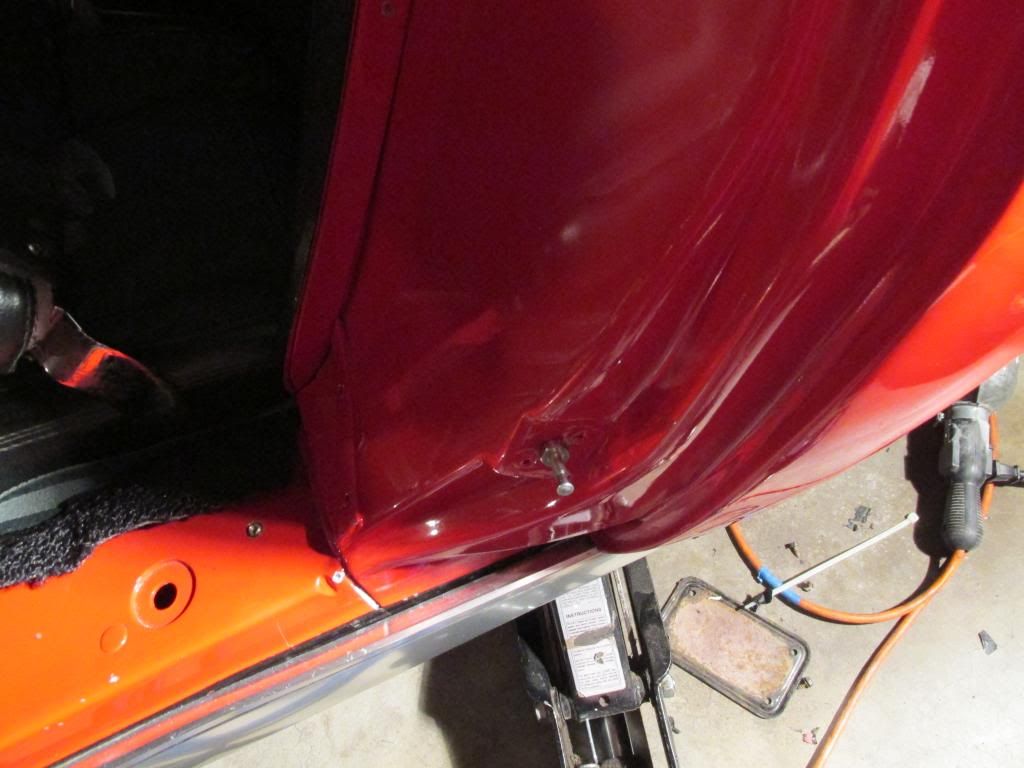
Step 5-- tighten plunger nut and test before reassembly cover plate.

I am a sucker for having all the dash and console lights in working order while being on a budget. The vendors wanted $15 per switch plus shipping. These switches were $1.50 each. I did have to buy a butt connector and ring connector and really think about the forces on the switch and getting it all back in the small hole in the door jamb. In five steps here's how I went about--maybe it will help someone else considering the project.
Step 1--Remove rear tire and access cover on inner wheel well--there are four, 5/16" screws that secure the plate.

Step 2--See what it there, mine was missing the plunger portion, but had the wires, contacts, and connector.


Step 3--This is the switch used and I pried the metal sleeve off the plunger by using a small screwdriver.


Step 4-- Attach butt connector and ring connector--size is critical, as I learned, and you'll want the 22 gauge connectors. I still had to trim and file the ring connector to fit back though the opening. I also bent the ring connector at 90 degree angle to attach to the plunger. The outward force of the wire will keep the ring connector snug against the plunger when the door is shut. When the door opens, the butt connector on the metal sleeve pushes up against the ring connector to complete the circuit. Again, I had to trim and file the ring connector to fit through the opening.


Step 5-- tighten plunger nut and test before reassembly cover plate.

 12-24-2013, 07:05 PM
#2
Race Director


Necessity is the MOTHER of all invention. GOTTA LOVE IT!!!!
I am glad it worked for you...but I have to stick with the correct switches regardless of the price due to my time spent modify something would make it cost ineffective and might actually come out being more expensive when I have to calculate my time in the modification.
DUB
I am glad it worked for you...but I have to stick with the correct switches regardless of the price due to my time spent modify something would make it cost ineffective and might actually come out being more expensive when I have to calculate my time in the modification.
DUB