When you click on links to various merchants on this site and make a purchase, this can result in this site earning a commission. Affiliate programs and affiliations include, but are not limited to, the eBay Partner Network.
Preferably without the plastic. They say this is 109 as cast stock. Then they get opened up larger. Then they get decked smaller. Generally when 2.19 put in these, they are unshrouded a bit and that makes them a couple cc's bigger.
Last edited by derekderek; 05-25-2018 at 07:45 PM.
OK, so 8 buck chamber cc-ing tool. 4 for the flavor shooter and 4 for a hunk of plexi. I assume anybody messi g with this has a drill and grease. And one of these 215 chambers (1 month before your casting date) came out at 100 once and 102 once. I am gonna do some double checking to verify accuracy and compare a couple more. Cant find my graduates cylinder, but I found a couple similar measuring devices for comparison.
Last edited by derekderek; 05-26-2018 at 03:19 PM.
The 215 comes out 100 cc's. But my supposedly 118 chambered 12562934 heads measured 113 cc's I have a few others to compare. Another 118 and 100cc L29 chambers.
Last edited by derekderek; 05-26-2018 at 12:06 PM.
118 or 9 cc rated peanut head. Back when they felt 8:1 was too high. Chamber measured 119 cc's. So I guess from 78 to 2000 somebody tweaked this chamber to the lower pic.
Last edited by derekderek; 05-26-2018 at 01:49 PM.
Side by side you can see where the older rear head is a little bigger. Bottom pic. L29. 96-2000 pick up, suburban and 310 hp mercruiser. Rated 100 cc's. Measured 100 cc's. So I can assume my low,buck setup is accurate enough.
Last edited by derekderek; 05-26-2018 at 03:22 PM.
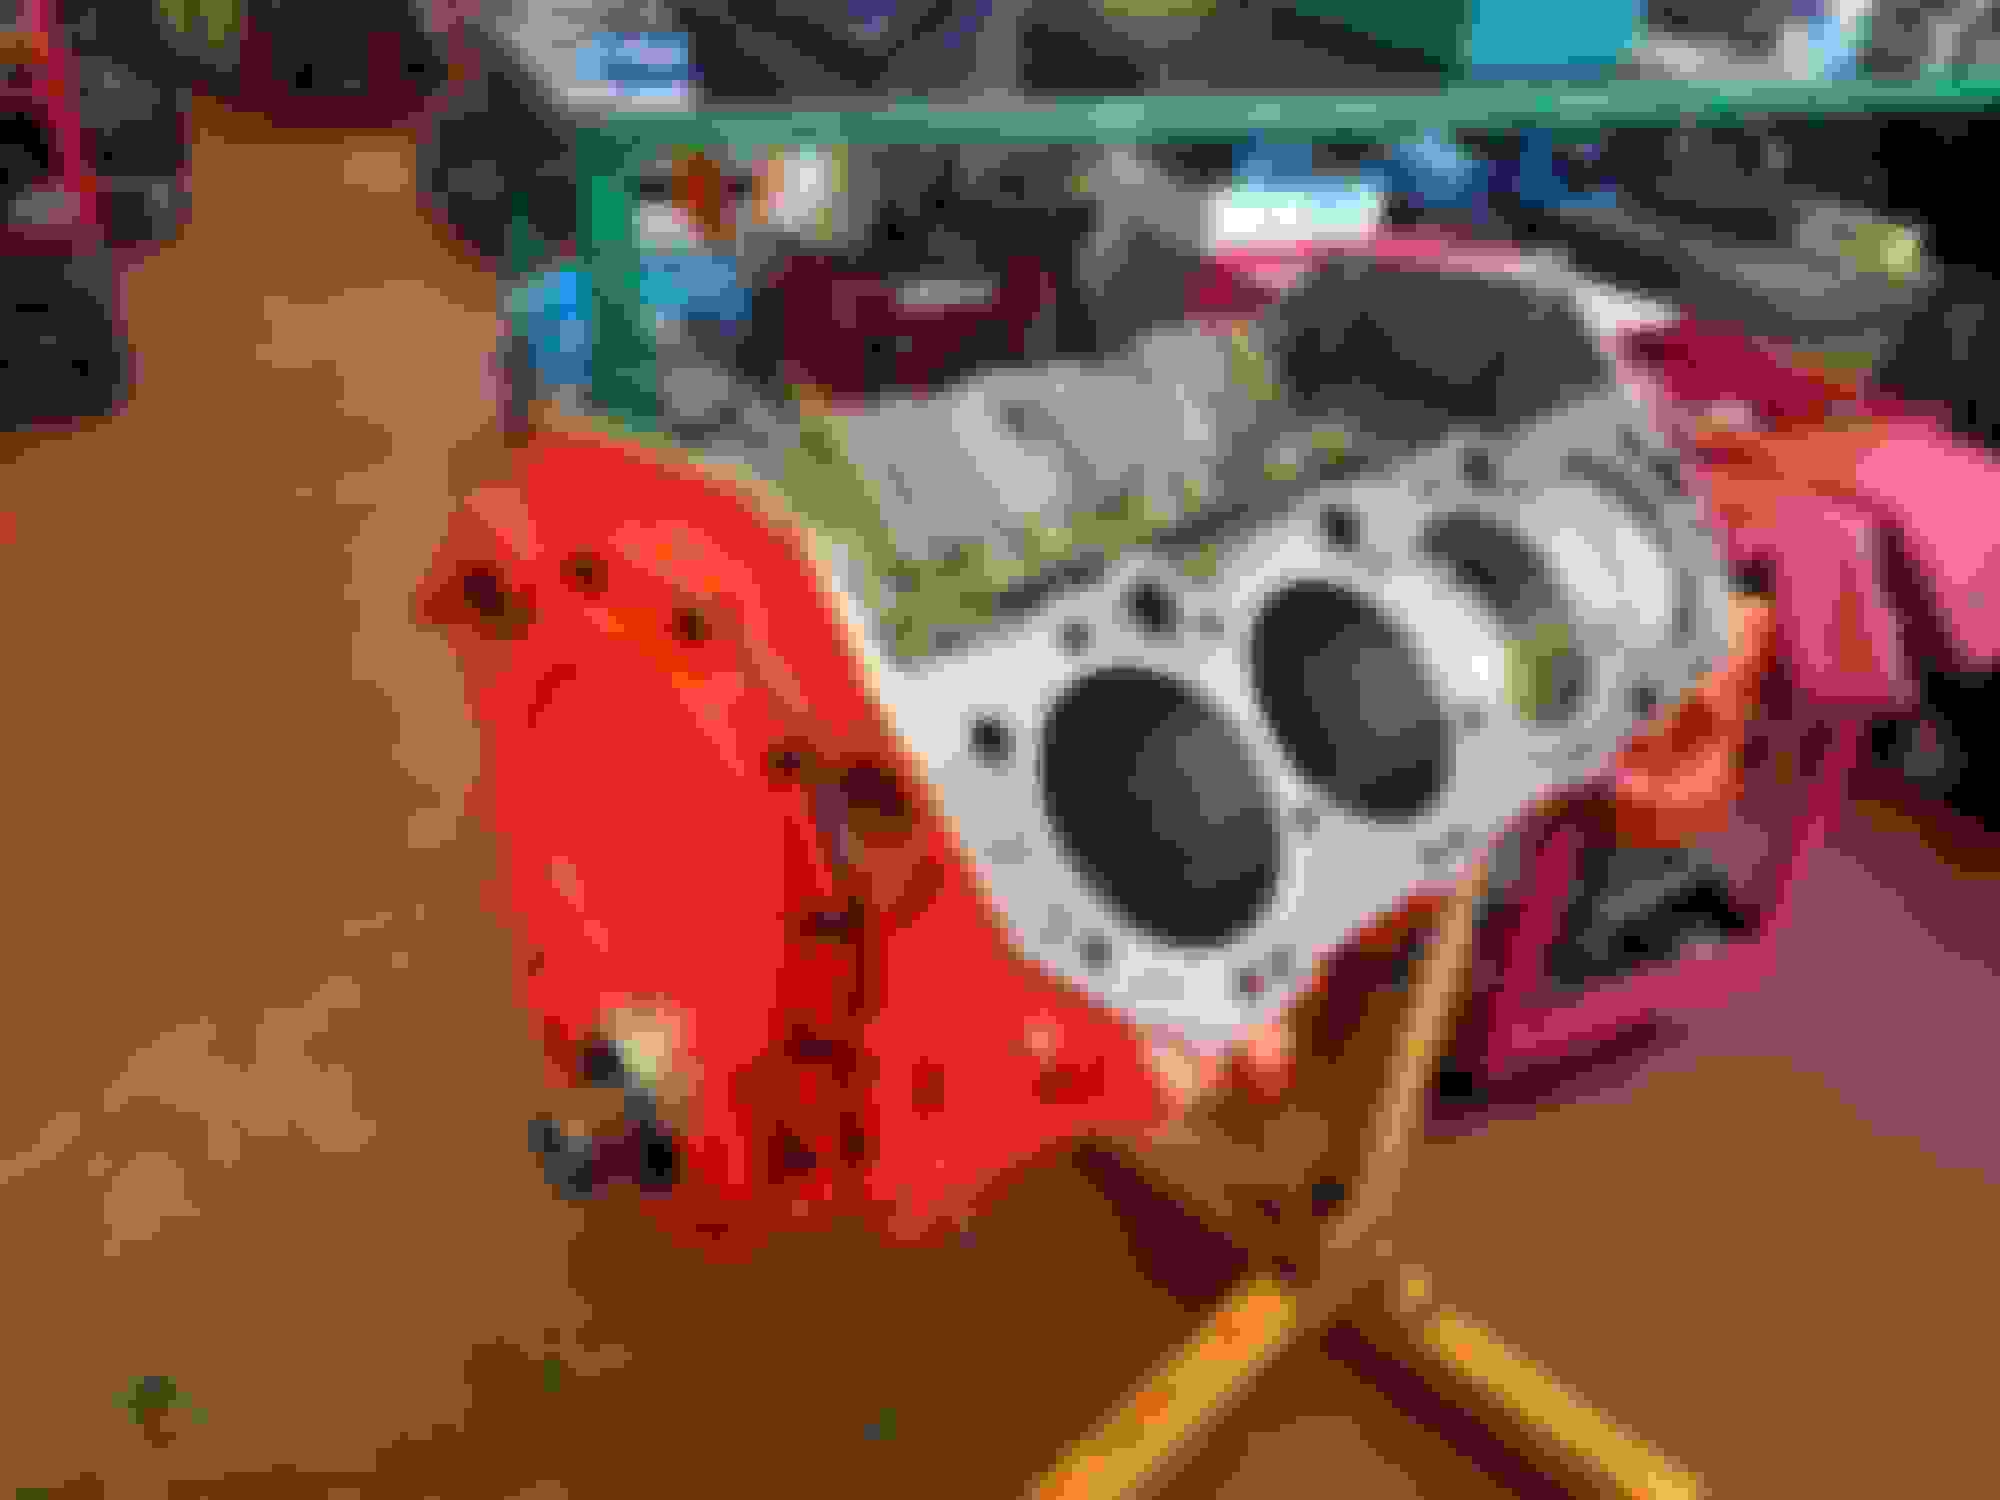
So we agree on the 215 heads are 100 cc's.... thanks for doing the test......here are some pics and info when I picked my engine up today.....
Picked up the engine today and had a good conversation with one of the machine shop owners who performed mostly all of the work on my engine....... I am extremely happy with their work......here is the breakdown for those who are interested......Crank spect out fine and was polished.....original cam bearing were fine....but were replaced.....Main and Rod bearings were also replaced and new nuts were used on the Rods.....Oil clearances on the Mains are .0025 on the Rods are .002 Cylinders checked out fine and the original pistons were used with new rings.....Piston to wall clearance is .0025. Cylinders were honed on a boring machine with a 280 grit stones.....Quench measured out to be .060 with a .039 head gasket.....Thurst bearing specs are .003-.009 thurst bearing was set @.006 Cam button uses a .040 washer and Cam clearance is @.010- .015 Cam sprocket should have been the 9- key as opposed to the 3- key I have.....Cam was to be set @106.... but was set @107 and will be @106 with chain stretch...
Closest point is @10* BTDC...…...that is about it....if anyone needs brands or part numbers of what was used..... I have all of that info.....not only excited.....but a big learning experience for me.....
Last edited by 74 LS4-454; 05-27-2018 at 06:00 PM.
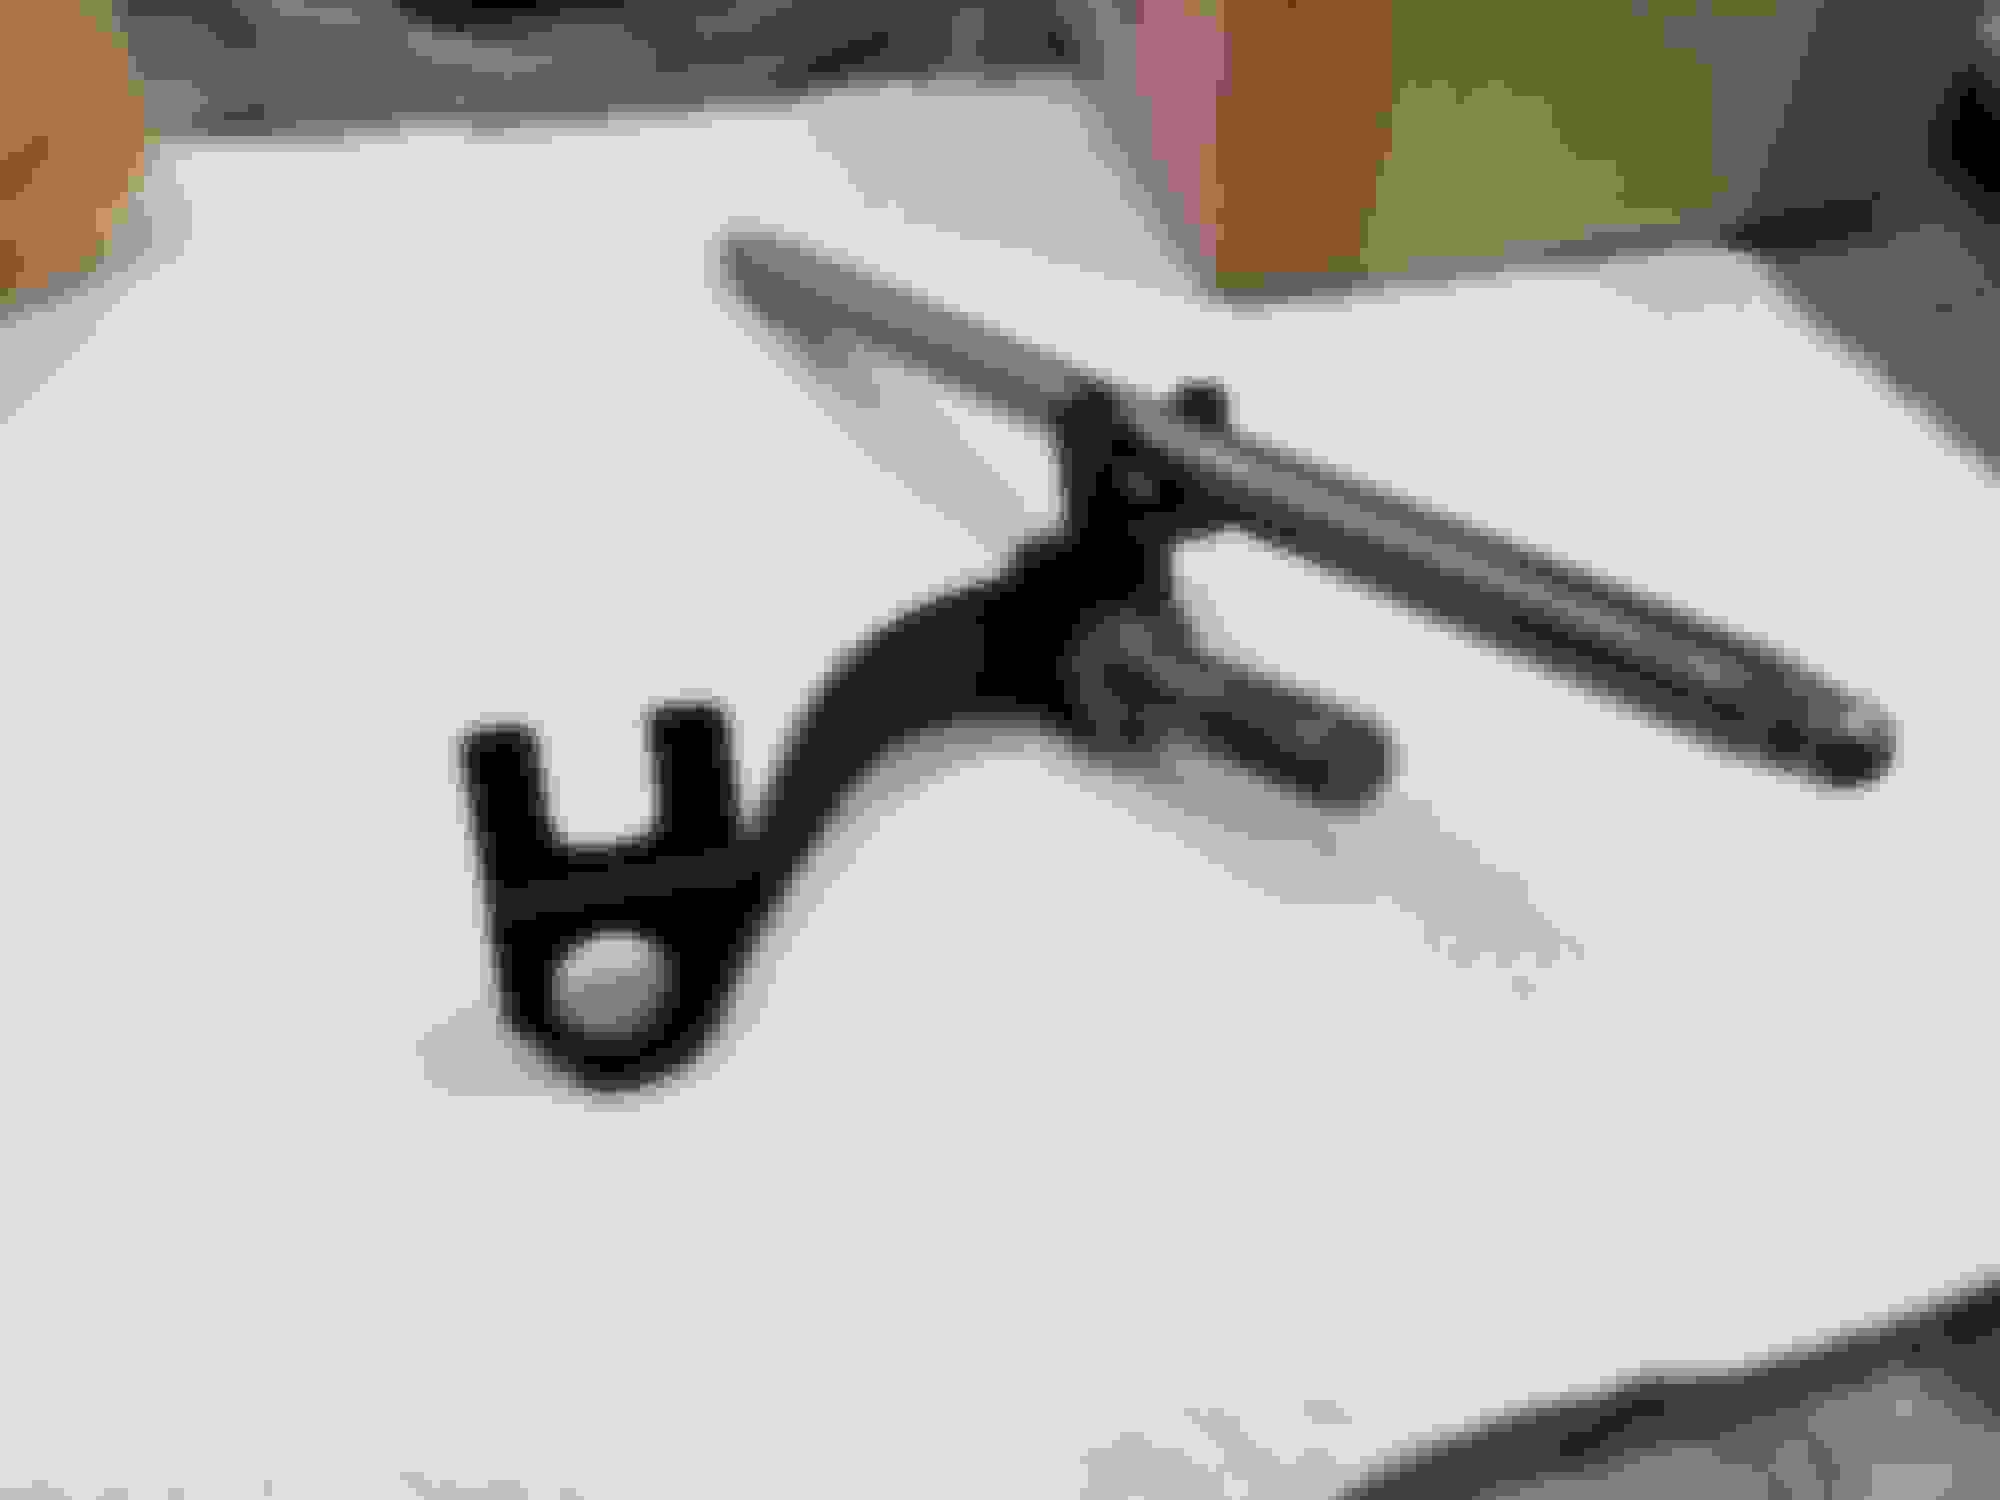
Bottom end completed.......had to replace pushrod guideplates as the ones on the heads were the wrong size for the pushrods......getting closer each time I go out to the 74......
New on top......old on the bottom....
Size difference between 5/16" and the 3/8" guideplate needed for the 3/8" pushrods....
Perfect fit.........
Oil pump and windage tray install....
Last edited by 74 LS4-454; 06-30-2018 at 12:00 AM.


 05-25-2018, 07:41 PM