When you click on links to various merchants on this site and make a purchase, this can result in this site earning a commission. Affiliate programs and affiliations include, but are not limited to, the eBay Partner Network.
Great info and good diagrams for the C3 a/c evap system in this thread...
How difficult is it to remove the inner fender liner to access the evap case/blower housing?
Thx
mardyn
After I took another look at the diagram it seems when GM changed the side vent design (unremovable/permanent) they changed the Blower/AC Evaporator coil design. It looks to me like one can just remove the coil from the interior of the engine bay, easier it seems than the 70' design. Don't believe the fender liner comes into play for the coil removal.
On my '73, it appears that the screws that hold the evap case together, come in from the fender side into the engine side case... I don't see any way to get it apart while still installed in the car unless one removes the inner fender.
On my '73, it appears that the screws that hold the evap case together, come in from the fender side into the engine side case... I don't see any way to get it apart while still installed in the car unless one removes the inner fender.
I'll look again to be sure...
mardyn
Not sure what what you are referring to as the "inner fender " ?
Essentially the plastic tub that appears to bolt in from under the fender that separates the engine compartment from the wheel wells...
It's possible that I'm looking at it incorrectly and maybe it's part of the body structure and doesn't come out as I suspect.
I'll see if I can find a diagram somewhere...
mardyn
I've noticed you posted before of a bad or iffy manual pictures to follow.
As someone mentioned to you before the "CD Manual" is 10 times better.
Order one for your 73' from WillcoxCorvette.com it only cost about 25 bucks plus tax, ship. You'll be glad you did.
Thanks for the pics... yeah, I'll agree on the CD based manual, I'd like to get one at some point.
My a/c is very similar to pics you've posted...
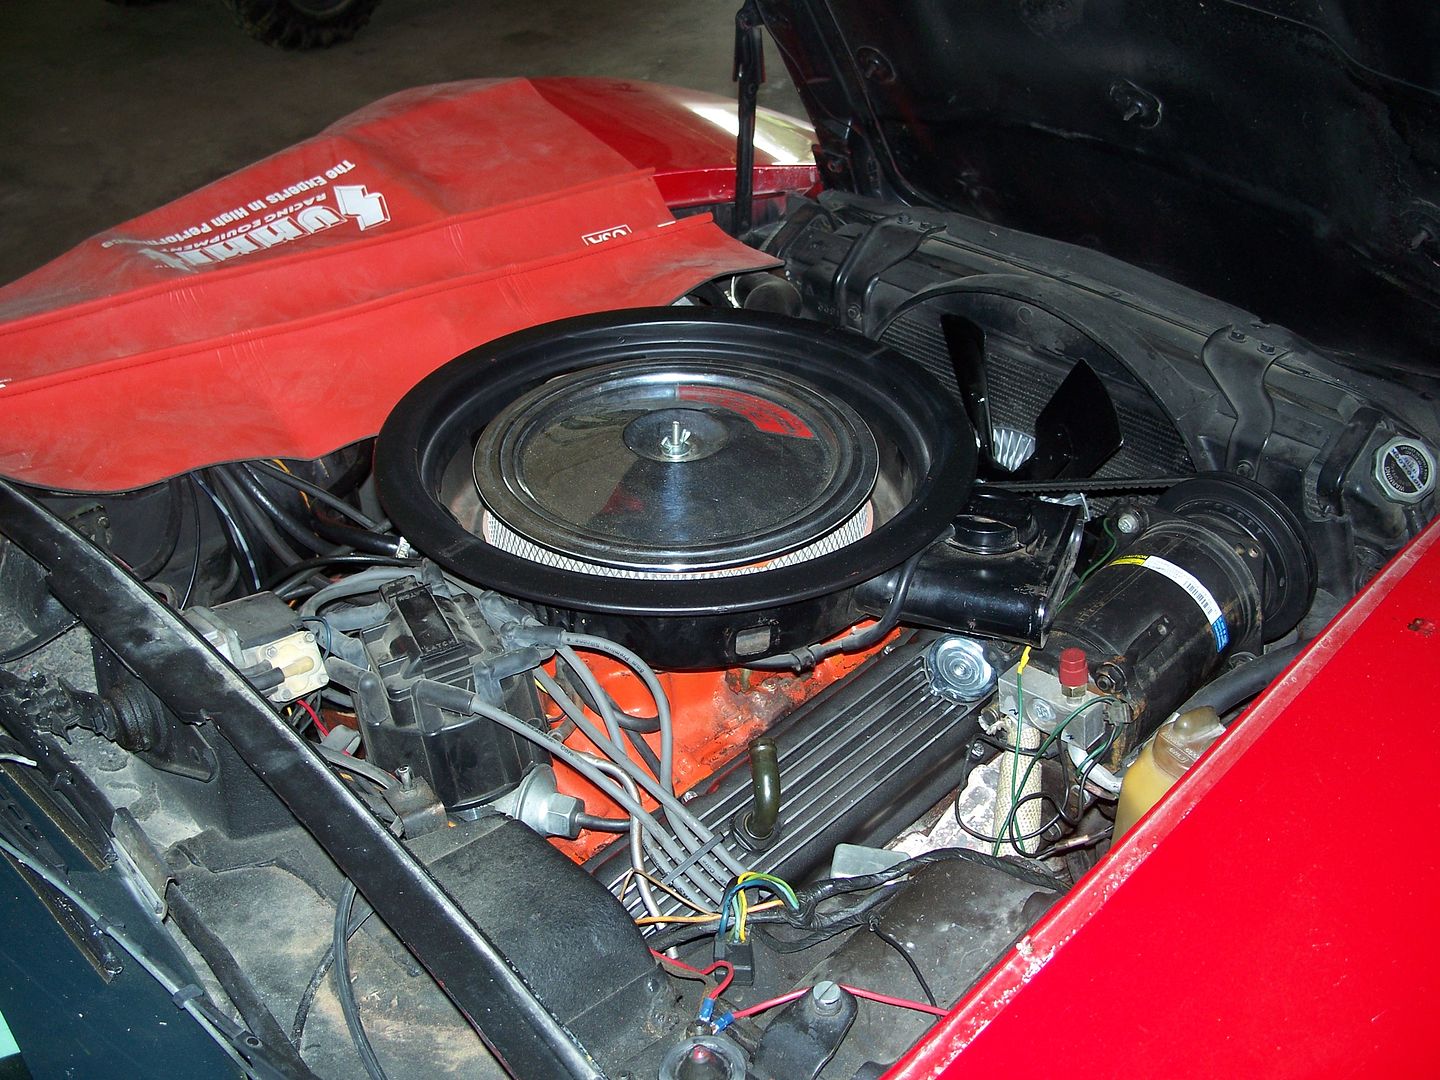
Not a great pic I know, but it's all I have at the moment.
I'll need to get back on the project to see how to access the evap core.. I don't really want to take it out, I just want to make sure it's not full of leaves or other debris that would block the air flow...
I like the idea of the C4 blower wheel as well. That along with an endoscope style bore scope to look around in there might be in my future purchases.
The inner fender (Fender skirt?) I've been referring to is shown on page 112/sheet 54.5 of my assembly manual... looks like it is bolted & bonded into the fender/body structure... not easily removable by any stretch.
I've no easy way to post up the page at this point.
The inner fender (Fender skirt?) I've been referring to is shown on page 112/sheet 54.5 of my assembly manual... looks like it is bolted & bonded into the fender/body structure... not easily removable by any stretch.
I've no easy way to post up the page at this point.
mardyn
Hey, Here is a coupe of more pictures. The triangular area at the base of the photo is where the splash shield fits. You have to remove the Rocker Panel to access the 2 bolts/Screw(s) outside/2 underneath to remove the splash shield at least on my 70' not sure about yours (seems they would be the same though)
View of side grill removed/Inner fender/Splash Shield location & Firewall (1970)
Old thread for sure. Here's my updated spin. First off, I'm an hvac tech and run a small company with my son, so cold air is my business. This said, my 74 had factory air, the crappy and problem prone VIR system.
I did an LS swap, and upgraded the compressor to a Sanden and converted the VIR assembly over to a CCOT system, and converted it over to 134a.
After making sure it was all working, I made sure I had a water shut off to the heater core and plugged the passenger side "Astro Ventilation" to prevent the AC from EVER drawing outside air.
Still not pleased, I upgraded the blower wiring and even performed the C4 blower mod.
Still it left me wanting more cooling, and thats after a good lining of Stinger Roadkill from the firewall all the way back. Also I might add the factory evaporator coil housing ate up so much real estate I couldn't get a set of headers much less anything else over in that area.
It was then I began researching my options, and after much deliberation I chose to upgrade the interior HVAC system to a much more modern system.
This left two options.
1. Vintage Air
2. Classic Air.
I went with the Classic Air Perfect Fit series and upgraded the controller to their new D.E.R. controller, a HUGE upgrade from using your clunky existing controller with "Lady Finger" micro switches.
I also like the fact the evaporator and heater core aren't simesed like the Vintage Air.
I also like the fact they use a TXV metering device, and unlike a fixed one like modern cars use, this one constantly varies the amount of refrigerent entering into the evaporator, giving you the coldest possible coil without hitting the magic no-no of 32 deg. Add servo driven motors and a genuine Spal fan and you have the fixings to do what your factory air never could....like make you turn the fan all the way down because it's too freaking cold and pushing too much air. (True This^^^)
Now who wouldn't want to have problems like that is a C3?
Thank you for this. After removal of the original system I've been contemplating my options when I return to reinstalling the Heat/AC down the road on my rebuild. I think you just sold me on the direction I'll take and plan accordingly.
Nice write up & nice job on the car.
Lots of great reading and ideas in this thread. I guess I should really consider myself very lucky not to have had to gone through any of the upgrades and procedures I've read about here on my '74. I'm using the stock VIR AC system, and the only changes I made to my system was to use a lip seal on the A6 compressor instead of the old style ceramic seal, and I changed from R12 to Enviro-Safe Industrial refrigerant. No need to change anything on the system to use this. It is fully compatible with both mineral (R12) and PAG (R134a) oils.
I took the center vent temp picture last week when the outside temp was 87� and it was ghastly humid out. Center vent temps run between 38� and 40� with AC set to NORM and fan speed on 2. Vent temps can drop as low as 34� if I set the AC to MAX (recirculate inside air), but never any lower.
Hi all, I was finally got around to pulling my fan motor and sending a boroscope through the intake side of my evaporator case; I do see leaves, dust and debris in there. I tried to shopvac it out but was not able to get all of it. The engine side of the case looks clean. I believe my best option is to remove the intake side of the case and clean it out; Not sure if I see it posted anywhere in this post but I'd like to ask how much work is it to just remove and reinstall the intake side and of the case? Can the casing be cleaned from inside the car with the heater box removed? Thanks.
Hi all, I was finally got around to pulling my fan motor and sending a boroscope through the intake side of my evaporator case; I do see leaves, dust and debris in there. I tried to shopvac it out but was not able to get all of it. The engine side of the case looks clean. I believe my best option is to remove the intake side of the case and clean it out; Not sure if I see it posted anywhere in this post but I'd like to ask how much work is it to just remove and reinstall the intake side and of the case? Can the casing be cleaned from inside the car with the heater box removed? Thanks.
The heater box will expose the heater core, and not any more do to the evap. core in the way.
I would just vacuum via the fan location, or maybe down the cowl.
I finally got the nerves up to removing my AC box. All kinds of crud was in there; Some of it looks like hair (scary) and some of it stuck so far in the fins I can't vacuum it out; I was hoping not to have to actually disconnect the evaporator to get it cleaned out. I'm wondering if anyone has any ideas on getting the crud out from between the fins without removing the evaporator? Thanks.

 07-27-2017, 08:50 AM


 That will get you on the intake side.