When you click on links to various merchants on this site and make a purchase, this can result in this site earning a commission. Affiliate programs and affiliations include, but are not limited to, the eBay Partner Network.
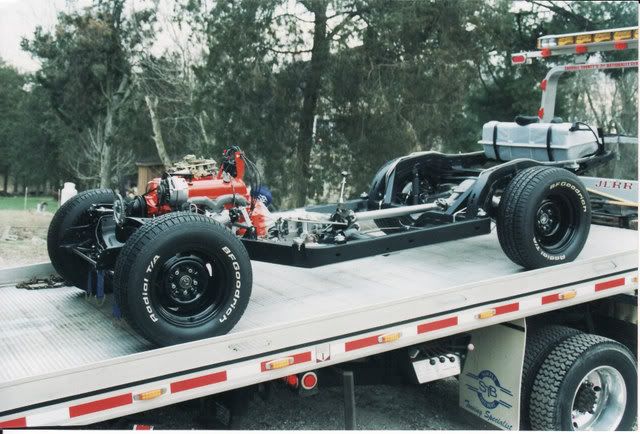
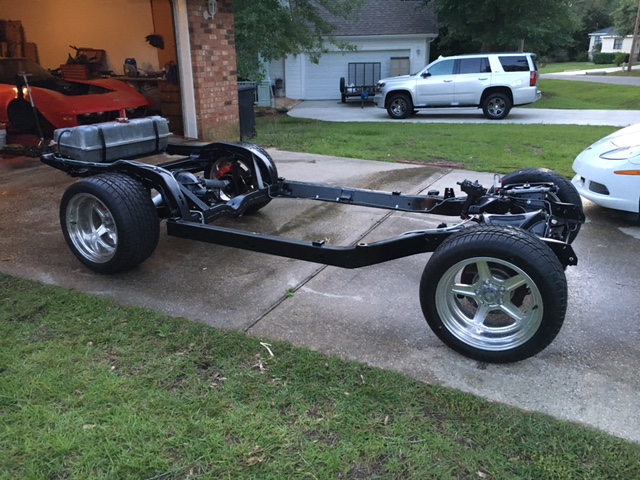
I pulled the body off of my 69 so now it is time to pull the suspension off of the frame so the frame and other parts can be sandblasted. It looks pretty straight forward but does anyone have any suggestions or tricks to make it easier? I am especially thinking about the springs.
I pulled the body off of my 69 so now it is time to pull the suspension off of the frame so the frame and other parts can be sandblasted. It looks pretty straight forward but does anyone have any suggestions or tricks to make it easier? I am especially thinking about the springs.
Nice..
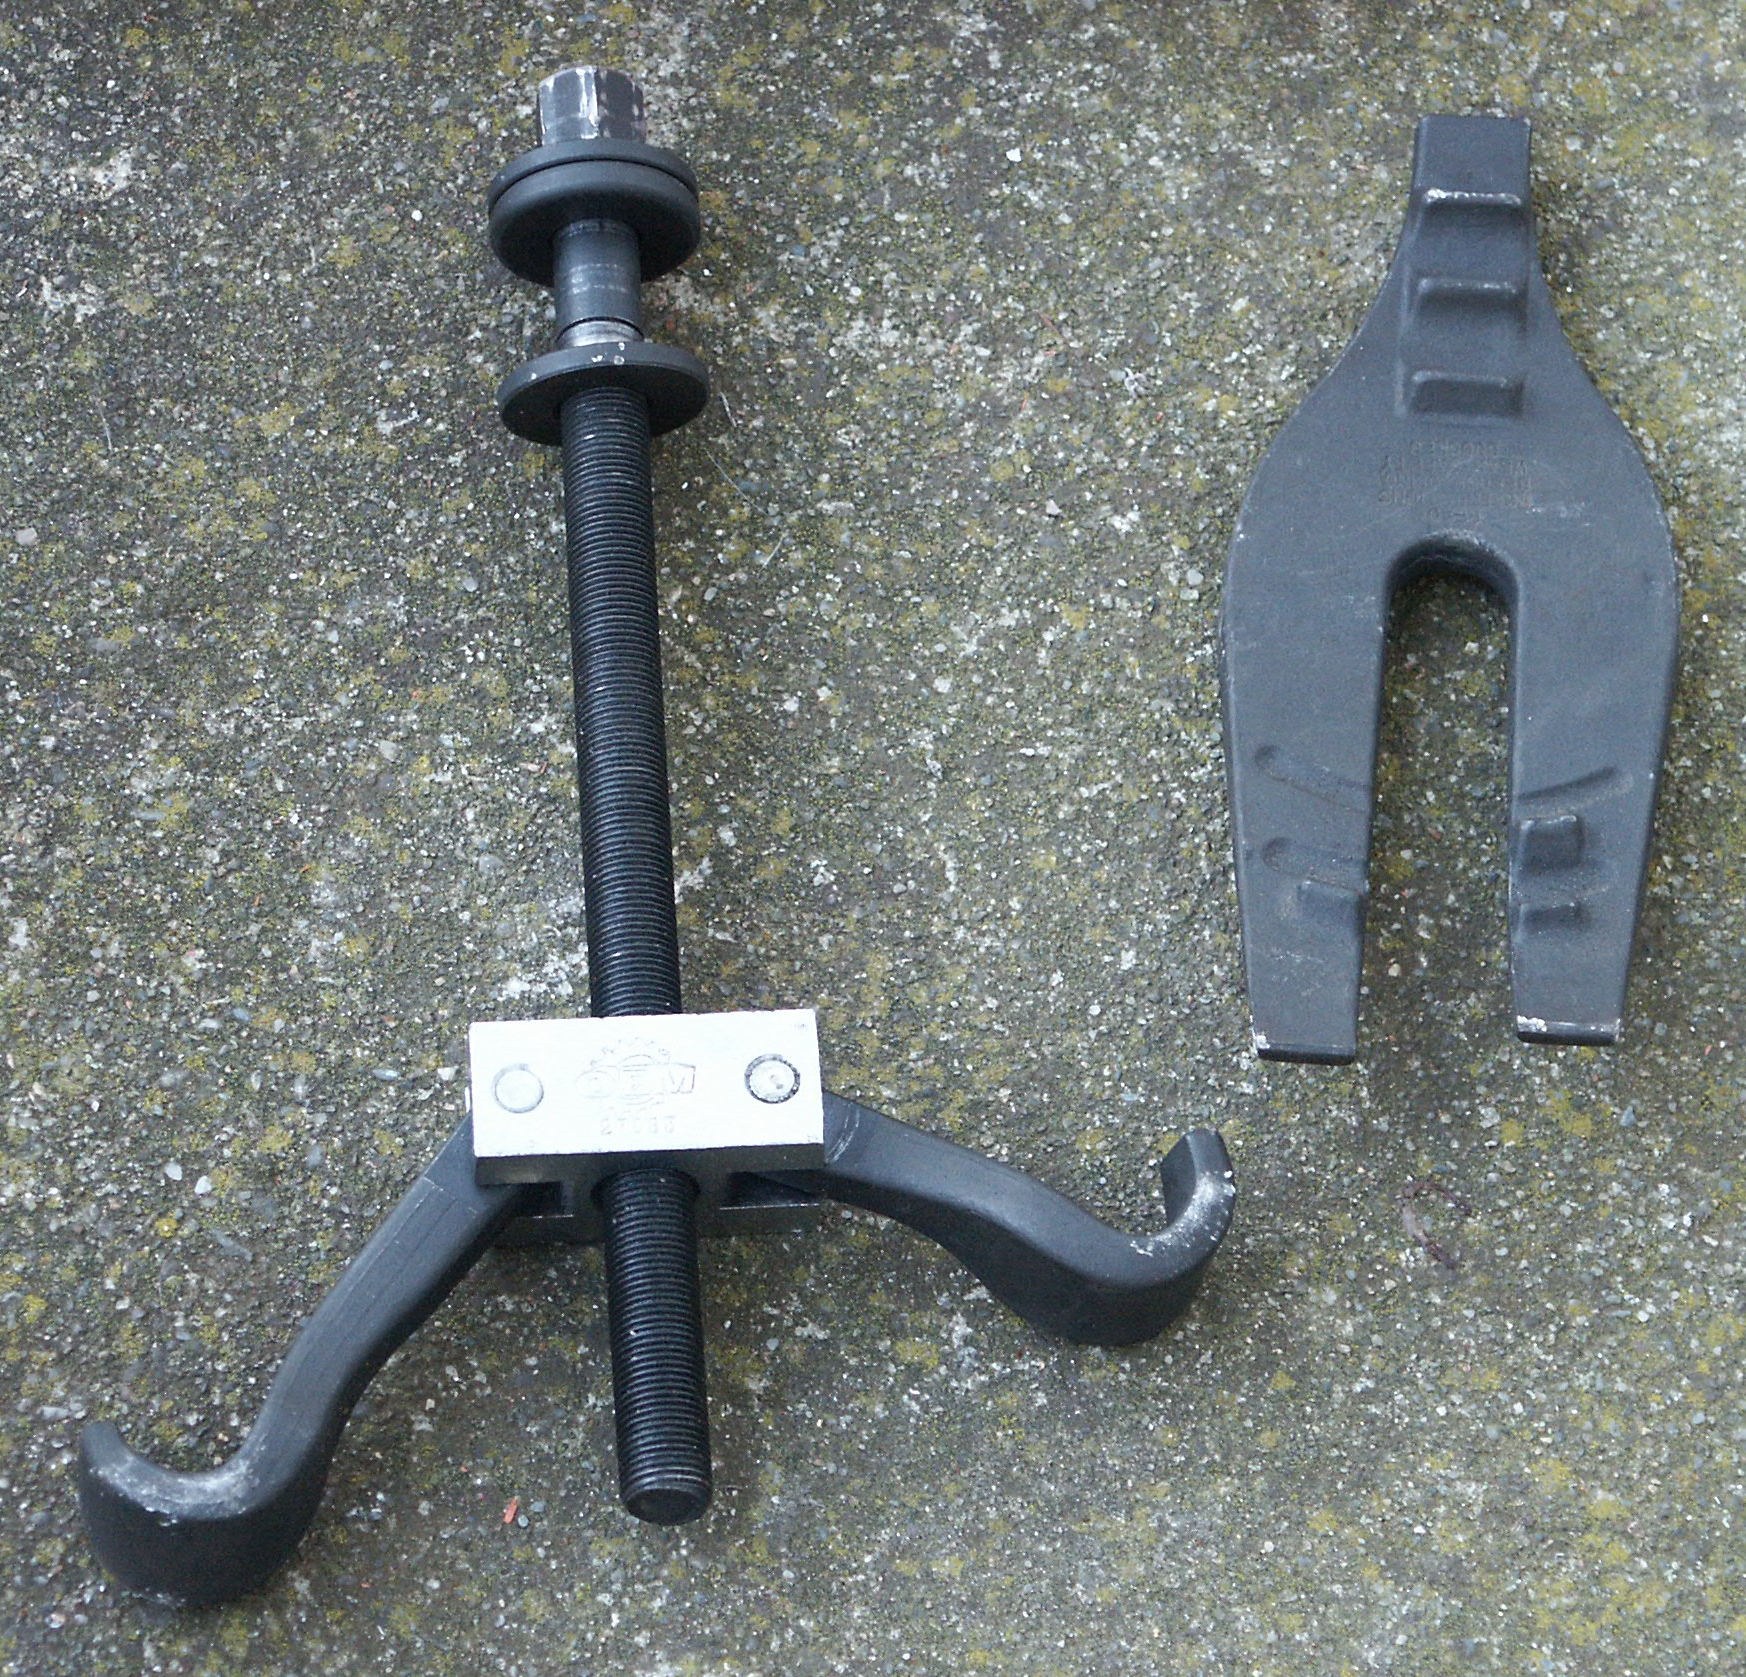
Since you don't have the weight of the engine to help you... you might read this pdf..... I think it'll take some worries out of this job for you. It will make disassembly and re-assembly easier than working with the off the counter spring compressors.
I followed the suggestions in this old post... used a tie down strap looped through spring and around frame as extra safety in case spring wanted to fly out.
For the rest of it.... took lots of pics, bagged & tagged everything, etc.
This is a pretty interesting rabbit hole to be down!
There are lot's of interesting and challenging things to do and learn but it can be a worthwhile and rewarding experience!
Good Luck!
Regards,
Alan
Same way Willcox did it but with my existing spring compressor.
Remove the claws at the bottom and slide the rod down the shock hole.
Then slide the claw into the spring and connect it to the threaded rod. Get as low on the spring as you can.
Now just tighten at the top and the spring will compress. I HIGHLY recommend a chain and bolt setup be used for safety. I have had a spring pop out of the lower socket before when trying to get it off the seat. Damn things can kill you.
Hi gw,
I use the same parts that dd shows.
I put tape on the 'arms' to protect the finish on the spring.
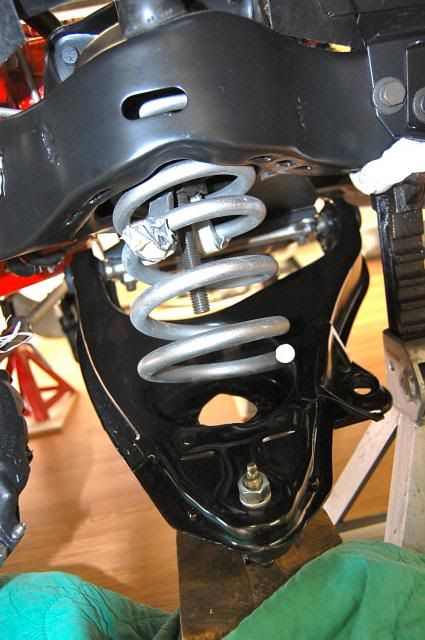
You need to be careful when putting the spring back in place that the arms are in the' right place'. IF the arms are too far up the spring they hit the frame pocket before the spring has been drawn up enough to swing the lower a-arm in place.
Regards,
Alan
I also used the Wilcox spring compressor. I also chained the spring to the frame for a second level of safety. Be sure to document how the springs are clocked in the spring tower. They need to go back in just as they are. This is a difficult, but, rewarding process.
I got a ton stripped off the frame today but ran out of day so I didn't get the springs out.
1. Do I need to pull the rotors before I pull the springs?
2. When removing the springs, do I tighten up the spring compressor and then remove the steering knuckle and then loosen the spring compressor to lower the bottom a arm
and then remove the spring.
3. How are you chaining the spring to the frame?
Thanks again
Glenn in San Diego
Last edited by gleninsandiego; 05-29-2017 at 10:54 PM.
You need a few inches of the threaded rod sticking out to remove the spring with the method shown. 5 inches should be enough, 7 would be better. (if using a threaded rod method) Tighten the threaded bar till it's snug, either separate the ball joint or remove the lower A arm mounting bolts to the frame and then lower the unit via the threaded rod. If I remember right the stock spring is almost 14" long.
I used a threaded bar and steel cross bar the same as Wilcox. The same way I've done since 1968. I use 2 nylon washers between the steel washers covered in grease to make it turn easier. Hardened washers make it a better assembly and turns easier.
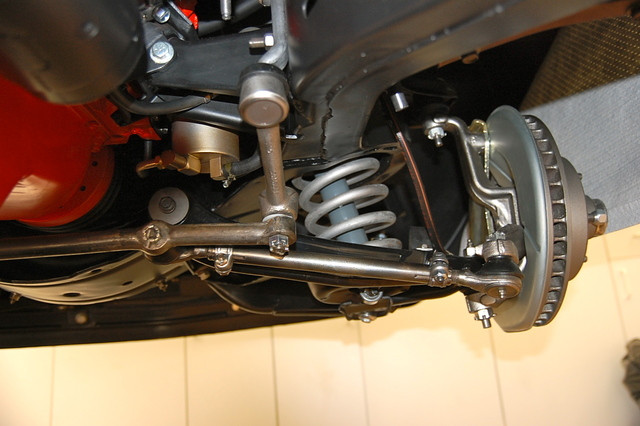
You can leave the disk / rotors on - it will make the assembly very heavy.
I use a ball joint separator and loosen the ball joints before I drop the lower A arm. Just loosen the nuts and separate the joints.
I have taken the entire assembly - A arms, spindle and disks / calipers off in one shot - you need help it's very heavy and clumsy.
Last edited by BLUE1972; 05-29-2017 at 11:49 PM.
Reason: hate auto spell
Hi gw,
I agree with Blue that it's easier to remove everything before removing the spring.
It gives you better access in addition to making what you're working lighter. I remove everything but the spindle support.
I run a piece of chain through the coil and around the frame.
Regards,
Alan
I got a ton stripped off the frame today but ran out of day so I didn't get the springs out.
1. Do I need to pull the rotors before I pull the springs?
2. When removing the springs, do I tighten up the spring compressor and then remove the steering knuckle and then loosen the spring compressor to lower the bottom a arm
and then remove the spring.
3. How are you chaining the spring to the frame?
Thanks again
Glenn in San Diego
Hi Glenn,
Maybe these pics will help if you haven't already finished the job,
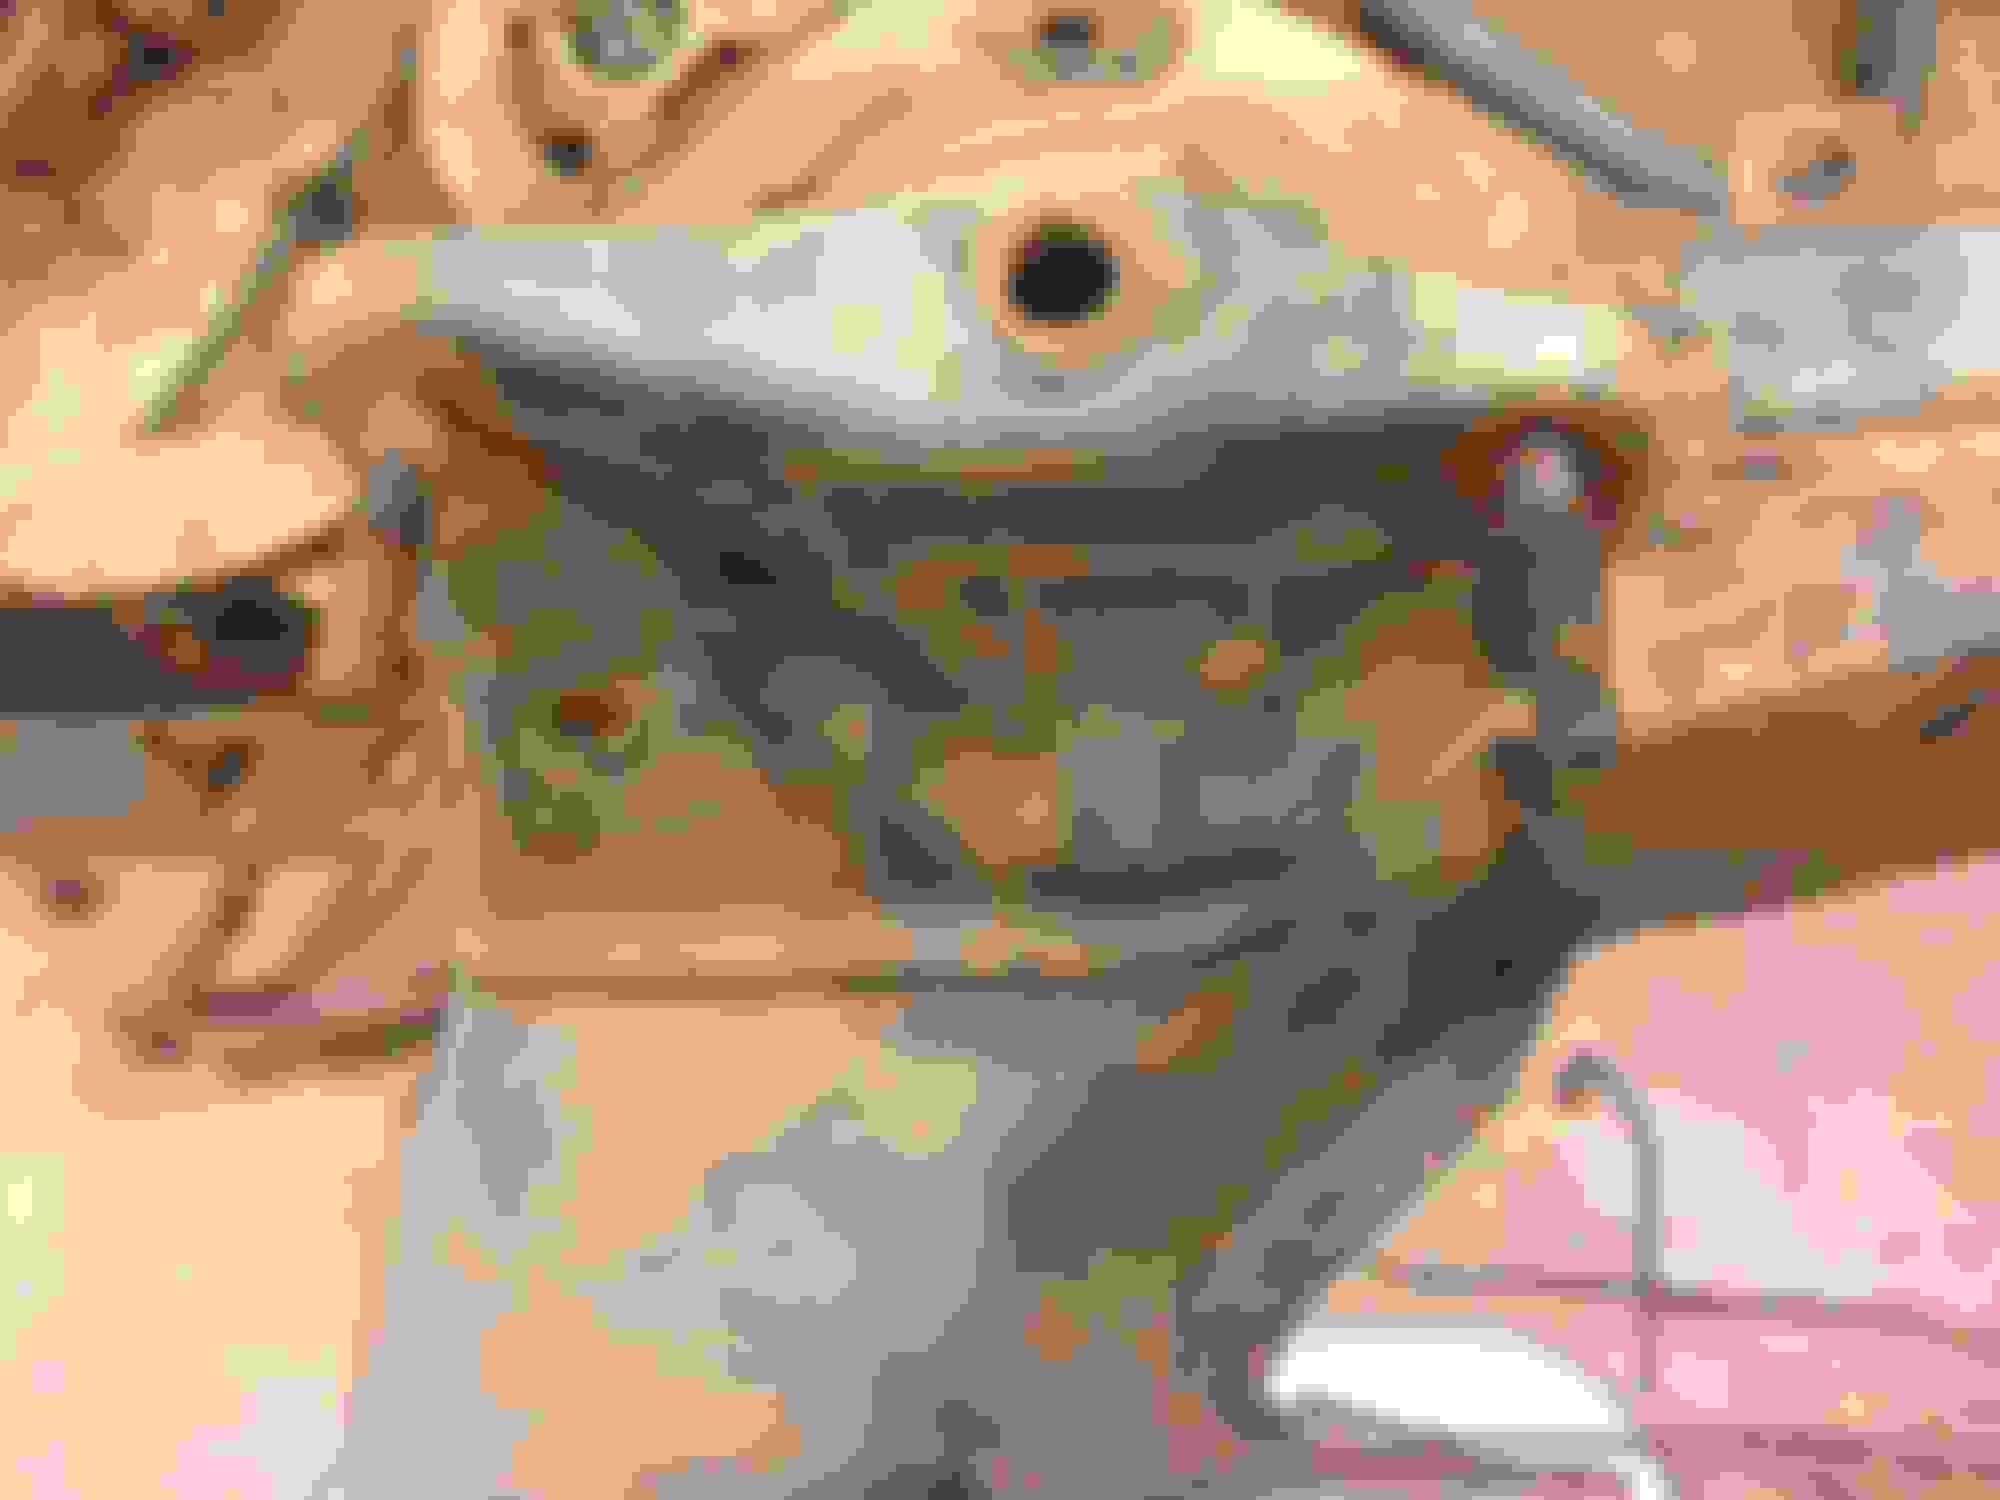
I went with a chain through the spring and just broke the ball joint loose. Keep in mind that when replacing the spring and using a spring compressor, an air impact makes it a lot easier. What do you plan on doing with your bolts?? I was going to clean up and reuse mine. After getting the nice new frame back, I went with new grade 8 and stainless where I could. It's good to see another frame off in the works. Keep us updated.
Well 99% of the frame is stripped. I couldn't get the lower ball joint on the drivers side to let loose.
I also couldn't get the rear crossmember to come loose. Any suggestions on that?
Also the bolts for the upper A arms? Do they come loose?
and finally, the cable in front of the differential. How do you get that off?
Rear crossmember, loosen the bolt 4 or 5 turns, get a large crowbar in there and pop it loose. Can get crowbar cheap at Harbor Freight. Get one that is 30 to 36 inches long. You need lots of leverage.
The bolts that you attach the control arms to can come out if necessary. Put a nut on the end of the threads to protect the threads and pound them out. I used an impact wrench to break mine loose.

 05-28-2017, 11:53 PM