C3 1976 Rear spring help please
#41
White one- it appears both shafts were placed. Iím not sure I understand how the relationship of the shafts effect the ride height. I will look at them closer. Maybe one of them is messed up.
#42
Intermediate


Also check to see if the hub bearings on the passenger side are ok? To get a good look at these bearings without taking everything apart, about the only mechanical you'll have to do is you will have to remove the passenger side half shaft to unload the suspension. Now, with the half shaft out, you can get a better look to see if there is any slop within the u-joint itself. Once the half shaft is removed you can spin the wheel to listen if there is any unusual noise. Also grab the tire at the bottom and top to wiggle up and down, in and out to see if there is any major play. The tolerance in the hub bearings when properly setup are very minimal.
You may even want to try this first? With the lift you're working off of, you can even load and unload the assembled passenger side suspension to see if anything obvious jumps out at you while watching the trailing arm and suspension as you load and unload it? Is anything moving that shows a lot of slop? Or moving that shouldn't be? At first I was thinking something may be bent? But your photos show the passenger side hangs lower than the driver side with both sides up in the air. You also stated that the passenger side sits lower when all four tires are on the ground with the suspension equally loaded. I may be wrong? But this indicates a common denominator that affects the passenger side suspension while being loaded up, and unloaded. I believe you have some slop on the passenger side with some suspension part? Worse comes to worse? Can you spin the spring 180 degrees to see if there is any difference to see if the problem moves to the driver side?
Just some ideas of how I would approach this if your car was at my shop. It may be a lot of turning wrenches and aggravation, but the parts list and expense is minimal. You may want to buy a set of four French locks for the back of the hub flange bolts unless yours are still in good shape.
I'm sure with the suggestions and help from others on this site, you will find this issue and solve it! Once you find it, hopefully you will let us know so we can all learn.

Good Luck!
#45
Race Director


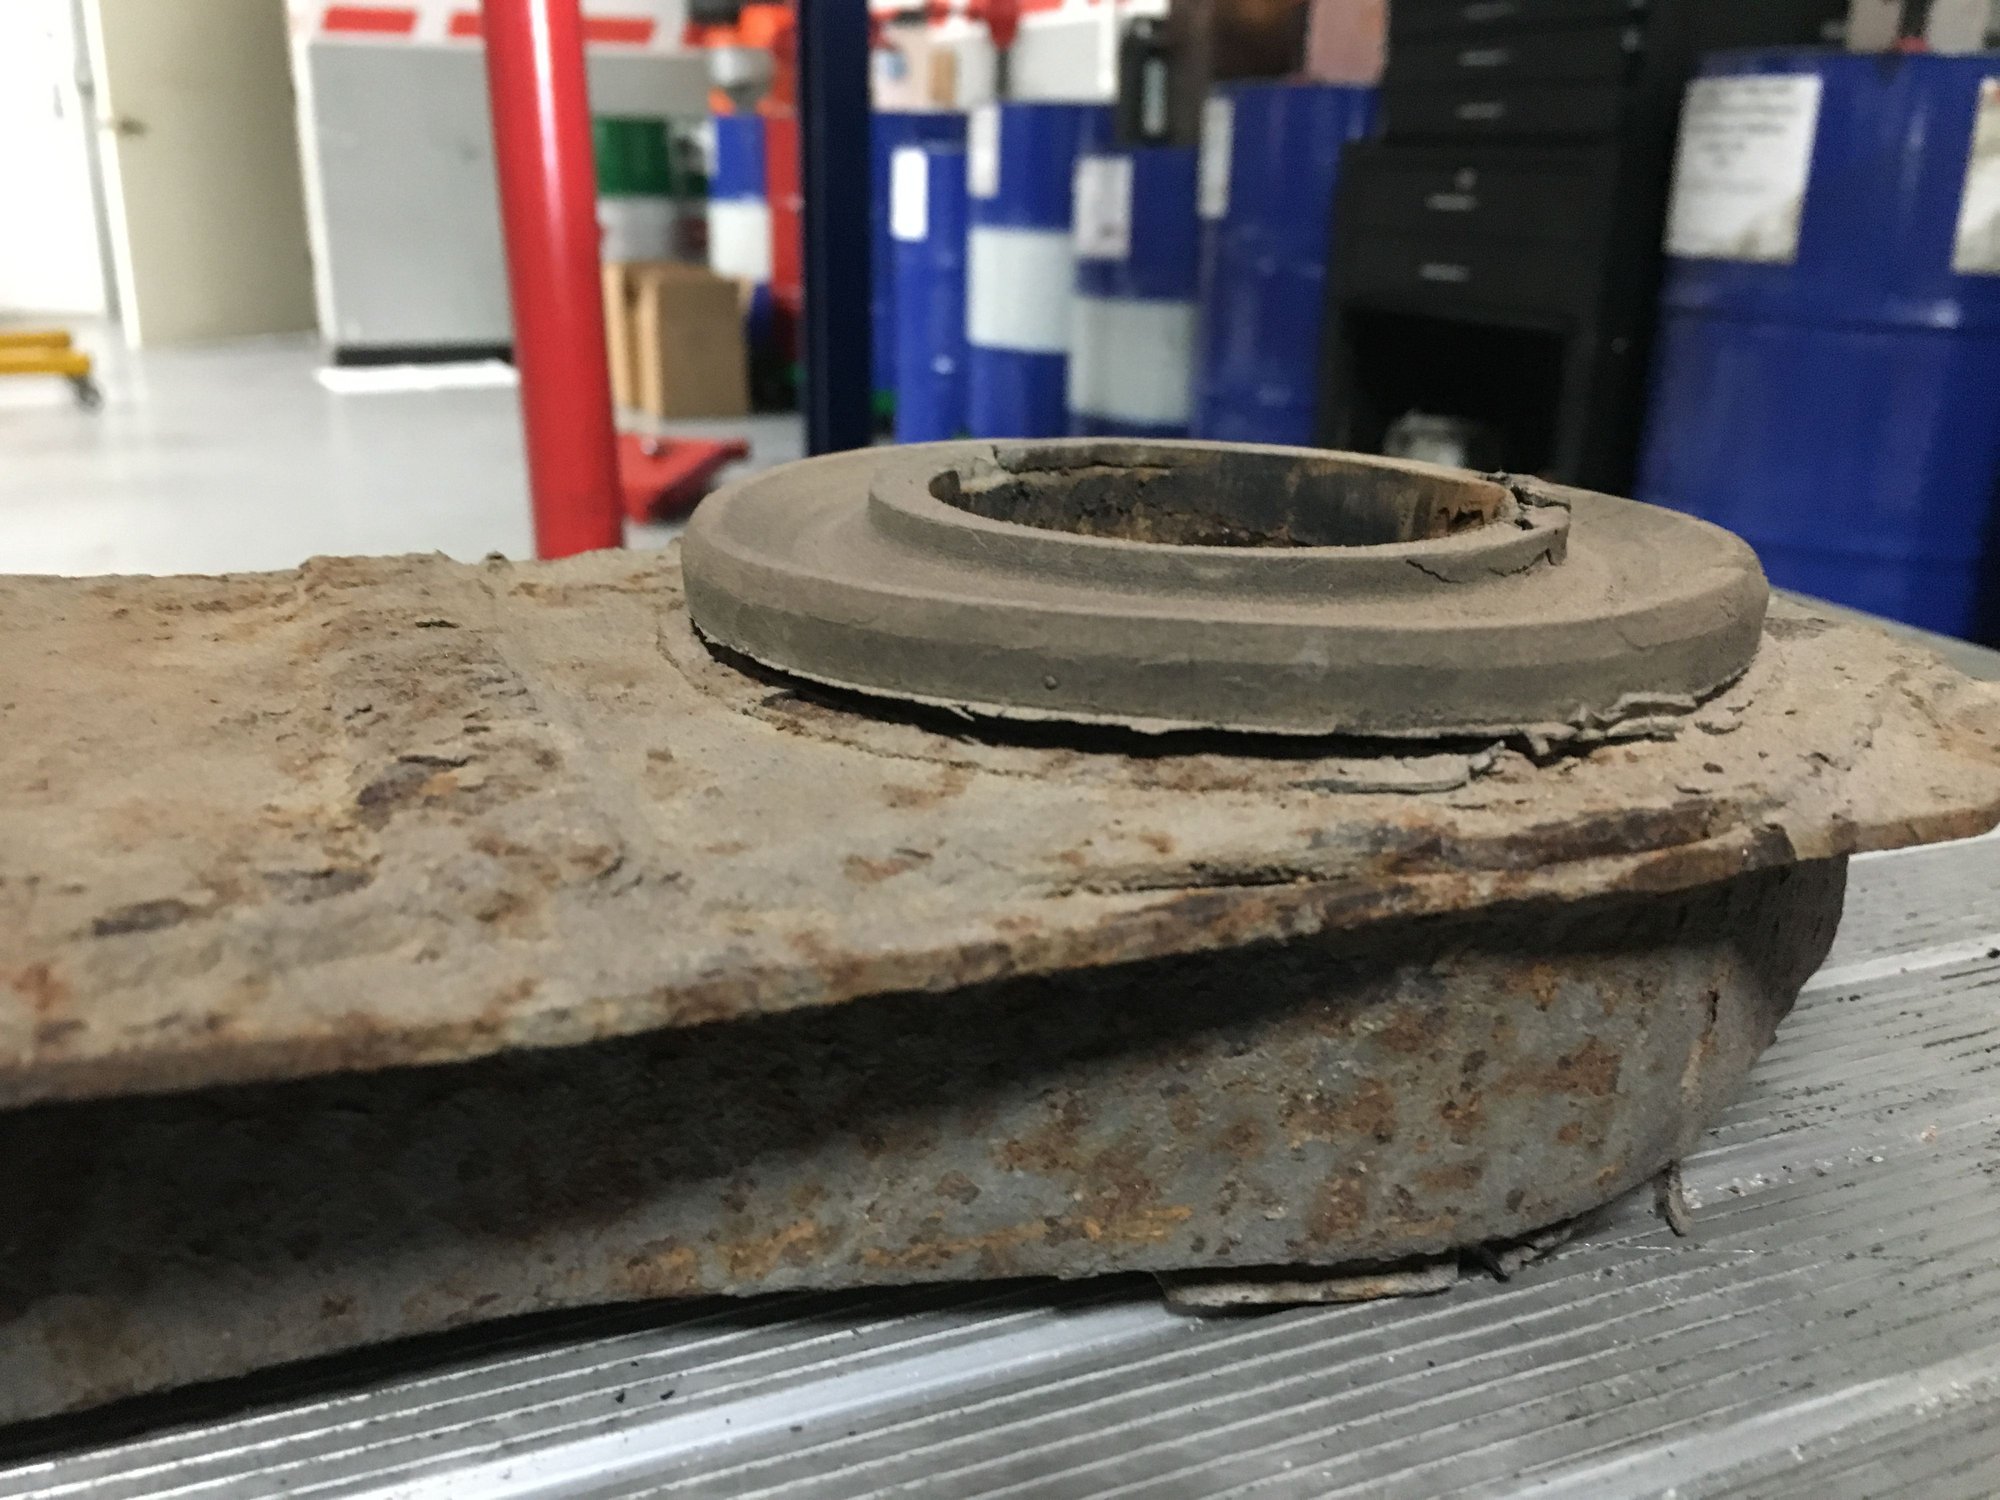
The bushings were shot - your diff and your butt will thank you.
I would:
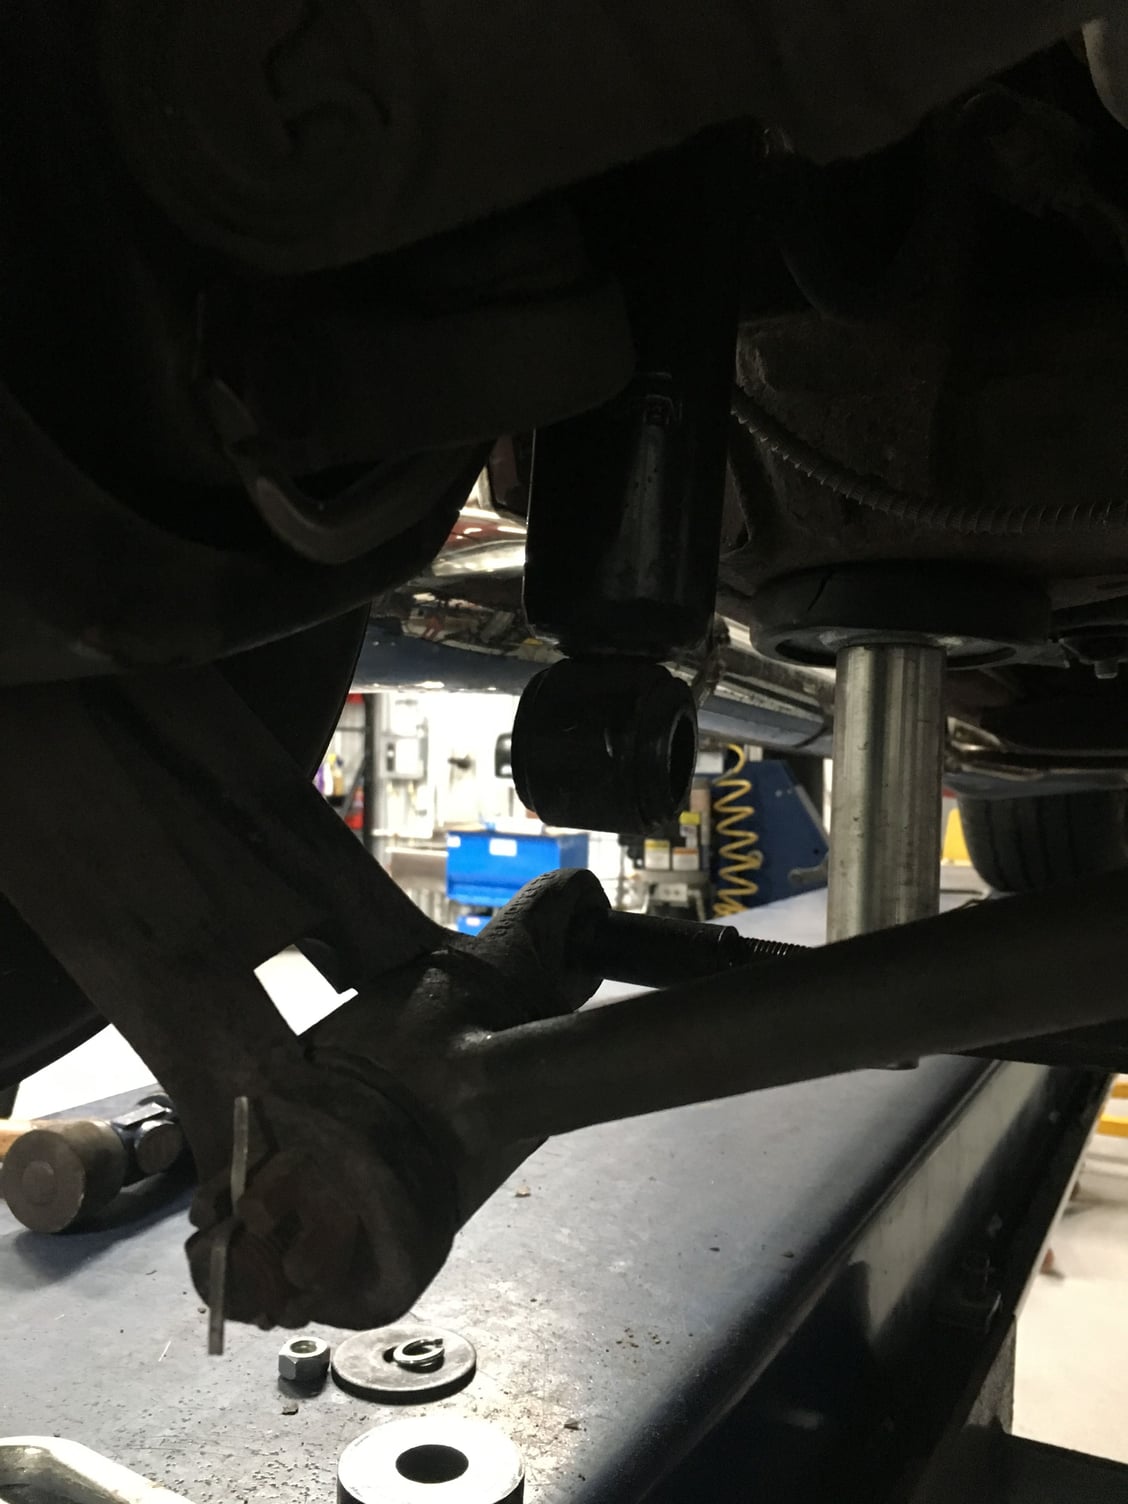
Check the shocks while it's apart.
Are both trailing arms hanging down the same amount?
Remember that the 1/2 shafts cannot turn when they are way down due to the angle in the universals. If you want to test then bring them up to almost level.
See if you can put a level across the diff cross member at the diff mounting point to see if the cross member is bent. Easier to do it now then later.
Great work. The end result will make you happy.
Last edited by BLUE1972; 01-04-2019 at 09:10 PM.
#46
The diff is level, I have the diff supported to take the angle from the half shafts. No bind in them. The trailing arms are sitting on the frame pocket on both sides. The shocks are disconnected. No matter how high I lift the differential, the passenger side is still higher than the drivers side.
Yeh, the bushings were bad. Iím excited about all this getting replaced.
Yeh, the bushings were bad. Iím excited about all this getting replaced.
#47
I measured both half shafts looking for length differences- none.
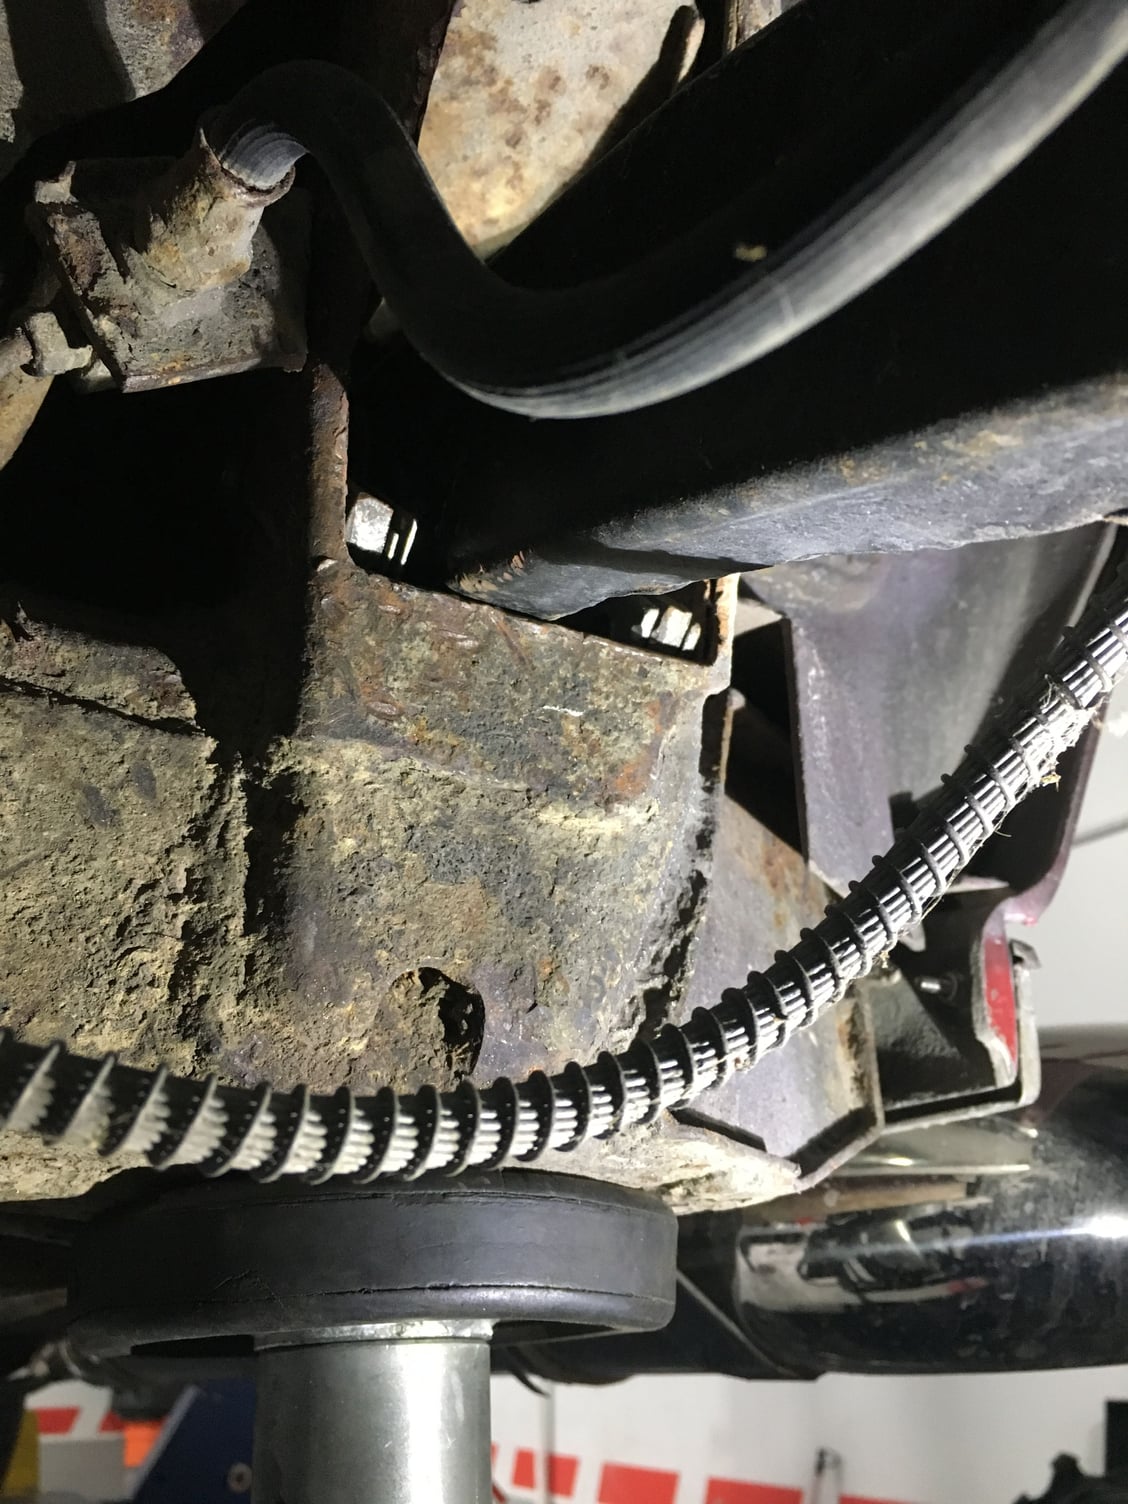
The frame is level on the lift. And since the rear end is completely separated from the car except the trailing arms, a bent frame seems out of the question.
The frame is level on the lift. And since the rear end is completely separated from the car except the trailing arms, a bent frame seems out of the question.
#49
Are there adjustments in the trailing arm?
Can something in the alignment adjustment arms cause this?
i starting to think this was a gm factory delivered like this- not sure if thatís possible????
If so, I have a theory to ďfixĒ. Install shins inside crossmember bushing to adjust tide height. This will allow same tension on each side of the spring. - essentially Iíd be rotating the diff a few degrees clockwise.
Last edited by BobRiley; 01-04-2019 at 10:13 PM.
#50
Intermediate


In photo number 4 from the top it looks like the arch of the spring is higher on the right side that the left side. Could the spring itself be tweaked or weaker on one side than the other? A bad spring maybe?
Last edited by white one; 01-04-2019 at 10:30 PM.
The following users liked this post:
AlphaBob (01-07-2019)
#51
low. I reversed spring to make sure it wasnít a weak leaf. It sat exactly the same.
#52
Race Director


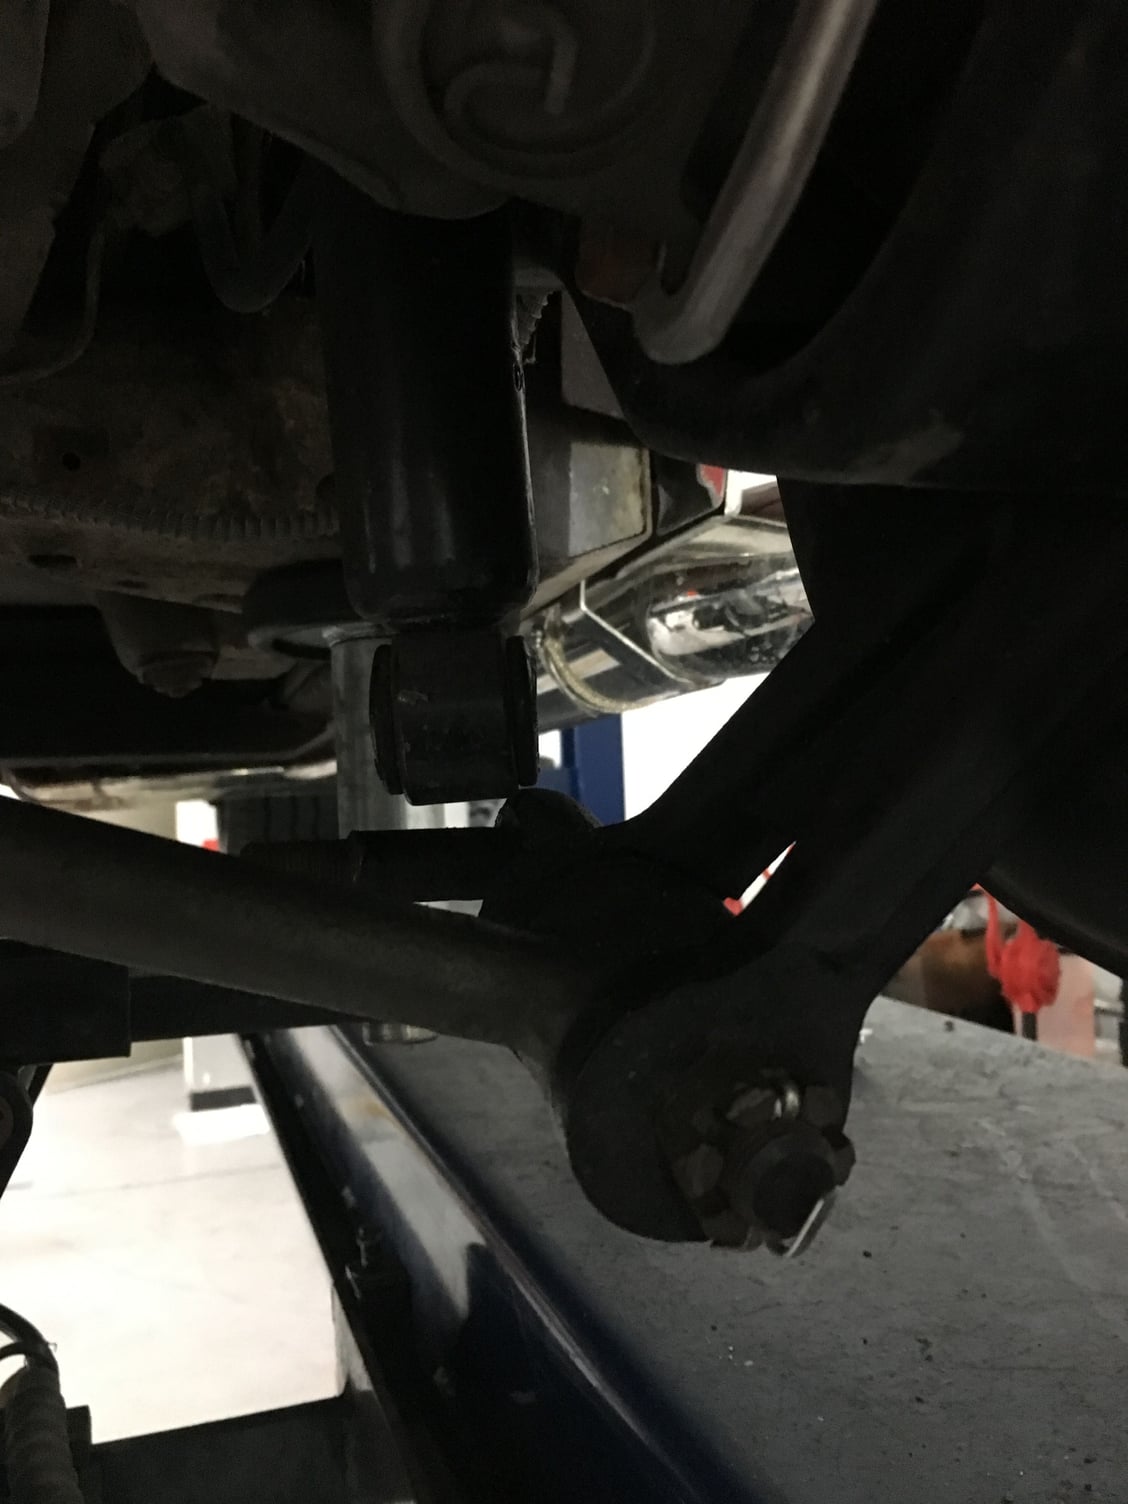
In the photo of the rear with the level the left lower mount looks off - it may be the photo angle.
I would take the spring out and after the rear is remounted check the mount for level and / or bends.
The spring should hang almost level.
I'm often too exacting so I would be cleaning and measuring each part as I went. IT's easier now then to take it apart later.
Unless something is binding the spring should set the ride height. I would check each part going through it's movement to see if anything binds.
#53
Team Owner


Since this is becoming quite the puzzle, just out of curiosity, have you moved the jack that you have under the differential? The ring gear, which is one of the heavier components in the diff case, is offset, which may be contributing to the last bit of "droop", now that most everything else has been disconnected.
Just thinking out loud....
#54

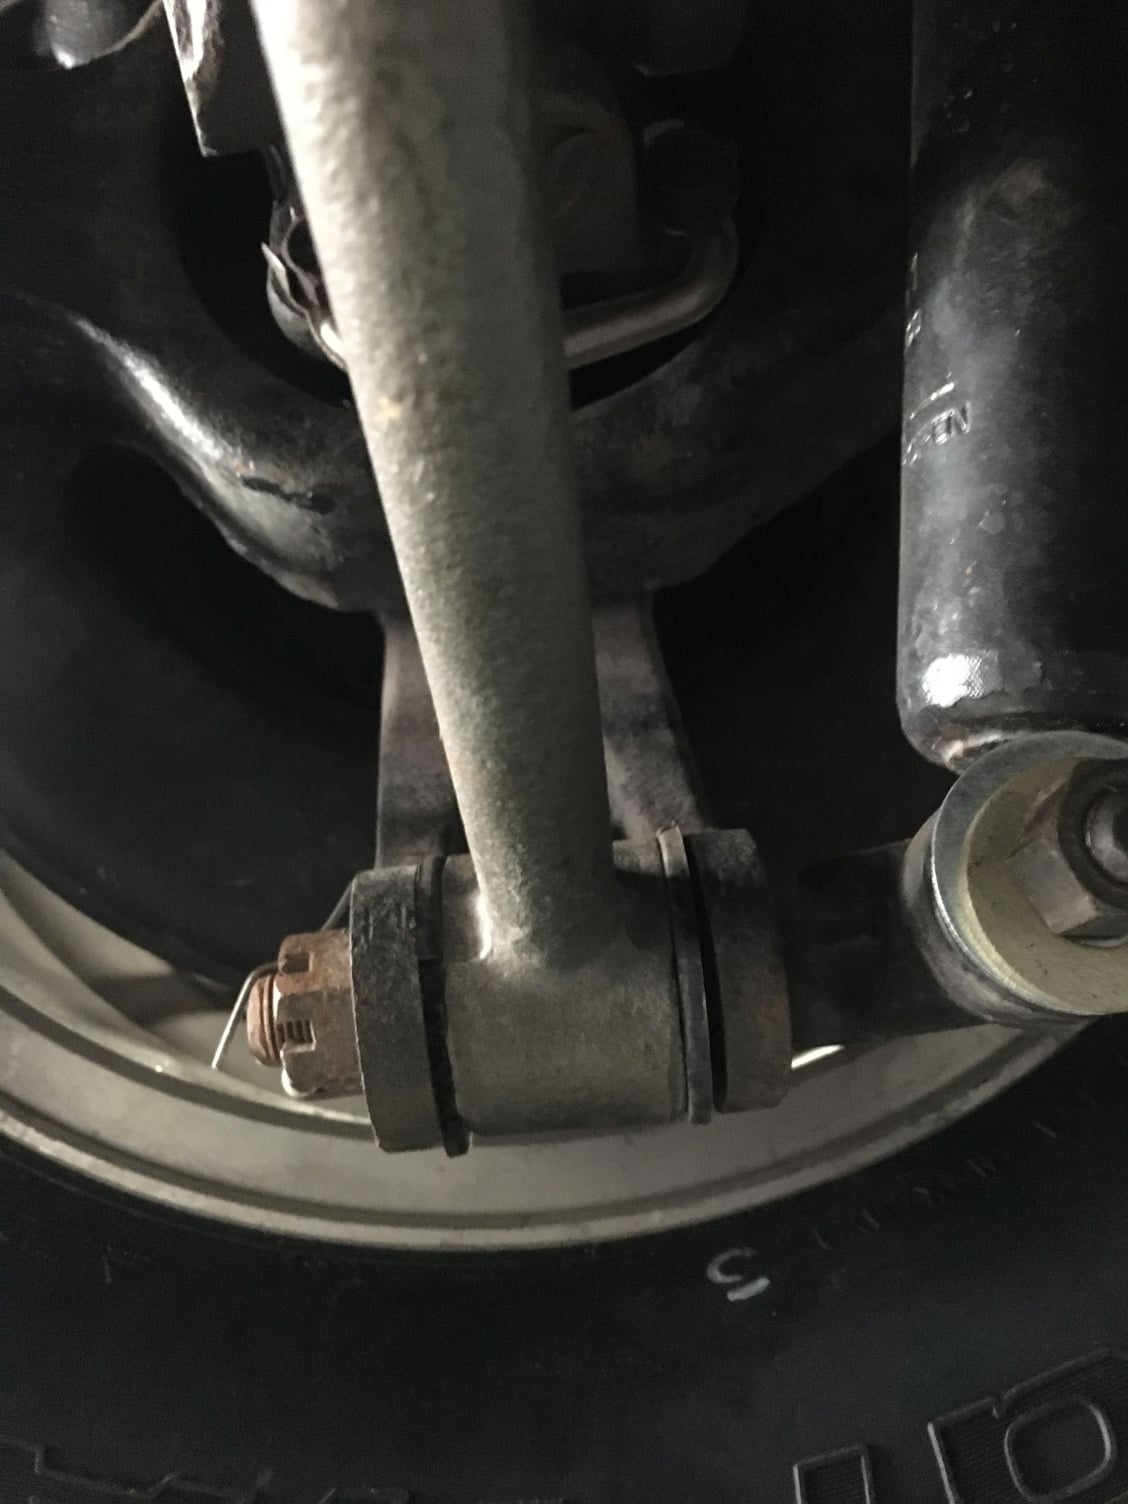


Thanks for all the help so far. At least Iím learning about the car. So, after thinking I found nothing serious wrong, I reassembled everything with the new snubber and crossmember bushings. Car sits low 1Ē to passenger side stil.
So so then I wondered about the strut rods and bracket as they have been replaced with new bolts before me. Something looks amiss.
#55
Is this the correct bracket as Iíve seen many different ones in google images. This one is obviously bent. Also looking like the hard angle on the strut rods would be reduced if the bracket were flipped 180 degrees.
If im buying bushing, brackets,etc, any validity to get the adjustable units Iíve seen?
If im buying bushing, brackets,etc, any validity to get the adjustable units Iíve seen?
#56
Le Mans Master


Is this the correct bracket as Iíve seen many different ones in google images. This one is obviously bent. Also looking like the hard angle on the strut rods would be reduced if the bracket were flipped 180 degrees.
If im buying bushing, brackets,etc, any validity to get the adjustable units Iíve seen?
If im buying bushing, brackets,etc, any validity to get the adjustable units Iíve seen?
#59
Race Director


Is this the correct bracket as Iíve seen many different ones in google images. This one is obviously bent. Also looking like the hard angle on the strut rods would be reduced if the bracket were flipped 180 degrees.
If im buying bushing, brackets,etc, any validity to get the adjustable units Iíve seen?
If im buying bushing, brackets,etc, any validity to get the adjustable units Iíve seen?
This is why I replaced mine.


#60
Wow! Those are bent bad.
So, is it normal for the ends to look so tweaked to the side? Itís like the brackets were not angled properly.
Any thpught to the rods with heim joints instead of bushings?
So, is it normal for the ends to look so tweaked to the side? Itís like the brackets were not angled properly.
Any thpught to the rods with heim joints instead of bushings?


