When you click on links to various merchants on this site and make a purchase, this can result in this site earning a commission. Affiliate programs and affiliations include, but are not limited to, the eBay Partner Network.
Reading is fundamental - the OP clearly stated that he was putting a bar back in. Surely you will agree that there are stronger, lighter metals that will perform as well in a crash or am I mistaken and a 77 Corvette still holds the pinnacle for rear-end crash protection.
Yes. This is my number 1 reason for being ticked at the original pot stirrer. 4130 chromoly tubing will be taking its place.
I am going to request the mods remove all posts spawned by his comments. His, mine and everyone else�s that validate their existence.
Why the hell cant I moderate my own threads!?!?
-Stroke
Last edited by Strokemyaxe; 01-13-2019 at 02:01 AM.
Yes. This is my number 1 reason for being ticked at the original pot stirrer. 4130 chronology tubing will be taking its place.
I am going to request the mods remove all posts spawned by his comments. His, mine and everyone else�s that validate their existence.
Why the hell cant I moderate my own threads!?!?
-Stroke
Because you do not have moderator rights on this forum. Ill answer your post with a few items here, but these points are for several members who have posted here.
The main issue is this: if someone who has started a thread (�the OP�) strongly objects to a post or a line of posting, he should contact a section moderator (noted at the bottom of the main General Discussion page) for assistance. In most cases, we will remove posts as requested.
However, for everyone�s benefit, the best route is for the OP to state that he�d rather not go down a certain line of discussion in his thread, as has been discussed before in a previous thread. Generally, that�s respected. When other members start making comments about the appropriateness of the thread posts, that�s basically their opinion and accomplishes nothing but conflict. But if the the OP or any other member is concerned that certain posts are creating conflict, derailing a thread or, of course, contain gratuitous name-calling, either PM a section moderator or click the little �Report Post� icon at the bottom of the post (the triangle with the exclamation point in it.) This will report the post to ALL section moderators and it will be reviewed.
Finally, just making a comment about hoping Mods will do something in a thread does not mean that message will be read. We don�t see everything. It accomplishes nothing. Send a PM or click the Report Post icon if you need assistance.
And, As always, if you have questions, comments, concerns or need explanation on how the site is moderated or anything else, please send one of us a PM directly rather than comment about it in the open threads:
Fnally, I have cleaned this mess up as best as I can see. It seems people still have things they want to talk about minus all the crap. To the OP, if there�s posts you think I missed, PM me. I was not sure on a couple.
Still keeping an eye on your progress and I am sure you will get this the way you want it.
I can say this...for what it is worth... and not knowing if you have gotten into the front yet. But I can say that trying to remove the front impact bar so you can see the flange as clearly as you can like the flange you can see with the rear impact bar out may not be a good idea MAINLY due to the impact bar attaches to the outer impact bar supports....which in turn also allows the metal retainers that are pop riveted to the flanges of your lower fenders to hold the front end of the body solid.
NOT saying you cant because I have in the past but I found it was a ROYAL PAIN in the backside and not really worth all the added set-up of fabricating a bar to keep the outer impact bar supports and body held tightly so it could not flex and mess up what I was trying to do.
I also removed the impact bar and bolted the metal retainer right back to the outer impact support ( without fabricating up a long bar to join the to the outer supports) )and found that although this did HELP greatly in me being able to see the underside of the flange of the bumper and how it was looking AND secured the front end somewhat well so it was not really flexing a lot That added time really did nothing to the overall end result and was a waste of time on something that I really did not need to do.
I know you are stoked to do this and are all gung ho and want to have fun an learn and get it right. I get that. But also remember I have done so many and it is a job and I cannot spend time and charge a customer added time on something that I now I can work around. BUT ...just like you in this. My 'first time' experience......I was also gung ho and took a lot apart until I honed the process to make it affordable to my customers and not spend time where it is not needed.
Have fun with it. Because I get it. and I envy you on getting to experience it for the first time and that feeling you get. when you accomplish it. I get that feeling still but just not as strong.
i bought a 75 with a light front hit. started work on it last year and then life got in the way. it has been sitting with rad support and inpact bar out for a year. the nose is hanging low and bonding strips at the windshield-door area are seperating. heck, maybe this is a new way to remove the nose. just unbolt the front and let gravity do the rest...
i bought a 75 with a light front hit. started work on it last year and then life got in the way. it has been sitting with rad support and inpact bar out for a year. the nose is hanging low and bonding strips at the windshield-door area are seperating. heck, maybe this is a new way to remove the nose. just unbolt the front and let gravity do the rest...
Man do I wish it could be that easy. Knowing my luck, it could work for everyone else but when I go an try it I can have the front end sit for a decade and nothing lets loose.
But can say that I have had about half a dozen front clips that the front clips were 'bonded on' using mat and resin and when I went to take it off. I snatched on it and it all came off the bonding areas at the cowl/fenders in about a minute. LITERALLY... a minute. Was I ever pleased that the person who did it had no clue on what they were doing at that time...and also the customer who saved SERIOUS money on getting the clip off the car. Sometimes my luck is good.
The only down side is the car has had what NTSB considers safety equipment removed. If you get rear ended in a 77 with 72 tail panel and bumpers, they could say you shoulda left that iron in the car. But I am going to do it anyway with my 75.
Originally Posted by 540 vette
They aren't going to say anything. Unless someone says something. And then thats the way I bought the car.
Depending on which state you are in it may not be a problem. My husband is an authorized vehicle safety inspector. He expressed a lot of concern about removing the safety bumpers and talked about having to convert it back later but then he didn't oppose me going ahead with my conversion either so, what exactly was what was a little confusing for me. I think the way it works is that because my car is over 25 years old it does not need to pass a safety inspection within the province of Saskatchewan as long as I live here. Where it is a problem is if I move to another province, they may require a safety inspection on the car and it will not pass. Or down the road some zealous legislator gets elected in Saskatchewan and decides the .001% of cars on the road that are over 25 years old should be forced to meet OEM safety standards for that model year and then again, if I want to drive it I have to put the safety bumpers back on per 79 factory installation.
Wow, another one of these, this is great! Is it just me, or is this kind of conversion getting more common recently?
Best of luck
I believe this type mod would have been popular about 3 seconds after the 74 tail made its debut a few liked it most didnt, gm tried to dress it up in 78 with the pace car spoiler but just gave up and fixed it with the 80.
it speaks volumes to me about its the most popular best looking c3 rear is that duck tail,
You know me and custom, i saw it as it happened ecklers offered custom rears and the 80 rear bumper was added to a lot of 74 to 79s
During the decades a few tried to mock the 68 to 73 rear for post 73 cars but none worked, starting with the look wasnt there, they failed, then a few have done their versions of the early tail, and they too loose that classic look and require cutting and fitting and bonding meaning time and more money,
In that case do as you are priya and graft on a full rear clip,
Some people dont want to get that involved and thats why this conversion is so sweet, its bolt on and grabs the look feel and spirit of the early cars rear.
As with any mod a peeson has to deside what they need and want and how to get there,
Priya i have no clue how it would feel to build with the notion someday my car might just be illegal to drive yard art,
Just imagine if usa did that across the whole country hp tweaking alone on c3s would park 90%of them, the rest would get parked due to non orginal radial tires, i guess the inspection stations would have a copy of the ncrs manual to see if you get to drive home or get impounded, thankfully i dont see that happening here.
Yes, its a little nervous to do something that could make the car lawn art as you say. I think tall odds against someone in government deciding its a priority to get the .001% of cars off the road that are over 30 years old, it'd look like picking on a small group of hobbyists who don't drive their cars all that much anyway so I'm not real worried about it but if they ever did it I wouldn't have what it takes to convert the car back so that would be a real heartbreaker. Very few rubber bumper car owners are going to want to do what I am doing, the bolt on is the way to go.
Having been through this process using DUB's methodology, I know much of what you are going through. I am following your thread and and staying tuned to watch your progress. I know how good it feels to lay out your plan, and execute it successfully one step at a time, using a process that has not only been gifted to us by DUB, but is PROVEN! Those who have been down this road (or are currently going traveling down it ) know how much work is involved in getting this fitment just right...those that haven't will learn.
I'm looking forward to your continued progress...and rooting you on all the way!
Dub Style Fitment - Day two.
Piece 1 of 7 (Front bumper, Flares and Hood to Follow)
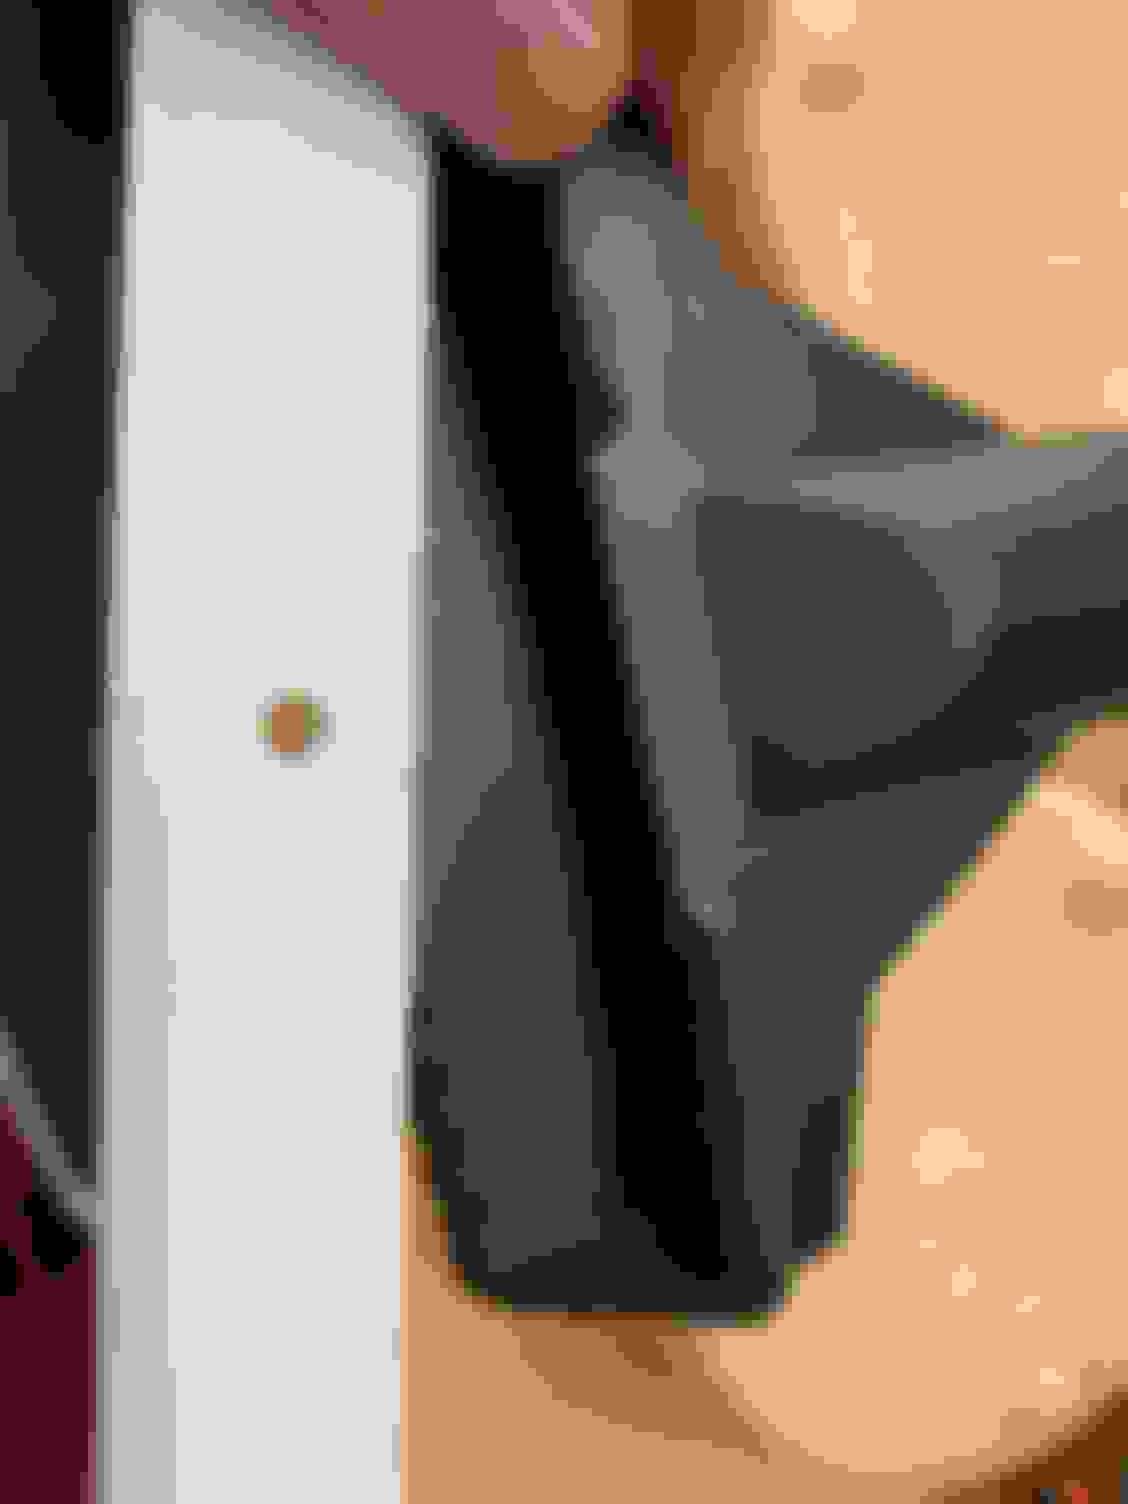
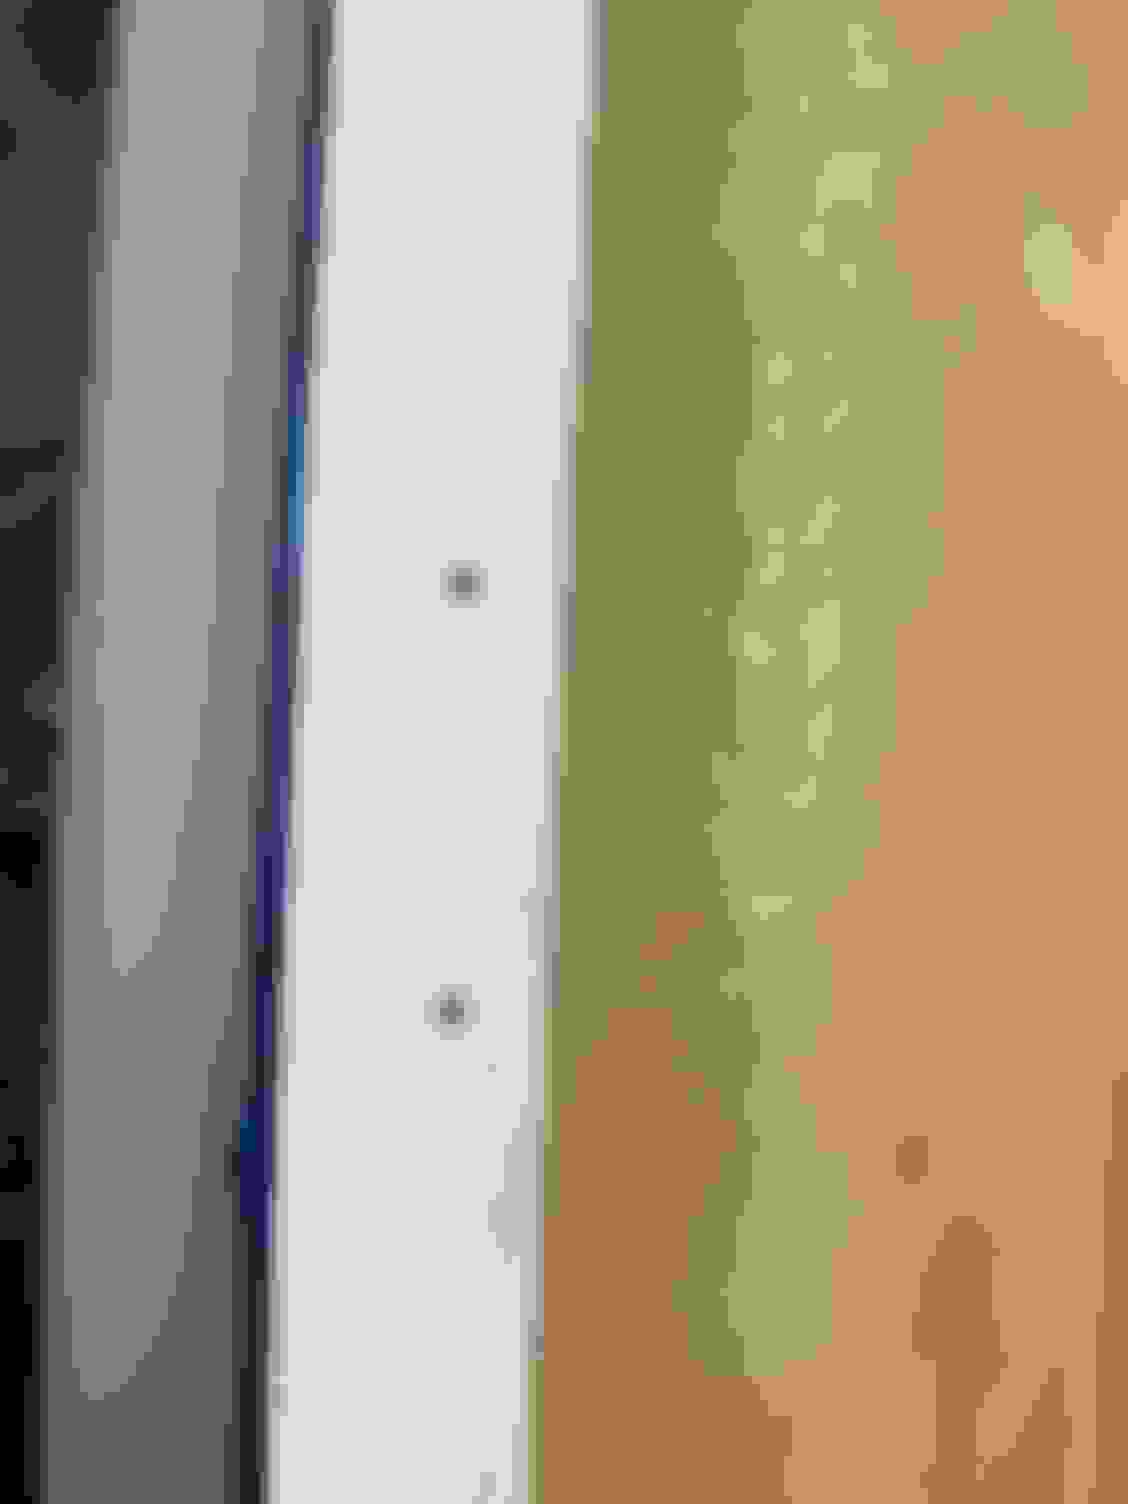
Marked and drilled holes for new bumper. Purchased new machined screws for bracket (10-24 TY Dub, I got your VM)
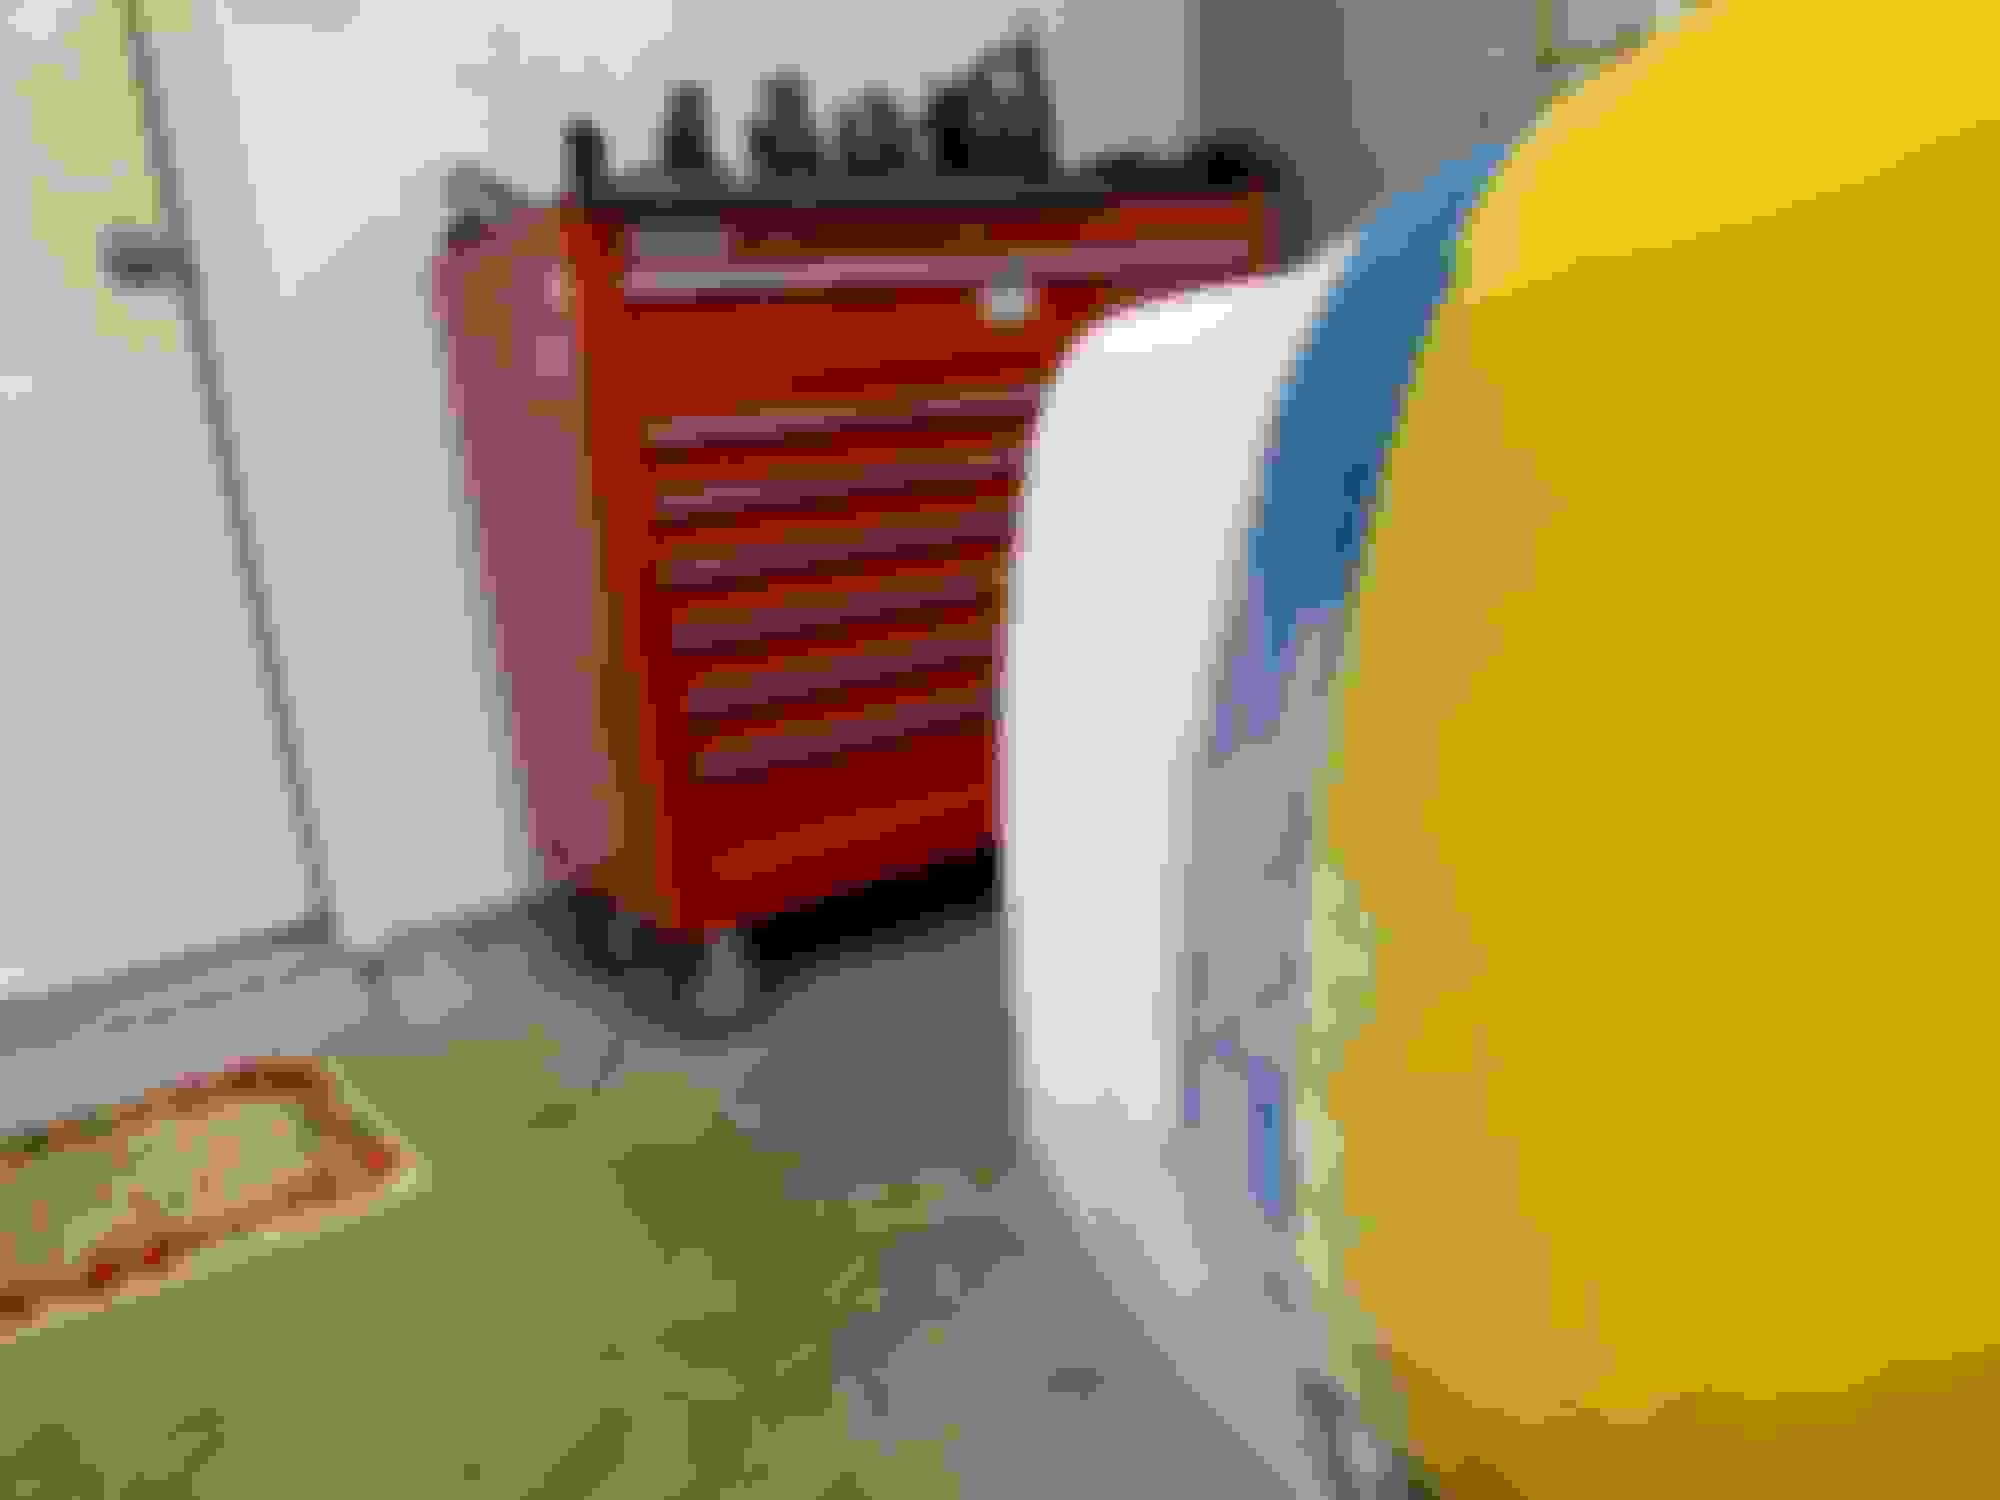
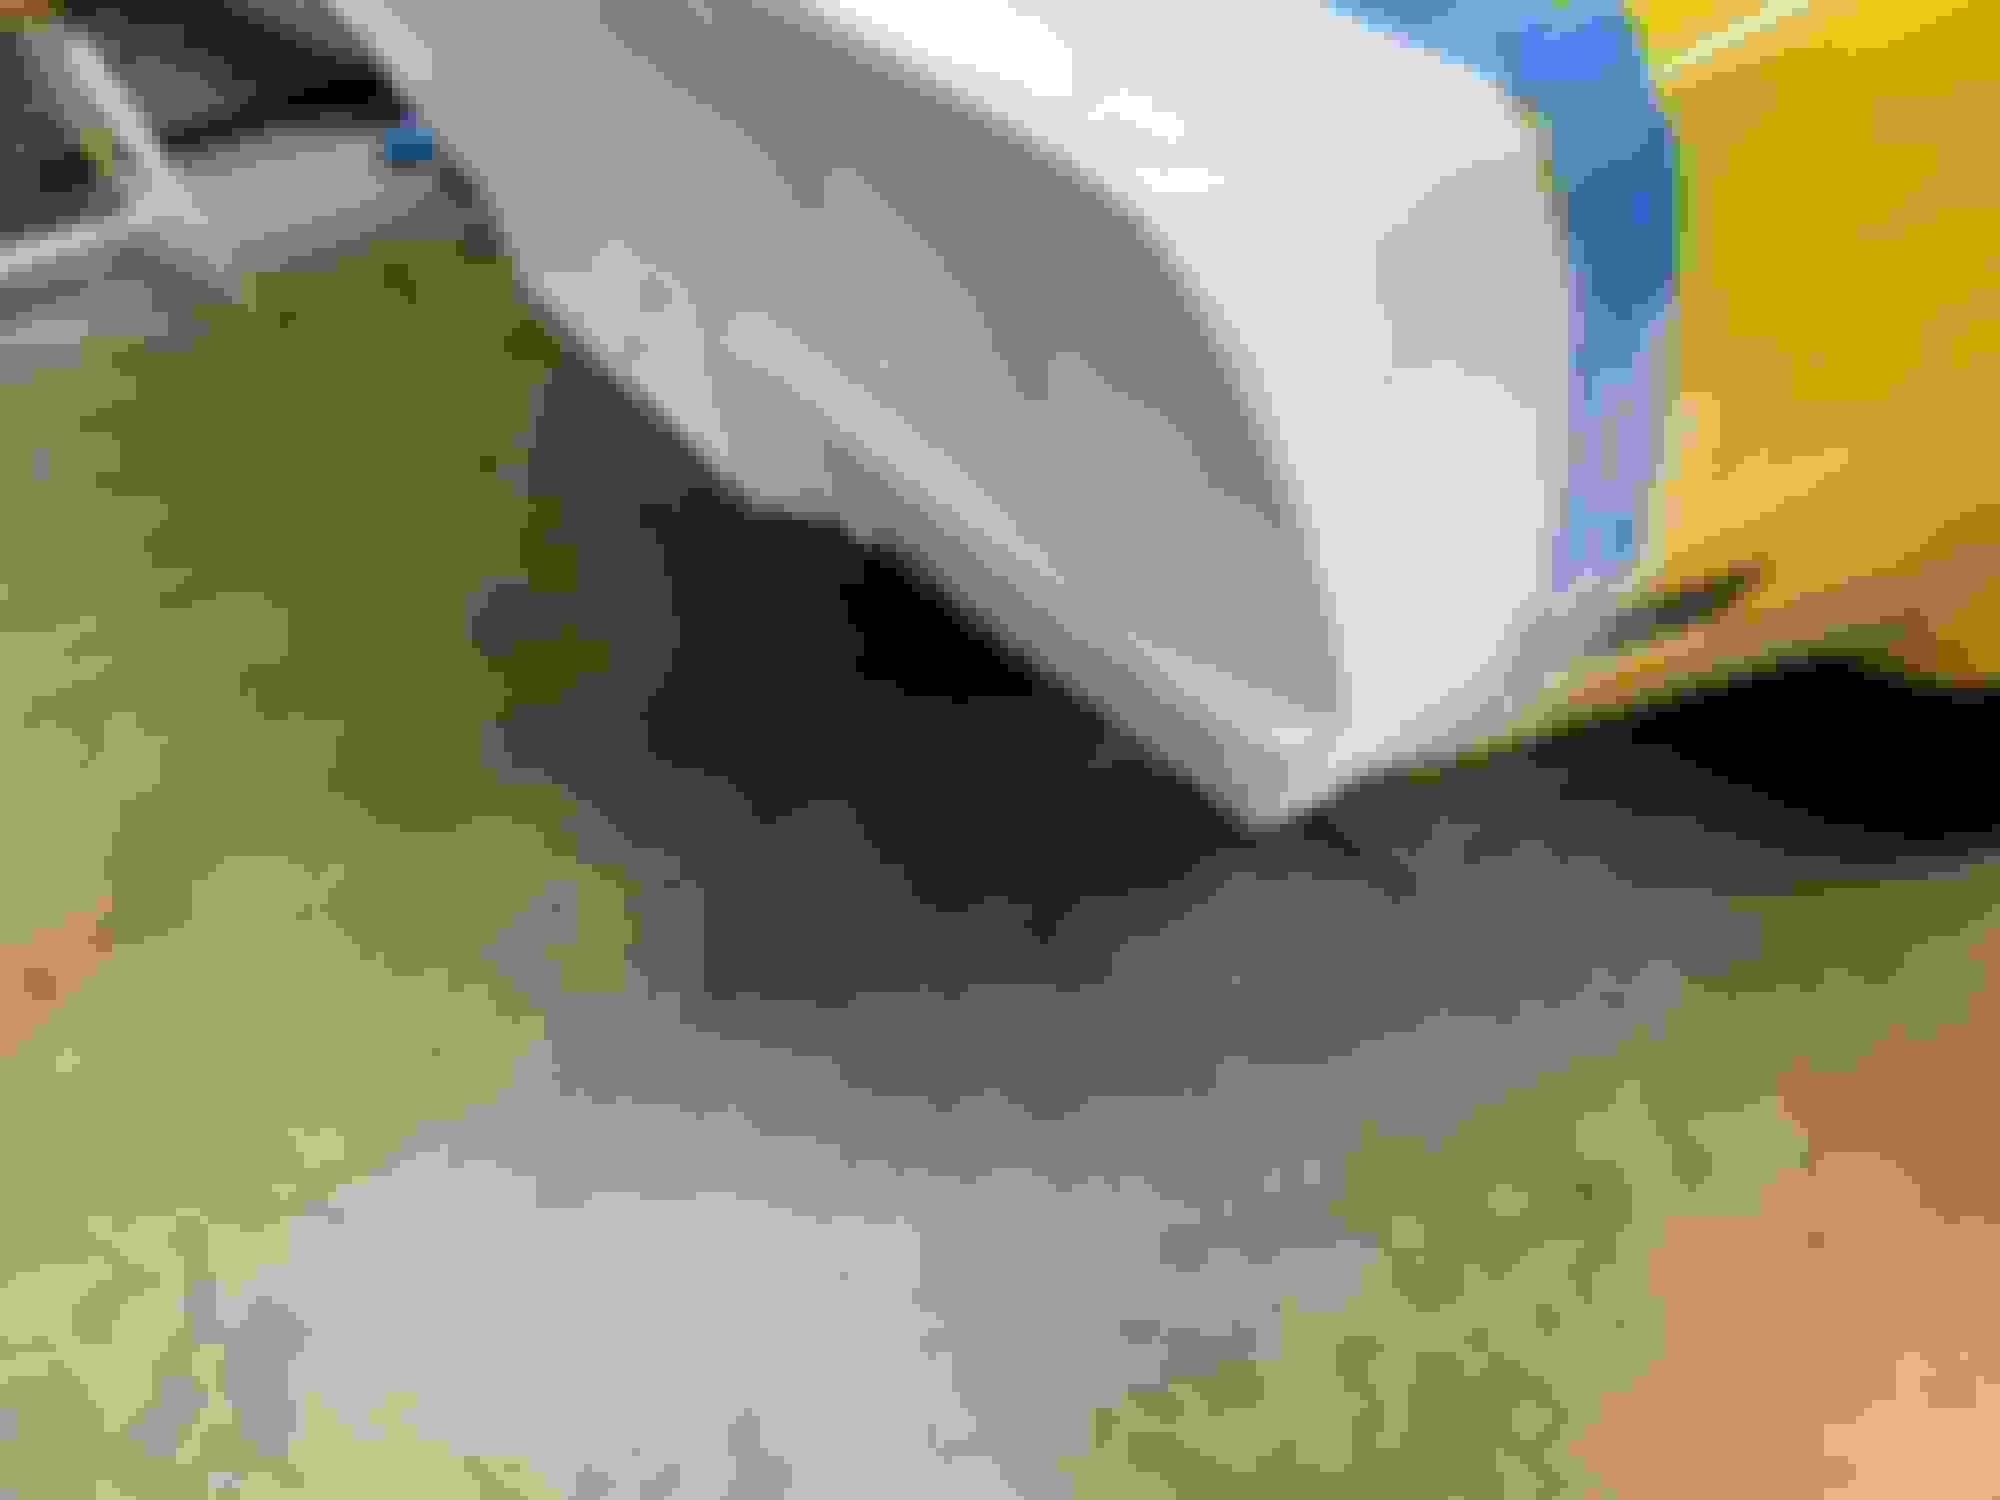
I began by using the method DUB has outlined in his guide for the front bumper. I taped the tailpiece and marked the holes' edges. Mounted the bumper up using clamps and tape as close as straight as I could get it. The flange is warped from the OEM bumper and brackets, I'm probably going to completely sand and repair the flange to flush before the fitment stage begins. After transferring the marks to the tape on the bumper I measured all the holes from the edge of fiberglass body. All holes begin at exactly 1/2" from the edge and stop at 3/4" from the edge, giving a 1/4" slot. Drilled all the holes using a vacuum to catch all materials and Opened them up with a tungsten carbide dremel bit. It took some massaging of holes to get the brackets to fit right together. I loosely mounted the bumper to edge and achieved a near perfect fit. It sits about 1/8" too far to the passenger side so I will use the bit to channel out the bumper holes to allow it slide over. While removing the bumper for this, I will refurbish the bumper bracket and drill out/replace all studs. They are awfully rusted. New ones will be welded in place. I was able to salvage the nuts (hard to find these) by soaking overnight in Evaporust.
-Stroke
Last edited by Strokemyaxe; 01-17-2019 at 12:34 AM.
Reason: Correcting bolt size
Reopening. Apparently my note yesterday explaining how to handle conflicts and not derail a thread was unclear. Multiple members now have multiple sanctions.
Stop it.
Last edited by vettebuyer6369; 01-15-2019 at 11:14 PM.
Looking good Stroke. I had seen a video on a website for one of the companies who sells fiberglass bumpers where they simply clamped the bumper up to where they wanted it and traced the holes from the body onto the bumper with a Sharpie. I was planning on doing it that way. I am wondering if you looked at doing that and found that there was not enough room to get you hand and a marker up there?
Looking good Stroke. I had seen a video on a website for one of the companies who sells fiberglass bumpers where they simply clamped the bumper up to where they wanted it and traced the holes from the body onto the bumper with a Sharpie. I was planning on doing it that way. I am wondering if you looked at doing that and found that there was not enough room to get you hand and a marker up there?
Thanks.
Hey Pete, I did consider doing that but I only had two clamps and I did not want to go purchase a couple of others. So this was the method I used. But, the holes I ended up with are half the size of the original bumper holes so I have plenty of room to open them up.
Just to add a tid bit of information. When I do these I try at all costs to reuse the factory nuts with the large spinning washers so they have the ability of making sure they set flat and will not work themselves into the larger oval hole. In some cases I use the Au-Ve-Co fender washers that are about the diameter of a nickel. and a nut.
Dub Style Fitment - Day three.
Piece 1 of 7 (Front bumper, Flares and Hood to Follow)
Drilled/grinded/tapped out old studs and tack welded in new 10-24 machines screws.
Purchased Nuts and Fender washers.
Mounted bumper and marked high spots with tape.
began sanding.
It really is the simple things you learn after doing something for the first time that are little nuggets of gold. I tried knocking the old studs out with a hammer and they would not budge. I tried drilling them out from the back and that was just a mess that caused more headache than good (off center holes). I finally cut off the studs, ground them down flush and then they just popped right on out with a little tap of a round punch and hammer. In the pictures you can see the square pattern of the stud coming through the bracket. This was a very fast and effective method in my opinion. I�m sure I could have removed them without grinding them down by beating on them more, but I felt like this was possibly less destructive to the bracket.
I was able to salvage 12 of the original flange nuts with Evaporust. I used the nuts to snug up the new studs as I welded them in place. I accidentally welded one but to the bracket by getting too much penetration so I had to grind that one away and weld in a new stud. I used the original studs on all the higher, hard to reach studs when mounting the bumper back together. Fender washers and nuts on the lower fender areas.
After reading about the shelf life of opened resin and Evercoat VPA, I have decided to get all fiberglass peices shaped and ready for filler at one time. Because I�m doing the front bumper and fender flares, I worry that the filler and resin will start to turn before I get it all done in the next few months. So... I started sanding on the bumper in the high spots and I will take it down all the way flush to the paint. When I remove the paint (before filling) I will do final sanding work to both peices at once. I stopped after 3-4 minutes of sanding when I realized I should probably be wearing a mask (none on hand) and called it a night.
Not it sure if this gel coat dust can cause cancer, so fingers crossed that it doesn�t. I didn�t sand into the glass really at all.
Fiberglass dust and Bondo dust is unpleasant, but not a hazmat situation. Paint fumes get you high. But very much not good for you, so having a respirator around is a good thing...
Last edited by derekderek; 01-21-2019 at 01:19 PM.

 01-13-2019, 12:13 AM


 Man do I wish it could be that easy. Knowing my luck, it could work for everyone else but when I go an try it I can have the front end sit for a decade and nothing lets loose.


 ) know how much work is involved in getting this fitment just right...those that haven't will learn.