When you click on links to various merchants on this site and make a purchase, this can result in this site earning a commission. Affiliate programs and affiliations include, but are not limited to, the eBay Partner Network.
Dub Style Fitment - Day one.
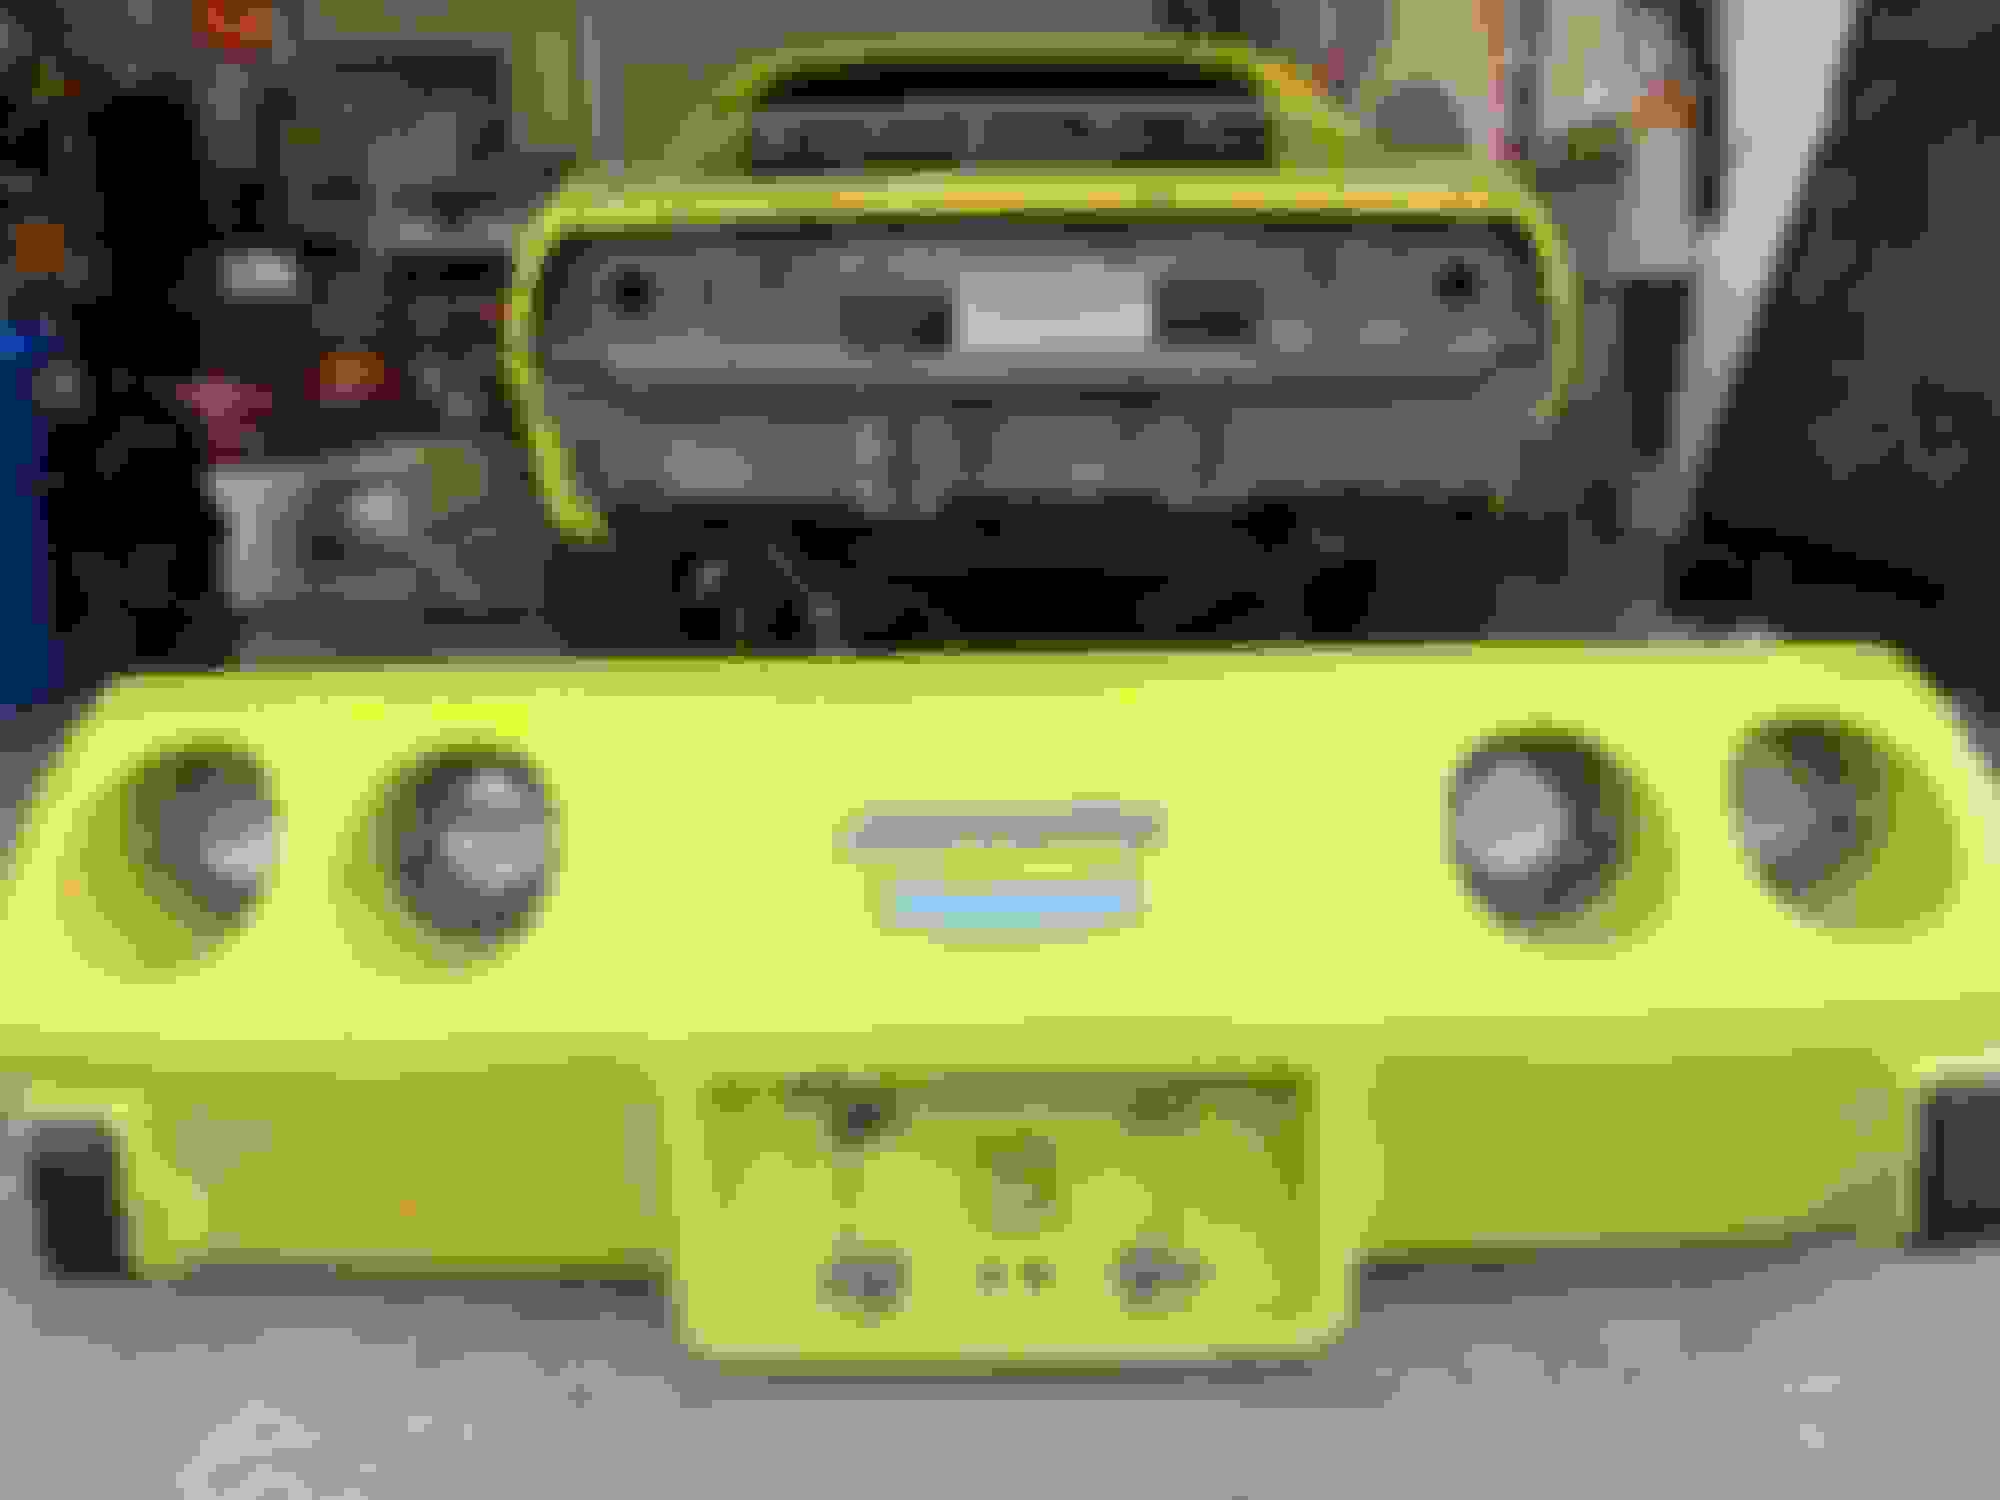
Piece 1 of 7 (Front bumper, Flares and Hood to Follow)
Removed factory rear bumper and crash equipment.
Tape on new bumper for general test fit.
I believe there were 35 screws and/or bolts in all that needed to be removed to disassemble the rear bumper on my 77. I sprayed the bolts that hold the urethane bumper to the body with blaster to help work them loose. Its a tight fit and I mainly used my Harbor Freight ratcheting wrenches to get the 3/8" nuts off half of the bolts. The other half had enough room for an air ratchet. Half of the bolts I removed by ratcheting wrench ended up snapping the bolt just before the last 5-6 (out of maybe 100) partial turns needed to remove the nut. In retrospect, I could have saved myself a lot of time and not used Blaster on any of them. That way they all would have just snapped off after 3-4 good Oogah Doogahs. Everything else with the crash bar came apart quite easily with very easy access to all the nuts and bolts. Needed a backing wrench on 12 of them, and I used a breaker bar with an 11/16" socket on the opposite side of my air ratchet. Crash bar is HEEEEAVY.. Wasn't prepared almost reset the "Days Without Accident" board to zero. Honestly, I knew I would be giving up that bar, but it sort of made me a little uneasy feeling the actual weight of how much protection I was giving up. But, I'll fab up a very sturdy, albeit thinner, crash bar to fit behind the new bumper for peace of mind.
Altogether with removing bumper and taking pics of new one was about 3 1/2 Hours of work.
I will update as I proceed.
Thanks for watching!
Stroke
Last edited by Strokemyaxe; 01-09-2019 at 11:20 PM.
Reason: Credit
Thanks for that link. I spoke with him for about 45 minutes yesterday before I got started on everything. Very helpful. I will indeed be following that method to get a near-seamless fit (hopefully). I have the luxury of not needing to preserve my paint on the body, so I may do some things a little different, but overall, it will be the same method.
People talk about removing the safety bars on these cars. I did it on my 80 and 77 when I did fiberglass bumpers. No protection. Well I just removed the bumpers from my 72. and if people think that those little skinny bumpers and the couple of braces are protection I don't see them as that. If you get hit in one of these cars at 40 or 50 you are going to get hurt. I don't care if you have those supports or the chrome bumper kind.
The only down side is the car has had what NTSB considers safety equipment removed. If you get rear ended in a 77 with 72 tail panel and bumpers, they could say you shoulda left that iron in the car. But I am going to do it anyway with my 75.
The only down side is the car has had what NTSB considers safety equipment removed. If you get rear ended in a 77 with 72 tail panel and bumpers, they could say you shoulda left that iron in the car. But I am going to do it anyway with my 75.
They aren't going to say anything. Unless someone says something. And then thats the way I bought the car.
I like the plan. I'll be watching. I was considering another C3 bumper car as a driver but prices to high for a driver. A later C3 with early look may be a plan. More pics please.
Dub Style Fitment - Day one.
Piece 1 of 7 (Front bumper, Flares and Hood to Follow)
Removed factory rear bumper and crash equipment.
Tape on new bumper for general test fit.
I believe there were 35 screws and/or bolts in all that needed to be removed to disassemble the rear bumper on my 77. I sprayed the bolts that hold the urethane bumper to the body with blaster to help work them loose. Its a tight fit and I mainly used my Harbor Freight ratcheting wrenches to get the 3/8" nuts off half of the bolts. The other half had enough room for an air ratchet. Half of the bolts I removed by ratcheting wrench ended up snapping the bolt just before the last 5-6 (out of maybe 100) partial turns needed to remove the nut. In retrospect, I could have saved myself a lot of time and not used Blaster on any of them. That way they all would have just snapped off after 3-4 good Oogah Doogahs. Everything else with the crash bar came apart quite easily with very easy access to all the nuts and bolts. Needed a backing wrench on 12 of them, and I used a breaker bar with an 11/16" socket on the opposite side of my air ratchet. Crash bar is HEEEEAVY.. Wasn't prepared almost reset the "Days Without Accident" board to zero. Honestly, I knew I would be giving up that bar, but it sort of made me a little uneasy feeling the actual weight of how much protection I was giving up. But, I'll fab up a very sturdy, albeit thinner, crash bar to fit behind the new bumper for peace of mind.
Altogether with removing bumper and taking pics of new one was about 3 1/2 Hours of work.
I will update as I proceed.
Thanks for watching!
Stroke
Wow, sure looks better with that ugg bologna cut tail off there and a sweet duck tail in its place....
iwasme does have a point. he stated it a little too bluntly, but if pissing you off makes you look harder into reinforcing the rear of the car, he really did not do you wrong. I am soon going to start the same mod on my 75. those bumper shocks add about 4 inches in length. can the impact bar be attached right to the frame? then maybe a little trimming on the 4 bumperrette pieces may make the tail panel fit over it. the taillight holes probably will not be in the exact right place, though. or maybe a piece of 2 by 3 square tubing. something like boat trailer frame and see how much needs to be trimmed off the ends so that that will fit back there.
OK paraphrasing here but I really hope you keep the pictures coming and this thread doesn't get off track like some have in the past.
I did this conversion like others here and I am very happy with the outcome.
My goal was to drop weight from the bumper supports-not a whole lot of room back there.
You may add an aluminium brace and change out the fuel tank to a fuel cell with absorbent foam inside, but not to get off track here
John
Last edited by vettebuyer6369; 01-13-2019 at 12:29 AM.
Reason: remove check baggage comment
i agree with jkippen keep the pictures coming , if you feel the need to go off on a tangent , start a separate thread so this doesn't get off track. i know there are some people that would rather see the process. everyone that has had anything to say on the other side of this has already said it , no need to go down that road again
Keep the pictures coming! I need the motivation to continue with my conversion as well!
John's " badass" car gave me the inspiration to convert my 76, and he hooked me up (Edited) If I can't accept responsibility, at least I know who to blame
Thanks guys!!!!!!!
Last edited by vettebuyer6369; 01-13-2019 at 12:30 AM.
Reason: removed Non Supporting Vendor
On mine, I ran a piece of 1 5/8 chrome moly across the back and bent the ends to weld to plates bolted to the factory bumper mounts. Fit nicely under the rear fascia and provides some additional protection. (you said you were going to add something back there as well)
This mod is different. AND replacing the impact structure you remove is an integral part of this mod. It can not be overstated. It is not being a know-it-all. It is not DUB on his high horse.
... Wasn't prepared almost reset the "Days Without Accident" board to zero. Honestly, I knew I would be giving up that bar, but it sort of made me a little uneasy feeling the actual weight of how much protection I was giving up. But, I'll fab up a very sturdy, albeit thinner, crash bar to fit behind the new bumper for peace of mind.
(Removed quoted material edited)
Reading is fundamental - the OP clearly stated that he was putting a bar back in. Surely you will agree that there are stronger, lighter metals that will perform as well in a crash or am I mistaken and a 77 Corvette still holds the pinnacle for rear-end crash protection.
Last edited by vettebuyer6369; 01-13-2019 at 12:43 AM.
Reason: Quoted material that was removed

 01-09-2019, 11:17 PM