When you click on links to various merchants on this site and make a purchase, this can result in this site earning a commission. Affiliate programs and affiliations include, but are not limited to, the eBay Partner Network.
I hate to admit this but I started a trailing arm bushing job over 2 years ago. Trailing arms were removed, new rubber bushings staked, and both arms are now both back in the frame with the bolts securing them. At the time I do not have shims in place. I know someone had taken the left trailing arm before because whoever had done it had some how put the trailing arm bolt in from the wheel well side with the nut on the inner side of the frame rail. In order to get the strut rods I I had to remove the spring because the bolt was put in backwards. The only way to remove the strut rod adjustment bolt was to cut them or remove the spring. At the time I was not sure I was going to go with adjustable strut rods so I chose to retain the bolts so the spring came out. I am now in the process of trying to button this all back up.
I can tell you this car was driven in to it current location in the garage and all wheels moved freely. Now I notice the left rotor will not turn more than 1/4" turn before it is stopped. I can see the lever the emergency brake cable connects to moves in sync of the rotor movement. The emergency brakes did not work prior to being parked but they were not seized to the rotor/drum either but if I were a betting man I would bet the brake shoes are now rusted to the rotor. This brings me to my big dilemma.
If this was any other car I would not hesitate for a second to beat and pry the rotor off and replace the drum brakes.and rotor if needed. I have read horror stories about the C3 brakes and run out and these still have the rivets in them and there was no problem with run out.
Does anyone have any suggestions on how to handle this? Is there a non intrusive way to get into the brakes? I have read a document with pictures where a new brake backing plate was attached to the hub, the brakes installed to the backing plate, then the spindle pressed into the hub. So going on that document and pictures would it be possible to remove the spindle and rotor as one and replace the brakes, new wheel bearings and press back in as one piece and not have to drill out the rivets?
Even if it is possible would the wheel bearing being replaced change the way the rotor seats would be different and the rotor would need to be turned align correctly.
sounds like wheel bearing untouched so far. the disc pads are grabbing the surface rust on the rotor. pull disc pads and see if rotor turns. it will...
Ok, now we are talking brake shoes. Still most likely surface rust. Try a bar between wheel studs. Lug nuts installed of course. It may go all the way around with a bit of persuasion.
You only need to get it around far enough to line up the star nut adjuster. Try the breaker bar as derekderek suggested. Do you have the arm in a vise, or still on the car? Can you post a picture of your current situation?
Also, if you want to drive the car and be done with this part, consider just sending the arms out to be redone. It was not cheap (they found other broken bits, and also redid the half-shafts), but my arms came back quick, and I was able to drive and enjoy the car.
The breaker bar between the studs with lugnuts sounds like a good place to start I will try that. The trailing arm in in the car and I really don't want to remove it if I don't have to. One thing in the back of my mind is when I removed the trailing arm I was unable to get the shock mount off so I cut the old strut rod and used a cut off wheel to peel the strut rod off of the shock mount. I peeled off the strut rod piece by piece until it was just the shock mount and the bushing. Could a piece of the strut rod somehow fallen into the spindle area when I was cutting? I think it is doubtful but then again stranger things have happened.
I can get a picture later today but really it is just going to show a trailing arm and rotor without the brakes and half shafts connected.
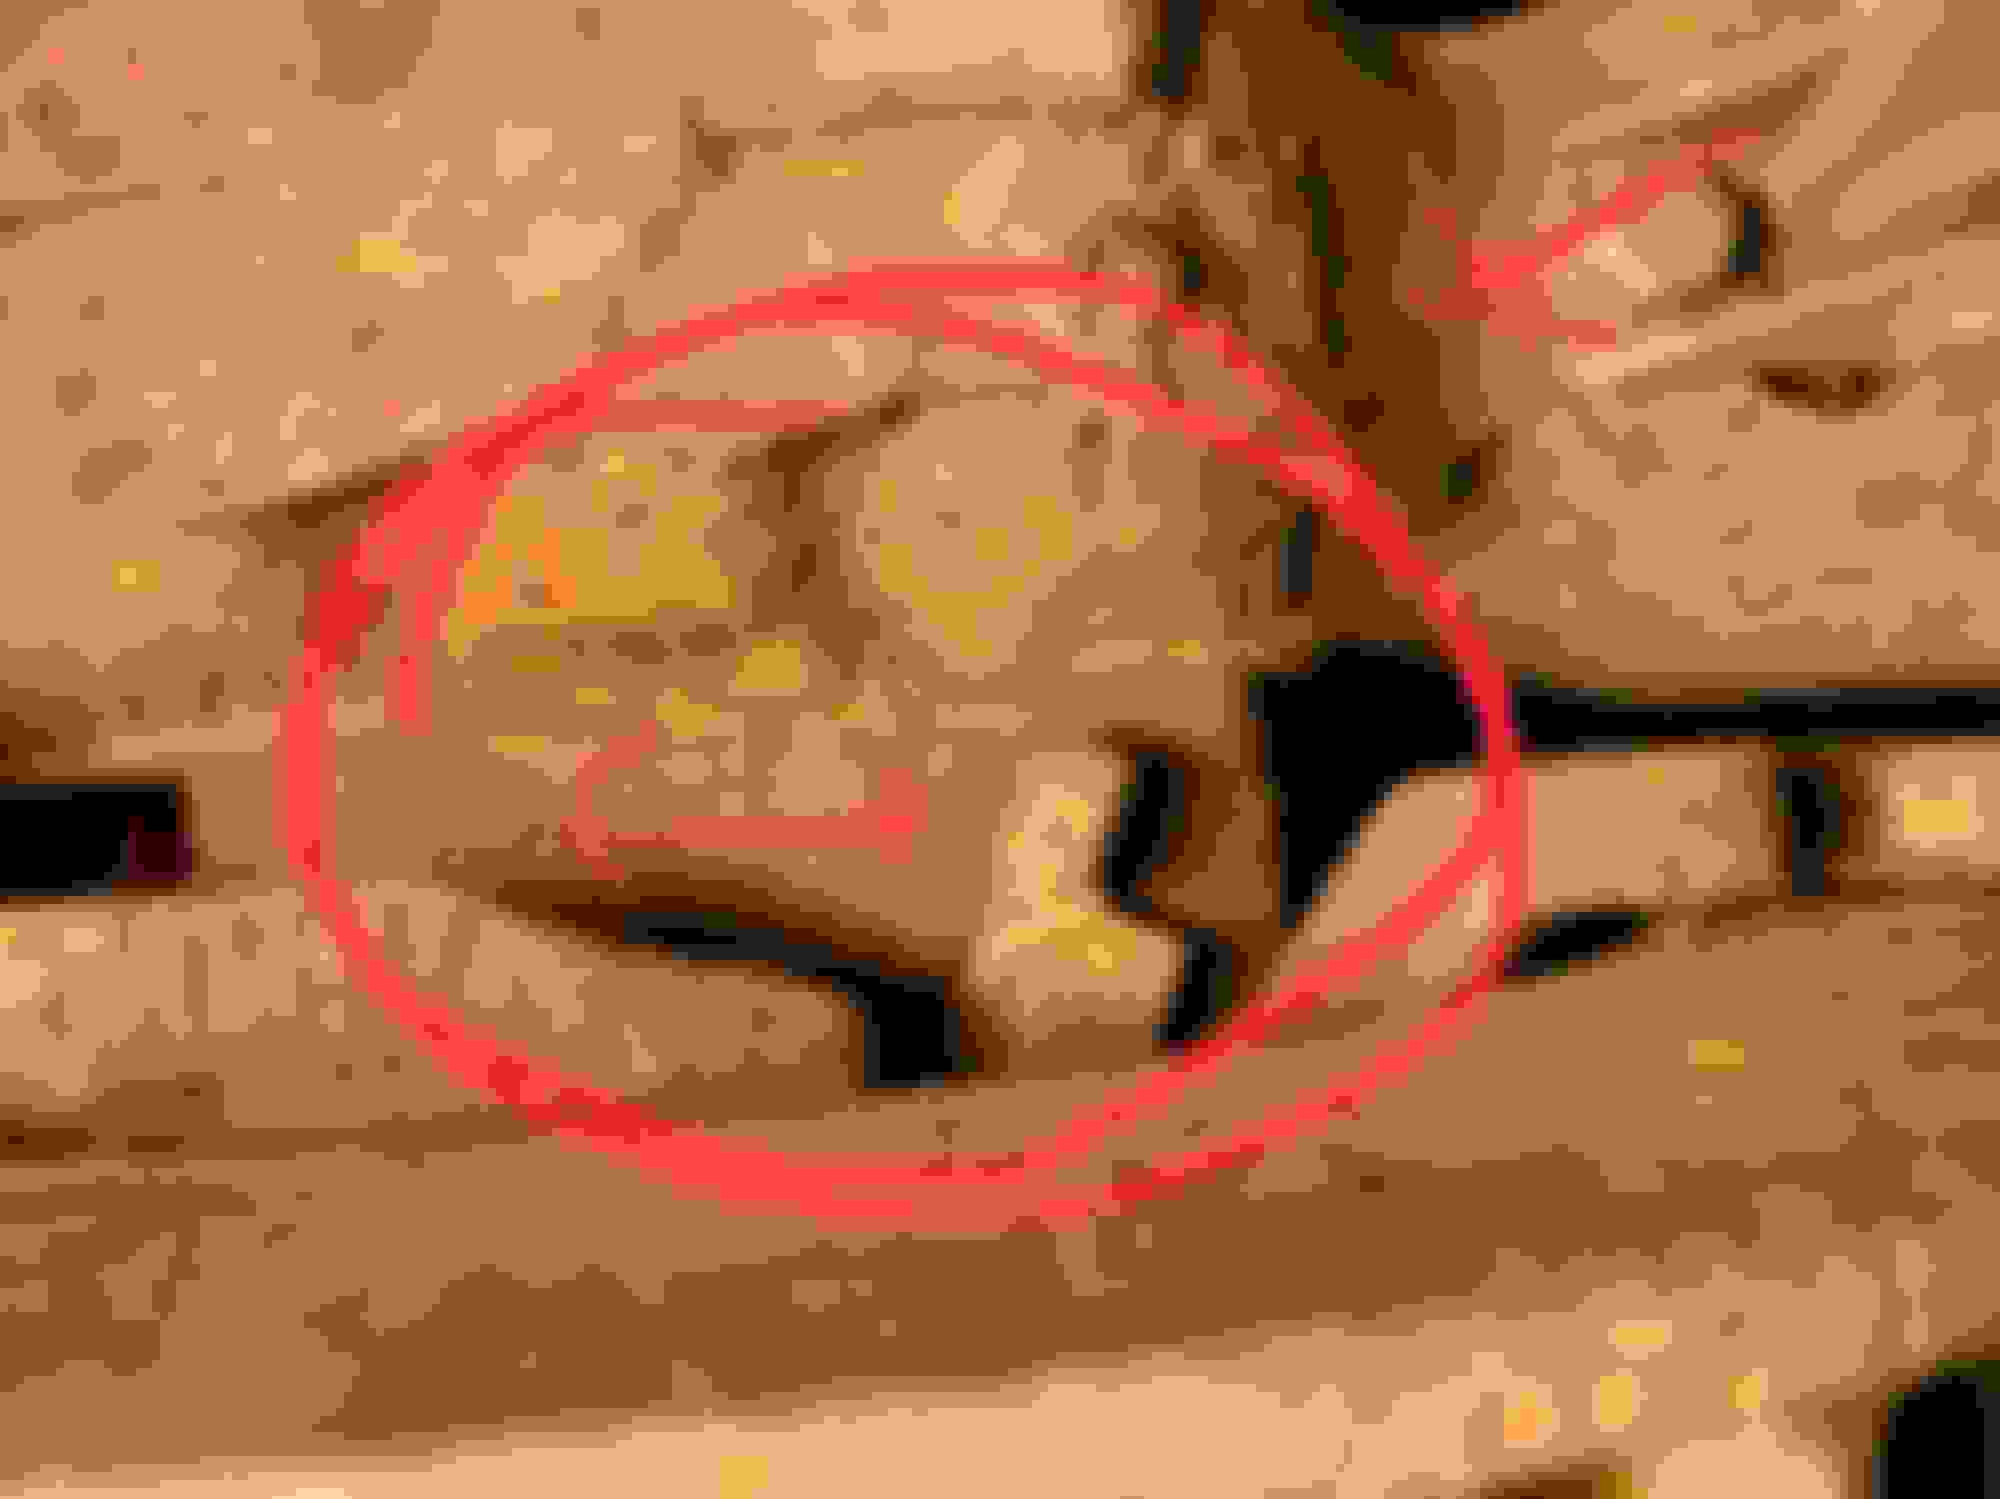
The breaker bar was a no go so I did a closer comparison with the right side and the issue is obvious.
Here is a picture of the left side.
Here is a picture of the right side.
I sprayed some penetrating oil on the lever and I am going to let it set until I get off of work tomorrow evening and attempt to break it free. If it doesn't work I am going to apply some heat from a propane torch and that should allow me to break it free. I don't think heating it up would hurt anything. Does this sound like a good plan? I know I cannot be the only that has ever experienced this problem so if anyone out there that has had this problem please let me know what you did to resolve it. Keep in mind I don't care if the emergency brakes work or not. Obviously it would be idea if they did but they didn't work when I started this job so I really don't expect them to work without replacing the brakes.
I think you would be miles ahead pulling those arms off the car. I'm sorry, but those look like the car was parked in a lake,.
I'm confused, too. You had the arms off the car two years ago, replaced the trailing arm bushings, and then parked the car in a lake?
The lever position shows that either the parking brake is stuck on, or has actually slipped off the shoes (This happened to me, one of the three times I rebuilt the parking brakes on my 79). The brakes may not be stuck on. Can you roll the car, or use the engine to turn the wheels? In any case, I'd just pull those arms off, and either find a different lake to sink them, or send them out to be rebuilt.
The pictures are extreme closeups and do not look as bad when looking at them in person maybe unless I were to look at them with a magnifying glass. As they say though pictures do not lie. Rather than have them rebuilt I think I would be better off with some aftermarket offset arms.

 02-15-2019, 08:28 PM