When you click on links to various merchants on this site and make a purchase, this can result in this site earning a commission. Affiliate programs and affiliations include, but are not limited to, the eBay Partner Network.
Long story short the local powder coat guy powder coated the front spindles of the car and didn’t tape off the holes for the ball joints. No biggie I thought. Get a ball joint reamer, knock the powder coat out and get on with life. Well found something that I guess I should have checked before I had the spindles coated. There are areas in the spindles that are showing evidence of not being true with the taper. Particularly the lower ball joint holes.
Who do I contact to inspect this and rebuild if needed?
VanSteel was not any help really. I also took the spindles to my local machine shop. The machinist said he wasn't sure he would be able to do much with it and said he would personally "run it as is" given the age of the car etc. Maybe my OCD is screwing with me alittle but I'm not 100% cool with that. My brother plans to drive it to some degree with my nephew and his wife when he gets back from being overseas. So I want to be 100% certain it's ok.
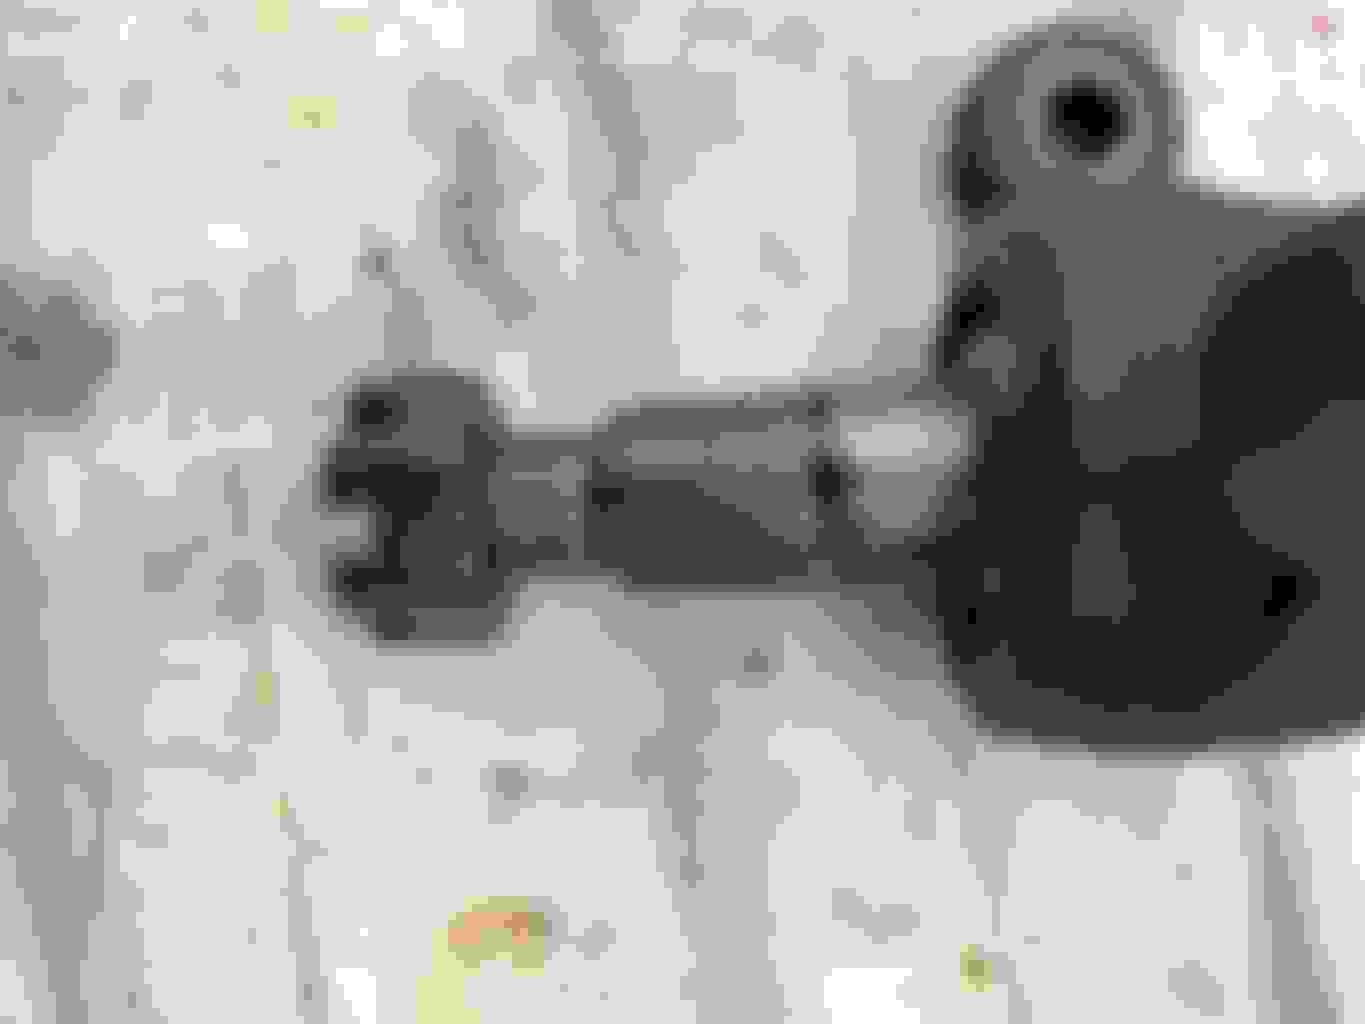
Lower ball joint. As you can see in the pictures the lower ball joint hole in the spindle definitely has some powder coat left in it. I checked the tapered portion of the new balljoint and there is about an 1/8th of an inch or so where the taper is still above the flange on the spindle. The taper ends roughly at the top of the sharpie mark and the lower portion of the mark is the flange on the spindle. I also have about an 1/8th of an inch before the shank pops out of the bottom of the flange. So I could ream it more and possibly get all that crap out of there and get it all trued up but I'm thinking the cotter pin and castle nut engagement won't be right. Could always add a washer to the bottom to space the nut but not sure if I should be doing that. More worried about it being safe vs being factory correct.
The uppers are pretty clean and the ball joint engagement is about what I would expect. So no worries there.
What do you guys think? Ream it out more, possibly have to add a hardened washer to the bottom, and give it a shot. Or start looking for good replacements if I can find them.
What is it exactly that you think is going to be so dangerous?
I was worried that there wouldn't be enough engagement from the flange of the spindle to the ball joint and basically create a fulcrum and break it. If you guys think it's ok then I'm good with that. Like I said in my previous post maybe my OCD is screwing with me alittle which is why I posted pics and asked.
like everyone says, dont remove any more material then you need to, i had this brilliant idea to clean the ujoint bores of my halfshafts with a wheel cylinder hone. just take a hare off. well , restored shafts went to press ujoints in and they fell in the hole and out
That engagement looks fine. You do not want any of the taper from the ball joint to be exposed from the spindle because then the nut will not be able to maintain a solid engagement. You should only see the threaded part of the ball joint.
There is nothing 'dangerous' about what you have going on there. BUT, there will be some long-term evaluation needed. The powder coat on the inside of that tapered holeWILL erode over time with use. As it wears, that joint will start to loosen a bit. Not dangerous. but every month or two...until it wears completely through...you should remove the cotter pin and try to re-tighten the nut to final torque requirements.
I had a similar issue with some 8-lug wheels (Kelsey-Hayes) on my '65 Grand Prix. I had the steel wheel portions powder coated. Installed them, and every month or two I had to re-tighten some loose lug nuts. Yep. Powdercoating on the tapered nut seats was wearing away!! Once gone completely, no problem thereafter.
Moral: Power coating has thickness and it is TOUGH! Think about what surfaces you want coated and what surfaces you DON'T want coated, before having anything done.
Total nonsense, it will never loosen after it is installed. In fact the powder coat that is there will only make it harder to get the spindle and ball joint apart.
get the powder out of there. it is a taper. if you remove .001 or 2 of metal, the ball joint will go in .005 or so deeper. a straight bore like a u-joint is way easier to hurt. paint stripper and an exacto knife.
Last edited by derekderek; 07-11-2019 at 07:07 PM.

 06-09-2019, 12:21 AM