My 85 Line Lock Install With Pics.....
 08-18-2007, 06:14 PM
#1
Burning Brakes

Thread Starter
Member Since: Aug 2005
Location: It's Bad Ass in Black! Macomb, MI
Posts: 1,148
Likes: 0
Received 0 Likes
on
0 Posts

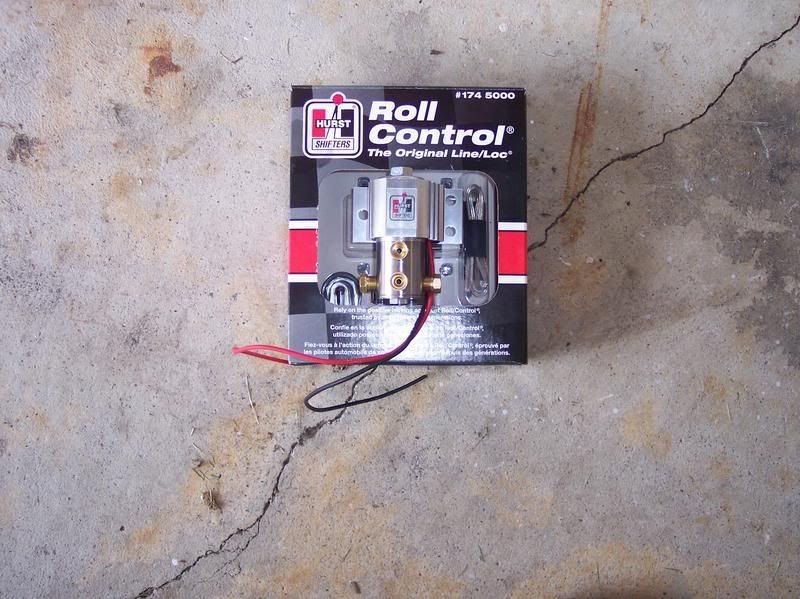
Well I bought all the parts I needed to Make this install. Hope I can help someone else save time and money from my install. I picked up a Hurst line lock online for $98.00 including shipping.
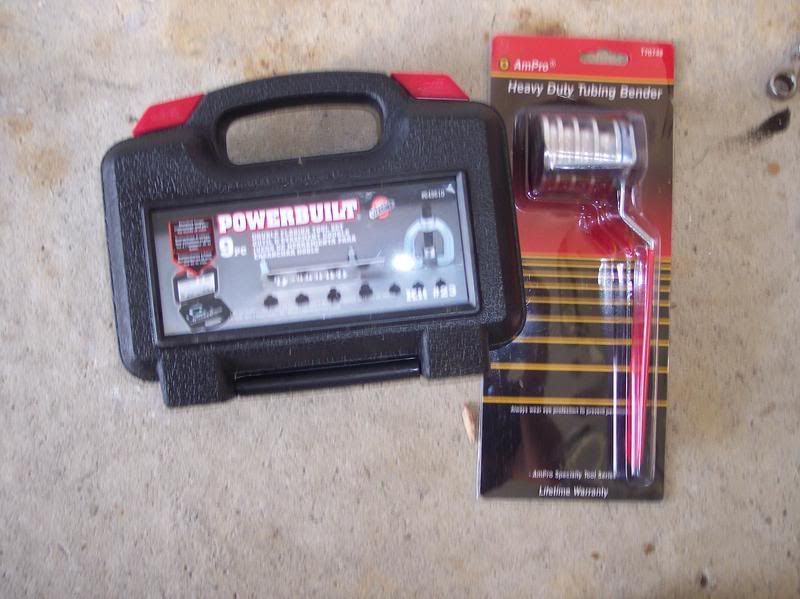
I bought my parts at Murrays Discount Auto Parts. I bought a flaring tool and took it back after I was finished. I took off the metric fittings and screwed them into the master cylinder and replaced the metric fittings with with standard sae fittings.
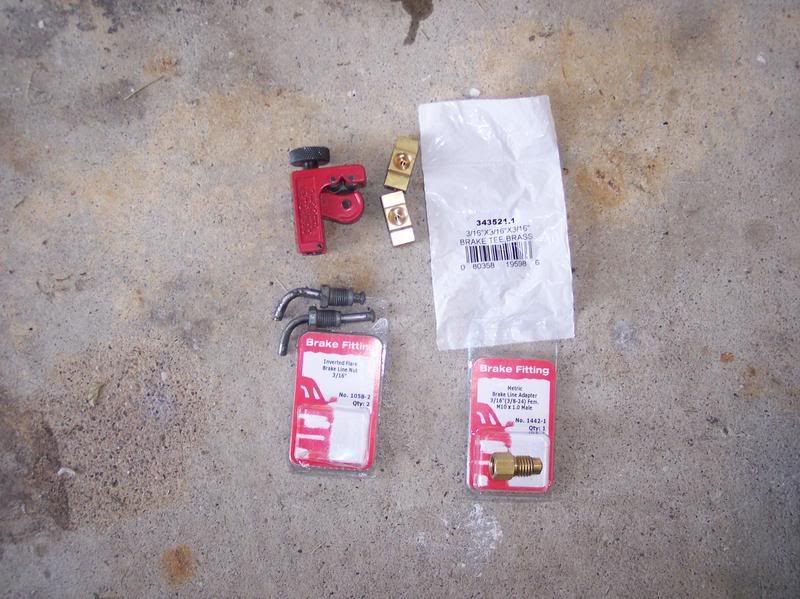
I bought 2 Male metric to SAE fittings(on the bottom right) to screw into master cylinder. 2 sae fittings(on the bottom left) to replace the 2 metric fittings I cut off the brake lines coming from each brake. Two, 2 to one blocks are also needed. You have one line going to the right front, one line going to the left front so you have to tee it off before the line lock and then after the line lock.
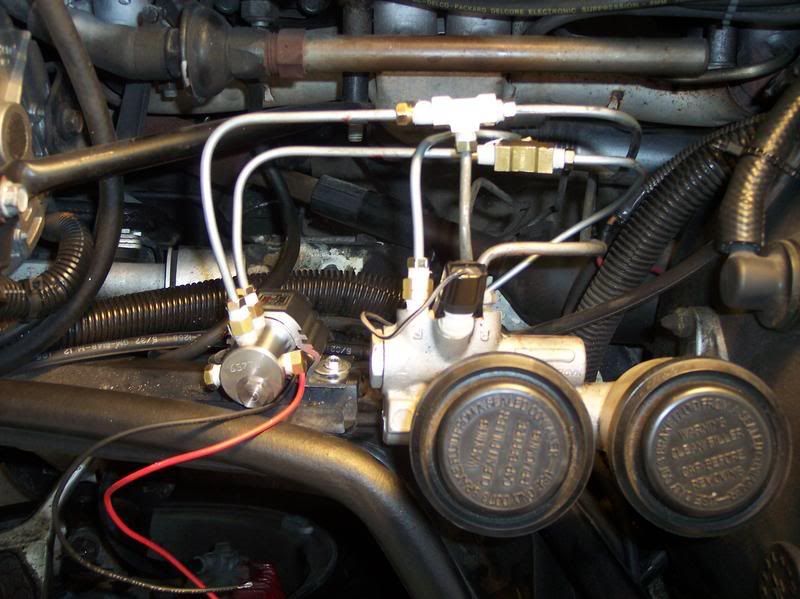
You also need a pipe plug to go into the Hurst line lock, see final pics.
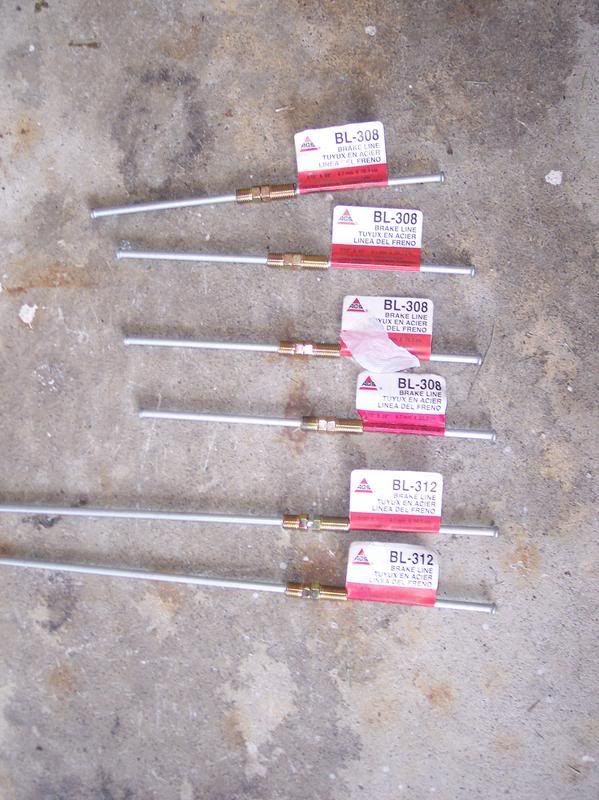
Brake lines I used.
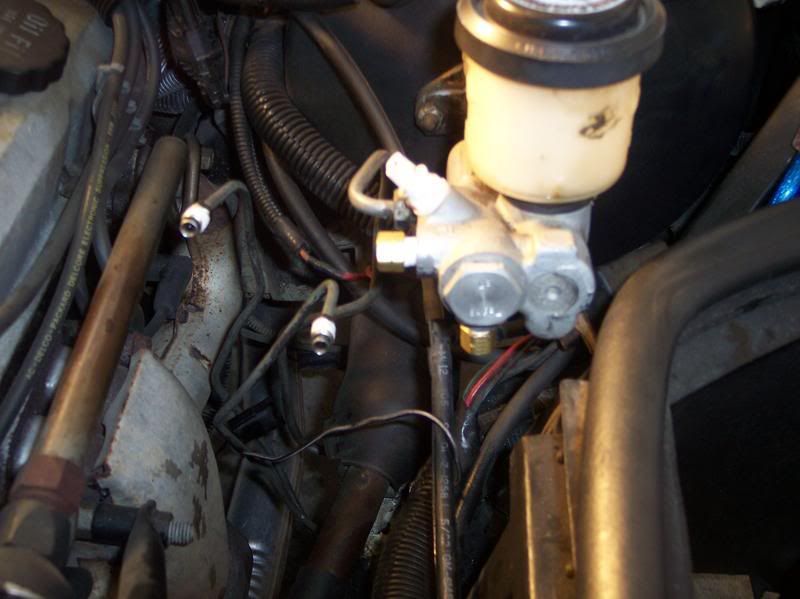
I first taped all my fittings, installed the 2 metric fittings in the master cylinder so I could connect my sae fittings to it later. I then removed the metric fittings from the brake lines and and installed sae fittings.
I hooked my 2 to 1 block up to my lines coming from my front brakes, 2 to 1 block coming from my master cylinder and then connected the single lines to the line lock.
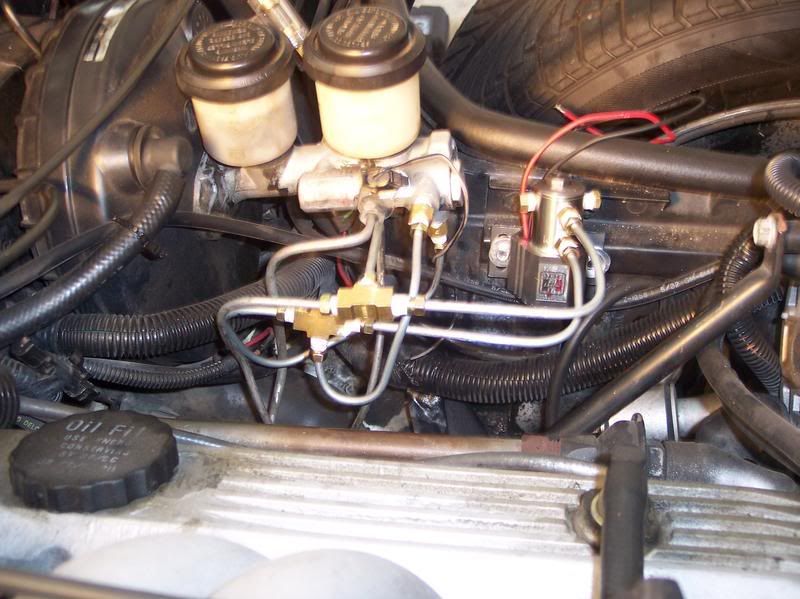
I Grounded wire to Alternator Bracket, ran a wire to power useing the 4 amp fuse holder provided by Hurst and wired in my switch and light.
If I didn't have to deal with the metric fittings it would have been alot easier......
I bled the brakes and it works great!!!!
I bought my parts at Murrays Discount Auto Parts. I bought a flaring tool and took it back after I was finished. I took off the metric fittings and screwed them into the master cylinder and replaced the metric fittings with with standard sae fittings.
I bought 2 Male metric to SAE fittings(on the bottom right) to screw into master cylinder. 2 sae fittings(on the bottom left) to replace the 2 metric fittings I cut off the brake lines coming from each brake. Two, 2 to one blocks are also needed. You have one line going to the right front, one line going to the left front so you have to tee it off before the line lock and then after the line lock.
You also need a pipe plug to go into the Hurst line lock, see final pics.
Brake lines I used.
I first taped all my fittings, installed the 2 metric fittings in the master cylinder so I could connect my sae fittings to it later. I then removed the metric fittings from the brake lines and and installed sae fittings.
I hooked my 2 to 1 block up to my lines coming from my front brakes, 2 to 1 block coming from my master cylinder and then connected the single lines to the line lock.
I Grounded wire to Alternator Bracket, ran a wire to power useing the 4 amp fuse holder provided by Hurst and wired in my switch and light.
If I didn't have to deal with the metric fittings it would have been alot easier......
I bled the brakes and it works great!!!!
Last edited by thecatmac; 08-18-2007 at 07:46 PM.
 08-18-2007, 08:32 PM
#2
Pro

Member Since: Jul 2004
Location: 1985 L98, Auto. O'FALLON, IL
Posts: 639
Likes: 0
Received 0 Likes
on
0 Posts
It looks like you did a quality job on the install. Excuse my ignorance but is this just to do burn outs or is this for better launches at the drag strip? Thanks for sharing.

 08-19-2007, 09:30 AM
#6
Drifting


Nice write-up. You will have a blast until you replace the first pair of rear skins
Since I'm running 335's out back, I don't play with the roll control much any more -- too expensive
Since I'm running 335's out back, I don't play with the roll control much any more -- too expensive


 08-19-2007, 02:08 PM
#9
Burning Brakes
Thread Starter
Member Since: Aug 2005
Location: It's Bad Ass in Black! Macomb, MI
Posts: 1,148
Likes: 0
Received 0 Likes
on
0 Posts
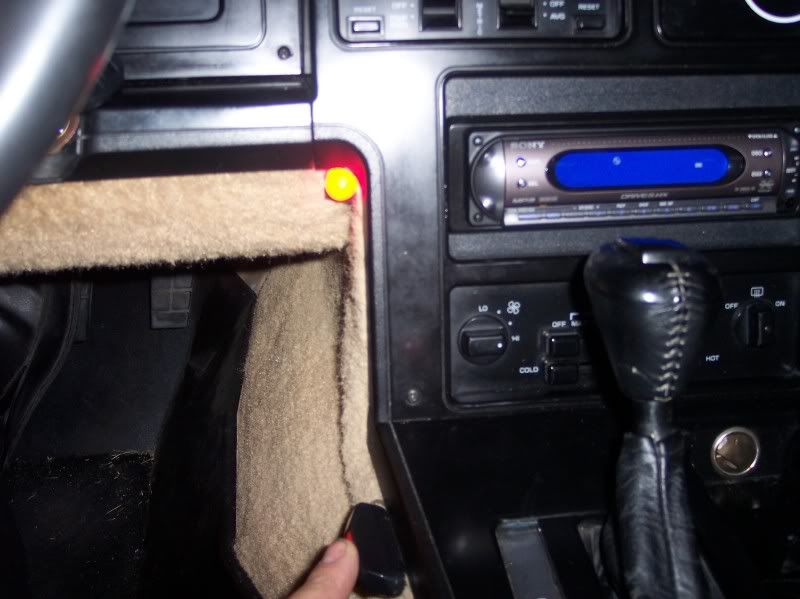
I didn't want to drill any holes just yet so I jammed the light into this crack in the carpeting, its pretty tight. The switch that came with the roll control has like a rubber boot on the back in case you want to take off your shifter handle and mount it right on the shifter. I wedged the rubber under the plastic edge for now and it stays real tight there, at least until I figure out what I'm going to do for a permanant mount.
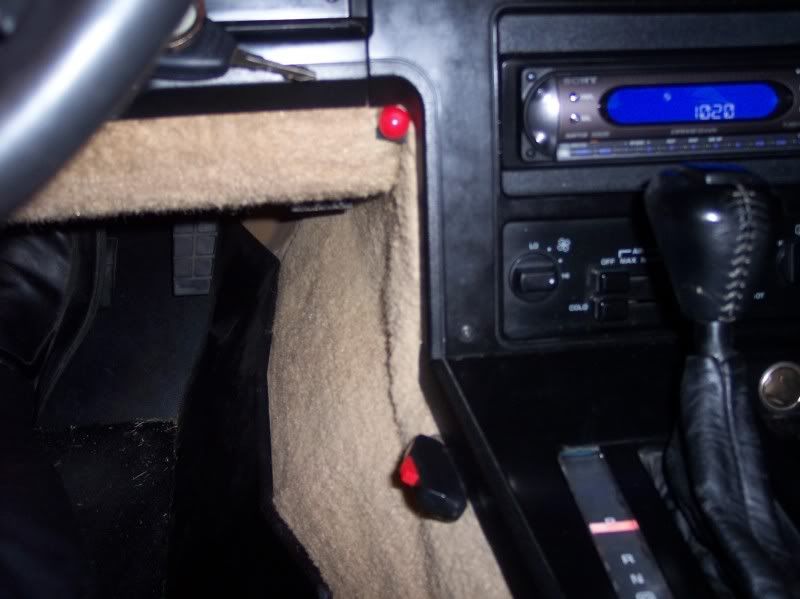
When lit its pretty bright......
When lit its pretty bright......
08-19-2007, 02:43 PM
#10
Tech Contributor

 In short, Yes to both questions.
03-31-2009, 09:03 AM
In short, Yes to both questions.
03-31-2009, 09:03 AM
#12
Burning Brakes
Thread Starter
Member Since: Aug 2005
Location: It's Bad Ass in Black! Macomb, MI
Posts: 1,148
Likes: 0
Received 0 Likes
on
0 Posts
I thought I would pull this out of the past and put it ttt for the noobs! It's an easy project and the results just blow my friends away!
03-31-2009, 10:52 AM
#14
Burning Brakes
Thread Starter
Member Since: Aug 2005
Location: It's Bad Ass in Black! Macomb, MI
Posts: 1,148
Likes: 0
Received 0 Likes
on
0 Posts
It holds the hydraulic pressure to you front brakes only.....resulting in a massive burn-out until you let the button go to release the pressure.
03-31-2009, 11:31 AM
#16
Team Owner


 01-10-2019, 04:29 PM
#20
Burning Brakes
Thread Starter
Member Since: Aug 2005
Location: It's Bad Ass in Black! Macomb, MI
Posts: 1,148
Likes: 0
Received 0 Likes
on
0 Posts