When you click on links to various merchants on this site and make a purchase, this can result in this site earning a commission. Affiliate programs and affiliations include, but are not limited to, the eBay Partner Network.
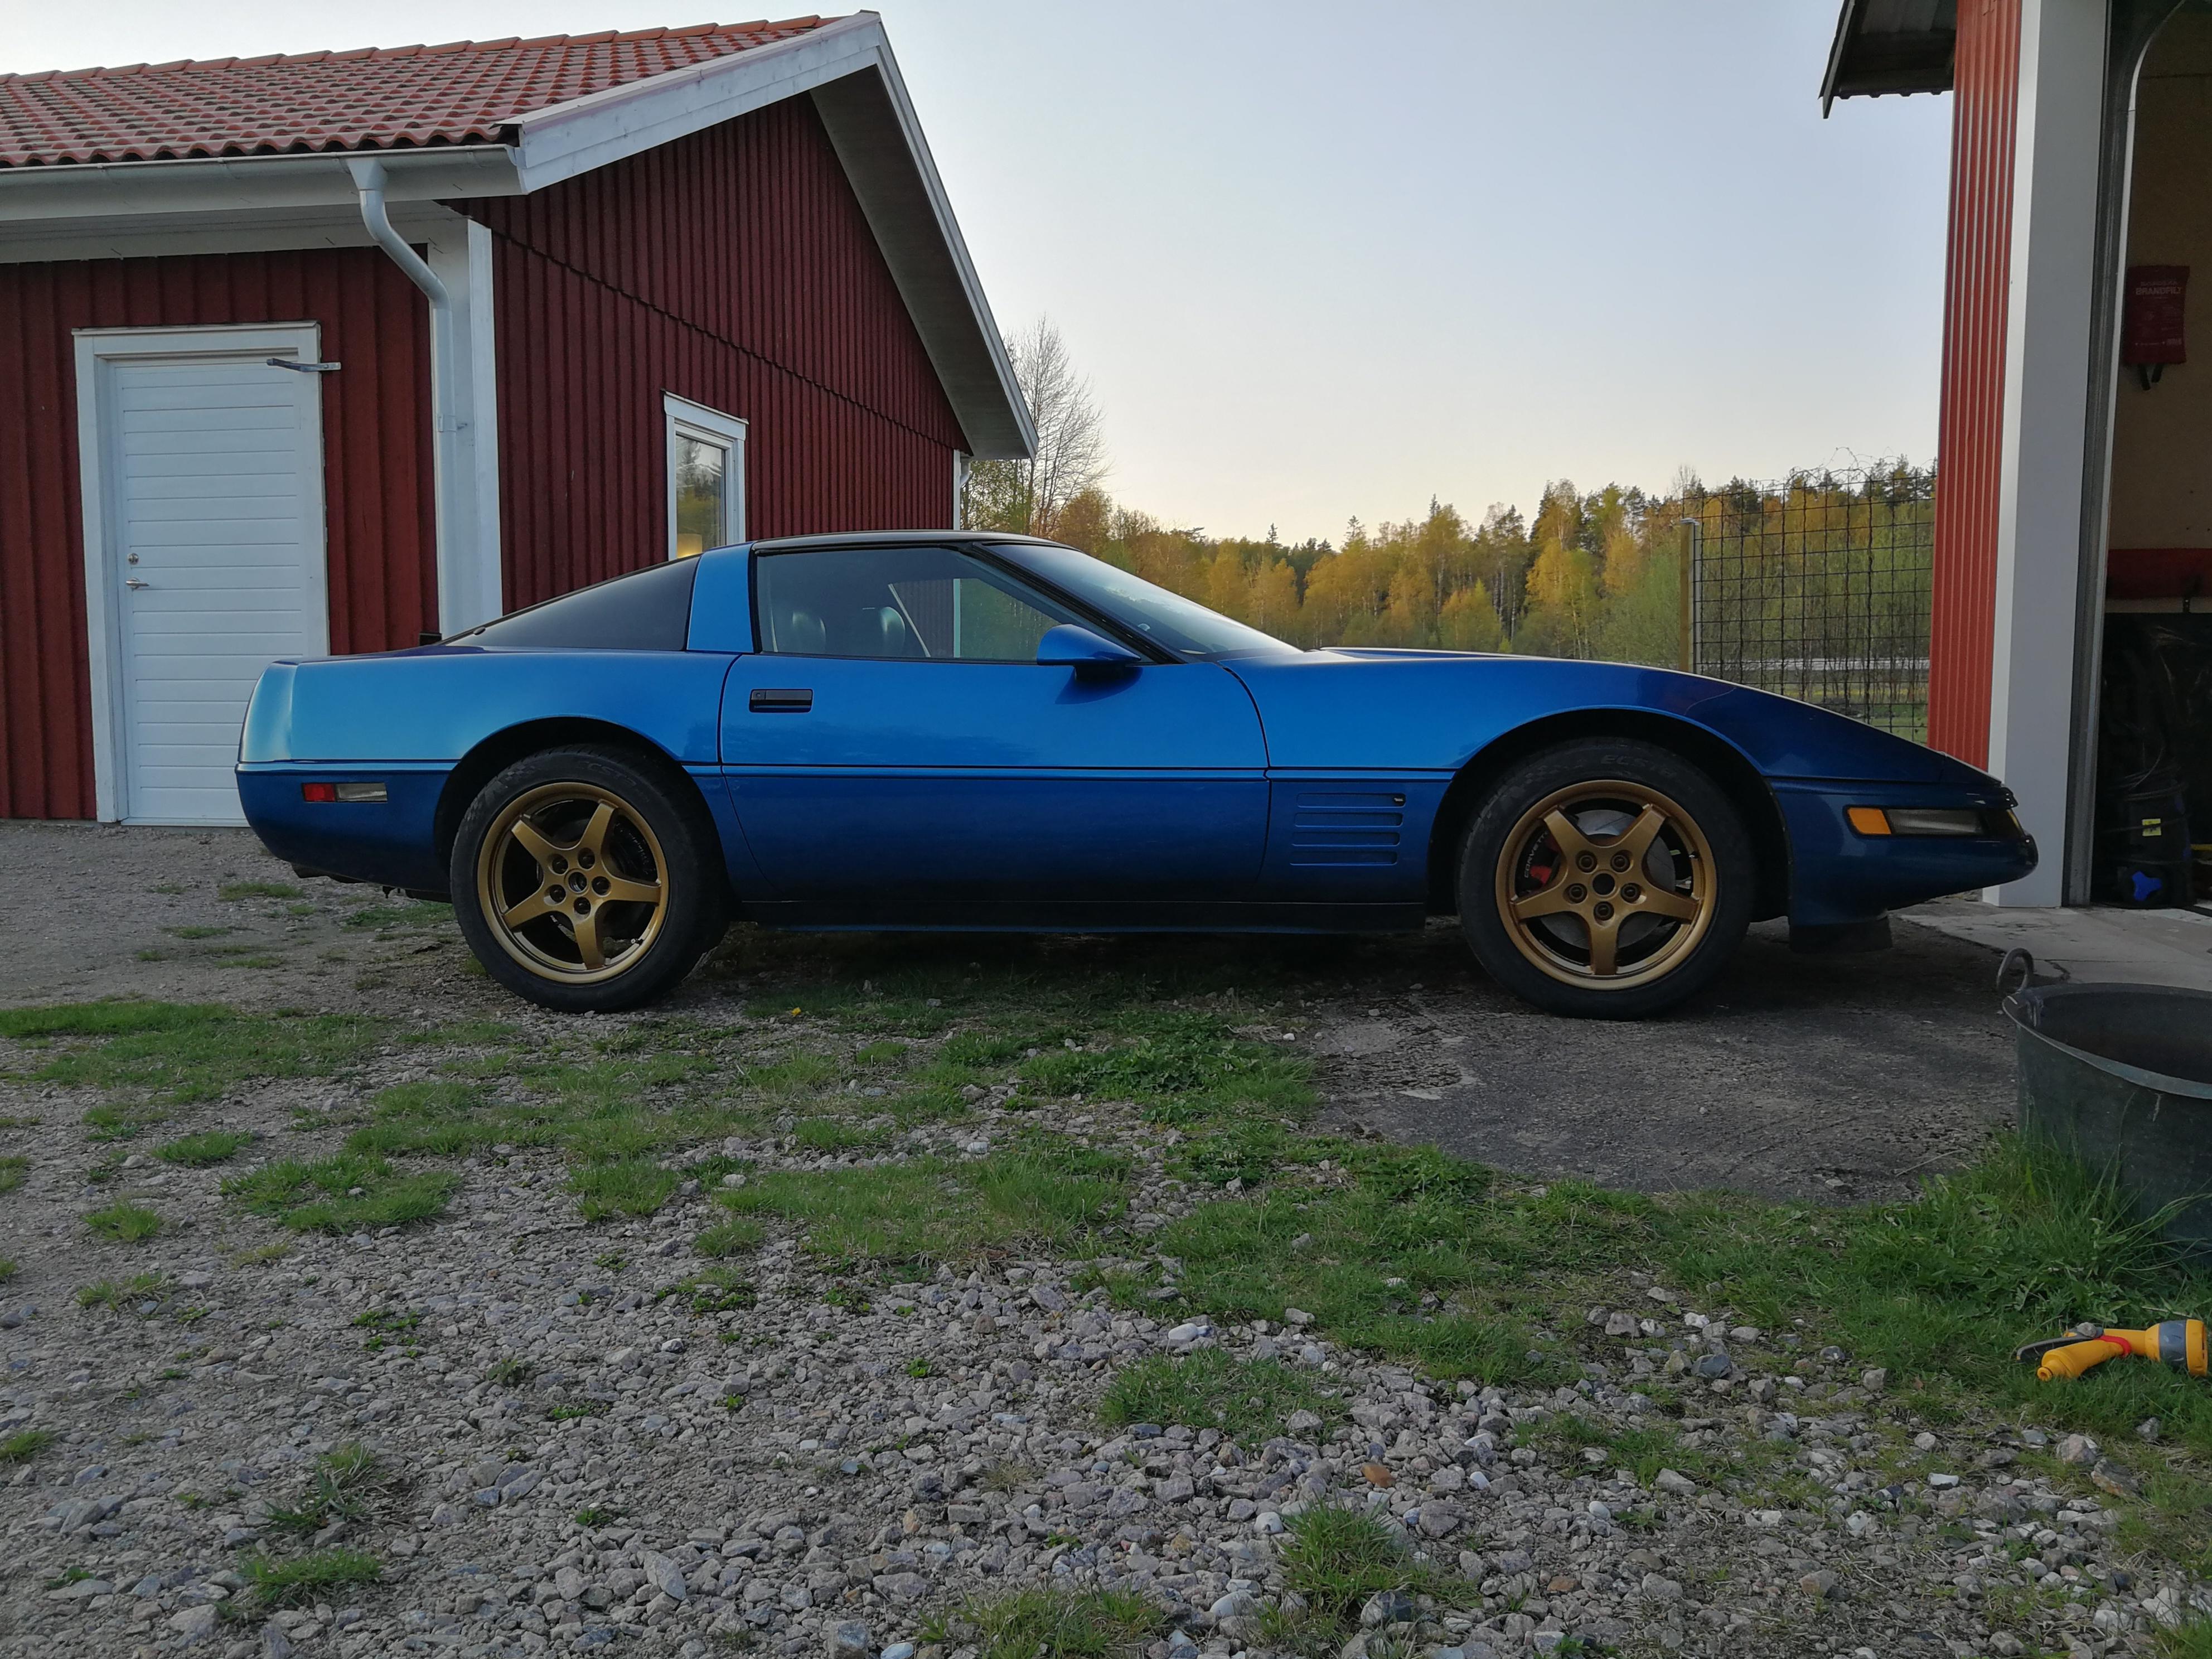
Still dirty but I had to roll her out of the garage to have a look. I like it.
Missing my center caps in the pic.
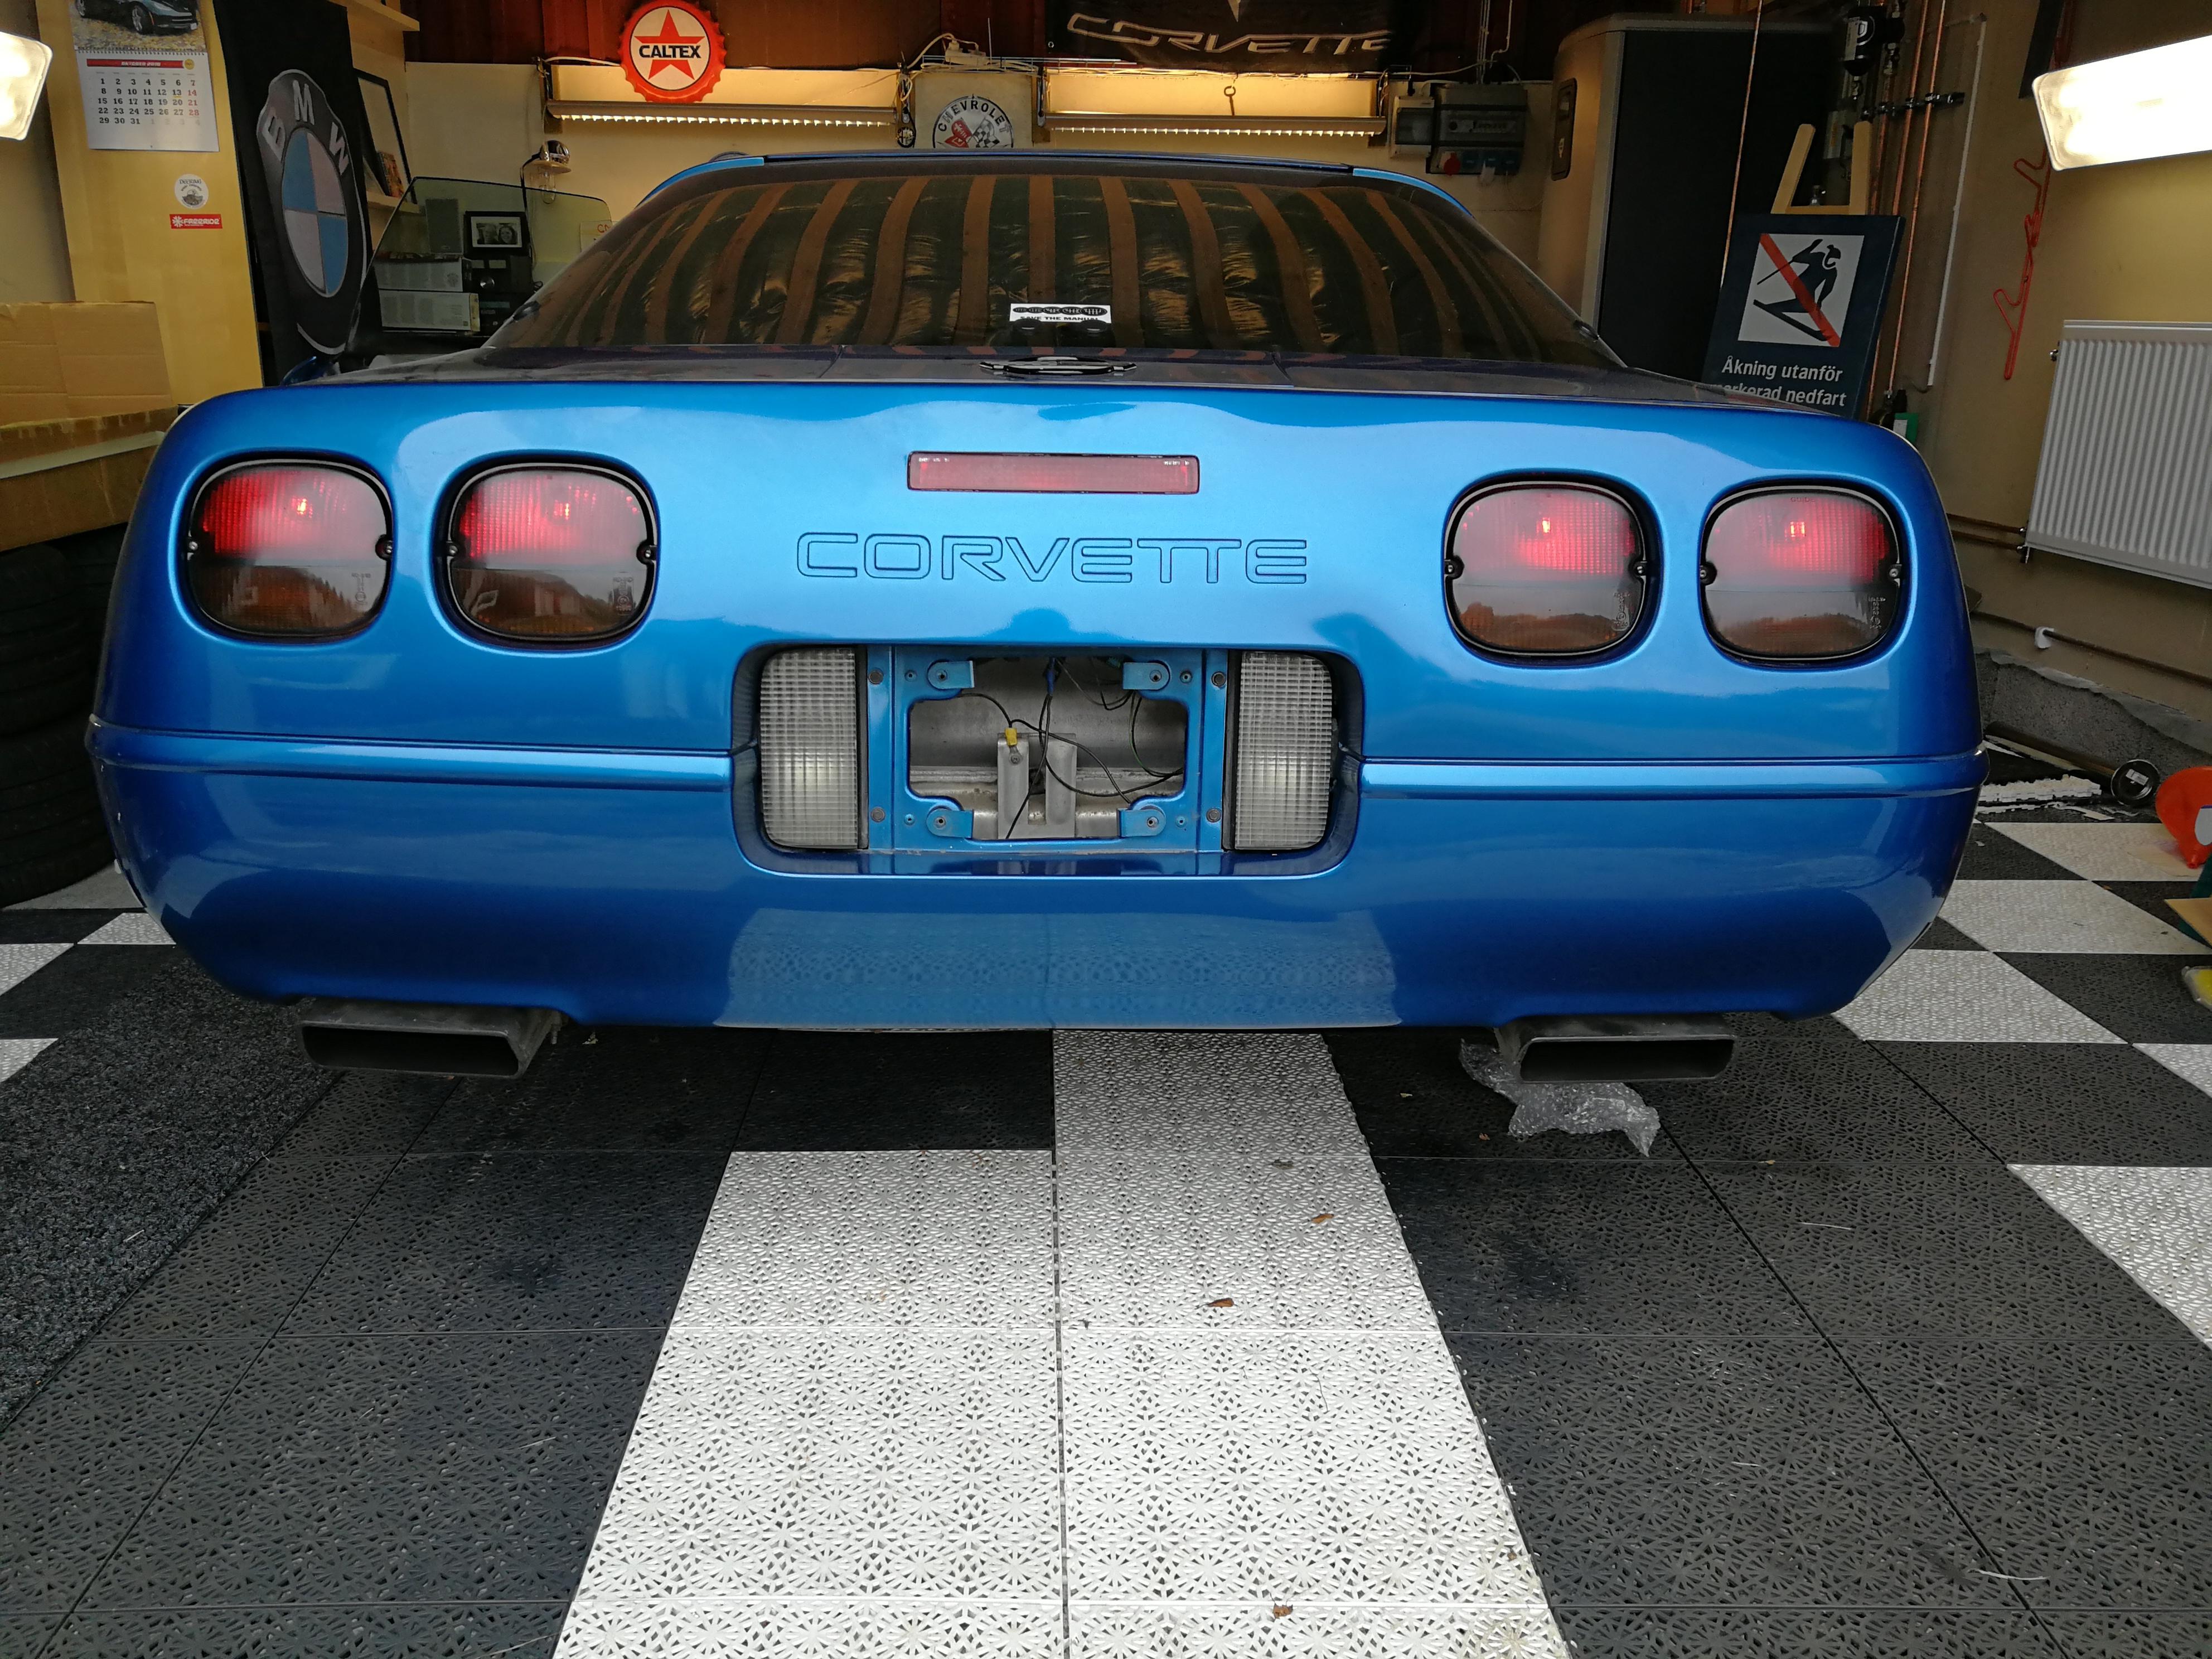
Got my euro tail lights installed aswell. With a light tint on them like this I think it looks good. Would rather have red tail lights but I need to have amber turn signals to be legal in Sweden.
Last edited by The Snowman; 05-01-2019 at 09:30 AM.
Air conditioning system repair & recharge, just in time for summer road trips
Also recently added some power steering stop leak, seems to have stopped the slow drip, so far.
I have a lift in my garage, so it wasn’t too bad. Like everybody has said, it is worth it!
I found the process more tedious than anything else, but very doable.
Last edited by DykstraMotorsports; 05-03-2019 at 08:31 AM.
Not white walls, its the aluminum rim although in the picture I see how they may look like it has white walls But white walls!........that would deserve 100 lashings, lol
Last edited by Ricks94vette; 05-03-2019 at 04:44 PM.
catso, if you have the bolster "repaired" and the leather is OEM maybe an interior spray die would be a good avenue.
I've watching some vids by TheCorvetteBen and he uses said spray dies on C3 seats as he restores them.
Does he sell the dye? It's something I would seriously consider. The seats are OEM out of an '89 and I think the color is much better than the original charcoal fabric seats that came with the car.
I need to do that but first have to replace my Master and Slave cylinder.
You ought to post your steps 😉
Trans drain, and refill
1: get the car on 4 stands.
2: Break the fill plug first
3: Loosen the drain plug.
4: Refill it through the fill plug. I bought a pump from amsoil that screws onto the Amsoil bottle.
5: Takes 2.2 quarts
6: Once full, fluid will drip from the fill hole.
7: Tighten both plugs. Done deal.
Master&Slave
1: Have at least the front of the car on two jack stands.
2: Loosen the bleeder on the slave, put a catch pan under it.
3: Remove PCM/ECM
4: Remove the kick panel
5: Remove the clip that is on the master's rod.
6: Take the rod off the stud on the clutch pedal.
7: Unbolt the master, fully loosen clutch line on the master.
8: Take it out.
9: Remove two bolts on the slave. You'll need a deep 13mm socket.
10: Fully loosen clutch line on slave. Kind of a bitch, at least to me.
11: Get new slave, tighten the clutch line first.
12: Make sure the rod goes on the clutch fork's hole.
13: Bolt it up. I found it easier to get one nut started. Pushed the slave in to help get a nut on the threads.
14: Make sure you put the master's rod on correct side of the clutch pedal.
15: Get both bolts started. Then tighten clutch line on the master.
16: It's up to you on how you want to bleed it. I find it to be annoying.
Does he sell the dye? It's something I would seriously consider. The seats are OEM out of an '89 and I think the color is much better than the original charcoal fabric seats that came with the car.
Just chiming in here about the dye. I've used SEM products to dye dozens of seats and interior parts when I owned a shop. (I'm retired now)
SEM products can be had at Body Shop Paint Supply Stores. They have a prep product to use before applying the dye. You'll need a spray gun to apply the dye, and as I remember it's ready to spray (no thinner required).
I still remember doing the entire interior on a C3 from tan to black and the results were stunning!
When you purchase the dye, bring the interior code color you want to replicate.
Hope this helps!
Trans drain, and refill
1: get the car on 4 stands.
2: Break the fill plug first
3: Loosen the drain plug.
4: Refill it through the fill plug. I bought a pump from amsoil that screws onto the Amsoil bottle.
5: Takes 2.2 quarts
6: Once full, fluid will drip from the fill hole.
7: Tighten both plugs. Done deal.
Master&Slave
1: Have at least the front of the car on two jack stands.
2: Loosen the bleeder on the slave, put a catch pan under it.
3: Remove PCM/ECM
4: Remove the kick panel
5: Remove the clip that is on the master's rod.
6: Take the rod off the stud on the clutch pedal.
7: Unbolt the master, fully loosen clutch line on the master.
8: Take it out.
9: Remove two bolts on the slave. You'll need a deep 13mm socket.
10: Fully loosen clutch line on slave. Kind of a bitch, at least to me.
11: Get new slave, tighten the clutch line first.
12: Make sure the rod goes on the clutch fork's hole.
13: Bolt it up. I found it easier to get one nut started. Pushed the slave in to help get a nut on the threads.
14: Make sure you put the master's rod on correct side of the clutch pedal.
15: Get both bolts started. Then tighten clutch line on the master.
16: It's up to you on how you want to bleed it. I find it to be annoying.
Thanks,
Currently building those 2x4 stands off of Grumpy's website then I'll tackle the problem.
I'll begin with a full reverse fluid extraction, then check to see if there are any leaks. If so, I'll replace both units and think about spending an additional $100 for a braided SS line.
Last edited by Ricks94vette; 05-04-2019 at 12:03 PM.
I installed a steering wheel wrap from redlinegoods (I believe they are a forum sponsor so I can give their name):
My car is no show car, but somehow it feels so good to have some nice and soft leather there compared to the old one.
I'm not a pro it took me about 4 hours today to get it done. I had to undo it partly at one point to get it perfect to my taste. I stitched the wheel wrap in 6 sections, making it very tight and it looks amazing. I only glued the flat parts. One doesn't need to remove the wheel in this generation of the C4.
Probably a pro would have done a better job installing but spending a quiet morning in the Vette doing this is very relaxing. And I probably would pay to have such a great morning.
Just chiming in here about the dye. I've used SEM products to dye dozens of seats and interior parts when I owned a shop. (I'm retired now)
SEM products can be had at Body Shop Paint Supply Stores. They have a prep product to use before applying the dye. You'll need a spray gun to apply the dye, and as I remember it's ready to spray (no thinner required).
I still remember doing the entire interior on a C3 from tan to black and the results were stunning!
When you purchase the dye, bring the interior code color you want to replicate.
Hope this helps!
The leather seats I have came out of a 1989 Vette and I am not sure of the color code. They are kind of a medium grey and I don't want to change the color. Is there a resource for obtaining 1989 interior color codes (hopefully with a color chart)?
I installed a steering wheel wrap from redlinegoods (I believe they are a forum sponsor so I can give their name):
My car is no show car, but somehow it feels so good to have some nice and soft leather there compared to the old one.
I'm not a pro it took me about 4 hours today to get it done. I had to undo it partly at one point to get it perfect to my taste. I stitched the wheel wrap in 6 sections, making it very tight and it looks amazing. I only glued the flat parts. One doesn't need to remove the wheel in this generation of the C4.
Probably a pro would have done a better job installing but spending a quiet morning in the Vette doing this is very relaxing. And I probably would pay to have such a great morning.
Started teaching my self to tune with eprom chips. Have done eeprom and embedded flash memory on an aftermarket one. The only part that annoys me is that the access is facing down and there isn't enough wire to flip it and remount it.
 04-30-2019, 12:44 AM