When you click on links to various merchants on this site and make a purchase, this can result in this site earning a commission. Affiliate programs and affiliations include, but are not limited to, the eBay Partner Network.
Which brake/caliper set up did you go with?
Looks awesome 👍
Thanks all !! Kicked my ***, but got it done. Well the front, anyone want to come over and help with the rear ?
OE Calipers, StopTech slotted rotors and Hawk HPS Pads. Goodridge SS lines.
Moog upper / lower ball joints and outer tie-rods. Timken hubs.
SuperPro bushing set.
RideTech HD adjustable shocks w. Banski pin top shock mounts.
Used set of 'FHA' stiffer springs and lowered.
Thinking about a new set of 18" wheels. Working on the rear now, looking forward to getting back on the road and seeing how everything comes together.
Cheers. -Steve
What was the most challenging part of the upgrade?
What was the most challenging part of the upgrade?
Hiding it all from my wife LOL
Removing the rear, front lower control arm bolts without dropping the k-member was a task. Ended up cutting those out (PITA) and had to install the replacements the reverse of the original assembly. Also, not the easiest to torque to spec with the limited space in that area.
The SuperPro bushings took some work as they are a one piece design. With everything lubed up, they don't exactly want to press in easily. They would start, but then shoot off to the side. Used a threaded rod and pulled them into place with stack up of washers and nuts, others were on 12-ton shop press. If you are going to get a press, the 12-ton Strongway from Northern Tool is a great deal. With an online coupon at the time it was about the same or less than the POS HF one I purchased, set-up, used once and returned.
Got the last of the small parts painted for my 95 convertible. She started life as polo green, but I'm changing her to Limerock green with a summit white GS stripe. Now, time to get the car herself painted.
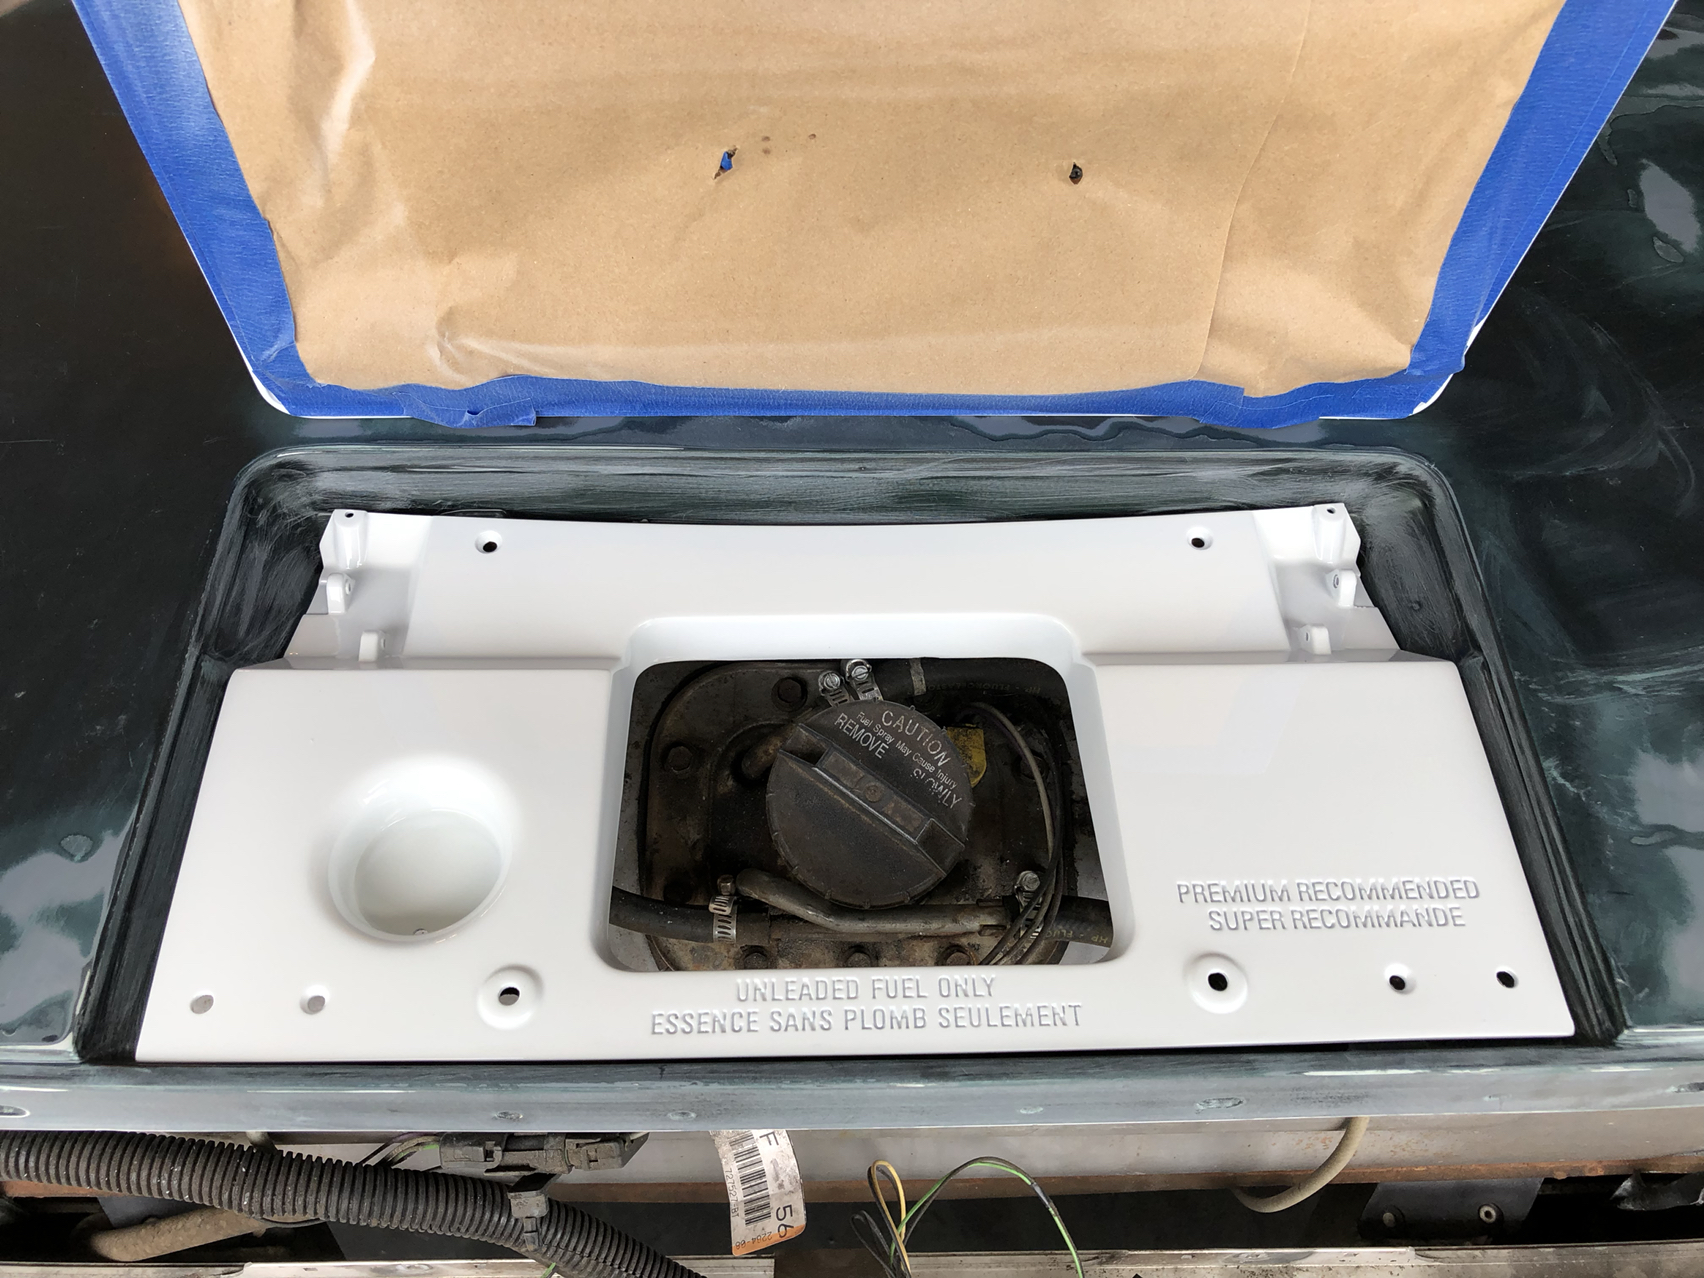
Backside of gas lid
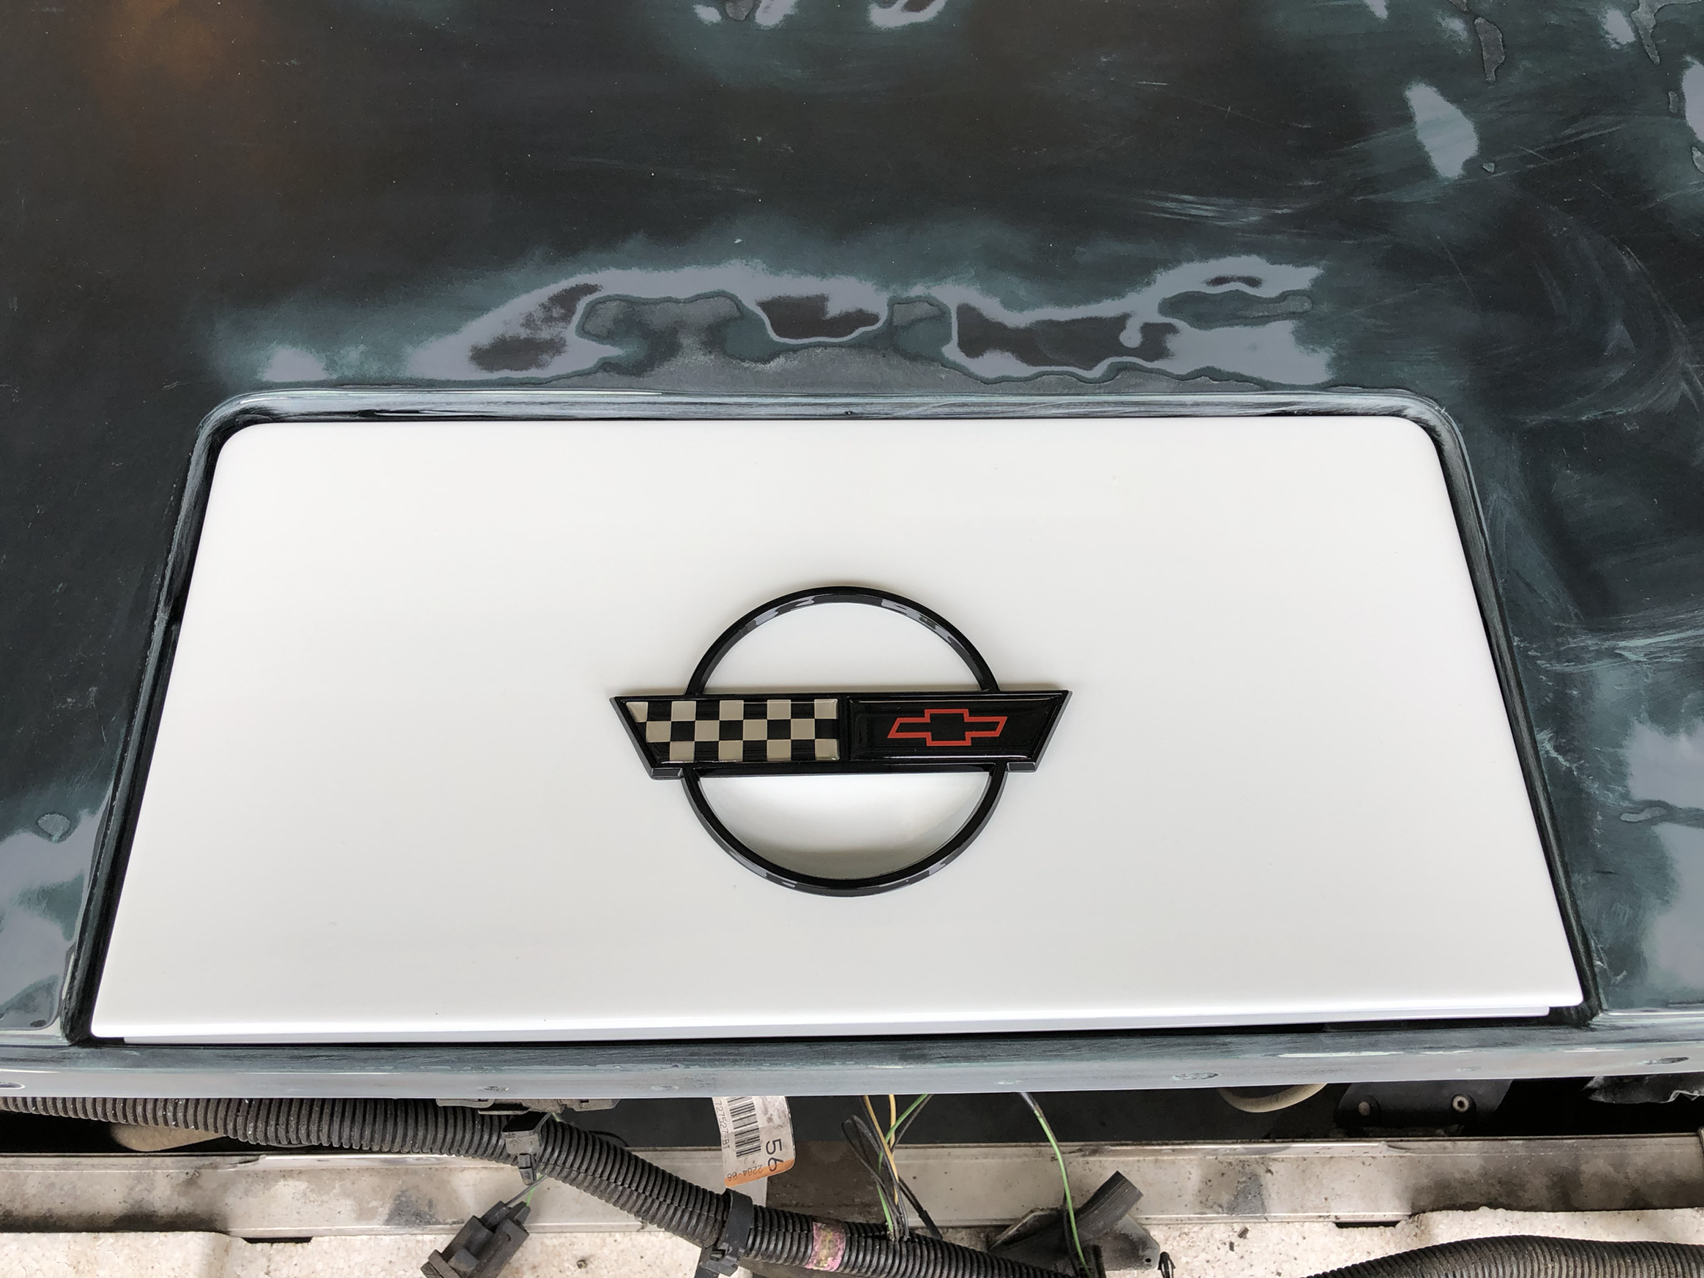
Top of gas lid with new emblem setting in place, not yet attached
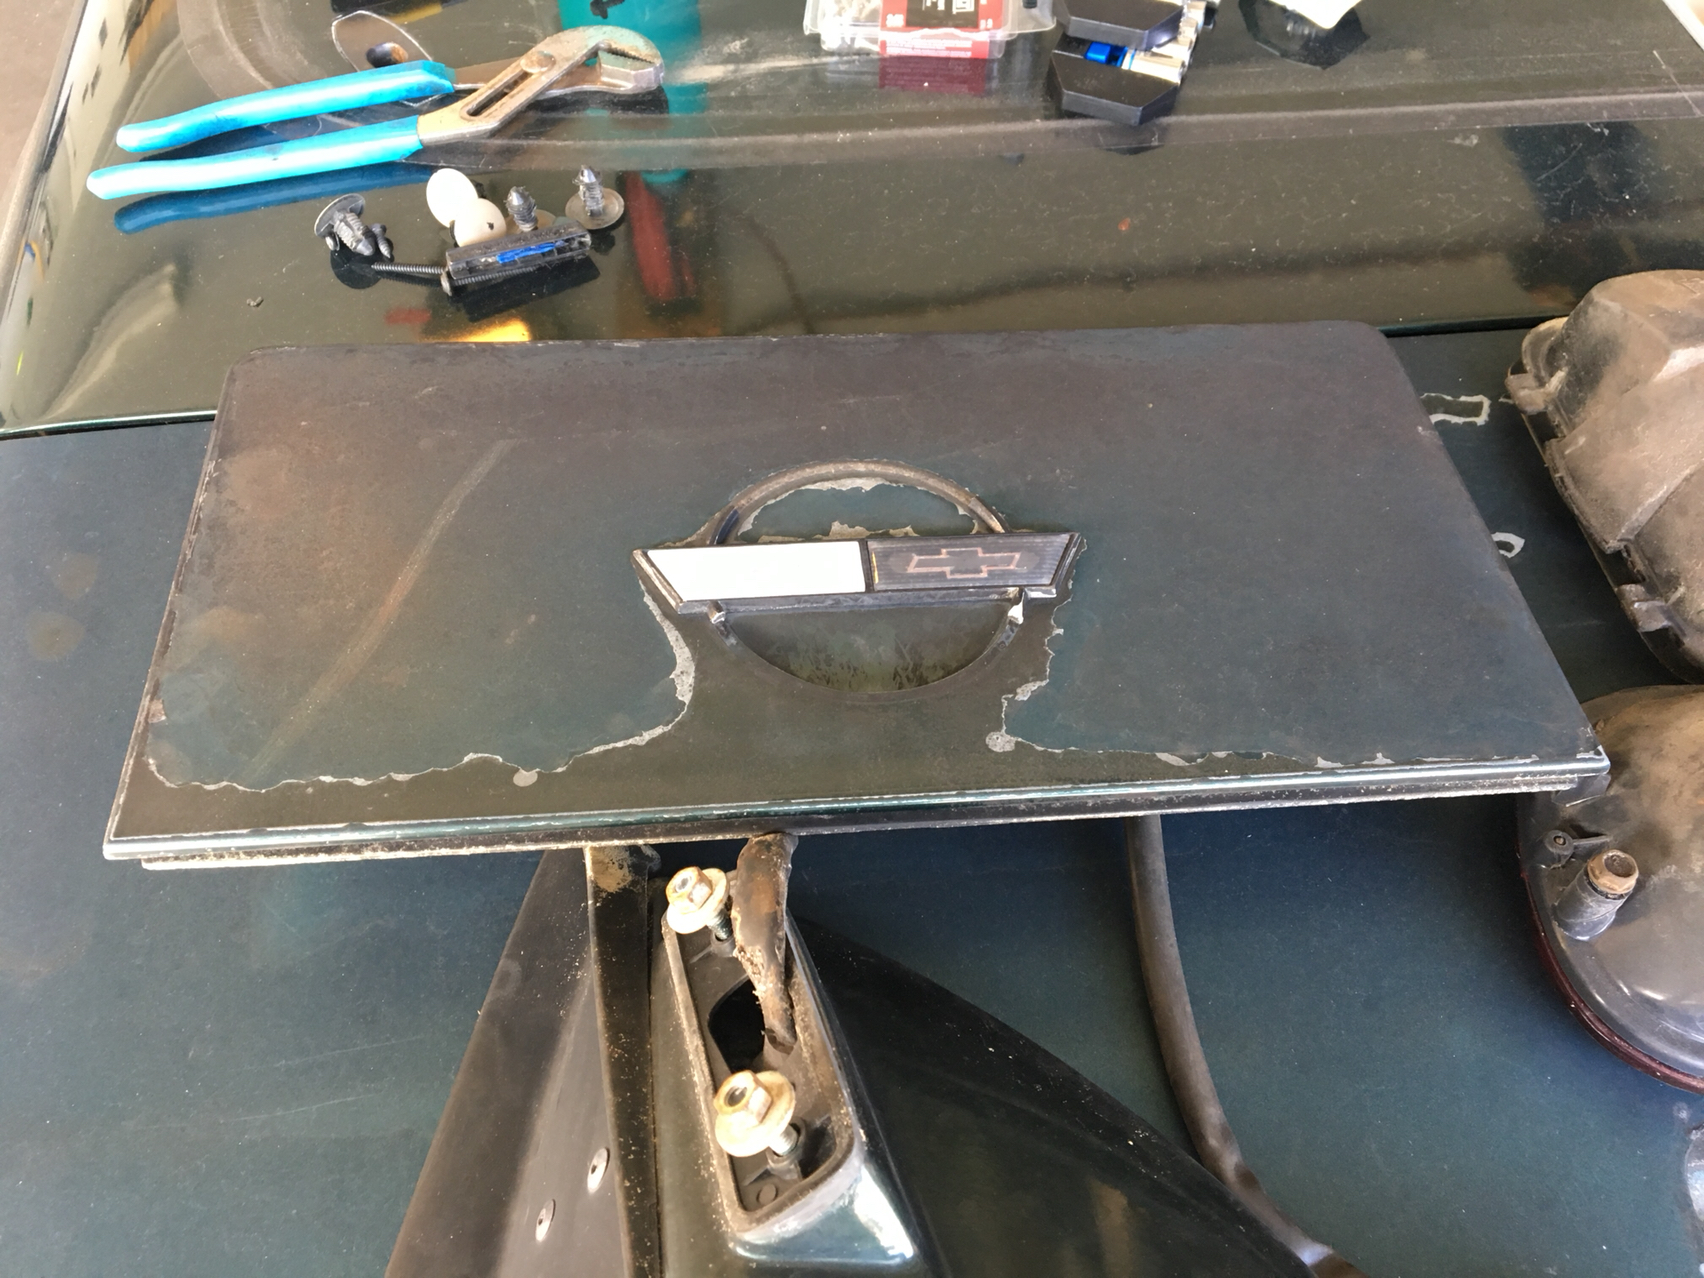
This was the original emblem( what was left , anyway) and the state of the paint before it turned white!
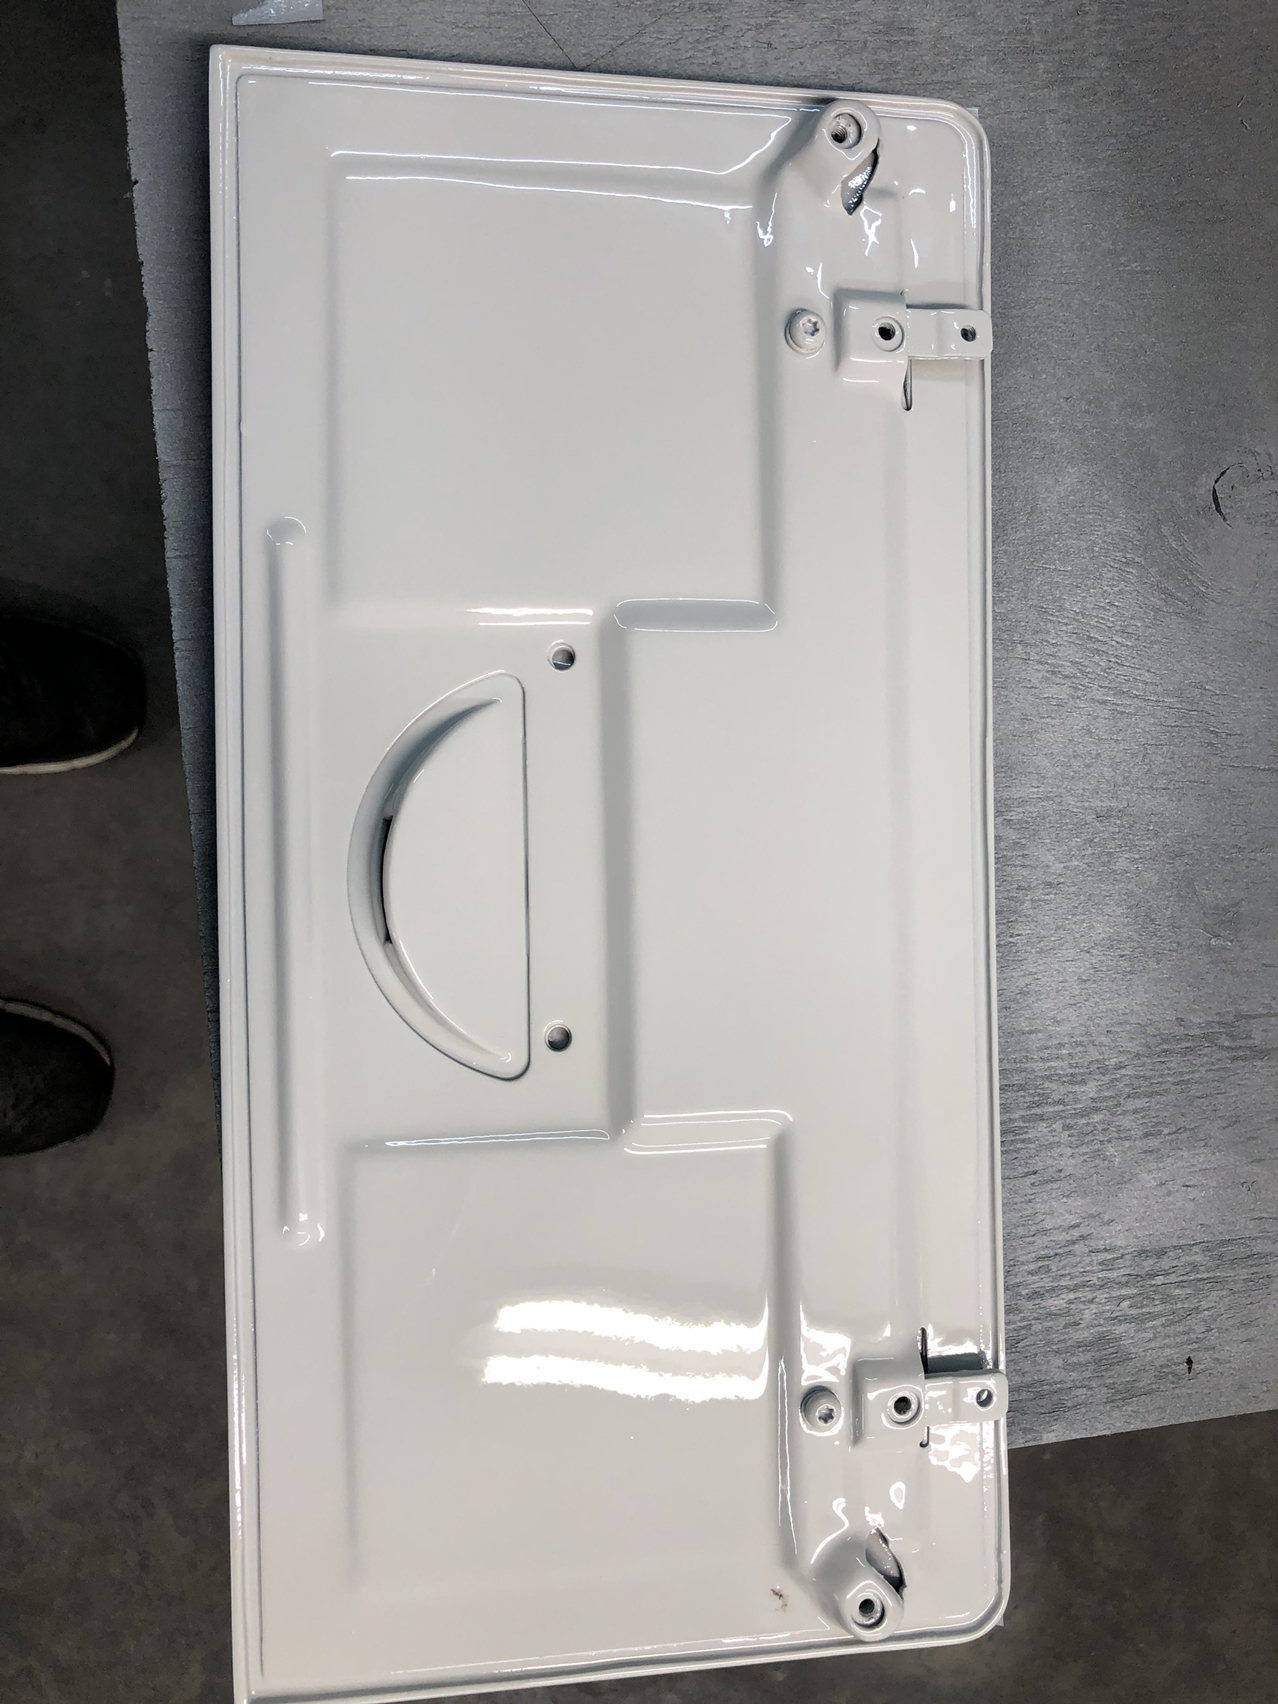
This was black, decided I wanted it white to go with the rest of the paint in that area
Before clear
After clear. Opposite side mirrors, but you get the idea.
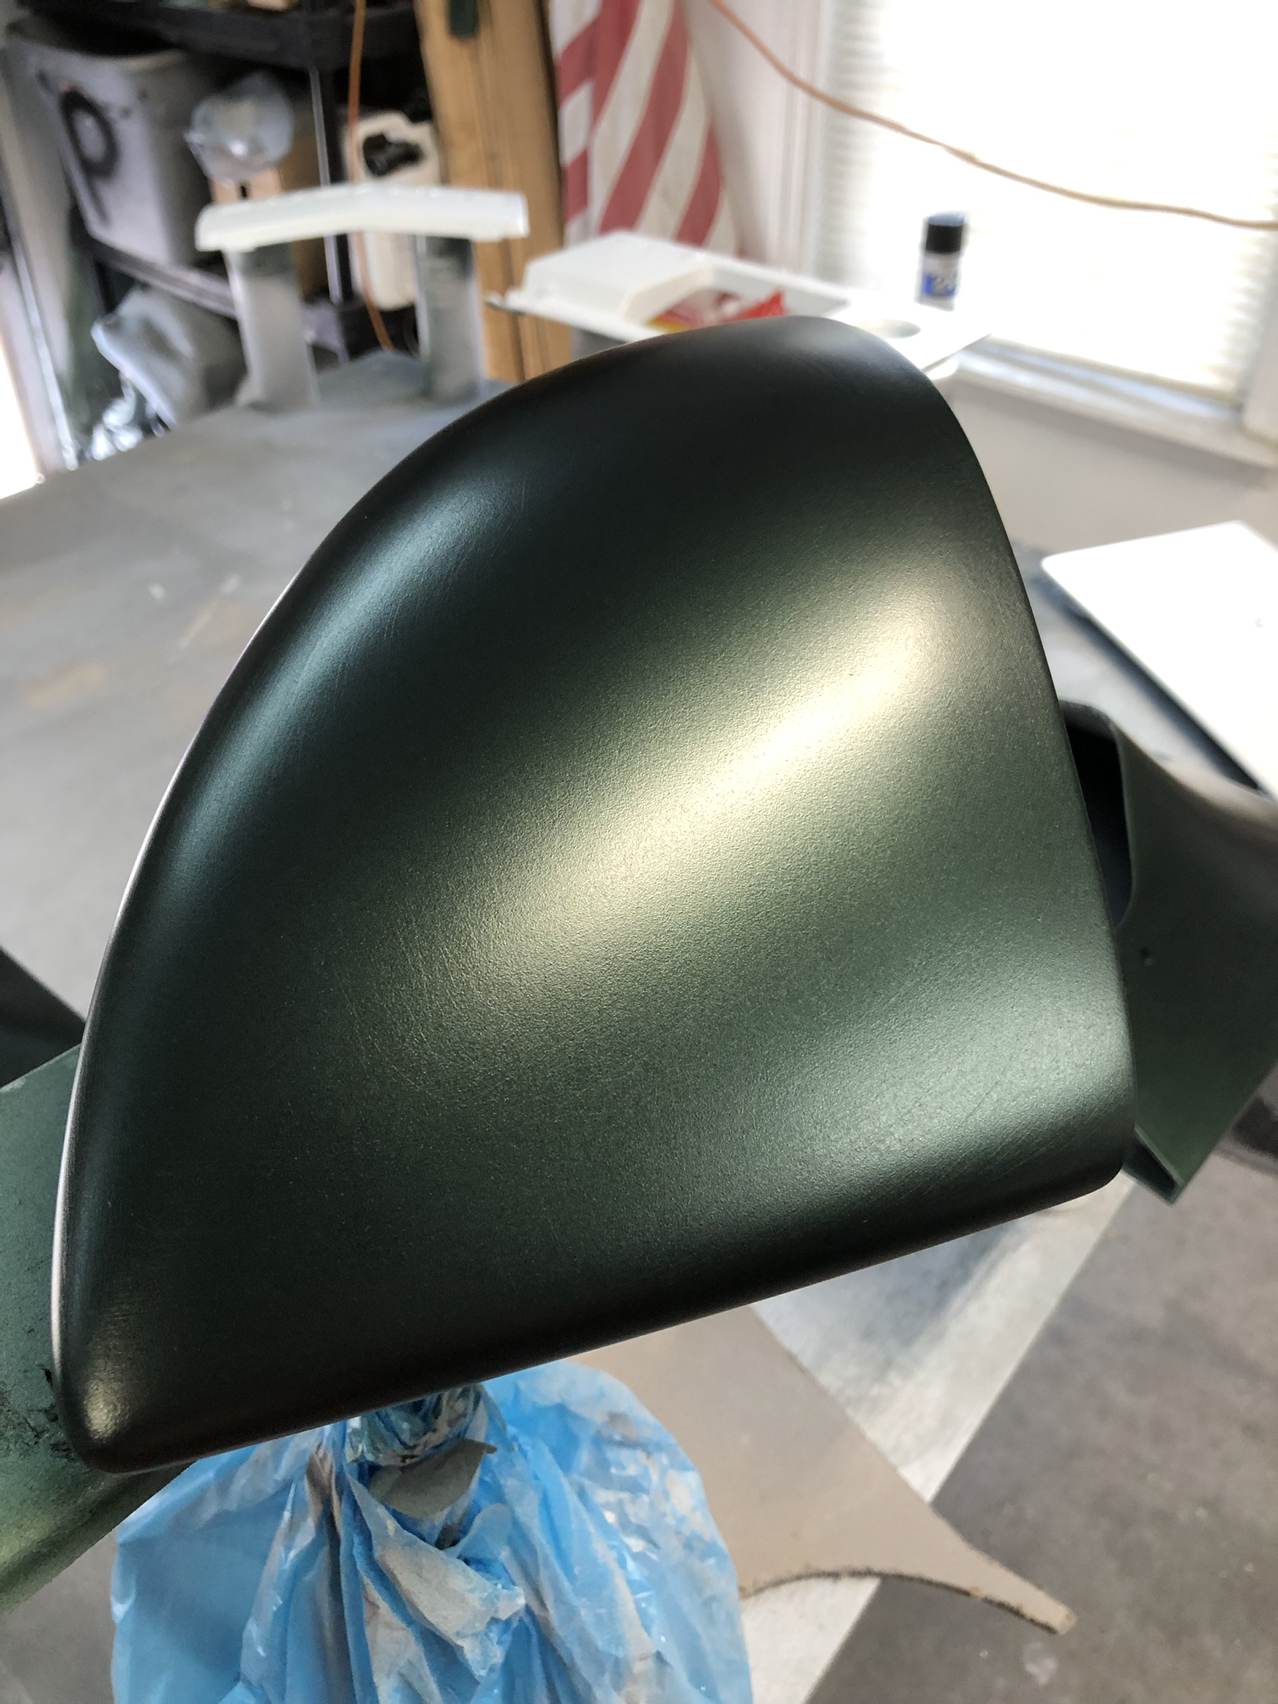
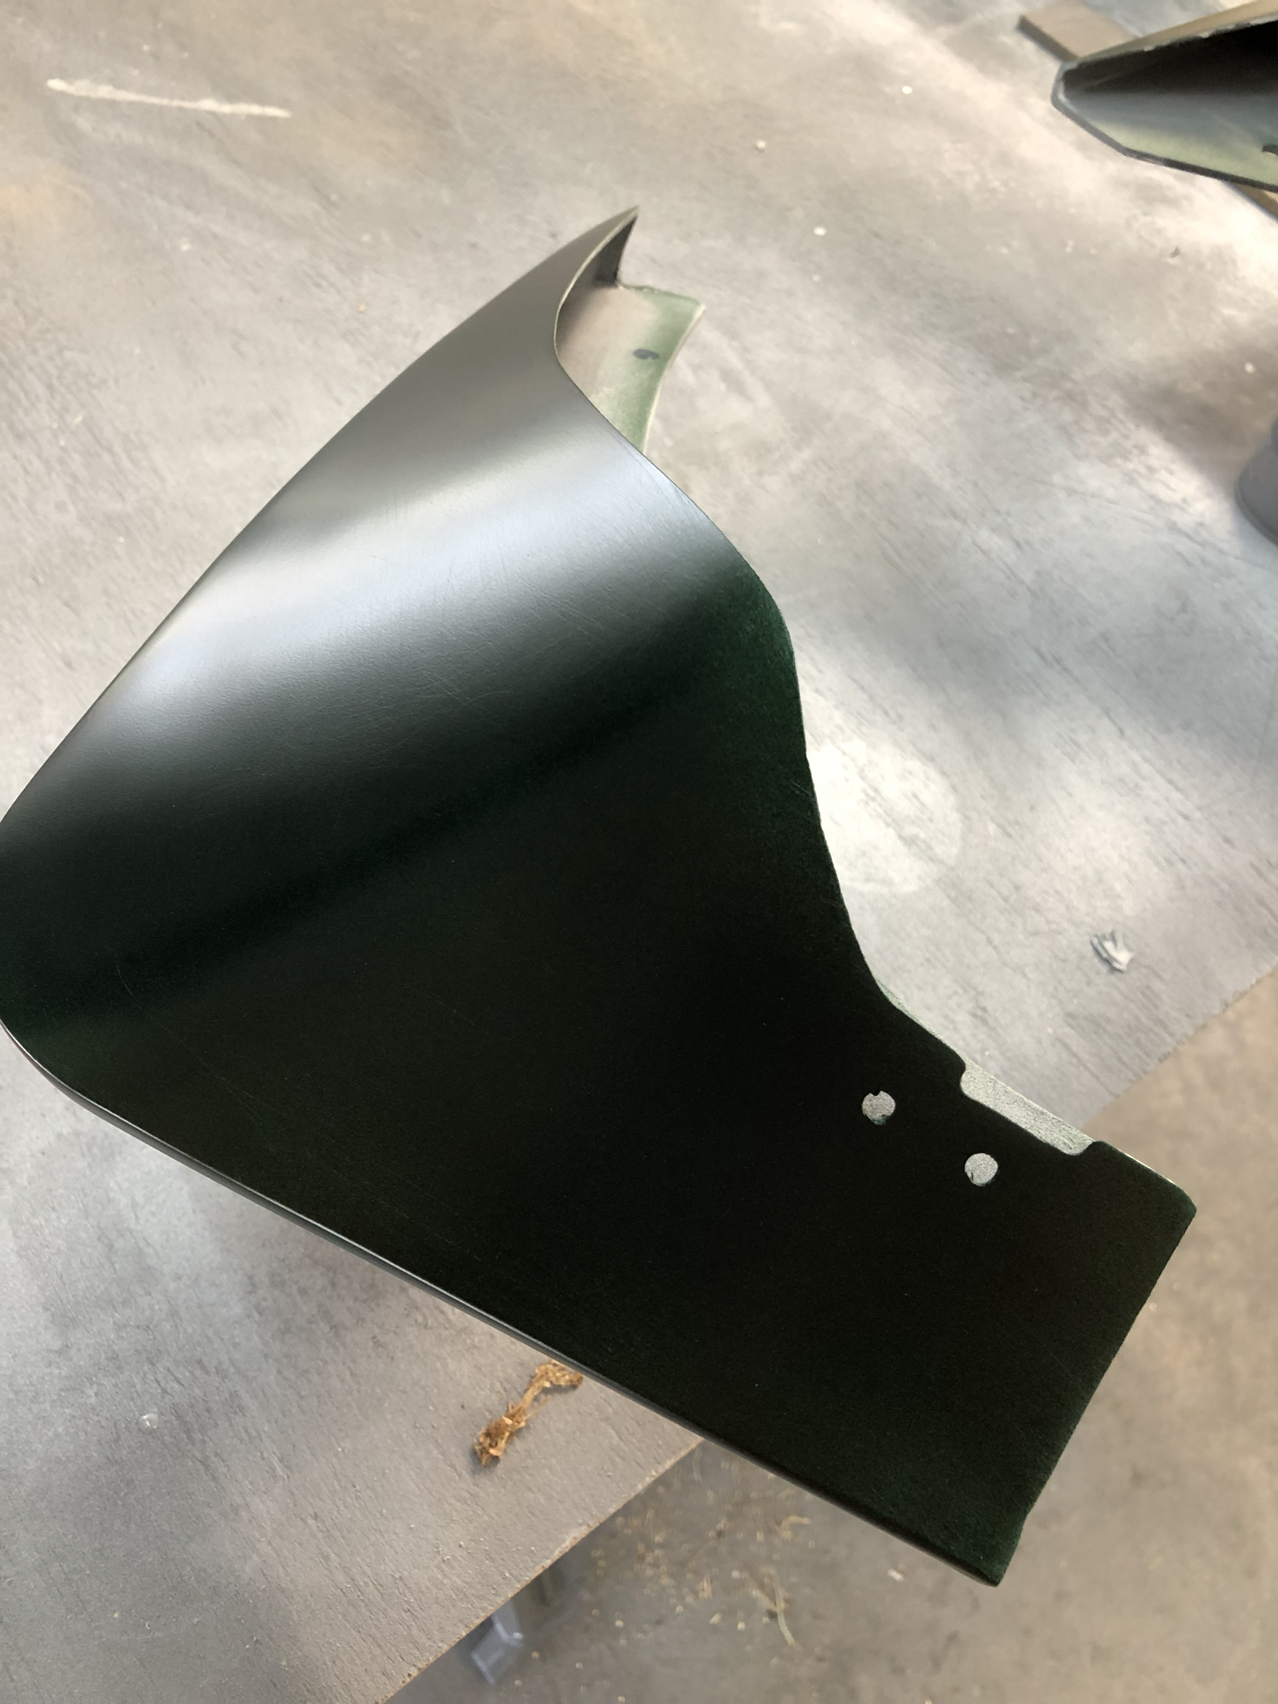
Splash guard painted body color before clear
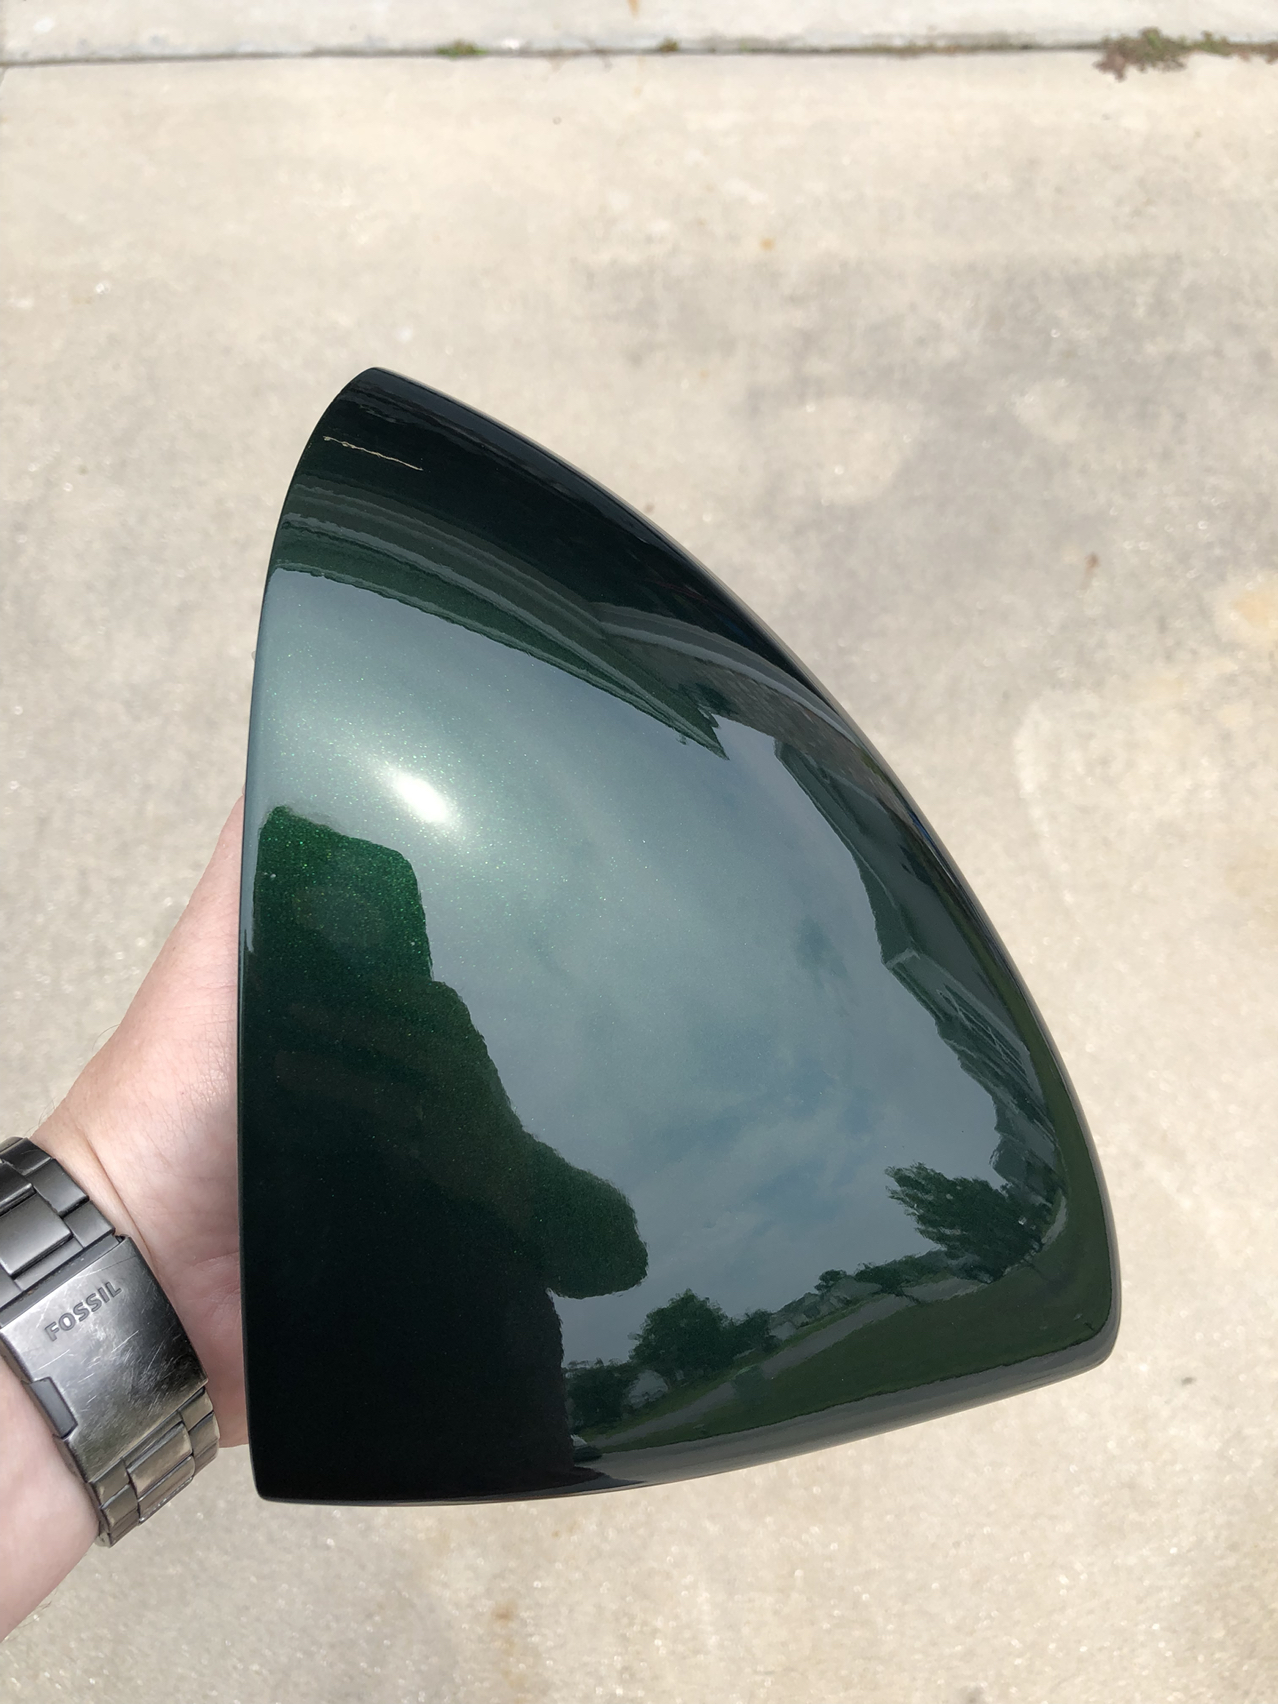
Different splash guard but shows the outcome.
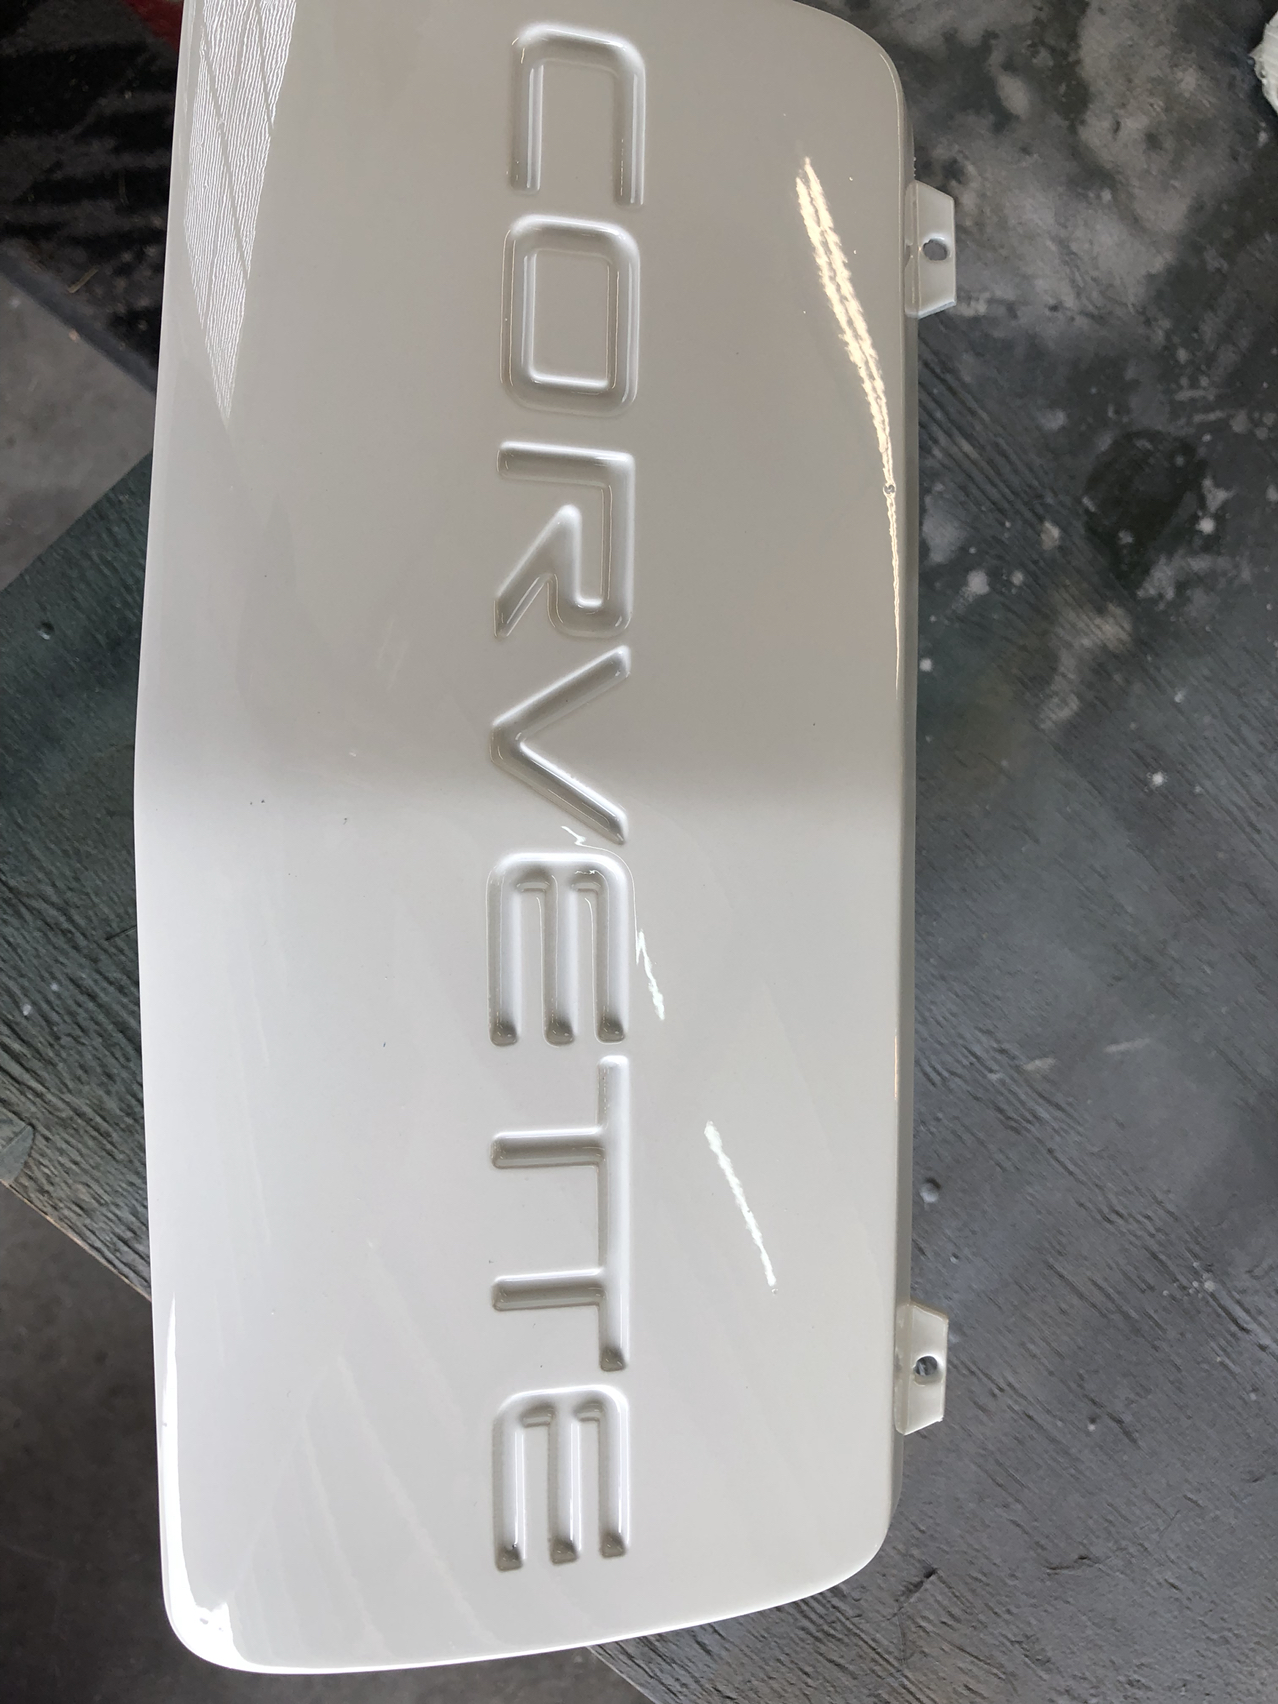
Front bumper insert.
Last edited by sluggballz; 05-12-2019 at 01:25 PM.
My rewiring job and new interior is essentially completed. JCG Restoration & Custom is doing the last minute checkout and wringing out all the circuits. They installed a new relay center. Everything is essentially going through a relay now. New carpeting was installed instead of the old carpeting. They made me a battery tray for my Optima battery that sits in the old compartment where the radio module use to be behind the passenger seat. The only thing I need to do is get my Momo seats reupholstered. Here are some pictures:
Got the last of the small parts painted for my 95 convertible. She started life as polo green, but I'm changing her to Limerock green with a summit white GS stripe. Now, time to get the car herself painted. Attachment 48302482
Backside of gas lid Attachment 48302483
Top of gas lid with new emblem setting in place, not yet attached Attachment 48302489
This was the original emblem( what was left , anyway) and the state of the paint before it turned white! Attachment 48302484
This was black, decided I wanted it white to go with the rest of the paint in that area Attachment 48302481
Before clear Attachment 48302488
After clear. Opposite side mirrors, but you get the idea. Attachment 48302485
Splash guard painted body color before clear Attachment 48302487
Different splash guard but shows the outcome. Attachment 48302486
Front bumper insert.
Wow! Looks to turning out to be beautiful. Keep us posted on your progress!
Got the last of the small parts painted for my 95 convertible. She started life as polo green, but I'm changing her to Limerock green with a summit white GS stripe. Now, time to get the car herself painted. Attachment 48302482
Backside of gas lid Attachment 48302483
Top of gas lid with new emblem setting in place, not yet attached Attachment 48302489
This was the original emblem( what was left , anyway) and the state of the paint before it turned white! Attachment 48302484
This was black, decided I wanted it white to go with the rest of the paint in that area Attachment 48302481
Before clear Attachment 48302488
After clear. Opposite side mirrors, but you get the idea. Attachment 48302485
Splash guard painted body color before clear Attachment 48302487
Different splash guard but shows the outcome. Attachment 48302486
Front bumper insert.
Removing the rear, front lower control arm bolts without dropping the k-member was a task. Ended up cutting those out (PITA) and had to install the replacements the reverse of the original assembly. Also, not the easiest to torque to spec with the limited space in that area.
No cutting is necessary when you remove them properly. Just unbolt the the side braces for the cradle.
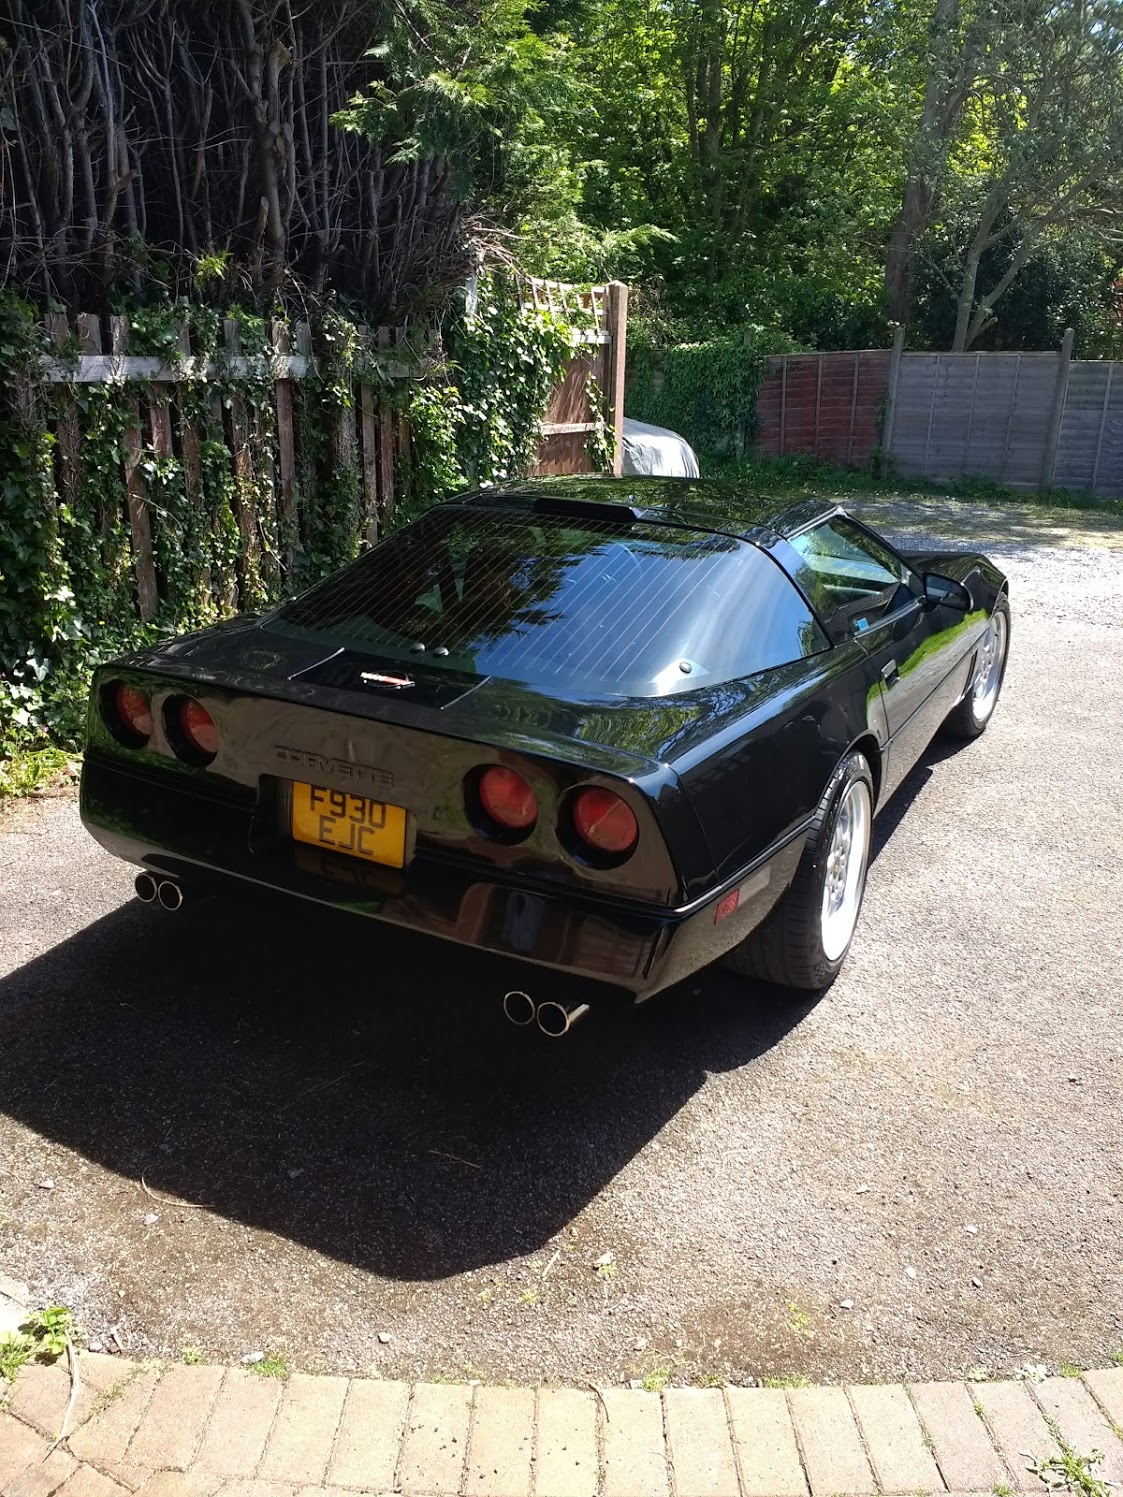
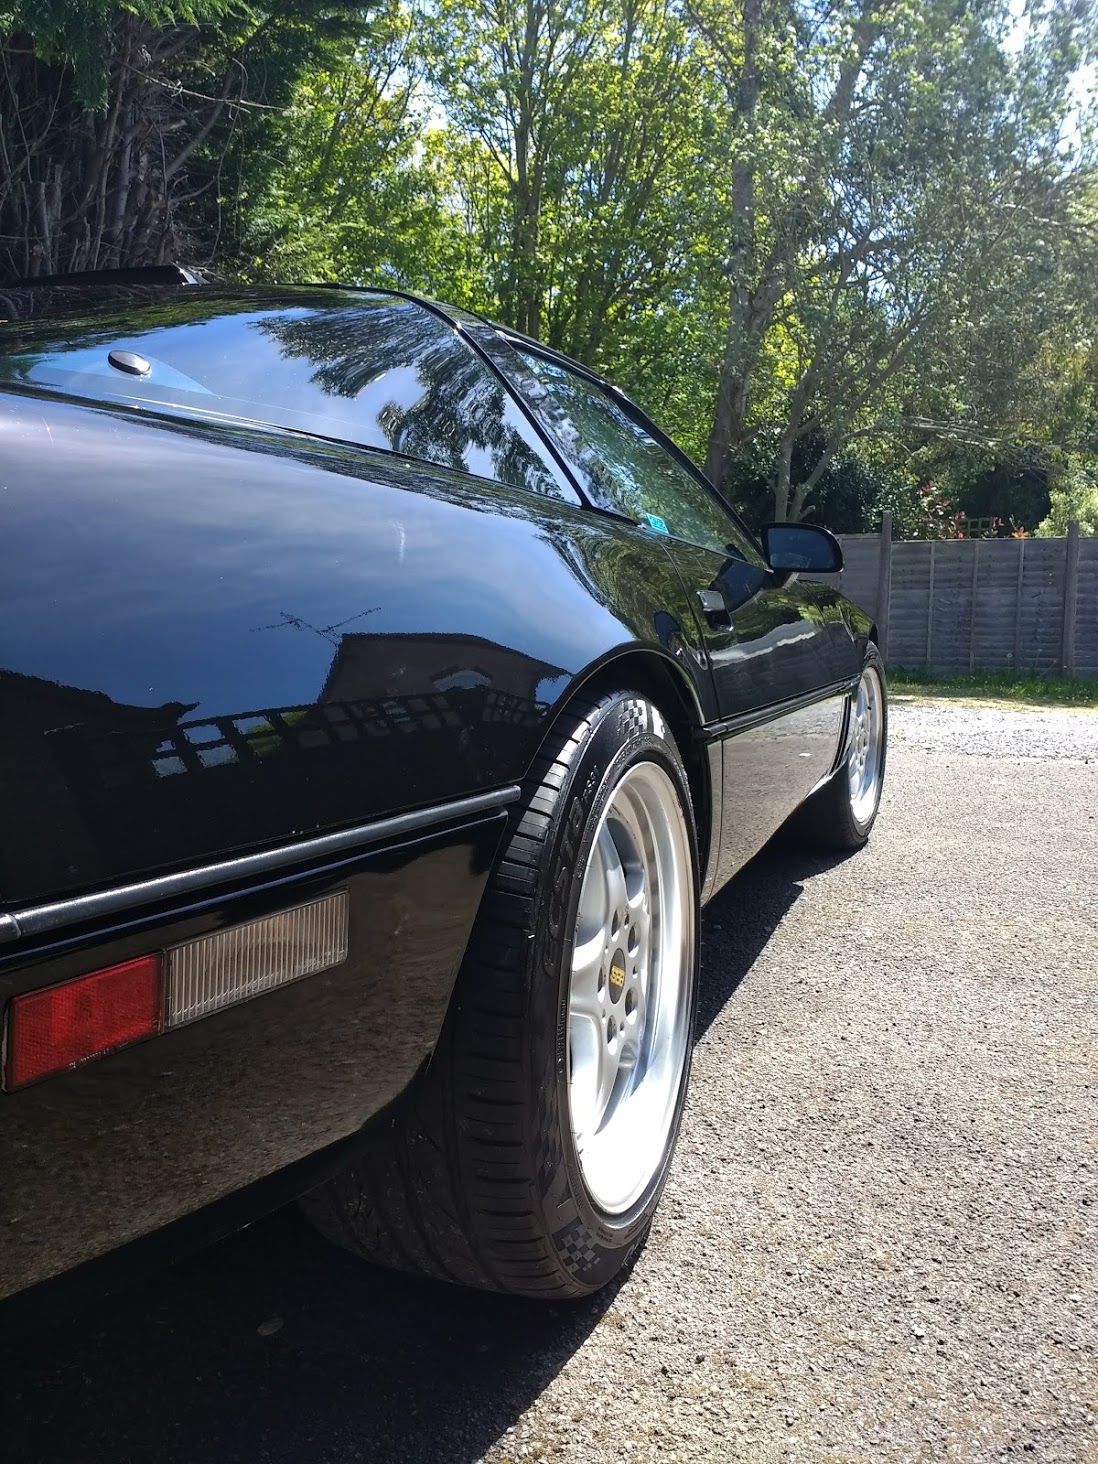
Borrowed a dual action polisher from a friend and set about going over my car. I've had it 3 1/2 years and just moved somewhere with some off road parking space, before that I used to park in the street and run through the house with buckets of water... Needless to say it needed a good polish and it came up great! It's got plenty of stone chips on the front but looking much more presentable now and I hope to keep on top of it with my hosepipe!
Borrowed a dual action polisher from a friend and set about going over my car. I've had it 3 1/2 years and just moved somewhere with some off road parking space, before that I used to park in the street and run through the house with buckets of water... Needless to say it needed a good polish and it came up great! It's got plenty of stone chips on the front but looking much more presentable now and I hope to keep on top of it with my hosepipe!
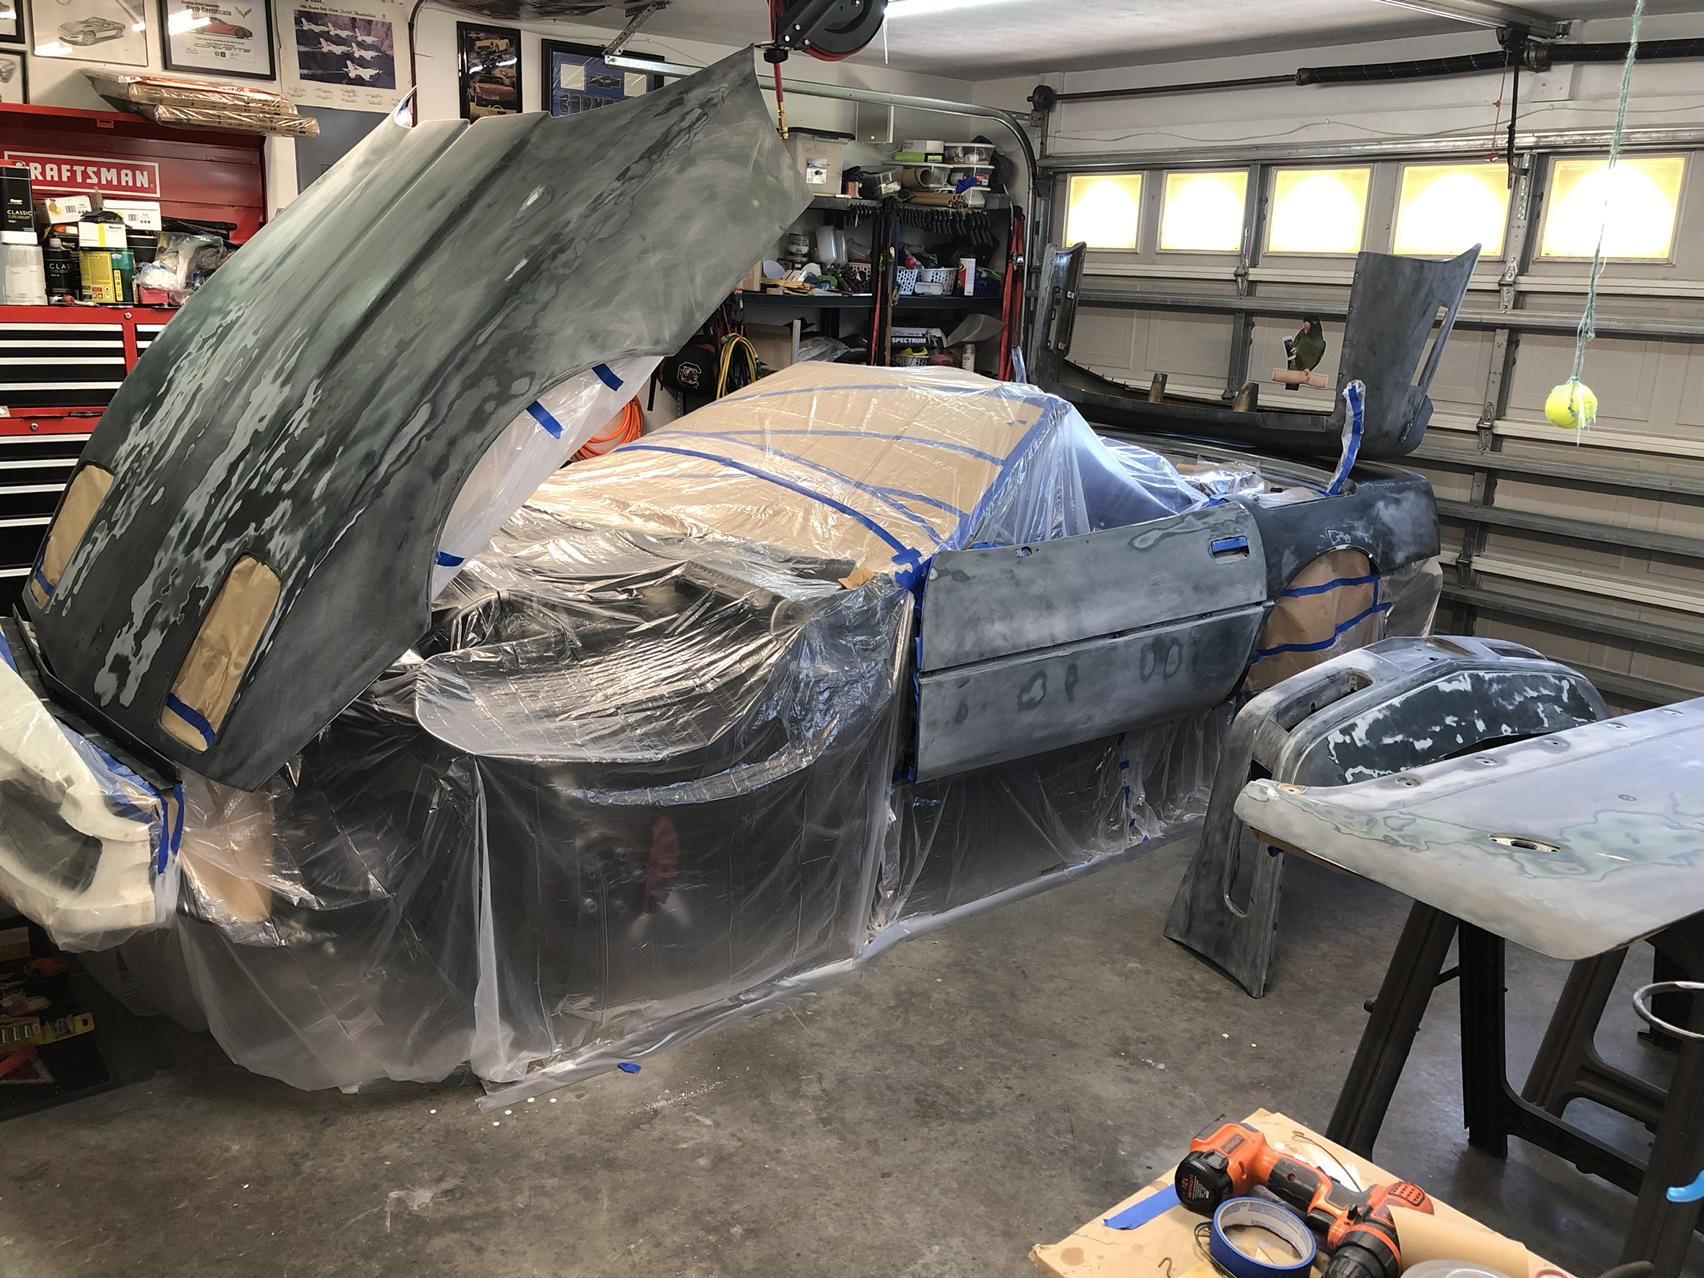
Finally have all the masking done for the new paint. Tonight I'll hang the plastic on the walls and get my filters set up and tomorrow should be the first coat of primer. Should be colored and cleared by Wednesday!! Let's hope.
Finally have all the masking done for the new paint. Tonight I'll hang the plastic on the walls and get my filters set up and tomorrow should be the first coat of primer. Should be colored and cleared by Wednesday!! Let's hope. Attachment 48302601
My parking brake cable fell apart ysar and half ago. Upper cable had pulled out of brackett and left cable came off. So decided to replace both rear cables. Working and getting up off the floor is getting harder to do over 70!
Installed a new in-line fuel filter in hopes that it would fix my engine performance problems.... **spoiler alert** it did not
Thought a lot about my Dad today. He left me this car when he passed a few weeks ago. He loved this car very much and I feel like I need to get it running like a champ again. So far I am not doing well.
 05-11-2019, 05:07 PM