Starting the teardown
 10-04-2014, 03:02 PM
#41
Safety Car

Thread Starter
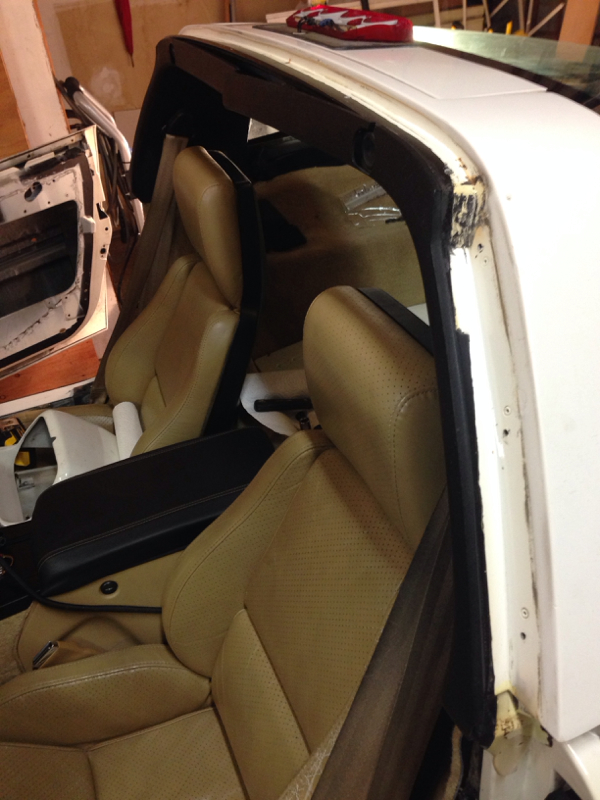
I didn't want to have any paint lines on the doors or overspray on any components inside the door. And I will have all winter to put it back together, hopefully with newer regulators.


 great job


 as c4s become more collectible hopefully we see more of this!
10-04-2014, 05:11 PM
as c4s become more collectible hopefully we see more of this!
10-04-2014, 05:11 PM
#45
Team Owner


Member Since: Aug 2005
Location: Riverside County Southern California
Posts: 34,988
Received 501 Likes
on
342 Posts
Co-winner 2020 C4 of the Year - Modified
2018 Corvette of Year Finalist
2017 C4 of Year
2016 C7 of Year Finalist
St. Jude Donor '09-'10-'11-'12-'13-'14-'15-'16-'17-'18-'19-'20


looking good


 10-04-2014, 10:27 PM
#49
Safety Car
Thread Starter
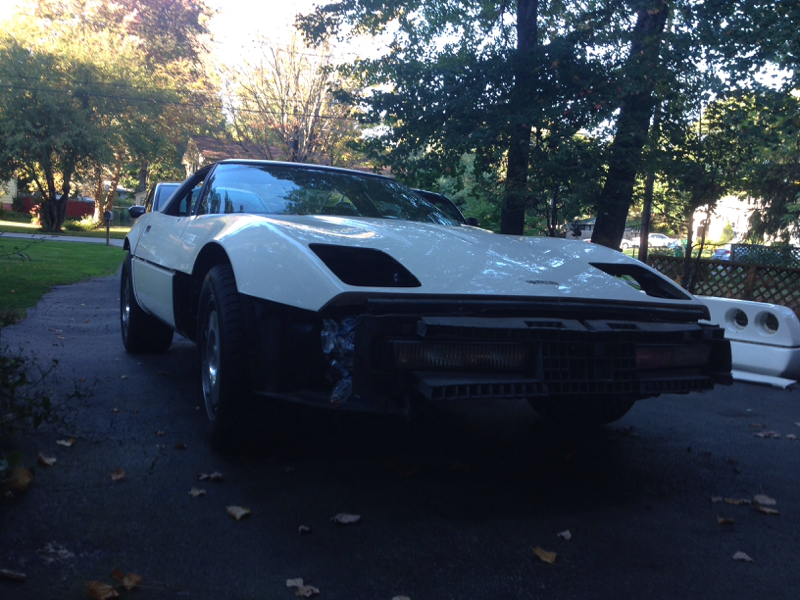
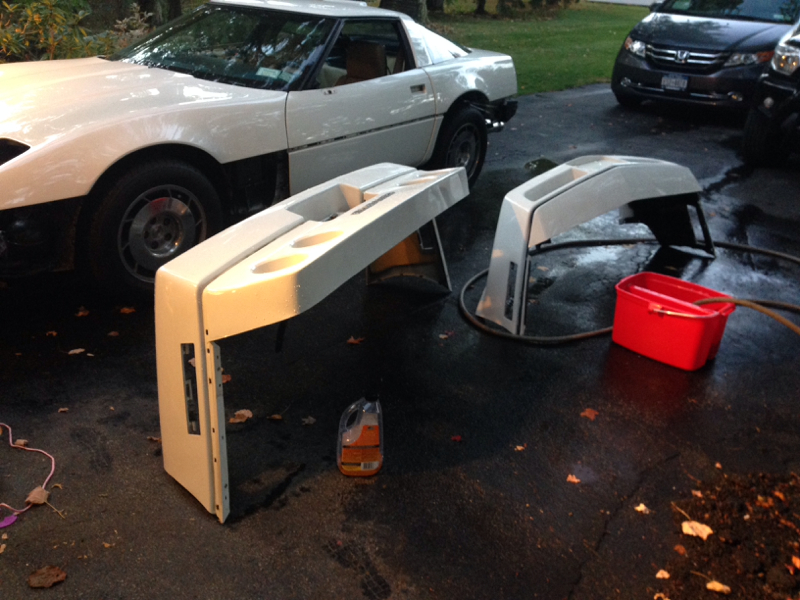
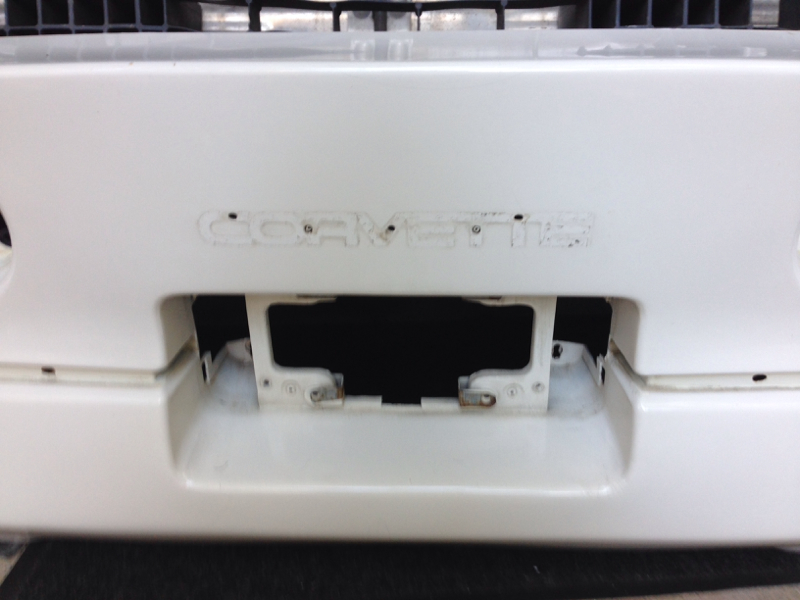
When removing the rear bumper i had several bolts twist off. It was deceptive because it really felt like the nuts were unscrewing. This was using a 1/4 ratchet too. 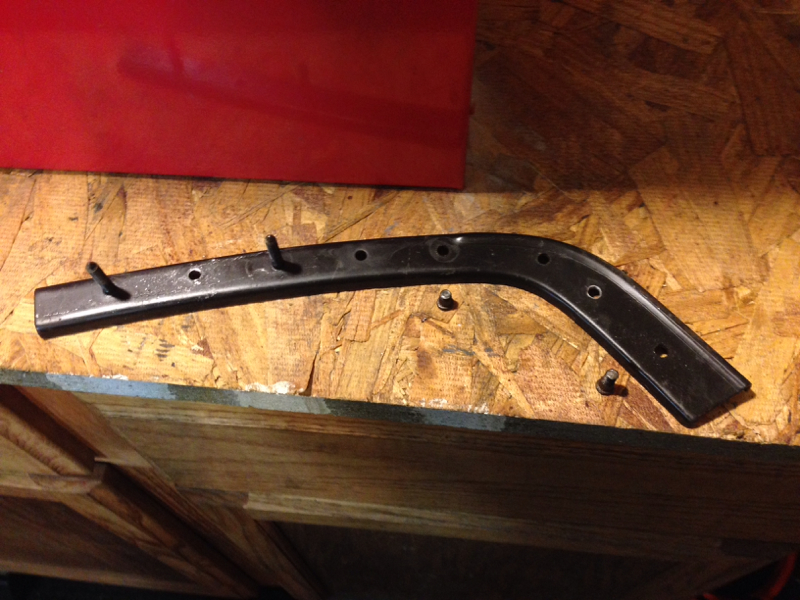 Popped the studs out and tacked in new stainless bolts. I have stainless flange nuts coming for install.
 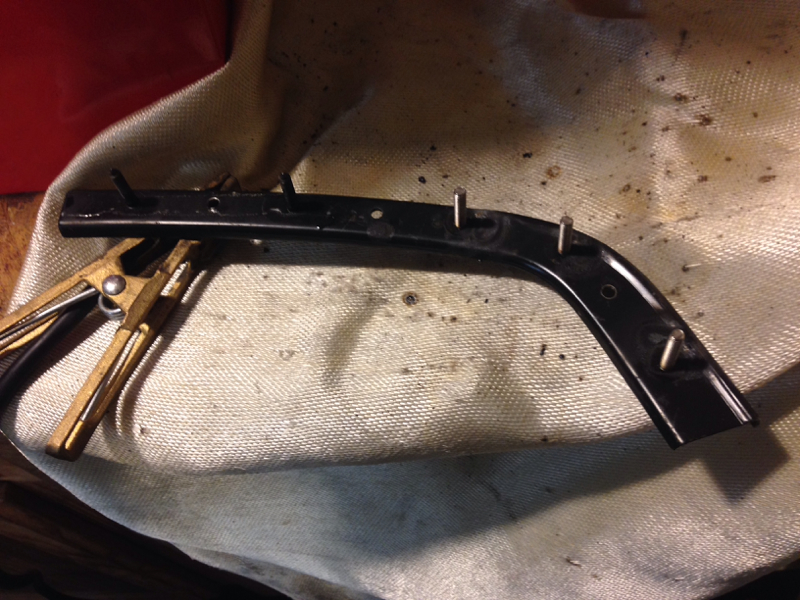 Bolts are M5 .8 X 25mm in case anyone needs to know.
Popped the studs out and tacked in new stainless bolts. I have stainless flange nuts coming for install. Bolts are M5 .8 X 25mm in case anyone needs to know.
Last edited by Dt86; 10-04-2014 at 10:30 PM.
10-05-2014, 02:27 AM
#50
Safety Car
Thread Starter
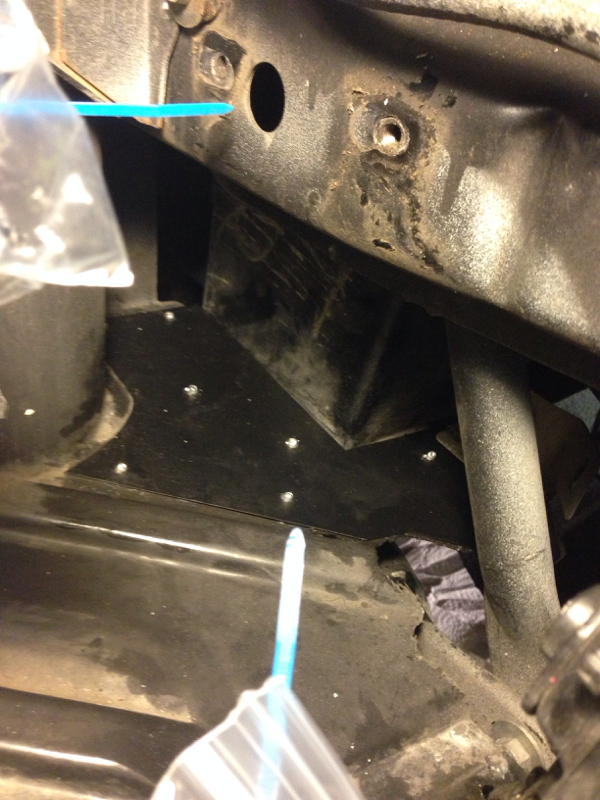
Tonight I got to fixing the wheel well panel. It is literally being held together by threads.
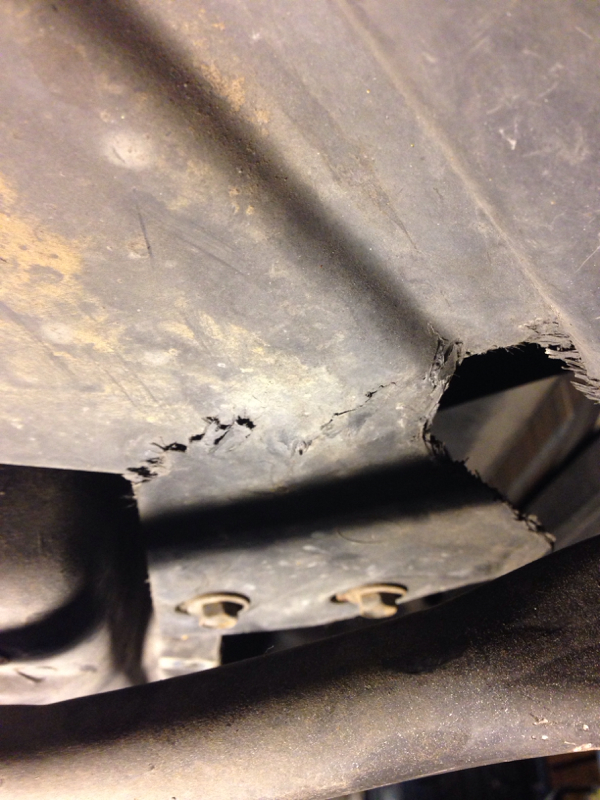
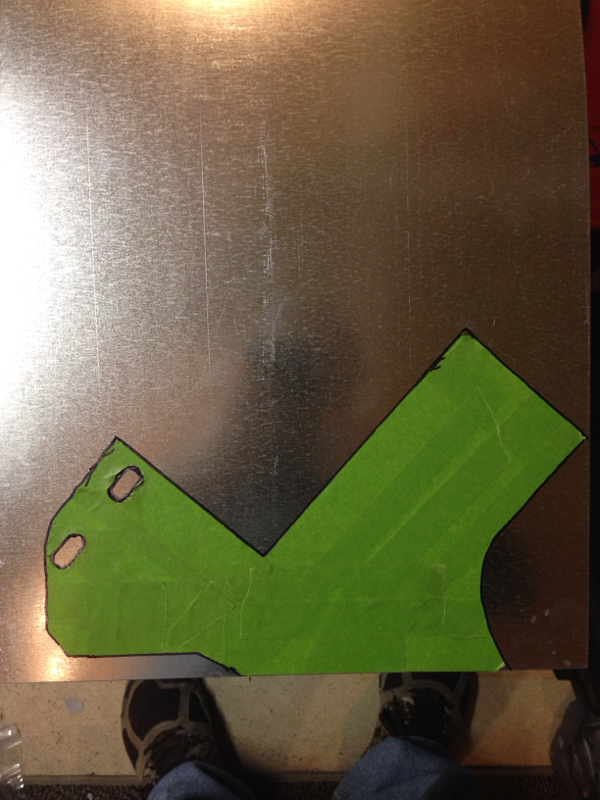
As much as Id like to replace it I need to save up for weatherstripping. So my plan was to strengthen this section with 28 gauge sheet metal. First thing was to make a template with tape.
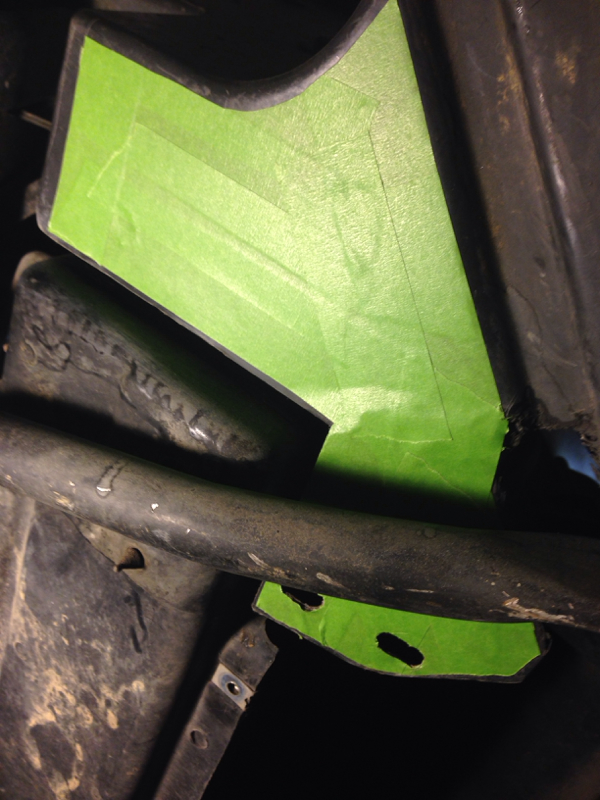
Then stick it to my sheet metal and trace it out.
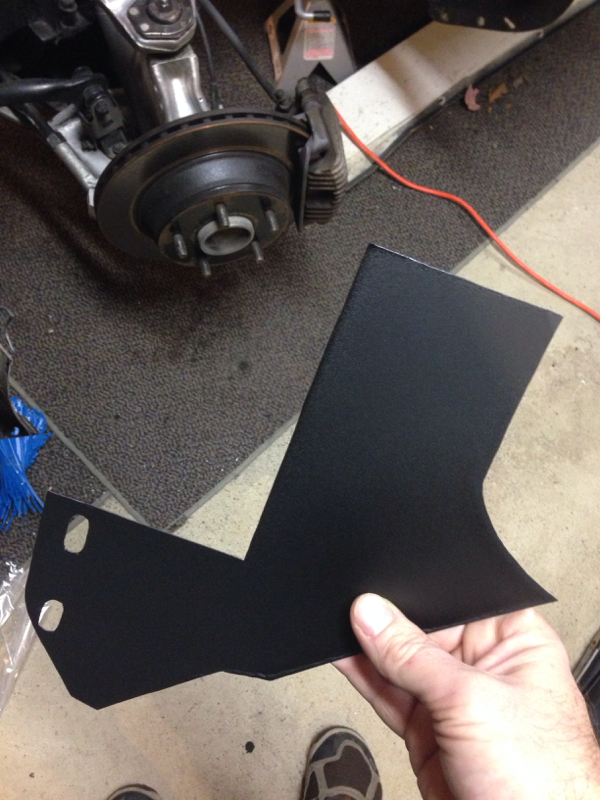
Next cut it out with the dremel and test fit.

Then I powdercoated it in satin black.
And drilled and riveted it in place.
As much as Id like to replace it I need to save up for weatherstripping. So my plan was to strengthen this section with 28 gauge sheet metal. First thing was to make a template with tape.
Then stick it to my sheet metal and trace it out.
Next cut it out with the dremel and test fit.
Then I powdercoated it in satin black.
And drilled and riveted it in place.
 Uggg. I hate being an idiot. Lol.
10-05-2014, 08:39 PM
Uggg. I hate being an idiot. Lol.
10-05-2014, 08:39 PM
#52
Safety Car
Thread Starter
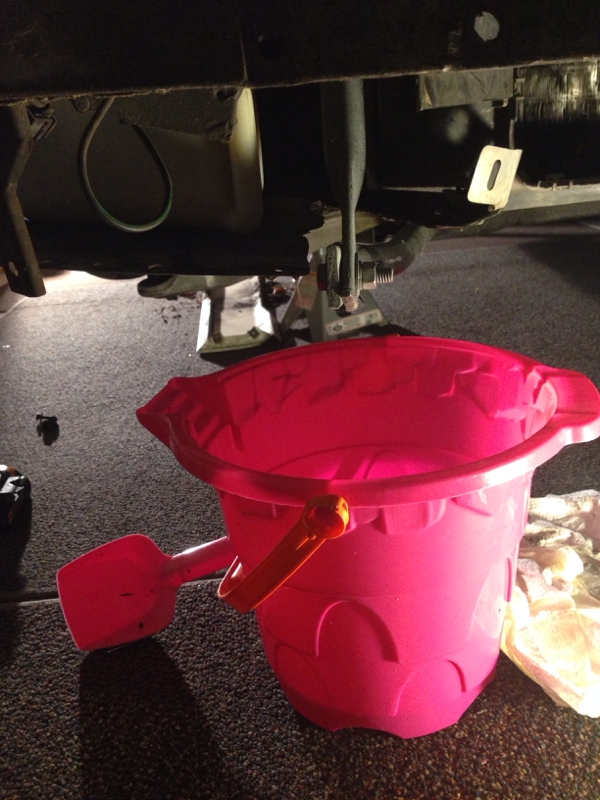
All done with the low parts. Put the wheels back on and got her off the jackstands. Today was nice so I brought her outside and washed the bumper impact bars, sides where the rockers were and inside the bumpers. Want to have a fun experience? Back out of your garage without mirrors!
10-06-2014, 02:00 AM
#53
Safety Car
Thread Starter
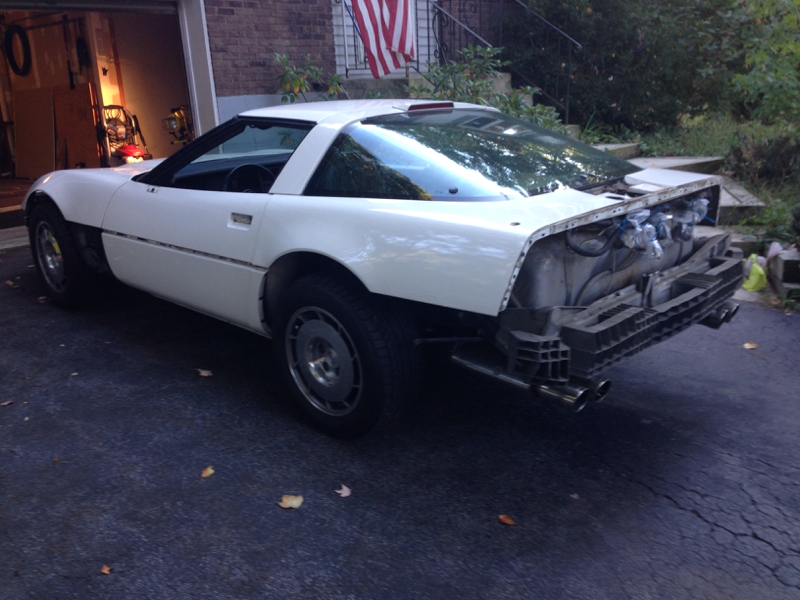
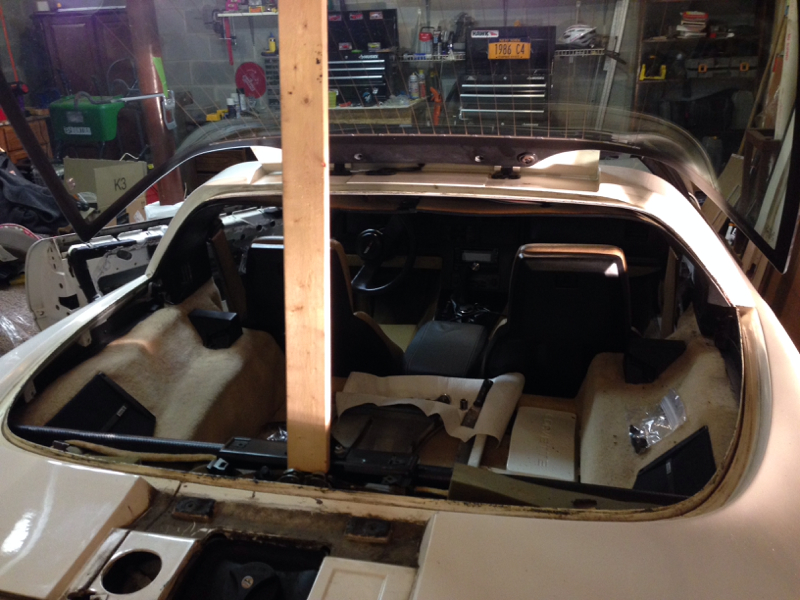
Rear trim is out. Hatch weatherstrip is out and so is the b-pillar weatherstrip. Cleaned up the channels some. Underneath the gas door gets nasty! Third brake light is apart. Someone used crimping wire connectors on it before. Ugg I hate those things on cars. Ill be soldering and heatshrinking that back together after paint. Got one nut holding the rear hatch on. That will be removed at the paint shop. That is a beast!
 10-06-2014, 10:21 PM
#58
Safety Car
Thread Starter
Its going to be exciting putting it back together. Im going to have to pace myself and not rush. And make sure I cover and protect parts to prevent them from getting scratched.

 10-08-2014, 12:27 PM
#60


