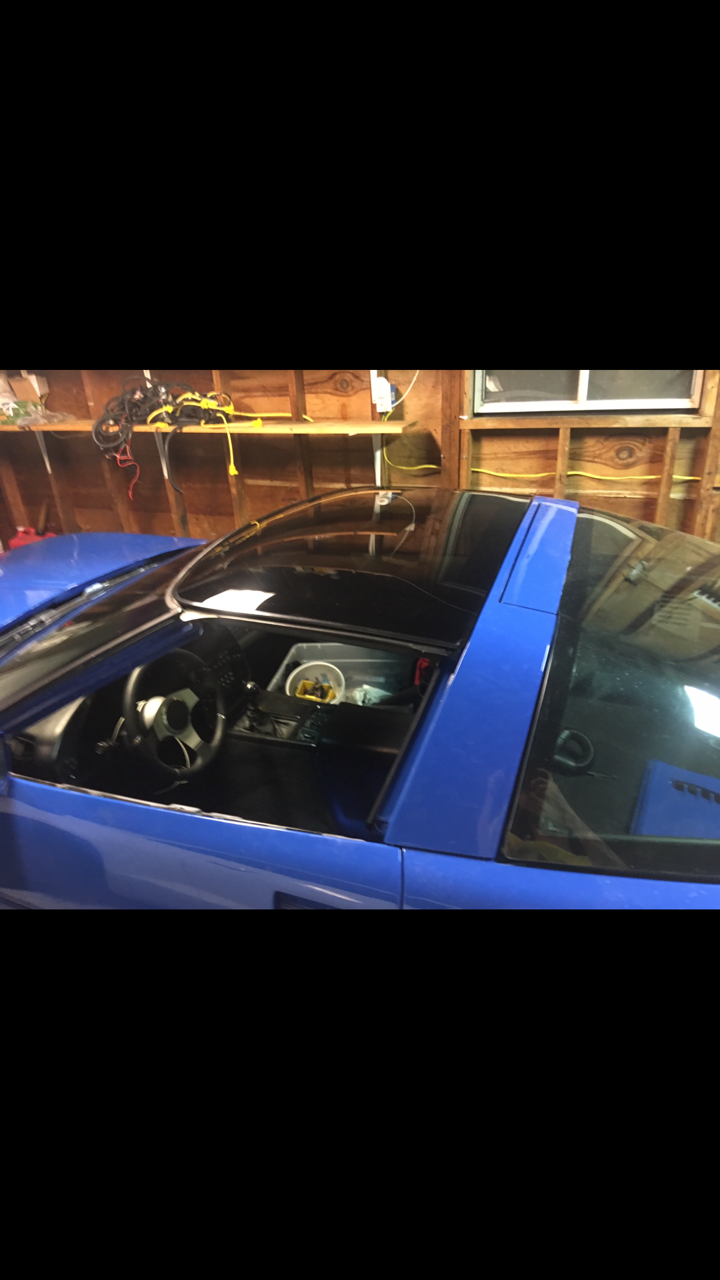
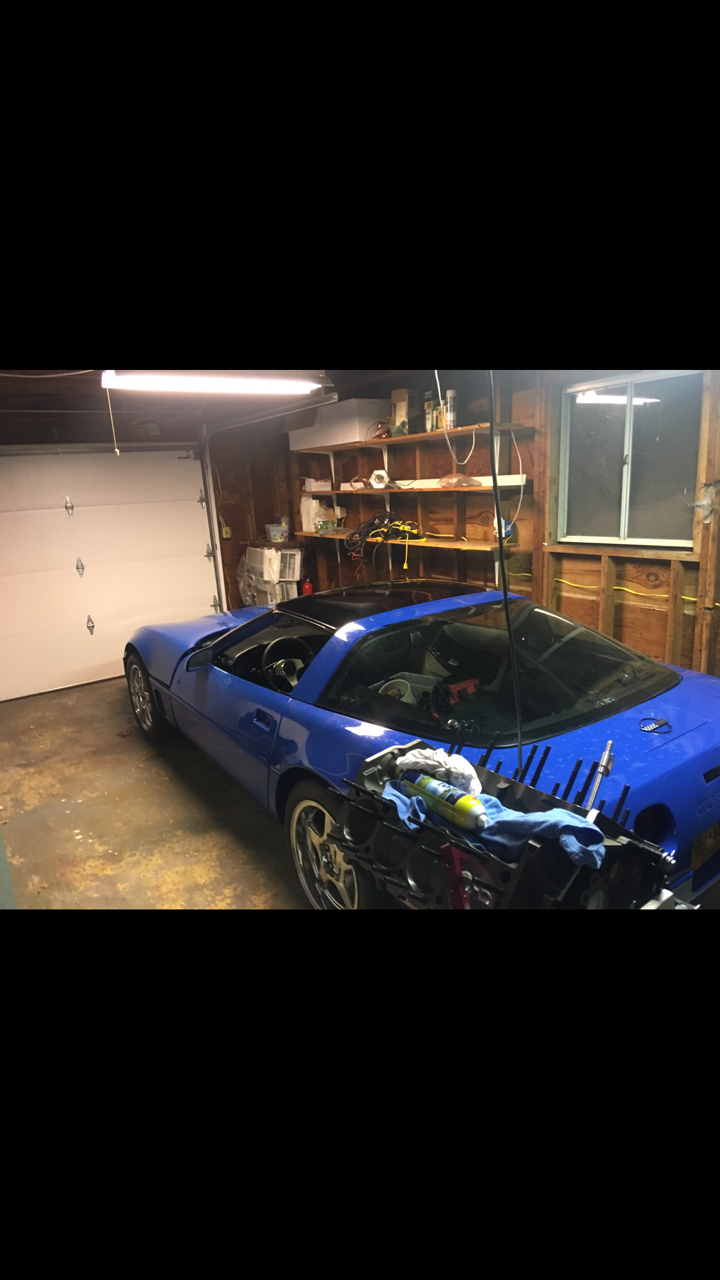
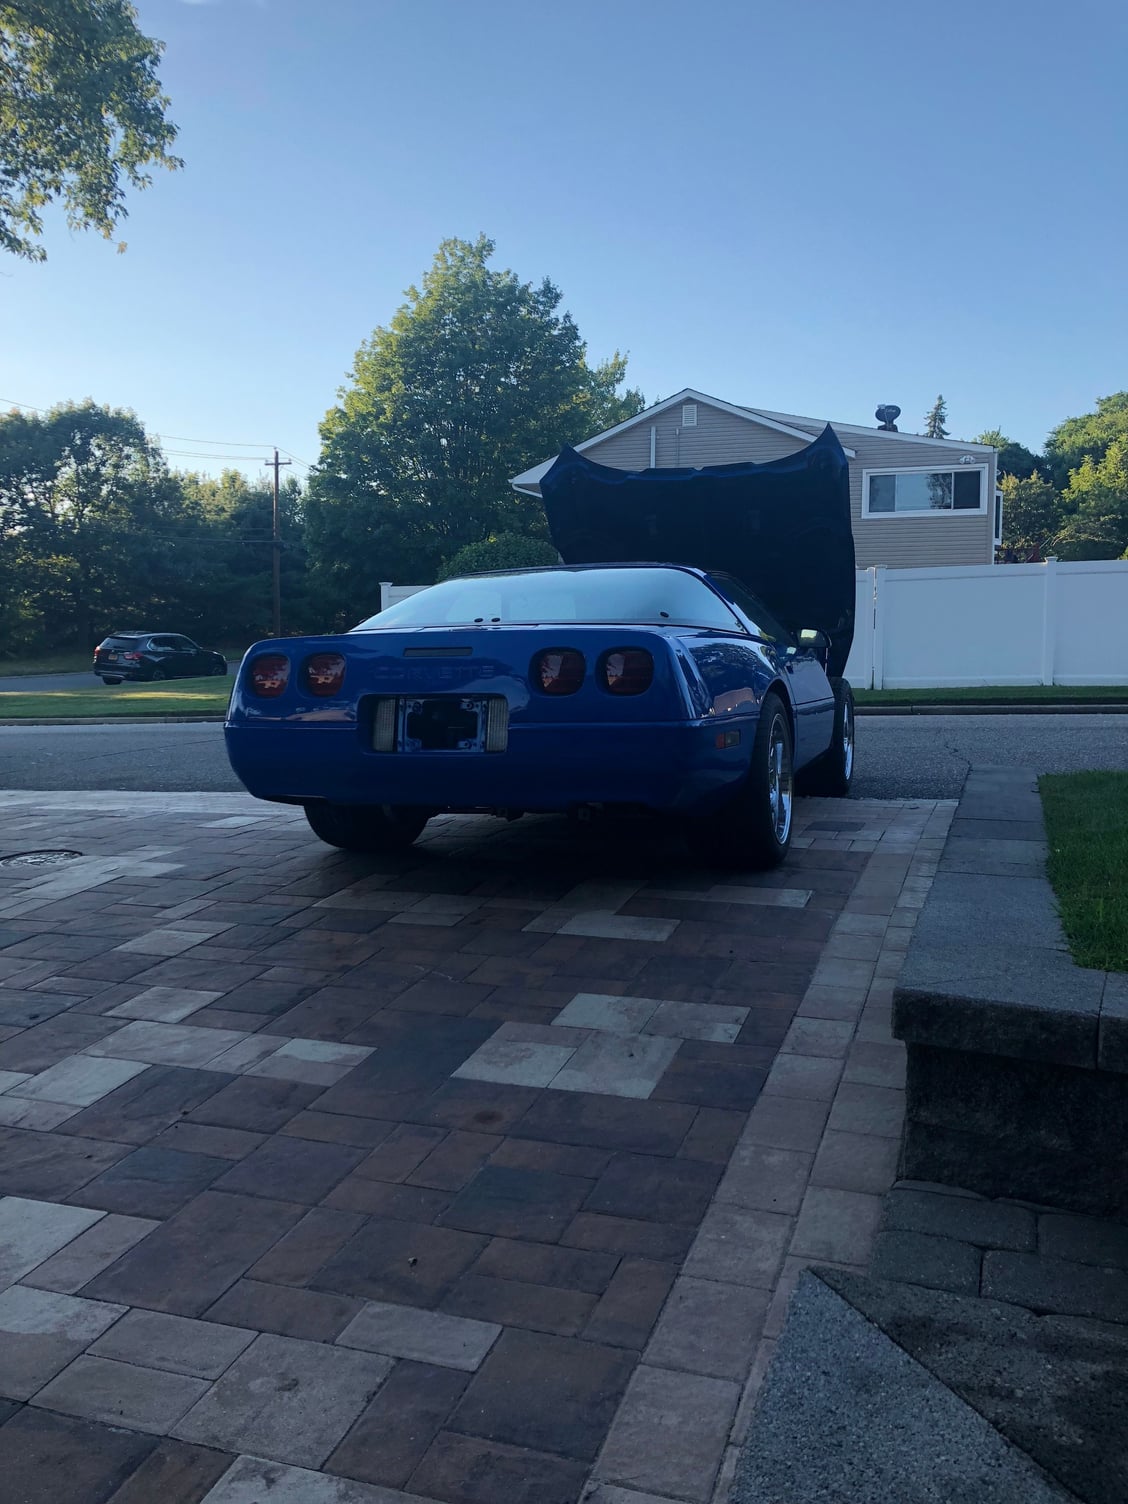
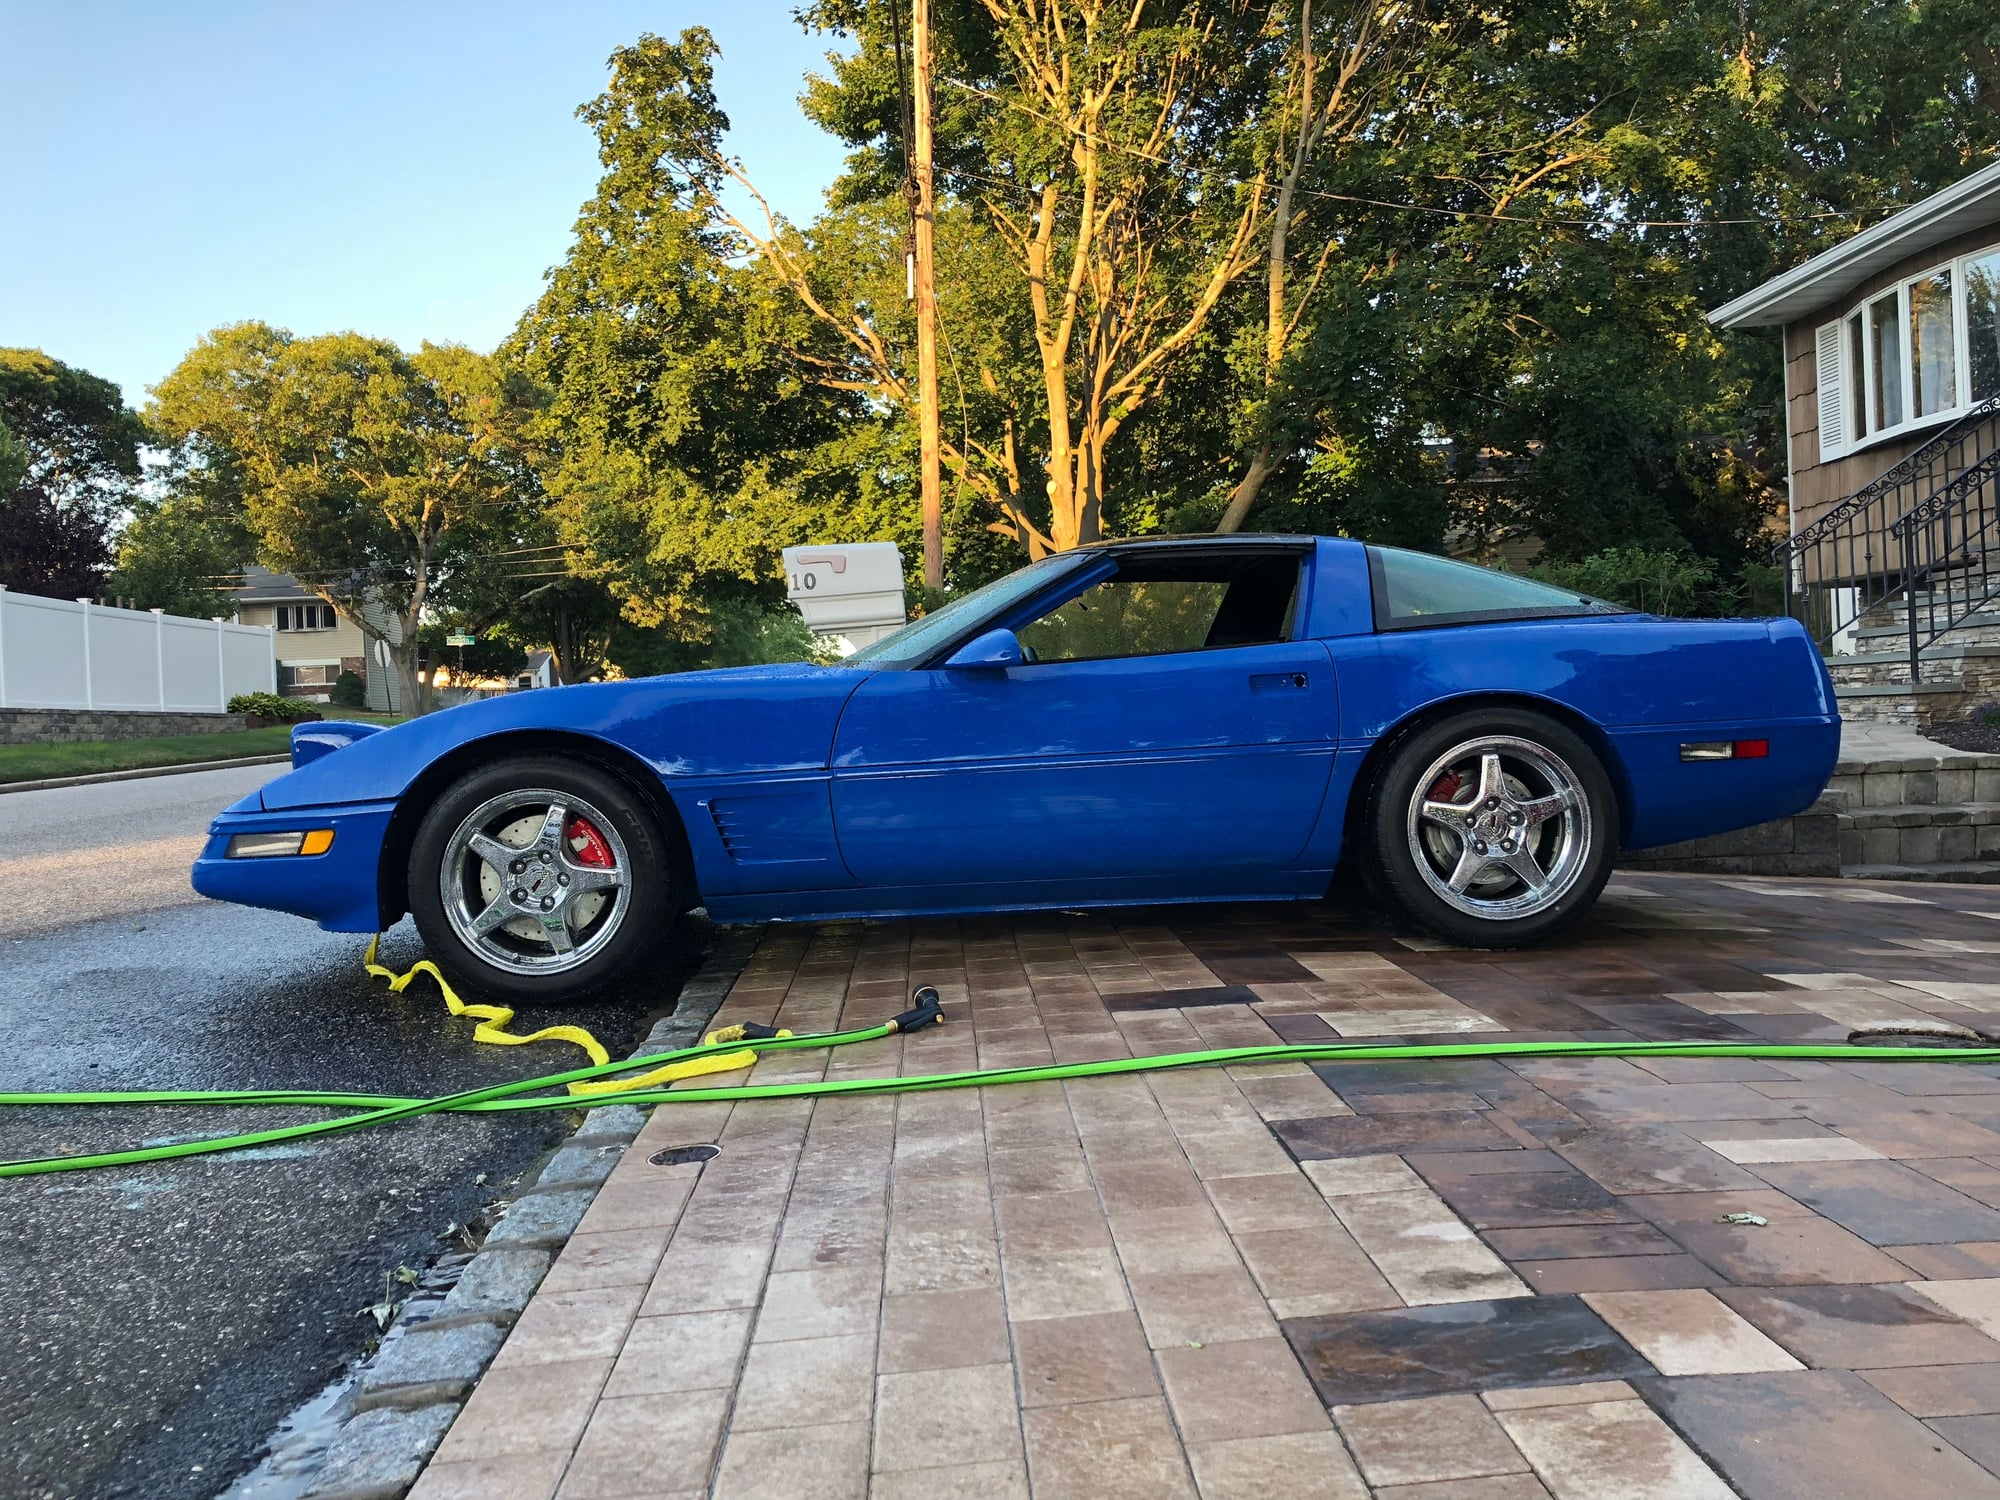
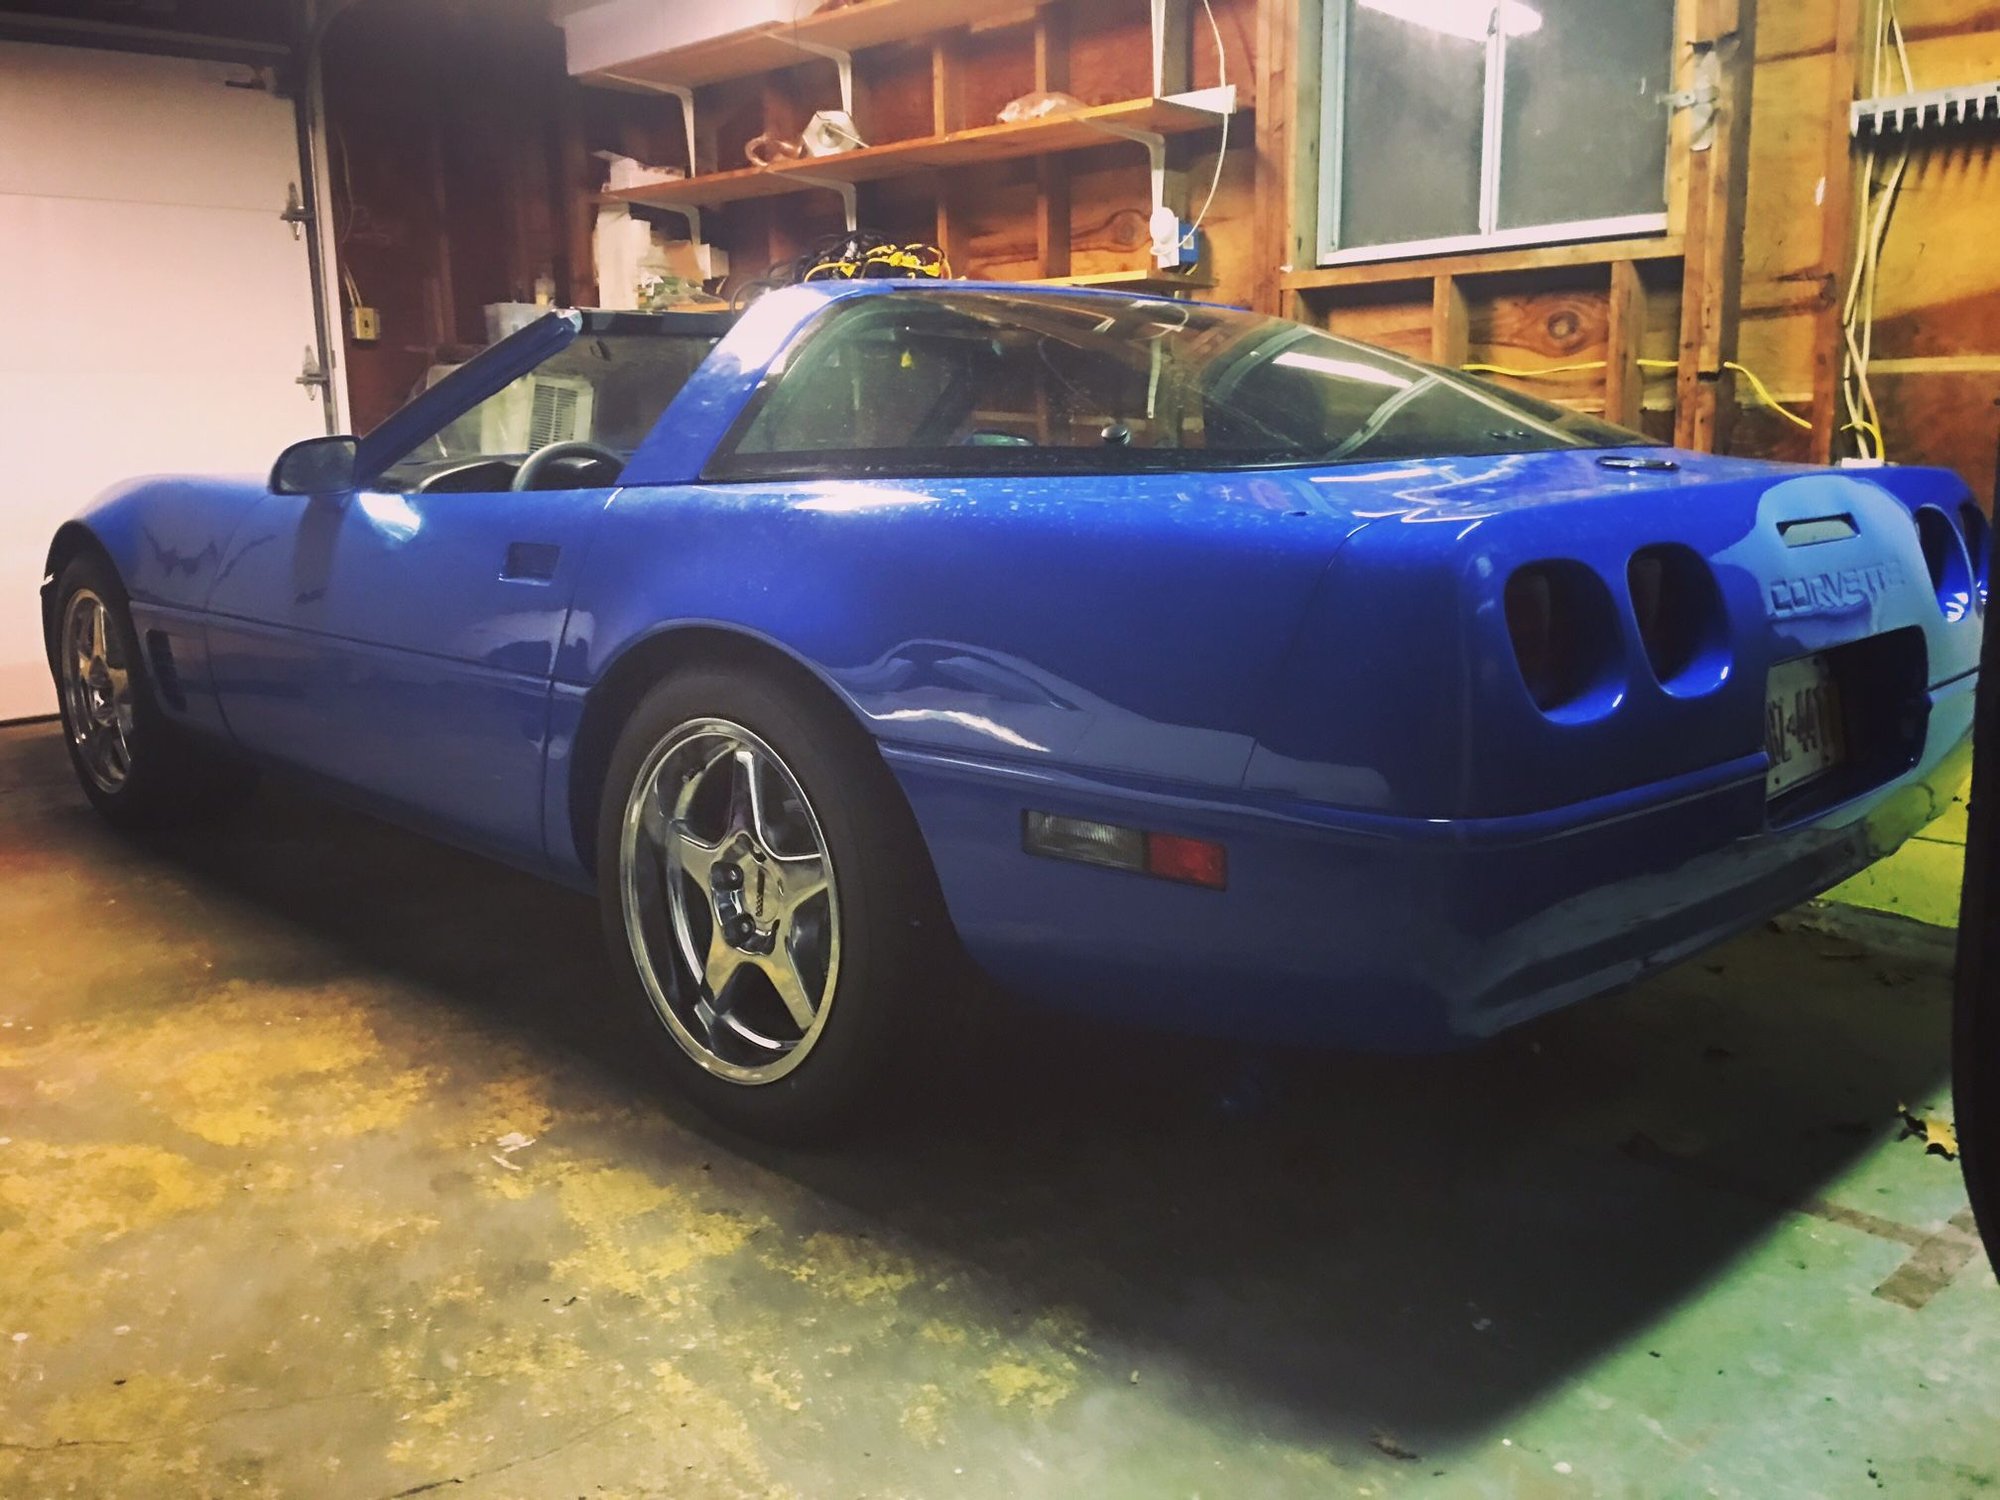
94 BUILD in progress, conversion
The following users liked this post:
1993C4LT1 (11-20-2017)
#124
Melting Slicks


Looking good!
#130
Burning Brakes


Member Since: Oct 2017
Location: Somewhere near Fort Wayne, Indiana
Posts: 788
Received 103 Likes
on
71 Posts
Thanks for the pictures, I've wondered about swapping from auto to manual. My question about that is, when you modified the trans tunnel for the zf, why did you fiberglass it instead of weld it? or did you do both?
#131
Le Mans Master


Member Since: Oct 2004
Location: South-central Missouri
Posts: 6,314
Received 500 Likes
on
395 Posts

Thanks to Brett Henderson providing guidance (see the following), it goes together fairly easily..."easily" is a relative term!
What I'm trying to say is, it is an iterative process; one only made easier when affixing the panels in a specific order:
The key is starting at the doors; the beltline being your guide:
Align the gill panels and then align the bumper.
The attach the hinges/shims and lay the hood down, but do not latch it.
adjust the shims to align the front edge of the hood with the bumper: height and left to right. Snug the hing bolts up (for now) and loosen the dagger pin plates (3 bolts ea.) so the daggers can align themselves with the latch plates.
NOTE: secure the latches OPEN so as not to affect the dagger's alignment. I used grease on the dagger pins and wiped the latch plates clean soas to better see if the daggers are aligning properly. LOTS OF TRIAL AND ERROR throughout. (Took me half a day worth of fussing with the hood and ancillary pieces to get all the gaps uniform and surfaces aligned.)
Last step: Go around and tighten all the adjustments...BEFORE taking it out for that first drive!! Ask me how I know...
Can't hardly wait to see that and get your reactions when it is done!
What I'm trying to say is, it is an iterative process; one only made easier when affixing the panels in a specific order:
The key is starting at the doors; the beltline being your guide:
Align the gill panels and then align the bumper.
The attach the hinges/shims and lay the hood down, but do not latch it.
adjust the shims to align the front edge of the hood with the bumper: height and left to right. Snug the hing bolts up (for now) and loosen the dagger pin plates (3 bolts ea.) so the daggers can align themselves with the latch plates.
NOTE: secure the latches OPEN so as not to affect the dagger's alignment. I used grease on the dagger pins and wiped the latch plates clean soas to better see if the daggers are aligning properly. LOTS OF TRIAL AND ERROR throughout. (Took me half a day worth of fussing with the hood and ancillary pieces to get all the gaps uniform and surfaces aligned.)
Last step: Go around and tighten all the adjustments...BEFORE taking it out for that first drive!!
 Ask me how I know...
Can't hardly wait to see that and get your reactions when it is done!

Last edited by Paul Workman; 02-10-2018 at 09:10 AM.
The following users liked this post:
94VenomVette (02-18-2018)
#133
Burning Brakes


64 Scout...FYI.
I did the Auto to ZF swap. I used Marine-tex (no fiberglassing) and in looks like it came from the factory that way, actually better than I had hoped. It is also a VERY strong repair. The trans tunnel is made of SMC fiberglass, so that is why he chose to use fiberglass. You could use tiger hair, JB weld, fiberglass mat and resin or Marine tex like me and I believe all will be a satisfactory repair. Thing is to take your time and do it well.
I did the Auto to ZF swap. I used Marine-tex (no fiberglassing) and in looks like it came from the factory that way, actually better than I had hoped. It is also a VERY strong repair. The trans tunnel is made of SMC fiberglass, so that is why he chose to use fiberglass. You could use tiger hair, JB weld, fiberglass mat and resin or Marine tex like me and I believe all will be a satisfactory repair. Thing is to take your time and do it well.
Last edited by cadmaniac; 02-12-2018 at 12:38 PM.
#134
Burning Brakes


Member Since: Oct 2017
Location: Somewhere near Fort Wayne, Indiana
Posts: 788
Received 103 Likes
on
71 Posts
64 Scout...FYI.
I did the Auto to ZF swap. I used Marine-tex (no fiberglassing) and in looks like it came from the factory that way, actually better than I had hoped. It is also a VERY strong repair. The trans tunnel is made of SMC fiberglass, so that is why he chose to use fiberglass. You could use tiger hair, JB weld, fiberglass mat and resin or Marine tex like me and I believe all will be a satisfactory repair. Thing is to take your time and do it well.
I did the Auto to ZF swap. I used Marine-tex (no fiberglassing) and in looks like it came from the factory that way, actually better than I had hoped. It is also a VERY strong repair. The trans tunnel is made of SMC fiberglass, so that is why he chose to use fiberglass. You could use tiger hair, JB weld, fiberglass mat and resin or Marine tex like me and I believe all will be a satisfactory repair. Thing is to take your time and do it well.
#136
Yes i used west system and woven mat I got it at work and cost me nothing practically. came out perfect and then i laid down heat shield over it. thats why. i know it was explained already but i didnt get a chance to write it.
thanks for bumper tip!
thanks for bumper tip!
#137
Project on HOLD Blew My Subaru Engine up going to tear that down and also moved and got a house in South Setauket! Going full bore to get it running soon! stay tuned!!
Last edited by 94VenomVette; 01-30-2019 at 06:45 PM.




 Killer build! Looking forward to seeing your progress.

