When you click on links to various merchants on this site and make a purchase, this can result in this site earning a commission. Affiliate programs and affiliations include, but are not limited to, the eBay Partner Network.
Thank you for sharing Smokin Black, your 87' looks to be in really nice shape from the picture you posted. Sounds like you are doing a really nice job getting it back in good running order.
Now that the exhaust system was done the next area I wanted to upgrade was the brake system. My car was originally equipped with the J55 brakes, which were not bad. However I wanted a braking system that had a bit more thermal capacity without adding to much un-sprung weight and I wanted to keep the cost resonable.
I considered going with an after market system (like wilwood), but I really wanted the 'Corvette' script on the calipers so I started looking at 'factory' brake upgrades.
I was originally considering, going with the C6 Z06 system. However I had concerns about how heavy the rotors were as well as some owners have reported the calipers spreading under track conditions. Additionally, I was concerned that my master cylinder would not properly supply the new calipers without adding a fair bit of pedal travel.
I also thought of doing a C5 upgrade but I had heard some people mention that C5 calipers also had problems with spreading under track use.
In the end I decided to use the C6 J55 system. The C6 calipers are suppose to be a fair bit stronger then the C5 ones and are certainly much stronger than my original calipers. Additionally, this system uses a 13.4in X 1.25in rotor which should add some more thermal capacity to the brakes. I choose to go with a slotted rotor rather than the oem cross-drilled to avoid problems with rotor cracking. I also went with Hawk HP plus pads since they are what I was using in my current/old system along with Wilwood 570 brake fluid.
In addition I also ordered up some DRM S/S caliper pistons to help keep the heat out of the brake fluid.
I know this is not the 'ultimate' brake upgrade but I think it strikes a good balance between cost, brake performance and unsprung weight. Anyway onto the brake install....
Since I had to install the S/S pistons i took the calipers apart...
To take the calipers apart I put a piece of wood in front of the caliper pistons and then inserted an air line into the brake line hole in the caliper, with a couple short bursts of air the pistons pop right out, then I just removed the O-ring and dust seal.
Here I what the S/S pistons look like next to the oem aluminum ones
Although the C6 calipers came I an anodized black finish the caliper brackets were just raw aluminum which I didn't think would look very good together so I preped the calipers and brackes and powder coated them gloss black.
To powder coat I just use a regular kitchen oven, this one was removed from my home years ago when I renovated, I then gave it to my aunt and she gave it back to me when she moved this spring so I now use it in the shop.
Here's how the calipers looked after the black powder coat...
The next step was to sand the powder coat off of the Corvette script on the calipers and then coat them with clear powder for added shine and durability.
Here's some pictures of the calipers now that the powder coating is done:
This was actually the first time I have powder coated my own parts, although I have done a lot of coating earlier this year for some of my friends. I'm pretty happy with the way the calipers came out.
So now that the calipers and brackets were powder coated the next step was to put the new S/S pistons and the seals + dust boots back in.
Caliper and bracket before being reassembled:
The next step was to put a little brake fluid inside the piston bores in the caliper and then install the O-rings:
After the O-rings were installed I put a light coating of brake fluid on the S/S caliper pistons and installed them in the caliper(s). They can be pushed in by hand with a little force, just go slowly to allow the air pressure to escape from behind the pistons.
The next step is to install the dust boots, they can be a little tricky but with a little patience I was able to get them properly seated in the caliper:
Finally, I installed the bleeder screw:
Now the calipers are all ready to go, here's the finished product:
Lookin good! I love powder coating parts. My calipers had 30 years of nasty on them and cleaning them was a bey-otch. But the end result was well worth the trouble. Keep up the great work.
Lookin good! I love powder coating parts. My calipers had 30 years of nasty on them and cleaning them was a bey-otch. But the end result was well worth the trouble. Keep up the great work.
Thank you Dt86, you do awesome work on your car and your attention to detail is amazing. Actually, I think it was all the powder coating work you did to your car in your thread that got me interested in the idea of powder coating parts myself.
I also really like Powder coating, it is a pretty great technology, nothing more fun than bringing an old part back to life by cleaning, sand blasting and powder coating
Hopefully one day I'll get a bigger oven so I can do larger items. So far a set of 15x7 wheels I did for a friend is the largest item I've been able to do and that was a very tight fit in my oven.
Thank you Dt86, you do awesome work on your car and your attention to detail is amazing. Actually, I think it was all the powder coating work you did to your car in your thread that got me interested in the idea of powder coating parts myself. I also really like Powder coating, it is a pretty great technology, nothing more fun than bringing an old part back to life by cleaning, sand blasting and powder coating Hopefully one day I'll get a bigger oven so I can do larger items. So far a set of 15x7 wheels I did for a friend is the largest item I've been able to do and that was a very tight fit in my oven.
Thanks brother! We are cut from the same cloth. I hear you with wanting a bigger oven! There's a lot of large or oblong parts that I wish I could powdercoat. What kind of powdercoat system are you using? How was it to do rims? I imagine the time to heat and flow them out took a little while.
Thanks brother! We are cut from the same cloth. I hear you with wanting a bigger oven! There's a lot of large or oblong parts that I wish I could powdercoat. What kind of powdercoat system are you using? How was it to do rims? I imagine the time to heat and flow them out took a little while.
I have an eastwood dual voltage gun. I have used many kinds different of powder, but I have a friend who gets me powder directly from a manufacturer which helps with the cost so I usually get the powder through him, can't remember off hand who manufactures the powder.
The Rims took forever since I had to clean them, sand blast, pre-heat 20min and then do 2 coats on the top side of the rims (20min brake per coat) and then, wait for them to cool flipped them over shimmed them off the rack using boards, with the center of the rim resting on them, then did the top side with 2 coats. Each rim had to go through the powder coating process separately too of course. It was a very tight fit to each wheel in the oven. I did 2 sets of rims for friends like that but given the amount of time I'm not sure I will do anymore wheels til i get a bigger oven.
I have an eastwood dual voltage gun. I have used many kinds different of powder, but I have a friend who gets me powder directly from a manufacturer which helps with the cost so I usually get the powder through him, can't remember off hand who manufactures the powder. The Rims took forever since I had to clean them, sand blast, pre-heat 20min and then do 2 coats on the top side of the rims (20min brake per coat) and then, wait for them to cool flipped them over shimmed them off the rack using boards, with the center of the rim resting on them, then did the top side with 2 coats. Each rim had to go through the powder coating process separately too of course. It was a very tight fit to each wheel in the oven. I did 2 sets of rims for friends like that but given the amount of time I'm not sure I will do anymore wheels til i get a bigger oven.
I figured you had a high voltage or dual voltage gun since you were doing several layers. That's awesome that you get friend prices on your powder. I really like Columbia coatings. Awesome product and selection with good prices. Yeah, rims seem like a big pita! I had a couple people ask and I really wasn't interested. But I have done some intakes and small parts for friends.
I figured you had a high voltage or dual voltage gun since you were doing several layers. That's awesome that you get friend prices on your powder. I really like Columbia coatings. Awesome product and selection with good prices. Yeah, rims seem like a big pita! I had a couple people ask and I really wasn't interested. But I have done some intakes and small parts for friends.
Yes, the dual voltage gun is nice for doing multiple coats. For the money the eastwood gun works pretty well. My only complaint is that the wires running from the transformer to the gun are far to short, so I may lengthen them at some point...
I might check out columbia coatings next time I need powder as I can't always get all the colors I want through my friend, so its nice to have another good option for a getting powder, thanks for the tip Dt86 !
Yes, having spent the time to do wheels in my 'kitchen sized' oven I think unless you have a large oven its best to just do parts that reasonably fit in the oven as its not really worth the time it takes to do wheels in a smaller oven.
So now that the calipers were powder coated It was time to get started on the install of the C6 J55 system.
First I pulled the old front brakes off the front of the car:
Since pictures are fun, I took a few comparison shots between the C6 J55 brakes and the C4 J55 brakes. Hope you guys enjoy the pictures.
Brake pads; C4 top C6 bottom.
Rotors; C4 are on the left (1.1in thick), C6 on the right (1.25in thick)
The C6 rotors have a much larger space for air move through the rotors and cool them, however as with the OEM C6 rotors these inexpensive Braken tech rotors both are vented only one way so one rotor will be venting backwards The C4 rotors are true left and right vented, regrdless I still think the added venting space and thickness will improve cooling. I may upgrade rotors at some point...
Rotors side view; with the C4 rotors in front you can see the 13.4in C6 rotors are a bit larger than the 13in C4 rotors:
Calipers; C4 left, C6 right. Although the C4 and C6 calipers are both dual piston sliding calipers, The C6 one is much stronger, has a vent hole on the top and larger caliper pistons, yet I didn't even notice any weight difference between the two when I held them both. All in all the C6 caliper is a big improvement over the C4 design.
Rotors and calipers side by side; C4 left C6 right.
One other thing to note here, is that the C6 rotor contact surface sits a bit closer to the backside of the wheel then the C4 rotor would. I think the C6 design is better since It allows for more air circulation through the backside of the rotor with it being farther out from the hub etc.. also since the C6 rotor has less material in the center around the hub than the C4 rotor, it ends up being only very slightly heavier despite being both larger and thicker than the C4 rotor.
Hope you guys enjoyed the brake comparison, More updates to come...
In order to use the C6 J55 brake set up on my C4 a few parts are required. The bolt spacing on the C6 caliper bracket is very slightly wider than on the C4 caliper bracket (about 1/2 the width of a bolt)
As a result it is necessary to use an adpater bracket, the bracket also moves the caliper slightly closer to the backside of the wheel so that it is aligned with the C6 rotor.
You can use any of the widely available C4 to C5 or C4 to C6 bracket to accomplish this. I got mine on Ebay for less than $100 shipped.
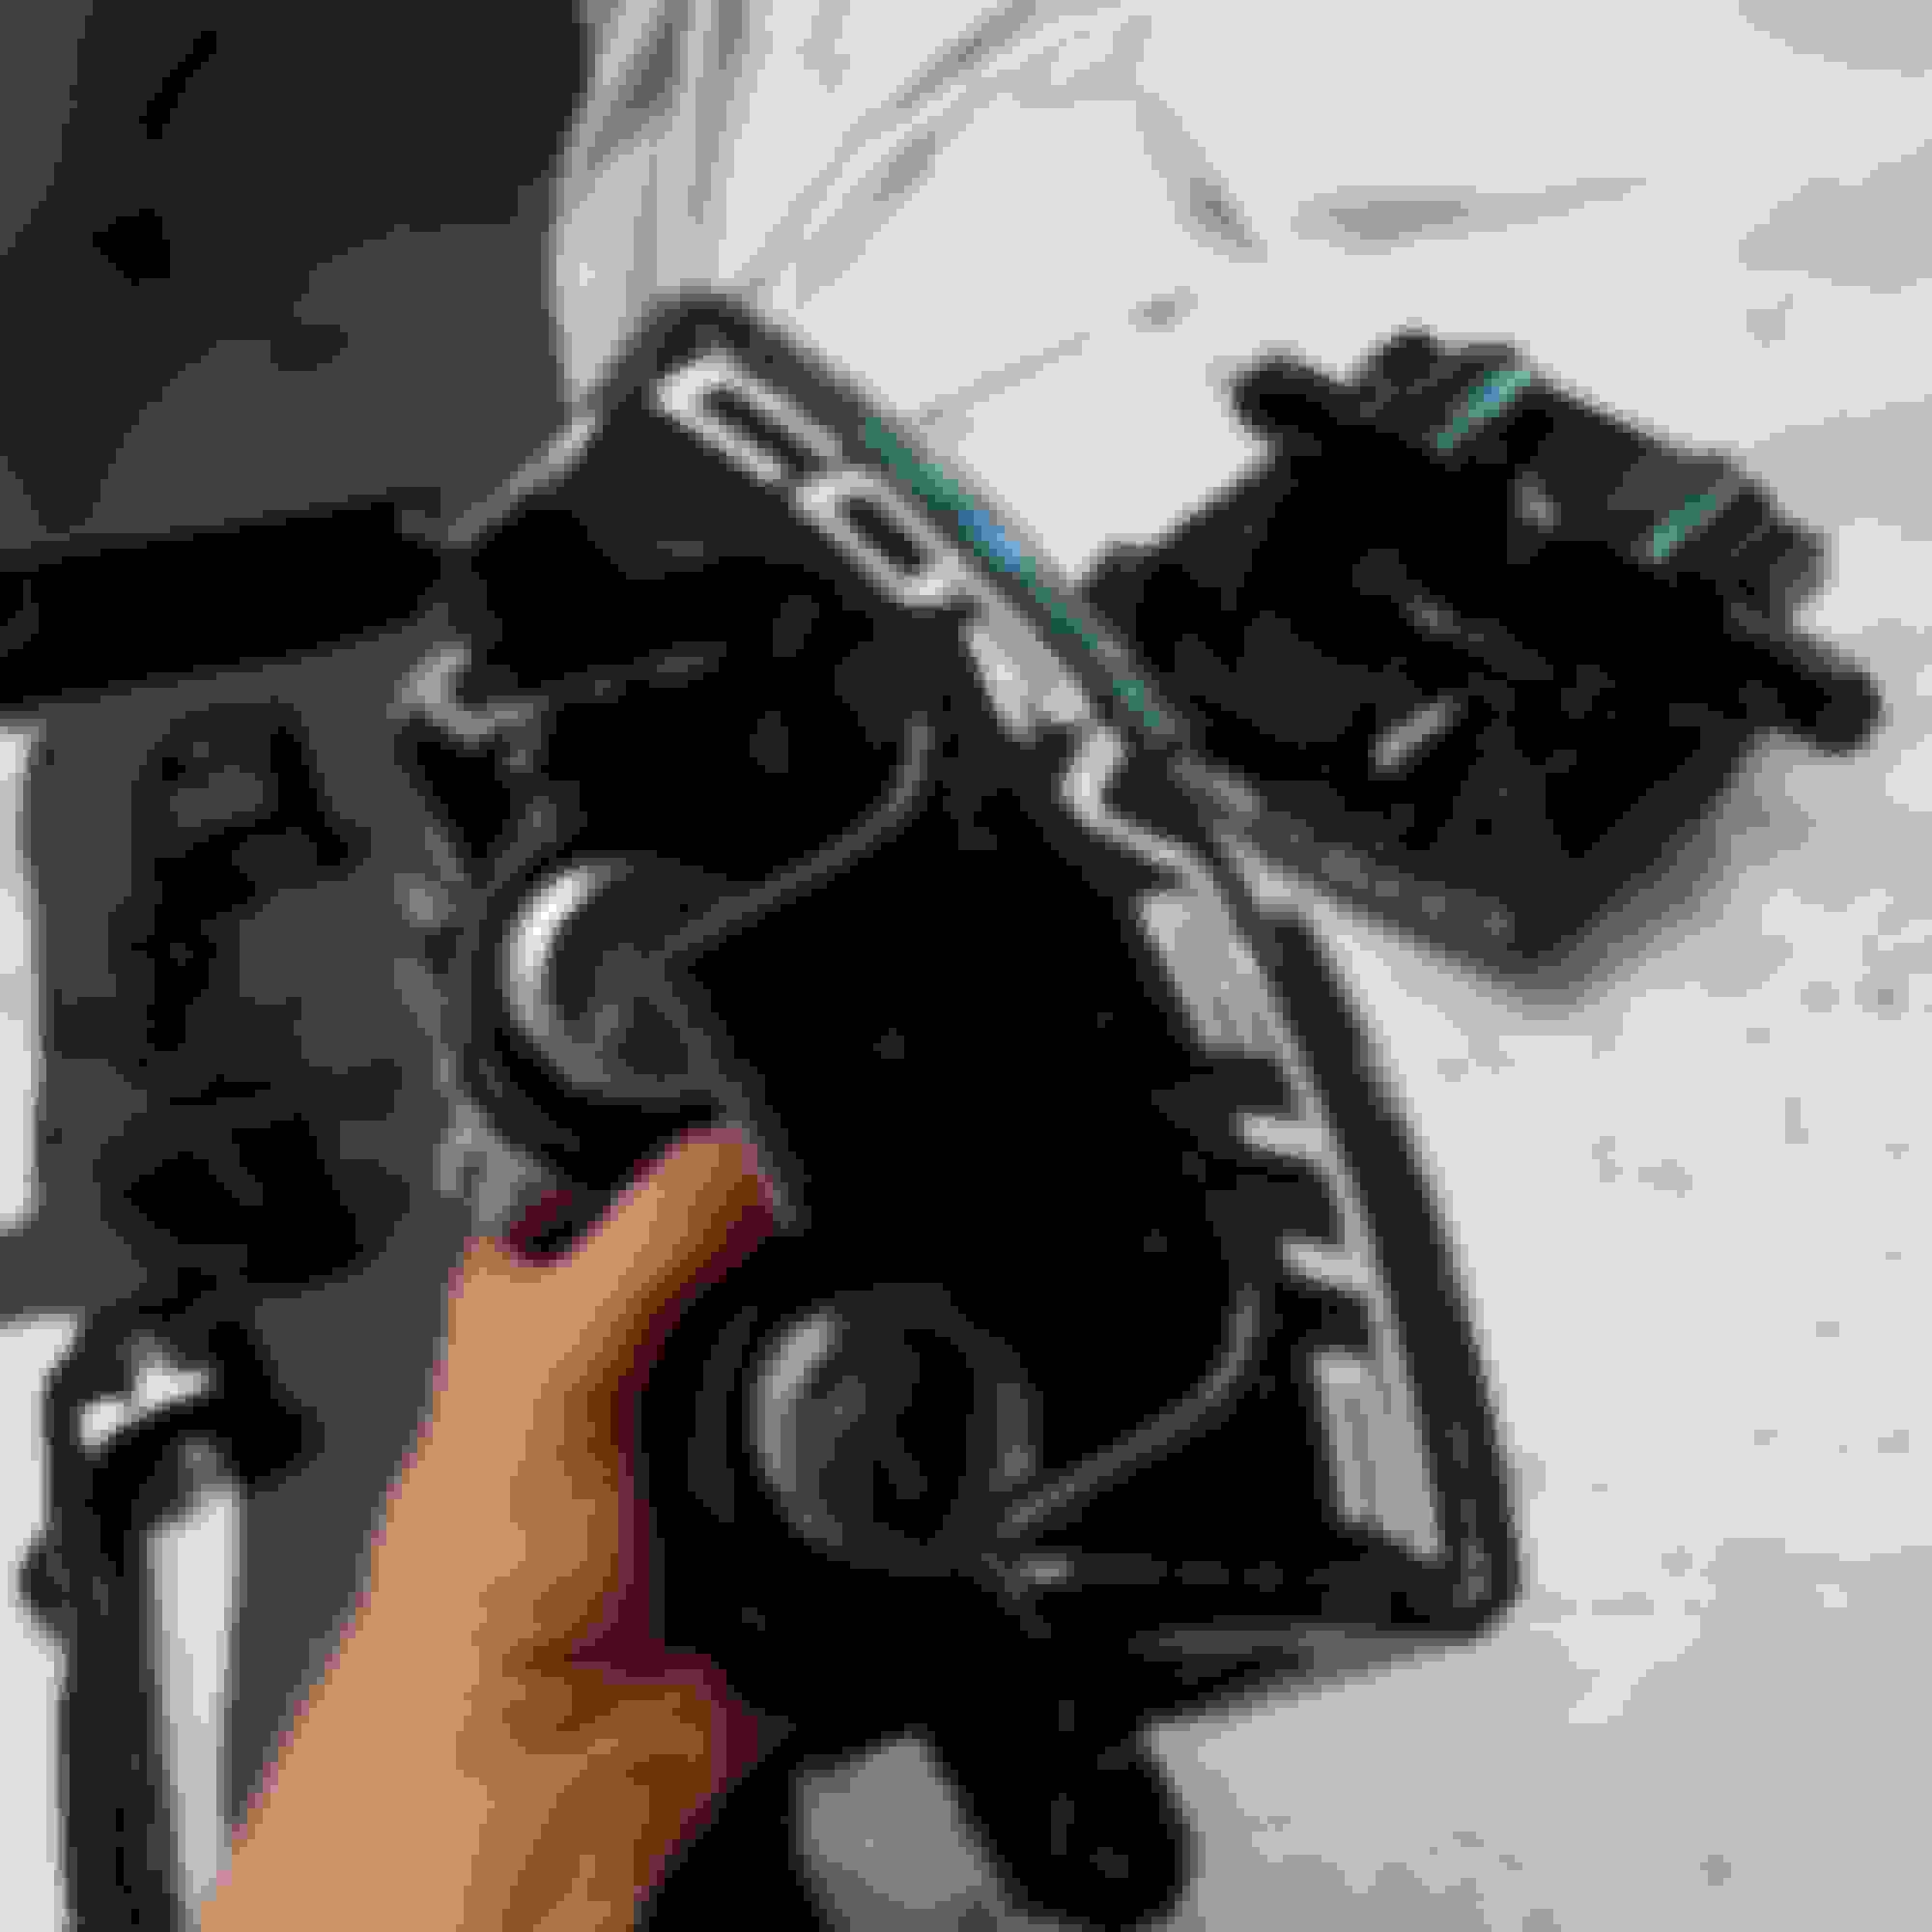
Here's me test fitting the bracket:
Originally, I thought I could use C6 caliper bracket bolts to bolt the adapter bracket to the spindle and then also the use the same bolts to bolt the C6 caliper bracket to the adaptor bracket.
That did not work. The adapter bracket is thinner than the spindle the caliper bracket bolts normally go through so the bolts ended up being to long and were hitting the back side of the rotors (or would have requited several washers).
So I picked up some shorter class 10.9 bolts from fastnel for a few dollars and that solved the problem.
Here's the C6 caliper bracket bolt vs the shorter bolt I ended up using:
New proper length bolts:
One other important thing to note is you must put one washer between the bracket an the spindle where the adapter bolts to the spindle or it won't sit properly.
I bought some new braided front brake lines, however the Standard C4 brake lines will bolt right up to the C6 calipers...
As it turned out It was a good thing that the existing brake line could be used because, although I have never swapped the brake lines a P.O must have since the nut on both my front brake lines were already stripped round
Since my current brake lines seem to be I good shape and not knowing how to deal with getting off a brake line where the nut on the hard line Is stripped I choose to save that battle for another day and just reused my existing brake hoses. If anyone has suggestions on how to deal with the stripped brake line nuts I would like to know your thoughts for when I do swap the brakes lines at some point.
In addition I also ordered a 'hardware' kit for the calipers which came with new sliders and slider bolts
Stay tuned as in my next update I will install the brake upgrade!
As it turned out It was a good thing that the existing brake line could be used because, although I have never swapped the brake lines a P.O must have since the nut on both my front brake lines were already stripped round
Since my current brake lines seem to be I good shape and not knowing how to deal with getting off a brake line where the nut on the hard line Is stripped I choose to save that battle for another day and just reused my existing brake hoses. If anyone has suggestions on how to deal with the stripped brake line nuts I would like to know your thoughts for when I do swap the brakes lines at some point.
 12-28-2016, 09:31 AM


 The C4 rotors are true left and right vented, regrdless I still think the added venting space and thickness will improve cooling. I may upgrade rotors at some point...