When you click on links to various merchants on this site and make a purchase, this can result in this site earning a commission. Affiliate programs and affiliations include, but are not limited to, the eBay Partner Network.
Today I worked on electrical. W/o the dash in the car, the entire under dash harness was basically laying on the floor. Since the HVAC system is gone, I wanted to move it behind the dash brace, clean it up and eliminate all the...ahem, **** ya don't need on a huntin' rig! The car was loaded so it had a lot of wiring that could go away. I got rid of the Anti theft module and it's associated wiring, the chime and wiring, lights module and wiring, Info center wiring, cluster, low coolant module, everything that went to the doors....and a LOT more.
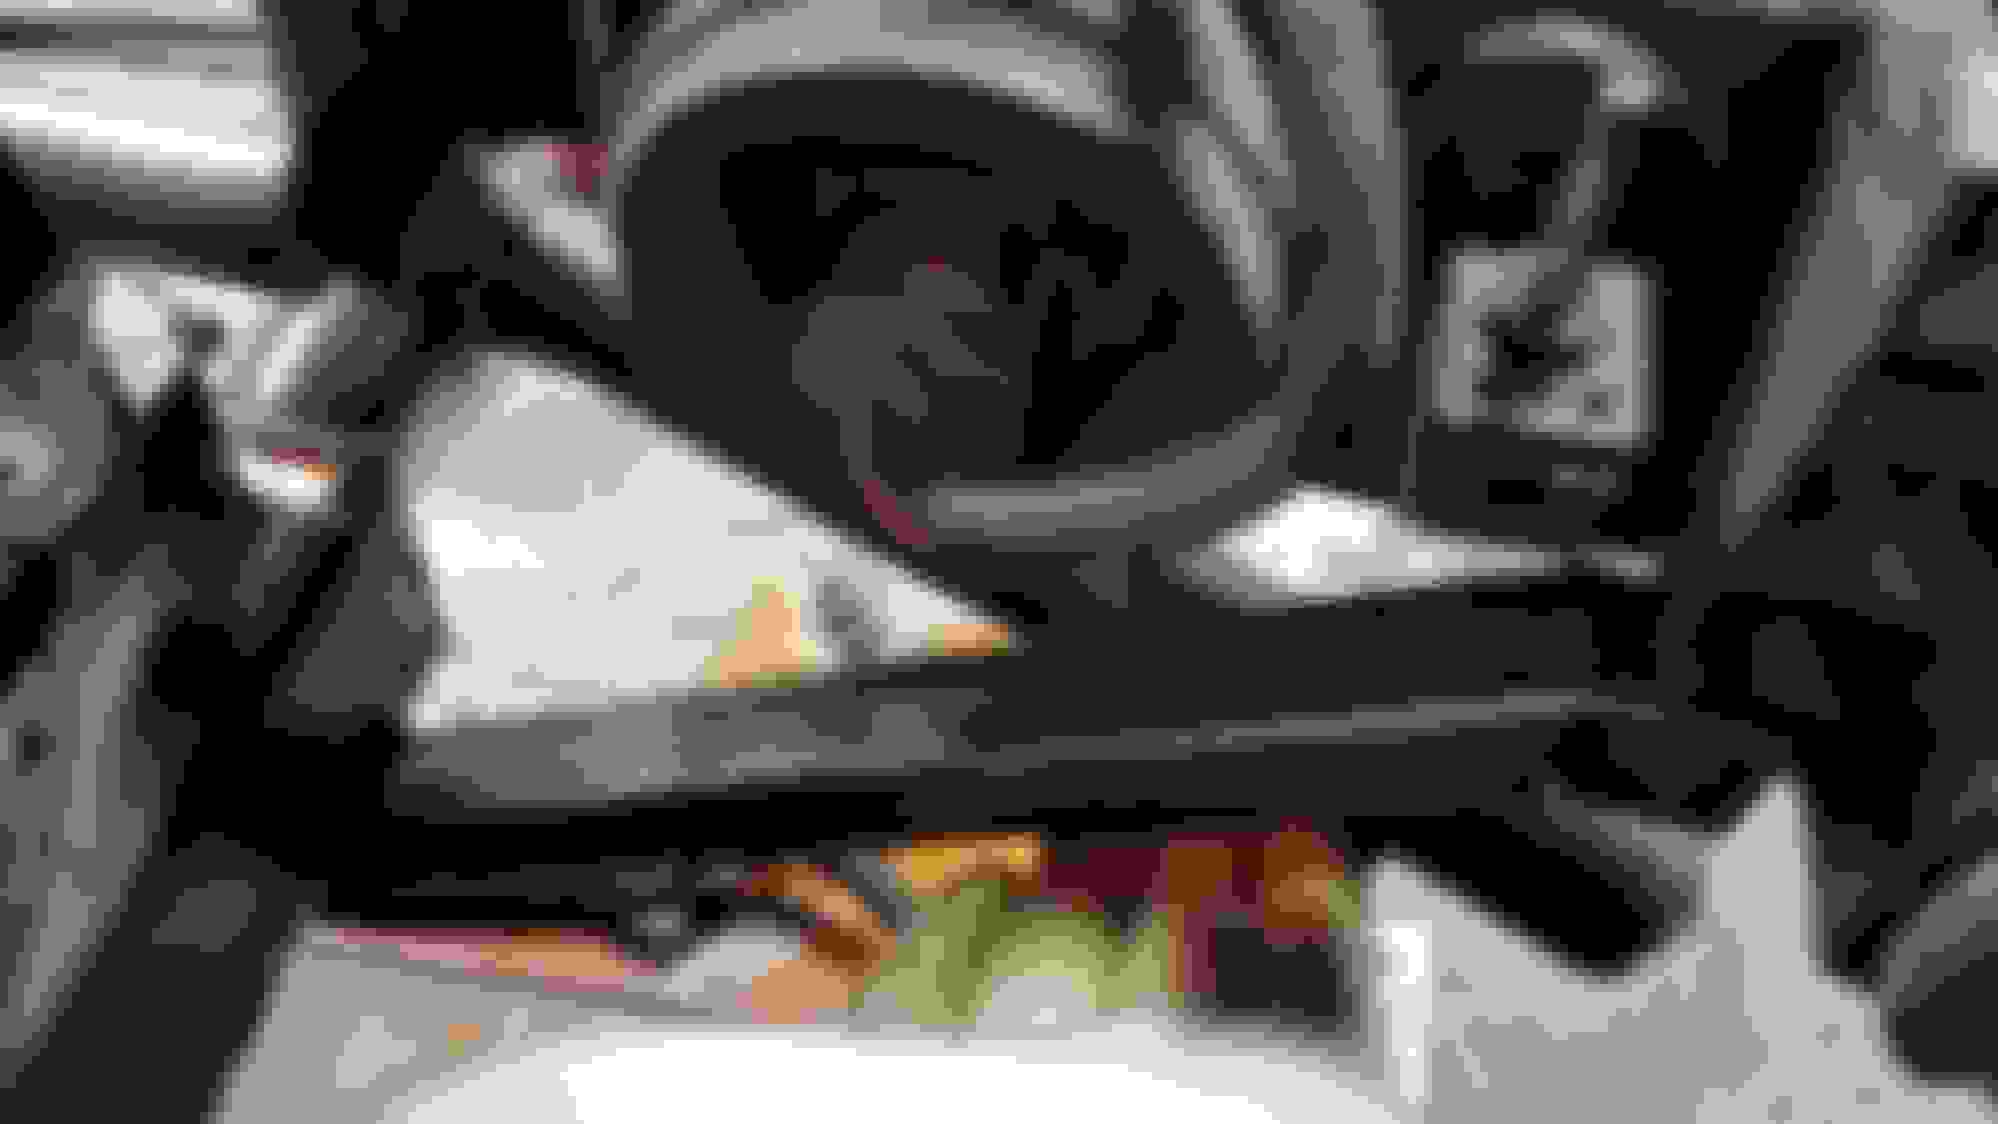
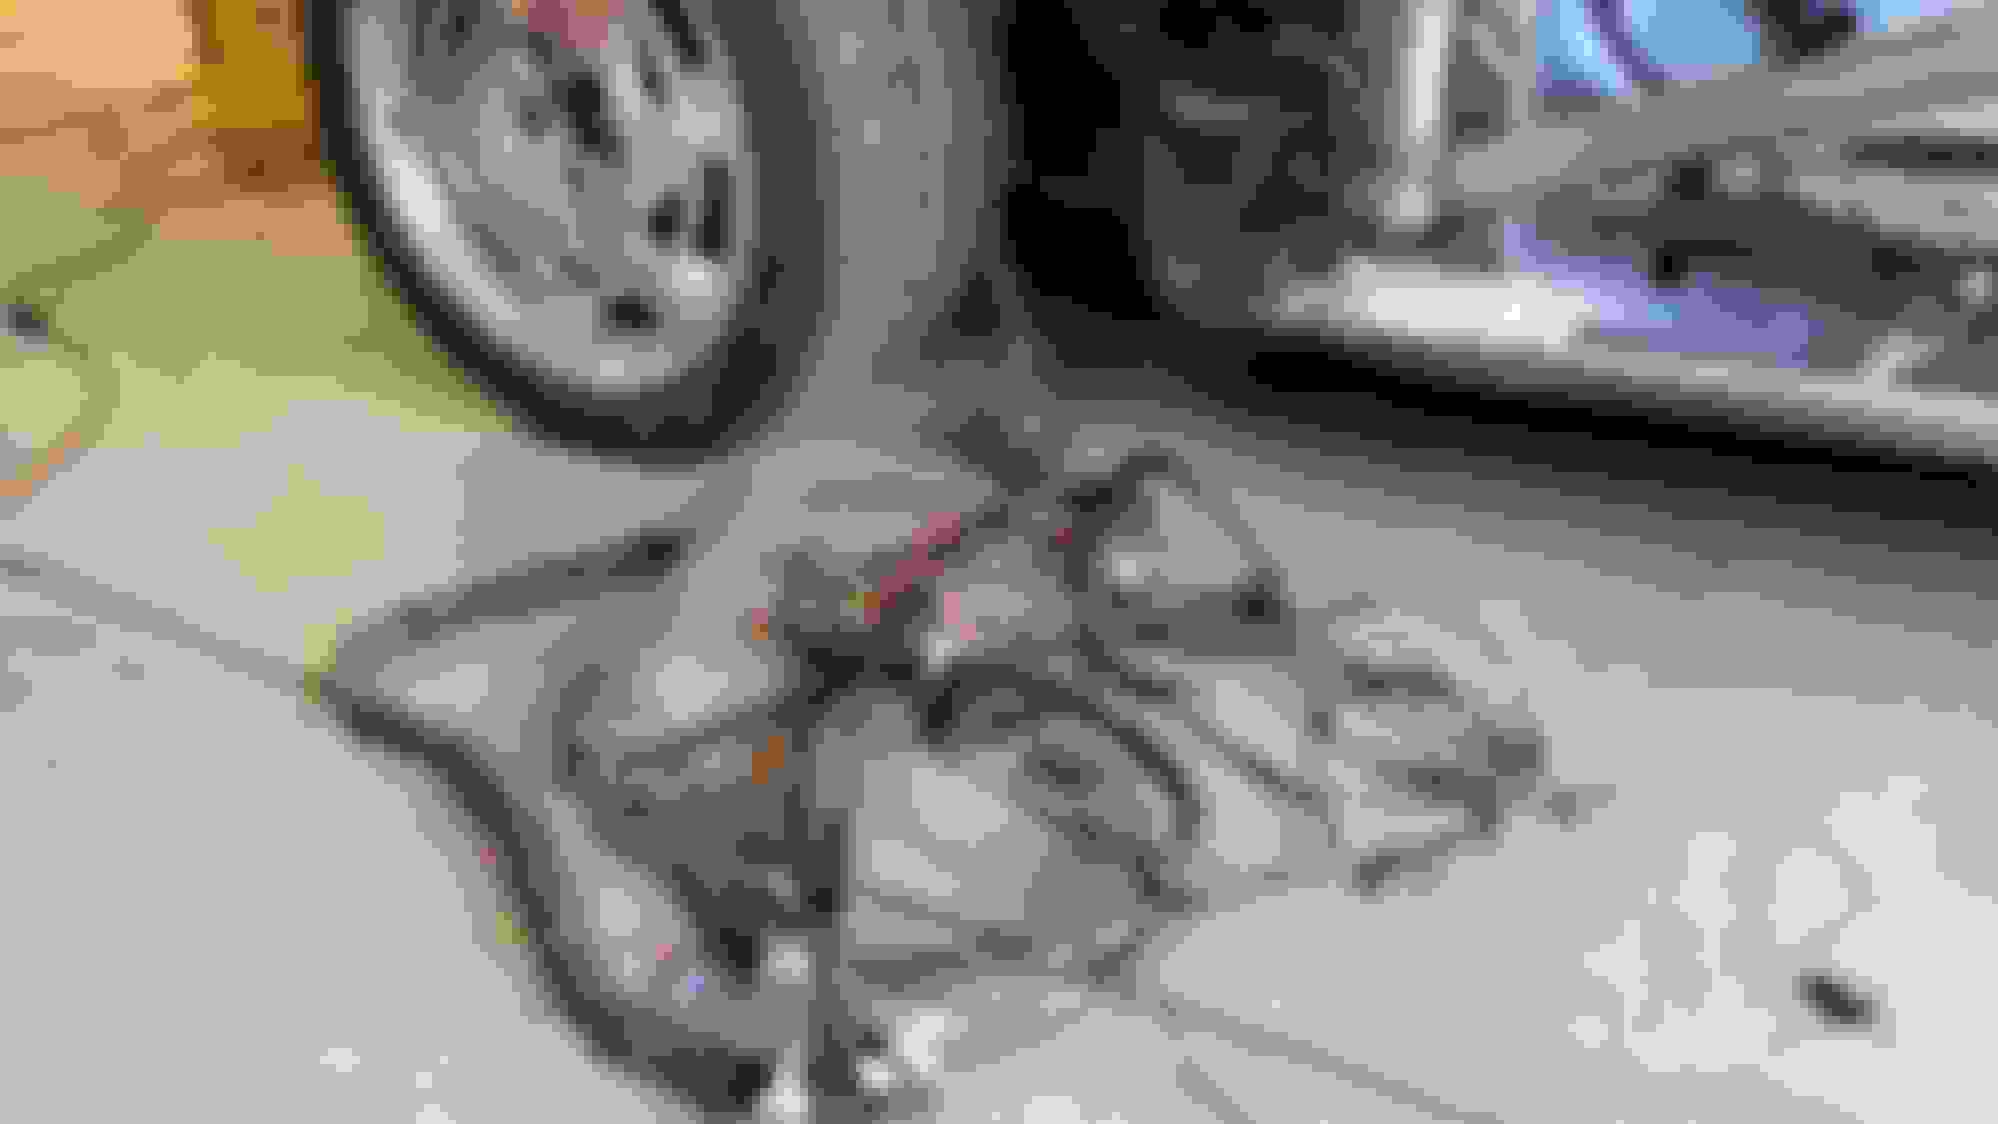
Here is where I started peeling the tape off the harness, where it was cluttering the passenger's foot well.....
Anyone like spaghetti as much as I do?
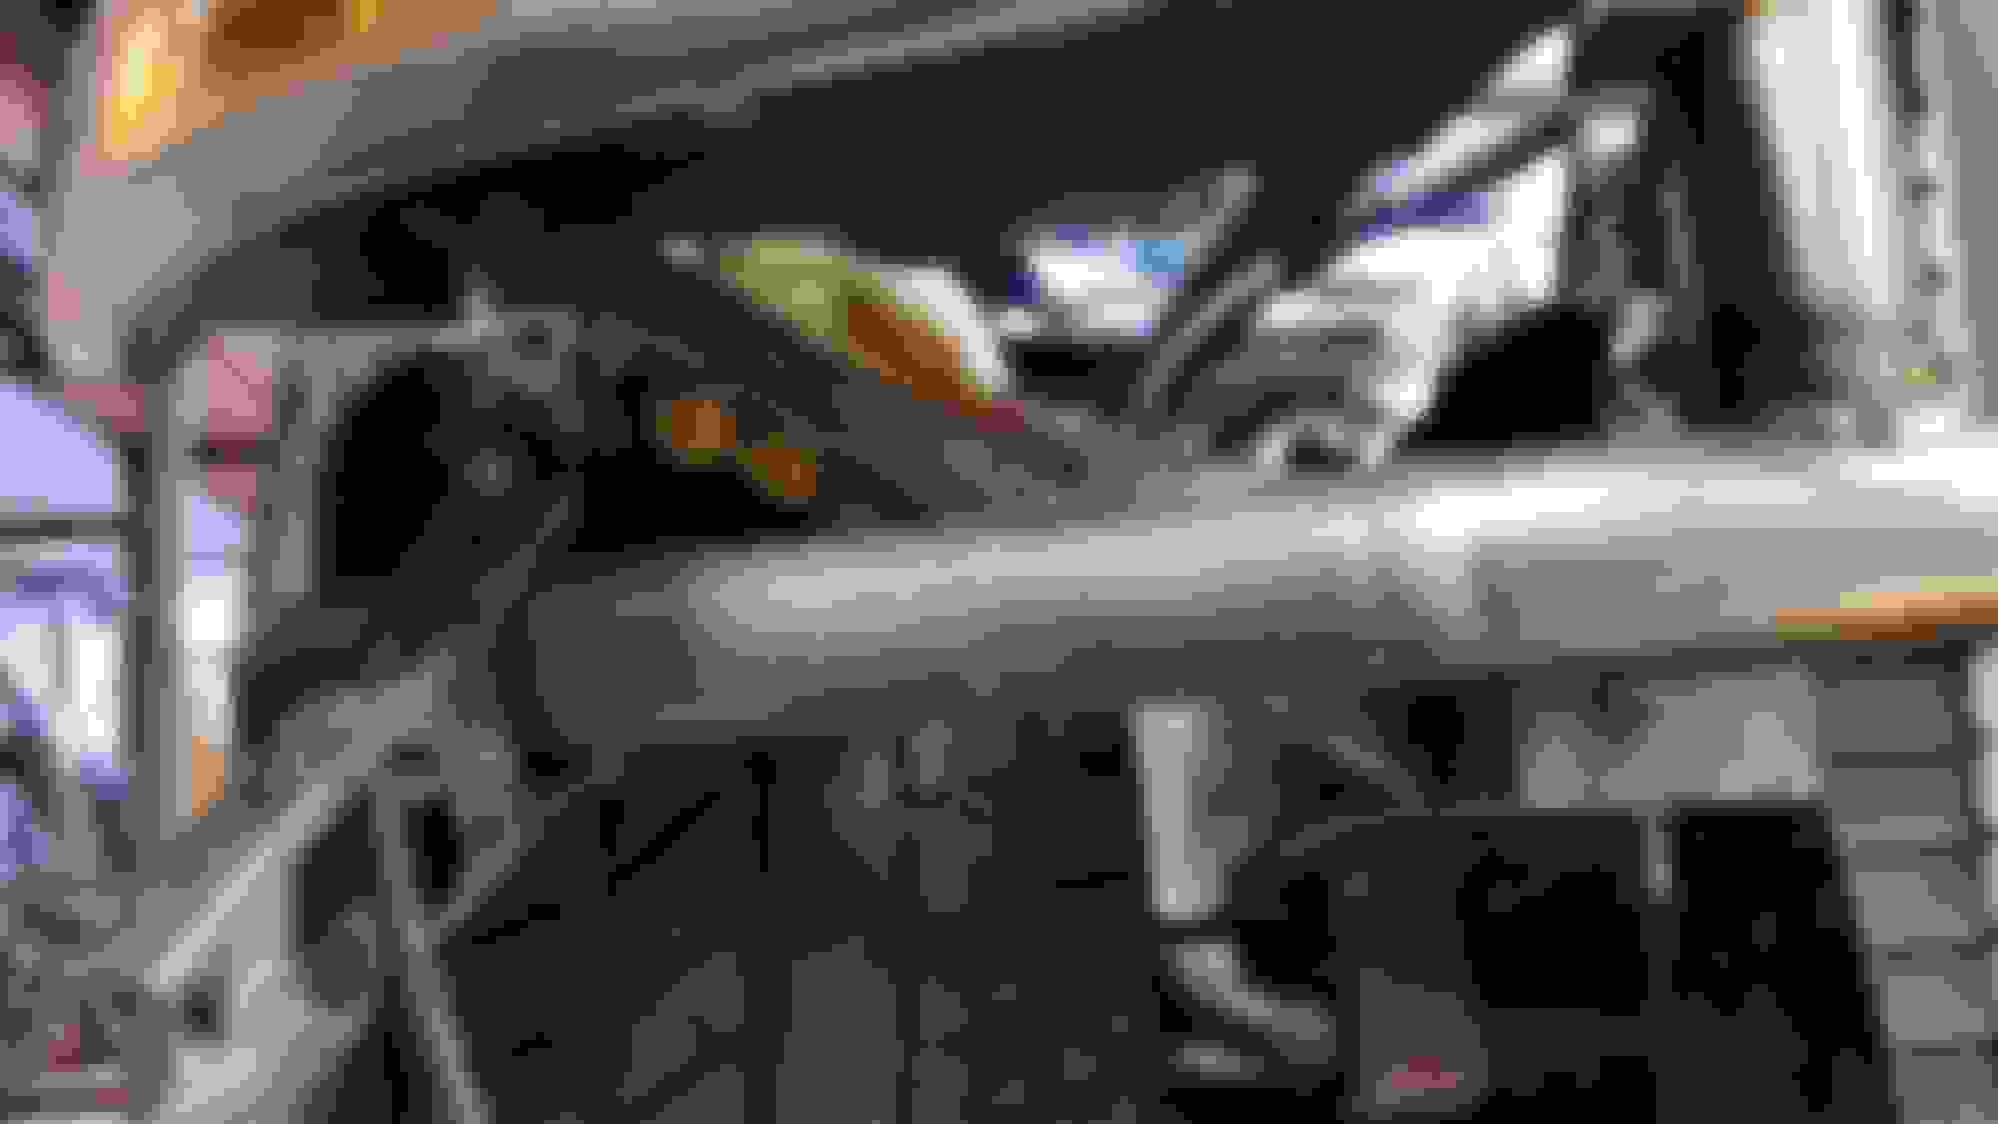
Hours later, and ~10 lbs of wire and "modules" in the trash, later, it looked like this:
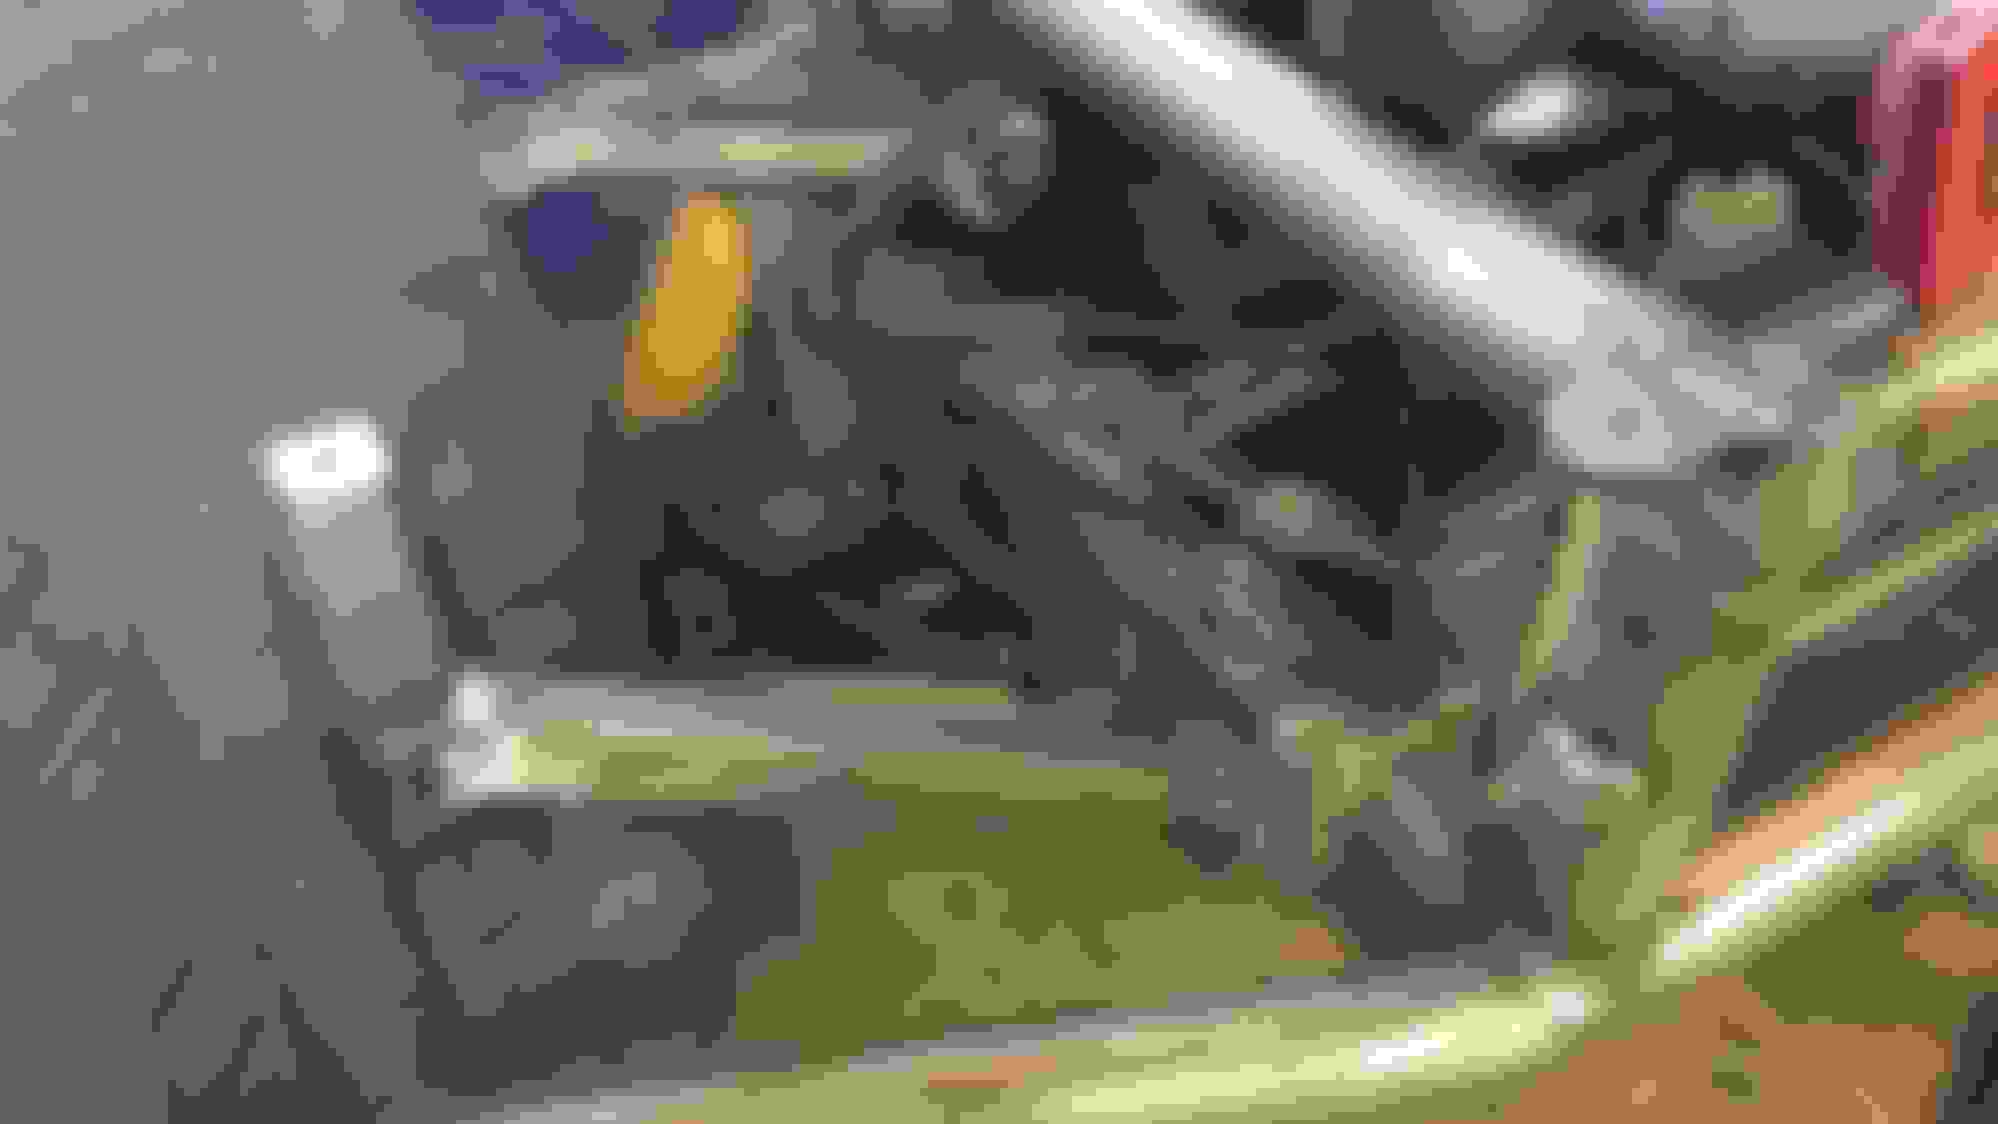
And here is a peak behind the dash brace. The HVAC box used to sit here, but it's a good place for wiring, now. I need to find a nice, simple way to mount the flashers, and the horn relay....and the fuse box will be mounted to the dash when I've got that made and installed.
Oh yeah...to answer your (everyone's) question.....yes, it still fires right up and runs great. In fact, my wife and I took it for an obligatory "test run" around the neighborhood this evening. We had to ensure that the removal of all that wiring in no way affected the car's ability to endlessly smoke it's tires.
Hi Tom, how much stiffer is the car now that you have the cage? Did it make a huge difference? You're doing a great job, it really looks cool. An American Ariel Atom on a budget.
YES! THANK YOU! That is the image/idea that I'm hoping to portray, when it's done.
It's a LOT stiffer and "better riding" than before the cage. "Thump-thump" over bumps, not "crash-crash-sha-sha-sha". It feels way "tougher" and robust....but still super light and nimble. It will get even better/stiffer too; I'm going to tie the cage to the cowl, then add some struts from the forward bars down to the frame rails. Finally, an "X" in the front from the forward bars across and down to the frame rails. Those are all the easy, straight pieces that I can do myself but should make a big difference.
I remember you saying you did a different wrap on the serpentine after you removed the accessories. How is that working out for you?
Originally Posted by Aardwolf
I'm curious too! I still have mine wrapped with the wrong side of the belt to the water pump.
So far, so good! It's working awesome, no issues and I've revved that wheezy TPI as high as it will go! The truck PS pump didn't seem to change or affect the steering feel or assist at all, which is cool...I thought I might have to change valves, but no issues there, either. I got a UD pulley (for a 'chevy truck) and I'll be putting that on soon. I'll have to get a shorter belt, but shouldn't affect much else.
O.K. Boys and girls....I'm getting close to having this thing on the road.
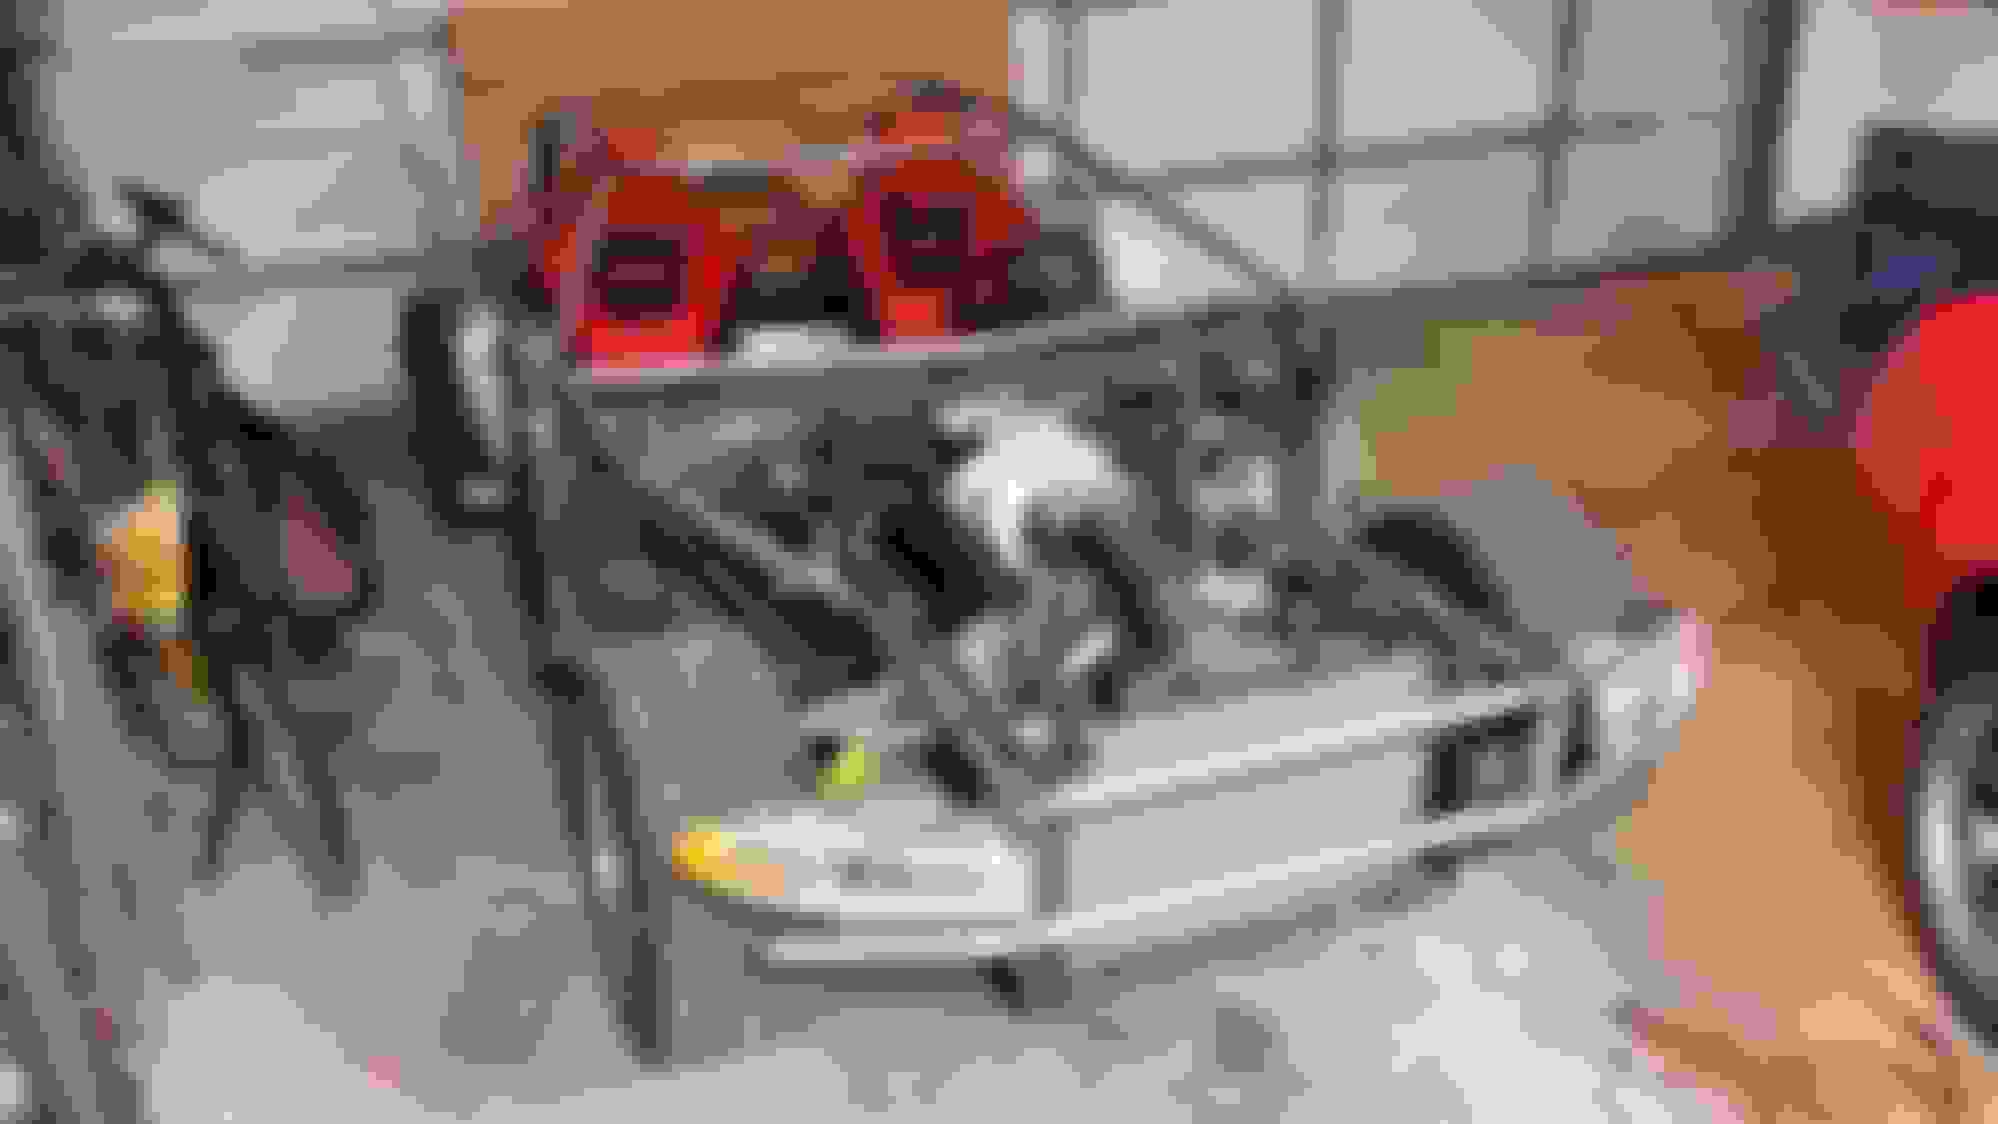
I've been stressing Registration since I started this whole thing. I was thinking that I should reg it as a "custom" vehicle b/c that classification has a lower criteria for safety. But, it's a lot bigger hassle b/c I can't use the Chevy VIN, and I'd have to convince the DMV that it's...whatever it is, and come up with some sort of VIN for it. UT did away with annual safety so my only real issue is if/when I get pulled over -a cop can scrutinize the begeezus out of the car if they want and give me grief. Anyway, I finally decided to just go ahead and reg it as an '89 'Vette. Since I bought it out of state, I had to have a VIN inspection, and I got that done on Saturday. When the Sheriff came by I asked her what she though...and if SHE pulled me over, what would she be thinking about this car? She looked at it for a sec, and said, "Well, you have great brakes, good handling...the cage, it's obviously safe....Look, if you have registration and insurance on it? I'm happy." Sweet. So I got to work on the "front end" which included securing the air filter/inlet, making headlight brackets for my junkyard headlights, and redoing the front harness from the firewall forward, to simplify, clean it up, and hide it as best as possible. Anyway, here is what I got done this weekend....
Well folks....that was a flash in the pan. I guess the 'Vette forum can't upload pics on a PC anymore, either.
HEY! I can post pics from my phone!! So the headlights are mounted with these little pins. So I had to make some bracketry that was rigid enough, that would work with these pins, and finally, hold the light moslty level fore and aft (for aim) and tilting so they'd look the same.
First I welded these little tabs to the front cage tubing, an upper tab, and a lower, then I drilled holes through them the right size for the pin, and as vertical as possible.
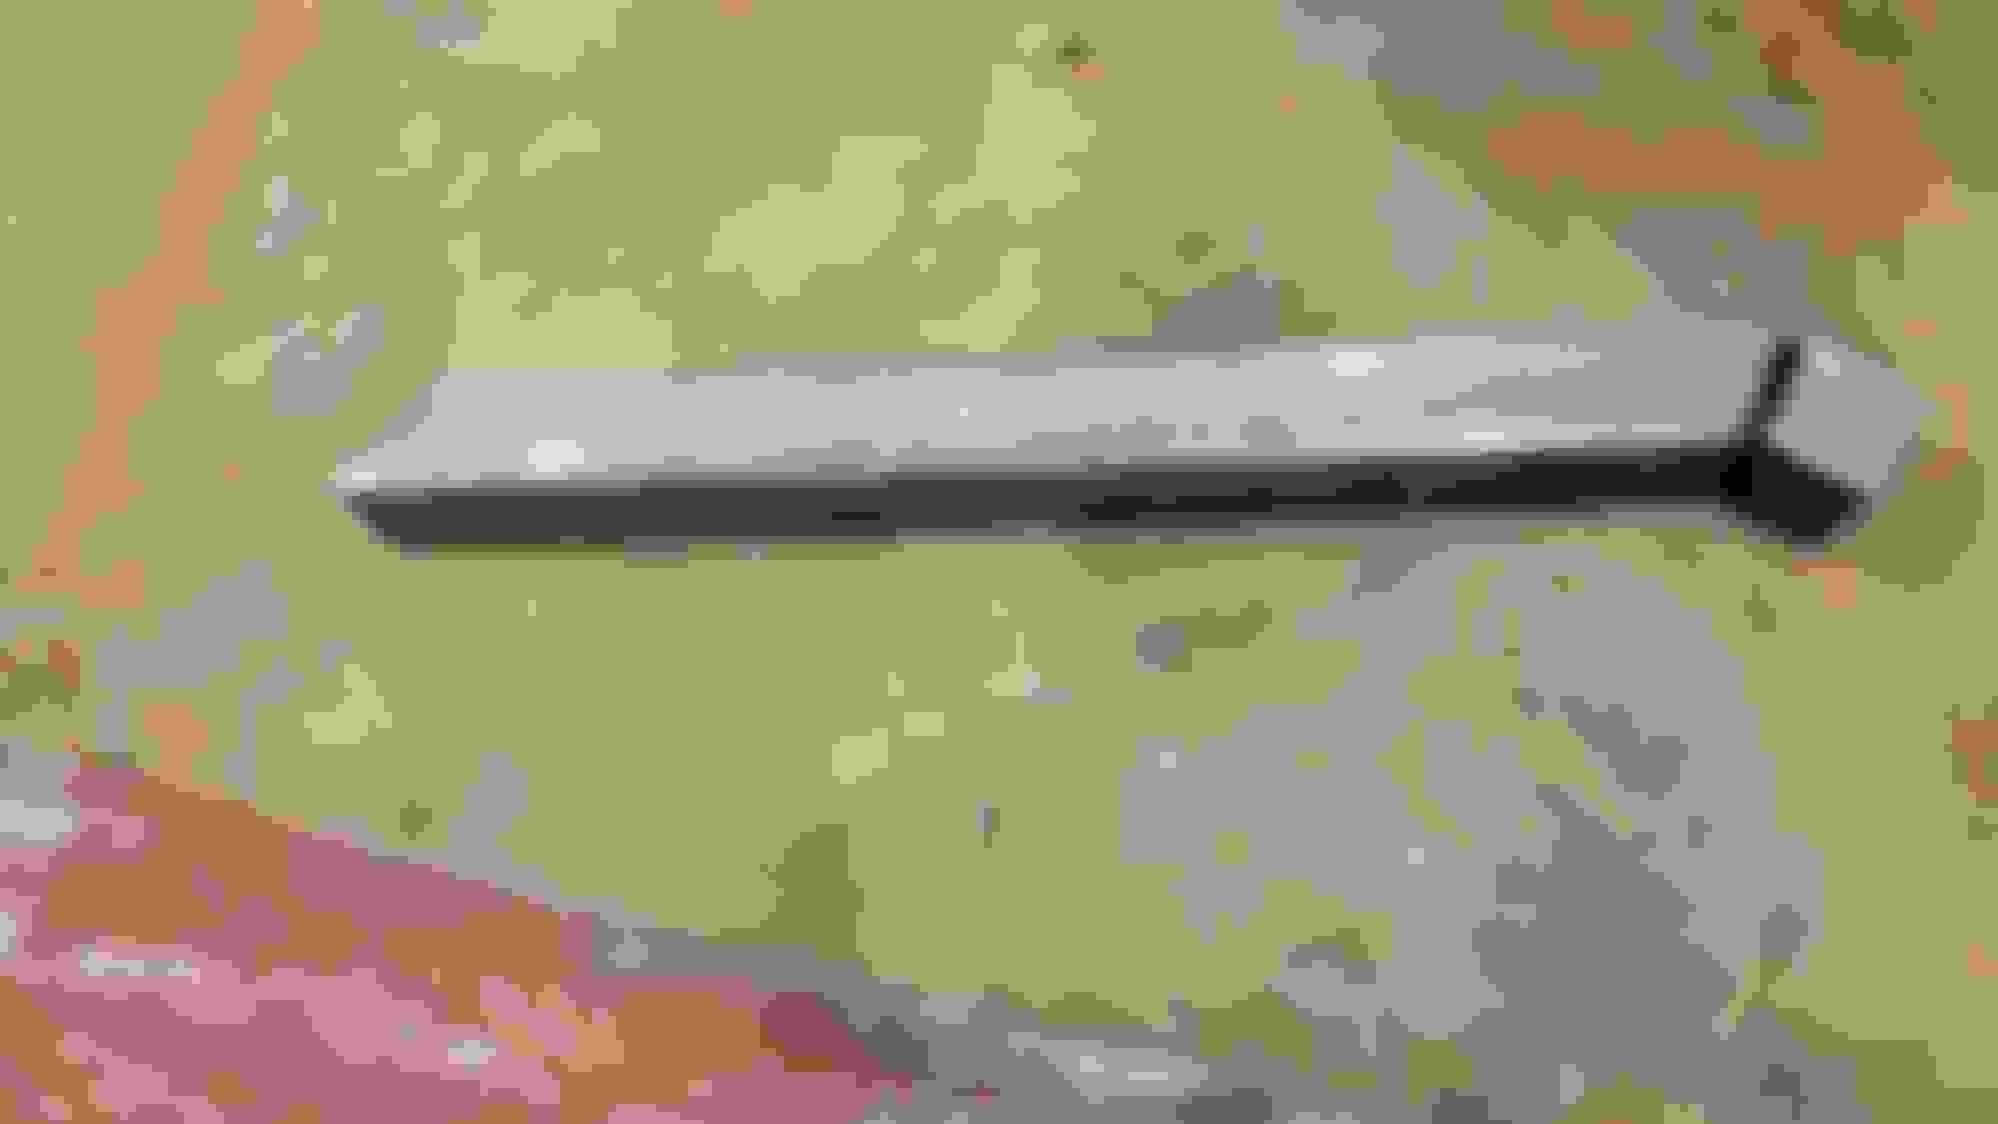
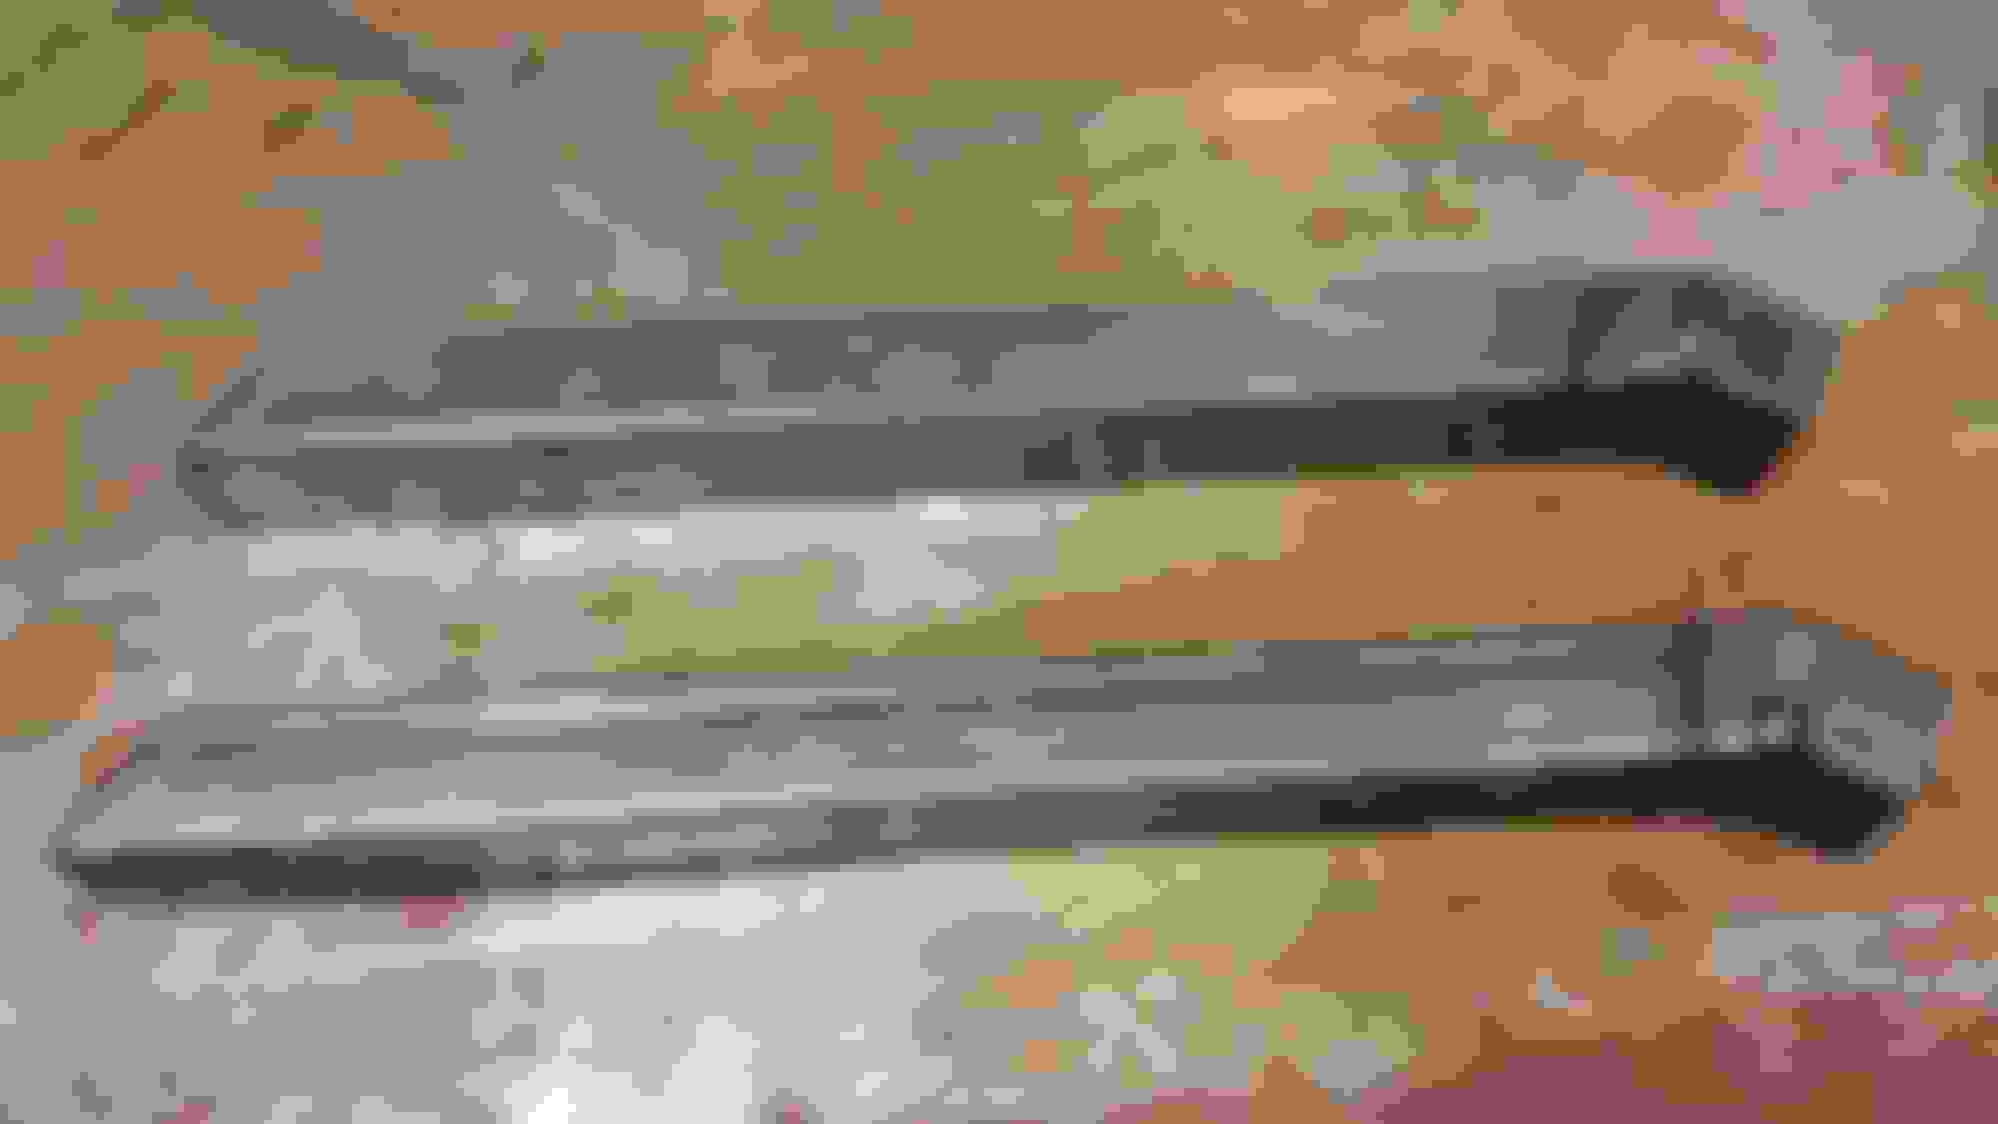
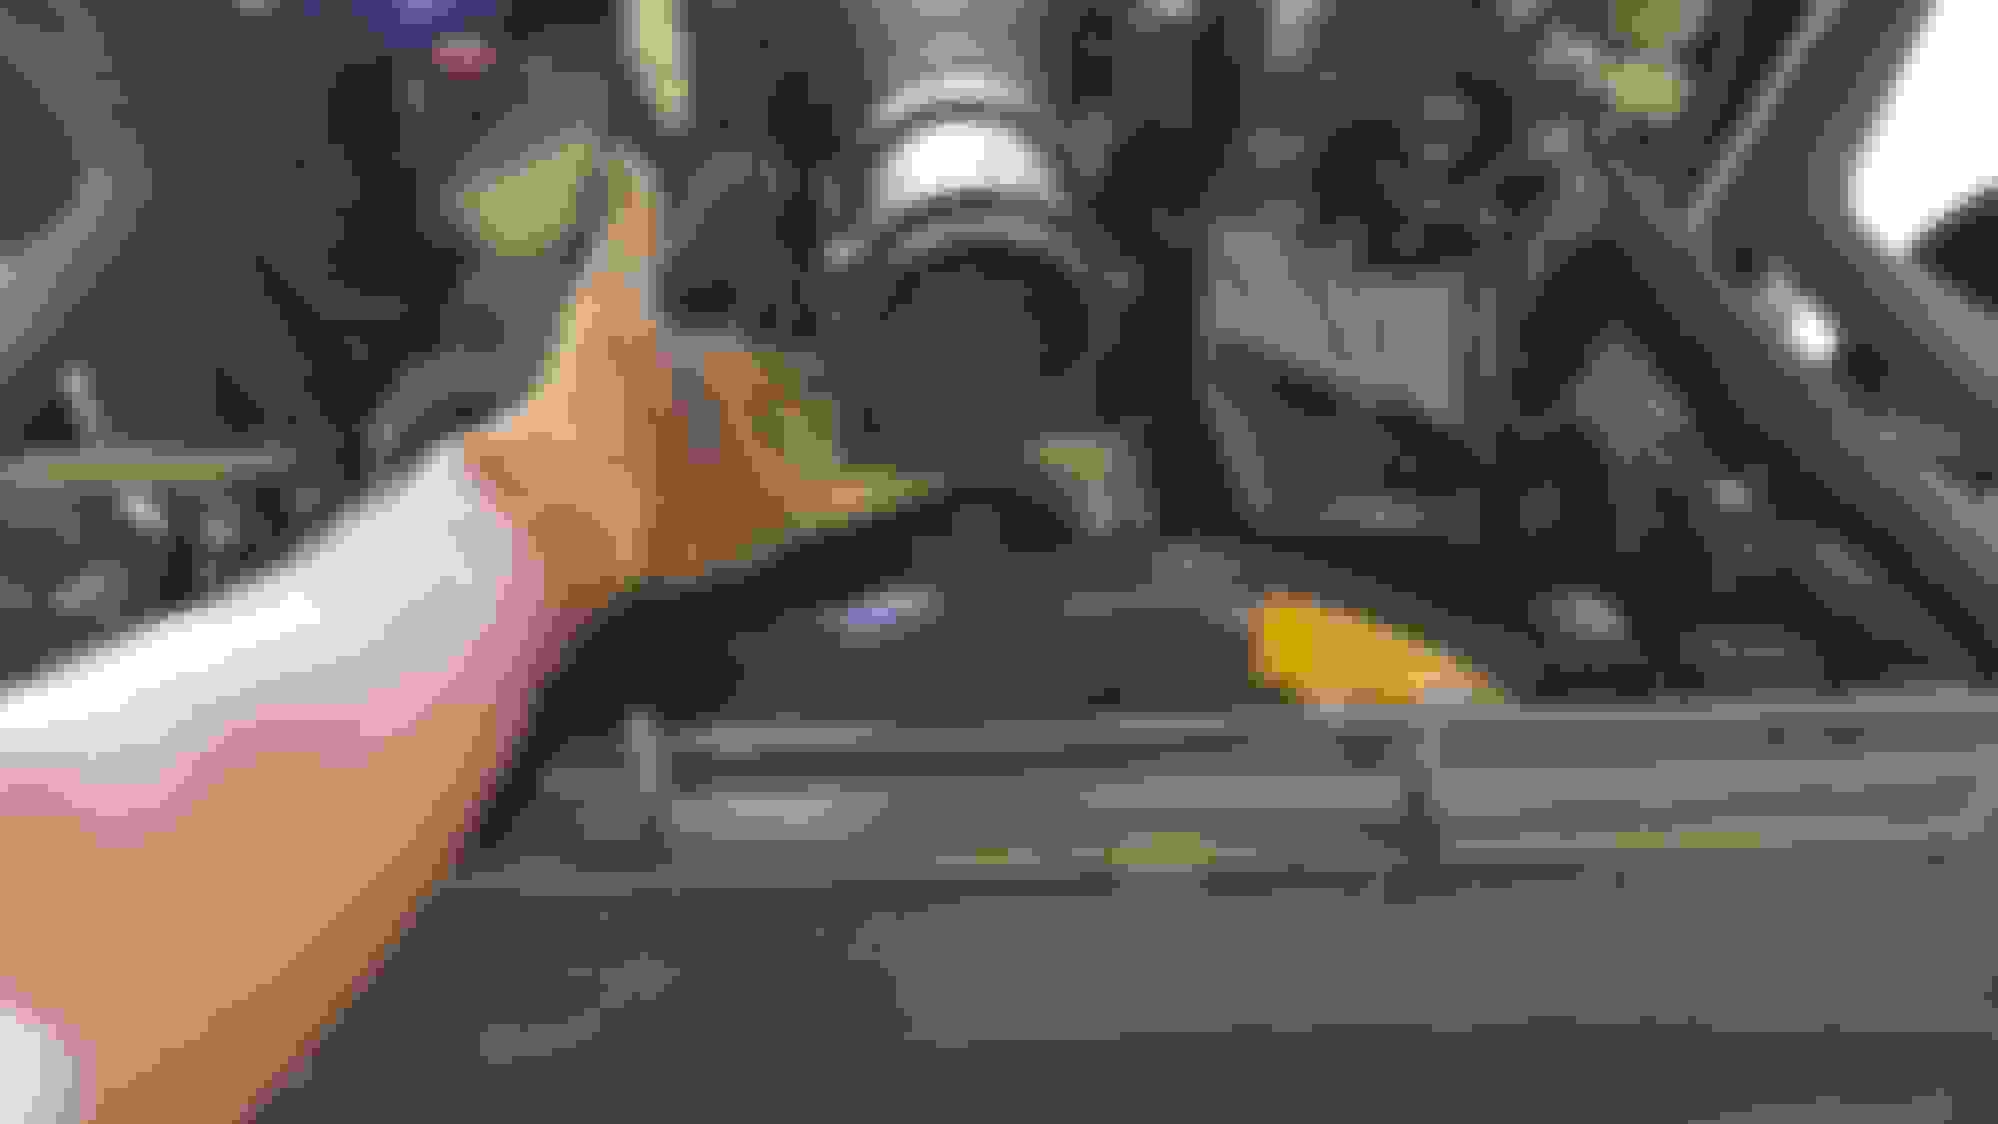
Next I needed some kind of brace or support for the outer mount of the headlight housing. Here, I'm pointing to where I want the brace to connect....
I measured and chopped a couple pieces of 1" square tube, the marked where I wanted a bend and marked for an angle cut out..then cut and bent.
Here I am sort of test fitting one in for the right headlight.
Happy with the fitment, I went ahead and welded the bends in....
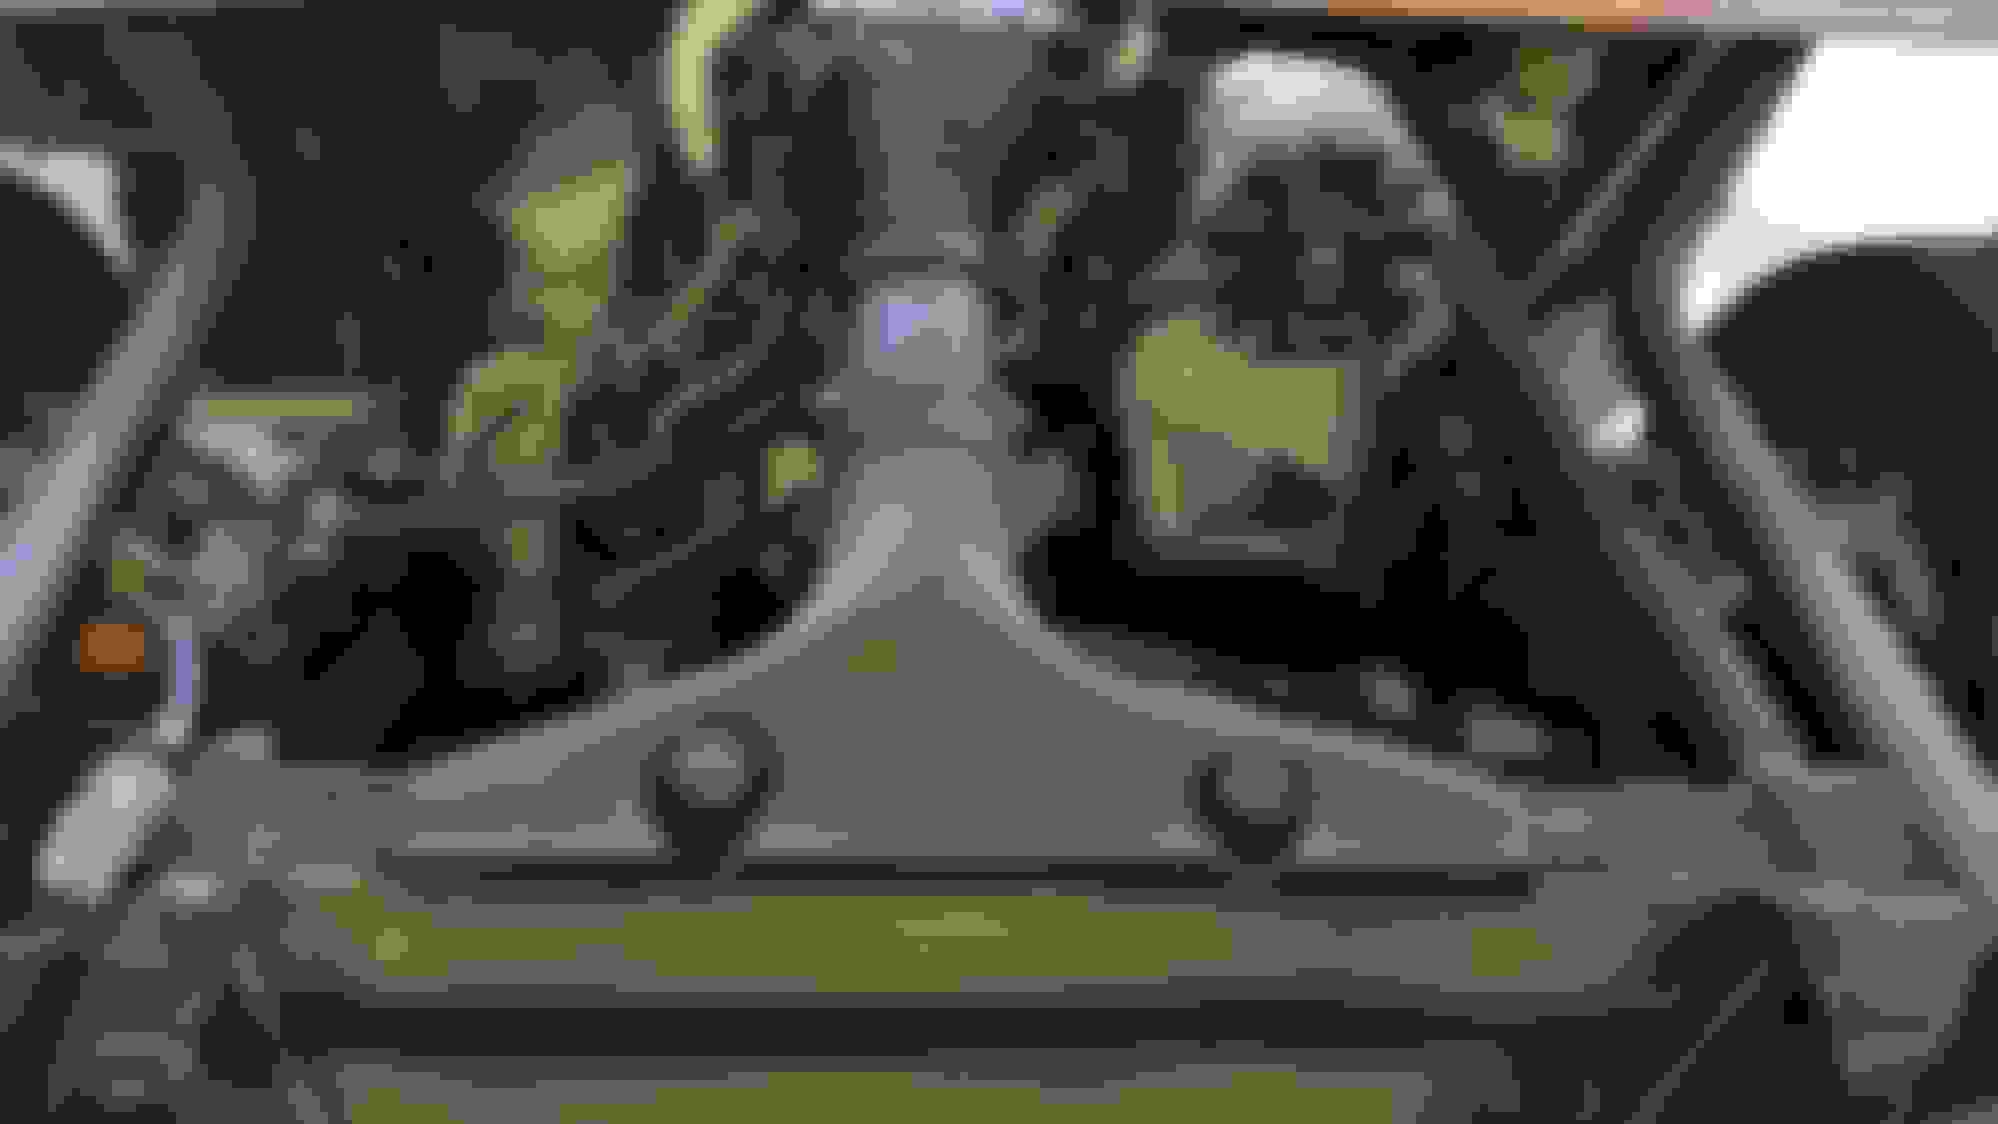
Then I ground the welds smooth. I positioned the headlight using a level, then tacked in the brace and finally welded it to the car's frame rail. I drilled the out pin-hole, then made a little bracket to help hold the outer part of the headlight "down" so it doesn't bounce on bumps. This is what the final headlight mount looks like.....
How level did it turn out? Pretty level. Note that the actual light is adjustable w/in the housing assembly, so I can still fine-tune the aim of the headlights.
Fore and aft...
How do they look on the car? I mean...I paid $65 for two headlight assy's that also include turn signals and parking lights. For the price, I think they look pretty bad assed. The card board behind the car is going to be template material for both the windshield and the dash board.....
So one bummer about this car being an '89 is that it's a MAF car. As a consequence, it has this big floppy, flaccid DONG hanging...no, swinging off the front of it.Can anyone relate to that? It's not a great feeling, having a big old dong swinging in the breeze. I knew that I had to get that thing secured down better than a couple zip-ties. I drilled a couple holes in whats left of the top of the radiator shroud, then inserted the original studs into the shroud...and mounted the chopped air cleaner housing to that, using the original nuts/*****. Looks OK. It's a TRUE, COLD air intake...but filtration leaves something to be desired....
Then it was onto wiring, 101 again. I started pulling the whole front harness apart to peel out what's not needed....
Finally, when I bought the car, the PO went on and on about how much he looooooooooved his '89 Corvette and how he didn't want to sell it but knew that he couldn't fix it. For his claim of love...he sure didn't maintain it too well. Damn....how about an oil change now and then? It's going to take a lot of oil changes to clean that out. The sludge is about 1 cm deep...everywhere.
 07-08-2018, 11:39 PM


 The car was loaded so it had a lot of wiring that could go away. I got rid of the Anti theft module and it's associated wiring, the chime and wiring, lights module and wiring, Info center wiring, cluster, low coolant module, everything that went to the doors....and a LOT more.