C4 Tech/Performance L98 Corvette and LT1 Corvette Technical Info, Internal Engine, External Engine

1984 Single Turbo by JoBy continues

Thread Tools
 
Search this Thread
 
Old 05-20-2017, 12:53 PM
  #101  
Gibbles
Drifting
 
Gibbles's Avatar
 
Member Since: Mar 2015
Location: Utah
Posts: 1,274
Received 162 Likes on 151 Posts
Default

Originally Posted by JoBy
Thanks Branden,

This is equally old related threads:

Installation / Modification of the Holley Stealth Ram
https://www.corvetteforum.com/forums...ification.html

Installation if the 4L80E transmission
https://www.corvetteforum.com/forums...80e-is-in.html


And if you want some even older projects like when I installed a Vortech Supercharger on my then stock Cross-Fire engine
http://joby.se/corvette/


Start of Turbo project
https://www.corvetteforum.com/forums...o-by-joby.html

Lots of neat stuff and info on your site, added to book marks!
Old 05-22-2017, 03:33 PM
  #102  
JoBy
Drifting
Thread Starter
 
JoBy's Avatar
 
Member Since: Mar 2001
Location: Timra, Sweden
Posts: 1,972
Received 216 Likes on 168 Posts

Default

While building the new motor I upgraded the fuel system.

I replaced the stock fuel lines with 12mm hyraulic lines.

A Facet fuel pump for carbed engines pump fuel from the main takt to the smaller surge tank behind the right wheel.

The surge tank feed the fuel pumps thru an Allstar stainless pre filter.

After the pumps I have a spin on filter.

Return flow go to the surge tank and then back to the main tank.


I removed the fuel pump from the tank and installed buklhead fittings.


Old 05-22-2017, 07:50 PM
  #103  
1993C4LT1
Race Director
 
1993C4LT1's Avatar
 
Member Since: Oct 2011
Location: Dallas Texas
Posts: 15,459
Received 614 Likes on 493 Posts

Default

Simply badass And the stock bottom end help up well, especially considering it was a 2 bolt main.
Old 05-22-2017, 07:50 PM
  #104  
1993C4LT1
Race Director
 
1993C4LT1's Avatar
 
Member Since: Oct 2011
Location: Dallas Texas
Posts: 15,459
Received 614 Likes on 493 Posts

Default

And thank you very much for updating
Old 05-23-2017, 06:31 AM
  #105  
Svante
Racer
 
Svante's Avatar
 
Member Since: Jul 2004
Location: Ornskoldsvik
Posts: 315
Received 15 Likes on 9 Posts

Default

Nice work Joby,
Are you planning of have it running this summer? I think your new Engine will be great.

What are your plans on the boost side for this setup? Same turbo?

/Svante.
Old 05-23-2017, 07:07 AM
  #106  
Gibbles
Drifting
 
Gibbles's Avatar
 
Member Since: Mar 2015
Location: Utah
Posts: 1,274
Received 162 Likes on 151 Posts
Default

Very nice idea on the secondary tank as well, in my 84 it drives me nuts if i try and take a hard turn, or hard acceleration with a turn, with less than a half tank of fuel.

I have had the car nearly stall in the middle of an intersection a few times...
other times i make it through only to nearly stall right as i start to straighten up.​​​
One of these days it's going to end up getting me rearended or sideswiped...
Old 05-23-2017, 07:09 AM
  #107  
JoBy
Drifting
Thread Starter
 
JoBy's Avatar
 
Member Since: Mar 2001
Location: Timra, Sweden
Posts: 1,972
Received 216 Likes on 168 Posts

Default

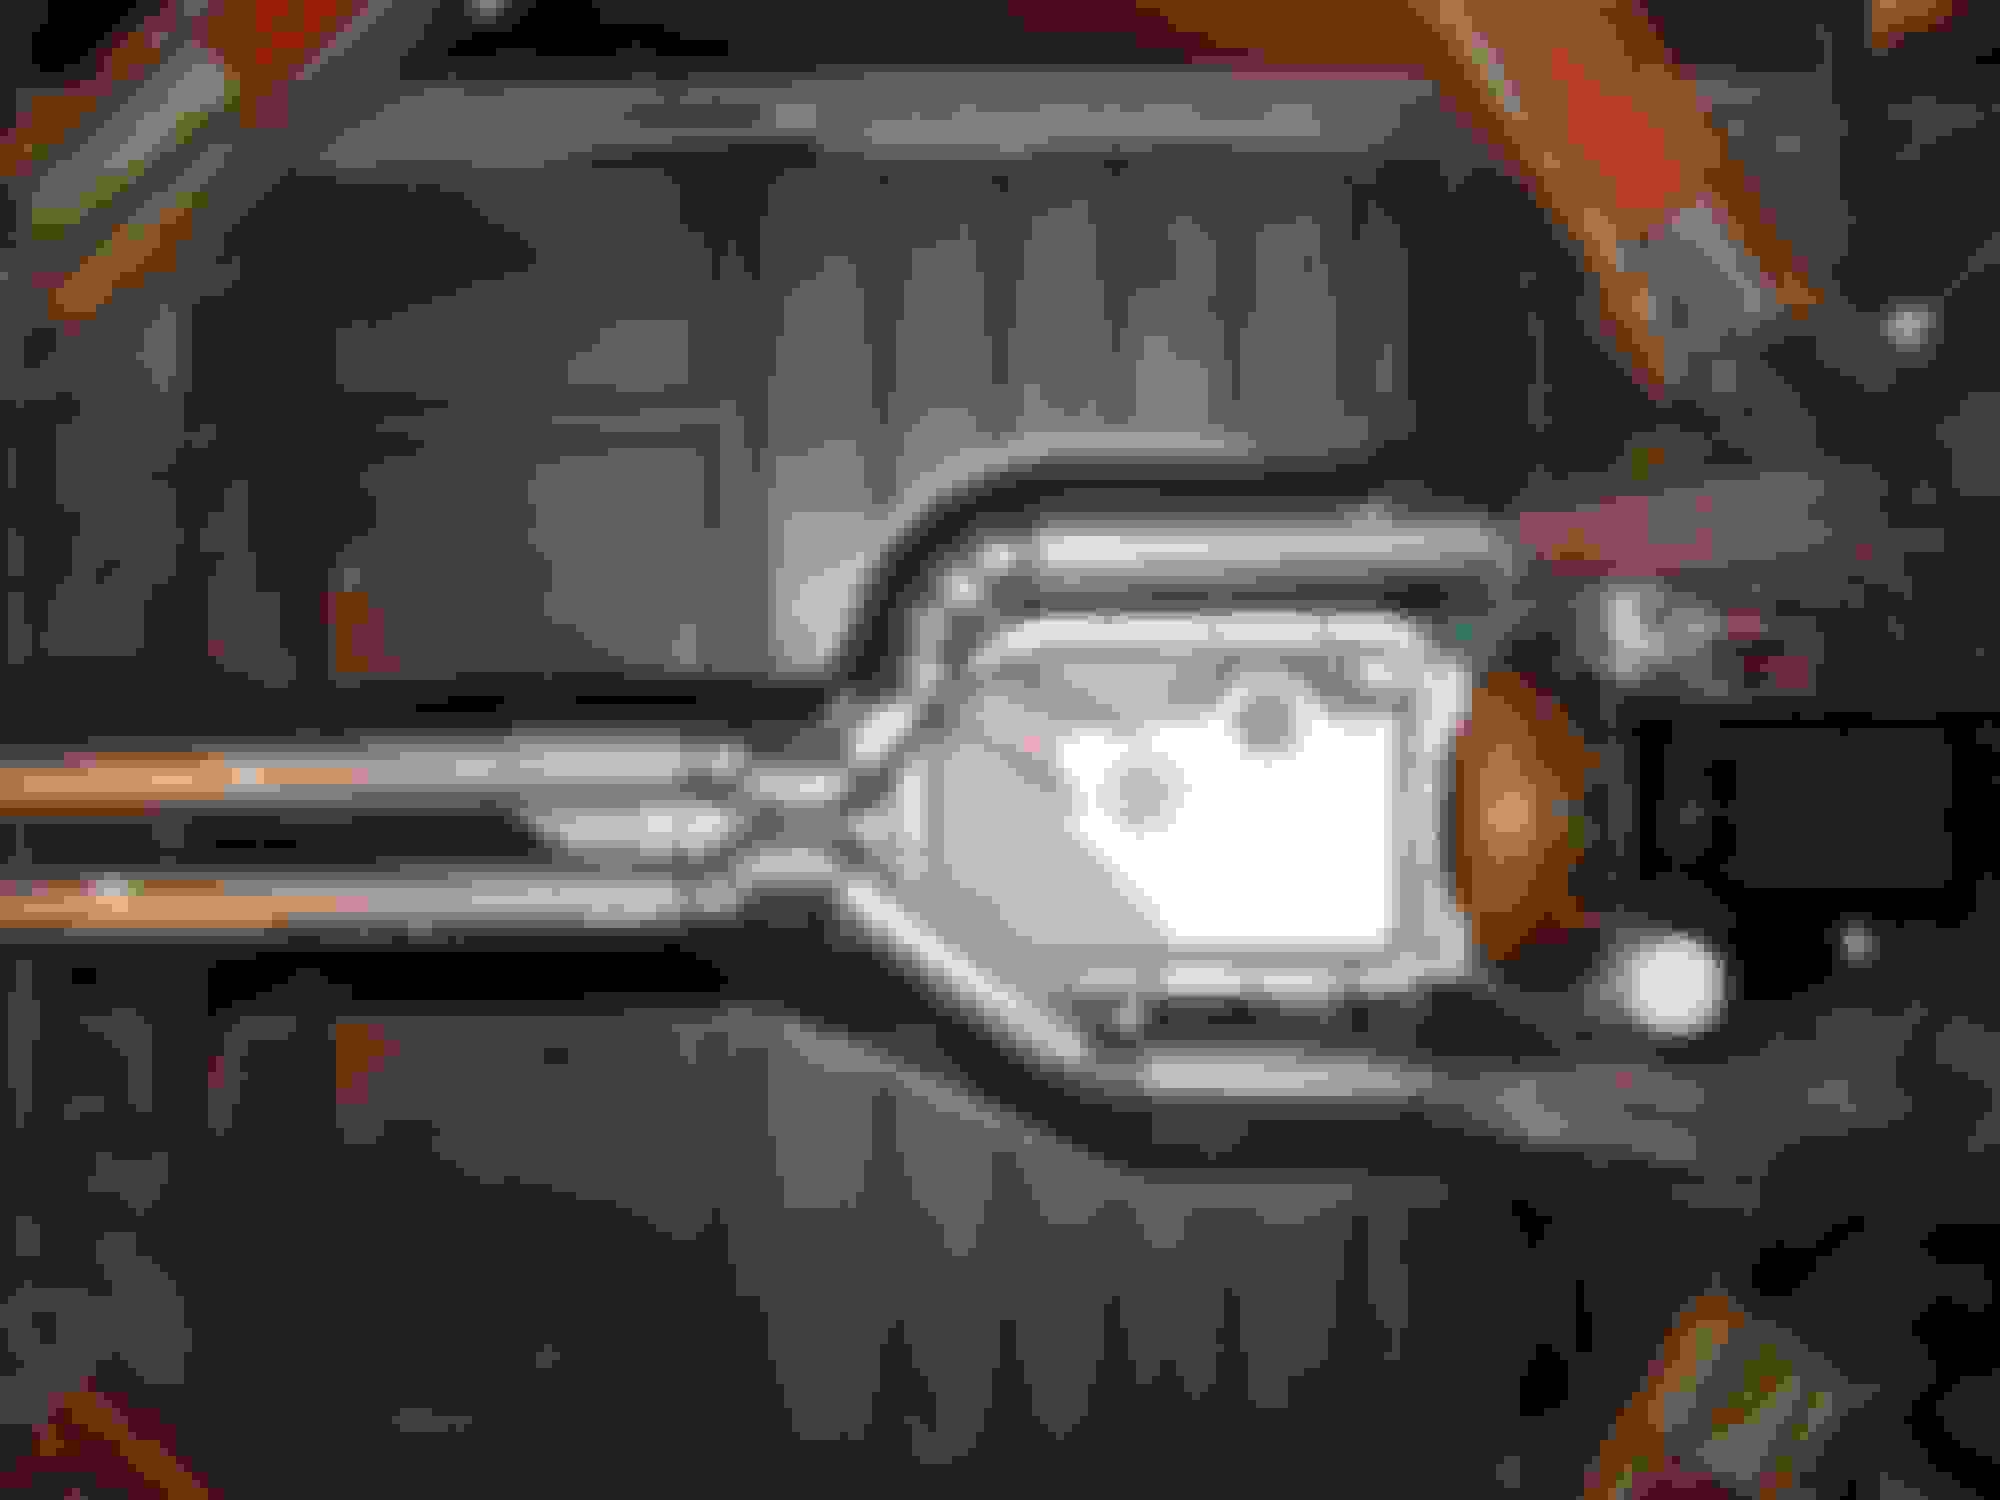
Actually this is still old pictures. It is running right now but I have to remove the turbo for Vehicle Inspection, then I am installing a bigger wastegate in a new location.
Old 05-23-2017, 08:13 AM
  #108  
383tpimachine
Drifting
 
383tpimachine's Avatar
 
Member Since: Feb 2008
Location: Texas
Posts: 1,267
Received 27 Likes on 22 Posts

Default

Why such a small compression height piston? What material? badass build none the less.
Old 05-23-2017, 10:24 AM
  #109  
JoBy
Drifting
Thread Starter
 
JoBy's Avatar
 
Member Since: Mar 2001
Location: Timra, Sweden
Posts: 1,972
Received 216 Likes on 168 Posts

Default

Originally Posted by 383tpimachine
Why such a small compression height piston? What material? badass build none the less.
https://www.summitracing.com/int/parts/srp-231319-8

These small block Chevy 350/400 inverted dome top pistons by SRP are made from 4032 low-expansion, high-silicon aluminum alloy that's heat-treated to SRP specifications. The ring land and crown thickness have been specifically engineered for mild turbo, supercharged, and nitrous applications. Their forced pin oiler provides increased wrist pin lubrication. A pin fitting, double Spiro locks, and a wall wrist pin are included. The CNC-machined ring grooves accept 1/16, 1/16, 3/16 rings, which are sold separately.
I wanted to build an engine with less cylinder wall side loading ( Less friction ) and that require longer rods. Higher revving engines usually user longer rod ratios. Sports bikes and F1 engines has a rod/stroke ratio of over 2:1.

302 has a rod/stroke ratio of 5.7"/3.00" = 1.9
305 has a rod/stroke ratio of 5.7"/3.48" = 1.64
327 has a rod/stroke ratio of 5.7"/3.25" = 1.75
350 has a rod/stroke ratio of 5.7"/3.48" = 1.64
400 has a rod/stroke ratio of 5.565"/3.75" = 1.484
383 short rod has a rod/stroke ratio of 5.565"/3.75" = 1.484
383 medium rod has a rod/stroke ratio of 5.7"/3.75" = 1.52
383 long rod has a rod/stroke ratio of 6.0"/3.75" = 1.6

From Google:
Most engine builders shoot for a ratio between 1.5:1 and 1.8:1 on a street motor, with 1.75:1 considered ideal, regardless of application. (The most highly developed four-stroke engines in the world-F1 and motorcycle engines-have rod ratios of more than 2:1.)
My build has a rod/stroke ratio of 6.125"/3.48" = 1.76

Last edited by JoBy; 05-23-2017 at 10:28 AM.
Old 05-24-2017, 07:42 AM
  #110  
JoBy
Drifting
Thread Starter
 
JoBy's Avatar
 
Member Since: Mar 2001
Location: Timra, Sweden
Posts: 1,972
Received 216 Likes on 168 Posts

Default

Some more new parts for the build:

Manley Severe Duty Series Stainless Steel Valves 11543-8 https://www.summitracing.com/int/parts/man-11543-8

Cometic MLS Head Gaskets C5247-040 http://www.summitracing.com/int/parts/cgt-c5247-040

Crane Mechanical Flat Tappet Camshaft 113841 http://www.summitracing.com/int/parts/crn-113841
238 int./248 exh. Duration at 050 inch Lift.
0.480 int./0.500 exh. Valve Lift with Factory Rocker Arm Ratio.
114 Lobe Separation (degrees).
3,000-6,800 Basic Operating RPM Range.

Howards Cams Direct Lube Extreme-Duty Mechanical Lifters 91118http://www.summitracing.com/int/parts/hrs-91118

COMP Cams Ultra Pro Magnum Rocker Arms 1605-16 https://www.summitracing.com/int/parts/cca-1605-16

Milodon Road Race Oil Pan https://www.summitracing.com/int/parts/mil-31505

Fluidampr Harmonic Damper https://www.summitracing.com/int/parts/flu-620101

4.125" Bore
3.48" Stroke
9.00" Deck height
TDC 0.01" under deck
0.04" compressed head gasket thickness
74cc head chambers
16cc piston dish
8.54:1 Static Compression Ratio
1.76 Rod length/Stroke Ratio
1.185 Bore/Stroke Ratio
3.72 CUI, 6097cc
Old 05-24-2017, 11:40 AM
  #111  
BrandensBeast
Melting Slicks
 
BrandensBeast's Avatar
 
Member Since: Oct 2015
Location: Connecticut
Posts: 2,644
Received 144 Likes on 136 Posts
Default

Just read your other threads and what (I assume) is the build on your website, was awesome to read it through and that you have so much information on your car from the beginning.
Old 05-24-2017, 01:54 PM
  #112  
Buccaneer
Melting Slicks

 
Buccaneer's Avatar
 
Member Since: Nov 2005
Location: Arizona - If you don’t know CFI, STOP proliferating the myths around it...
Posts: 3,194
Received 1,004 Likes on 688 Posts

Default

Nice work Jonas, it appears that this build is badass for sure. Good luck.
Old 05-24-2017, 04:18 PM
  #113  
JoBy
Drifting
Thread Starter
 
JoBy's Avatar
 
Member Since: Mar 2001
Location: Timra, Sweden
Posts: 1,972
Received 216 Likes on 168 Posts

Default

Branden, Yes, that is a recort of the transformation from stock to not so very stock.

The last thing I did before blowing up the engine was to start improving the exhaust.

I started building from the headers with 3" pipes with less bends around the transmission oilpan into a flattened 5" pipe. Then a temorary 4" on one side.

From this:


To this:


To finish the exhaust I cut the 4" pipe off and installed two 3" straight thru mufflers. I cut the tips from the old mufflers to keep the stock look.
I also made some quiet inserts for the yearly inspection.


Old 05-24-2017, 05:05 PM
  #114  
JoBy
Drifting
Thread Starter
 
JoBy's Avatar
 
Member Since: Mar 2001
Location: Timra, Sweden
Posts: 1,972
Received 216 Likes on 168 Posts

Default

To make it easier to install the engine I made a swing crane on the two post lift. It was very easy to maneuver the engine in place.


Old 05-25-2017, 05:43 AM
  #115  
JoBy
Drifting
Thread Starter
 
JoBy's Avatar
 
Member Since: Mar 2001
Location: Timra, Sweden
Posts: 1,972
Received 216 Likes on 168 Posts

Default

Out with the old and in with the new. When installing the Haltech E6K and the TCI Transmission controller back 2005 I kept the stock engine harness in place and made an adapter for the Haltech. Some signals like TPS were spliced to the TCI box also. Some wires like injectors and triggers had to be wired new all the way. I had a WB lambda controller in there under the dash. I made a circuit bord with a one chip computer (PIC) to change speedo signal frequency from transmission controller to match the stock dash. When tuning both systems had a slow serial interface. It took minutes for the old DOS based laptop software to start and synchronize with Haltech.

I decided that it was time install a modern engine control system that could do everything. I removed all old wireing and reused the firewall rubber boot for the new wireing.

Old installation from 2005:


Old adapter to stock ECU connectors


Removing old stock cabling


A pile of removed stuff


New MaxxECU


I placed the MaxxECU behind the dash on the passenger side


Starting with new engine harness


New engine harness with old firewall rubber boot


New MaxxECU Traction Module. It has a lot of extra inputs and outputs and communicates with the main MaxxECU box using CAN-bus. I use this box to control the 4L80E transmission.


Last edited by JoBy; 05-25-2017 at 05:45 AM.
Old 05-25-2017, 08:19 AM
  #116  
1993C4LT1
Race Director
 
1993C4LT1's Avatar
 
Member Since: Oct 2011
Location: Dallas Texas
Posts: 15,459
Received 614 Likes on 493 Posts

Default

Impressive work!
Old 05-25-2017, 07:14 PM
  #117  
JoBy
Drifting
Thread Starter
 
JoBy's Avatar
 
Member Since: Mar 2001
Location: Timra, Sweden
Posts: 1,972
Received 216 Likes on 168 Posts

Default

The downpipe starts as 4" and then became a 3.5" and 3" to fit around the transmission oil pan. The other side was connected to the wastegate. I knew that this was way to restrictive and I had a plan on how to fix this even before blowing up the engine.

I made a new lower part of the downpipe that split from 4" to two 3" and those should flow about the same. The area of two 3" is about 12% more than the area of a 4" but there is less wall friction in a 4" pipe. One pipe go under the converter so the exhaist flow can go both ways around the transmissioin oil pan.

I made a simple open exhast for the wastegate.

This is the first turbo setup. Wastegate och lower part of the downpipe was the same with the bigger turbo also.


And the new.


Get notified of new replies

To 1984 Single Turbo by JoBy continues

Old 05-26-2017, 07:08 AM
  #118  
JoBy
Drifting
Thread Starter
 
JoBy's Avatar
 
Member Since: Mar 2001
Location: Timra, Sweden
Posts: 1,972
Received 216 Likes on 168 Posts

Default

I borrowed a VBOX performance meter, I think that it was this one:
https://www.vboxmotorsport.co.uk/ind...ers/vbox-sport

60 mph = 96 km/h
100mph = 161 km/h


I also played around with ignition cut during shifting to try and speed up shifting and make the life a bit easier for the transmission. This can cause some exhaust bangs and in this video is the loudest one I ever made. The phone that is filming actually shakes from the pressure wave.


After that bang the exhaust tips had a different look.
I was told that the flames were huge ...


Old 06-05-2017, 06:29 PM
  #119  
JoBy
Drifting
Thread Starter
 
JoBy's Avatar
 
Member Since: Mar 2001
Location: Timra, Sweden
Posts: 1,972
Received 216 Likes on 168 Posts

Default

During the summer 2015 the Corvette was running strong but I still had boost problems. Even with the waste gate completely closed boost maxed out at 1.2-1.3 bar ( 17 - 19 psi ). I knew that air filter location behind radiator was bad. The duct from filter to turbo was even worse. To make room for an air-duct over the radiator I mounted the radiator lower. I removed the original diagonal braces from cross member to front. I replaced them with a new support frame that goes around the radiator. I also changed the angle of radiator and intercooler to make room for new air filters in front of intercooler.


Old 06-06-2017, 11:44 PM
  #120  
MikeP84
Racer
 
MikeP84's Avatar
 
Member Since: Jun 2017
Location: South Dakota
Posts: 299
Received 24 Likes on 21 Posts
Default

Great thread! Car sounds mean in that last video you posted! A little off topic but what electrical system did you use for the swap to your stealth ram? I have an 84 that I want to put a pro flo xt on but im not sure if an 86 vette wiring harness and ecm swap will work or not.


Quick Reply: 1984 Single Turbo by JoBy continues


All times are GMT -4. The time now is 09:14 PM.