


Weather stipping relplacement tips
Race Director


Joined: Dec 2000
Posts: 17,551
Likes: 26
From: El Paso Texas
Which piece is giving you trouble?
As a general tip, I used a can of gasket remover and a paint can opener to get the old weatherstrip and adhesive out of the channels. Protect the paint on the car when you use it.
As a general tip, I used a can of gasket remover and a paint can opener to get the old weatherstrip and adhesive out of the channels. Protect the paint on the car when you use it.

Melting Slicks


Joined: Jun 2001
Posts: 3,444
Likes: 0
I just got my kit from Willcox. It will be a while before it is installed as the car is being prepped for paint. Hopefully in a couple of weeks I will be installing.
Removing should be straight forward enough, remove any bolts/screws/clips you encounter. Peel off where glued. Remove glue best you can without damaginig the paint. There are specific weatherstrip glue removal products you can buy. Becuase I am going to paint, I'll be using sandpaper
Removing should be straight forward enough, remove any bolts/screws/clips you encounter. Peel off where glued. Remove glue best you can without damaginig the paint. There are specific weatherstrip glue removal products you can buy. Becuase I am going to paint, I'll be using sandpaper

Navigator

Joined: Apr 2006
Posts: 9
Likes: 0
From another post of mine.
The moulding shouldn't be bad-- it is tin or aluminum and you can tell if it is bad by peeling the weatherstripping back a little. odds are that the screws holding it on are rusted and will require drilling out. if you do it and take your time it is easily salavagable.. letting them take it out they could just rip it out.. your call on that. plus you'd know if you need to order it before hand and can get it from the best priced sources.
when you take off the weatherstripping be sure to get the screws in the upper corners kinda hidden in the weatherstripping. This area also has a metal insert in the weatherstrip and will befuddle you as to why it isn't just pulling loose..
you will need a large flat steel putty knife to peel the moulding up without bending it. I would recommend having a little naval jelly for the rust under the moulding around the screw holes and some rust treatment stuff. you can put the moulding back on with basic black silicone caulking and when you put the weatherstip back into the moulding run a very thin bead (very thin) on the moulding to hold the weatherstipping in place AFTER YOU HAVE FIT CHECKED EVERYTHING. The main holding power is from the press fit into the valley on the moulding. Some would recommend the adhesive but you'll wind up tearing the weatherstirpping if you use that and ever need to take it off again.. the caulk is just a holding mechanism and a barrier for any water that might try to slip under the weather stripping. Four years on a daily driver with no leaks using a good grade caulk for me.
I would also recommend starting at the top center and getting the top weatherstripping centerd then going along the sides.. three cars experience taught me that.. Also with the new stuff you may have a tighter fit on the front of the door windows and roof panel when trying to tighten it. shouldn't affect the overall fit but make sure to double check the back of the door windows for a gap if the old stuff is deteriorated. plus check to make sure the leading edge on the sides of the top "form fit" into and with the new weatherstripping. paying attention to the area under the metal tabs on the top.
If you determine you want to repaint the moulding the paint easily comes off with a little paint remover. you'll need to clean it well and give it a light scrub with a red scrubby or non scratching type. then you can use and good brand of rattle can spray paint to repaint it.
there is also the area around the windlace (bottom of widow area at door level). odds are this is rusted too. if so plan on a buy because the metal in them is most liekley rusted beyond keeping.
"tis not the king who rules with an iron hand-- But 'tis the prophet, who whispers in his ear, that rules the land.."
Race Director


Joined: Nov 2003
Posts: 12,221
Likes: 446
From: Overland Park Kansas
2020 Corvette of the Year Finalist (appearance mods)
C4 of Year Winner (appearance mods) 2019
Weatherstrip adhesive is designed to remain soft -- softer than silicone. It's actually the better choice because it's designed to let you take it off. That's why they made it!
Race Director
Joined: Jun 2009
Posts: 10,428
Likes: 9
From: Southside of Western Norte Americano State of Confusion, ColoFornia
St. Jude '13
I just did this last week. I can offer a few tips.. all the cleaning advice above should be followed..but when it comes to reinstall.. dont glue anything down.. at first, It pops into a channel and that is sufficient for the initial install. because I promise you the doors wont close and the roof will not fit correctly at first, and after you get that gooey glue all over it you will have it all over you and the car.. do it dry and then you make adjustments. I ended up bolting the roof on and closing the doors (which was a very tight fit, and moving the weatherstrip around as things interfered.) when I got everything close up and bolted down i let it sit for a couple days in the sun.. this formed everything and I could take it back off and glue in spots to secure it. ( I honestly dont think the glue is neccesary at all but i did it anyway)
the best advice is .. know that you will be frustrated and mad by the time you get it right, but take your time and be patient and you can get it right.
the best advice is .. know that you will be frustrated and mad by the time you get it right, but take your time and be patient and you can get it right.
Corvette Stories
The Best of Corvette for Corvette Enthusiasts

Top 10 Most Explosive Corvettes Ever Made: Power-to-Weight Ratio Ranked!
Joe Kucinski
150 hp to 1,250 hp: Every Corvette Generation Compared by the Specs That Matter
Joe Kucinski
8 Coolest Corvette Pace Cars (and Replicas) of All Time
Verdad Gallardo
Top 10 Corvette Engines RANKED by Peak Torque (70+ Years of Muscle!)
Joe Kucinski
Corvette ZR1X Will Be Pacing the Indy 500, And Could Probably Race, Too!
Verdad Gallardo
Top 10 Corvettes Coming to Mecum Indy 2026!
Brett Foote
Top 10 C9 Corvette MUST-HAVES to Fix These C8 Generation Flaws!
Michael S. Palmer
10 Revolutionary 'Corvette Firsts' Most People Don't Know
Joe Kucinski
5 Reasons to Upgrade to an LS6-Powered Corvette; 5 Reasons to Stay LT2
Michael S. PalmerRacer
Joined: Sep 2001
Posts: 266
Likes: 7
From: Sumner WA
Bondami offers a good tip. I did mine and glued it down before realizing I still have a huge air leak (bigger than before) at the corner of the passenger side windshield and roof.
My advice when putting on the windshield piece is to put on the corners first and make sure they are as flat as possible and fully in the channel. My passenger side is raised a tad because I had to try and force the weather strip to fit exactly at the corner and I think that is causing my problem. I started at the drivers end and worked my way across instead of getting the corners right first. Unfortunately, it's glued now. I may still try removing it, but that will have to come later.
Ron
Drifting

Joined: Apr 2008
Posts: 1,815
Likes: 10
From: New York New York
I just did mine myself also after I was quoted $400 for the install. I was nervous to do it but trust me DO NOT be scared/nervous. It is very easy to install it not even funny. First buy some 3M adhesive/bug/tar remover. Then remove the all the retainers. Find something that fits in the retainers and up in the corners of them so when u spray the 3M and let it soak for awhile scrape all the old adhesive off. This will take hours to do for all the retainers. In total there about 6 retainers I think. My front windshield retainers were not bad so i left them on. Then when installinng the retainers some people like to put the black adhesive or some 3M double sided rubber stripping on but I did not to that. It is up to you. Then screw in retainers. Buy a popsicle and eat it and use the sticks to help you wedge in the new stripping in the corners of the retainers. Start with the corners. I also did not use any adhesive except for the end pieces where the push pins go and wa-la, all done. The hardest part was cleaning the retainers. But for the rear hatch you have to pop out those clips that hold the hatch up, I cant think of what they are called now, brain freeze. Other than that is was easy. Be patient and take your time. Good luck.
Some pics for you:
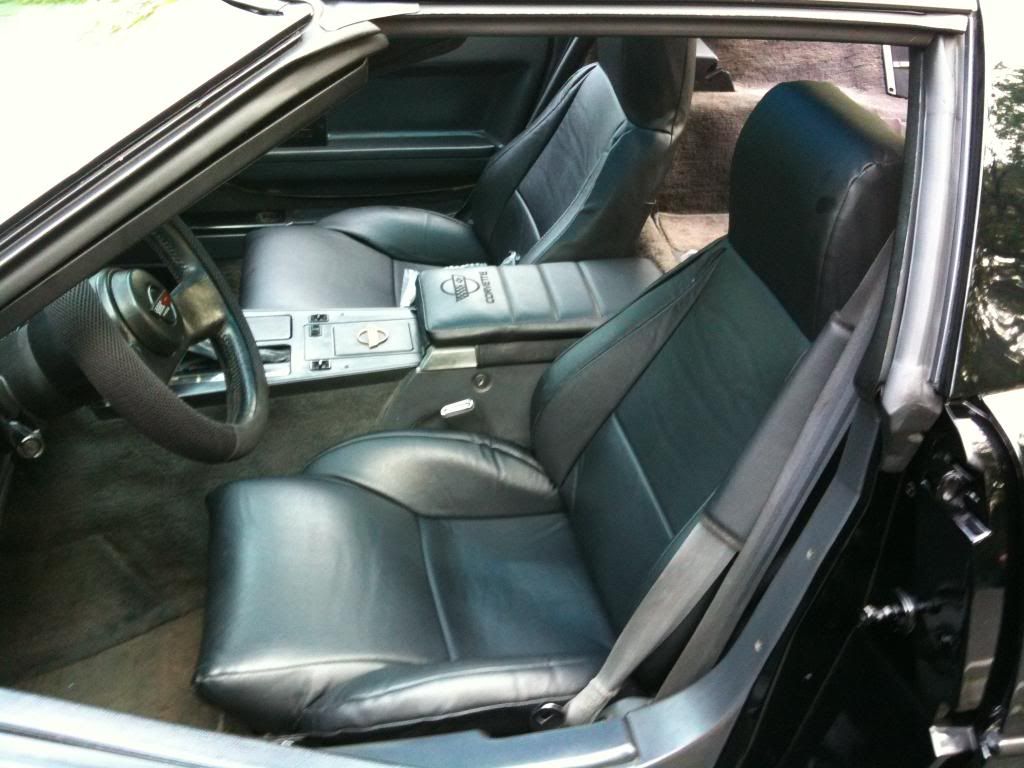
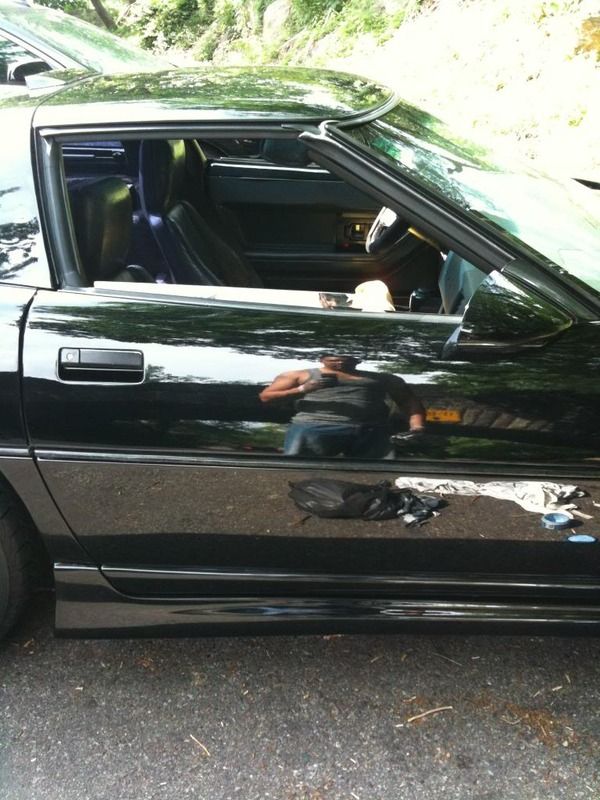
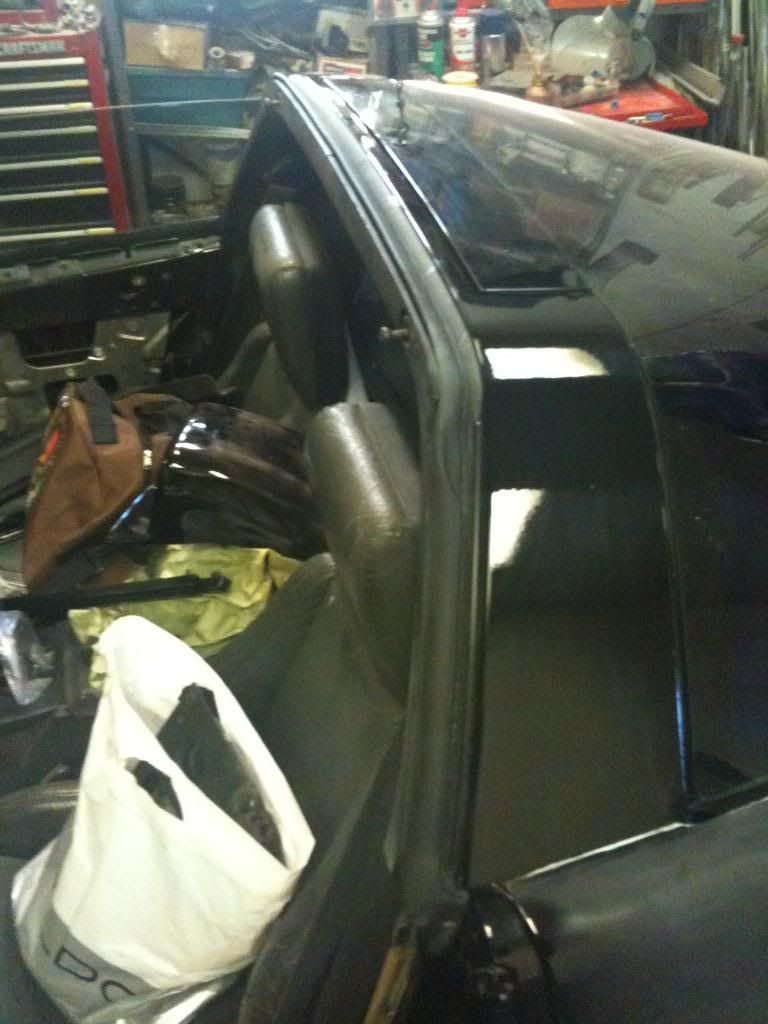
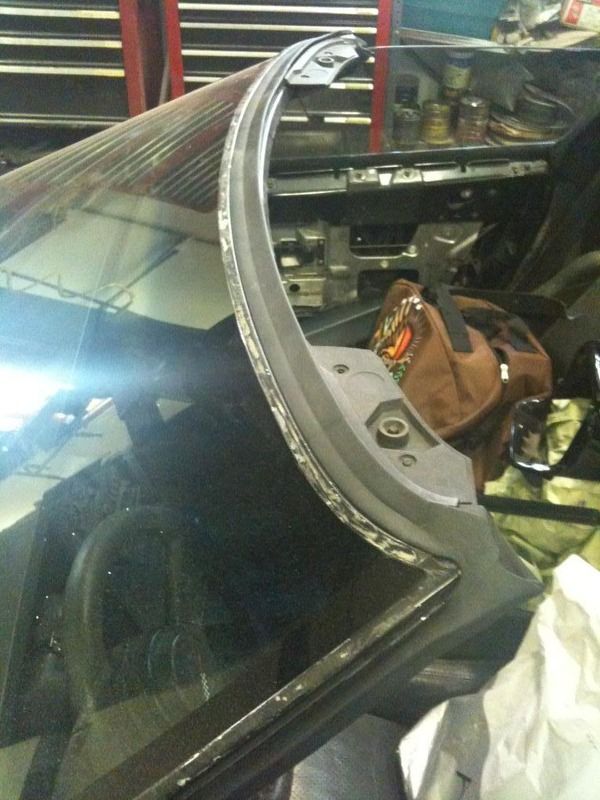
Some pics for you:
Last edited by uptown193; Jun 8, 2010 at 05:16 PM.
Instructor
Joined: Mar 2010
Posts: 168
Likes: 0
From: Wentzville MO
...but worth it! I recently tried to install aftermarket "reproduction" weatherstripping on the Targa top and this was a HUGE $100 mistake (well, $99.95 + S&H) mistake. They just did not fit like the originals. Do yourself a favor and learn from my mistake!
...from eating too many popsicles! 
Last edited by 1991-C4; Jun 8, 2010 at 06:04 PM.
Race Director
Joined: Nov 2003
Posts: 12,221
Likes: 446
From: Overland Park Kansas
2020 Corvette of the Year Finalist (appearance mods)
C4 of Year Winner (appearance mods) 2019
They're called struts, shocks, thing-a-ma-bobbers, do-hickeys, sliders, lifts, crank-opens, supports, lift-ups, or whatever you like. Clips ON the lift-ups would have worked for your Jeopardy final answer! LOL
Drifting
Joined: Apr 2008
Posts: 1,815
Likes: 10
From: New York New York
Lmao, that was a good one.
Beer Freeze!!!!...........I will go with struts...
Looks like a can of beer (in the reflection) to me. Might not be from popsicles! LOL
They're called struts, shocks, thing-a-ma-bobbers, do-hickeys, sliders, lifts, crank-opens, supports, lift-ups, or whatever you like. Clips ON the lift-ups would have worked for your Jeopardy final answer! LOL
They're called struts, shocks, thing-a-ma-bobbers, do-hickeys, sliders, lifts, crank-opens, supports, lift-ups, or whatever you like. Clips ON the lift-ups would have worked for your Jeopardy final answer! LOL