When you click on links to various merchants on this site and make a purchase, this can result in this site earning a commission. Affiliate programs and affiliations include, but are not limited to, the eBay Partner Network.
Hello all
I recently bought a 1992 convertible C4 Corvette
she has 76000 miles, and I have not paid too much
it is equipped with wheel and non-OEM tire
295 X 35 X 18
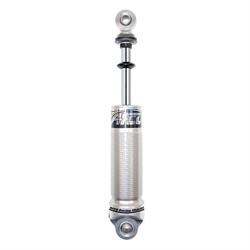
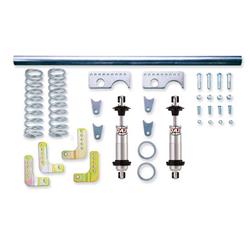
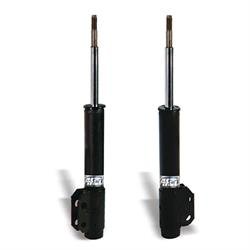
it is also equipped with coil over which I do not know the brand
these coilover apparently have no settings ??
I would like to dismount them to clean them but I do not know how to do ??
If you have any information, thank you very much
Fred
On some coil overs you can open the ball joint and drop the lower A arm.
The spring / shock combo will be shorter than the distance opened up by the A arm lowering. Use a jack under the A Arm to lower it. Then you can take it out.
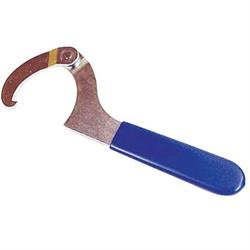
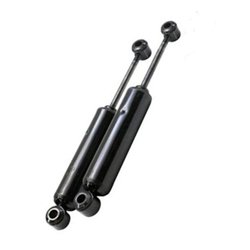
I don't think you need a spring compressor or to separate the ball joint. From what I understand, you can just jack the car up to put the wheels at full droop and remove it as if it were a normal shock absorber, then thread off the lock ring and spring perch using the coil-over wrenches to safely take any tension off the spring.
On some coil overs you can open the ball joint and drop the lower A arm.
The spring / shock combo will be shorter than the distance opened up by the A arm lowering. Use a jack under the A Arm to lower it. Then you can take it out.
Originally Posted by daverulz
First - those wheels look perfect on that car!
I don't think you need a spring compressor or to separate the ball joint. From what I understand, you can just jack the car up to put the wheels at full droop and remove it as if it were a normal shock absorber, then thread off the lock ring and spring perch using the coil-over wrenches to safely take any tension off the spring.
Thank you for your answers
first I would like to dismount this set without touching the spring to clean them, and understand how it works
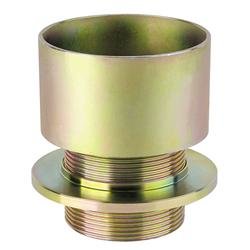
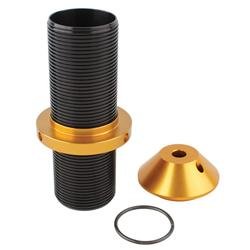
I saw under the spring 2 nuts, what is it used for?
can the assembly be dismounted by dismounting the two bolts on the lower arm, and the nut at the top?
On some coil overs you can open the ball joint and drop the lower A arm.
The spring / shock combo will be shorter than the distance opened up by the A arm lowering. Use a jack under the A Arm to lower it. Then you can take it out.
That is not right for this setup.
Originally Posted by fred of france
I saw under the spring 2 nuts, what is it used for?
can the assembly be dismounted by dismounting the two bolts on the lower arm, and the nut at the top?
Bingo. You should be able to remove the assembly with the two bolts at the bottom, and one nut up top. It's possible (depending on how the spring/shocks are assembled) that the shock rod could come out of the top spring mount after you remove the top nut. For that reason, *I* would remove the preload from the springs with the two adjusting nuts under the spring, first. When the spring is unloaded, then I would remove the assembly from the car.
Bingo. You should be able to remove the assembly with the two bolts at the bottom, and one nut up top. It's possible (depending on how the spring/shocks are assembled) that the shock rod could come out of the top spring mount after you remove the top nut. For that reason, *I* would remove the preload from the springs with the two adjusting nuts under the spring, first. When the spring is unloaded, then I would remove the assembly from the car.
Thank you ,
if I understand well, it is better to remove the pressure of the spring before depositing all
I should find out how is compressed the spring to put it back after cleaning
Mark, measure, or count the threads before you take the pre-load off the springs, then you can put them back the way they were after the coilovers are cleaned up.
There are a lot of mis-conceptions about coil-overs. The coil-over is a complete unit, and does NOT need to be adjusted or disassembled before removal. The two big nuts at the bottom of the spring are used to adjust the HEIGHT of the car, or the balance of the two coil-overs on that axle. The compressed length of the spring will be the same, no matter how you adjust those nuts. It's the load on that spring that determines the length of that spring. The spring is rated in lbs./inch of compression, and adjusting those nuts has nothing to do with the physical characteristics of the spring.
To disassemble the spring from the shock, removing the big nuts will normally relieve the tension on the spring enough that a spring compressor is NOT required.
Mark, measure, or count the threads before you take the pre-load off the springs, then you can put them back the way they were after the coilovers are cleaned up.
Originally Posted by Hot Rod Roy
There are a lot of mis-conceptions about coil-overs. The coil-over is a complete unit, and does NOT need to be adjusted or disassembled before removal. The two big nuts at the bottom of the spring are used to adjust the HEIGHT of the car, or the balance of the two coil-overs on that axle. The compressed length of the spring will be the same, no matter how you adjust those nuts. It's the load on that spring that determines the length of that spring. The spring is rated in lbs./inch of compression, and adjusting those nuts has nothing to do with the physical characteristics of the spring.
To disassemble the spring from the shock, removing the big nuts will normally relieve the tension on the spring enough that a spring compressor is NOT required.
Here's one of the chassis I built:
thank's for your response ,,
i think it is safe at you said to release the pressure of the spring before remove the assembly for cleaning , after marking and measure the position of the 2 nuts
This coil over installed semmed be an basic model installation ,, Vette is unconfortable on bad road ,,,, and too low
How can i do to return at an OEM height for standart use ?
Sorry for my writting , i am french !!!
I think it is safe as you said to release the pressure of the spring before remove the assembly for cleaning
Let me be clear: It is NOT necessary to release the pressure of the spring before you remove the coil-over from the car.
Vette is uncomfortable on bad road ,,,, and too low. What can I do to return at an OEM height for standard use?
To reduce the stiff (harsh) ride, the springs can be replaced with spring of a lower spring rate. (Lower pounds per inch deflection)
To increase the ride height, adjust the big nuts on the bottom of the spring to a higher position on the coil-over. Adjusting these nuts will NOT change the ride characteristics of the car.
I built the chassis for the blue and the black cars, which are in Jonquieres, France:
Let me be clear: It is NOT necessary to release the pressure of the spring before you remove the coil-over from the car.
To reduce the stiff (harsh) ride, the springs can be replaced with spring of a lower spring rate. (Lower pounds per inch deflection)
To increase the ride height, adjust the big nuts on the bottom of the spring to a higher position on the coil-over. Adjusting these nuts will NOT change the ride characteristics of the car.
I built the chassis for the blue and the black cars, which are in Jonquieres, France:
Originally Posted by BLUE1972
Just be careful, I removed a set of Coil overs from a friends Camaro which did not have any adjustments.
He stated they have no settings. I would remove the spring pressure and then remove the coil over,
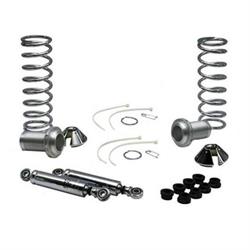
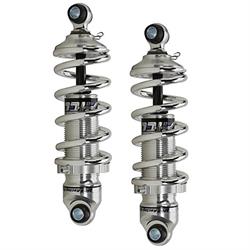
As a replacement there are many adjustable coil overs that are available with many spring rates.
Thank's
Did you have an idea of the make and model of this coilover and where can i find whitch model of springs they are
Witch kind of spring must i install to have a most confortable car on little road of France ??
Fred, voici un traducteur anglais-fran�ais, et vice-versa. J'en ai utilis� un pour aider un gars du Qu�bec. Beaucoup plus facile, de converser
il suffit de changer la direction de la traduction et il va vous aider beaucoup.
Vous changez la fa�on dont le traducteur va en cliquant sur le c�t� source (le c�t� gauche, a un point jaune � c�t� de lui) et en s�lectionnant la langue
Guys, you can use the same translator, just change the direction the translation is going and it will help out a lot. You change the way the translator is going by clicking on the source side (the left side, has a yellow dot beside it) and selecting the language
This is what the statement above looks like in French. I used a translator like this to help one of the board members from Quebec
Les gars, vous pouvez utiliser le m�me Traducteur, juste changer la direction de la traduction va et il aidera beaucoup.
Vous changez la fa�on dont le traducteur va en cliquant sur le c�t� source (le c�t� gauche, a un point jaune � c�t� de lui) et en s�lectionnant la langue
If you run multiple tabs, then type out your response in English, then cut and paste it into the translator, etc. That way the folks here can follow the conversation.
Le traducteur de Google ne semble pas faire para�tre la langue naturelle et fluide, il ya des phrases qui ne sont pas les meilleurs. Il fait passer l'id�e, mais semble un peu "�trange" si cela a du sens.
Le traducteur de Google ne semble pas faire para�tre la langue naturelle et fluide, il ya des phrases qui ne sont pas les meilleurs. Il fait passer l'id�e, mais semble un peu "�trange" si cela a du sens.
Vous n'avez pas besoin de vous excuser. Comment voulez-vous savoir ? En fait, comment saurais-je si la traduction de ce site de l'anglais au fran�ais semble correcte ?
You don't need to apologize. How would you know ? In fact, how would I know if the translation from this site from English to French sounds correct ?
Thank's for these info
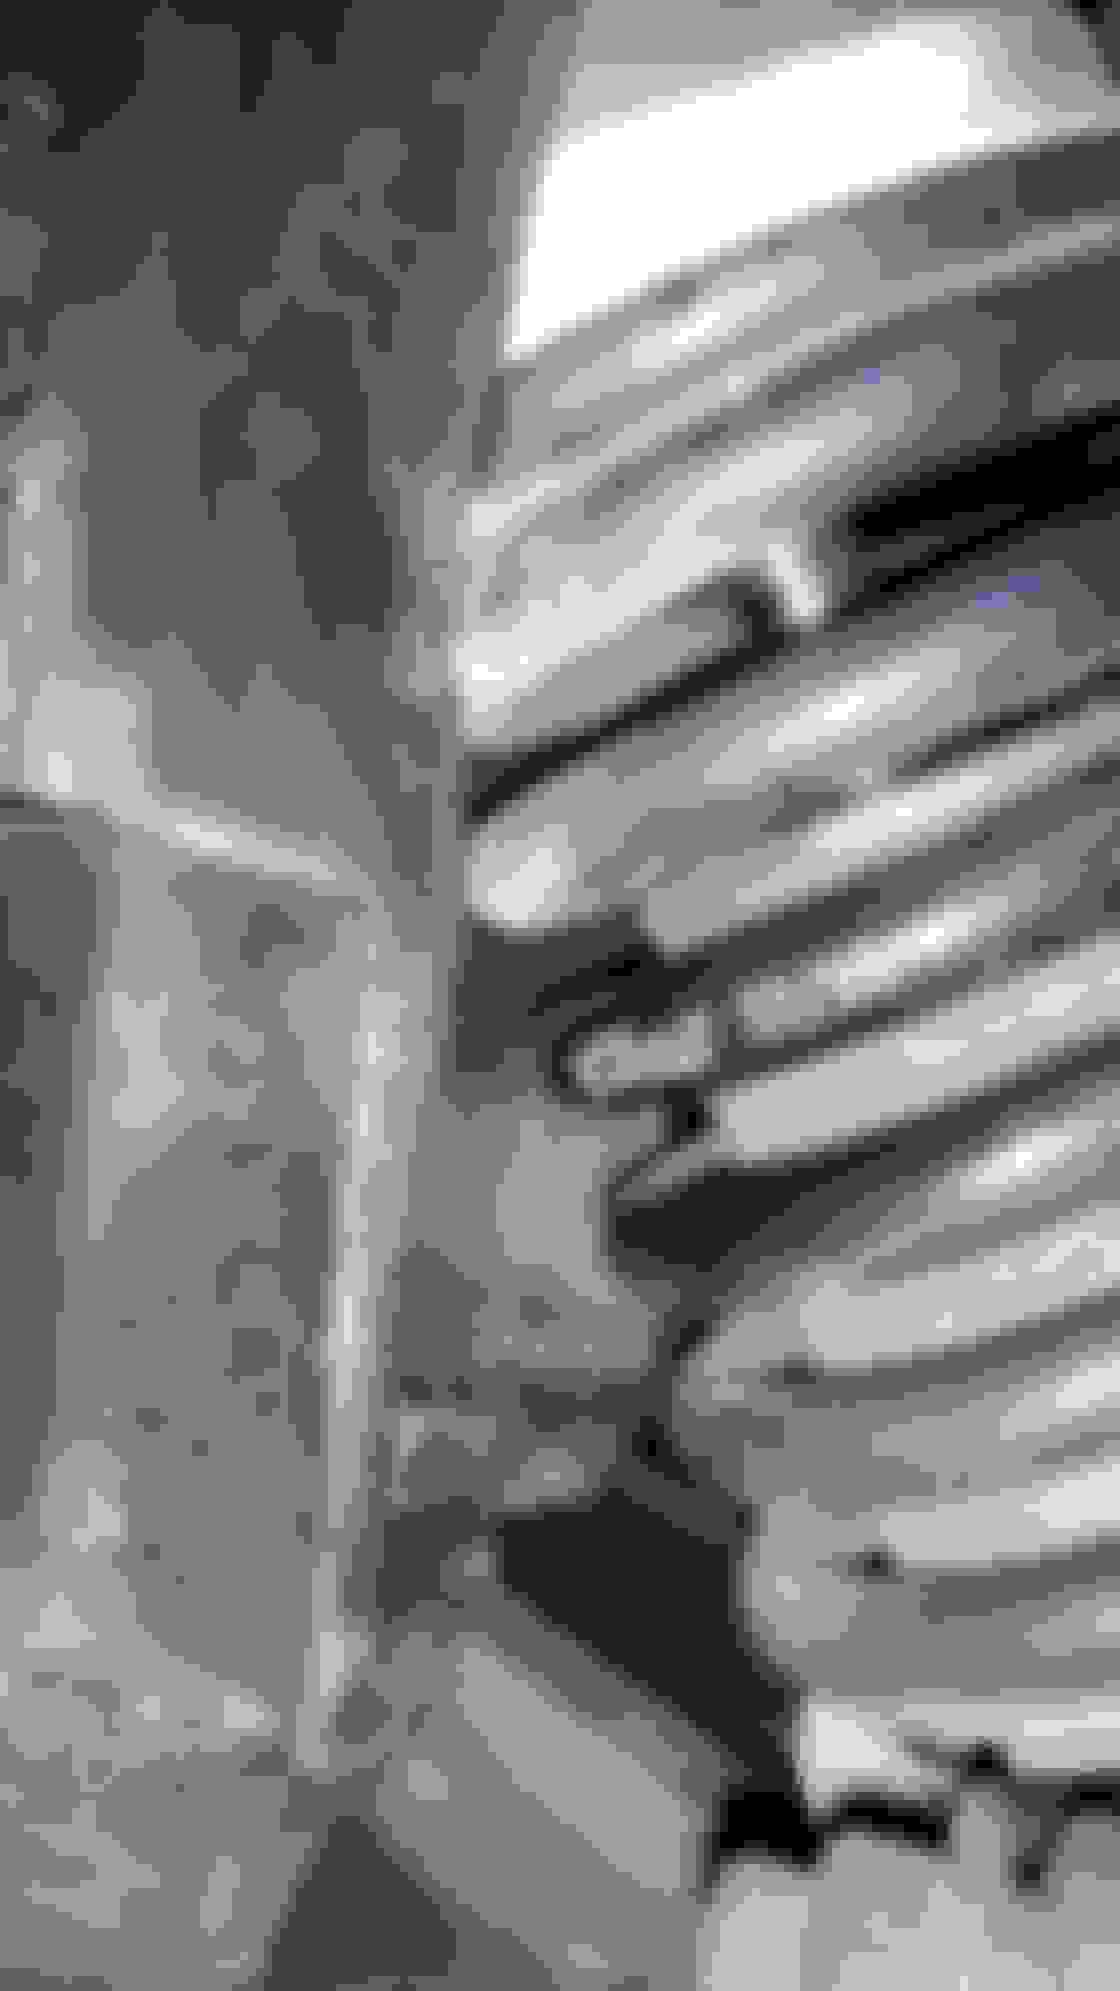
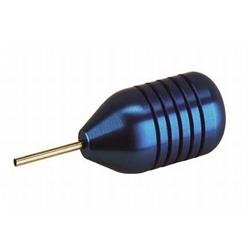
This WE , i 've clean a little the front left side coilover
I've see this reference on the spring , do you know what does it mean ???
 06-19-2019, 11:27 AM


 Nuts
Nuts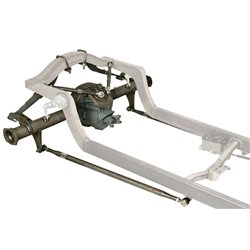 Rear Suspension Kits
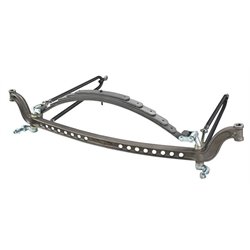 Front Suspension Kits
 Distributors
 Vehicle Frame Assemblies
 Shock Guards
 Electronic Ignition Conversion Kits