When you click on links to various merchants on this site and make a purchase, this can result in this site earning a commission. Affiliate programs and affiliations include, but are not limited to, the eBay Partner Network.
Finally got the car in the garage and got started on my ATL fuel cell installation. The mount is a Melrose T-Tops piece, and is still available. They may need to fabricate one, but they are still avaialble.
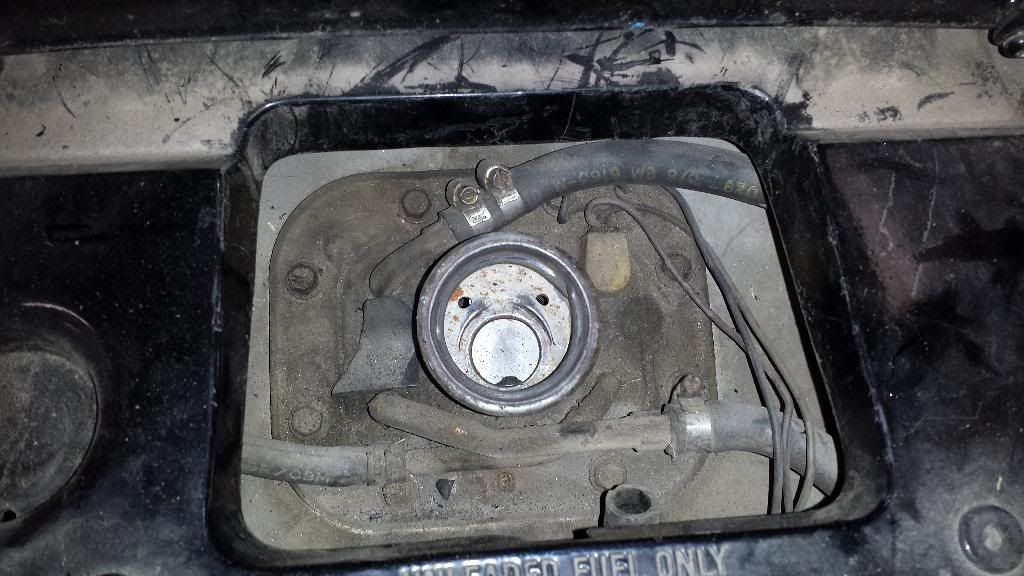
1. Remove the rubber "cup" around the filler neck. Be careful with these as they get older they become brittle and tear easily. Pretty sure I won't be using this anymore though.
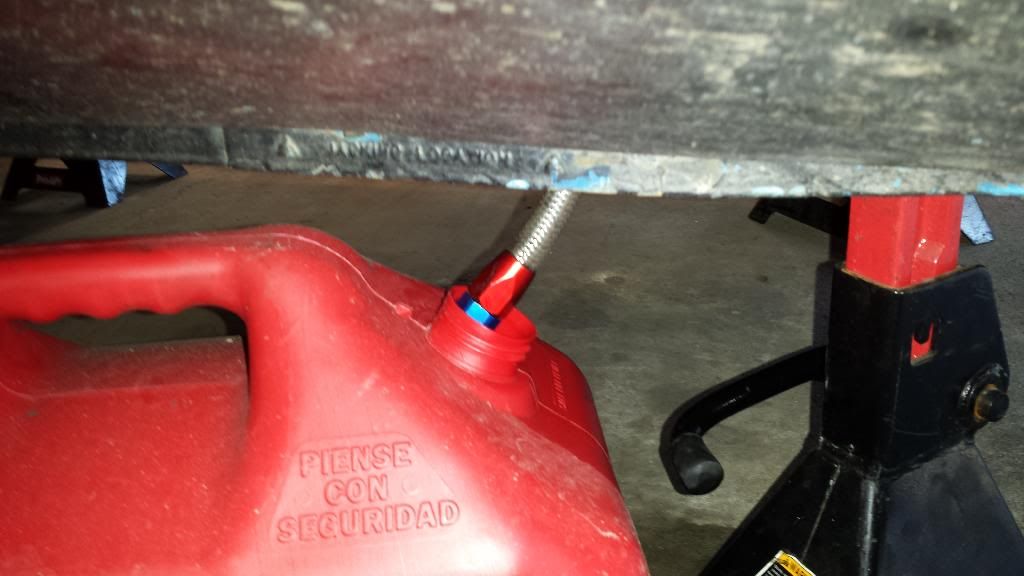
2. Drain the tank as much as possible. I would recommend going to Habro Freight or Northern and getting some sort of siphon system. Alternatively, if you disconnect the fuel filter, it will siphon itself to a point.
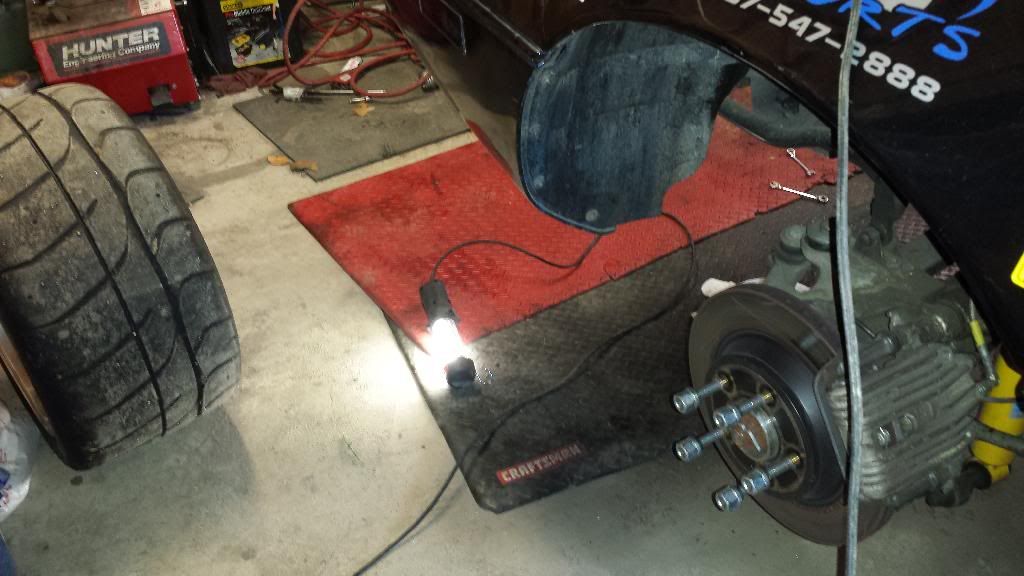
3. Remove the rear wheels and wheel wells. Pretty self explanatory. The wheel wells use 2 different size torx bits and a few 10mm bolts.
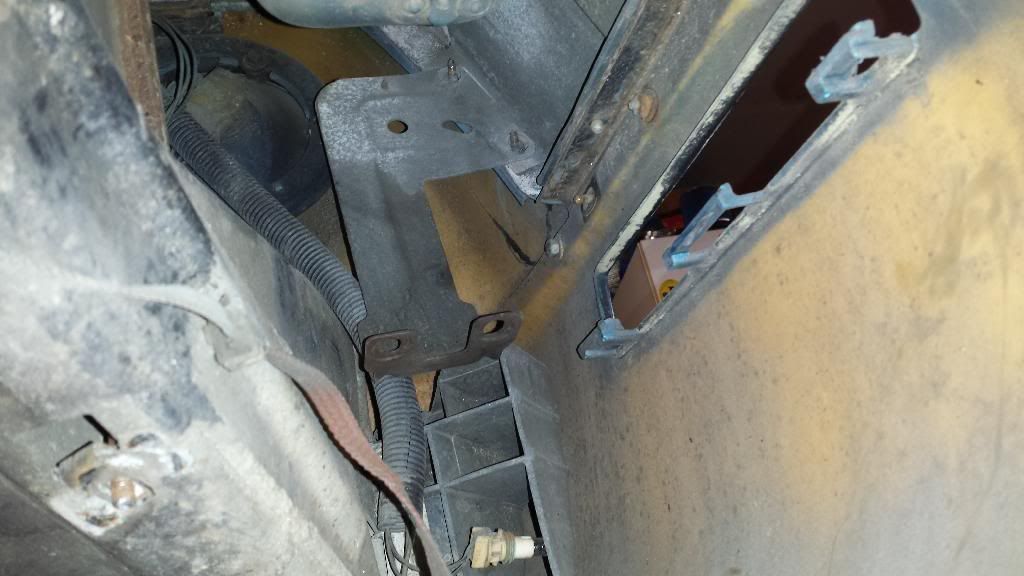
4. Remove the power antenna assembly. It's held in by 2 8mm bolts at the bottom.
5. Remove the rear tail lights. They are held in by 2 10mm bolts for each light. You will also have to remove the bulb/socket assembly prior to popping them out of the rear facia.
6. Remove the bulb/sock assemblies from the corner lights. Also remove the under car light for the spare tire. That is held in place by 2 7mm screws.
7. Remove the fender supports on either side of the car. It's held in by 10mm fasteners.
8. Reach up and remove the 5 10mm nuts on both corners of the rear facia.
9. Reach in through the tail light holes and there will be 8 (if i remember right) 7mm bolts that you can't really see. I used a 1/4" ratchet and a short 7mm socket to remove these. It was pretty easy to take them out. There are 2 that are realy close to the fuel filler door.
10. Remove the 4 13mm nuts that secure the tank safety cables and take the cables off the studs.
11. The rear facia should now be ready to be removed. Be gentle and pull it straight back. Don't force it. If it's sticking in an area, feel for a leftover fastener.
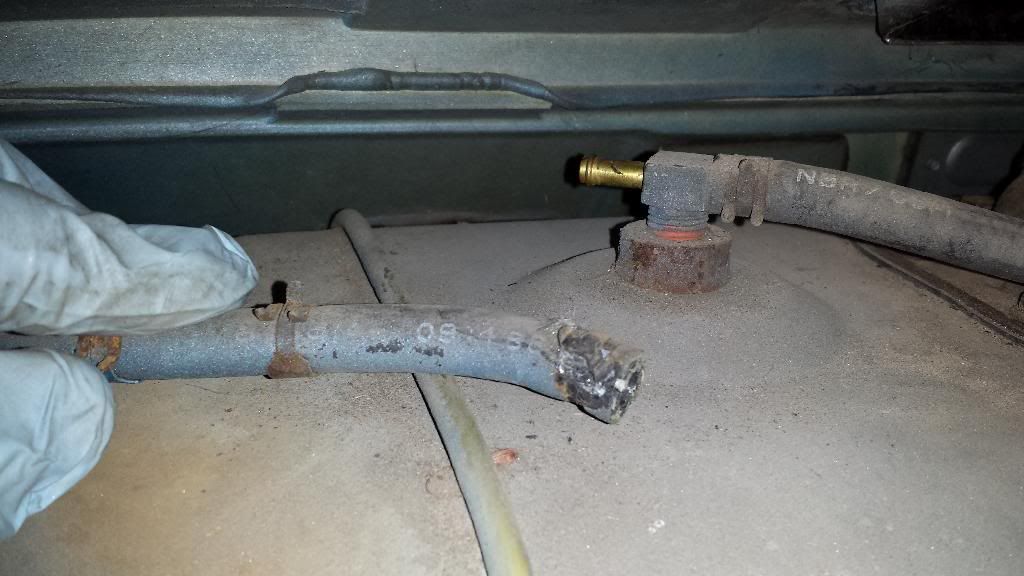
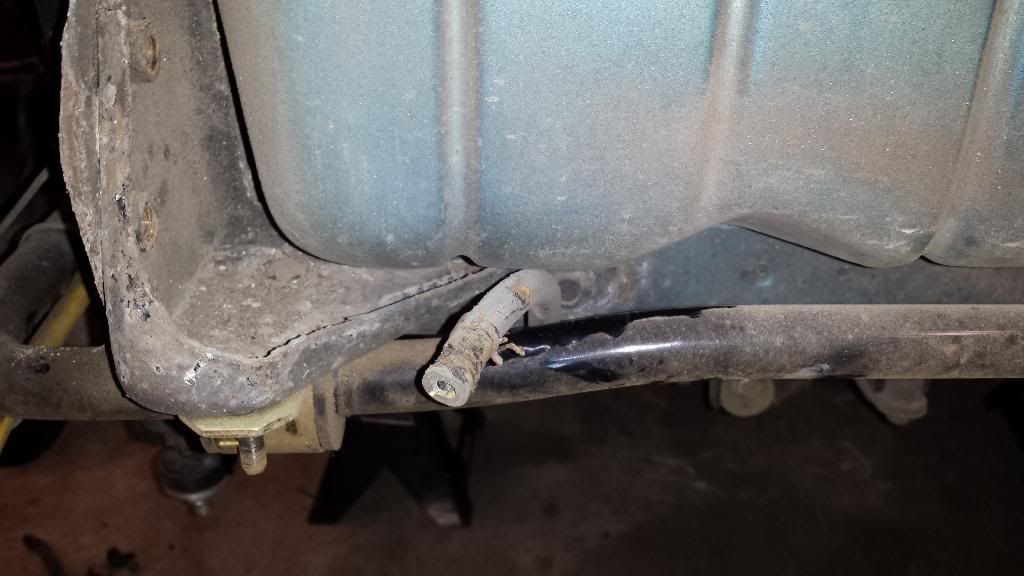
12. Disconnect the fuel supply and return lines as well as the fuel pump and sending unit connector.
13. Disconnect the 2 emissions lines from the tank. There is on on the top just to the driver's side of the fuel tank, and one on the bottom on the forward side of the tank, also on the driver's side.
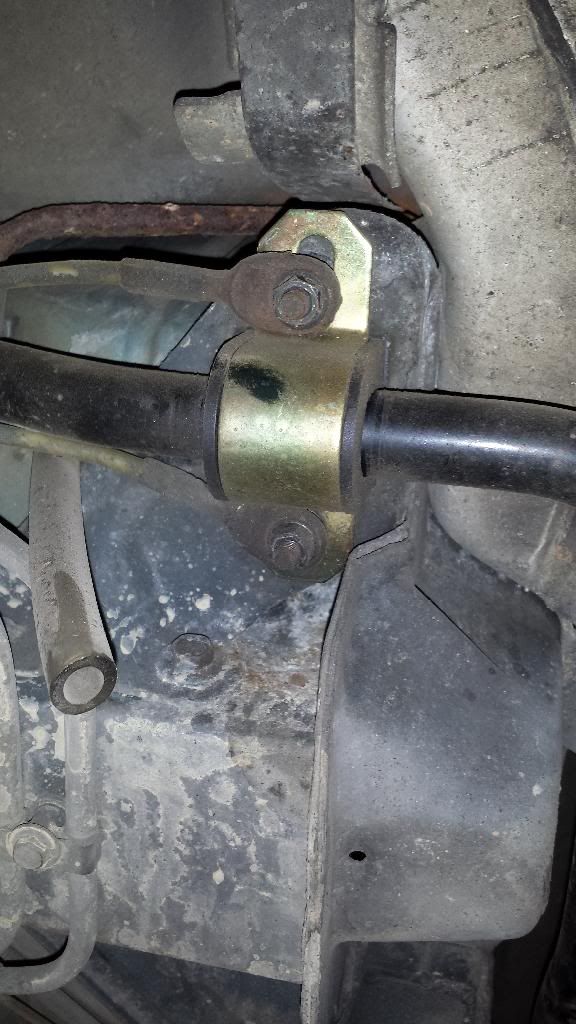
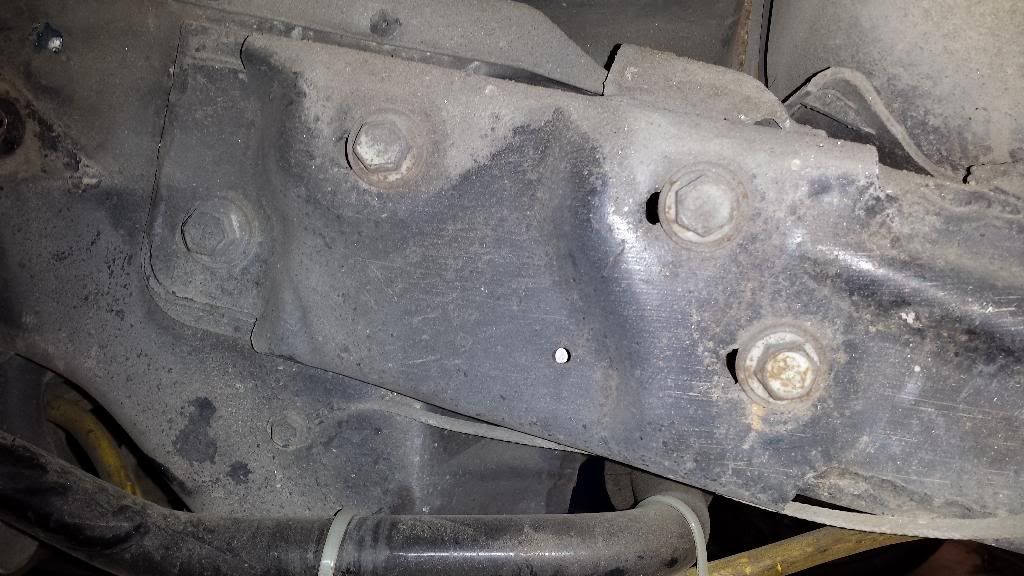
14. You should get a friend for the next part. Remove the 8 long bolts (4 on each side) from the rear subframe. Support the frame.
15. Now pull back on the frame and tilt it down a bit and it should slide right out.
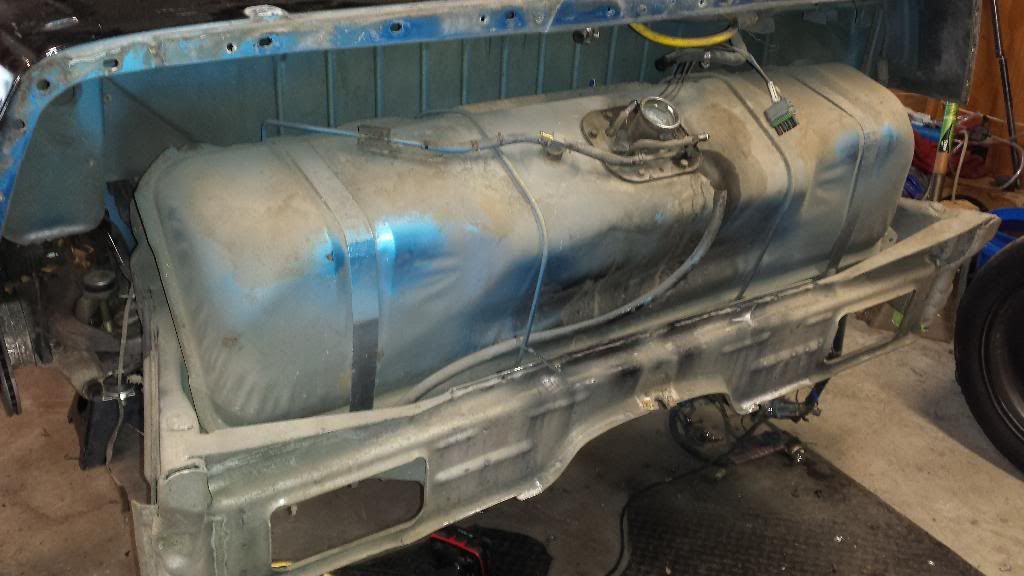
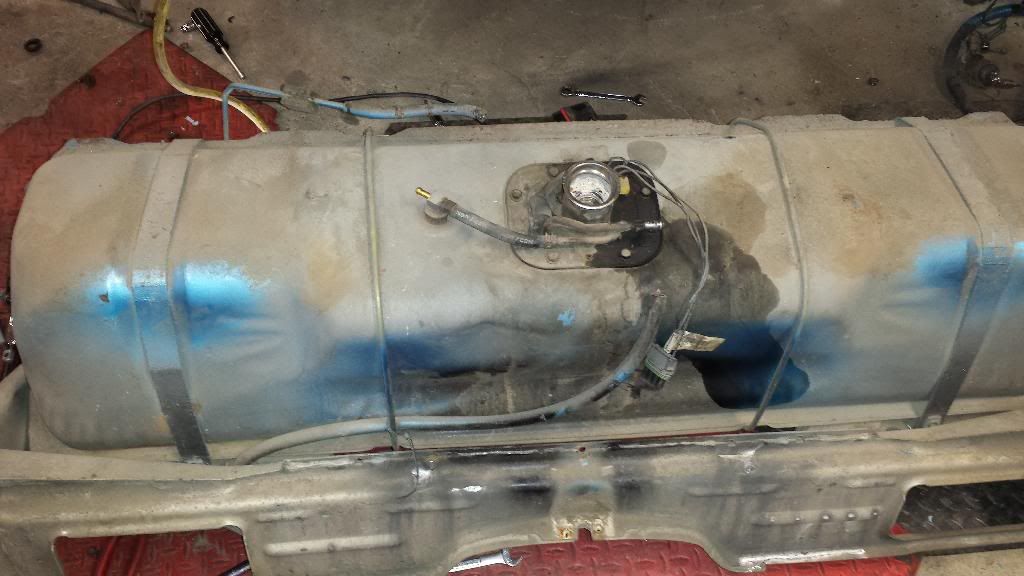
16. Once it's on the ground, just remove the straps holding the tank in and it should lift right out.
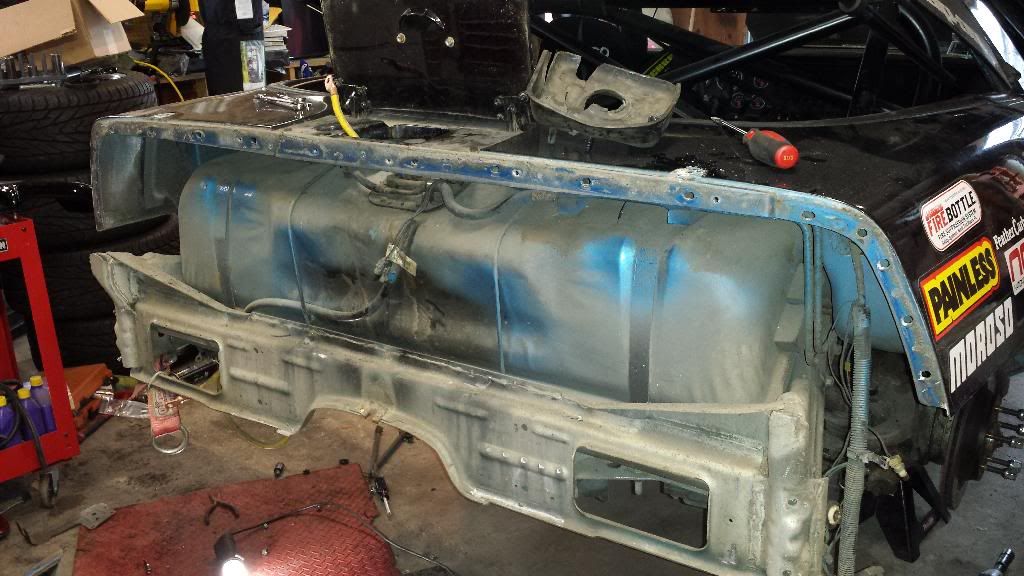
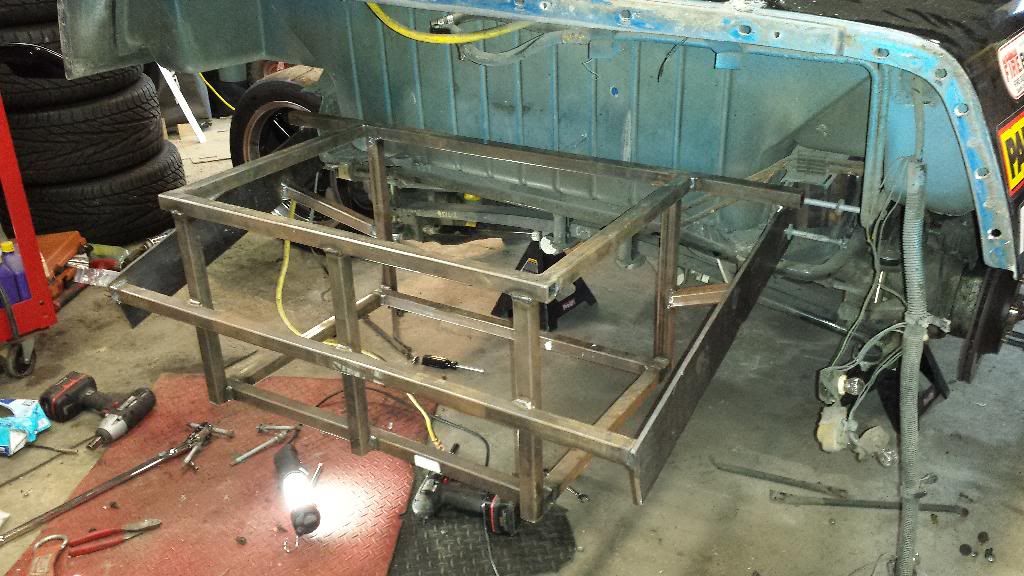
This is the frame just mocked up in place that will be going in with the fuel cell. I haven't worked out the fuel filler part, but my intention is to leave the stock fuel filler door in place.
Last edited by Black89Z51; 02-15-2014 at 01:12 PM.
Wow, this is an old thread!
Good luck with the project.
Next to last post.....
One of life's little rules:
You can get away with an amazing amount of sh*t as long as you don't know any better.
if I ever used a sawzall on a fuel tank, I'd certainly be blown to bits.
Since my 85 was an outdoor car, most of the rear bumper bolts were rusted and broke very easily when taking the rear bumper nuts off. . They are M5 - 0.8 thread.
You can knock out the bolts from the metal brace and re-tap the holes M6 1.0. I drilled out the pop - rivets holding the metal brace and used a socket and punch to drive out the factory bolts. They are 'swaged' in.
I retapped the holes and used M6 bolts with red Loctite to secure them. The holes on the fiberglass are very large and this presented no issues.
 02-15-2014, 01:08 PM