When you click on links to various merchants on this site and make a purchase, this can result in this site earning a commission. Affiliate programs and affiliations include, but are not limited to, the eBay Partner Network.
Keep up the good work, thanks again for posting about your door repair(s). This is good info that many on this forum myself included are benefiting from.
This is how the WHITE connector should be pinned in the LEFT DOOR, the circuit #'s are included. I would think you could use the '87 FSM to confirm what was done to accommodate the remote entry. It's ironic maybe that the '86 FSM says that connector (C251) is actually behind the LEFT KICK PANEL, an '87 says "middle of door"! I assume it's an error in the '86 FSM - I didn't check the supplement for corrections if there are.
Having the circuit #'s and the '87 FSM I'd think you could sort it. there's four pages of circuit identification in the '86 FSM or I'd post them. I didn't compare '86 to '87 so if you've questions .............................
The only thing I noticed that could confuse you is maybe that PIN A on the "BLACK" connector is going to change to ORG from the PNK/BLK. The actual diagnostic diagrams in '86 seem to mention ORG/BLK instead of PNK/WHT but the actual diagram I believe is correct.
I'd think at this point you could maybe delete any snapshots that actually aren't relevant.
following up here. in postion H on the DOOR harness there is no wire. there is on the vehicle side. ut not on the door side on either driver or passenger side.
perhaps it was provisioned for an option that became available later.
also, here is a pic of the passenger door plug. between this and wvzr1's diagram i got the order sorted out. same for both sides.
so, turns out that routing the harness in your doors is very important. failing to do it right (as the bubba who owned mine) results in cut wires, shaved sheathing off the wires, slow moving windows caused from binding against the glass, wearing out of the motor because of the cord drag.
the side view mirror retaineri is required to force the harness to stay away from thr mirror. the rest of the harness needs to be strapped to the inside of the door.
mine were both sitting down at the bottom.
there is tape all over my harness. not from being cut, but from being rubbed and chaffed by the glass!!
i removed all this tape and replaced with shrink tube. cleaning the wires to restore better conductivity and even soldering in a patch of wire where required.
another symptom of bad routing was that 8 pin connector that had been severed. the window had guilliotined it.
upon reinstall, i will be using zip straps to keep the harness clustered tight and also keep it to the inside panel. there are push pins that are supposed to do this but they dont hold the bundle in anymore.
also, i took the time to make a couple plastic liner sheets.
following up here. in postion H on the DOOR harness there is no wire. there is on the vehicle side. ut not on the door side on either driver or passenger side.
perhaps it was provisioned for an option that became available later.
also, here is a pic of the passenger door plug. between this and wvzr1's diagram i got the order sorted out. same for both sides.
Sometimes you just NEED TO READ - 261 (H) is for ALARM ARM in a car with NO POWER LOCKS. In the WHITE connector it should be provisioned on the LH door and empty on the RH door just as yours is. You asked about and had a snapshot of the LH connector - I provided enough information for you to do the research.
Sometimes you just NEED TO READ - 261 (H) is for ALARM ARM in a car with NO POWER LOCKS. In the WHITE connector it should be provisioned on the LH door and empty on the RH door just as yours is. You asked about and had a snapshot of the LH connector - I provided enough information for you to do the research.
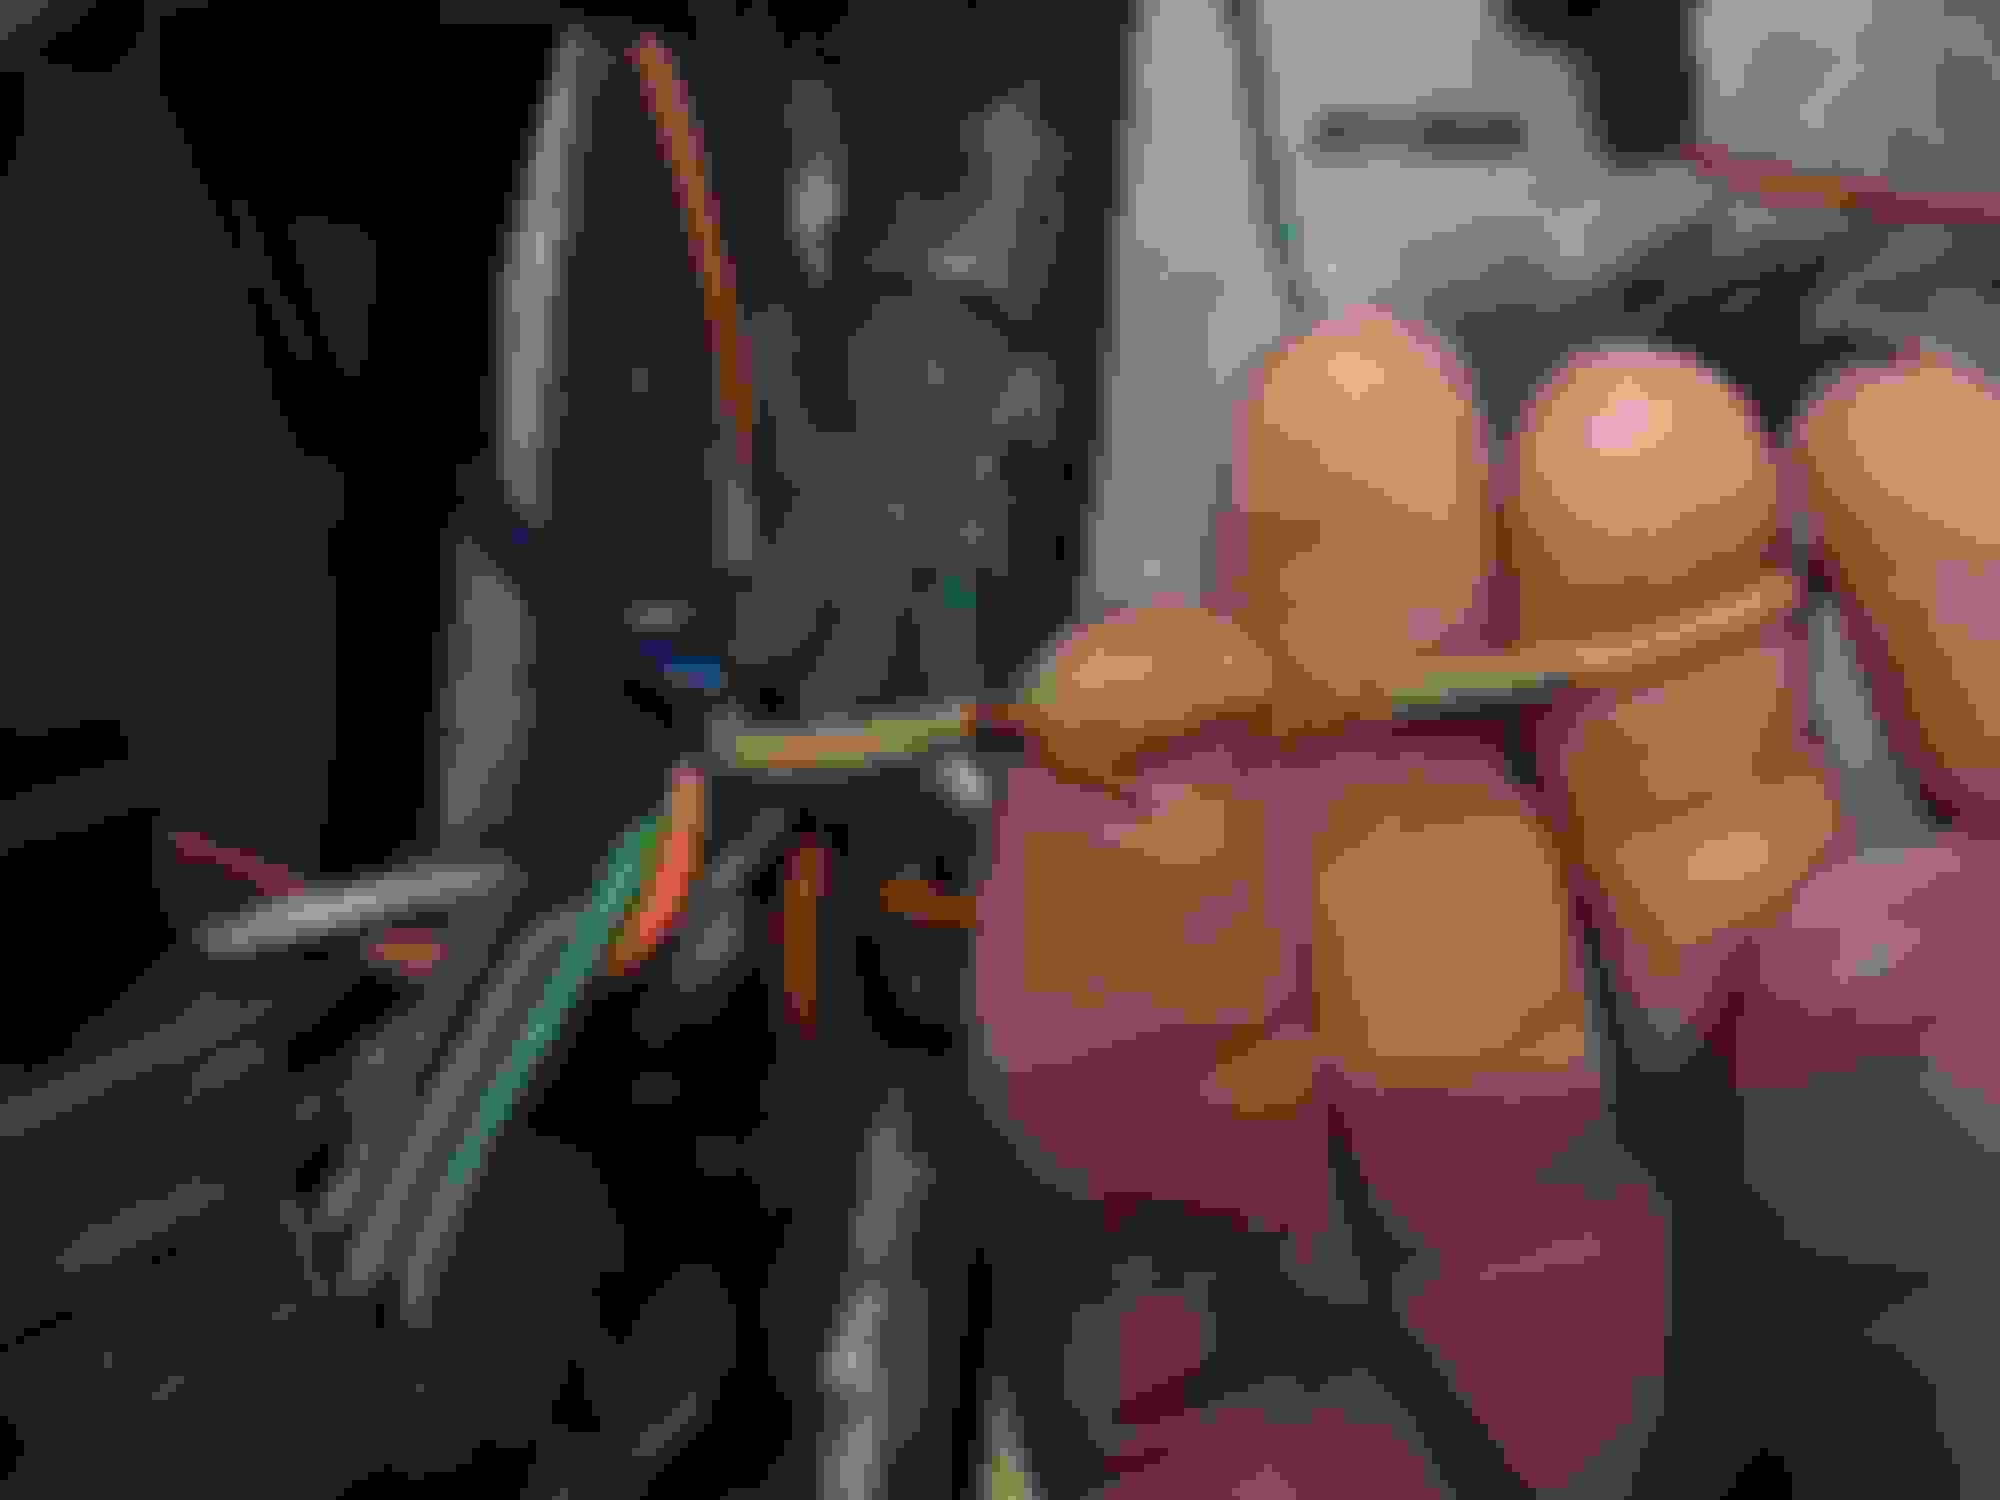
does anybody know what the white sticky goop is that came from the factory to hold the poly liner on the door? you can see the white coop here. I'm not talking about the red circles
I believe that on an older A-body restoration I used 1/8 X 1/4 window-weld ribbon. It was so long ago that I actually might have used something very similar but it's the first thing that came to mind today. These days I'd likely/maybe use similar but in a caulking tube. There should be many similar construction bond products that will do the same.
i read on another forum that using a hairdryer to re-warm the oem stuff works great. that will work for me on the passenger door as i didnt scrape that off.
but the driver door i did.
if anybody does this and u still have the oem goop apparently it is easily reactivated with a bit of hairdryer hear.
Perfect! Thank you! I will go ahead and order the pads. I had seen them online but couldn't visualize how they fit in the door and worked.
I am hoping to only go into my doors once and fix all the little issues, this being the biggest.
I still can't believe you only paid $650 for the car.
Yeah I know. Neither can i.
it poses a problem though. u pay so little dor the car and because this interior needs to be repainted back to oem, im not really wanting to spend too mich money on repairs because at the end of the day its a high mileage 140k mile, low option c4. (but its a stick!). given ive never done any interior work before, im not sure about the quality this is going to look.
So, for example, my window and door switch bezels were broken, many c4's are. the switch works but it sort of floats around behind the interior piece. I found two pieces of lego (abs plastic) in my kids smorgasborg and in 10min i had them plastic welded (its a soldering pen that dedicated one of its tips to abs plastics) and i just put new mounting tabs on.
IF IT WORKS ill post how i did it.
they are relatively affordable, $45 cad each including shipping, ,but that alone ads almost 1/3rd to my aquisition cost lol. because i need all 4.
so if i can do a professional commercial service grade repair in 10 minutes i will. more later if it works.
Last edited by VikingTrad3r; 01-29-2017 at 02:08 PM.
so this lego trick really worked so far. we shall see how long it lasts but feels strong.
given both material is abs, i'm pretty sure the repair is as good as new as long as I did not get air bubbles which I don't think I did. I think I will be pulling a few more pieces of Lego from the kids set for some other areas that need to be repaired.
I will give the part a light dusting of SEM trim black.
as of right now the electrical in the door has been completely repaired, the harness has been zip strapped against the panel in the OEM location as per attached photos. if you attempt your own door panel repair or if you need to do anything that disrupts the wiring harness, I cannot stress enough how important it is to return the wiring harness to the OEM location securely. I can tell that a previous owner had the door apart and he just shoved The wiring harness into the door in a haphazard fashion probably thinking it was safe if he shoved it all down to the bottom of the door. The problem is is that the window when being lowered tour some of the wires right out of the plugs and subsequently stripped off the sheath of the wiring in many locations. wherever the wires were cut, I repaired them with a Dobb of Sauter and then wrap them in shrinkwrap where possible. If I could not fit shrinkwrap on I had to use electrical tape which I don't like doing.
the last remaining part is to pull the door handle insert out and spray the panels back to OEM color. I was able to salvage the grain of the original centre consul pad, I will look at my 87 to see if there is a grain in the door panel vinyl. If there is I will attempt to salvage that.
and seeing as how I am in here anyway, I think I will follow Dmittz lead and pop the rivet for the handles and then give them a coding. I do not have a powder coat machine so I will have to use a paint.
dont get lazy on routing your door harness!! view from behind. the pen of the soldering gu just poked the holes and perfect fit.
as you can see i havnt cleaned the panels yet.
i cut the piece of lego in half with a hot blade. u wouldnt need to do this. the soldering pen would have been fine. the lego i stole. one of these for. oth sides. it could easily be any small piece of lego. the soldering pen makes quick work of them and its super easy to reshape them.
2020 Corvette of the Year Finalist (appearance mods)
C4 of Year Winner (appearance mods) 2019
Originally Posted by Silver85
Perfect! Thank you! I will go ahead and order the pads. I had seen them online but couldn't visualize how they fit in the door and worked.
I am hoping to only go into my doors once and fix all the little issues, this being the biggest.
The video is correct in directing users to tighten the window sweeps with the window UP. When it's all the way up/down, there won't be a rattle. When it's part-way up, the sweeps won't touch and there will be some movement. Let's call it one of the annoying design-flaws to put in that C4 General thread detailing what we don't like about C4s! LOL
In short, I've never found a window sweep adjustment that's not too tight for window movement or too loose (correct) where the window is going to have SOME movement when it's partway open/closed.
2020 Corvette of the Year Finalist (appearance mods)
C4 of Year Winner (appearance mods) 2019
Just to help out, here is the best video on window adjustment (youtube). There is one other, but it didn't make as much sense to me.
Keep in mind the video below is shot with the OUTER door skin removed! So, it's not in the orientation you will see things from the inside of the door. Basically, it's reversed -- but it shows what you are looking to find and adjust -- through the cramped holes you find to reach in.
Even though I considered moving my DS window rearward a smidge, it requires a special tool to loosen the retainers. Using anything "makeshift" created too much concern for window breakage....so I left that adjustment alone! :-)
The up/down adjustment is the easiest (as shown in the vid). That hidden bolt (called a screw in the video) is hex-head IIRC. It's a mild trick to use a 1/4" drive ratchet to access, loosen, and tighten that nut. There is some limit to the tilt (in/out). If you need more lateral movement, most people would use washers to change the "base angle" of the mounts (rails).
Hey Gregg thanks. FYI the link is not working for me? Does it still work for you?
well i was serious about returning the car to oem interior color
moonboots space gijoe transformers. AWAKE!
the result a previous owners tastelessness. (just done really really poorly with cheap vinyl held on with staples)
its an 80's vette. let it stay there (except for the wheels they gotta go but you'll forgive me right?)
i can hear this car exclaiming THANKYOU!!
there is something about this "mediym grey" color that is so 80's. i was 10 years old when this car rolled off the lot. actually i was 9 because this is an ironhead 86.
when i see this "medium grey" colour, which less face it, is actually "silver" i think of transformers. zartan. space. moonboots. gloves that change color when they get cold. alllll the magic of childhood. i dont know why but i jjuusstt lloovvee this colour.
my first two c4's were "graphite".
kinda meh compared to this colour.
anyway its possible to completely remove the vinyl dye and not disturb the texture of the vinyl or oem color if you are quick with the acetone.
goes through a crapload of rags though. the dye comes off quick then you smear it around. get most of it off with a few rags then go over it again and a final time with fresh rags.
i used "easy off" on the console pad. it was horrible compared to acetone.
use ventilation.
because i used easy off on the console pad it stripped the awesome silver. so i bought an almost perfect match and will coat everything the same color.
Last edited by VikingTrad3r; 01-30-2017 at 11:23 PM.
im trying to repair and refurb this car without spending much $$. its 130k miles sono collector value. but could make a great driver car with the 4+3.
the interior upper door trims, a longstanding issue with c4's, were flopping about.
yup bubba had been there first. blue epoxy. goop. whatever else he could find. but the abs plastic studs were broken off 2 of the 3.
so after picking out the epoxy and other crap, (wont lay flat with that stuff!) i grabbed a brass machine bolt with a big hand nut and heated it red hot and plunged it into the broken plastic post.
before putting it in i used the dremel to make one flat side so it wont spin inside.
welded the abs cracks on the door panel while i was there. used the solder pen to goop extra abs around the base of my inserted stud. this little nut and stud was bought at home depot for $.50 thats the oem stud with a special nut ive never seen before
 01-27-2017, 09:19 PM