When you click on links to various merchants on this site and make a purchase, this can result in this site earning a commission. Affiliate programs and affiliations include, but are not limited to, the eBay Partner Network.
picked up donar today from western corvette in calgary
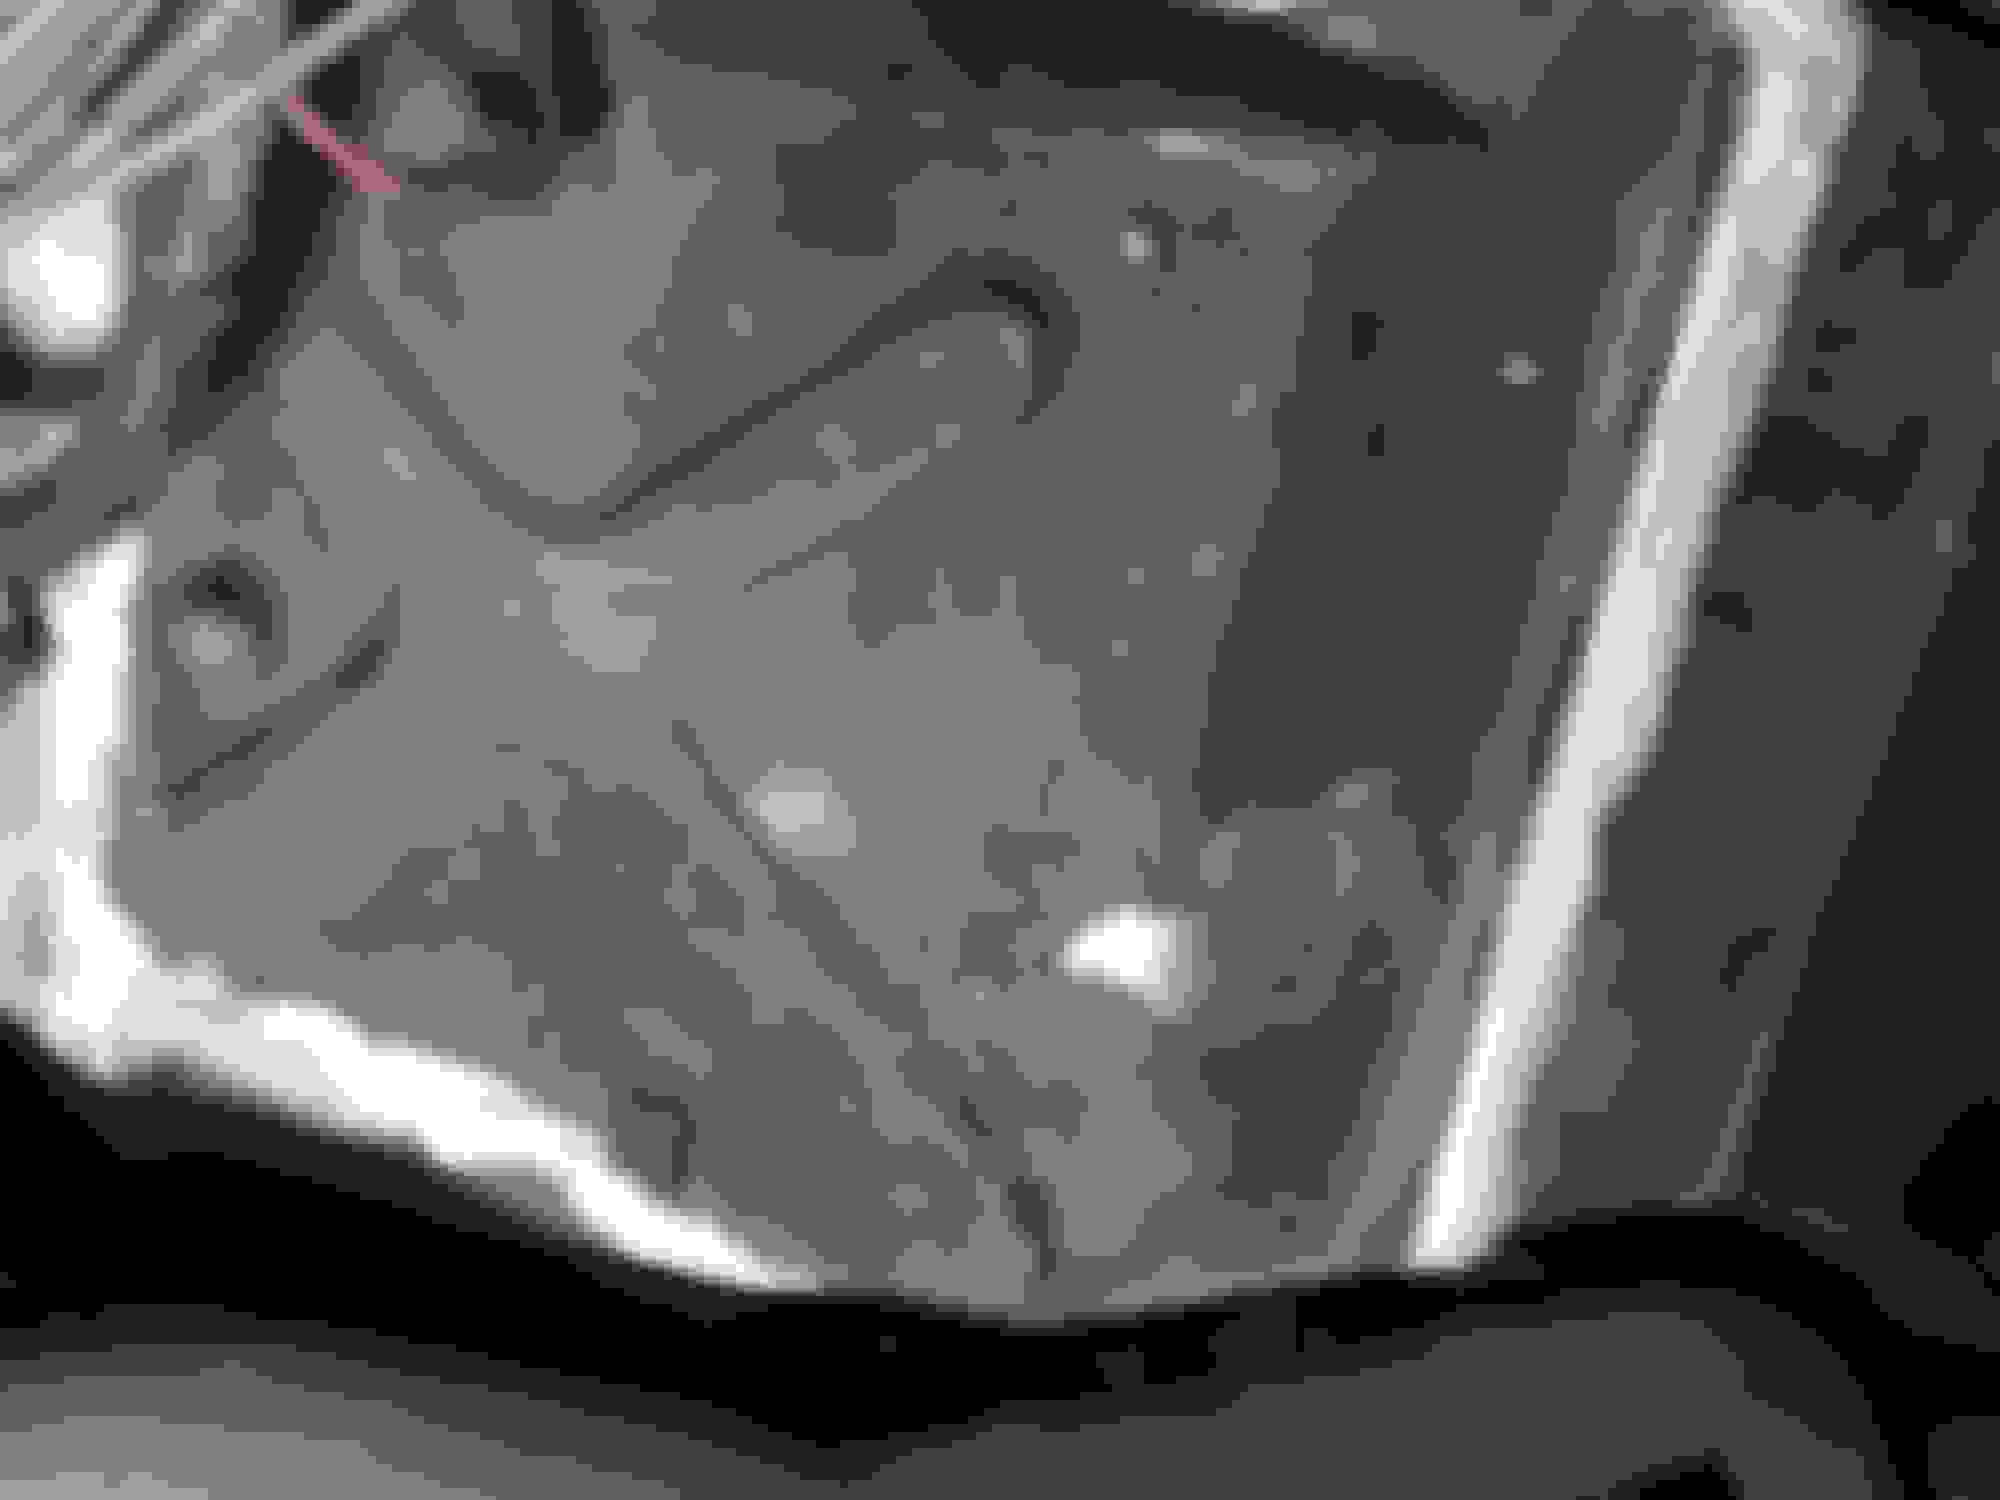
Wow! its pristine!
The passenger side on this car is pristine as well so as long as i do a top notch grafting i think this is going to turn out great.
One thing i have to deal with is the dust from the cutting and grinding is going to go everywhere in the car. i have some poly to gently block off the reat of the cab and i will run two vacuums to try to exctract as much as i can.
not exactly a "chill with a beer" type job but i want it done right.
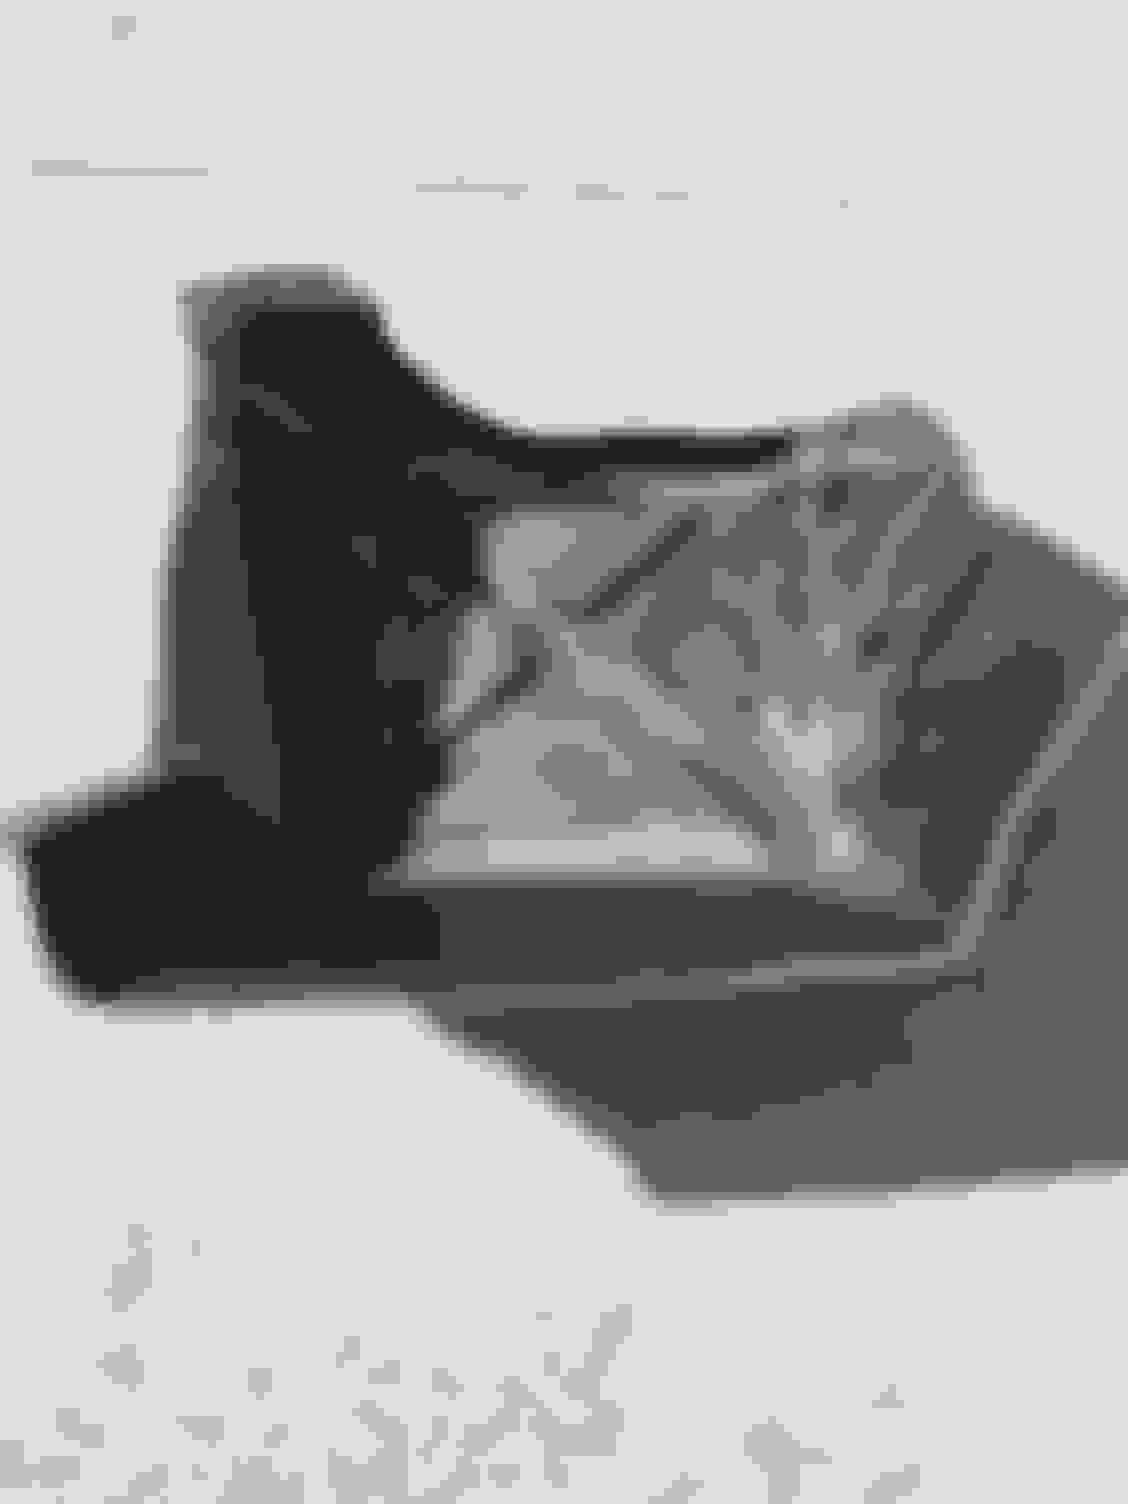
pics of donar pan, cut much larger than required as requested.
western corvette in calgary. family owned and always been super helpful when i need to find parts for the c4 projects ive been doing.
I know when I have to grind and do work like this and can not remove all of the interior....I have my shop vacuum hose in one hand and the cut off wheel tool in the other and while I am cutting I am directing the dust right into the vacuum hose due to the rotation of my cut off wheel....and I do not have to be spinning the cut off wheel to insane rpms. I keep them under control so I can control my dusts. I use a Dremel tool and cut off wheel so the cut is thinner...thus less dust. And that also goes for when I get in there with my Roloc grinder also.
I know dust is going to get somewhere...but keeping it under control is what I try to do....which I am sure you are doing also.
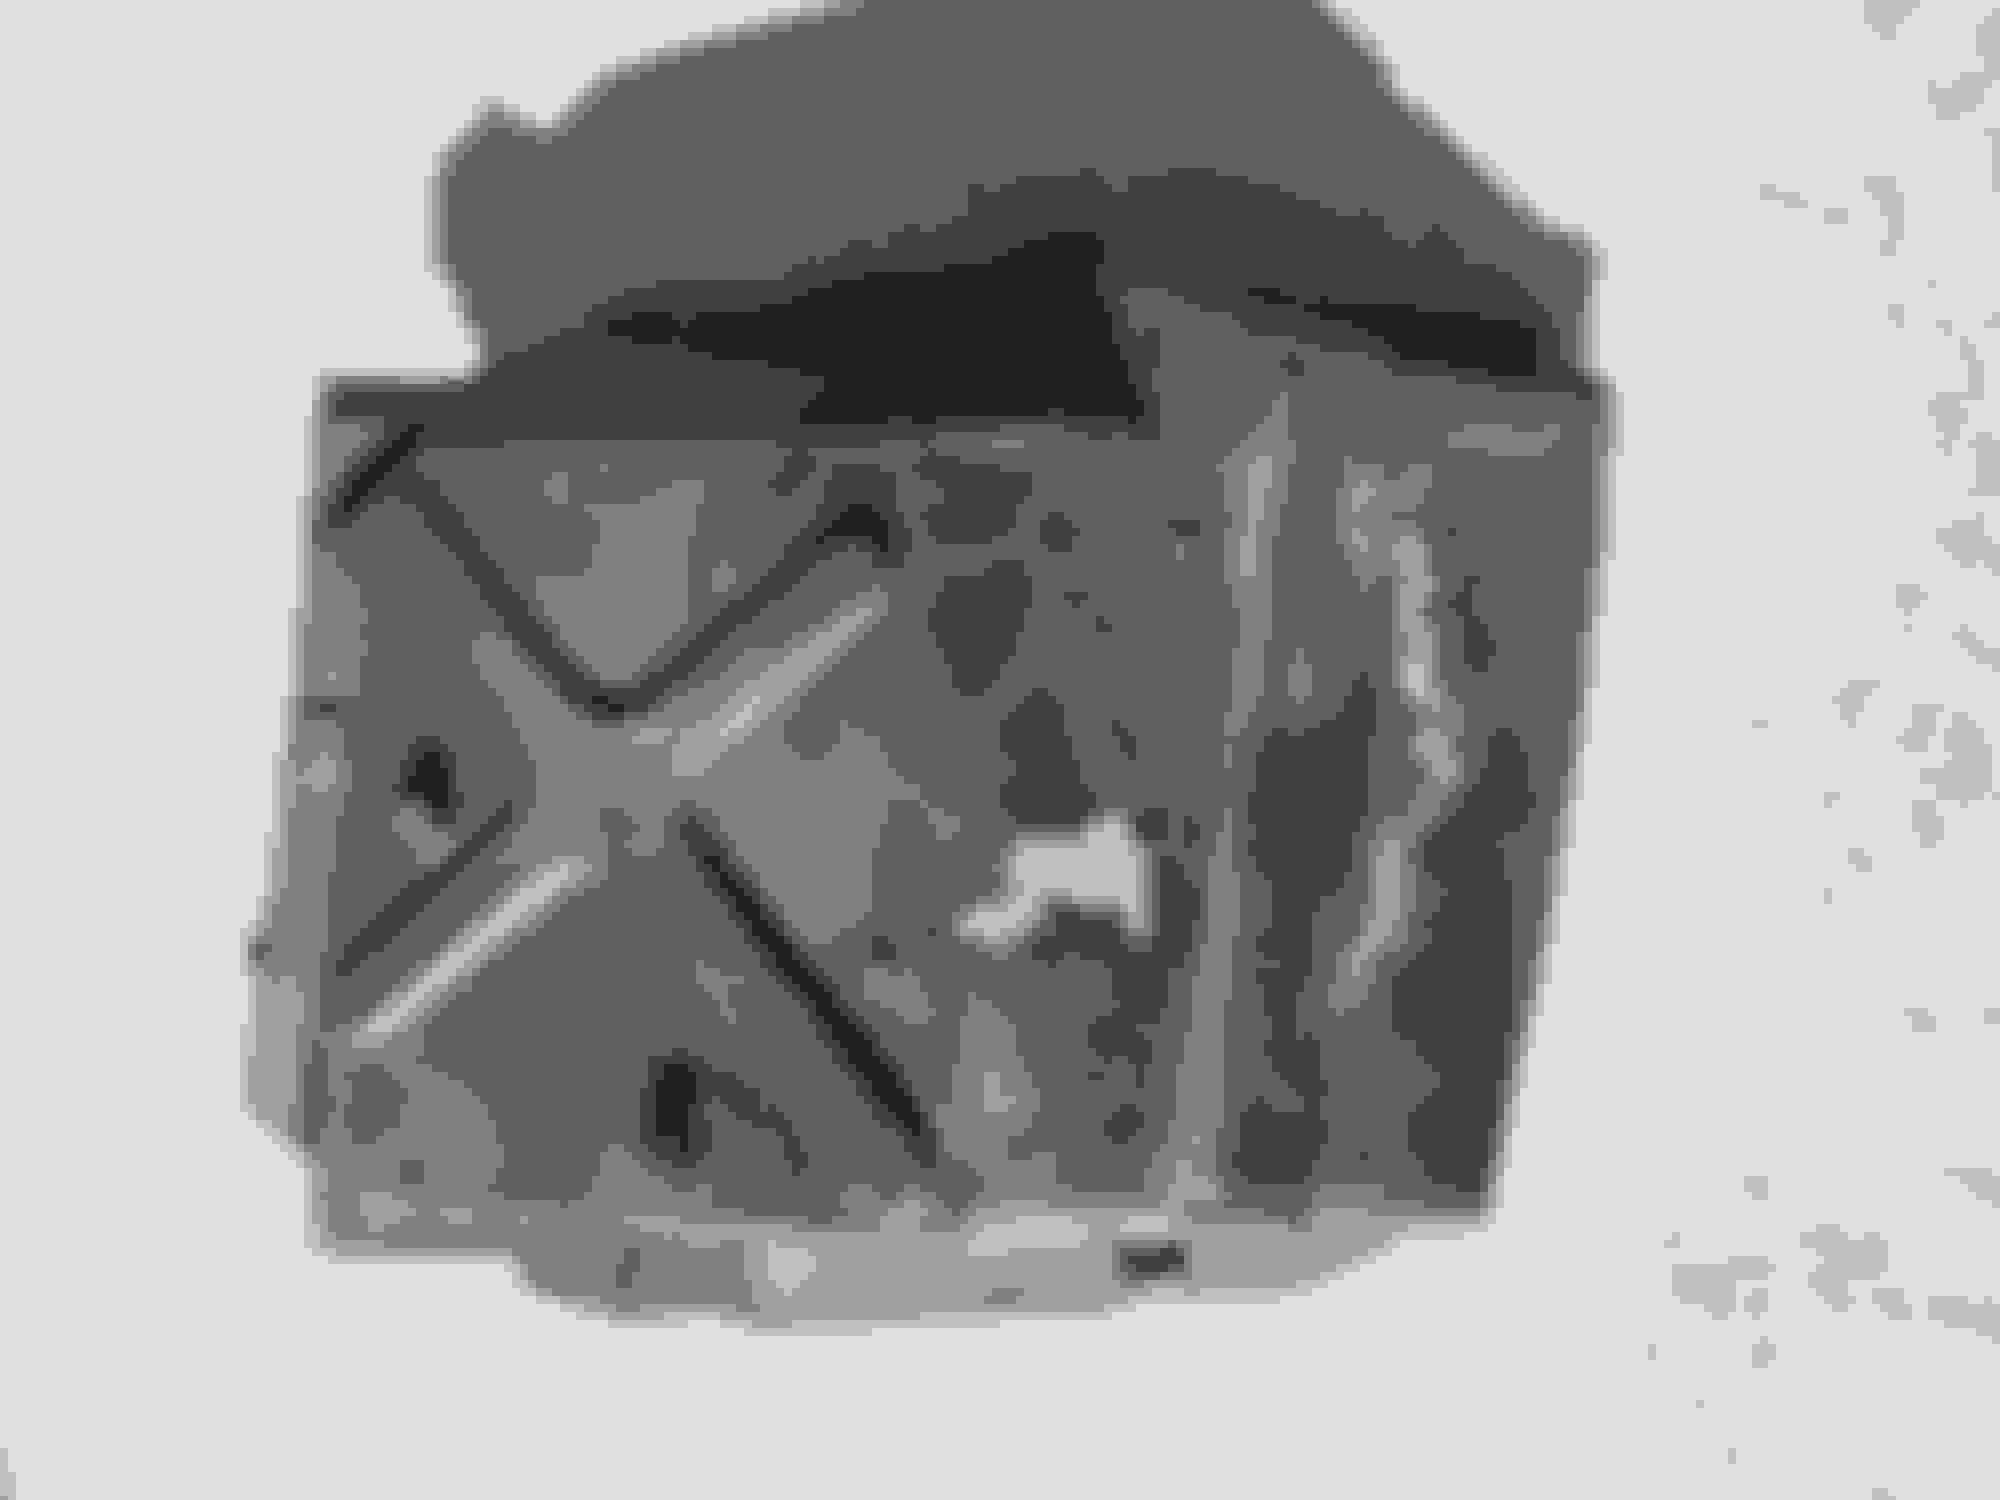
OK so I went away for work came back picked up the panel and start thinking about the best way to do this again. I considered cutting a very small patch as it would've been easier but I would've had all that iron stained rotted fibreglass there and who knows if that would've caused a problem with a bond.
The other thing is that I was pretty confident if I bought the right cut off tool for my die grinder I could get a very clean-cut.So I decided to just go for it and make it look pretty and professional.Attached are photographs of the cut out piece as well as I have inlaid it into my new panel. You'll see there's plenty of room for me to now make precise cuts and I have no problems with riveting and panel bonding these two pieces together for a perfect fit. The structural component of that attachment is the paddleboard. Rivets are pretty much just there to provide some clamping force.
On the underside of the car I will use professional undercoating. Even if people see that there was a repair they should recognize the repair was done as professional as possible.
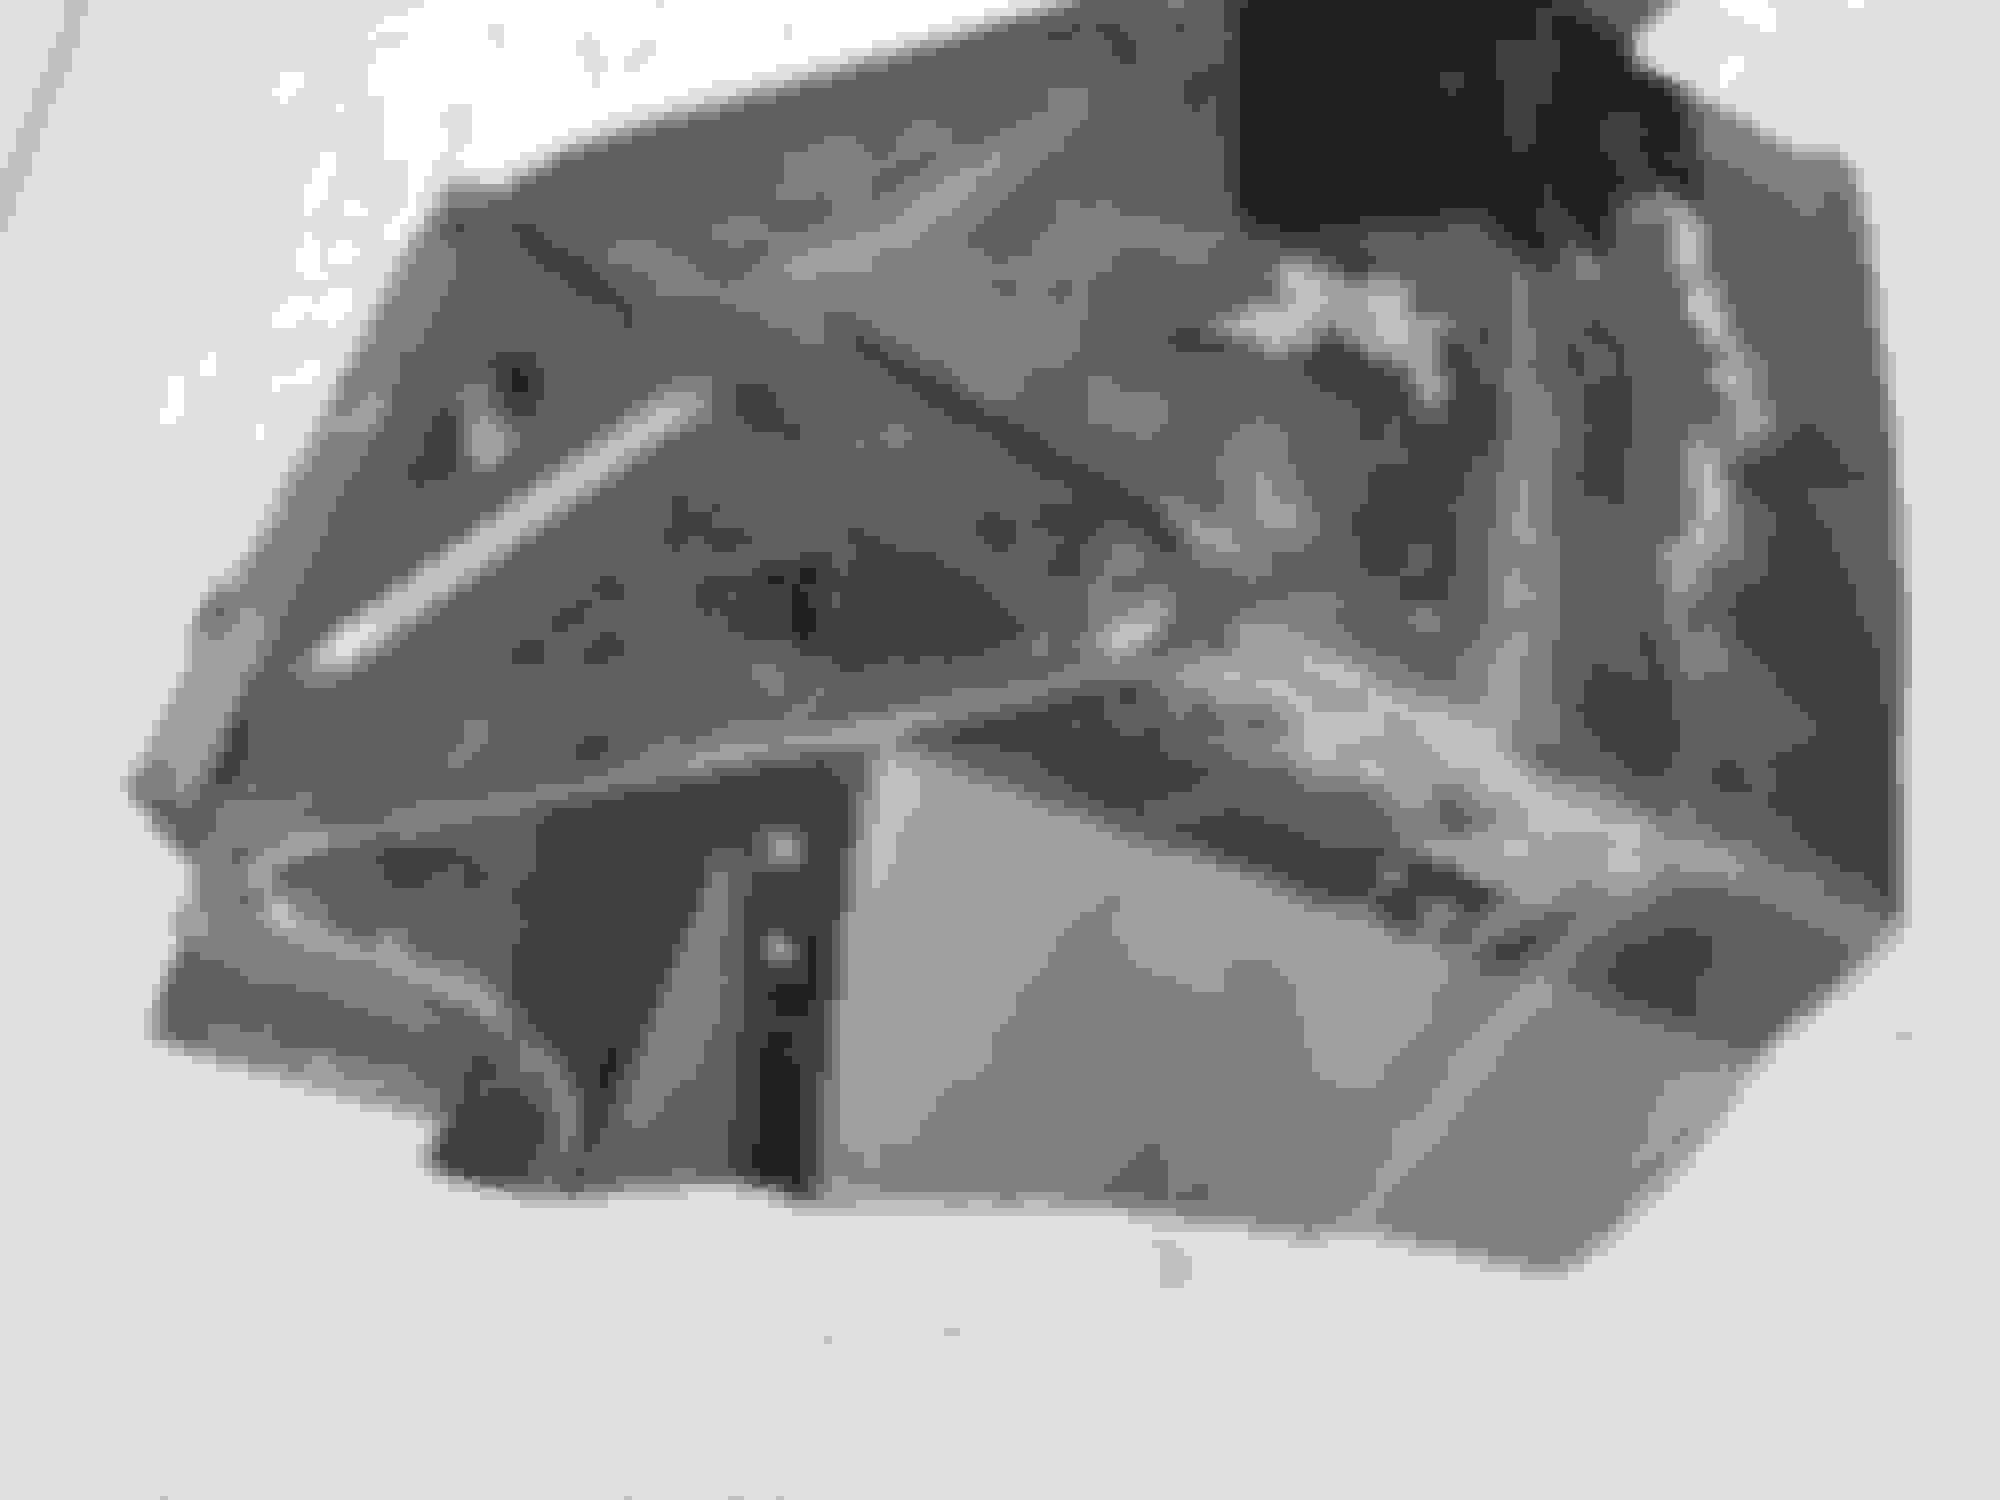
my next step is to cut the inserted panel to size. And then I will begin bevelling the edges.
I know this may be scary as I made a whole much bigger. But when the new pieces grafted in there if I do the job correctly, it'll be all the better for it.
for any other diy'ers, grafting a panel in isnt that tough as long as you are 100% sure that you are getting a new piece that has about 3-4 inches extra overlap. I cut my overlap down to 2 - 1.5".
the trick is to cut your bad spot out and then place it avove and below the replacement and you can trace out the size of it.
then you can cut to size with your overlap.
get a shop vac with plenty of sucking force. two shop vacs are better.
you need a serious breathing filter. not the little white ones. get a real one. with the amount of $$ u r saving diy this you can afford the 30$ 3m respirator with the replaceable cartridges. they seal to the face way better.
i own a small air compressor, enough to power a die grinder with the little circular sanding pads. i also had to use a cone shaped grinding stone to get in the tight radiused curves.
air tools make for REALLY quick work. i cannot imagine doing this with a dremel or a big electric grinder.
couple small places to grind down further but pretty much ready to drill some rivet holes and get the panel bond prepped.
ill try to finish after work today.
SO MUCH HAPPIER than if i was trying to lay up resin. I do not have DUB's skillset and as a diy'er this is pretty easy.
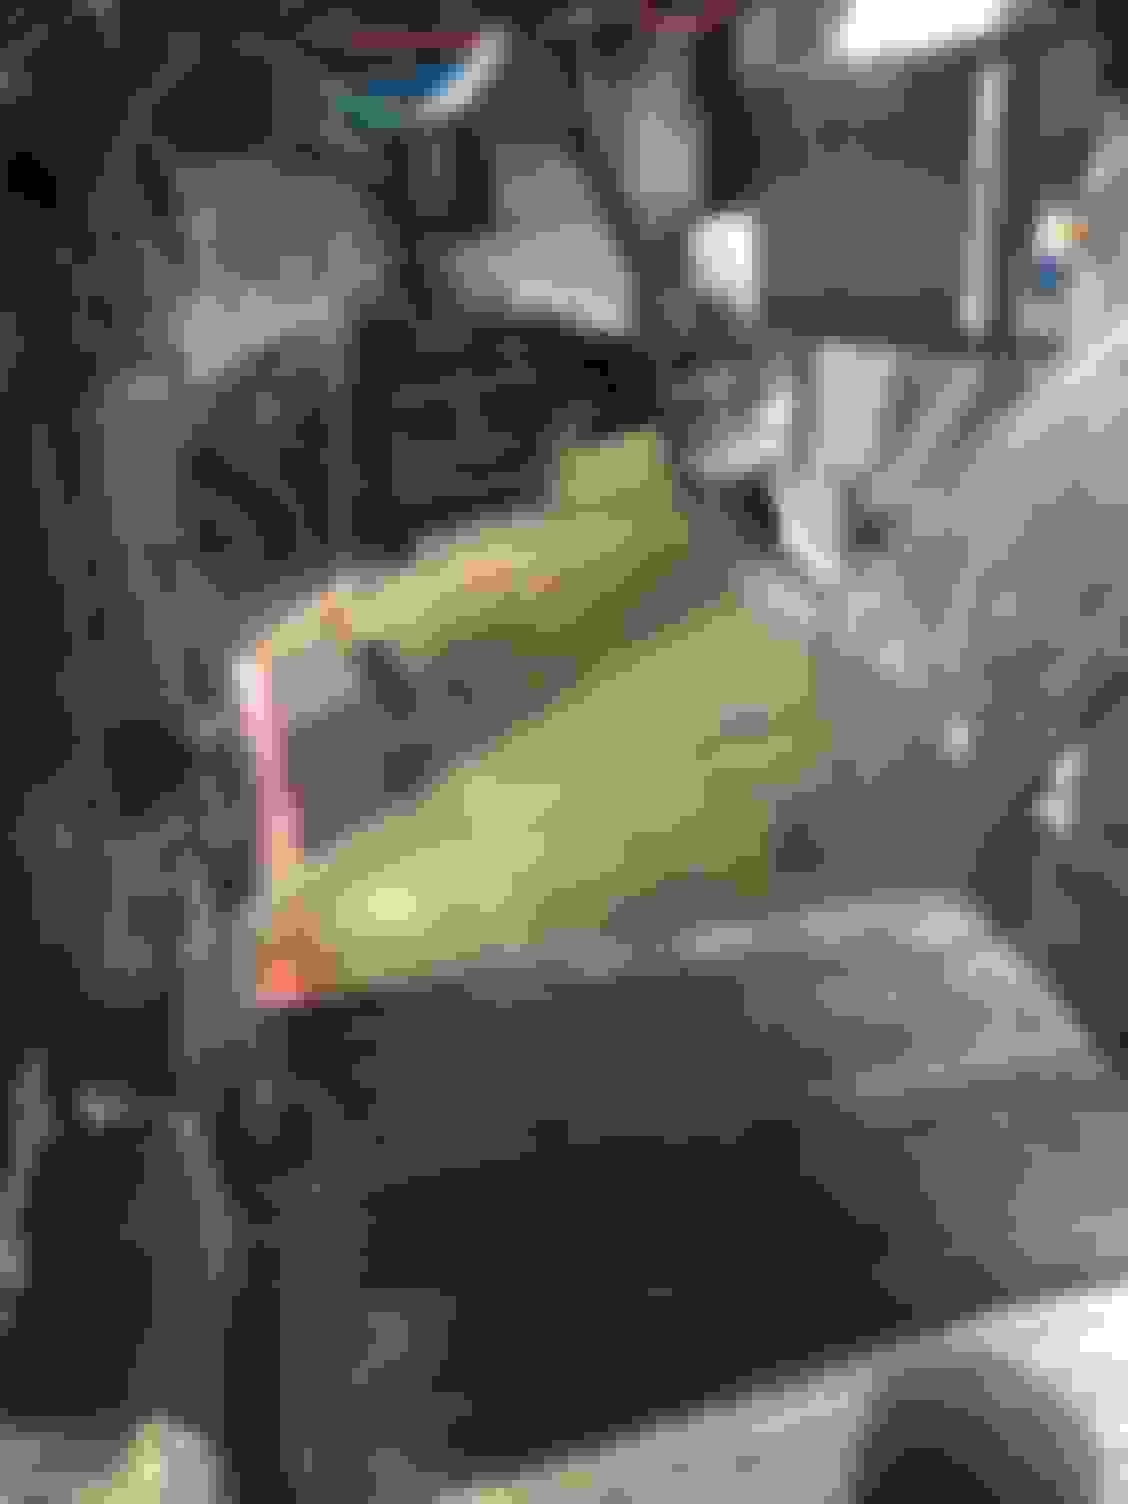
Tonight I am going to bond the panels and rivet as a clamping force.
I've been sucking all the dust out as i grind to fit but can you tell me if i should use a damp cloth (very damp) to wipe the freshly ground SMC panels that will bonded?
Dry rag?
i don't want to contaminate the mating surface i've created but i also don't want residual smc dust to affect the bond.
IF I wipe a panel to remove dust from a prepped area... I wipe it with a Bounty paper towel and ACETONE only. NO WATER! Then...if due to the roughness of the prepped fibers in the fiberglass/SMC..I blow them off the area
99% of the time I blow off the prepped areas for bonding with clean dry compressed air.
IF I have ANY concerns on if the surface has a possibility of being dusty and not allow my adhesive to bond to it. I use a bondo spreader and manually apply and force the adhesive onto the prepped area and then apply more adhesive. that way I know I physically forced the adhesive into the rough prepped area and know that it is now good for bonding.
I do have a couple of questions though, just looking to confirm what I think is supposed to happen.
I'm guessing you'll use a bonding agent between the existing panels and the new foot-well to stick them together as a single unit. Once that's done then I assume that you'll bond some material over the seams both on the inside and outside.
Is that correct and if so what material is planned on being used?
the panel bond is as strong as anything i could find, and it will be squidging out of the seam because im intentionally running a huuuge bead. the same pink bondo spreader suggested by DUB will be used to spread the panel bond over the seams. That stuff is super hard and will suffice. likely ill sand rough surfaces down and paint black to match.
If the overlap on the panels is about an inch...so there is an inch wide bonding area where the adhesive will go...that should be good to go.
And if spreading out any oozing adhesive and getting the joints to smooth out is fine to do also and no problems should occur.
If rivets want to be used to further add a feeling of security and the panel not falling out...that can be done also...but...the adhesive should do the trick by itself if the panels were prepped as the manufacturer wants for maximum adhesion. And if you use a pop rivet...you need to use a steel washer as a back up to pull against instead of the SMC panel itself.
I wish i had seen DUB's post just a couple hours earlier. I did experience the aluminum rivet pulling through the outer panel but it must have bitten eventually because it sucked the panels in together.
i pre-smeared the panel bond on both prepared surfaces. then applied a heaping bead so it would squish out. Worked perfectly.
I'll knock down any rough spots apres curing and hit with a black undercoating to match what is on the car.
my guess is if i was a pro the "seam" might look a bit better this is going to be structural and look pretty normal after sanding smooth and painted to match.
I would have to 'say' that it is in there and will hold. GOOD JOB!!!!
I often times unintentionally leave out information that could help someone. I often times assume that prep procedures will be like how I would do it and not mention it...or if I mention it I can get a backlash of comments where some members feel I am trying to push 'my way' on them as if it is the only way. Which can not be further from the truth. All I try to do is pass along what I do and what I have found that works.
So anybody reading this I will add this:
When prepping a panel for repair like this I would also prep and sand the surface out another inch or two on the body and also the panel. It does not need to be aggressively ground on...just get the paint and any stuff off of it.
Knowing I am going to paint it ...it won't matter that it is scuffed. ...but what this does is provide an area that the adhesive can be spread out onto and thus...make it so that when cured...it does not need to be ground on to flatten out.
Also...if any mesh tape is being used to further add strength in the joint area...it can be applied on the spread out adhesive and more adhesive added on top of it to further smooth it out.
Nice job, curious if your going to throw some dynomat or boom mat? I'm not sure what these cars had for sound deadner inside the cab.
Hey Mike, i had some foil matbin there placed by the previous owner. I will lay it back in and go over it with 1 or two layers of frostking.
the heat coming off the tunnel was sooooo hot im going to pull the abs plastic trim frame and put a couple layers of frost king inder the frame. Then eventually when i drop the trans i'll apply a frew layers of frost king to the underside of the tunnel and that should deflect the heat nicely.
 09-18-2017, 06:02 PM