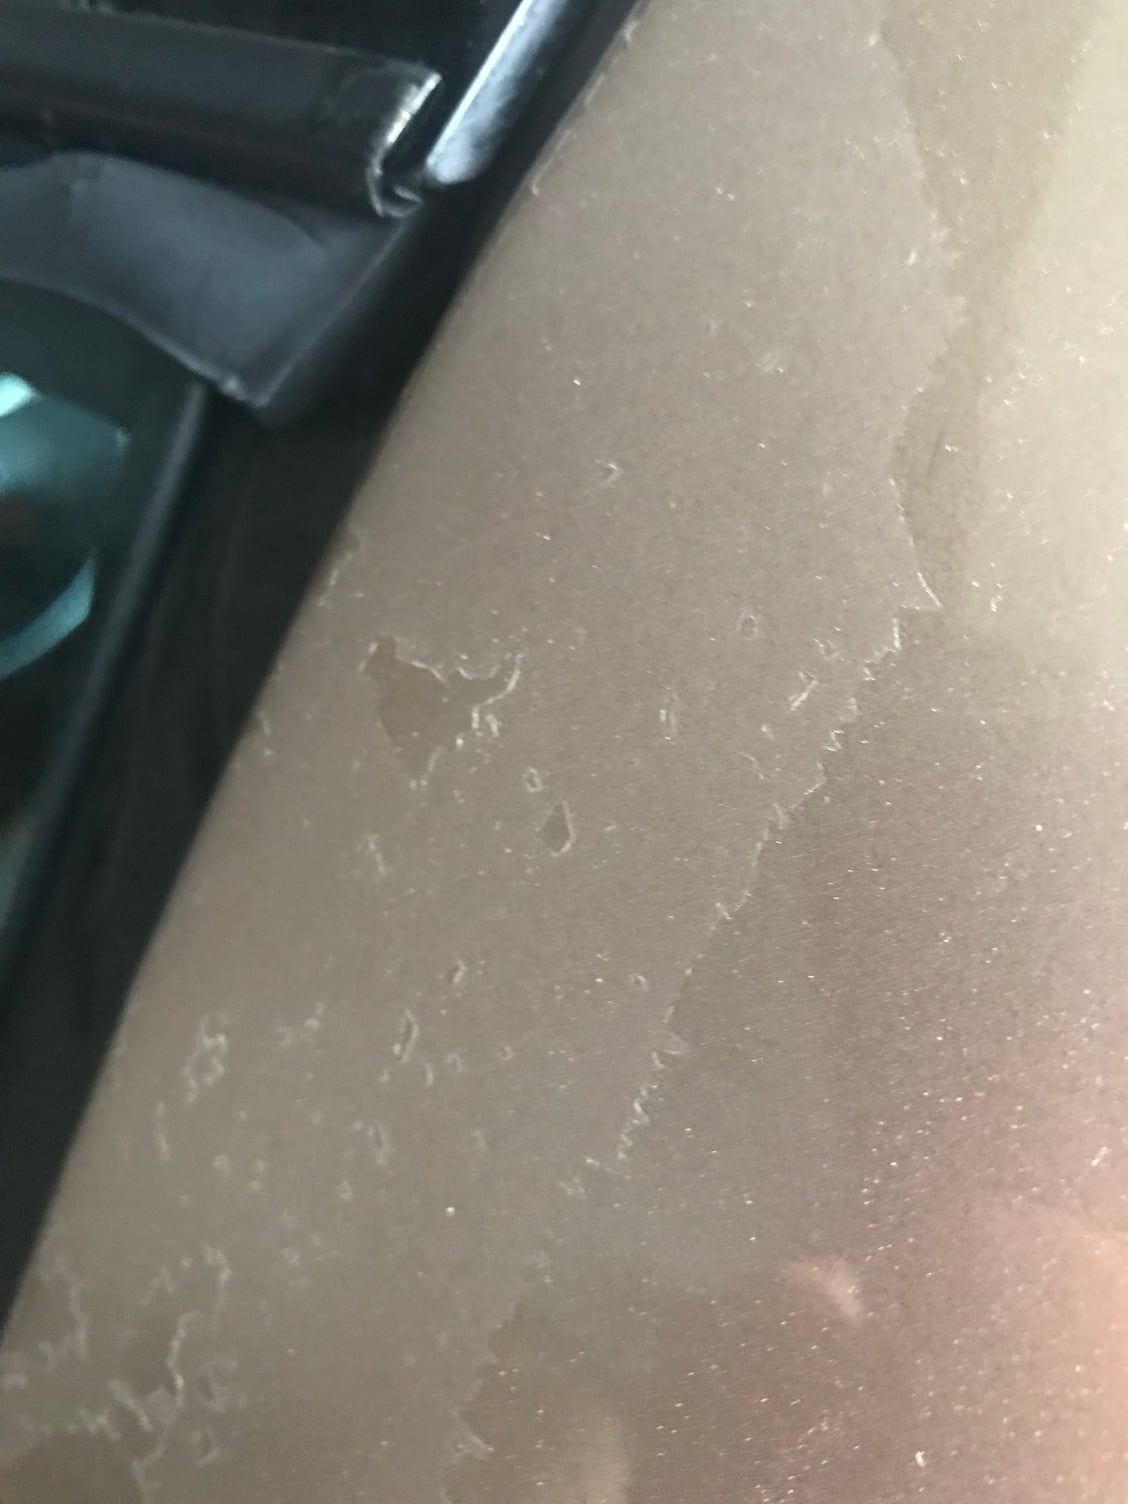
Deciding to fix my clear coat myself
#21
Drifting


Thread Starter
Member Since: Mar 2017
Location: Nashville TN
Posts: 1,897
Received 164 Likes
on
136 Posts
2017 C4 of Year Finalist
I have a metallic bronze. I really love the color. Iím worried about repainting because I donít have an area thatís dust free. I have an HVLP sprayer but Iím not sure it would work for car paint? Plus the paint is expensive if I remember correctly.
#22
Melting Slicks


Member Since: Nov 2013
Location: Greater Cincinnati Area.
Posts: 3,451
Received 335 Likes
on
295 Posts
Another option people used to do here, when they were in that situation, was to do the body work themselves and all the prep, get it totally ready.. Then take it to a Maaco (or similar outfit) and have them hit it with their top of the line Basecoat paint.. Because the materials they use (Or used to use?) are actually pretty good.. It's just their bodywork and prep that sucks.
Perhaps that is an option for you? You might even get a discount if your car is prepped to a point where they can just tape it, wipe it down and spray it with no other effort expended on their part?
Good luck!!

The following users liked this post:
Bfenty (05-11-2018)
#23
Drifting


Thread Starter
Member Since: Mar 2017
Location: Nashville TN
Posts: 1,897
Received 164 Likes
on
136 Posts
2017 C4 of Year Finalist
Yeah, there's about 1K in paint and supplies in mine.. I assume an overall for yours would be similar. And yeah, the metallic will mess you up on a panel to panel job, because the flake won't match and even little things like air pressure differences and technique will make big, big differences in the way they match.
Another option people used to do here, when they were in that situation, was to do the body work themselves and all the prep, get it totally ready.. Then take it to a Maaco (or similar outfit) and have them hit it with their top of the line Basecoat paint.. Because the materials they use (Or used to use?) are actually pretty good.. It's just their bodywork and prep that sucks.
Perhaps that is an option for you? You might even get a discount if your car is prepped to a point where they can just tape it, wipe it down and spray it with no other effort expended on their part?
Good luck!!

#24
Team Owner


Member Since: Oct 2004
Location: altered state
Posts: 81,242
Received 3,043 Likes
on
2,602 Posts
St. Jude Donor '05

Recleared my 02 silverado (black) about 7 yrs ago started peeling about a yr ago. Red scotchbrite pad scuffed it up pretty good, clean and shoot.
Looked every part of fresh paint for a few yrs now looks like a meth mobile.
Prep a section, try it out see how it goes before you go too deep, you can rent a spray gun.
Sometimes auto paint supply houses know someone who will hook you up, lots that work at those places do it on the side.
Looked every part of fresh paint for a few yrs now looks like a meth mobile.
Prep a section, try it out see how it goes before you go too deep, you can rent a spray gun.
Sometimes auto paint supply houses know someone who will hook you up, lots that work at those places do it on the side.
The following users liked this post:
Bfenty (05-12-2018)
#27
Drifting


Thread Starter
Member Since: Mar 2017
Location: Nashville TN
Posts: 1,897
Received 164 Likes
on
136 Posts
2017 C4 of Year Finalist
Recleared my 02 silverado (black) about 7 yrs ago started peeling about a yr ago. Red scotchbrite pad scuffed it up pretty good, clean and shoot.
Looked every part of fresh paint for a few yrs now looks like a meth mobile.
Prep a section, try it out see how it goes before you go too deep, you can rent a spray gun.
Sometimes auto paint supply houses know someone who will hook you up, lots that work at those places do it on the side.
Looked every part of fresh paint for a few yrs now looks like a meth mobile.
Prep a section, try it out see how it goes before you go too deep, you can rent a spray gun.
Sometimes auto paint supply houses know someone who will hook you up, lots that work at those places do it on the side.
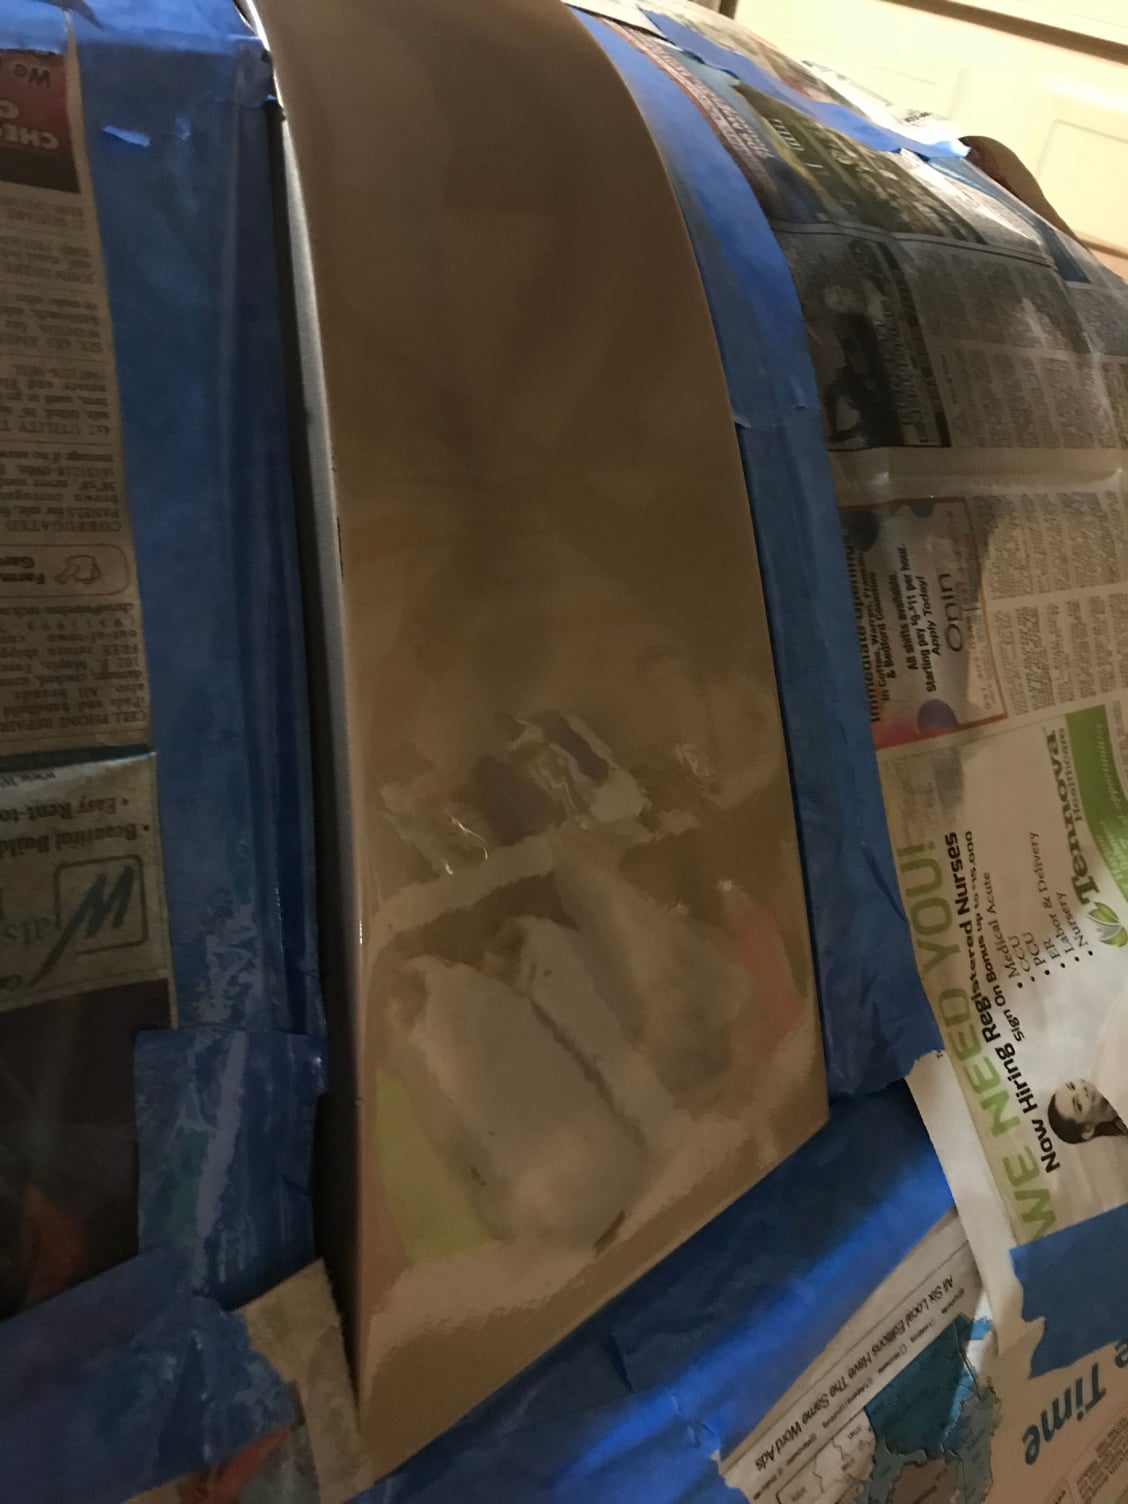
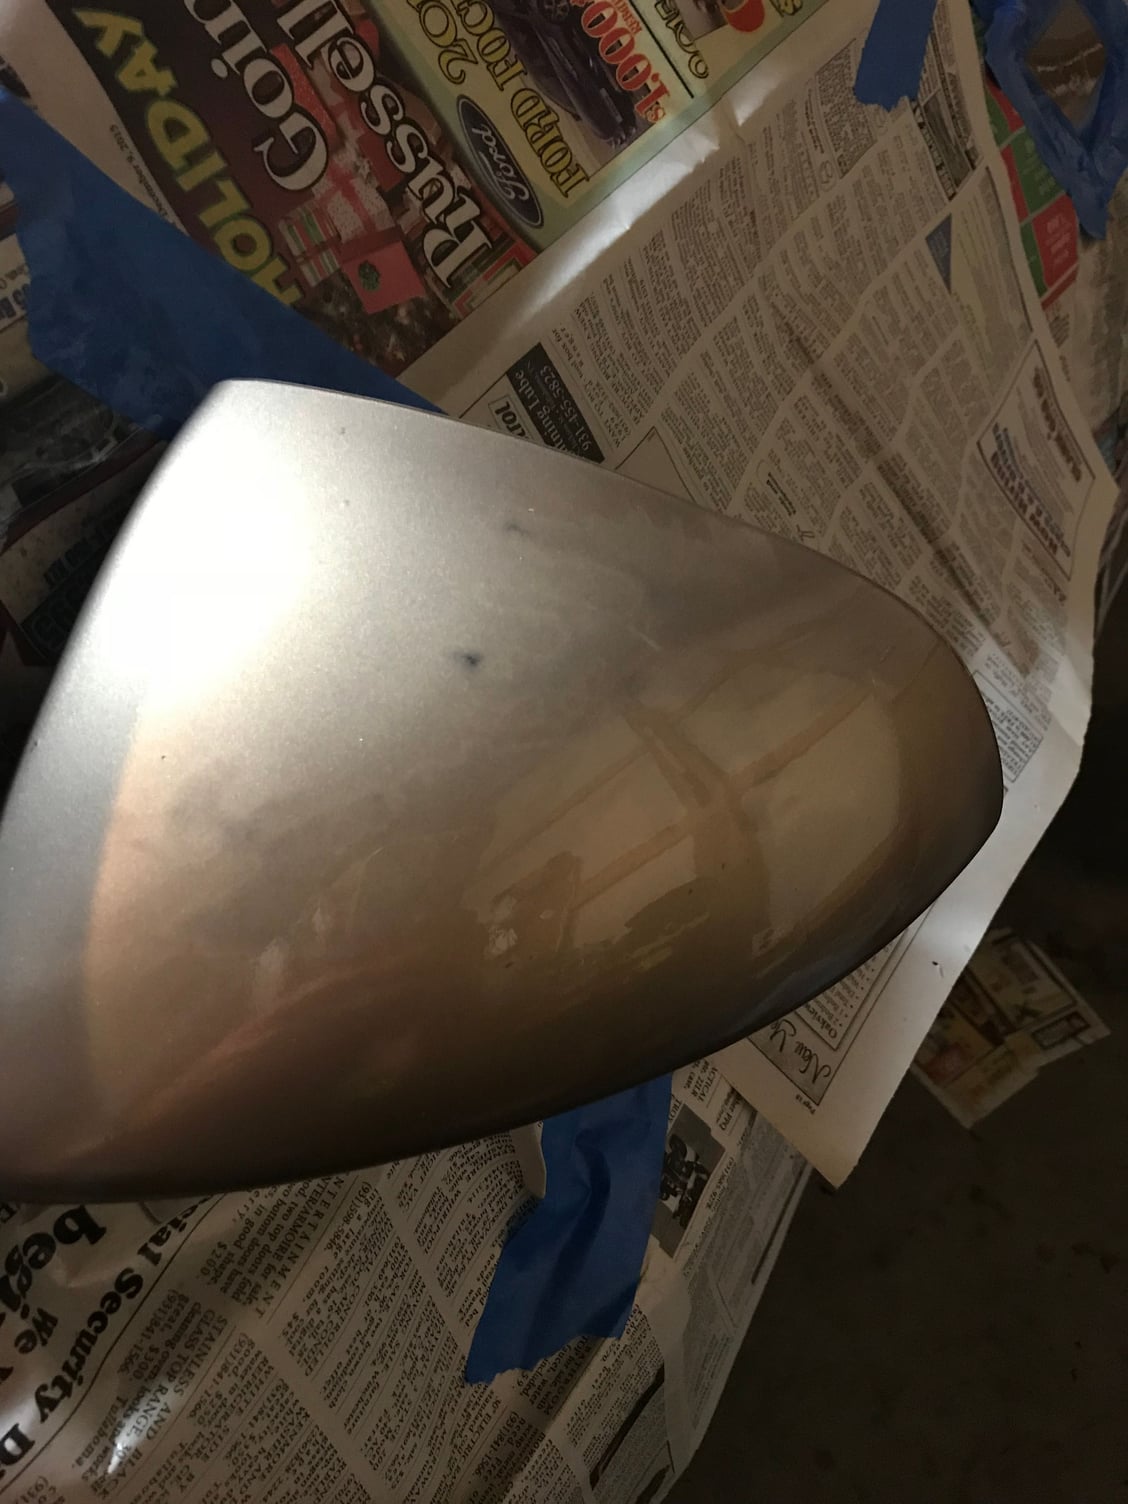
I sanded with 1000 grit to smooth out the edges, then with 2000 grit to scuff it up nicely. I actually went through the color coat slightly on the mirror, but only in a small spot (I started on the mirror because I figured that's the easiest part to have painted someplace).
After laying on a few coats of clear, I sanded with 3000 grit to smooth it out a little more, then laid another few coats, then finally finished it off with 5000 grit. Once it has had time to harden up more, I will take a DA polisher to it and get the final shine on it. I'll post pics at that point, but wanted to share progress.
I'm using the 2k SprayMax stuff, I've used other clear coats before that were garbage, this stuff seems to be the real deal. Obviously time will tell, but I'm impressed so far. If you use it, WEAR A RESPIRATOR. I was wearing one but took it off too quickly and caught a good wiff of the stuff-it made me nauseous all night. Hopefully didn't give me cancer...


The following users liked this post:
Bfenty (05-31-2018)
#29
Drifting


Thread Starter
Member Since: Mar 2017
Location: Nashville TN
Posts: 1,897
Received 164 Likes
on
136 Posts
2017 C4 of Year Finalist
It's not a 10/10 repair job for sure-more like 7 or 8/10. A full repaint would be better. That said, it's definitely an improvement so far. I'm hoping when I do the final polish it will come out nice.
#30
i appreciate you trying it and going for it. i did my 87 black and it was just fine. agree with your points on a 7-8 out of ten which for 99% of c4's at this stage in thier depreciation cycle is plenty good. one day id like to try painting the whole car! for now these spot repairs work well if you are ok with the results. i sure am.
The following users liked this post:
Bfenty (05-31-2018)
#31
Drifting


Thread Starter
Member Since: Mar 2017
Location: Nashville TN
Posts: 1,897
Received 164 Likes
on
136 Posts
2017 C4 of Year Finalist
i appreciate you trying it and going for it. i did my 87 black and it was just fine. agree with your points on a 7-8 out of ten which for 99% of c4's at this stage in thier depreciation cycle is plenty good. one day id like to try painting the whole car! for now these spot repairs work well if you are ok with the results. i sure am.
#32
Safety Car


you know of you mask a bit larger than the area you intend to paint, then work at feathering and blending it out, when you come back and sand with 1500 grit paper and buff it, it will show less, have a less definitive line where you cleared it at
The following users liked this post:
Bfenty (05-31-2018)
#34
Instructor


It's hard to see in photos (and hard to see in person), but there is a bit of discoloration where the clearcoat had peeled before. It's darker than the rest of the paint, but like I said it's barely noticeable even in person and very difficult to photograph. I'm hoping the overall shininess will keep it from being noticeable.
It's not a 10/10 repair job for sure-more like 7 or 8/10. A full repaint would be better. That said, it's definitely an improvement so far. I'm hoping when I do the final polish it will come out nice.
It's not a 10/10 repair job for sure-more like 7 or 8/10. A full repaint would be better. That said, it's definitely an improvement so far. I'm hoping when I do the final polish it will come out nice.

The following users liked this post:
Bfenty (05-31-2018)
#35
Drifting


Thread Starter
Member Since: Mar 2017
Location: Nashville TN
Posts: 1,897
Received 164 Likes
on
136 Posts
2017 C4 of Year Finalist
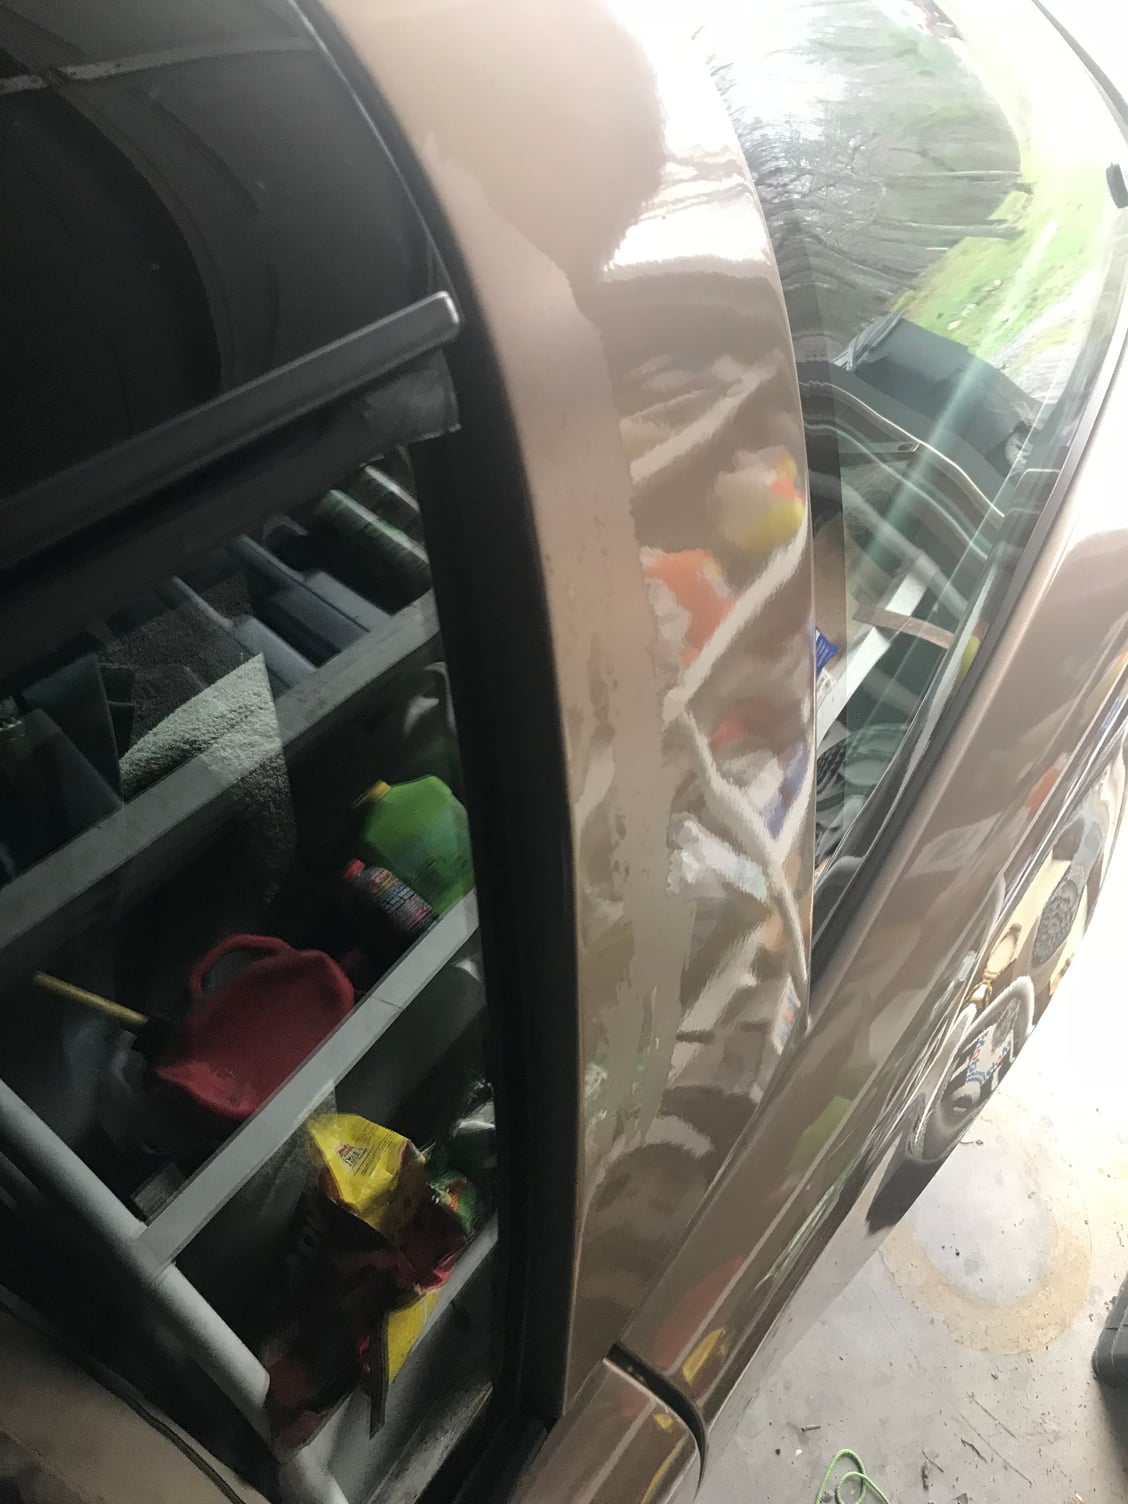
About 2 hours later and it's hardening up and looks a lot better than it did at first. Still, there's some running that I'm going to have to deal with. I could always just sand it down and start over but then I have to buy another can of SprayMax, which is expensive stuff...
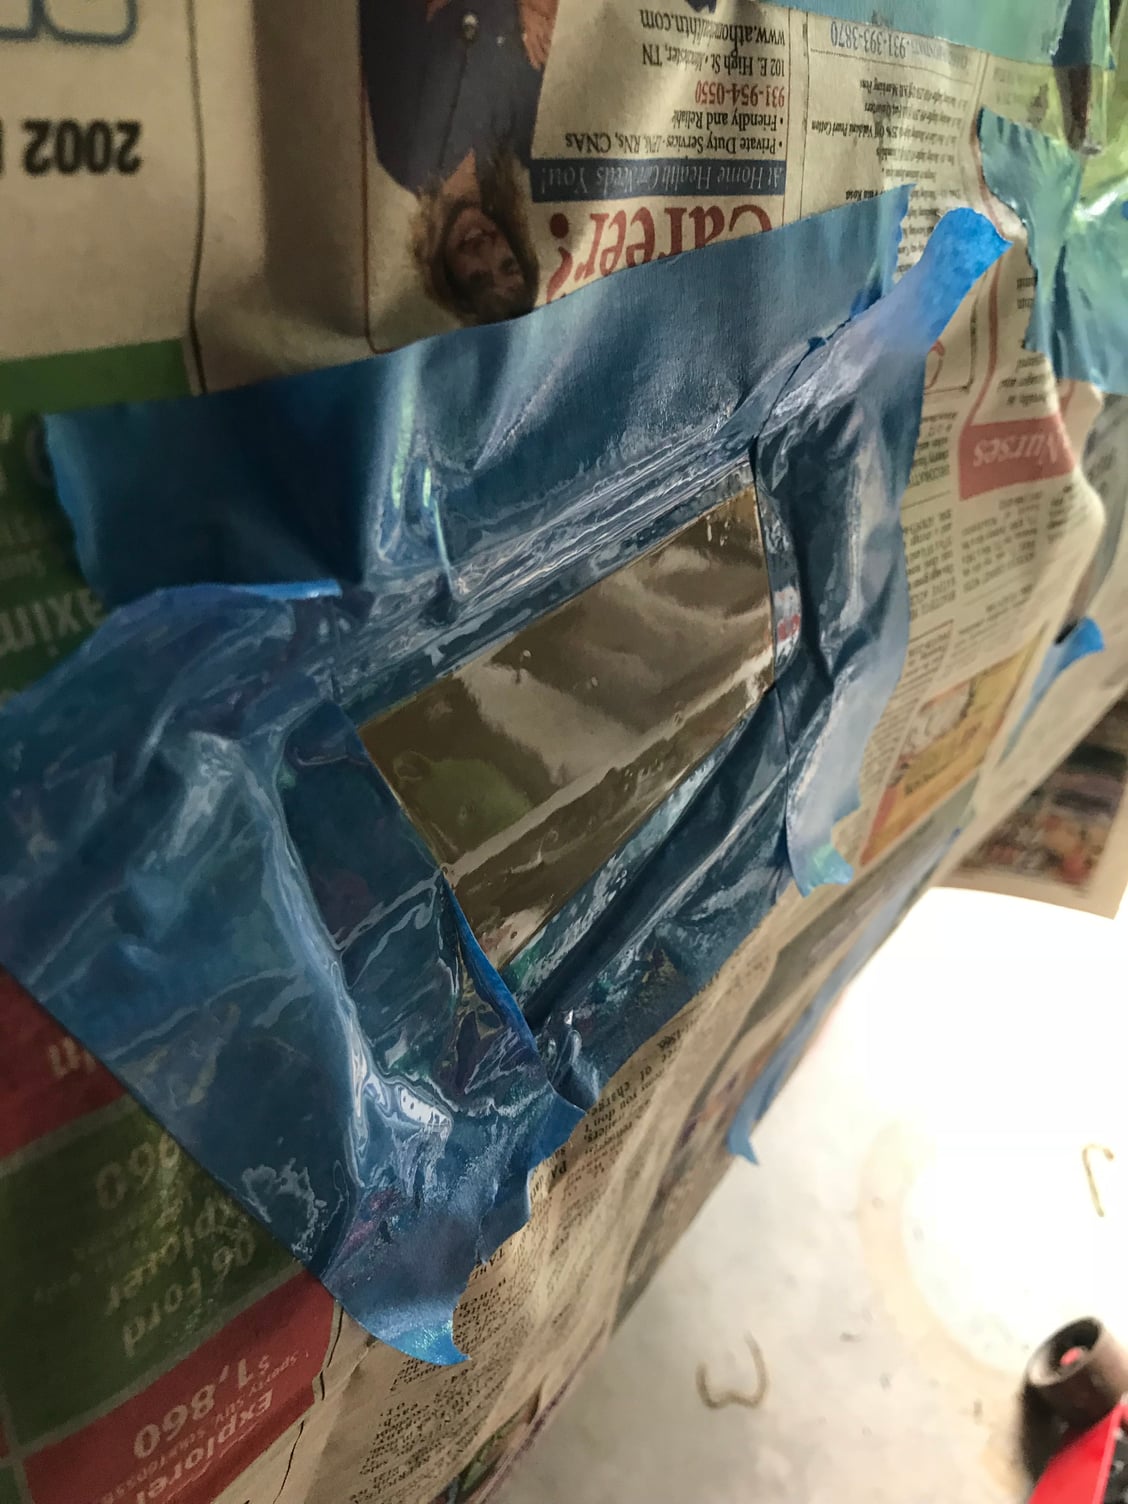
Both the mirror and the B pillar came out looking GREAT-I'll buff them out in a day or two once it's had a good chance to set up, and I'm sure they're going to come out just fine.
All in all, I would highly recommend this process. It's easy and appears to be coming along very well.

After about 2 hours of setting, it looks a lot better. There are still clearly runs in it, but some careful sanding ought to make short work of those.
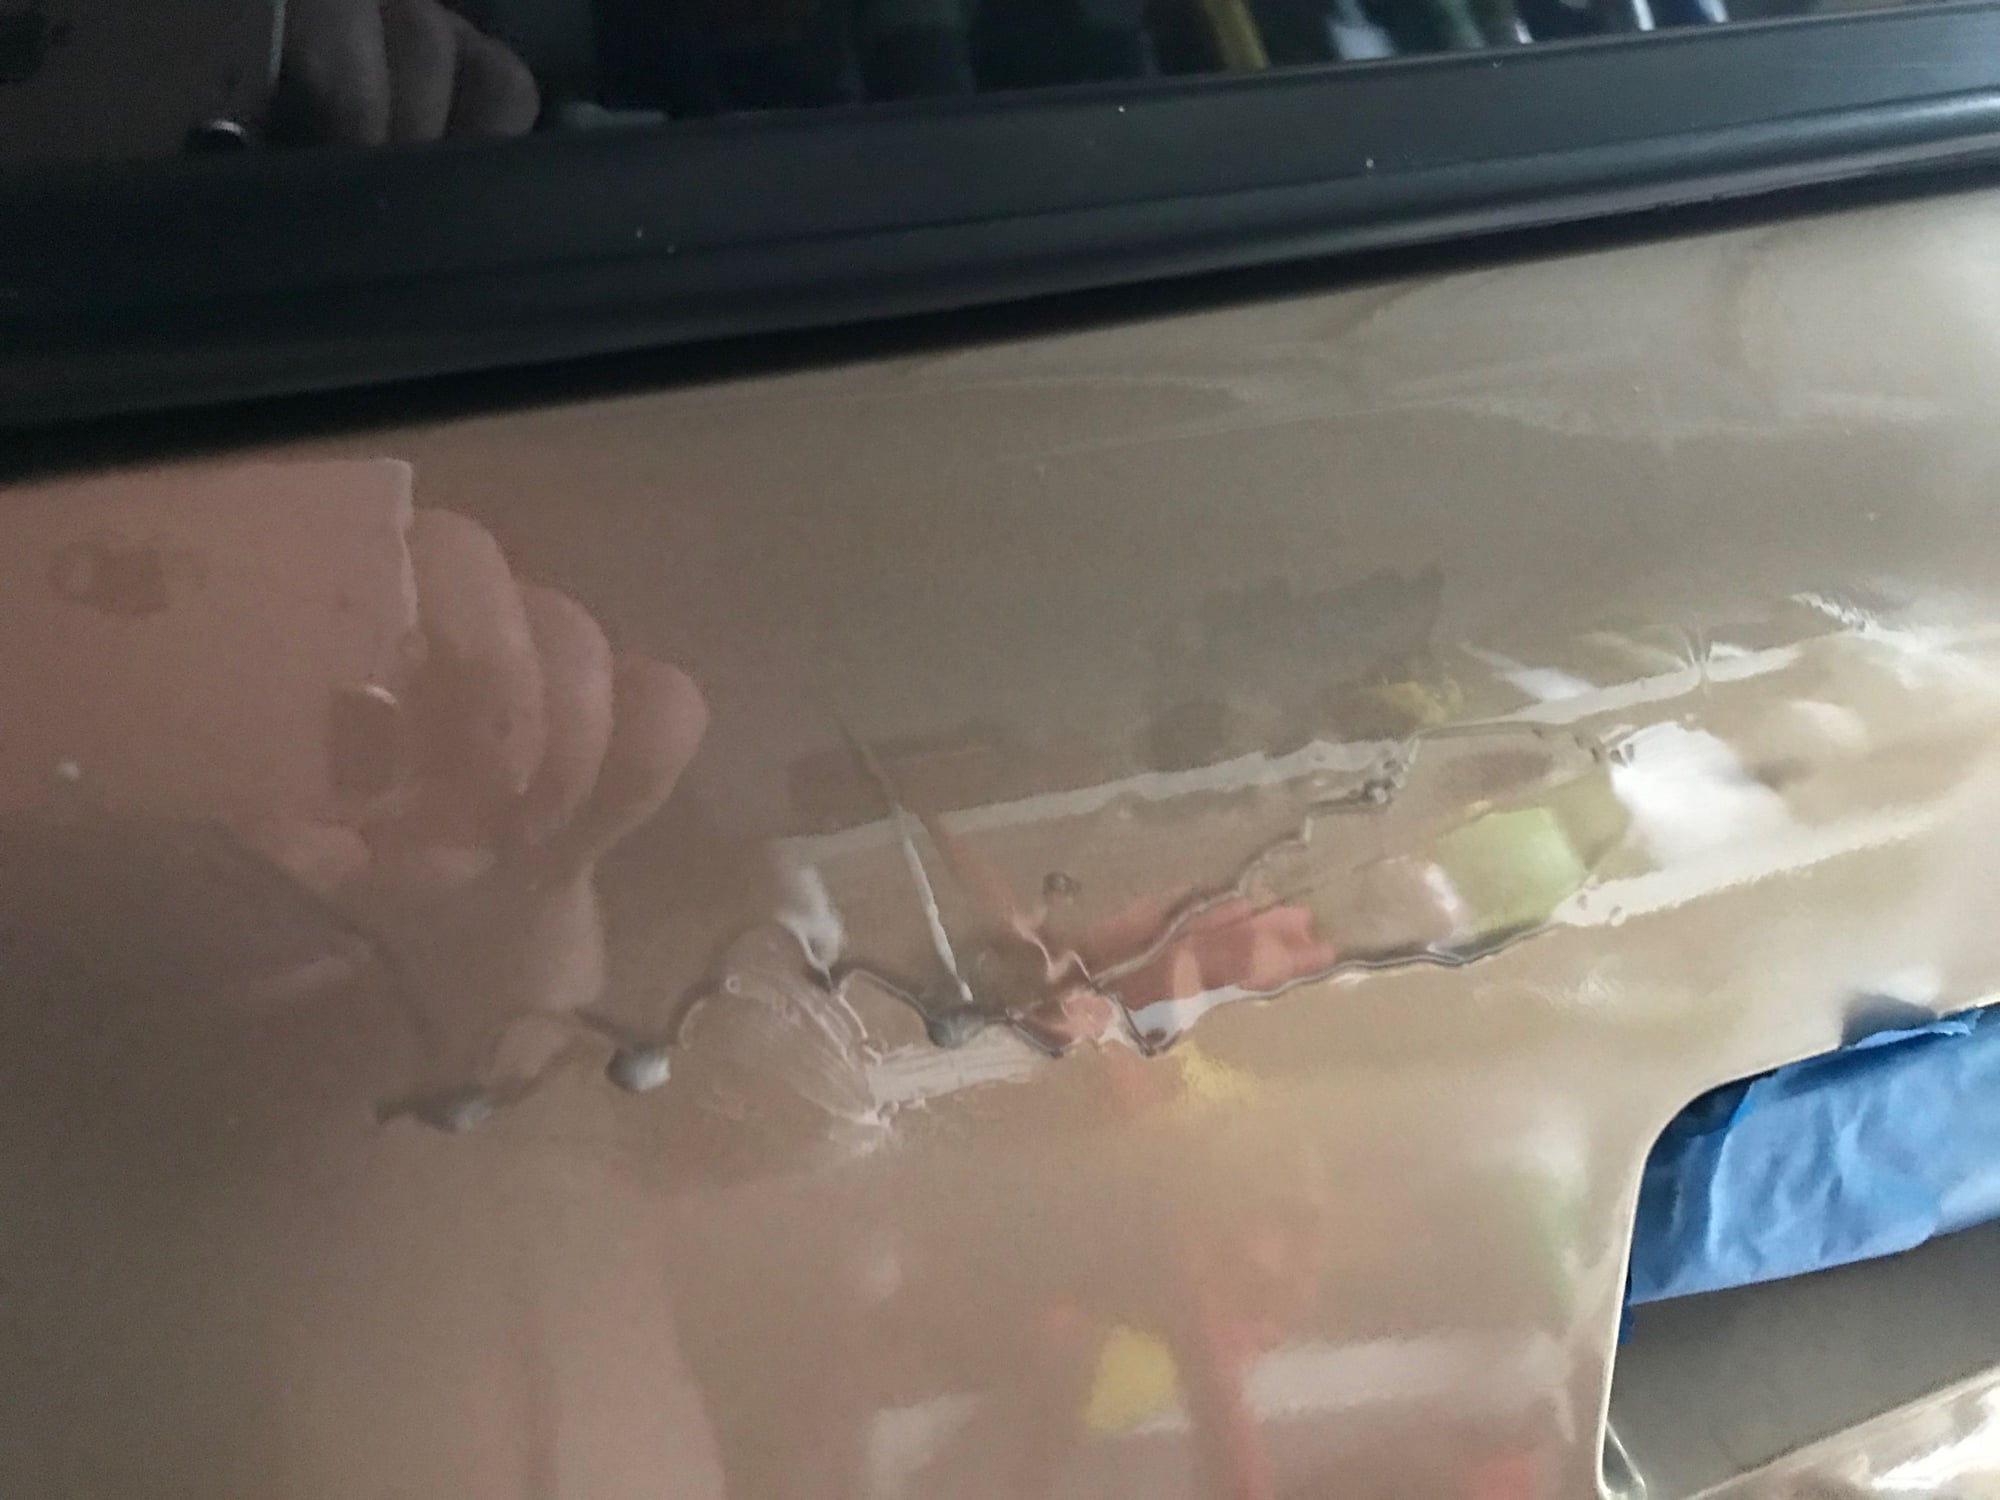
This is what it looked like after I sprayed it...ugh
#36
Safety Car


the man that sprayed the stripes on my car uses paint sticks to wrap the paper around. it is easy to control and makes a solid backer. (of course he has other blocks he uses also. he taught me some tricks for repairing the clearcoat.
there were a couple fisheyes. after sanding, I dabbed clear in and used the paint stick trick as well as other little blocks I purchased at API. you can also wrap paper around a dowel to get some control
the point is that you want to smooth the run and edges down, taking off the high point without dishing out the clear next to it.
https://garage.eastwood.com/eastwood...rcoat-defects/
Last edited by drcook; 06-01-2018 at 07:56 AM.
#37
Melting Slicks


It will be interesting to see buffed out and no masking in pic. I am faced with worn out clear on top of bumpers and thinking about clear coat to belt line. Mine is a driver as well and has its fair share of nicks and scratches. The joy is in driving though not hiding it in a garage.
Last edited by ddahlgren; 06-02-2018 at 01:12 PM.
#38
Drifting


Thread Starter
Member Since: Mar 2017
Location: Nashville TN
Posts: 1,897
Received 164 Likes
on
136 Posts
2017 C4 of Year Finalist
It will be interesting to see buffed out and no masking in pic. I am faced with worn out clear on top of bumpers and thinking about clear coat to belt line. Mine is a driver as well and has its fair share of nicks and scratches. The joy is in driving though not hiding it in a garage.
#40
For me the problem has been getting to a good section of clear that won't peel off when I'm wet sanding OR peel off later. The problem is that the clear coat is not adhered to the base coat. Applying new clear over the old (happens at the edges at a minimum) puts more stress on the existing clear and helps to pull it off also. The problem has plagued our '98 Firebird. I've even gone over it with a plastic scraper to try and get anything loose or weak off the car to no avail.
So my advice would be if you do this to be careful when feathering the edges of the existing clear coat to try and not make them any bigger. Then minimize the overlap of the new clear and the old clear. If you go to a local paint supply shop you can get a can of 2 part clear. It has a red **** on the can that will add the hardener to the clear spray inside the can when you are ready. That's as close to a body shop repair as you can get as the paint will harden and be really durable.
So my advice would be if you do this to be careful when feathering the edges of the existing clear coat to try and not make them any bigger. Then minimize the overlap of the new clear and the old clear. If you go to a local paint supply shop you can get a can of 2 part clear. It has a red **** on the can that will add the hardener to the clear spray inside the can when you are ready. That's as close to a body shop repair as you can get as the paint will harden and be really durable.
The following users liked this post:
Bfenty (06-03-2018)


