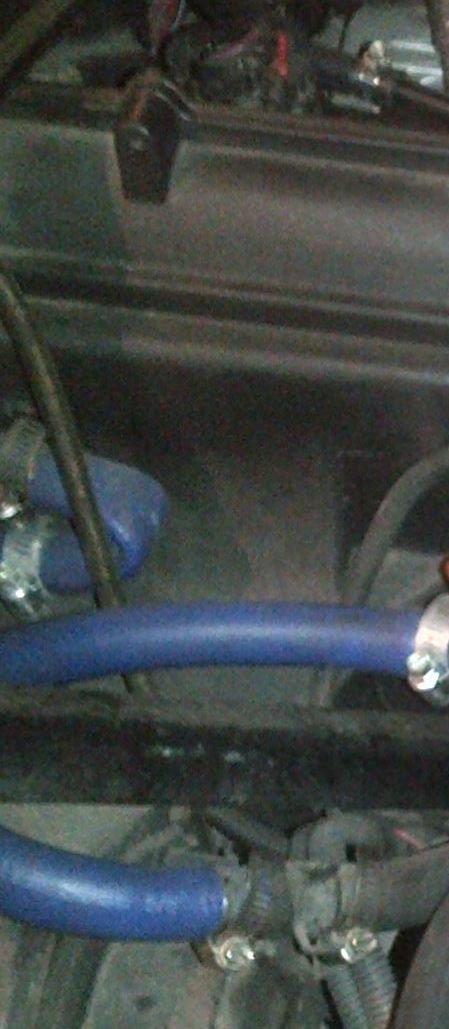
Heater core done, it was pretty easy.
#21
Le Mans Master


This is good news, no matter how stale. I haven't had to do a core swap on either of my C4s yet, but was somewhat dreading the arrival of that day.
A very belated "Thanks!" to the OP.
Live well,
SJW
A very belated "Thanks!" to the OP.
Live well,
SJW
#22
Race Director


This maybe a old thread but one that is just as relevant today as it was back then. This will be great news for anyone facing a core replacement. Don't know if this is somewhere as a sticky but if not it should be.
#23
Le Mans Master


Fastguy is still around, he's just working on C5 heater cores now... ..WW
..WW
 ..WW
..WW
#24
Melting Slicks


That article scared the beejesus out of me. I felt like I was flushing my cooling system with a gun to my head. I feel much better now.
#28
Le Mans Master


#29
Pro


 No doubt. It took a while on my 94 .Not hard just time consuming. One more thing , the factory core seems like a more quality piece than auto zone/ oriellys .I took it back and found a factory piece.
Last edited by kleptopigdog; 01-06-2013 at 08:11 PM.
#30
Thanks
#33
Team Owner


#34
Do you have any idea if the 95 Heater Core replacement procedure is the same as you have described here? Sure be nice to be able to do it without pulling the dash cover.
#36
Heel & Toe


Member Since: Dec 2008
Location: Sarasota Florida
Posts: 19
Likes: 0
Received 0 Likes
on
0 Posts
I replaced mine a few weeks ago. I have a 31 page PDF document with photographs that show what you will need to do. If you want a copy send a request to wccautomation@aol.com.

#37
Safety Car


Member Since: May 2003
Location: [Quote=WOEII] Is dried brown doodie powders man! [/Quote]
Posts: 3,789
Likes: 0
Received 0 Likes
on
0 Posts

#38
Instructor


Member Since: Aug 2004
Location: MIRA LOMA CA
Posts: 117
Likes: 0
Received 0 Likes
on
0 Posts

I replaced mine a few weeks ago. I have a 31 page PDF document with photographs that show what you will need to do. If you want a copy send a request to wccautomation@aol.com.

 and at 150,000 she finally sprung a leak!!! looks like ive got some work ahead
 thanks in advance for any info.
#39
Melting Slicks


Member Since: Mar 2003
Location: Indianapolis IN
Posts: 3,472
Received 444 Likes
on
322 Posts
Finalist 2020 C4 of the Year - Unmodified
C4 of Year Finalist (stock) 2019

If you follow the generalized steps outlined in POST#1 of this thread, you'll step right through this job. I used those steps to do my 87's last week and it's exponentially simpler than the hoops I've read that others have jumped through to get this job done.
I will add some additional info to the OP's instructions to make things a little easier:
1. If you have C68 (like I do) you will need to remove the blend door motor. To set it up for re-installation, turn the key on, set the heat to full hot, then turn the key off and unhook your battery (-) terminal--this will set the blend motor movement to the rearward most (hottest) position, which is where it needs to be set upon reassembly for correct operation as per the FSM.
2. You need to drop the hush panel on the driver side to facilitate removal of the small tubular heater duct that comes out of the case and hooks to both sides. There are 3 screws that hold the tube in---2 in the case, and one into the dash frame on the driver side...this duct must come out to allow for removal of the rear heater core case half.
3. Have a mirror handy. It makes removal of the top 2 screws of the heater core case much easier. The outermost top screw is partially visible if you contort you head just so (you make a face kinda like this
 ). The screw above the blend door motor is out of sight, and you need the mirror for that one.
 4. There are 3 screws that hold the heater core to the firewall side of the case, 2 on the bottom holding the strap, one (hidden) on the top directly in the middle holding a V shaped retainer...again, use the mirror to locate that top retainer screw.
Take your time, work methodically, and although not the most pleasant job in the world, it should go smoothly.
#40
Burning Brakes


I get this when I send email to wccautomation@aol.com
This is an automatically generated Delivery Status Notification.
Delivery to the following recipients failed.
wccautomation@aol.com
This is an automatically generated Delivery Status Notification.
Delivery to the following recipients failed.
wccautomation@aol.com


 [/IMG]


 This kind of knowledge is ageless and I welcome such thread necropsy.

