HELP!! Plenum 4CAM32VALVE lettering
 03-03-2011, 09:33 AM
#1
Advanced

Thread Starter
Member Since: Nov 2008
Location: Scranton PA
Posts: 93
Likes: 0
Received 0 Likes
on
0 Posts
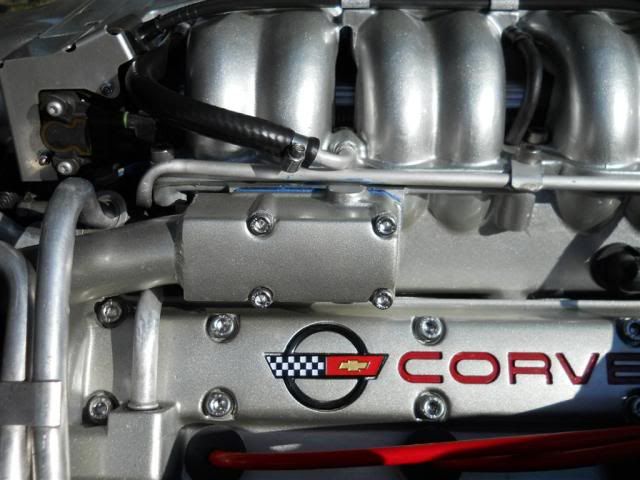
soooo i desided to go ahead and refinish the plenum on my z because the finish was chipping off of the trottle body along with some nasty stains on the plenum from the previous owner..i recently purchased the paint from lingenfelter to redo it but now that i have it prepped and ready for paint the usual method i use for the letters wont work...i tried using tape and cutting out the letters with an exacto blade but i cant get a clean edge...car show season is around the corner and my engine is still apart...can anyone help?
ps: i'm a college student and i pretty much spend every dime i have on this car and dont have any extra cash to get it professionally done or else i would have did that in the first place. thanks
ps: i'm a college student and i pretty much spend every dime i have on this car and dont have any extra cash to get it professionally done or else i would have did that in the first place. thanks


 03-03-2011, 10:23 AM
#4
Advanced
Thread Starter
Member Since: Nov 2008
Location: Scranton PA
Posts: 93
Likes: 0
Received 0 Likes
on
0 Posts
of course as soon as i postted this i found this thread (http://forums.corvetteforum.com/c4-z...lettering.html) while reading o ne member (Sectn8) had experience with the lingenfelter paint and said "The problem came up when we sprayed the black it started to eat away at the gray paint and bubbled it all up. Our conclusion was to paint the letters first and then go to a hobby shop and get Parma International Liquid Mask #701. This is a liquid that you paint on the letters and after it dries spray the gray. When everything is dry pick out the dried mask and your good to go."
03-03-2011, 11:42 AM
#5
Tech Contributor

He is not kidding thats how you do it. The other option is to spray paint it with BBQ paint using a cutout like they did at the Stillwater OK plant during production. Which pretty much are your options since you cant pay someone to do it for you.

 03-03-2011, 05:21 PM
#8
Advanced
Thread Starter
Member Since: Nov 2008
Location: Scranton PA
Posts: 93
Likes: 0
Received 0 Likes
on
0 Posts
thats what i was thinking but any chance of paint getting under the edges of the stencil? i was thining about using bristol board which is like a cardboard paper but wasnt sure if i could get a clean edge or not
 03-03-2011, 06:26 PM
#10
Le Mans Master

Member Since: Oct 2004
Location: South-central Missouri
Posts: 6,314
Received 500 Likes
on
395 Posts

Ah...Heck wiff all dat stencils, masking tape and all dat dare crapola!!...
Use fine camel hair brushes and high temp acrylic of your choice, and lay the paint it in there - and don't worry 'bout getting it where it shouldn't be. Just be sure you cover the bottom and the sides of the recesses of the plenum/cam covers.
Then, dampen a Q-tip with acetone (fingernail polish remover - damp, but not wet!) and wipe off the excess paint that got onto surfaces where you don't want it.
Not the plenum, but you have a look. It took me maybe 30 minutes, start to finish to do the cam covers (both). Just don't let the paint sit too long before using the Q-tip/acetone.
Good luck!
P.
Use fine camel hair brushes and high temp acrylic of your choice, and lay the paint it in there - and don't worry 'bout getting it where it shouldn't be. Just be sure you cover the bottom and the sides of the recesses of the plenum/cam covers.
Then, dampen a Q-tip with acetone (fingernail polish remover - damp, but not wet!) and wipe off the excess paint that got onto surfaces where you don't want it.
Note: The paint on the painted parts should be cured (not still soft) or the acetone might lift some of the paint. So, wait a few days before doing the lettering to give the paint a chance to cure a bit. JMO.
I've tried this a number of ways; stencils, masking, and for a onezy twozy situation, i.e., not doing plenums in quantity, it is far easier than anything else I've tried, and the results are outstanding...IMO!Not the plenum, but you have a look. It took me maybe 30 minutes, start to finish to do the cam covers (both). Just don't let the paint sit too long before using the Q-tip/acetone.
Good luck!
P.
03-03-2011, 07:15 PM
#11
Tech Contributor
Ah...Heck wiff all dat stencils, masking tape and all dat dare crapola!!...
Use fine camel hair brushes and high temp acrylic of your choice, and lay the paint it in there - and don't worry 'bout getting it where it shouldn't be. Just be sure you cover the bottom and the sides of the recesses of the plenum/cam covers.
Then, dampen a Q-tip with acetone (fingernail polish remover - damp, but not wet!) and wipe off the excess paint that got onto surfaces where you don't want it.
Not the plenum, but you have a look. It took me maybe 30 minutes, start to finish to do the cam covers (both). Just don't let the paint sit too long before using the Q-tip/acetone.
Good luck!
P.
Use fine camel hair brushes and high temp acrylic of your choice, and lay the paint it in there - and don't worry 'bout getting it where it shouldn't be. Just be sure you cover the bottom and the sides of the recesses of the plenum/cam covers.
Then, dampen a Q-tip with acetone (fingernail polish remover - damp, but not wet!) and wipe off the excess paint that got onto surfaces where you don't want it.
Note: The paint on the painted parts should be cured (not still soft) or the acetone might lift some of the paint. So, wait a few days before doing the lettering to give the paint a chance to cure a bit. JMO.
I've tried this a number of ways; stencils, masking, and for a onezy twozy situation, i.e., not doing plenums in quantity, it is far easier than anything else I've tried, and the results are outstanding...IMO!Not the plenum, but you have a look. It took me maybe 30 minutes, start to finish to do the cam covers (both). Just don't let the paint sit too long before using the Q-tip/acetone.
Good luck!
P.
Pretty sexy there Paul
 03-03-2011, 07:42 PM
#12
Advanced
Thread Starter
Member Since: Nov 2008
Location: Scranton PA
Posts: 93
Likes: 0
Received 0 Likes
on
0 Posts
Ah...Heck wiff all dat stencils, masking tape and all dat dare crapola!!...
Use fine camel hair brushes and high temp acrylic of your choice, and lay the paint it in there - and don't worry 'bout getting it where it shouldn't be. Just be sure you cover the bottom and the sides of the recesses of the plenum/cam covers.
Then, dampen a Q-tip with acetone (fingernail polish remover - damp, but not wet!) and wipe off the excess paint that got onto surfaces where you don't want it.
Not the plenum, but you have a look. It took me maybe 30 minutes, start to finish to do the cam covers (both). Just don't let the paint sit too long before using the Q-tip/acetone.
Good luck!
P.
Use fine camel hair brushes and high temp acrylic of your choice, and lay the paint it in there - and don't worry 'bout getting it where it shouldn't be. Just be sure you cover the bottom and the sides of the recesses of the plenum/cam covers.
Then, dampen a Q-tip with acetone (fingernail polish remover - damp, but not wet!) and wipe off the excess paint that got onto surfaces where you don't want it.
Note: The paint on the painted parts should be cured (not still soft) or the acetone might lift some of the paint. So, wait a few days before doing the lettering to give the paint a chance to cure a bit. JMO.
I've tried this a number of ways; stencils, masking, and for a onezy twozy situation, i.e., not doing plenums in quantity, it is far easier than anything else I've tried, and the results are outstanding...IMO!Not the plenum, but you have a look. It took me maybe 30 minutes, start to finish to do the cam covers (both). Just don't let the paint sit too long before using the Q-tip/acetone.
Good luck!
P.
 i think I�m going to do my cam covers as well now that i don�t have to pull them out of the car to do so. Thanks a bunch
 03-03-2011, 07:42 PM
#13
Advanced
Thread Starter
Member Since: Nov 2008
Location: Scranton PA
Posts: 93
Likes: 0
Received 0 Likes
on
0 Posts
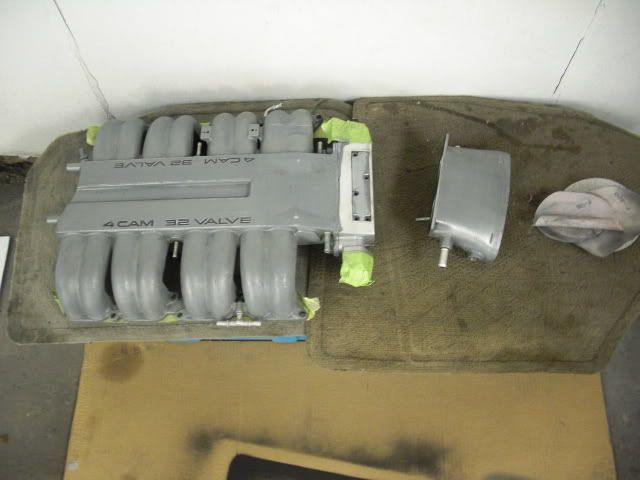
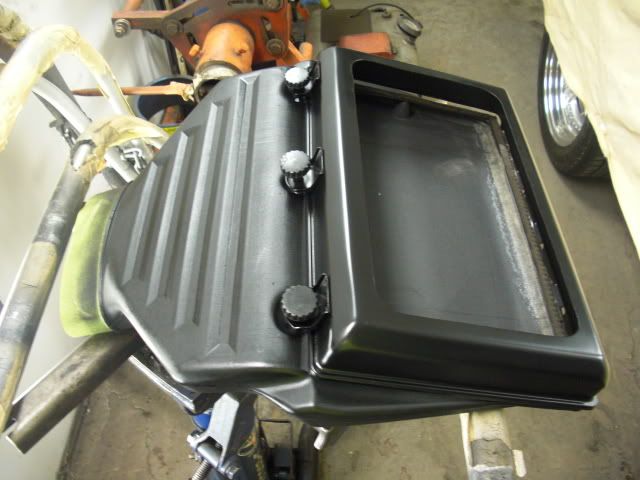
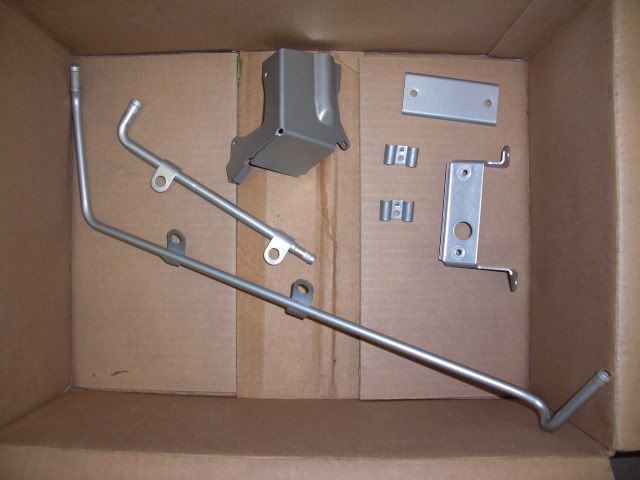
for anyone that is interested here�s where I�m at so far (note: i am not a pro painter or even going to school to be a mechanic. this is what i enjoy doing and I�m learning as i go from my bible (aka service manual) and this forum. i am open to feedback and any tips are helpful. thanks)
Engine plenum, throttle body, and air horn prepped and ready for paint:
after air system:
before:
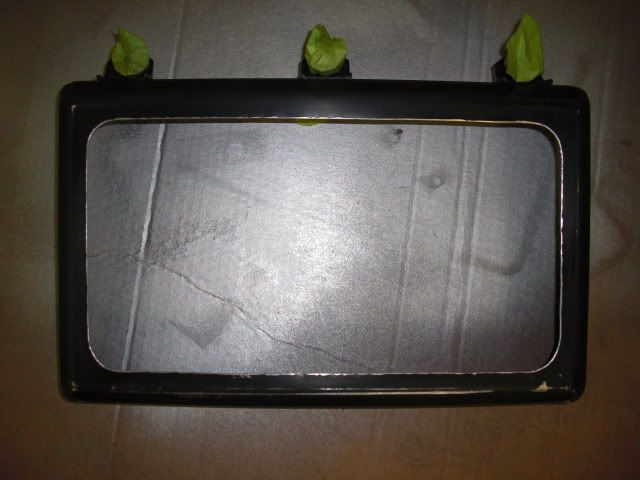
refinished sheilds and vacuum lines:
my baby:

Engine plenum, throttle body, and air horn prepped and ready for paint:
after air system:
before:
refinished sheilds and vacuum lines:
my baby:


 03-04-2011, 08:43 PM
#19
1994 Admiral Blue ZZZZZR1

 03-04-2011, 09:12 PM
#20
Team Owner


Member Since: Oct 2004
Location: altered state
Posts: 81,242
Received 3,043 Likes
on
2,602 Posts
St. Jude Donor '05
Interesting, says in the vid the plenums were powdercoated then sprayed the letters, always thought the plenums were simply painted that grey color. Powdercoat wouldnt stain Id think?

