

 02-23-2015, 04:20 PM
Last edit by: IB Advertising
See related guides and technical advice from our community experts:
Browse all: Tires and Wheels
- How to Remove/Replace Front Wheelhouse Liner
Step by step instructions for do-it-yourselfers.
Browse all: Tires and Wheels

Front fender removal with pics!
06-23-2008, 09:14 PM
#1
Burning Brakes

Thread Starter

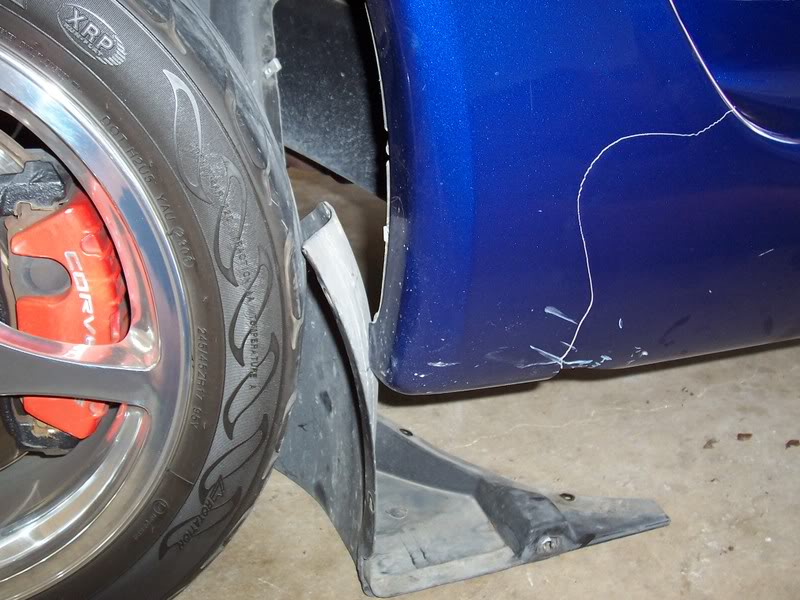
My wife had an unfortunate accident with a 2X4 on the highway a few weeks ago.
http://forums.corvetteforum.com/show....php?t=2043898
Not wanting to deal with insurance or bodyshops or paint matching nightmares, I ordered a LeMans Blue fender from www. corvetterecycling.com(Thanks Colton) and set out to do it myself. After searching and finding only others who wanted a DIY with pics, I decided to try to put one together.
Here's what I used:
1/4" ratchet
7mm short socket
10mm deep socket
7mm ratchet wrench
floor jack
jackstands
Start to finish was about 2 hours, but that included stopping to take pics and prepping the new fender and the BSM.
Here goes:
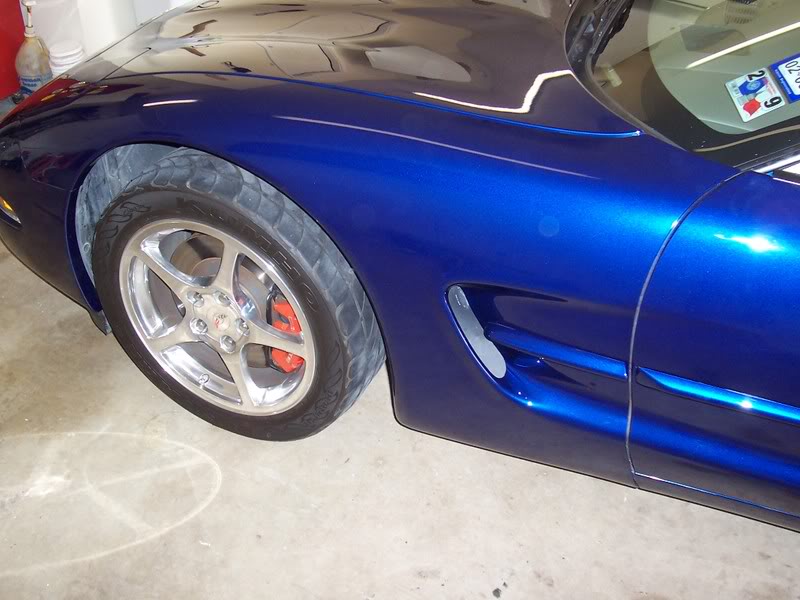
I decided to try it the lazy way, without removing the tire or headlight assy as the manual suggests. To make some working room I put the car on jackstands to let the suspention drop.
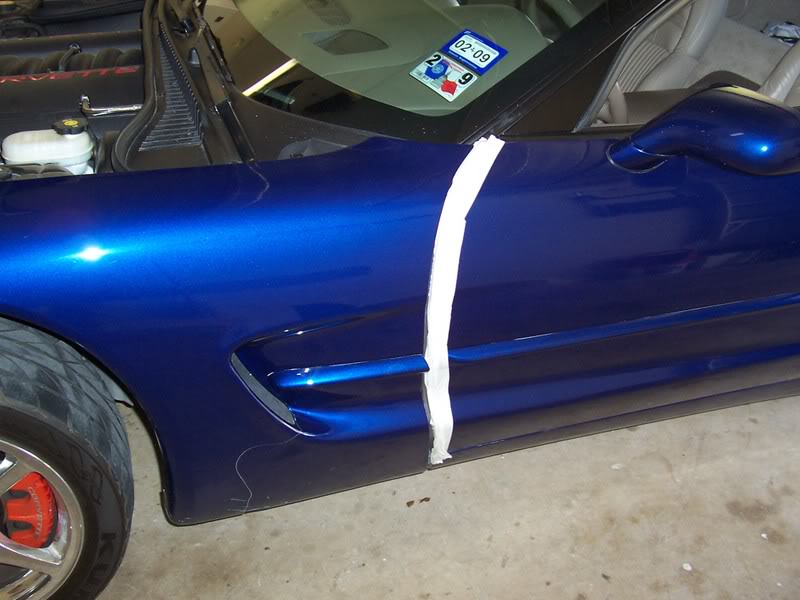
I then taped the areas adjacent to the fender for protection from scratches.
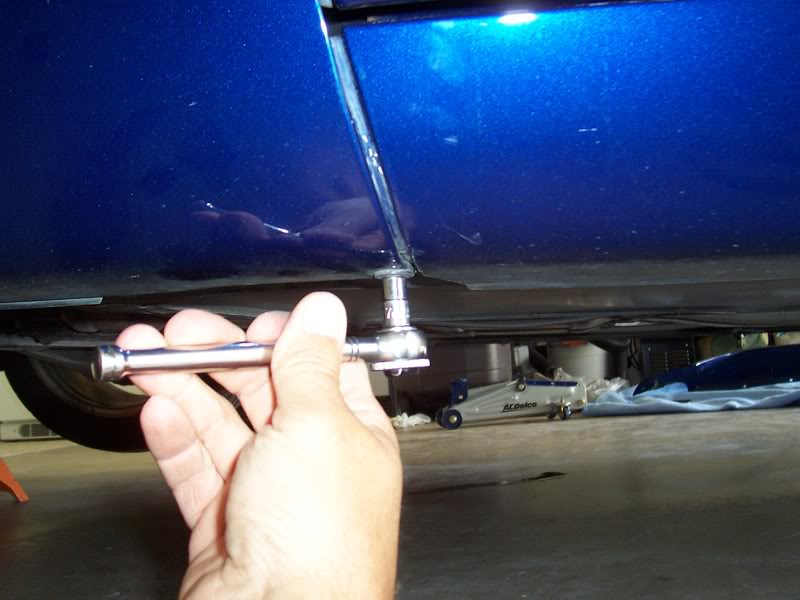
Remove the three 7mm bolts that attach the fender to the inner fender liner.
Remove the bottom 7mm bolt that attaches the fender to the rocker panel.
Remove the 7mm bolts that attach the filler panel to the frame rail including one that attachs the filler to the fender from inside the rocker area.
Remove the 7mm bolts that attach the filler panel to the inner fender liner.
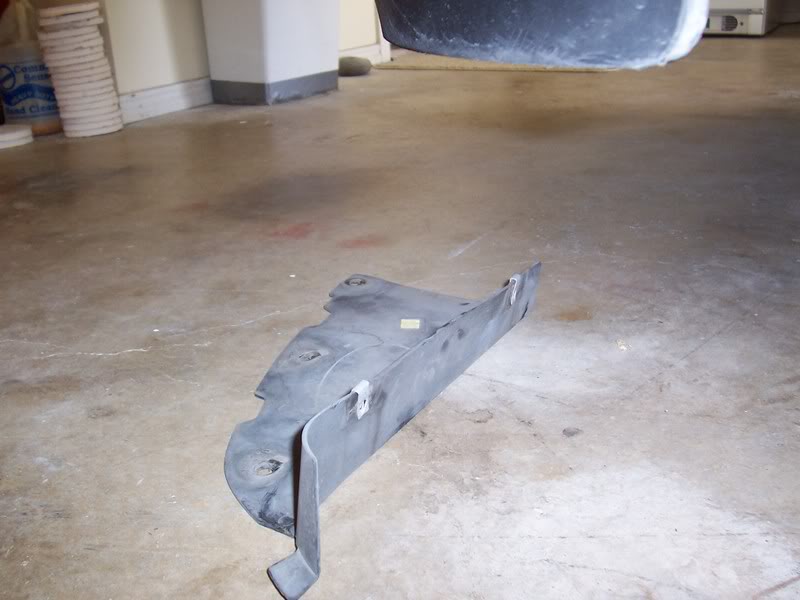
Remove the rear filler panel.
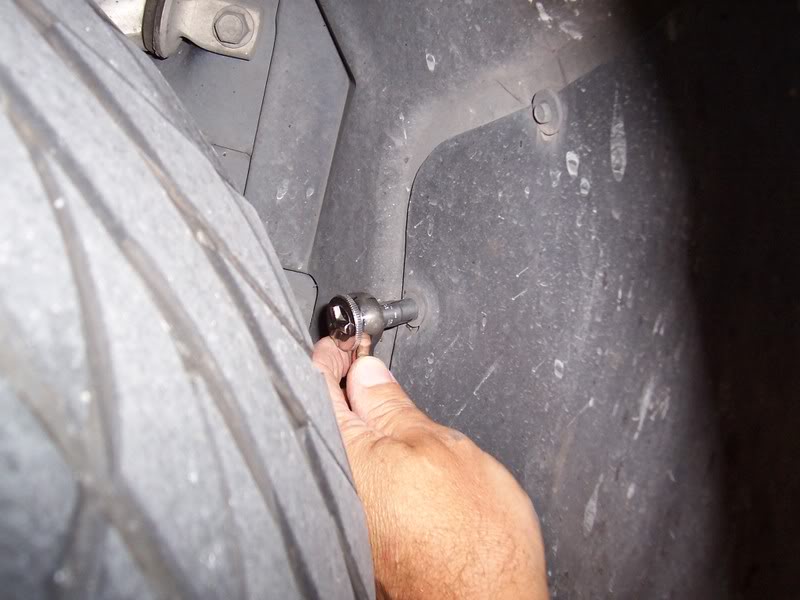
Looking up from the bottom you can see the 7mm bolt that attaches the fender to the door jamb. It's a tight fit, you have to work by feel to get it out.
While you there, you can take a look at your "udders" on the drivers side.
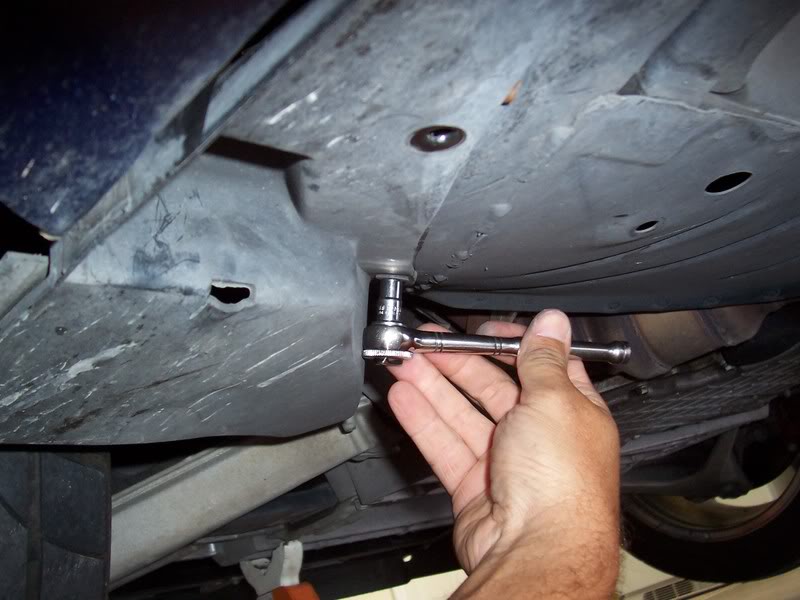
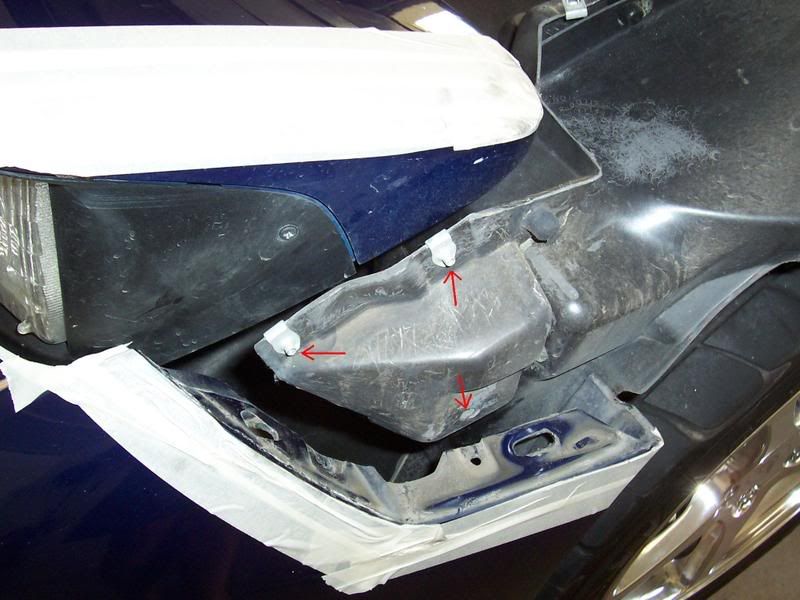
Next, remove the two 7mm bolts in front of the tire that attach the front filler panel the the inner fender liner.
Now remove the three 7mm bolts that attach the filler panel to the front fascia.
Remove the front filler panel.
Here's where the fun begins!
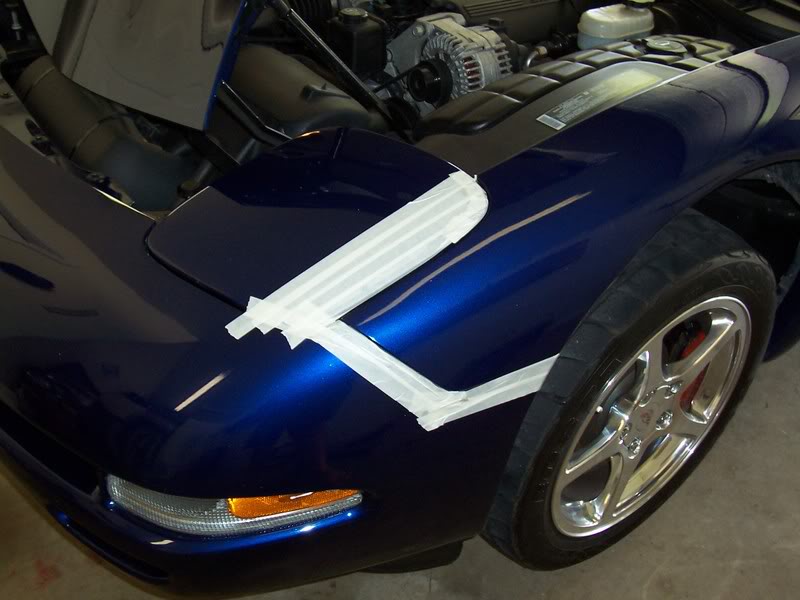
Looking up through the access hole you can see the two 10mm nuts and three 7mm bolts that attach the front of the fender to the bracing. Also notice the re-inforcement plates on each side of the fascia/fender joint.
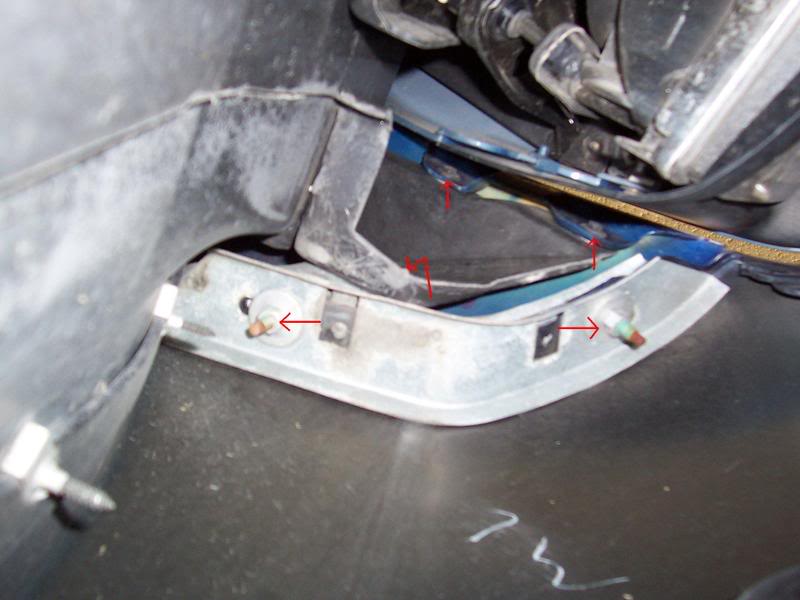
The 10mm nuts and the bottom 7mm bolt are easy. The top two 7mm bolts are a bit of a pain with the headlight assy there. Turn on your headlights to raise them, and you will have just enough room to get a 7mm ratcheting wrench on them.
This pic with the fender off shows the three bolts you are trying to get to.
After removing all of those bolts, it took a good bit of persuading to get that area to come loose. I found that if I lifted front edge of the fender up enough for the inner lip to clear the top two 7mm mounting nuts, I could twist it outward enough to slip off of the 10mm studs with a little "talking to".
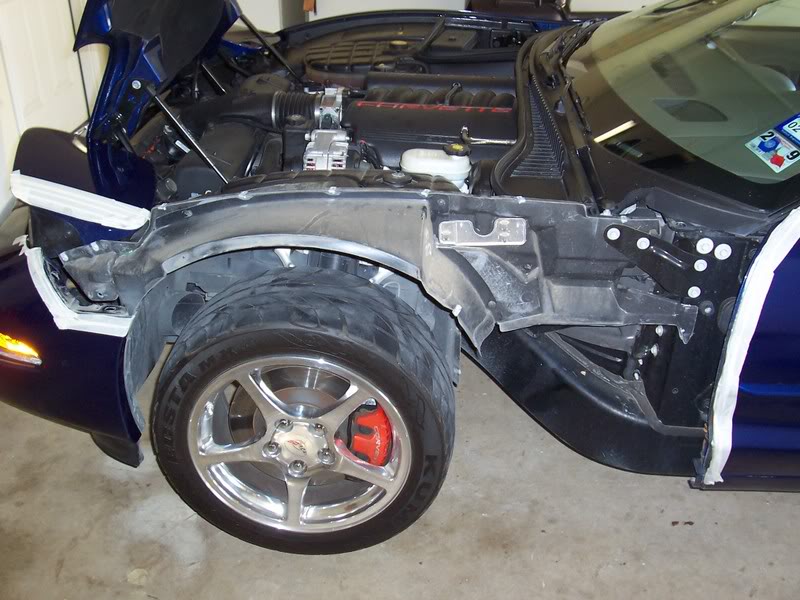
And there you are, fender in hand.
Reassembly is basically just the reverse of the above, starting with the front since it is the most difficult. However the front went back together way easier than it came apart, mainly because of the learning curve during disassembly. As you start to put bolts back in, leave them loose. Don't put the front filler panel on until the very last. When you have all the bolts started, you can begin checking your panel alignment. GM did a very consistent job on production, as the new fender lined up with very little adjusting. When you get all your gaps right, tighten everything down and reinstall the front filler panel. Remove your tape, wipe off your finger prints and reward yourself with a frosty brew. You deserve it!!!!

I was pleased with how clean everything was behind the fender, considering this is a DD with 37k miles on it.
I polished up the "new" fender, removed the BSM from the old one and put it on with 3M tape. Now our baby looks as good as new again. Thanks a bunch to Colton at Corvette recycling for the extra effort to get me a LMB fender that made this process painless. The best part is, the fender was only $289 shipped, my deductable is $250, so for basically the same money, I don't have to deal with insurance or paint work.
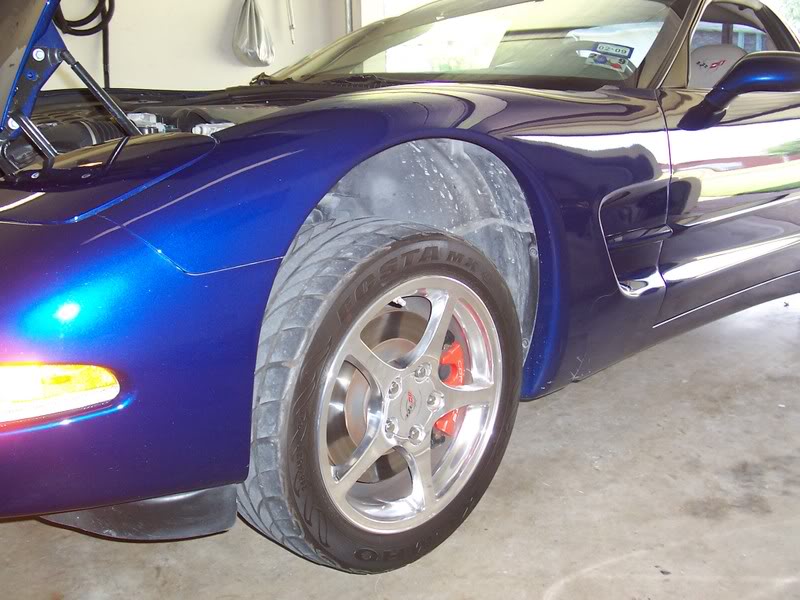
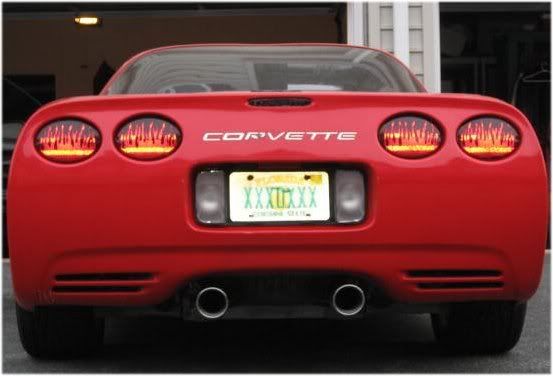
Here's the final product.
Paint match is perfect on the "new" fender, hats off again to GM for quality control. If you need to replace a damaged fender, don't be afraid to get a good used one and do it yourself!
Hope this helps a few with the decision on whether or not to tackle it themselves.
Next on the list is new tires, brakes, powdercoated calipers from Mike, and maybe some drilled/slotted rotors!!

http://forums.corvetteforum.com/show....php?t=2043898
Not wanting to deal with insurance or bodyshops or paint matching nightmares, I ordered a LeMans Blue fender from www. corvetterecycling.com(Thanks Colton) and set out to do it myself. After searching and finding only others who wanted a DIY with pics, I decided to try to put one together.
Here's what I used:
1/4" ratchet
7mm short socket
10mm deep socket
7mm ratchet wrench
floor jack
jackstands
Start to finish was about 2 hours, but that included stopping to take pics and prepping the new fender and the BSM.
Here goes:
I decided to try it the lazy way, without removing the tire or headlight assy as the manual suggests. To make some working room I put the car on jackstands to let the suspention drop.
I then taped the areas adjacent to the fender for protection from scratches.
Remove the three 7mm bolts that attach the fender to the inner fender liner.
Remove the bottom 7mm bolt that attaches the fender to the rocker panel.
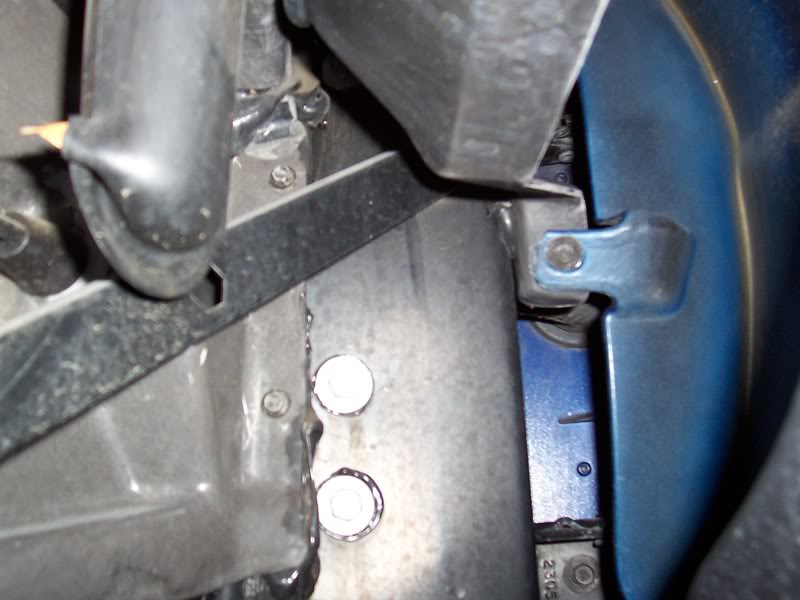
Remove the 7mm bolts that attach the filler panel to the frame rail including one that attachs the filler to the fender from inside the rocker area.
Remove the 7mm bolts that attach the filler panel to the inner fender liner.
Remove the rear filler panel.
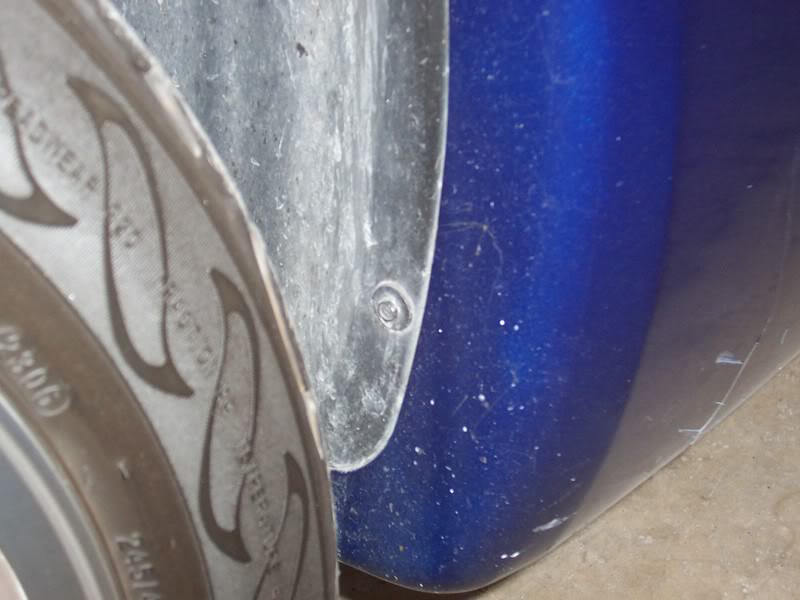
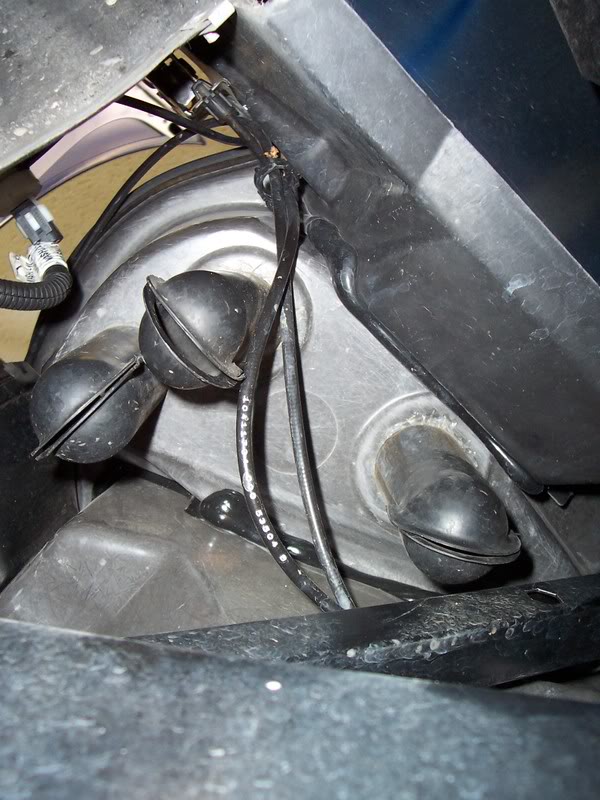
Looking up from the bottom you can see the 7mm bolt that attaches the fender to the door jamb. It's a tight fit, you have to work by feel to get it out.
While you there, you can take a look at your "udders" on the drivers side.
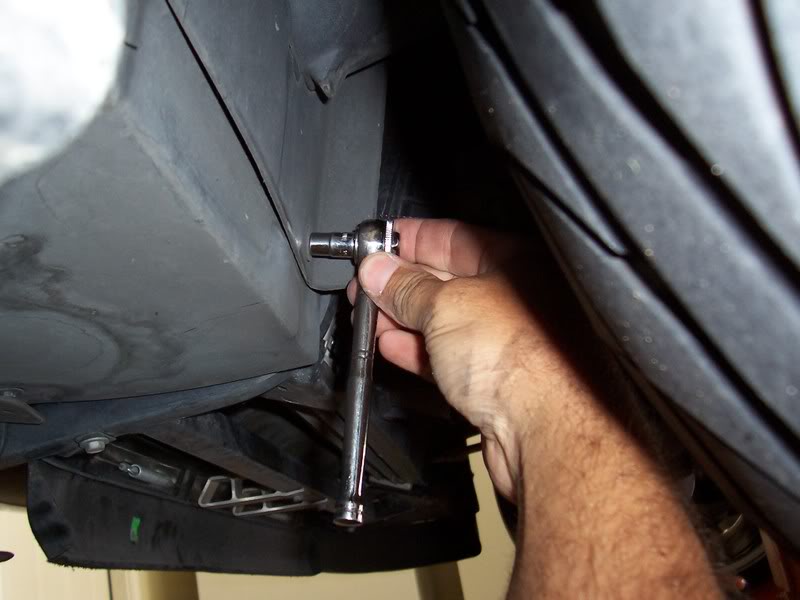
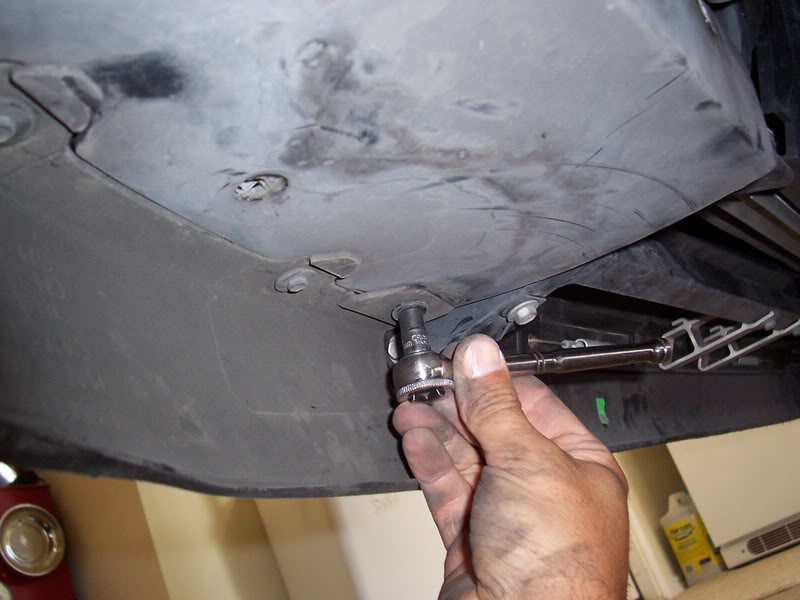
Next, remove the two 7mm bolts in front of the tire that attach the front filler panel the the inner fender liner.
Now remove the three 7mm bolts that attach the filler panel to the front fascia.
Remove the front filler panel.
Here's where the fun begins!
Looking up through the access hole you can see the two 10mm nuts and three 7mm bolts that attach the front of the fender to the bracing. Also notice the re-inforcement plates on each side of the fascia/fender joint.
The 10mm nuts and the bottom 7mm bolt are easy. The top two 7mm bolts are a bit of a pain with the headlight assy there. Turn on your headlights to raise them, and you will have just enough room to get a 7mm ratcheting wrench on them.
This pic with the fender off shows the three bolts you are trying to get to.
After removing all of those bolts, it took a good bit of persuading to get that area to come loose. I found that if I lifted front edge of the fender up enough for the inner lip to clear the top two 7mm mounting nuts, I could twist it outward enough to slip off of the 10mm studs with a little "talking to".
And there you are, fender in hand.
Reassembly is basically just the reverse of the above, starting with the front since it is the most difficult. However the front went back together way easier than it came apart, mainly because of the learning curve during disassembly. As you start to put bolts back in, leave them loose. Don't put the front filler panel on until the very last. When you have all the bolts started, you can begin checking your panel alignment. GM did a very consistent job on production, as the new fender lined up with very little adjusting. When you get all your gaps right, tighten everything down and reinstall the front filler panel. Remove your tape, wipe off your finger prints and reward yourself with a frosty brew. You deserve it!!!!
I was pleased with how clean everything was behind the fender, considering this is a DD with 37k miles on it.
I polished up the "new" fender, removed the BSM from the old one and put it on with 3M tape. Now our baby looks as good as new again. Thanks a bunch to Colton at Corvette recycling for the extra effort to get me a LMB fender that made this process painless. The best part is, the fender was only $289 shipped, my deductable is $250, so for basically the same money, I don't have to deal with insurance or paint work.
Here's the final product.
Paint match is perfect on the "new" fender, hats off again to GM for quality control. If you need to replace a damaged fender, don't be afraid to get a good used one and do it yourself!
Hope this helps a few with the decision on whether or not to tackle it themselves.
Next on the list is new tires, brakes, powdercoated calipers from Mike, and maybe some drilled/slotted rotors!!
Last edited by c5streak; 06-23-2008 at 10:28 PM.

The following 9 users liked this post by c5streak:
Apostle (09-06-2019),
ArmchairArchitect (03-16-2022),
BKbroiler (06-20-2020),
doublenut9 (09-06-2019),
jdmvette (06-20-2020),
and 4 others liked this post.


 06-23-2008, 09:48 PM
#9
Race Director

Member Since: May 2003
Location: Paducah KY
Posts: 19,105
Likes: 0
Received 0 Likes
on
0 Posts
Cruise-In VII Veteran
Wow.. ... Congrats... ... you saved a bunch of cash making that a do-it- yourself project.....
Great job with the repair and the photo's...
... Congrats... ... you saved a bunch of cash making that a do-it- yourself project.....Great job with the repair and the photo's...
 06-23-2008, 10:06 PM
#11
Team Owner

 Well done.
  06-23-2008, 10:08 PM
#12
Burning Brakes
Thread Starter
Thanks guys. It always feels good to get a project done yourself, and even better if you save the Corvette tax in the process!
Actually I misquoted the price, it was $289, and that INCLUDED shipping!!! The fender was $229 plus $60 shipping. Colton emailed me pics of the fender before I bought it to make sure I new what it had in the way of scratches. I'll edit the original post to clear up any questions.
Actually I misquoted the price, it was $289, and that INCLUDED shipping!!! The fender was $229 plus $60 shipping. Colton emailed me pics of the fender before I bought it to make sure I new what it had in the way of scratches. I'll edit the original post to clear up any questions.


 06-24-2008, 07:10 AM
#18
Team Owner
Member Since: Apr 2008
Location: Lake Michigan's South Shore IN
Posts: 25,472
Received 196 Likes
on
118 Posts

I need to replace my driver's side rear filler panel. ($57.00 from local Chevy dealer). I was hoping this could be done without removing the tire. I see from your photos this is possible. Any tips or words of advice from your experience would be appreciated. Thanks.
06-24-2008, 07:36 AM
#19
Race Director

Member Since: Feb 2002
Location: Compound in the Grove, Ga.
Posts: 11,328
Received 910 Likes
on
583 Posts
2020 C3 of the Year Finalist - Unmodified
2019 C4 of Year Finalist (performance mods)
2018 C4 of Year Finalist
2015 C4 of the Year Finalist
St. Jude Donor '16
2020 C3 of the Year Finalist - Unmodified
 Great job
06-24-2008, 07:40 AM
Great job
06-24-2008, 07:40 AM
#20
Melting Slicks

Member Since: Apr 2007
Location: West Palm Beach Florida
Posts: 2,916
Likes: 0
Received 1 Like
on
1 Post
wow....$289.00.......$289.00......$289.0 0
fiberglass fender, with paint, shipped....$289.00
You got a fantastic deal on the fender.
.
Why does the TS front end cost soooooo much.
.
fiberglass fender, with paint, shipped....$289.00
You got a fantastic deal on the fender.
.
Why does the TS front end cost soooooo much.
.