
Leaky Butt Fixed!!! Ga-Zillion Photos!!
 07-14-2008, 01:10 AM
#1
Melting Slicks


Thread Starter
After I wrote up this thread, I found out that 25 pictures maximum are allowed in a post. I am going to spread this post across two thread windows. Moderators, I hope this doesn't cause any displeasure...
Like many of us out there, I was plagued by the C5's infamous left side Differential shaft seal leak... also popularly known as "Leaky Butt". Over the course of about a year and a half on this board, I have met some great people. Through good fortune, I got to know Forum members razor2430 and gairno (Ray and Gary respectively). For a mere $400 and a Domino's pizza, they performed this repair. If you're in Southern California, and need this done, shoot these guys a PM.
I did the photographing, but since I want to improve my repair skills, I too got to pick up a wrench to do a few minor parts of the job. Given this, if you have technical comments, feel free to post them here, but for the most part, I will let razor2430 or gairno chime in.
Oh, one last thing, please forgive me because I do not know all the proper terminology for some of the parts. OK.. on with the motley.......
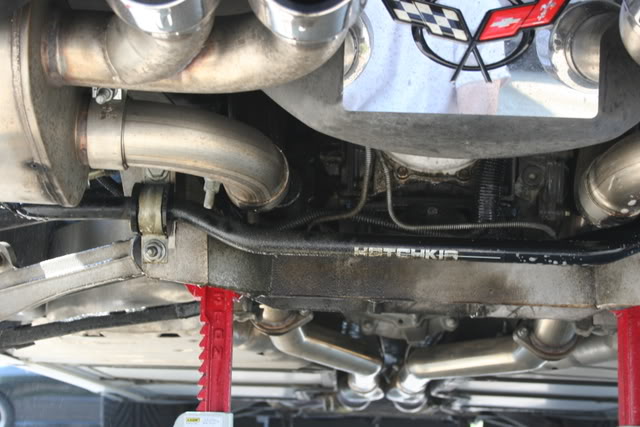
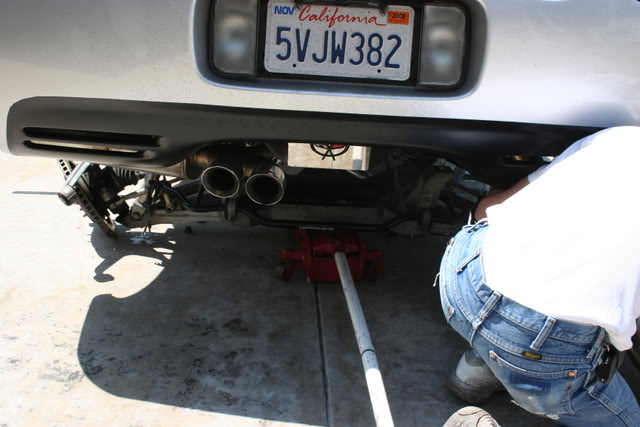
First let's see one of the tell tale signs you have leaky butt syndrome. Notice the nice black gunk and also how it seem weighted towards the left side (For all those people who post, "what do I look for when buying a C5?", heed this picture!!),
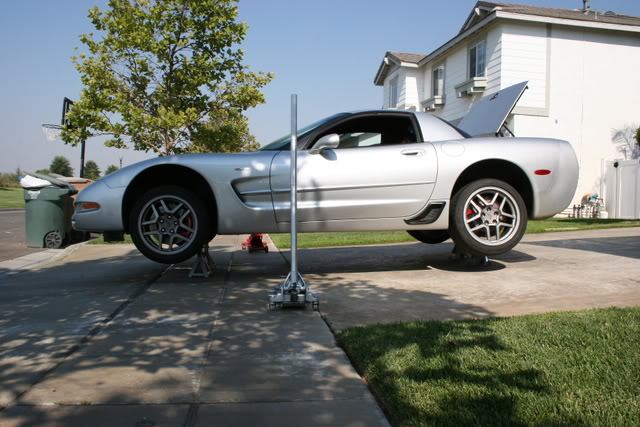
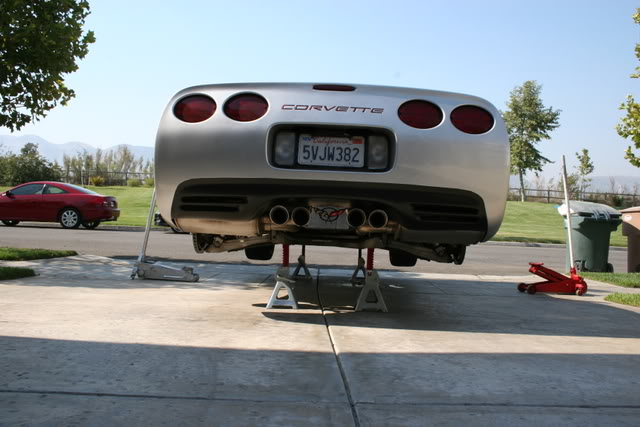
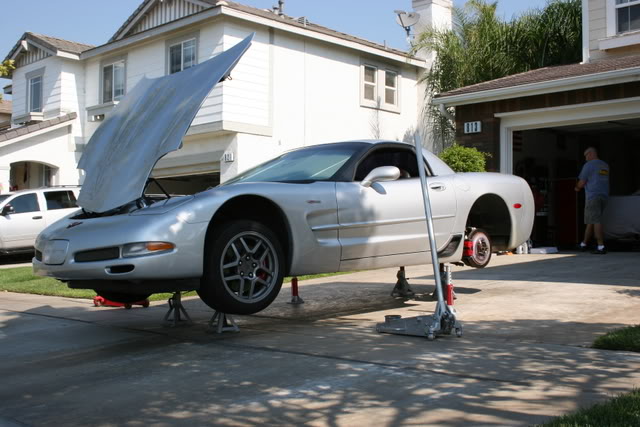
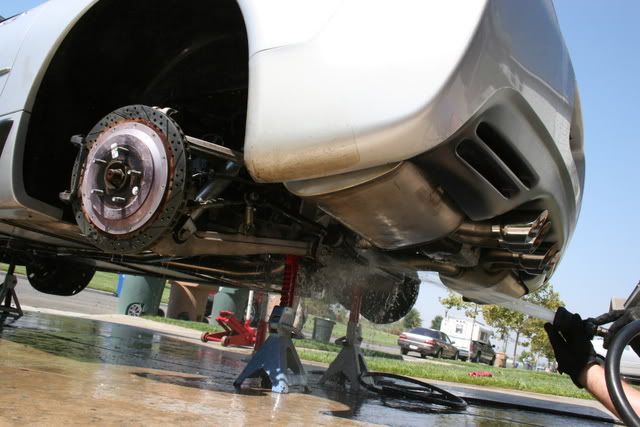
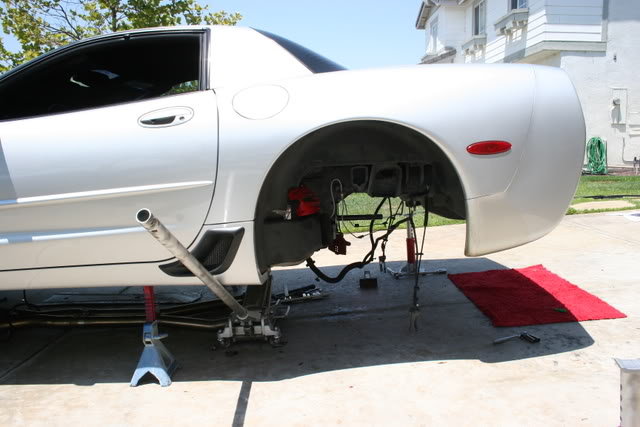
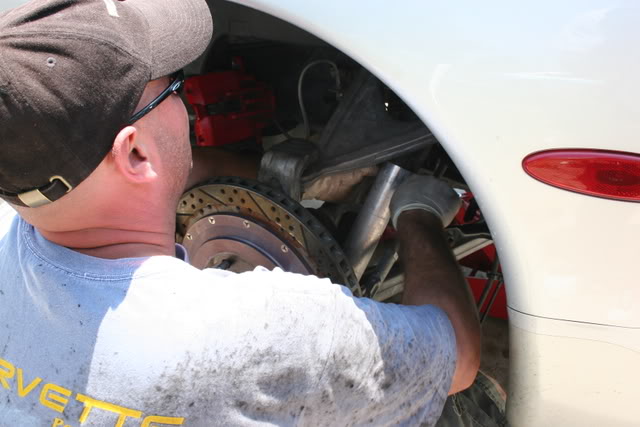
As you would imagine, the process starts by jacking her up and removing the rear tires,
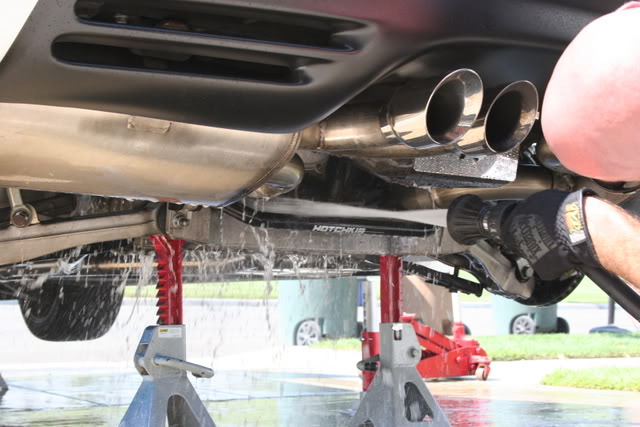
Now, a bath on the rear side of the rear suspension cradle (more extensive baths to follow),
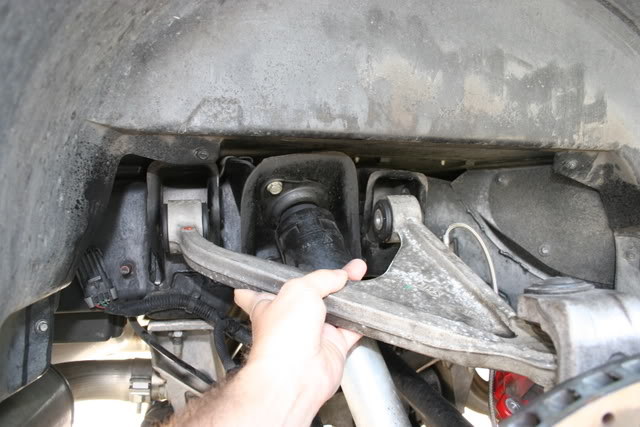
The Rear control arms and shock come off,
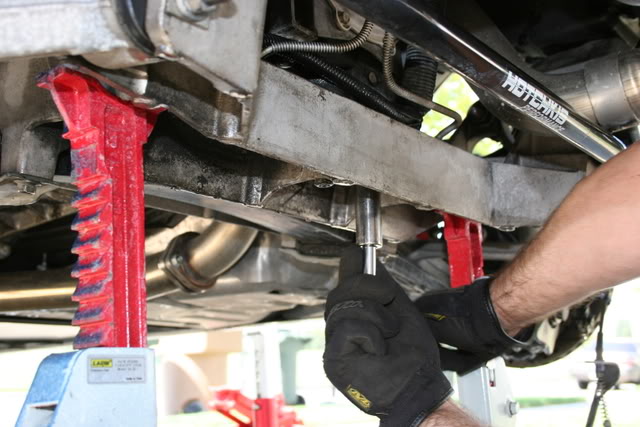
Removing bolts to lower rear suspension cradle,
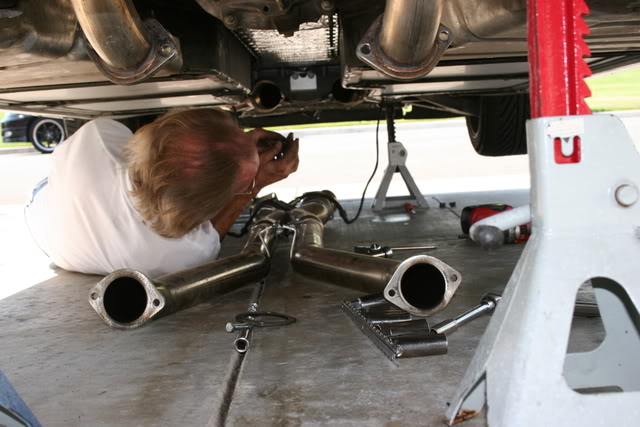
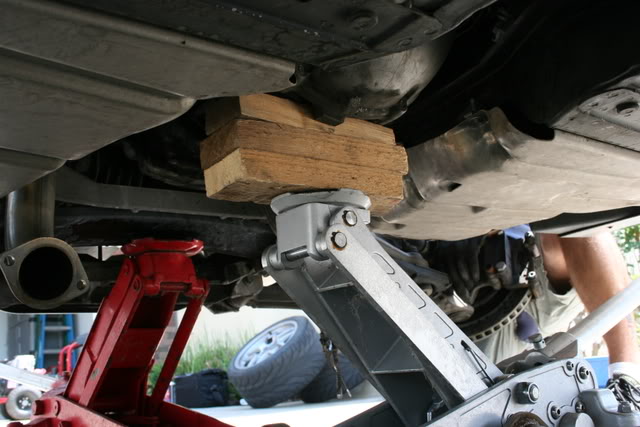
In preparation for the cradle removal, the catted X-pipe, Mid-pipes and tunnel plate are removed. Further, the tranny is supported,
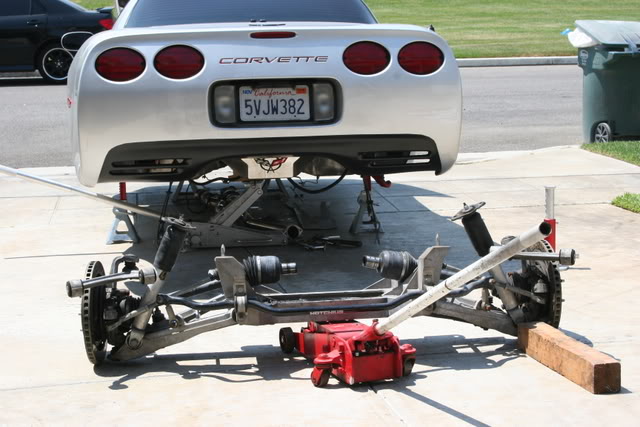
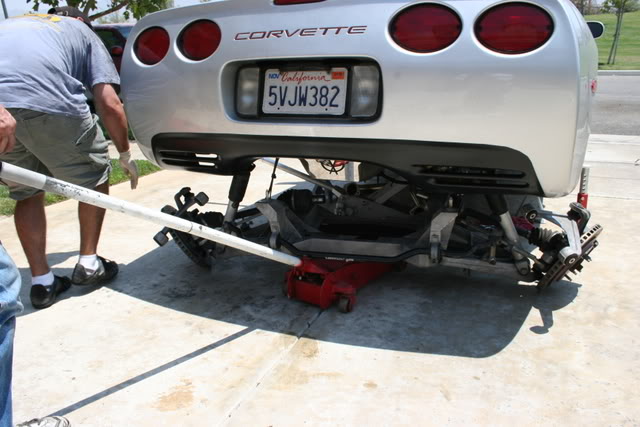
OK... the moment of truth, down with the rear suspension cradle,
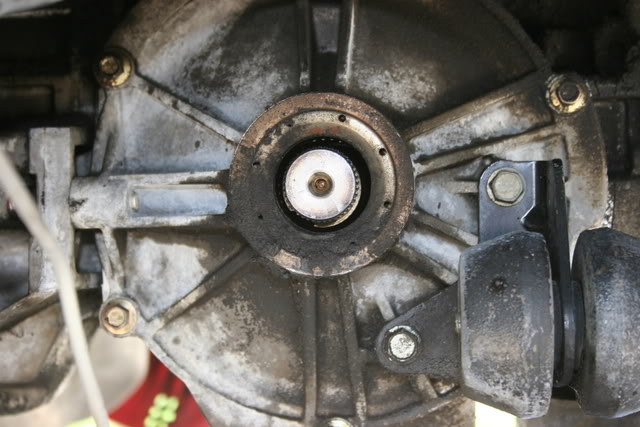
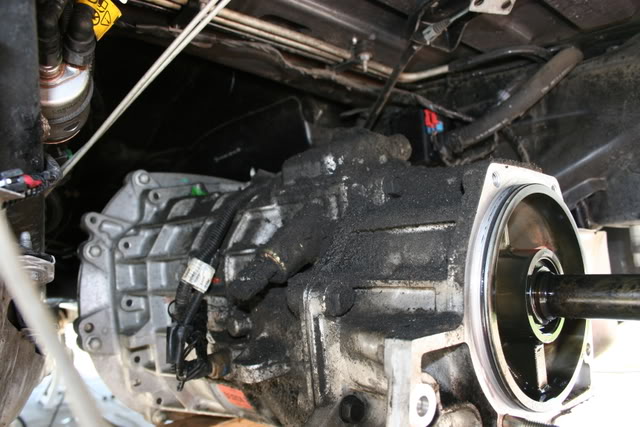
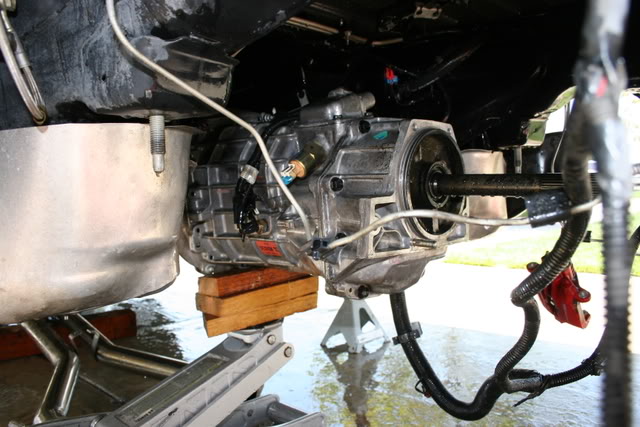
Hmmm... This is a good time to get a closer look at this leaky butt thing, let's take a look at the left side of the differential...
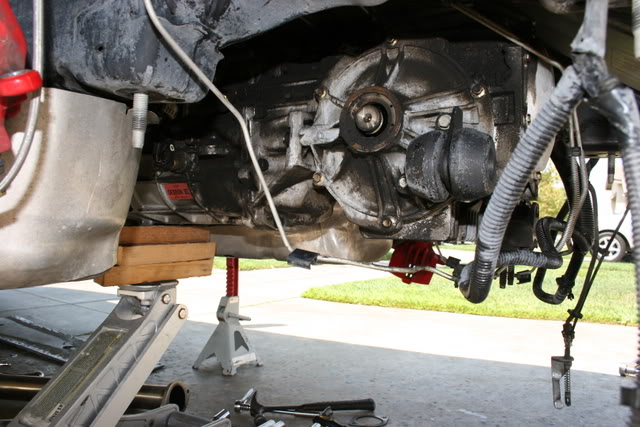
Also, check out how the gear oil and dirt, make a nice sludge spray on the left side of the tranny,
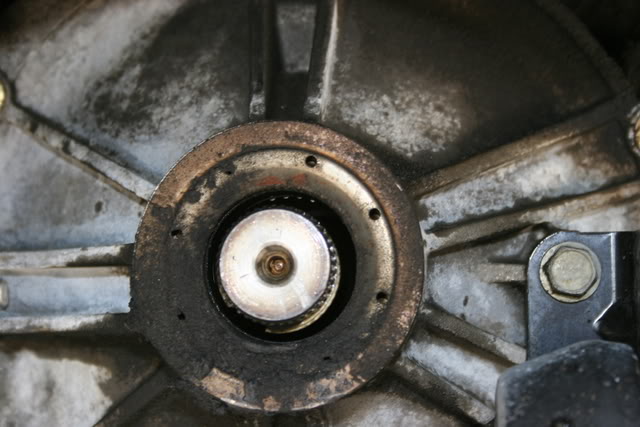
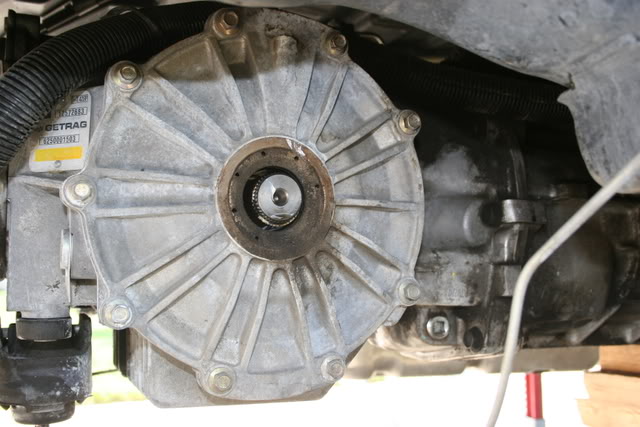
Can't help but wonder how the right side of the differential fared... interesting that this side doesn't seem to suffer the same,
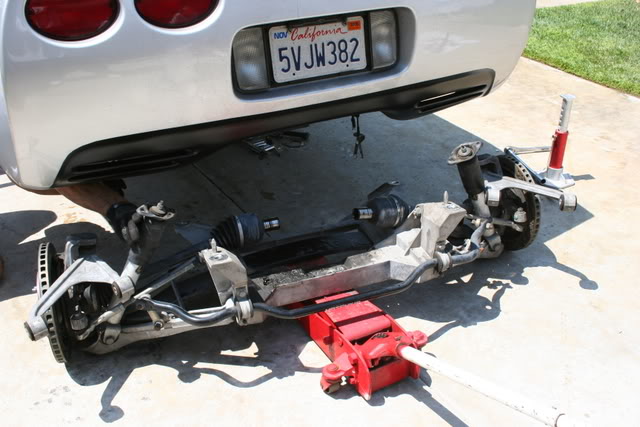
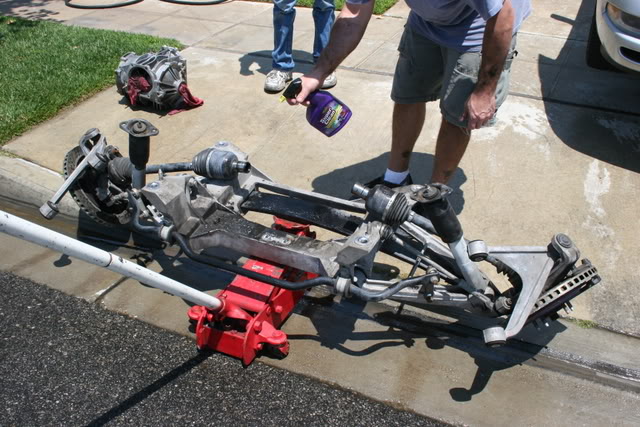
OK... at this moment, the wife calls me on the cell phone so I didn't get the shot of the rear differential coming out. But the car sure looks naked now,
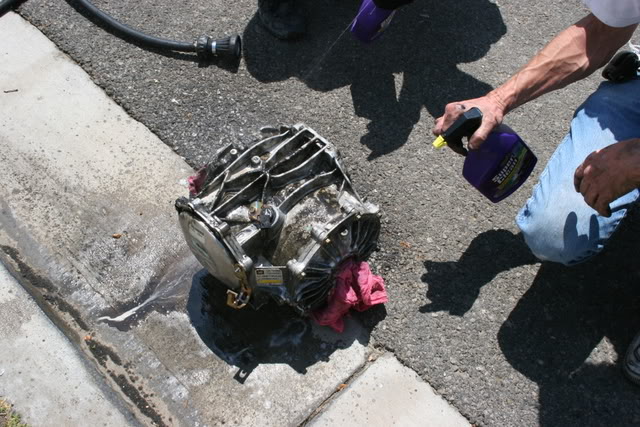
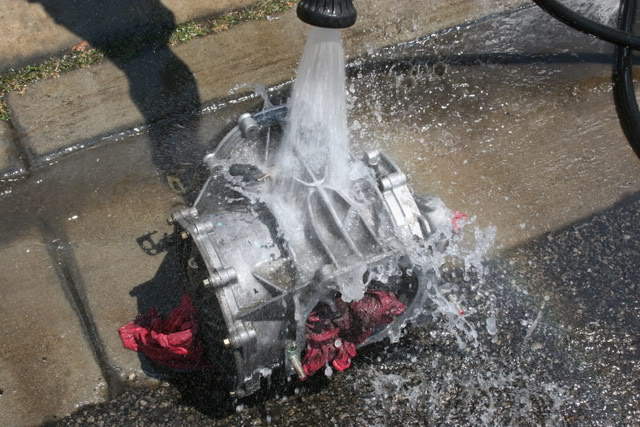
OK, now its time for a good bath with degreaser and then water, the differential first,
Time to clean the cradle, but to really appreciate this, let's get a good look at the sludge,
-- Continued in Next Window - Thread #2 --
Like many of us out there, I was plagued by the C5's infamous left side Differential shaft seal leak... also popularly known as "Leaky Butt". Over the course of about a year and a half on this board, I have met some great people. Through good fortune, I got to know Forum members razor2430 and gairno (Ray and Gary respectively). For a mere $400 and a Domino's pizza, they performed this repair. If you're in Southern California, and need this done, shoot these guys a PM.
I did the photographing, but since I want to improve my repair skills, I too got to pick up a wrench to do a few minor parts of the job. Given this, if you have technical comments, feel free to post them here, but for the most part, I will let razor2430 or gairno chime in.
Oh, one last thing, please forgive me because I do not know all the proper terminology for some of the parts. OK.. on with the motley.......
First let's see one of the tell tale signs you have leaky butt syndrome. Notice the nice black gunk and also how it seem weighted towards the left side (For all those people who post, "what do I look for when buying a C5?", heed this picture!!),
As you would imagine, the process starts by jacking her up and removing the rear tires,
Now, a bath on the rear side of the rear suspension cradle (more extensive baths to follow),
The Rear control arms and shock come off,
Removing bolts to lower rear suspension cradle,
In preparation for the cradle removal, the catted X-pipe, Mid-pipes and tunnel plate are removed. Further, the tranny is supported,
OK... the moment of truth, down with the rear suspension cradle,
Hmmm... This is a good time to get a closer look at this leaky butt thing, let's take a look at the left side of the differential...
Also, check out how the gear oil and dirt, make a nice sludge spray on the left side of the tranny,
Can't help but wonder how the right side of the differential fared... interesting that this side doesn't seem to suffer the same,
OK... at this moment, the wife calls me on the cell phone so I didn't get the shot of the rear differential coming out. But the car sure looks naked now,
OK, now its time for a good bath with degreaser and then water, the differential first,
Time to clean the cradle, but to really appreciate this, let's get a good look at the sludge,
-- Continued in Next Window - Thread #2 --
 07-14-2008, 01:11 AM
#2
Melting Slicks
Thread Starter
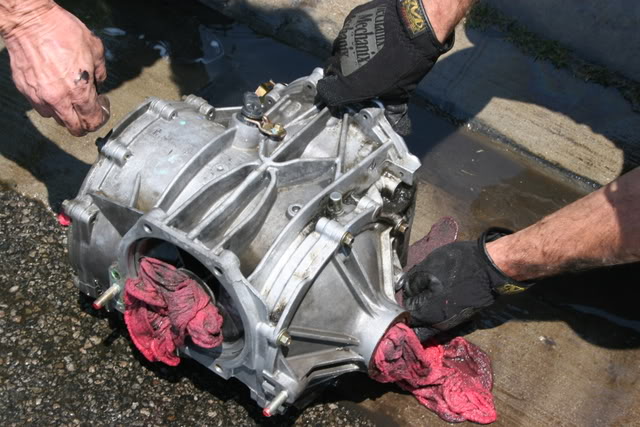
Alright, bath time...
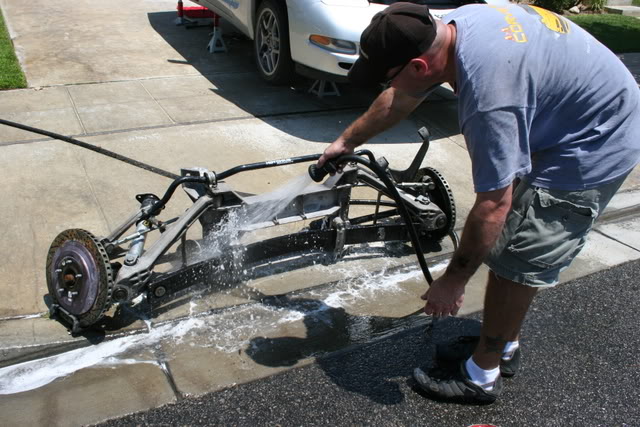
Ah, much better...

The final clean up is now the sludge of the tranny that I showed you earlier,

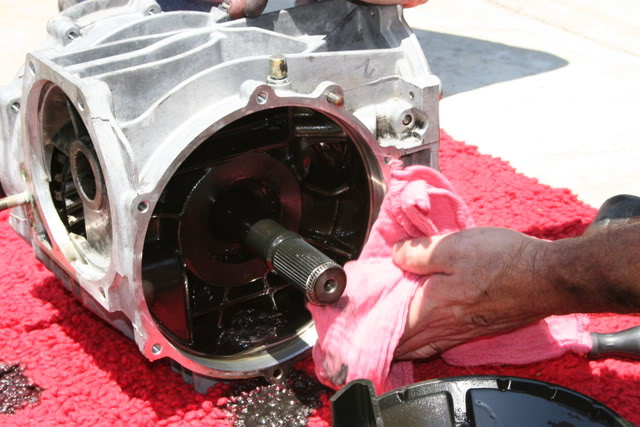
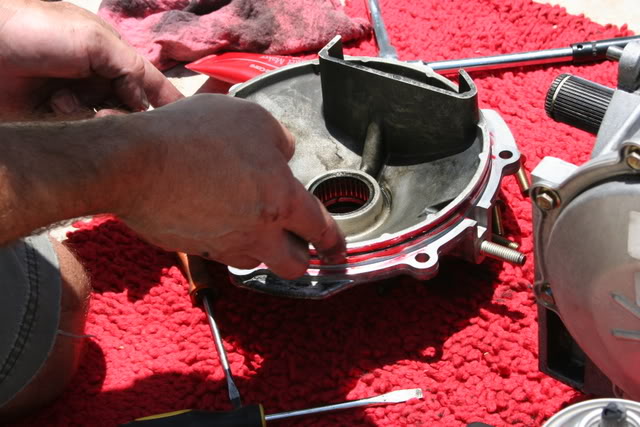
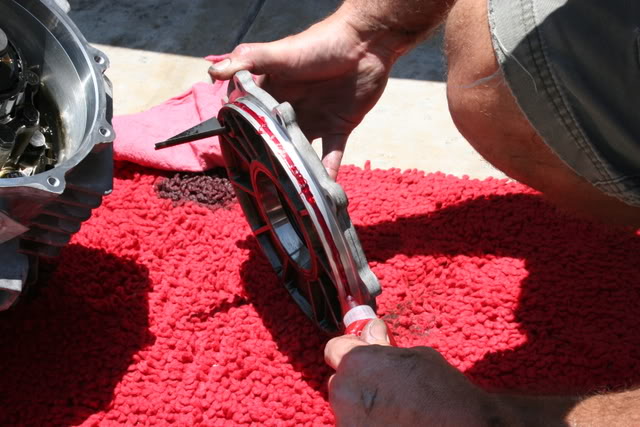
With all these preliminaries done, now the actual repair can be performed, surgery is preped and started on the left side rear differential,
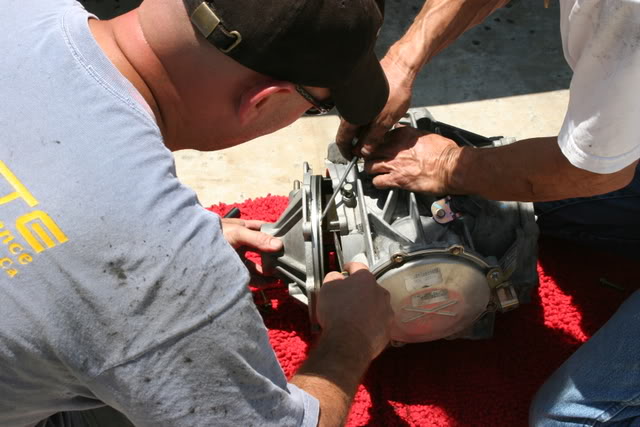
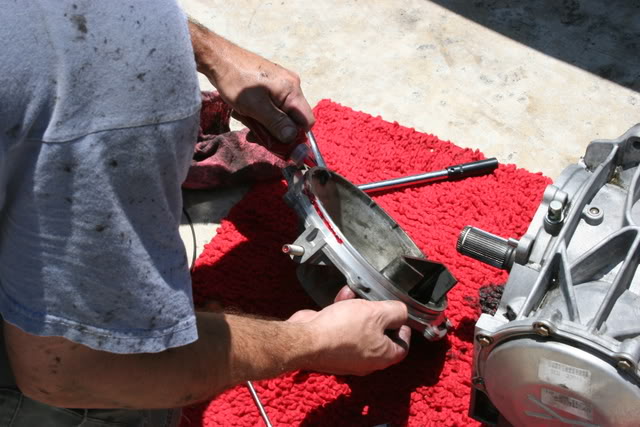
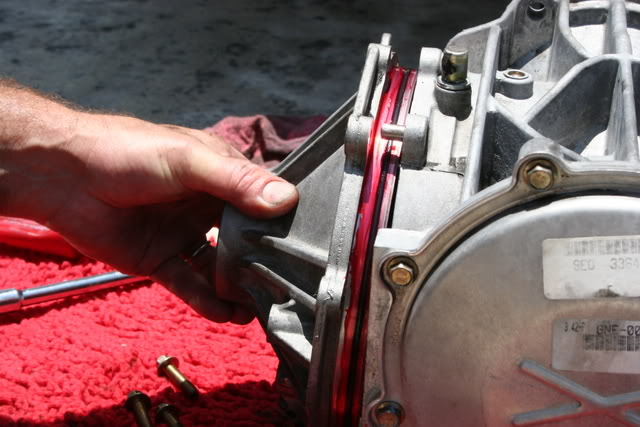
The red GM Gasket Maker (sealant) #1052943 is applied, the a new O-ring installed, and the left cover plate put back on,

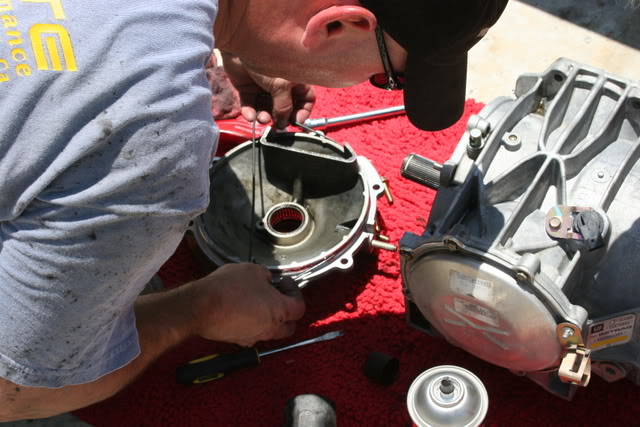
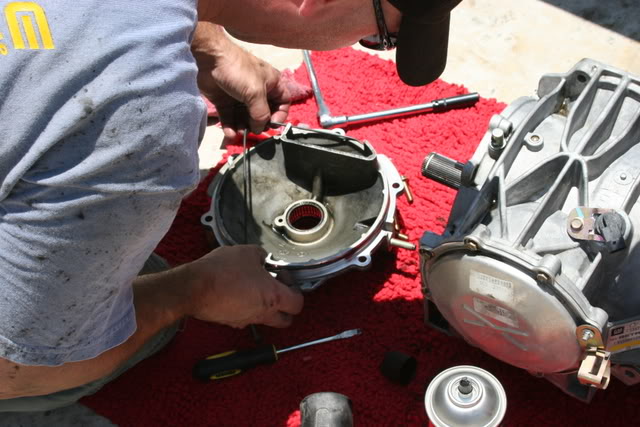
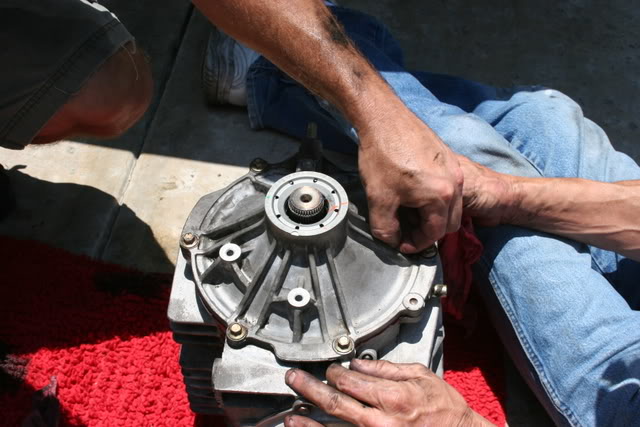
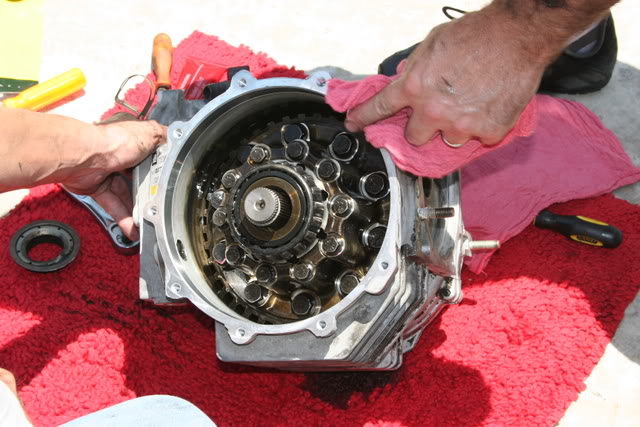
Now, attention is turned to the right side differential, similar process as before,
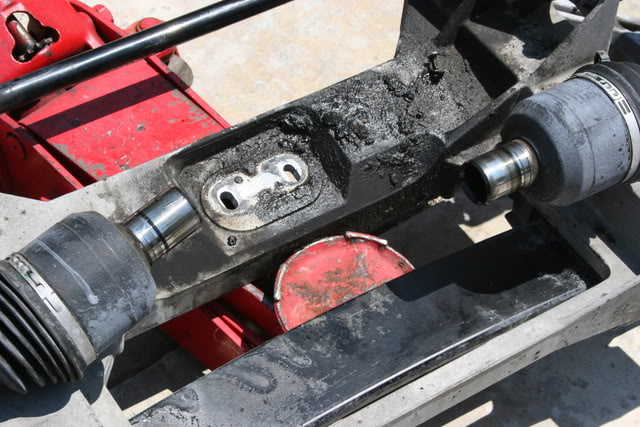
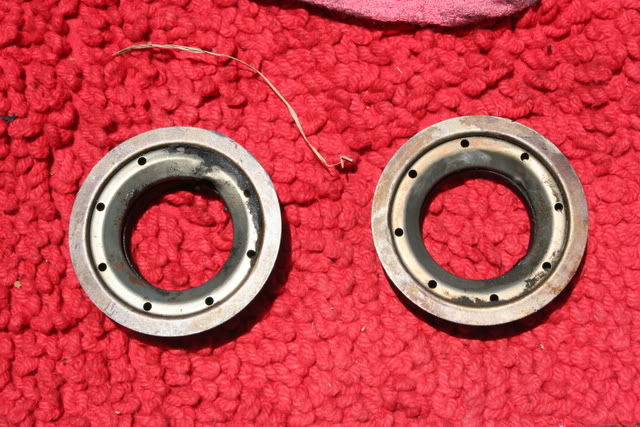
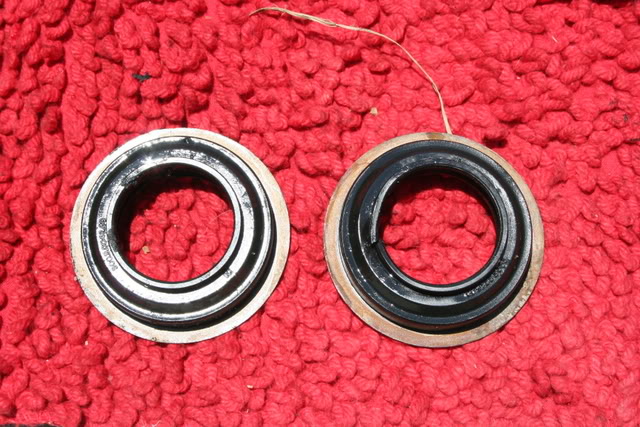
Oh... I didn't get picture so the shaft seal removal and replacement but here are pictures of the old shaft seals. A seal puller made removal of these a piece of cake,
From here on out, the process is the reverse and I won't bore you with those pictures, but just a few more,
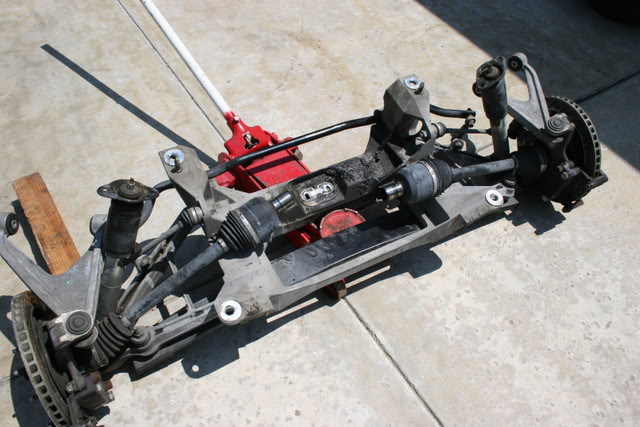
Placing the rear cradle back into position,
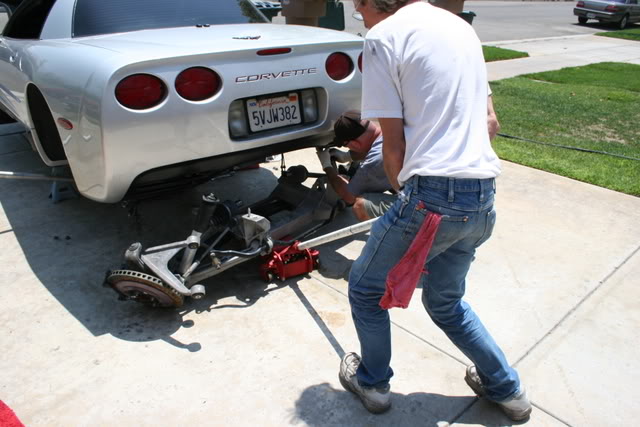
Putting the cradle back on was by far the most challenging part of this job. You have to line up 6 or so bolts with this thing that ways a ton and is floating on a jack. Unfortunately, I had to put the camera down as my assistance was required so here is the only quick shot I got,
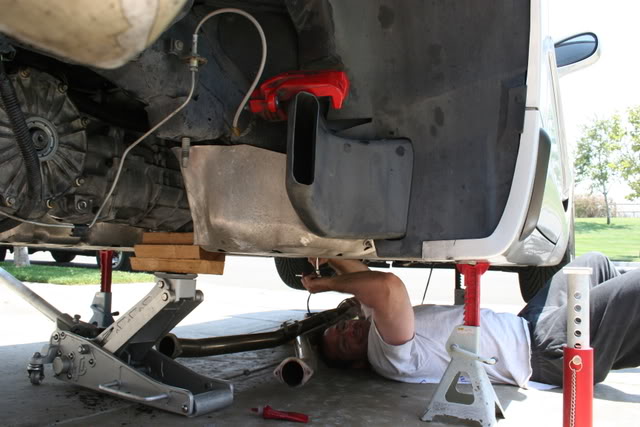
But, remember I told you all earlier I did get to do some minor things... well here's your story teller putting the tunnel plate back on,
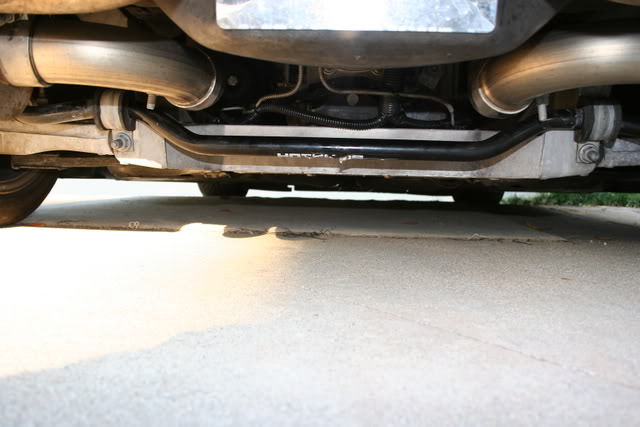
I few days after, I'm driving now and no signs of leaky butt,

Ah, much better...
The final clean up is now the sludge of the tranny that I showed you earlier,
With all these preliminaries done, now the actual repair can be performed, surgery is preped and started on the left side rear differential,
The red GM Gasket Maker (sealant) #1052943 is applied, the a new O-ring installed, and the left cover plate put back on,
Now, attention is turned to the right side differential, similar process as before,
Oh... I didn't get picture so the shaft seal removal and replacement but here are pictures of the old shaft seals. A seal puller made removal of these a piece of cake,
From here on out, the process is the reverse and I won't bore you with those pictures, but just a few more,
Placing the rear cradle back into position,
Putting the cradle back on was by far the most challenging part of this job. You have to line up 6 or so bolts with this thing that ways a ton and is floating on a jack. Unfortunately, I had to put the camera down as my assistance was required so here is the only quick shot I got,
But, remember I told you all earlier I did get to do some minor things... well here's your story teller putting the tunnel plate back on,
I few days after, I'm driving now and no signs of leaky butt,
The following users liked this post:
bobick (10-27-2020)

 Good job and Great documentation!!


 07-14-2008, 05:08 AM
#8
Le Mans Master


 Good job and great pics.
07-14-2008, 06:26 AM
Good job and great pics.
07-14-2008, 06:26 AM
#13
Racer

Member Since: Jul 2005
Location: Ft Walton Beach FL
Posts: 341
Likes: 0
Received 0 Likes
on
0 Posts

 07-14-2008, 07:28 AM
#15
Melting Slicks
Member Since: Jul 2005
Location: Rehoboth MA . . . NRA Life Member
Posts: 2,572
Likes: 0
Received 3 Likes
on
1 Post
St. Jude Donor '06-'07
Now I know what I'm in for, but at least now I'll have a guideline to do the job. The question that begs asking is; why do these seals keep going?
Great writeup and photos, thank you!!
Great writeup and photos, thank you!!


